menu
MobalyticsUse your favourite features in-game with our Desktop App

WoW Forever Stratholme Live Dungeon Guide - Bosses, Loot & Quests

Beginner
Mechanics
By PhaseShifter
Updated on Nov 20, 2026
Nov 20, 2026

Stratholme Live Overview

Stratholme Live is a dungeon in WoW Forever. Stratholme is a former stronghold of Lordaeron located in the Eastern Plaguelands. Arthas Menethil infamously raised the city at the during his own demise to eventually become the Lich King.

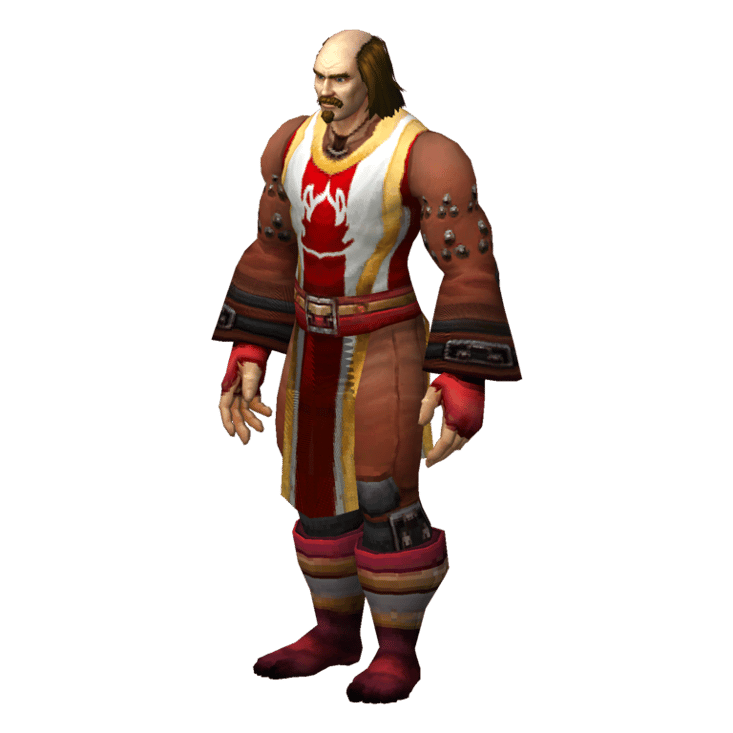
Stratholme is split into two sections; live and undead. The live side contains Scarlet Crusaders and the other is filled with, you guessed it, undead.

Stratholme Live Quest Loot and Rewards

The Great Ezra Grimm (Both)

Quest Giver: Smokey LaRue
Coordinates/Location: Eastern Plaguelands, Light's Hope Chapel (80, 58)
Required Level: 55
Reward: XP & Silver

To complete this quest, find Grimm's Premium Tobacco inside Stratholme and loot it. The tobacco is located in a mailbox. Opening the mailbox causes Ezra Grimm to spawn, along with several additional enemies, so make sure your group is ready before interacting with it.

The Archivist (Both)

Quest Giver: Duke Nicholas Zverenhoff
Coordinates/Location: Eastern Plaguelands, Light's Hope Chapel (81, 59)
Required Level: 55
Reward: XP & Silver

To complete this quest, defeat Archivist Galford inside the Scarlet Bastion and burn the Scarlet Archive. Make sure you have completed this quest before killing Balnazzar if you also want to obtain the quest item for The Truth Comes Crashing Down.

The Restless Souls (Both)

Quest Giver: Egan
Coordinates/Location: Eastern Plaguelands, Terrordale (14, 33)
Required Level: 55
Reward: XP & Silver
Prerequisite: Complete The Medallion of Faith first

To complete this quest, use Egan's Blaster on 15 Restless Souls inside Stratholme. You must first complete the introductory quest from Caretaker Alen at Light's Hope Chapel, then speak to Egan in Terrordale to receive the blaster and the actual dungeon objective..

The Medallion of Faith (Both)

Quest Giver: Aurius
Coordinates/Location: Stratholme, Undead Side, inside the chapel at the beginning
Required Level: 55
Reward: XP & Silver
Additional Information: Completing this quest allows you to pick up The Restless Souls on the Undead side.

To complete this quest, recover the Medallion of Faith from the chest behind Malor the Zealous on the Live side of Stratholme. Take the medallion to Aurius in the burning chapel near the beginning of the Undead side.

The Truth Comes Crashing Down (Both)

Quest Giver: Head of Balnazzar (quest item drop)
Coordinates/Location: Stratholme, Live Side, drops from Balnazzar
Required Level: 55
Reward: XP & Silver
Prerequisite: Complete The Archivist first to be eligible for the Head of Balnazzar drop.

To complete this quest, loot the Head of Balnazzar after defeating Balnazzar at the end of the Live side. This quest item only becomes available after you have completed and turned in The Archivist.

Of Love and Family (Both)

Quest Giver: Artist Renfray
Coordinates/Location: Western Plaguelands, Caer Darrow (65, 75)
Required Level: 52
Reward: XP & Silver
Prerequisite: Complete 7 quests, starting with Blood Tinged Skies, Carrion Grubbage and Demon Dogs.

Stratholme Live Boss Loot & Rewards

Boss

Loot

Skul

• Skul's Cold Embrace

• Skul's Ghastly Touch

• Skul's Fingerbone Claws

• Corruptor's Scourgestone

Hearthsinger Forresten

• Magister's Boots

• @Piccolo of the Flaming Fire

• Rainbow Girdle

• Songbird Blouse

• Woollies of the Prancing Minstrel

• Corruptor's Scourgestone

Jarien and Sothos

• Amulet of the Redeemed

• Band of Mending

• Ironweave Robe

• Legplates of Vigilance

• Scepter of Interminable Focus

The Unforgiven

• Mask of the Unforgiven

• Soul Breaker

• Tearfall Bracers

• Wailing Nightbane Pauldrons

• Wildheart Gloves

• Corruptor's Scourgestone

Postmaster Malown

• Malown's Slam

• The Postmaster's Band

• The Postmaster's Seal

• The Postmaster's Treads

• The Postmaster's Trousers

• The Postmaster's Tunic

• Corruptor's Scourgestone

Timmy the Cruel

• Grimgore Noose

• Lightforge Gauntlets

• The Cruel Hand of Timmy

• Timmy's Galoshes

• Vambraces of the Sadist

• Corruptor's Scourgestone

Cannon Master Willey

• Barrage Girdle

• Cannonball Runner

• Nacreous Shell Necklace

• Helm of the New Moon

• Mantle of the Scarlet Crusade

• Master Cannoneer Boots

• @Minature Cannon Balls

• Plans: Heartseeker

• Redemption

• Shadowcraft Spaulders

• Willey's Back Scratcher

• Willey's Portable Howitzer

Archivist Galford

• Archivist Cape

• Ash Covered Boots

• Devout Gloves

• Foresight Girdle

• Tome of Knowledge

Grand Crusader Dathrohan / Balnazzar

• Crown of Tyranny

• Gift of the Elven Magi

• Star of Mystaria

• Hammer of the Grand Crusader

• Grand Crusader's Helm

• Shroud of the Nathrezim

• Pattern: Truefaith Vestments

• Book of the Dead

• Demonshear

• Fire Striders

• Lightforge Boots

• Wyrmtongue Shoulders

• Recipe: Flask of Distilled Wisdom

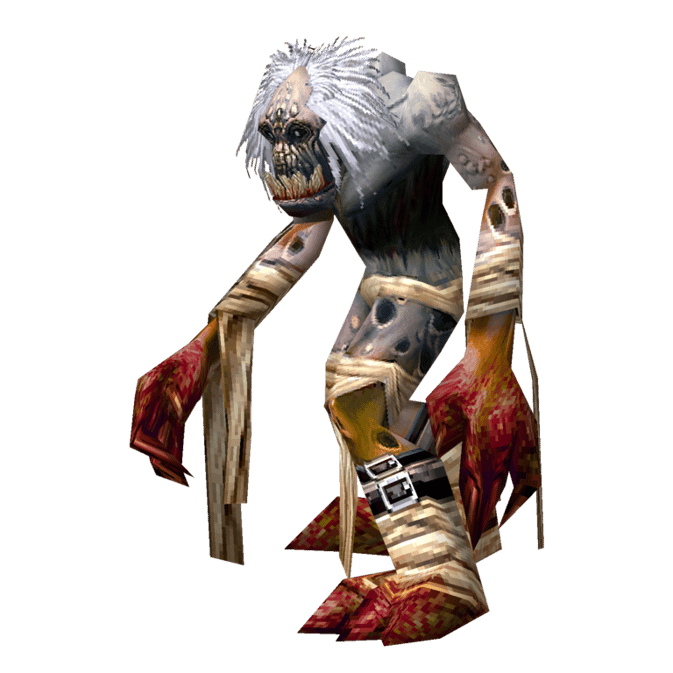
The Unforgiven

The Unforgiven is an ambush encounter that summons Vengeful Phantoms when engaged. He also uses Frost Nova, which damages and roots nearby players, making it important to clear the surrounding area before triggering the fight.

Tank

  • Clear the previous pack before triggering the ambush.
  • Gather The Unforgiven and the Vengeful Phantoms together.

Healer

  • Stay with the group when triggering the ambush.
  • Heal through Frost Nova and the damage from the additional enemies.

DPS

  • Allow the tank to gather the additional enemies before using AoE.
  • Avoid pulling another pack while players are rooted.


Timmy the Cruel

Timmy is a melee-focused encounter with Thrash, which gives him a chance to make additional attacks, and Ravenous Claw, which damages his target while healing him. His Enrage makes the final part of the fight particularly dangerous.

Tank

  • Maintain threat and keep Timmy in the cleared courtyard.
  • Save defensive abilities for Enrage and potential Thrash bursts.

Healer

  • Keep the tank's health high to survive multiple attacks from Thrash.
  • Watch for health loss from Ravenous Claw and increased damage during Enrage.

DPS

  • Focus damage on Timmy and avoid starting another pack during the fight.
  • Use damage cooldowns during Enrage to shorten the dangerous final phase.


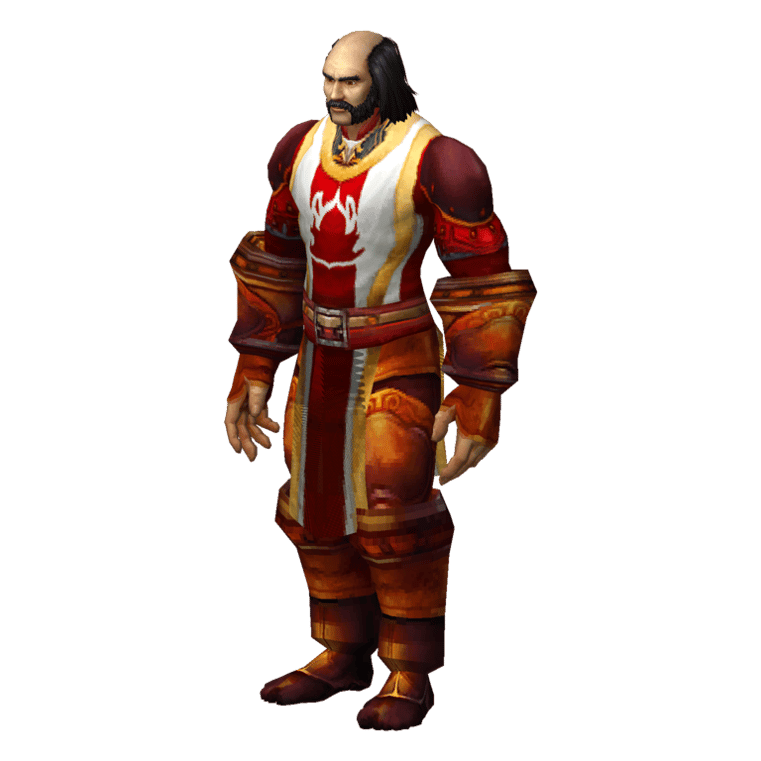
Cannonmaster Willey

Cannon Master Willey summons Crimson Riflemen during the encounter and uses Knock Away, Pummel and Shoot. The group can use the cannons in the room to deal with the riflemen rather than allowing them to accumulate.

Tank

  • Keep Willey positioned with solid scenery behind you to reduce the impact of Knock Away.
  • Keep the cannon route clear for the assigned player.

Healer

  • Stay outside Willey's melee range to avoid Pummel interrupting your healing.
  • Keep the tank and the cannon operator alive, as both can take damage.

DPS

  • Assign one player to operate the cannons using Scarlet Cannonballs.
  • Use the cannons to kill the summoned Crimson Riflemen.
  • Other DPS should focus on Willey unless the riflemen threaten the group.

Archivist Galford

Archivist Galford uses Pyroblast, which deals initial fire damage followed by damage over time, Burning Winds, which stuns and damages its target, and Fire Nova, which damages nearby players. Interrupting Pyroblast and spreading out are key to this encounter.

Tank

  • Maintain threat and keep Galford away from the healer.
  • Keep an interrupt available for Pyroblast.

Healer

  • Stay outside Fire Nova range.
  • Dispel Magic Burning Winds where possible or heal the affected player through its damage.
  • Watch for the damage-over-time effect from Pyroblast.

DPS

  • Assign interrupts to stop Pyroblast.
  • Keep a backup interrupter ready in case the primary player is stunned.
  • Ranged DPS should stay away from Galford to avoid Fire Nova.

Balnazzar

The final encounter begins with Grand Crusader Dathrohan, who eventually transforms into Balnazzar and restores health. Balnazzar uses Mind Blast, Shadow Shock, Psychic Scream, Sleep and Mind Control, making crowd control and positioning especially important.

Tank

  • Maintain threat during Dathrohan's phase and keep a defensive available for his Holy damage.
  • Be ready for the transformation and regain threat on Balnazzar.
  • Re-establish control if Mind Control affects the tank.

Healer

  • Save mana for Balnazzar's transformation and second phase.
  • Stand away from Shadow Shock and remove Sleep where possible.
  • Be ready to heal another player if the tank is mind-controlled.

DPS

  • Save damage cooldowns for the second phase.
  • Use non-lethal crowd control on mind-controlled players rather than killing them.
  • Fight in a cleared area so Psychic Scream does not send players into nearby enemies.

Table of Contents

See More Dungeons

Alcaz Prison Dungeon Guide - Bosses, Loot & Quests
By PhaseShifter ∙Updated on Nov 20, 2026
Beginner
Mechanics
Beginner
Mechanics
The Deadmines Guide - Bosses, Loot & Quests
By PhaseShifter ∙Updated on Nov 20, 2026
Beginner
Mechanics
Beginner
Mechanics
Sunken Temple Dungeon Guide - Bosses, Loot & Quests
By PhaseShifter ∙Updated on Nov 20, 2026
Beginner
Mechanics
Beginner
Mechanics
Shadowfang Keep Guide - Bosses, Loot & Quests
By PhaseShifter ∙Updated on Nov 20, 2026
Beginner
Mechanics
Beginner
Mechanics