menu
MobalyticsUse your favourite features in-game with our Desktop App
WoW Forever Dungeon

Shadowfang Keep Dungeon Guide - Bosses, Loot & Quests

Beginner
Mechanics
Updated on Sep 27, 2026
Sep 27, 2026

Overview

Shadowfang Keep is an early dungeon in WoW Forever, hidden away in the forests of Silverpine Forest. Once home to the noble Baron Silverlaine, the keep has since become overrun by worgen, undead and other creatures, with the cursed halls now serving as the lair of Arugal and his followers.

This dungeon is designed for levels 18 - 25 and, whilst it can be completed towards the lower end of that range, having a party around level 20 - 22 makes the dungeon considerably more manageable. Perhaps the most notable loot drop from SFK, the @Blade of Silverlaine (discussed here) can be used to create the Cold Flame Saber.

Shadow Fang Keep Loot

Quest Loot

The Book Of Ur - Grizzled Boots, Steel-clasped Bracers, @Tattered Mittens

Deathstalkers in Shadowfang - Ghostly Mantle, @Tanned Shoulderpads, @Bronzed Shoulderguards

Arugal Must Die - Seal of Sylvanas

Boss Loot

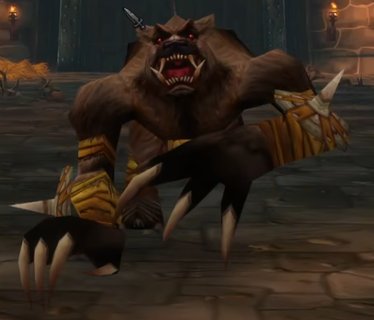
Rethligore - Rugged Spaulders, @Sorcerer Collar, @Cell Keeper's Claw

Fenrus The Devourer - Fenrus' Hide, Black Wolf Bracers, @Half-Eaten Boots

Fel Steed / Shadow Charger - Eerie Stable Lantern, @Fel Steed Saddlebags,

Wolf Master Nandos - Feline Mantle, Wolfmaster Cape

Razorclaw The Butcher - Butcher's Cleaver, Butcher's Slicer, Bloody Apron

Archmage Arugal - Robes of Arugal, Belt of Arugal, Meteor Shard

Baron Silverlaine - Silverlaine's Family Seal, Baron's Scepter, @Blade of Silverlaine

Commander Springvale - Commander's Crest, Arced War Axe, @Worgenbane Talisman

Odo The Blindwatcher - Odo's Ley Staff, Girdle of the Blindwatcher, @Blindwatcher's Sight

Deathsworn Captain - Phantom Armor, Haunting Blade

Notable Trash Mob Loot - Duskbringer, Night Reaver, Shadowfang, Witching Stave, Necrology Robes

Shadowfang Keep Quests

The Book Of Ur (Horde Only)

Quest Giver: Keeper Bel'dugur
Coordinates/Location: (59.2, 76.6) Undercity
Required Level: 16
Reward: Loot, XP & Silver

Deathstalkers in Shadowfang (Horde Only)

Quest Giver: High Executor Hadrec
Coordinates/Location: (43.4, 40.9) Silverpine Forest
Required Level: 18
Reward: Loot, XP & Silver

Arugal Must Die (Horde Only)

Quest Giver: Dalar Dawnweaver
Coordinates/Location: (44.2, 39.8) Silverpine Forest
Required Level: 18
Reward: Loot, XP & Silver

Rethilgore

Mechanics

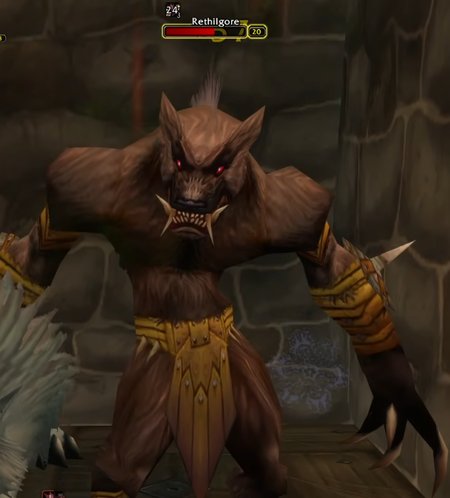
Rethilgore is the first boss you will come across in Shadowfang Keep and is a fairly straightforward encounter. He is found in the jail area at the start of the dungeon and does not have any particularly complicated mechanics that the group needs to worry about. His Soul Drain deals Shadow damage to the target, but the ability is not particularly threatening on its own.

Tanks should make sure they have established threat before the DPS start committing heavily to the boss, especially if there are still adds alive. There is no reason to rush the encounter, so take the time to set up a clean pull and keep the boss away from any remaining mobs.

  • Soul Drain: Deals Shadow damage to the target but is not particularly dangerous by itself.
  • Surrounding trash: Clear the nearby mobs before engaging Rethilgore to avoid an unnecessary multi-pull.
  • Threat: Give the tank a moment to establish threat before committing to heavy DPS.

Fel Steed / Shadow Charger

Mechanics

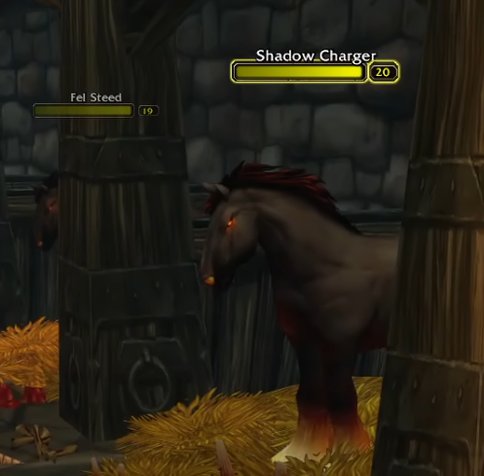
Pulling one will cause all three to engage. They deal a surprisingly high amount of physical damage for this point in the dungeon.

The safest way to deal with this encounter is to use crowd control and split the enemies up. Polymorph can be used on one of the horses. Once the first horse is dead the group can repeat the process until all three have been dealt with.

Tanks should be particularly careful here because the incoming damage can become very high if multiple horses are attacking them at once. Defensive cooldowns can be useful if you are forced to hold more than one horse, Ideally the group should use crowd control to prevent this from happening in the first place.

  • All three engage: Pulling one Fel Steed or Shadow Charger will cause all three horses to attack.
  • High damage: The horses hit extremely hard for this stage of progression, so the healer needs to be prepared for heavy incoming damage.
  • Crowd Control: Polymorph one horse and use a Hunter or Warlock pet to tank another where possible.

Razorclaw The Butcher

Mechanics

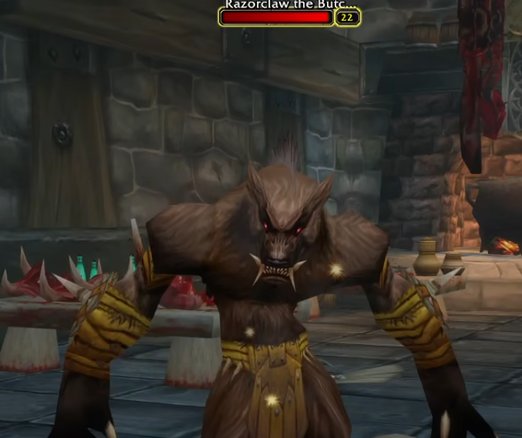
Razorclaw the Butcher is a straightforward fight. His Butcher Drain is his main ability but the encounter is otherwise a straightforward tank and spank. There is little benefit to rushing the pull when the surrounding trash can be cleared beforehand.

  • Butcher Drain: Razorclaw's main ability, although it does not require any complicated response.
  • Clear the room: Deal with the surrounding mobs and patrols before engaging the boss.
  • Threat: Allow the tank to establish threat before committing heavily to DPS.

Baron Silverlaine

Mechanics

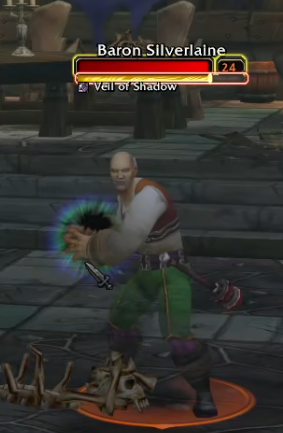
Baron Silverlaine biggest threat is his Veil of Shadow ability. This reduces healing received by the affected target by 75%. This can make keeping the tank alive considerably more difficult while the debuff is active.

This is a good encounter to make use of any additional healing available from hybrid classes if your group has them.

  • Veil of Shadow: Reduces healing received by 75%, making the tank significantly harder to heal.
  • Healer awareness: Be ready for the tank's health to become more difficult to recover while Veil of Shadow is active.

Commander Springvale

Mechanics

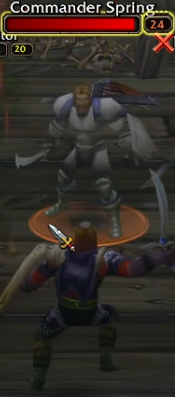
Commander Springvale is accompanied by a Haunted Servitor and a Wailing Guardsman.

The Haunted Servitor should generally be dealt with first, as removing one of the additional enemies makes the encounter considerably easier. The Wailing Guardsman is particularly annoying because of Screams of the Past, which silences players within 5 yards. This can be extremely problematic if the healer gets caught by the silence.

The Wailing Guardsman should therefore be kept away from the rest of the group where possible. A Hunter or Warlock pet can be useful for keeping it separated, although an off-tank can also handle it if your group has one available. Once the Servitor has been dealt with, the group can focus on Springvale while keeping the Guardsman away from the healer.

Springvale can also use Holy Light to heal himself, so interrupts should be used whenever possible. Warriors should be ready to use Shield Bash, while other classes should make use of their available interrupts or spell disruption abilities.

Here are some key considerations to be mindful of:

  • Haunted Servitor: Kill this add early to reduce the amount of incoming damage.
  • Wailing Guardsman: Keep it away from the healer because Screams of the Past silences players within 5 yards.
  • Positioning: Avoid allowing the Guardsman to stand next to the healer or other casters.

Odo The Blindwatcher

Mechanics

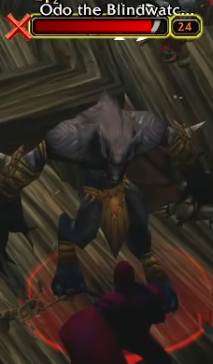
Odo the Blindwatcher is accompanied by two Vile Bats, which will join the fight when the boss is engaged. The bats can cause problems for the group if they are allowed to attack freely, so the tank should make sure they are properly controlled when the encounter begins. Taunt is your friend here.

The bats have abilities including Disarm and Cleave, so they should be positioned away from the rest of the group. The Disarm really tanks (no pun intended) threat generation so the tank should be very aware of this.

If your group has a Mage, one of the bats can be controlled with Polymorph, allowing the tank to focus on the remaining enemies.

Here are some key considerations to be mindful of:

  • Vile Bats: These join the fight with Odo and should generally be killed before focusing the boss.
  • Cleave: Keep the bats facing away from the rest of the group.
  • Disarm: Can temporarily reduce the tank's ability to generate threat.
  • Crowd Control: A Mage can remove one of the bats from the fight temporarily.

Fenrus The Devourer

Mechanics

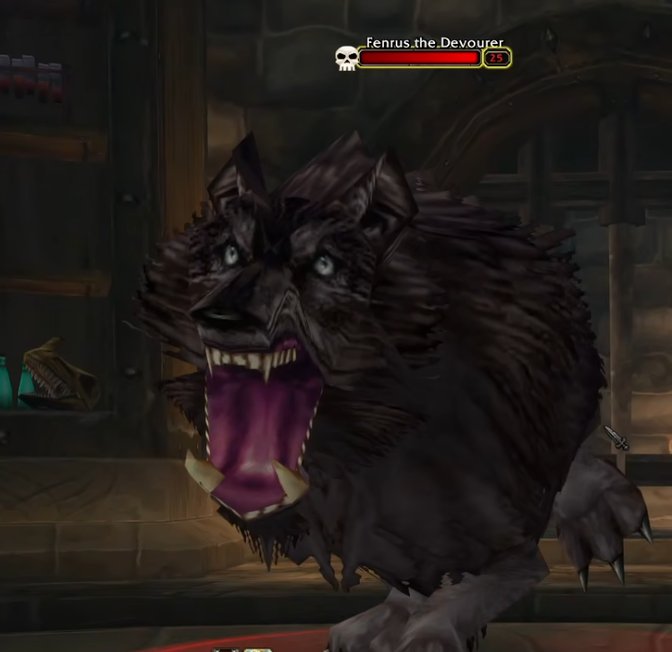
Fenrus the Devourer is a relatively straightforward encounter, with Toxic Saliva being the main ability that the group needs to be aware of. The fight itself is largely a tank and spank, although the healer should be prepared to deal with the additional damage caused by the ability.

  • Toxic Saliva: Fenrus' main damaging ability and the primary source of additional pressure on the healer.
  • Voidwalkers: These remain after Fenrus is killed, so be prepared for the follow-up pull.


Wolf Master Nandos

Wolf Master Nandos has several Worgs around him when you first reach him. These should be dealt with before committing to the boss.

Nandos will also summon additional Worgs during the encounter, meaning the group cannot simply focus entirely on the boss. Whenever new Worgs appear the DPS should immediately switch to them and get them under control before returning to Nandos.

The tank should be ready to pick up the summoned Worgs quickly. If they are allowed to run loose the party will come unstuck very quickly.

  • Initial Worgens: Clear the Worgs surrounding Nandos before engaging him.
  • Summoned Worgs: Nandos periodically summons additional Worgs which should be killed immediately.
  • Target priority: Always deal with the Worgs before returning DPS to Nandos.
  • Tank: Be ready to pick up the newly summoned Worgs before they reach the healer or DPS.

Archmage Arugal

Mechanics

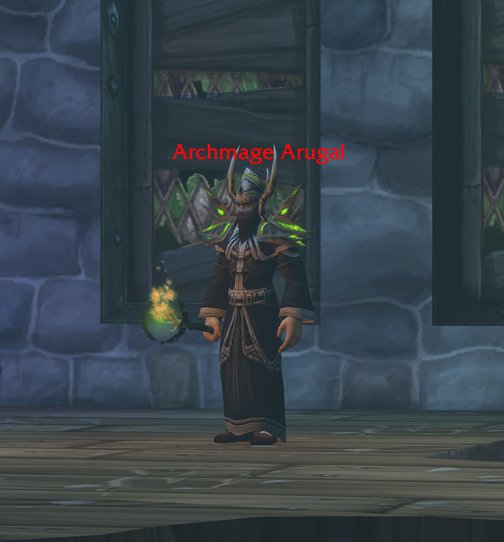
Archmage Arugal is the final boss of Shadowfang Keep and is by far the most dangerous encounter in the dungeon. His Void Bolt can deal a very large amount of Shadow damage, making this a fight where the healer needs to be prepared for sudden spikes in incoming damage.

Arugal also uses Shadow Port which allows him to teleport around the room. This can make the fight awkward for melee players, as chasing the boss around can cause players to move into poor positions or unnecessarily expose the healer to additional damage.

A good strategy in this fight is to use the wall corners by each staircase to break line of sight on the boss during his void bolt cast. This prevents damage being taken and really eases the pressure during this fight. Ensure that it is called it when a new player aggros the boss so they adjust their positioning accordingly.

The boss will periodically turn a player (usually the tank) into a worgen which will begin to attack party members. Simply keep away from the worgen until this phase is over.

Remember... LINE OF SIGHT WHEN POSSIBLE!
  • Void Bolt: Deals a large amount of Shadow damage and can cause sudden spikes in damage on the target.
  • Shadow Port: Arugal teleports around the room, making it difficult for melee players to stay on him.
  • Ranged positioning: Ranged DPS should establish a position where they can continue attacking Arugal without chasing him around the room.
  • Melee DPS: Avoid running around the room after Arugal and wait for him to return to melee range.

Table of Contents

See More Dungeons

The Stockade Dungeon Guide - Bosses, Loot & Quests
By Mobalytics ∙Updated on Sep 27, 2026
Mechanics
Mechanics
The Hall Of Thanes Dungeon Guide - Bosses, Loot & Quests
By PhaseShifter ∙Updated on Sep 27, 2026
Beginner
Mechanics
Beginner
Mechanics
The Deadmines Guide - Bosses, Loot & Quests
By PhaseShifter ∙Updated on Sep 27, 2026
Beginner
Mechanics
Beginner
Mechanics
Wailing Caverns - Bosses, Quests & Loot
By Ruse_Cruize ∙Updated on Sep 26, 2026
Mechanics
Mechanics