menu
MobalyticsUse your favourite features in-game with our Desktop App

WoW Forever Lower Blackrock Spire Dungeon Guide - Bosses, Loot & Quests

Beginner
Mechanics
By PhaseShifter
Updated on Nov 21, 2026
Nov 21, 2026

Lower Blackrock Spire (LBRS) Overview

Lower Blackrock Spire (LBRS) is a level 55–60 dungeon located inside Blackrock Mountain. It is a sprawling fortress occupied by the Dark Horde, ogres, trolls and spiders, with a long route through several connected areas before reaching Overlord Wyrmthalak.

LBRS is also important for the Seal of Ascension quest chain which gives the key needed to enter Upper Blackrock Spire.

Lower Blackrock Spire (LBRS) Quest Loot & Rewards

Put Her Down

Quest Giver: Helendis Riverhorn
Coordinates/Location: (85.5, 68.9) Morgan's Vigil, Burning Steppes
Required Level: 55
Reward: XP & Silver

Enter Lower Blackrock Spire and kill Halycon in her lair.

Maxwell's Mission

Quest Giver: Marshal Maxwell
Coordinates/Location: (84.6, 68.8) Morgan's Vigil, Burning Steppes
Required Level: 55
Reward: Wyrmthalak's Shackles Omokk's Girth RestrainerHalycon's Muzzle Vosh'gajin's Strand Voone's Vice Grips

After completing the required steps in Bijou's quest chain, Marshal Maxwell sends you to defeat Highlord Omokk, War Master Voone and Overlord Wyrmthalak.

Message to Maxwell

Quest Giver: Bijou
Coordinates/Location: Inside Lower Blackrock Spire
Required Level: 55
Reward: XP & Silver

After completing Bijou's Belongings, take her report to Marshal Maxwell at Morgan's Vigil.

Seal of Ascension

Quest Giver: Vaelan
Coordinates/Location: Inside Lower Blackrock Spire, near the entrance
Required Level: 55
Reward: Seal of Ascension

Collect the Unadorned Seal of Ascension and three gemstones from the dungeon's leaders:

  • Gemstone of Spirestone – Highlord Omokk
  • Gemstone of Smolderthorn – War Master Voone
  • Gemstone of Bloodaxe – Overlord Wyrmthalak

The quest continues outside the dungeon, where you must help forge the seal. The finished Seal of Ascension is required to open the door to Upper Blackrock Spire.

Urok Doomhowl

Quest Giver: Warosh
Coordinates/Location: Inside Lower Blackrock Spire, near the ogre area
Required Level: 55
Reward: XP & Silver

Kill Highlord Omokk and collect Omokk's Head. Take it to the Roughshod Pike at Urok's Tribute Pile to summon Urok Doomhowl.

Defeat Urok and collect Warosh's Mojo to complete the encounter.

Kibler's Exotic Pets

Quest Giver: Kibler
Coordinates/Location: (65.8, 22.0) Flame Crest, Burning Steppes
Required Level: 55
Reward: Worg Carrier

Use the Empty Worg Pup Cage on a Bloodaxe Worg Pup inside Lower Blackrock Spire. Return the captured pup to Kibler.

En-Ay-Es-Tee-Why

Quest Giver: Kibler
Coordinates/Location: (65.8, 22.0) Flame Crest, Burning Steppes
Required Level: 55
Reward: Smolderweb Carrier

Collect 15 Spire Spider Eggs from the Skitterweb Tunnels and return them to Kibler.

The Final Tablets

Quest Giver: Prospector Ironboot
Coordinates/Location: (66.8, 24.0) Gadgetzan, Tanaris
Required Level: 40
Reward: XP & Silver

This quest follows The Lost Tablets of Mosh'aru. Find the Fifth Tablet in the Skitterweb Tunnels and the Sixth Tablet in Tazz'Alaor.

Lower Blackrock Spire Boss Loot

Boss

Loot

Highlord Omokk

• Boots of Elements
• Fist of Omokk
• Plate of the Shaman King
• Skyshroud Leggings
• Slamshot Shoulders
• Tressermane Leggings
• Gemstone of Spirestone (Quest Item)
• Omokk's Head (Quest Item)

Shadow Hunter Vosh'gajin

• Blackcrow
• Demonic Runed Spaulders
• @Doomshot
• Funeral Cuffs
• Riphook
• Shadowcraft Gloves
• Trueaim Gauntlets

War Master Voone

• Beaststalker's Gloves
• Brazecore Armguards
• Flightblade Throwing Axe
• Kayser's Boots of Precision
• Keris of Zul'Serak
• Talisman of Evasion
• @Voone's Twitchbow
• Gemstone of Smolderthorn (Quest Item)

Mother Smolderweb

• Gilded Gauntlets
• Smolderweb's Eye
• Venomspitter
• Wildheart Boots

Urok Doomhowl (Optional)

• Marksman's Girdle
• Ribsteel Footguards
• Rosewine Circle
• Slaghide Gauntlets
• Top Half of Advanced Armorsmithing: Volume III

Quartermaster Zigris

• Cloudrunner Girdle
• Hands of Power
• Plans: Annihilator

Halycon

• Halycon's Spiked Collar
• Ironweave Bracers
• Pads of the Dread Wolf
• Slashclaw Bracers

Highlord Omokk

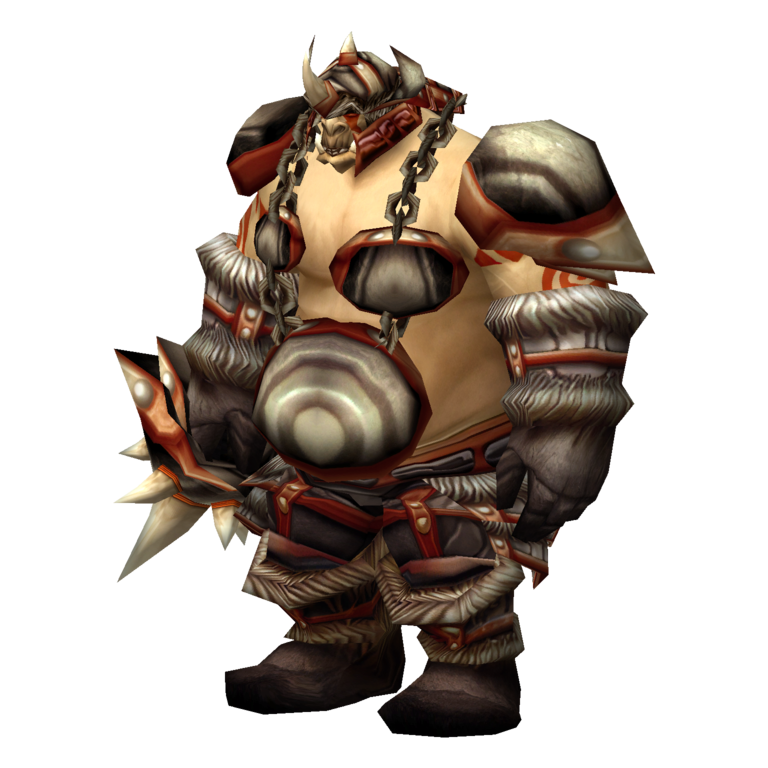
Highlord Omokk is the leader of the Spirestone ogres and the first major boss in LBRS. He uses Knock Away to send his target backwards and can Enrage at low health, increasing his attack speed and physical damage.

Tank

  • Position Omokk with your back to a wall to avoid being knocked into nearby enemies.
  • Use defensive cooldowns when he enrages.

Healer

  • Keep the tank healthy, especially once Omokk enrages.
  • Be ready for a sudden increase in incoming damage.

DPS

  • Stay behind Omokk and avoid pulling nearby ogres.
  • Use damage cooldowns during his Enrage if the tank is stable.

Important: Clear the surrounding ogres before engaging. A knockback into another pack can quickly turn this fight into a wipe.

Shadow Hunter Vosh'gajin

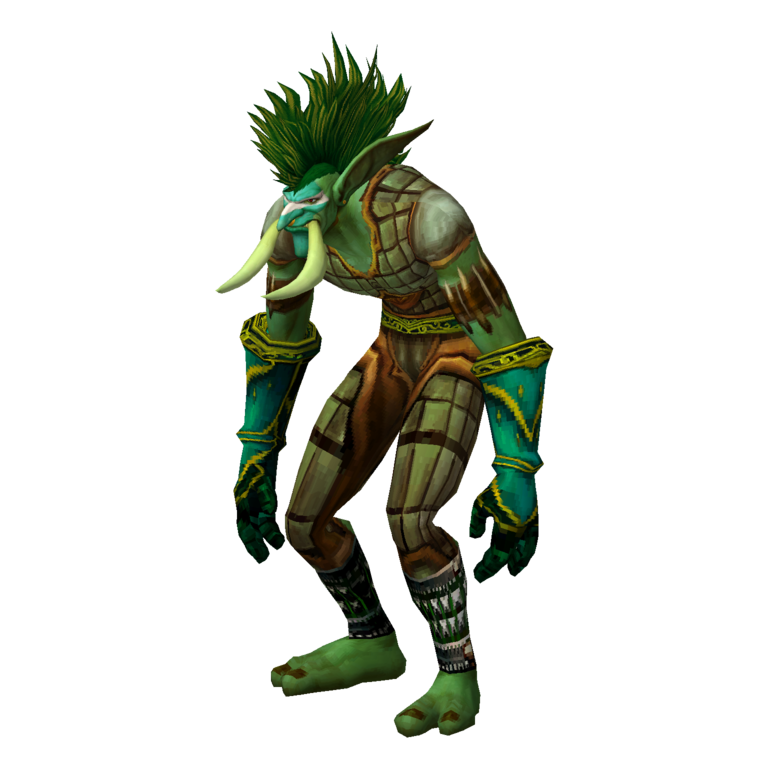
Vosh'gajin is a troll shadow hunter who uses Hex to turn players into frogs and Curse of Blood to increase the physical damage they take. Both abilities can make the fight much more dangerous if left unchecked.

Tank

  • Keep Vosh'gajin facing away from the group.
  • Maintain threat while watching for Hex.

Healer

  • Remove Curse of Blood from the tank as soon as possible.
  • Be ready to heal anyone affected by Hex once they can act again.

DPS

  • Spread out where possible to reduce the number of players caught by Hex.
  • Interrupt or control nearby troll casters before focusing on Vosh'gajin.

Important: Bring a way to remove curses. Curse of Blood increases physical damage taken and can put serious pressure on the tank.

War Master Voone

War Master Voone is a hard-hitting troll warrior who uses Mortal Strike, Cleave and Uppercut against his targets. He can also use Throw Axe against players at range, while Snap Kick and Pummel disrupt nearby enemies.

Tank

  • Keep Voone facing away from the group to avoid Cleave.
  • Be ready for Uppercut to knock you backwards.
  • Use a defensive cooldown when Mortal Strike reduces incoming healing.

Healer

  • Watch the tank closely after Mortal Strike.
  • Stay at range to avoid Snap Kick and Pummel.

DPS

  • Attack from behind and avoid standing near the tank.
  • Ranged players should be ready for Throw Axe.

Important: Mortal Strike reduces healing received, so keep the tank topped up before it lands rather than waiting until their health drops.

Mother Smolderweb

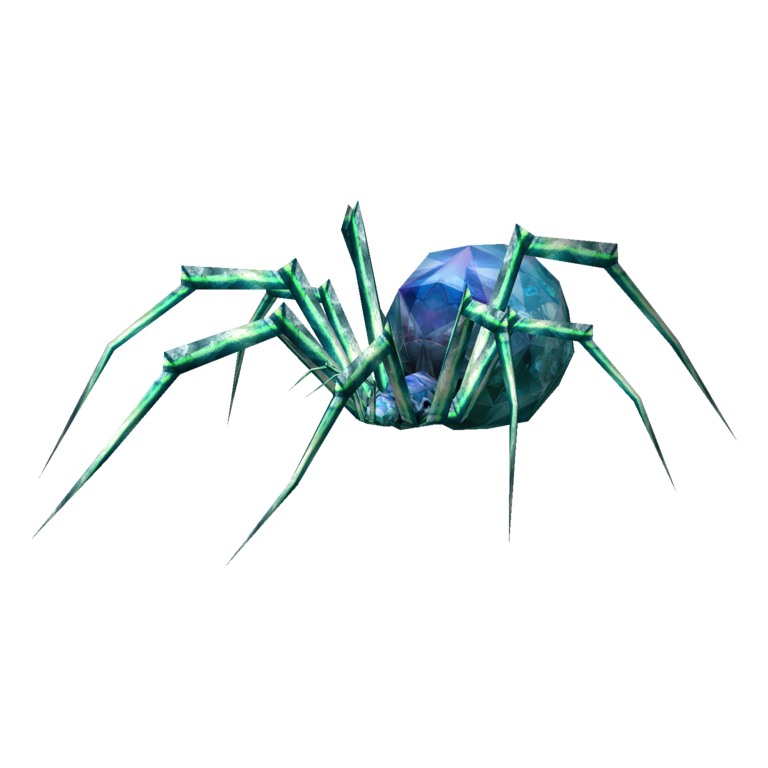
Mother Smolderweb is a giant spider found deep in the Skitterweb Tunnels. She uses webs and poison to disrupt the group, and can place Mother's Milk on a player, causing poison damage over time. Her nearby spider packs can make the approach just as dangerous as the boss herself.

Tank

  • Keep Smolderweb facing away from the group.
  • Hold her position so the party can avoid nearby spider packs.

Healer

  • Be ready to remove poison effects where possible.
  • Keep an eye on anyone affected by Mother's Milk.

DPS

  • Clear nearby spiders before starting the fight.
  • Focus on Smolderweb and avoid pulling additional spider packs.

Important: Bring poison removal if available. Mother's Milk can deal significant damage if it is not dealt with quickly.

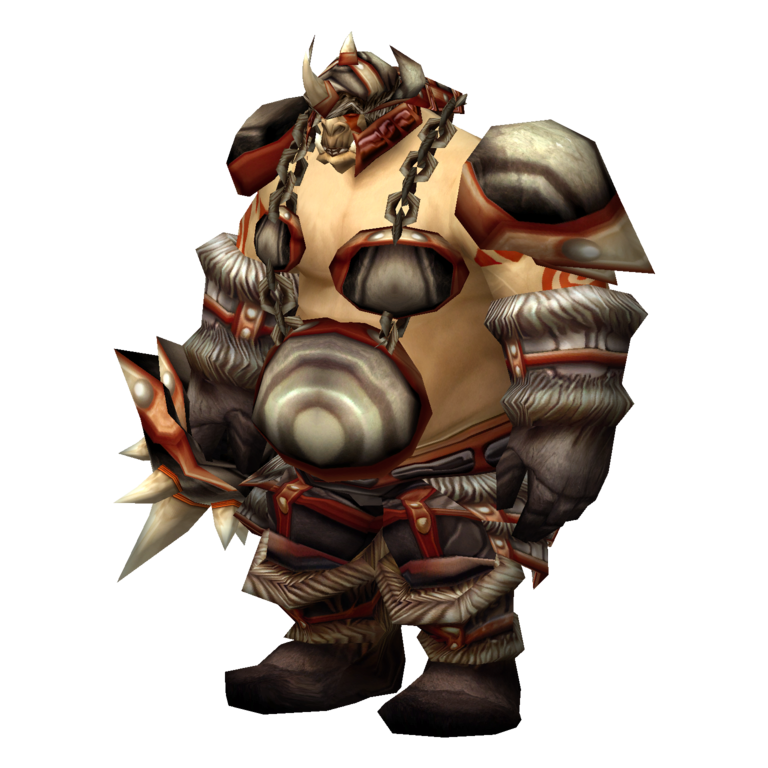
Urok Doomhowl

Urok Doomhowl is an optional, quest-summoned ogre boss. To summon him, place Omokk's Head on the Roughshod Pike at Urok's Tribute Pile. Ogres attack in waves before Urok himself appears, so the group must deal with several enemies before the boss can be engaged.

Tank

  • Pick up each wave of ogres quickly and keep them away from the healer.
  • Save defensive cooldowns for Urok and the later waves.

Healer

  • Watch the tank as the waves build up.
  • Conserve mana where possible, but be ready for the final encounter.

DPS

  • Focus down the ogres one at a time.
  • Interrupt or control dangerous enemies where possible.
  • Switch to Urok once he appears.

Important: Make sure the group is ready before activating the tribute. The waves can overwhelm an unprepared party.

Quartermaster Zigris

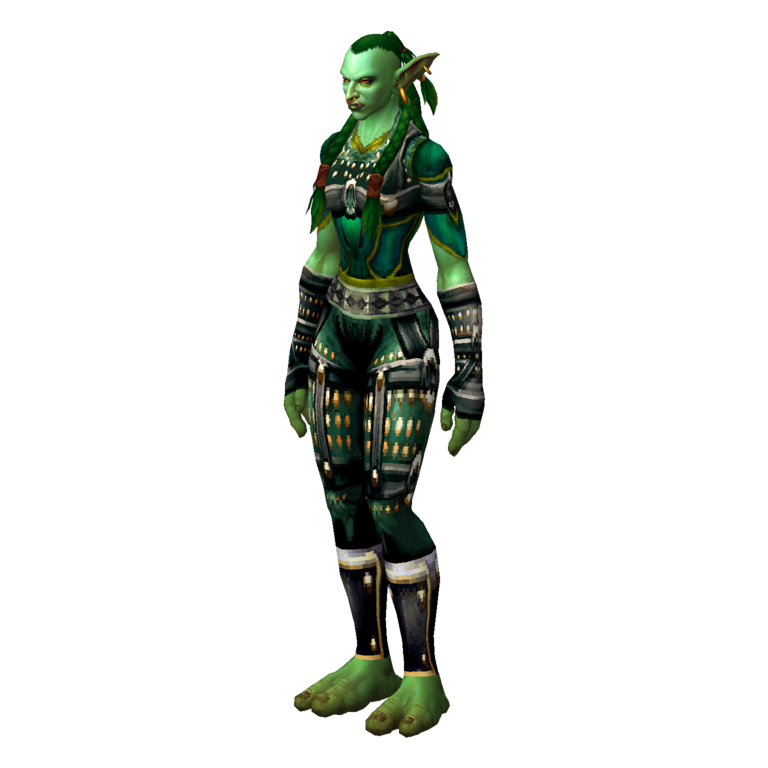
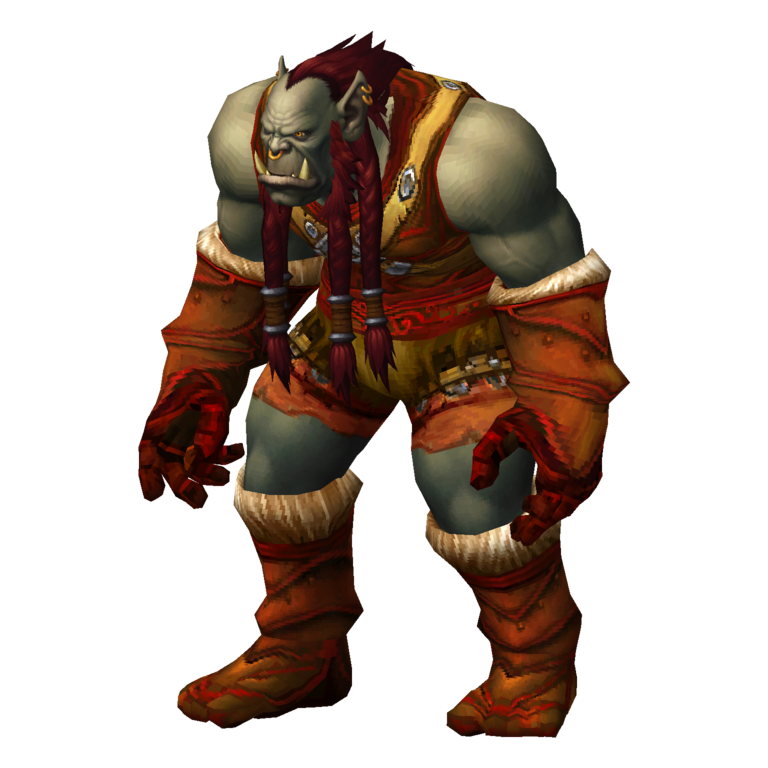
Quartermaster Zigris is a Dark Horde orc found in the storeroom. He uses ranged attacks and can call for help, making it important to control the surrounding enemies before engaging him.

Tank

  • Pull Zigris away from nearby enemies.
  • Keep him facing away from the group.

Healer

  • Stay at range and watch for additional enemies joining the fight.
  • Keep the tank healthy through the encounter.

DPS

  • Clear nearby guards before attacking Zigris.
  • Interrupt his spellcasting where possible.

Important: Clear the storeroom carefully. Pulling Zigris together with nearby guards can make the encounter much harder.

Halycon

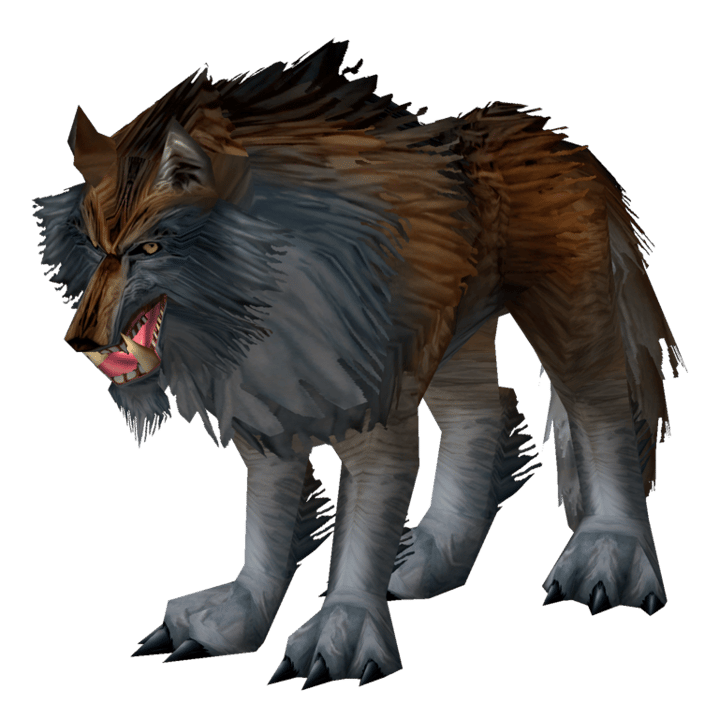
Halycon is a powerful worg matriarch found in the worg den. She is a relatively straightforward encounter, but killing her immediately triggers the arrival of Gizrul the Slavener. The group should be ready for the second fight before finishing her.

TANK

  • Keep Halycon facing away from the group.
  • Hold her in a position that gives the party room to deal with Gizrul afterwards.

HEALER

  • Keep the tank healthy and conserve enough mana for the next fight.
  • Be ready for Gizrul to charge in as soon as Halycon dies.

DPS

  • Focus on Halycon and avoid unnecessary damage to nearby worgs.
  • Stop briefly if the group needs time to recover before the next encounter.

Important: Do not rush the final damage on Halycon if the group is low on health or mana. Gizrul arrives immediately after she dies.

Gizrul the Slavener

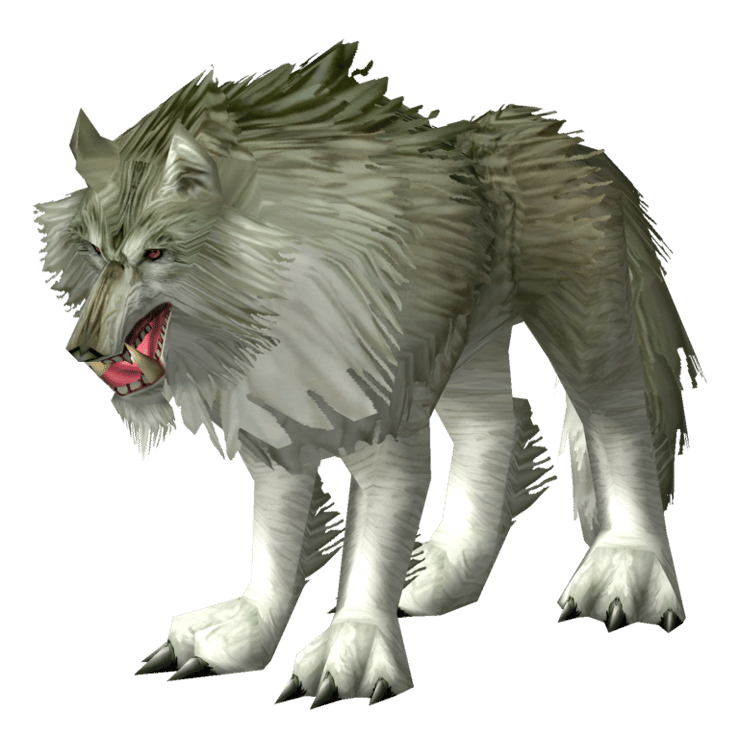
Gizrul is a large and aggressive worg that enters the den after Halycon is killed. He hits hard and can quickly overwhelm a tank who is already low from the previous encounter.

Tank

  • Pick up Gizrul as soon as he enters the room.
  • Keep him facing away from the group and use defensive cooldowns when needed.

Healer

  • Be ready to heal the tank immediately after Halycon dies.
  • Avoid entering the second fight with low mana.

DPS

  • Switch to Gizrul as soon as he arrives.
  • Stay behind him and avoid pulling nearby enemies.

Important: Treat Halycon and Gizrul as one continuous encounter. Recover before killing Halycon so the group is ready for Gizrul's arrival.

Overlord Wyrmthalak

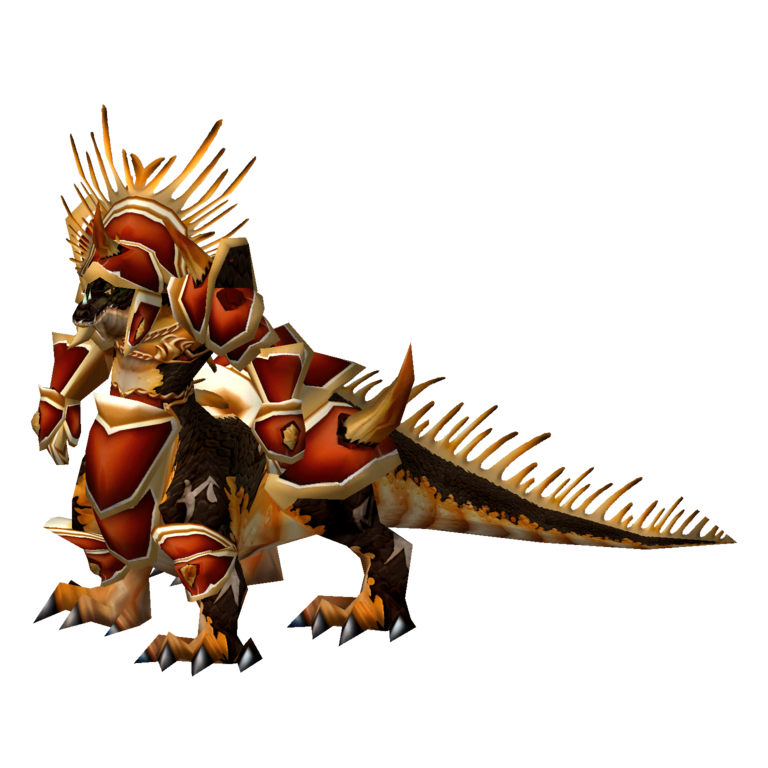
Overlord Wyrmthalak is the final main boss of Lower Blackrock Spire. He uses powerful melee attacks and summons additional enemies during the encounter, forcing the group to manage both the boss and his reinforcements.

TANK

  • Keep Wyrmthalak facing away from the group.
  • Maintain control of the boss while watching for summoned enemies.
  • Use defensive cooldowns during periods of heavy damage.

HEALER

  • Keep the tank healthy and watch for damage from the additional enemies.
  • Be ready to heal party members who are targeted by the adds.

DPS

  • Switch to the summoned enemies when they appear if they threaten the healer.
  • Return to Wyrmthalak once the adds are under control.
  • Avoid standing in front of the boss.

Important: Do not ignore the additional enemies. Keep them under control so they do not overwhelm the healer while the tank is dealing with Wyrmthalak.

Table of Contents

See More Dungeons

Alcaz Prison Dungeon Guide - Bosses, Loot & Quests
By PhaseShifter ∙Updated on Nov 21, 2026
Beginner
Mechanics
Beginner
Mechanics
Gnomeregan Guide - Bosses, Loot & Quests
By PhaseShifter ∙Updated on Nov 21, 2026
Beginner
Mechanics
Beginner
Mechanics
The Deadmines Guide - Bosses, Loot & Quests
By PhaseShifter ∙Updated on Nov 20, 2026
Beginner
Mechanics
Beginner
Mechanics
Sunken Temple Dungeon Guide - Bosses, Loot & Quests
By PhaseShifter ∙Updated on Nov 20, 2026
Beginner
Mechanics
Beginner
Mechanics