menu
MobalyticsUse your favourite features in-game with our Desktop App

WoW Forever Dire Maul West Dungeon Guide - Bosses, Loot & Quests

Beginner
Mechanics
By PhaseShifter
Updated on Nov 21, 2026
Nov 21, 2026

Dire Maul West Overview

Dire Maul West, also known as the Capital Gardens, is one of three wings of Dire Maul, located in Feralas. The ancient Highborne city is filled with restless spirits, arcane elementals and corrupted guardians. Deep within the wing, the Shen'dralar have imprisoned the demon Immol'thar, using five mana pylons to keep him contained.

Dire Maul West is designed for levels 56–60.

Dire Maul West Quest Loot & Rewards

The Madness Within

Quest Giver: Shen'dralar Ancient
Coordinates/Location: Second floor, Court of the Highborne, Dire Maul West
Required Level: 56
Reward: XP & Silver

Speak to the Shen'dralar Ancient in the Court of the Highborne to begin this quest. You must deactivate all five mana pylons surrounding Immol'thar's prison, then defeat Immol'thar and Prince Tortheldrin.

Once both bosses have been defeated, return to the Shen'dralar Ancient to complete the quest.

The Treasure of the Shen'dralar

Quest Giver: Shen'dralar Ancient
Coordinates/Location: Court of the Highborne, Dire Maul West
Required Level: 56
Reward: Bonecrusher, Backwood Helm, Sedge Boots

This quest becomes available after completing The Madness Within. Return to the Shen'dralar Ancient and accept the follow-up quest to retrieve the Treasure of the Shen'dralar.

Travel to the Athenaeum and locate the treasure beneath the ramp. Claim your reward to complete the quest.

A Broken Trap

Quest Giver: Broken Trap
Coordinates/Location: Dire Maul West, Capital Gardens
Required Level: 56
Reward: XP & Silver

Find the Broken Trap inside Dire Maul West and speak to it to begin the quest. You must collect a Thorium Widget and Frost Oil from the appropriate enemies and bring both items back to the trap.

Once you have collected the required materials, return to the Broken Trap to complete the quest.

Dire Maul West Boss Loot

Boss

Loot

Tendris Warpwood

• Tanglemoss Leggings
• Warpwood Binding
• Petrified Bark Shield
• Stoneflower Staff

Illyanna Ravenoak

• Force Imbued Gauntlets
• Padre's Trousers
• Gauntlets of Accuracy
• Well Balanced Axe

Magister Kalendris

• Elder Magus Pendant
• Flamescarred Shoulders
• Mindtap Talisman
• Amplifying Cloak
• Magically Sealed Bracers
• Pattern: Big Bag of Enchantment

Immol'thar

• Bile-etched Spaulders
• Blade of the New Moon
• Cloak of the Cosmos
• Demon Howl Wristguards
• Evil Eye Pendant
• Eyestalk Cord
• Odious Greaves
• Quickdraw Gloves
• Robe of Everlasting Night
• Vigilance Charm

Prince Tortheldrin

• Bracers of the Eclipse
• Chestplate of Tranquility
• Distracting Dagger
• Eldritch Reinforced Legplates
• Emerald Flame Ring
• Fluctuating Cloak
• Mind Carver
• Silvermoon Leggings
• Stoneshatter
• Timeworn Mace

Tendris Warpwood

Tendris Warpwood is a corrupted ancient found in the Court of the Highborne. He uses Trample to damage nearby players and Grasping Vines to knock down and root anyone close to him. He can also use Entangle to root a player at range and deal Nature damage over time, while Uppercut knocks his target backwards. Tendris can call nearby ancients to his aid, so the surrounding courtyard must be cleared before engaging him.

Tank

  • Clear the surrounding ancients before pulling Tendris, as they can join the fight when he is engaged.
  • Position yourself with your back towards a wall to avoid being knocked into nearby enemies by Uppercut.
  • Maintain threat while dealing with the knockback and roots.

Healer

  • Keep the tank healthy through Tendris's melee attacks and Trample.
  • Watch players affected by Entangle, as the Nature damage continues while they are rooted.
  • Be ready to heal melee players who are caught by Grasping Vines.

DPS

  • Ranged players should stay outside the reach of Trample and Grasping Vines.
  • Melee players should be ready for the knockdown from Grasping Vines.
  • Wait for the tank to establish threat before using damage cooldowns.

Important: Clear the courtyard ancients before starting the fight. Tendris can bring them into the encounter, turning a straightforward boss into a dangerous multi-enemy pull.

Illyanna Ravenoak

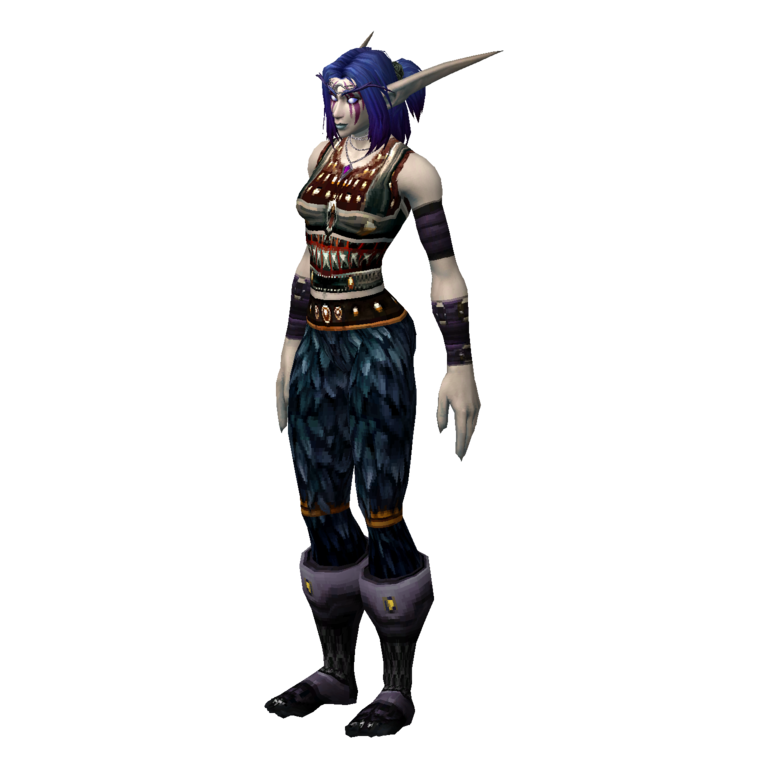
Illyanna Ravenoak is a Highborne hunter who fights alongside her bear, Ferra. She uses Volley to deal Arcane damage across an area, Multi-Shot to hit several players and Immolation Trap to burn anyone who triggers it. Her Concussive Shot slows its target, making it harder to move out of dangerous areas. Staying close to Illyanna prevents her from using some of her ranged attacks, but the group still needs to deal with Ferra.

Tank

  • Keep Illyanna focused on you and make sure Ferra does not attack the healer.
  • If nobody can crowd control Ferra, pick up the bear and keep it under control.
  • Be ready to reposition if Illyanna places an Immolation Trap.

Healer

  • Watch for players slowed by Concussive Shot, particularly if they are caught in Volley.
  • Heal through the damage from Multi-Shot and Immolation Trap.
  • Keep an eye on the tank if they are holding both Illyanna and Ferra.

DPS

  • Melee players should stay close to Illyanna to limit her ranged attacks.
  • Move out of Volley rather than standing in the Arcane damage.
  • Watch for Immolation Trap and avoid standing in its flames.
  • Follow the group's target order and deal with Ferra once Illyanna is down.

Important: Volley is the main positioning danger. Ranged players should spread out and move away from its affected area as soon as it appears.

Magister Kalendris

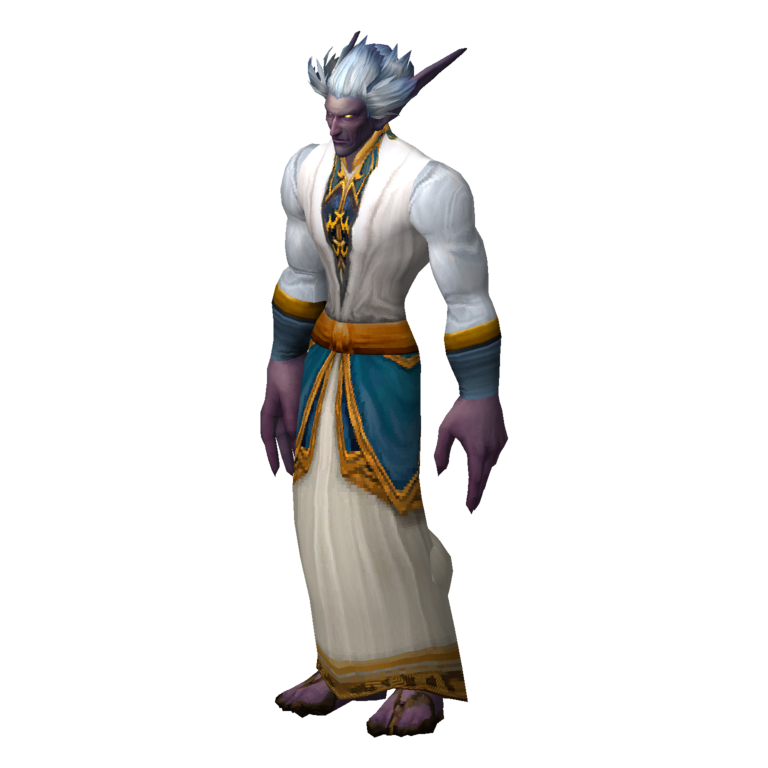
Magister Kalendris is a Highborne Shadow Priest who uses Mind Blast and Mind Flay to deal Shadow damage. He also applies Shadow Word: Pain, which causes damage over time, and uses Dominate Mind to control a player. When his health drops, he enters Shadowform, increasing his Shadow damage while reducing the melee damage he takes.

Tank

  • Keep Kalendris facing away from the group where possible and maintain threat throughout the encounter.
  • Be ready for increased Shadow damage once he enters Shadowform.
  • Watch for Dominate Mind, as a controlled player can temporarily turn against the group.

Healer

  • Dispel Magic Shadow Word: Pain when possible to prevent its damage from ticking.
  • Keep the tank healthy through Mind Blast and Mind Flay.
  • Be prepared for increased damage during Shadowform and save mana for this part of the fight.

DPS

  • Interrupt Mind Blast and Mind Flay whenever possible.
  • Use major melee damage cooldowns before Kalendris enters Shadowform, as he takes reduced melee damage while transformed.
  • Be ready to stop attacking a player affected by Dominate Mind until the effect ends.

Important: Kalendris becomes harder for melee players to damage in Shadowform. Use melee burst early and interrupt his Shadow spells to reduce pressure on the healer.

Tsu'zee (Rare)

Tsu'zee is a rare undead Rogue who can appear near Magister Kalendris. She uses Backstab to deal heavy damage from behind, Sinister Strike to attack her target and Gouge to stun the player facing her. She can also use Blind to disorient a party member, temporarily taking them out of the fight.

Tank

  • Keep Tsu'zee facing you so she cannot use Backstab against other players.
  • Be ready to regain threat after Gouge stuns you.
  • Watch your health while you are unable to act.

Healer

  • Keep the tank healthy while Gouge prevents them from maintaining threat.
  • Watch for Blind on party members and be ready to heal anyone who is left exposed.
  • Be prepared for sudden damage if Tsu'zee gets behind the tank.

DPS

  • Let the tank establish threat before attacking.
  • Avoid pulling aggro while the tank is stunned by Gouge.
  • Dispel Blind when possible and continue attacking once the affected player is safe.

Important: Tsu'zee is a rare spawn, so she will not appear on every run. Keep her facing the tank and avoid pulling threat during Gouge, as she can quickly turn on a vulnerable party member.

Immol'thar

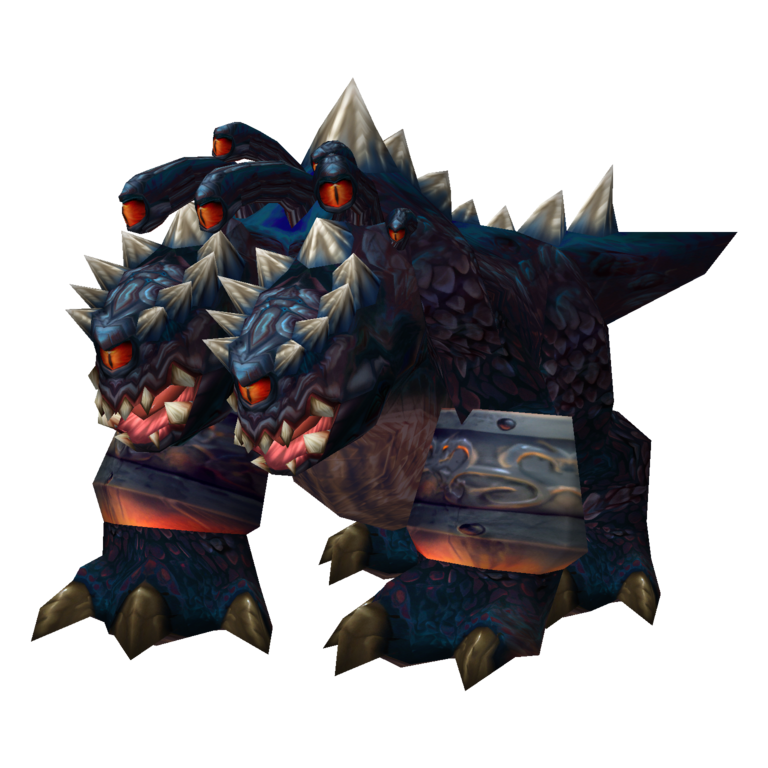
Immol'thar is a powerful demon imprisoned behind the five mana pylons. Once the pylons are deactivated, the group can enter his prison and begin the encounter. He summons Eyes of Immol'thar around the room, which channel effects onto players, and can teleport party members across the area. He also uses Infected Bite, which deals Nature damage and increases the physical damage its target takes. At around half health, Immol'thar enrages, increasing his attack speed and physical damage.

Tank

  • Maintain threat and be ready to move back onto Immol'thar if you are teleported away.
  • Watch for Infected Bite, as it increases the physical damage you take.
  • Save defensive cooldowns for his Enrage at around 50% health.

Healer

  • Watch the tank closely after Infected Bite, as the increased physical damage makes incoming attacks more dangerous.
  • Be ready for heavy tank damage once Immol'thar enrages.
  • Keep the group healthy if the summoned Eyes are allowed to channel their effects.

DPS

  • Assign a ranged player to destroy the Eyes of Immol'thar as they appear.
  • Stop attacking if the tank is teleported away, giving them time to return and regain threat.
  • Use damage cooldowns before the Enrage if possible, then be ready for the increased damage during the final part of the fight.

Important: The Eyes must be dealt with quickly, and everyone should stop attacking if the tank is teleported away. Allow the tank to regain threat before resuming damage.

Prince Tortheldrin

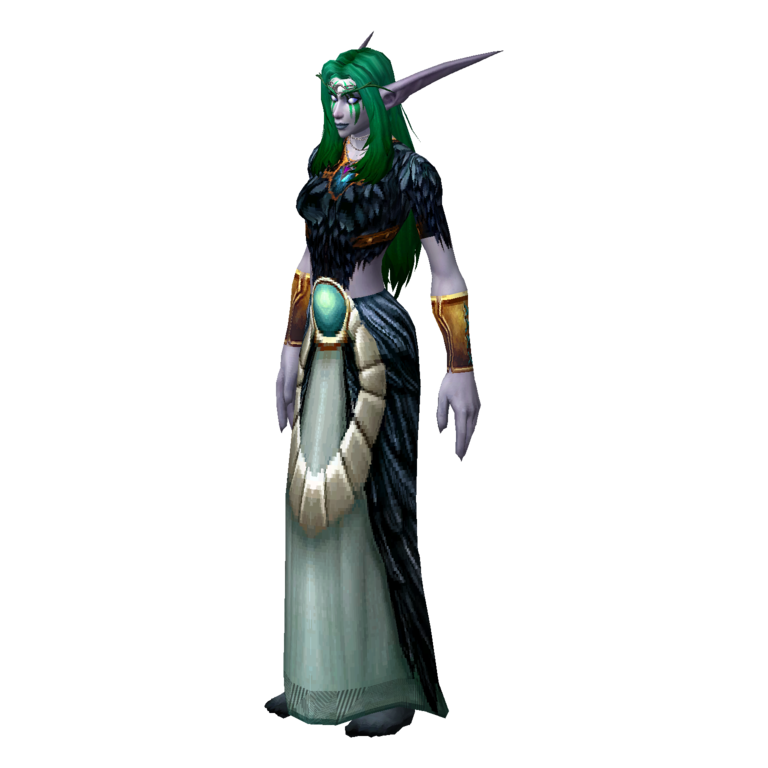
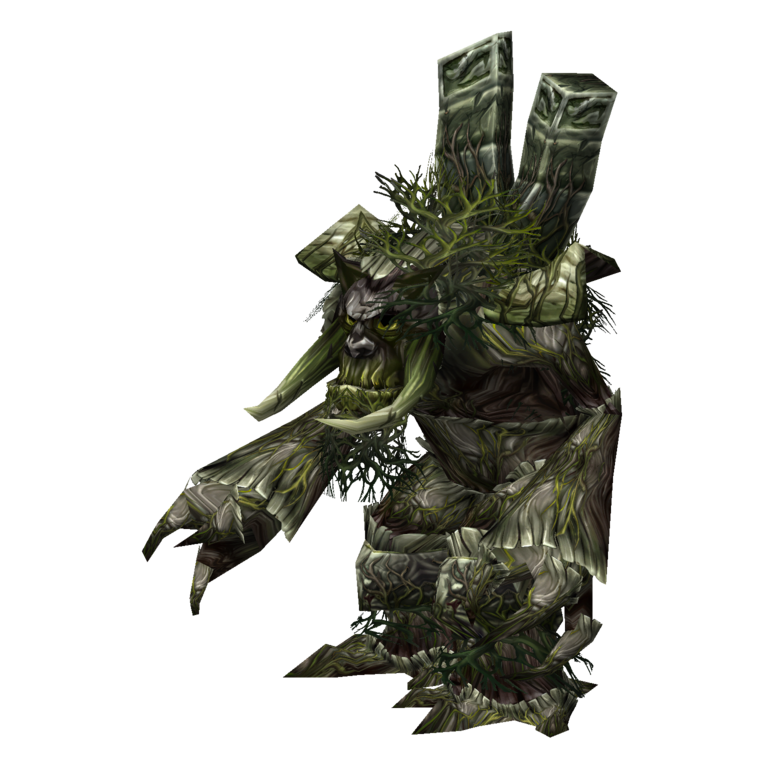
Prince Tortheldrin is the final boss of Dire Maul West and rules the Shen'dralar from the Athenaeum. He uses Arcane Blast to deal heavy Arcane damage and knock back his target, causing him to lose threat. He also uses Whirlwind to damage nearby players and Thrash to gain additional attacks. His Counterspell can interrupt casters and lock them out of a school of magic.

Tank

  • Position Tortheldrin with your back against a wall or in a corner to prevent Arcane Blast from knocking you too far away.
  • Be ready to Taunt and regain threat immediately after Arcane Blast.
  • Watch for Whirlwind and Thrash, which can increase the damage taken by nearby players and the tank.

Healer

  • Have a strong heal ready for the tank after Arcane Blast.
  • Keep the tank healthy through Thrash and the additional attacks it provides.
  • Be aware of Counterspell, as it can prevent you from casting spells from the interrupted school.

DPS

  • Stop attacking immediately after Arcane Blast until the tank has regained threat.
  • Melee players should watch for Whirlwind and avoid unnecessary damage.
  • Casters should be prepared for Counterspell and avoid relying on a single school of magic.

Important: Arcane Blast knocks back the tank and resets his threat. Stop DPS until the tank has regained control, or Tortheldrin can quickly turn on the rest of the group.

Lord Hel'nurath (Warlock Quest)

Lord Hel'nurath is an optional demon boss summoned as part of the Warlock epic mount questline. He does not appear during a normal run and requires the Warlock to bring the necessary ritual items to Immol'thar's prison after the demon has been defeated. The summoning ritual brings waves of demons into the room before Lord Hel'nurath appears. During the encounter, he uses Cripple to weaken and slow players and Shadow Bolt Volley to deal Shadow damage across the group.

Tank

  • Keep Lord Hel'nurath focused on you once he appears and maintain threat through the incoming damage.
  • Be ready for Cripple to reduce your movement and attack speed.
  • Keep the demon positioned away from the healer where possible.

Healer

  • Watch the group for damage from Shadow Bolt Volley.
  • Be ready to heal players affected by Cripple, particularly if it leaves them vulnerable to additional attacks.
  • Conserve mana during the summoning waves so you have enough available for the boss.

DPS

  • Focus the demon waves during the summoning ritual and avoid letting them overwhelm the group.
  • Once Lord Hel'nurath appears, interrupt Shadow Bolt Volley whenever possible.
  • Keep damage focused on the boss and watch for Cripple affecting your ability to reposition.

Important: Lord Hel'nurath is not a standard boss encounter. A Warlock must start the summoning ritual using the items from the Dreadsteed questline, and the group needs to survive the demon waves before the boss appears.

Table of Contents

See More Dungeons

Alcaz Prison Dungeon Guide - Bosses, Loot & Quests
By PhaseShifter ∙Updated on Nov 21, 2026
Beginner
Mechanics
Beginner
Mechanics
Gnomeregan Guide - Bosses, Loot & Quests
By PhaseShifter ∙Updated on Nov 21, 2026
Beginner
Mechanics
Beginner
Mechanics
The Deadmines Guide - Bosses, Loot & Quests
By PhaseShifter ∙Updated on Nov 20, 2026
Beginner
Mechanics
Beginner
Mechanics
Sunken Temple Dungeon Guide - Bosses, Loot & Quests
By PhaseShifter ∙Updated on Nov 20, 2026
Beginner
Mechanics
Beginner
Mechanics