menu
MobalyticsUse your favourite features in-game with our Desktop App

WoW Forever Dire Maul North Dungeon Guide - Bosses, Loot & Quests

Beginner
Mechanics
By PhaseShifter
Updated on Nov 21, 2026
Nov 21, 2026

Dire Maul North Overview

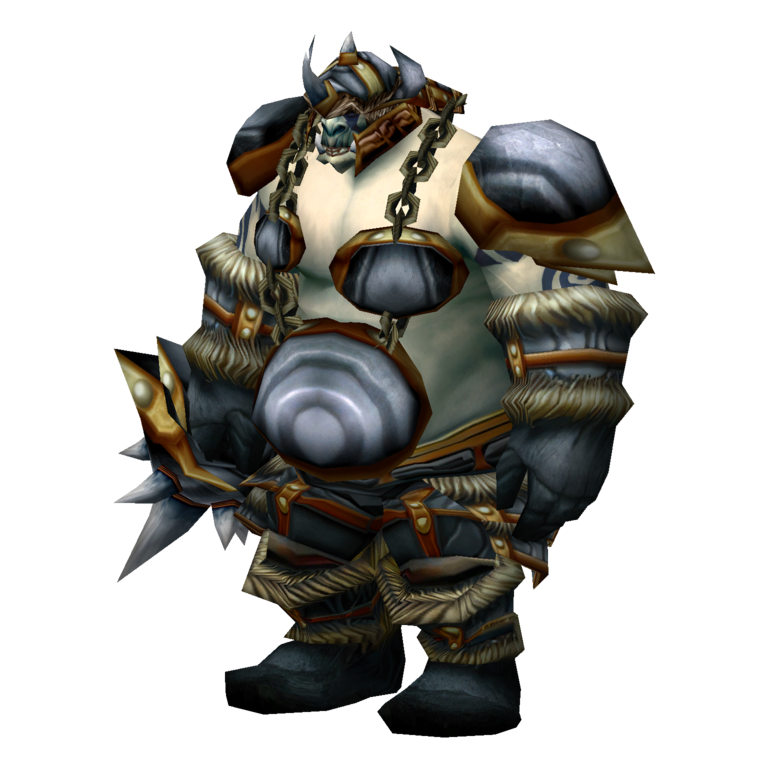
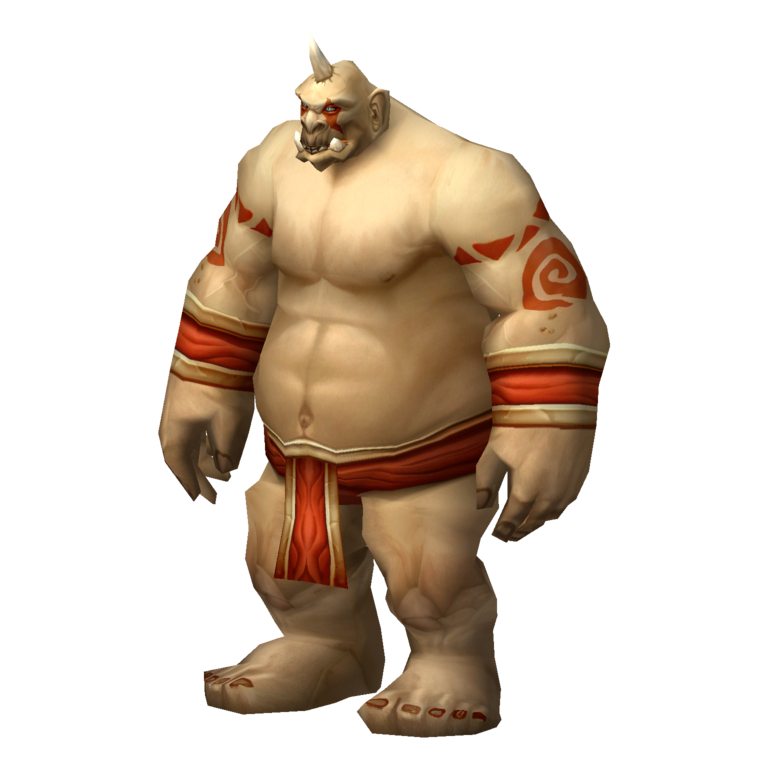
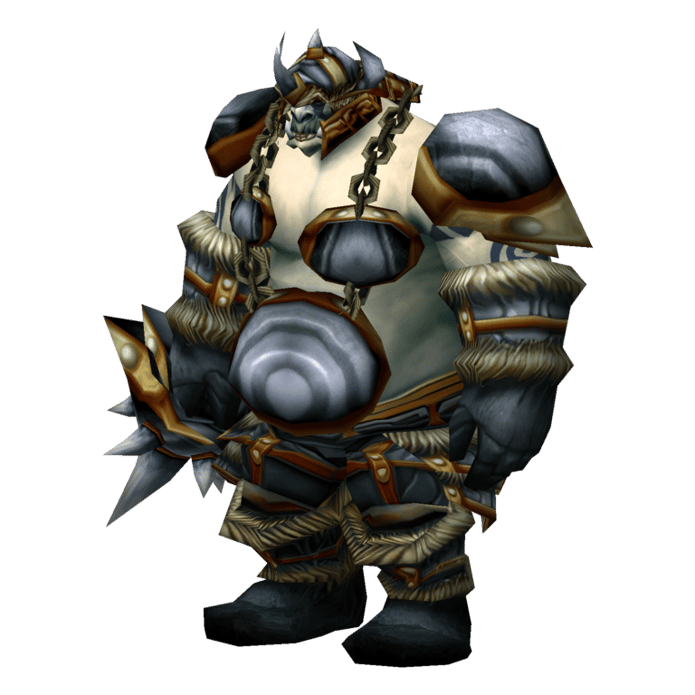
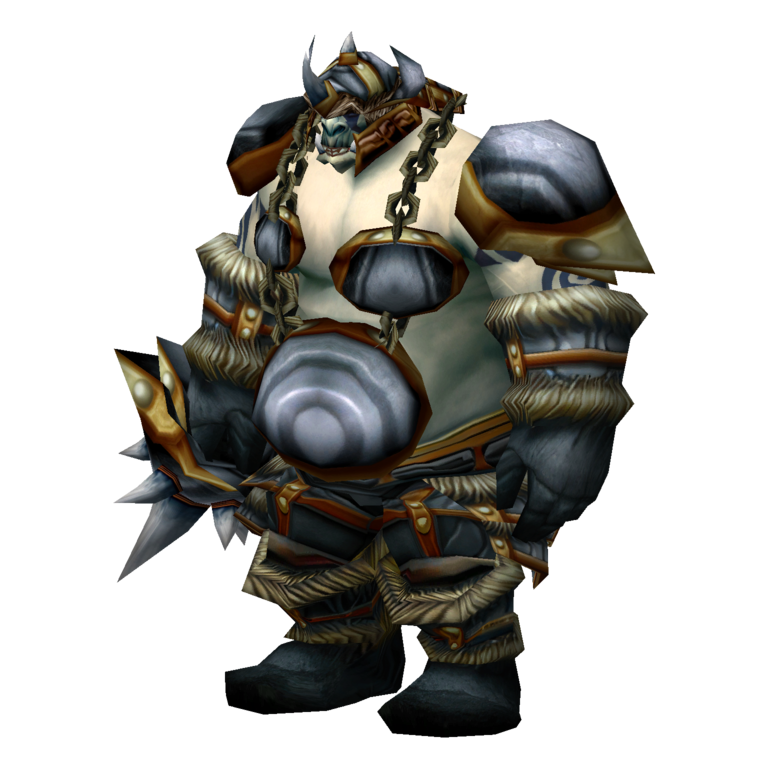
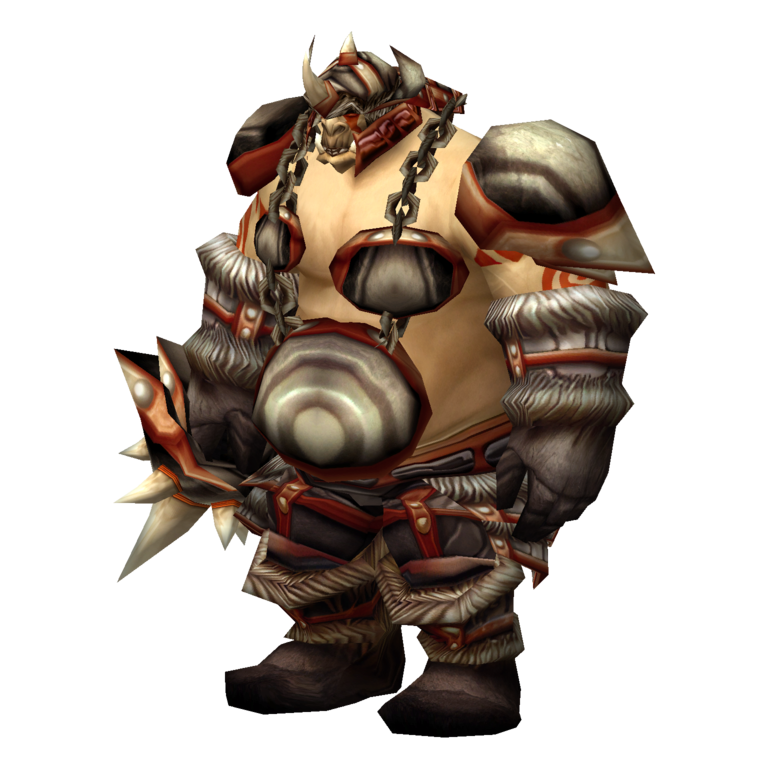
Dire Maul North, also known as Gordok Commons, is one of three wings of Dire Maul, located in Feralas. Unlike the other wings, North is controlled by the Gordok ogres, with the group fighting through their stronghold before reaching King Gordok's throne room.

Dire Maul North is designed for levels 56–60. This is home of Tribute Runs!

Dire Maul North Quest Loot & Rewards

A Broken Trap

Quest Giver: Broken Trap
Coordinates/Location: Near Guard Slip'kik, Dire Maul North
Required Level: 56
Reward: XP & Silver

Find the Broken Trap along Guard Slip'kik's patrol route. Repair it using a Thorium Widget and Frost Oil.

For a Tribute Run, repair the trap while Slip'kik is away from the area. When he returns, he will walk into the trap and become frozen, allowing the group to pass without killing him.

Free Knot!

Quest Giver: Knot Thimblejack
Coordinates/Location: Captive's room near Guard Slip'kik, Dire Maul North
Required Level: 56
Reward: XP & Silver

Knot Thimblejack is a goblin held captive inside Dire Maul North. To free him, collect a Gordok Shackle Key from the Gordok ogres and use it to unlock his chains.

Once Knot is free, he will leave behind Knot Thimblejack's Cache, which contains profession materials and a chance at valuable crafting recipes.

Complete The Gordok Ogre Suit before turning in this quest, as Knot will leave the instance once he has been freed.

The Gordok Ogre Suit

Quest Giver: Knot Thimblejack
Coordinates/Location: Captive's room near Guard Slip'kik, Dire Maul North
Required Level: 56
Reward: Gordok Ogre Suit

To complete this quest, bring Knot Thimblejack the materials needed to make a disguise: 4 Bolts of Runecloth, 8 Rugged Leather, 2 Rune Thread and 1 Ogre Tannin.

Ogre Tannin can be found in a basket upstairs in the rooms beyond the courtyards.

Once you have collected everything, return to Knot and he will make the Gordok Ogre Suit. This disguise is needed to fool Captain Kromcrush during a Tribute Run.

The Gordok Taste Test

Quest Giver: Stomper Kreeg
Coordinates/Location: First courtyard, Dire Maul North
Required Level: 56
Reward: Gordok Green Grog, Kreeg's Stout Beatdown

Complete a Tribute Run and leave Stomper Kreeg alive. Once King Gordok has been defeated, return to Kreeg and speak to him to receive samples of his drinks.

Unfinished Gordok Business

Quest Giver: Captain Kromcrush
Coordinates/Location: Captain Kromcrush's corridor, Dire Maul North
Required Level: 56
Reward: XP & Silver

Complete a Tribute Run and leave Captain Kromcrush alive. After King Gordok has been defeated, speak to Kromcrush to accept this quest.

He asks you to retrieve the Gauntlet of Gordok Might from the Prince's Chest behind Prince Tortheldrin in Dire Maul West. You will need to complete the West wing to retrieve the item and return it to Kromcrush.

Falrin's Vendetta

Quest Giver: Falrin Treeshaper
Coordinates/Location: Athenaeum, Dire Maul West
Required Level: 58
Reward: Beads of Ogre Might, Beads of Ogre Mojo

Falrin Treeshaper wants you to collect 25 Ogre Warbeads from the Gordok ogres. These can drop from several ogre enemies throughout Dire Maul North.

Once you have collected enough Warbeads, return to Falrin in the Athenaeum to complete the quest.

Dire Maul North Boss Loot

Boss

Loot

Guard Mol'dar

• Bulky Iron Spaulders
• Denwatcher's Shoulders
• Hedgecutter
• Heliotrope Cloak
• Sublime Wristguards
• Gallant's Wristguards
• Gordok Nose Ring
• Hyena Hide Belt
• Jagged Bone Fist
• Modest Armguards
• Ogre Pocket Knife
• Robe of Combustion
• Unsophisticated Hand Cannon

Stomper Kreeg

• Kreeg's Mug

Guard Fengus

• Bulky Iron Spaulders
• Denwatcher's Shoulders
• Hedgecutter
• Heliotrope Cloak
• Sublime Wristguards
• Gallant's Wristguards
• Gordok Nose Ring
• Hyena Hide Belt
• Jagged Bone Fist
• Modest Armguards
• Ogre Pocket Knife
• Robe of Combustion
• Unsophisticated Hand Cannon

Guard Slip'kik

• Bulky Iron Spaulders
• Denwatcher's Shoulders
• Hedgecutter
• Heliotrope Cloak
• Sublime Wristguards
• Gallant's Wristguards
• Gordok Nose Ring
• Hyena Hide Belt
• Jagged Bone Fist
• Modest Armguards
• Ogre Pocket Knife
• Robe of Combustion
• Unsophisticated Hand Cannon

Captain Kromcrush

• Boots of the Full Moon
• Kromcrush's Chestplate
• Monstrous Glaive
• Mugger's Belt

Cho'Rush the Observer

• Cho'Rush's Blade
• Insightful Hood
• Mana Channeling Wand
• Observer's Shield

King Gordok

• Band of the Ogre King
• Barbarous Blade
• Bracers of Prosperity
• Brightly Glowing Stone
• Crown of the Ogre King
• Grimy Metal Boots
• Harmonious Gauntlets
• Leggings of Destruction
• Top Half of Advanced Armorsmithing: Volume I
• Ace of Warlords

Guard Mol'dar

Guard Mol'dar is the first named ogre encountered in Dire Maul North. He uses several melee attacks, including Knock Away, which knocks his target backwards and can cause him to lose threat. He can also use Shield Bash and Shield Charge to interrupt and charge players. As the fight progresses, nearby Gordok Mastiffs can join the encounter, adding extra pressure on the tank.

Tank

  • Pull Mol'dar back towards the entrance, away from the nearby mastiff packs.
  • Maintain threat through Knock Away and be ready to pick him up again if you are knocked out of position.
  • Watch for the mastiffs joining the fight and gather them before they reach the healer.

Healer

  • Keep your distance from Mol'dar to avoid being caught by Shield Charge.
  • Be ready for increased tank damage once the mastiffs join the encounter.
  • Heal through the additional damage while the group deals with the dogs.

DPS

  • Focus the mastiffs as soon as they join the fight.
  • Ranged players should stay back to avoid Knock Away and Shield Charge.
  • Avoid pulling nearby ogre packs while dealing with Mol'dar.

Important: Pull Mol'dar away from the nearby mastiffs. If the group fights him too close to their packs, the extra enemies can quickly overwhelm the tank.

Stomper Kreeg

Stomper Kreeg is an ogre brewer found in the first courtyard. He uses Booze Spit to cover players in alcohol, causing them to become drunk and greatly reducing their chance to hit. He also uses Whirlwind to damage nearby players and War Stomp to knock back and stun anyone close to him. His Enrage increases his attack speed and physical damage, making him more dangerous if the fight drags on.

Tank

  • Keep Kreeg facing away from the group where possible.
  • Be ready for increased damage when he enrages.
  • Maintain threat even when Booze Spit reduces the group's chance to hit.

Healer

  • Watch melee players for damage from Whirlwind and War Stomp.
  • Be ready to heal through the increased damage during Enrage.
  • Keep the tank healthy while the group deals with the reduced hit chance from Booze Spit.

DPS

  • Melee players should move away when Whirlwind begins rather than continuing to attack.
  • Be aware that Booze Spit reduces your chance to hit, so damage may be less reliable.
  • Ranged players can continue attacking while melee move out of Whirlwind.

Important: Kreeg can be left alive during a Tribute Run. If you are doing a full clear, watch for Whirlwind and move melee players away until it ends.

Guard Fengus

Guard Fengus patrols the second courtyard near Fengus's Chest, which contains the Gordok Courtyard Key. Like Mol'dar, he uses melee abilities such as Knock Away, Shield Bash and Shield Charge. These attacks can knock the tank out of position or interrupt players who get too close. The surrounding courtyard also contains other ogres, so positioning is important when starting the encounter.

Tank

  • Pull Fengus away from the other courtyard enemies to avoid adding extra enemies to the fight.
  • Keep him facing away from the group and maintain threat through Knock Away.
  • Be ready to reposition if Shield Charge knocks you away from the group.

Healer

  • Stay out of Fengus's charge range to avoid being caught by Shield Charge.
  • Keep the tank healthy through his melee attacks.
  • Be prepared to heal if the fight accidentally pulls nearby enemies.

DPS

  • Allow the tank to establish threat before attacking.
  • Ranged players should keep their distance to avoid Knock Away and Shield Charge.
  • Avoid moving into Fengus's patrol path during a Tribute Run.

Important: Fengus patrols around his chest. On a Tribute Run, wait for him to move away before looting the Gordok Courtyard Key, and do not accidentally pull him.

Guard Slip'kik

Guard Slip'kik patrols the rooms near Knot Thimblejack and the Broken Trap. His abilities are similar to the other Gordok guards, including Knock Away, Shield Bash and Shield Charge. The nearby Gordok Reavers make this area particularly dangerous, so the group should avoid pulling Slip'kik into surrounding enemies.

Tank

  • Pull Slip'kik away from the nearby Reavers before engaging.
  • Maintain threat and be ready for Knock Away to push you out of position.
  • Avoid allowing nearby enemies to join the fight.

Healer

  • Keep your distance from Slip'kik to avoid Shield Charge.
  • Watch the tank's health if the fight pulls additional Reavers.
  • Be prepared for sudden damage if the tank loses control of the encounter.

DPS

  • Focus Slip'kik while watching for nearby enemies joining the fight.
  • Ranged players should stay back to avoid his charge and knockback abilities.
  • Use crowd control on nearby enemies if the group accidentally pulls them.

Important: Slip'kik can be frozen using the Broken Trap during a Tribute Run. Repair it with a Thorium Widget and Frost Oil while he is away, then let him walk into it rather than fighting him.

Captain Kromcrush

Captain Kromcrush guards the passage leading to King Gordok's throne room. He is one of the more dangerous bosses in the wing, using Mortal Cleave to deal heavy physical damage while reducing the healing received by his target. His Intimidating Shout fears nearby players, while Retaliationlcauses him to counterattack melee players who strike him from the front. At around half health, he summons two Gordok Reavers to join the fight.

Tank

  • Keep Kromcrush facing away from the group and be ready for the damage from Mortal Cleave.
  • Save a defensive cooldown for when the two Gordok Reavers appear.
  • Maintain threat on Kromcrush while picking up the Reavers if they target the healer.

Healer

  • Watch the tank closely while Mortal Cleave is active, as it reduces the effectiveness of your healing.
  • Be ready for the fear from Intimidating Shout, which can leave the tank unable to control the enemies.
  • Heal through the additional damage when the Reavers join the fight.

DPS

  • Stop attacking from the front when Retaliation is active, as Kromcrush will counterattack melee players.
  • Use crowd control on one of the Gordok Reavers when they appear, or focus them down quickly.
  • Ranged players should stay at a distance to reduce the chance of being caught by Intimidating Shout.

Important: Mortal Cleave reduces healing received, and the Reavers can overwhelm the group if they are ignored. Be ready for both mechanics, particularly when Intimidating Shout leaves the tank unable to act.

Cho'Rush the Observer

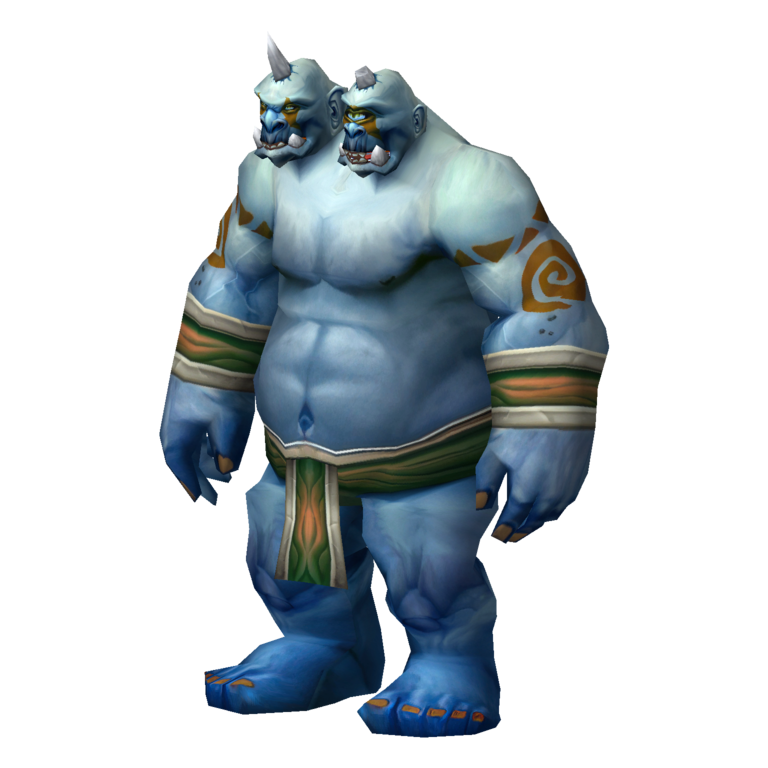
Cho'Rush the Observer is an ogre caster who fights alongside King Gordok in the final room. His abilities can vary between encounters, as he can use a Mage, Priest or Shaman spell set. He may use Frost Nova to damage and root nearby players, while his Priest abilities can include healing and Shadow damage. During the fight, he can also heal King Gordok, making him a priority target during a normal clear.

Tank

  • Keep Cho'Rush away from King Gordok so the two bosses do not overwhelm the group at once.
  • If you are attempting a Tribute Run, assign an off-tank to hold Cho'Rush while the main tank deals with the King.
  • Be prepared for Frost Nova to root nearby players.

Healer

  • Watch the player holding Cho'Rush, as his spell damage can put additional pressure on the off-tank.
  • Be ready to heal players caught by Frost Nova or his other caster abilities.
  • Interrupt or help control his healing if possible during a Tribute Run.

DPS

  • On a normal run, focus Cho'Rush first and interrupt his healing whenever possible.
  • Be aware that Frost Nova can root nearby melee players and prevent them from reaching the King.
  • During a Tribute Run, do not attack Cho'Rush. Keep all damage focused on King Gordok.

Important: Cho'Rush must stay alive during a Tribute Run. Assign an off-tank to keep him occupied and make sure no DPS accidentally damages him while the group focuses on the King.

King Gordok

King Gordok is the final boss of Dire Maul North and fights alongside Cho'Rush the Observer. He uses Mortal Strike to deal heavy physical damage and reduce the healing received by his target. His Sunder Armor stacks reduce the tank's armour, making each subsequent attack more dangerous. He can also use Berserker Charge to rush towards a distant player and War Stomp to damage and stun nearby enemies.

Tank

  • Keep Gordok facing away from the group and maintain threat throughout the fight.
  • Watch for Sunder Armor stacking on you, as repeated applications reduce your armour and increase incoming damage.
  • Save defensive cooldowns for the later part of the encounter when the armour reduction makes his attacks more dangerous.

Healer

  • Keep the tank's health high, particularly while Mortal Strike reduces the effectiveness of your healing.
  • Be ready for increased damage as Sunder Armor stacks build up.
  • Watch for players hit by Berserker Charge or caught by War Stomp.

DPS

  • Stay spread out enough to avoid unnecessary damage from War Stomp.
  • Interrupt Cho'Rush's healing during a normal clear while the group focuses on him first.
  • During a Tribute Run, focus all damage on King Gordok and leave Cho'Rush alive.

Important: Decide on the kill order before starting the encounter. On a normal run, defeat Cho'Rush first before focusing on the King. During a Tribute Run, King Gordok is the only boss you should kill.

Table of Contents

See More Dungeons

Alcaz Prison Dungeon Guide - Bosses, Loot & Quests
By PhaseShifter ∙Updated on Nov 21, 2026
Beginner
Mechanics
Beginner
Mechanics
Gnomeregan Guide - Bosses, Loot & Quests
By PhaseShifter ∙Updated on Nov 21, 2026
Beginner
Mechanics
Beginner
Mechanics
The Deadmines Guide - Bosses, Loot & Quests
By PhaseShifter ∙Updated on Nov 20, 2026
Beginner
Mechanics
Beginner
Mechanics
Sunken Temple Dungeon Guide - Bosses, Loot & Quests
By PhaseShifter ∙Updated on Nov 20, 2026
Beginner
Mechanics
Beginner
Mechanics