menu
MobalyticsUse your favourite features in-game with our Desktop App

WoW Forever Dire Maul East Dungeon Guide - Bosses, Loot & Quests

Beginner
Mechanics
By PhaseShifter
Updated on Nov 21, 2026
Nov 21, 2026

Dire Maul East Overview

Dire Maul East, also known as the Warpwood Quarter, is one of three wings of Dire Maul, located in Feralas. The ancient ruins have been overrun by corrupted plant life, demons and satyrs, with Alzzin the Wildshaper responsible for much of the corruption spreading through the area.

Dire Maul East is designed for levels 54–60.

Dire Maul East Quest Loot & Rewards

Lethtendris's Web

Quest Giver: Latronicus Moonspear
Coordinates/Location: (30.4, 46.0) Feathermoon Stronghold, Feralas
Required Level: 54
Reward: Lorespinner, Warpwood Bracers, Satyrhide Armbands

To complete this quest, enter Dire Maul East and defeat Lethtendris. Loot Lethtendris's Web from her corpse and return it to Latronicus Moonspear at Feathermoon Stronghold.

Pusillin and the Elder Azj'Tordin

Quest Giver: Azj'Tordin
Coordinates/Location: (76.8, 37.4) Lariss Pavilion, Feralas
Required Level: 54
Reward: Spry Boots, Sprinter's Sword, Incanter's Pantaloons

To complete this quest, find Pusillin inside Dire Maul East and follow him through the dungeon until he stops and becomes hostile.

Defeat Pusillin and loot the Book of Incantations. Return it to Azj'Tordin at Lariss Pavilion.

Shards of the Felvine

Quest Giver: Rabine Saturna
Coordinates/Location: (51.6, 44.8) Nighthaven, Moonglade
Required Level: 56
Reward: Milli's Shield, Milli's Lexicon

This quest requires you to complete A Reliquary of Purity first. After obtaining the Reliquary of Purity, travel to Dire Maul East and defeat Alzzin the Wildshaper.

Collect the Felvine Shard from behind Alzzin's room and use the Reliquary of Purity to seal it. Return the Sealed Reliquary of Purity to Rabine Saturna in Moonglade.

Dire Maul East Boss Loot

Boss

Loot

Pusillin

• Greenroot Mail
• Obsidian Bauble
• Recipe: Runn Tum Tuber Surprise

Lethtendris

• Band of Vigor
• Felhide Cap
• Lethtendris's Wand
• Quel'dorai Channeling Rod

Hydrospawn

• Breakwater Legguards
• Riptide Shoes
• Tempest Talisman
• Waterspout Boots
• Waveslicer

Zevrim Thornhoof

• Clever Hat
• Fervent Helm
• Gloves of Shadowy Mist
• Helm of Awareness
• Satyr's Bow

Alzzin the Wildshaper

• Energetic Rod
• Energized Chestplate
• Fiendish Machete
• Gloves of Restoration
• Merciful Greaves
• Razor Gauntlets
• Ring of Demonic Guile
• Ring of Demonic Potency
• Shadewood Cloak
• Whipvine Cord

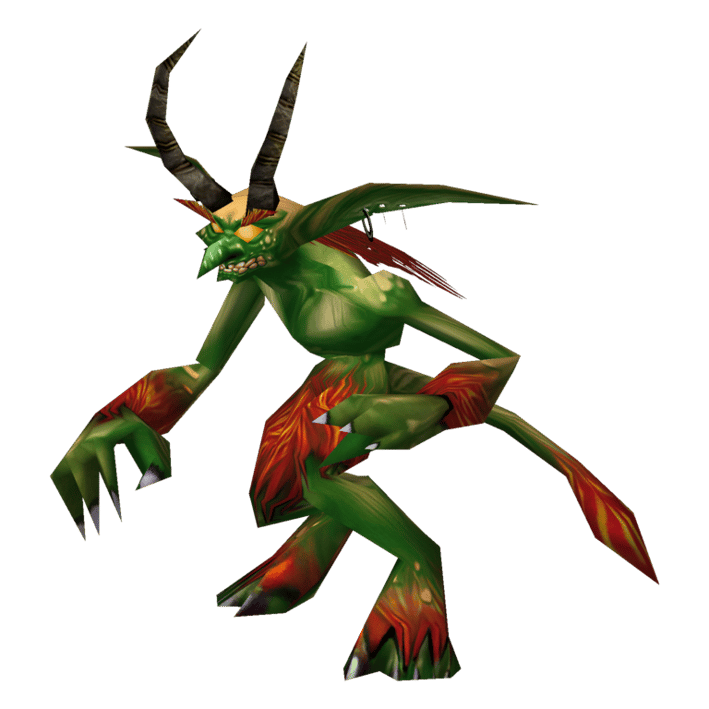
Pusillin

Pusillin is an imp who runs away when approached, leading the group through several areas of Dire Maul East before eventually turning hostile. Follow him each time he stops to speak, as the encounter will not begin until you reach his final location. When engaged, he summons four Wildspawn Imps and uses Fire spells, including Fireball and Blast Wave, to damage nearby players.

Tank

  • Pick up Pusillin and the four Wildspawn Imps as soon as the fight begins.
  • Keep the imps controlled so they do not overwhelm the healer.

Healer

  • Be prepared for additional damage while the group deals with the imps.
  • Watch the tank's health, particularly while several enemies are attacking at once.

DPS

  • Focus down the Wildspawn Imps before returning to Pusillin.
  • Interrupt Fireball when possible to reduce incoming Fire damage.
  • Watch your positioning when he uses Blast Wave, which damages and slows nearby players.

Important: Pusillin drops the Crescent Key, which opens the locked entrances to Dire Maul West and North. Make sure someone in the group loots it before leaving.

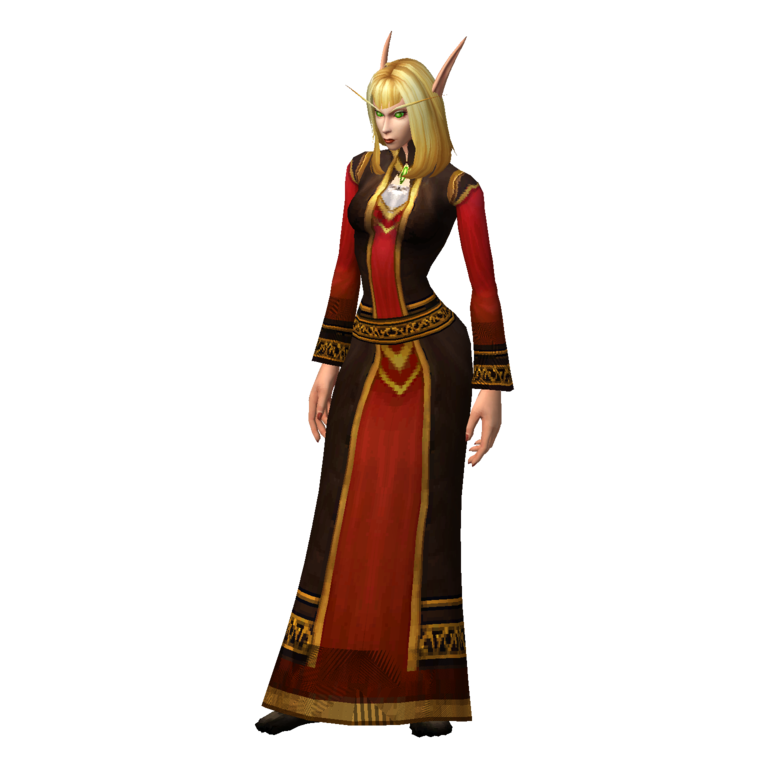
Lethtendris

Lethtendris is a Warlock accompanied by her imp, Pimgib. She uses several Shadow and Fire spells, including Void Bolt, which deals heavy Shadow damage to a single target, and Shadow Bolt Volley, which hits nearby players. She also casts Immolate and curses players with Curse of Tongues and Curse of Thorns, while Pimgib adds further Fire damage.

Tank

  • Keep Lethtendris focused on you while controlling Pimgib.
  • Be prepared for heavy damage from Void Bolt and her other Shadow spells.

Healer

  • Watch the tank's health, particularly when Void Bolt is allowed to cast.
  • Remove Immolate and harmful curses when possible to reduce ongoing damage and spellcasting disruption.

DPS

  • Focus Pimgib first, as leaving the imp alive adds unnecessary damage throughout the encounter.
  • Interrupt Void Bolt whenever possible, as it deals significant damage to its target.
  • Interrupt other casts when you can, especially Shadow Bolt Volley.

Important: Pimgib should be dealt with before focusing on Lethtendris. Interrupting Void Bolt is also important for keeping the tank alive.

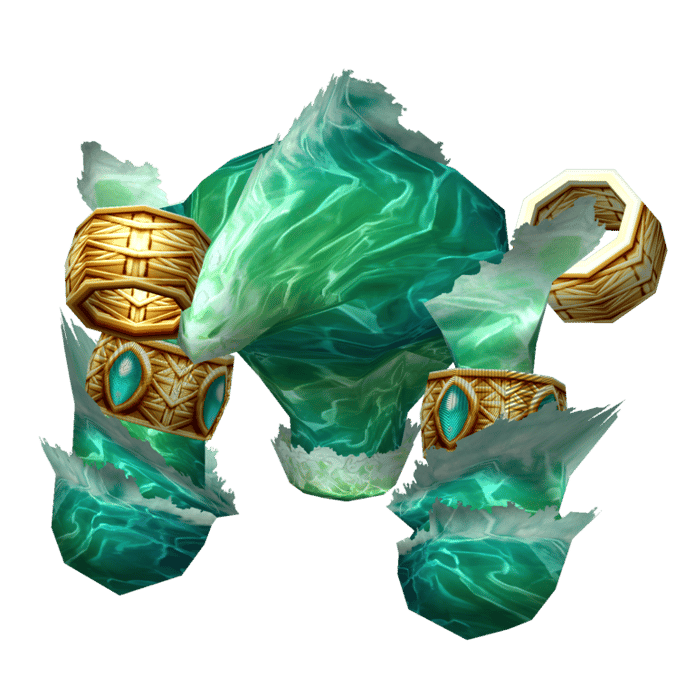
Hydrospawn

Hydrospawn is a water elemental found in the pool within the Conservatory. He uses Riptide to disarm his target and Massive Geyser to unleash a powerful burst of water. He can also use Submersion to weaken nearby players and summons Hydrolings as his health gets low. These adds can deal considerable damage if left alive.

Tank

  • Keep Hydrospawn positioned away from the rest of the group where possible.
  • Be aware that Riptide can disarm you, temporarily preventing you from using your weapon.
  • Pick up the Hydrolings when they appear so they do not attack the healer.

Healer

  • Watch the tank for damage from Hydrospawn's attacks and be ready for additional damage when the Hydrolings spawn.
  • Keep the group healthy if Massive Geyser catches multiple players.

DPS

  • Switch to the Hydrolings when they appear and deal with them before returning to Hydrospawn.
  • Be aware of Riptide and avoid relying on weapon attacks if you are affected by its disarm.

Important: Clear the enemies around the pool before engaging Hydrospawn. The Hydrolings can become a serious problem if they are allowed to attack the group unchecked.

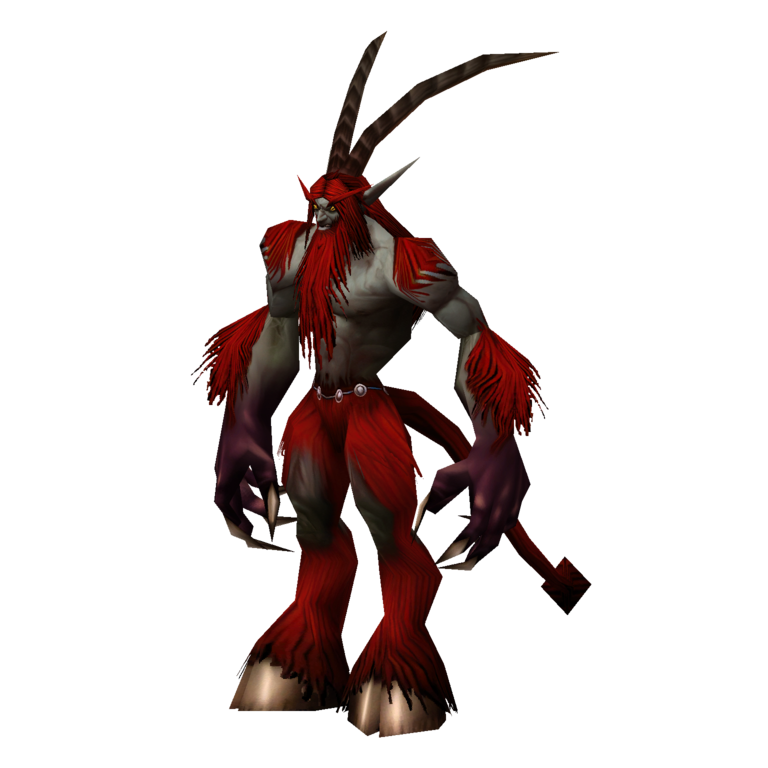
Zevrim Thornhoof

Zevrim Thornhoof is a satyr who uses a sacrificial altar during the encounter. His Sacrifice ability teleports a random party member to the altar, stunning them and draining their health over several seconds. He also casts Intense Pain, which deals repeated Shadow damage to players within range. Ranged players can reduce their exposure by standing at maximum distance.

Tank

  • Keep Zevrim positioned so the healer can reach both you and the sacrificial altar.
  • Maintain threat while the group continues attacking, even when another player is taken out of the fight by Sacrifice.

Healer

  • Be ready to switch healing to the player sent to the altar as soon as Sacrifice begins.
  • Use strong heals to keep the affected player alive while their health is being drained.
  • Dispel Intense Pain when possible to reduce the group's incoming Shadow damage.

DPS

  • Ranged players should stay at maximum range to avoid Intense Pain.
  • Continue damaging Zevrim while another player is being sacrificed.
  • Paladins and Mages can use Divine Shield or Ice Block to escape Sacrifice.

Important: Sacrifice is the main danger in this encounter. The targeted player cannot defend themselves while stunned, so the healer must be ready to keep them alive until the effect ends.

Alzzin the Wildshaper

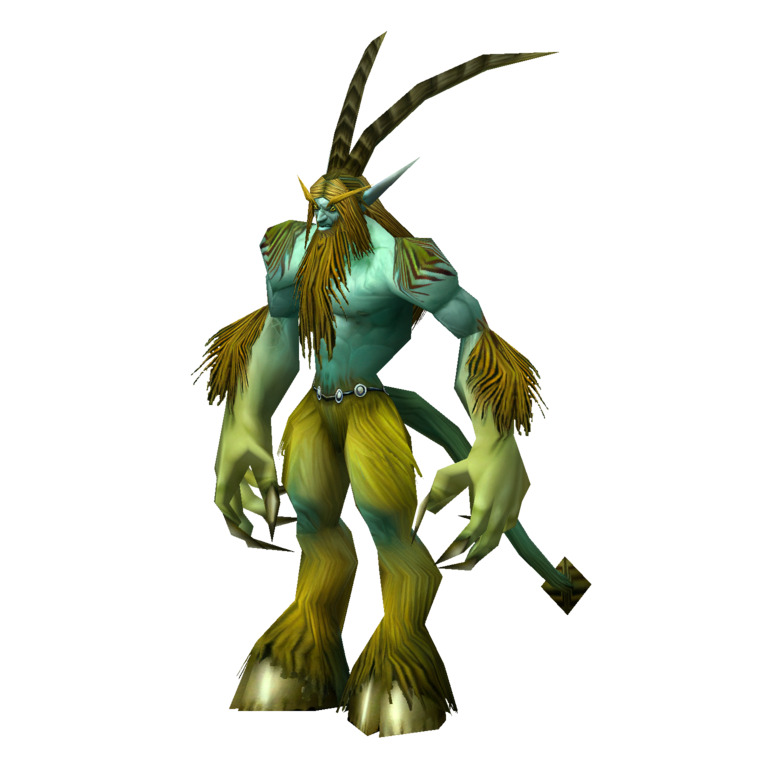
Alzzin the Wildshaper is the final boss of Dire Maul East and changes between Satyr, Treant and Dire Wolf forms during the encounter. Each form brings different abilities. In Satyr form, he uses Enervate to drain mana and Wither to deal Nature damage while reducing Strength. His Treant form has increased armour and can use Wild Regeneration to restore health, while his Dire Wolf form uses Mangle and Vicious Bite to deal heavy physical damage. At around 35% health, additional enemies enter the fight.

Tank

  • Clear the Warpwood Crushers on the ramp before engaging Alzzin, as they can join the fight if left alive.
  • Re-establish threat whenever Alzzin changes form and be ready for the increased damage from his Dire Wolf form.
  • Watch for Knock Away, which can push you out of position.

Healer

  • Remove Enervate as soon as possible, as its poison effect drains mana over time.
  • Cleanse Wither when possible to remove its damage and Strength reduction.
  • Be prepared for increased tank damage during Dire Wolf form and keep an eye on the group when the additional enemies appear.

DPS

  • Interrupt Enervate and Wither where possible to prevent their effects from being applied.
  • Use armour-reducing abilities during Treant form, as Alzzin becomes much harder to damage.
  • Switch to the additional enemies when they appear at around 35% health, then return to Alzzin.

Important: Clear the ramp before starting the fight. Alzzin's form changes bring different threats, so watch for Enervate and Wither in Satyr form and be ready for heavier physical damage in Dire Wolf form.

Table of Contents

See More Dungeons

Alcaz Prison Dungeon Guide - Bosses, Loot & Quests
By PhaseShifter ∙Updated on Nov 21, 2026
Beginner
Mechanics
Beginner
Mechanics
Gnomeregan Guide - Bosses, Loot & Quests
By PhaseShifter ∙Updated on Nov 21, 2026
Beginner
Mechanics
Beginner
Mechanics
The Deadmines Guide - Bosses, Loot & Quests
By PhaseShifter ∙Updated on Nov 20, 2026
Beginner
Mechanics
Beginner
Mechanics
Sunken Temple Dungeon Guide - Bosses, Loot & Quests
By PhaseShifter ∙Updated on Nov 20, 2026
Beginner
Mechanics
Beginner
Mechanics