menu
MobalyticsUse your favourite features in-game with our Desktop App

WoW Forever Blackrock Depths Dungeon Guide - Bosses, Loot & Quests

Beginner
Mechanics
By PhaseShifter
Updated on Nov 21, 2026
Nov 21, 2026

Blackrock Depths Overview

Blackrock Depths, or as it affectionately known as, "BRD", is a level 52–60 dungeon beneath Blackrock Mountain in Searing Gorge. It is the stronghold of the Dark Iron dwarves and one of the largest dungeons in WoW Forever.

The Shadowforge Key, obtained through the Dark Iron Legacy quest opens important doors and shortcuts throughout the dungeon.

Blackrock Depths Quest Loot & Rewards

Incendius!

Quest Giver: Jalinda Sprig
Coordinates/Location: (85.4, 70.0) Morgan's Vigil, Burning Steppes
Required Level: 48
Reward: Sunborne Cape, Nightfall Gloves, Crypt Demon Bracers Stalwart Clutch

Defeat Lord Incendius inside Blackrock Depths and return to Jalinda Sprig.

The Good Stuff

Quest Giver: Oralius
Coordinates/Location: (84.5, 68.5) Morgan's Vigil, Burning Steppes
Required Level: 52
Reward: A Dingy Fanny Pack

Collect 20 Dark Iron Fanny Packs from Dark Iron dwarves throughout the dungeon.

Marshal Windsor

Quest Giver: Marshal Maxwell
Coordinates/Location: (84.6, 68.8) Morgan's Vigil, Burning Steppes
Required Level: 48
Reward: XP & Silver

Find Marshal Windsor in the Detention Block and report back to Marshal Maxwell.

Abandoned Hope

Quest Giver: Marshal Windsor
Coordinates/Location: Detention Block, Blackrock Depths
Required Level: 48
Reward: Conservator Helm, Shieldplate Sabatons, Windshear Leggings Cindercloth Gown

Take Windsor's news back to Marshal Maxwell in Morgan's Vigil.

A Crumpled Up Note

Quest Giver: A Crumpled Up Note
Coordinates/Location: Blackrock Depths
Required Level: 50
Reward: XP & Silver

After completing Abandoned Hope, loot the note from a Dark Iron dwarf and take it back to Windsor.

A Shred of Hope

Quest Giver: Marshal Windsor
Coordinates/Location: Detention Block, Blackrock Depths
Required Level: 50
Reward: XP & Silver

Recover Windsor's missing information from General Angerforge and Golem Lord Argelmach.

Jail Break!

Quest Giver: Marshal Windsor
Coordinates/Location: Detention Block, Blackrock Depths
Required Level: 50
Reward: Ward of the Elements, Blade of Reckoning Skilled Fighting Blade

Escort Marshal Windsor out of Blackrock Depths. Keep him alive as you fight through the prison and make your way to the exit.

Kharan Mighthammer

Quest Giver: King Magni Bronzebeard
Coordinates/Location: (39.4, 55.6) Ironforge, Dun Morogh
Required Level: 50
Reward: XP & Silver

Find Kharan Mighthammer in the Detention Block and open his cell using the Prison Cell Key.

Kharan's Tale

Quest Giver: Kharan Mighthammer
Coordinates/Location: Detention Block, Blackrock Depths
Required Level: 50
Reward: XP & Silver

Listen to Kharan's story to continue the quest chain.

The Fate of the Kingdom

Quest Giver: King Magni Bronzebeard
Coordinates/Location: Ironforge, Dun Morogh
Required Level: 48
Reward: XP & Silver

Defeat Emperor Dagran Thaurissan while keeping Princess Moira alive. Return to King Magni to continue the chain.

The Princess's Surprise

Quest Giver: Princess Moira Bronzebeard
Coordinates/Location: Imperial Seat, Blackrock Depths
Required Level: 50
Reward: Magni's Will or Songstone of Ironforge

Complete the royal quest chain and return to Ironforge with Moira's message.

Dark Iron Legacy

Quest Giver: Franclorn Forgewright
Coordinates/Location: Blackrock Mountain, near the chain bridge
Required Level: 48
Reward: Shadowforge Key

Franclorn is a ghost and can only be seen while you are dead. Speak to him near the chain bridge to begin the quest.

Defeat Fineous Darkvire and loot Ironfel. Take the hammer to Franclorn's monument in the Shrine of Thaurissan to receive the Shadowforge Key.

Ribbly Screwspigot

Quest Giver: Yuka Screwspigot
Coordinates/Location: (66.0, 22.0) Flame Crest, Burning Steppes
Required Level: 48
Reward: Rancor Boots, Penance Spaulders Splintsteel Armor

Defeat Ribbly Screwspigot in the Grim Guzzler and bring his head back to Yuka.

The Love Potion

Quest Giver: Mistress Nagmara
Coordinates/Location: Grim Guzzler, Blackrock Depths
Required Level: 50
Reward: Manacle Cuffs, Nagmara's Whipping Belt, Boots of Requite Private Rocknot's Spare Bracers

Collect the ingredients Nagmara needs for her potion and return them to her in the tavern.

The Heart of the Mountain

Quest Giver: Maxwort Uberglint
Coordinates/Location: (65.2, 23.8) Flame Crest, Burning Steppes
Required Level: 50
Reward: XP & Silver

Recover the Heart of the Mountain from the Black Vault.

The Spectral Chalice

Quest Giver: Spectral Chalice
Coordinates/Location: Summoners' Tomb, Blackrock Depths
Required Level: 40
Reward: Smelt Dark Iron

Bring two Star Rubies, 20 Gold Bars and 10 Truesilver Bars to the chalice. Requires 230 Mining.

A Taste of Flame

Quest Giver: Cyrus Therepentous
Coordinates/Location: (94.8, 31.6) Burning Steppes
Required Level: 52
Reward: Shaleskin Cape, Wyrmhide Spaulders Valconian Sash

Defeat Bael'Gar and use the Altered Black Dragonflight Molt on his corpse.

The Challenge

Quest Giver: Falrin Treeshaper
Coordinates/Location: Dire Maul
Required Level: 58
Reward: Top Piece of Lord Valthalak's Amulet

Plant the Banner of Provocation in the Ring of Law and defeat Theldren.

A Binding Contract

Quest Giver: Thorium Brotherhood Contract
Coordinates/Location: Blackrock Depths
Required Level: 60
Reward: Plans: Sulfuron Hammer

Take the Thorium Brotherhood Contract to Lokhtos Darkbargainer in the Grim Guzzler.

Rocknot's Ale

Quest Giver: Private Rocknot
Coordinates/Location: Grim Guzzler, Blackrock Depths
Required Level: N/A
Reward: XP & Silver

Buy Dark Iron Ale Mugs from Plugger Spazzring and give them to Private Rocknot. This event eventually opens the way to Phalanx.

Blackrock Depths Boss Loot & Rewards

Boss

Loot

High Interrogator Gerstahn

• Kentic Amice
• Enthralled Sphere
• Blackveil Cape
• Greaves of Withering Despair

Lord Roccor

• Earthslag Shoulders
• Stoneshell Guard
• Mantle of Lost Hope
• Idol of Ferocity
• Rockshard Pellets
• Formula: Smoking Heart of the Mountain

Houndmaster Grebmar

• Fleetfoot Greaves
• Spritecaster Cape
• Houndmaster's Bow
• Houndmaster's Rifle

Gorosh the Dervish

• Savage Gladiator Chain
• Bloodclot Band
• Flarethorn
• Leggings of Frenzied Magic

Grizzle

• Grizzle's Skinner
• Stonewall Girdle
• Dregmetal Spaulders
• Entrenching Boots
• Savage Gladiator Shoulders
• Plans: Dark Iron Pulverizer

Eviscerator

• Rubicund Armguards
• Splinthide Shoulders
• Girdle of Beastial Fury
• Savage Gladiator Grips

Ok'thor the Breaker

• Ban'thok Sash
• Ogreseer Fists
• Cyclopean Band
• Savage Gladiator Leggings

Anub'shiah

• Shadefiend Boots
• Graverot Cape
• Carapace of Anub'shiah
• Savage Gladiator Greaves

Hedrum the Creeper

• Spiderfang Carapace
• Silkweb Gloves
• Hookfang Shanker
• Savage Gladiator Helm

Theldren

• Shroud of Arcane Mastery
• Ironweave Mantle
• Lefty's Brass Knuckle
• Malgen's Long Bow

Pyromancer Loregrain

• Flamestrider Robes
• Pyric Caduceus
• Searingscale Leggings
• Kindling Stave
• Formula: Enchant Weapon - Fiery Weapon

Lord Incendius

• Cinderhide Armsplints
• Pyremail Wristguards
• Flameweave Cuffs
• Emberplate Armguards
• @Incendic Bracers

Warder Stilgiss

• Boreal Mantle
• Chillsteel Girdle
• Arbiter's Blade
• Dark Warder's Pauldrons

Verek

• Verek's Collar
• Verek's Leash

Fineous Darkvire

• Senior Designer's Pantaloons
• Lead Surveyor's Mantle
• Chief Architect's Monocle
• Foreman's Head Protector

Bael'Gar

• Lavacrest Leggings
• Force of Magma
• Rubidium Hammer
• Sash of the Burning Heart

General Angerforge

• Angerforge's Battle Axe
• Royal Decorated Armor
• Warstrife Leggings
• Lord General's Sword
• Force of Will

Golem Lord Argelmach

• Omnicast Boots
• Luminary Kilt
• Naglering
• Second Wind
• Blueprint: Master Forge

Hurley Blackbreath

• Hurley's Tankard
• Coal Miner Boots
• Firemoss Boots
• Ragefury Eyepatch

Phalanx

• Fists of Phalanx
• Bloodfist
• Golem Fitted Pauldrons
• Golem Skull Helm
• @Rockfist
• Backroom Bulwark

Ribbly Screwspiggot

• Wayfarer's Knapsack
• Ribbly's Quiver
• Ribbly's Bandolier
• Plans: Dark Iron Plate

Plugger Spazzring

• Mixologist's Tunic
• Barman Shanker
• Brewmancer Nightcap
• Schematic: Goblin Jumper Cables XL

Ambassador Flamelash

• Cape of the Fire Salamander
• Molten Fists
• Flame Wrath
• Burst of Knowledge
• Circle of Flame
• Blueprint: Molten Foundry

The Seven

• Wraith Scythe
• Impervious Giant
• Blood-Etched Blade
• Deathdealer Breastplate
• Legplates of the Eternal Guardian
• The Hammer of Grace
• Ghostshroud
• Haunting Specter Leggings

Magmus

• Magmus Stone
• Lavastone Hammer
• Totem of Rage
• Libram of Truth
• Golem Skull Helm
• Fragment of the Firelands

Princess Moira Bronzebeard

• Swiftwalker Boots
• Hands of the Exalted Herald
• High Priestess Boots
• Ebonsteel Spaulders

Emperor Dagran Thaurissan

• Ironfoe
• Hand of Justice
• Robes of the Royal Crown
• Thaurissan's Royal Scepter
• The Emperor's New Cape
• Dreadforge Retaliator
• Guiding Stave of Wisdom
• Imperial Jewel
• Emperor's Seal
• Wristguards of Renown
• Sash of the Grand Hunt

Panzor the Invincible (Rare)

• Shalehusk Boots
• Stone of the Earth
• Rock Golem Bulwark
• Soot Encrusted Footwear


High Interrogator Gerstahn

High Interrogator Gerstahn is a priest who uses Shadow spells, drains mana and fears nearby players with Psychic Scream. Her Shadow Word: Pain deals damage over time, while Mana Burn damages mana users based on how much mana it removes. She can also protect herself with Shadow Shield, which absorbs damage and hurts players who attack her.

Tank

  • Keep Gerstahn facing away from nearby groups where possible, as Psychic Scream can send melee players running and risk pulling extra enemies.
  • Be ready to regain threat if the fear scatters the group.

Healer

  • Dispel Shadow Word: Pain when possible to prevent unnecessary damage over time.
  • Watch your mana, as Mana Burn can drain it while also dealing damage.

DPS

  • Interrupt Mana Burn when possible, particularly if it targets a mana user.
  • Keep attacking through Shadow Shield, but be aware that melee attacks against it can cause damage back to you.

Important: Be careful of Psychic Scream. If players run into nearby patrols, this otherwise manageable fight can quickly become a much larger pull.

Lord Roccor

Lord Roccor is a rock elemental who uses Flame Shock to burn his target and Earth Shock to deal Nature damage and interrupt spellcasting. He also uses Ground Tremor, briefly stunning nearby players and leaving the group unable to act while it lasts.

Tank

  • Keep Roccor in position and maintain threat while dealing with the damage from Flame Shock.
  • Be aware that Ground Tremor can briefly prevent you from using abilities.

Healer

  • Keep the tank healthy through Flame Shock's initial hit and damage over time.
  • Be ready for the group to take damage while stunned by Ground Tremor.

DPS

  • Continue damaging Roccor throughout the fight.
  • If you are casting, be aware that Earth Shock can interrupt your spell.

Important: Ground Tremor cannot simply be avoided by moving away once the fight is underway. Be ready to heal through the brief stun.

Houndmaster Grebmar

Houndmaster Grebmar fights alongside a pack of hounds, making the opening of the encounter more dangerous than the boss himself. The hounds can overwhelm the tank if they are left alive, so the group should deal with them before focusing on Grebmar.

Tank

  • Gather the hounds as the fight begins and keep them under control.
  • Maintain threat on Grebmar while the group works through the hounds.

Healer

  • Expect increased damage on the tank while the hounds are alive.
  • Keep an eye on the tank until the pack has been dealt with.

DPS

  • Focus the hounds first rather than spreading damage across the group.
  • Once the hounds are dead, switch to Grebmar.

Important: Don't ignore the hounds to focus the boss. Removing them first makes the rest of the encounter much easier to manage.

Ring of Law

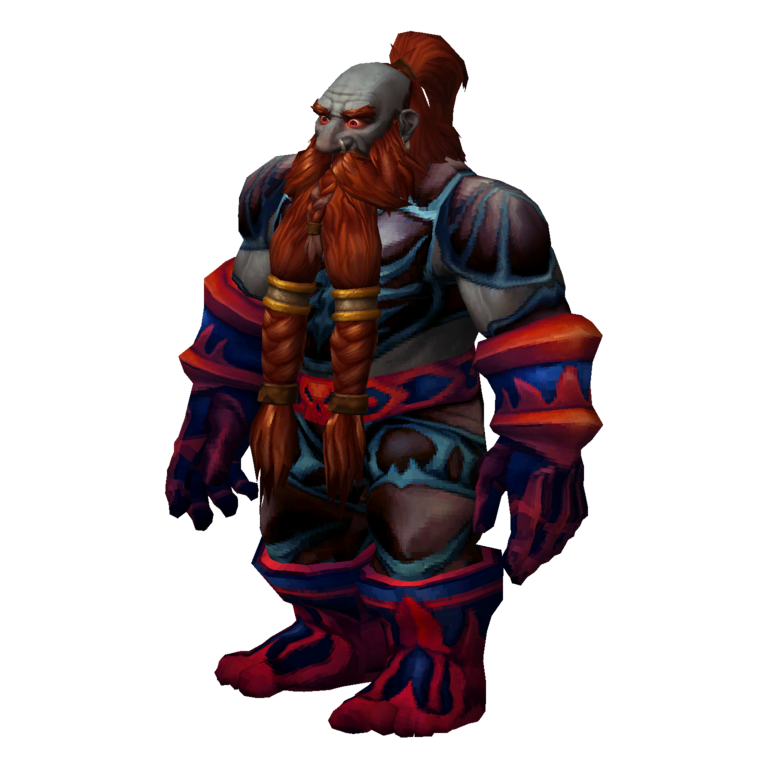
The Ring of Law is an arena event rather than a standard single-boss encounter. Entering the arena starts a series of waves, ending with a randomly selected challenger. The group must deal with each wave before moving on, so managing health and mana is important throughout the event. Activating the event starts a fight against one of several possible champions: Anub'shiah, Eviscerator, Gorosh the Dervish, Grizzle, Hedrum the Creeper, Ok'thor the Breaker and Theldren.

Tank

  • Pick up each new wave as it enters the arena and keep the enemies together where possible.
  • Be ready for the final challenger, which can be more demanding than the earlier waves.

Healer

  • Conserve mana during the opening waves, as there is limited time to recover between fights.
  • Keep the group healthy before each new wave arrives.

DPS

  • Focus enemies down one at a time rather than spreading damage.
  • Save major damage cooldowns for the final challenger.

Important: Make sure the entire party is ready before starting the event. Anyone arriving late can leave the group fighting without their full party.

Pyromancer Loregrain

Pyromancer Loregrain uses Fire spells and periodically summons groups of Scorching Totems around himself. These totems attack nearby players and can quickly add up to dangerous damage if left alone. Loregrain also uses Fire Ward, which protects him against incoming Fire damage.

Tank

  • Keep Loregrain under control while watching for the Scorching Totems that appear during the fight.
  • Pick up the totems if they begin attacking the healer or other party members.

Healer

  • Watch for Flame Shock on party members and heal through its damage over time.
  • Be prepared for additional damage while the totems are active.

DPS

  • Switch to the Scorching Totems as soon as they appear and destroy them before returning to Loregrain.
  • Avoid using Fire damage against Fire Ward, as it absorbs incoming Fire damage.

Important: Do not let multiple waves of Scorching Totems build up. Deal with each group as it appears rather than allowing their damage to overwhelm the healer.

Lord Incendius

Lord Incendius is a fire elemental who uses Fiery Burst to deal Fire damage and Mighty Blow to knock players back. His most dangerous ability is Fire Storm, which creates an area of intense flame that continues dealing damage to anyone caught inside it.

Tank

  • Keep Incendius positioned so the group has room to move when Fire Storm appears.
  • Be ready for the damage from Fiery Burst and the knockback from Mighty Blow.

Healer

  • Watch the tank's health after Fiery Burst.
  • Heal anyone caught in Fire Storm, but make sure you move out of the affected area yourself.

DPS

  • Move out of Fire Storm as soon as it appears.
  • Be prepared for Mighty Blow to knock you away from the boss and reposition before continuing your attacks.

Important: Fire Storm deals damage for as long as players remain inside it. Move out immediately rather than trying to finish a cast or attack.

Warder Stilgiss & Verek

Warder Stilgiss is a frost-based enemy who uses Frostbolt to damage and slow his target. He also casts Frost Nova, dealing Frost damage and immobilising nearby players. Verek accompanies him, adding another enemy that the tank must keep under control.

Tank

  • Keep Stilgiss and Verek controlled so they do not attack the healer.
  • Be prepared for Frostbolt to slow your movement and make repositioning harder.

Healer

  • Watch the tank's health through repeated Frostbolt damage.
  • Heal players caught by Frost Nova, particularly if they are unable to move away from Verek.

DPS

  • Ranged players should stay at a distance to avoid being caught by Frost Nova.
  • Help control Verek while focusing damage on the group's chosen target.

Important: Frost Nova affects nearby players, so ranged players should keep their distance. The tank should also be ready for the slow from Frostbolt when managing both enemies.


Fineous Darkvire

Fineous Darkvire is a Dark Iron dwarf who uses Holy abilities to strengthen himself and damage his target. His Holy Strike adds Holy damage to his attacks, while Holy Light allows him to heal and prolong the encounter if it is not interrupted.

Tank

  • Keep Fineous facing away from the group and maintain threat throughout the fight.
  • Be prepared for the extra damage from Holy Strike.

Healer

  • Watch the tank's health and be ready to heal through Holy Strike.
  • Keep enough mana available in case Fineous manages to prolong the encounter with his healing.

DPS

  • Interrupt Holy Light whenever possible to prevent Fineous from restoring health.
  • Keep damage focused on Fineous rather than allowing the fight to drag on.

Important: Interrupting Holy Light is the key to keeping this encounter under control. Allowing repeated heals will make the fight longer and put extra pressure on the healer.

Bael'Gar

Bael'Gar is a large fire elemental who summons a Spawn of Bael'Gar at 80%, 60%, 40% and 20% health. Each spawn adds another enemy to the fight, so the group must deal with them as they appear rather than allowing them to build up alongside the boss.

Tank

  • Pick up each Spawn of Bael'Gar as soon as it appears.
  • Keep the spawn away from the healer while maintaining threat on Bael'Gar.

Healer

  • Expect additional tank damage whenever a new spawn joins the fight.
  • Watch the group's health when the spawn appears, as its arrival can also deal Fire damage.

DPS

  • Switch to each spawn as it appears and kill it before returning to Bael'Gar.
  • Use crowd control if the group needs more time to deal with the additional enemy.

Important: Bael'Gar summons more spawns as his health drops. Do not ignore them to keep damaging the boss, or the group can quickly become overwhelmed.


General Angerforge

General Angerforge is joined by four Anvilrage Reservists when the encounter begins. These additional enemies make the opening particularly dangerous, while Angerforge himself uses Sunder Armor to reduce the tank's armour and becomes more dangerous when he enrages.

Tank

  • Pick up the four Reservists immediately and keep them controlled while the group kills them.
  • Once the adds are dead, focus on Angerforge and watch for the armour reduction from Sunder Armor.

Healer

  • Expect heavy damage at the start while the tank is holding several enemies.
  • Be ready for increased tank damage as Angerforge's health gets lower.

DPS

  • Focus the Anvilrage Reservists first, killing or controlling them before switching to Angerforge.
  • Save damage cooldowns for the boss once the adds are dealt with.

Important: Do not start attacking Angerforge while the Reservists are still loose. Clearing the adds first makes the encounter much safer.

Golem Lord Argelmach

Golem Lord Argelmach is surrounded by a collection of mechanical enemies, including Weapon Technicians, Wrath Hammer Constructs, Doomforge Arcanasmiths and a Ragereaver Golem. Argelmach also uses Chain Lightning, which jumps between nearby players, and Shock to deal additional Nature damage.

Tank

  • Keep the Ragereaver Golem and as many of the additional enemies under control as possible.
  • Avoid allowing the adds to spread onto the healer.

Healer

  • Watch for Chain Lightning jumping between players, particularly if the group is standing close together.
  • Be ready for Shock to hit party members other than the tank.

DPS

  • Prioritise the Doomforge Arcanasmiths, as they are particularly dangerous.
  • Use crowd control on additional enemies where possible and avoid pulling the entire room at once.

Important: The surrounding enemies are a major part of this encounter. Take care with the pulls and deal with the dangerous casters before focusing on Argelmach.

Hurley Blackbreath

Hurley Blackbreath is found in the Grim Guzzler tavern and should be approached after dealing with the nearby patrons. He uses Flame Breath, a frontal Fire attack that damages players in front of him, and Drunken Rage, which increases his attack speed and physical damage for a short time.

Tank

  • Clear the nearby patrons before engaging Hurley.
  • Keep him facing away from the rest of the group to avoid catching players in Flame Breath.
  • Be ready to use defensive abilities when Drunken Rage increases his damage.

Healer

  • Watch the tank closely during Drunken Rage, when Hurley's attacks become more dangerous.
  • Heal players who are caught in Flame Breath.

DPS

  • Stay out of the area in front of Hurley to avoid Flame Breath.
  • Continue damaging him while watching for the increased damage during Drunken Rage.

Important: Clear the tavern area before starting the encounter. During the fight, make sure nobody stands in front of Hurley when he uses Flame Breath.

Phalanx

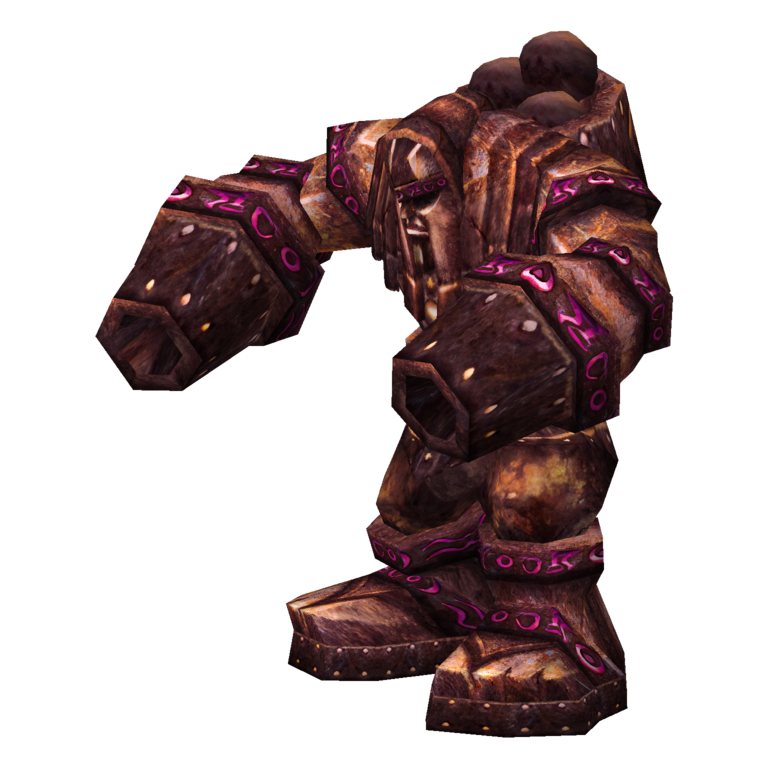
Phalanx is a powerful mechanical dwarf who uses Thunder Clap to damage and slow nearby players. He also uses Mighty Blow to knock back his target and Fireball Volley to hit players at range with Fire damage.

Tank

  • Keep Phalanx positioned away from the healer and ranged players where possible.
  • Be prepared for Mighty Blow to knock you back and for Thunderclap to slow your movement.

Healer

  • Watch melee players for damage from Thunder Clap.
  • Be ready to heal ranged players if they are caught by Fireball Volley.

DPS

  • Melee players should be prepared for the attack-speed and movement slow from Thunder Clap.
  • Ranged players should watch for Fireball Volley and avoid letting its damage interrupt their positioning.

Important: Thunderclap affects players close to Phalanx, while Fireball Volley threatens players at range. Both melee and ranged players need to be ready for damage.

Ribbly Screwspigot

Ribbly Screwspigot is found in the Grim Guzzler and fights alongside a group of drunken hounds. He uses Hamstring to damage and slow his target, making it harder for the tank to move and reposition while dealing with the additional enemies.

Tank

  • Gather the hounds and keep them under control while the group kills them.
  • Be prepared for Hamstring to slow your movement during the fight.

Healer

  • Keep the tank healthy while the hounds are alive.
  • Watch for additional damage after Hamstring, particularly while the tank is unable to reposition easily.

DPS

  • Kill the hounds before switching to Ribbly.
  • Keep damage focused on one target at a time.

Important: Deal with the hounds first. Leaving them alive while attacking Ribbly puts unnecessary pressure on the tank and healer.

Plugger Spazzring

Plugger Spazzring is a warlock-style enemy who uses Shadow and Fire spells against the group. His Immolate deals an initial hit followed by damage over time, while Shadow Bolt deals direct Shadow damage. He can also use Banish to temporarily remove a player from the fight and Curse of Tongues to slow spellcasting.

Tank

  • Keep Plugger focused on you while the group deals with his spells.
  • Be prepared for repeated Shadow Bolt and Immolate damage.

Healer

  • Dispel Curse of Tongues from mana users when possible.
  • Remove Banish when you can, and keep an eye on the tank while Immolate is active.

DPS

  • Interrupt Immolate where possible to prevent its damage over time.
  • Continue damaging Plugger while watching for players affected by Banish.

Important: Banish temporarily removes a player from the encounter. Keep the group alive while they are unable to contribute, and interrupt Immolate whenever possible.

Ambassador Flamelash

Ambassador Flamelash is a fire-based boss who summons waves of Fireguard Destroyers during the encounter. These adds deal additional damage and can overwhelm the group if they are not handled before the next wave arrives. Flamelash also uses Fire Blast, while burning spirits add another threat around the boss.

Tank

  • Pick up the Fireguard Destroyers as they appear and keep them away from the healer.
  • Maintain control of the adds while the group focuses them down.

Healer

  • Be ready for heavy damage from Fire Blast and the additional enemies.
  • Watch the tank closely when a new wave of Destroyers arrives.

DPS

  • Switch to the Fireguard Destroyers as they appear and kill them before returning to Flamelash.
  • Avoid standing in the path of burning spirits.

Important: Do not allow multiple waves of Fireguard Destroyers to build up. Deal with each wave before returning your attention to Flamelash.

The Seven

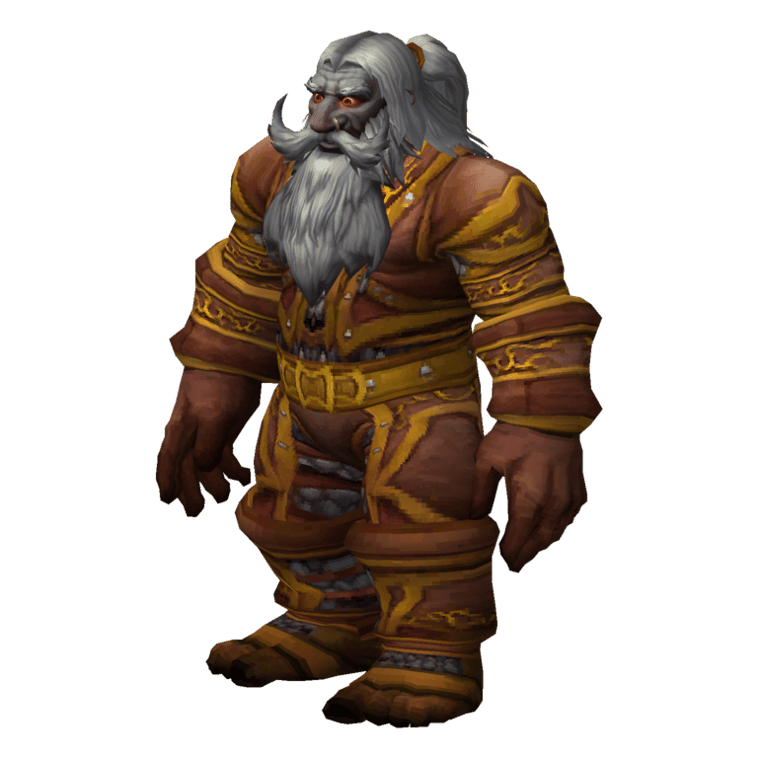
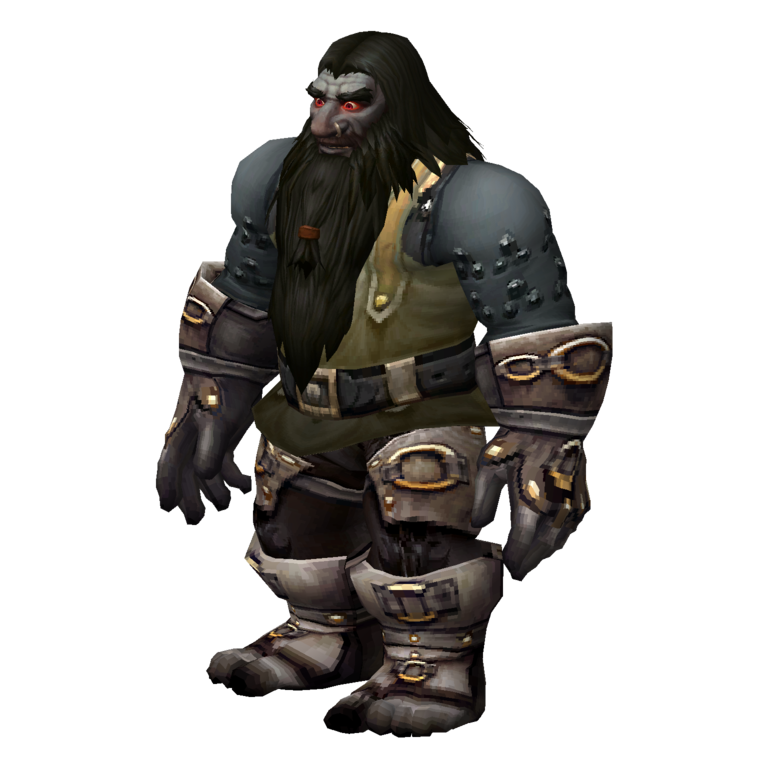
The Seven is an encounter involving seven Dark Iron dwarves, each with different abilities and roles. The group faces a mix of melee attacks, Frost spells, Shadow spells and healing. Frost Nova can immobilise nearby players, while Cone of Cold and Cleave punish anyone standing in front of the enemies. Their healer can also use Heal to restore health during the fight.

Tank

  • Keep the melee enemies facing away from the group to avoid Cone of Cold and Cleave hitting other players.
  • Pick up the Voidwalkers that join during the encounter.

Healer

  • Watch the tank for damage from melee attacks and Rupture.
  • Be ready to heal players caught by Frost Nova or the enemies' Shadow spells.

DPS

  • Interrupt Heal whenever possible to prevent the enemies from restoring health.
  • Prioritise the healer and dangerous casters before focusing on the melee enemies.
  • Attack from behind or the side to avoid frontal attacks.

Important: The Seven bring several different threats into one encounter. Keep the melee enemies facing away, interrupt their healing and avoid letting the group become surrounded.

Magmus

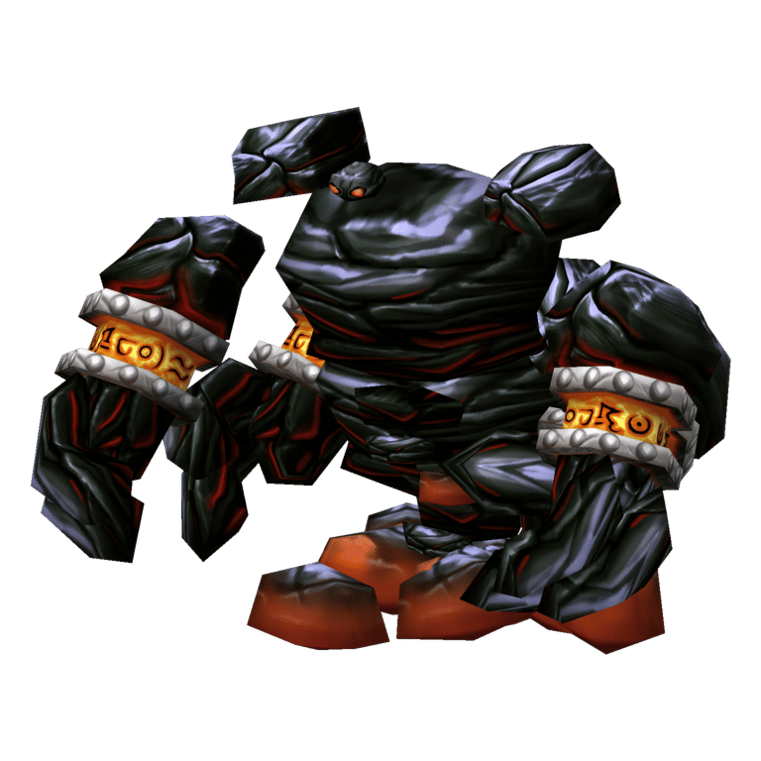
Magmus is a fire elemental who uses Fiery Burst to deal Fire damage and War Stomp to knock back and stun nearby players. The stomp affects players within close range, so ranged players have an advantage if they maintain enough distance.

Tank

  • Keep Magmus positioned so melee players can attack without moving the fight into nearby enemies.
  • Be prepared for Fiery Burst to deal repeated Fire damage.

Healer

  • Watch for War Stomp, which can stun nearby players and prevent them from acting for several seconds.
  • Keep the tank healthy through Fiery Burst and recover the group after the stomp.

DPS

  • Ranged players should stay more than five yards away to avoid War Stomp.
  • Melee players should be ready for the knockback and stun before returning to the boss.

Important: War Stomp can leave nearby players unable to act for several seconds. Ranged players should keep their distance rather than standing close to the boss.

Princess Moira Bronzebeard

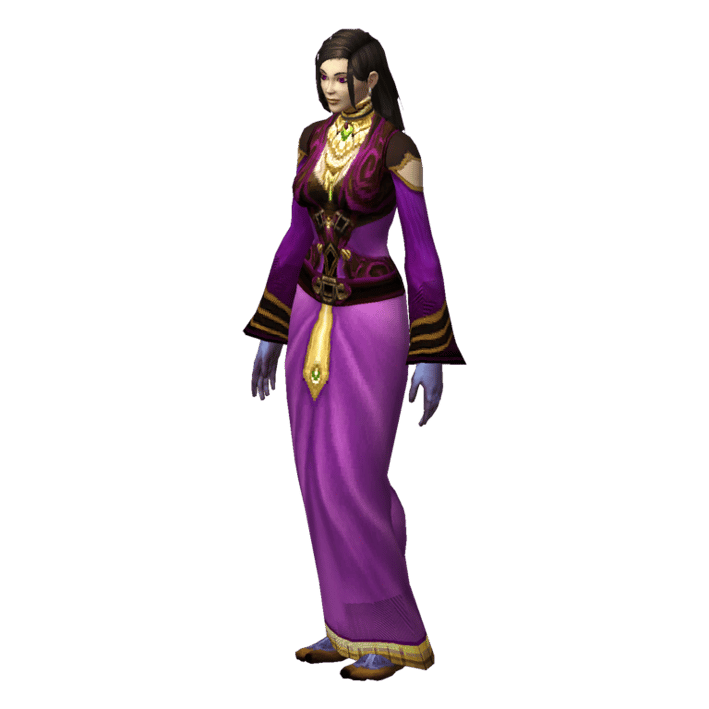
Princess Moira is a priest who fights alongside Emperor Dagran Thaurissan. She uses Heal to restore health, as well as Shadow and Holy spells such as Mind Blast, Shadow Word: Pain and Smite. Her healing can make the Emperor encounter much harder if she is left free to cast.

Tank

  • Keep Moira controlled and separate from the Emperor where possible.
  • Be ready to manage her threat while the group deals with the Emperor.

Healer

  • Watch for Mind Blast and Shadow Word: Pain, which can deal significant damage to the tank.
  • Keep the group healthy while Moira is casting and the Emperor is still active.

DPS

  • Interrupt Heal whenever possible to stop Moira restoring the Emperor's health.
  • Follow the group's kill order and avoid uncontrolled damage that could make the encounter harder to manage.

Important: If you are completing the rescue quest, make sure Moira survives the encounter. Control or interrupt her healing rather than killing her.

Emperor Dagran Thaurissan

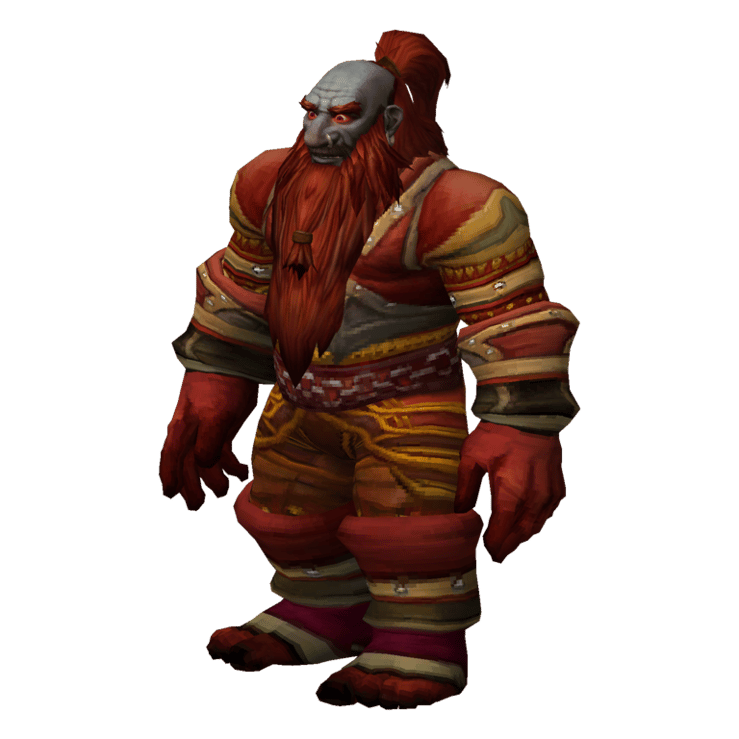
Emperor Dagran Thaurissan is the final boss of Blackrock Depths and fights alongside Princess Moira. His Hand of Thaurissan deals Fire damage and stuns its target, while Avatar of Flame surrounds him with fire, making him immune to magic and increasing the damage of his attacks for a short time.

Tank

  • Keep Dagran positioned away from Moira so the group can manage both enemies.
  • Be prepared for the stun from Hand of Thaurissan, which can briefly prevent you from using abilities.

Healer

  • Watch for Hand of Thaurissan hitting party members other than the tank.
  • Be ready for increased damage while Dagran is surrounded by Avatar of Flame.

DPS

  • Follow the group's kill order and deal with Moira's healing before committing to the Emperor.
  • When Avatar of Flame is active, be aware that Dagran becomes immune to magic and deals increased Fire damage with his attacks.

Important: Avatar of Flame makes Dagran immune to magic for its duration. Save magical burst for when the effect ends, and keep the tank alive through the increased damage.

Table of Contents

See More Dungeons

Alcaz Prison Dungeon Guide - Bosses, Loot & Quests
By PhaseShifter ∙Updated on Nov 21, 2026
Beginner
Mechanics
Beginner
Mechanics
Gnomeregan Guide - Bosses, Loot & Quests
By PhaseShifter ∙Updated on Nov 21, 2026
Beginner
Mechanics
Beginner
Mechanics
The Deadmines Guide - Bosses, Loot & Quests
By PhaseShifter ∙Updated on Nov 20, 2026
Beginner
Mechanics
Beginner
Mechanics
Sunken Temple Dungeon Guide - Bosses, Loot & Quests
By PhaseShifter ∙Updated on Nov 20, 2026
Beginner
Mechanics
Beginner
Mechanics