
Blackmaw Hold is a new five-player WoW Forever dungeon in northern Azshara, designed for levels 55–60. The stronghold belongs to the Blackmaw furbolgs, whose territory has been corrupted by demonic forces and overrun by satyrs.
 Use your favourite features in-game with our Desktop App
WoW Forever Blackmaw Hold Dungeon Guide - Bosses, Loot & Quests
Beginner
Mechanics
Blackmaw Hold Overview
Blackmaw Hold Quest Loot & Rewards
Alliance
Horde
Get to the Roots of It
Quest Giver: Mathrengyl Bearwalker
Coordinates/Location: (35.4, 8.4) Cenarion Enclave, Darnassus
Required Level: 45
Reward: XP & Silver
This quest follows Beneath Nordrassil. Enter Blackmaw Hold and collect 10 Nordrassil Root Caps from inside the dungeon.
Gather the roots as you clear the different areas rather than making a separate trip through the instance.
Blackmaw Magic
Quest Giver: Archmage Timear
Coordinates/Location: (15.4, 74.0) Dalaran, Alterac Mountains
Required Level: 52
Reward: XP & Silver
Recover the Blackmaw Ritual Totem from Elder Shaman Bloodmane inside Blackmaw Hold.
Return the totem to Archmage Timear. The Alliance version rewards Kirin Tor and Darnassus reputation.
Claws That Rend, Tusks that Gore
Quest Giver: Ogtinc
Coordinates/Location: (42.4, 42.7) Azshara
Required Level: 45
Reward:  Great Bear Claw,
 Staff of Wild Beasts
 Wild Malleus
Defeat Withermaw and collect the Claws of the Great Bear. You must also defeat Bonesnout the Unbroken and collect the Tusks of the Unbroken.
Return both items to Ogtinc in Azshara. You can choose one of three weapon rewards.
Blackmaw Pouches
Quest Giver: Ekkal
Coordinates/Location: (42.0, 38.9) Ruins of Eldarath, Azshara
Required Level: 55
Reward: XP & Silver
Collect five Blackmaw Pouches from enemies inside Blackmaw Hold and return them to Ekkal.
This quest can be repeated for additional Timbermaw Hold reputation.
A Lost Memento
Quest Giver: Unele
Coordinates/Location: (43.0, 18.2) Azshara
Required Level: 47
Reward:  Nama's Cherished Necklace
This quest starts when you loot a Feathered Charm Necklace from satyrs or imps inside Blackmaw Hold.
Take the necklace to Unele in Azshara to receive Nama's Cherished Necklace.
The Twin Bears
Quest Giver: Lorekeeper Nok
Coordinates/Location: (41.4, 20.0) Ursolan, Azshara
Required Level: 47
Reward:  Guidance of Ursoc
 Wisdom of Ursol
Find the Totem of Ursoc and the Totem of Ursol inside Blackmaw Hold.
Return both to Lorekeeper Nok. This quest requires Neutral reputation with the Timbermaw and offers a choice between two cloaks.
Blackmaw Reclamation
Quest Giver: Gatekeeper Rageroar
Coordinates/Location: (42.4, 20.2) Ursolan, Azshara
Required Level: 47
Reward:  Ouroboros Ring,
 Eagle's Head Signet,
 Malefactor's End
 Engraved Band
This quest is part of a chain beginning with Report to Rageroar. Complete the required Timbermaw quest steps to unlock it.
Defeat Varrox Bleakhoof and collect the Head of Varrox Bleakhoof. Return it to Gatekeeper Rageroar to choose one of four rings.
Blackmaw Hold Boss Loot
Boss | Loot |
|---|---|
Withermaw | • |
Impaan the Imprisoner | • |
Elder Shaman Bloodmane | • |
Bonesnout the Unbroken | • |
Blackmaw Behemoth | • |
Unbound Spirit | • |
Varrox Bleakhoof | • |


Withermaw
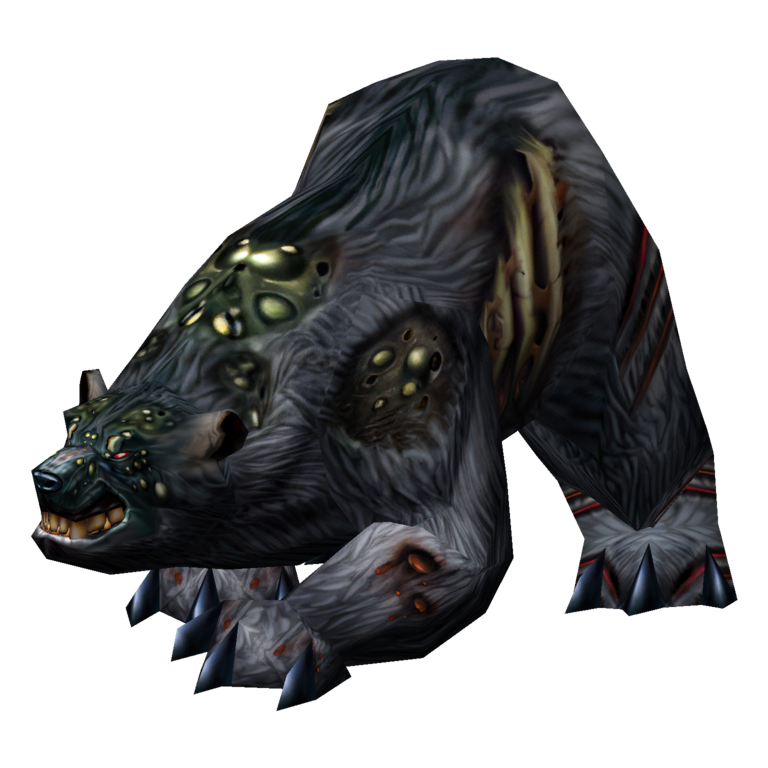
Withermaw is a large beast found along the left-hand route from the entrance, inside a cave. He summons maggots to assist him during the fight, while his AoE Fear can scatter the group and send players into nearby enemies. Clear the surrounding packs before engaging and be ready to deal with the additional maggots.
 Tank
- Pull Withermaw into a cleared area so feared players do not run into nearby packs.
- Keep him facing away from the group and maintain threat on the summoned maggots.
- Be ready to recover control when Fear affects the party.
 Healer
- Use Fear Ward or Tremor Totem where available to help the group deal with his fear.
- Keep the tank healthy while the maggots are active.
- Be prepared for players to take additional damage if they become separated during Fear.
 DPS
- Clear the nearby cave packs before starting the encounter.
- Deal with the summoned maggots so they do not overwhelm the healer.
- Use Fear protection where available and return to the boss once the group is stable.
Important: Clear the area around Withermaw before pulling. His Fear can send players running into nearby enemies and turn a manageable fight into a much larger pull.
Impaan the Imprisoner
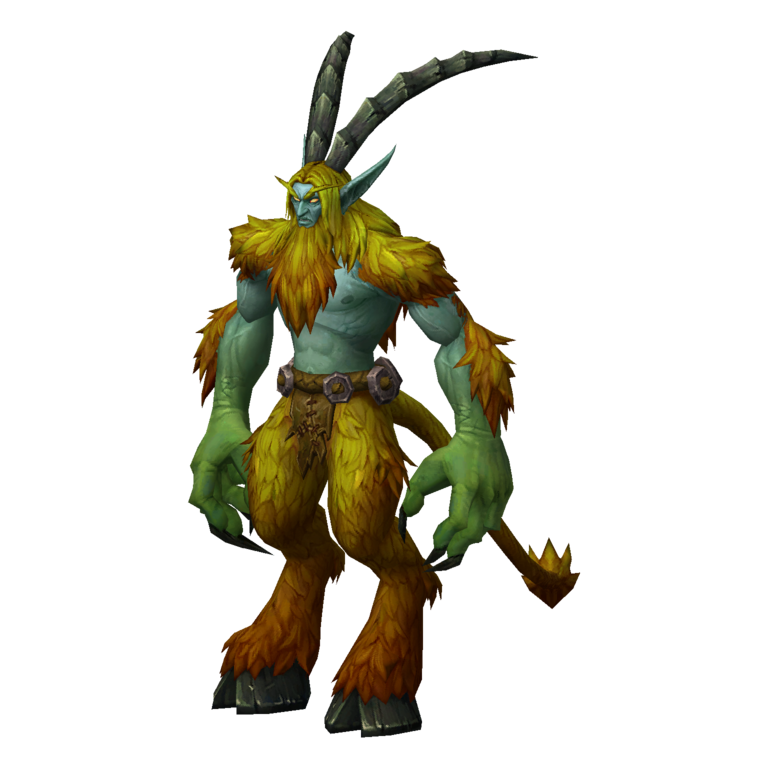
Impaan is a demon found along the right-hand path up the hill from the entrance. He uses spells that need to be interrupted and summons imps to assist him. The summoned imps must be dealt with before the group can finish the boss, so do not focus entirely on Impaan while they are active.
Tank
- Establish threat on Impaan as soon as the encounter begins.
- Pick up the summoned imps quickly and keep them away from the healer.
- Keep Impaan positioned so melee players can attack safely while interrupts are handled.
Healer
- Watch the tank when the imps appear, as incoming damage can increase quickly.
- Be ready to heal players who take damage from the additional enemies.
- Stay at range and avoid unnecessary spell interruptions.
DPS
- Assign interrupts to Impaan's casts and make sure they are not all used at once.
- Switch to the summoned imps and kill them before returning to the boss.
- Avoid letting the imps reach the healer.
Important: Interrupt Impaan's casts and kill his summoned imps. Do not assume you can simply burn the boss while ignoring the adds.
Elder Shaman Bloodmane
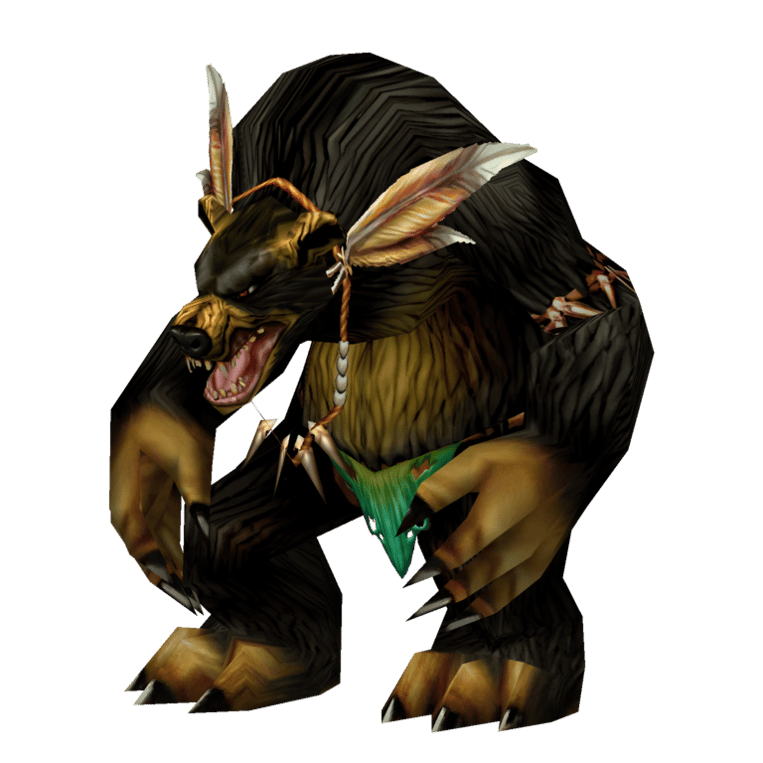
Elder Shaman Bloodmane is a Blackmaw shaman who begins the encounter by summoning two spectral wolves to fight alongside him. The group can kill the wolves first or cleave them down while attacking the boss, but focusing Bloodmane is generally the faster approach if the tank can keep the wolves controlled.
Tank
- Pick up Bloodmane and both spectral wolves as the fight begins.
- Keep the wolves from attacking the healer while maintaining threat on the boss.
- Position the enemies so melee can cleave without pulling additional packs.
Healer
- Expect incoming damage from multiple enemies at the start of the fight.
- Keep the tank healthy while the wolves are active.
- Be ready to heal anyone who takes damage from a loose wolf.
DPS
- Focus Bloodmane as the priority target if the tank can manage the wolves.
- Use cleave damage to help reduce the adds without losing control of the encounter.
- Switch to a wolf if it becomes a threat to the healer.
Important: Bloodmane summons two spectral wolves at the start. Make sure the tank has control of both before committing to the boss.
Bonesnout the Unbroken
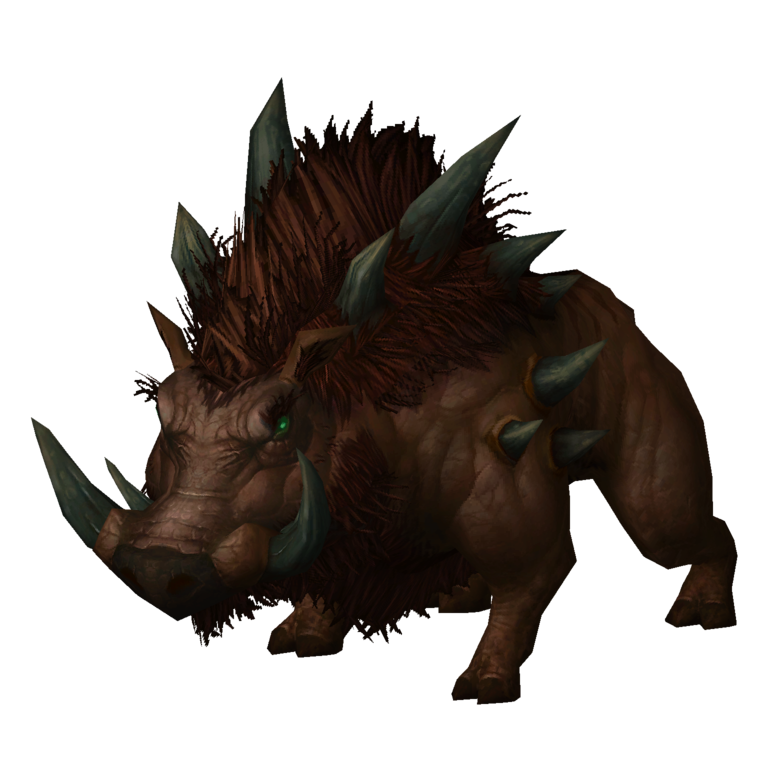
Bonesnout is an undead furbolg found in the lower area beneath the central bridge. Several Legashi Ritualists are positioned around his area, and each one left alive reduces the damage Bonesnout takes by 25%. He also has an AoE Stun, which players should move away from when he begins casting.
Tank
- Clear the Legashi Ritualists before engaging Bonesnout.
- Keep the boss facing away from the group.
- Watch for his AoE Stun and be ready to reposition once it finishes.
Healer
- Make sure the ritualists are dealt with before the boss is pulled.
- Be ready for the tank to take damage while stunned or recovering from the ability.
- Keep the group healthy if anyone is caught by the AoE Stun.
DPS
- Kill every Legashi Ritualist in the area before attacking Bonesnout.
- Move away when Bonesnout begins casting his AoE Stun.
- Return to the boss once the stun has resolved.
Important: Each living Legashi Ritualist reduces Bonesnout's damage taken by 25%. Clear them all first or the encounter will take considerably longer.
Blackmaw Behemoth
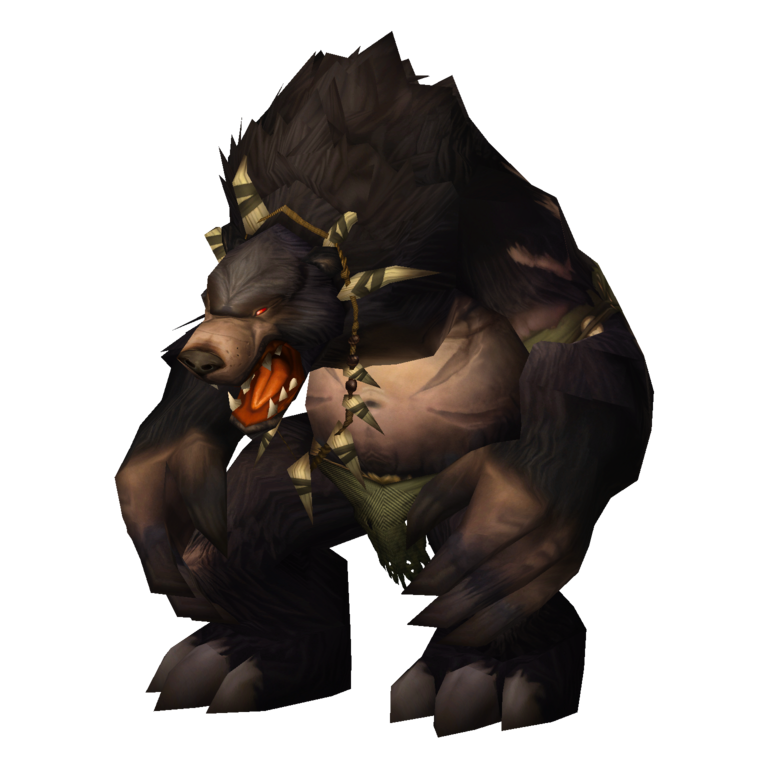
Blackmaw Behemoth is a large furbolg beast accompanied by Clawbert, an ally who repeatedly heals the boss. Clawbert should be killed first. When Clawbert dies, the Behemoth enrages and heals, increasing the danger of the fight. The boss also uses a shout that reduces the party's damage and a Whirlwind attack. Both abilities become more dangerous while he is enraged.
Tank
- Pick up the Behemoth and keep him controlled while the group deals with Clawbert.
- Be ready for the Behemoth to enrage and heal when Clawbert dies.
- Keep the boss facing away from the group and watch for Whirlwind.
- Use defensive cooldowns during the enraged phase.
Healer
- Watch the tank closely when the Behemoth enrages.
- Be ready for increased damage during Whirlwind.
- Keep the group healthy if players are caught by the boss's shout or whirlwind.
- Avoid wasting mana before Clawbert has been dealt with.
DPS
- Focus Clawbert first. His healing will keep the Behemoth alive if he is ignored.
- Switch to the Behemoth once Clawbert is dead.
- Move away from Whirlwind rather than continuing to attack.
- Expect the fight to become more dangerous after Clawbert dies.
Important: Kill Clawbert first. The Behemoth heals and enrages when his companion dies, so be ready for a much harder phase immediately afterwards.
Unbound Spirit
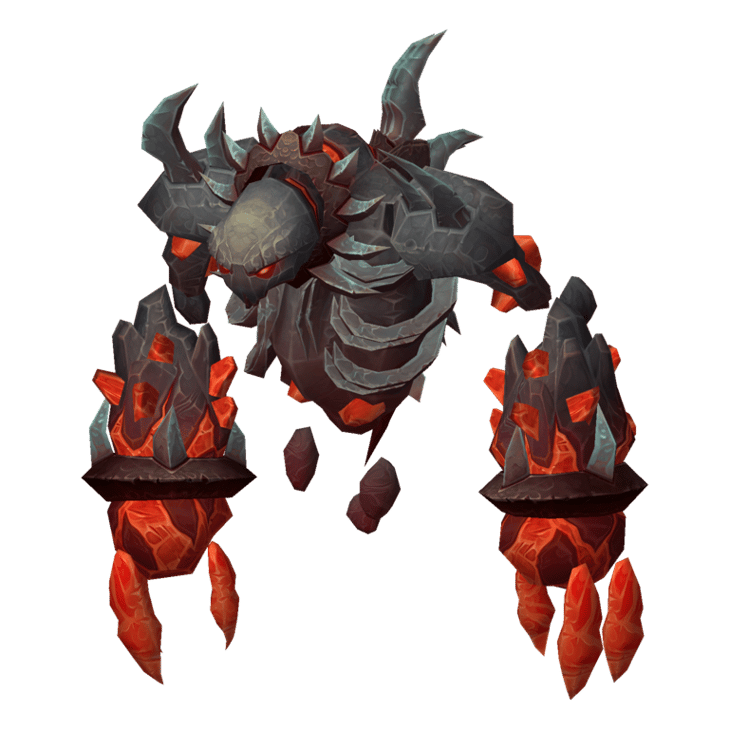
The Unbound Spirit encounter begins by speaking to the nearby furbolg NPC in the boss room. Three pillars surround the area and are initially immune to damage. The NPC channels them to make each one vulnerable, while additional enemies spawn and attempt to kill the NPC. The group must destroy all three pillars and protect the channeling NPC before the Unbound Spirit awakens.
Tank
- Keep the summoned adds away from the channeling NPC.
- Pick up new enemies as they appear so they do not interrupt the encounter.
- Once all three pillars are destroyed and the boss awakens, establish threat immediately.
Healer
- Keep the NPC alive while the group destroys the pillars.
- Watch the tank as additional enemies spawn throughout the event.
- Save enough mana for the boss phase after the pillars are destroyed.
DPS
- Attack the pillars when they become vulnerable through the NPC's channel.
- Switch to the adds when they threaten the NPC.
- Use AoE and cleave to deal with groups of adds efficiently.
- Once all three pillars are destroyed, switch to the Unbound Spirit.
Important: Protect the NPC throughout the ritual. If the adds kill the channeling furbolg, the group will struggle to complete the pillar phase.
Varrox Bleakhoof
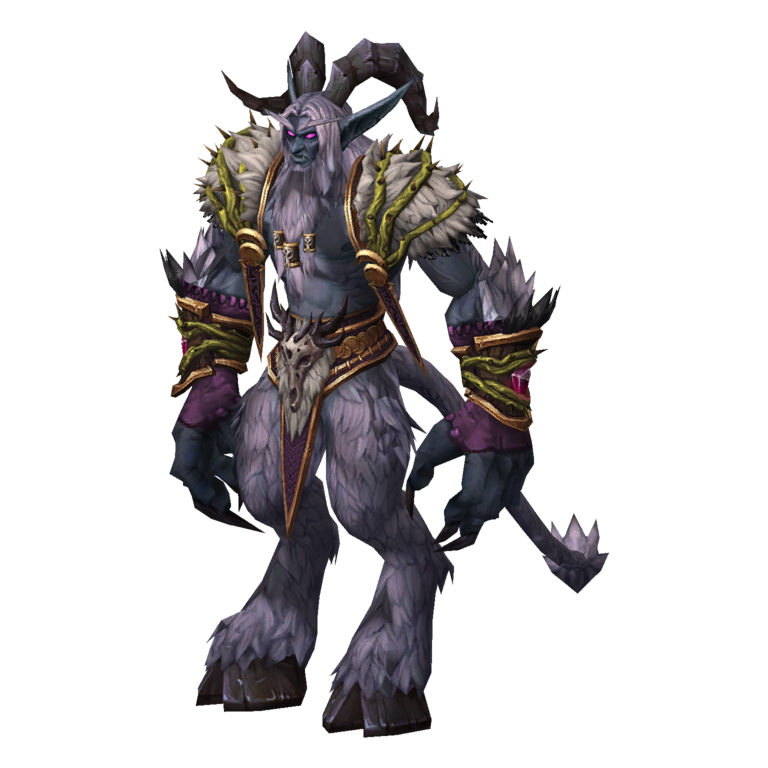
Varrox Bleakhoof is a demon and the final boss for the Master Spelunker challenge. He uses  Fear and Shadowbolt Volley, which should be interrupted where possible. His most dangerous ability is Crimson Wrest, which periodically mind-controls a player and forces them to walk towards him. When the channel finishes, that player explodes, dealing heavy AoE damage and leaving a red orb on the ground. The orbs continue to detonate when Varrox casts the ability again.
Tank
- Keep Varrox facing away from the group and maintain threat throughout the fight.
- Be ready for Fear and help the group recover if it scatters players.
- Watch for Crimson Wrest and give the mind-controlled player room to reach the boss without dragging other players into the explosion.
- Avoid standing near the red orbs left behind.
Healer
- Keep the tank healthy through the encounter and be ready for Shadowbolt Volley damage.
- Watch the player affected by Crimson Wrest, but do not stand close enough to be caught in the explosion.
- Be prepared for repeated AoE damage as existing orbs detonate during later casts.
- Keep the group spread out so one explosion does not catch everyone.
DPS
- Interrupt Shadowbolt Volley and other dangerous casts whenever possible.
- Move away from the player affected by Crimson Wrest.
- Keep clear of all red orbs on the ground, as they can detonate again during later casts.
- Continue attacking when safe, but prioritise avoiding the explosions over maintaining damage.
Important: Crimson Wrest is the key mechanic. Move away from the mind-controlled player and every red orb on the ground. The orbs can detonate again when Varrox casts, so the safe areas become more important as the fight continues.