The Self-Destroy archetype usually doesn't come online until the mid to late game. The majority of its items exist at Gold-tier, making it more of a pivot build most of the time. However, if you happen to find 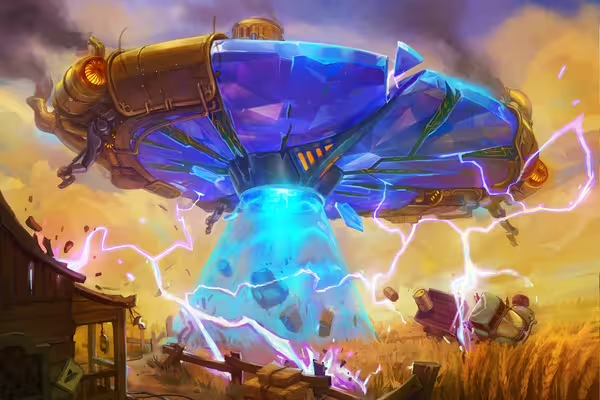 Boosted Saucer early, feel free to explore some earlier synergies.
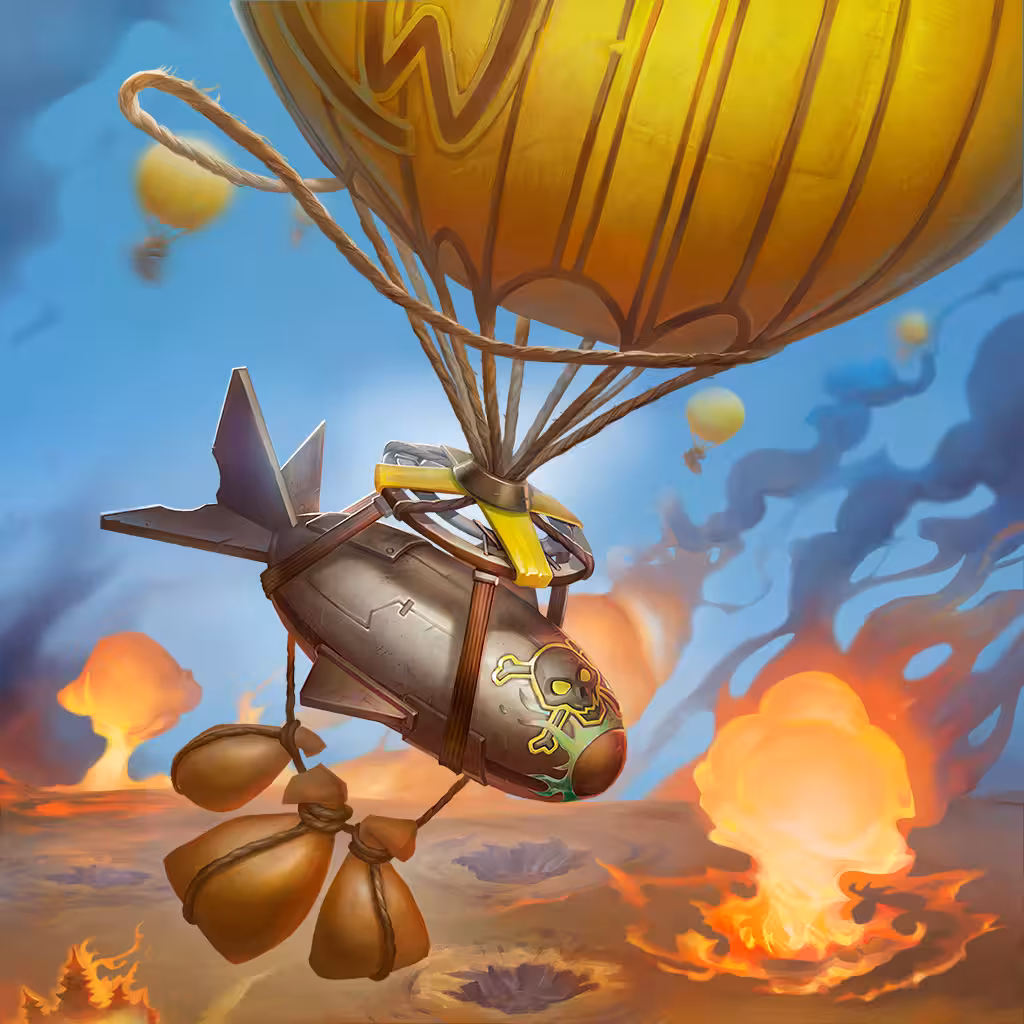
Otherwise, consider playing a more common opener such as Balloon Engine or Molten Ball Blaster.
Core Synergies
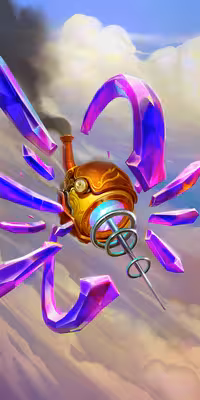
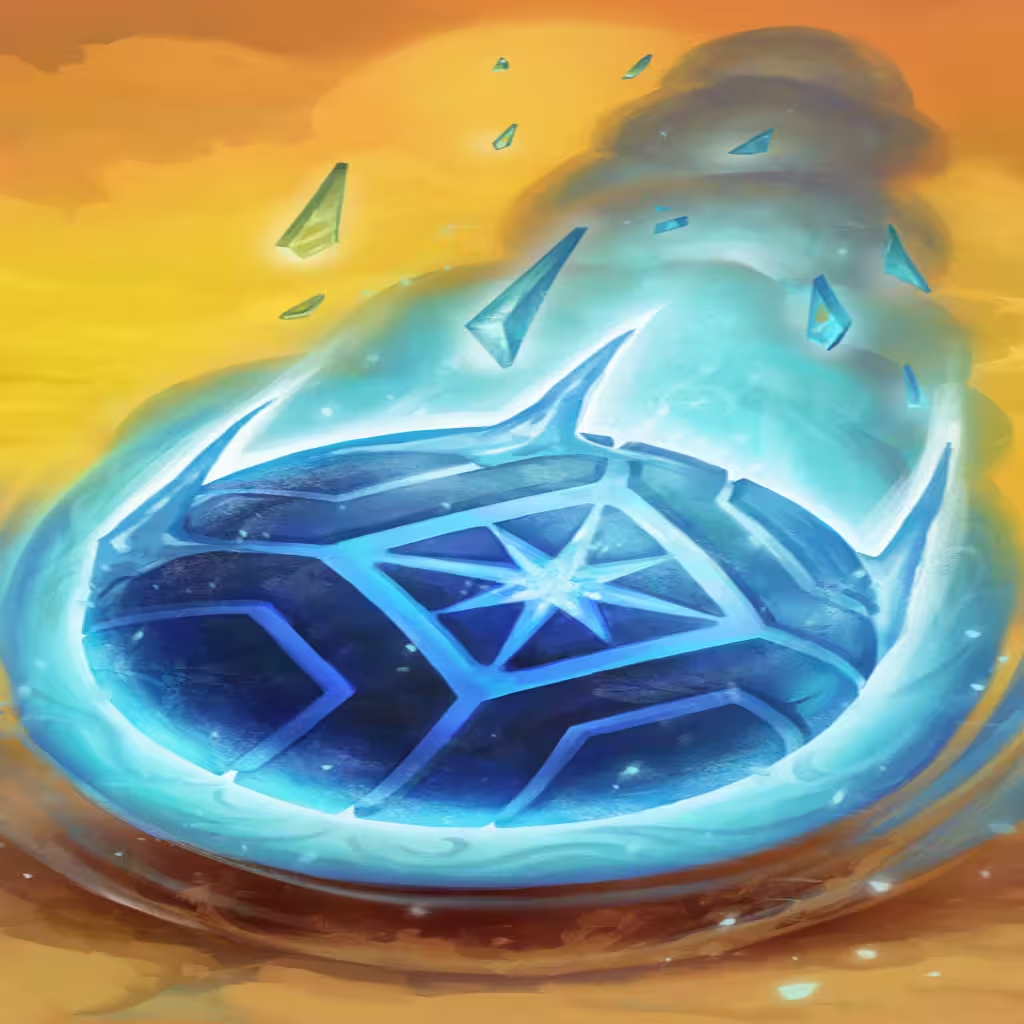
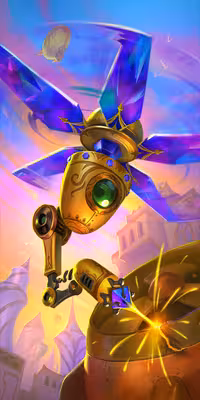
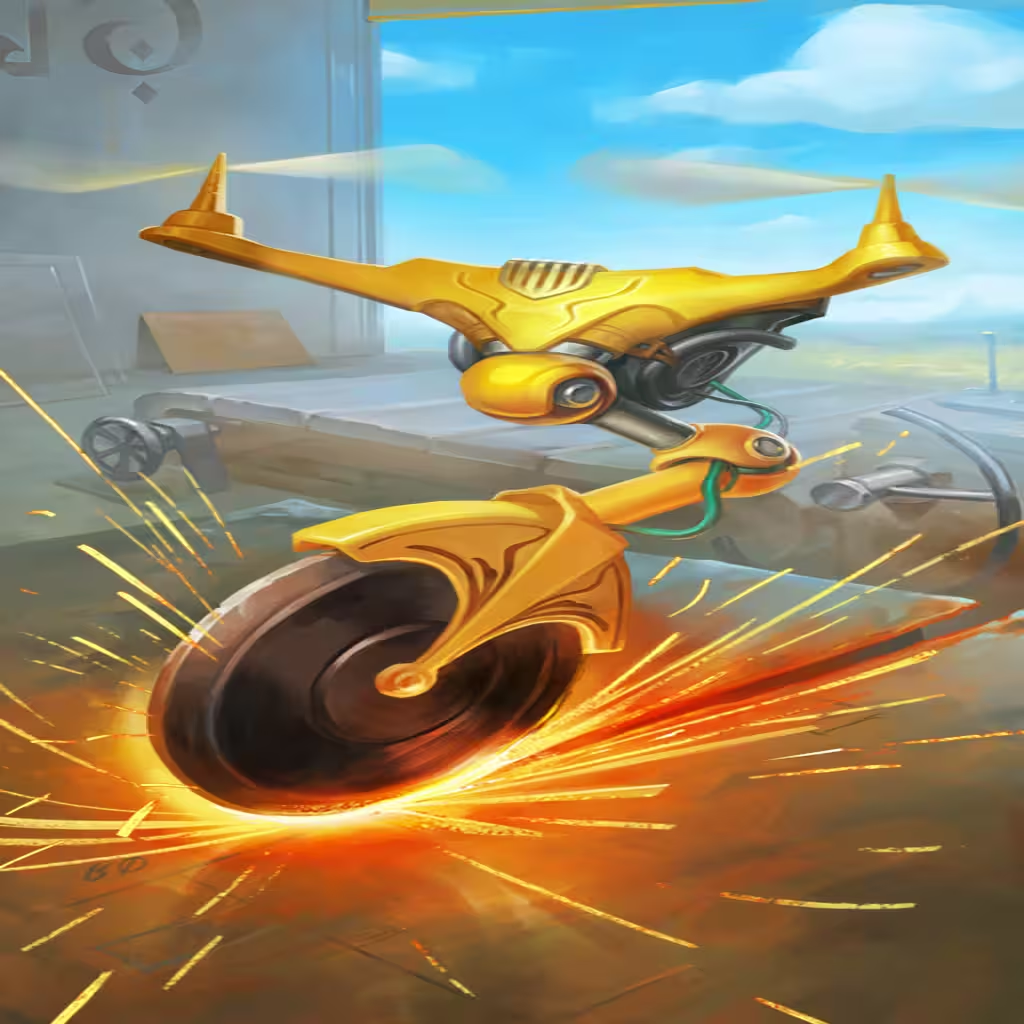
- Boosted Saucer is a powerful Weapon with fast Damage scaling. It's the cleanest pathway into Self-Destroy, and becomes an immediate build-around.
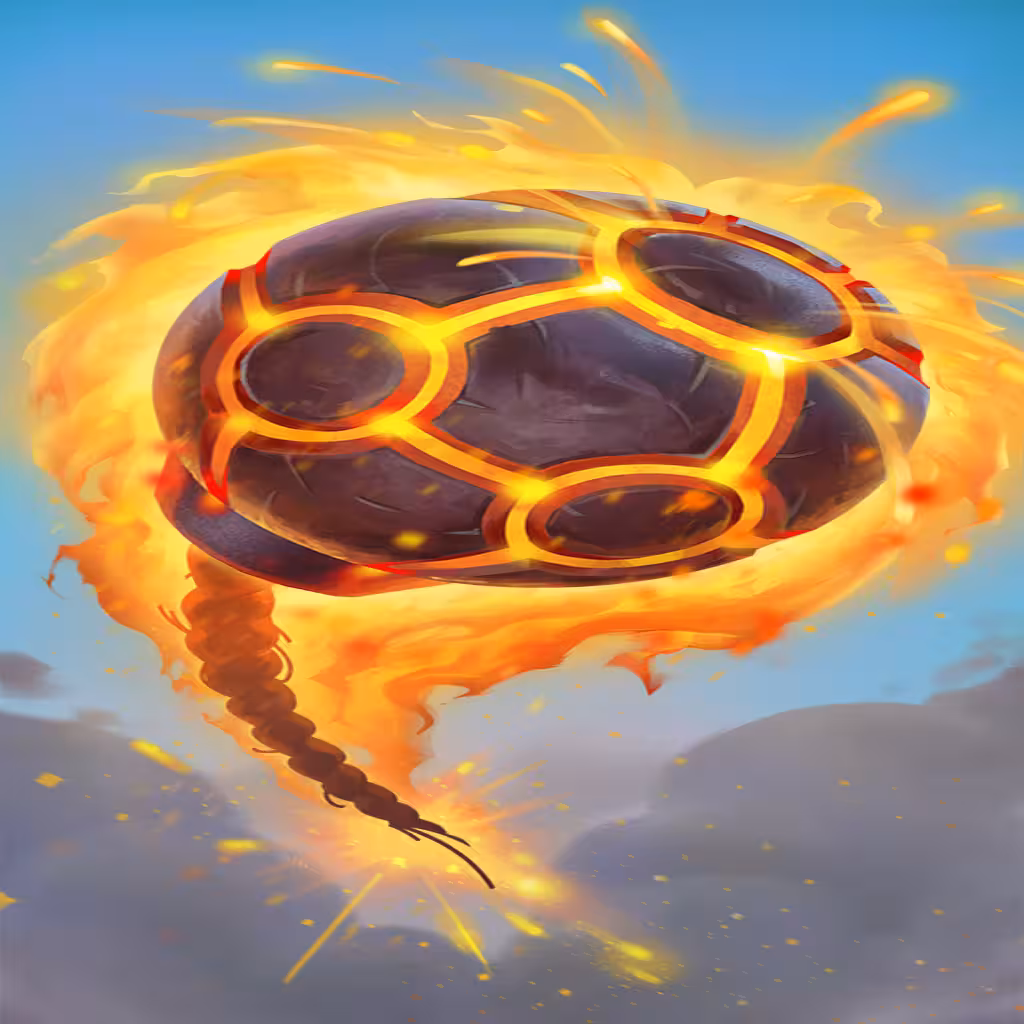 Fire Bomb and
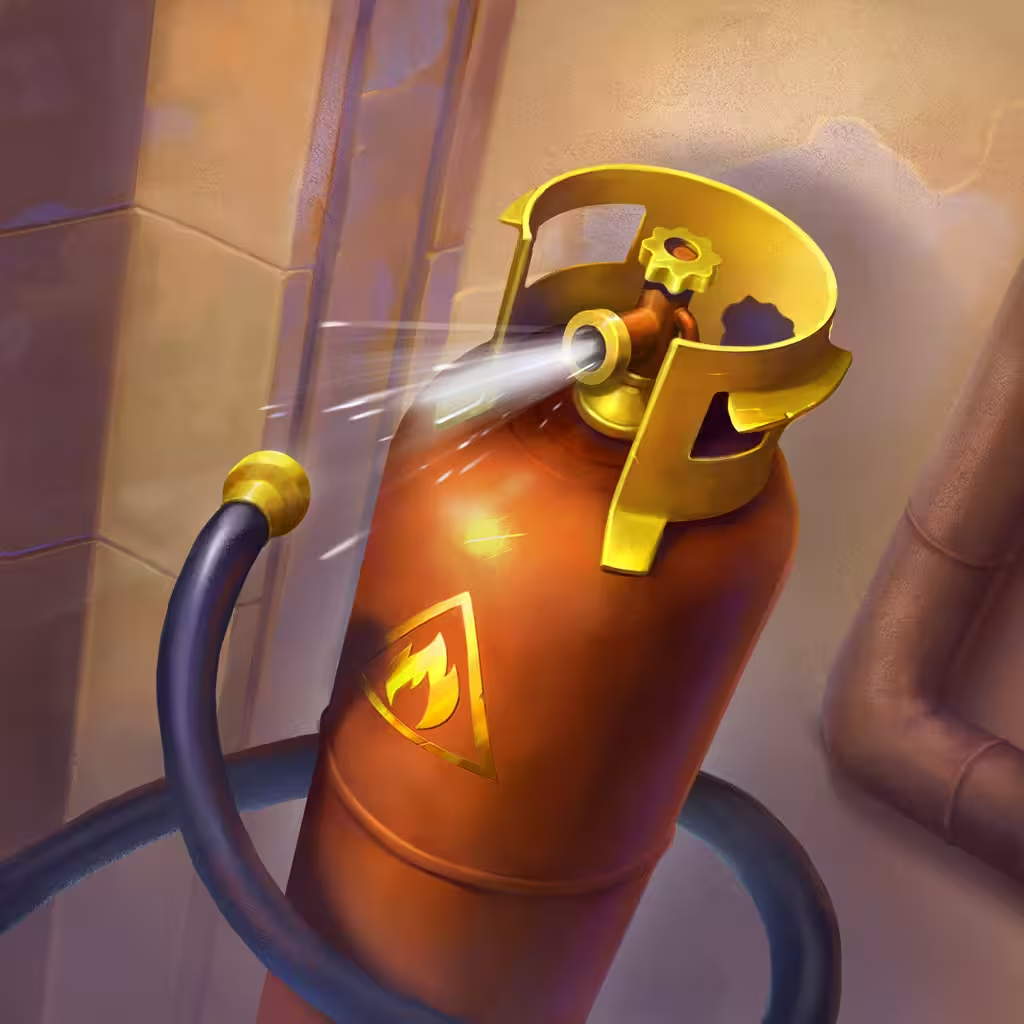
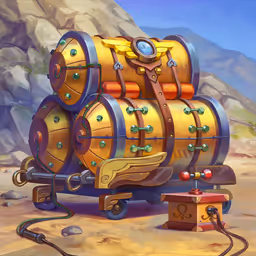
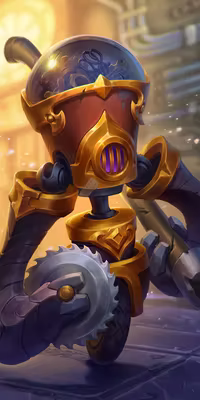
 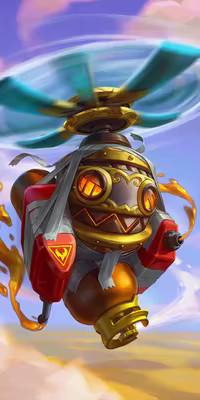 Boom Boom Bot are the earliest Self-Destroy items available as they begin at Bronze-tier.
- While upgrades can improve their aggressive output, the main purpose is to create Destroy triggers to Charge the Boosted Saucer.
 Recycler Bot provides the first source of Repair to help keep Fire Bomb and Boom Boom Bot online throughout the fight.
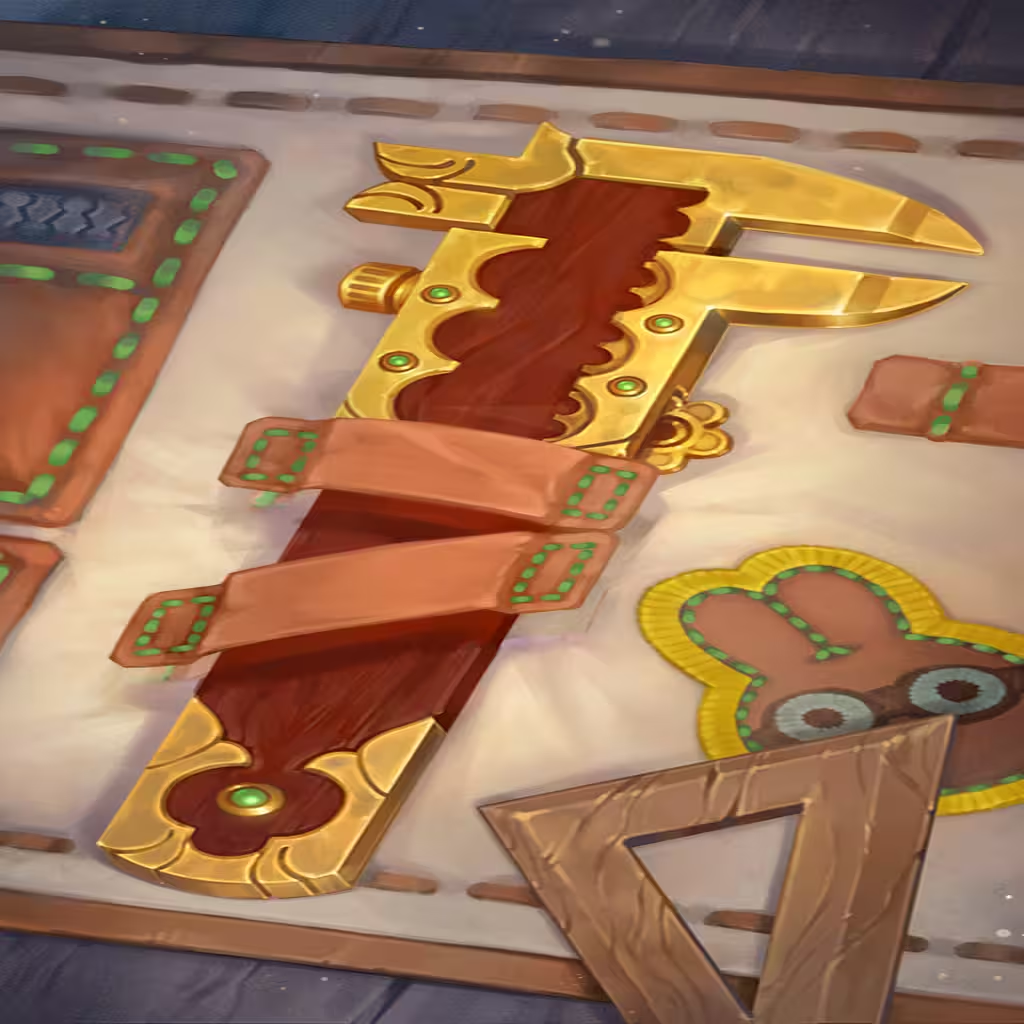 Precision Calipers also works, but it's much slower and is restricted to only one item.
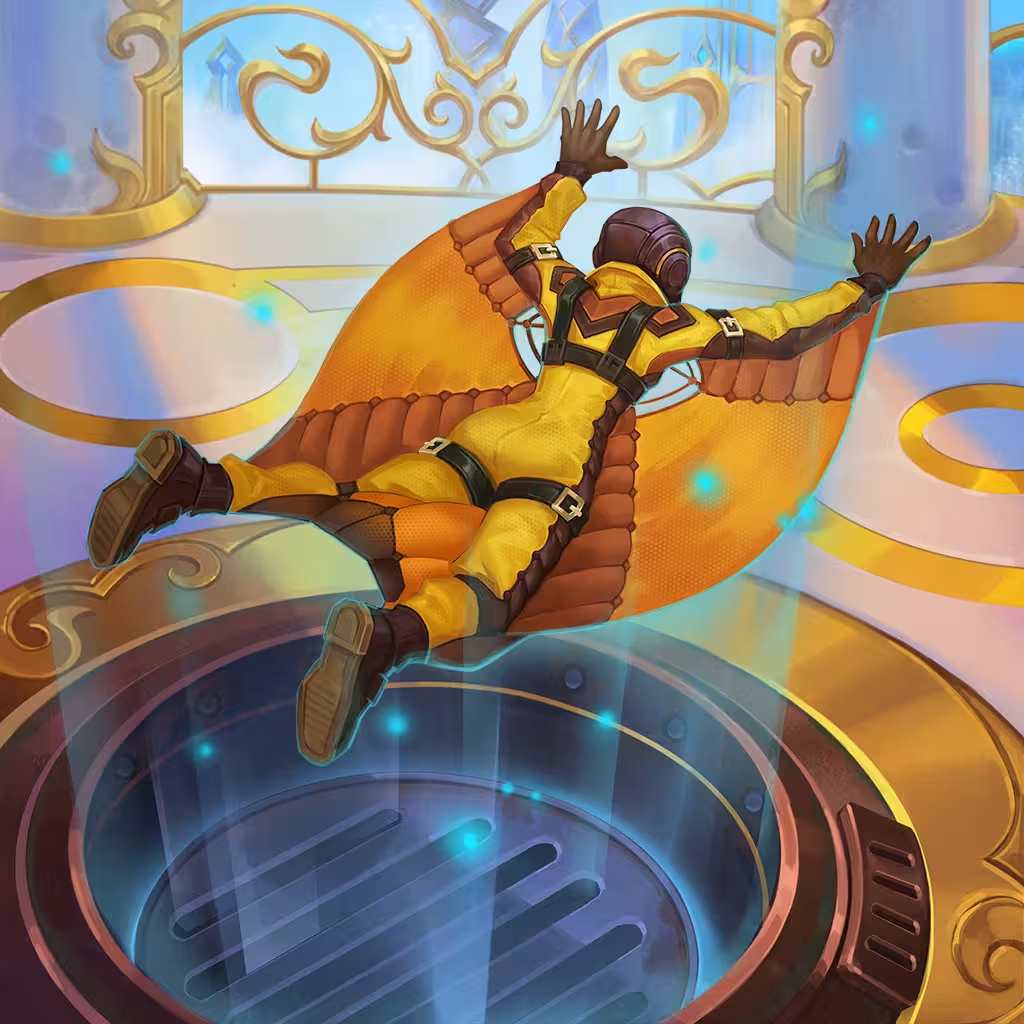 Freefall Simulator,
 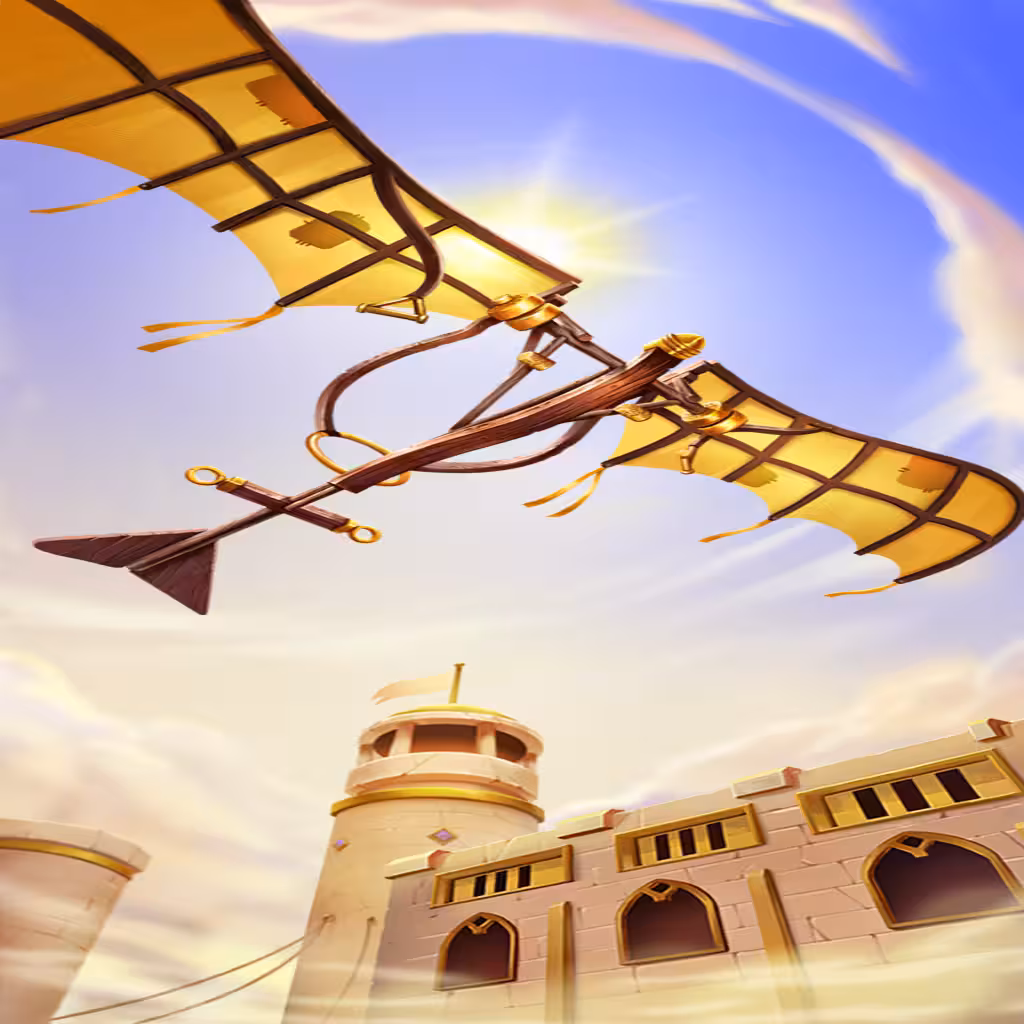 Ornithopter, or
 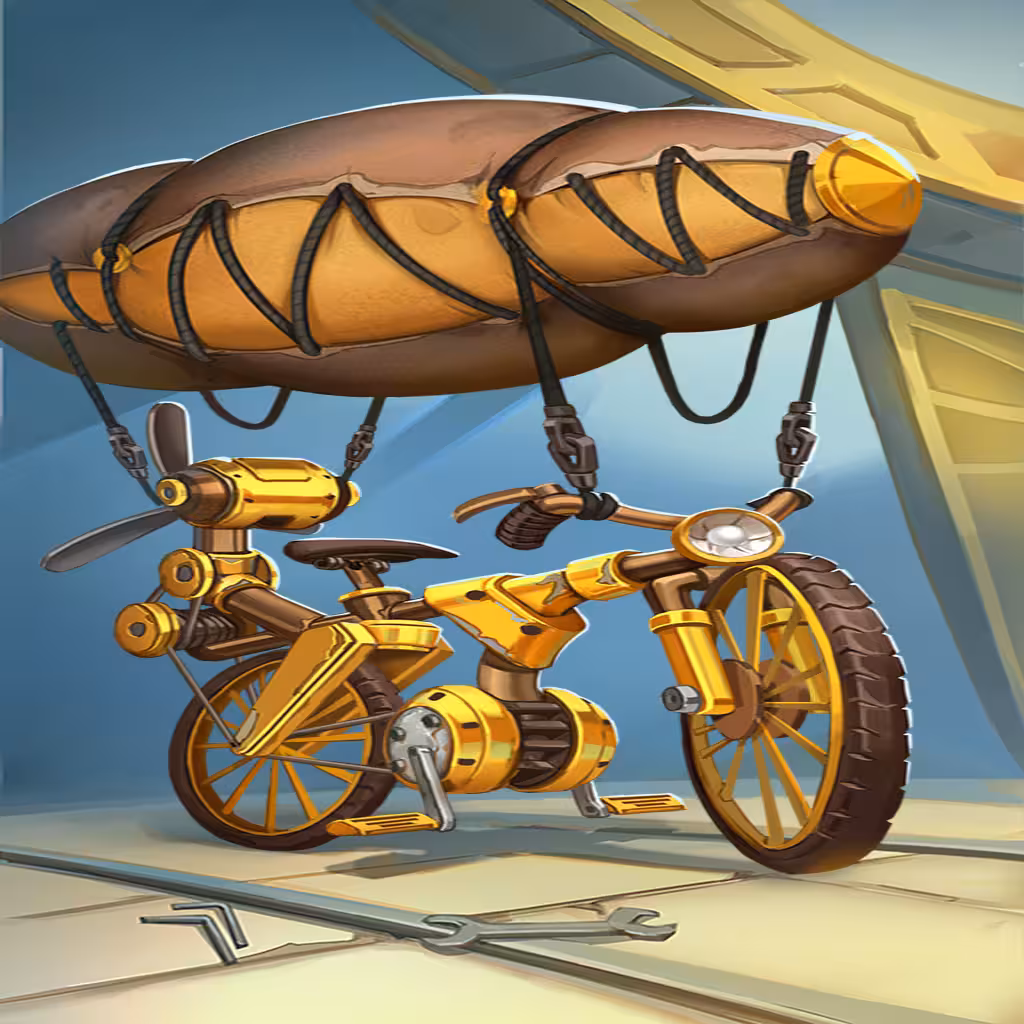 Flycycle can be utilized for their targeted Flying support. This is a reliable way to Destroy Boom Boom Bot.
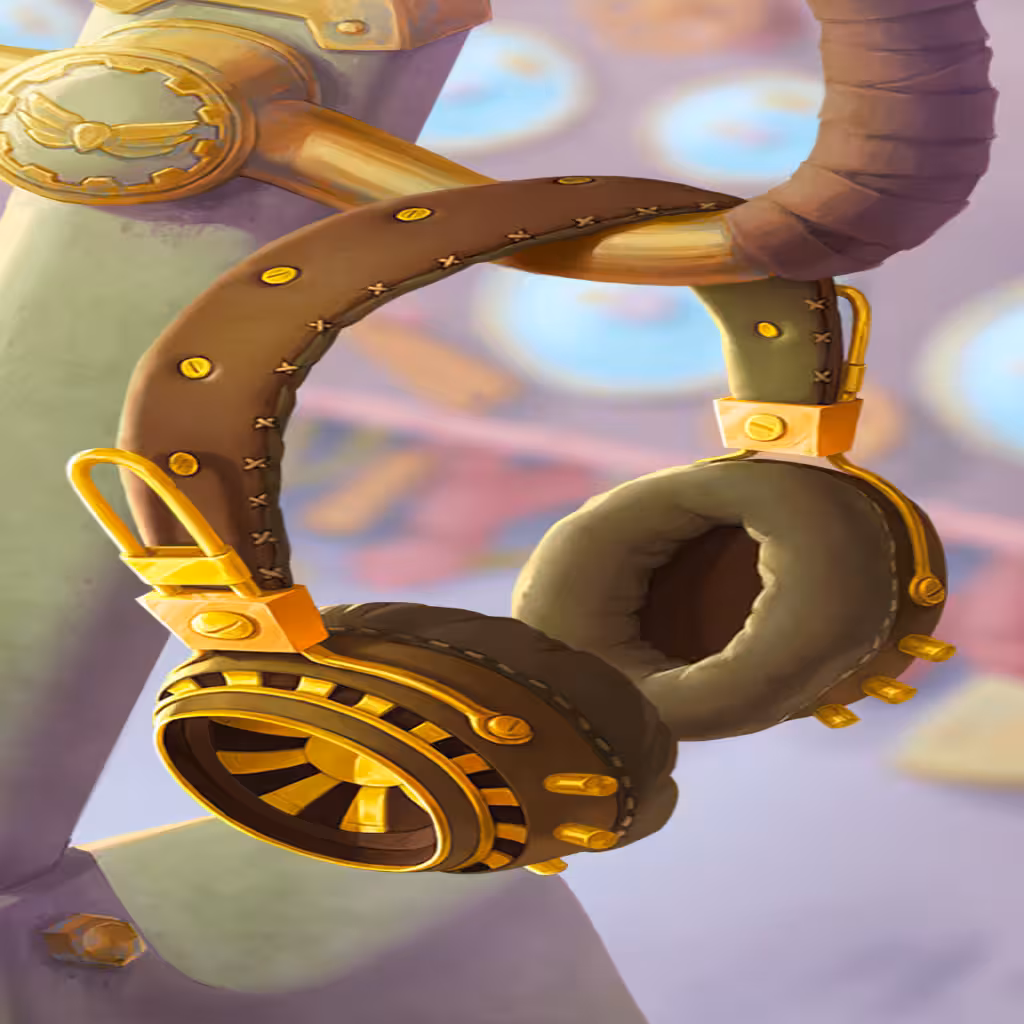 Headset is a great flex item to fill empty slots if you want to turn extra sources of Flying into Haste.
Tips & Tricks
- Pay close attention to the timing of your items. The goal is that your items get Repaired before they would next be Destroyed (to maximize efficiency).
- If you don't have enough items to piece the build together, feel free to Stash stuff until later on. Experiment with your setup, there is a lot of variety.
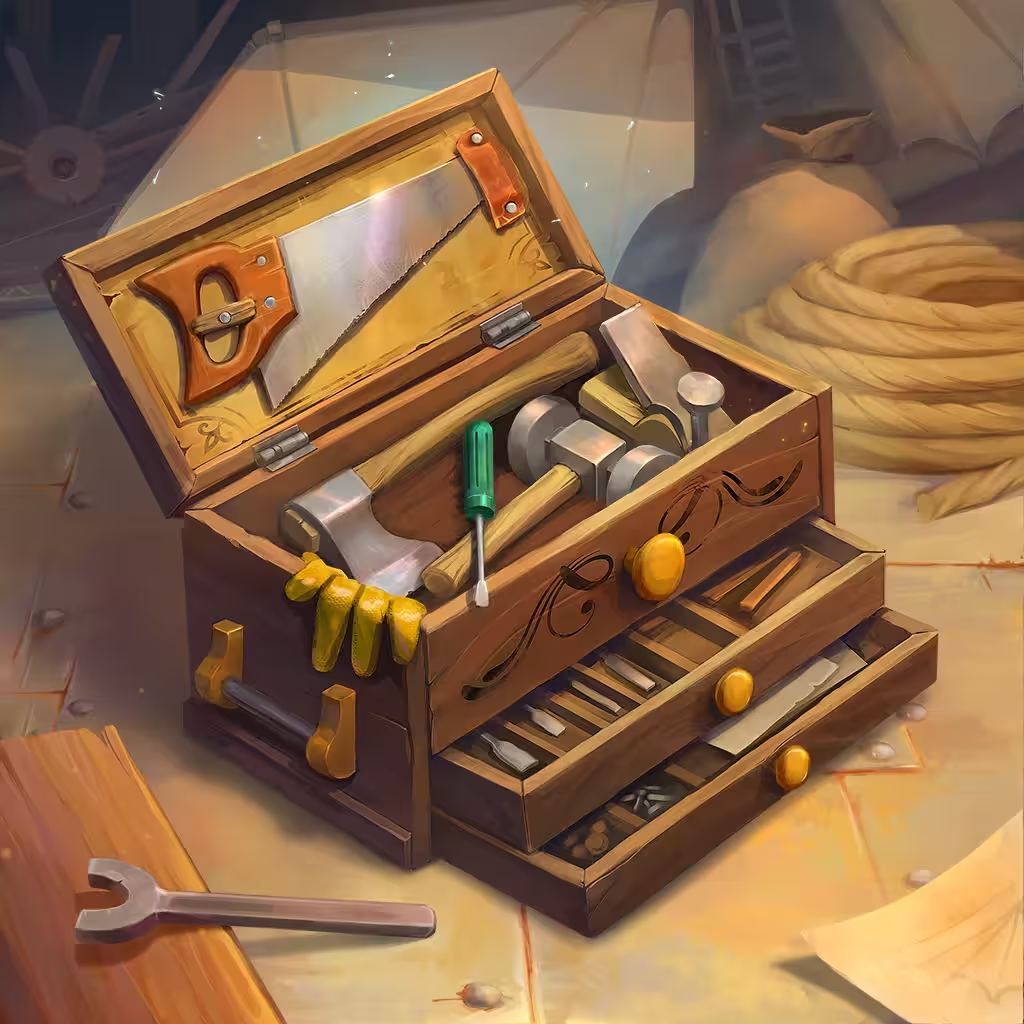 Toolbox is a worthwhile pickup early on to help improve your Economy.
Common Filler Items
 Angle Grinder Drone
 Flame Jet Drone
 Gyro Gunsight