In Chapter 5 of Gothic Remake, you'll explore the Sleeper's Temple during the quest "The Dreamer's Nightmare". This is the largest dungeon in the game by far, featuring several combat encounters and puzzles. This guide covers everything you'll need to complete the quest and get the legendary sword Uriziel inside the dungeon. If you haven't gotten to the temple yet, go to our guide that covers how to get into the Sleeper Temple.
The Sleeper's Temple is only accessible after you complete the quest "A Warrior's Honor". Talking to the shaman Ur-Nazkrog after this will make her follow you into the Sleeper's Temple, which can be found in the Orc Enclave, past the main square.
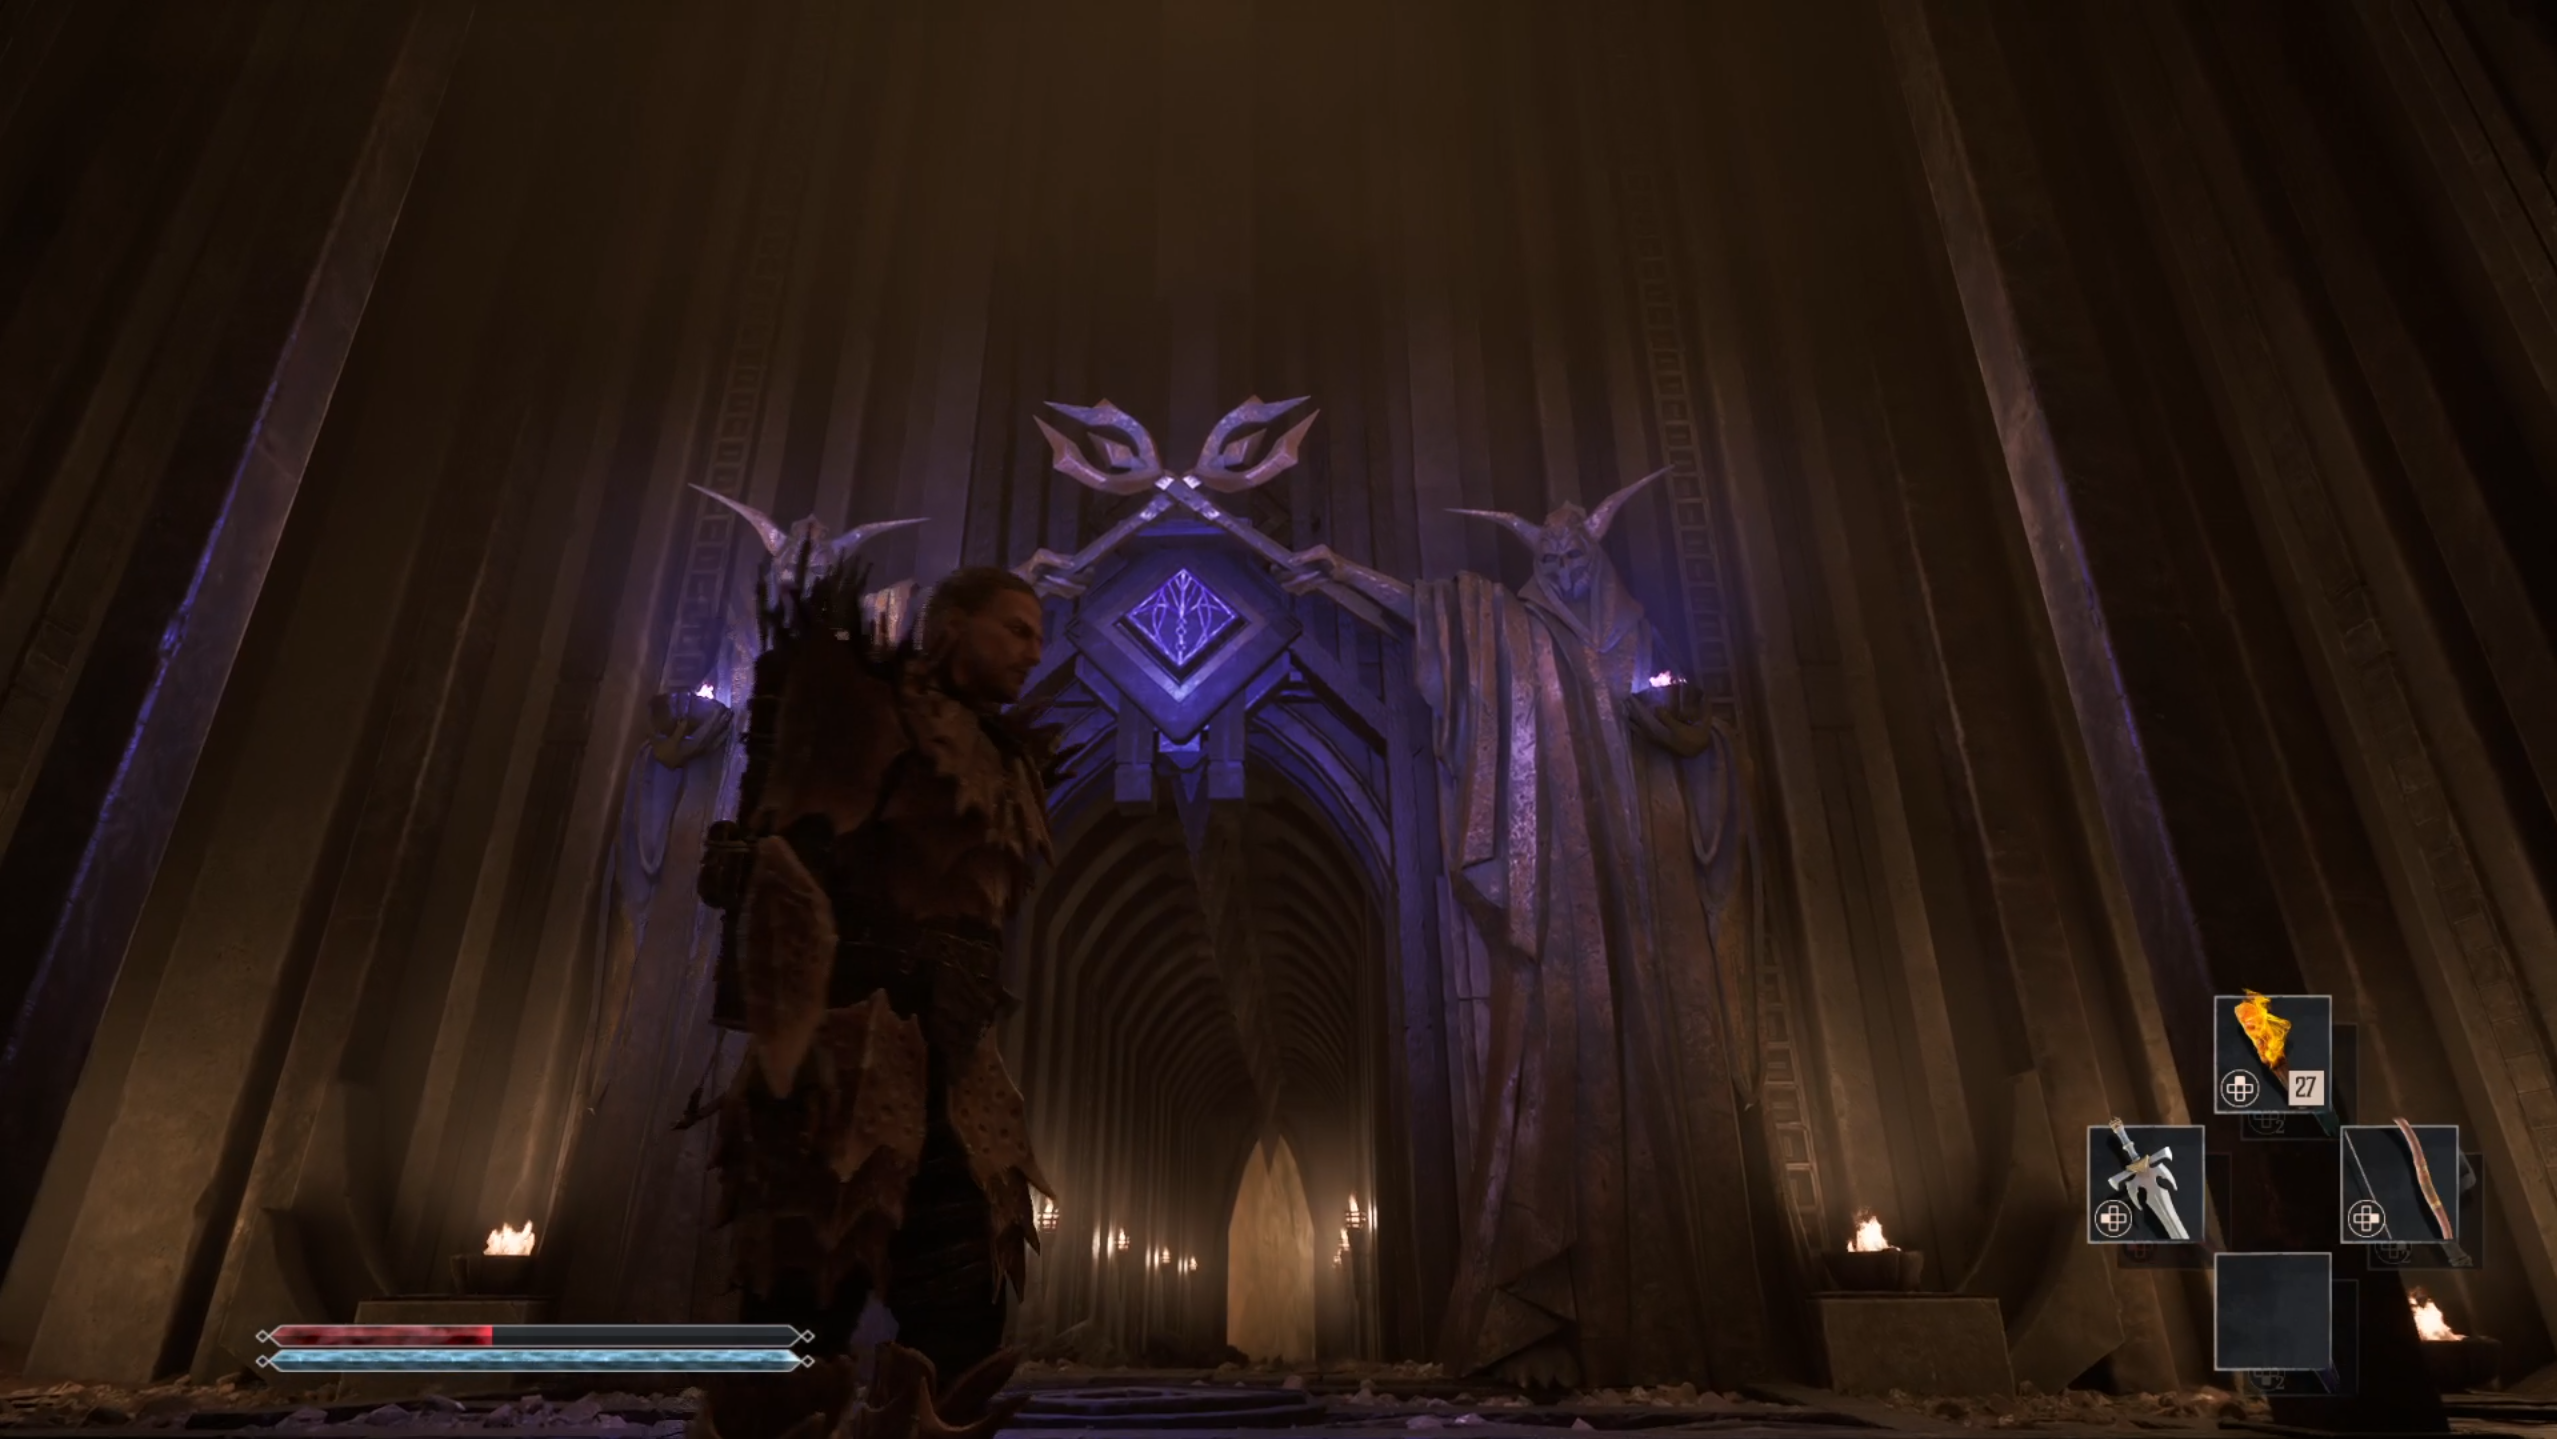
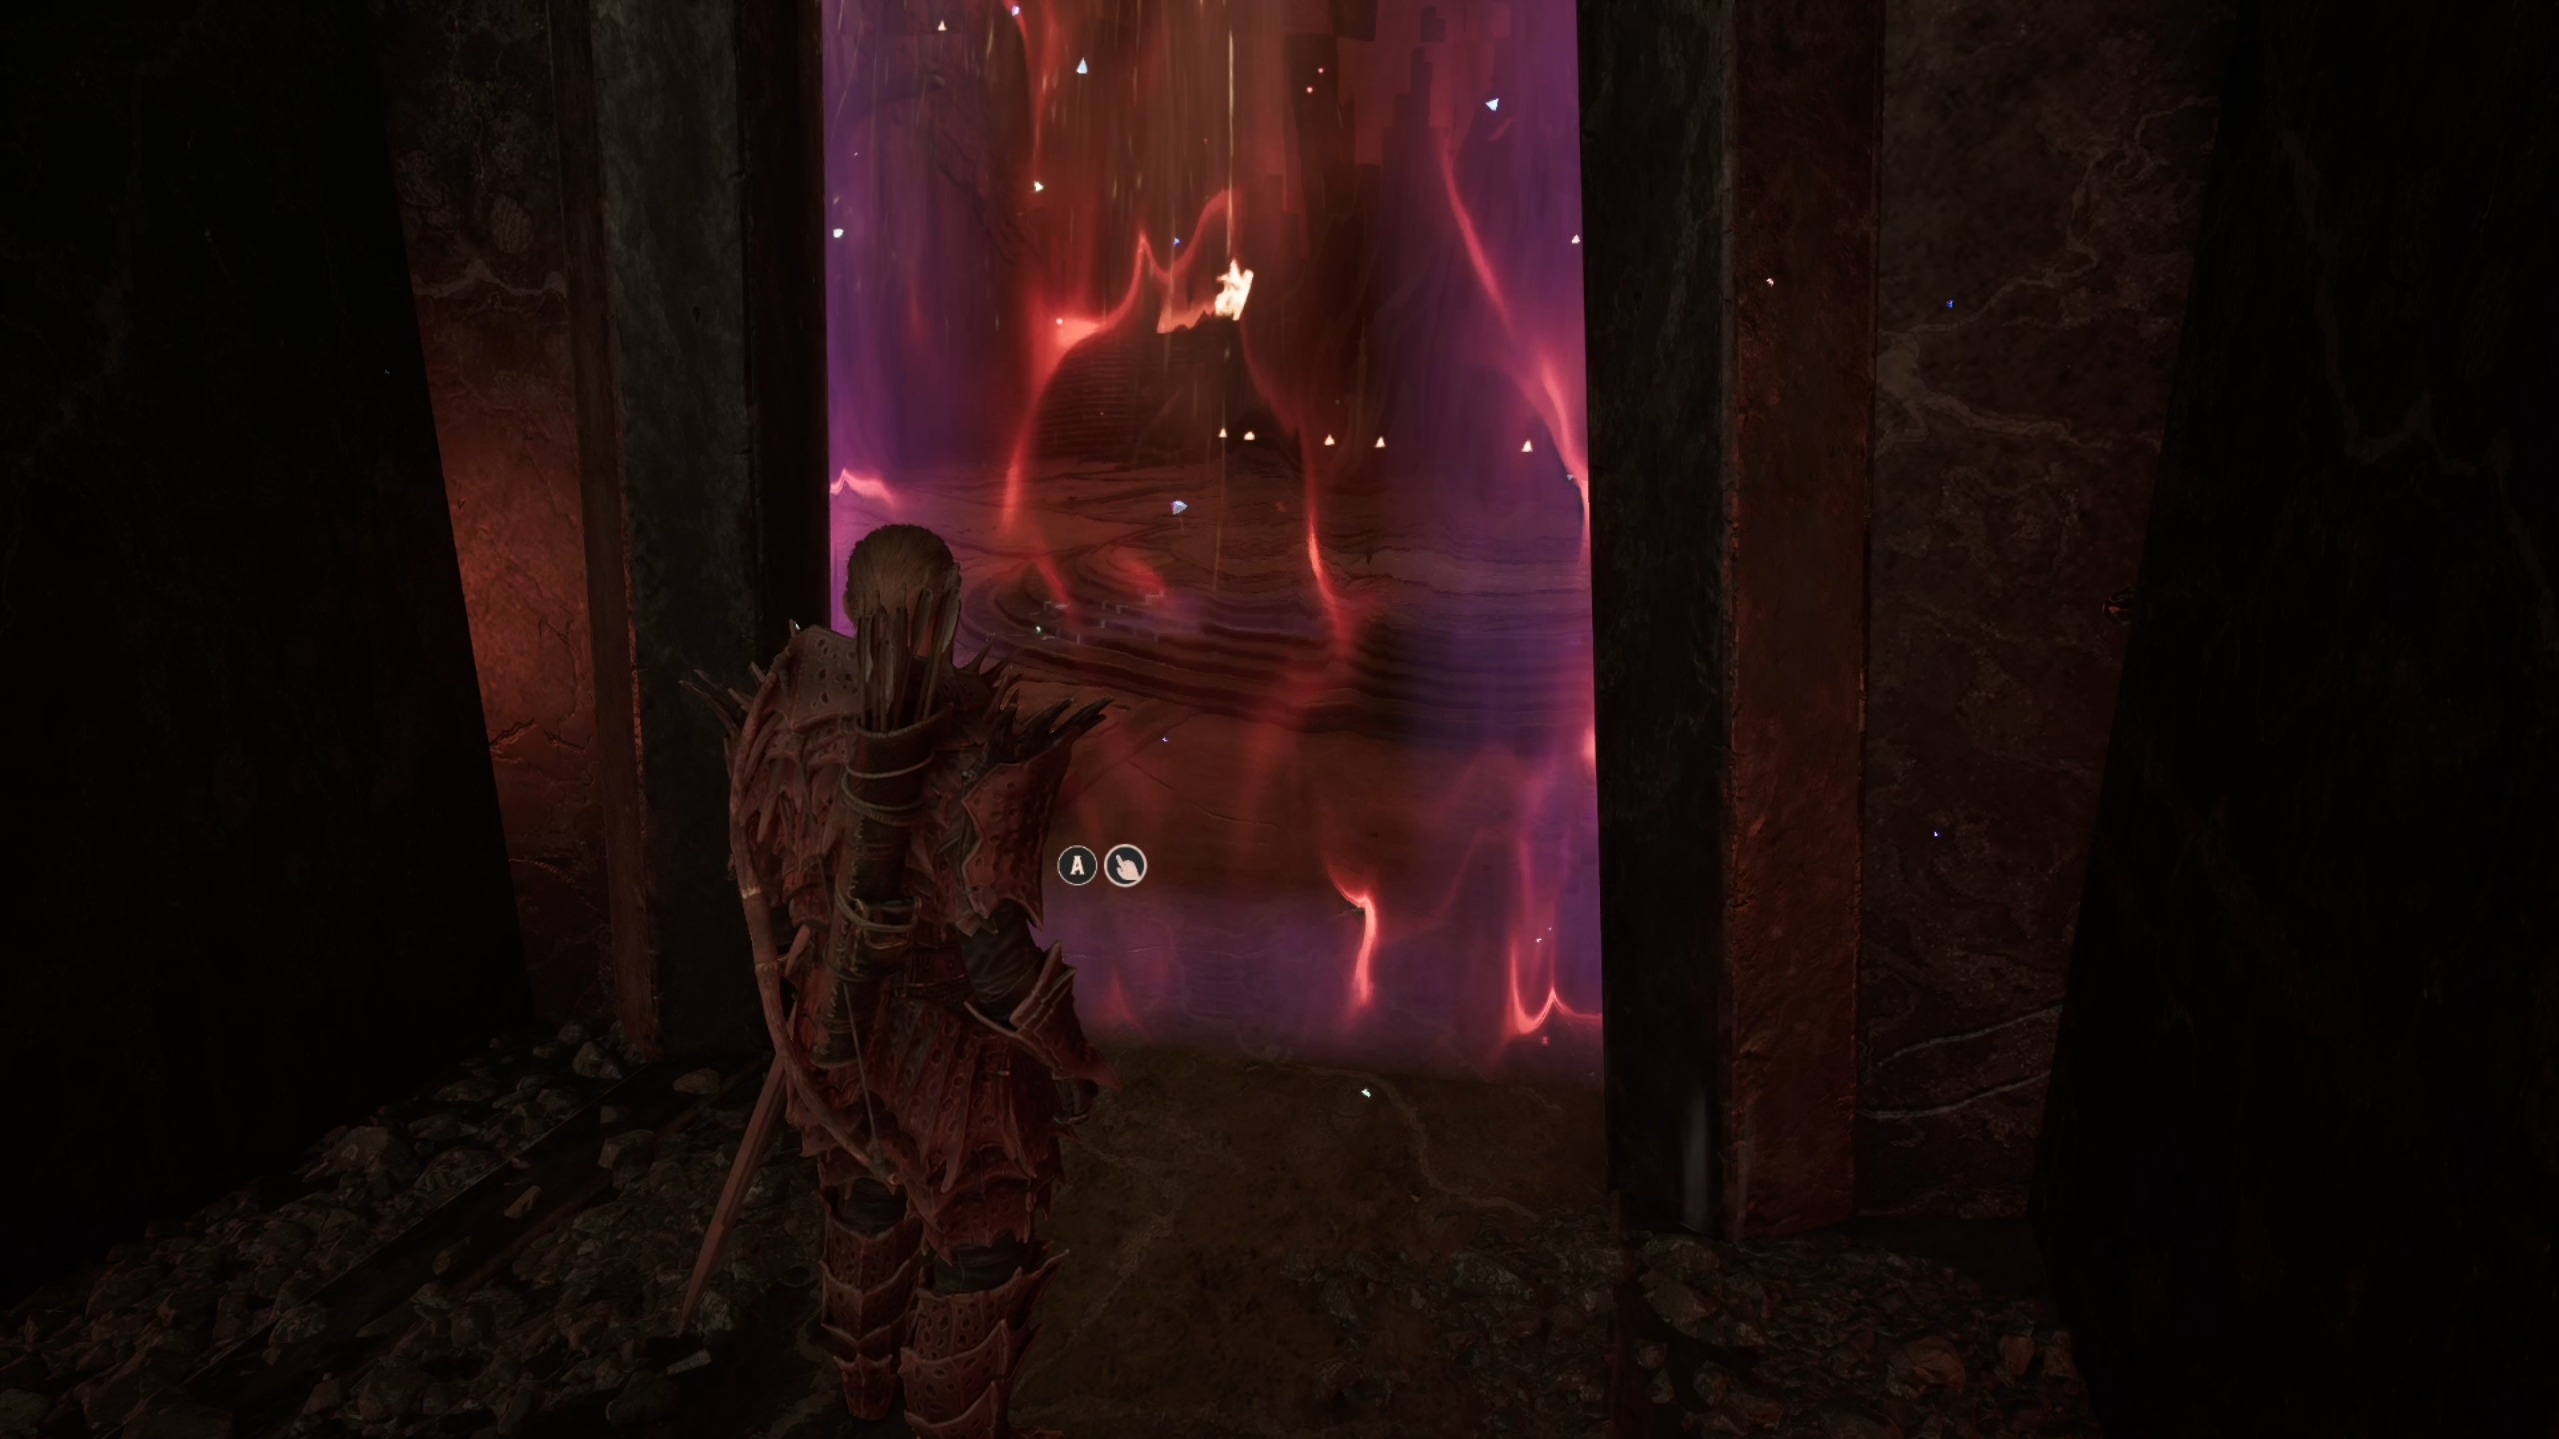
Make your way through the corridors until you find yourself in a big room with a magical barrier. After a brief discussion with the Orc Chiefs, you'll be prompted to use your Amulet to go through it and enter the Sleeper's Temple.
Before entering, make sure you're stocked up on food and potions, as you'll need to fight your way through several powerful enemies, and there are no checkpoints or fast travel points in the dungeon.
First Room - Symbol Puzzle
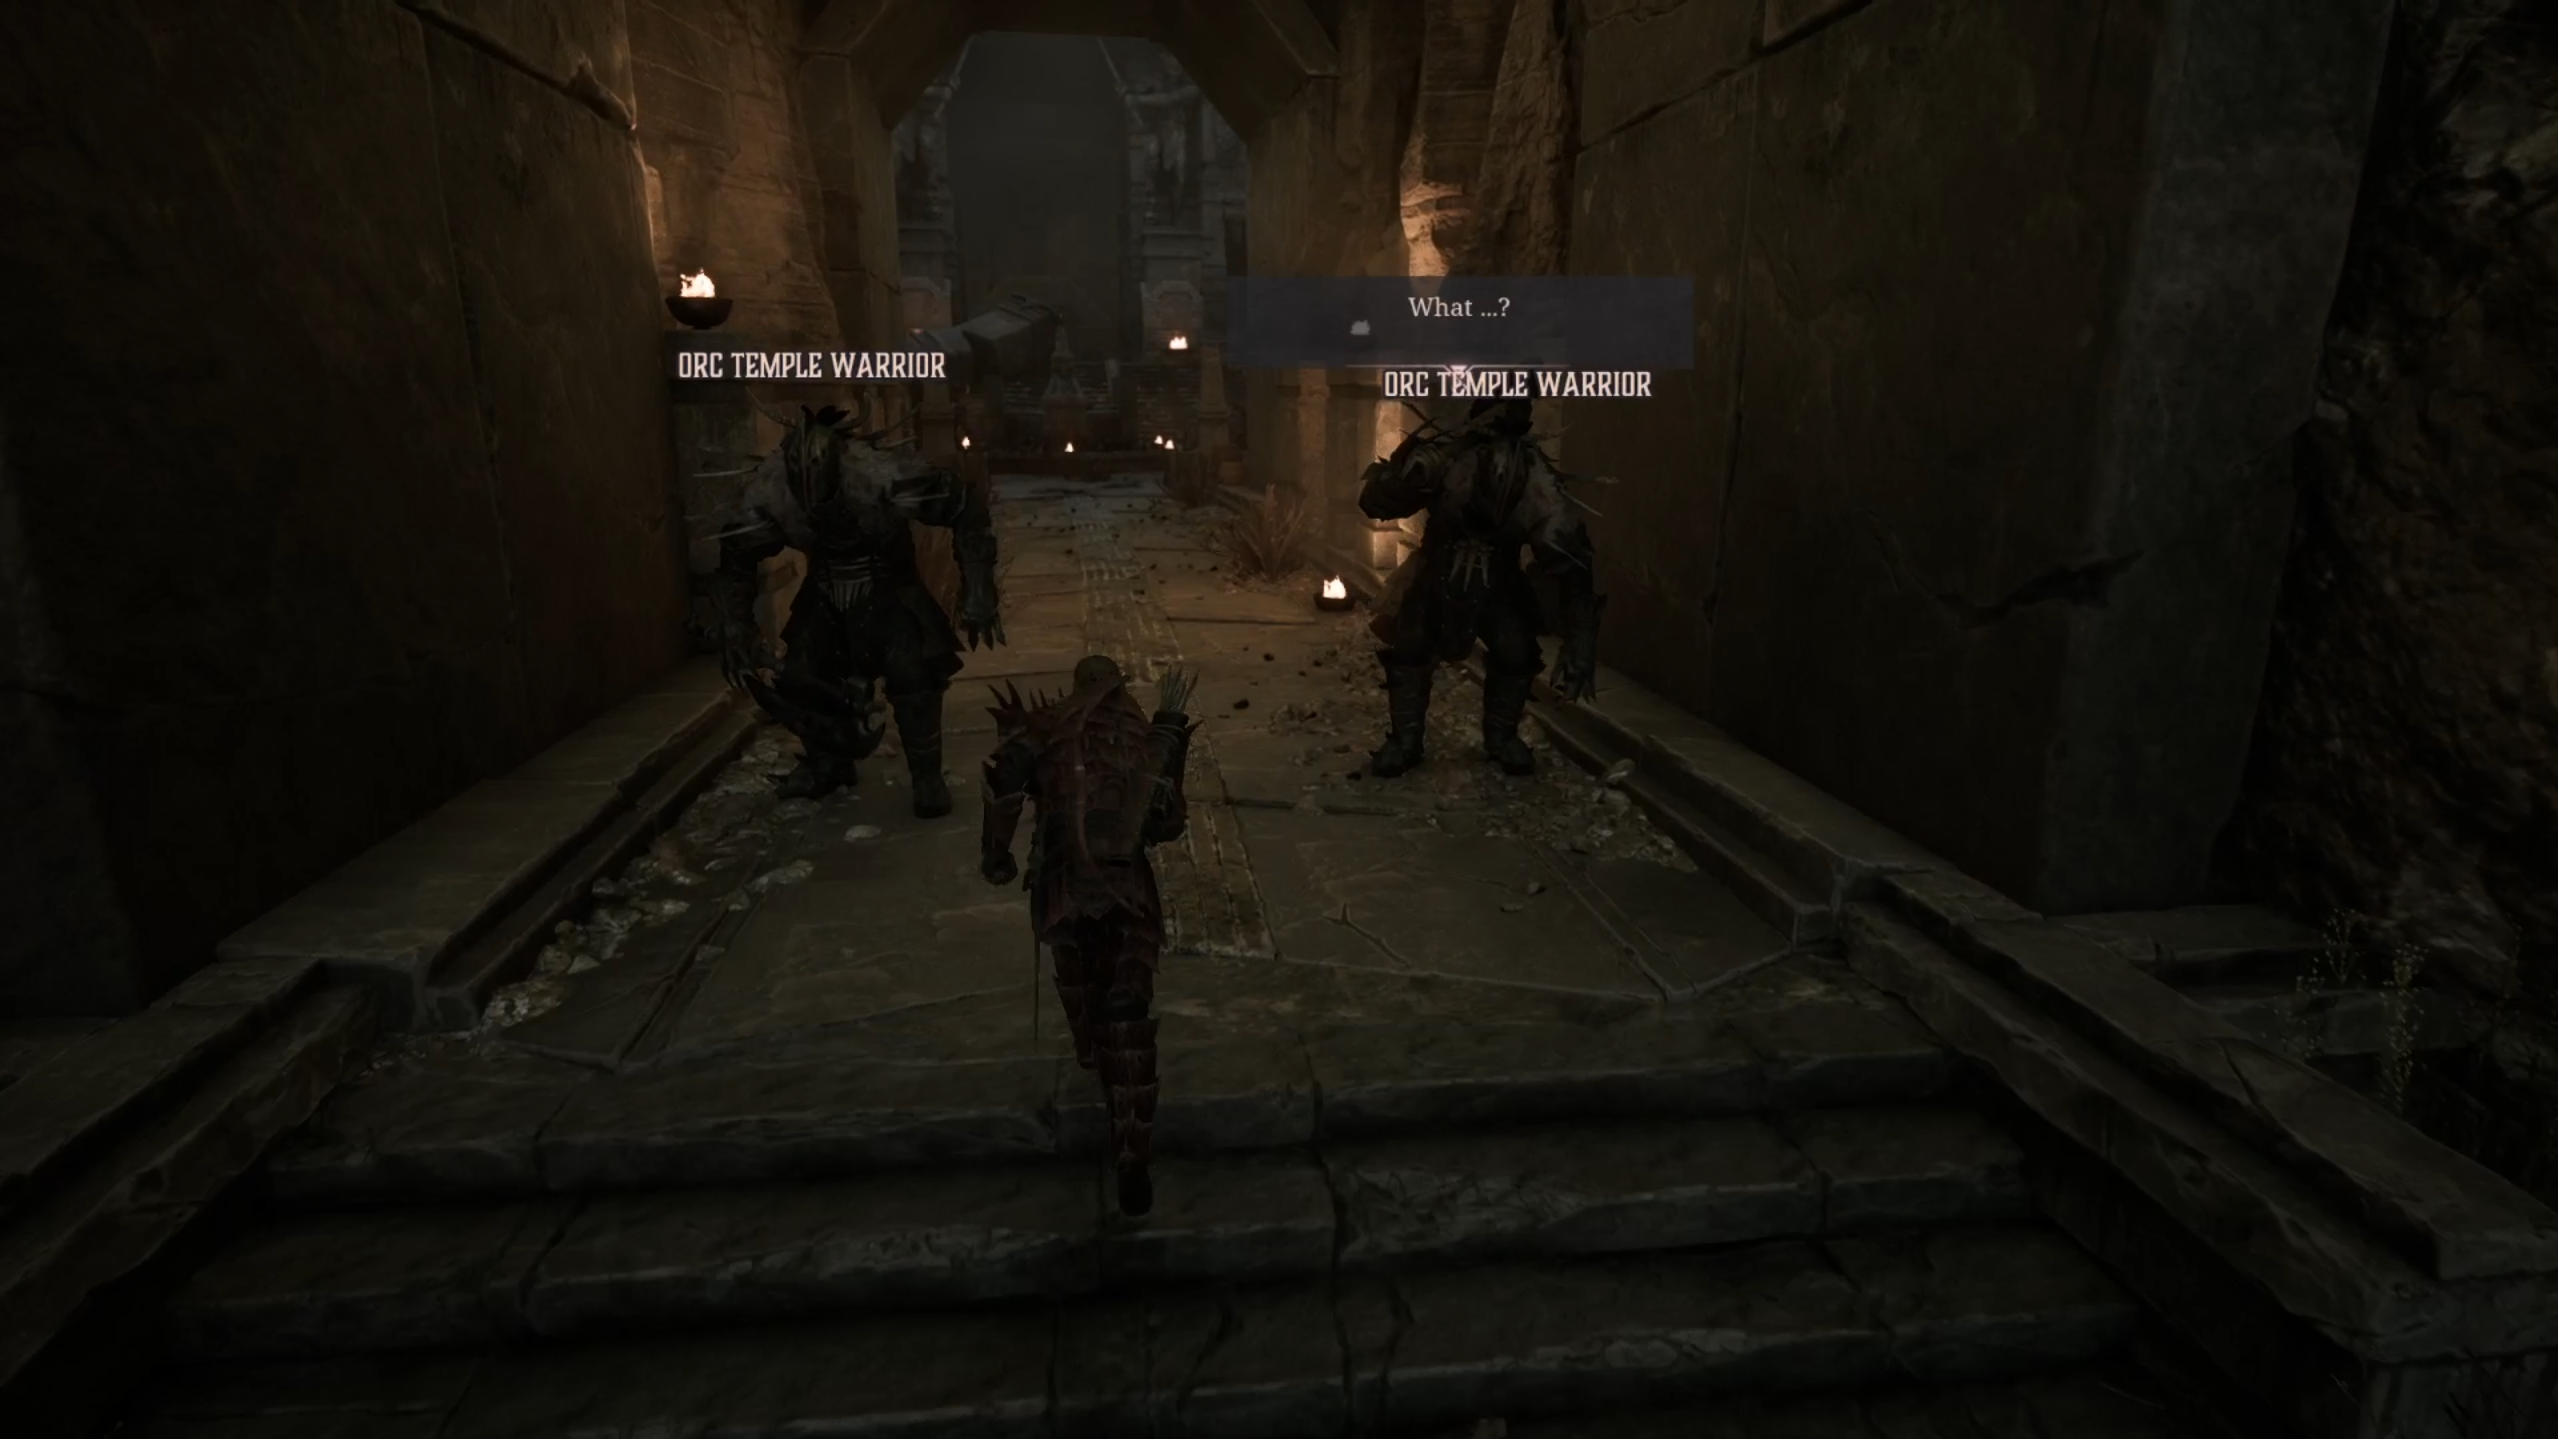
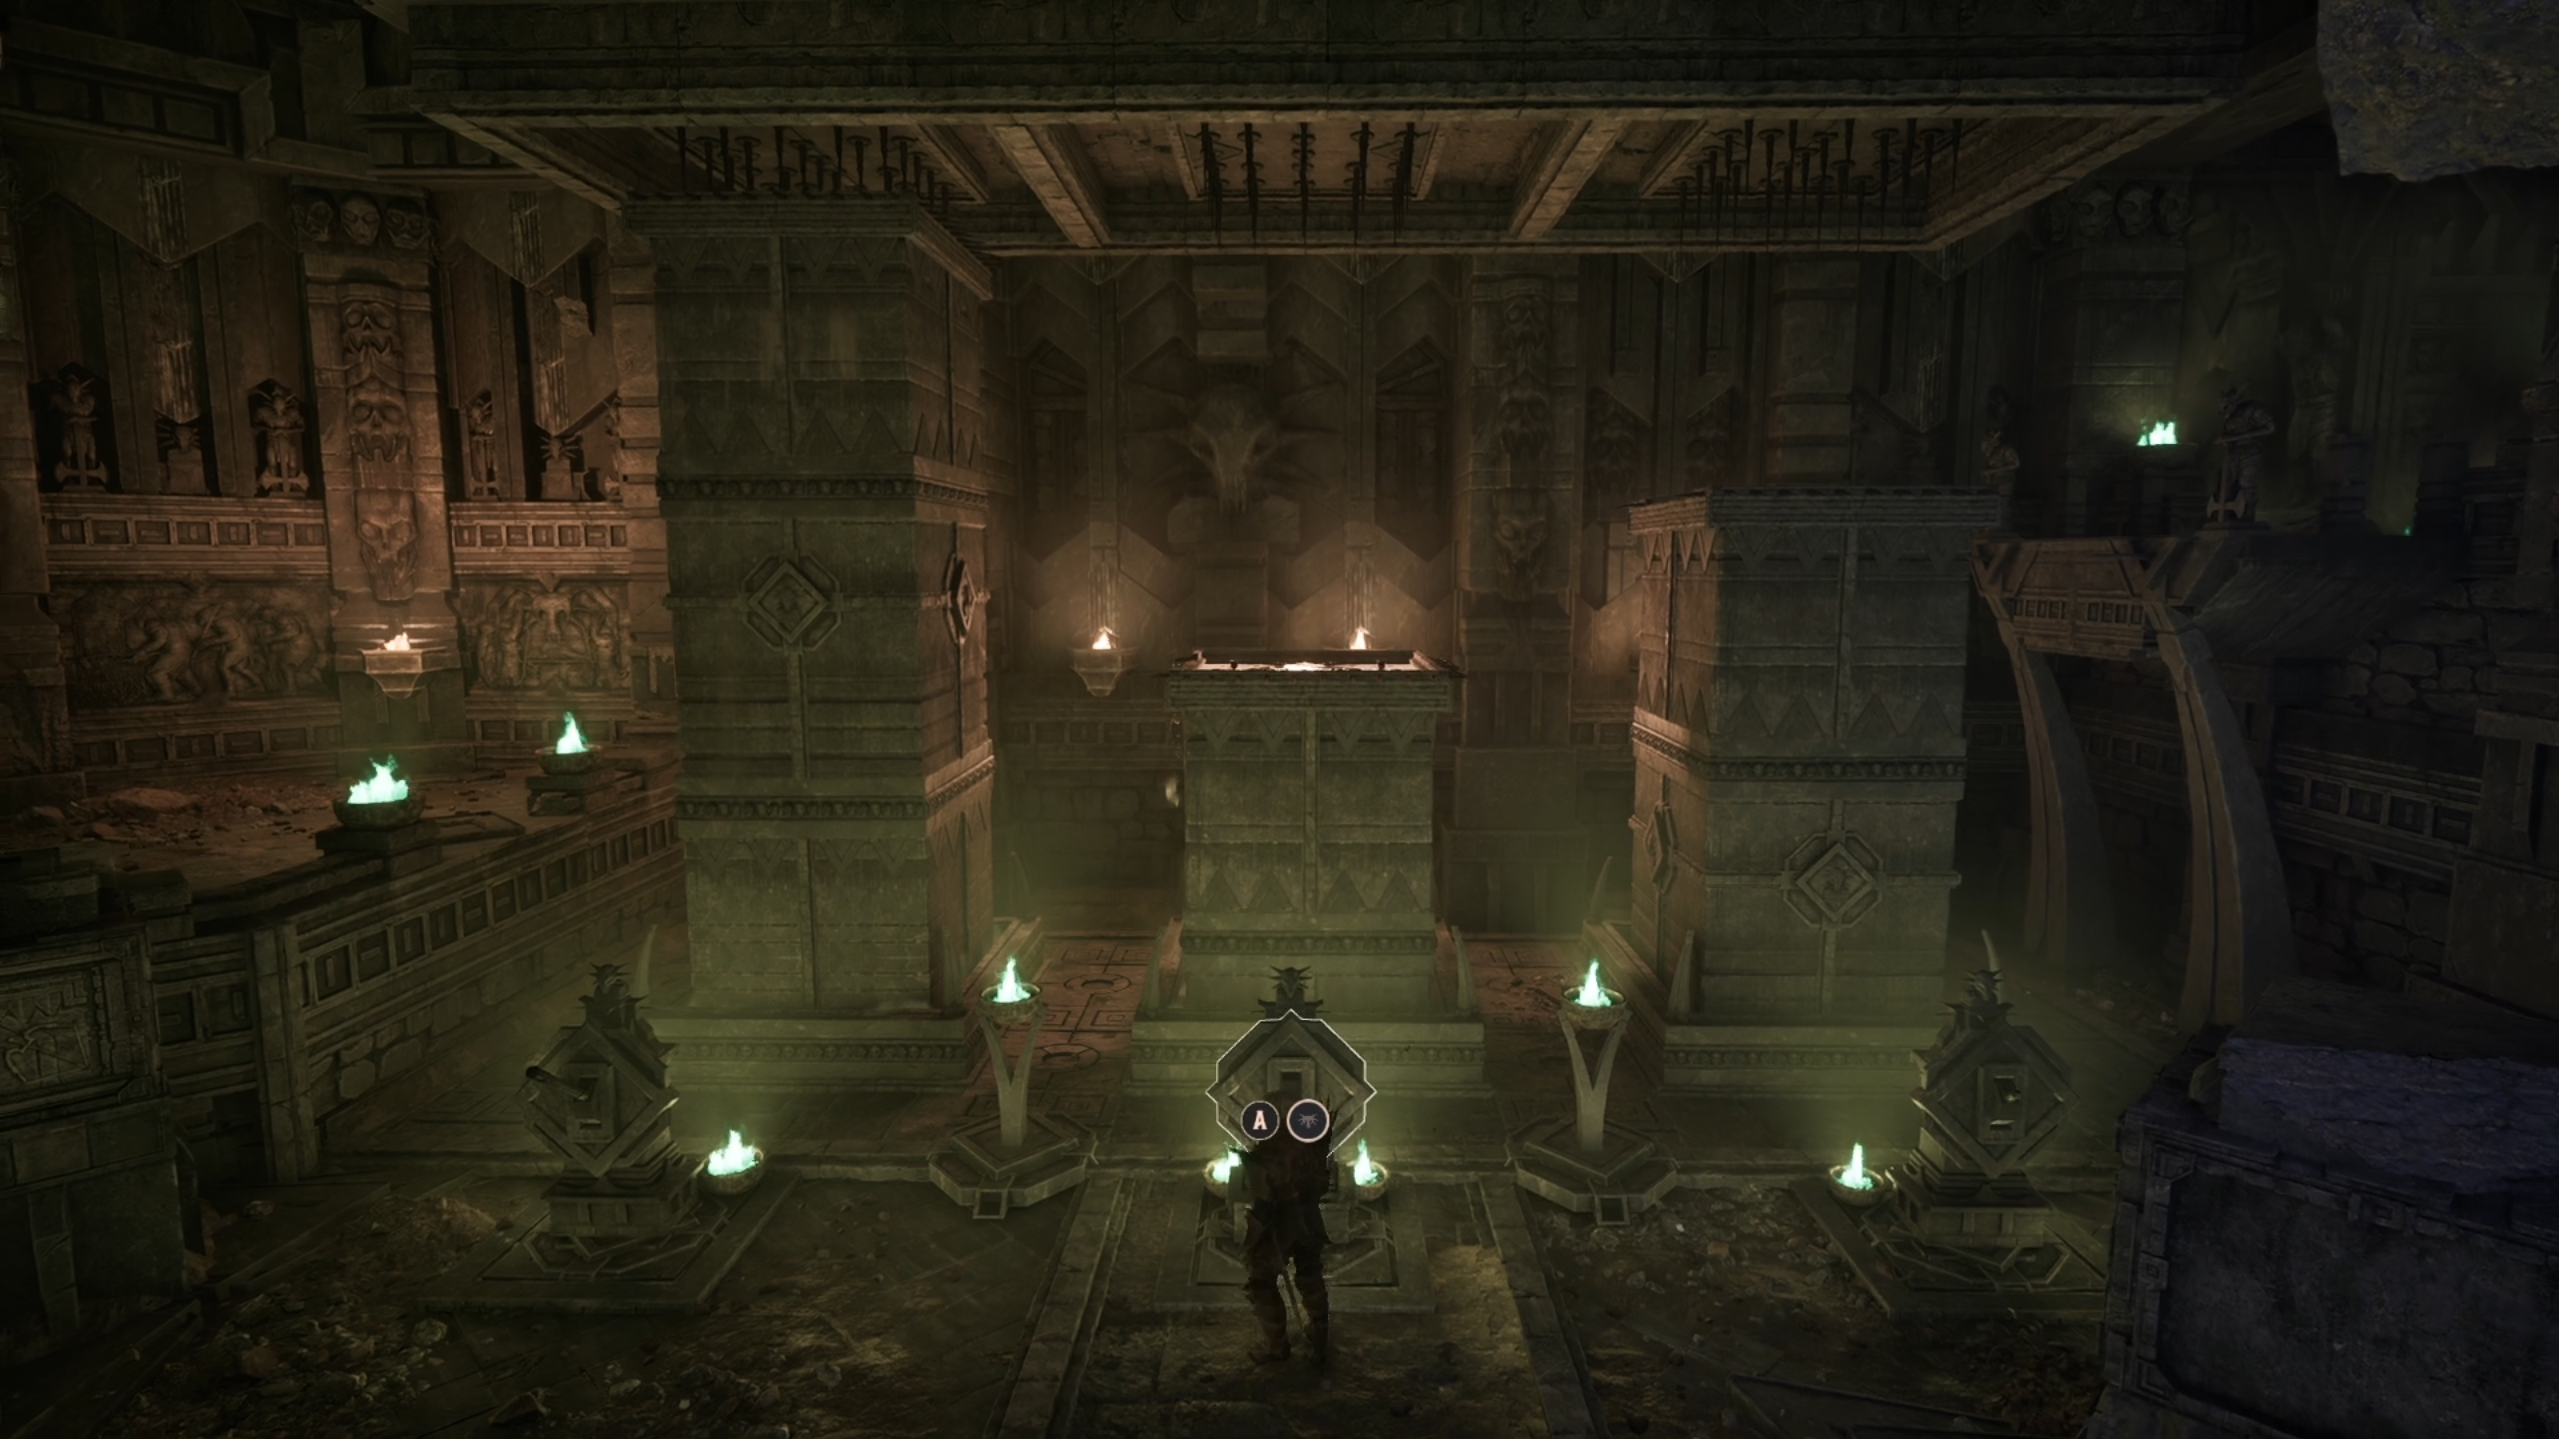
After entering the Sleeper's Temple, you'll find yourself in a room with several Skeletons and Skeleton Warriors, as well as a Skeleton Mage. First, deal with these enemies to clear the path for later.
You'll see that there's a locked gate leading to the next area. There is a puzzle to solve in the room, in which you'll need to input the correct symbols into the stone engravings using the three wheel devices found in the same room.
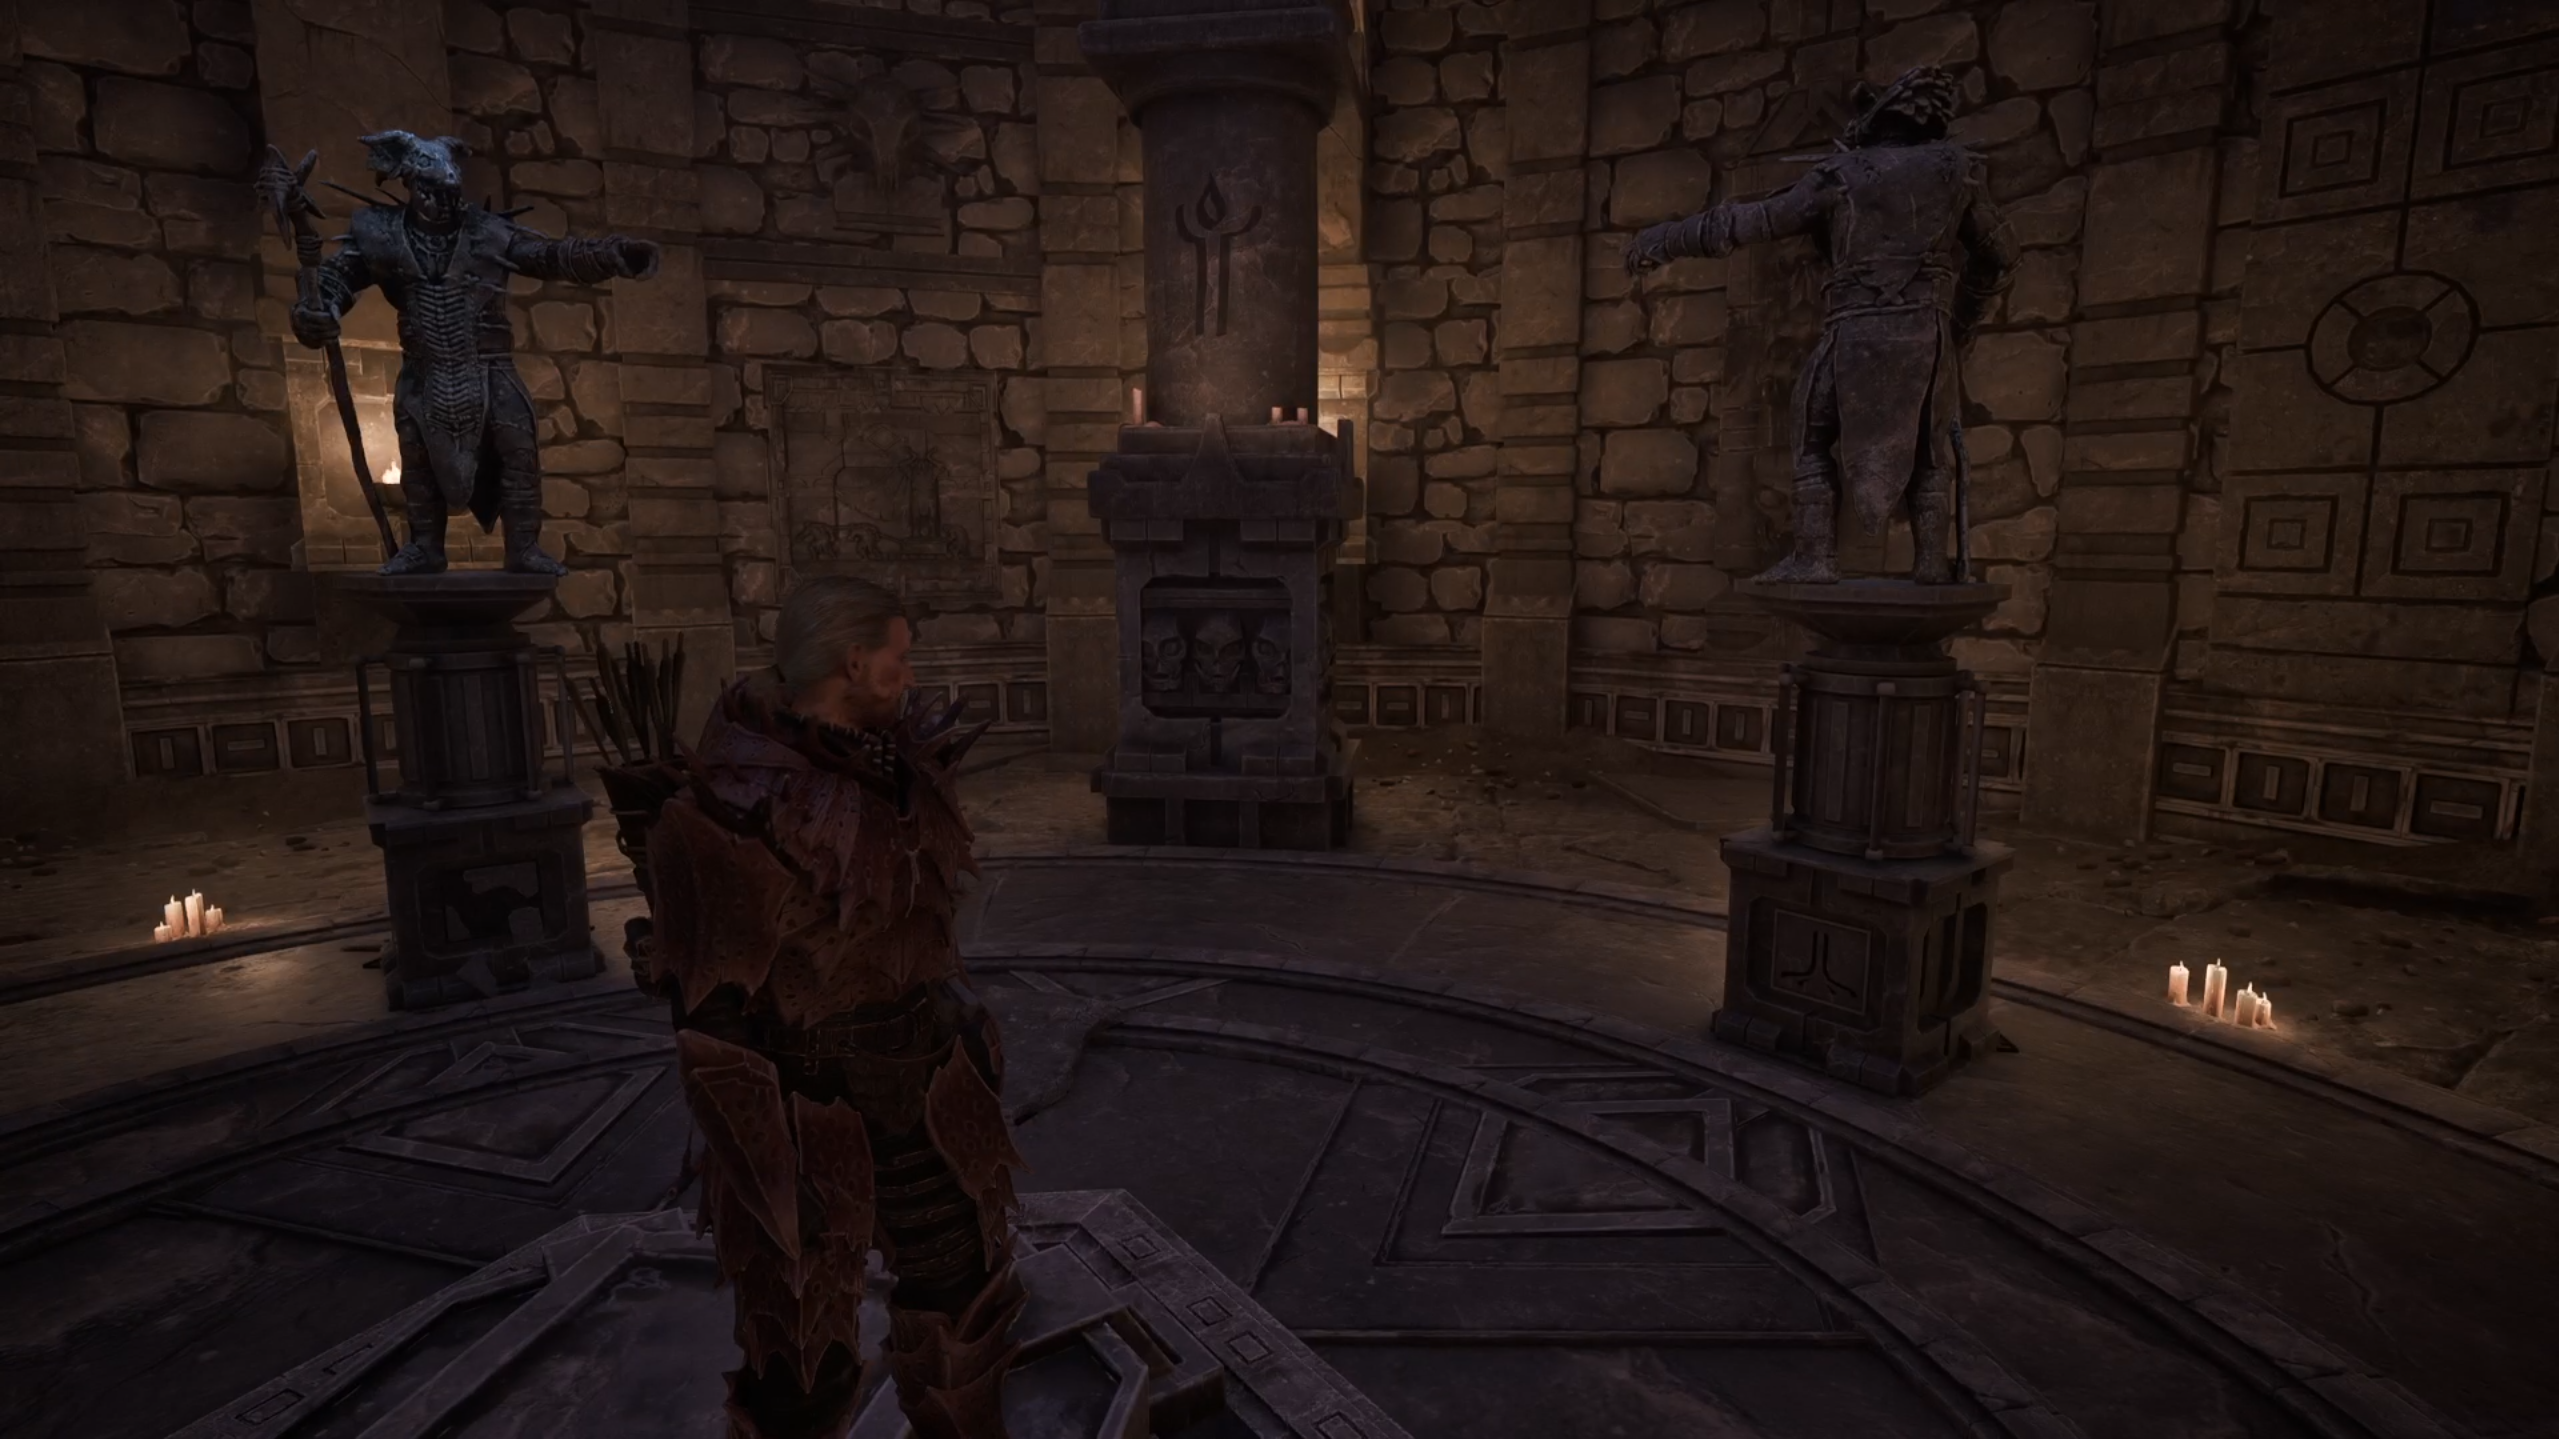
To find the answer, go into the side corridor in the elevated area of the room, past the stone engravings. . Then, go down the stairs to find a room with three Orc statues pointing in different directions, and pillars with engravings on them.
You'll see that each statue has a symbol at the base - That's your clue to solve the puzzle, as each statue must be pointing at the pillar with the same engraving. Interact with them to rotate them until they're facing the correct way. There's one statue without an engraving, which must face the remaining pillar with an engraving, with no other statues pointing at it.
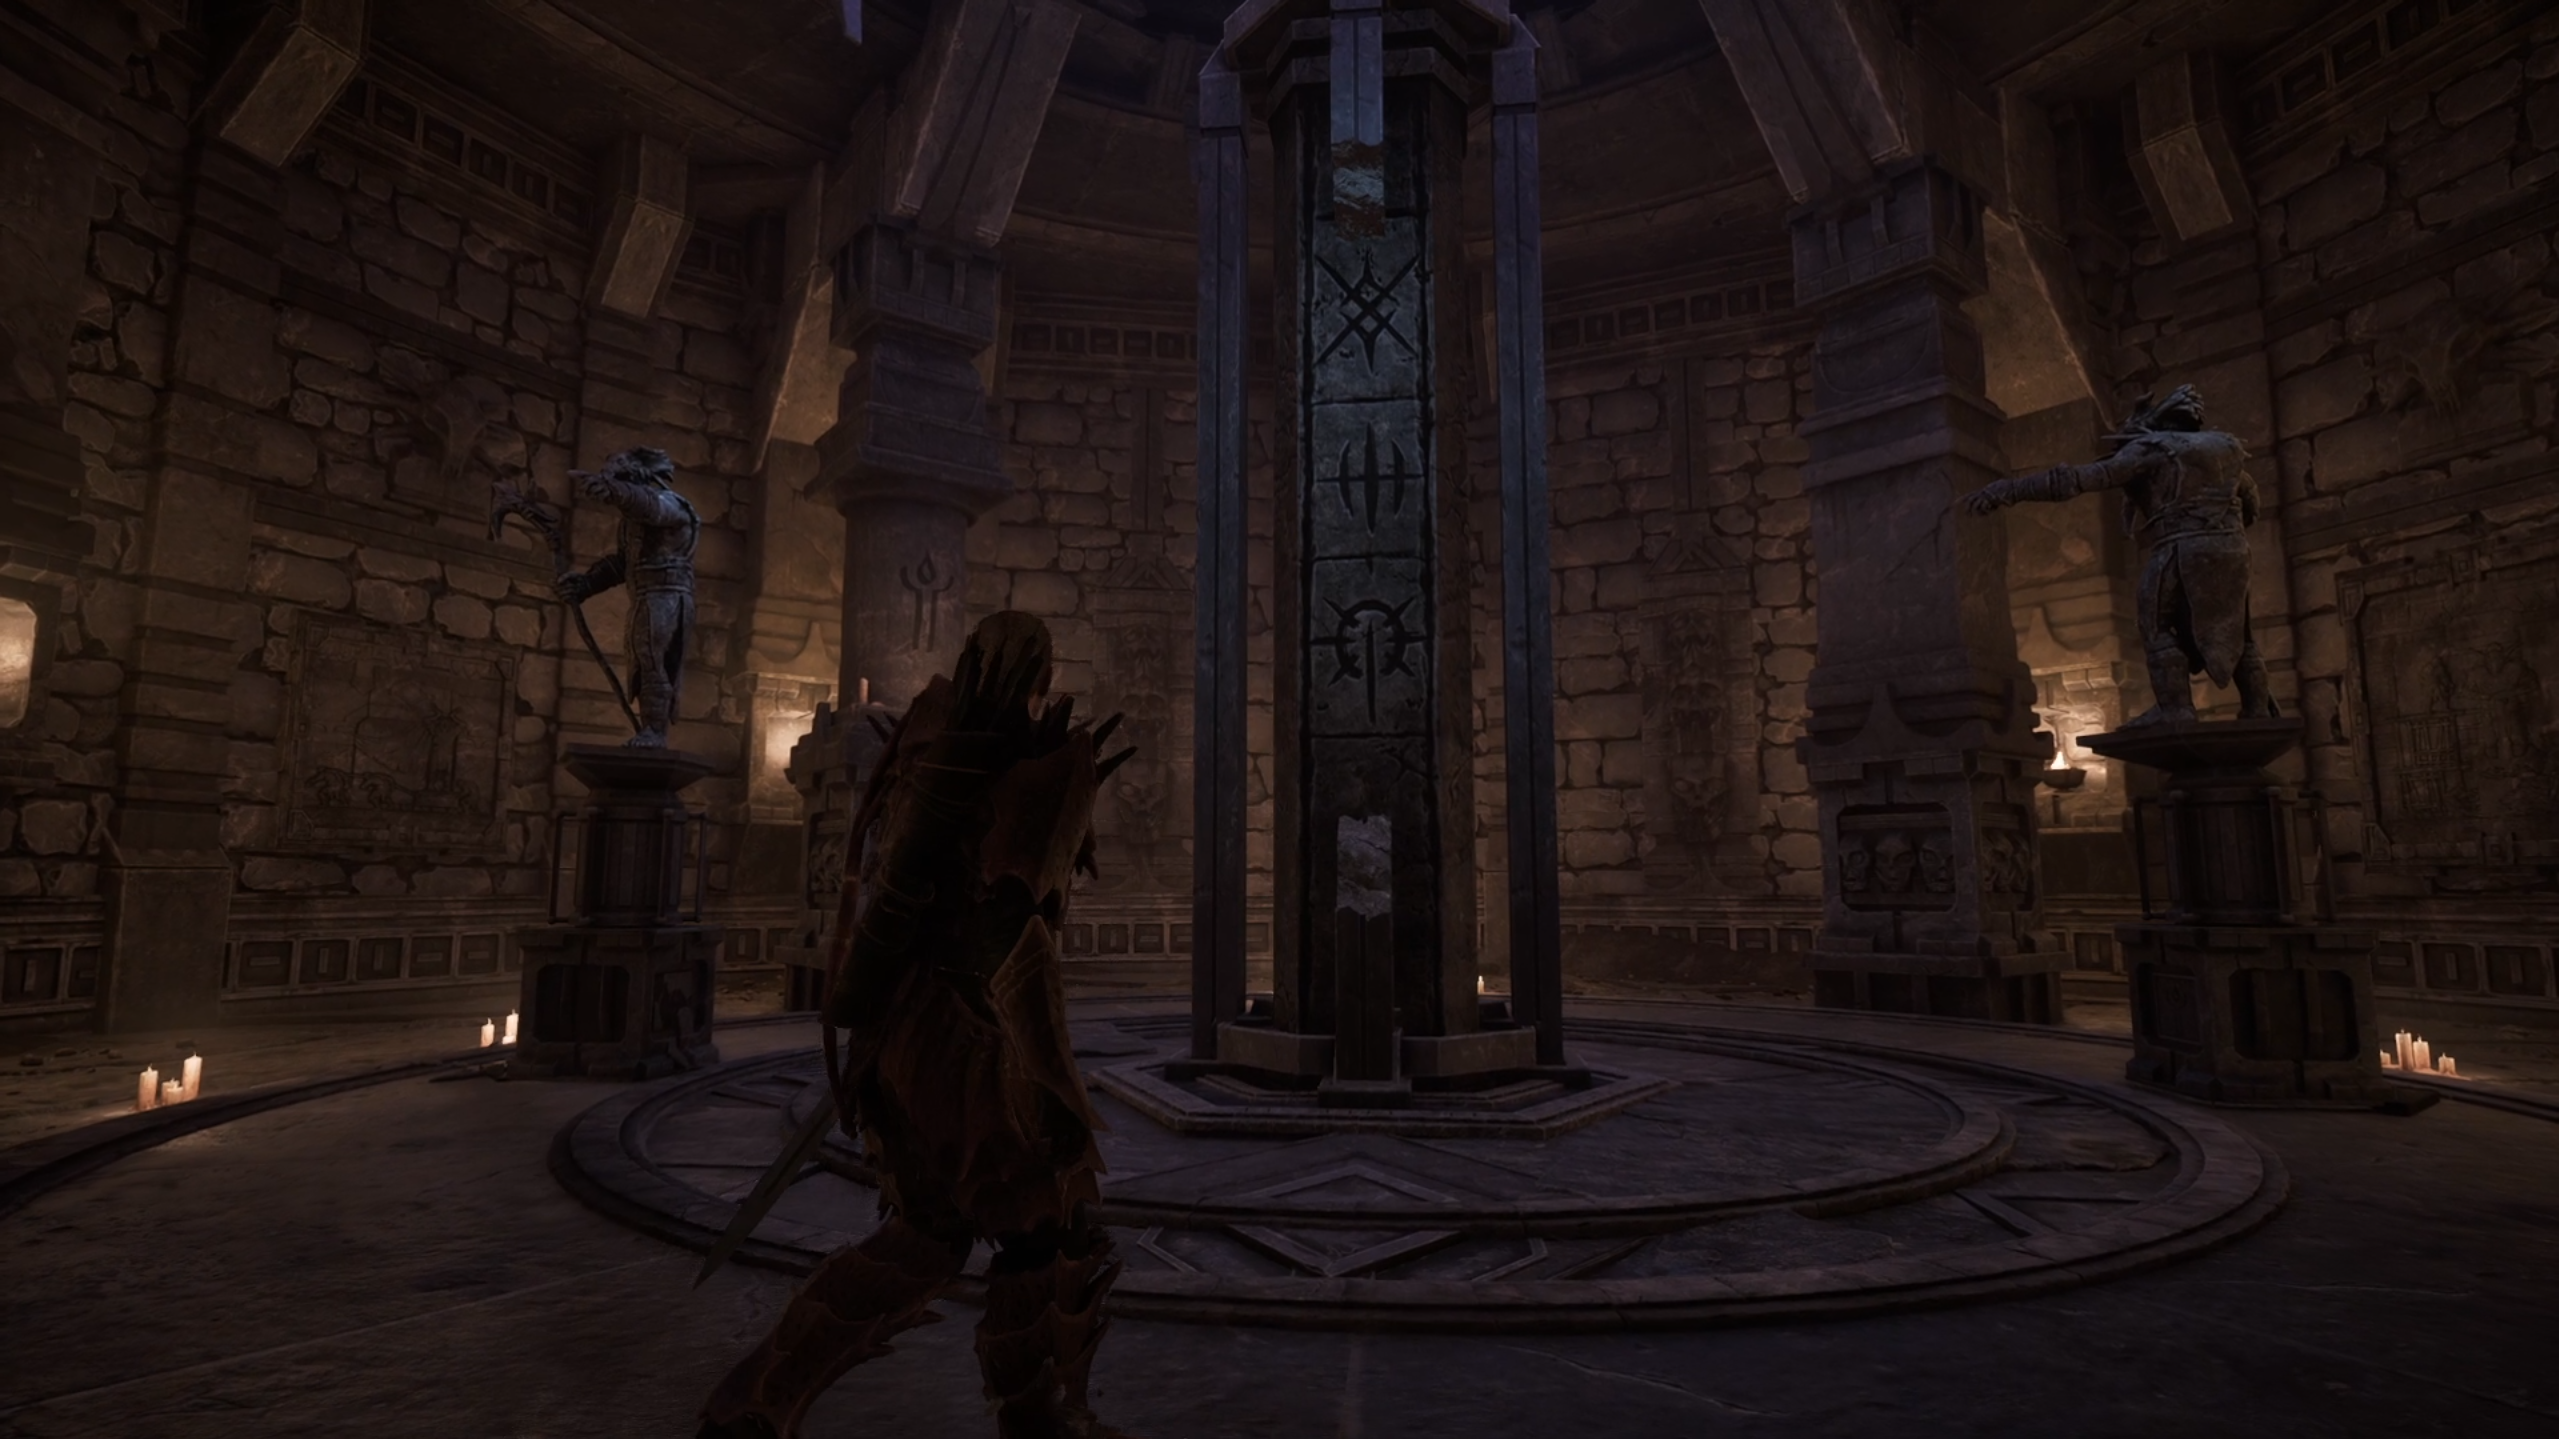
Then, a stone pillar will rise, showing the solution to the puzzle in the main room. Go back and input the same sequence to open the gate to the next area.
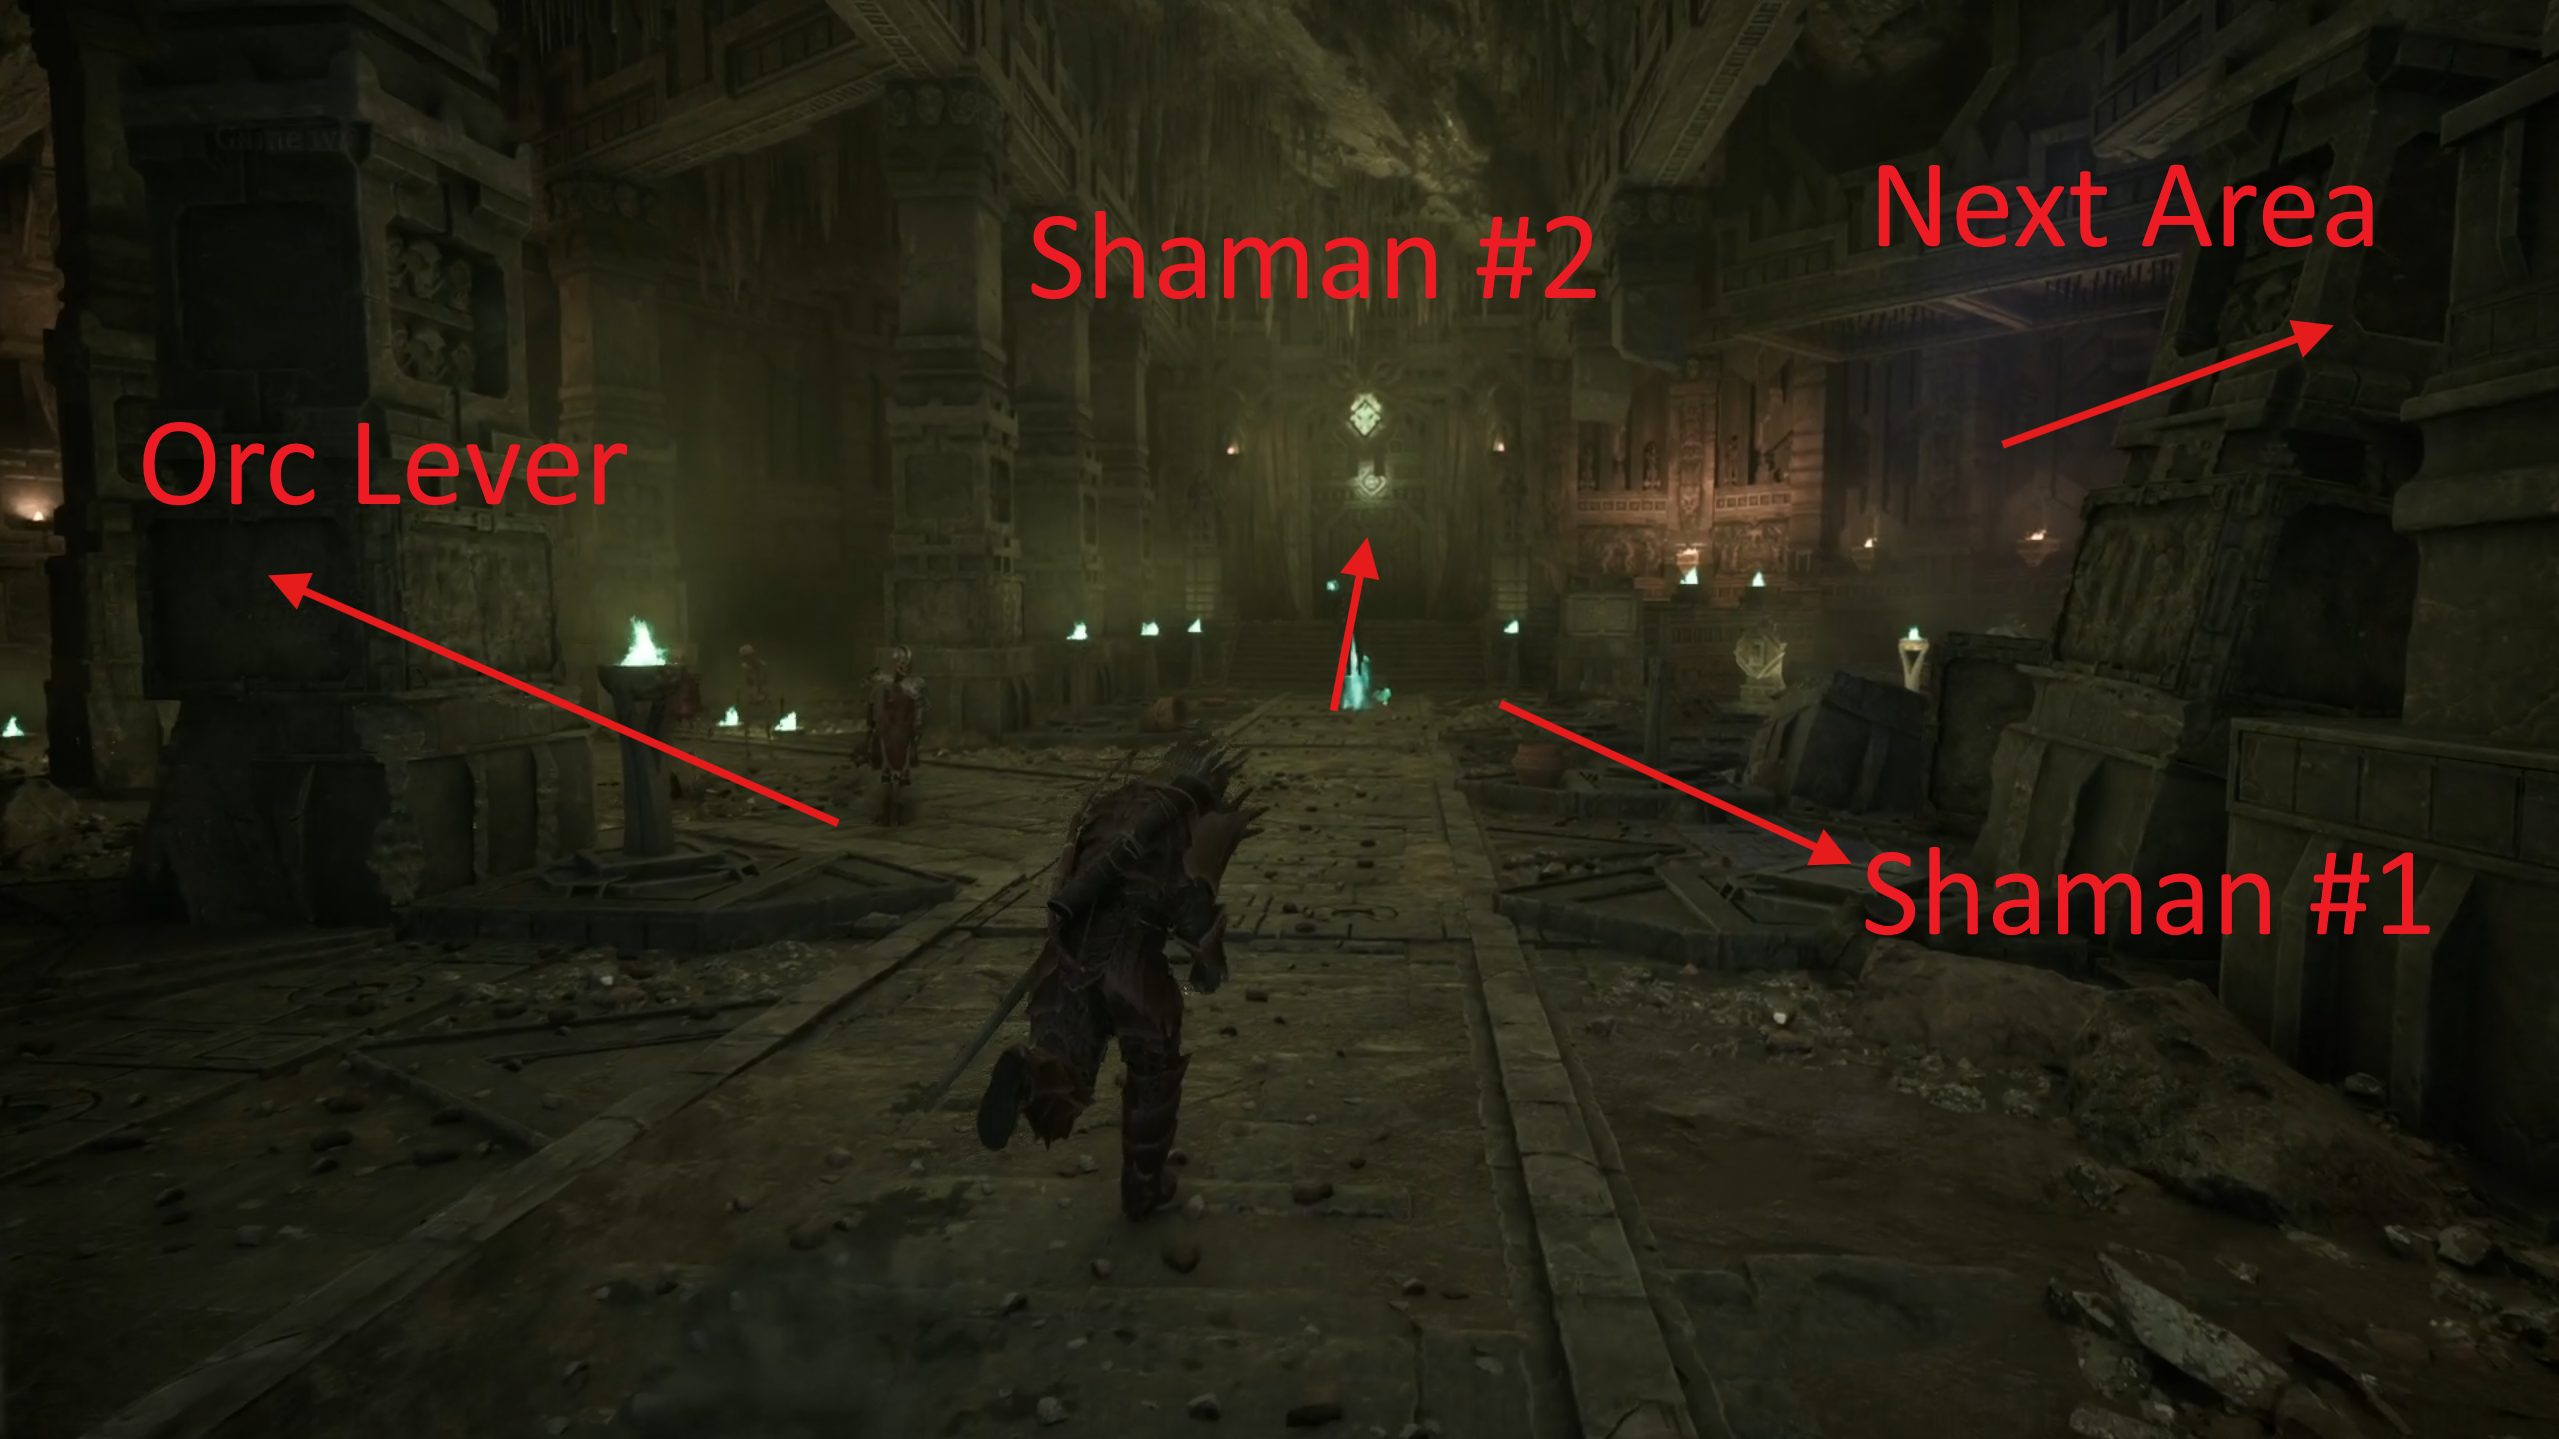
Second Room - Orc Shamans #1, #2, and #3
The next room is filled with Skeleton enemies, which you'll have to fight right after entering. Avoid getting swarmed by several Skeletons at once. Instead, fight as you walk back to the previous room and take them down one by one.
Once you deal with the enemies, you'll find this room has several side corridors:
The cave entrance to the right leads to the Orc Shaman #1
The corridor to the left leads to the jail area and Orc Shaman #2
The room in front leads to Orc Shaman #3
The stone pillars to the right lead to the next room in the temple.
Shaman #1 - Cave area
Jump down into the caves to the right of the main room, where you'll find Temple Minecrawlers. Deal with them and turn left at the first intersection. Then, defeat the Temple Guards. These enemies hit hard and have high HP, so don't overstep with your attacks to avoid getting hit.
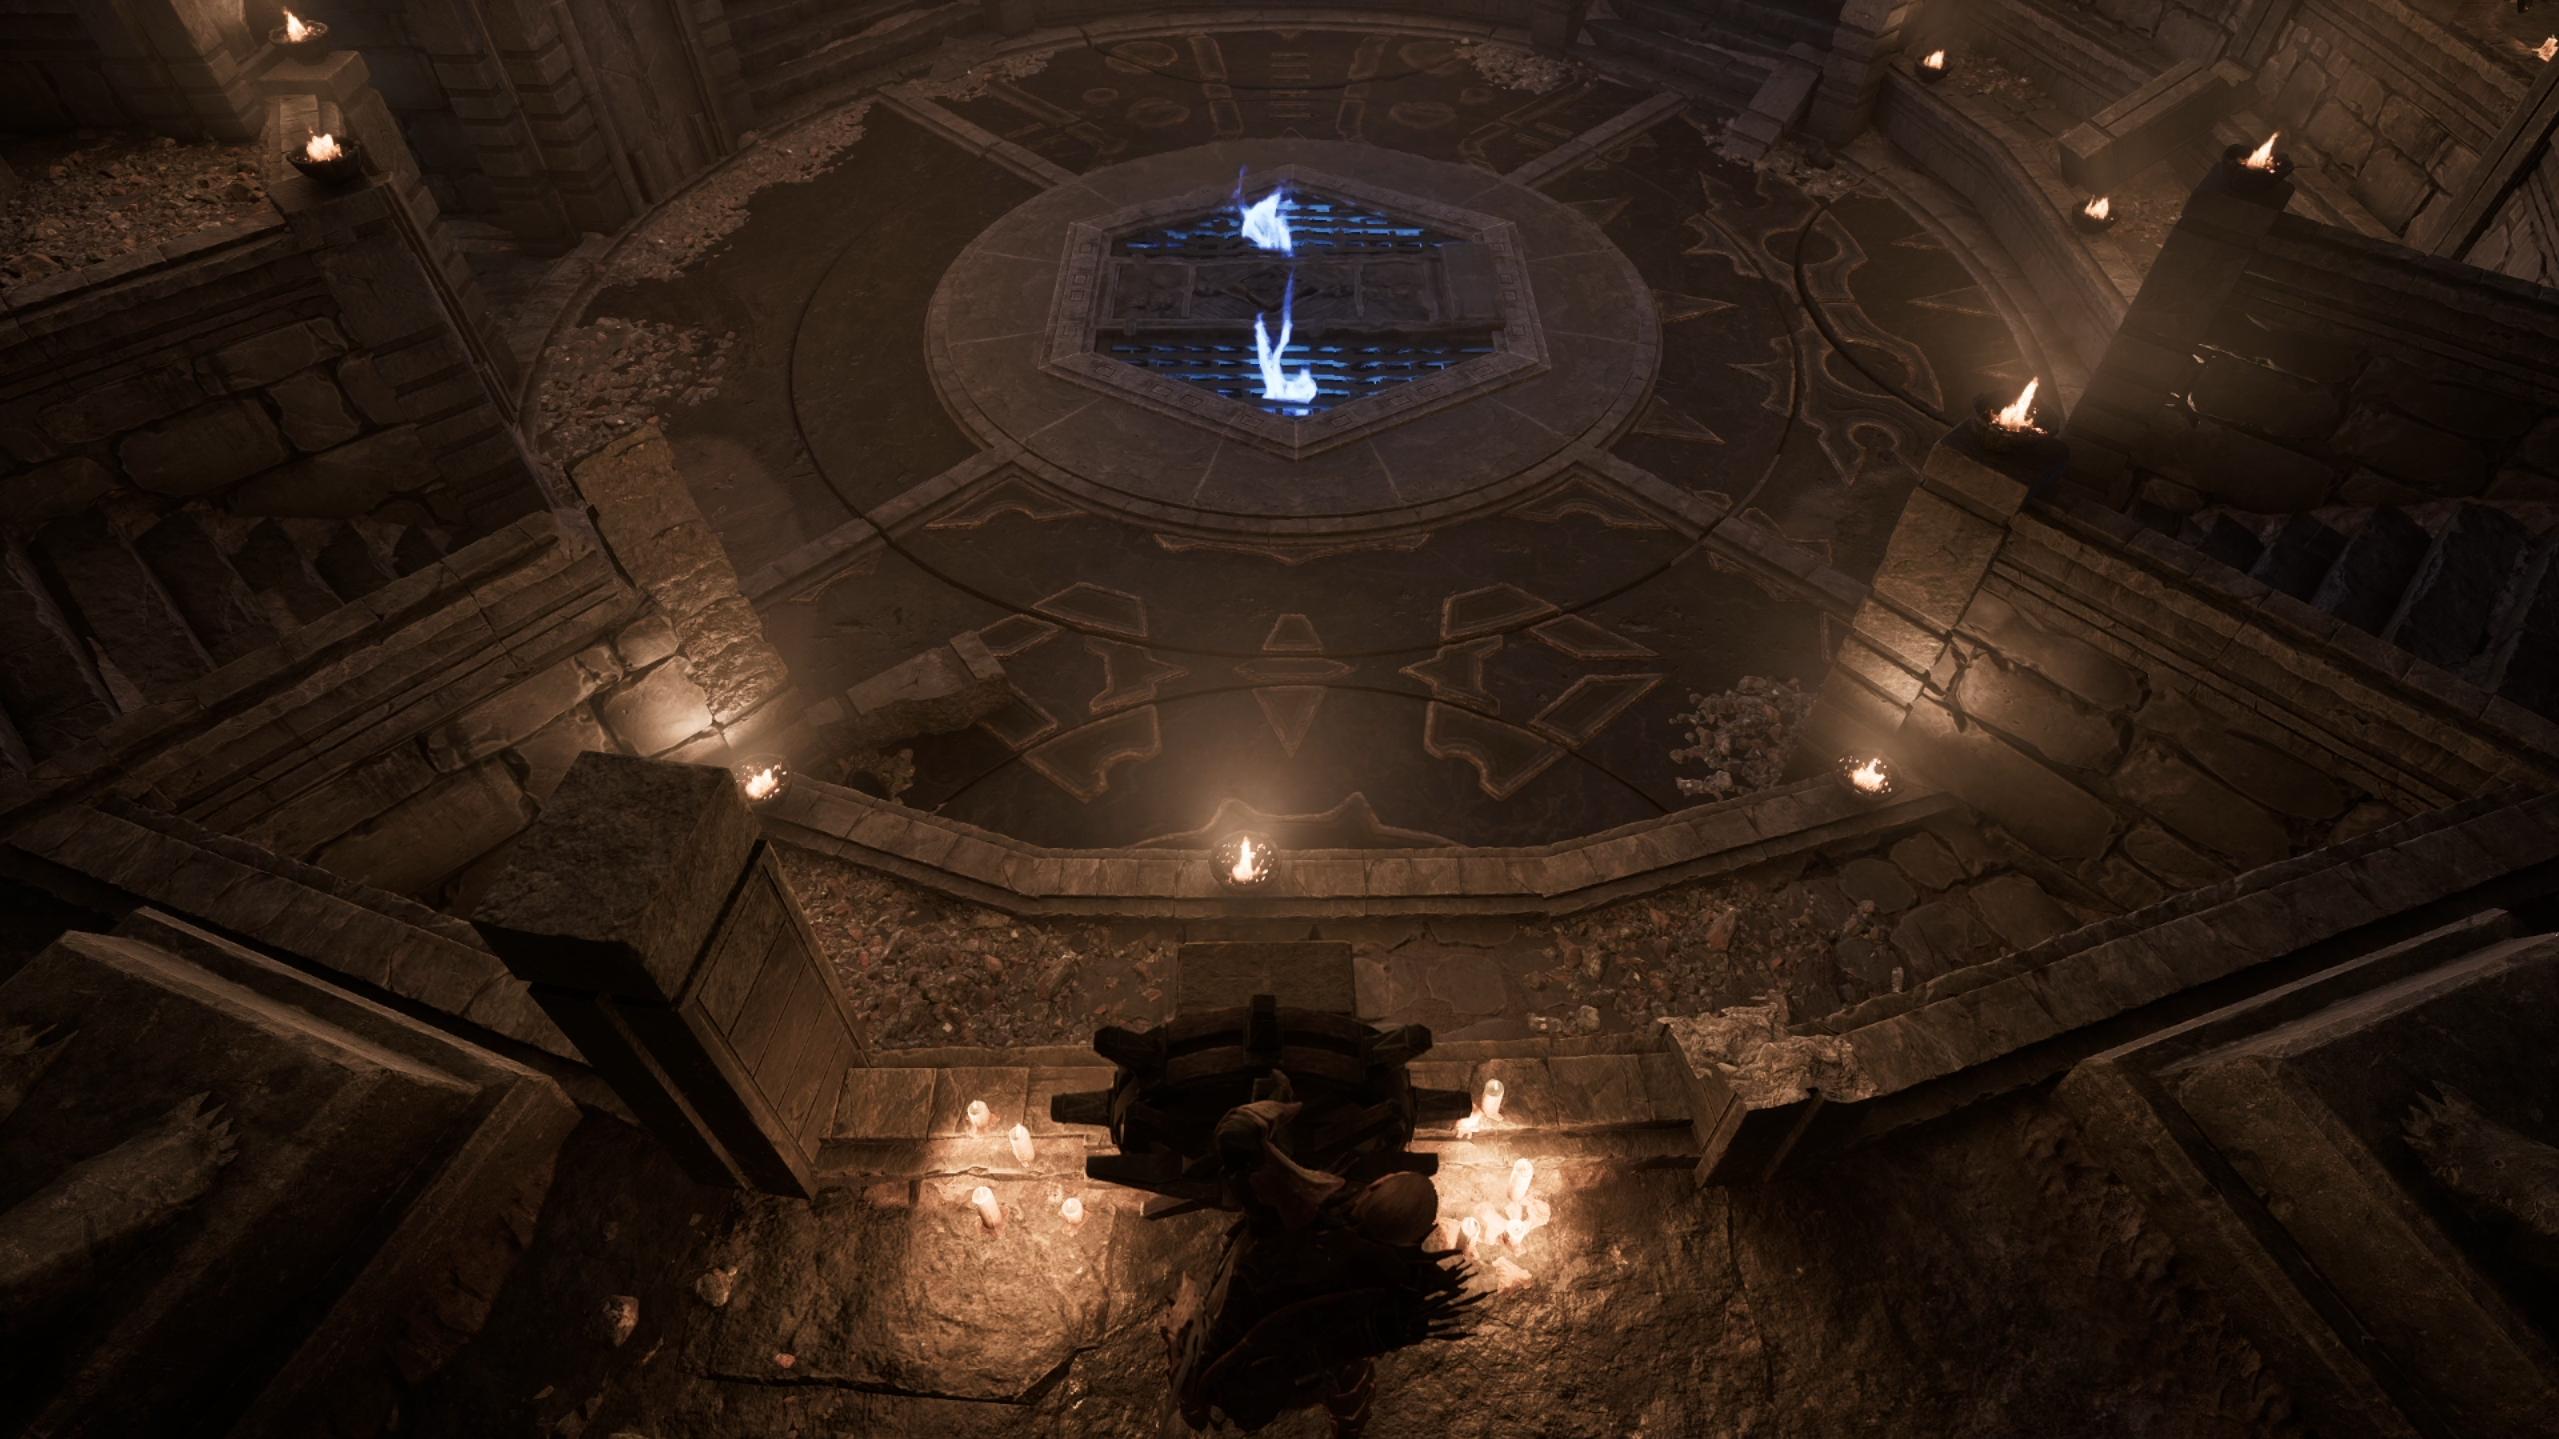
Hug the right wall, go up the stairs, and go right and up the stairs again. You will reach a circular room with electric crystals on the ceiling and engravings on the floor. These engravings are controlled with the wheel devices in the upper part of the room, which make them rotate. You have to flip them until all the patterns match with each other. Rotate the wheels to match the pattern below and solve the puzzle:
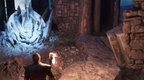
This will awaken the first Orc Shaman, Varrag Kasork. He has a similar move set to other Orcs, but can stun you with his weapon and send magic waves to you as well. Defeat him and loot the Lightbringer item. Then, head back straight through the corridor and back into the main room.
Orc Lever - Jail Area
Go into the left corridor to enter the jail area. Drop down below to find a stone door with a lever on each side. The left lever opens the jail with a Temple Guard inside, and the right lever opens the door ahead.
Immediately after, you'll see another Temple Guard in the room ahead. Take him down and loot the chests in the room to find an Amulet of Enlightenment, several Magic Scrolls, the Orc Lever, and a Bow and arrows.
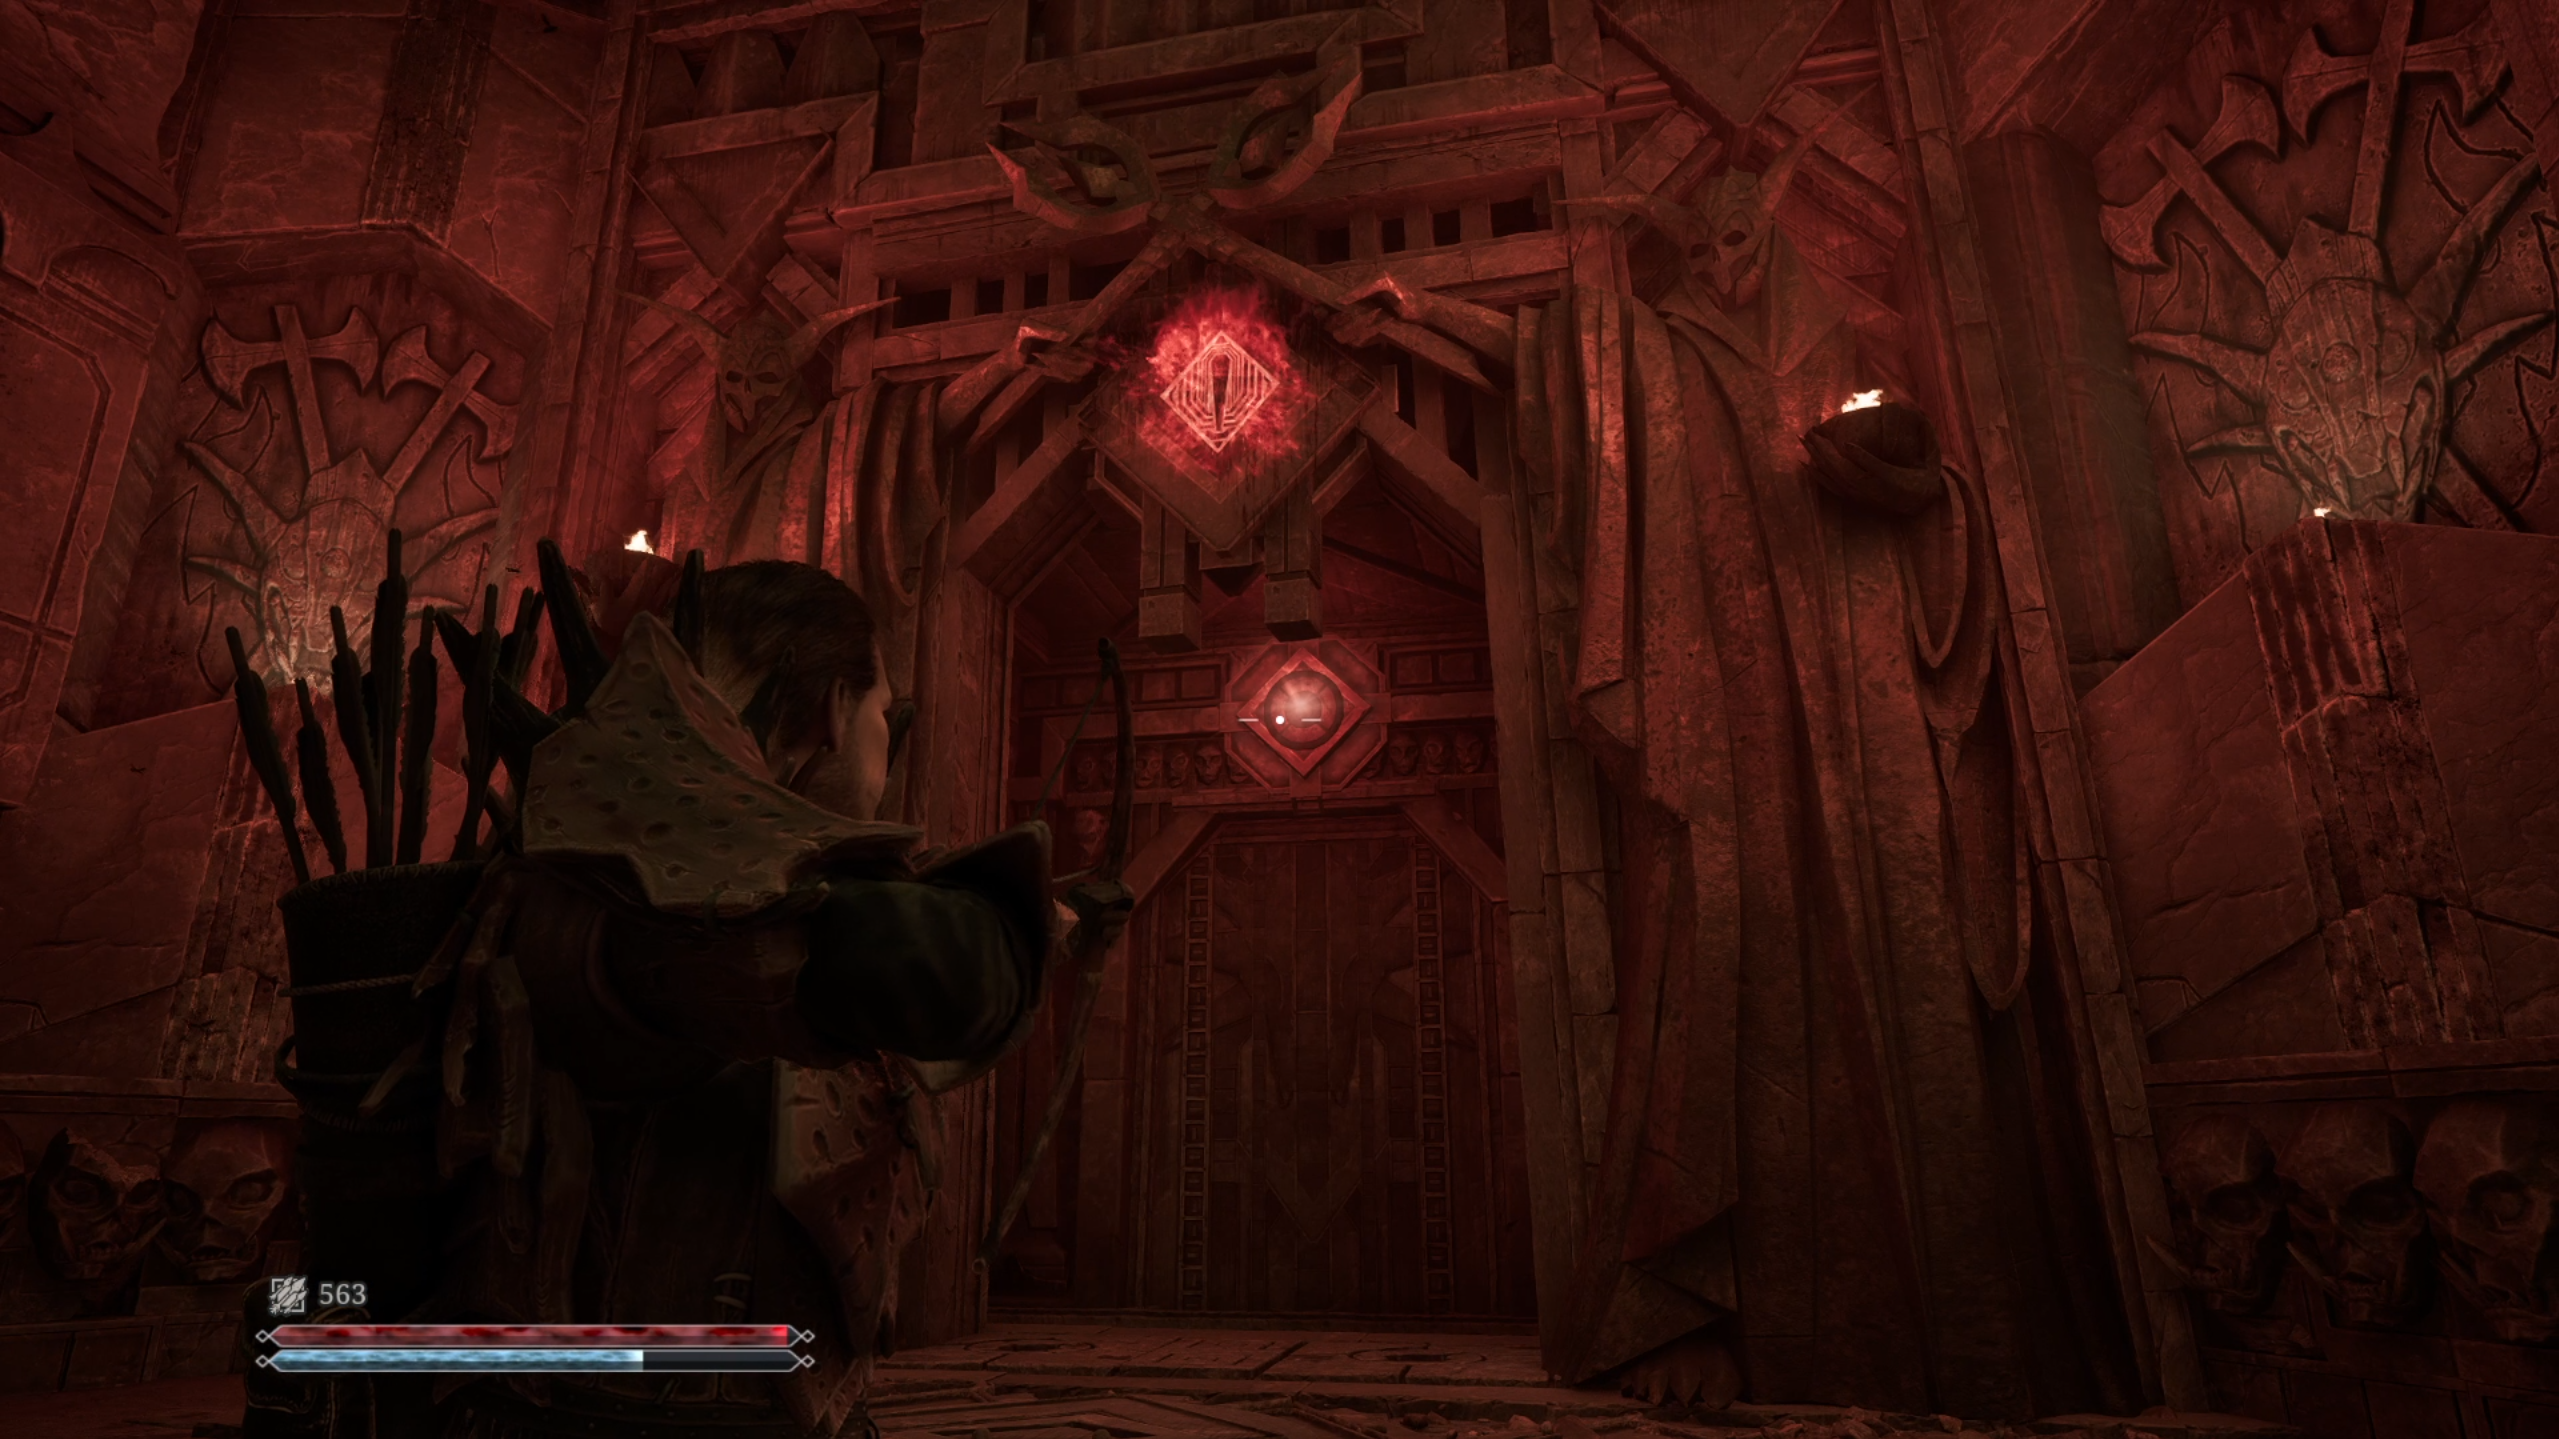
Shaman #2 - Bow Puzzle
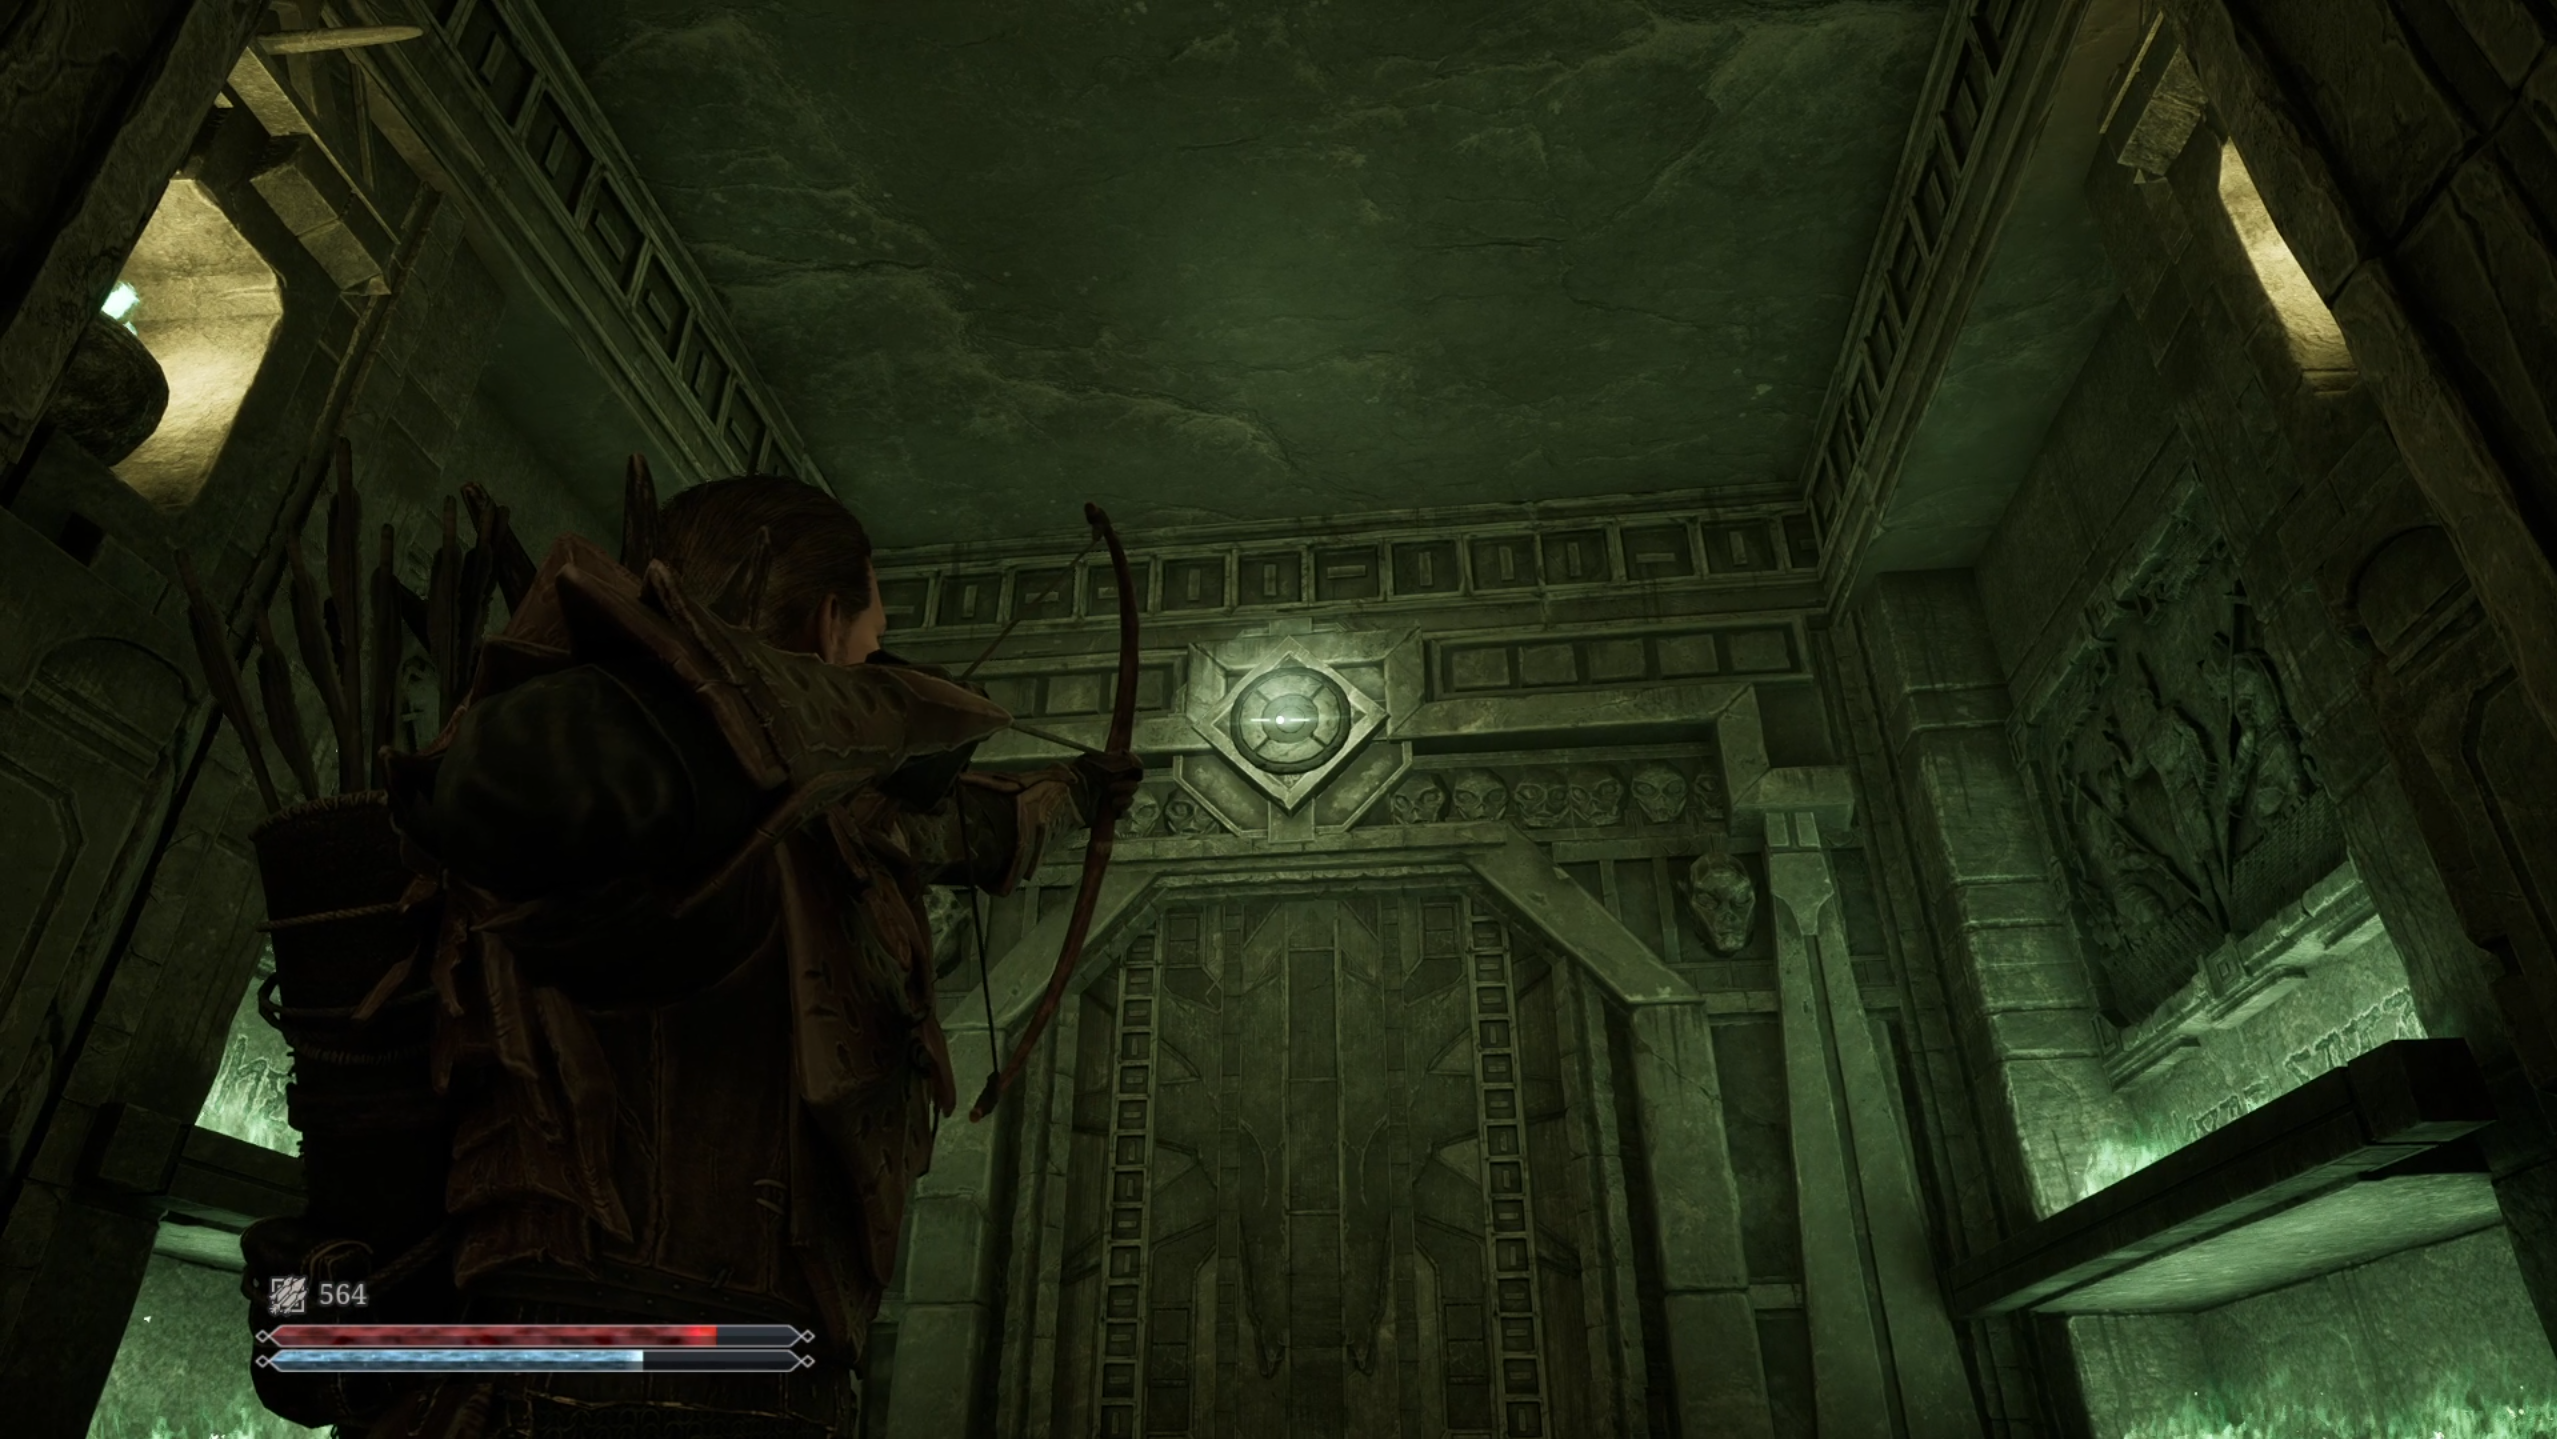
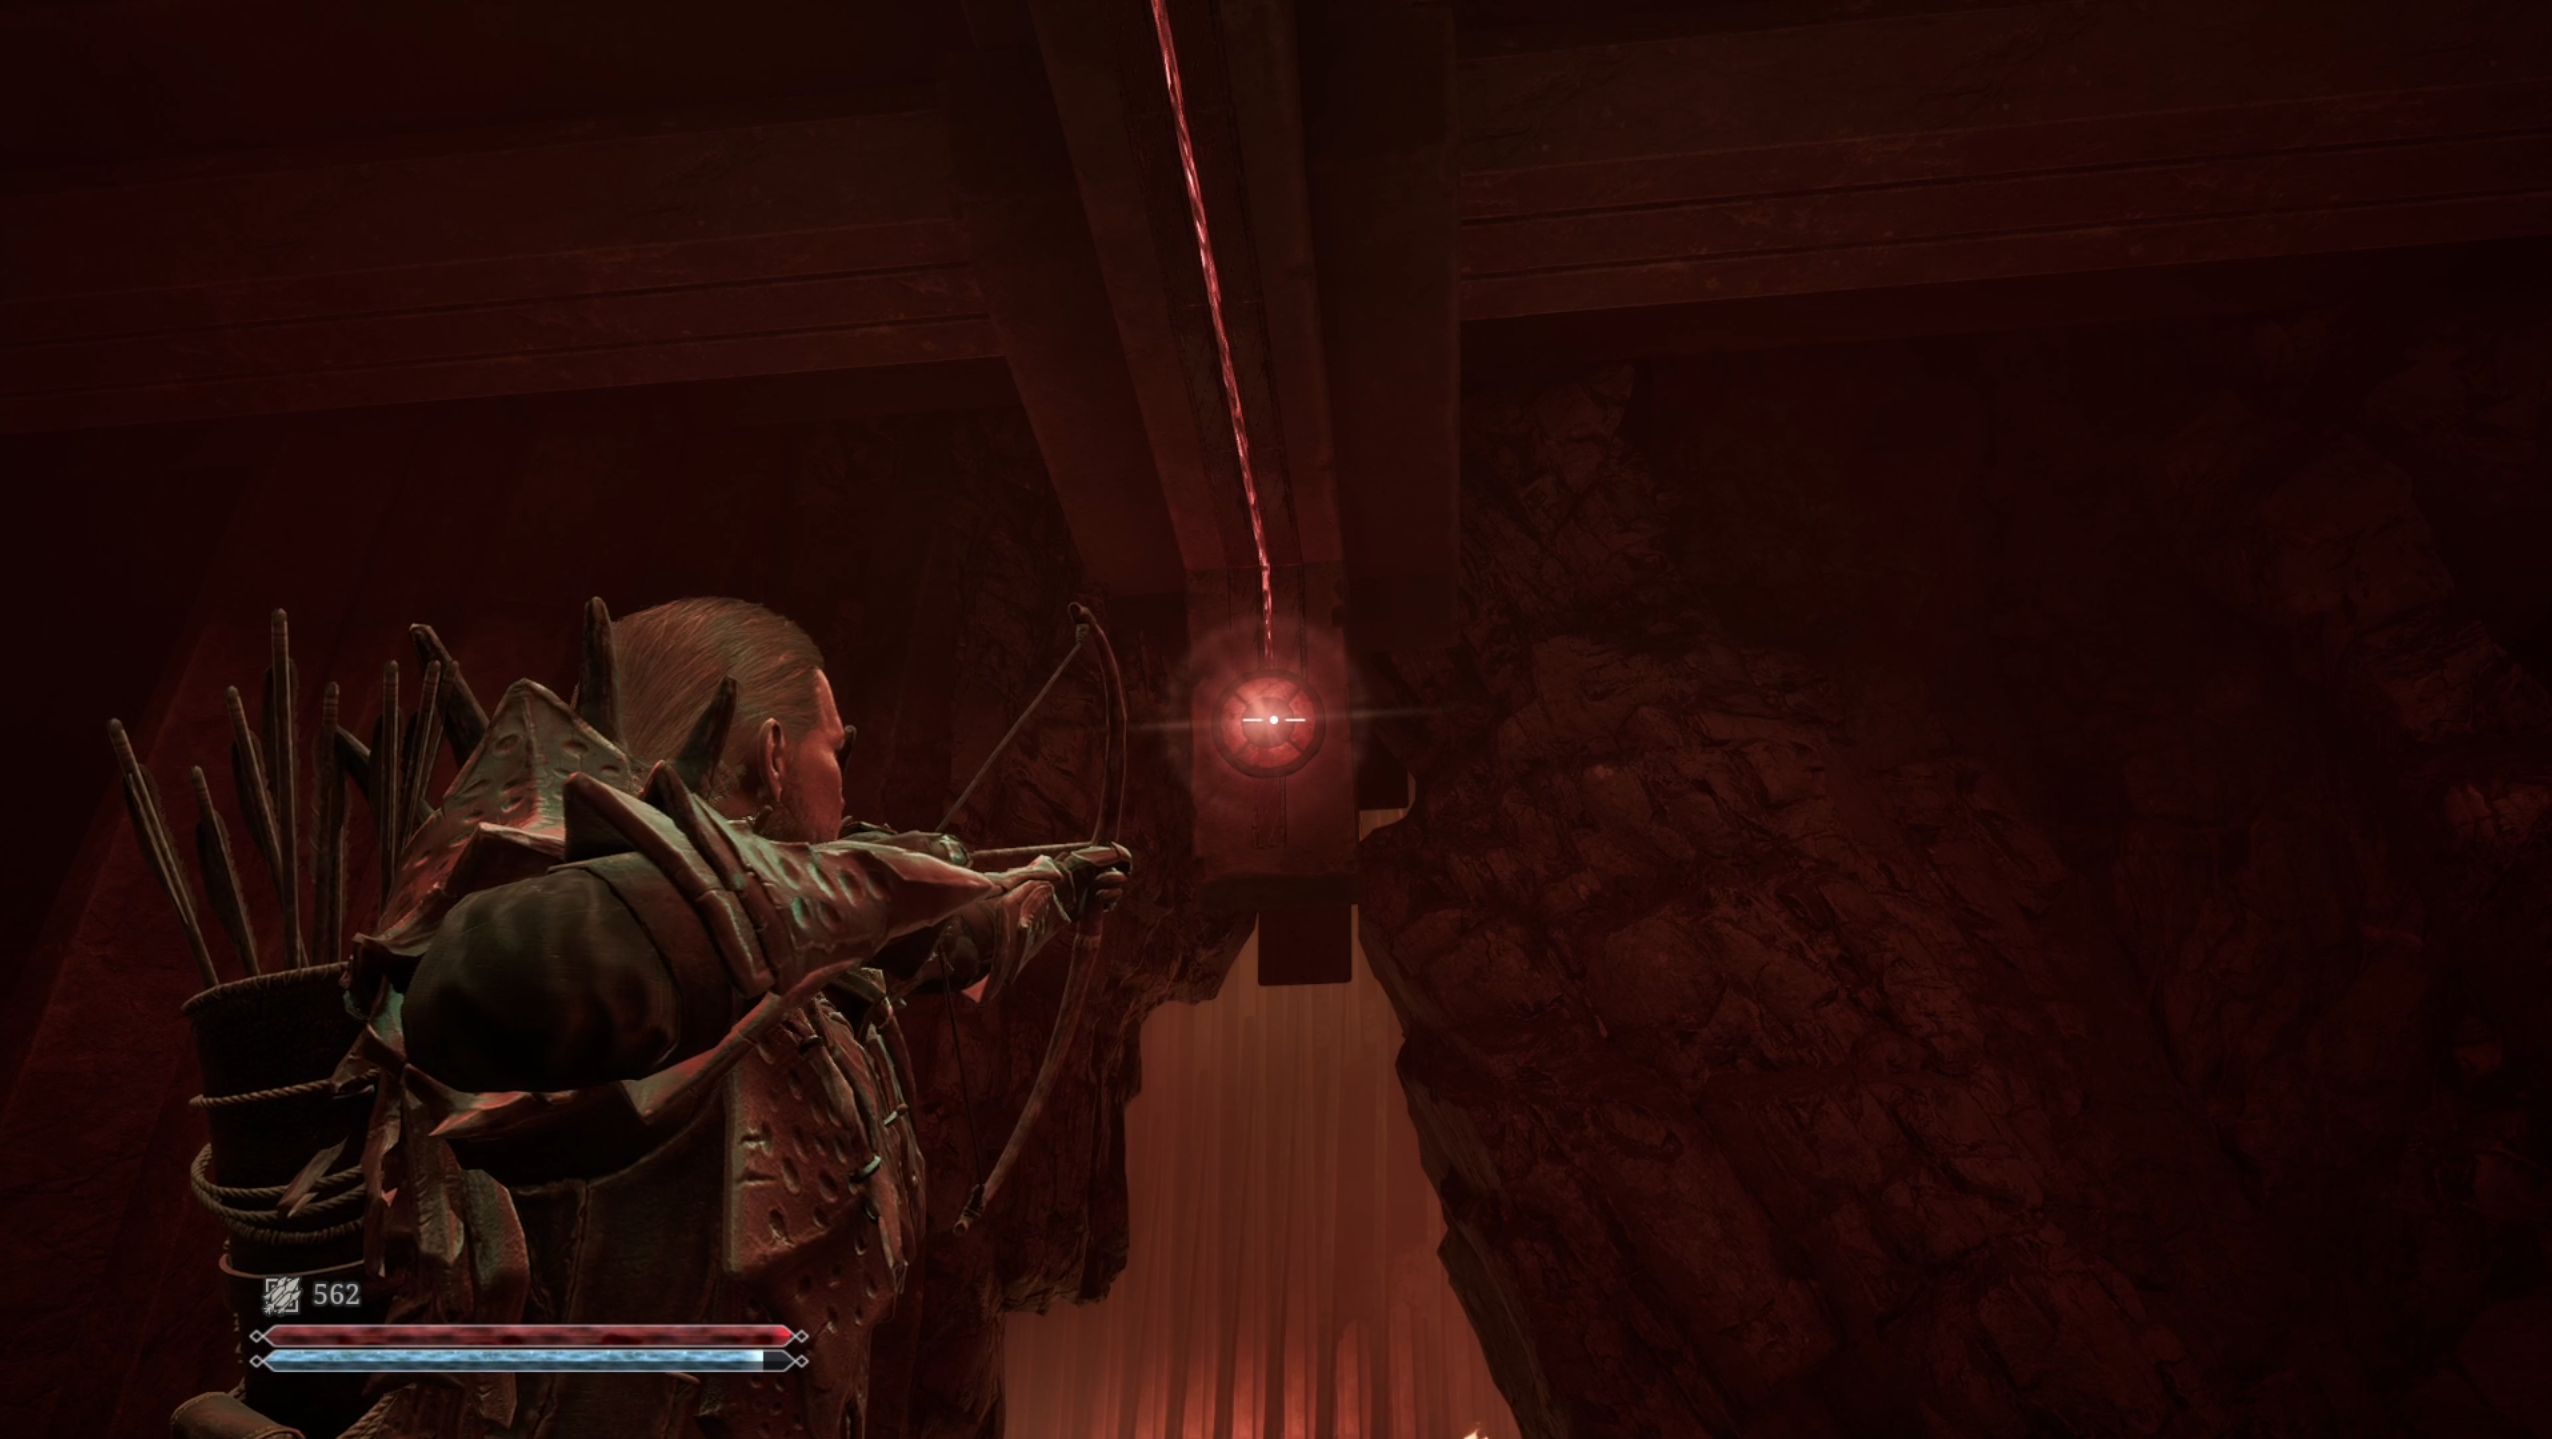
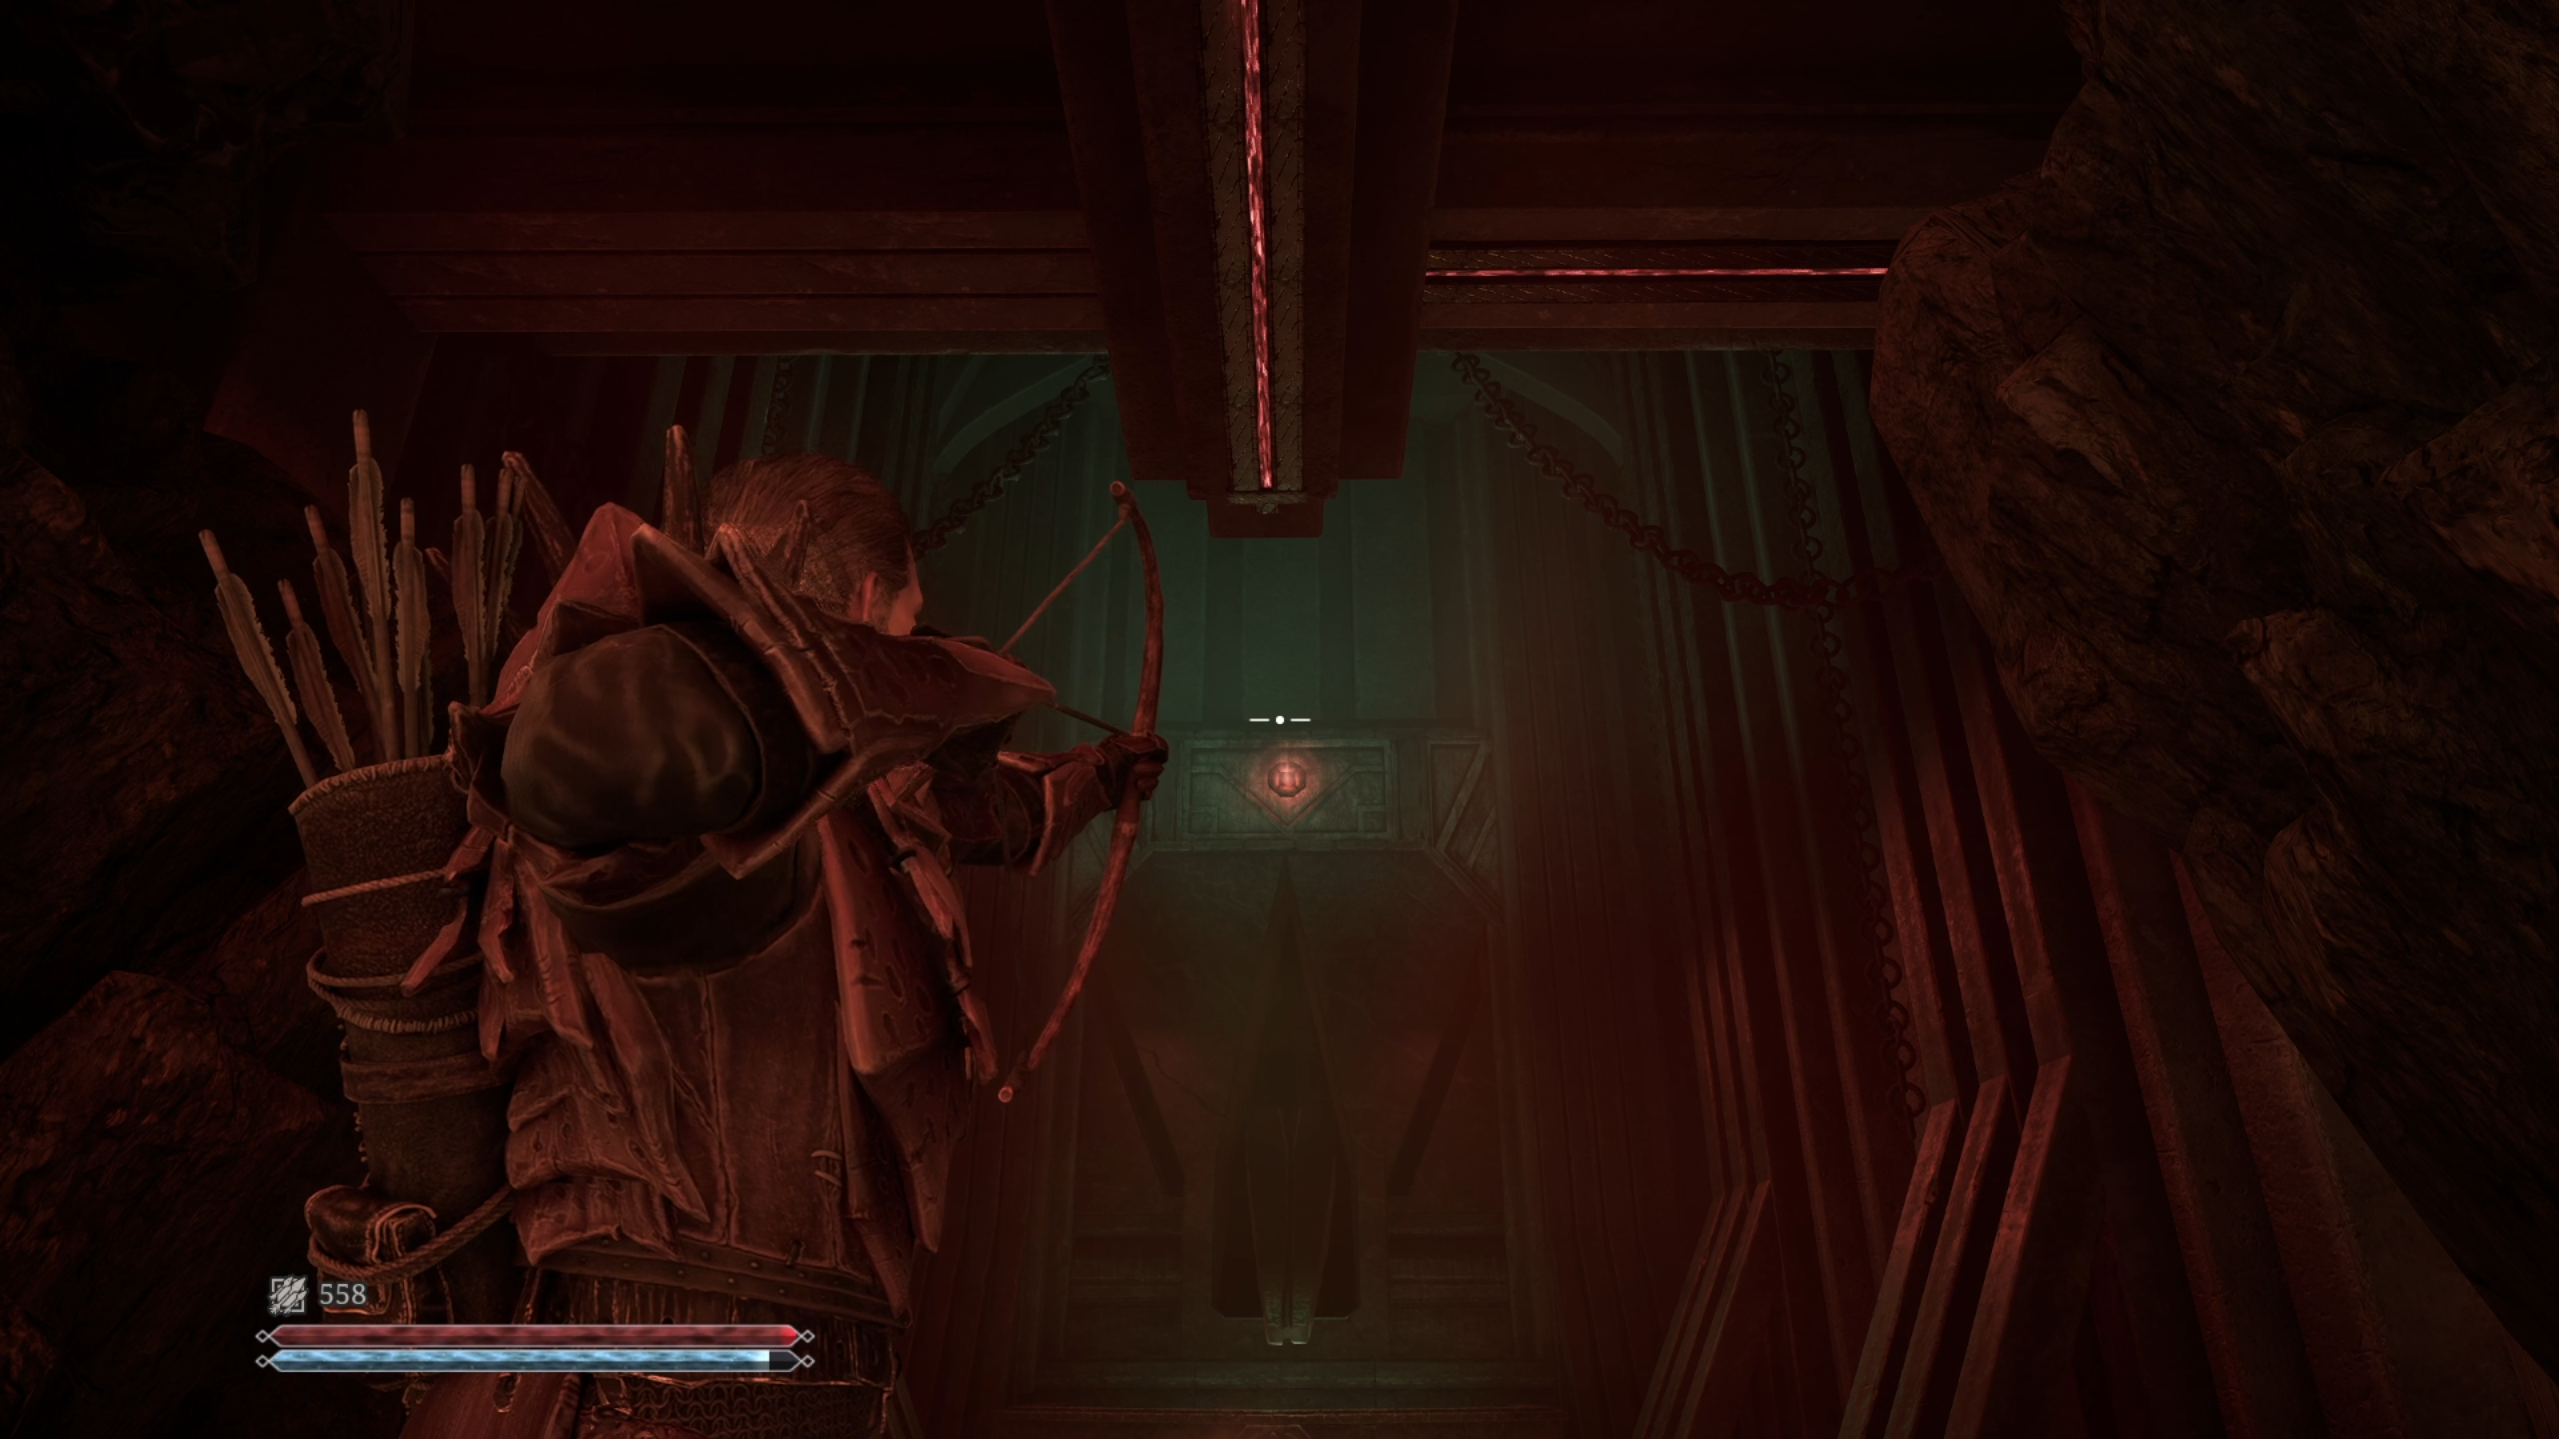
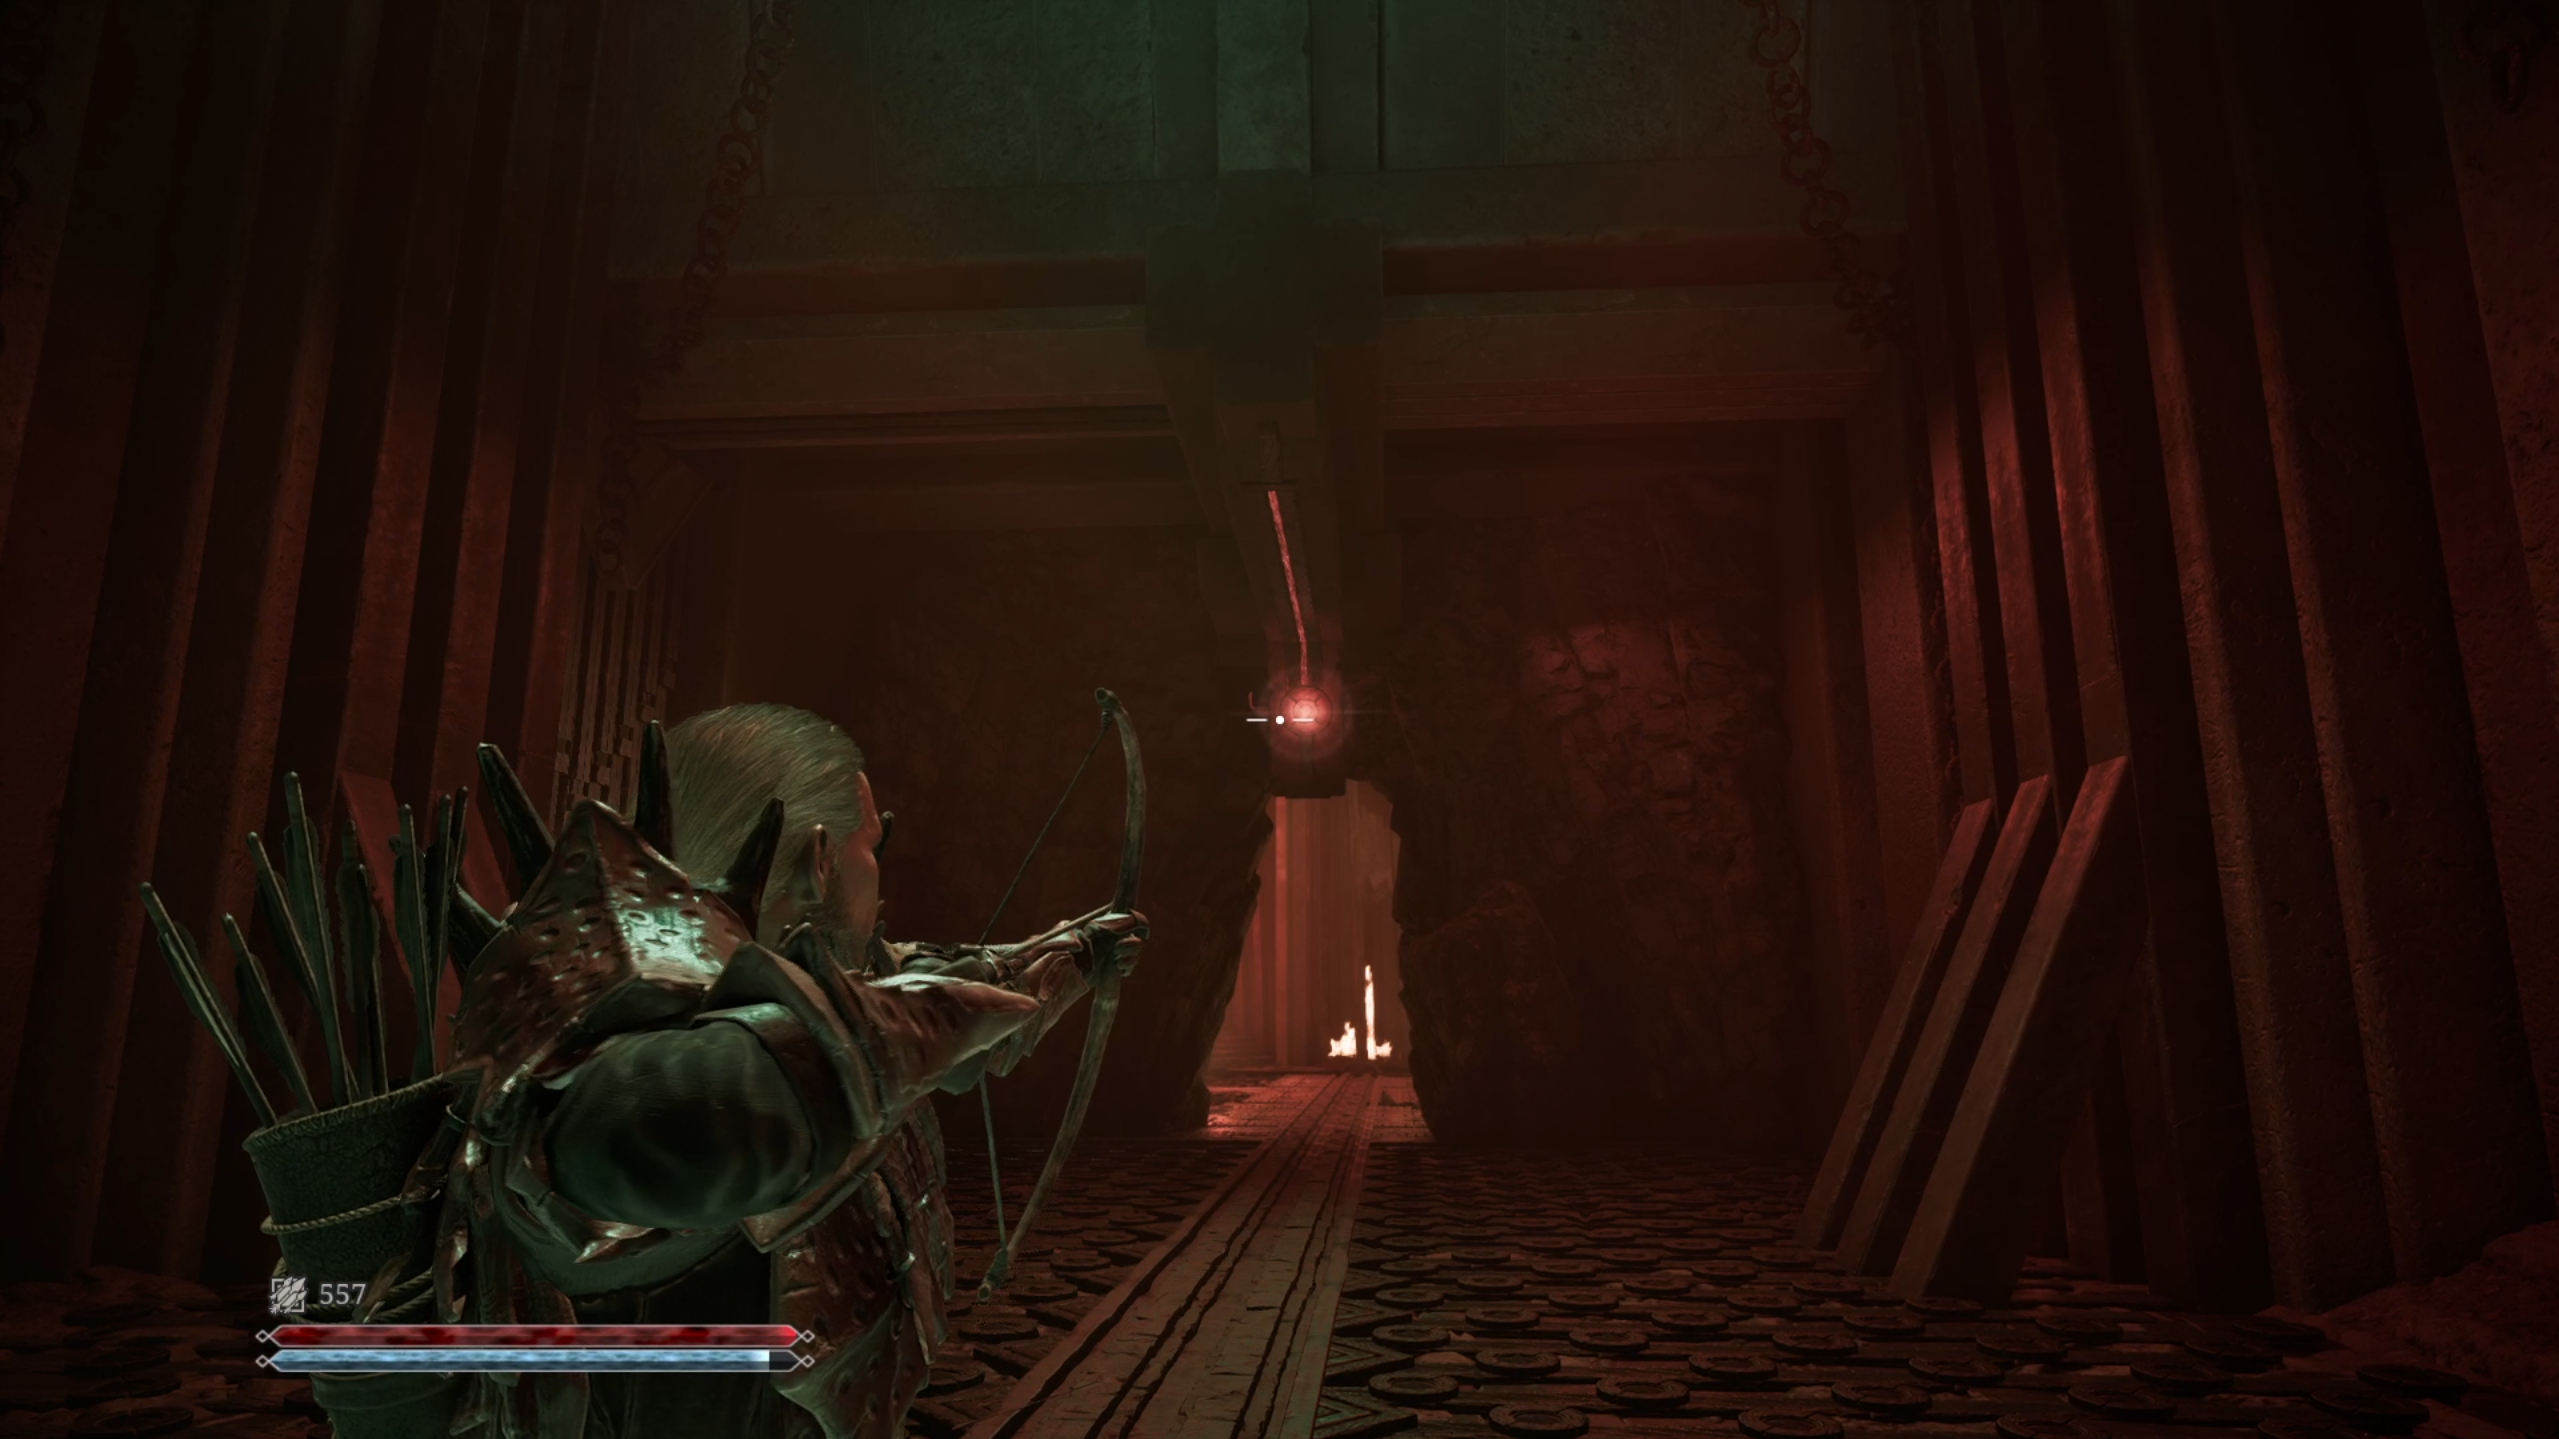
Back in the main room, there's a green marker atop a stone door that leads to the second Orc Shaman. Shoot the marker with an arrow or bolt to open the door.
Go through the corridor and enter the next room to awaken Varrag Hashor. Take him down and make sure to loot the Worldcleaver from him before proceeding to the next area.
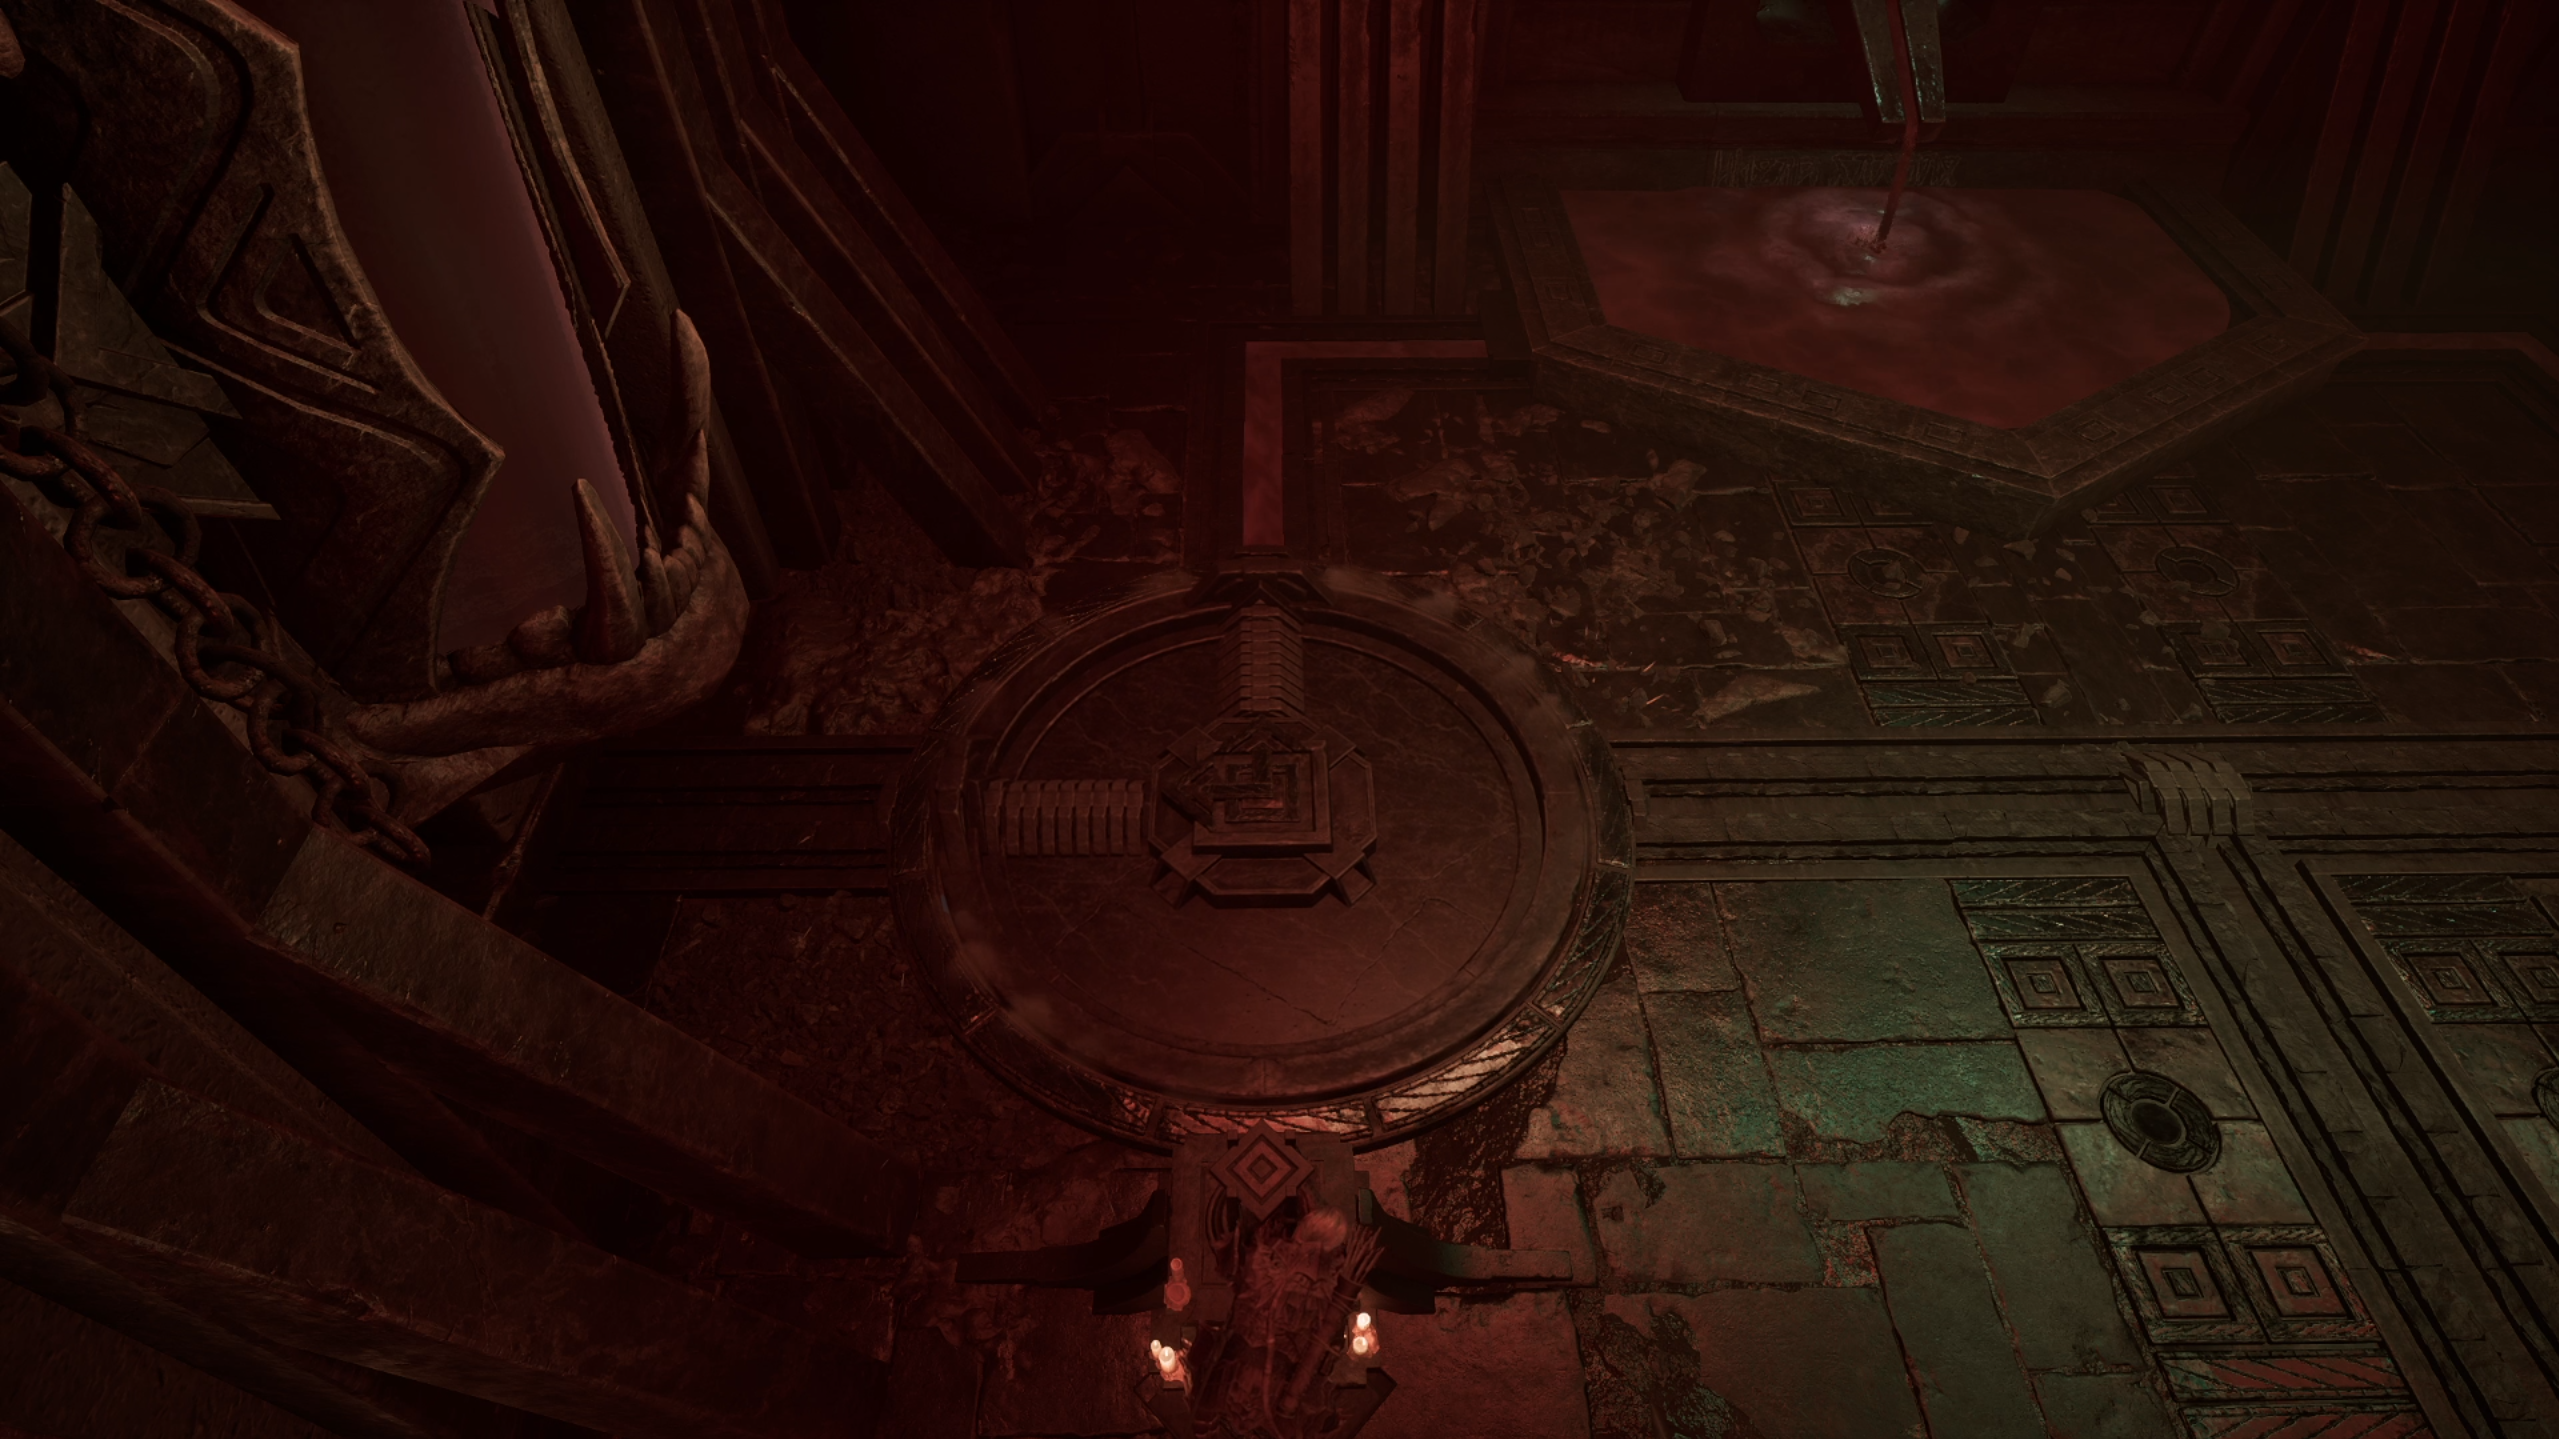
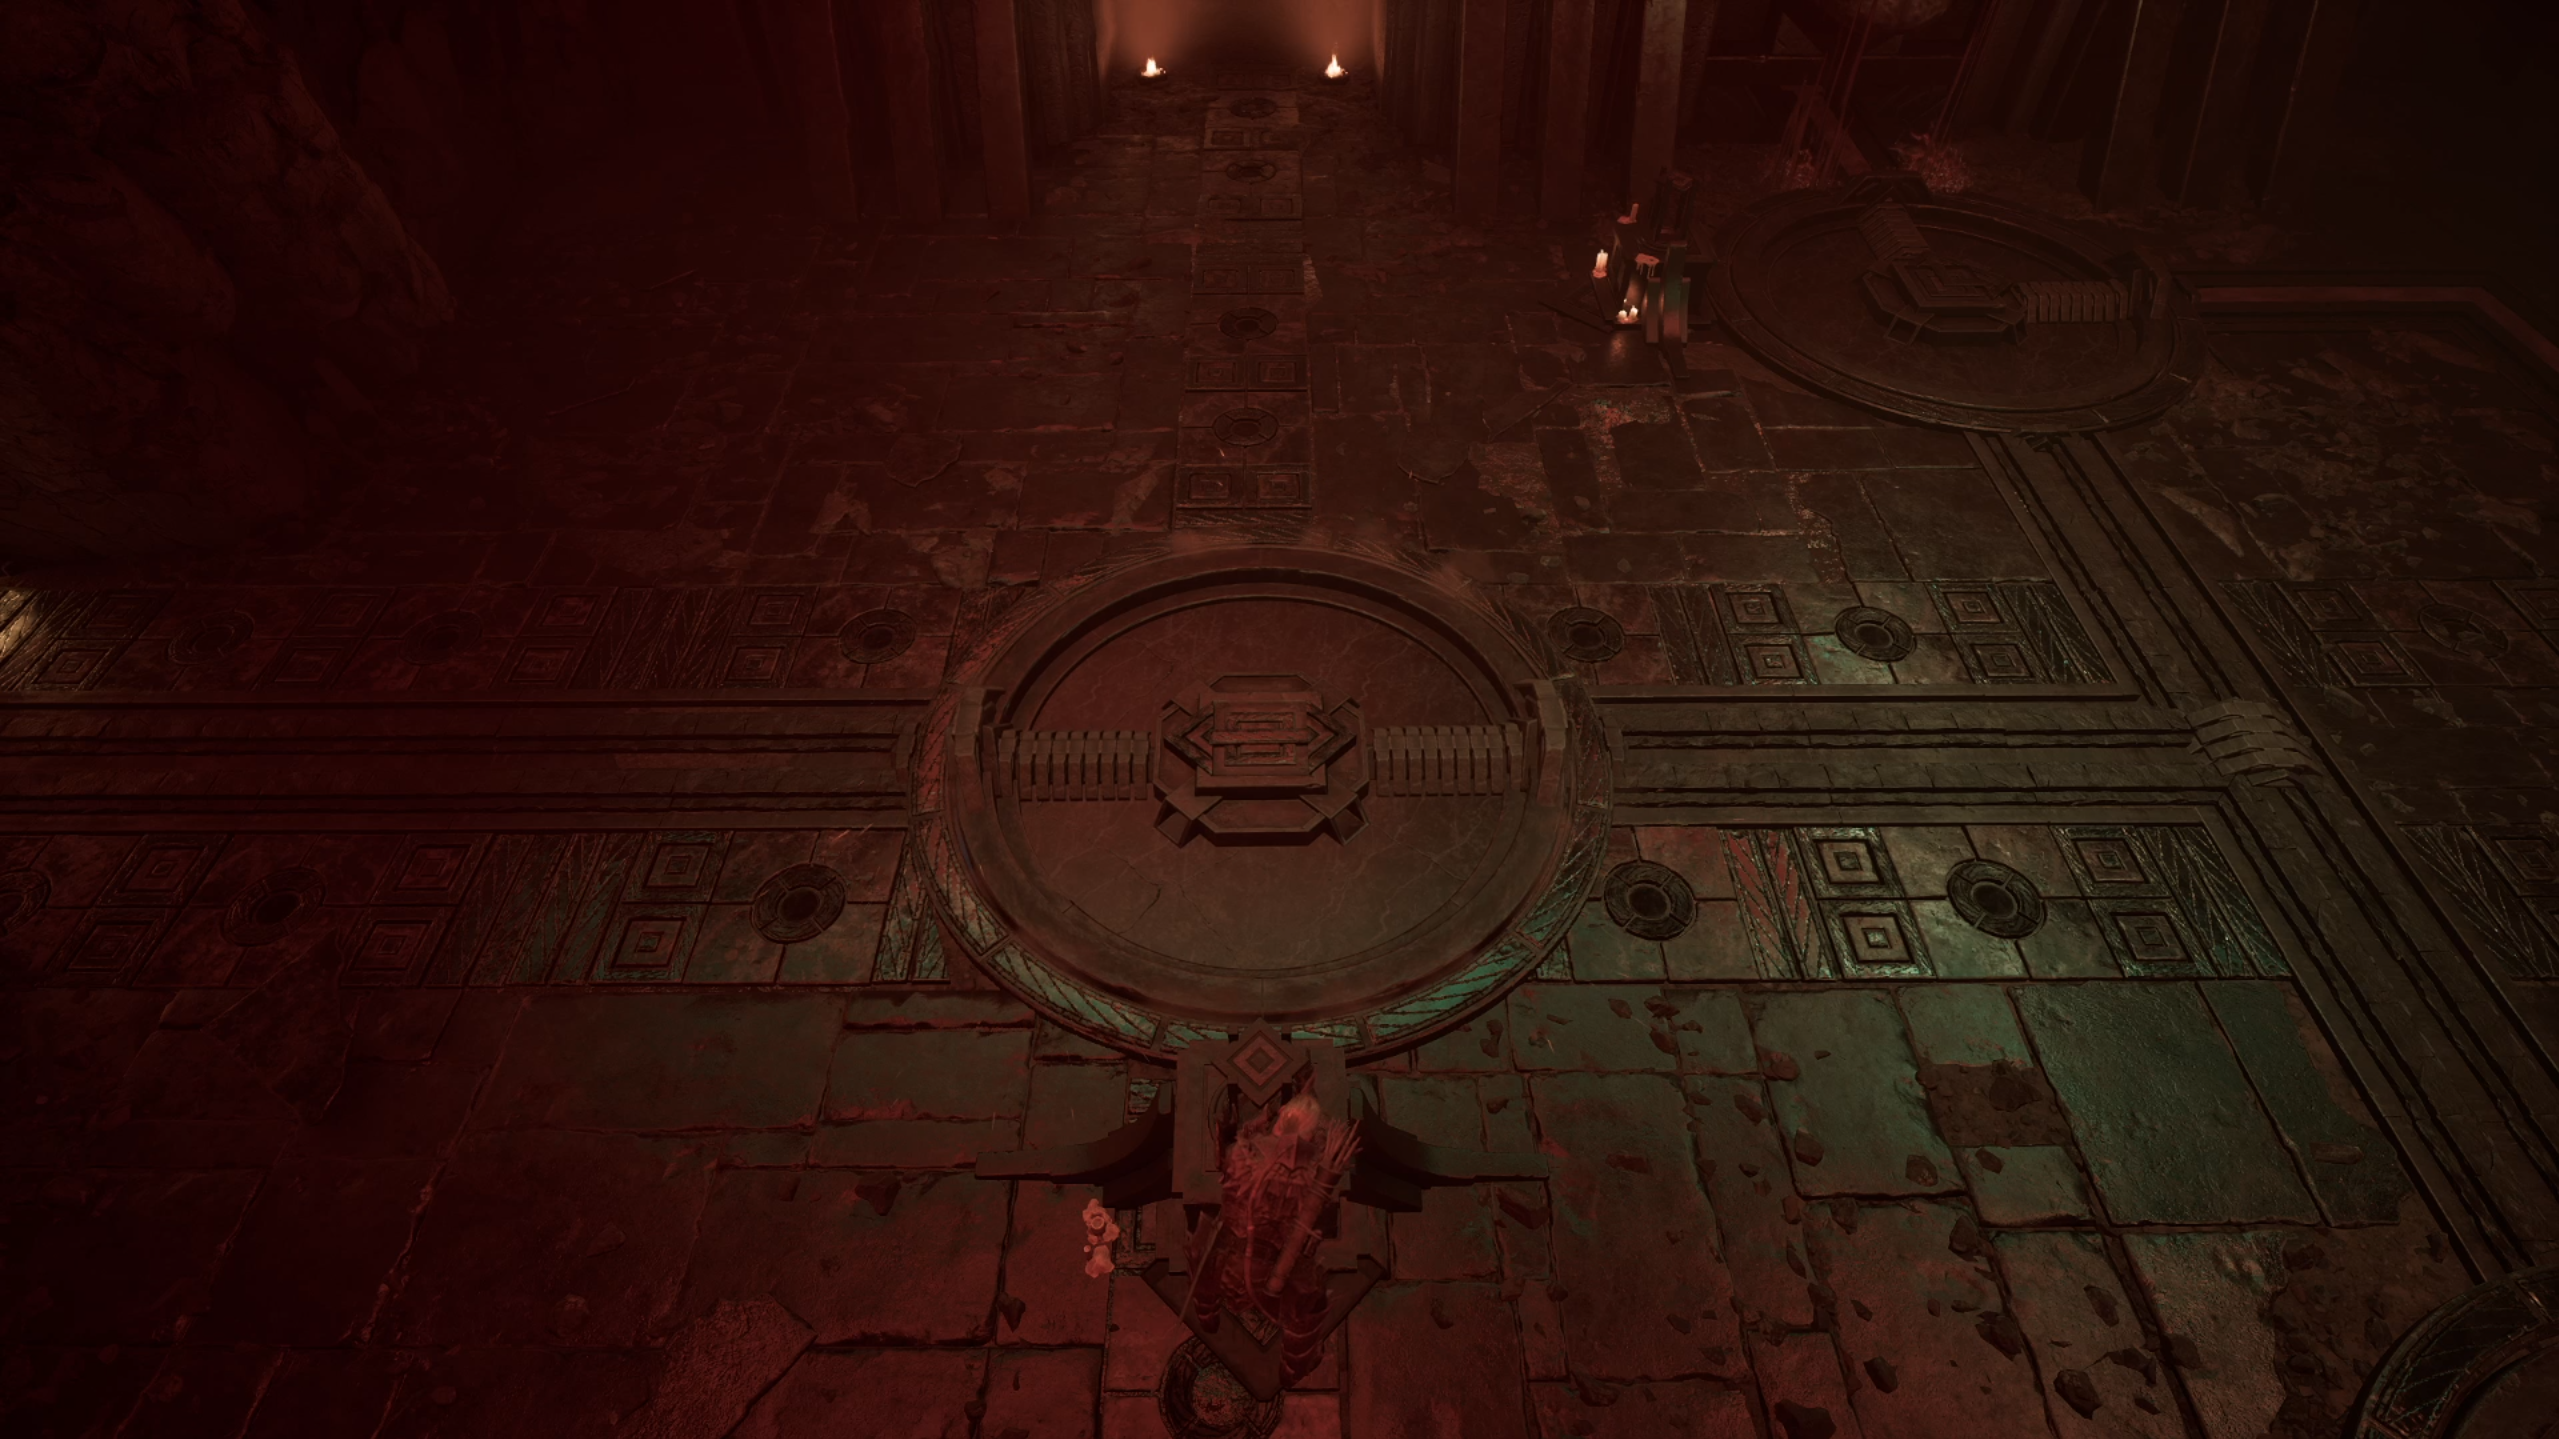
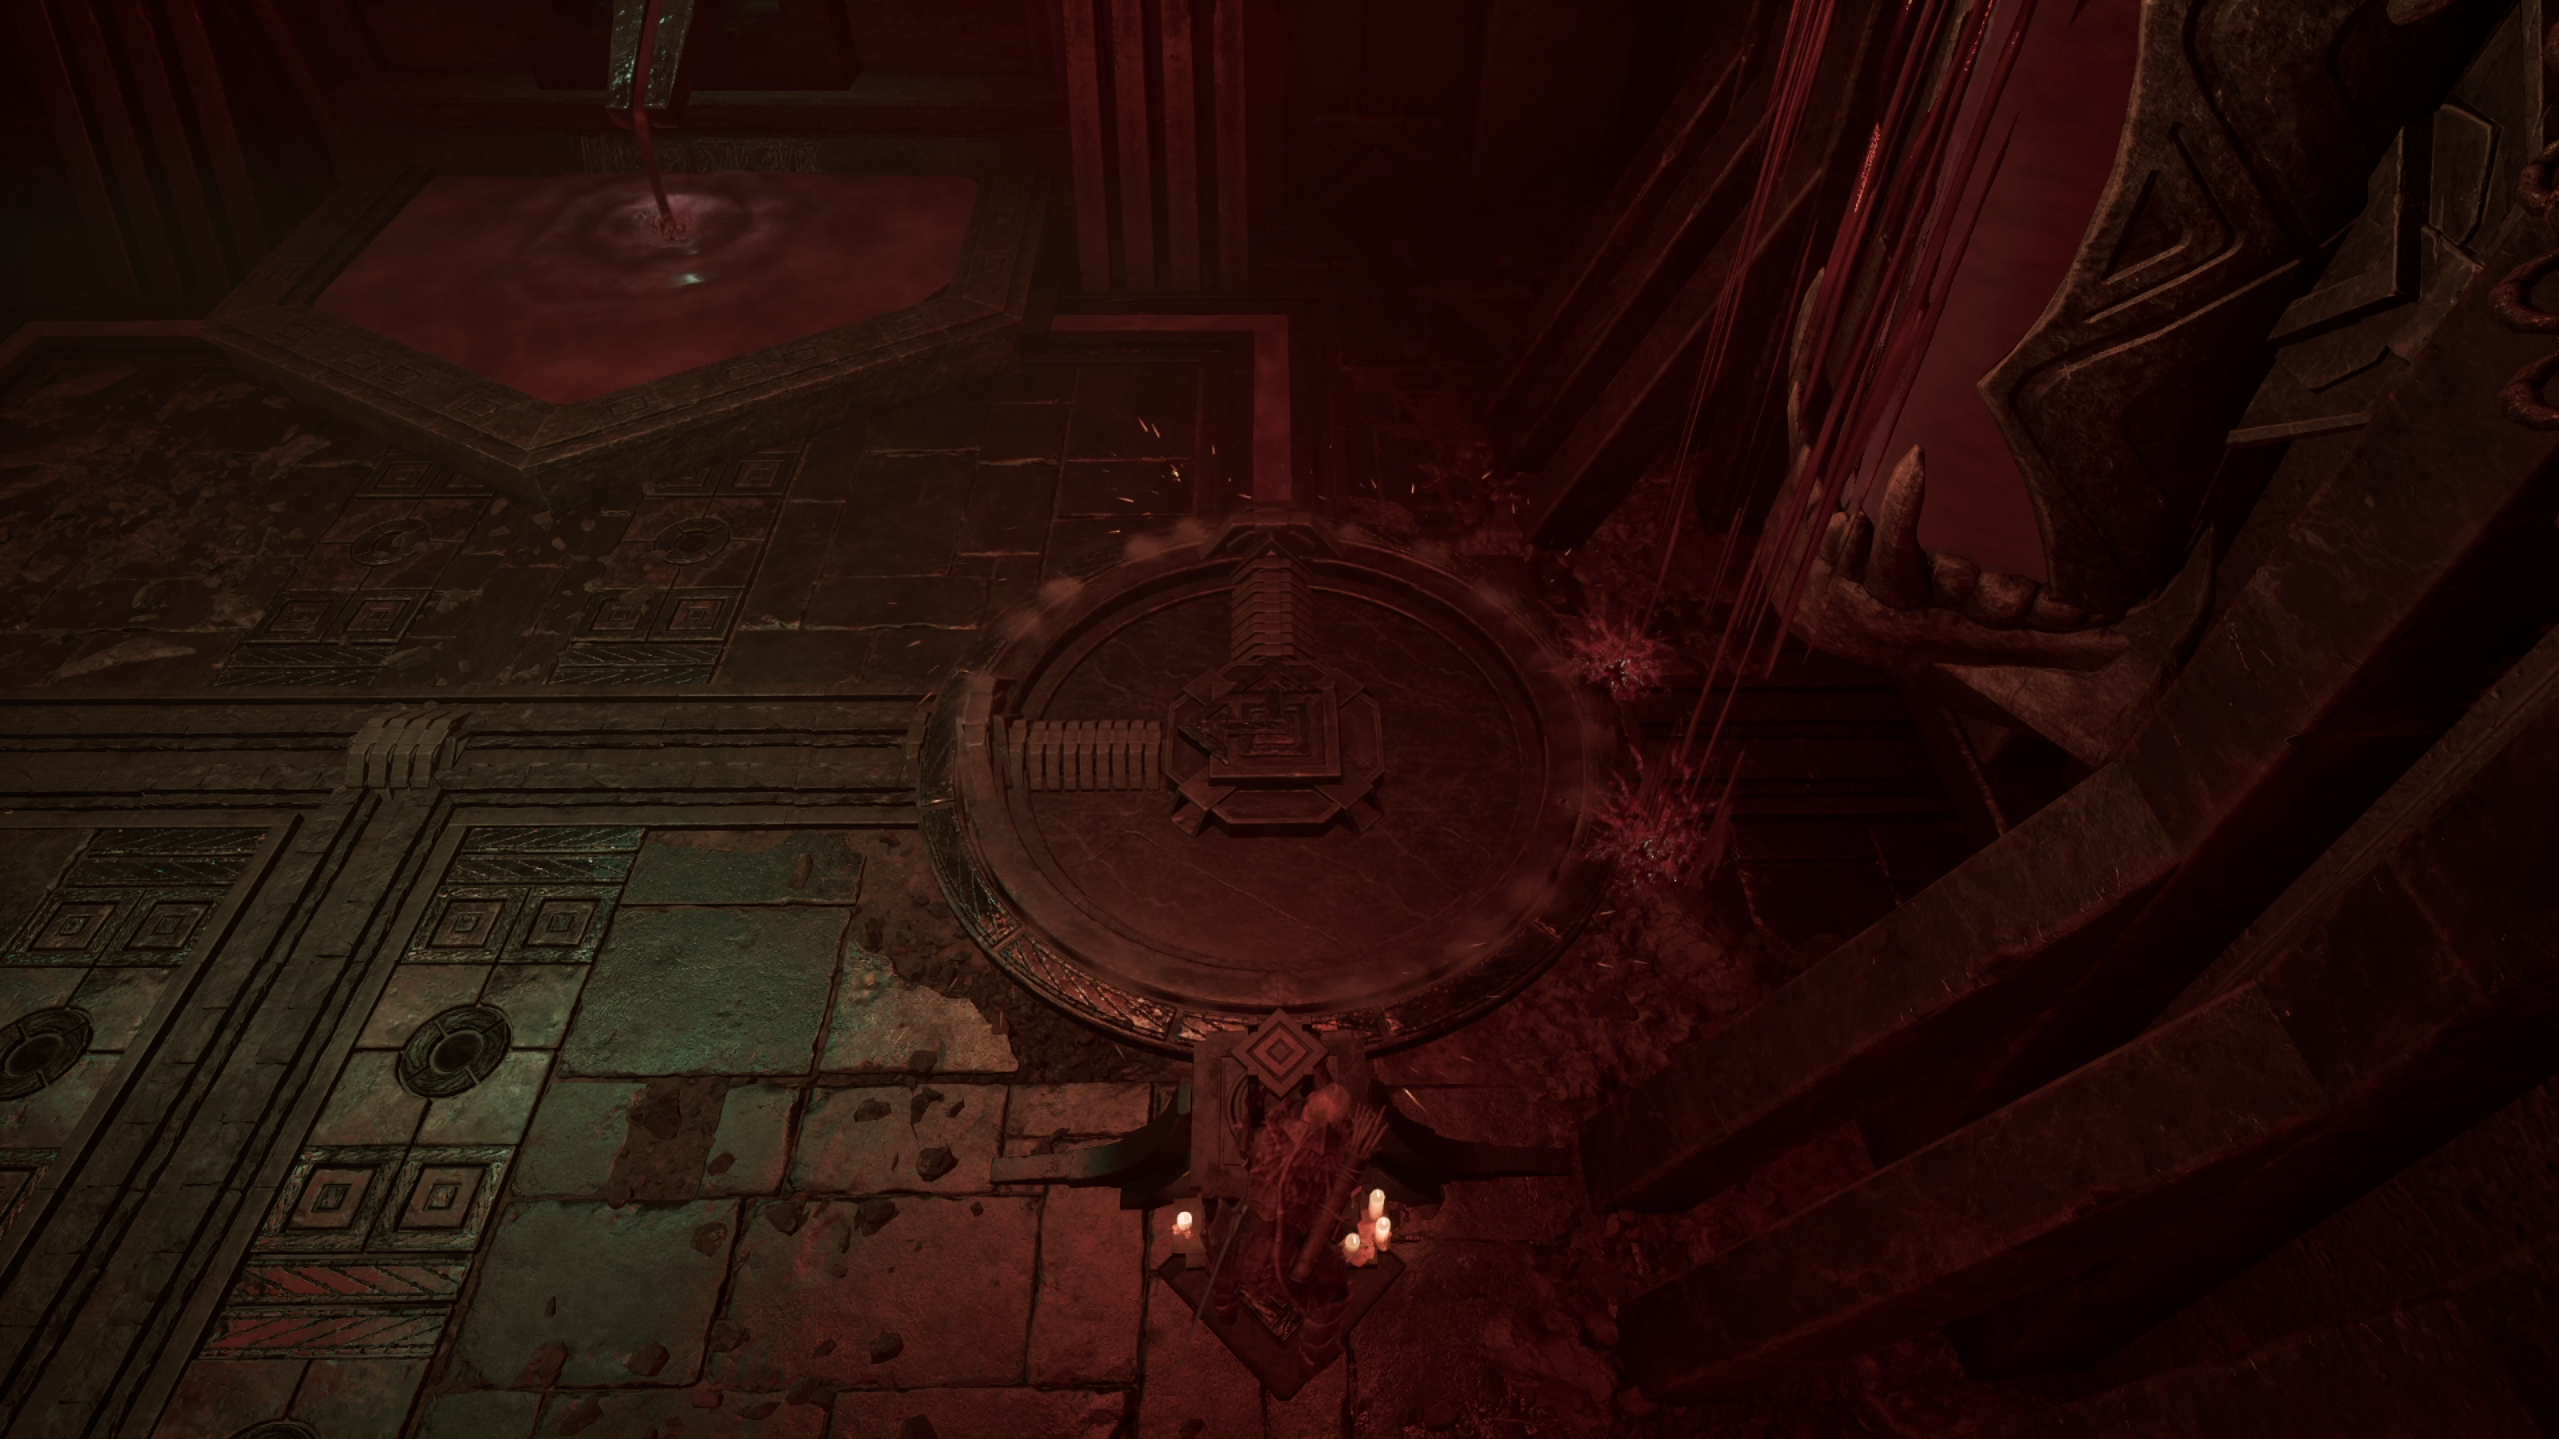
Orc Lever Puzzle
In the main room, you'll notice three stone pillars that you could jump across to get to the next room. One of them has a lever, and another has a slot for it but is missing the lever. Place the Orc Lever you got before.
First, activate the left lever, then the middle lever. This will make the platforms rise in the correct order, allowing you to jump across to the platform on the other side. You'll reach the Third Room of the Sleeper Temple.
Third Room - Orc Shaman #3 and Demon
After jumping across the stone pillars, you'll reach the third main room. First, you'll notice a red marker directly to your right - Shoot it with a bolt or arrow to open the door ahead to the Orc Shaman.
Shaman #3
Go through the corridor to awaken Varrag Unhilqt. Take him down in the same way you dealt with the previous Shamans and loot the Timesplinter from him. You can also find some loot in the empty room ahead.
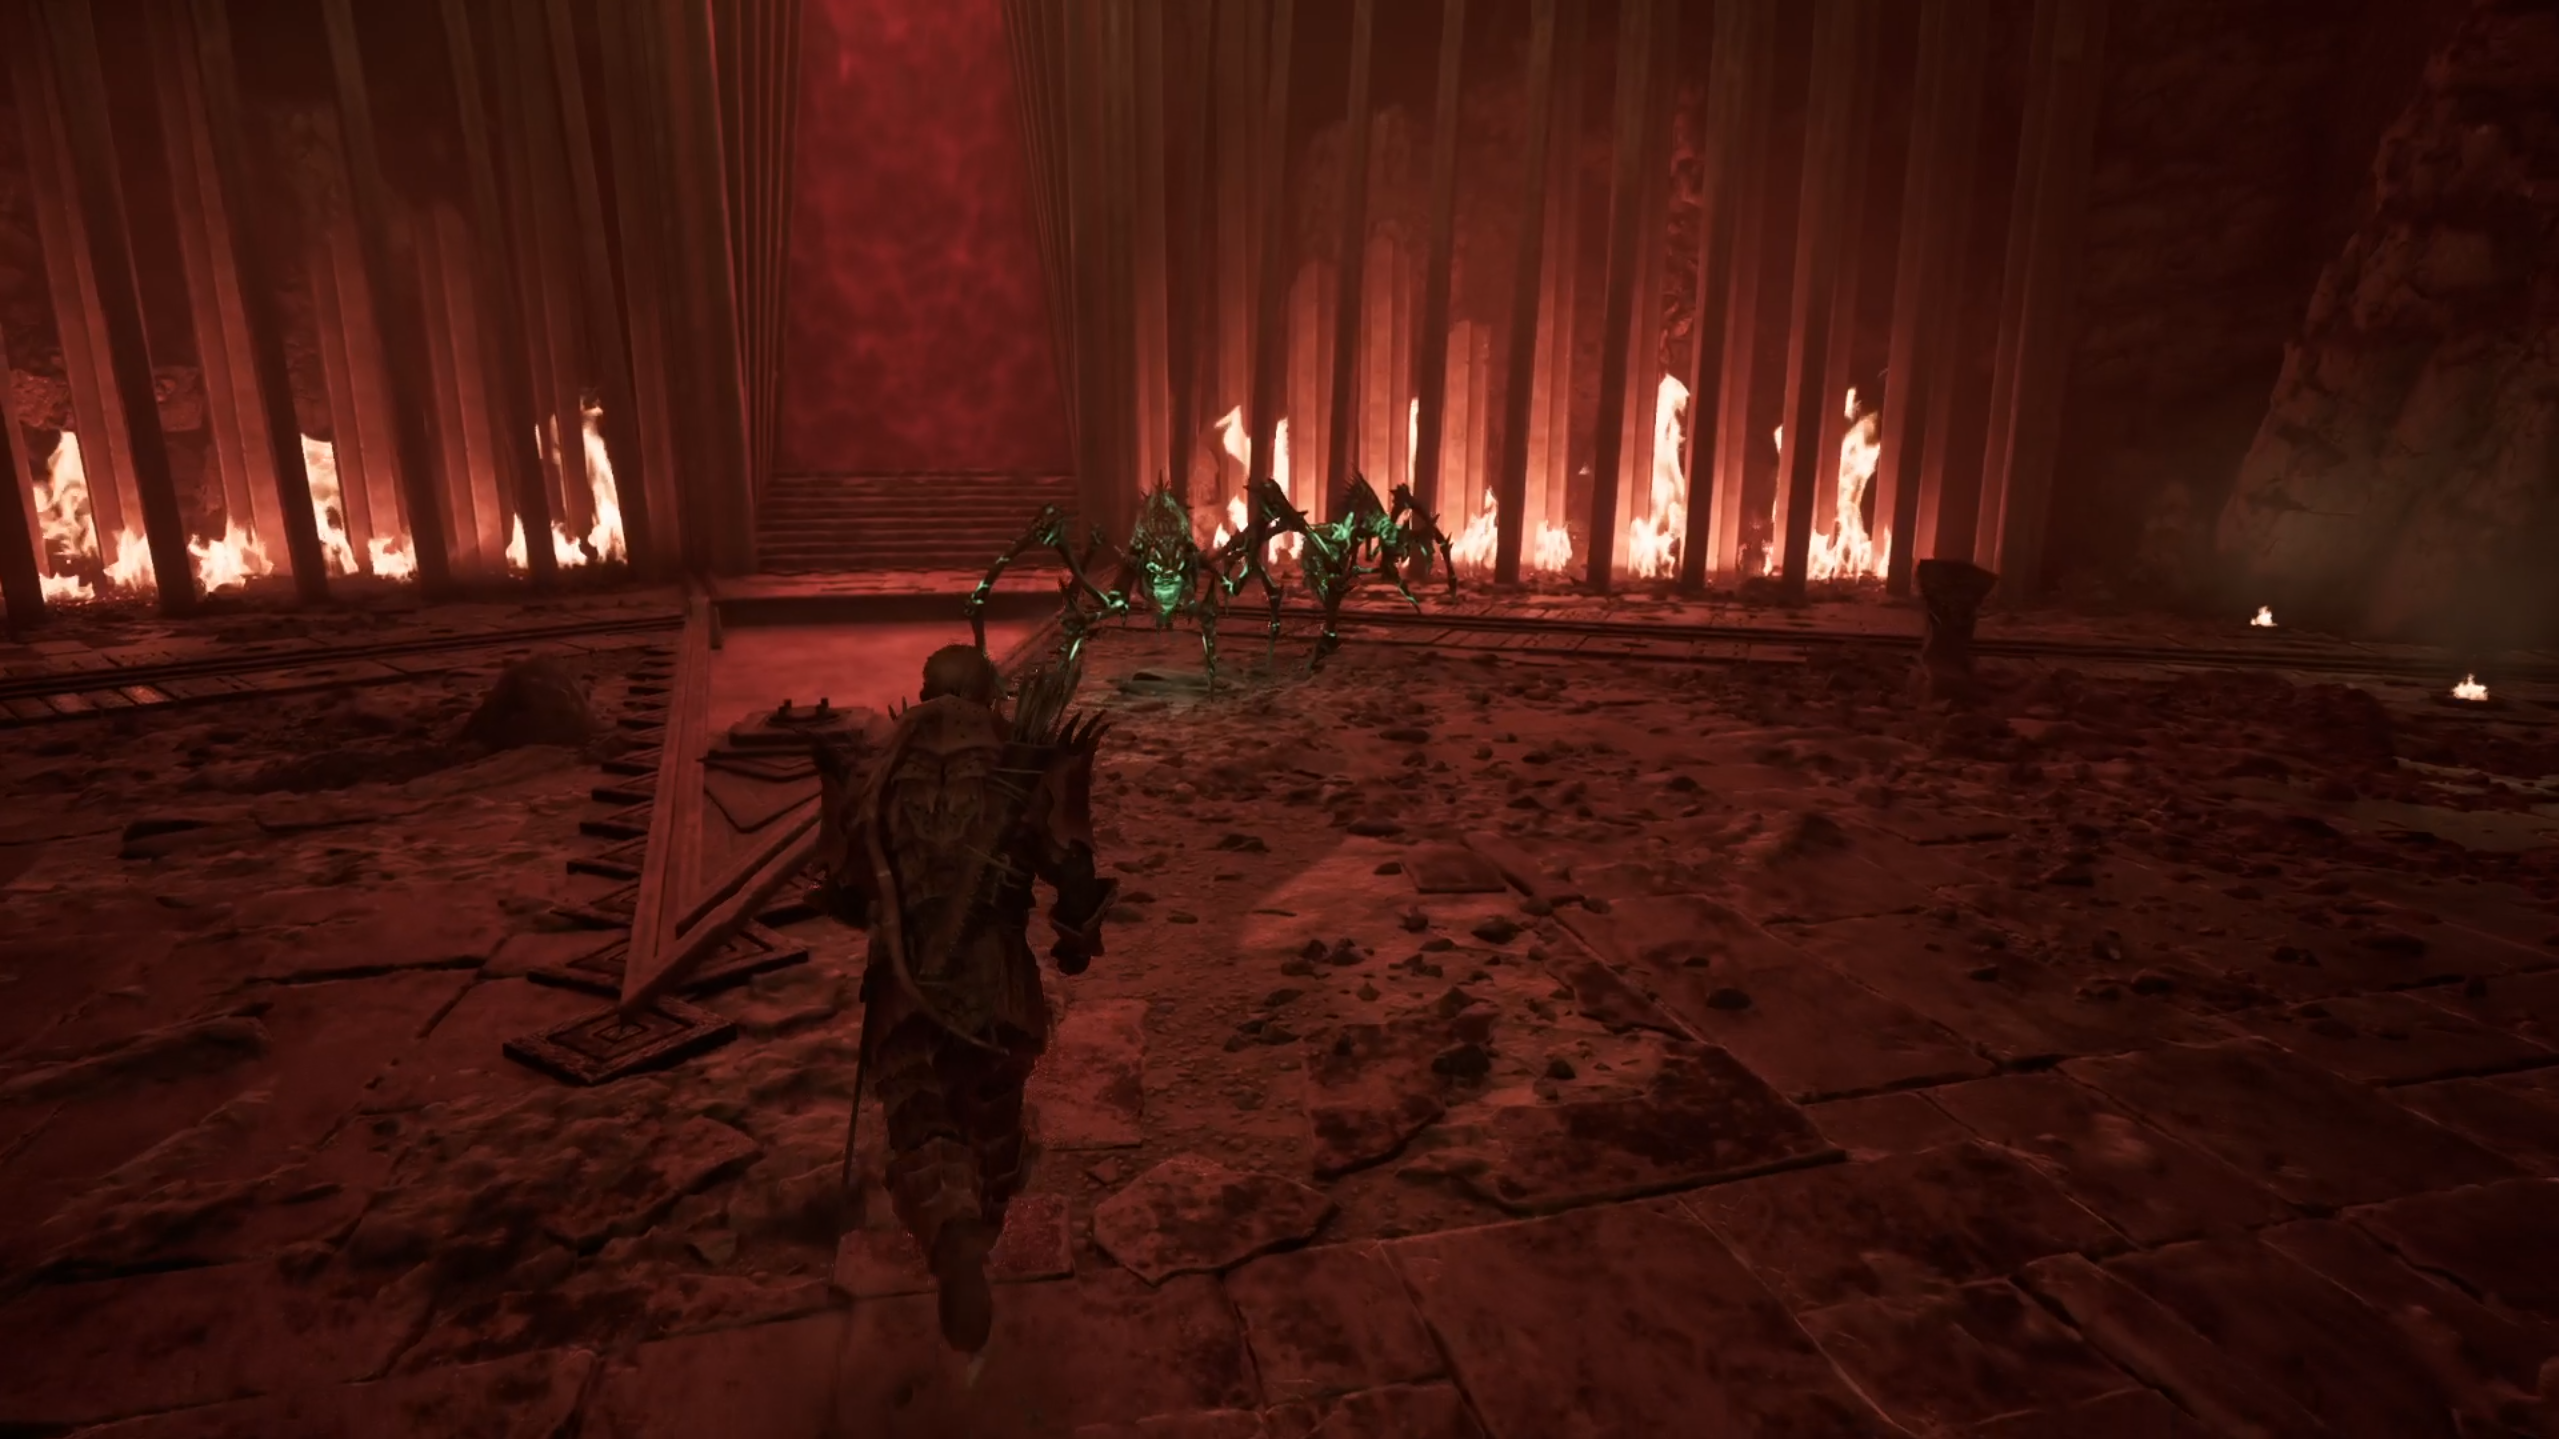
Next, go back into the main room and down the stairs to find a big room with two Minecrawlers and a door on each side. Each room has a puzzle that you'll need to solve to unlock the way forward.
Right Room - Blood Stream Puzzle
In this room, you'll have to fill up the skulls on the walls with blood, and then create a blood stream that flows directly into the previous room. To do this, follow these steps:
1. Shoot the red marker above the door with a bolt on arrow to reveal a lever on the left wall. Activate it to fill up the blood fountain in the room.
2. Use the two mechanisms next to the skulls to position the ends toward the blood fountain and the skull.
3. Once both skulls are filled up, a new mechanism will appear near the entrance. Rotate it to let the blood flow into the main room.
4. Rotate both side mechanisms to make the blood flow into the central stream. This will let the blood flow into the main room.
Left Room - Spike Puzzle
This room has spikes on the floor that will instantly kill you if you step onto them. First, shoot the red marker with a bolt or arrow to momentarily deactivate the spikes.
Then, walk forward and face the door. Shoot the red marker above it.
Doing this will reveal a lever to your left. Activate it to make the blood flow from the fountain directly into the main room.
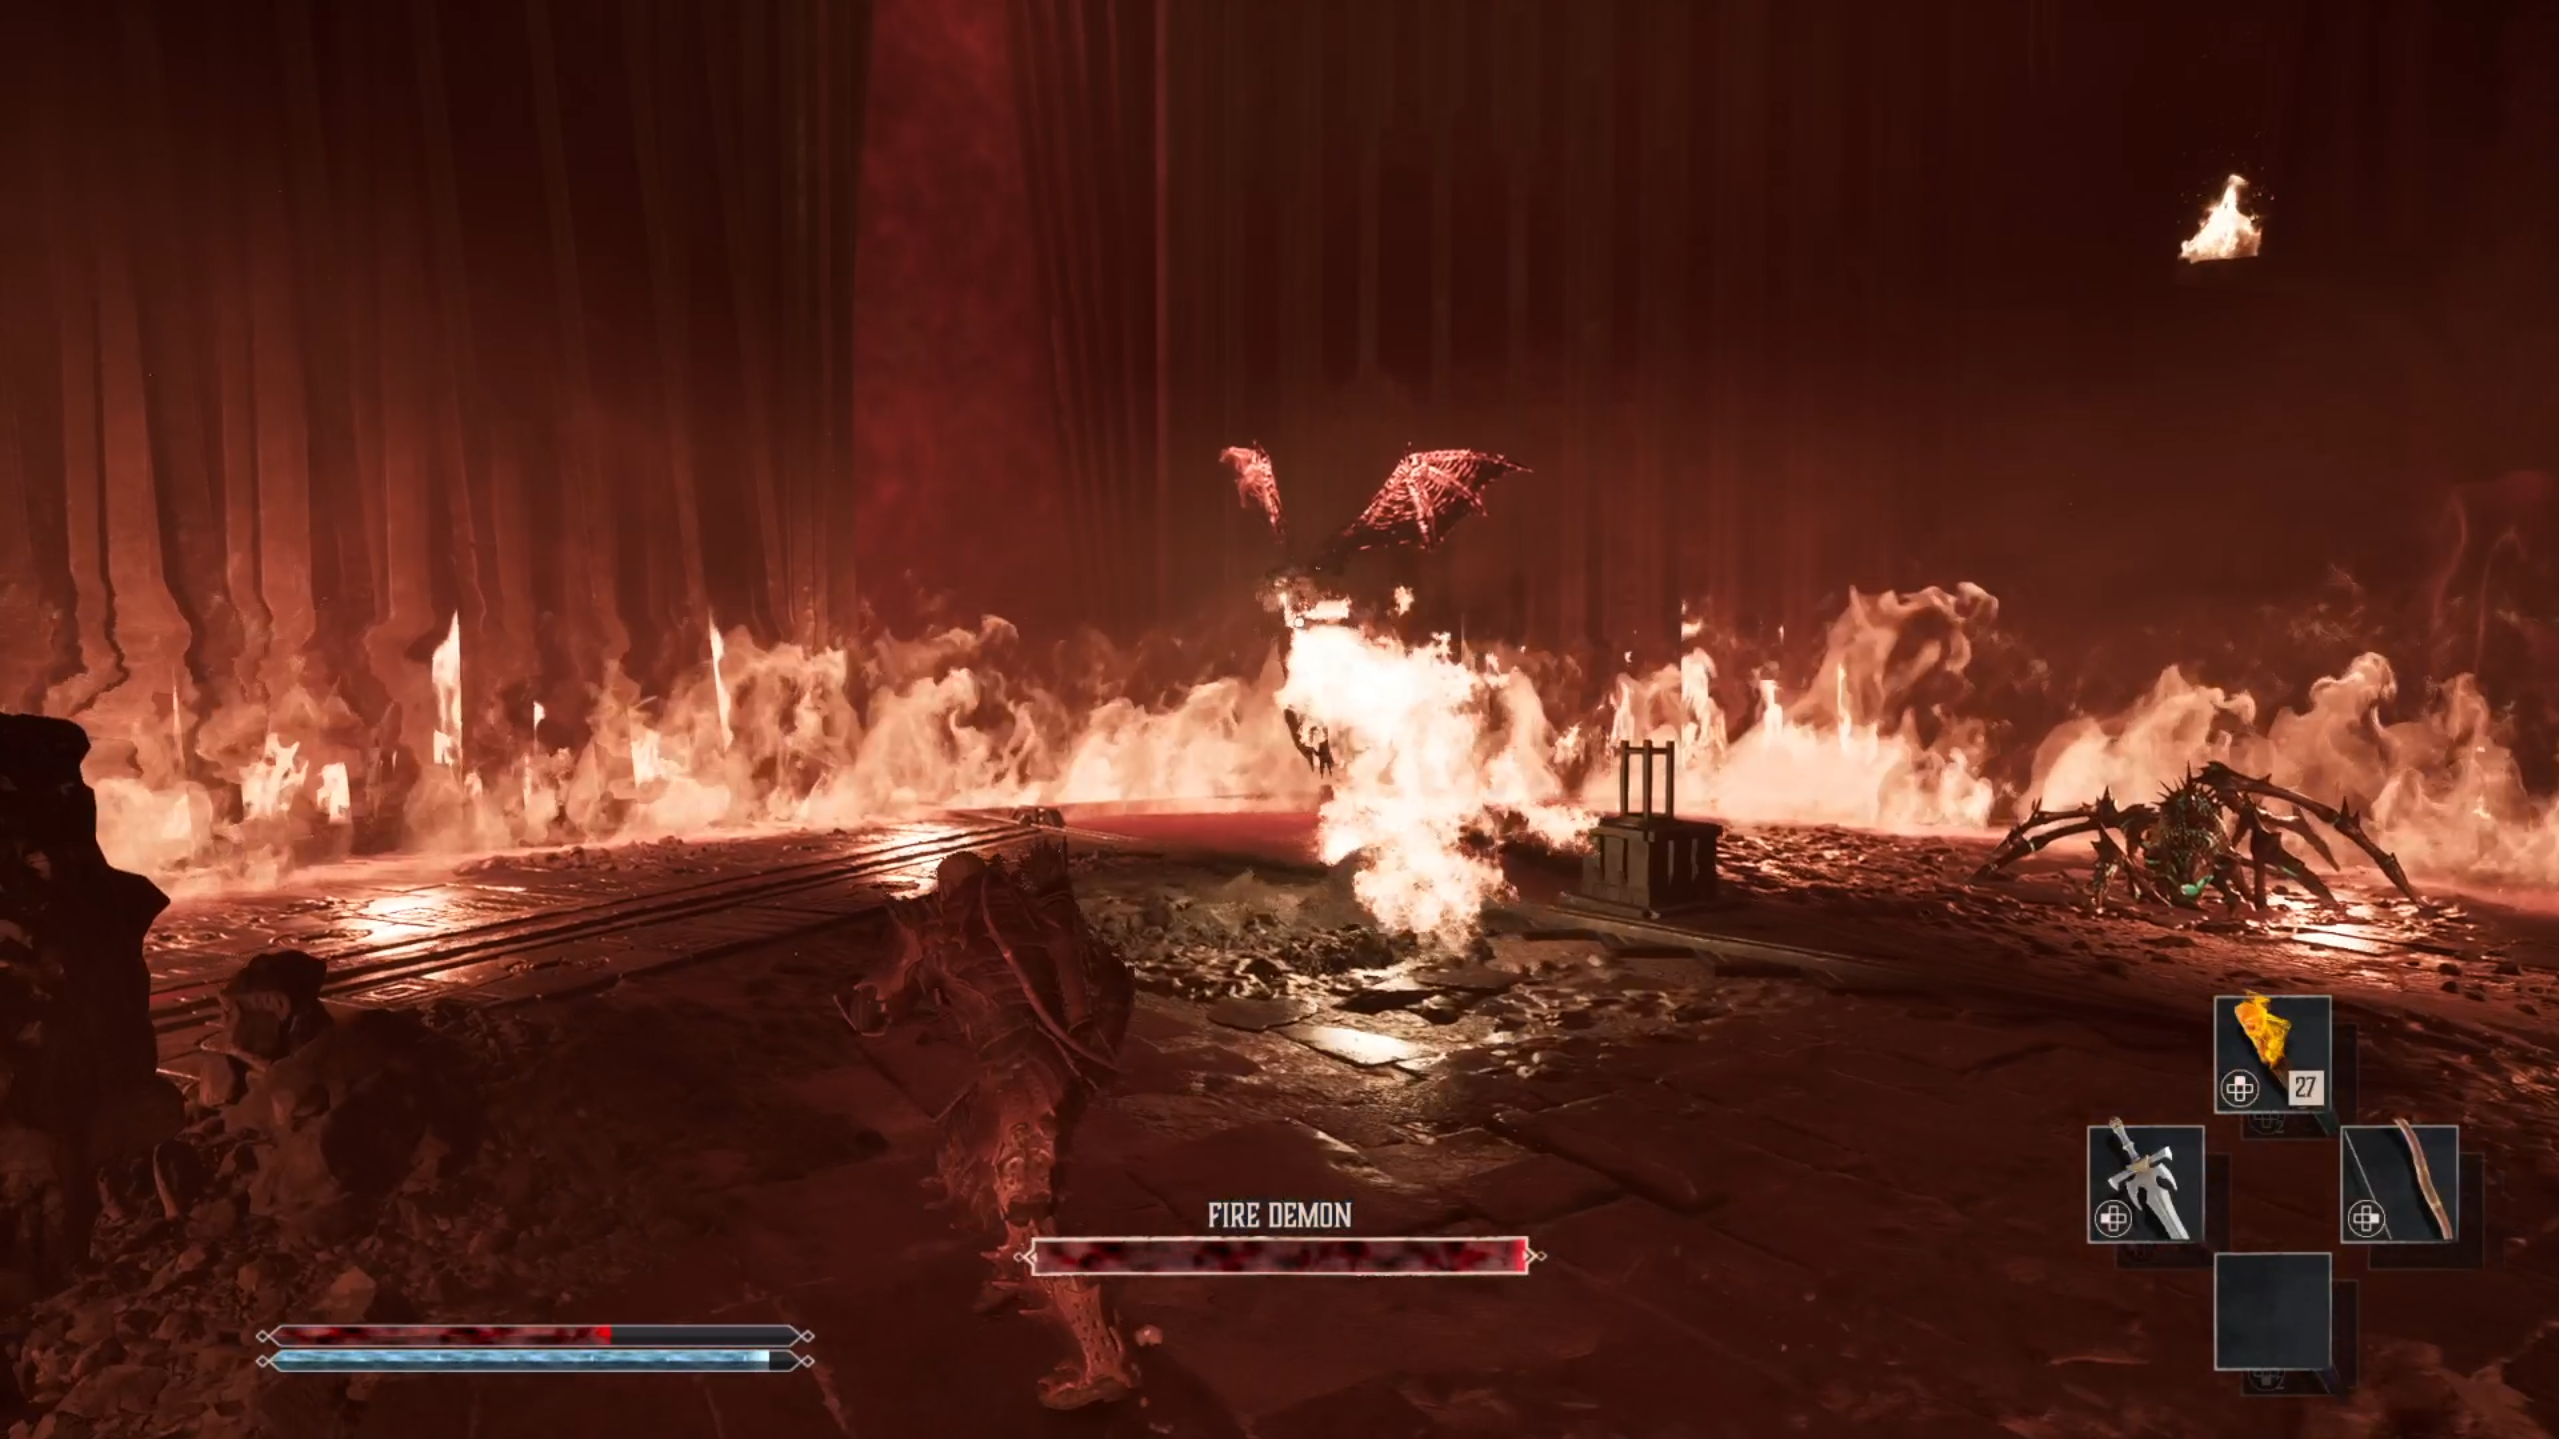
Fire Demon Boss Fight
After both left and right puzzles have been solved, a new mechanism will appear in the main room. Activate it to summon a Fire Demon boss.
Immediately after appearing, it will use a fire-breathing attack that deals a lot of damage. Create some distance between you and him until the attack finishes, then close in for a few melee attacks. Repeat this cycle until it goes down.
Taking down the Fire Demon will grant you access to the deeper areas of the Sleeper Temple, where you can find the remaining Orc Shamans and the sword Uriziel.
Sleeper's Temple Inner Area - Orc Shamans #4, #5, and Uriziel
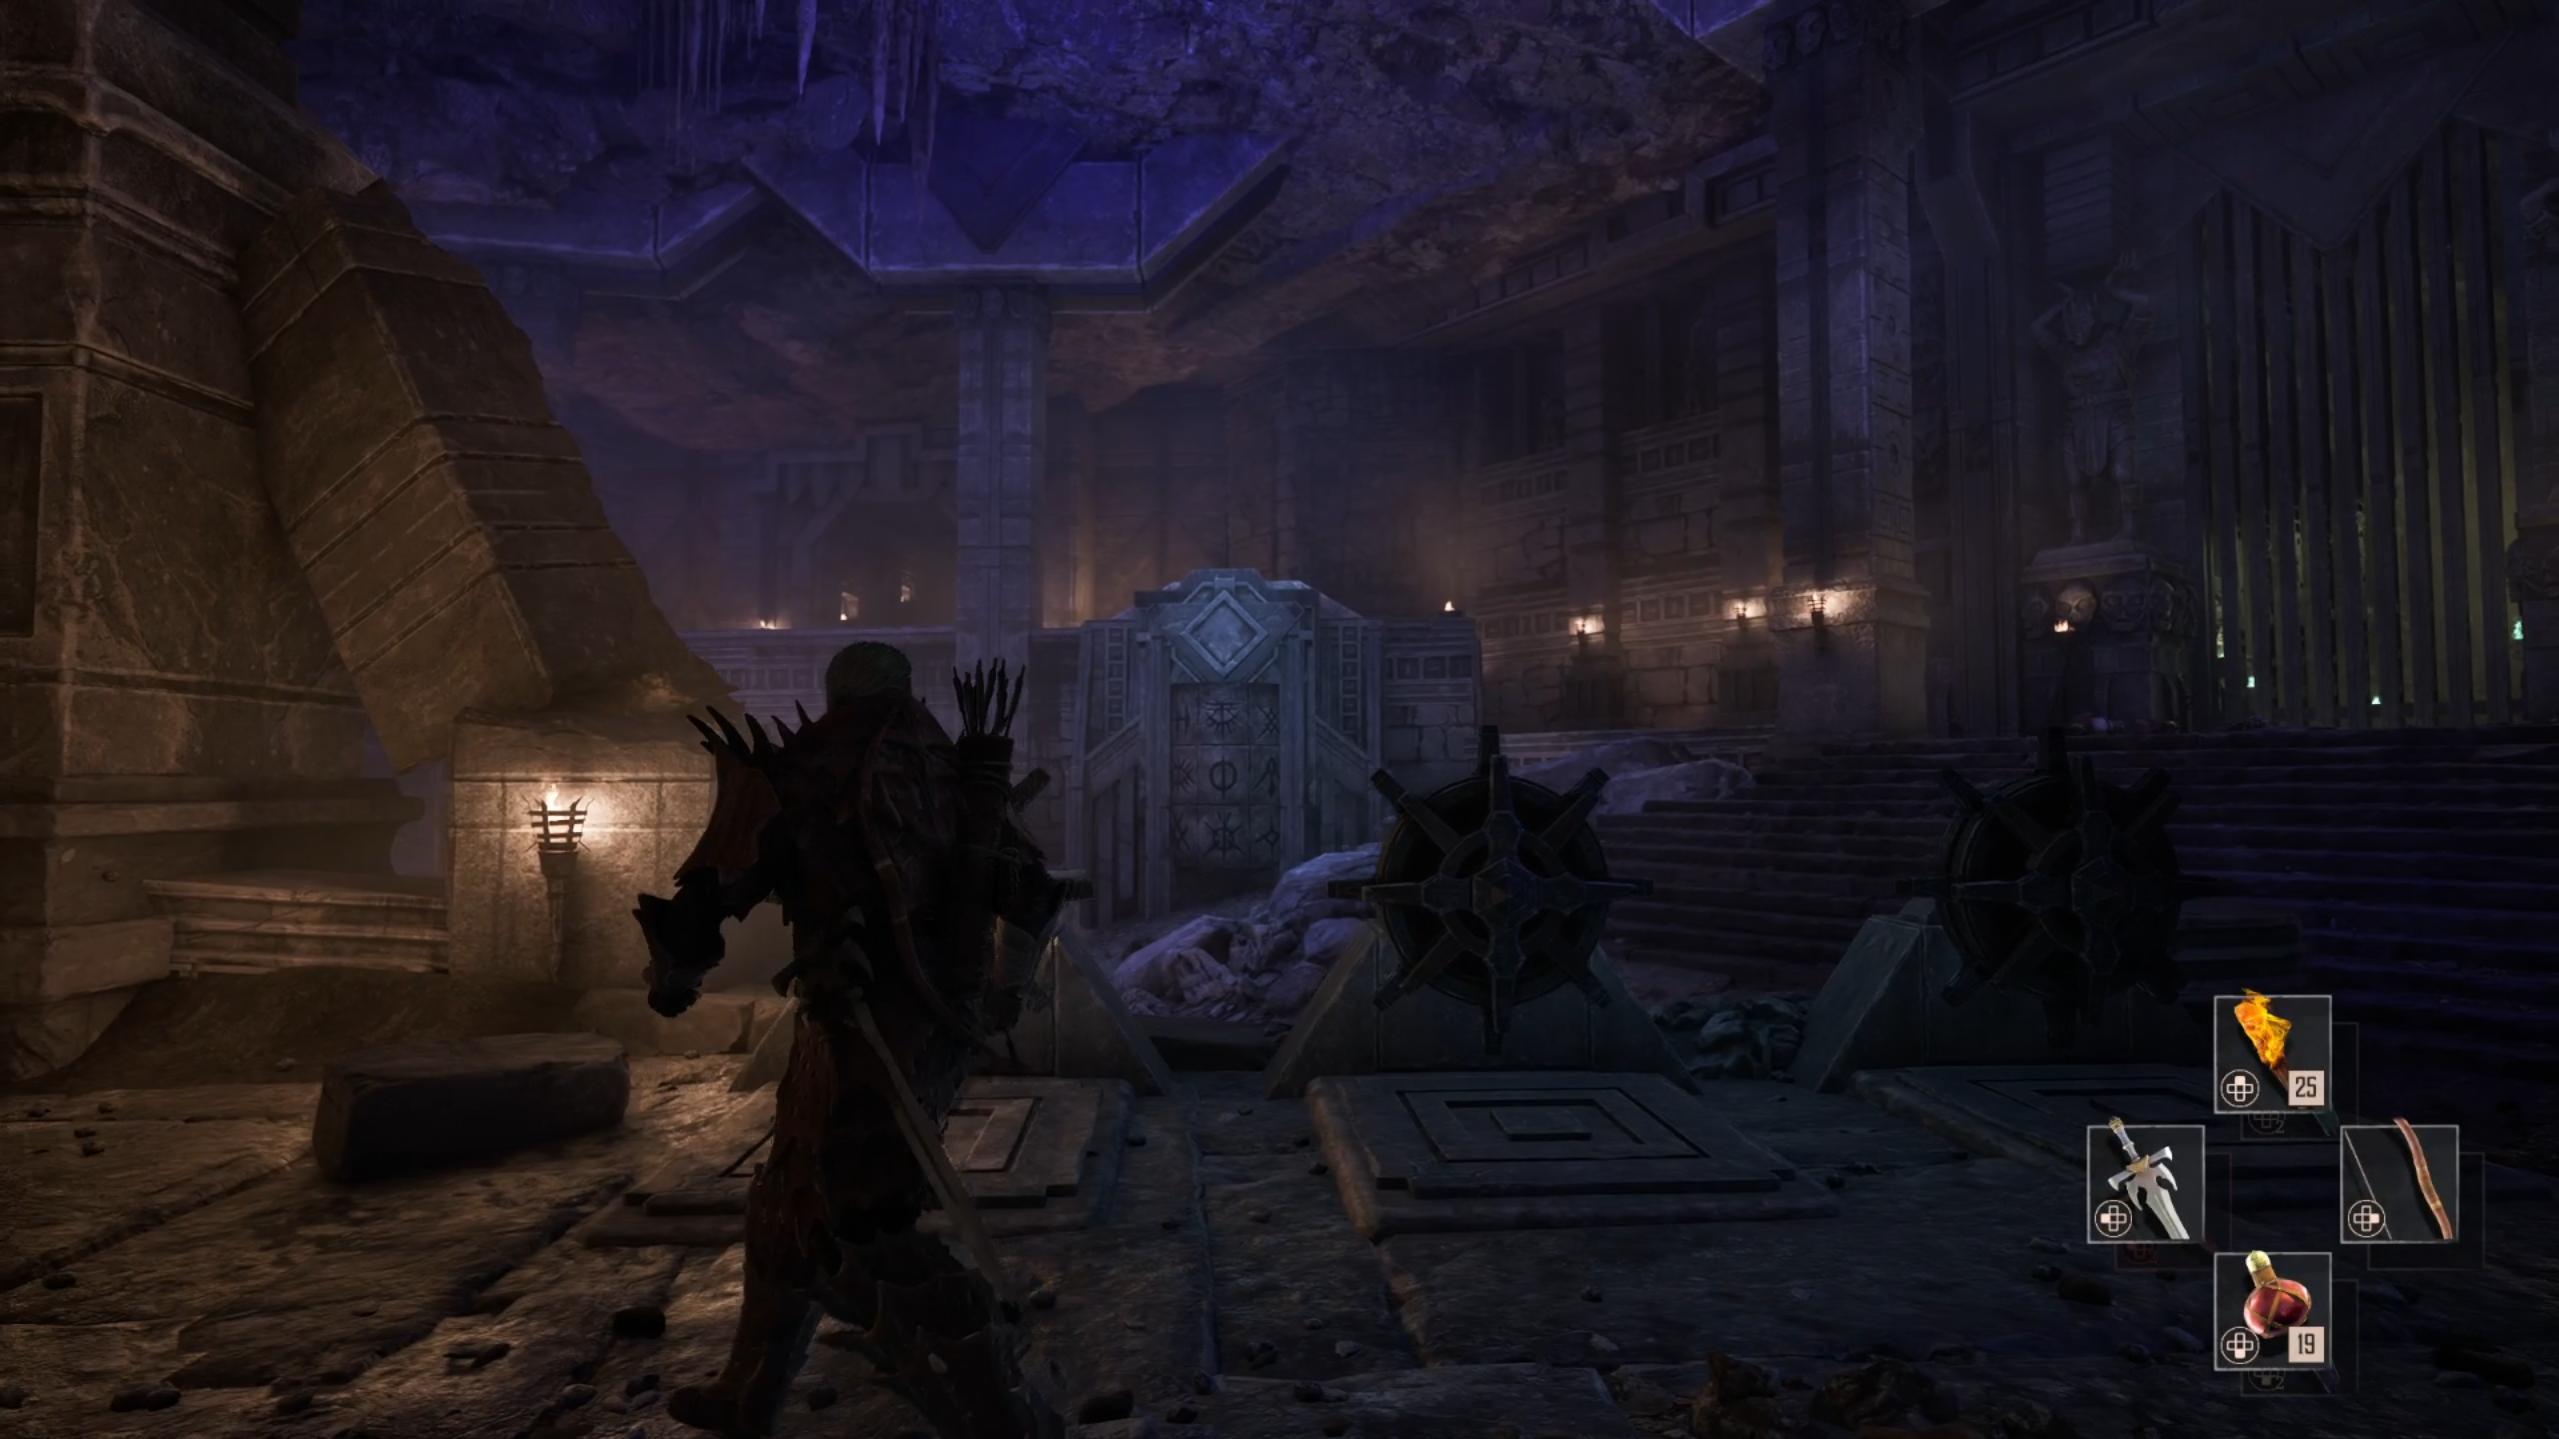
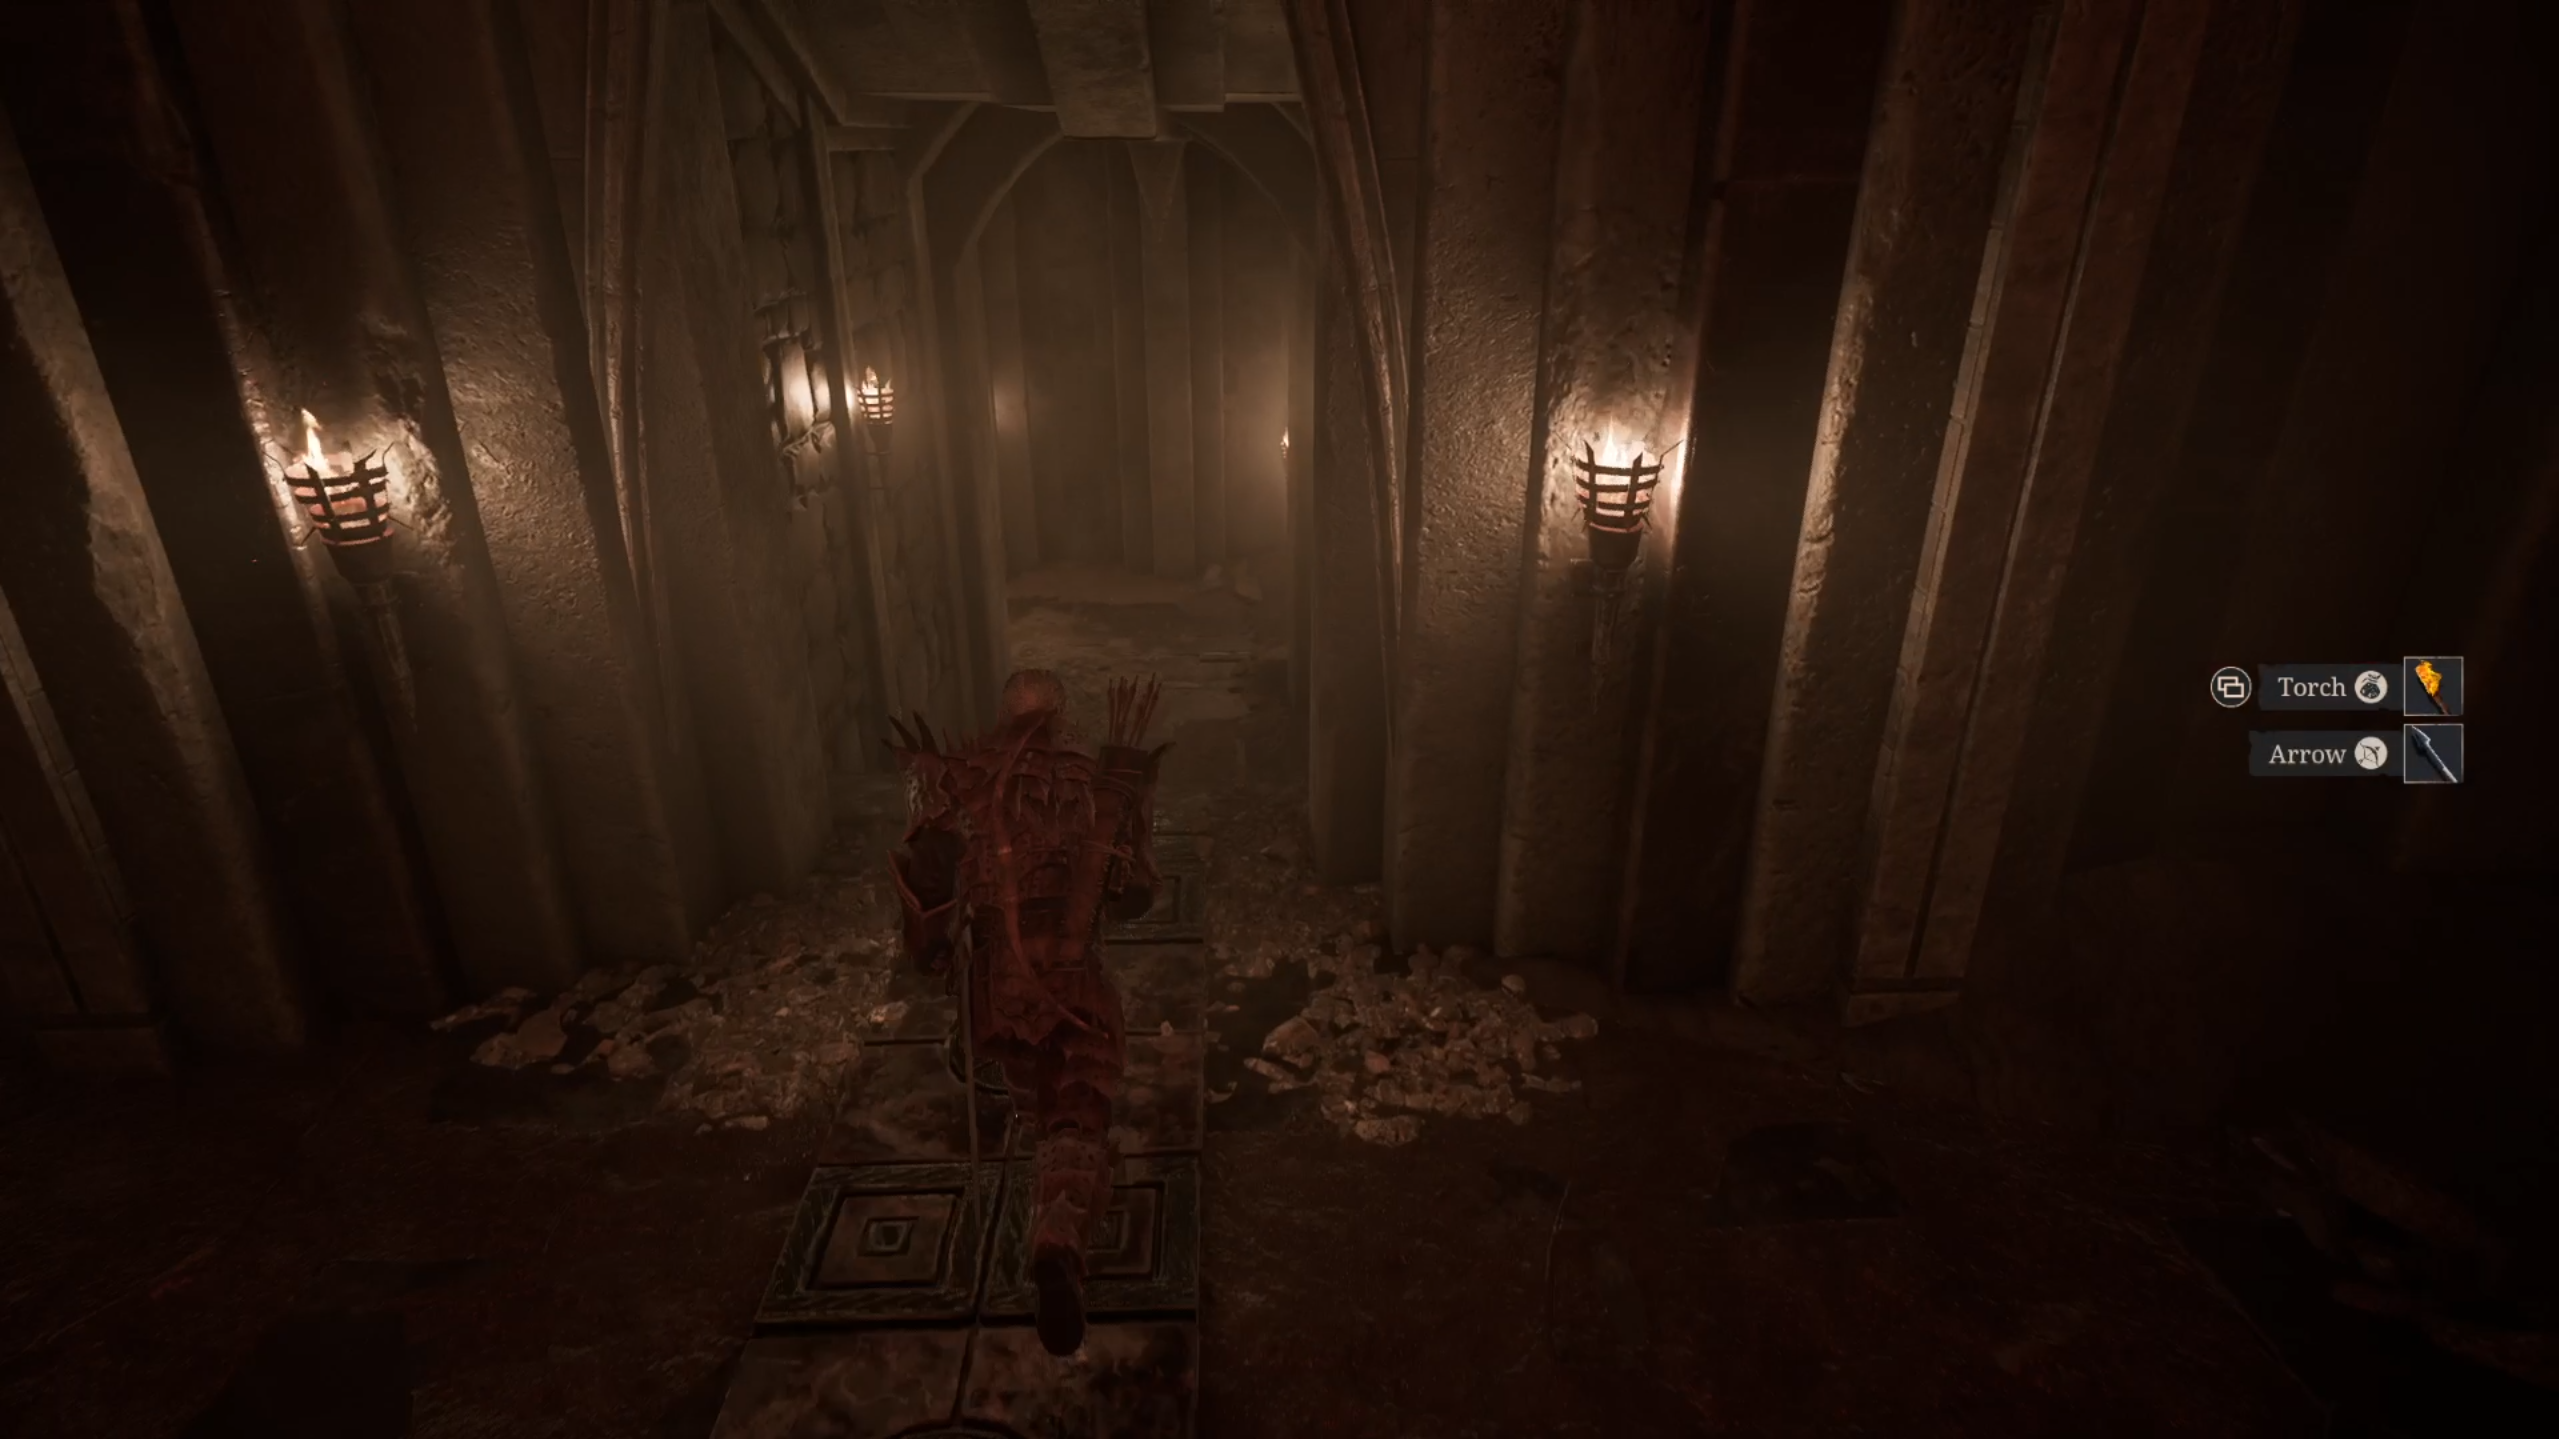
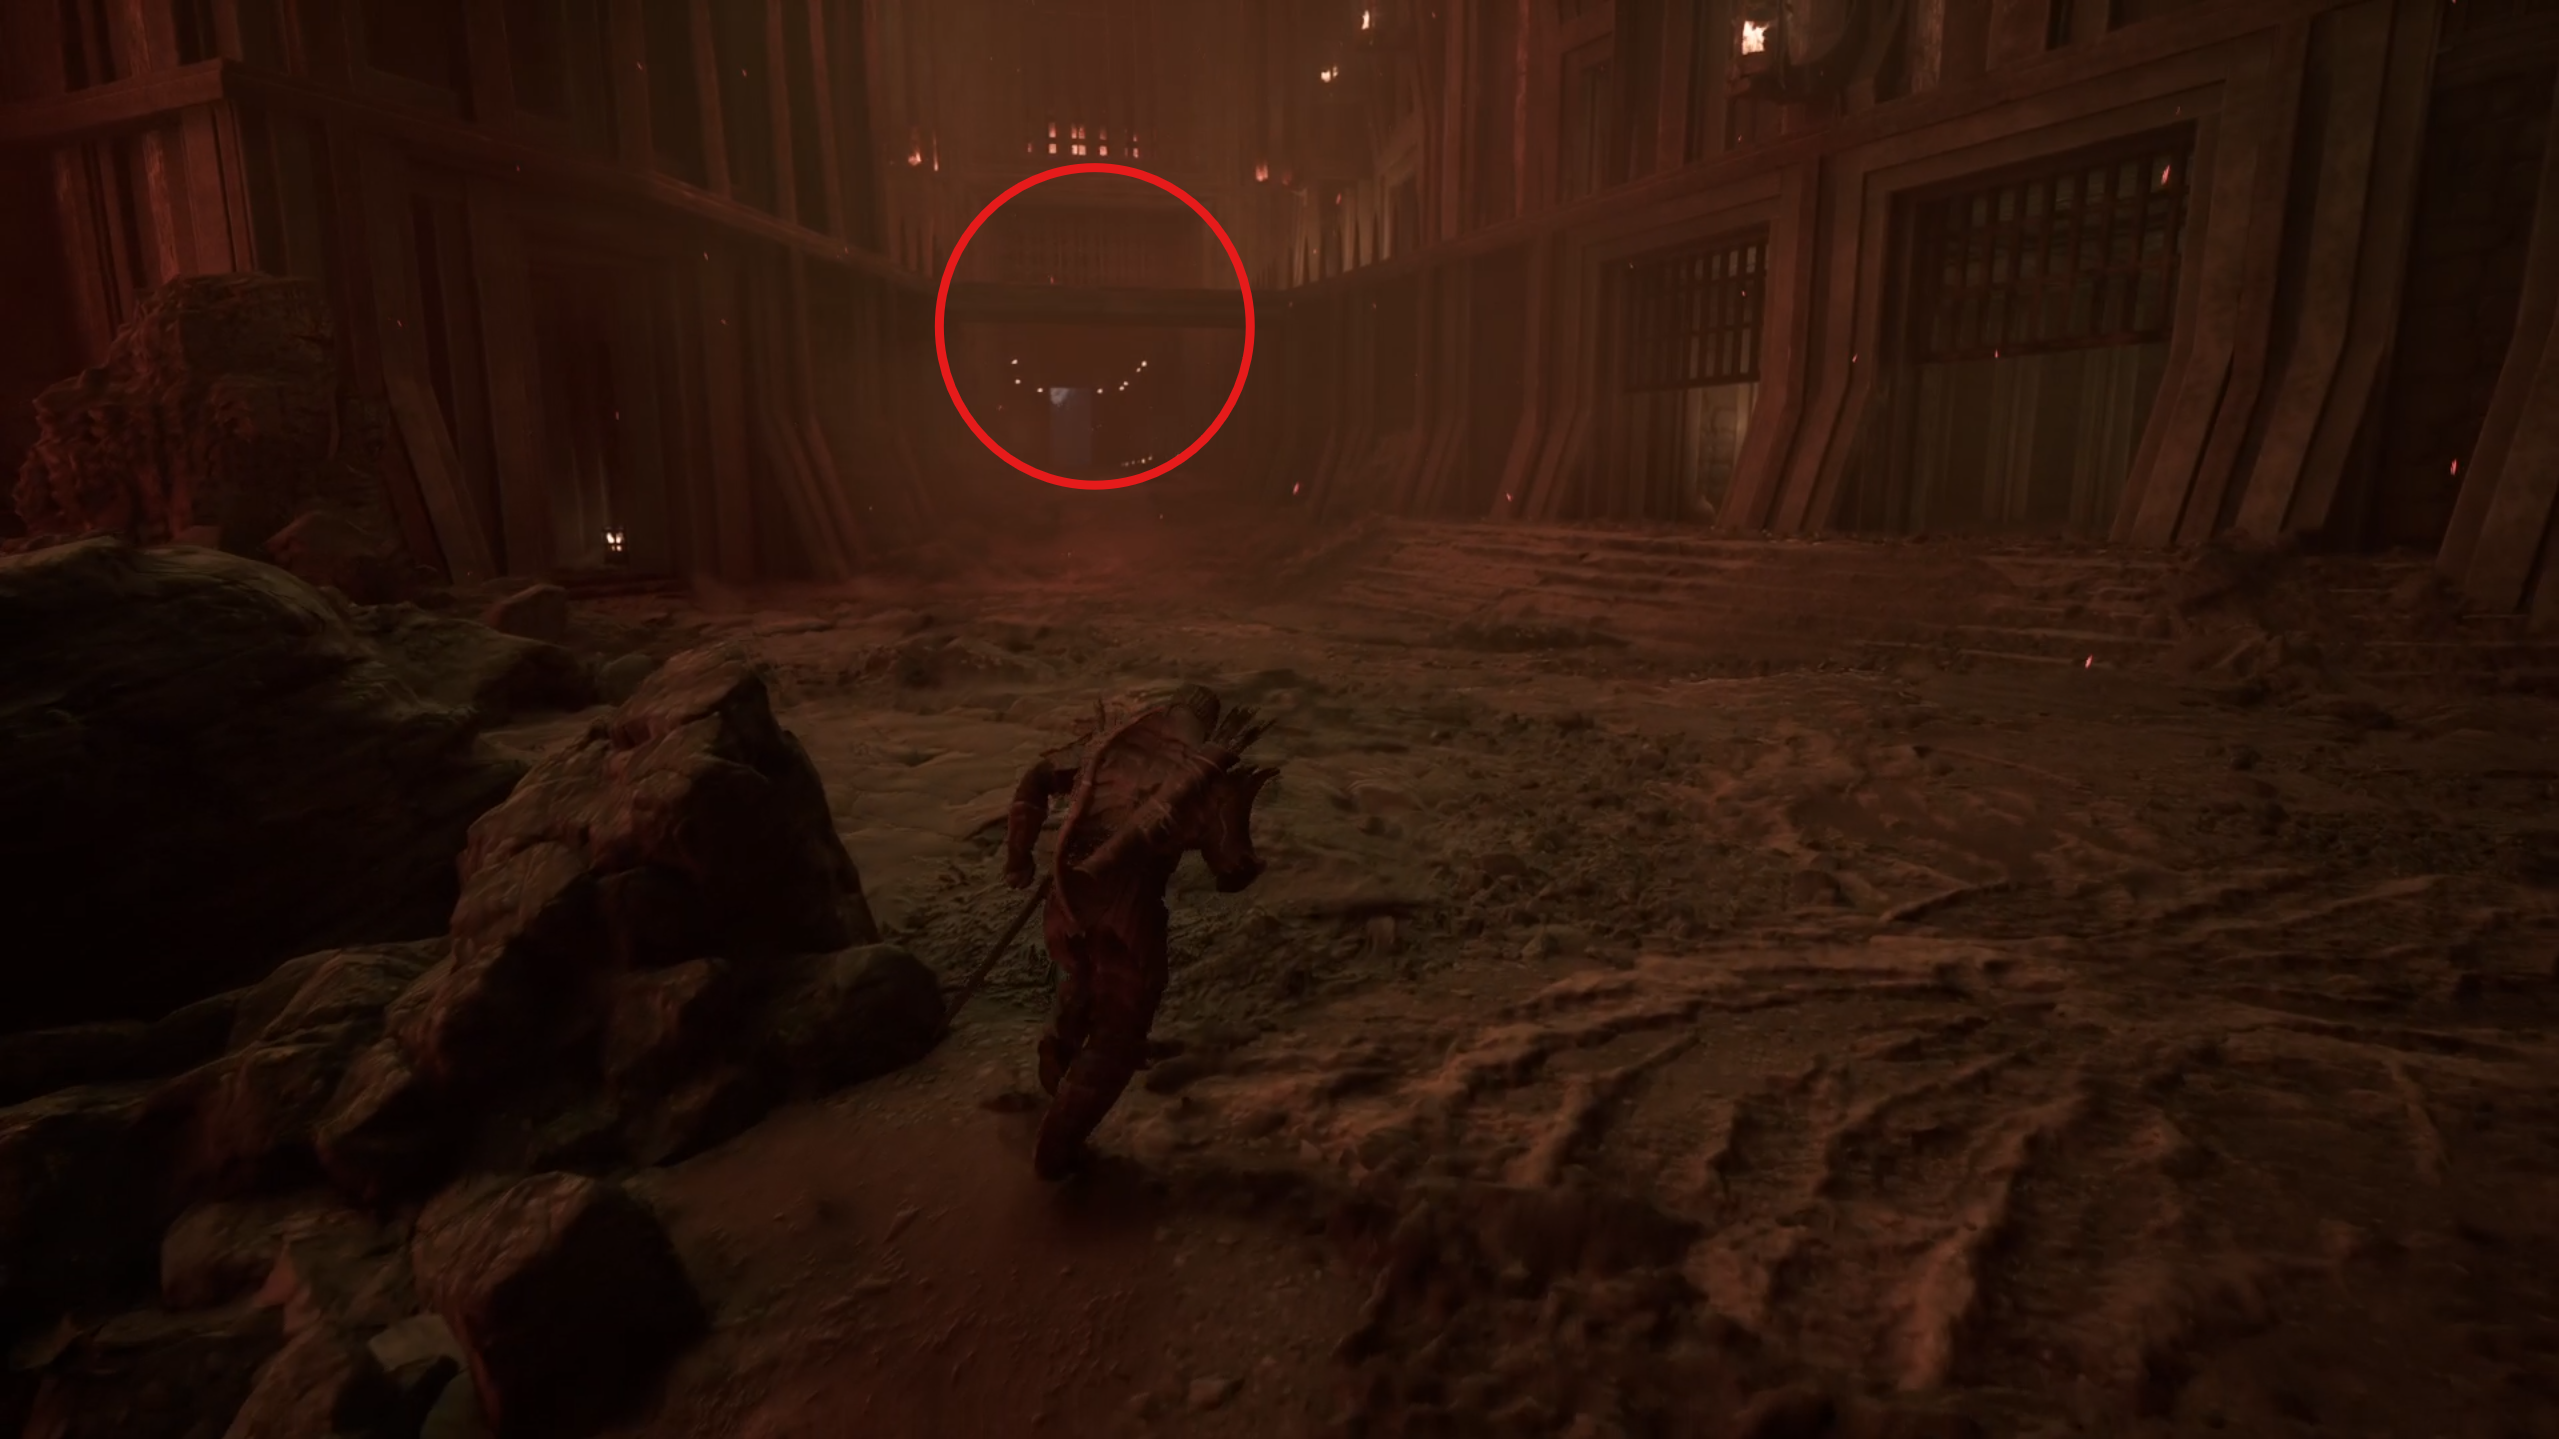
After defeating the Fire Demon, the corridor to the next area will be unlocked. Go down the corridor to find three Temple Guards in the room. This room has several exits, each leading to a different area in the temple. The inner area is not as linear as the former rooms, and it is easy to get lost in the many corridors inside.
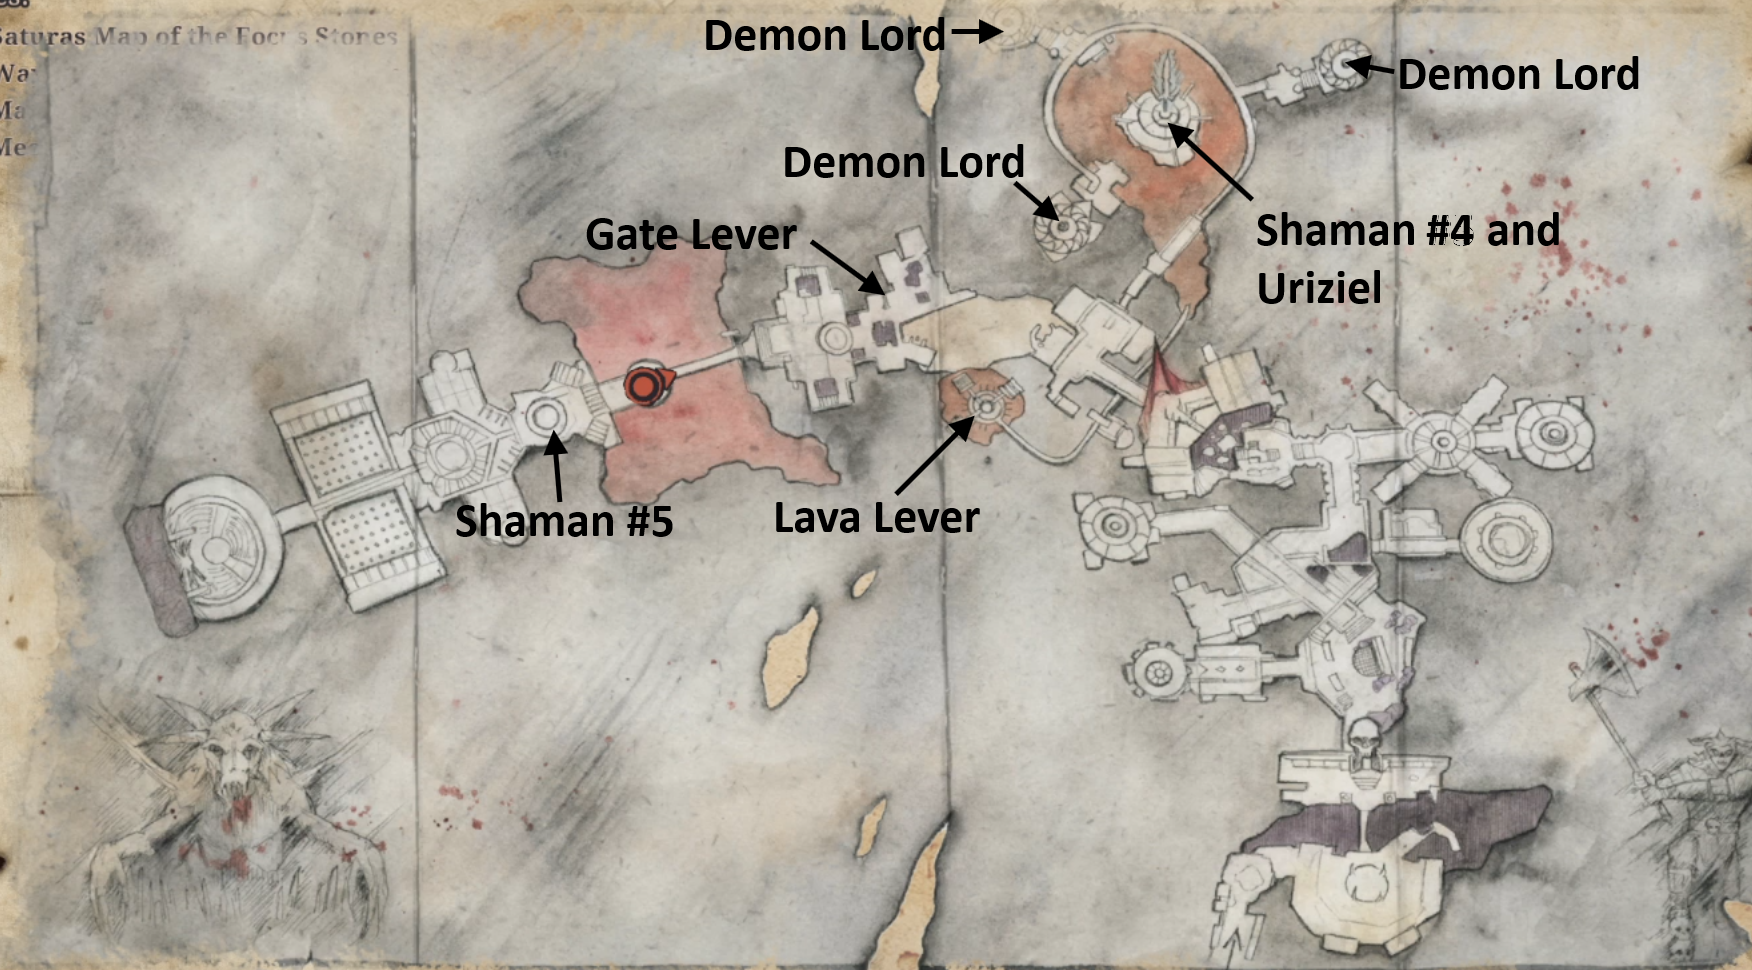
To make things simpler for you, we've marked all the relevant locations on the map below.
Activate the Lava Lever
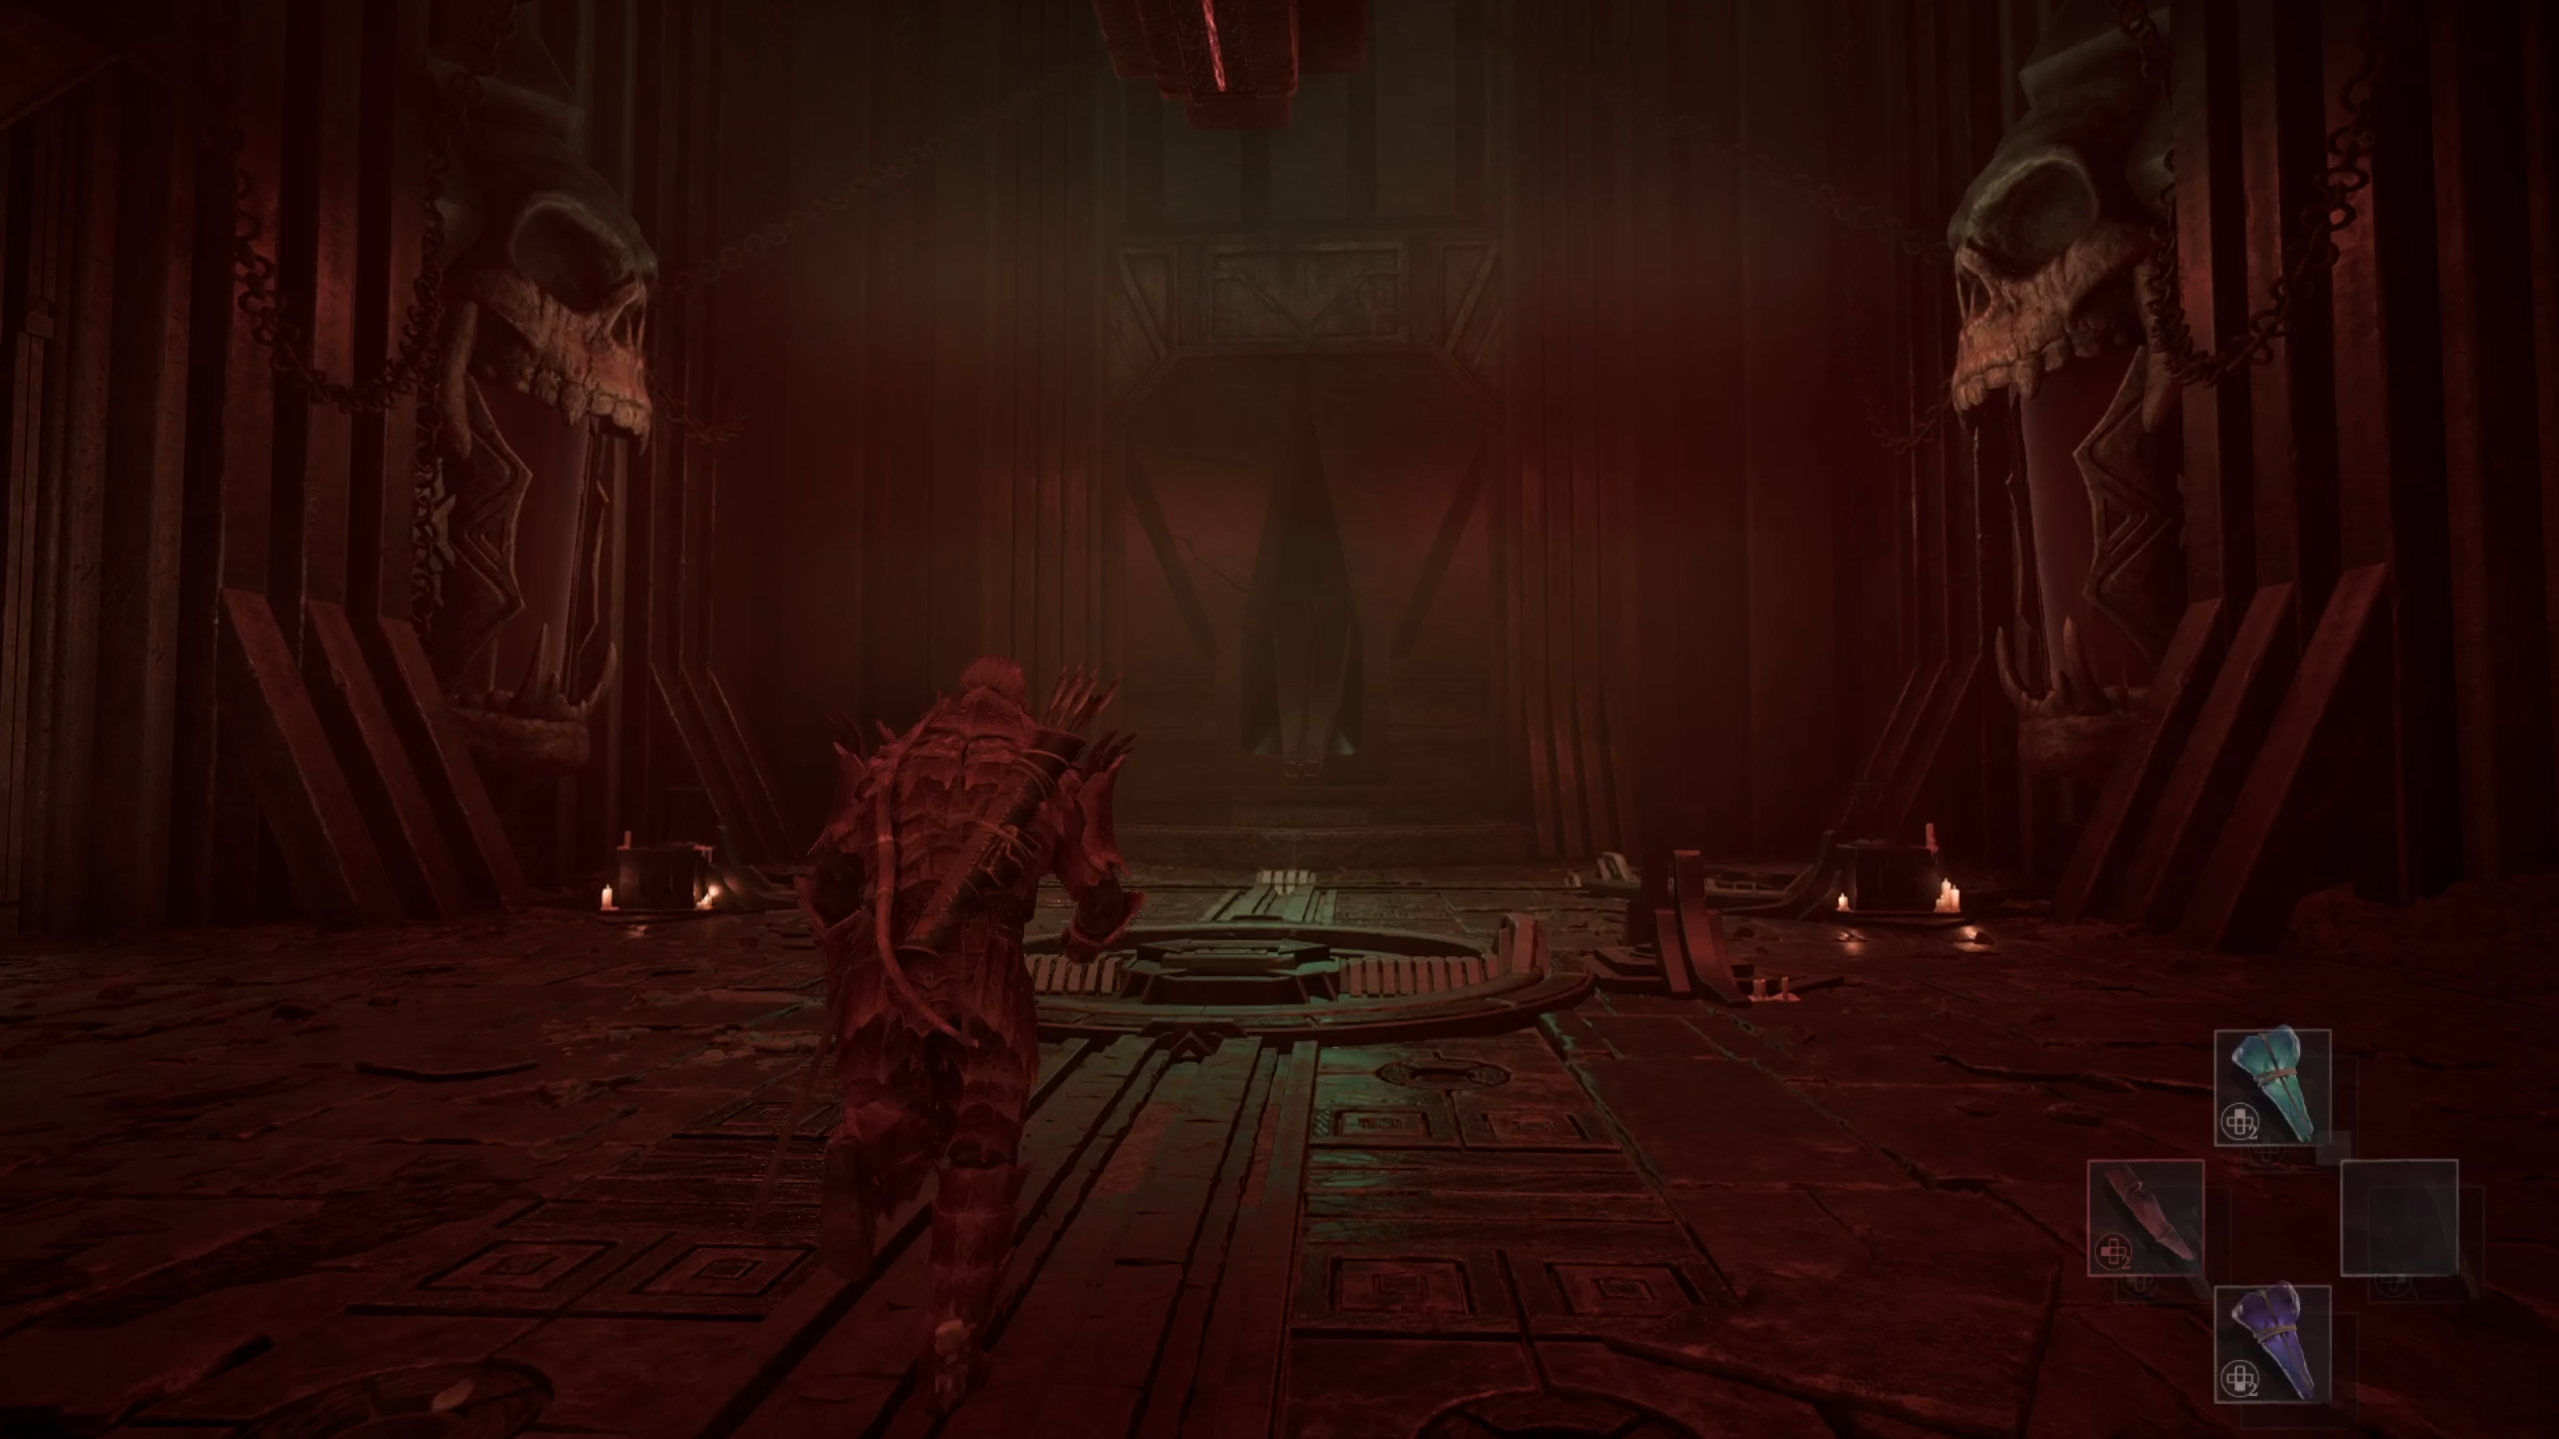
The Lava Lever is a contraption that powers up other contraptions in the Temple, and you'll need to activate it to get the sword Uriziel. From the initial room, past where the demon was, head through the staircase to the left into the cave area below.
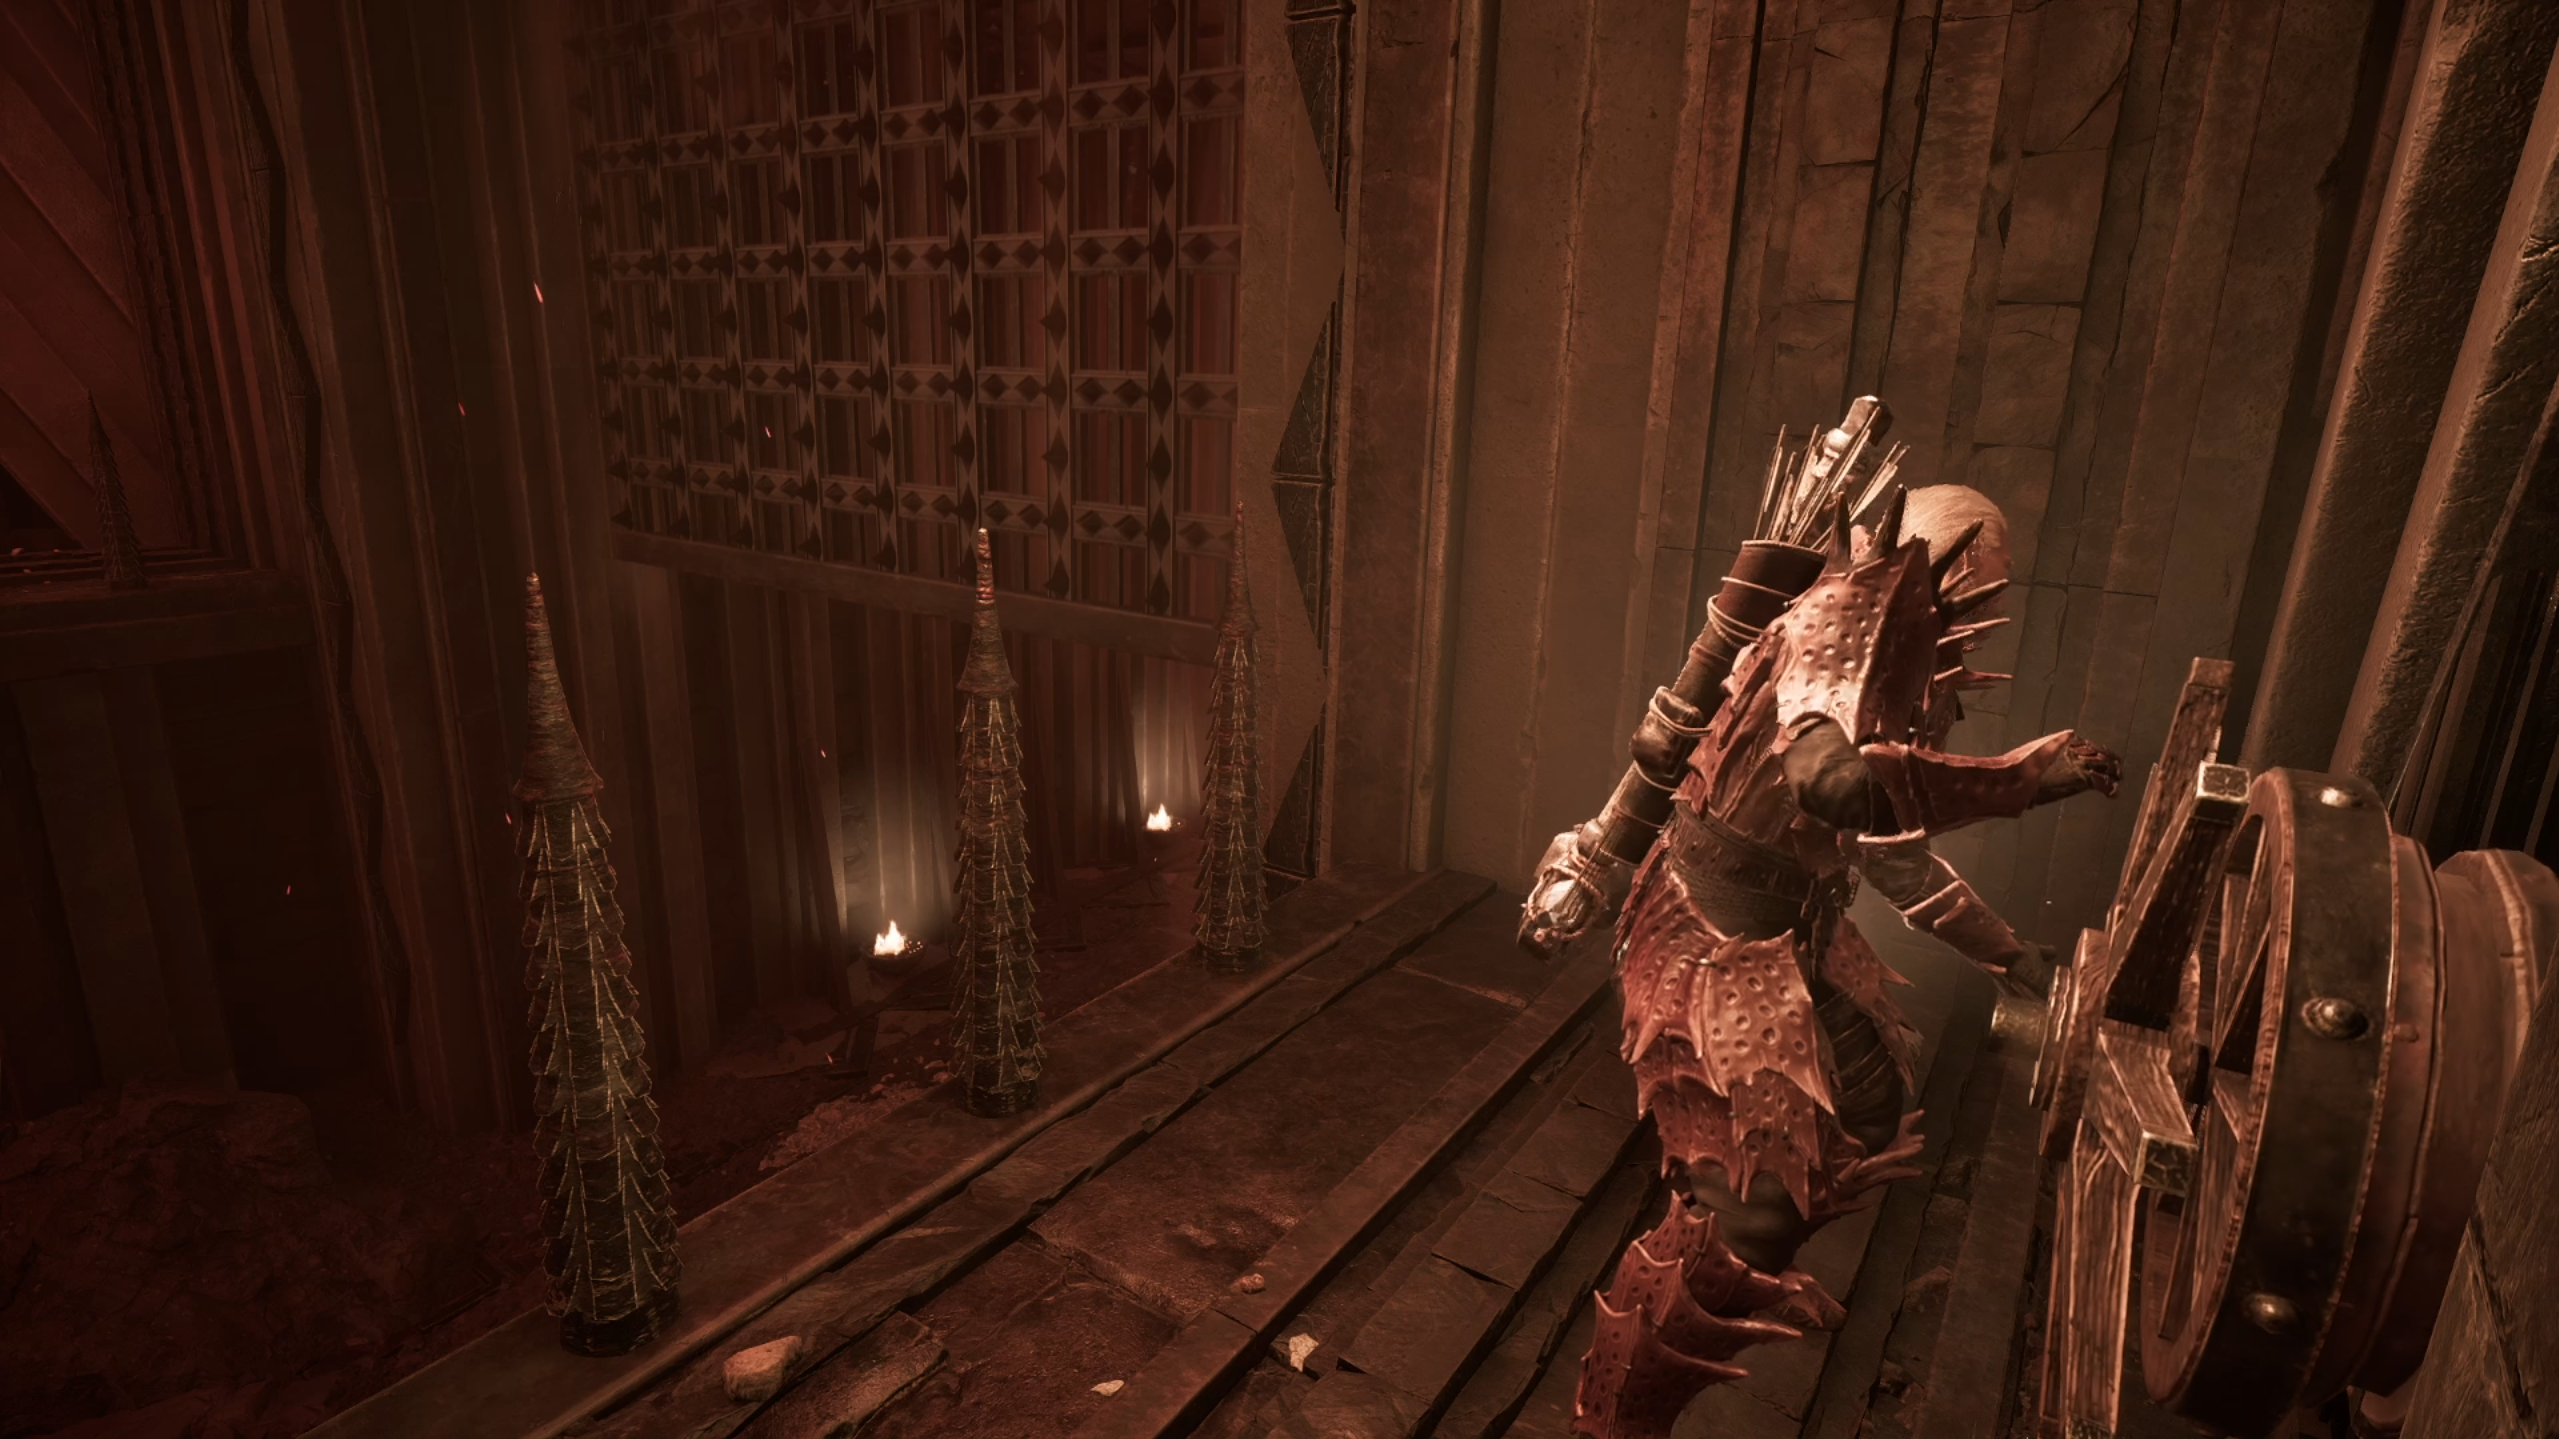
You'll find another Temple Guard waiting for you. Take him down, and follow the path to your right, which will lead you to a room with lava and a giant circular contraption. Interact with the giant lever and push it until the lava starts flowing down the stream and to the other side of the temple.
Activate the Gate Lever
In the same room as the giant lava lever, following the path that circles it, you'll find a small entrance with a gust of wind going inside of it. Enter it and go up until you find yourself in a room with a gate. Open it using the wheel in the same room, keeping an eye out for nearby Temple Guards - They will attack you as soon as the gate is lifted.
Then, go up the stairs in the same room where the wheel was, and you'll exit to a higher area in the room. You'll find another wheel device with a Temple Guard nearby. Take him down and use the wheel to open the gate that leads to the Orc Shaman #5.
There are several side-rooms filled with items like Magic Scrolls and Potions in this area, so make sure you explore them before exiting the area.
Orc Shaman #4 and Uriziel
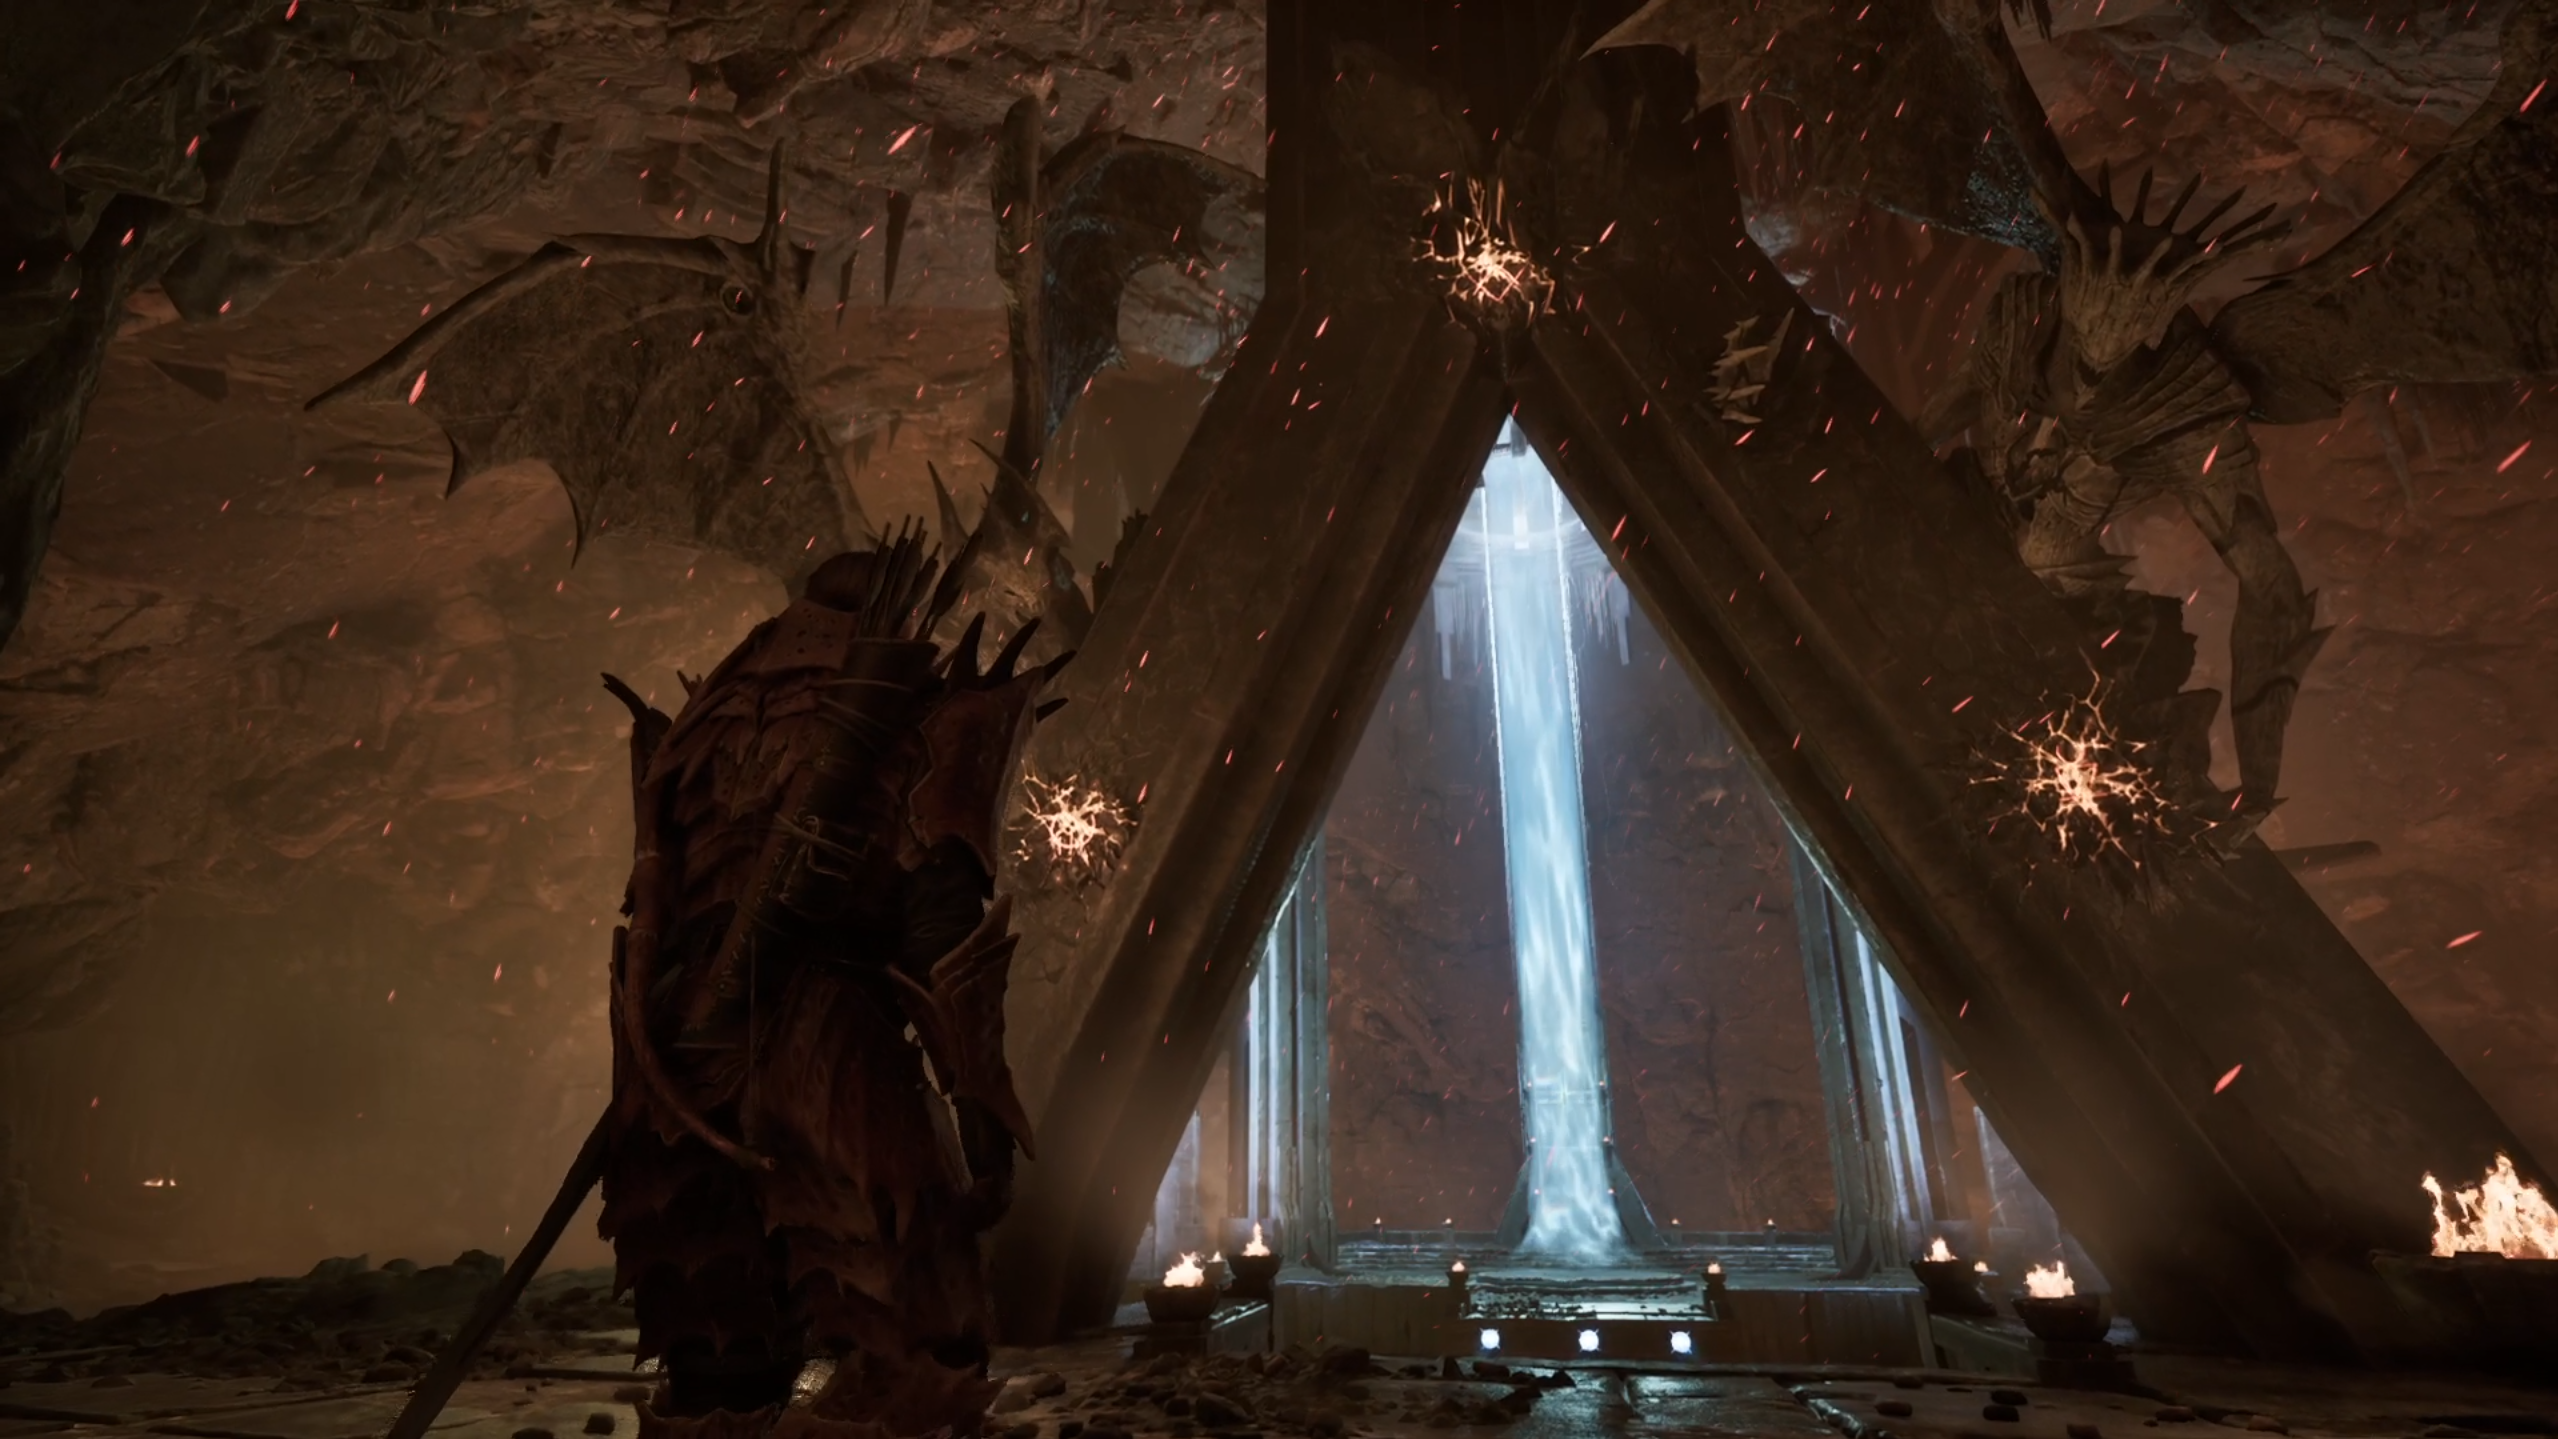
Once you've activated the Lava Lever, make your way back to the initial room and go through the big purple gate to your right.
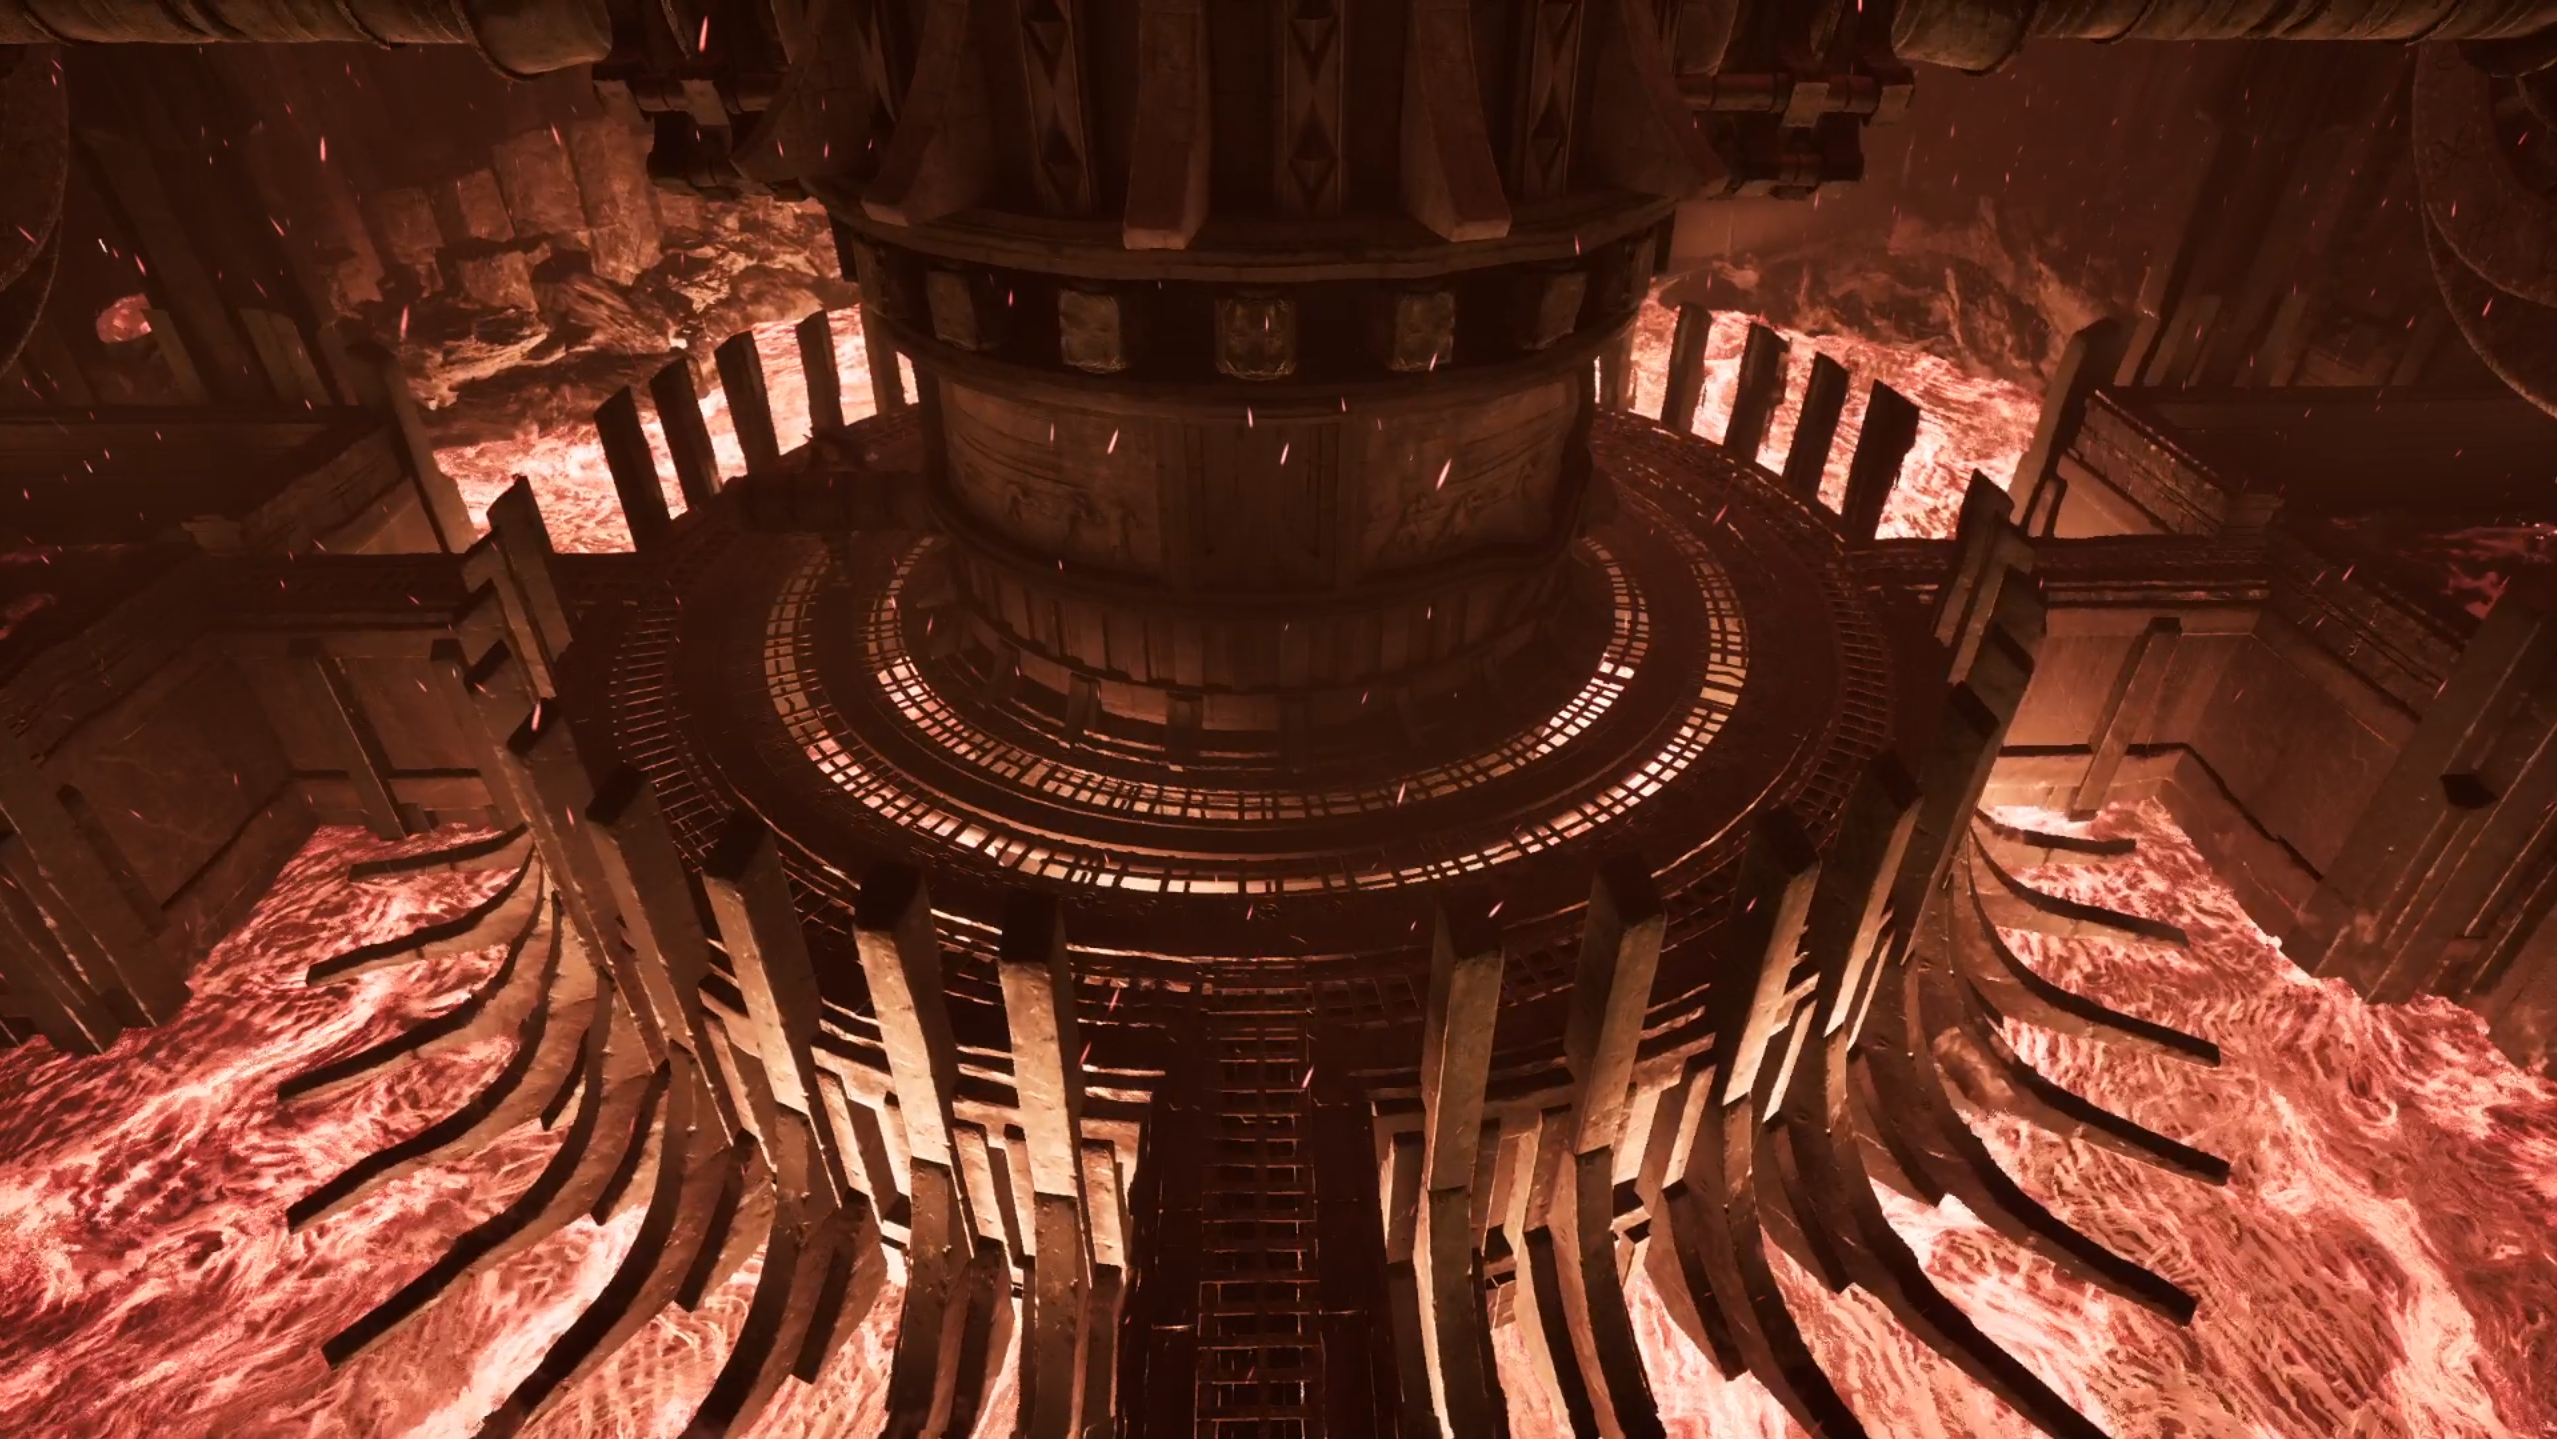
You'll find yourself in a big open room filled with lava, a giant stone platform in its center, and a rocky path that goes around it. The central platform is where you'll fight the Orc Shaman #4 and obtain the Uriziel sword - But first, you must defeat three Demon Lords to create a bridge leading to the platform.
The Demon Lords can be found in chambers along the rocky path that leads to the platform. Keep an eye out for them. These enemies are similar to the Fire Demon you fought earlier, and they use either a swipe melee attack or a fire-breathing attack. You can block the melee attack and dodge roll around them to avoid the fire attack.
Once you've defeated the three Demon Lords, you'll be able to cross the bridge leading to the giant platform. Inside, you'll find the Orc Shaman Varrag Ruuushk. Take him down and loot the Fiendeye crystal from it. The sword Uriziel will also spawn on the platform. Take it.
Orc Shaman #5
You can find the Orc Shaman in the room beyond the one where the Lava Contraption is - Note that you must have first used the Gate Lever to open the gate.
You can find some rooms with loot past the gate. If you follow the stairs up, you'll find a locked chest containing the Amulet of Ore Skin, one of the best pieces of equipment in the game.
Continue straight ahead, and you'll find the Orc Varrag Arushat past it. This enemy has significantly more HP than the past Orc Shamans and hits harder. After taking him down, take the Banstone crystal and follow the stairs up until you find a magic barrier preventing you from advancing further.
After you've collected the sword Uriziel, the five crystals from the Orc Shamans, and interacted with the magic barrier at the end of the temple, make your way back to Xartas (or use his teleportation stone) to complete "The Dreamer's Nightmare".