Assassin's Creed Black Flag Resynced - Zero Waste Trophy Guide
To unlock the Zero Waste trophy in Assassin's Creed Black Flag Resync, you need to restore a map using map pieces.
There are five different maps you can restore, all having different requirements and locations to find the map pieces, but this guide will be walking you through the Weathered Map specifically, since this is one of the easier options out of the five (believe it or not).
Locating the map pieces
Weathered Map Piece 1 - Jiguey
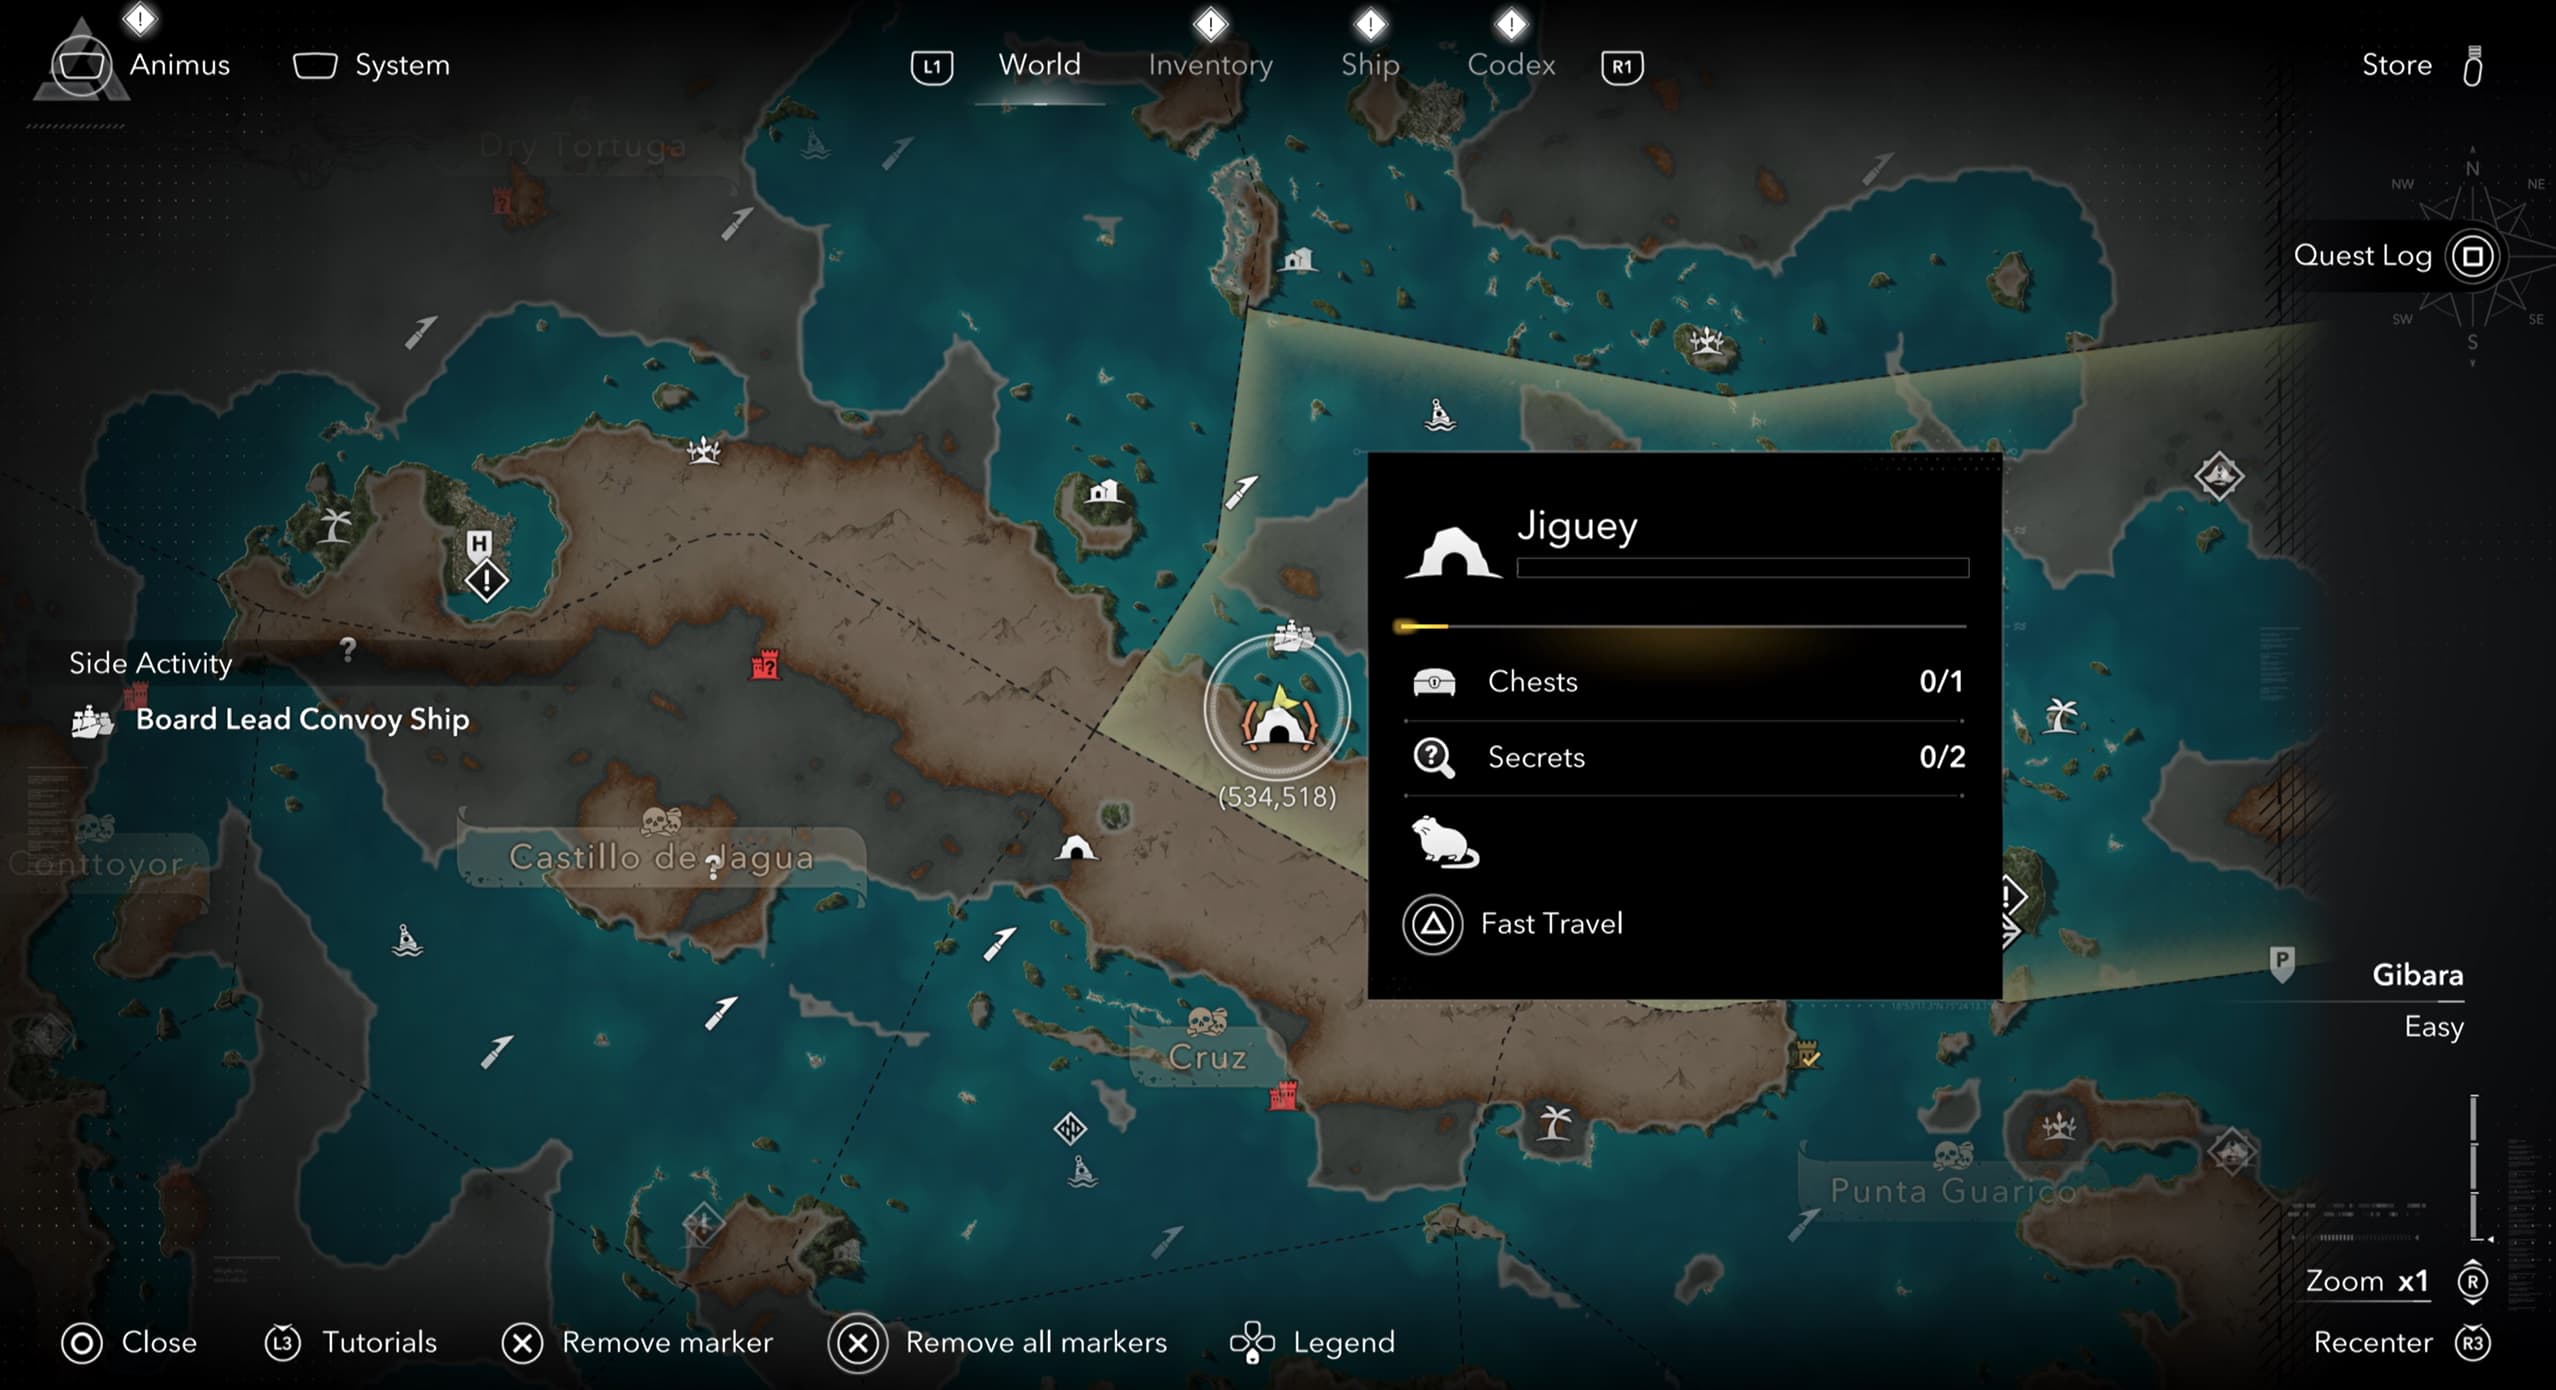
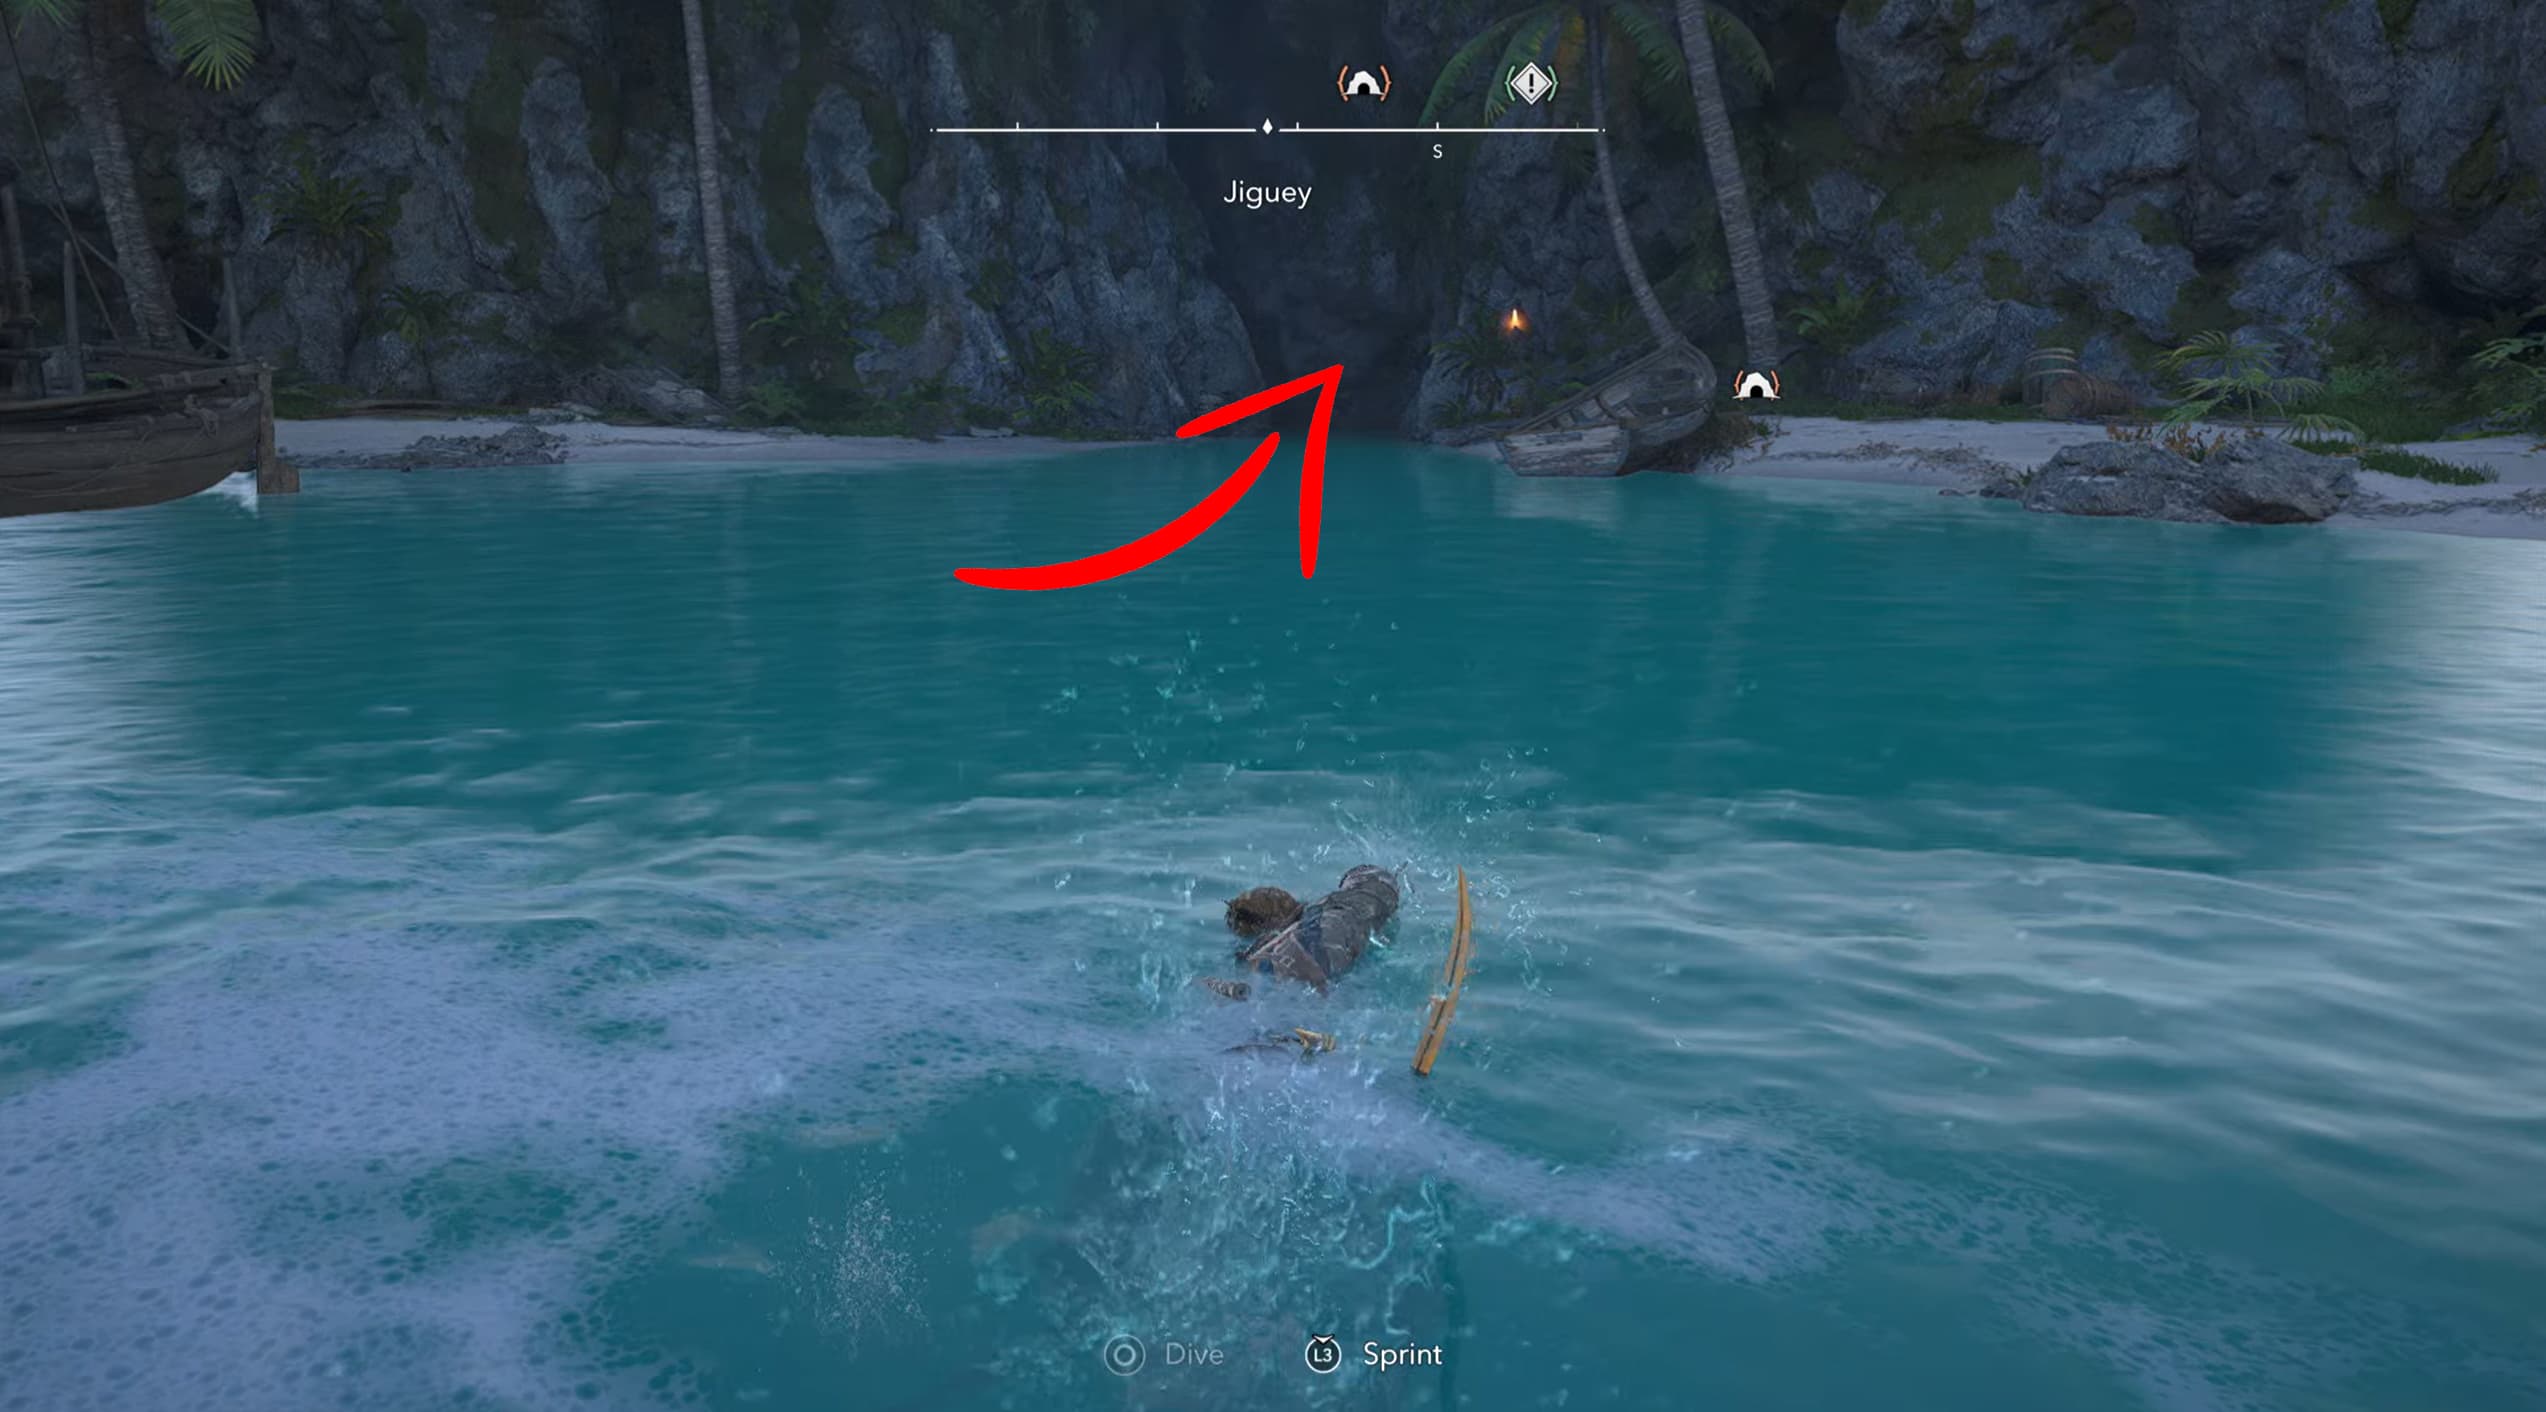
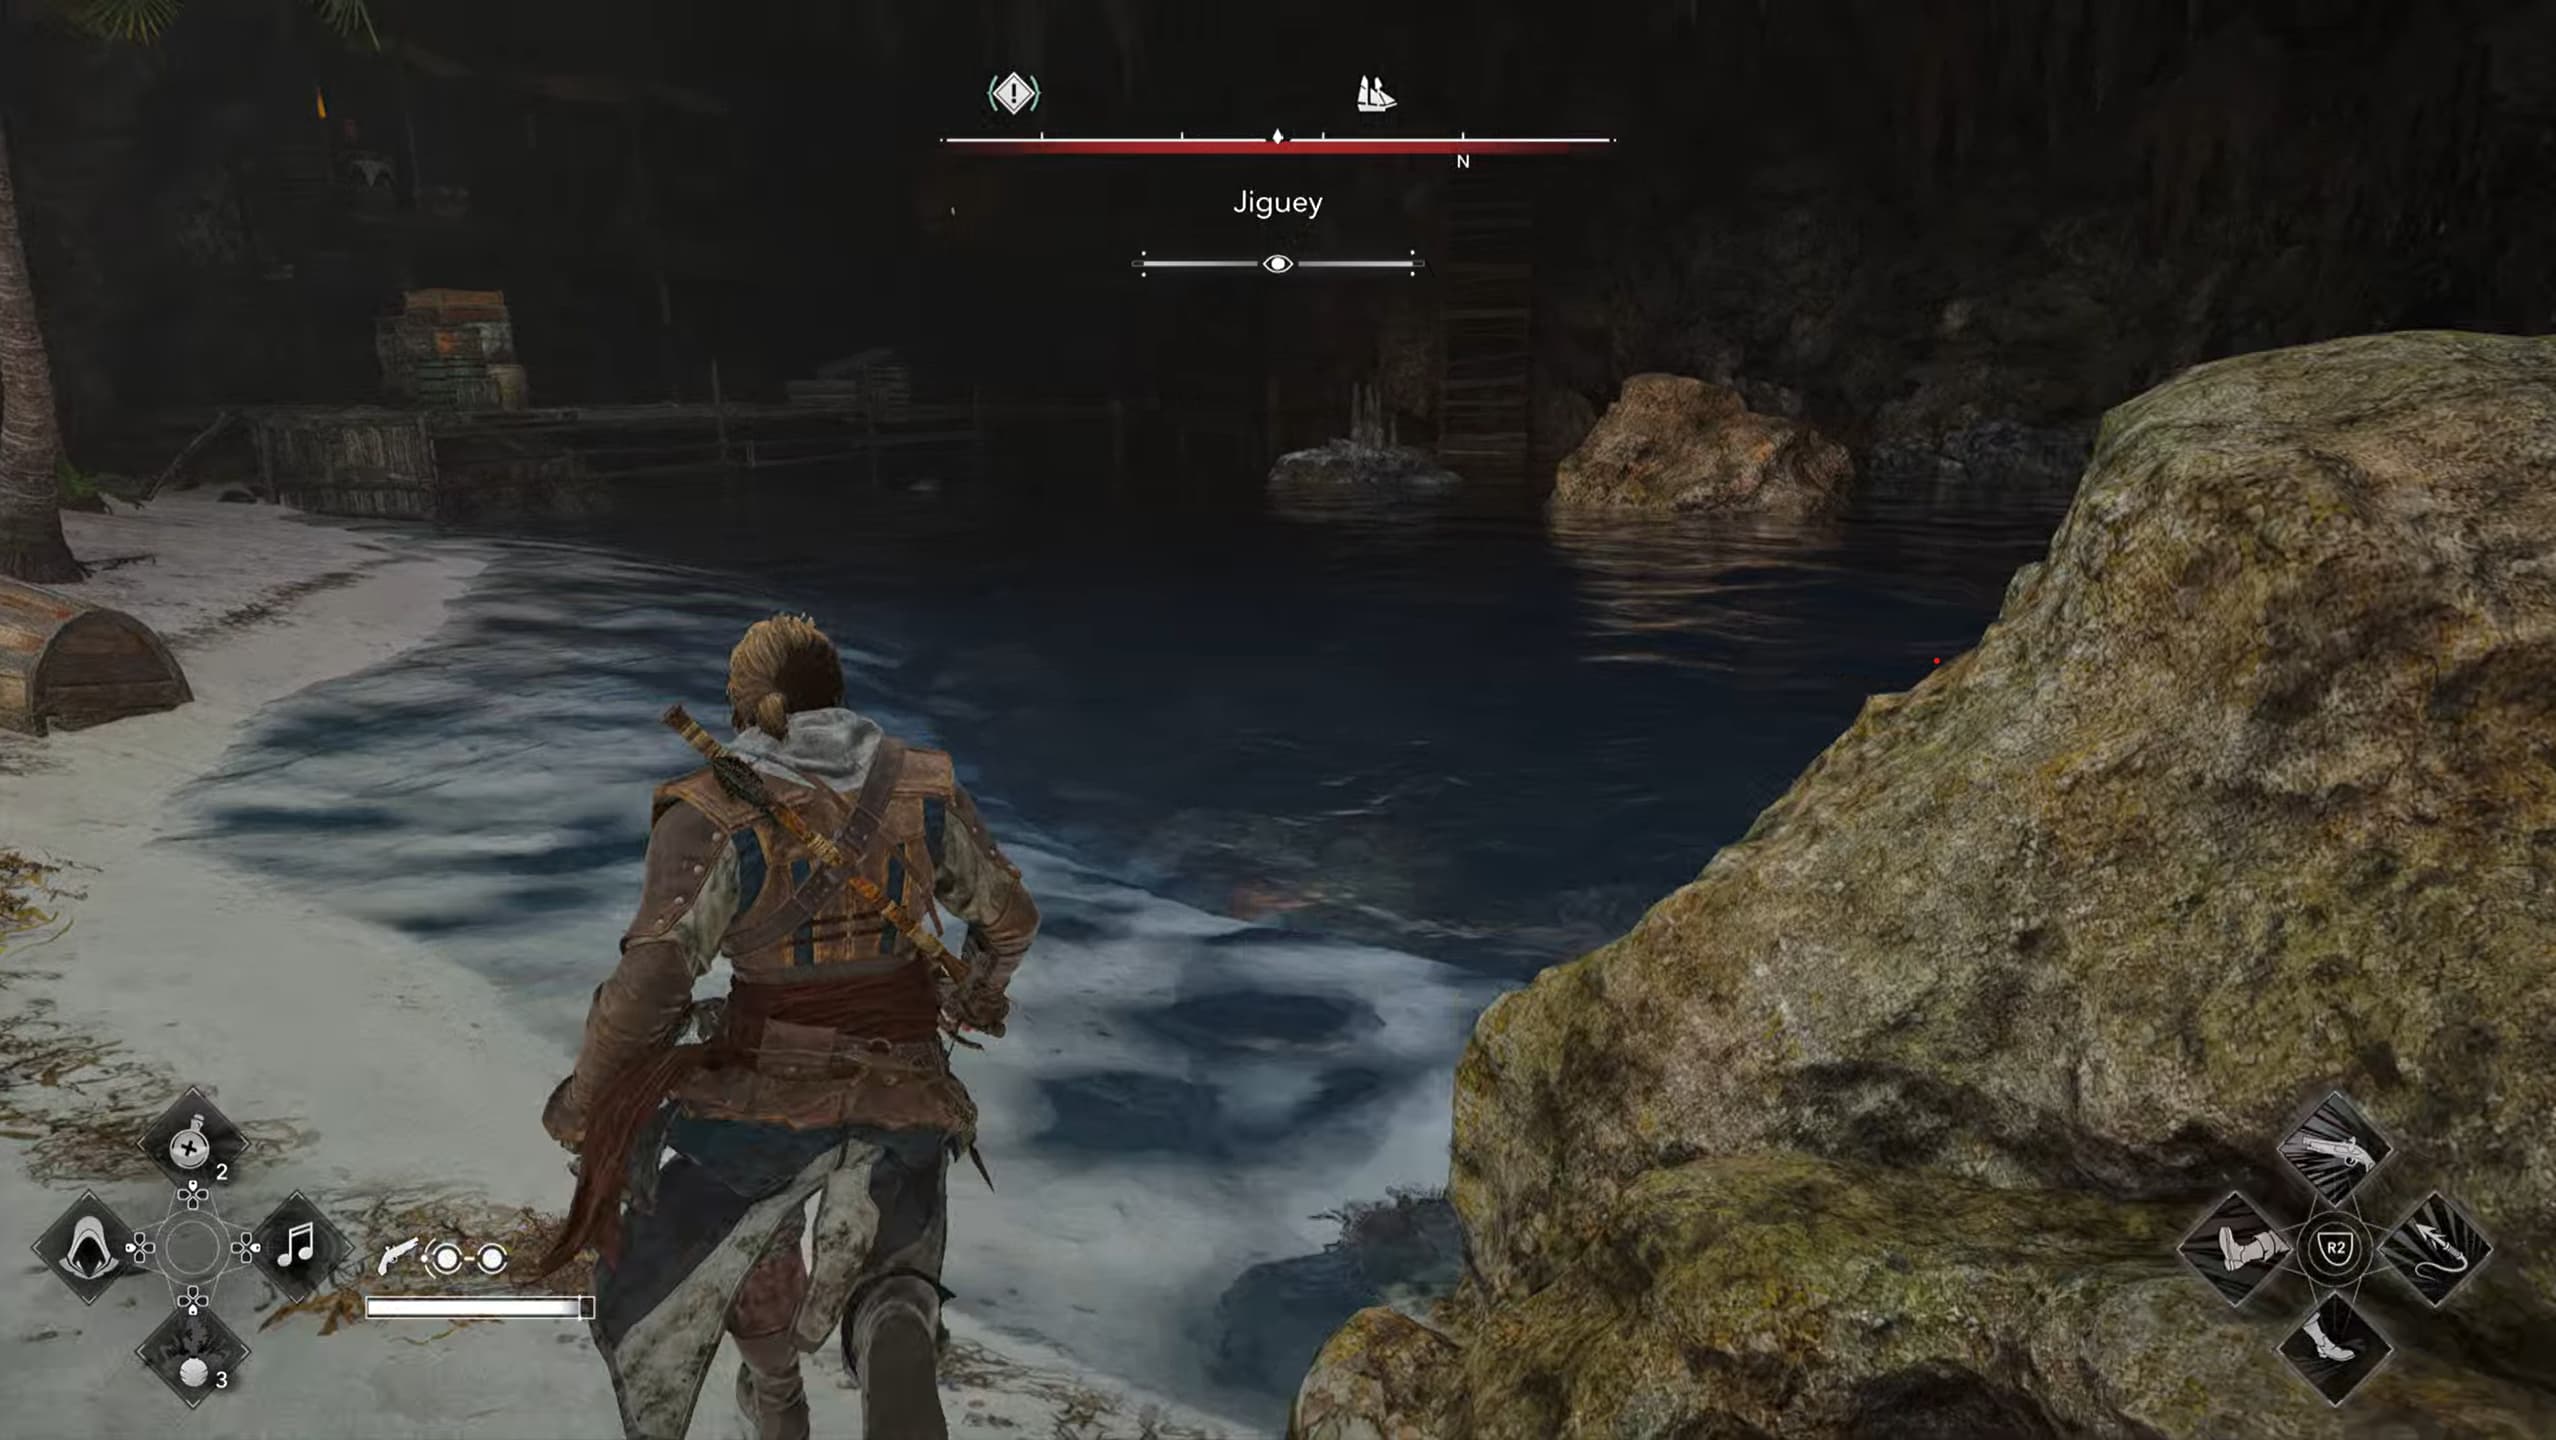
Make your way over to Jiguey, coordinates (534,518) and from the main spawn in location, jump into the sea and swim towards the small cave entrance ahead.
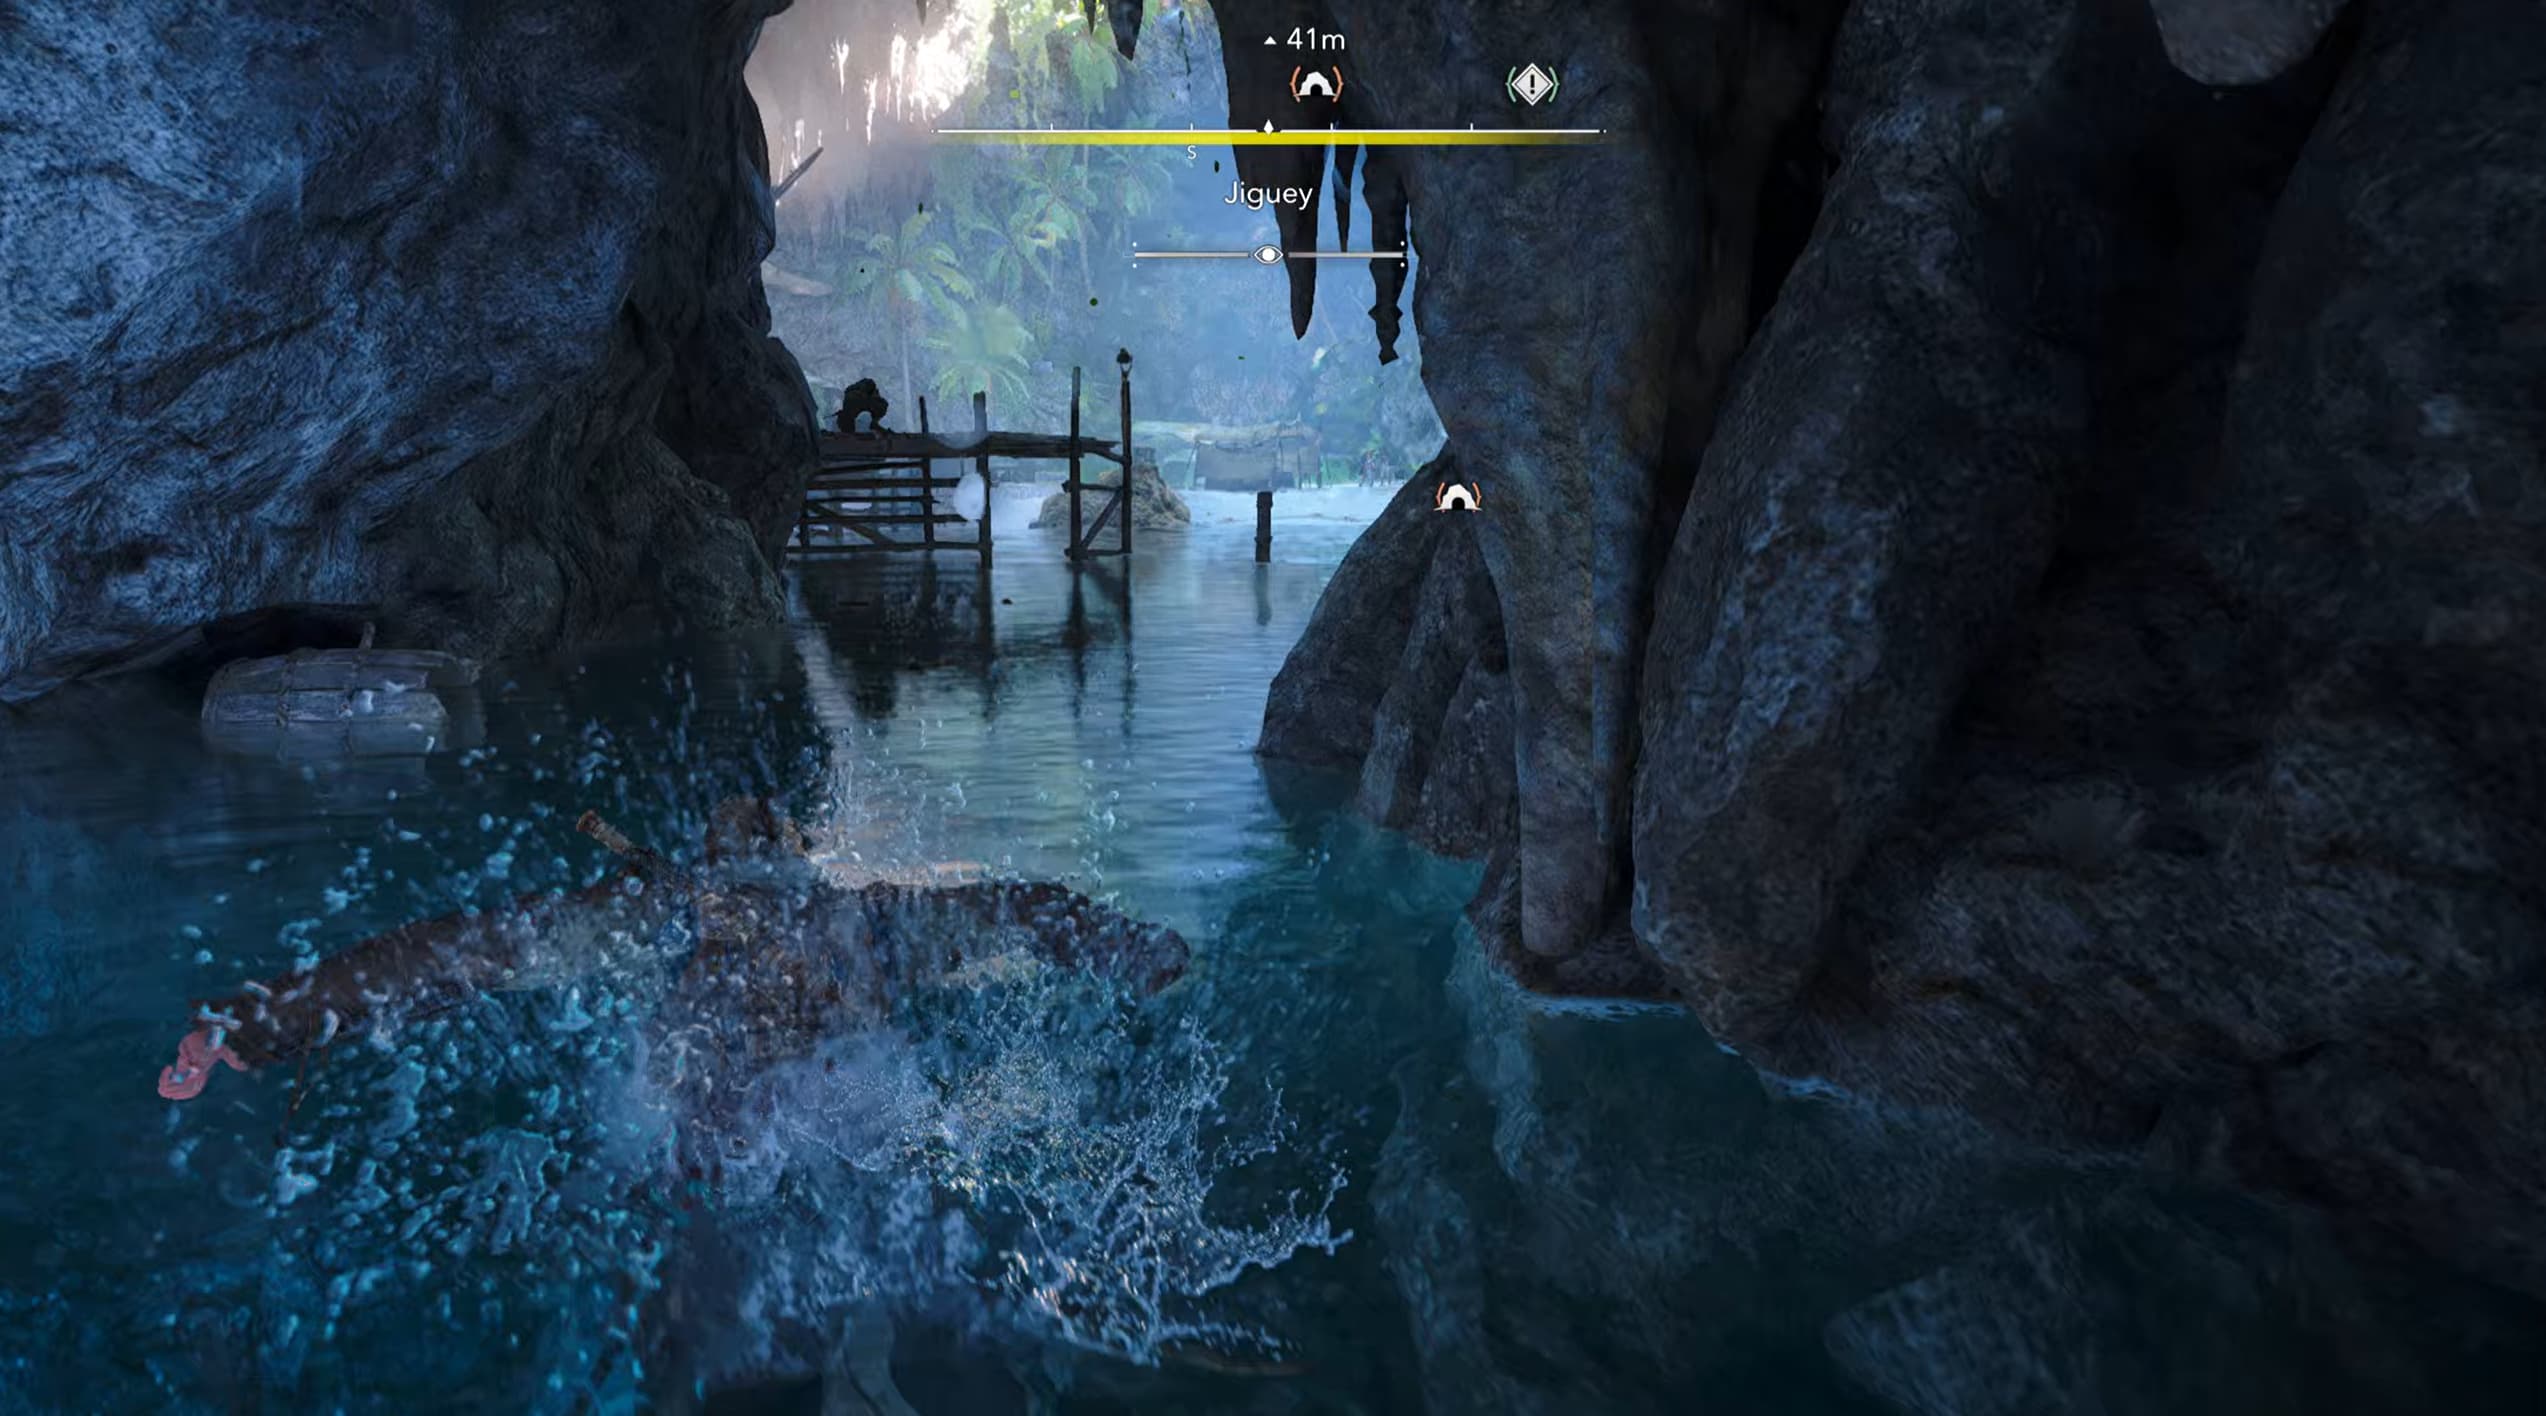
Enter into the cave and head around to the right, you will encounter several enemies in this area.
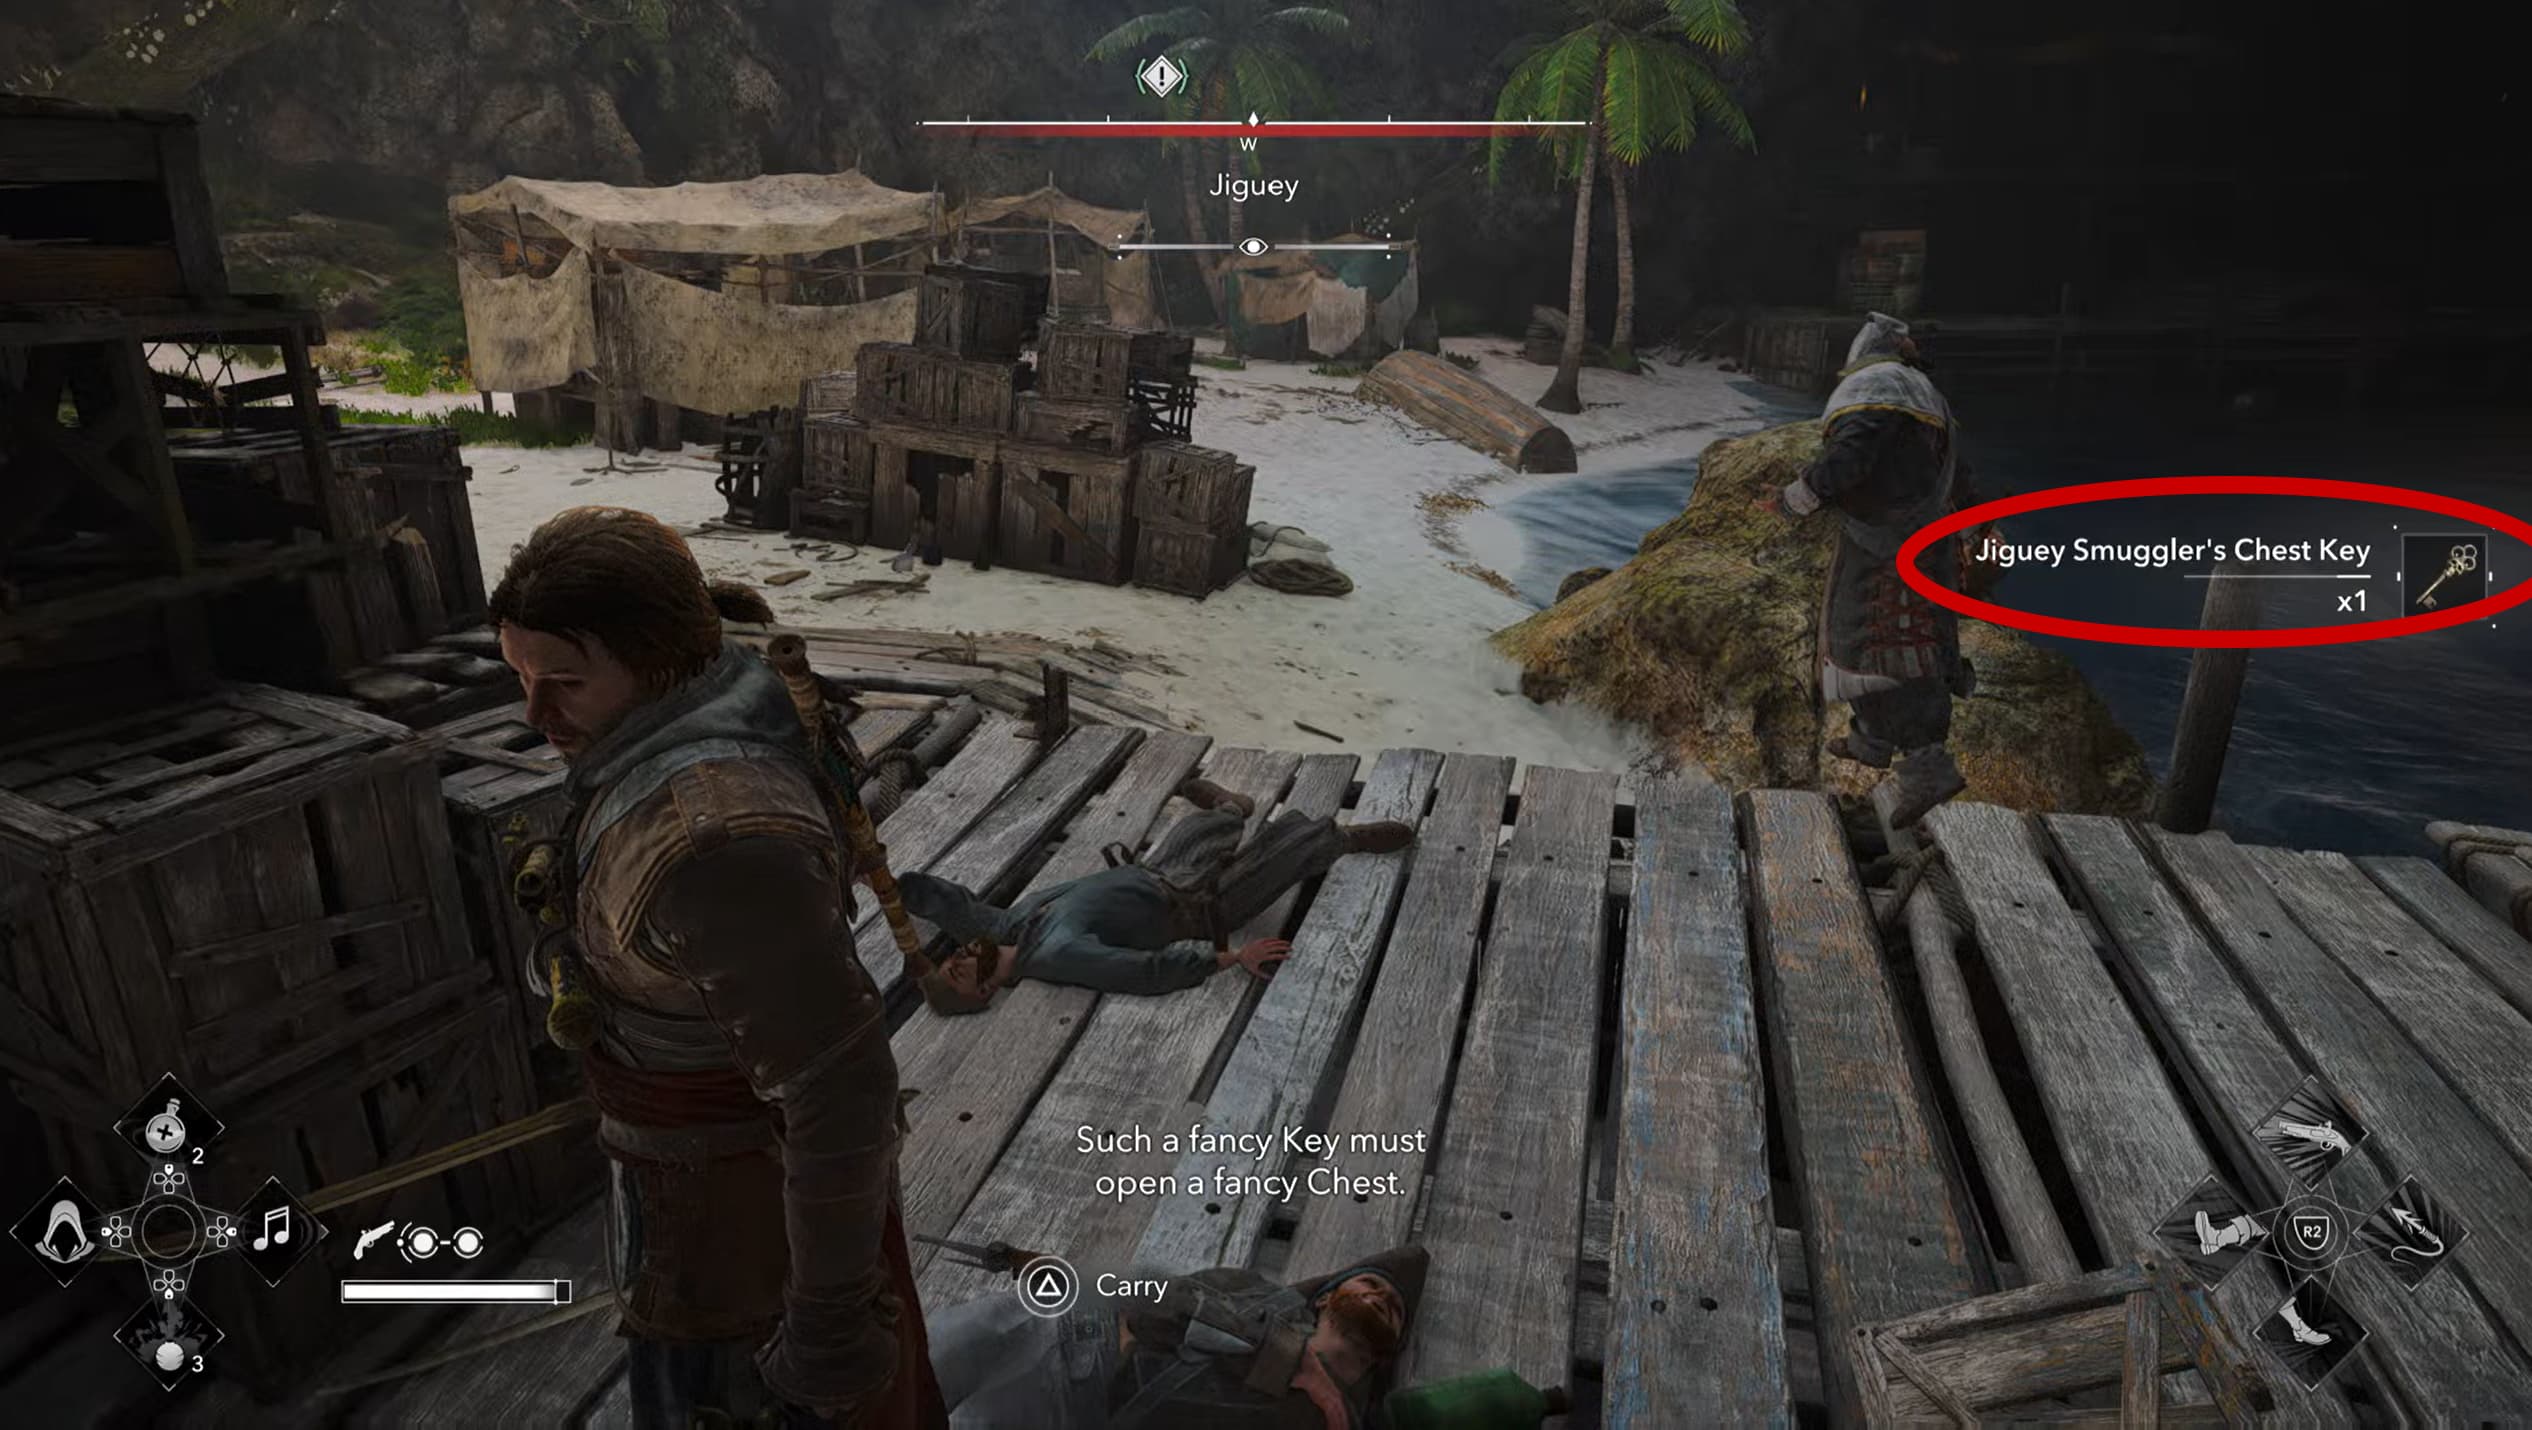
Once you defeat all of them, look for one particular enemy carrying the Smugglers Chest Key, loot this, and make your way back into the nearby water.
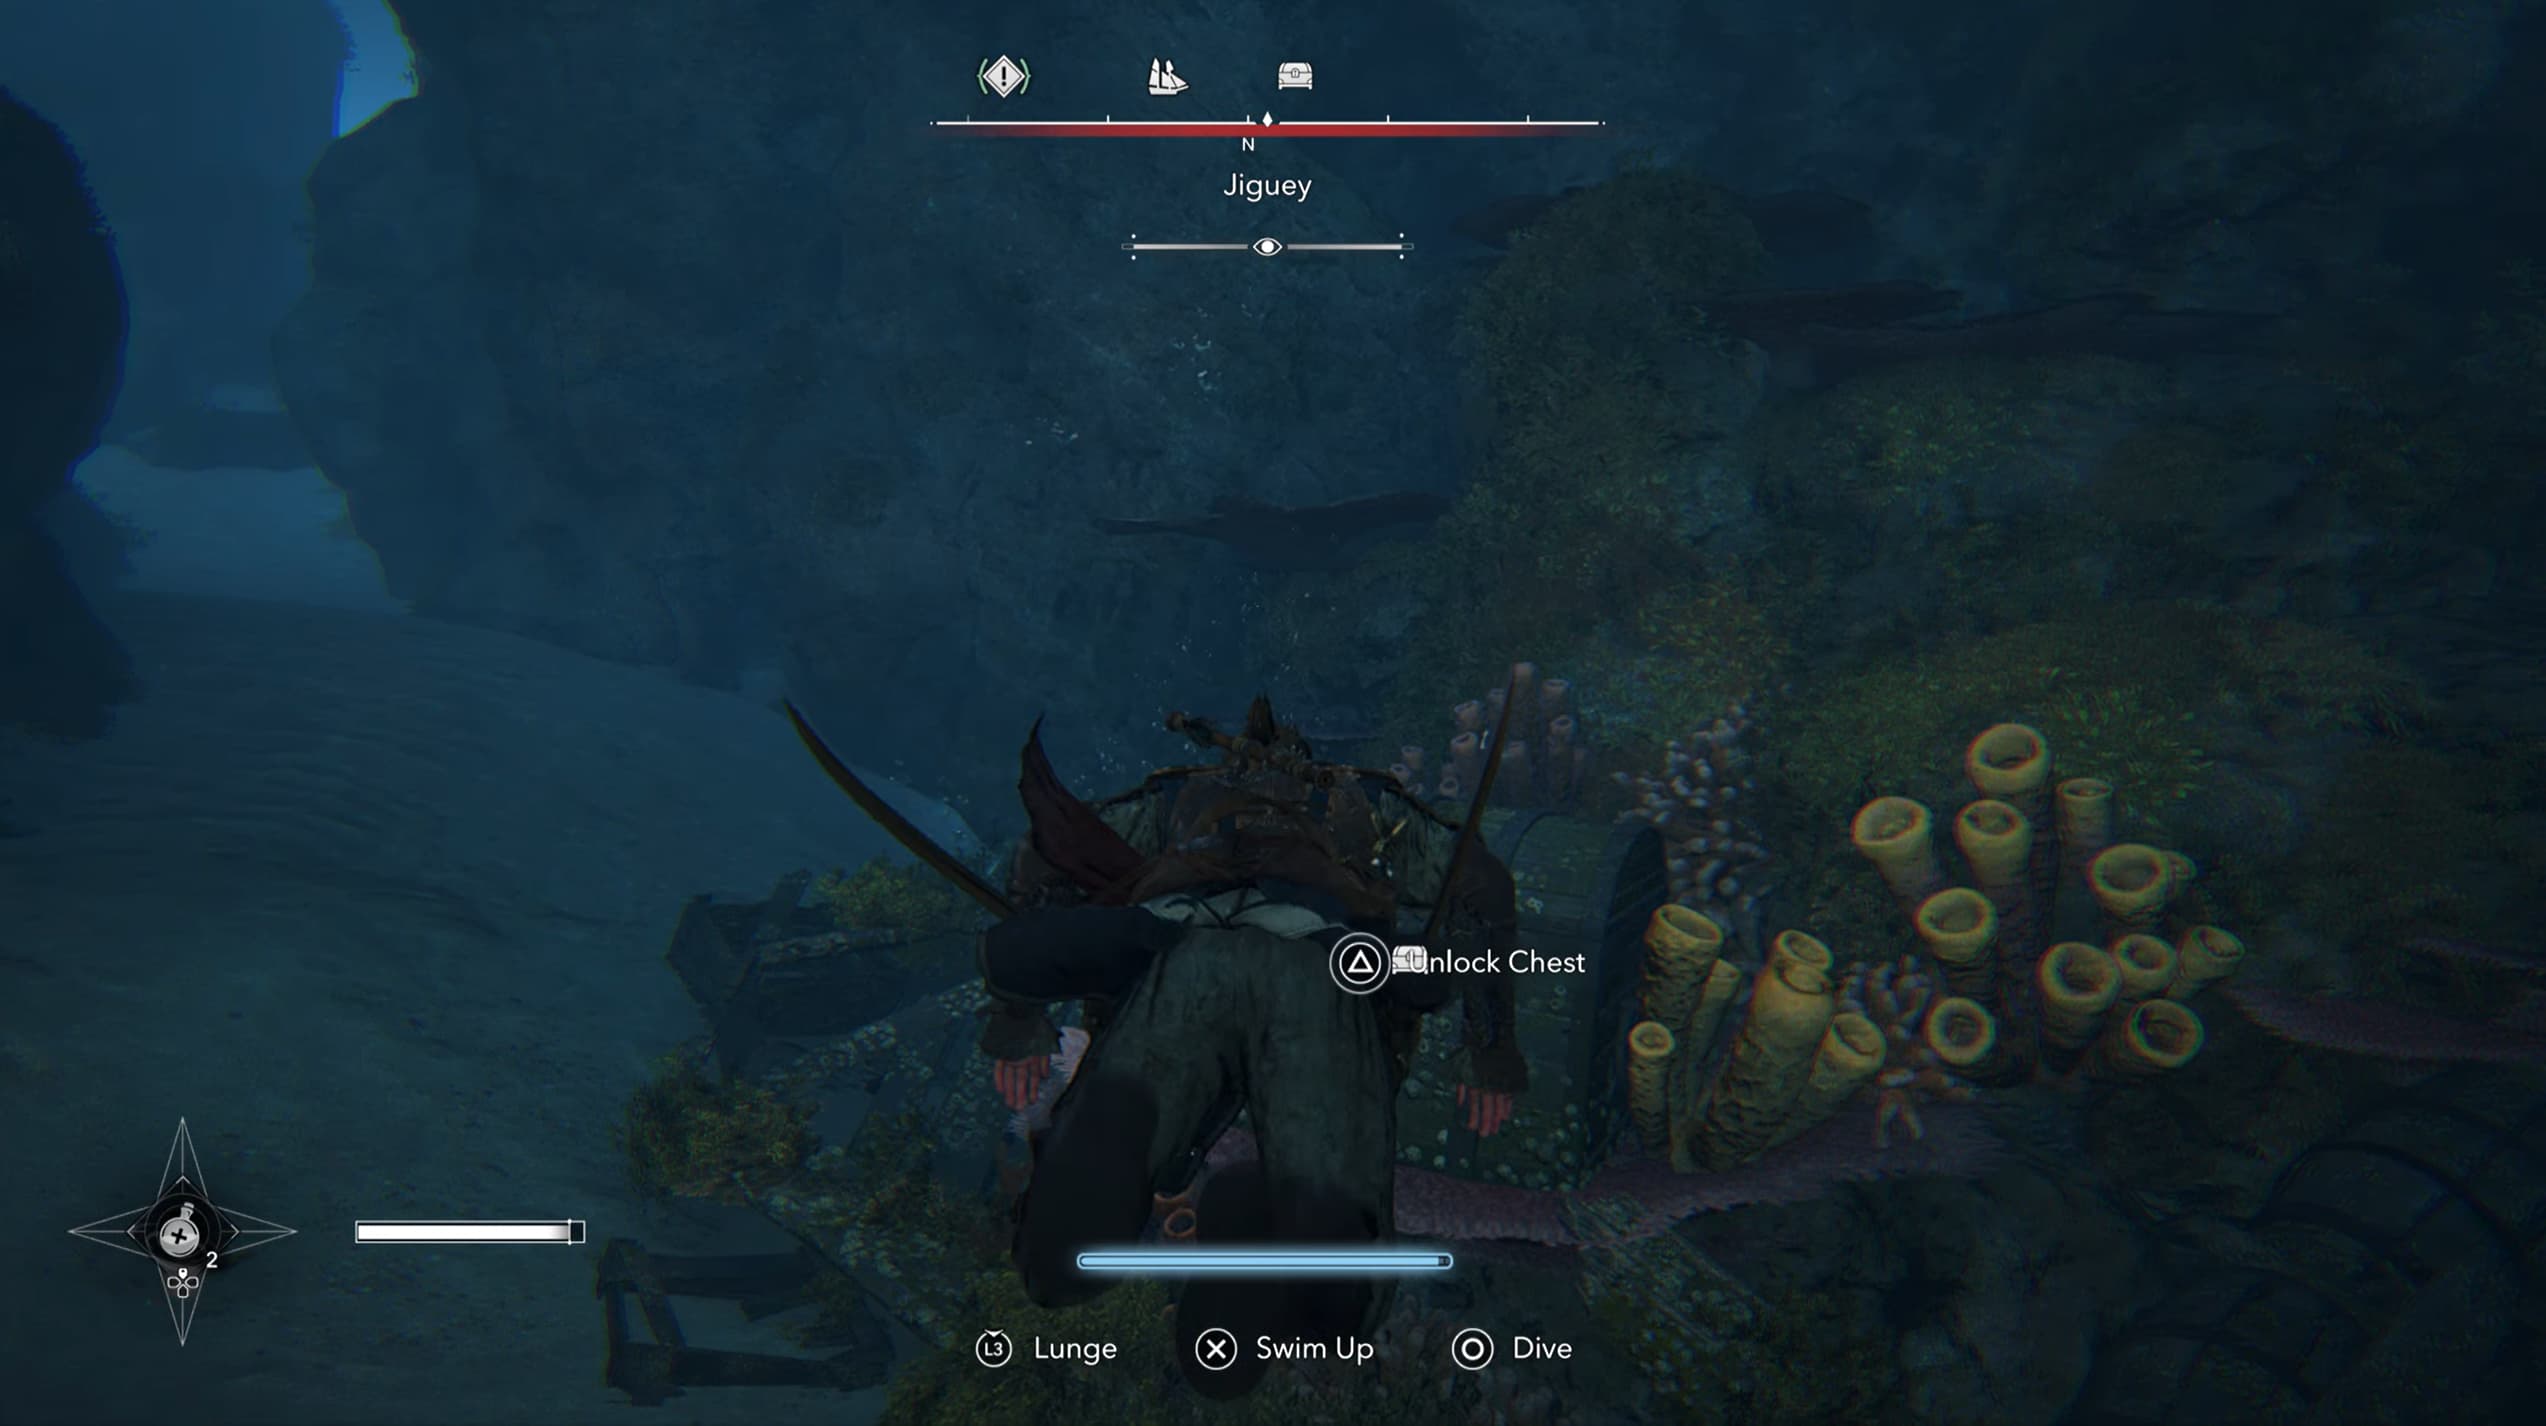
Dive straight down to find the locked chest at the sea bed near the yellow corals, use the key to open the chest and inside will be the first weathered map piece.
Weathered Map Piece 2 - Anotto Bay
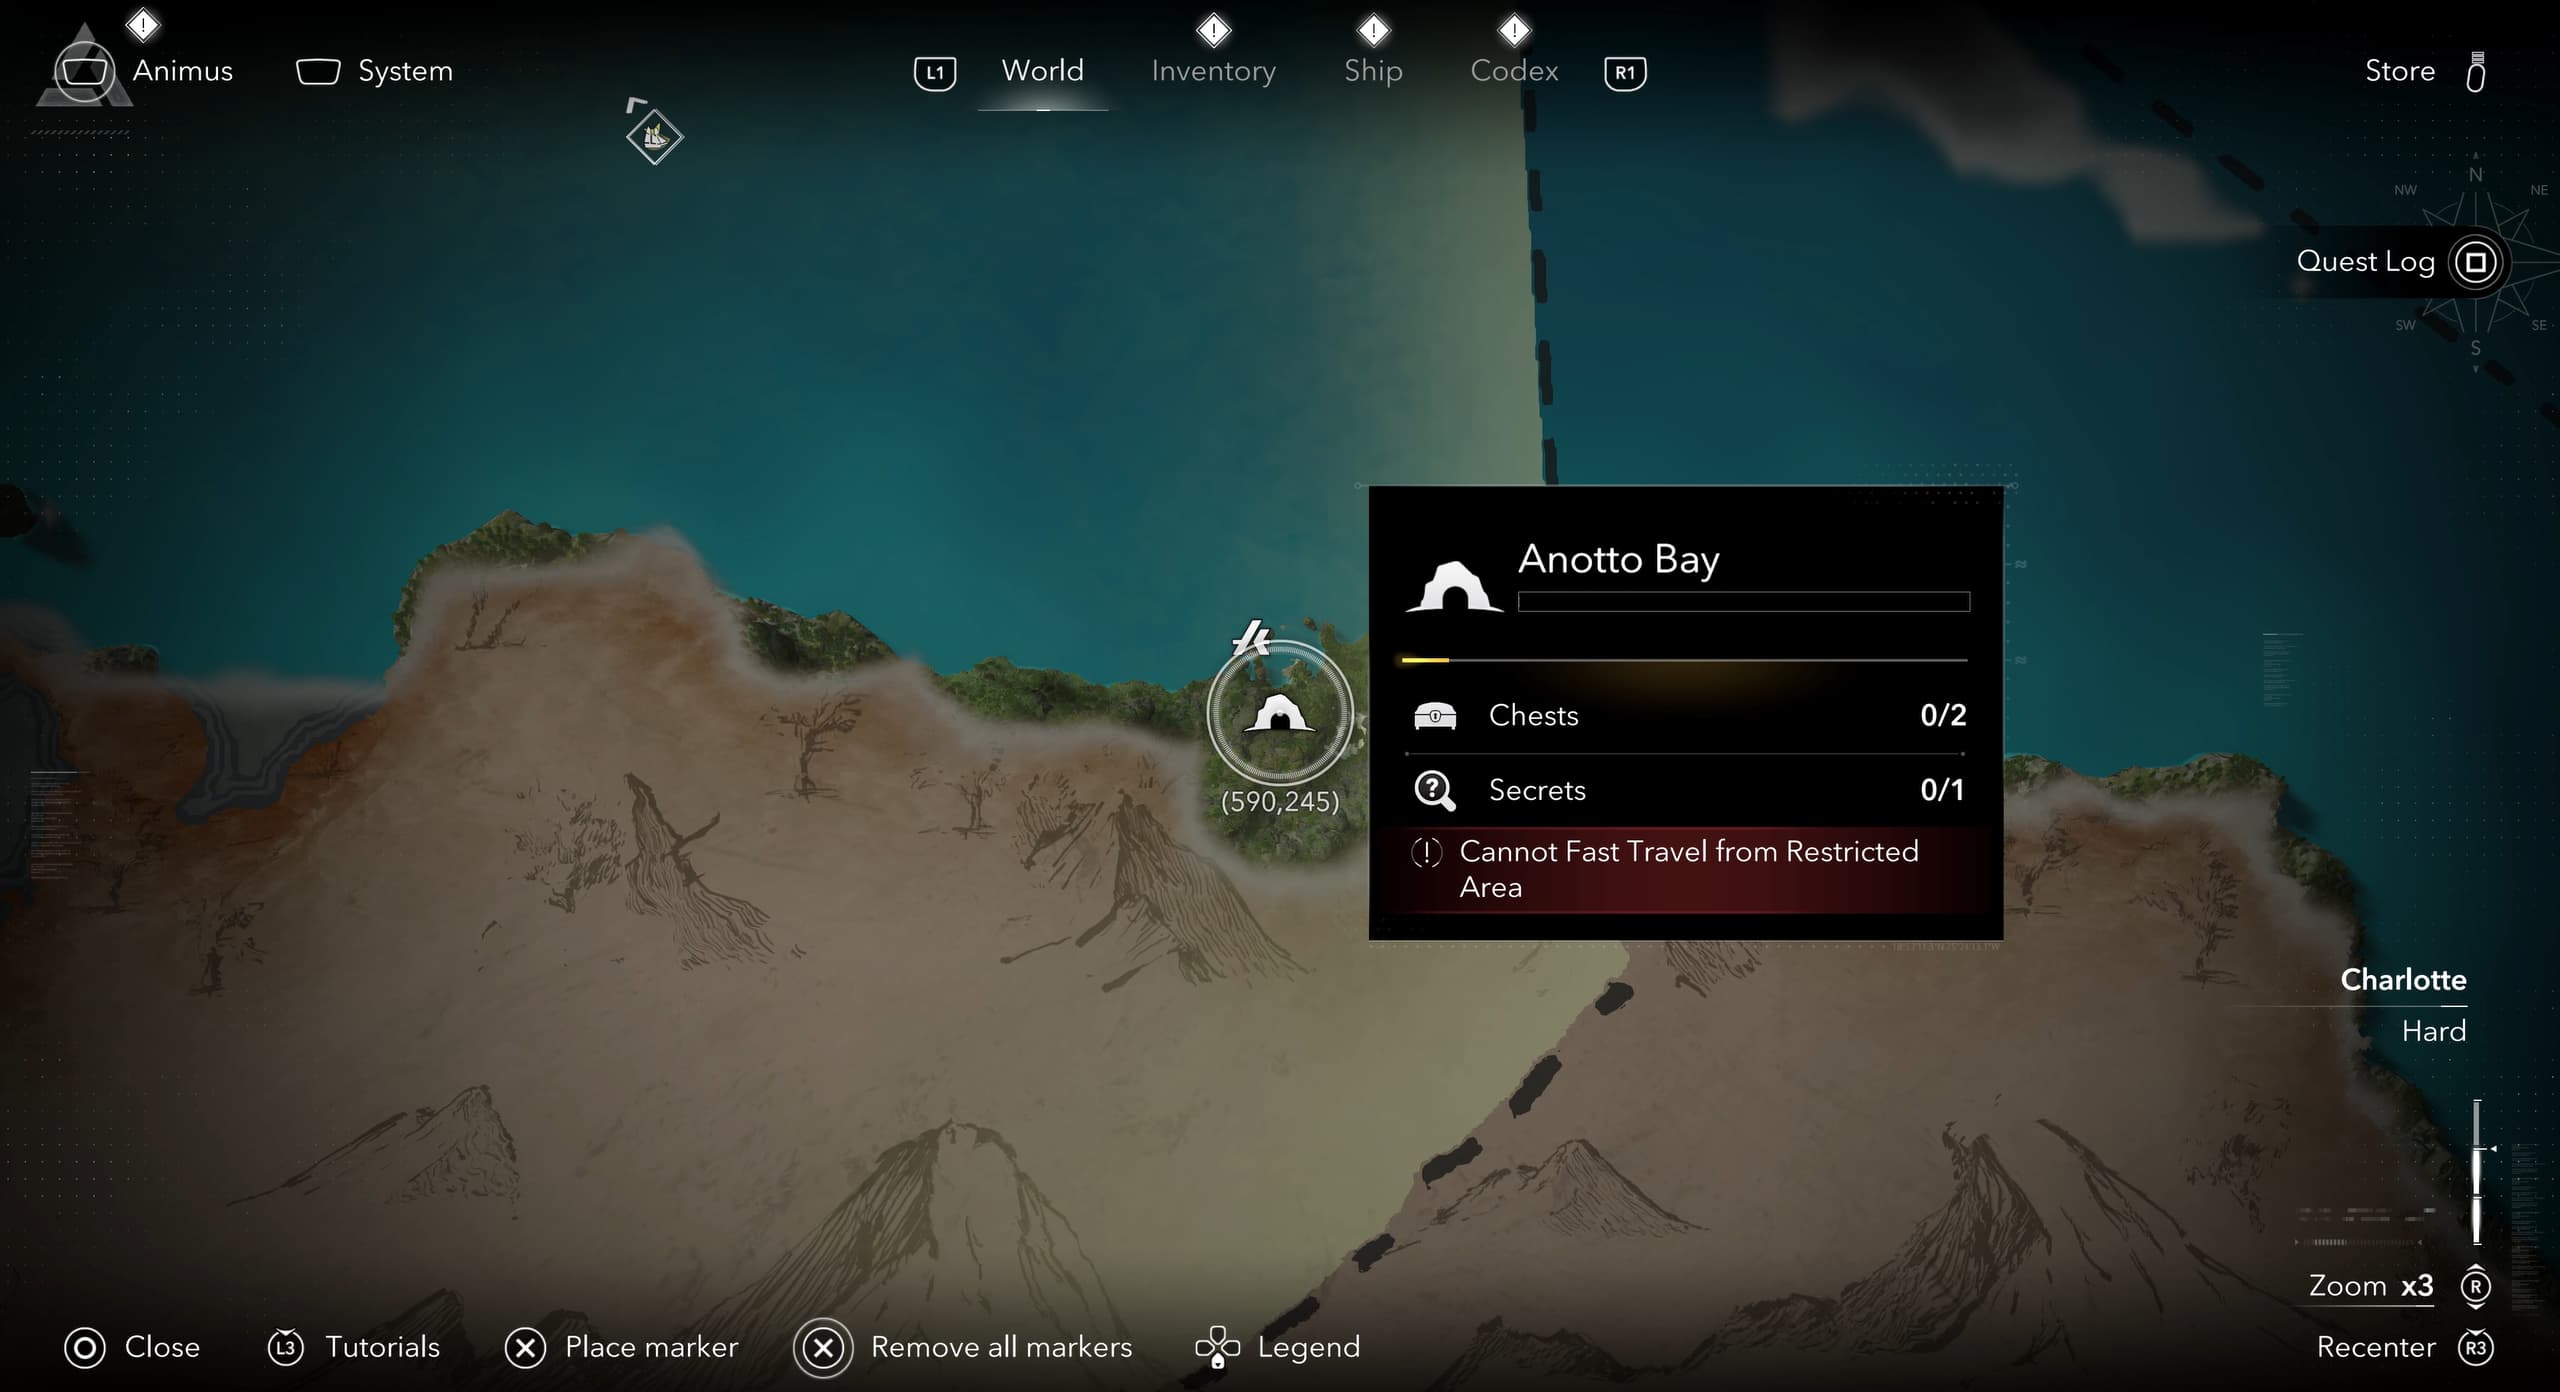
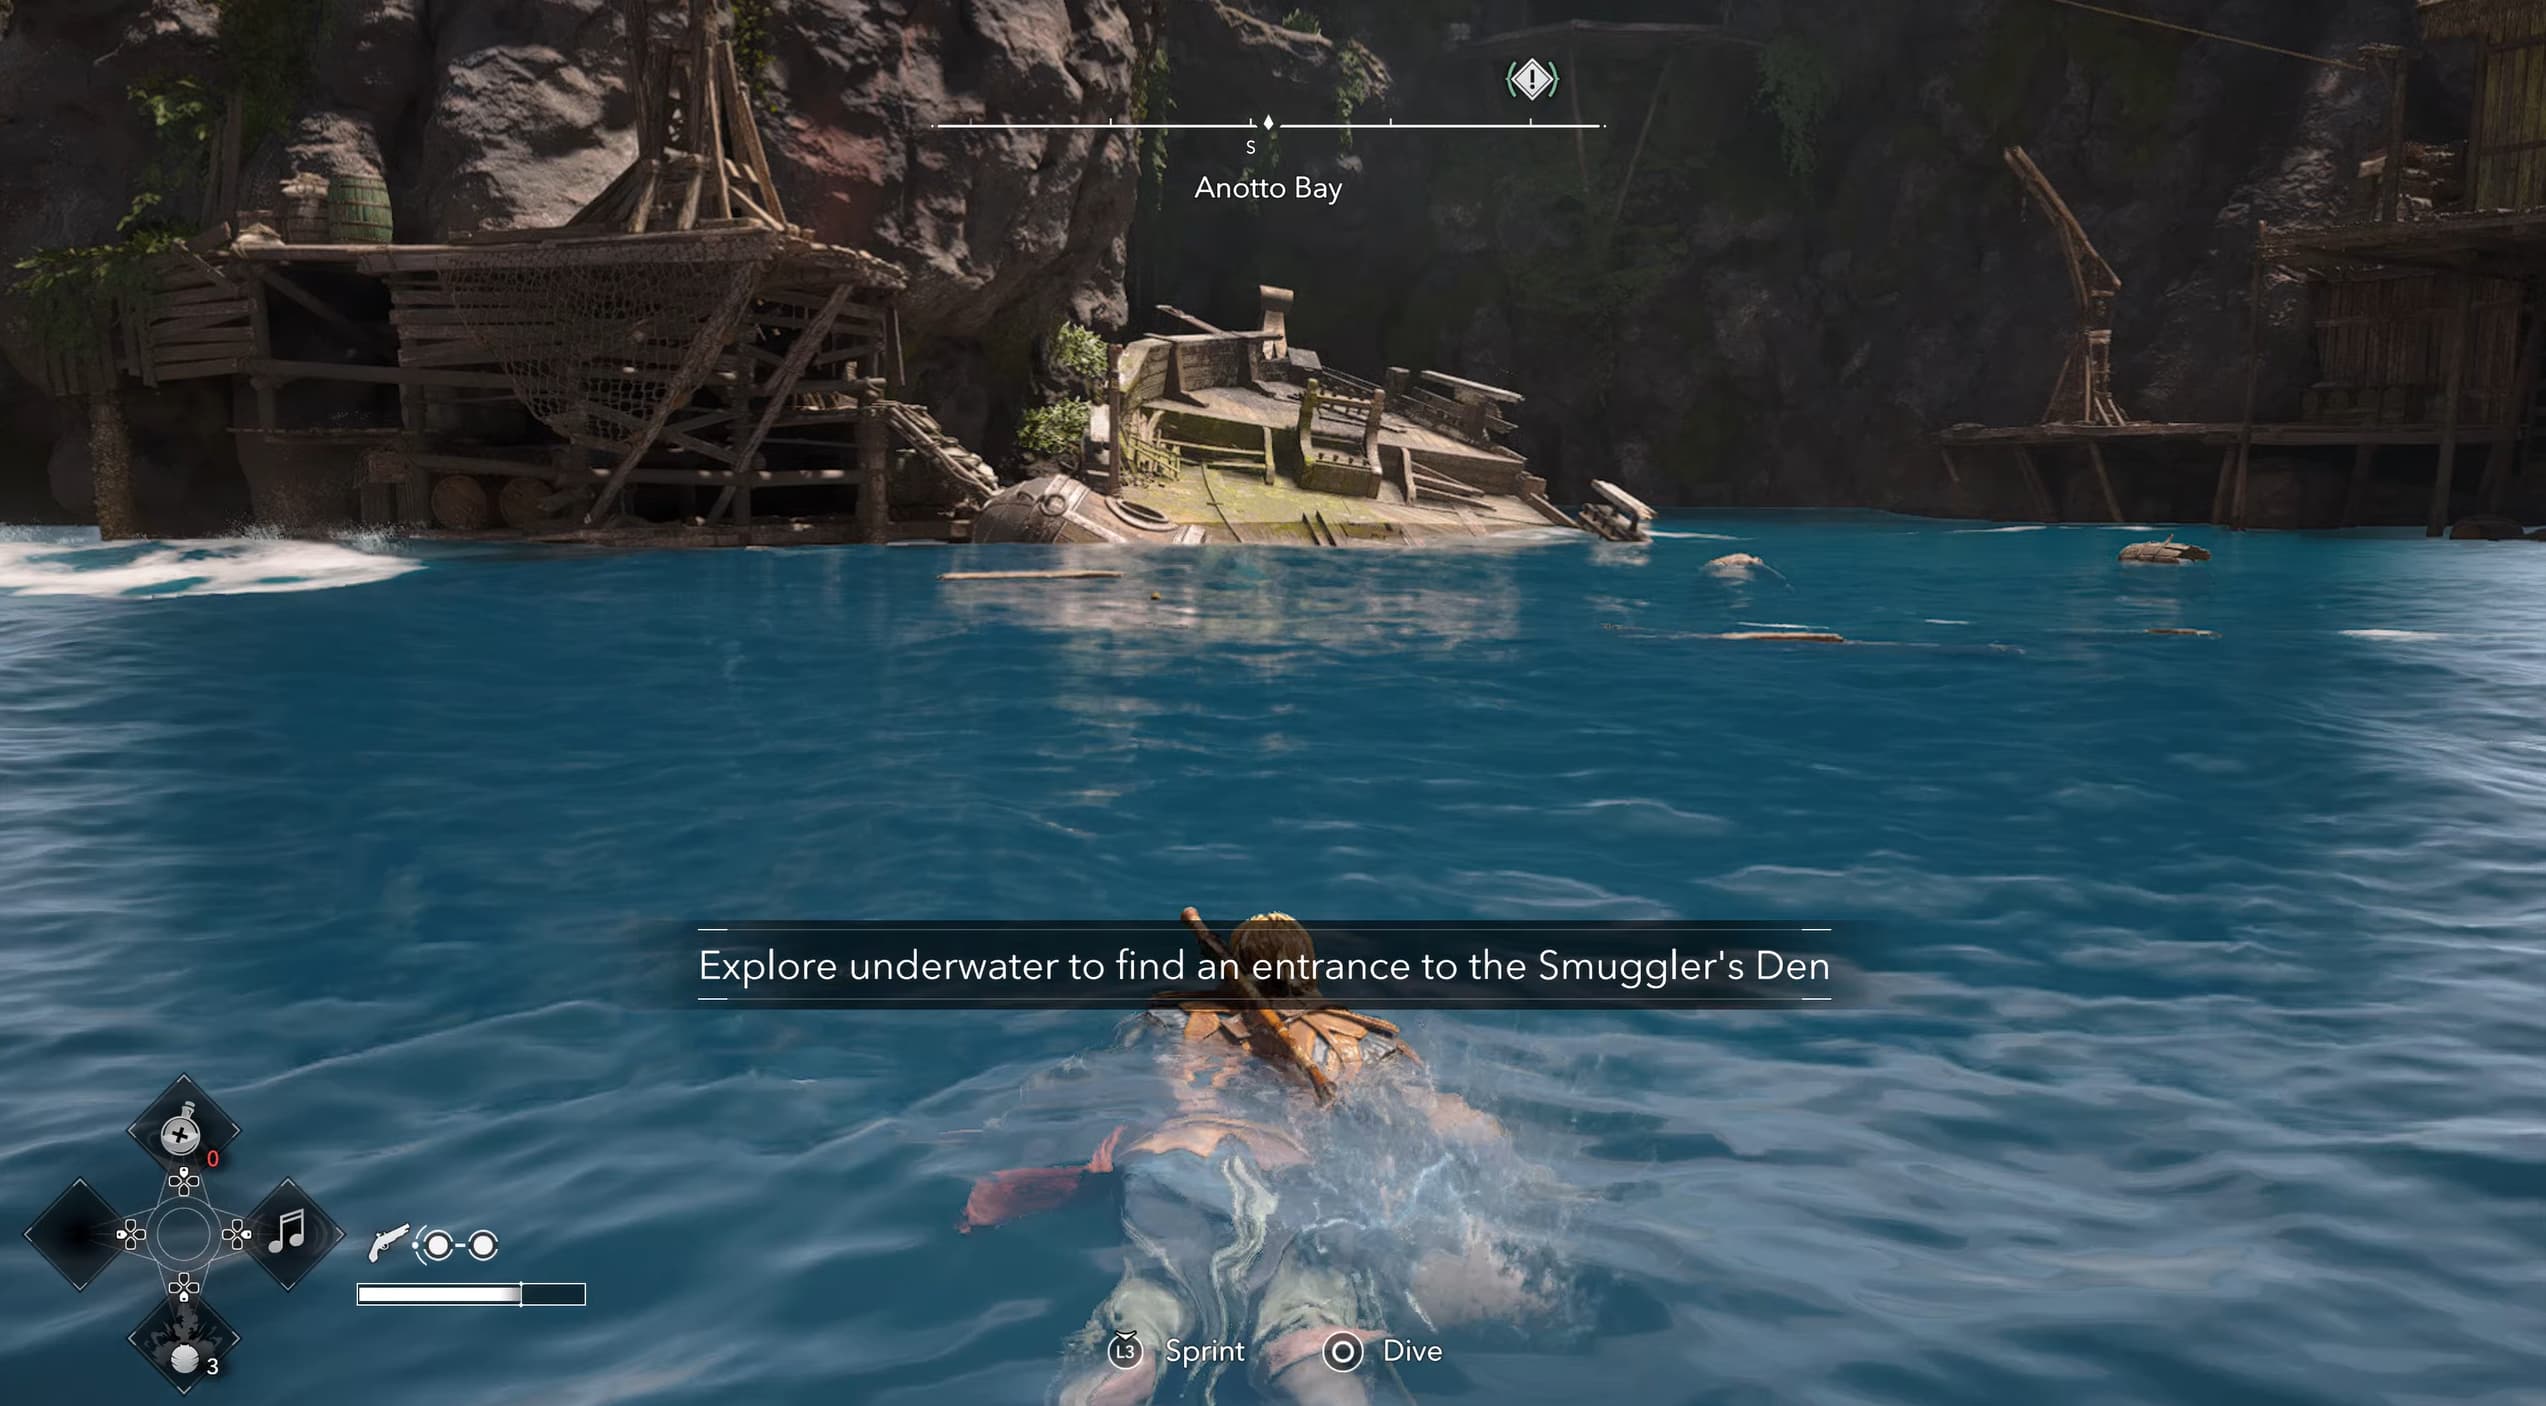
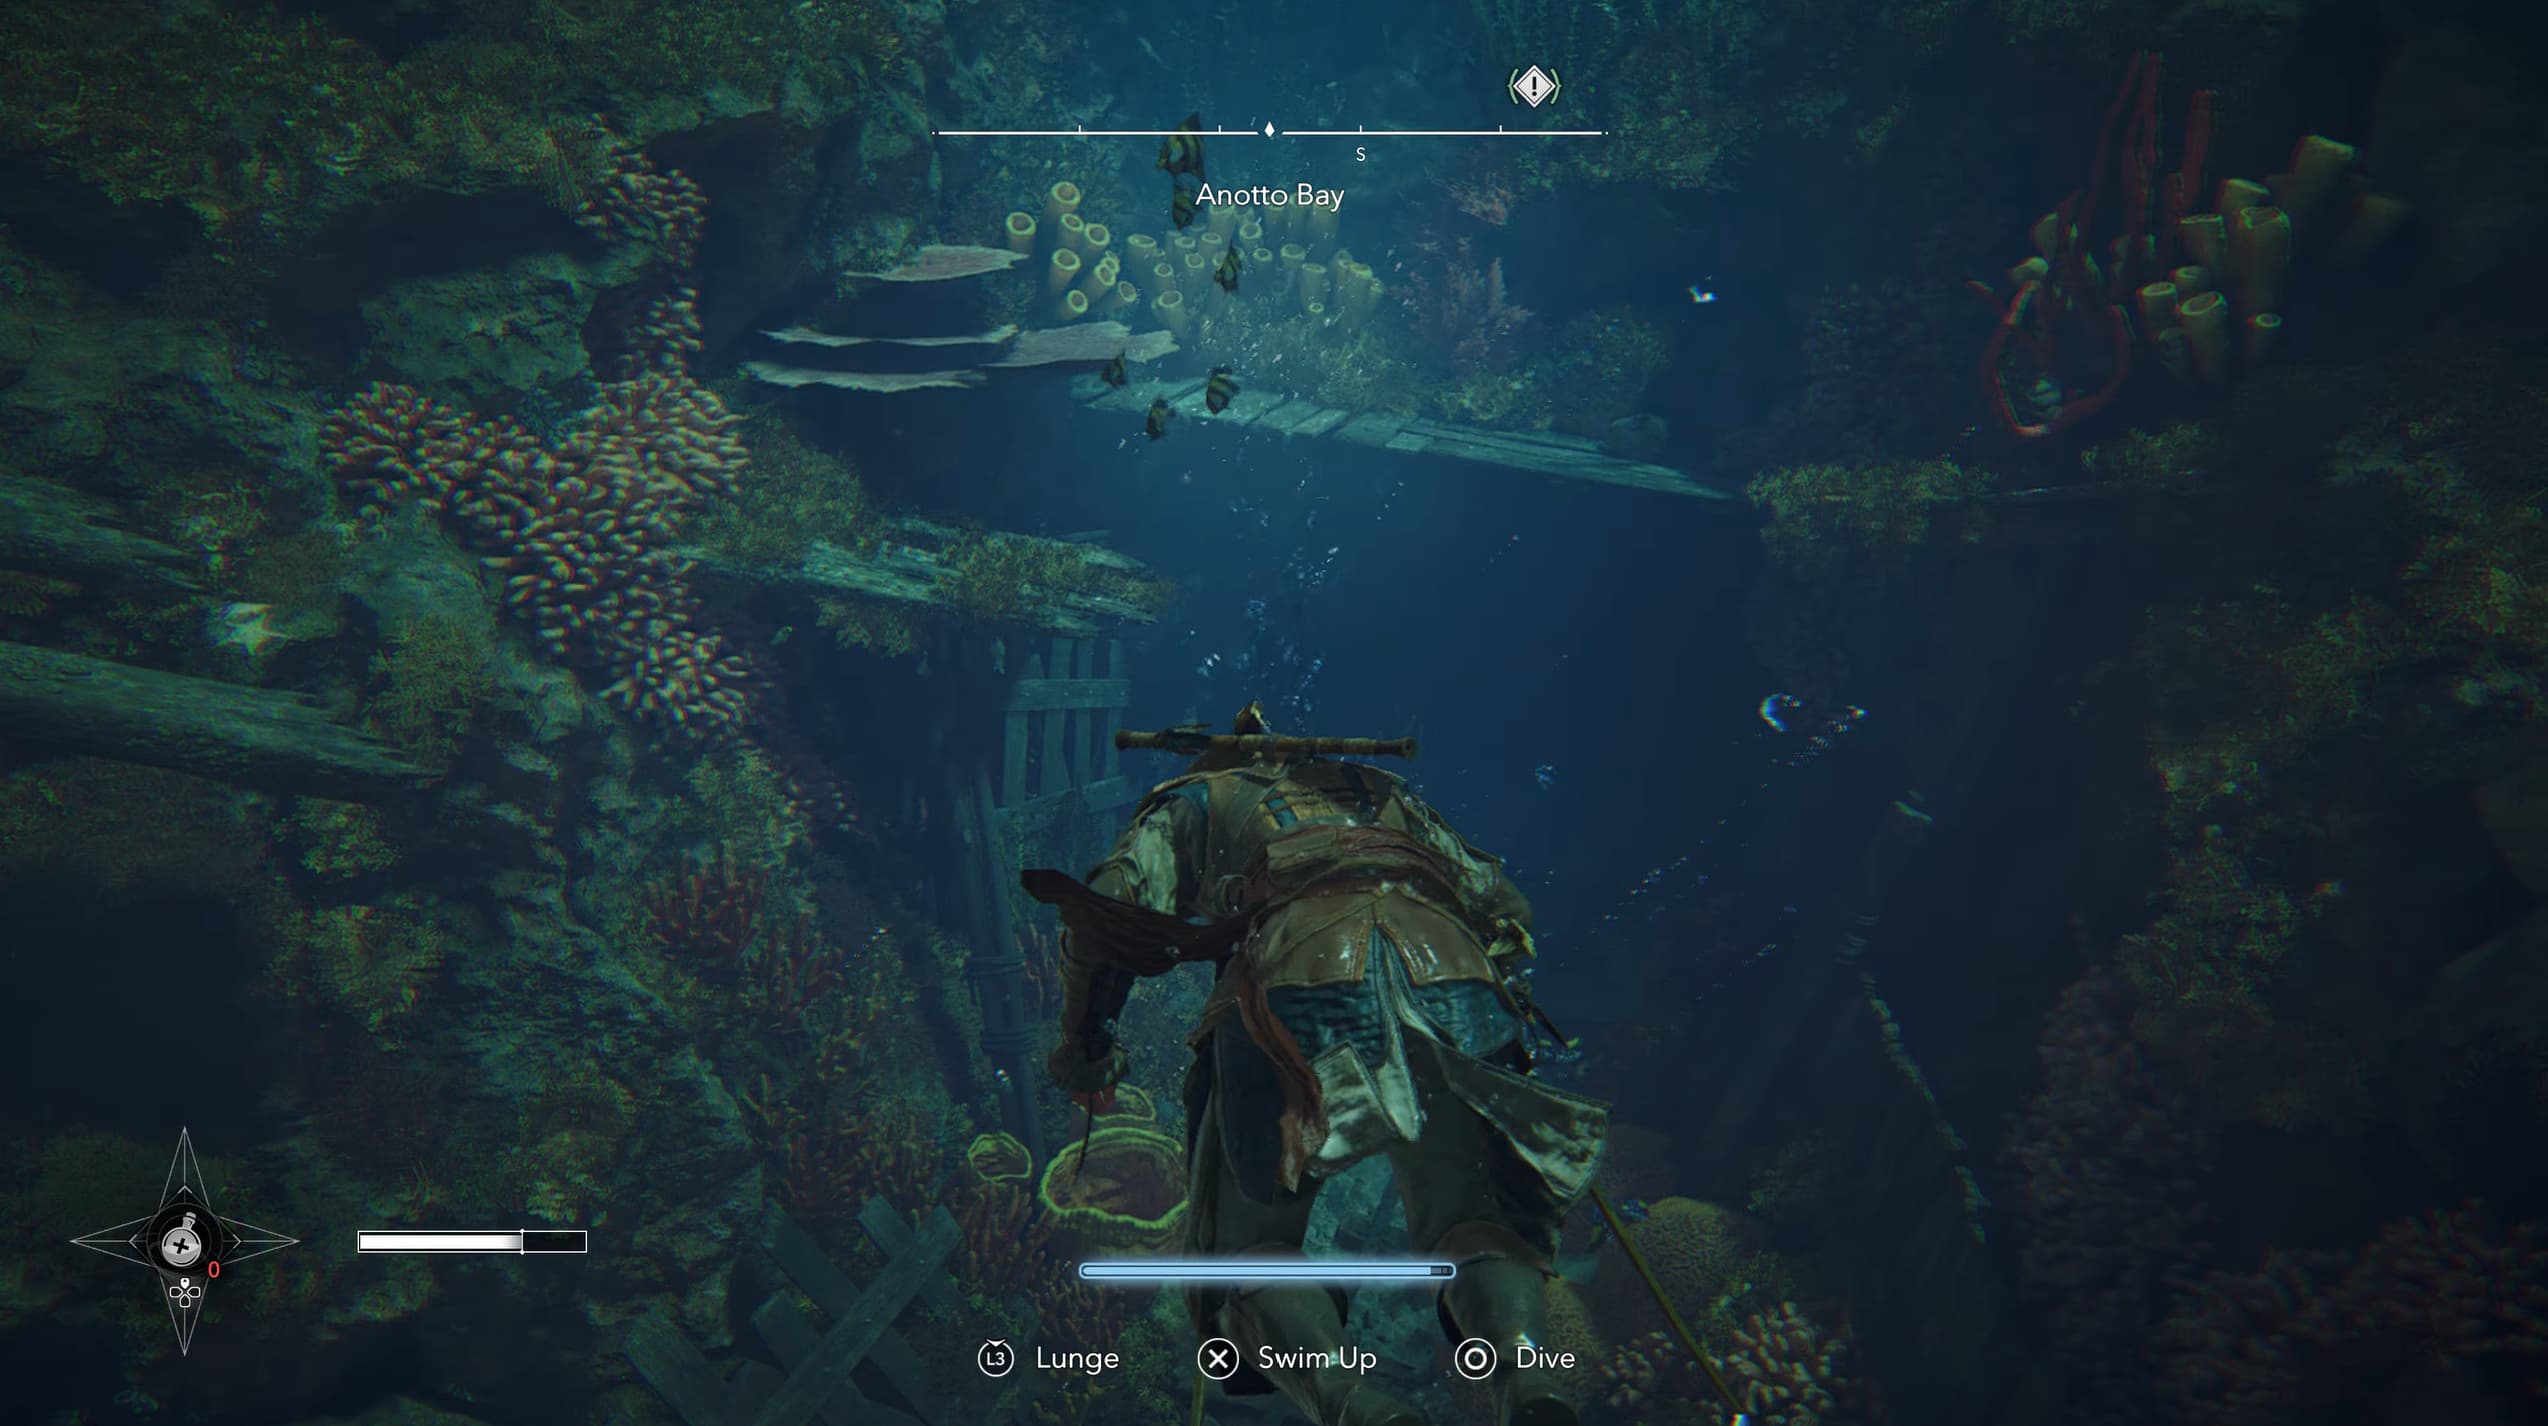
Fast travel over to Anotto Bay, coordinates (590,245). If you have already completed Blackbeard's Treasure quest, you will recognize this location from there. Head into the water near the shipwreck and diving bell and enter the undersea tunnels, the same way you did for Blackbeards treasure.
Dive down and head through the cave entrance underneath the nearby platform and near the coral at the seabed, and follow the underwater tunnels.
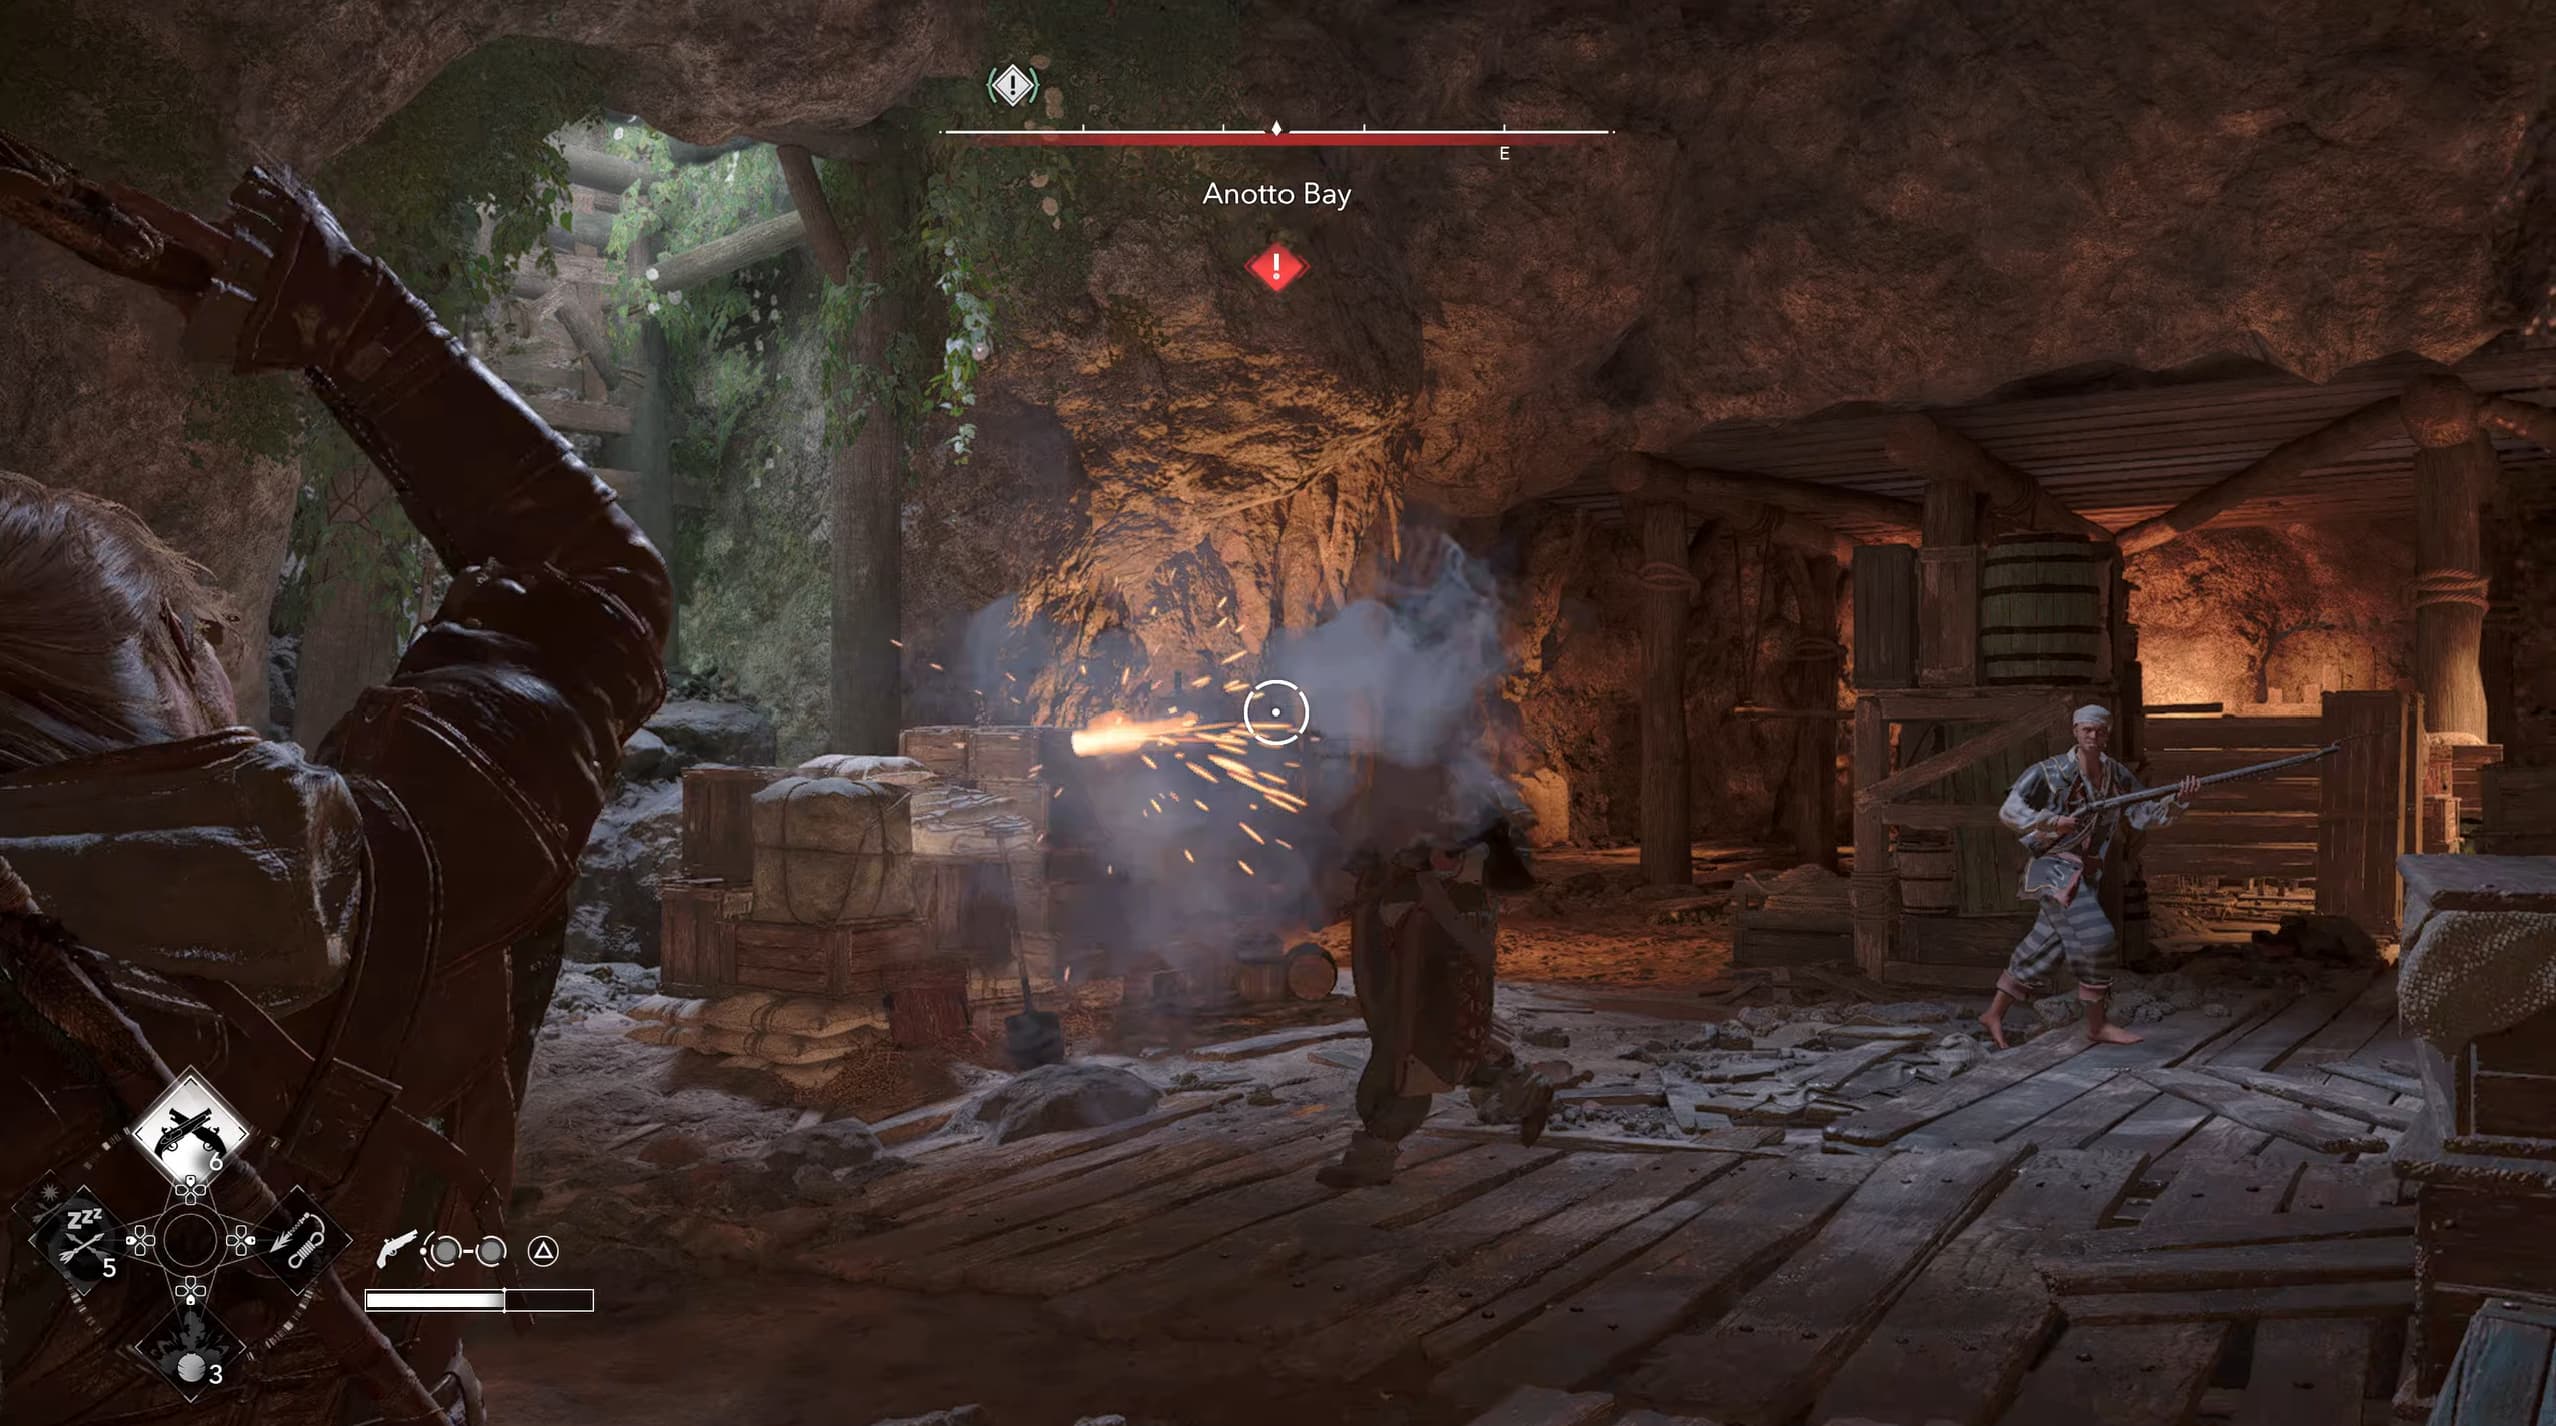
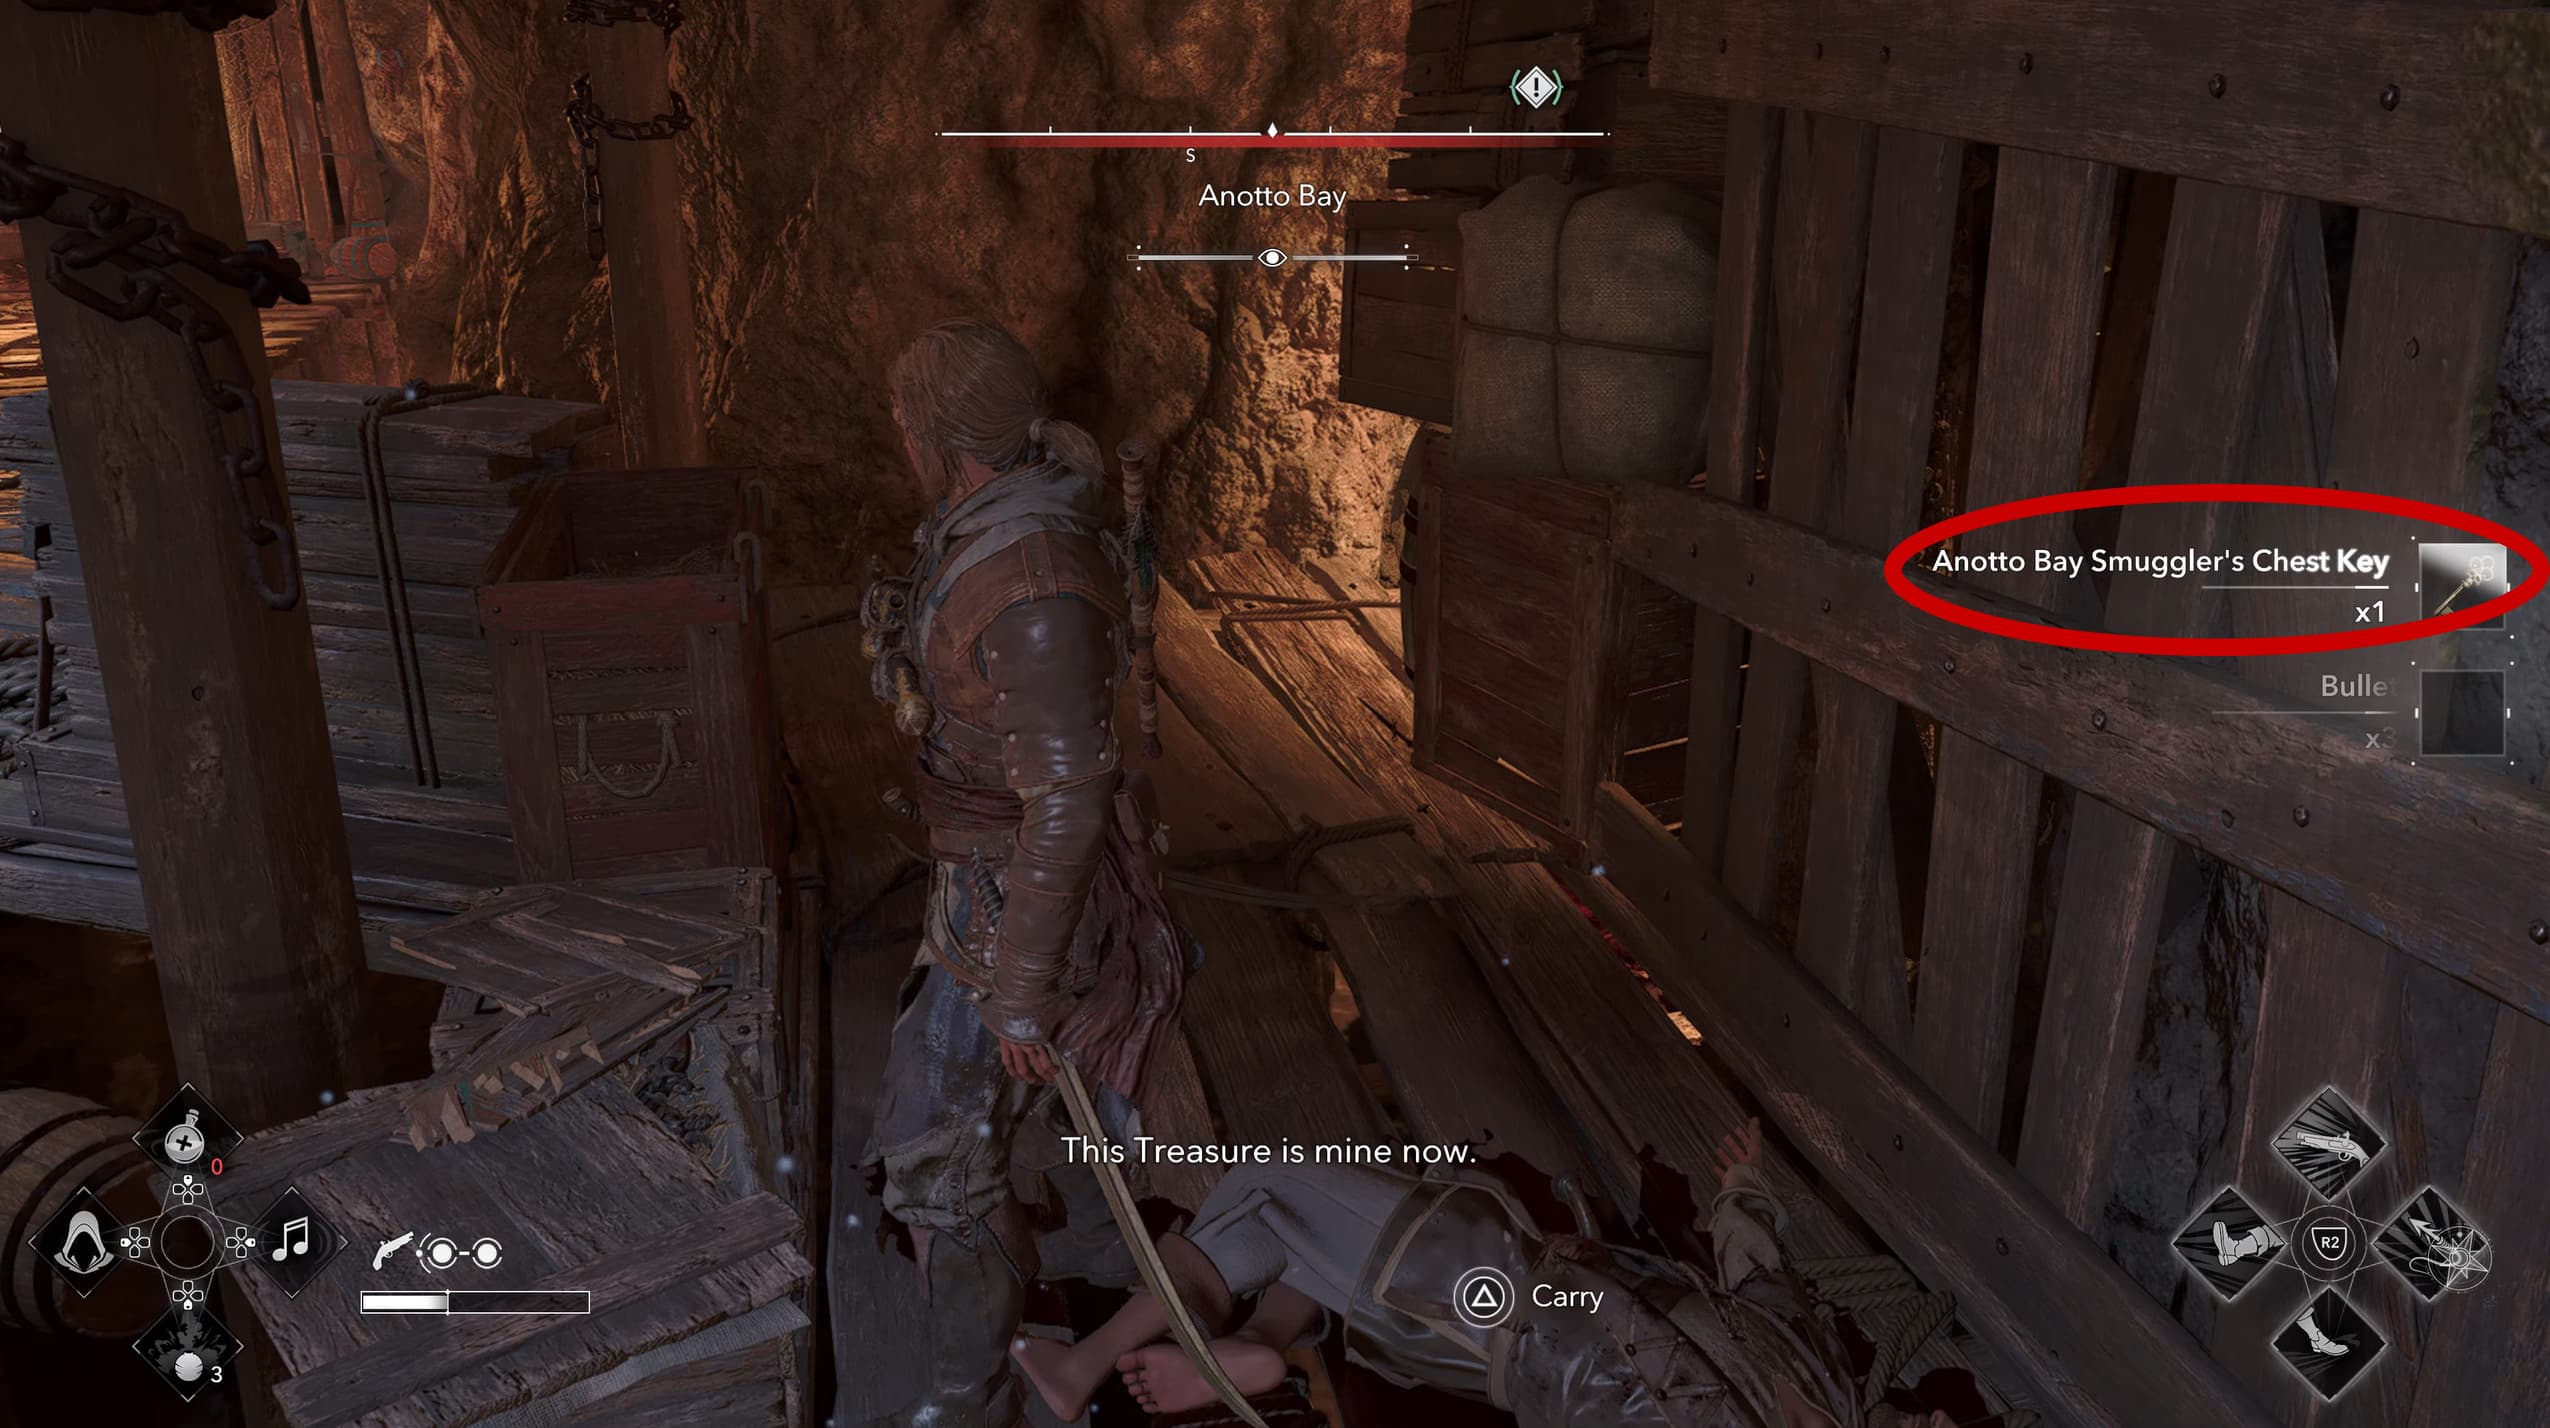
After you exit the water for the second time, defeat the enemies in the area, and loot the enemy carrying the Smuggler's Chest Key.
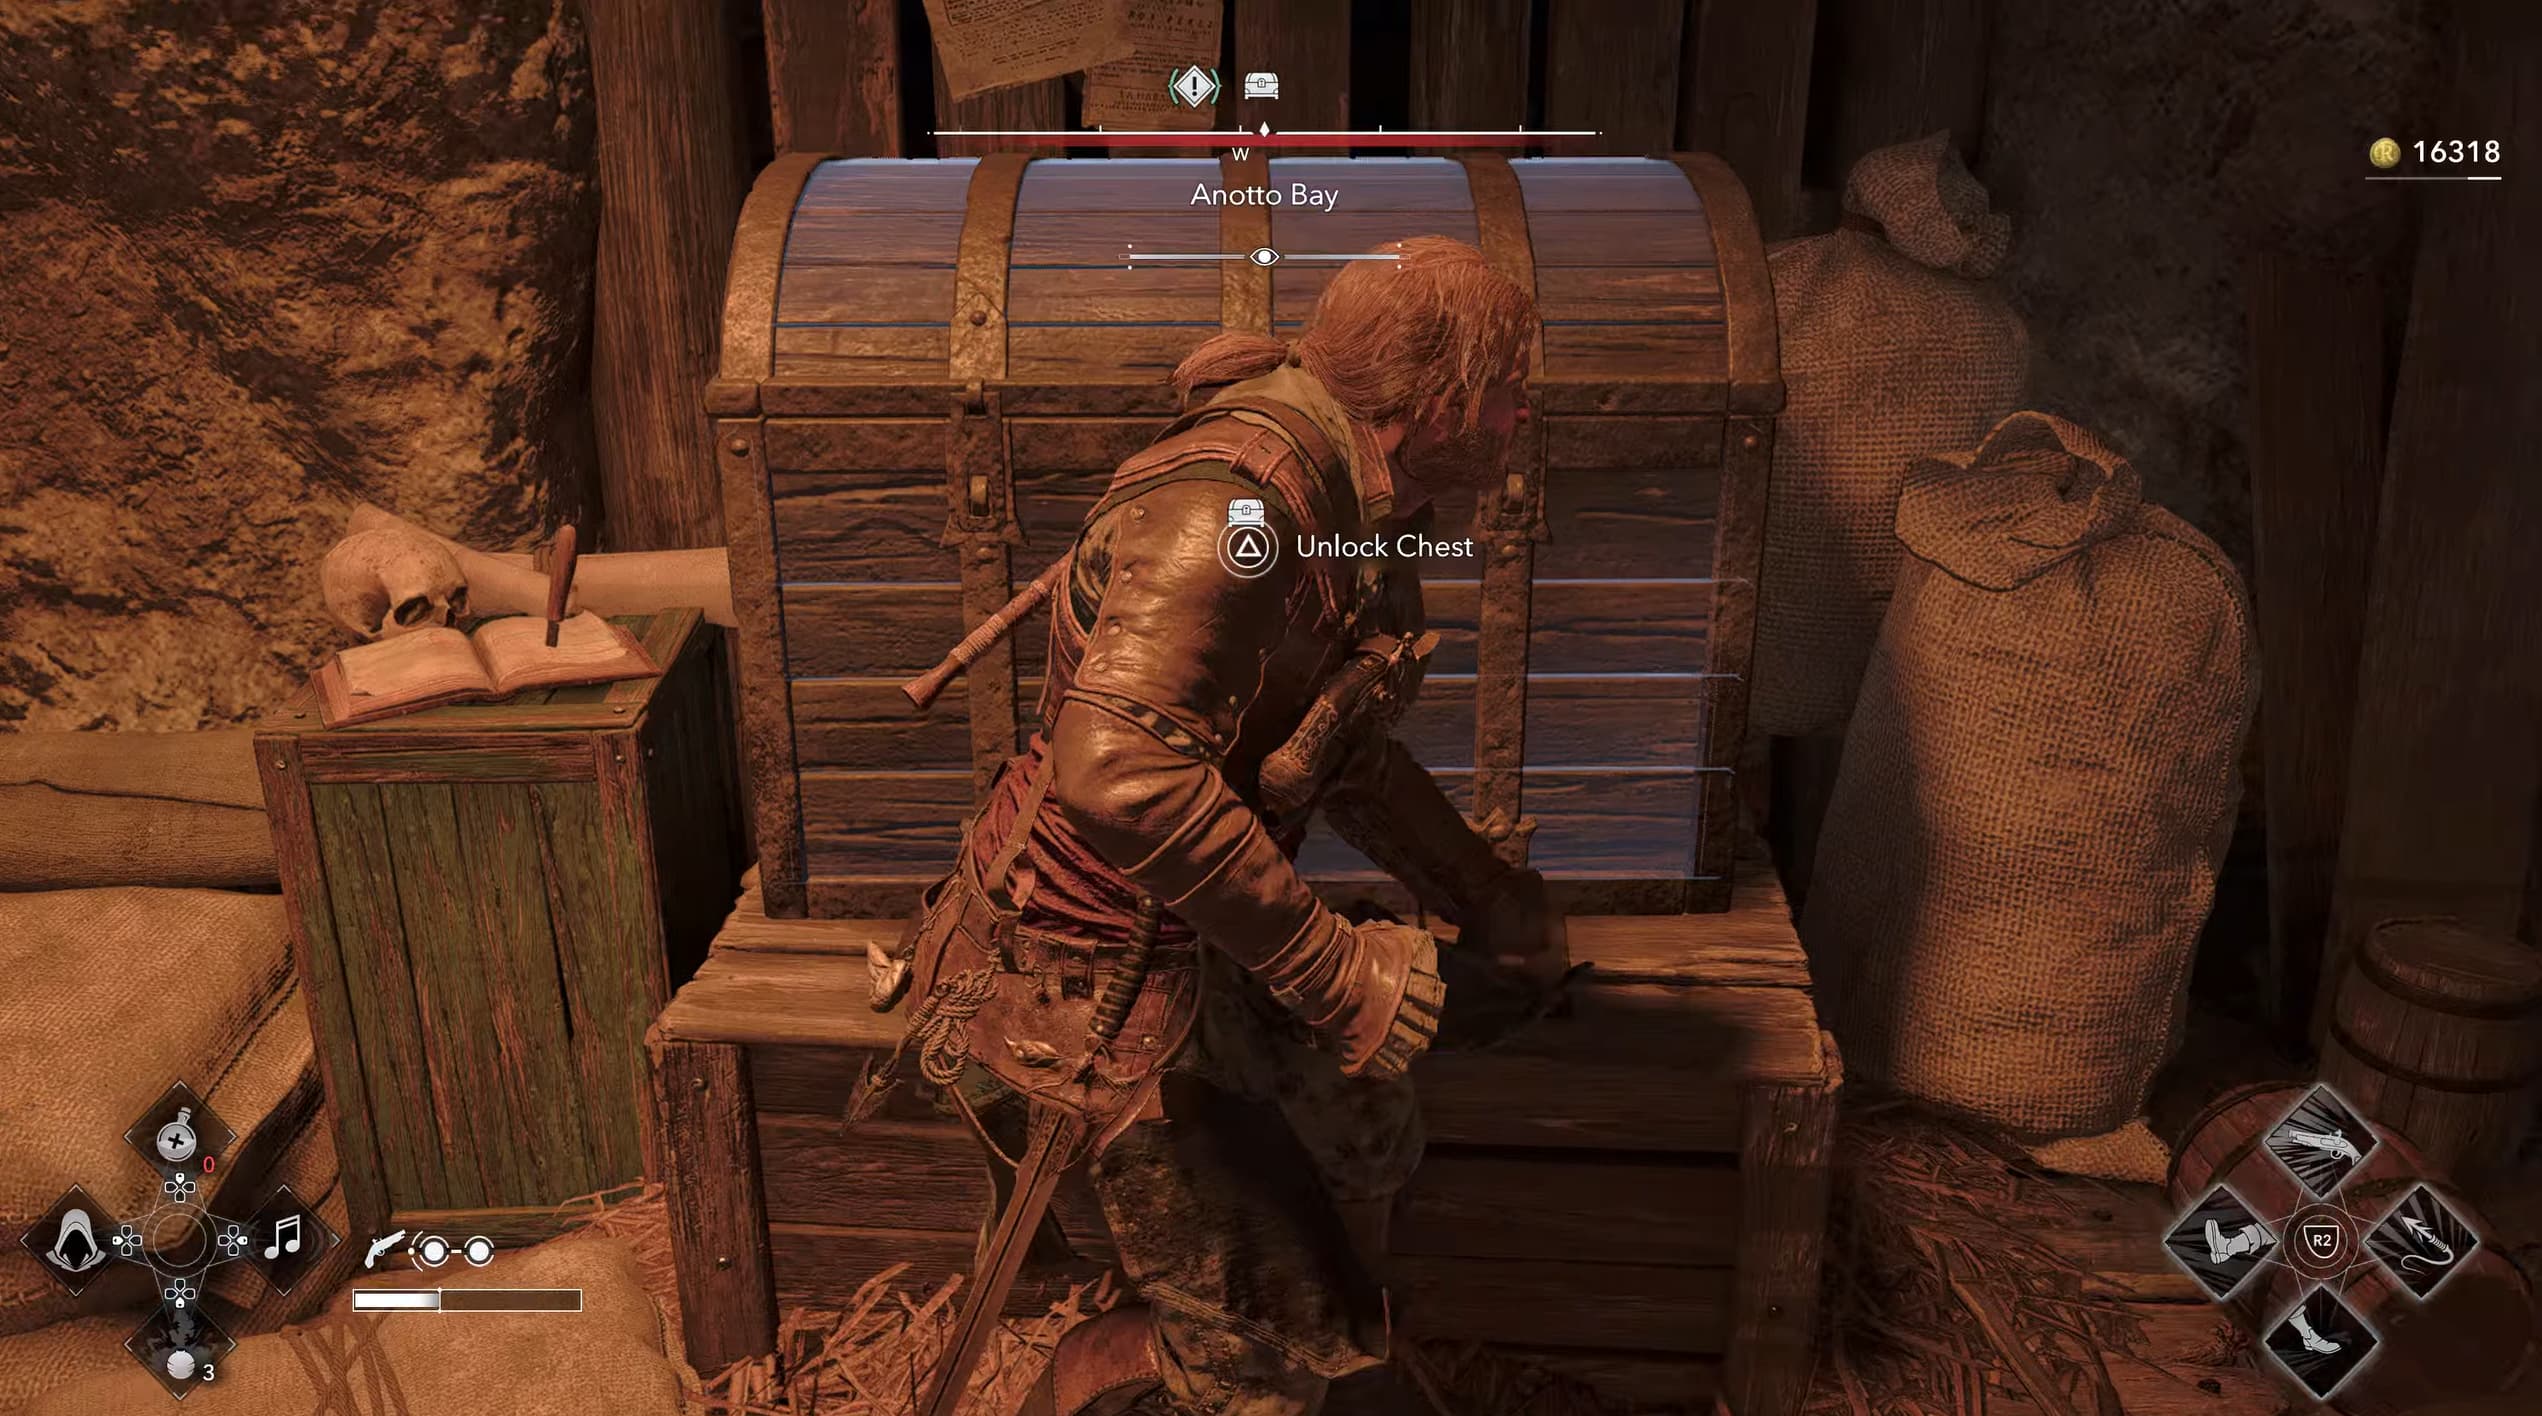
Make your way to the back left corner of the area where you fought the enemies, unlock the chest and inside will be the next weathered map piece.
Weathered Map Piece 3 - San Juan
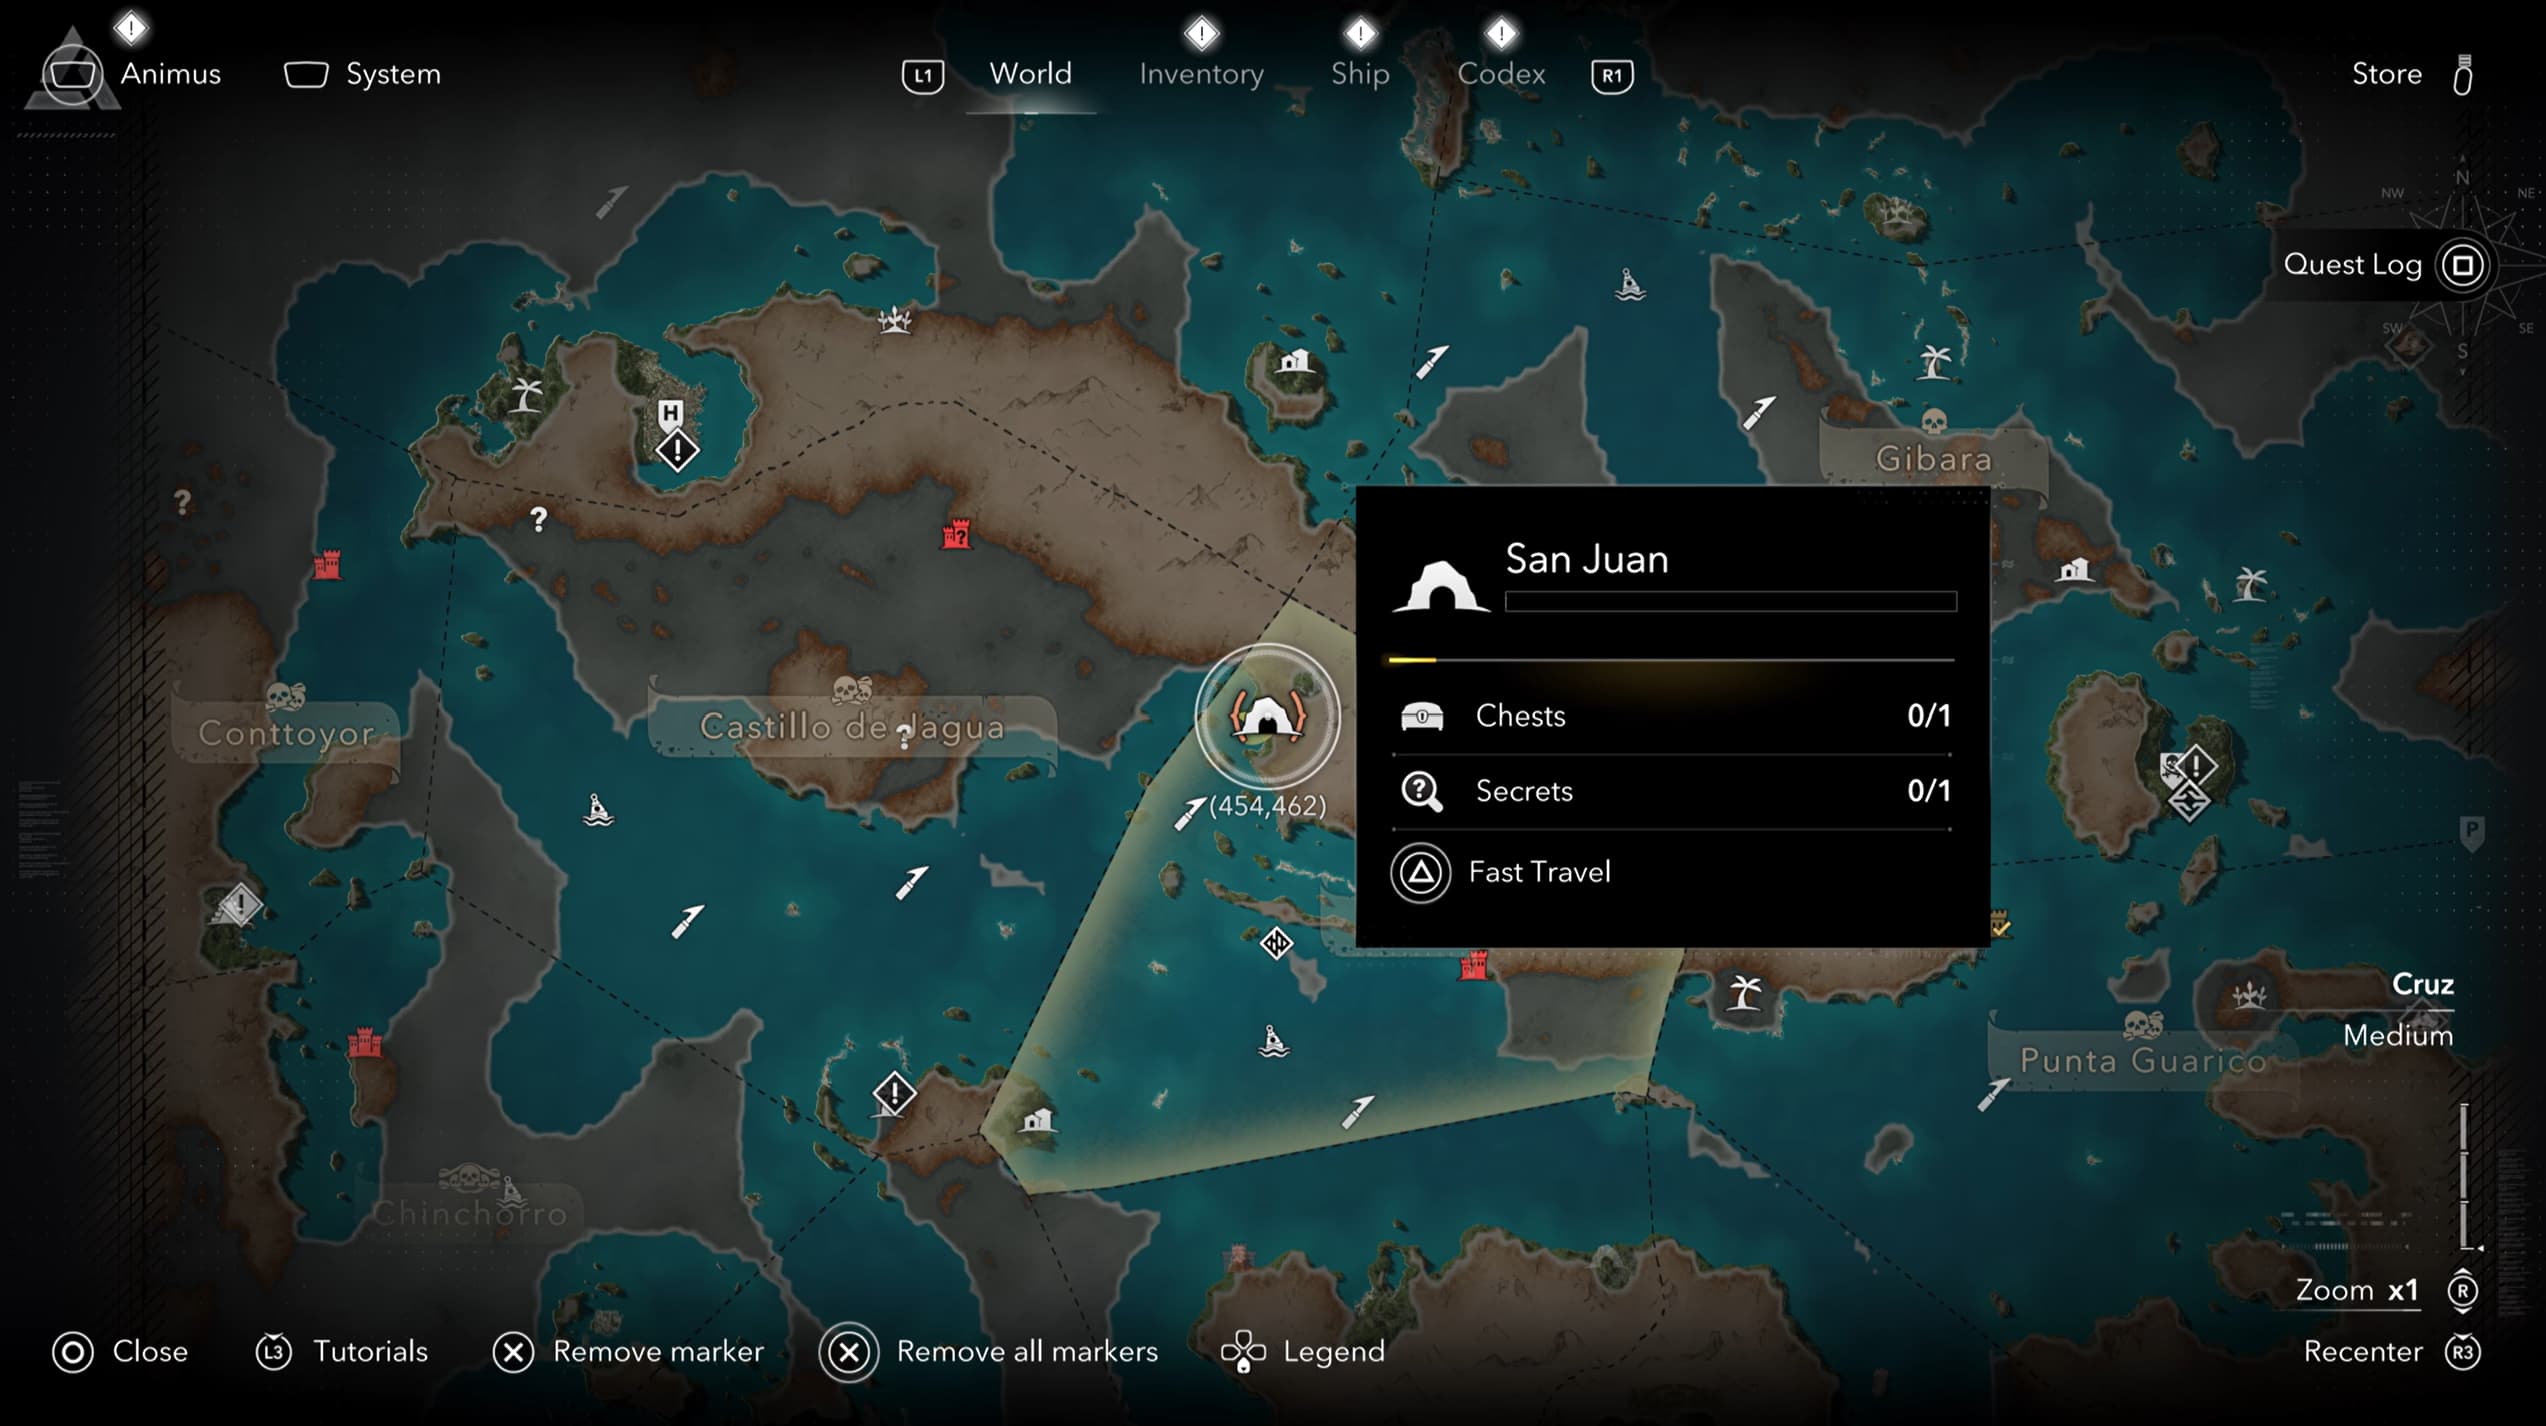
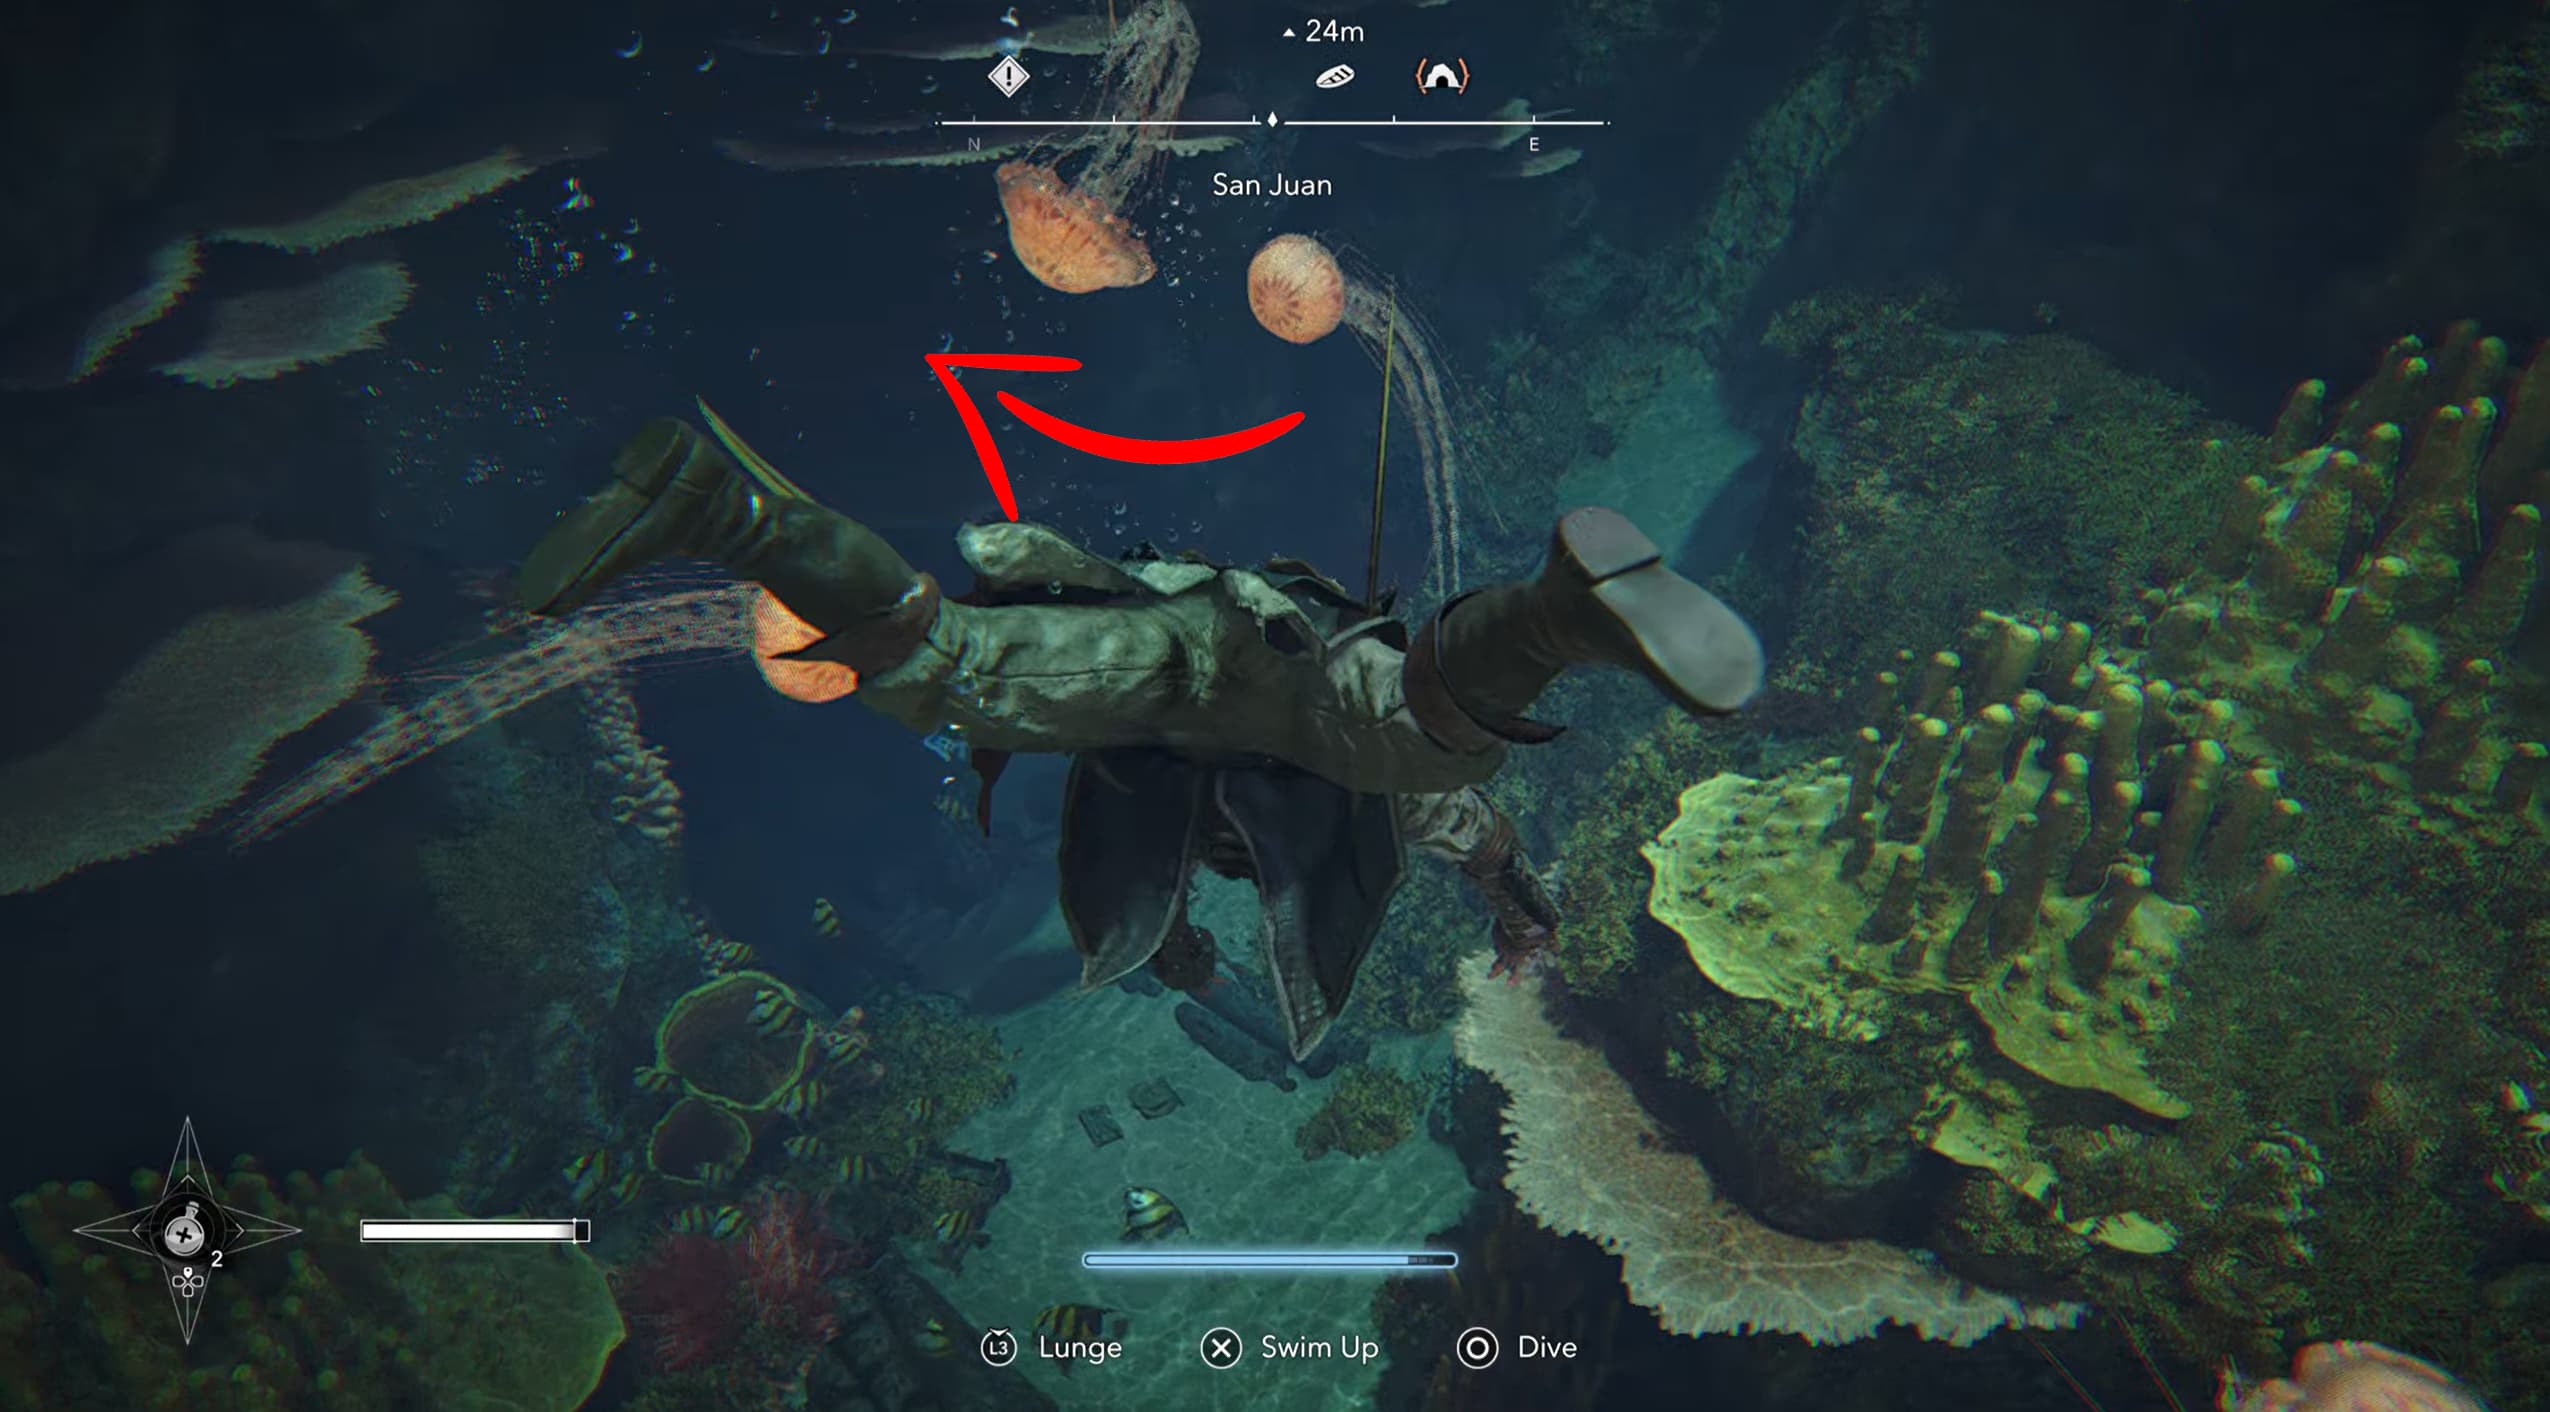
Make your way over to San Juan, coordinates (454,462) and jump into the water from the ship, and swim towards the rowboat, just before reaching the rowboat, dive down towards underwater passage. The jellyfish nearby are a useful indication that you are heading in the right direction, just be careful not to get stung by these.
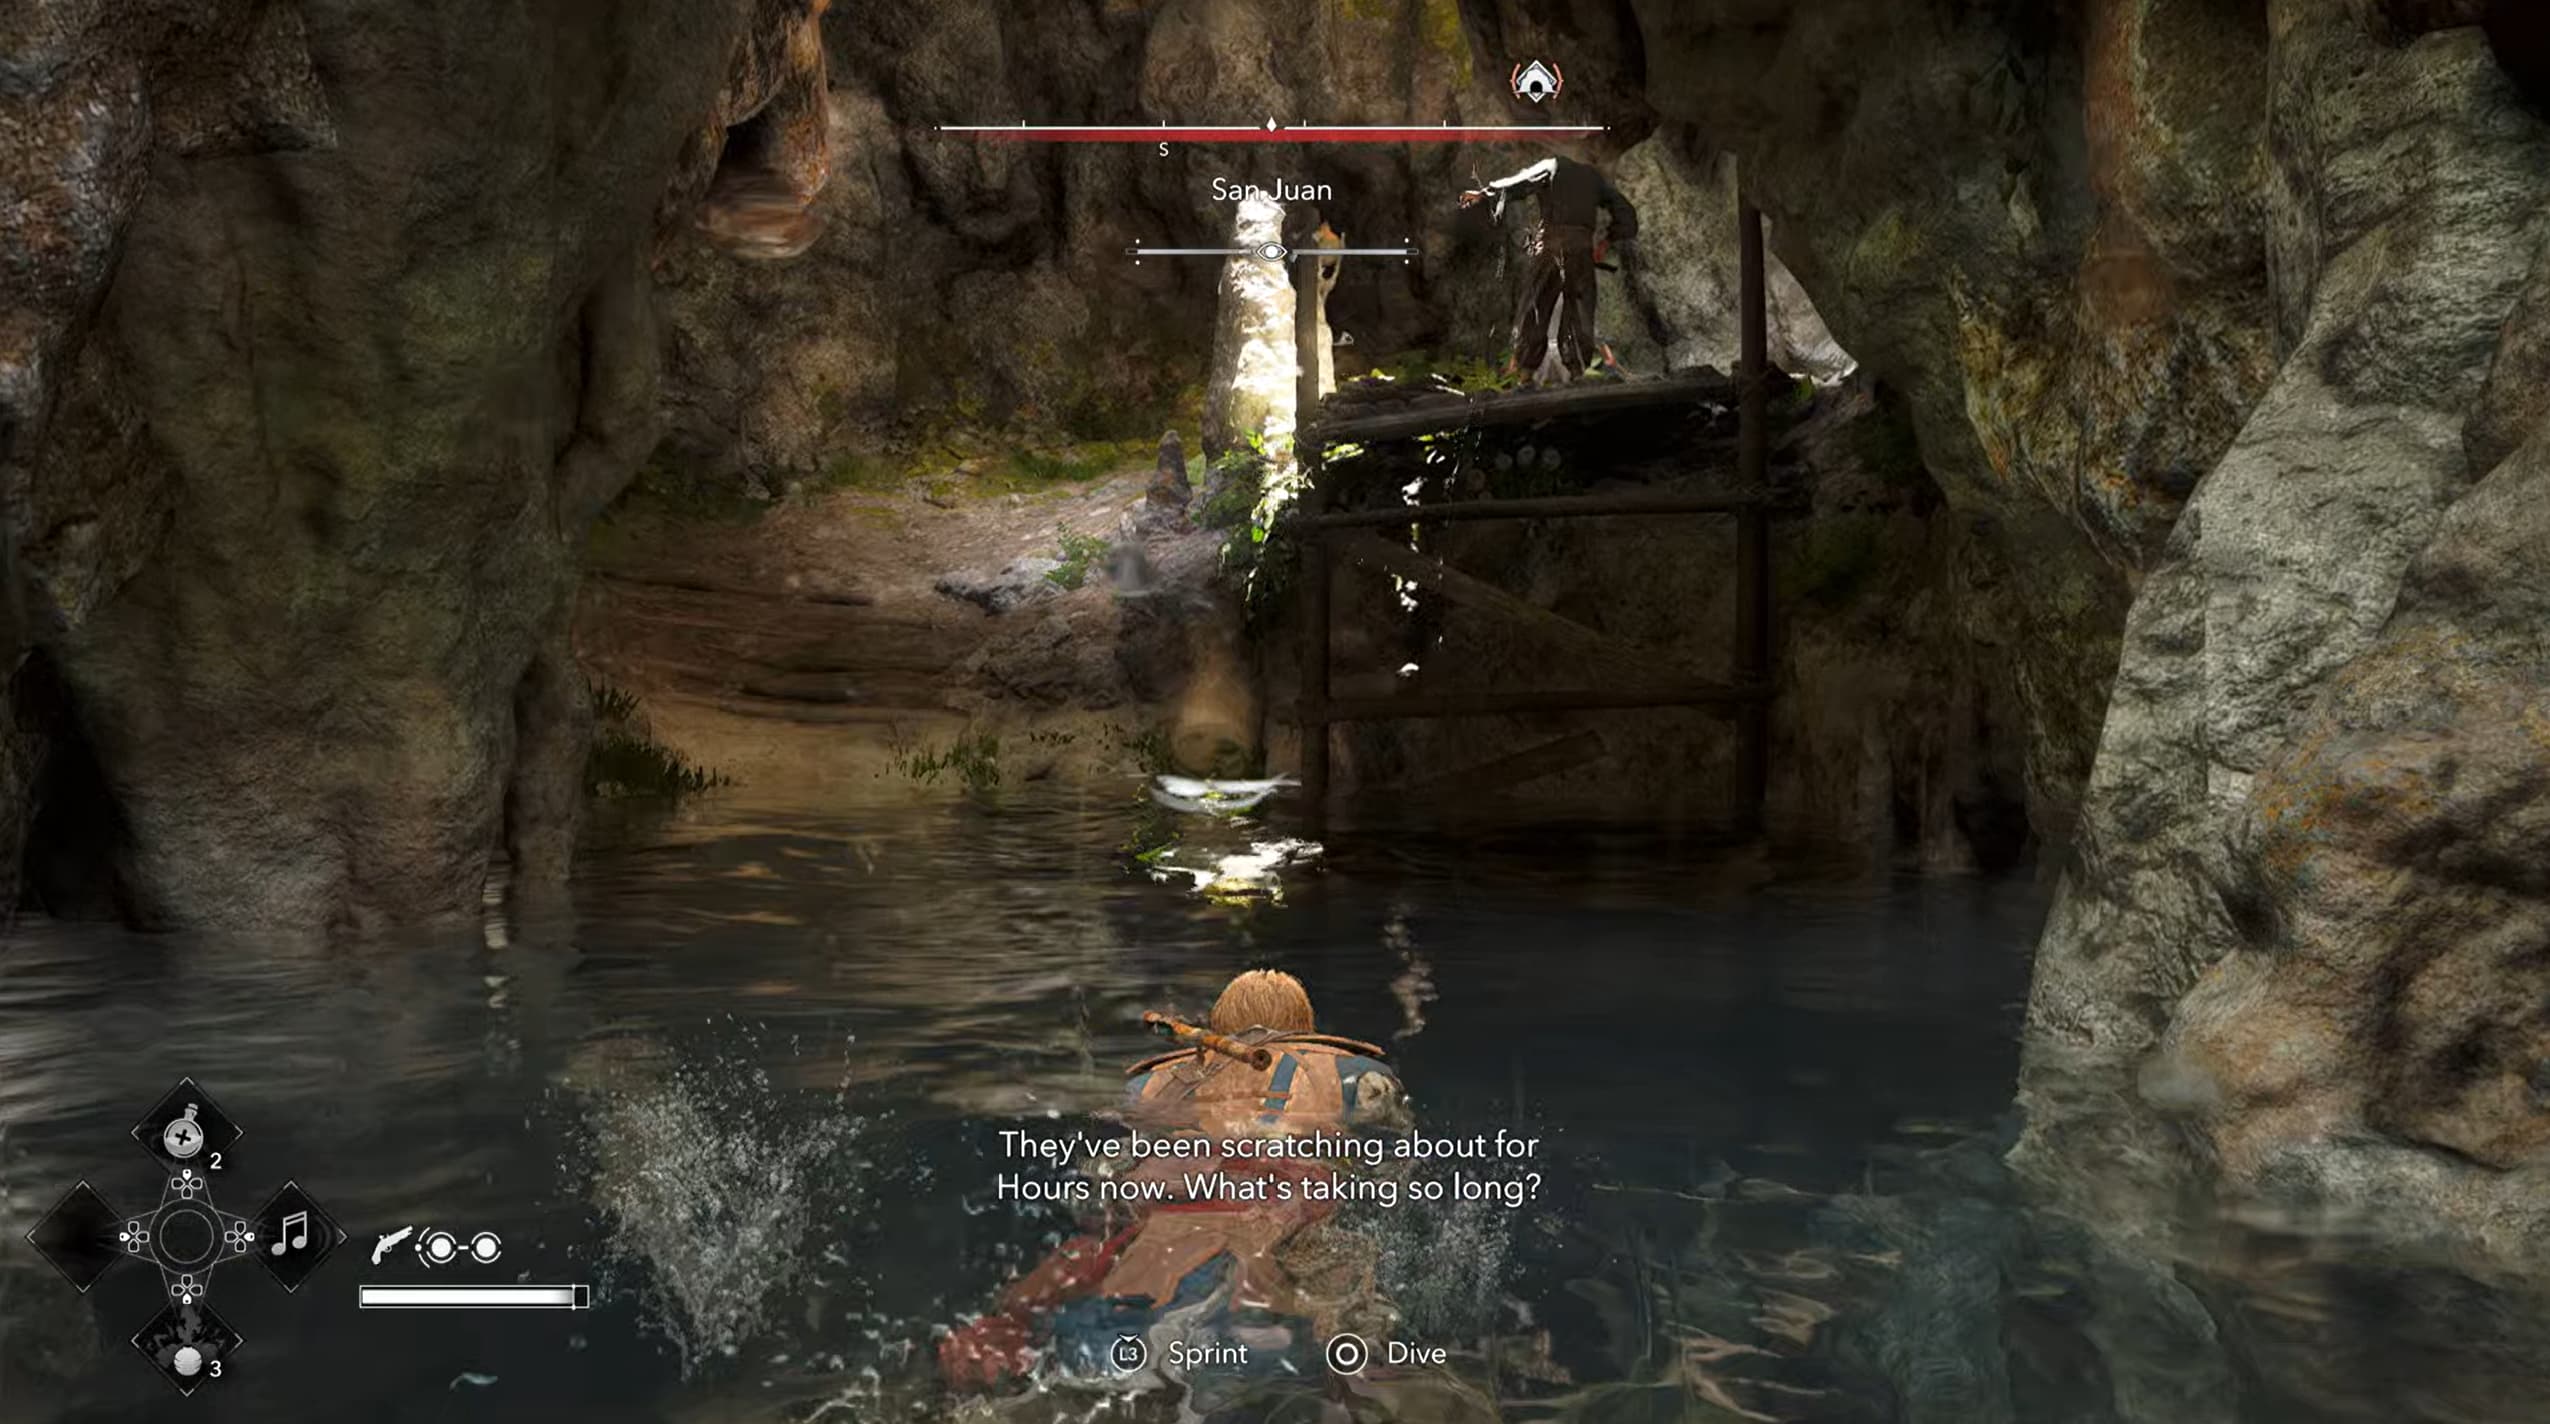
Follow the underwater tunnels through the caves until you reach an area where you can leave the water, there will be a couple of enemies here.
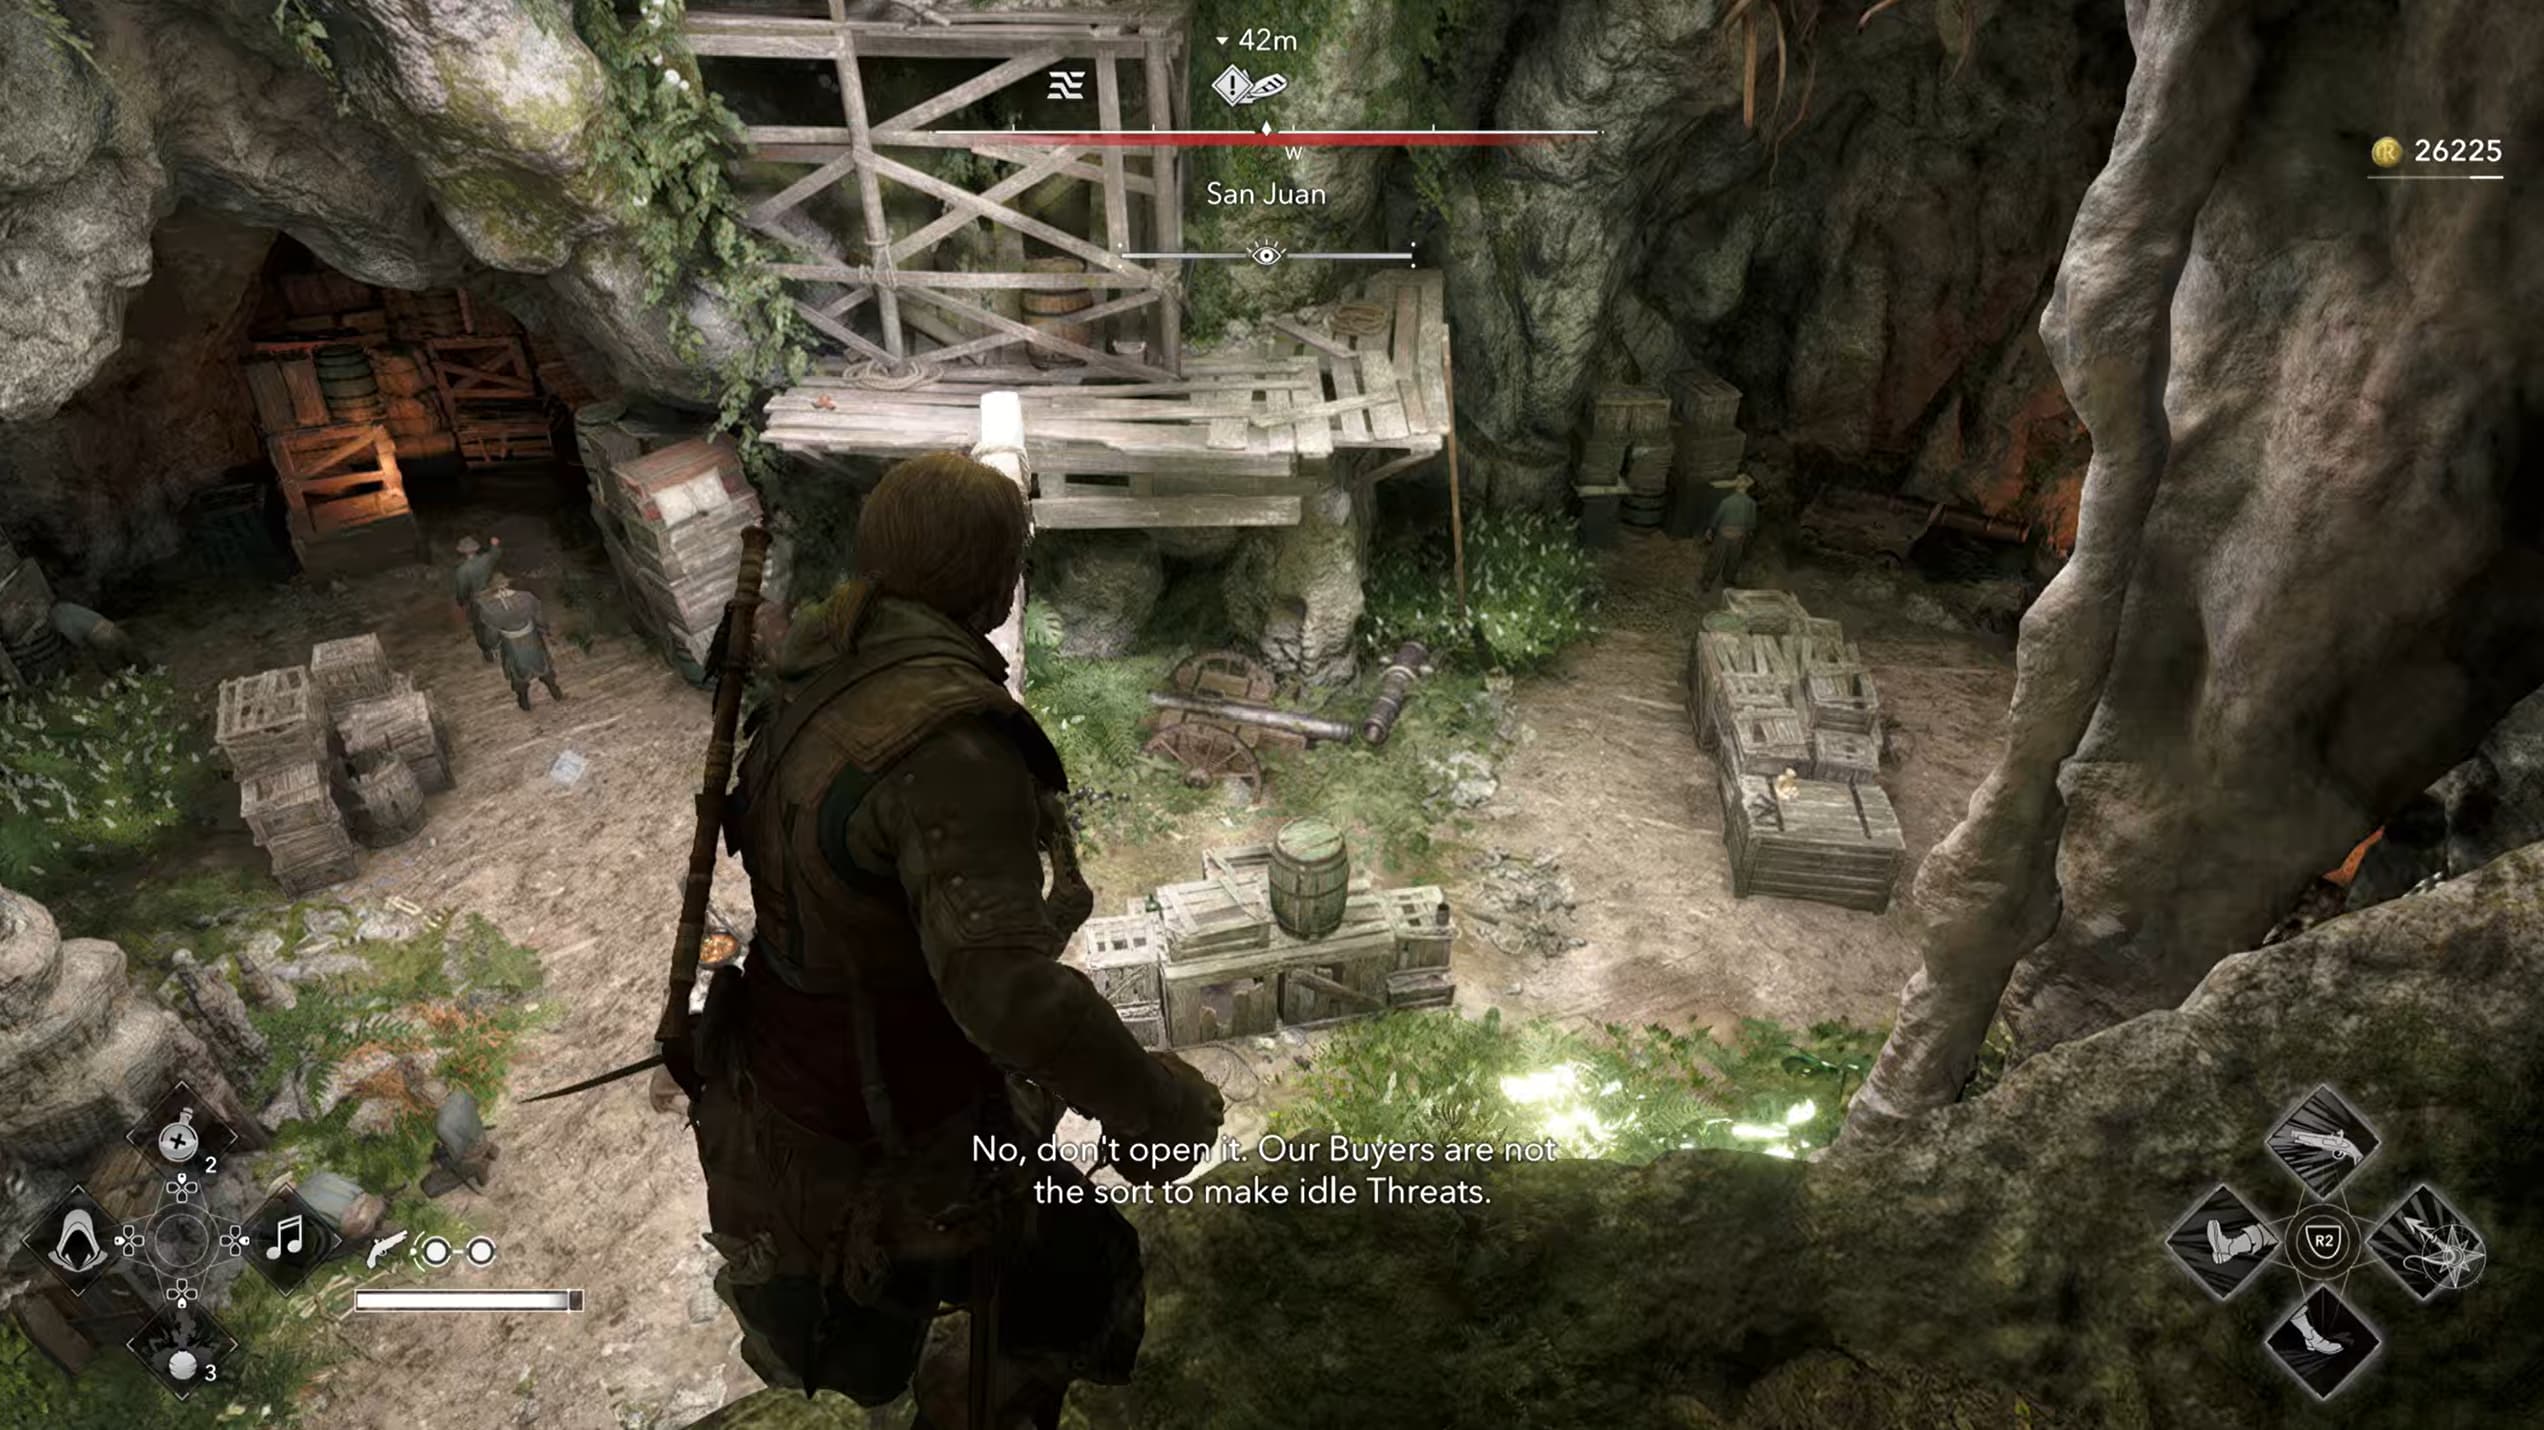
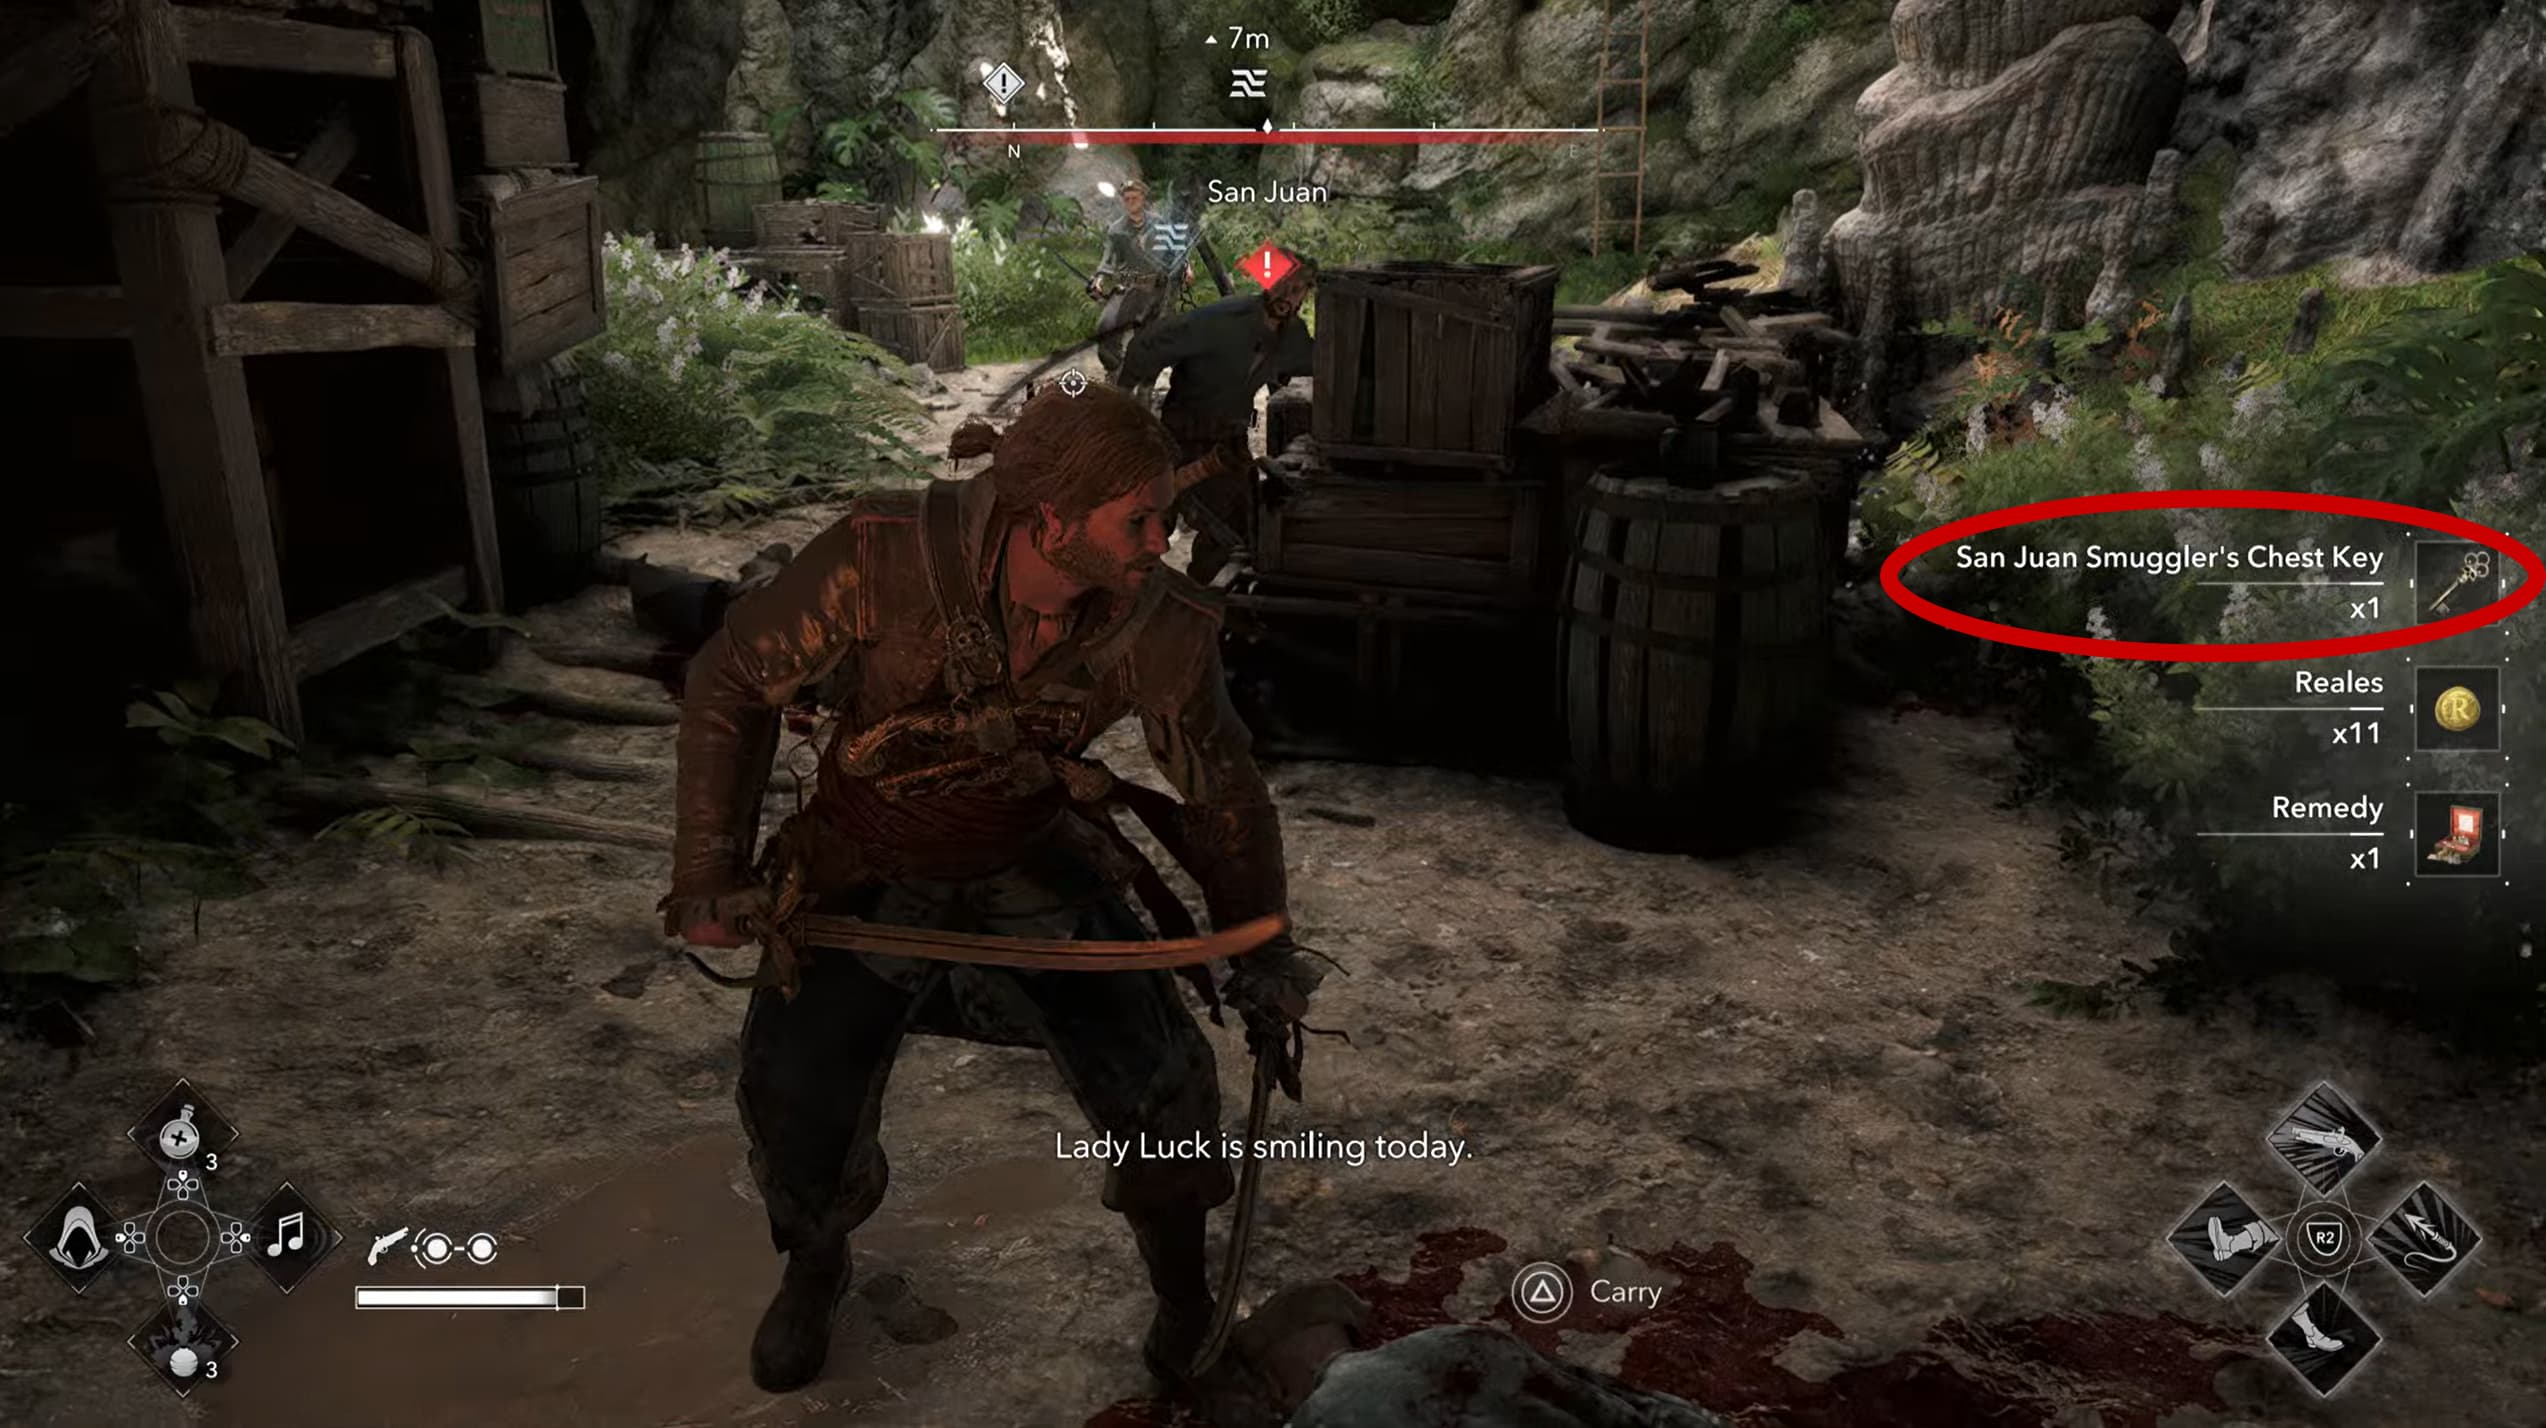
Advance on, to drop down into an open area, take out the enemies here also and loot the Smuggler's Chest Key.
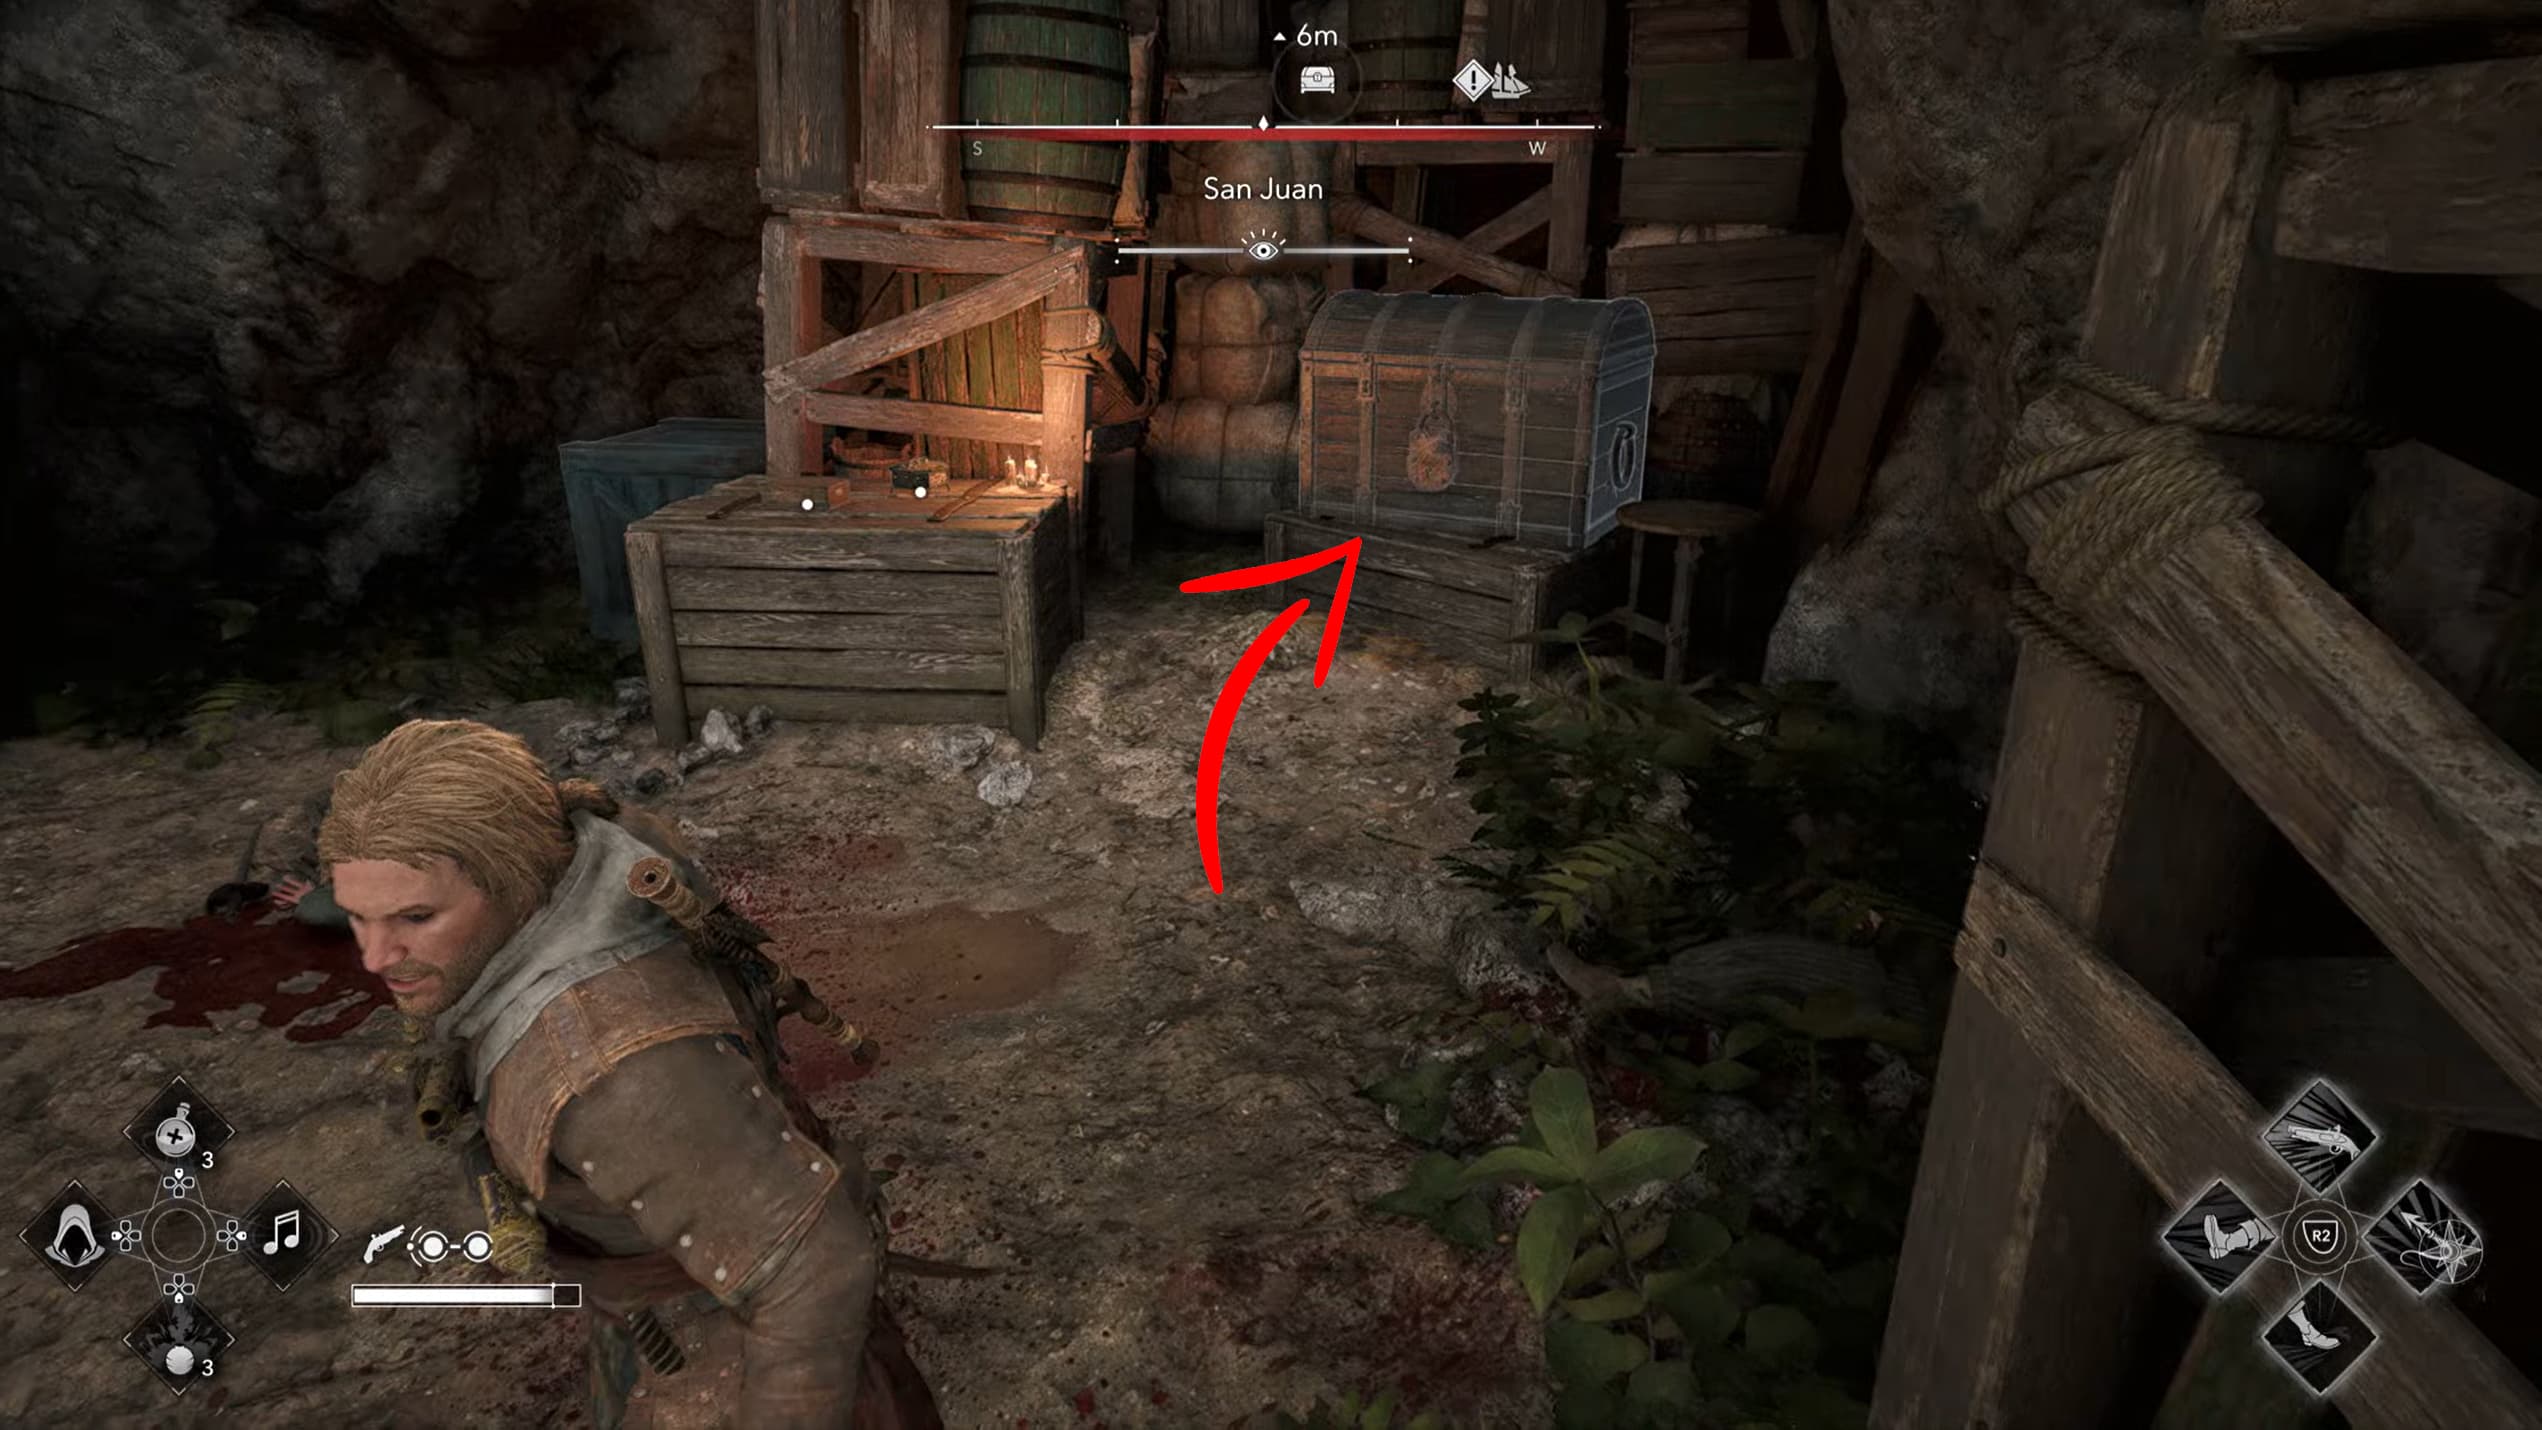
The chest to unlock is in the back left corner from where you dropped down into this area, head over to collect your third Weathered Map Piece.
Weathered Map Piece 4 - Petite Caverne
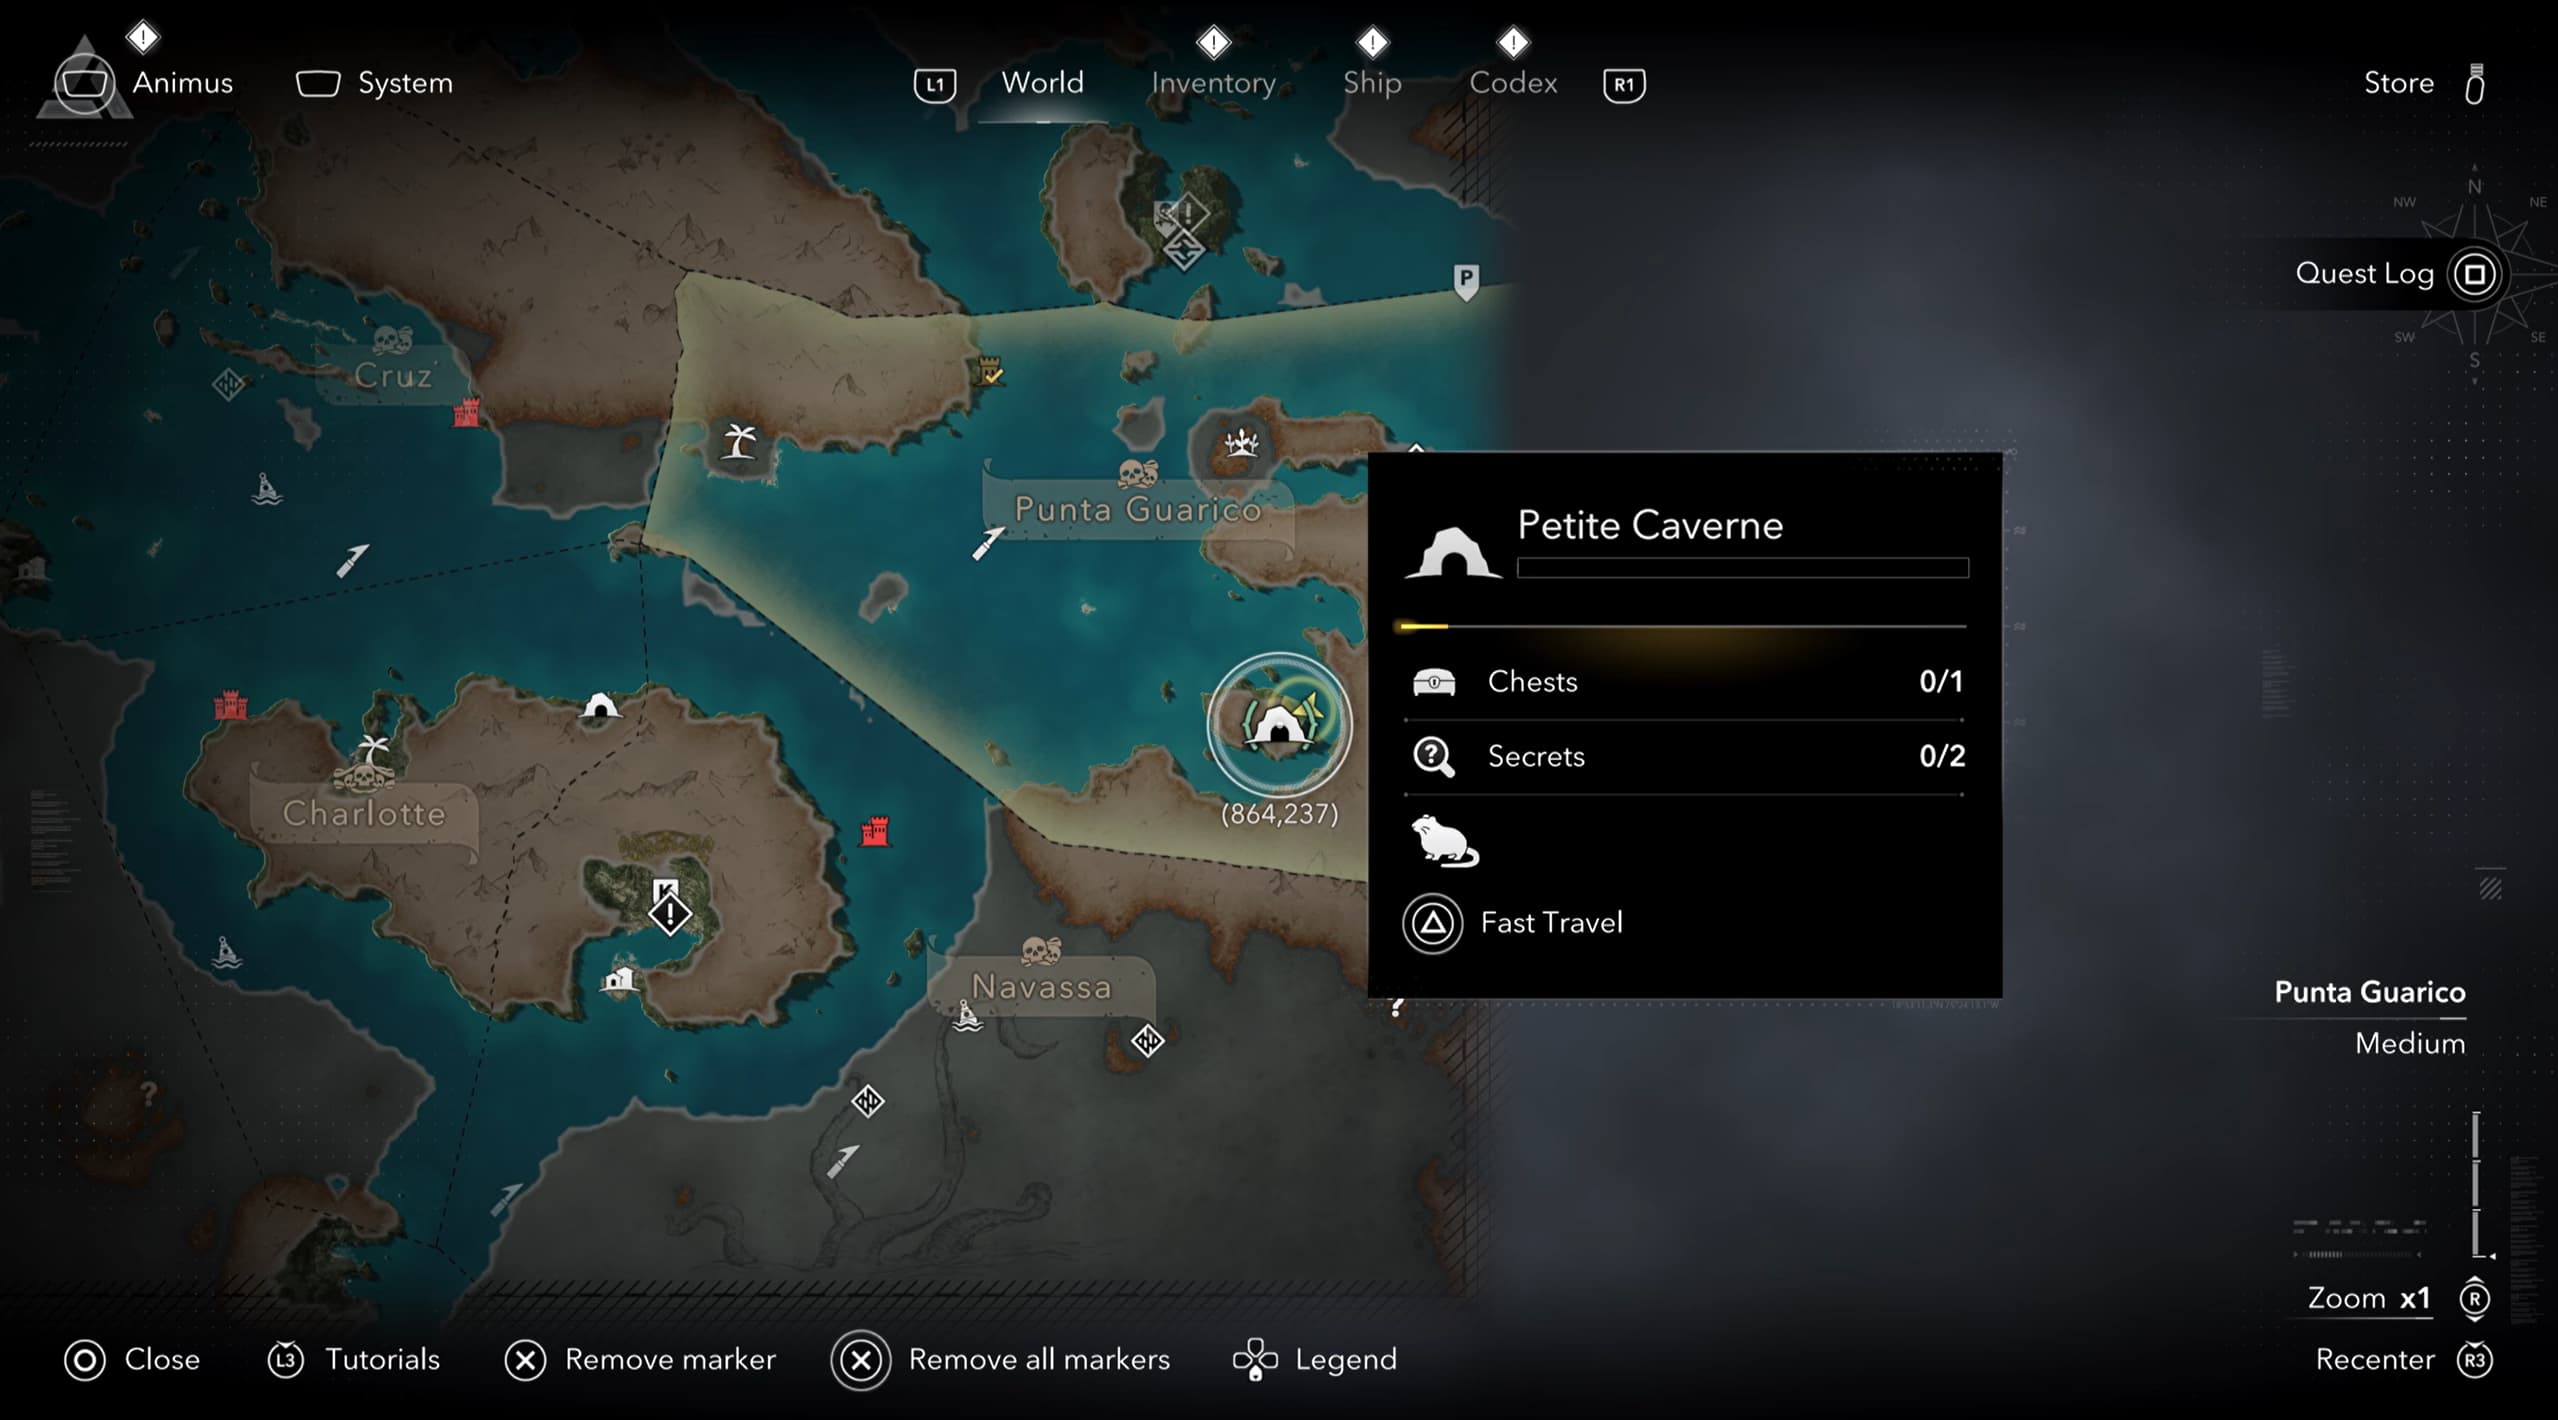
Make your way to Petite Caverne coordinates (864,237) and jump into the sea from your ship.
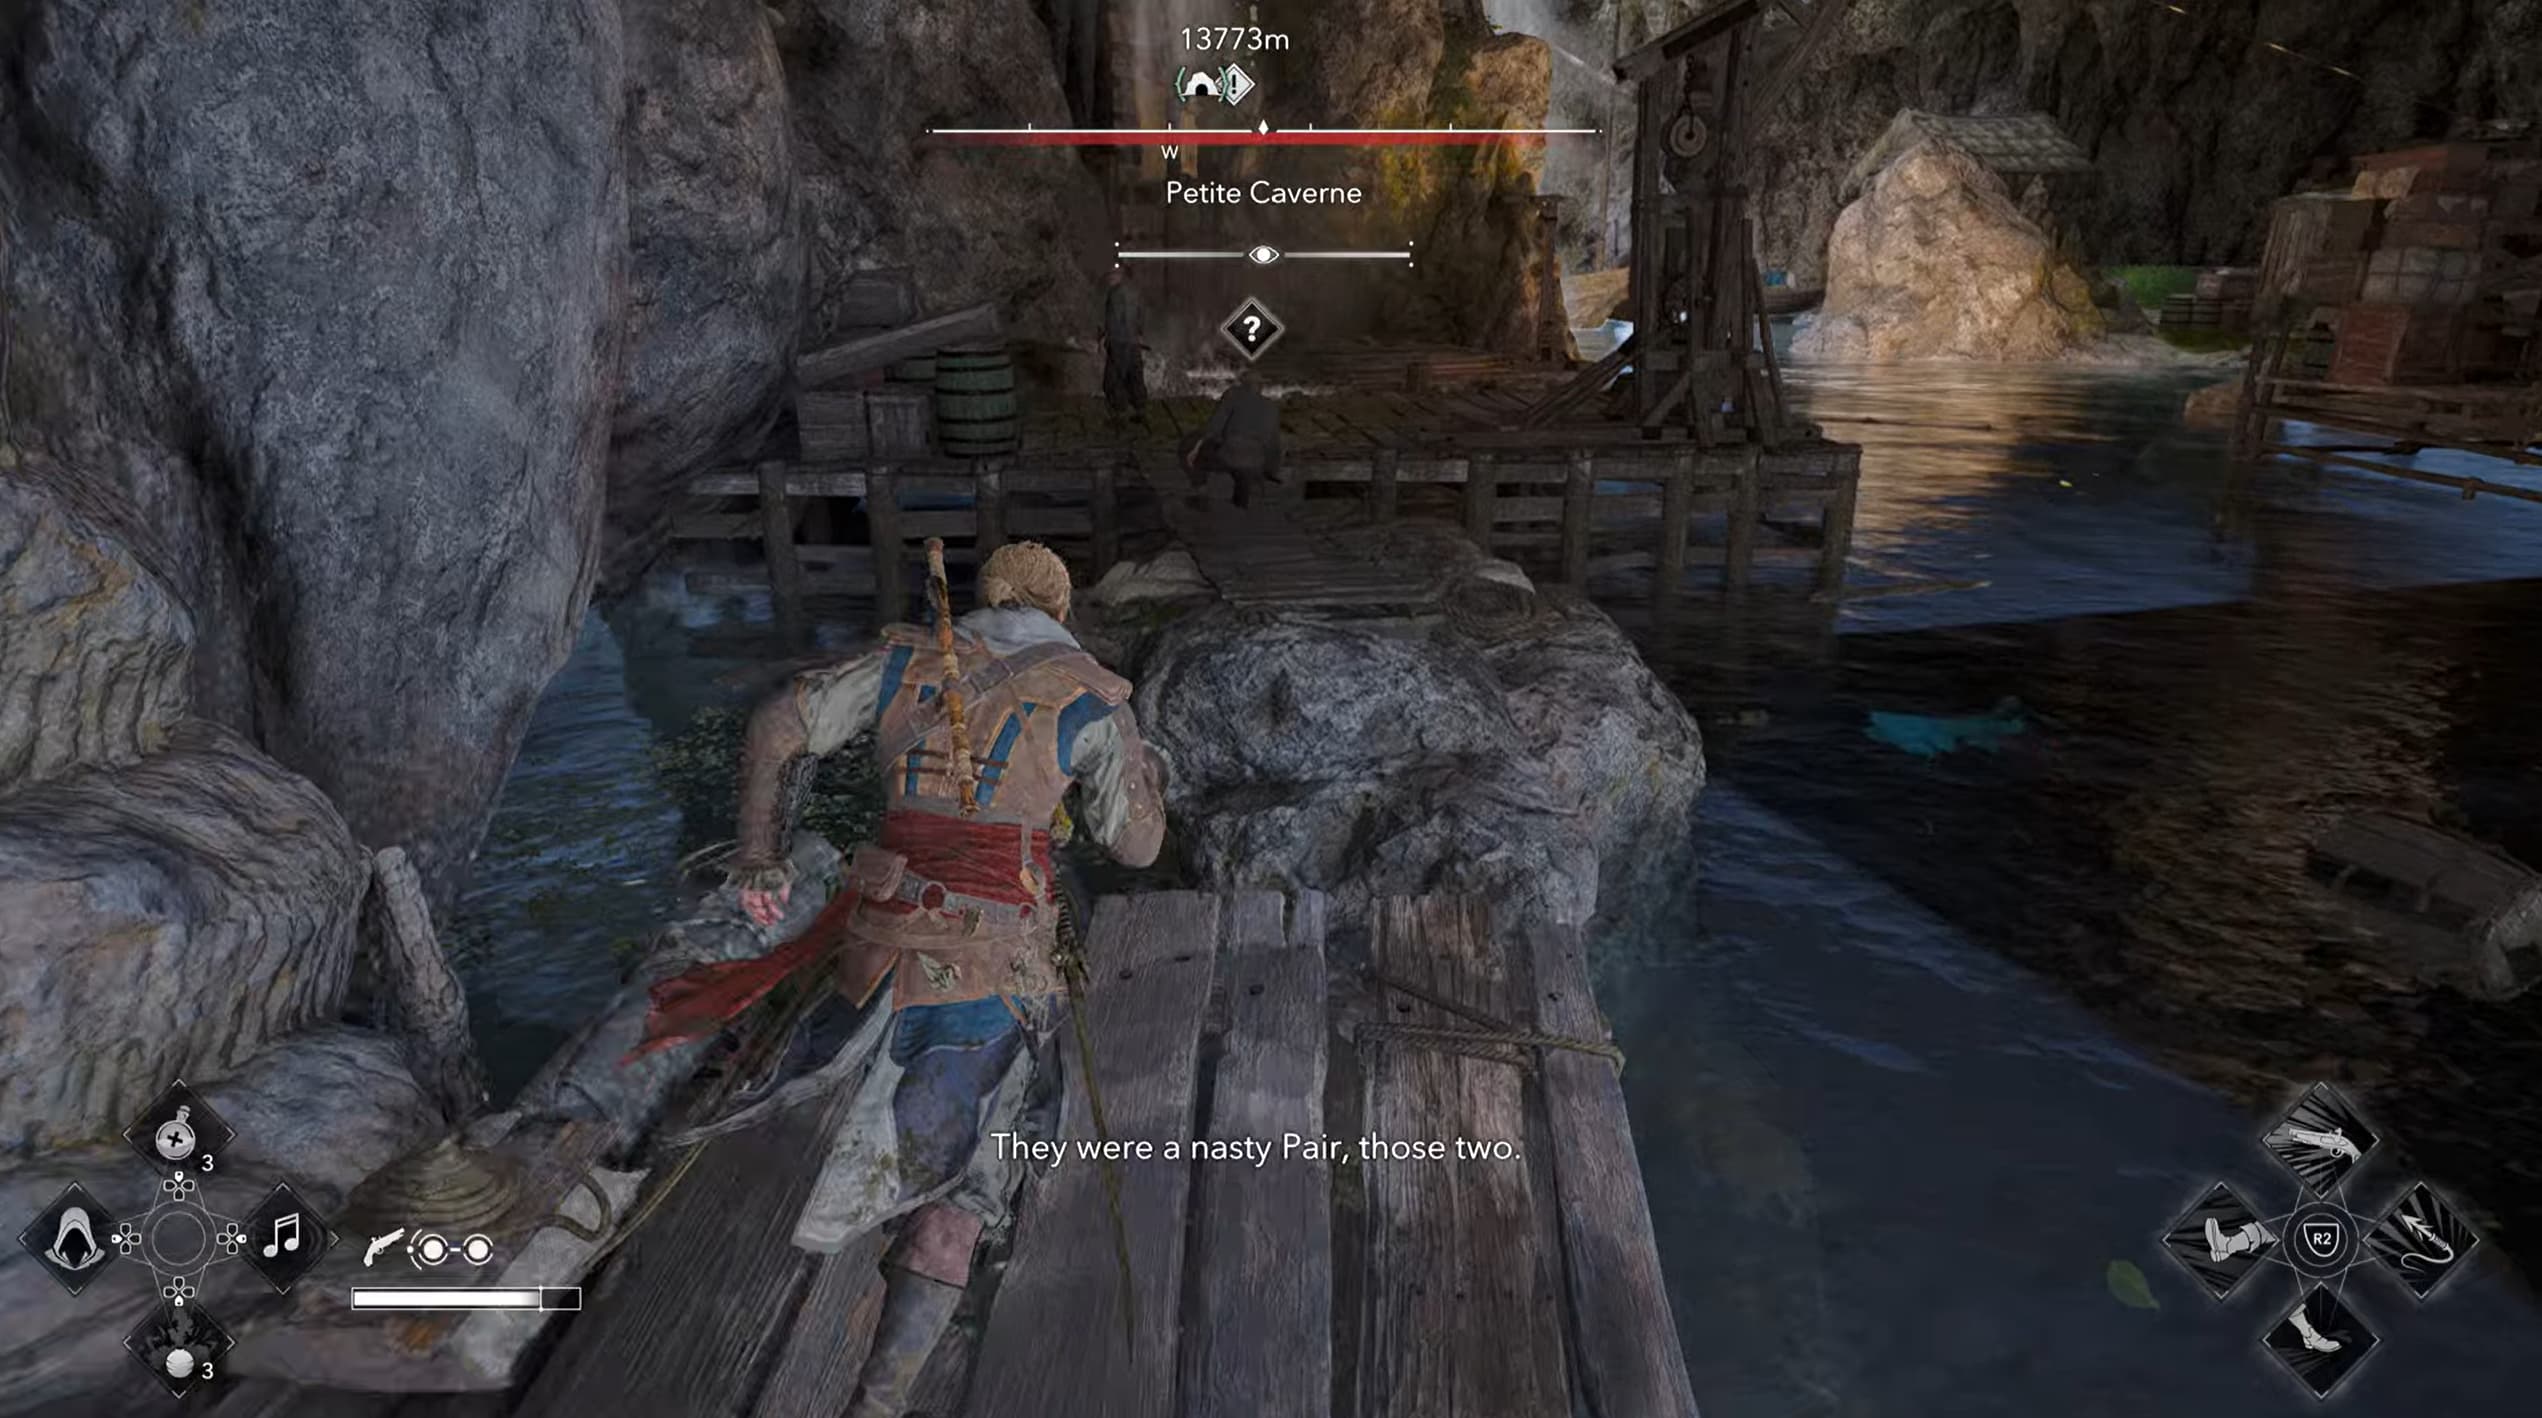
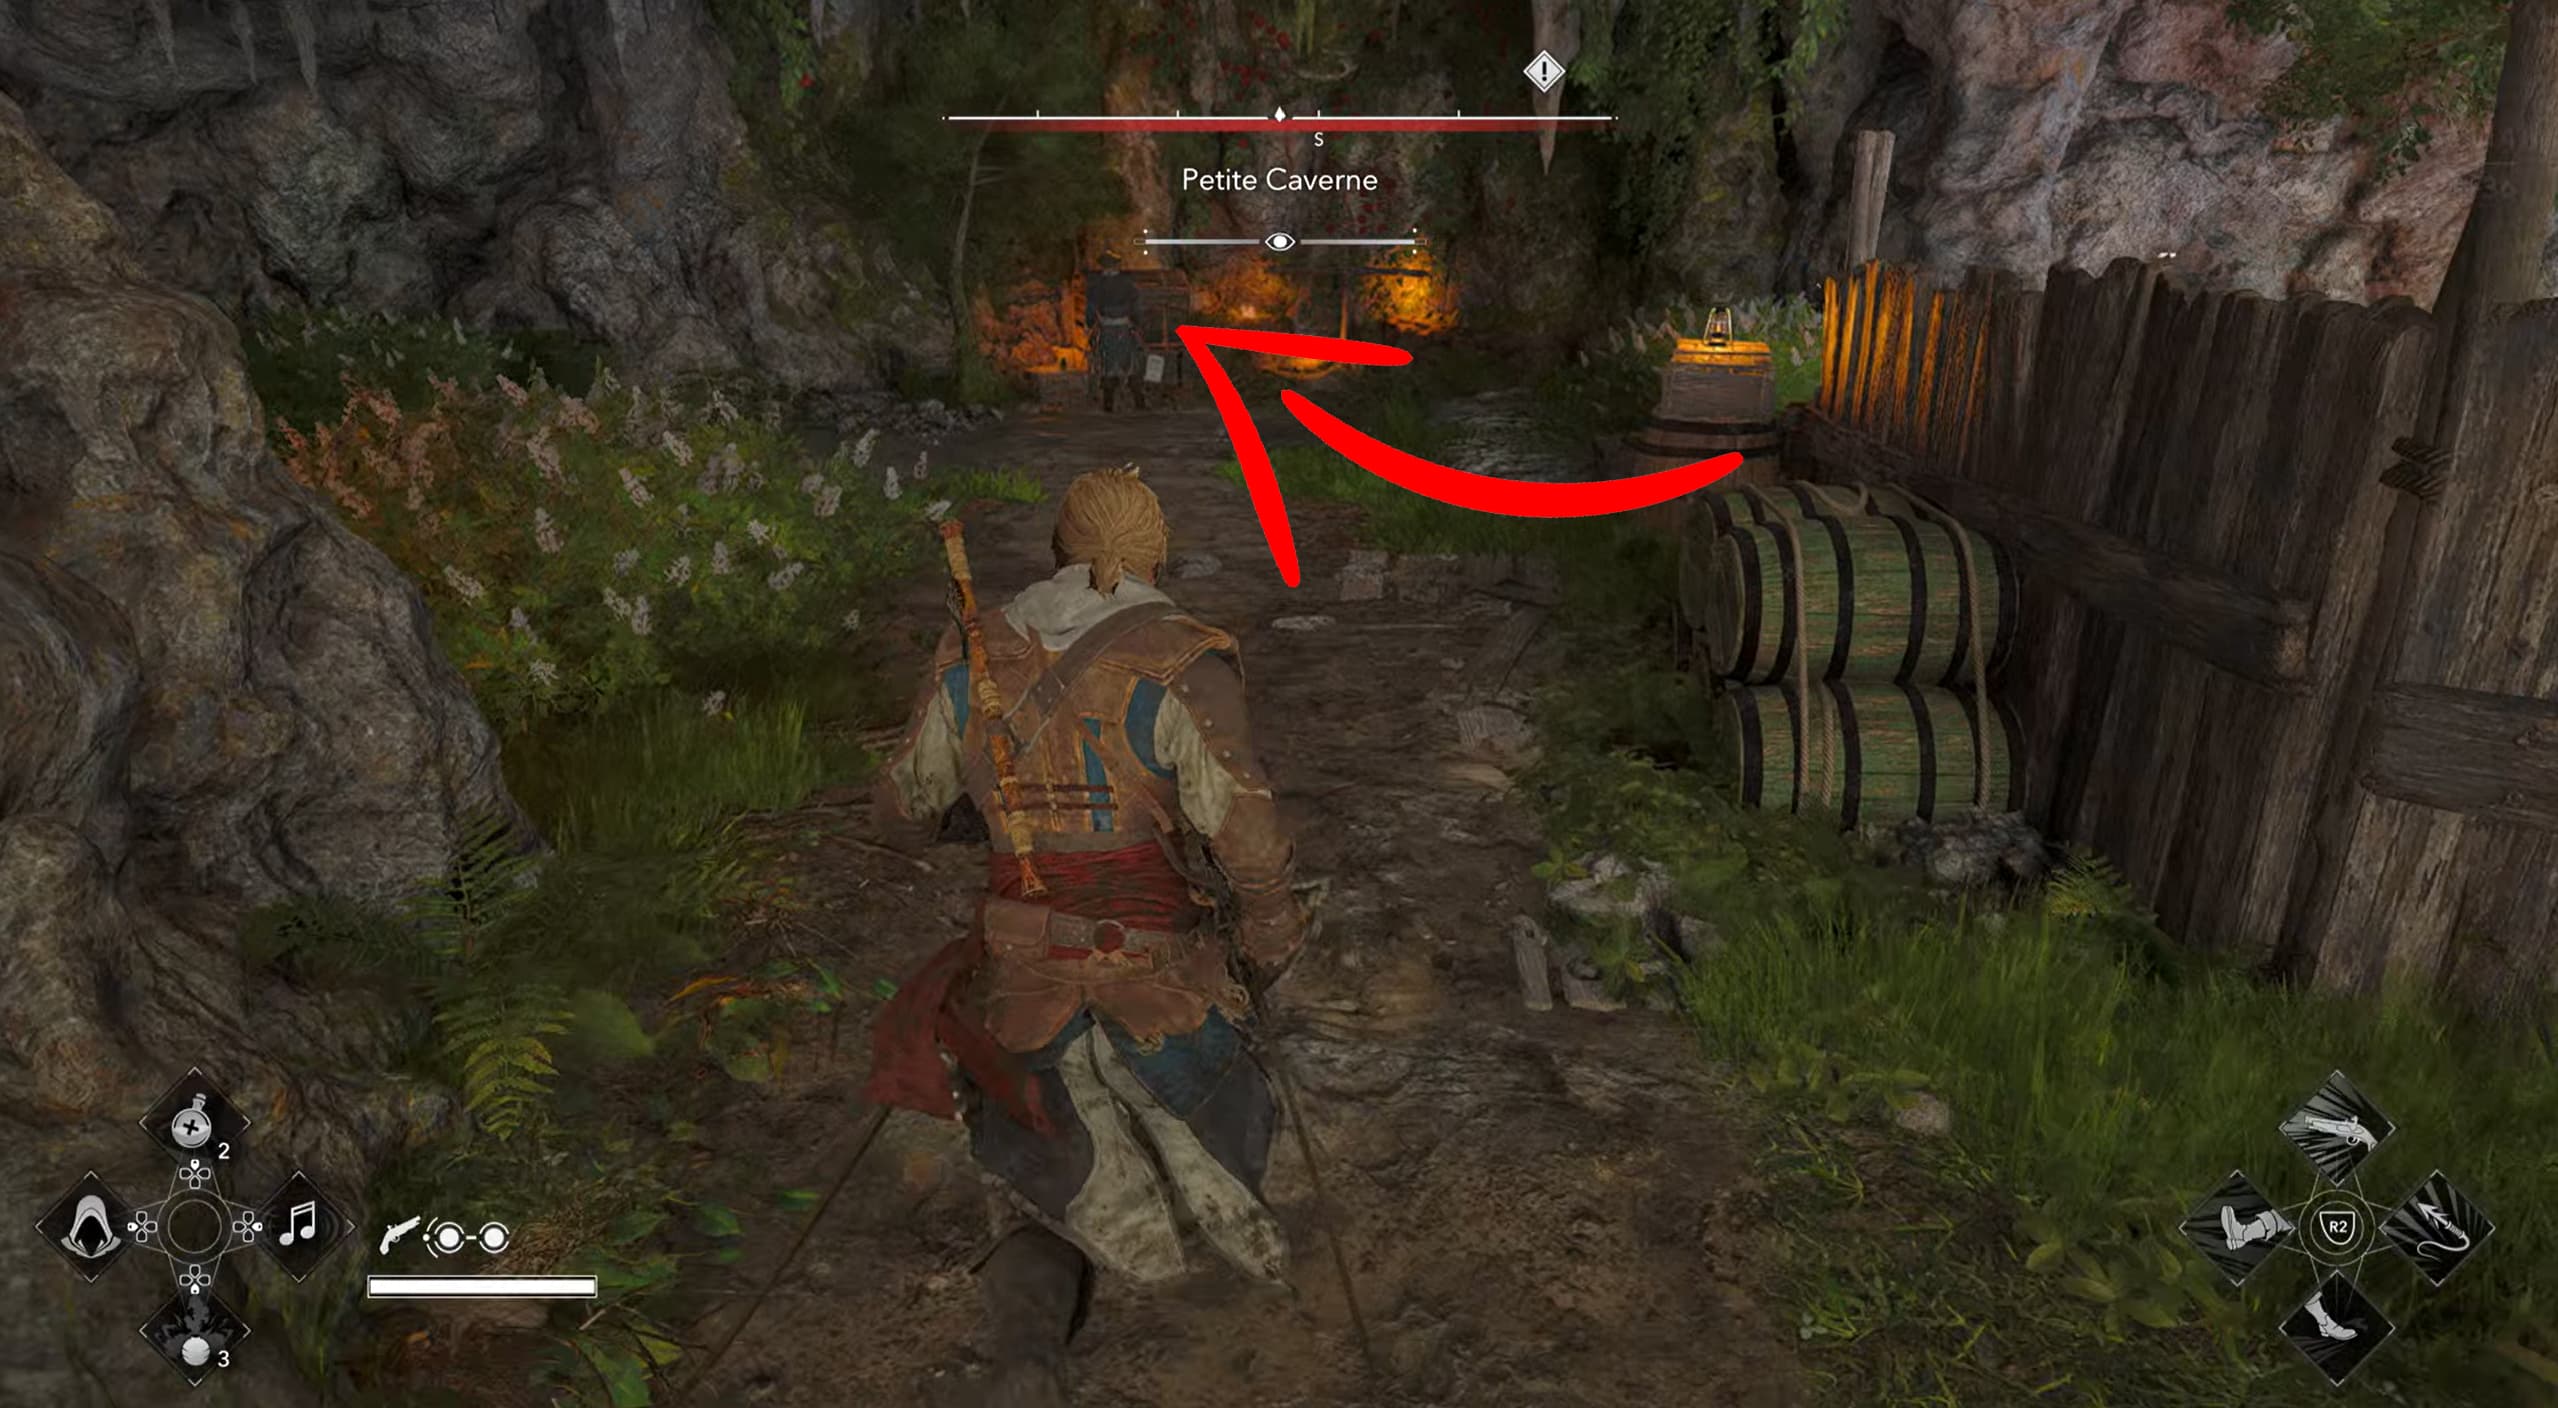
Head into the cave in the rocks from the sea and continue all the way back until you come across enemies to take out.
This cave is quite large so be patient with your traversal. Continue progressing through the area and make your way up the platform ramps to the top level.
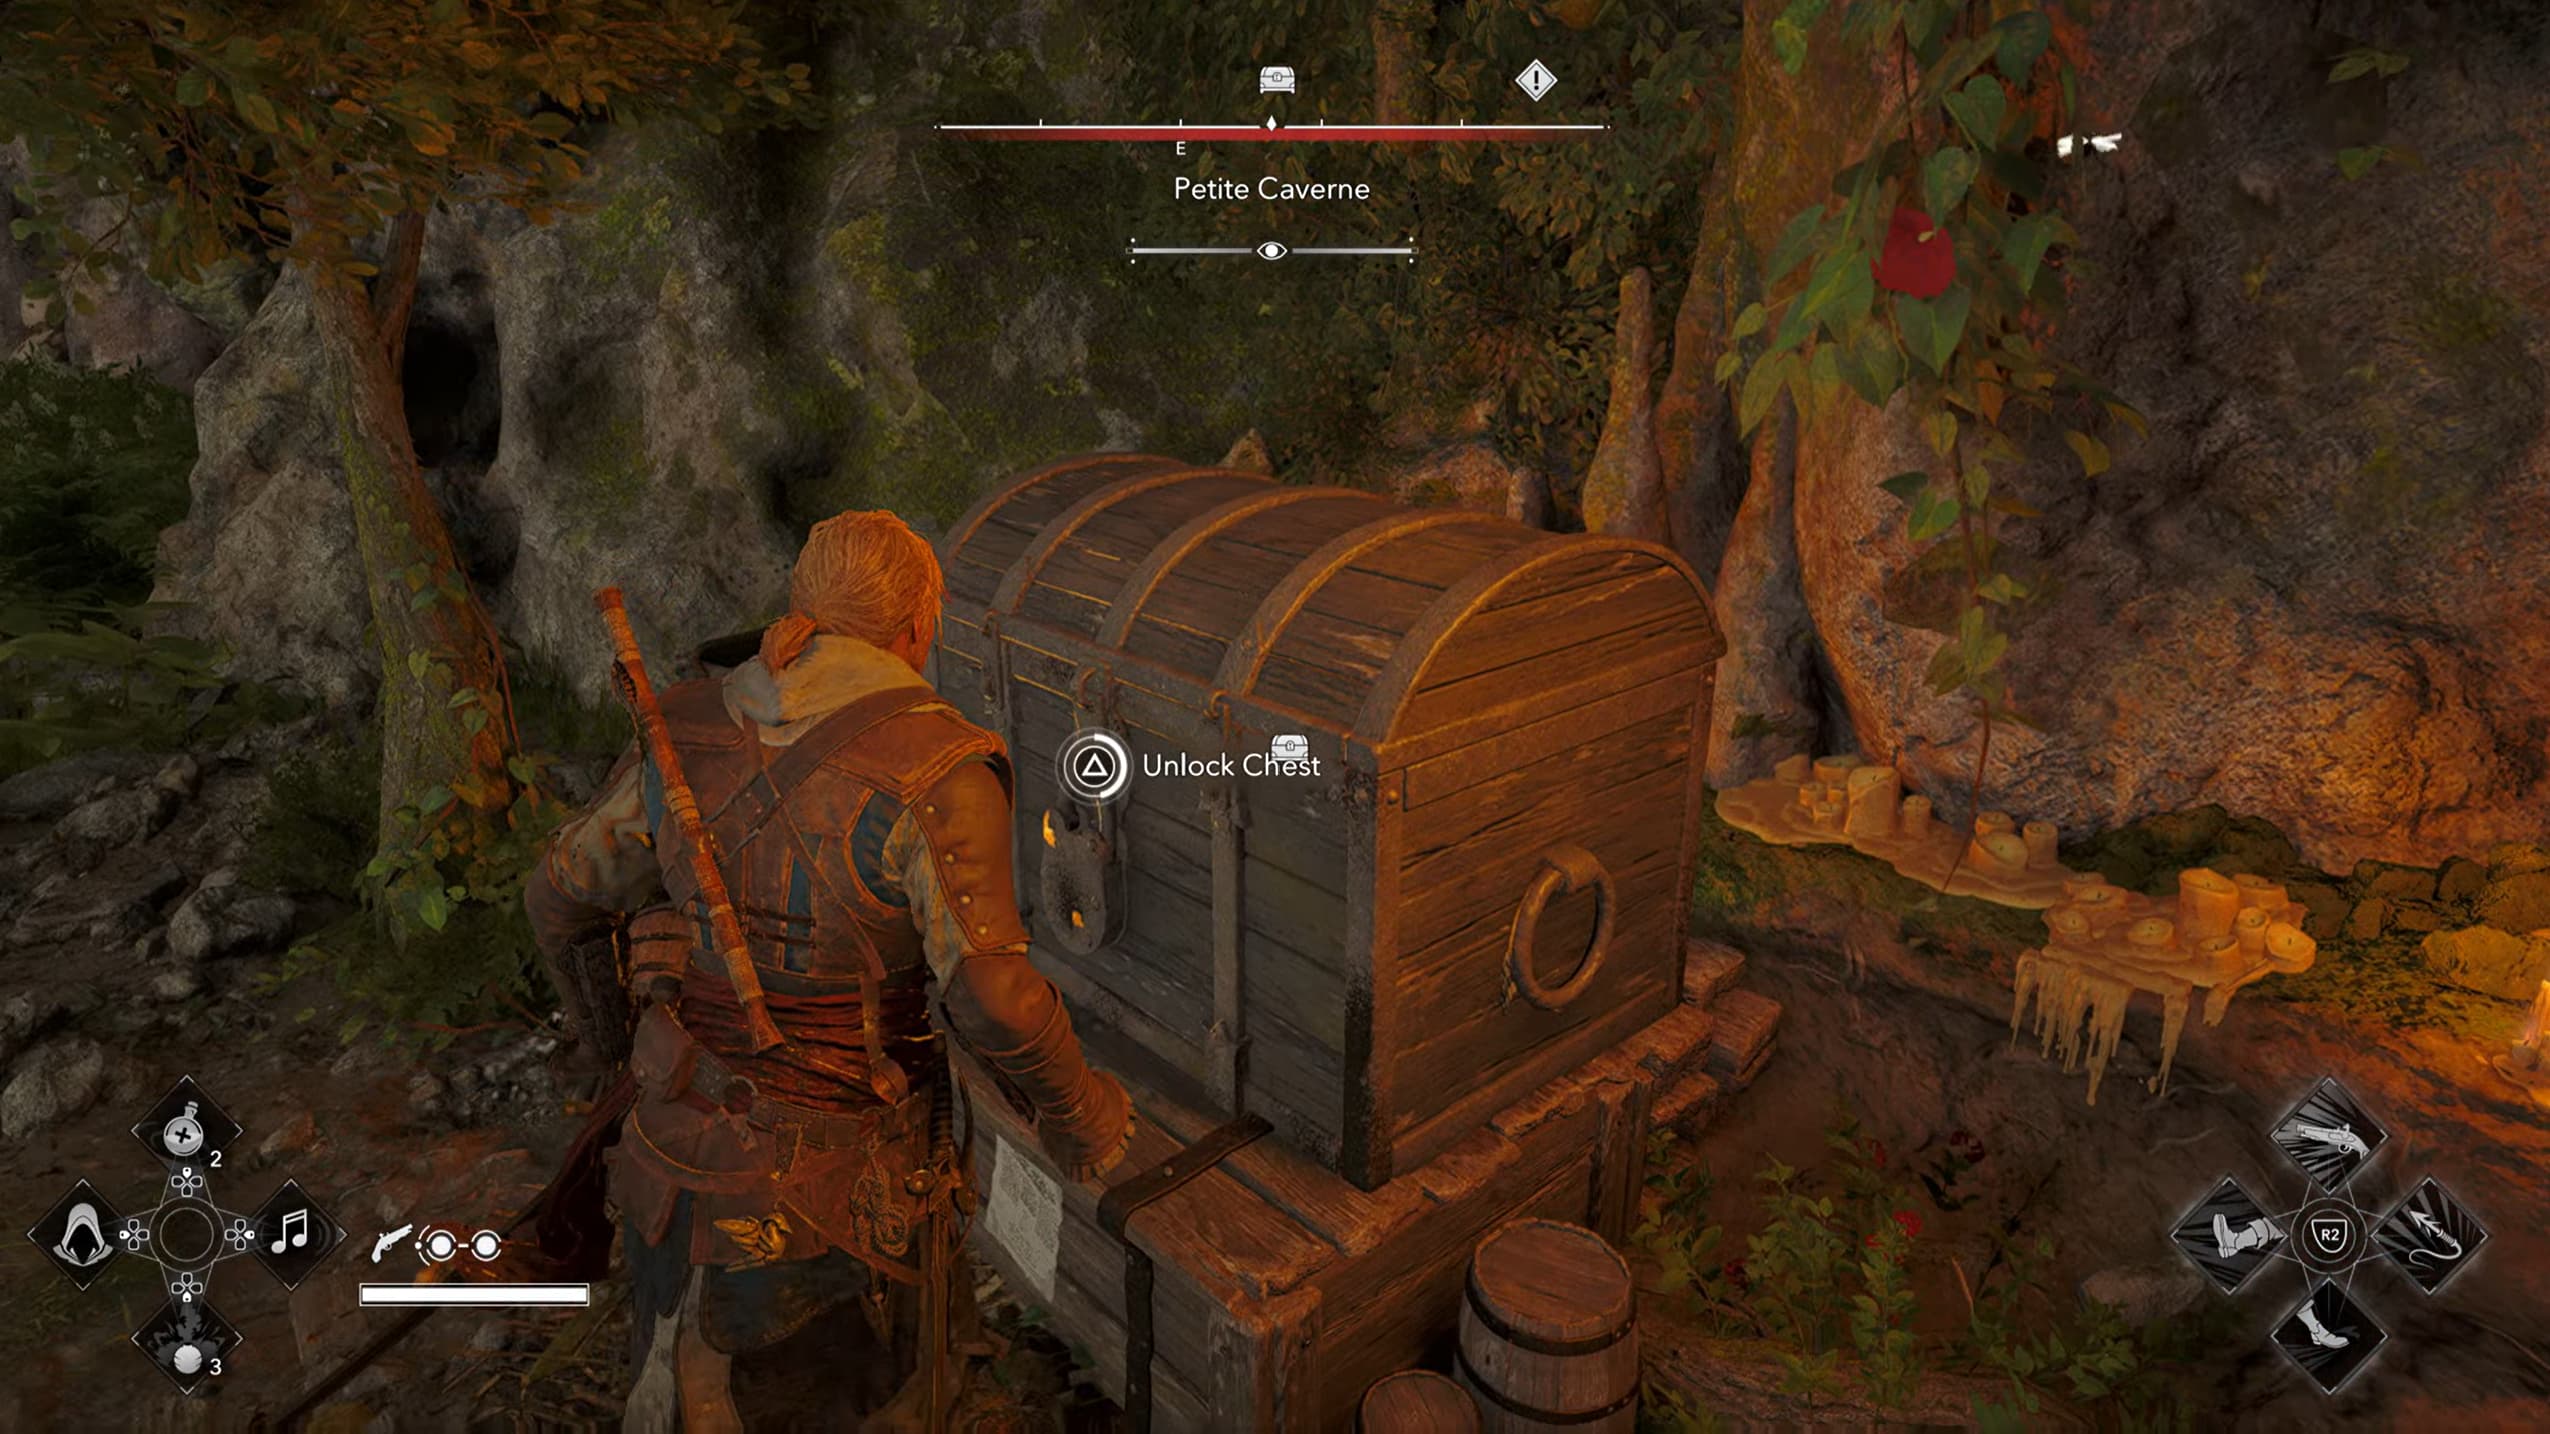
Take out the enemies up here and collect the Smuggler's Chest Key, and the chest is located by the back wall on the right from where you came up from. This is your fourth Weathered Map Piece.
Weathered Map Piece 5 - Ambergris Key
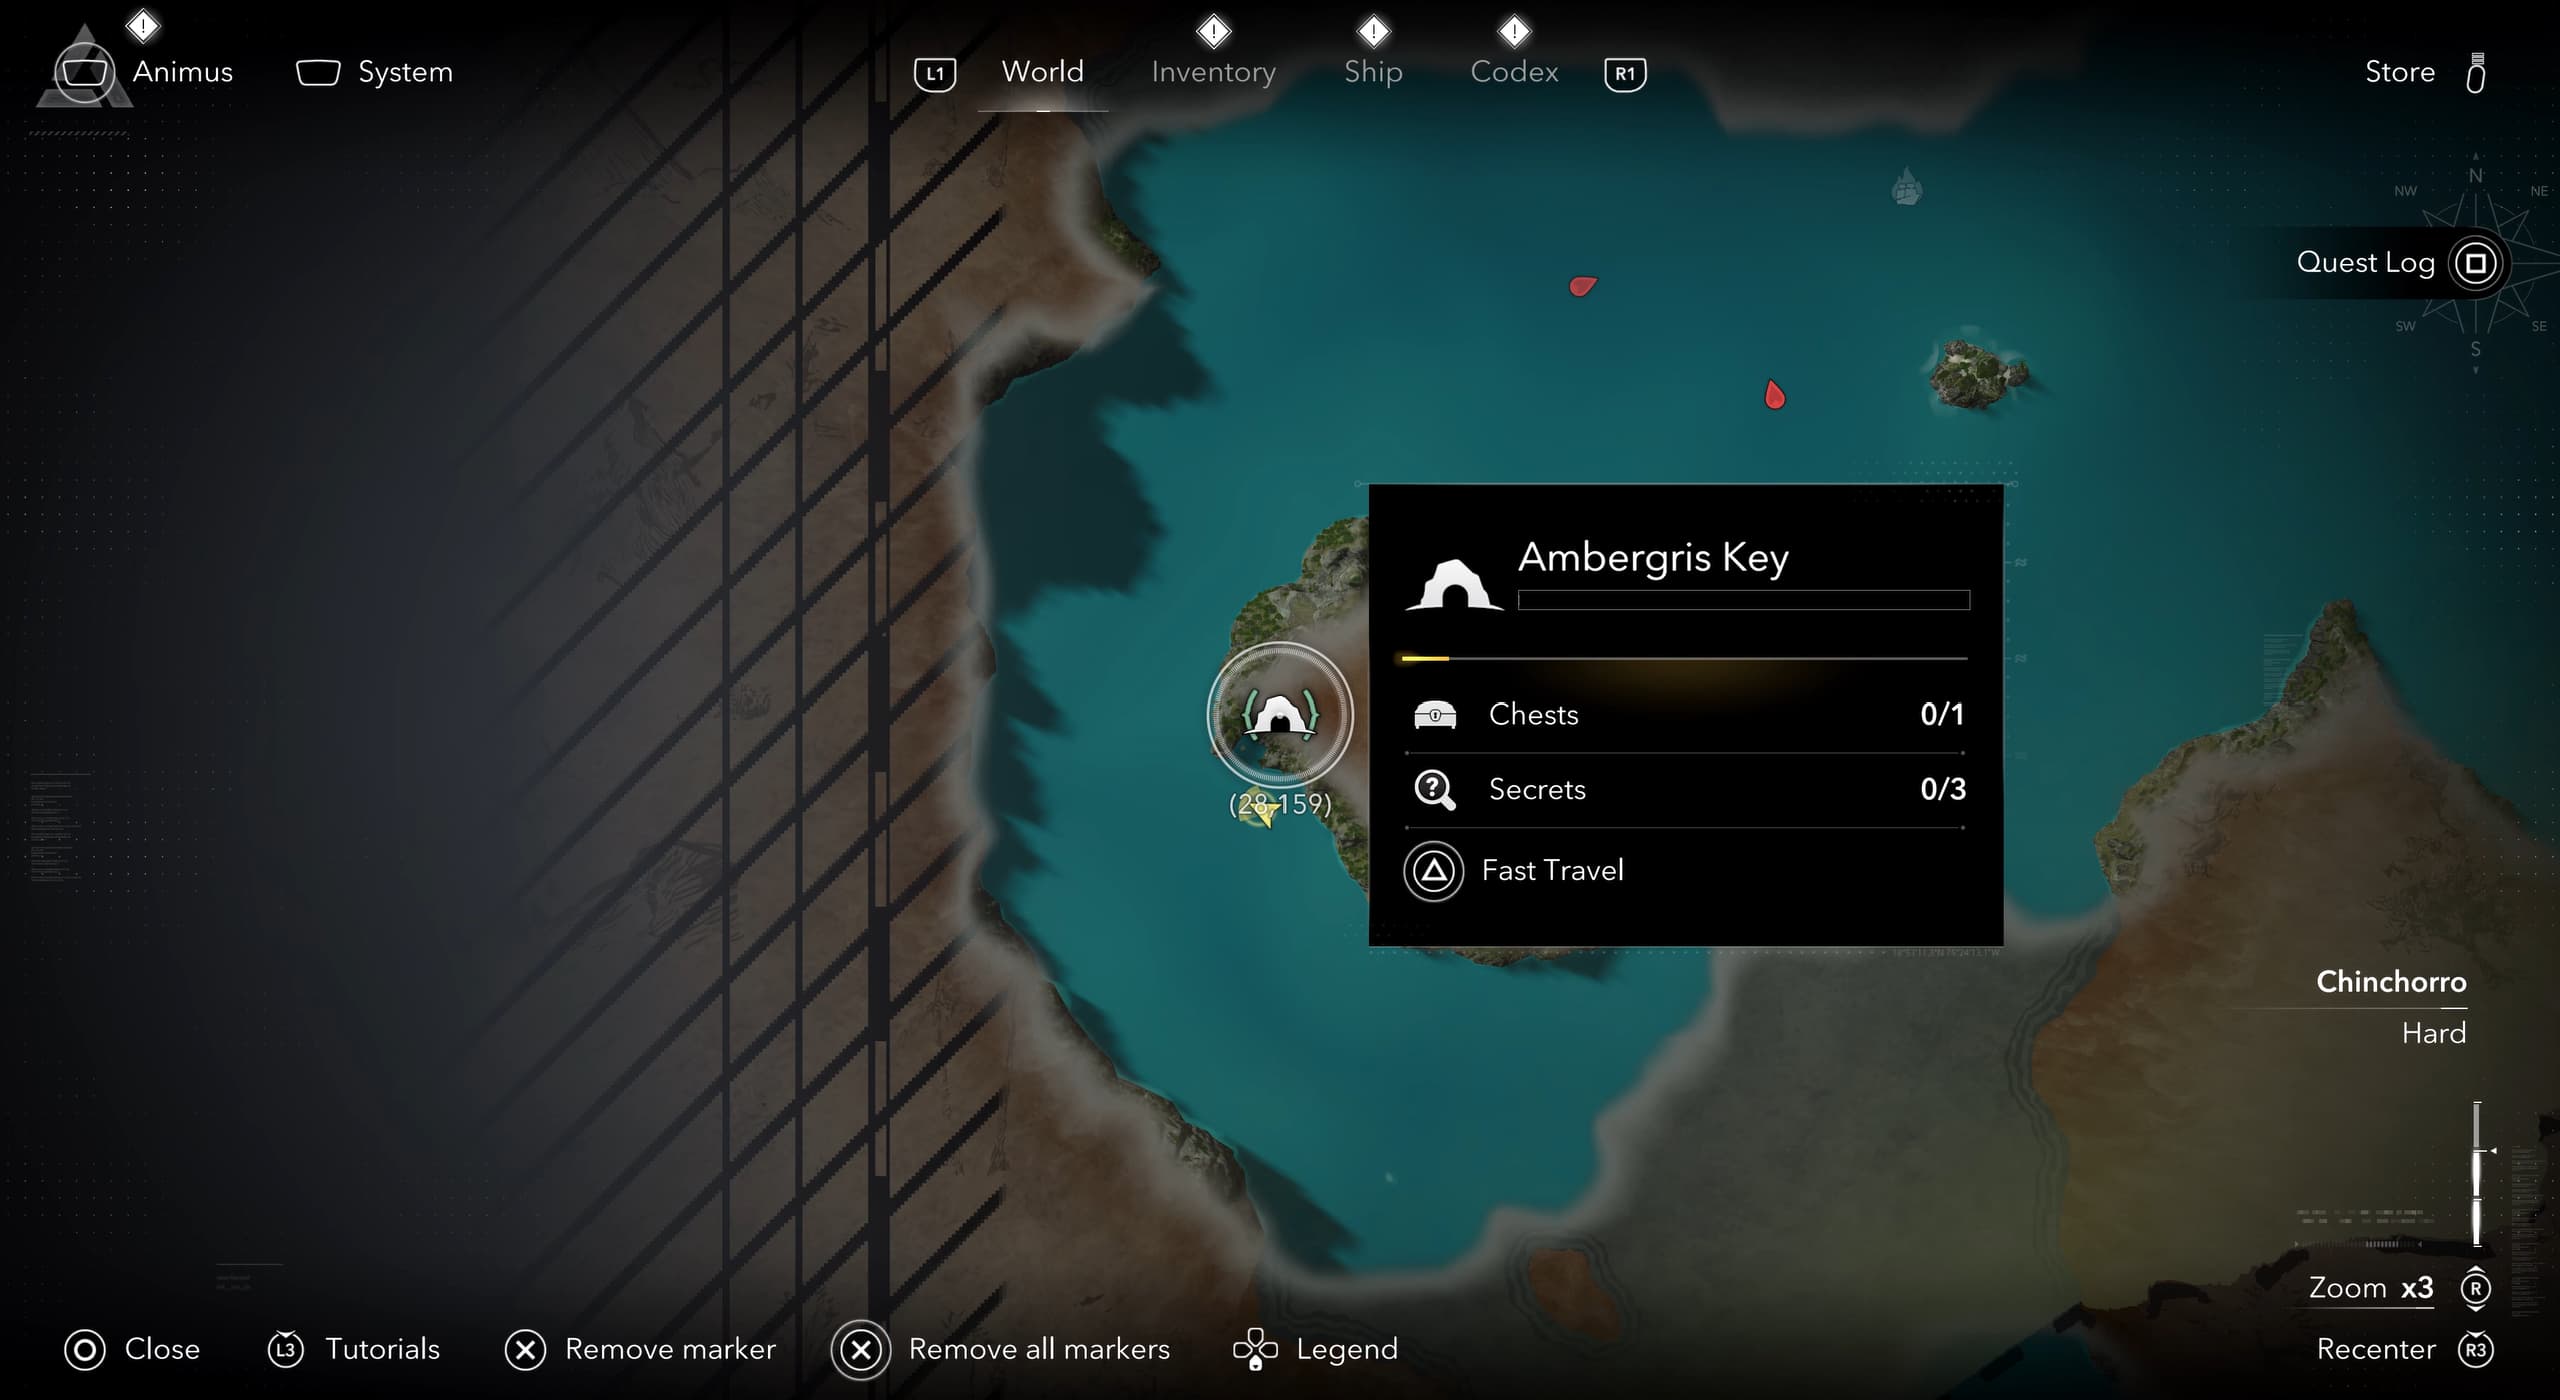
Make your way to Ambergris Key, located towards the bottom-left section of the map, coordinates (28,159)
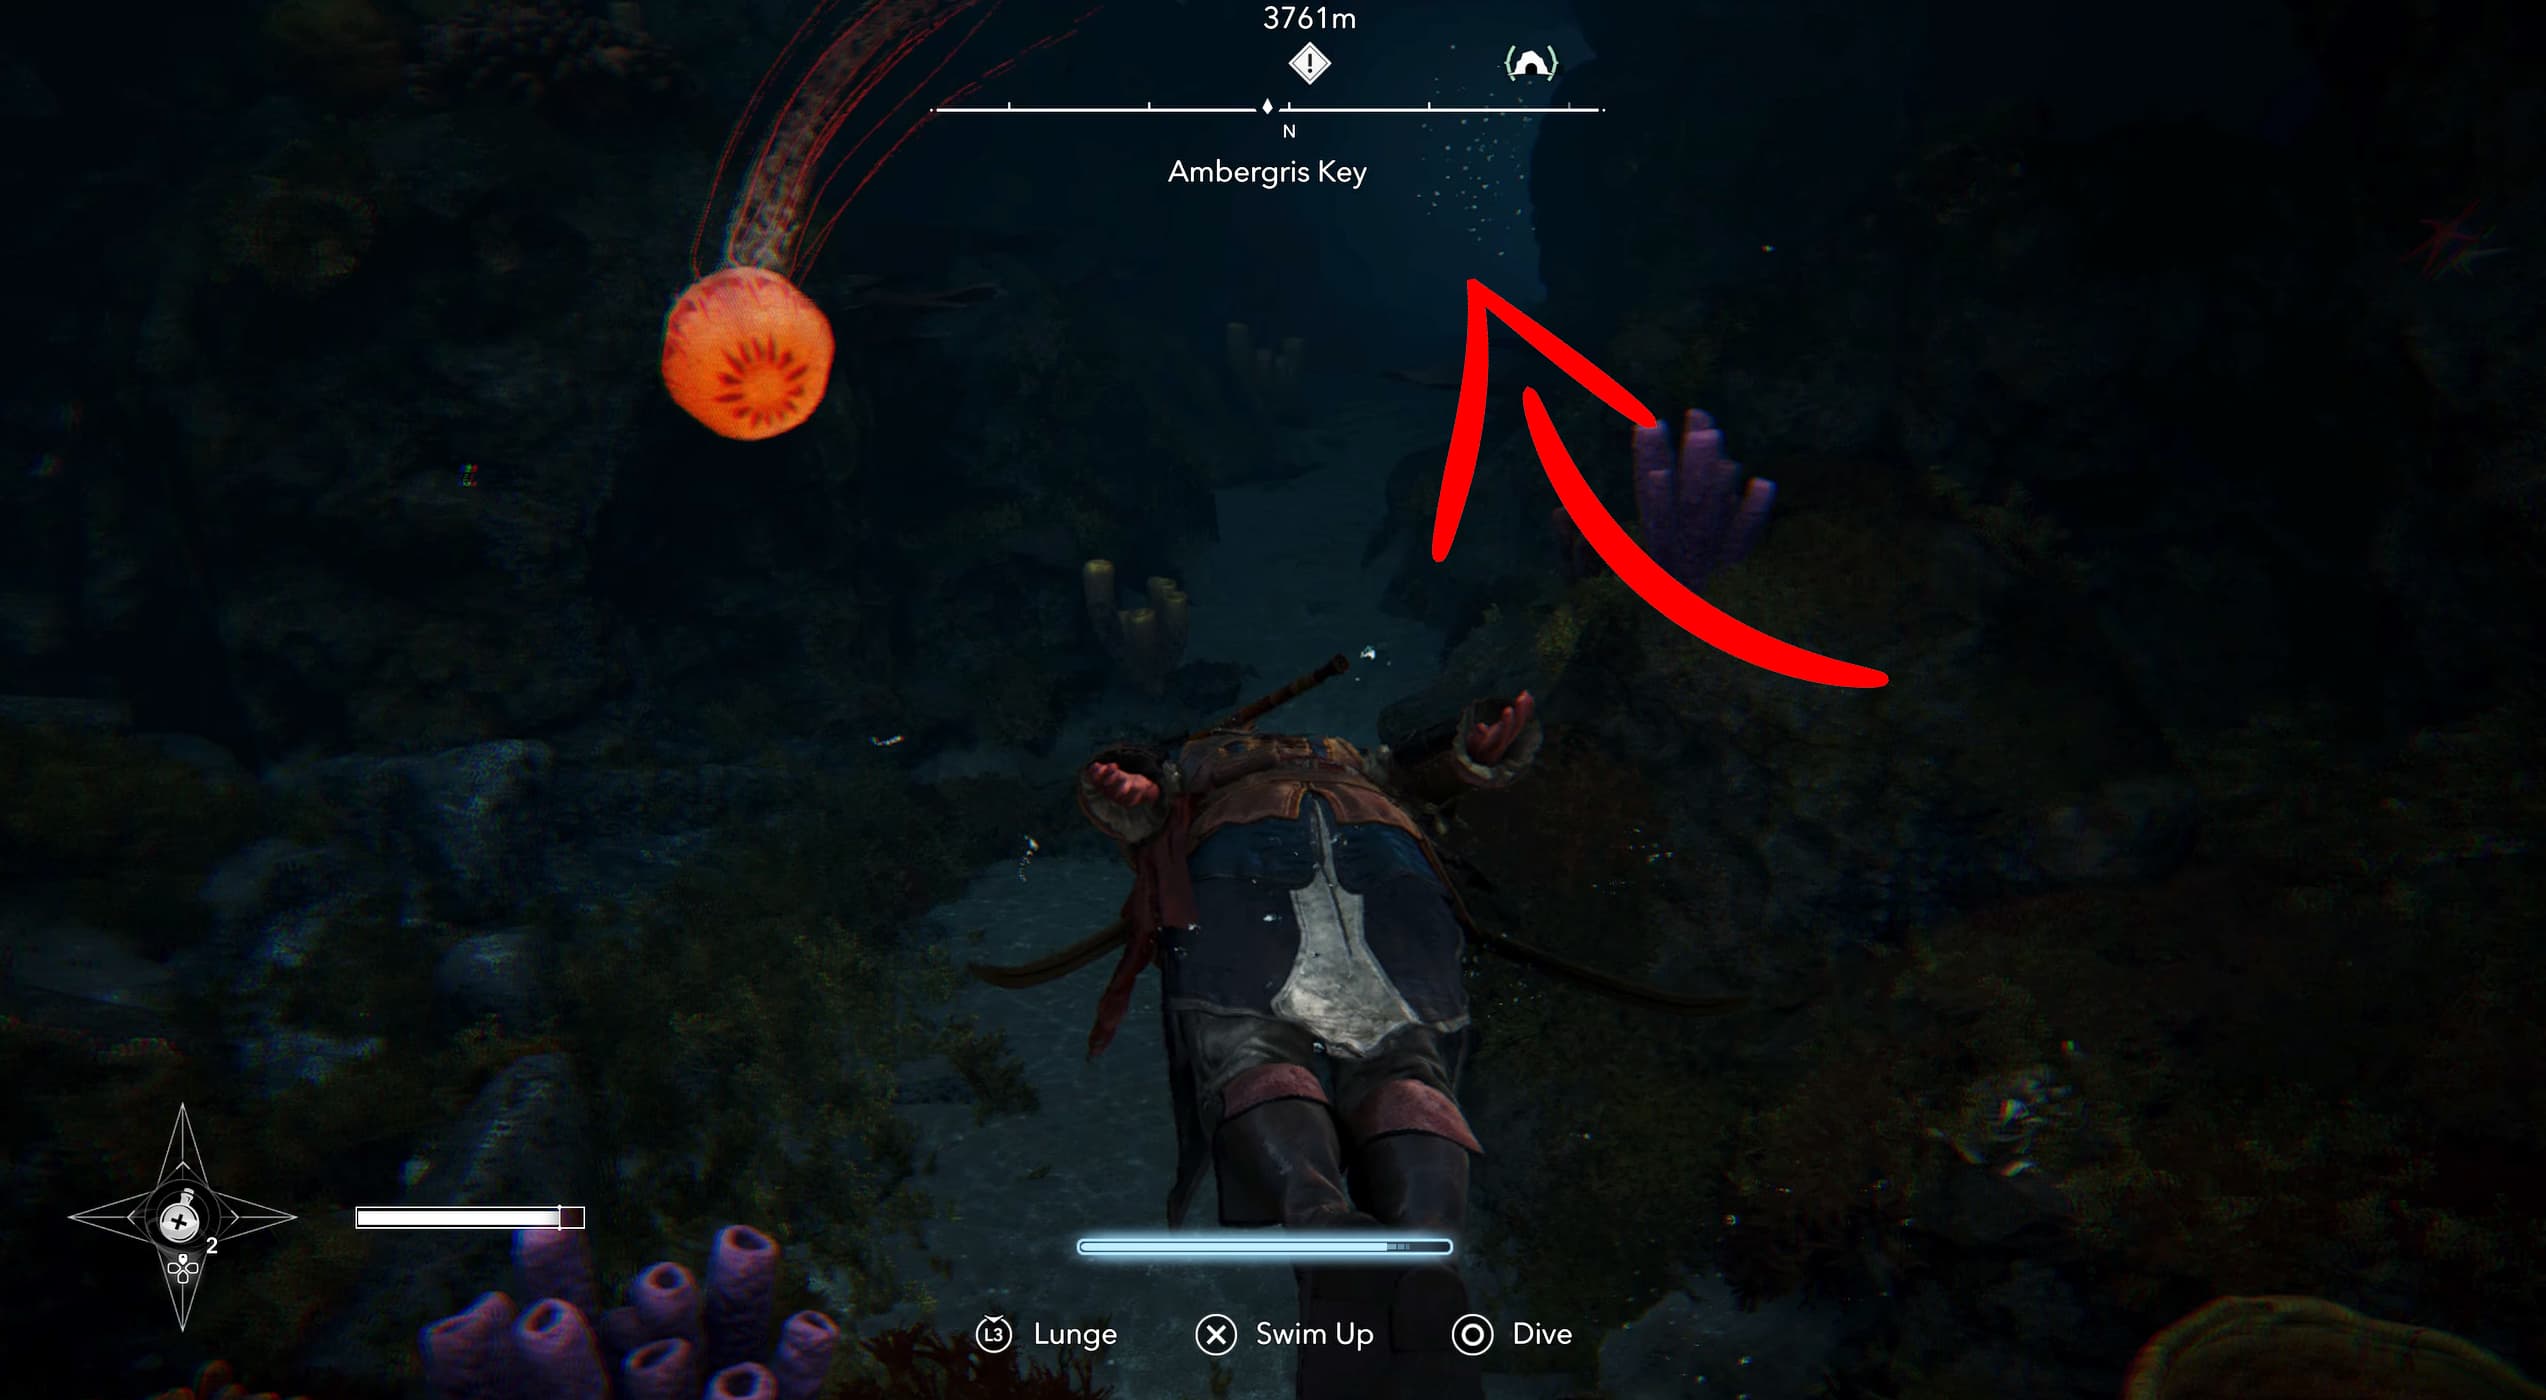
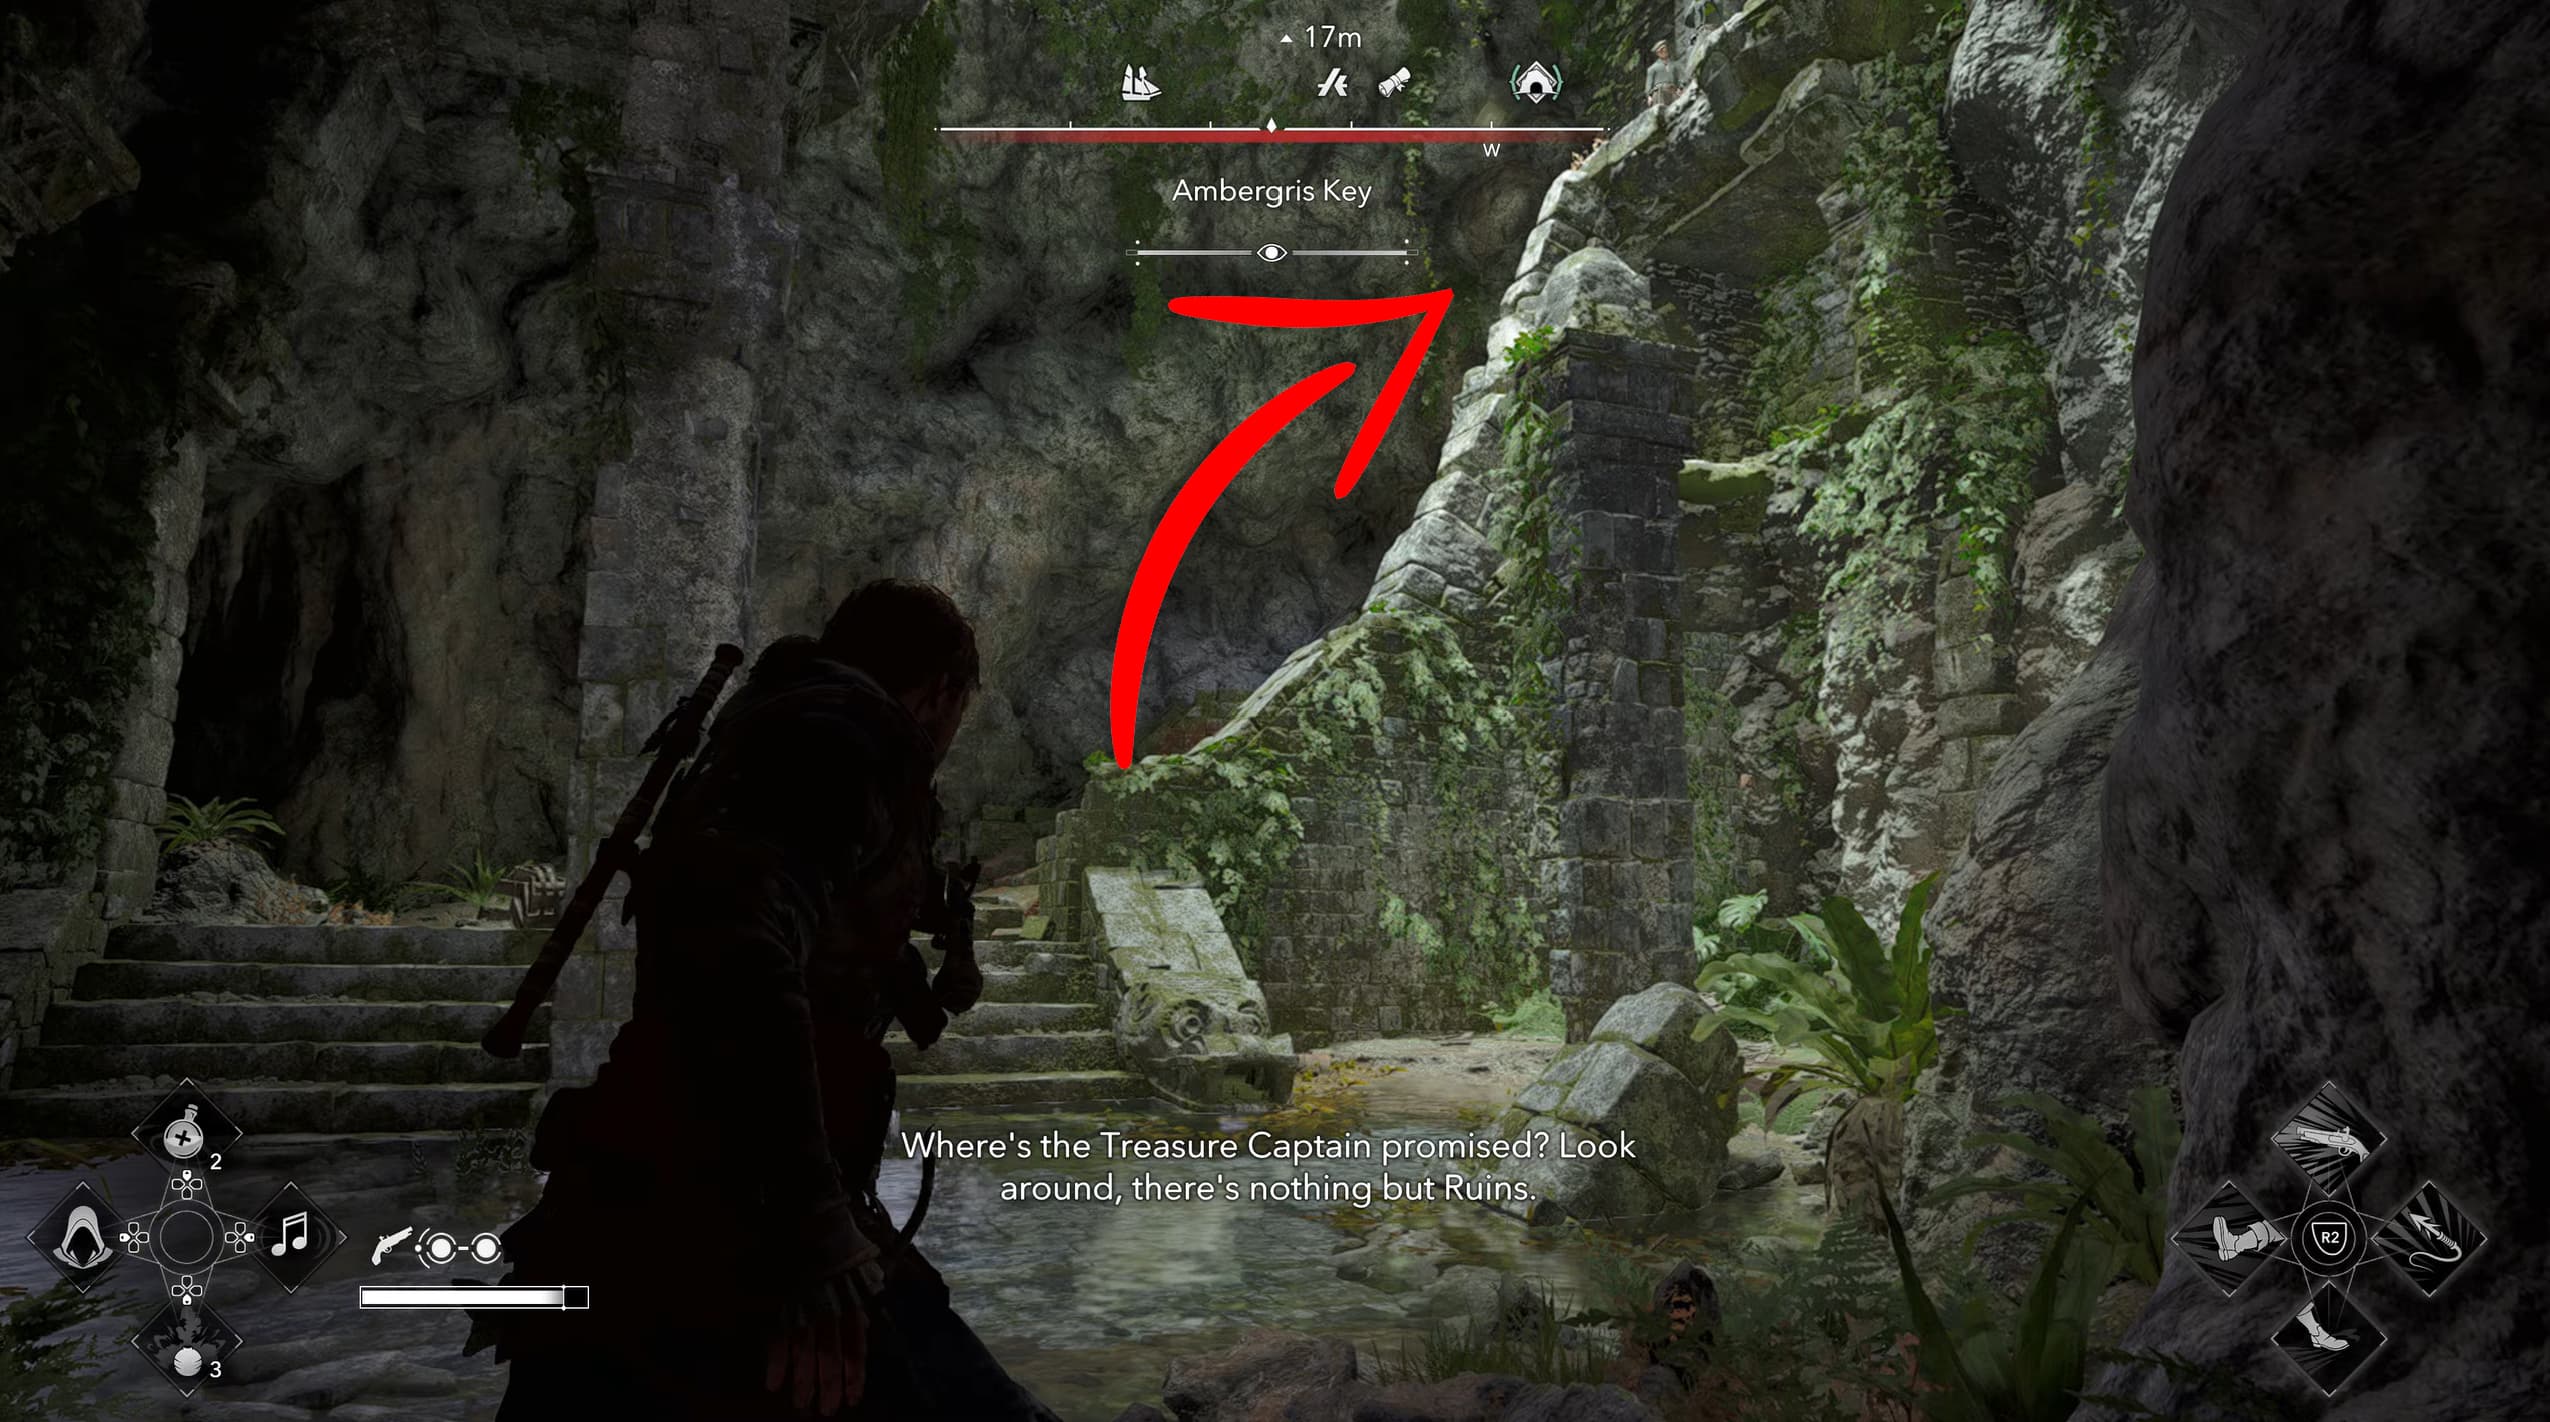
Swim towards the rocks until you see an entry way, like a window up in the cliff side, dive down into the water, you'll see a group of jellyfish, swim beneath them to the left a little to find the tunnel slightly to the right, to swim through.
Note: There are numerous jellyfish throughout this section, so carefully avoid them whilst swimming through, also, the swim through the tunnel is quite long, so make sure Edwards breath is pretty much full before entering the tunnel, so he doesn't drown.
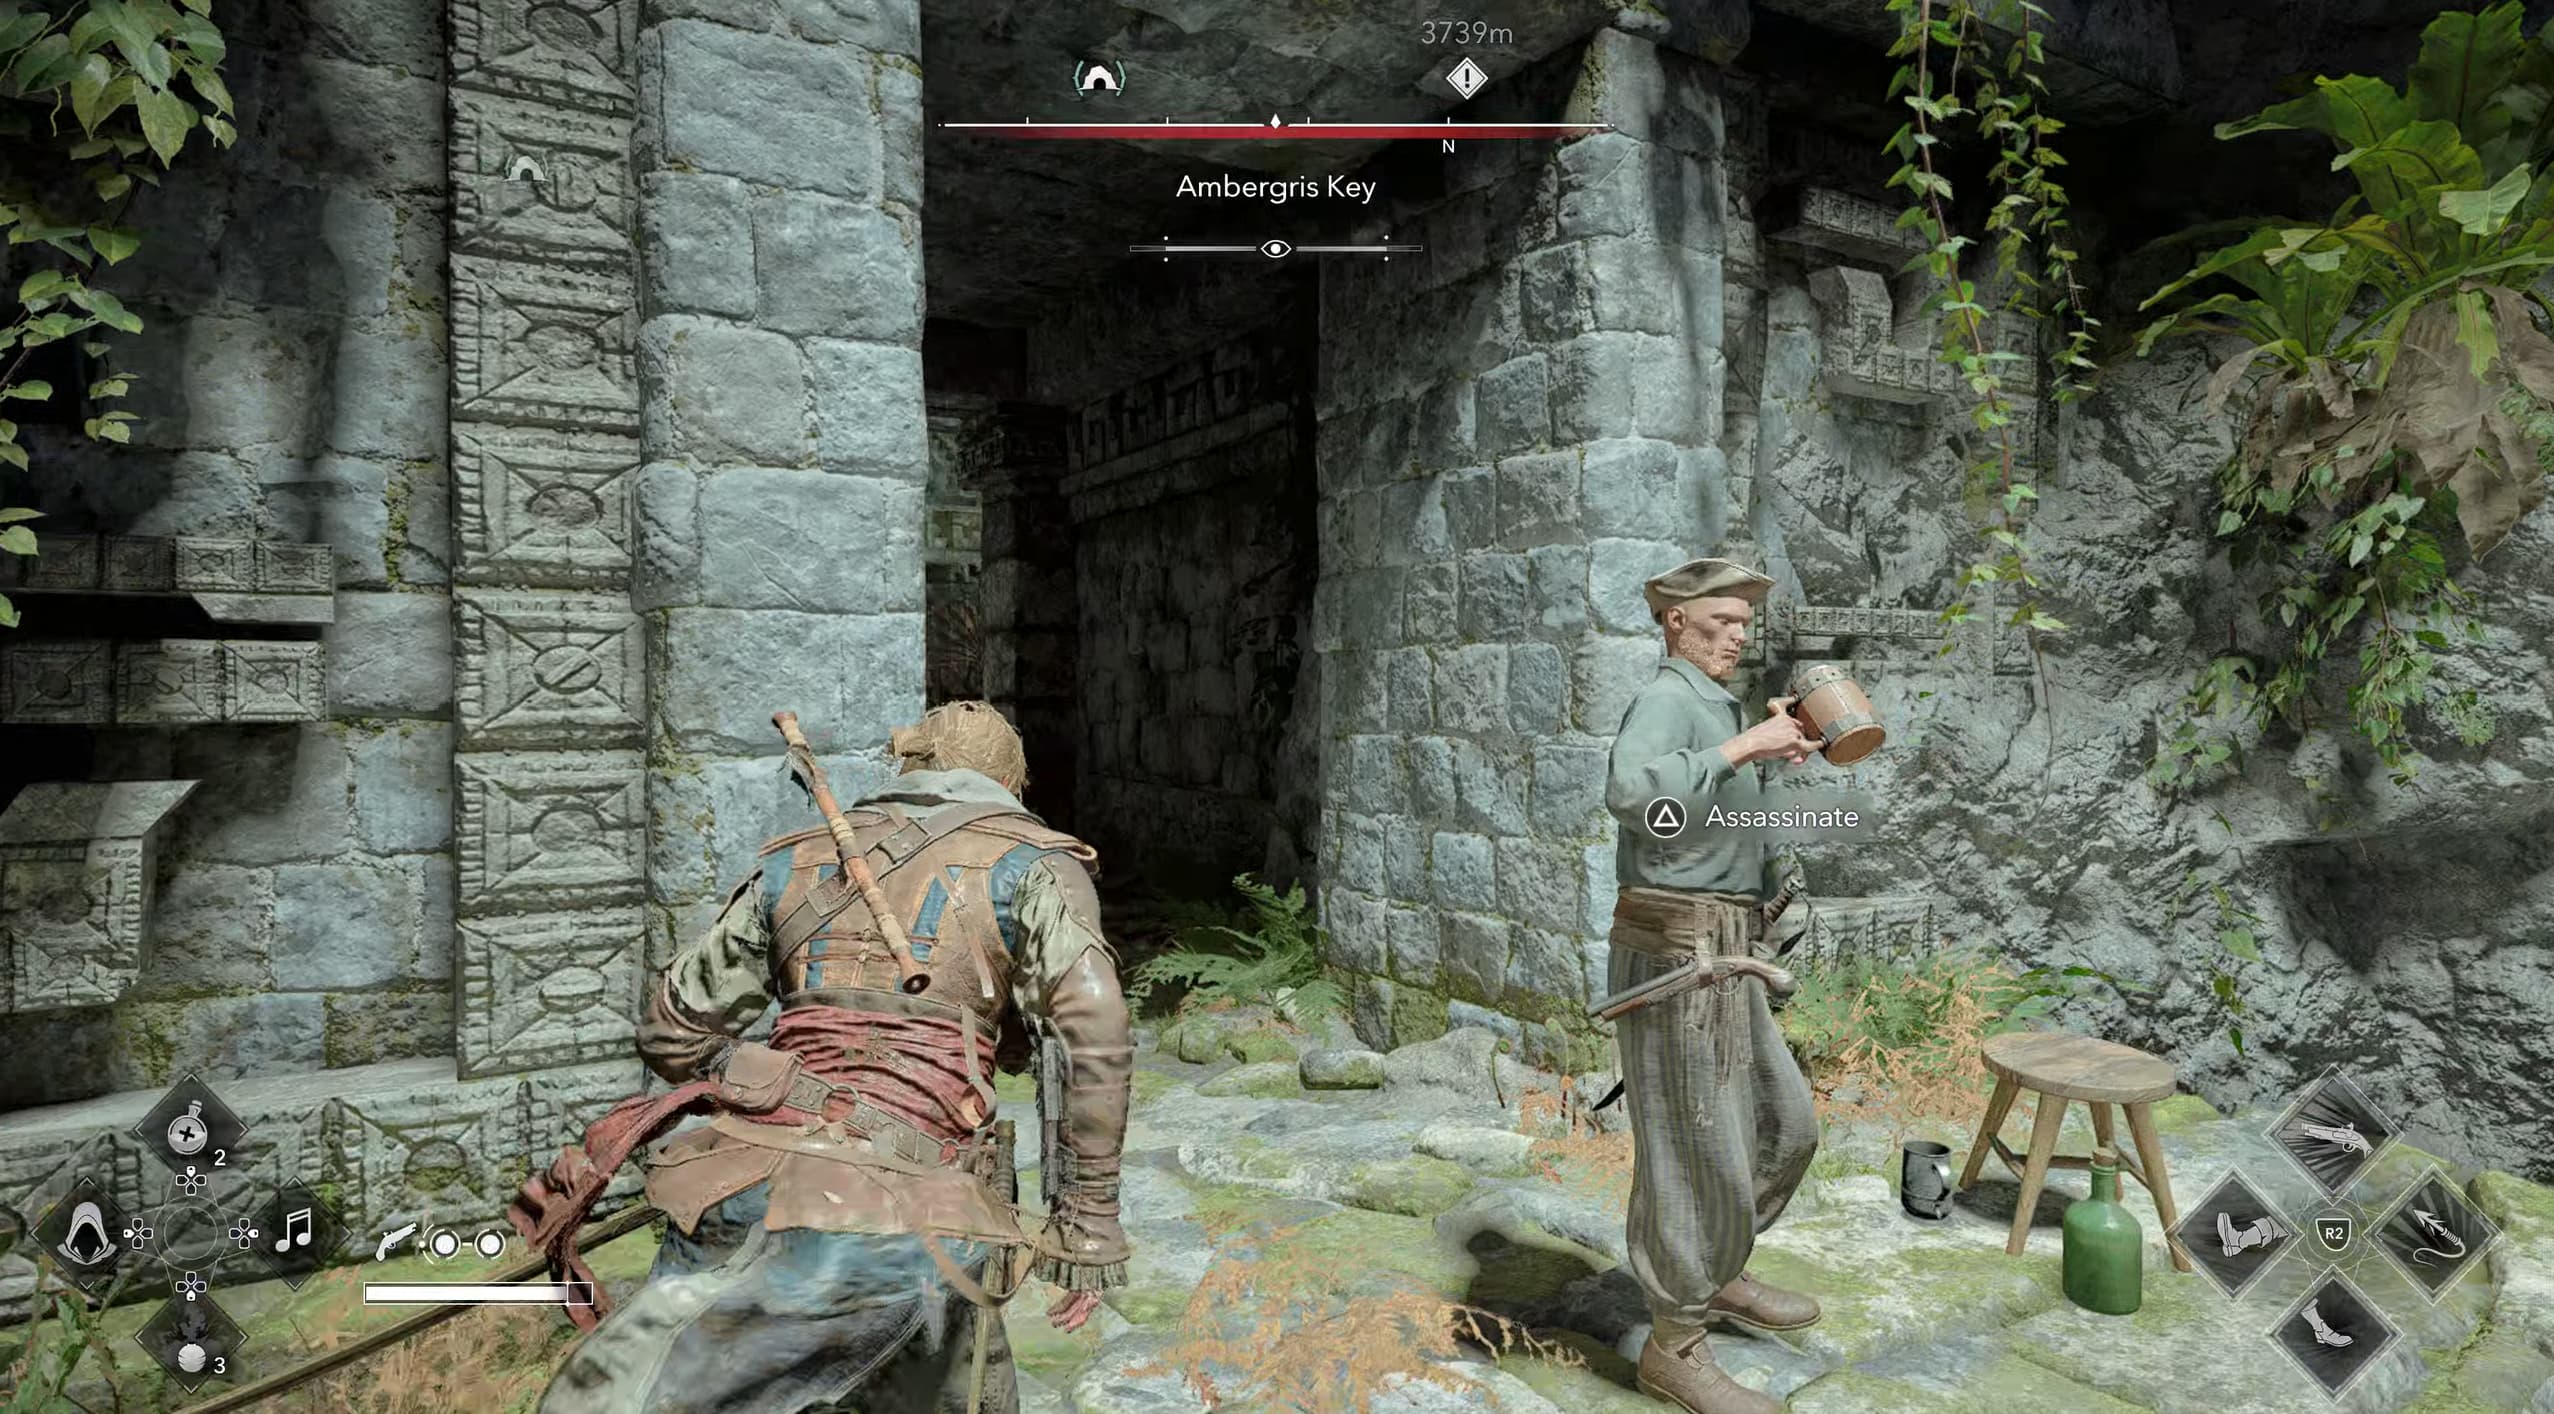
After a long swim, you will make it to a well lit area where you will climb the stairs up to the right, then climb the ruin pillars to meet an enemy at the top to assassinate.
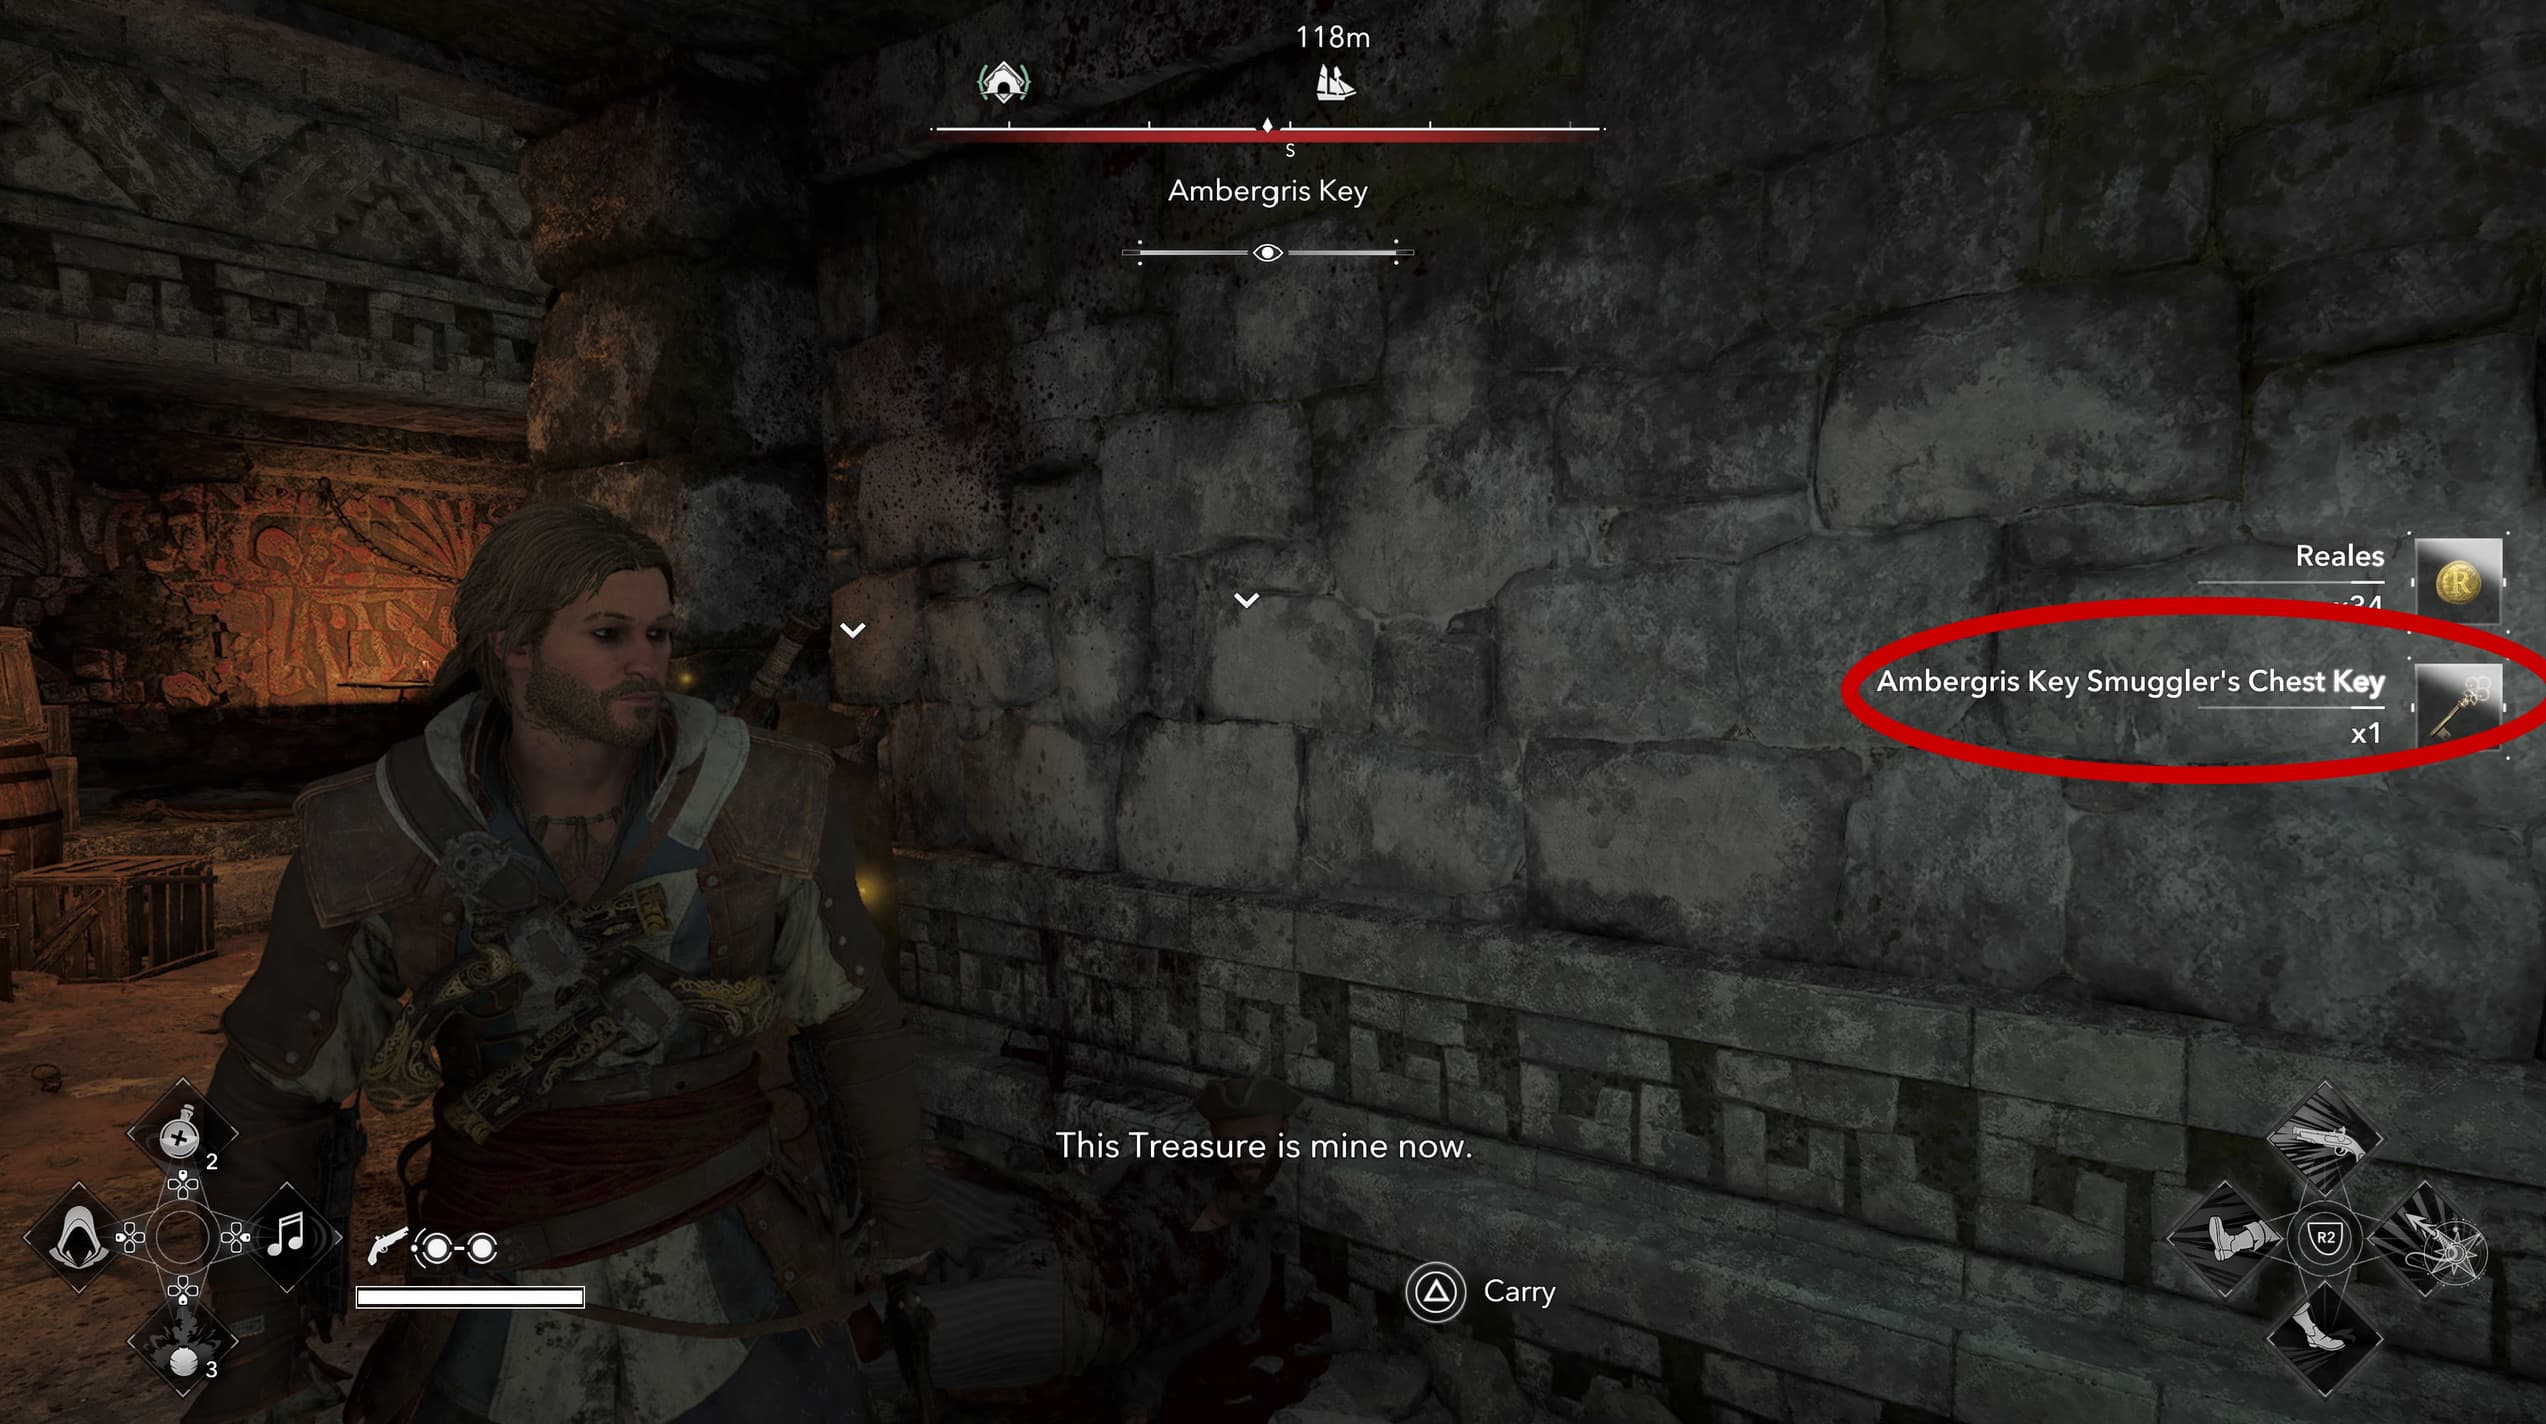
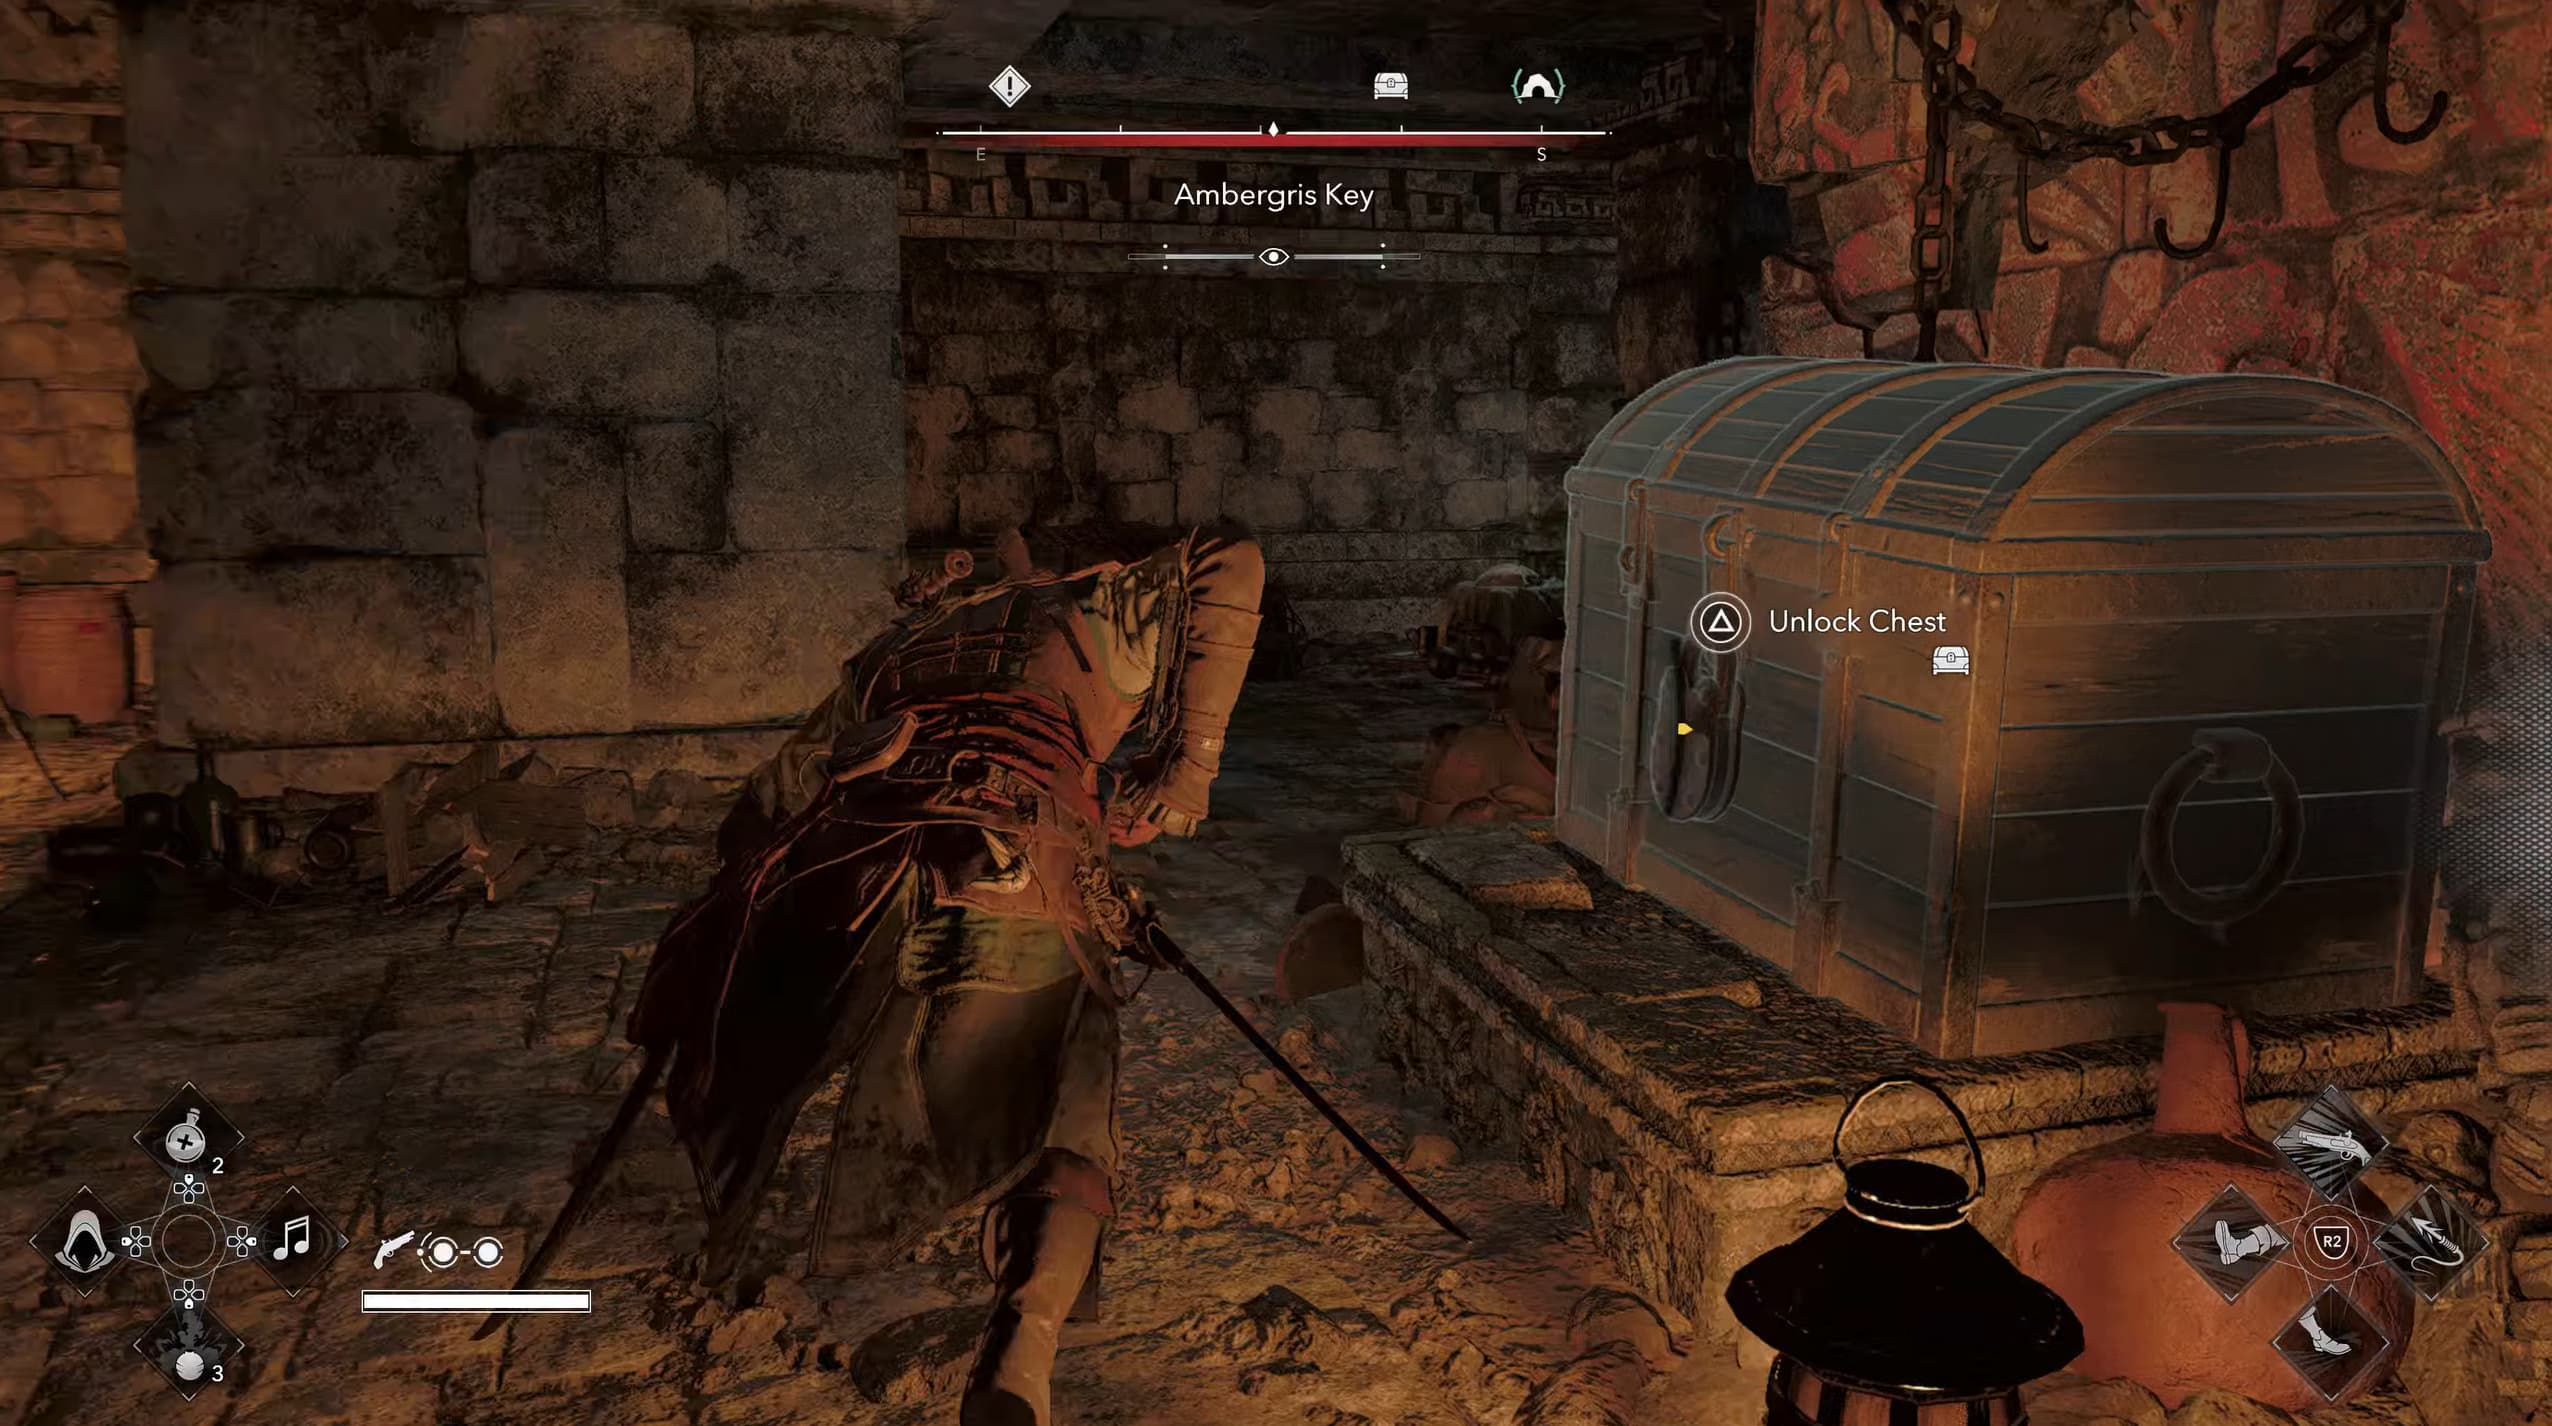
Keep progressing through the ruins until you reach the main enemy area. Locate the Smuggler's Chest Key and use it to open the locked chest in the middle section, you will now have five Weathered Map Pieces.
Weathered Map Piece 6 - Great Inagua
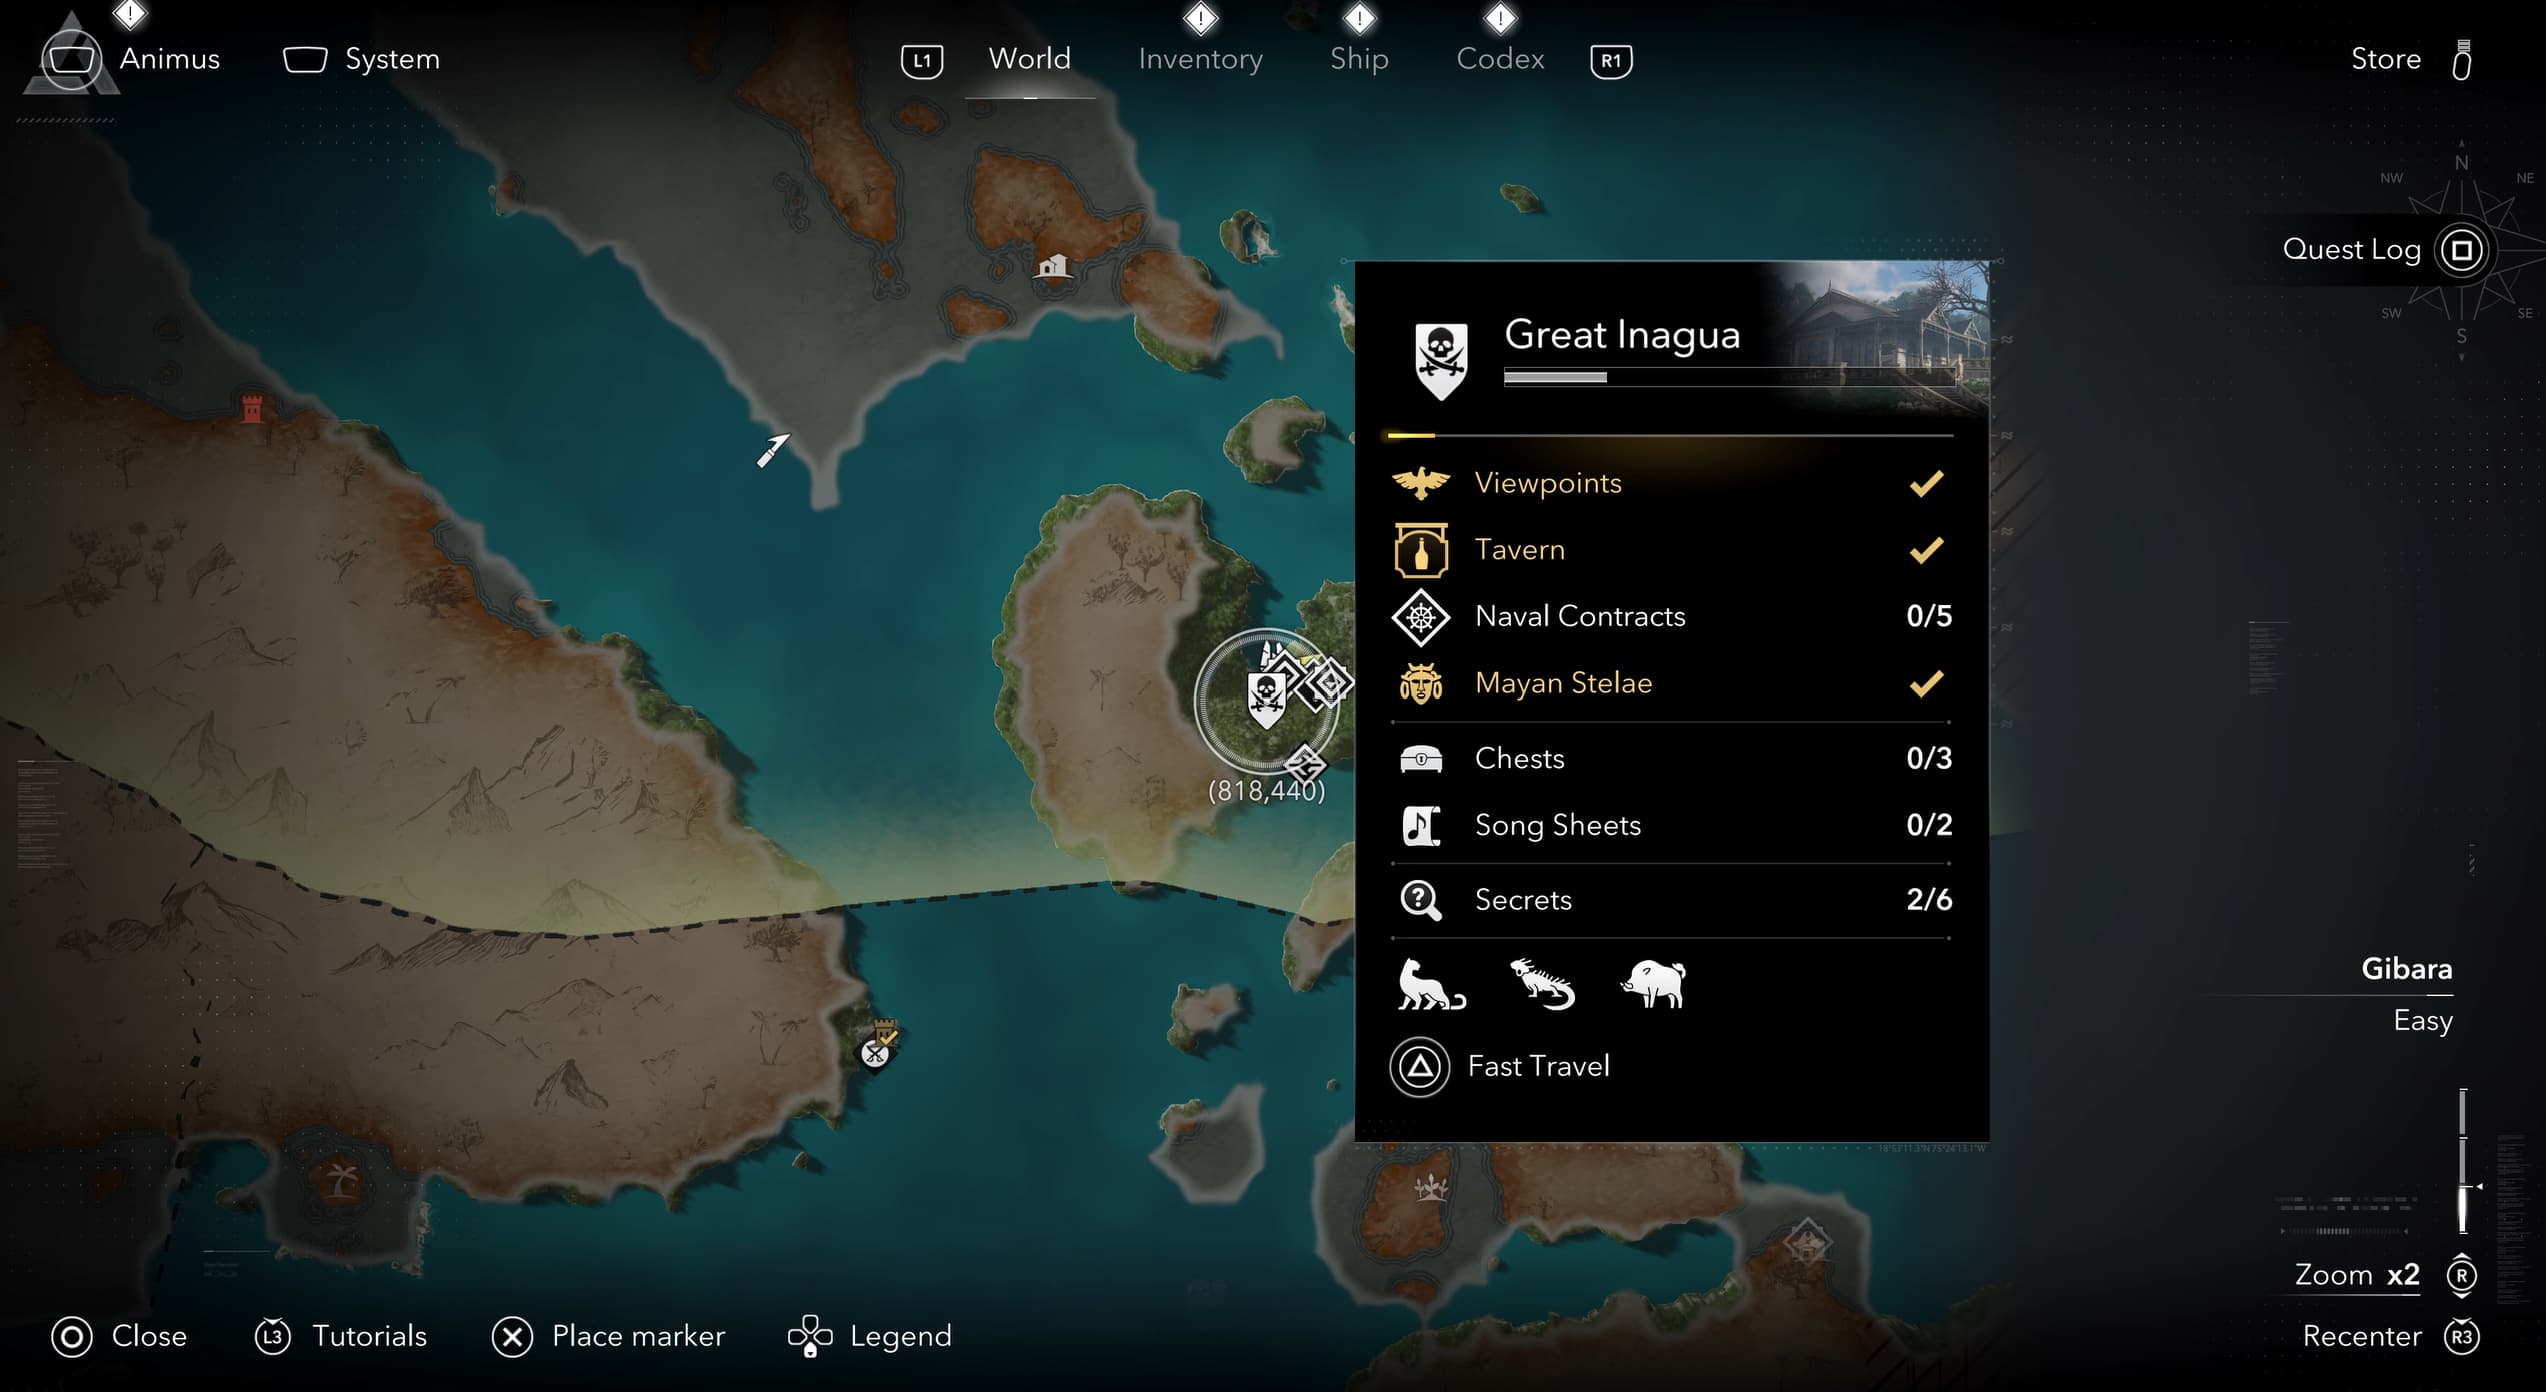
The final Weathered Map Piece is purchased rather than found in a chest, so go ahead and return to Great Inagua, coordinates (818,440)
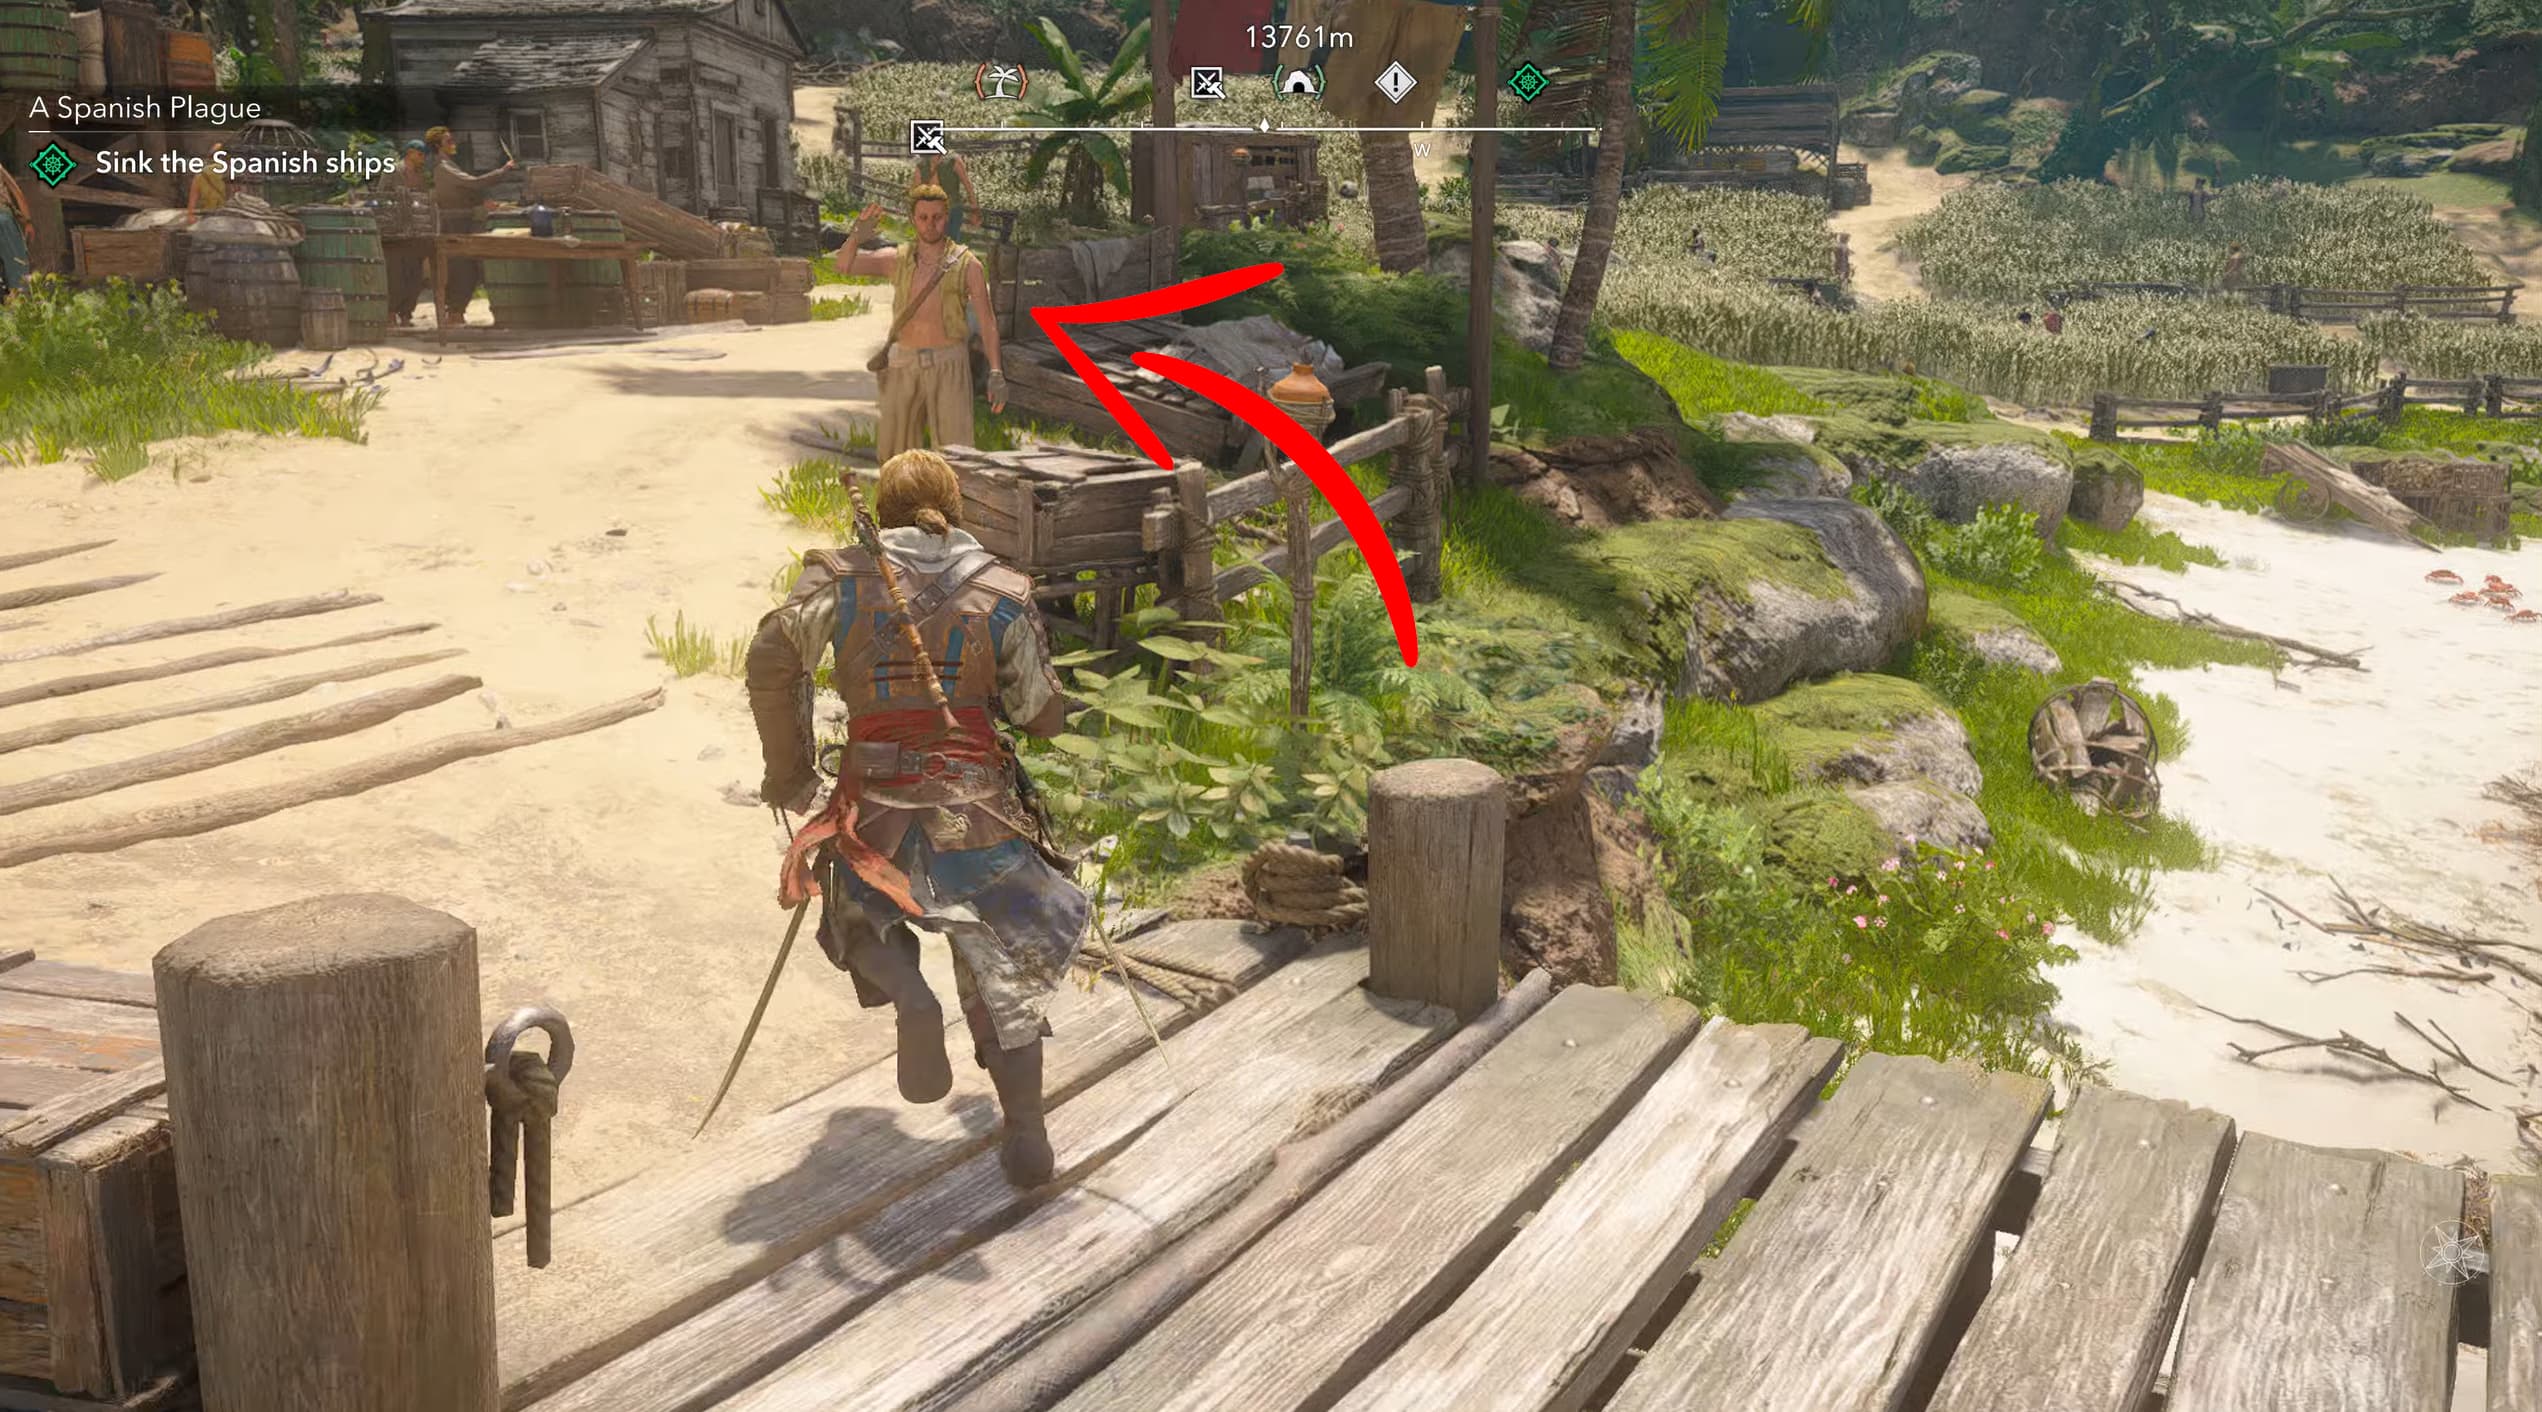
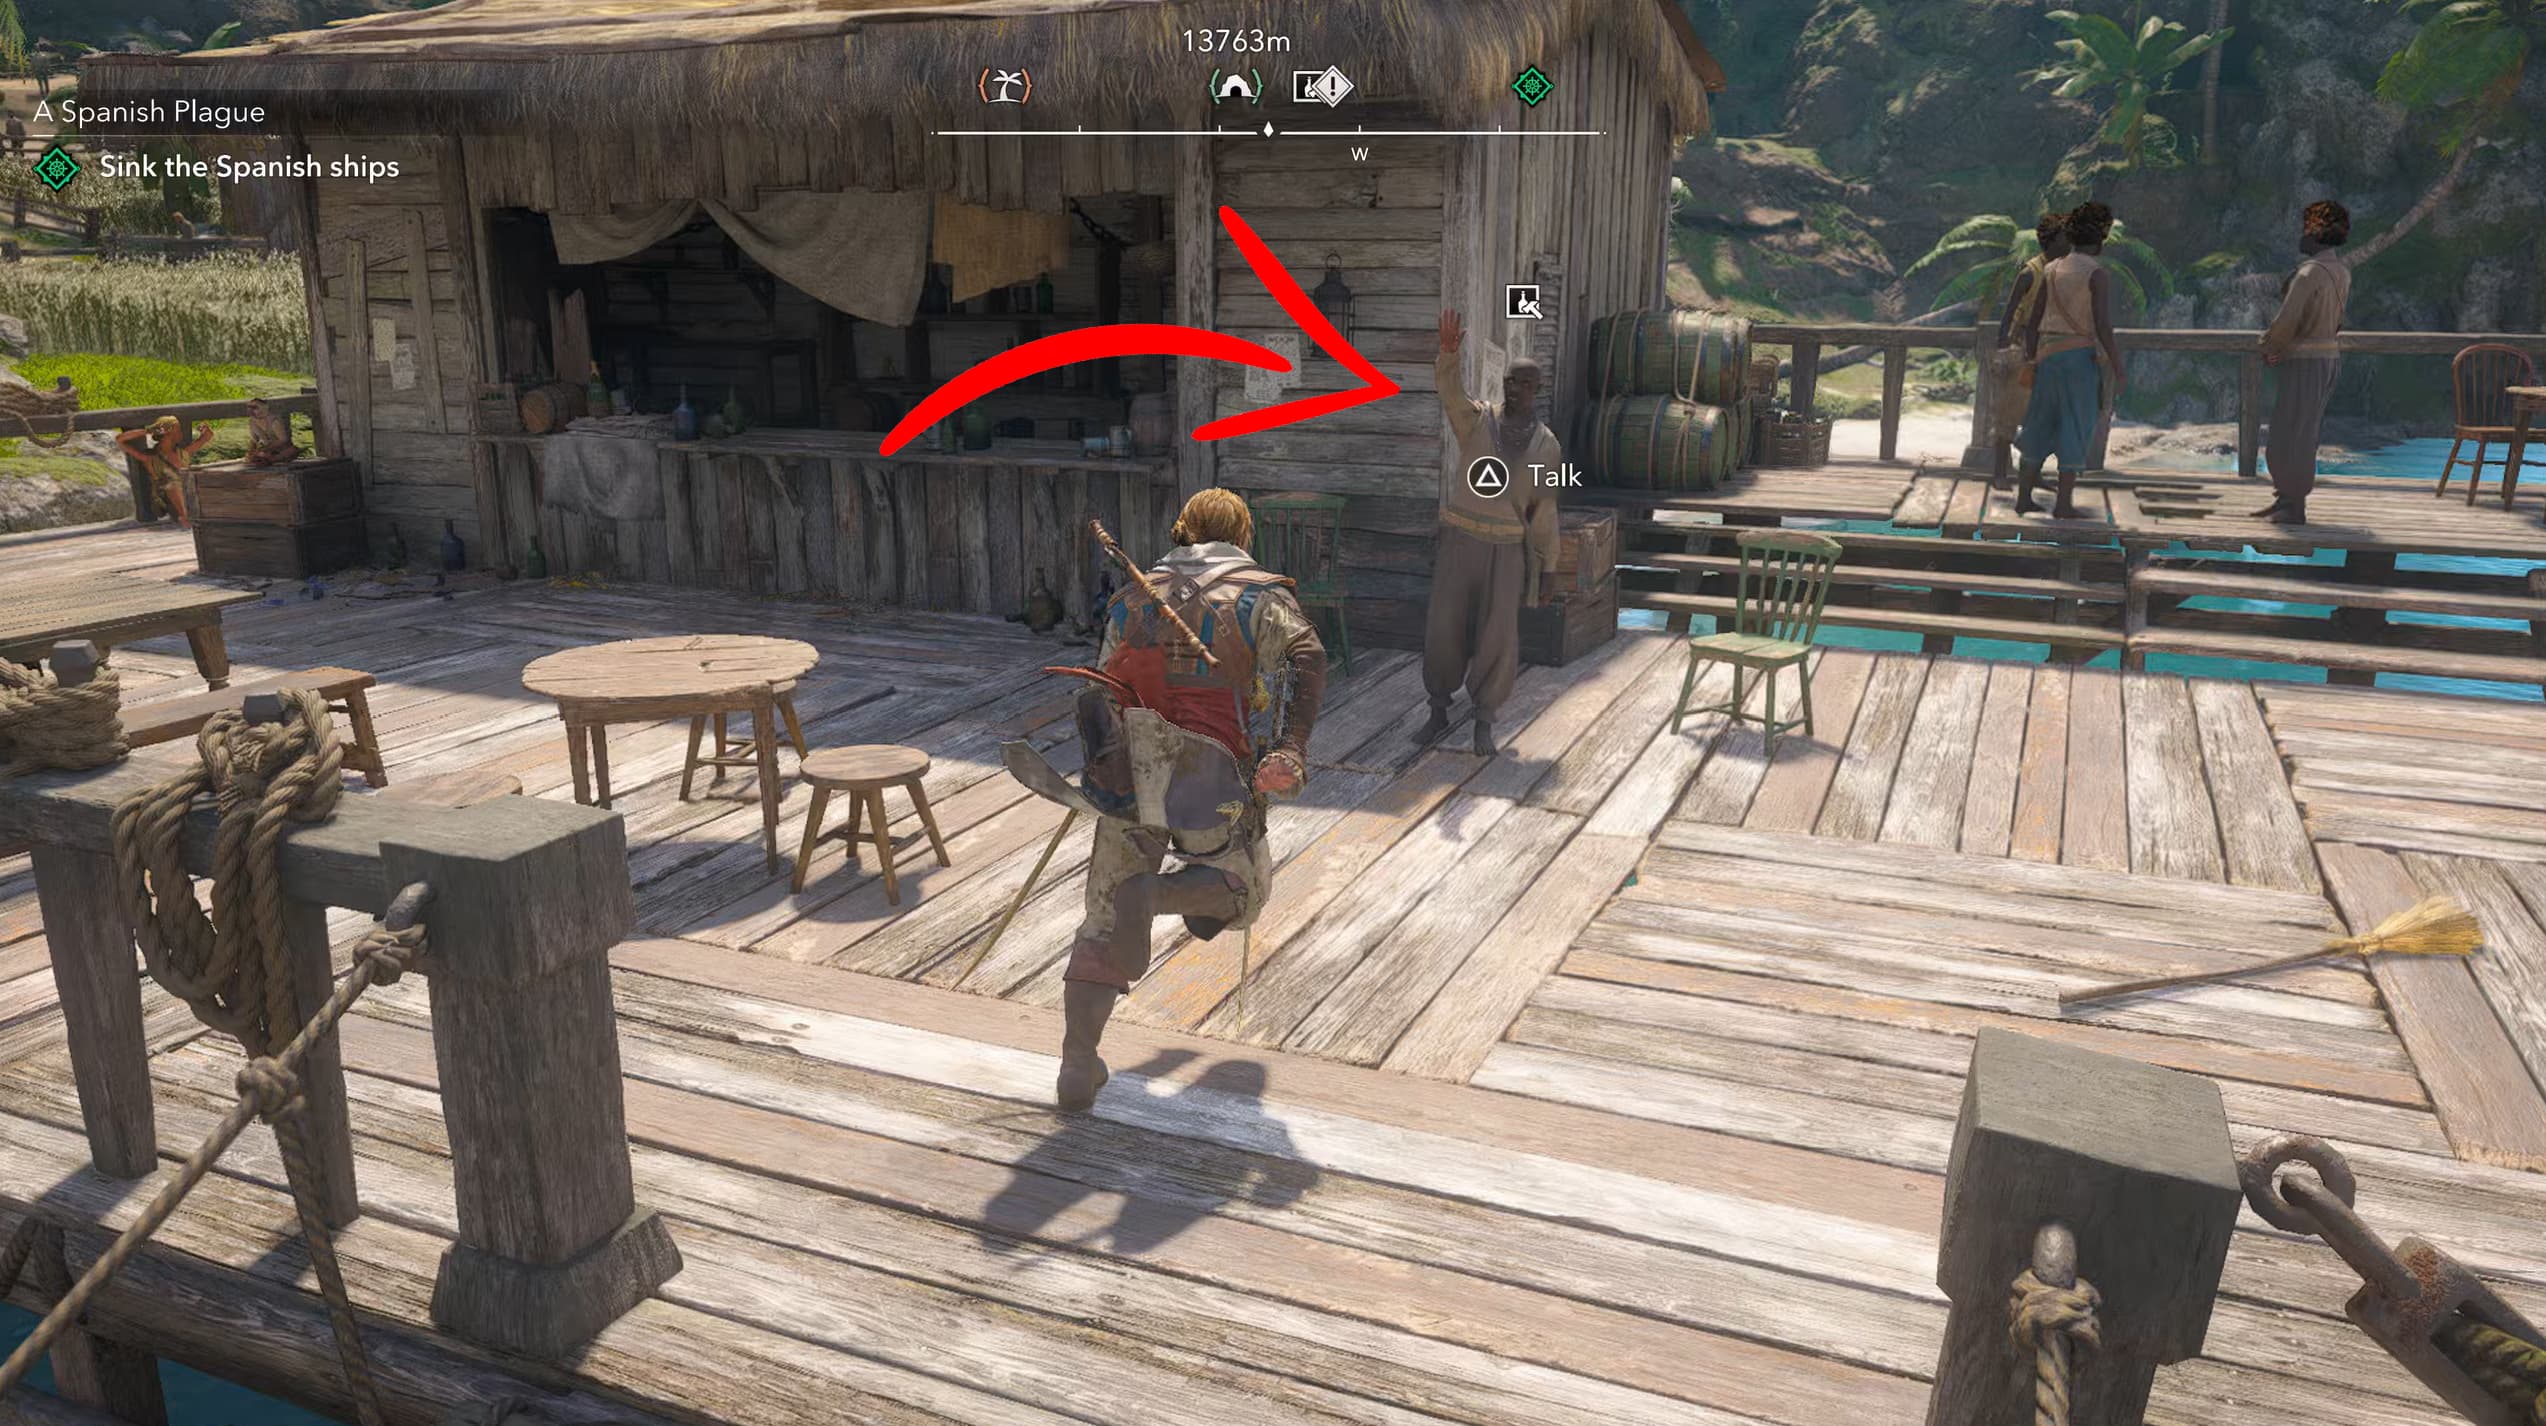
Firstly, restore the General Store with the man at the edge of the pier and beach if you have not already done so, you will need to restore the Tavern here also.
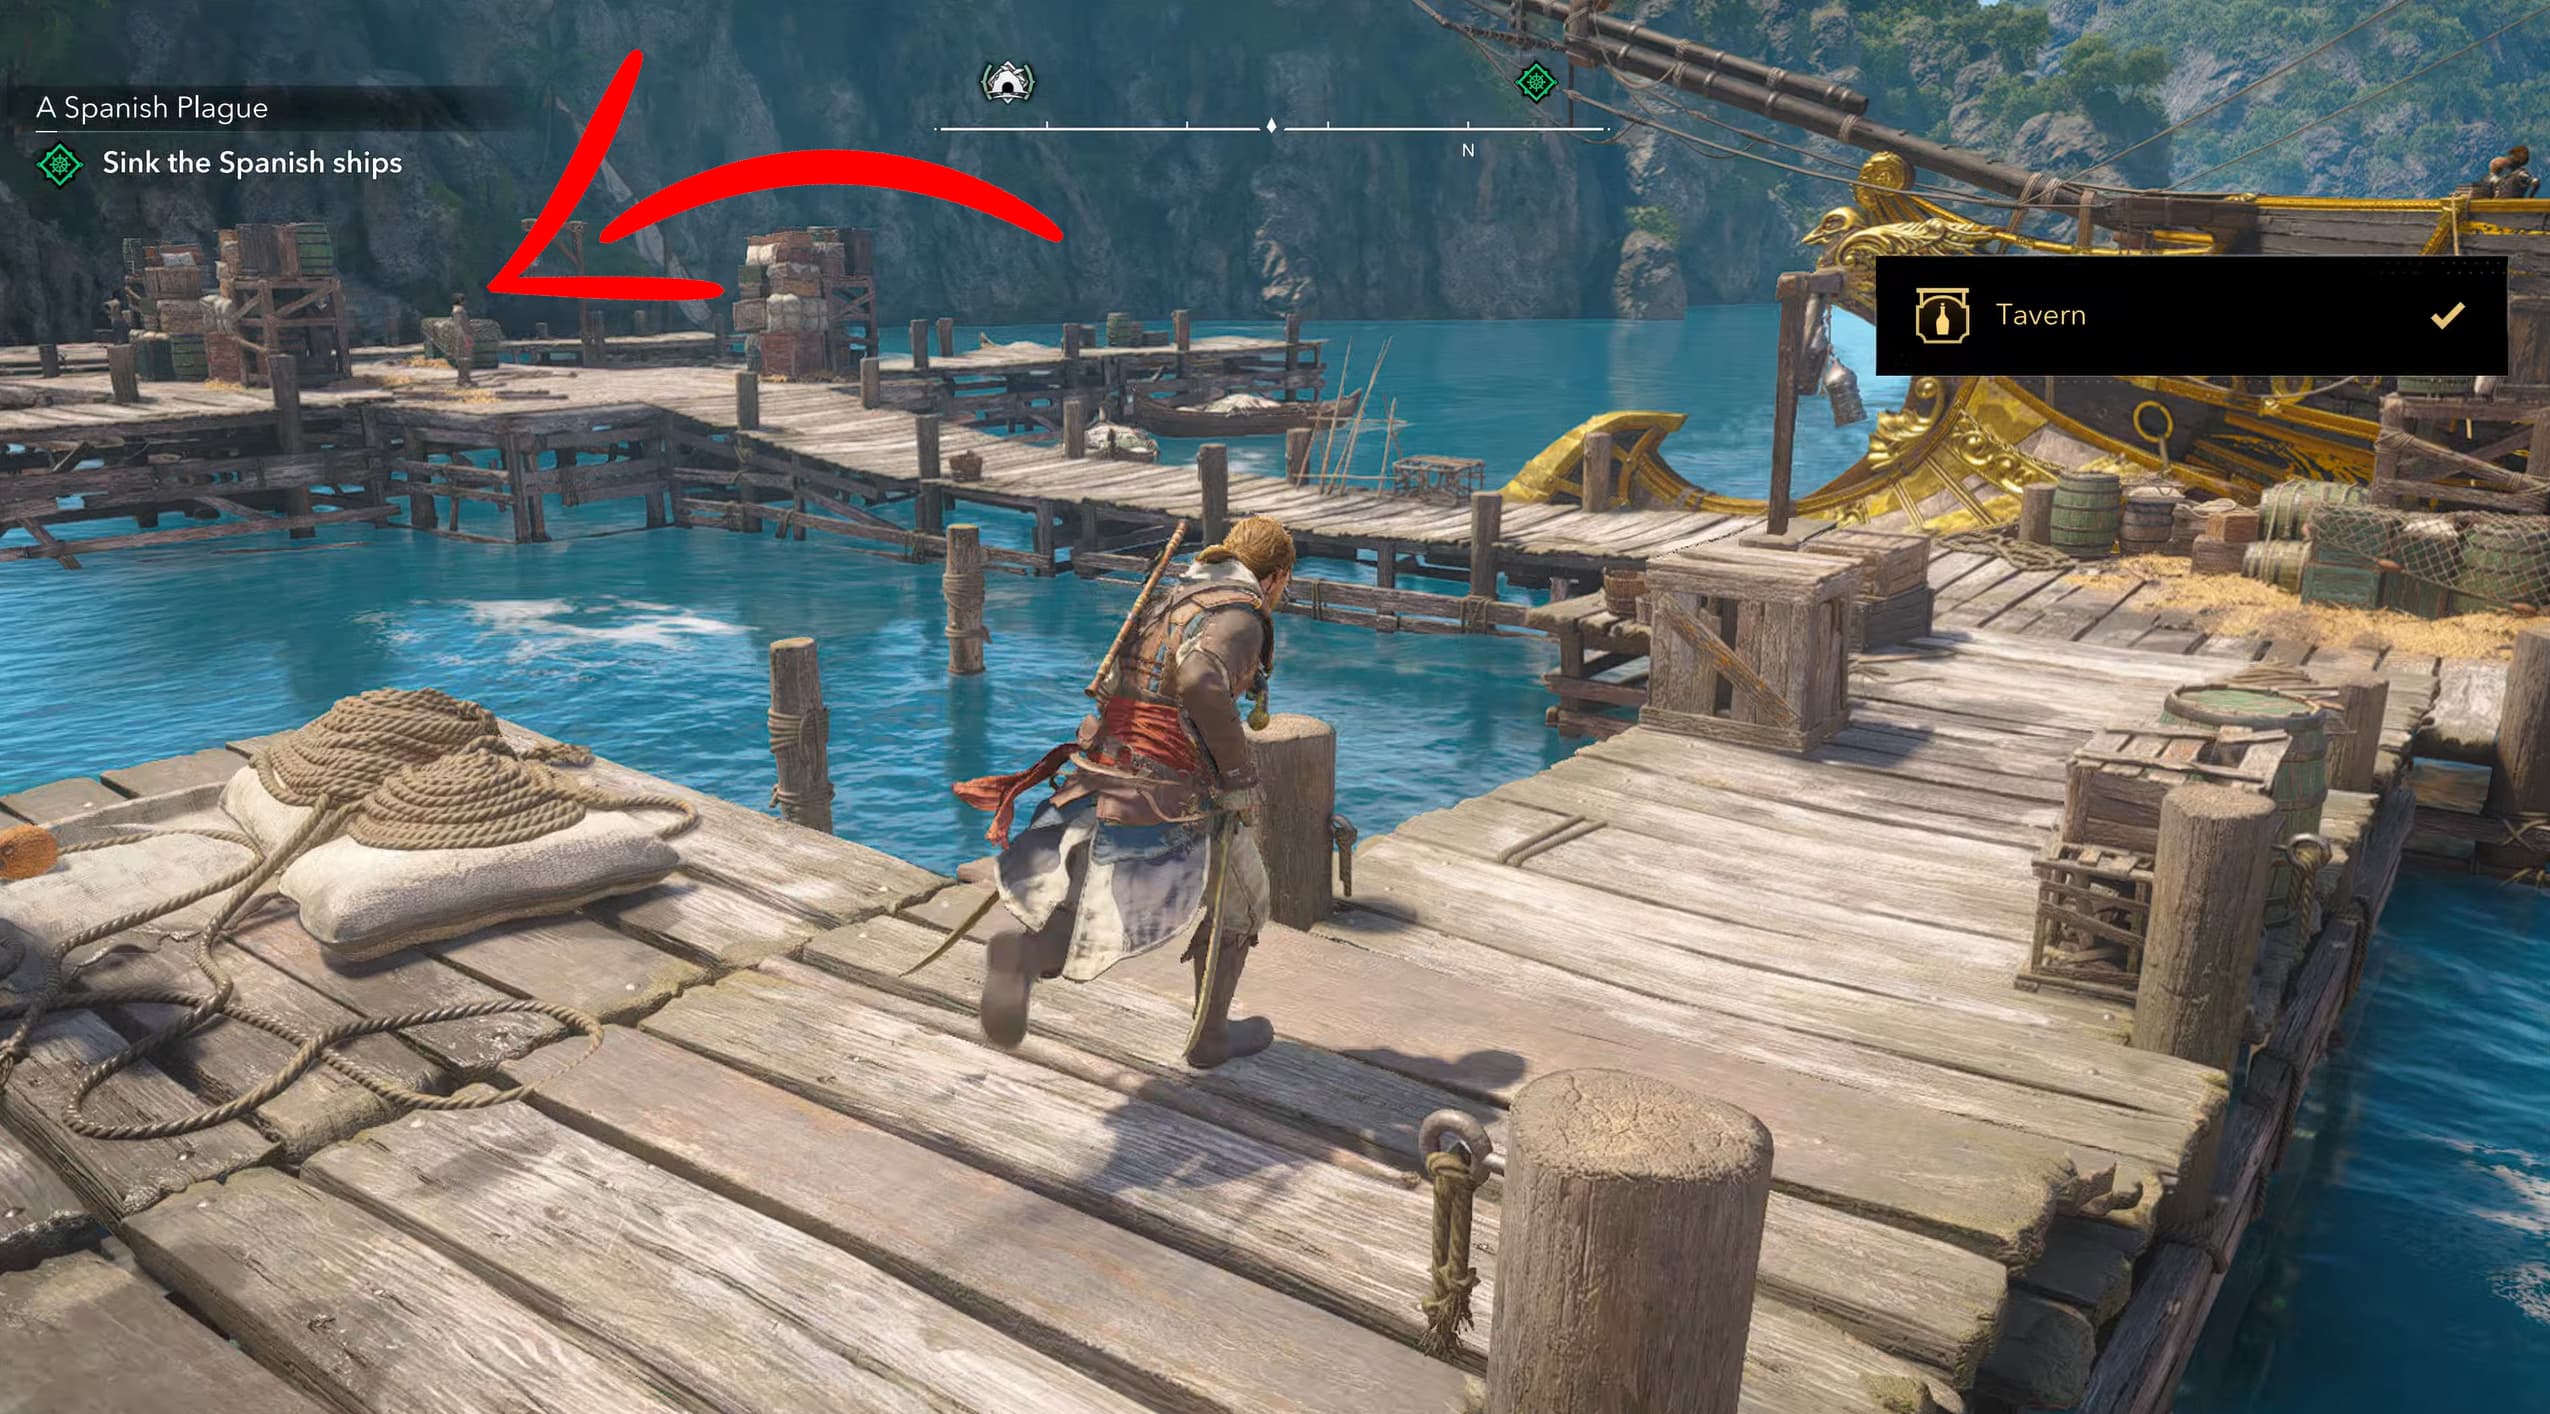
After restoring both buildings, return towards your ship, Jackdaw, head to the left on the docks and a new guy will appear who will become the Treasure Dealer, speak to him and restore his shop too.
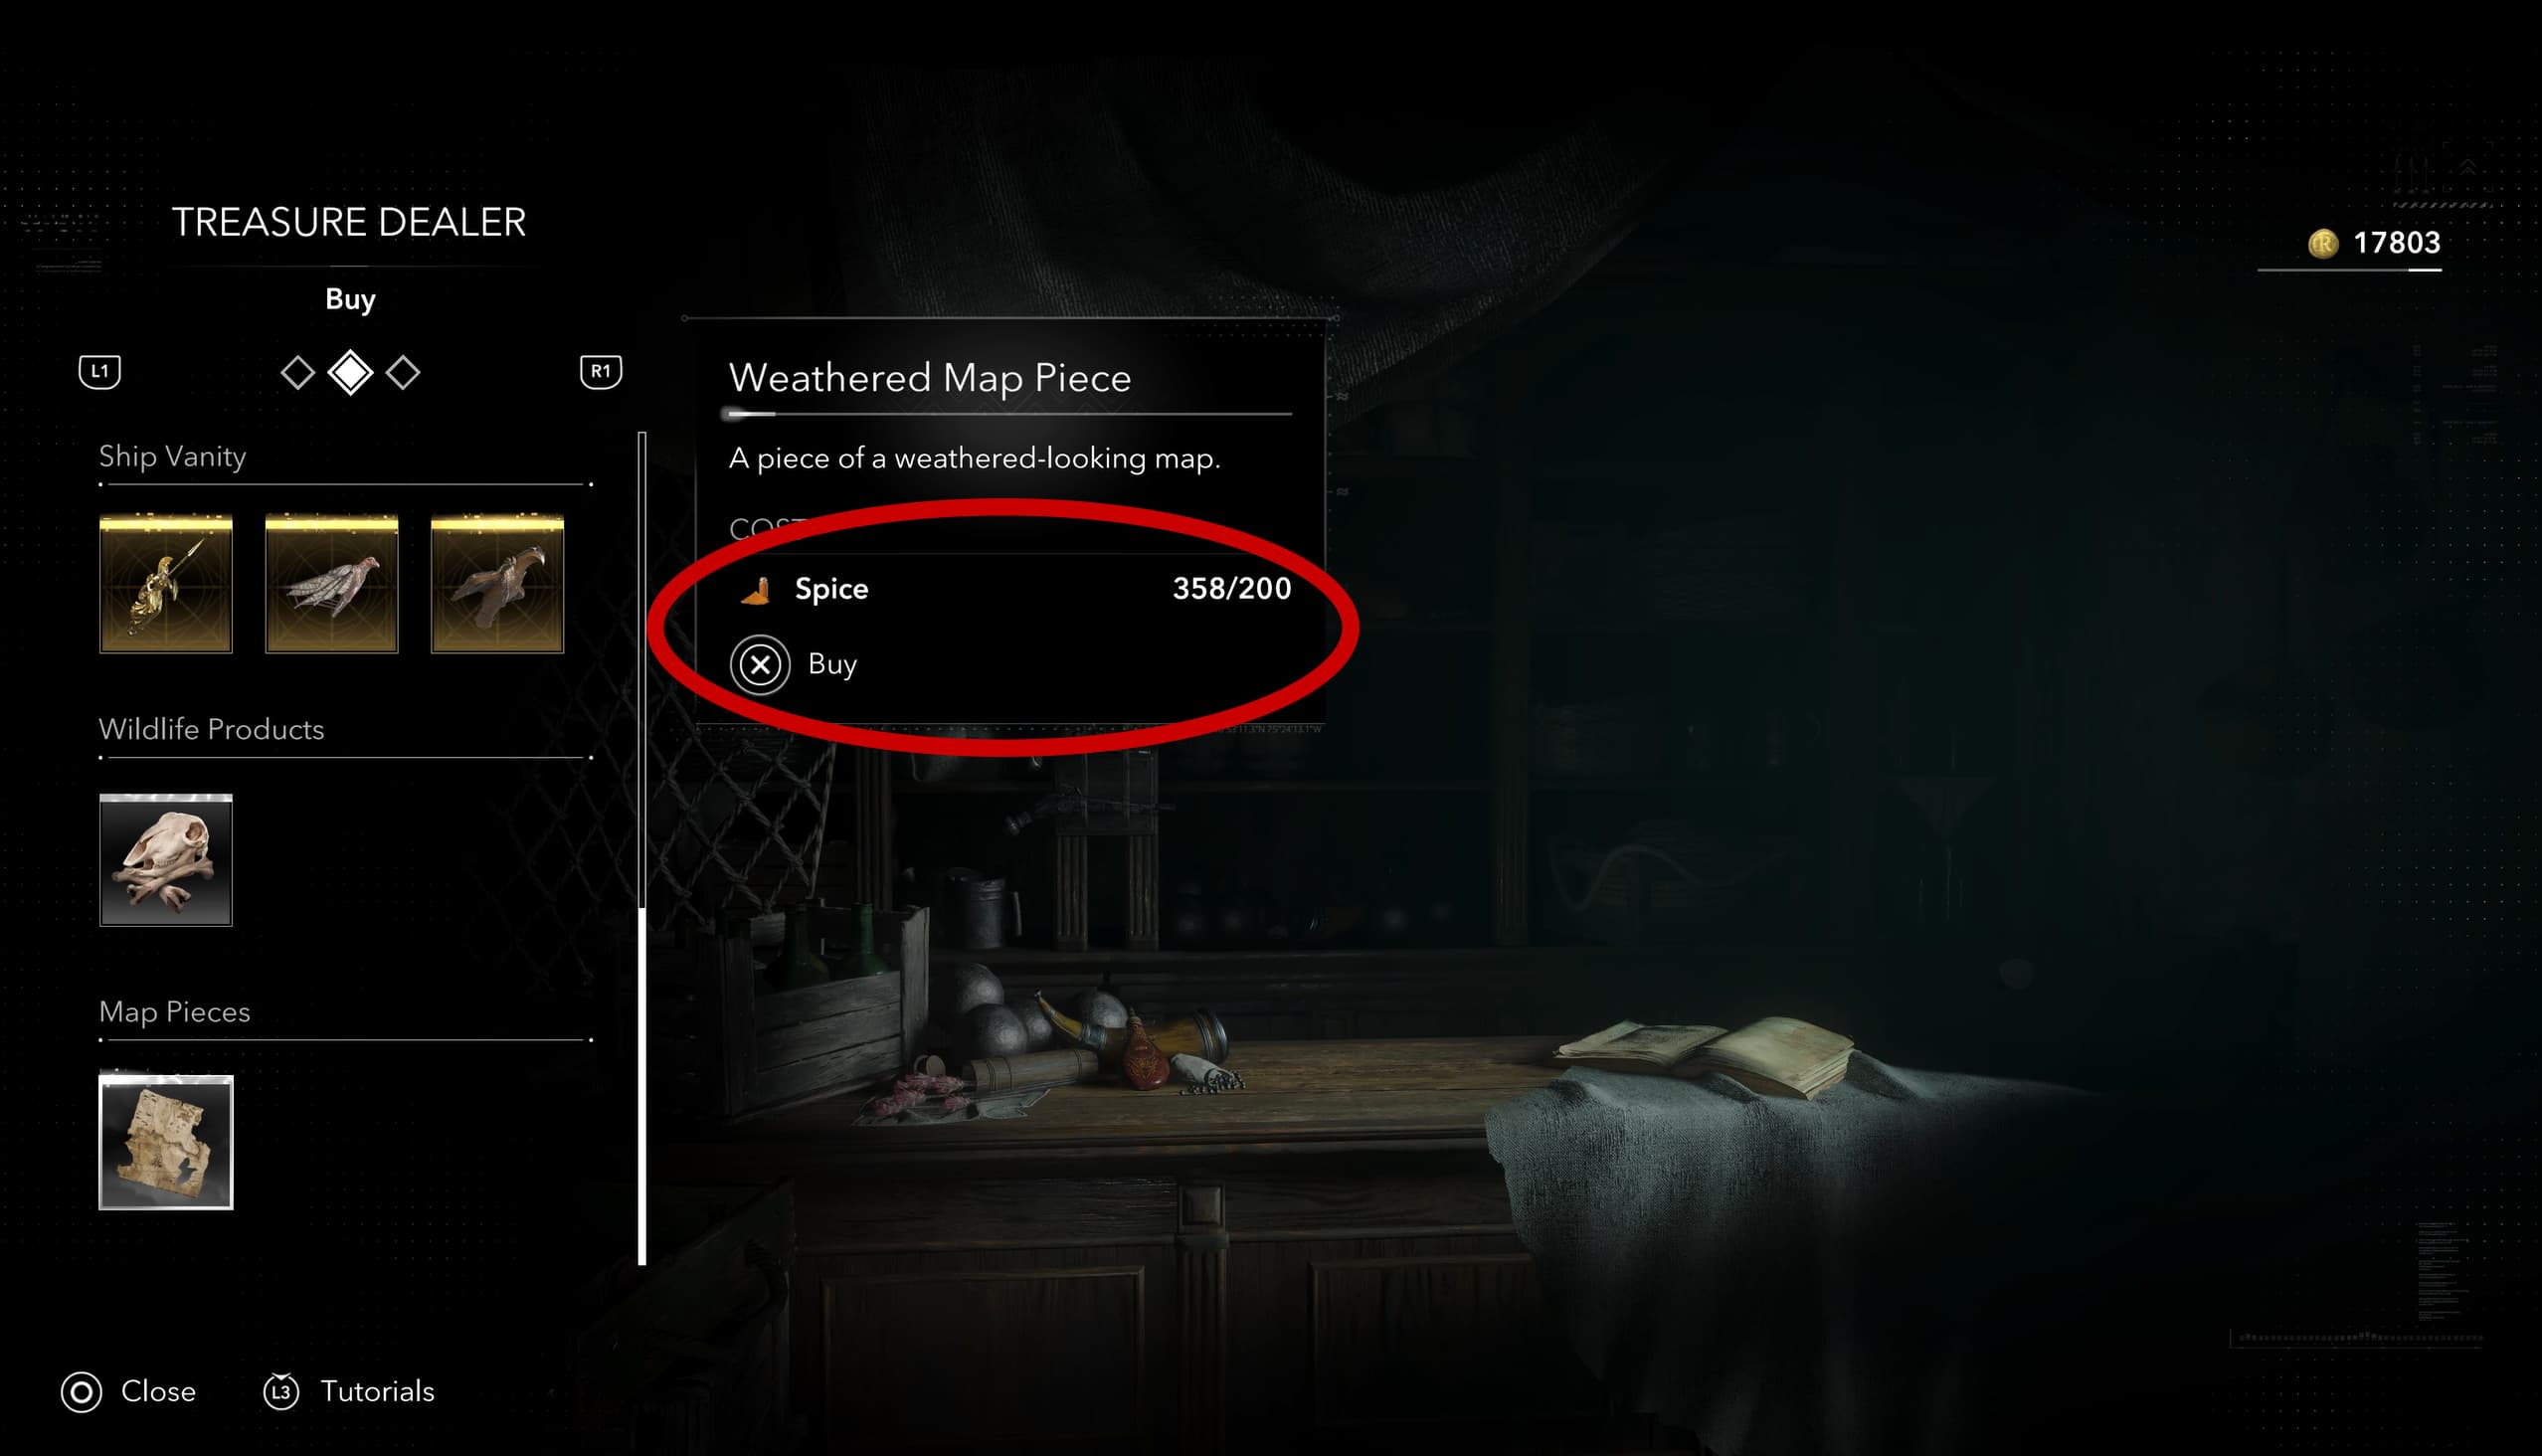
Once the Treasure Dealer is available, browse his inventory and purchase the final Weathered Map Piece, HOWEVER, this may not be as straight forward as expected.
Obtaining 350 Spice To Buy Map
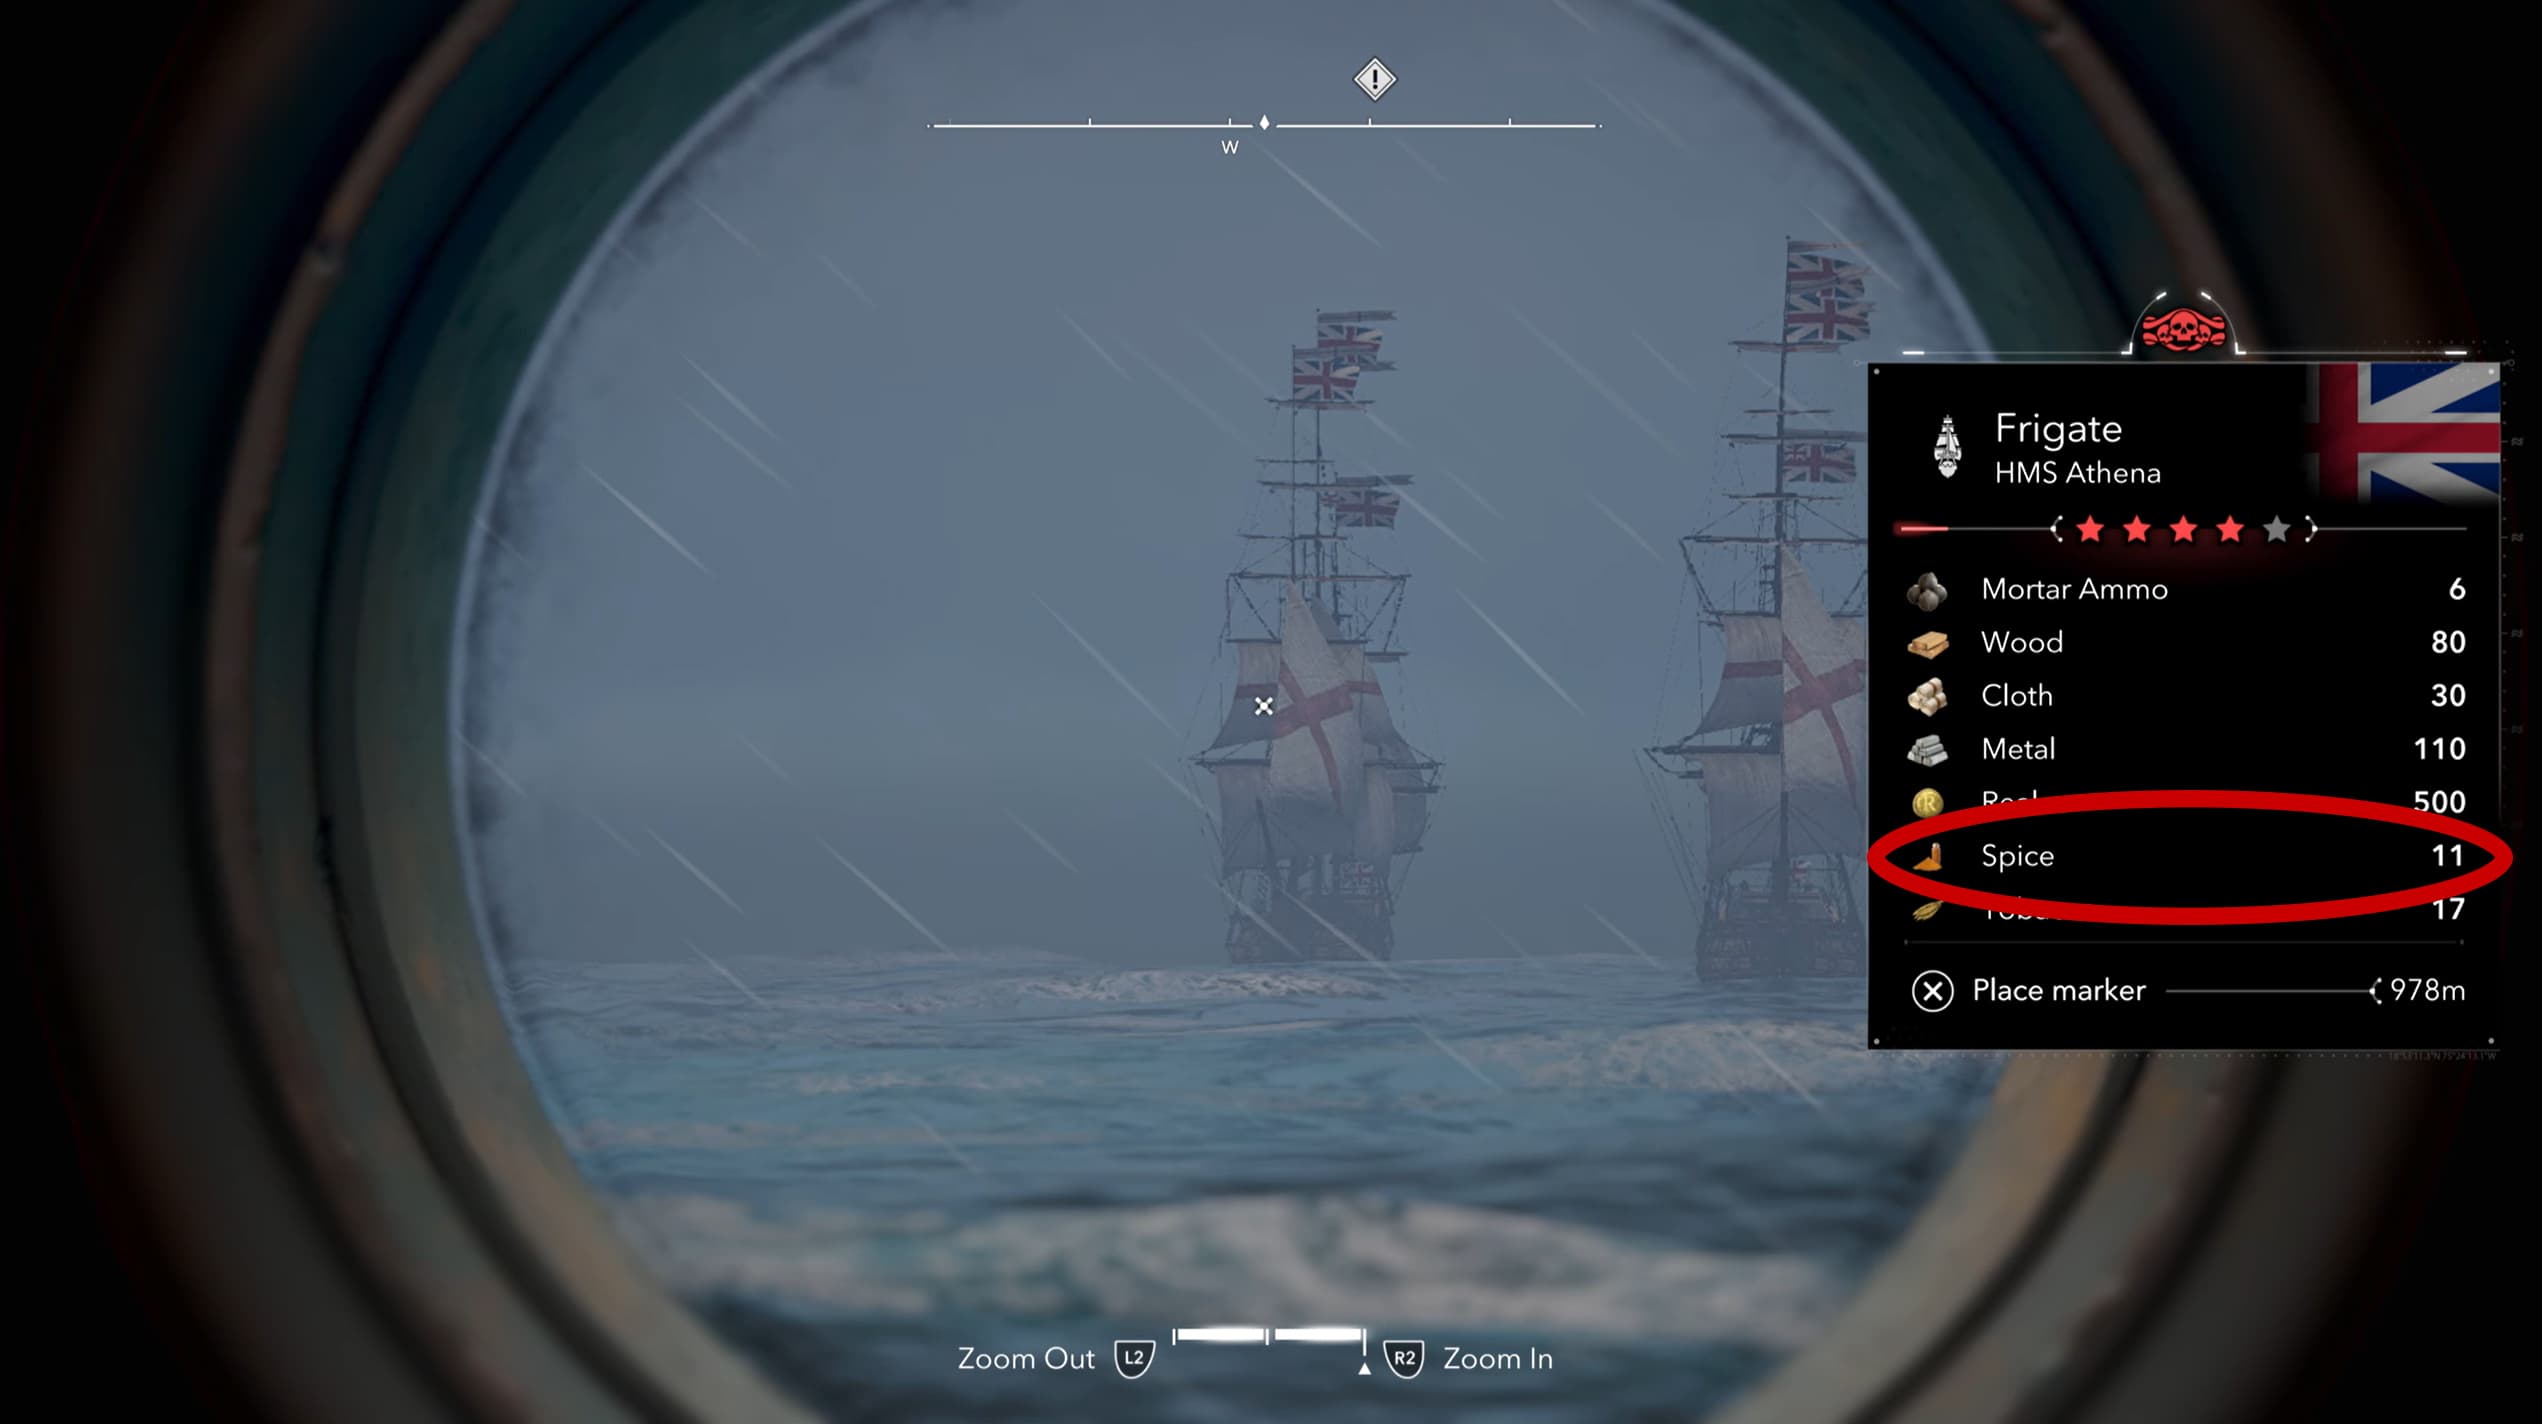
In order to purchase the final piece you will need a combined total of 350 Spice. The easiest way to obtain Spice is by sailing around the open sea and searching for ships carrying large quantities of it.
Attack these ships and begin the boarding sequence, after successfully boarding the ship and taking the cargo, gradually your Spice inventory will grow. This will take some time, so once again, be patient in collecting the Spice.
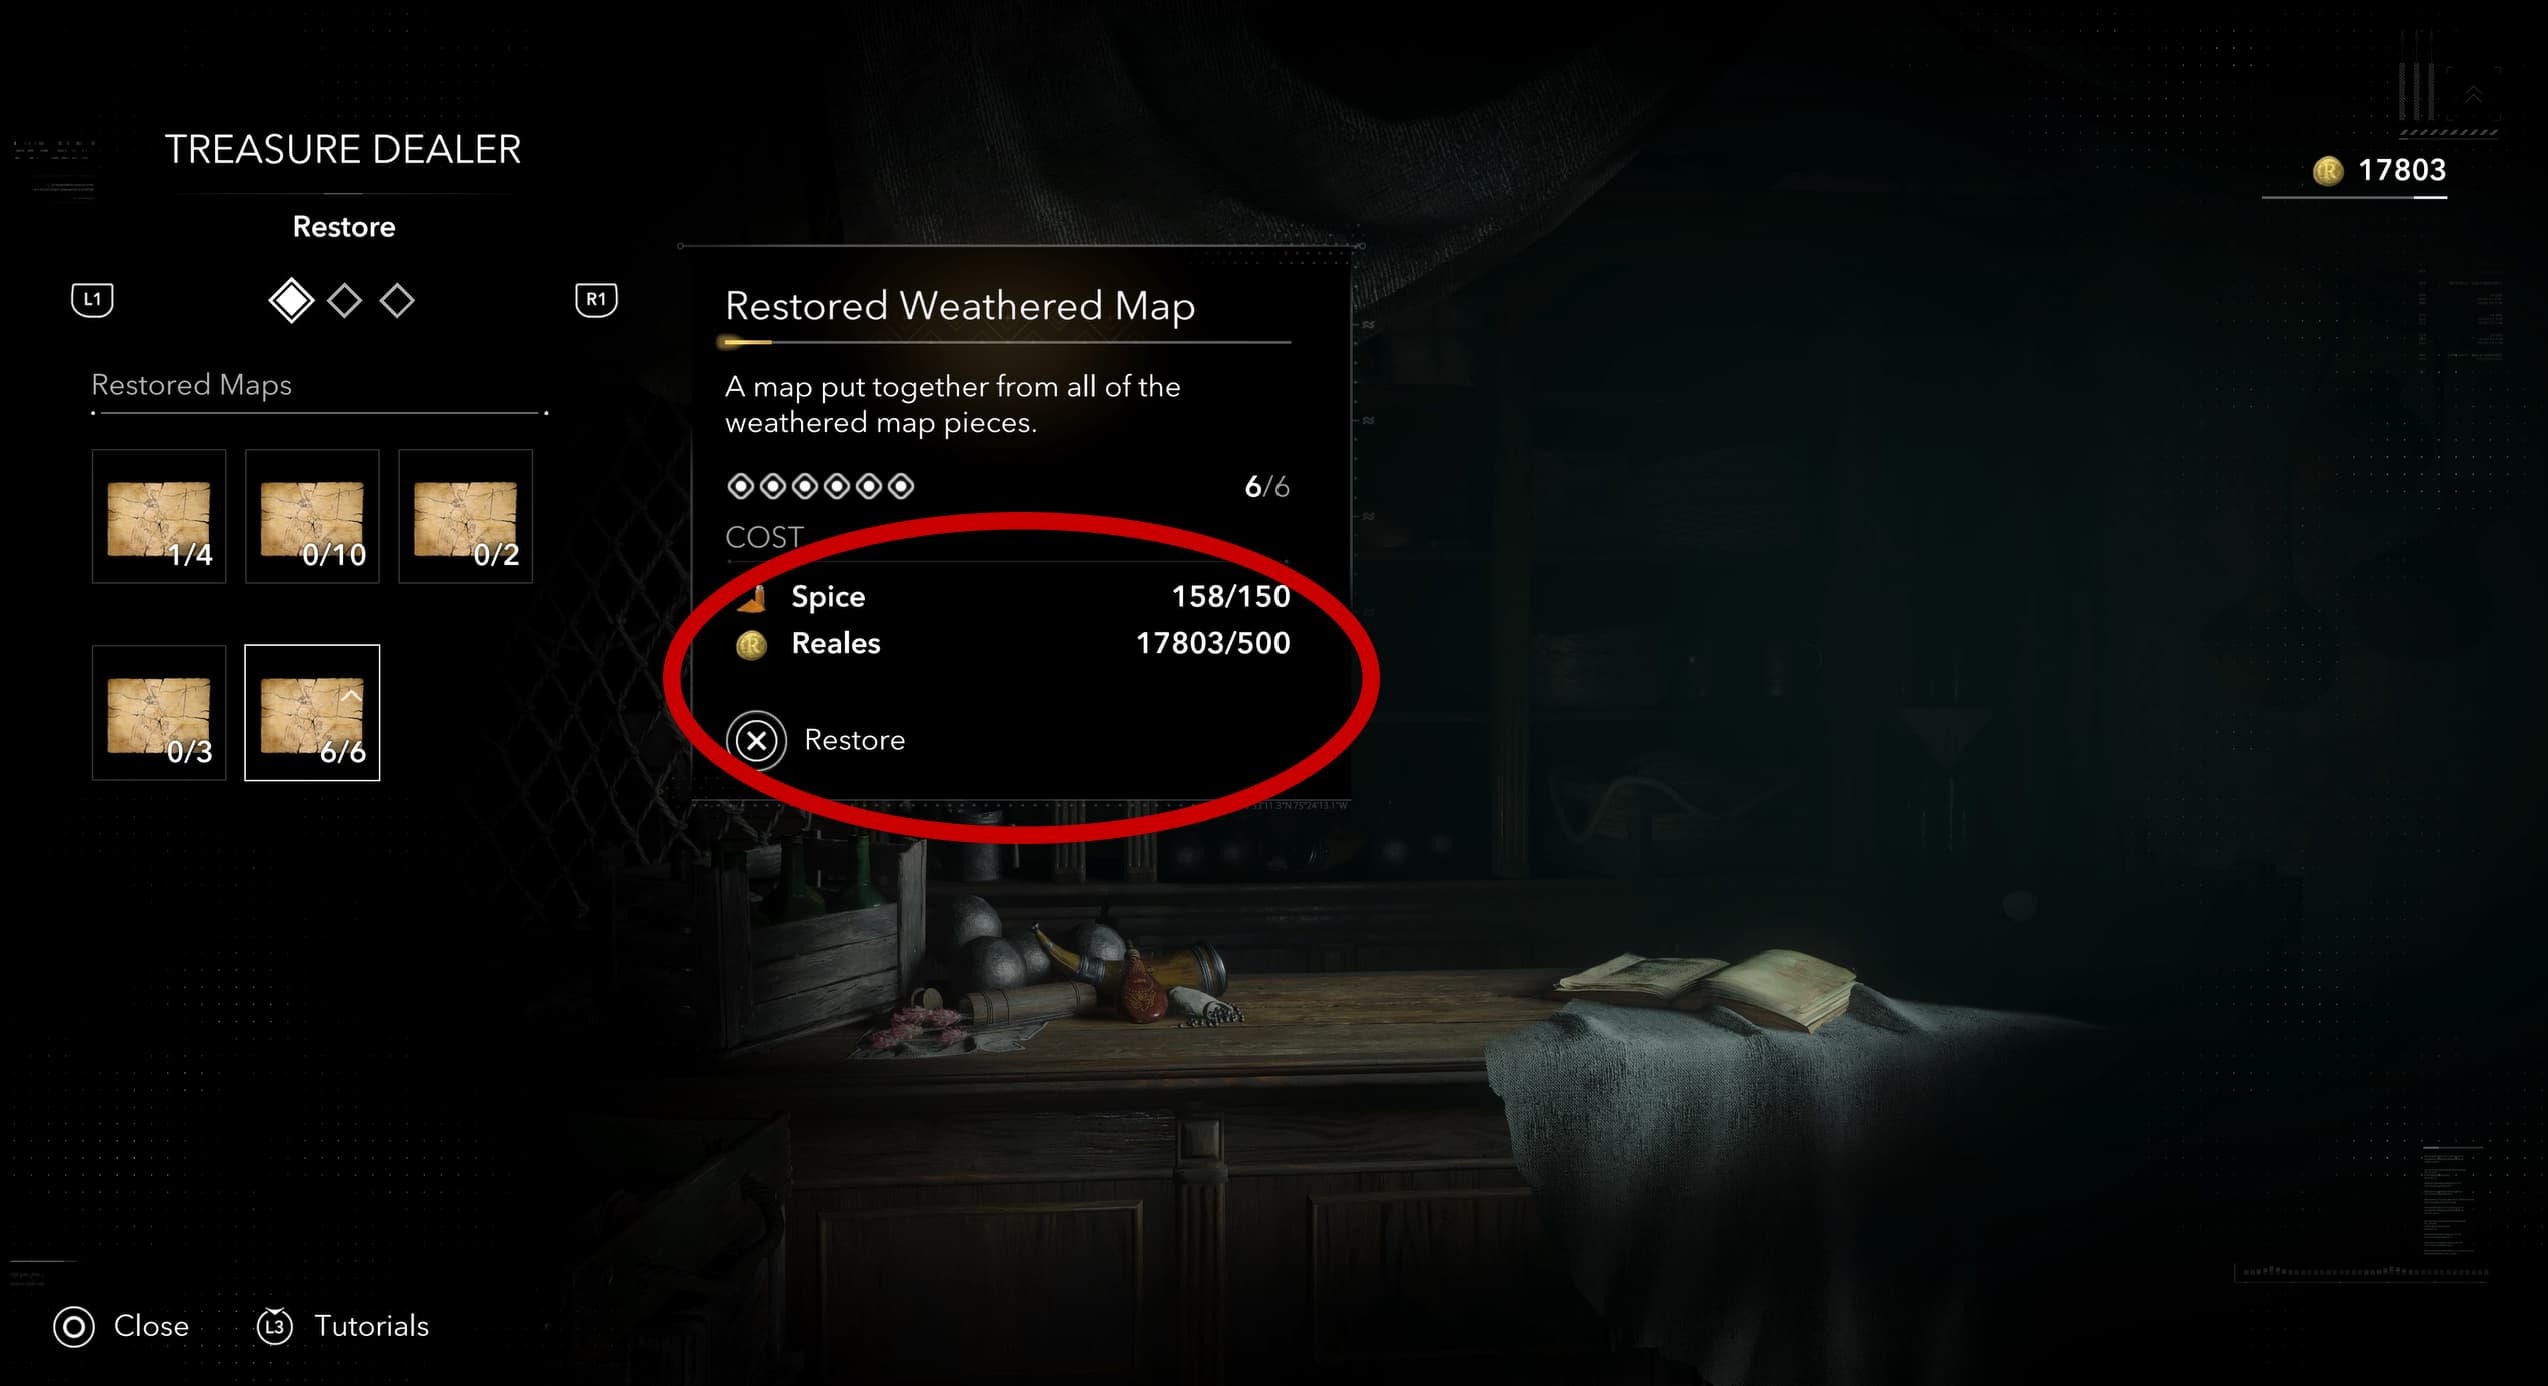
After obtaining all 350 Spice, head back to Great Inagua and back to the Treasure Dealer, you will now be able to purchase the sixth and final Weathered Map Piece, and also restore the map with him.
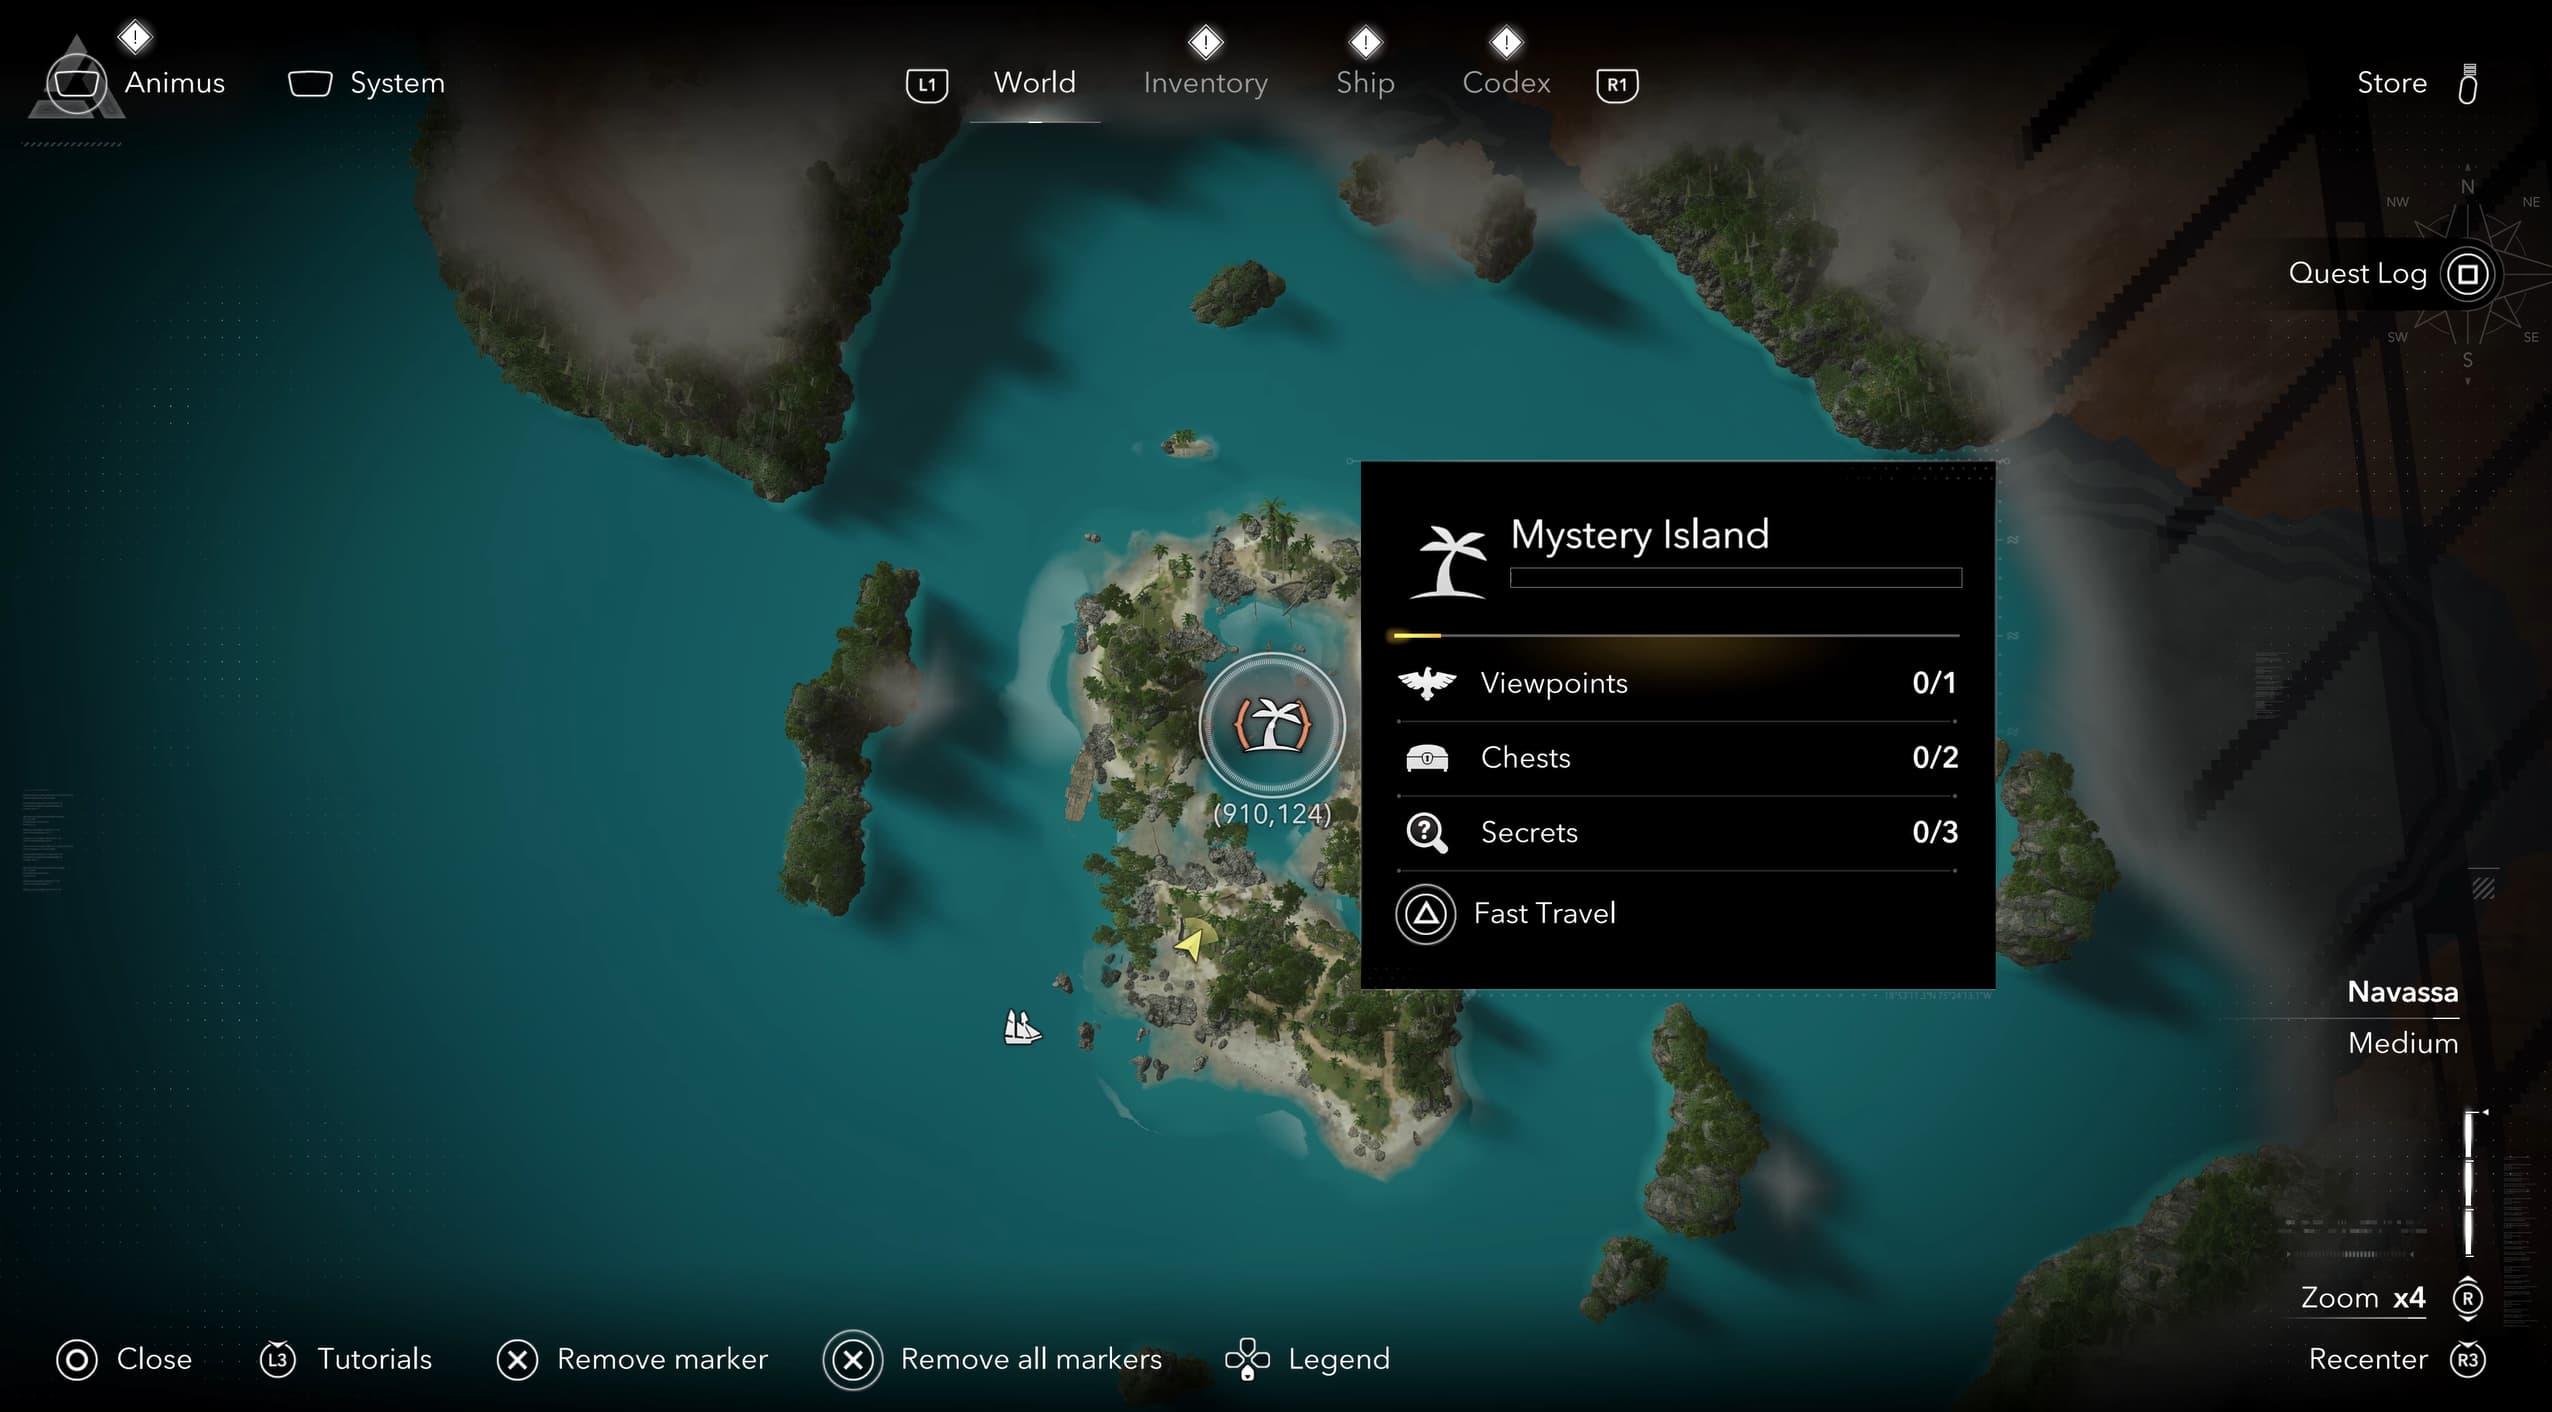
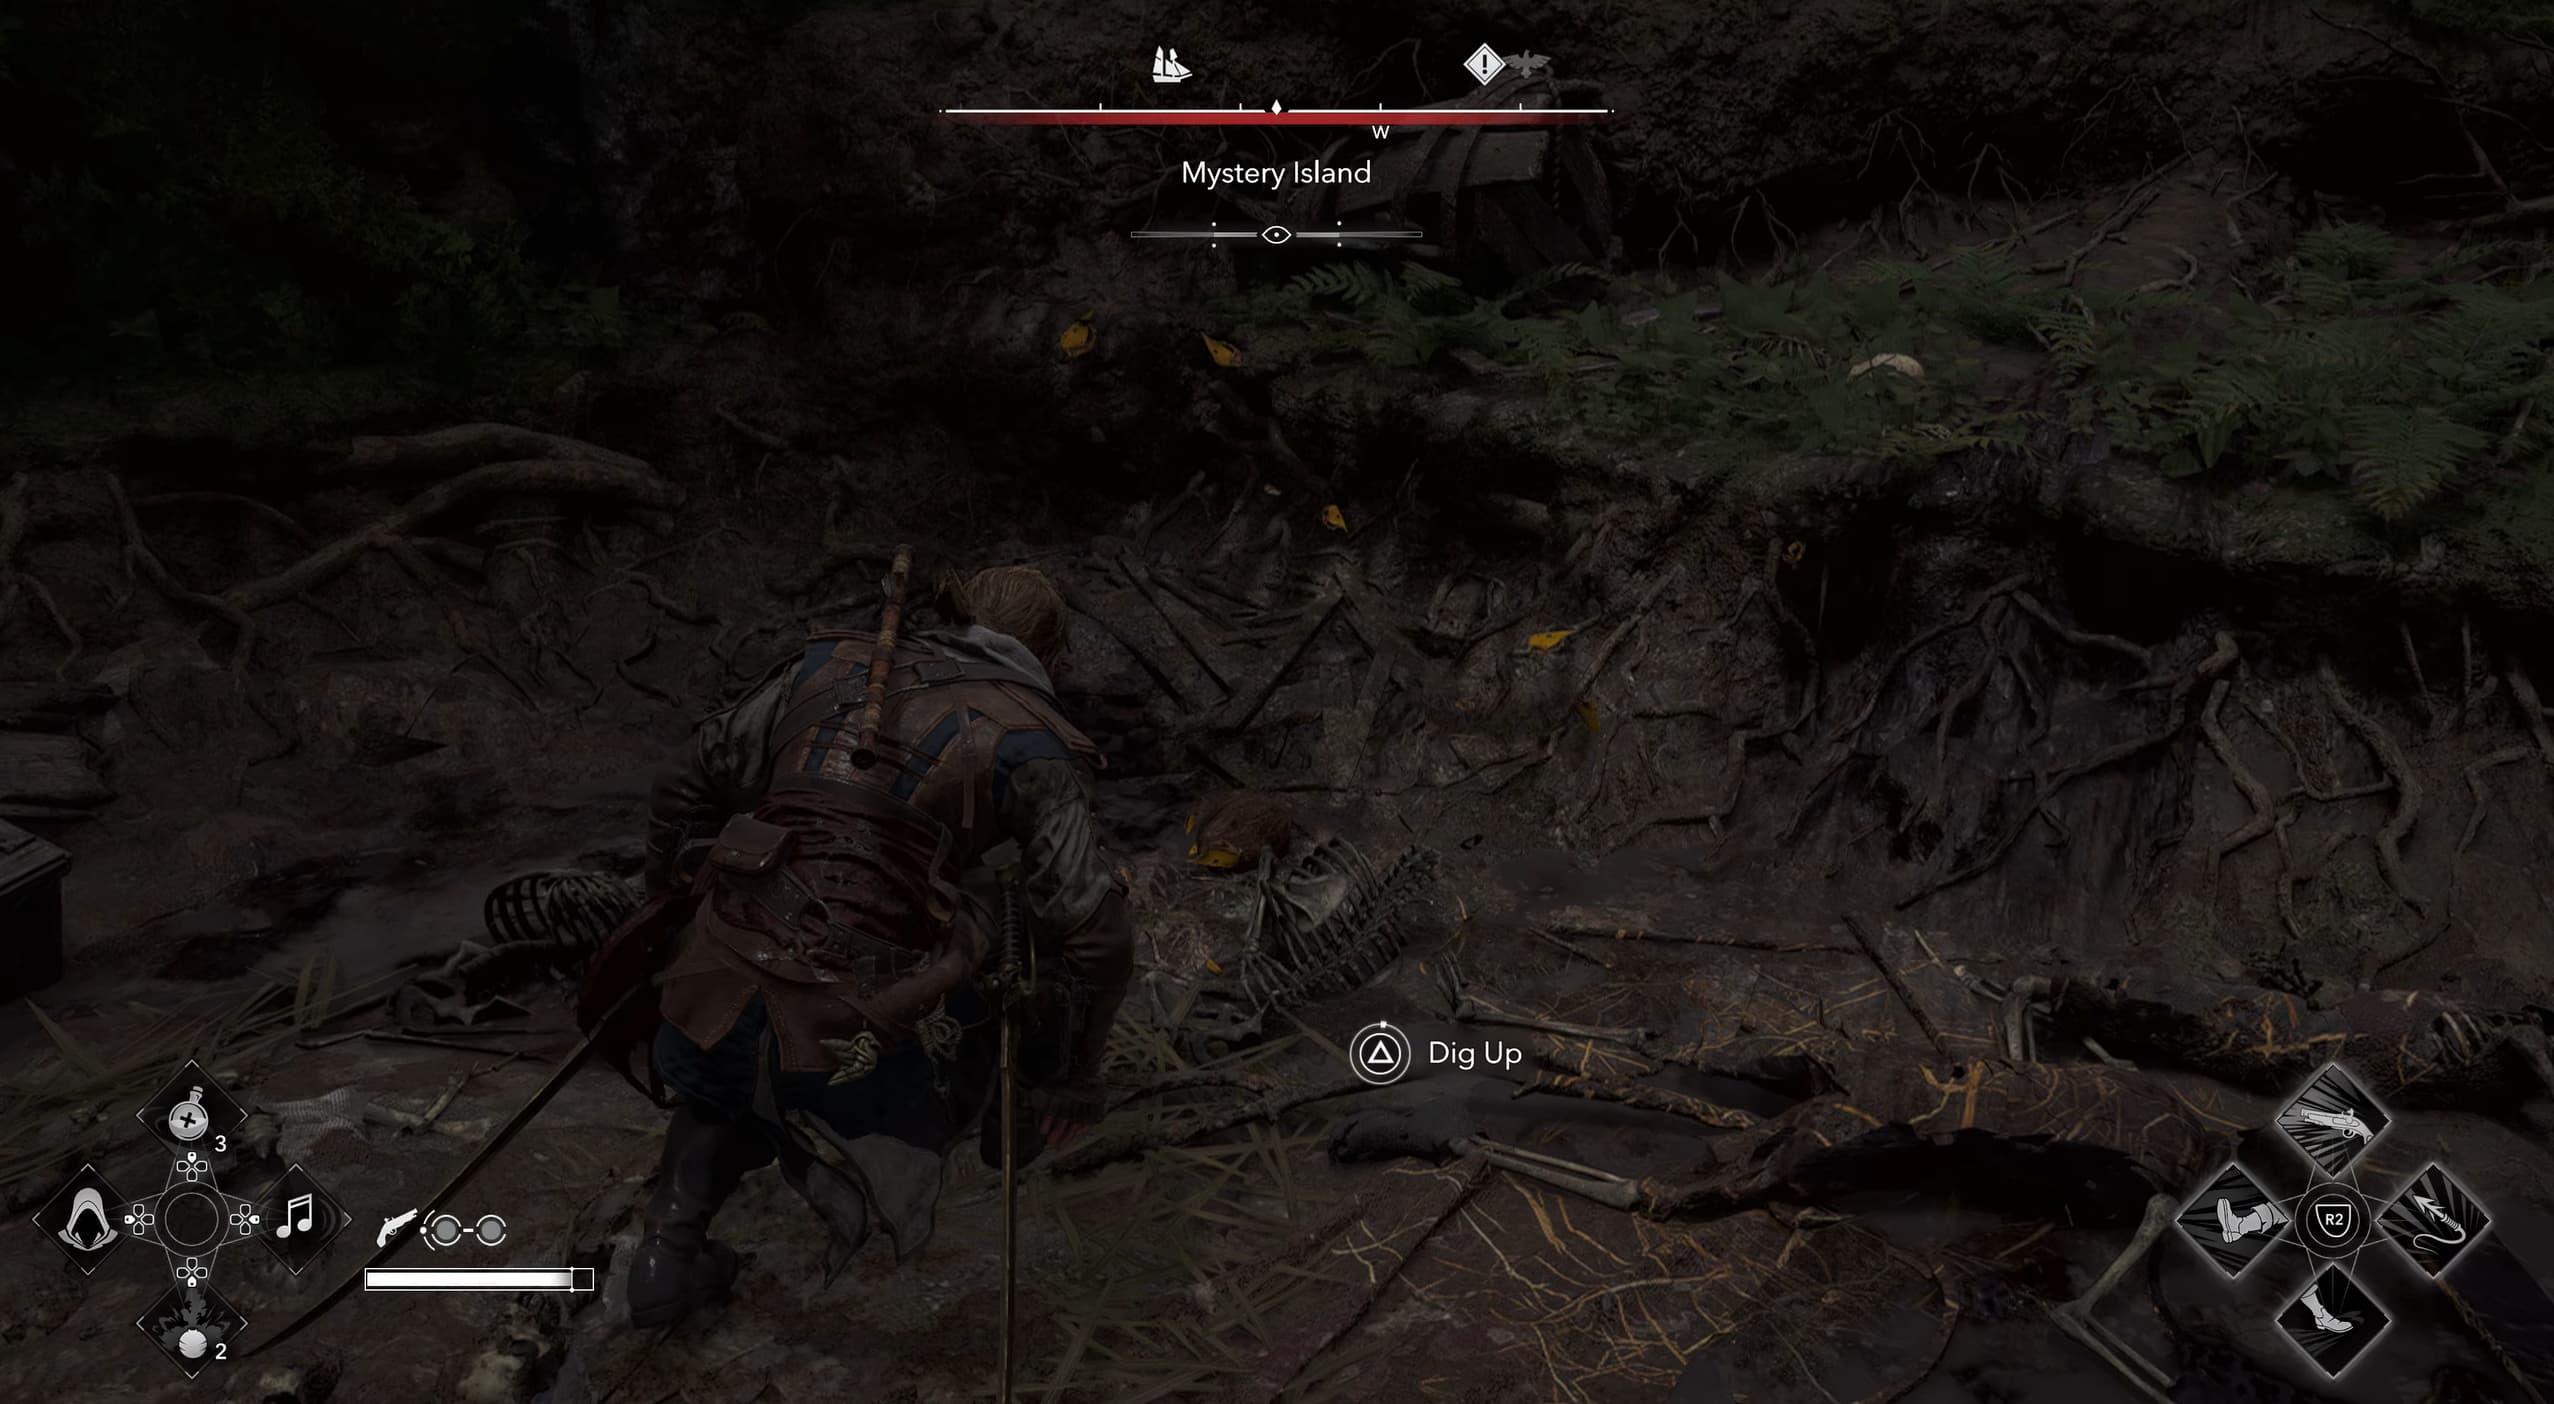
By now, the Zero Waste Trophy will have popped for you and the completed map will reveal a new set of coordinates (910,124) to Mystery Island.
Make your way to the Treasure Map coordinates (914,124) and collect the treasure!