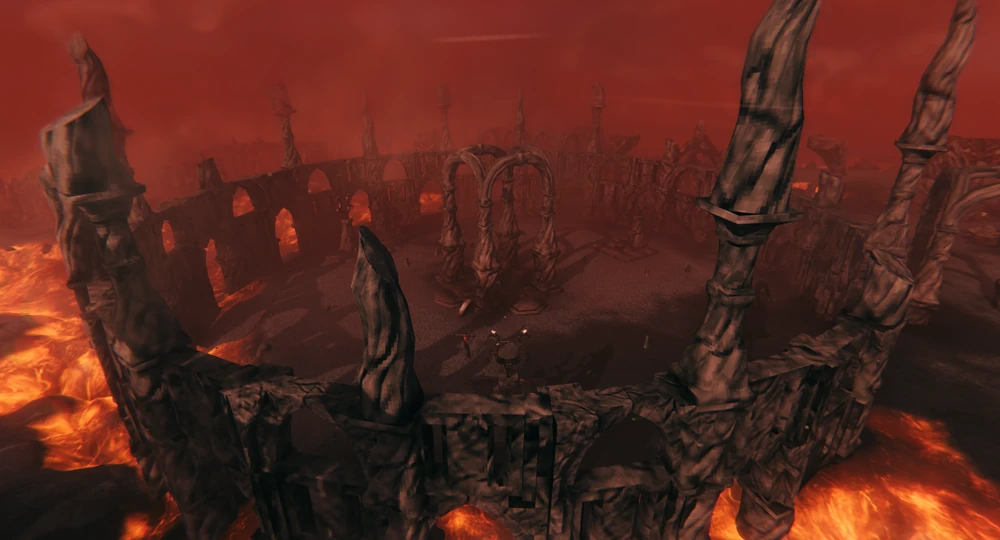
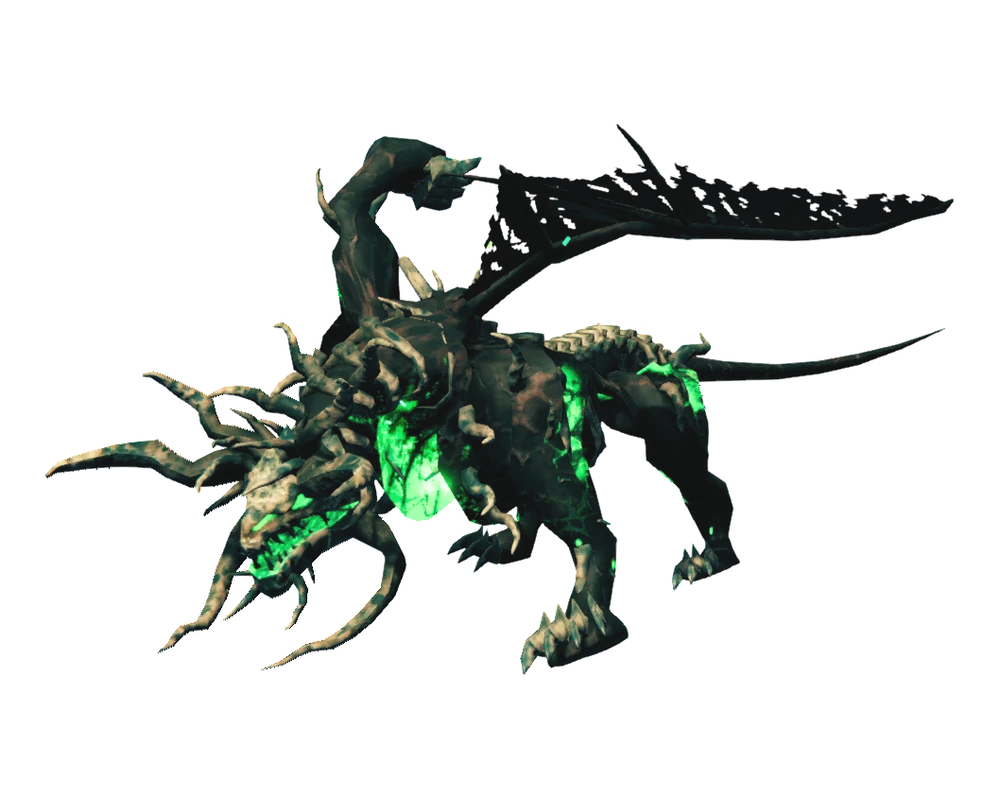
Valheim is built around a clear biome-based progression system. Each new biome introduces stronger enemies, new resources, better equipment, new crafting options, and eventually a boss that unlocks the next stage of the game.
In this guide, we’ll go through every major biome in order and explain what you should focus on when you first arrive, which enemies you need to watch out for, which weapons and gear are worth picking up, and what you need to do before moving on.
The guide is meant to give you a clear overview rather than cover every single item or mechanic in depth. If you’re ever unsure what your next goal should be, you can use each biome section as a quick progression checklist.
Spoiler Warning: This guide covers biome progression, bosses, important items, enemies, and major unlocks throughout Valheim. If you prefer discovering these naturally, expect spoilers from the biome sections ahead.
We'll add the Deep North separately once its progression is fully established after Valheim 1.0.
Meadows
The Meadows is Valheim's starting biome and the safest place to learn the game's basic systems. Your main goals here are to establish a functional first base, improve your early food and equipment, learn the basics of combat, and prepare for your first boss, Eikthyr.
You don't need to spend hours fully upgrading everything before moving on. The Meadows is primarily there to give you the tools and resources needed to begin proper progression once the Black Forest becomes your next destination.
Where to Get Started
Your first priority should be establishing a small base near useful resources. You don't need anything complicated yet. A Workbench, Bed, Fire, basic shelter, and a few Chests are enough to get started.
From there, begin collecting Wood, Stone, Flint, Leather Scraps, and Deer Hide. Flint is commonly found near water and gives you access to some of your first meaningful weapon and tool upgrades.
Food should also become part of your routine immediately. Hunt Boars, Deer, and Necks, while collecting Raspberries and Mushrooms whenever you find them. Keeping three food effects active gives you considerably more Health and Stamina than running around without food.
Before fighting Eikthyr, it is worth having a Bow, a shield, upgraded early equipment, decent food, and the Rested buff active.
Enemies You'll Find in the Meadows
The Meadows is relatively safe compared to later biomes, but there are still several creatures you'll regularly encounter.
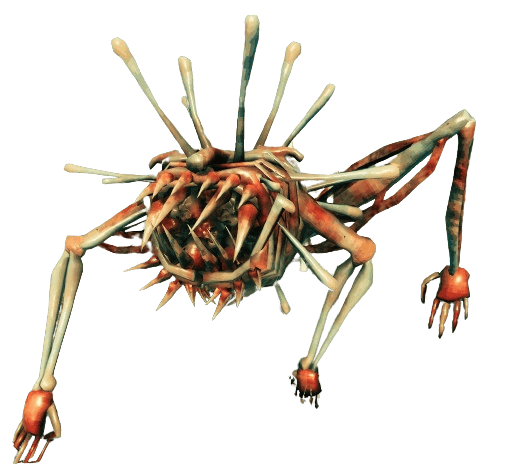
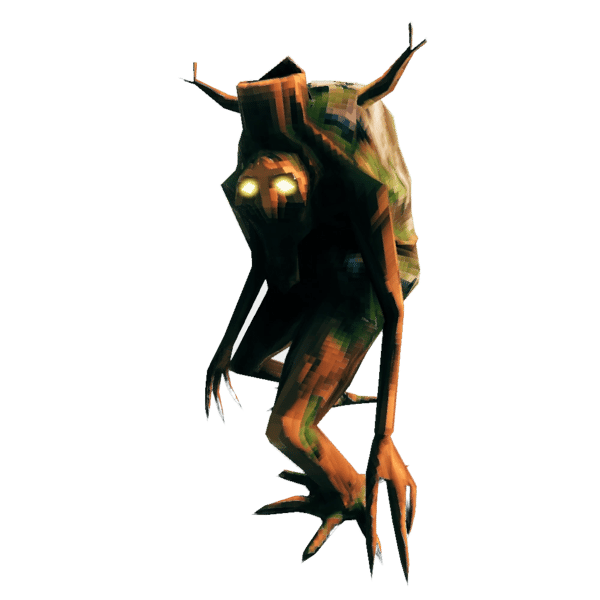
Greyling
One of the weakest enemies in the game and mostly useful for learning basic combat.
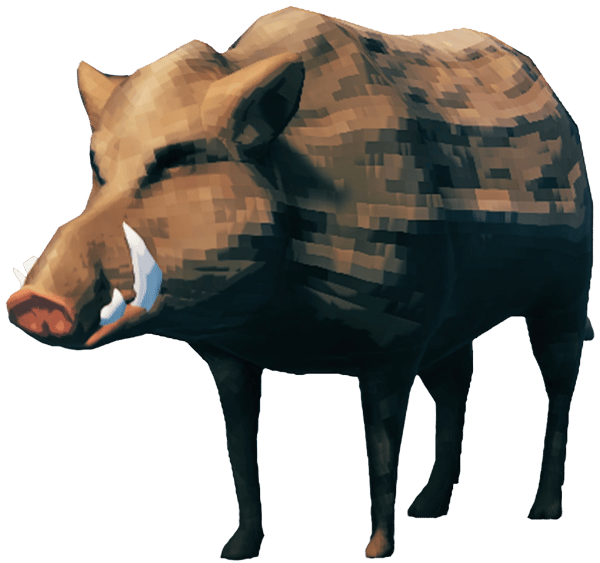
Boar
Aggressive when approached and an important source of Leather Scraps and Boar Meat. Boars can also be tamed later.
Neck
Small enemies commonly found near water. They drop Neck Tails, which provide one of your useful early cooked foods.
Enemies from nearby biomes can occasionally wander into the Meadows as well, especially if your base is located close to a biome border. A seemingly safe Meadows can therefore become more dangerous if you build directly next to the Black Forest.
Important Weapons and Gear
One of your best early melee options is the Flint Spear. It is cheap to craft, attacks quickly, and deals Pierce damage, which performs well against many early enemies.
A Club is also worth keeping available. Its Blunt damage becomes particularly useful once you begin encountering Skeletons around the Black Forest and Burial Chambers.
For ranged combat, your first normal option is the Crude Bow. It makes hunting Deer considerably easier and allows you to deal with dangerous enemies from a safer distance.
Your armor progression will mostly involve Rag and Leather equipment during this stage. You don't need to fully upgrade every piece before moving on, but having some additional protection will make Eikthyr and your first trips into the Black Forest more forgiving.
Optional: Get the Finewood Bow Early
Normally, Fine Wood requires a Bronze Axe, meaning the Finewood Bow is intended to become available during Black Forest progression.
However, it is possible to obtain Fine Wood much earlier by using Valheim's physics system.
Falling trees and rolling logs can damage Birch and Oak trees, even if your current Axe isn't strong enough to cut them directly. By repeatedly knocking trees and logs into each other, you can eventually break them and collect Fine Wood without ever crafting a Bronze Axe.
If you manage to collect enough Fine Wood and the other required materials, you can craft a Finewood Bow much earlier than normally intended.
This is completely optional and isn't necessary for normal progression. The Crude Bow is enough to defeat Eikthyr and begin exploring the Black Forest, but the Finewood Bow trick can give experienced or adventurous players a significant early ranged upgrade.
Important Things to Do in the Meadows
The Meadows is where you should establish most of your basic habits.
Build and upgrade your Workbench, keep the Rested buff active, learn how Food affects your Health and Stamina, and begin upgrading the equipment you actually use.
You should also craft a Hoe relatively early. Besides helping with building, it becomes useful throughout the rest of the game for manipulating terrain and creating paths.
Hunting is particularly important during this stage. Deer provide Deer Hide and occasionally Deer Trophies, while Boars provide Leather Scraps needed for several early recipes.
You need two Deer Trophies to summon Eikthyr at his altar.
Don't worry about constructing your permanent endgame base yet. A simple functional settlement is enough, and you can expand or relocate once you've explored more of the world.
Defeat Eikthyr
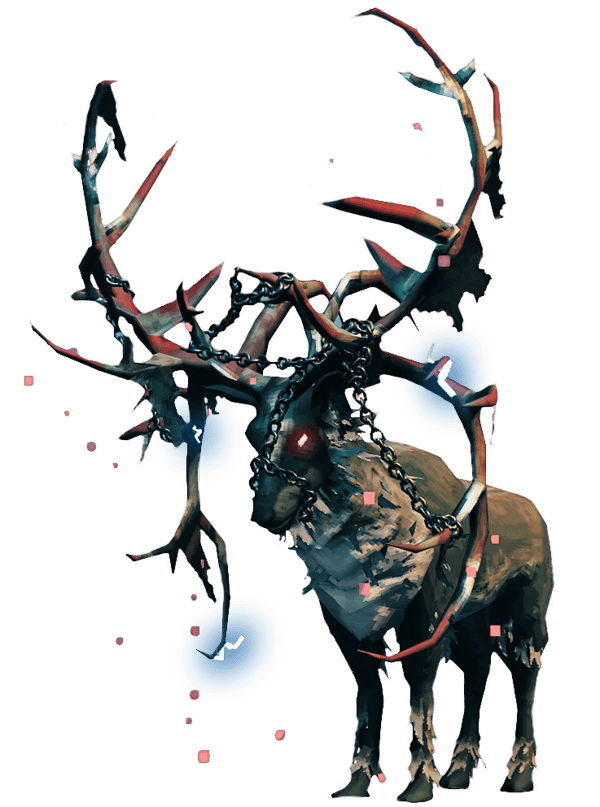
Eikthyr is the first boss and the final major step of your Meadows progression.
Before summoning him, make sure you have good food active, the Rested buff, repaired equipment, and preferably both a melee weapon and a Bow.
Eikthyr mainly attacks with lightning-based frontal attacks and close-range melee strikes. Most of his attacks are clearly telegraphed, so the fight is a good introduction to learning when to dodge, block, or simply move out of the way.
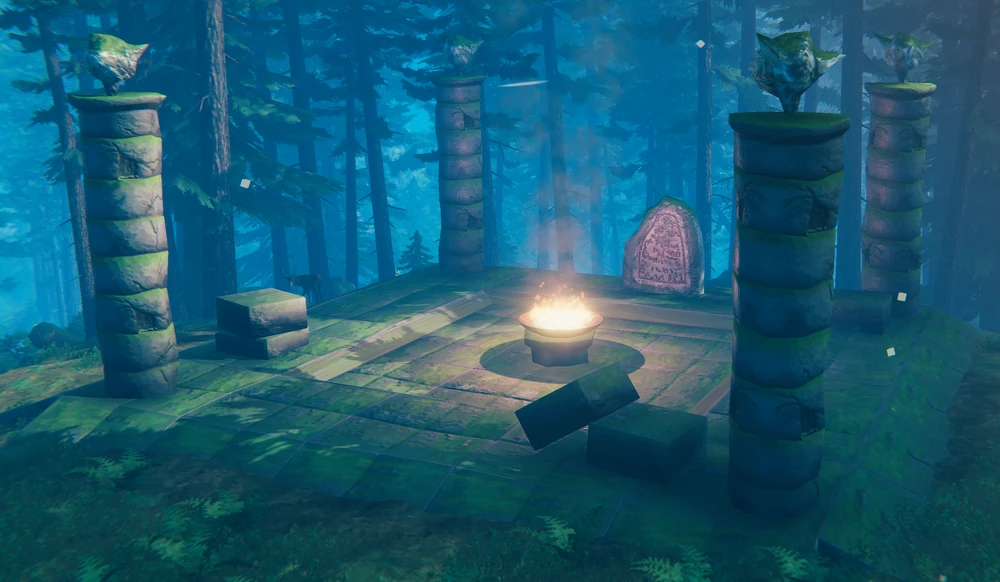
One of the safest strategies is to keep some distance and use a Bow, especially while you're still learning his attack patterns. The large stones around his altar can also help break line of sight and give you space to recover Stamina.
If you prefer melee, wait for Eikthyr to finish one of his attacks before moving in for a few hits. Avoid spending your entire Stamina bar on a long combo, since you still need enough Stamina to dodge or reposition when he attacks again.
His lightning attacks can cover a fairly wide area, so don't stand directly in front of him for too long. Moving around his sides and using the terrain around the altar makes the fight much safer.
Once defeated, Eikthyr drops Hard Antlers, which allow you to craft the Antler Pickaxe.
Boss Tip: Don't panic and constantly sprint around the arena. Eikthyr's attacks are much easier to avoid when you stay calm, keep enough Stamina in reserve, and punish him after his attack animations.
How to Progress to the Black Forest
Once you have the Antler Pickaxe, your next destination is the Black Forest.
You should ideally leave the Meadows with:
A functional base and upgraded Workbench, reliable food, a Bow, a melee weapon and shield, some Leather armor, Eikthyr defeated, and an Antler Pickaxe.
The Antler Pickaxe allows you to begin mining Copper and Tin, which starts your Bronze Age progression and opens up much more advanced crafting.
From there, the Black Forest becomes your main focus.
Black Forest
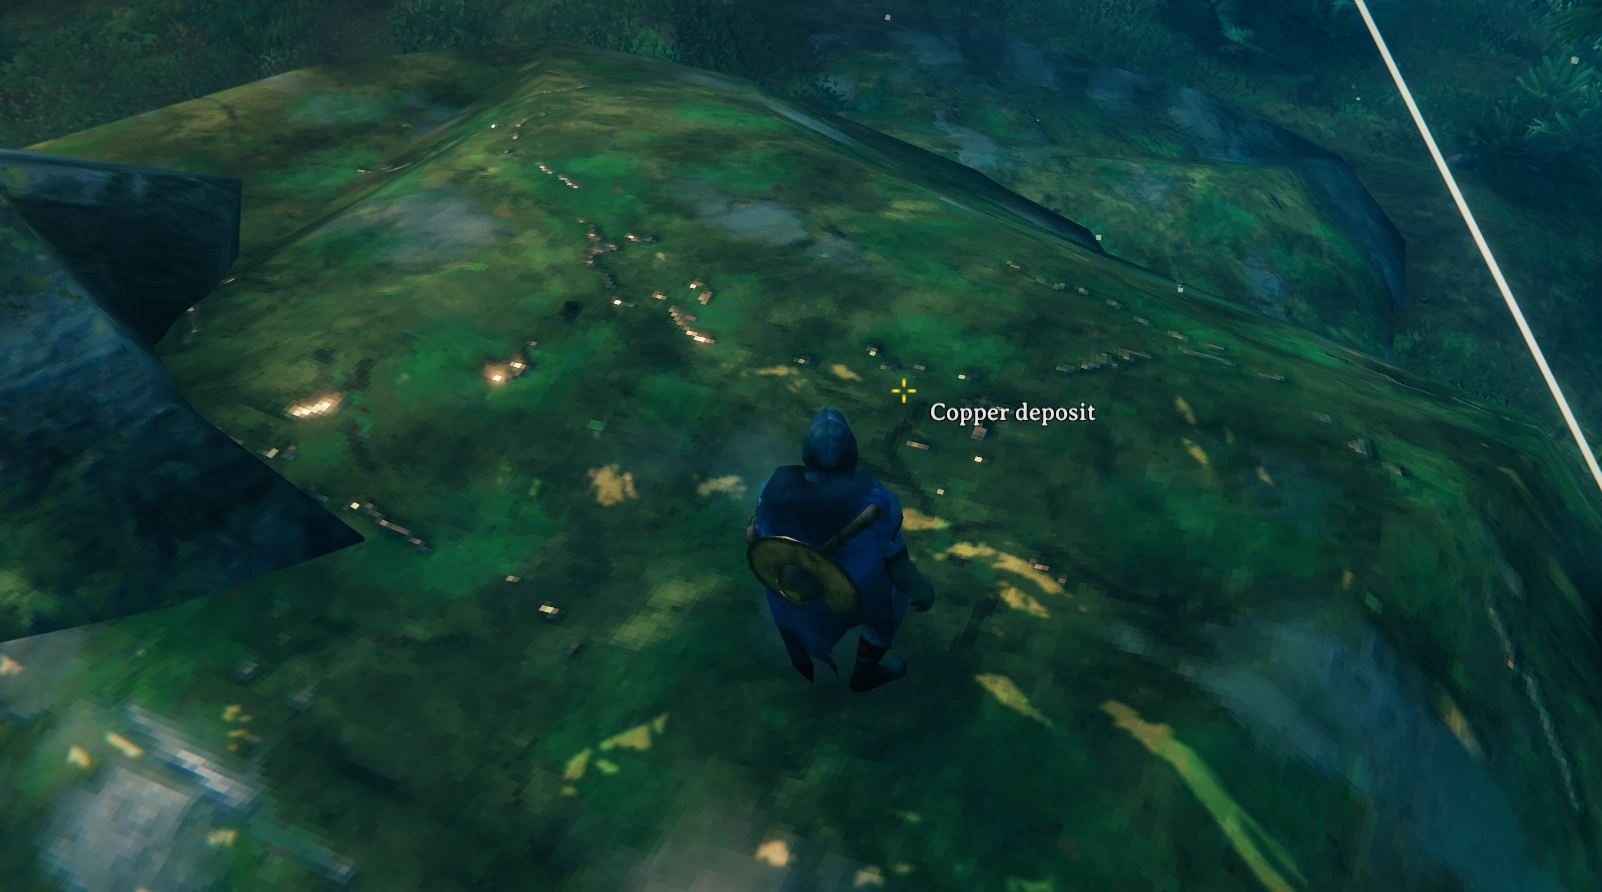
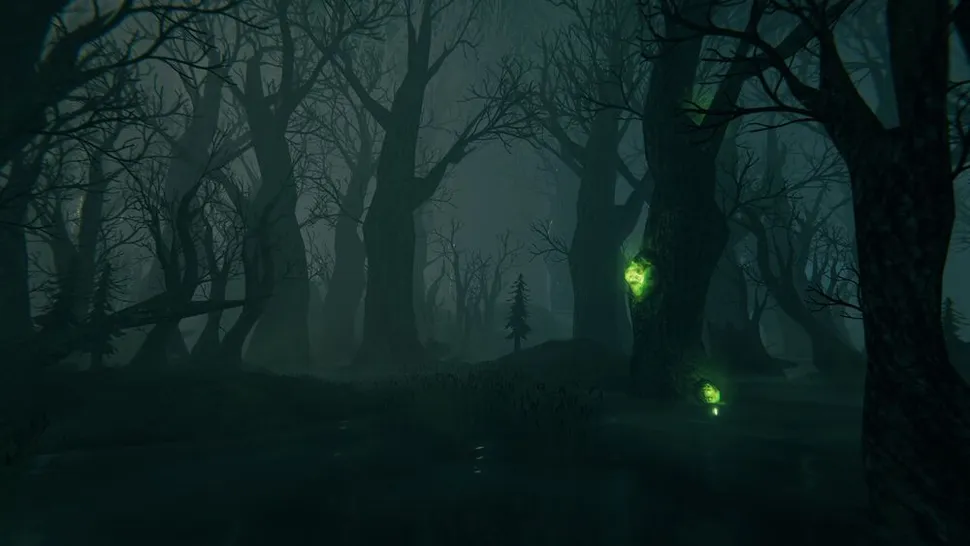
The Black Forest is the second major biome in Valheim and the point where progression starts opening up considerably. After defeating Eikthyr, you can use the Antler Pickaxe to mine Copper and Tin, giving you access to Bronze equipment, the Forge, better tools, new food progression, and eventually The Elder.
This biome is also noticeably more dangerous than the Meadows. Greydwarfs appear in larger groups, Skeletons guard Burial Chambers, Trolls can kill an underprepared player very quickly, and Bears add another dangerous early encounter.
Where to Get Started
Your first Black Forest trips should focus on scouting rather than clearing the entire biome. Mark Copper deposits, Burial Chambers, Troll Caves, Carrot Seeds, and useful coastline areas where Tin commonly appears.
Two resources should become your immediate priority:
Surtling Cores, found primarily inside Burial Chambers, and Copper and Tin, which are used to begin Bronze progression.
Burial Chambers are particularly important because Surtling Cores are required for your first Smelter and Charcoal Kiln, and later also become important for Portals.
Try to establish a Portal or small outpost near the biome once you're travelling further from your main base. Keep in mind that ores and metals normally cannot be transported through Portals, so you'll still need a way to bring Copper, Tin, and Bronze home.
Enemies You'll Find in the Black Forest
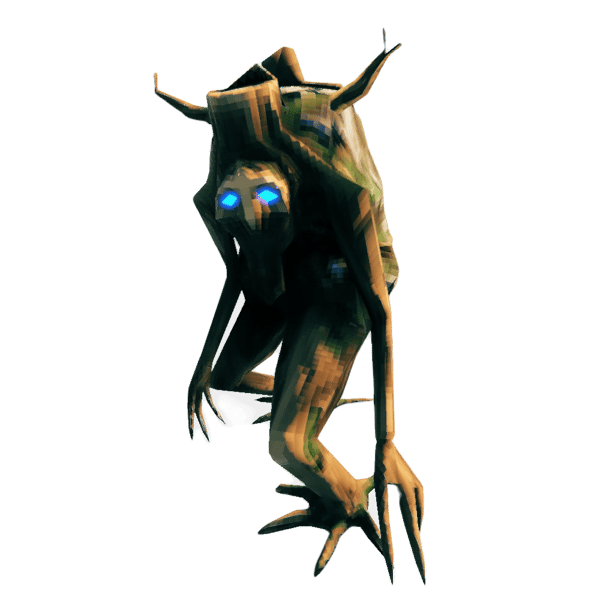
Greydwarf
The standard enemy of the biome. Individually, they aren't very dangerous, but groups can become annoying, especially when you're low on Stamina.
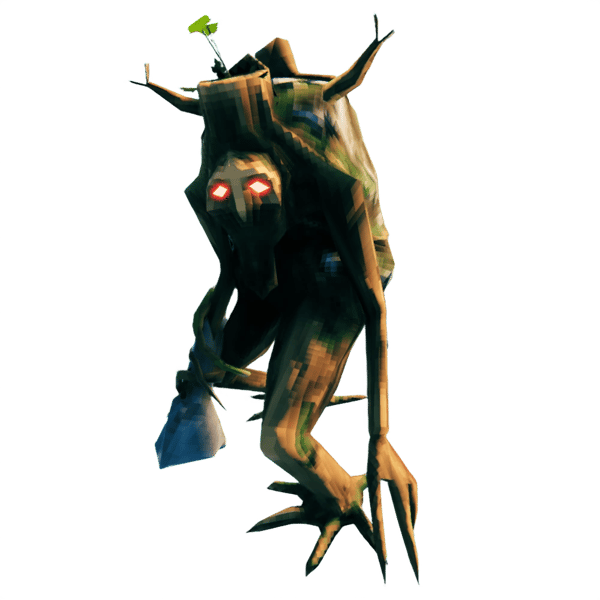
Greydwarf Brute
A larger and much harder-hitting version. Don't trade attacks with one unnecessarily. Block, parry, or wait for its attack before punishing it.
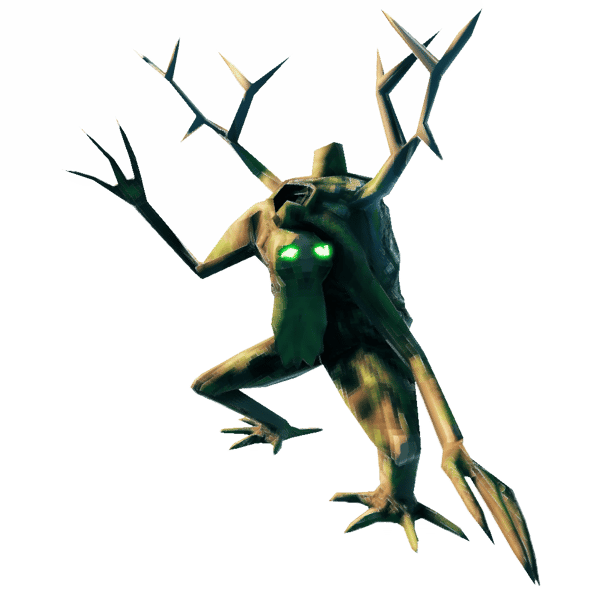
Greydwarf Shaman
Shamans should usually be prioritized in groups because they can heal nearby Greydwarfs and also have a poison-based attack.
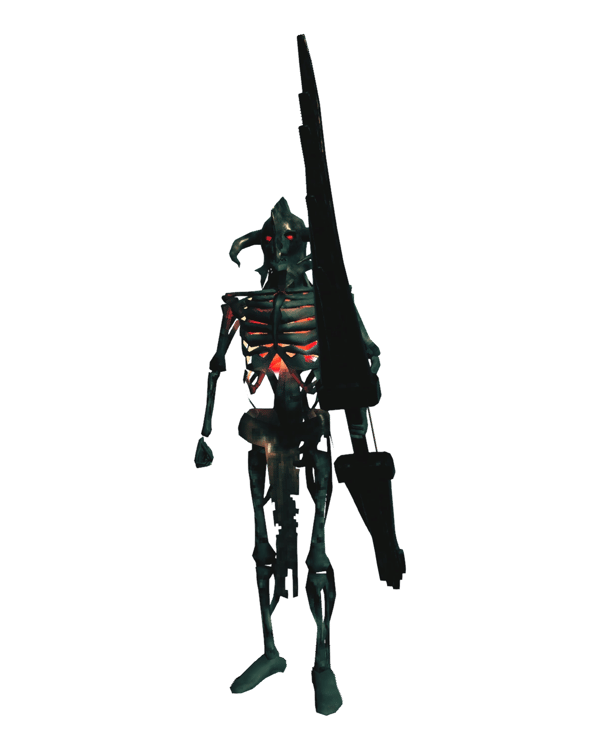
Skeleton
Common around Burial Chambers and other structures. Skeletons resist Pierce damage, so your Bow or Spear won't perform as well against them. Blunt weapons such as a Club are an excellent counter.
Troll
One of the first enemies capable of dealing extremely high damage to a new character. Trolls are vulnerable to Pierce damage, making a Bow or Spear particularly effective.
Their attacks are slow and heavily telegraphed, so keeping your distance and learning their attack timing makes them much easier to handle.
Bear
Bears now spawn in the Black Forest and are another enemy you should take seriously when first entering the biome. They are dangerous at close range, but their drops are particularly valuable because they open up the new Bear equipment progression.
Important Loot, Weapons and Gear
Black Forest progression gives you considerably more equipment choices than the Meadows, but you don't need to craft everything you unlock.
Bronze Equipment
Mining Copper and Tin allows you to combine them into Bronze at a Forge.
One of your most important first crafts is the Bronze Axe. Besides being a stronger Axe, it allows you to properly cut Birch and Oak trees for Fine Wood, which opens up several useful recipes.
Bronze also gives you access to stronger weapons, shields, tools, and Bronze Armor. However, fully upgrading an entire Bronze set can consume a very large amount of metal, so spend your resources on equipment you're actually planning to use.
Finewood Bow
If you didn't use the early Fine Wood trick in the Meadows, the Finewood Bow becomes available naturally once you have a Bronze Axe.
It is a significant improvement over the Crude Bow and is one of the better upgrades you can make during Black Forest progression, particularly because ranged combat remains useful against Trolls and many other enemies.
Troll Armor
Trolls drop Troll Hide, which can be used to create a lightweight armor set.
Troll Armor provides less raw protection than Bronze Armor, but it is much lighter and doesn't carry the same movement penalties associated with heavier armor. This makes it an excellent option if you prefer mobility over maximum defense.
Bear Armor and Bear Claws
The new Bear equipment is especially worth considering in the Black Forest.
The full Bear Set sits between Troll and Bronze armor in terms of protection and provides a set bonus when all three pieces are equipped. The set is designed to work particularly well alongside the Bear Claws, making the combination a very strong alternative to conventional Bronze progression.
If you're comfortable fighting Bears, farming enough materials for both the armor and claws can give you an extremely strong early melee setup without committing to a full Bronze equipment set.
Bronze Buckler
If you're comfortable with parrying, the Bronze Buckler is one of the strongest defensive upgrades available at this point.
Successful parries stagger many enemies and let you deal significantly increased damage while they're vulnerable. Since enemies become more dangerous from this point onward, learning parry timing during the Black Forest pays off throughout the rest of the game.
Cultivator
The Cultivator isn't a weapon, but it's one of the most important Bronze tools you can craft.
Once you've found Carrot Seeds in the Black Forest, the Cultivator allows you to begin farming them at your base. This becomes an important step in improving your food and eventually your Cauldron recipes.
Important Things to Do in the Black Forest
Your main progression loop here is relatively straightforward:
Explore Burial Chambers, collect Surtling Cores, mine Copper and Tin, process them into Bronze, and use those resources to improve your equipment and crafting setup.
Burial Chambers should remain a priority until you have enough Surtling Cores for at least your essential processing structures. Some chambers contain many Cores while others contain very few, so don't assume one or two dungeons will always be enough.
You should also start looking for Carrot Seeds and begin farming as soon as possible. Better ingredients become increasingly important as food starts contributing far more Health and Stamina than the simple cooked meats used during the Meadows.
This is also a good time to establish your first proper Portal network, improve your Workbench and Forge, and begin organizing a more permanent crafting area.
Find The Elder
The Elder's location can be revealed by interacting with the appropriate Vegvisir runestones, which can commonly be found inside Burial Chambers and around Black Forest structures.
Before fighting him, make sure you have:
Good Black Forest food, upgraded equipment, a Bow or reliable melee weapon, the Rested buff, and preferably a Portal relatively close to the altar.
You should also bring plenty of arrows if you're planning to fight from range.
How to Beat The Elder
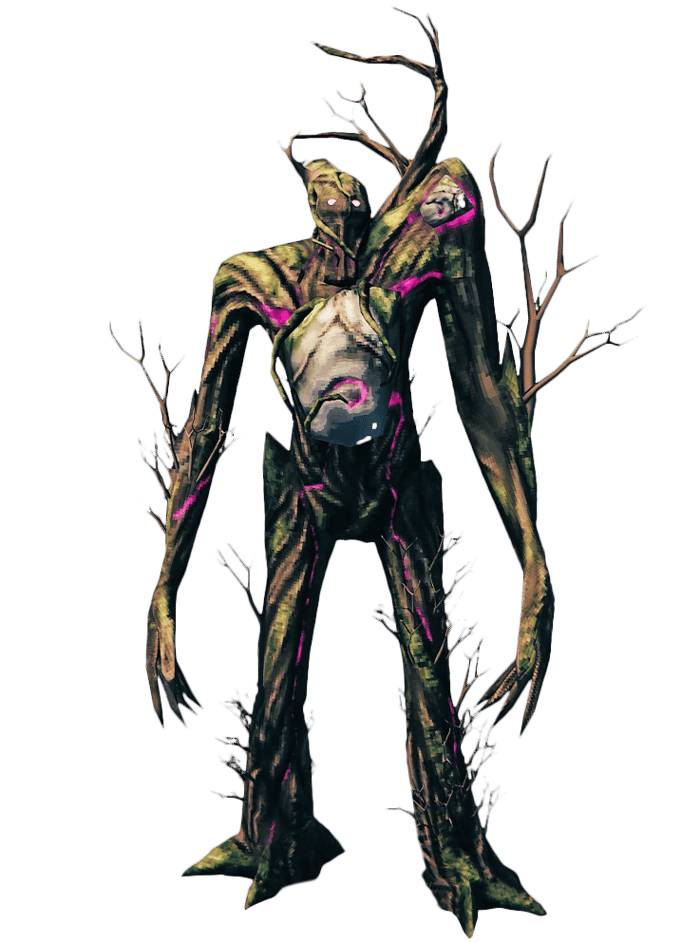
The Elder is considerably more dangerous than Eikthyr and introduces attacks that punish players who simply stand in one place.
At range, he can fire a large barrage of vine projectiles toward you. The large stone pillars around his altar are extremely useful here because they can block these attacks completely. Move between the pillars rather than trying to tank or repeatedly dodge the entire barrage.
He can also summon roots from the ground around your position. If several roots appear nearby, don't waste time trying to kill every one of them. Reposition to another part of the arena and continue attacking from there.
At close range, The Elder can use heavy stomping attacks, so melee players should avoid overcommitting to long attack chains.
Fire damage is particularly effective against The Elder, which makes Fire Arrows a very accessible option for ranged players at this stage.
A safe strategy is to use the altar pillars as cover, fire arrows whenever The Elder finishes an attack, and relocate whenever roots begin filling your current position.
If you're fighting in melee, wait for clear recovery windows, land a few attacks, and keep enough Stamina available to reposition.
How to Progress to the Swamp
Defeating The Elder rewards you with the Swamp Key, which is required to open Sunken Crypts in the Swamp. These crypts contain Scrap Iron and are the main source of your next major equipment tier.
Before moving on, you should ideally have:
The Elder defeated, the Swamp Key, upgraded Black Forest-tier equipment, reliable food, access to a Cauldron and Forge, Carrot farming underway, Portals available, and enough resources to prepare Poison Resistance Mead.
Once those basics are in place, you're ready to leave the early game behind and enter the Swamp, where Valheim's midgame begins.
Swamp
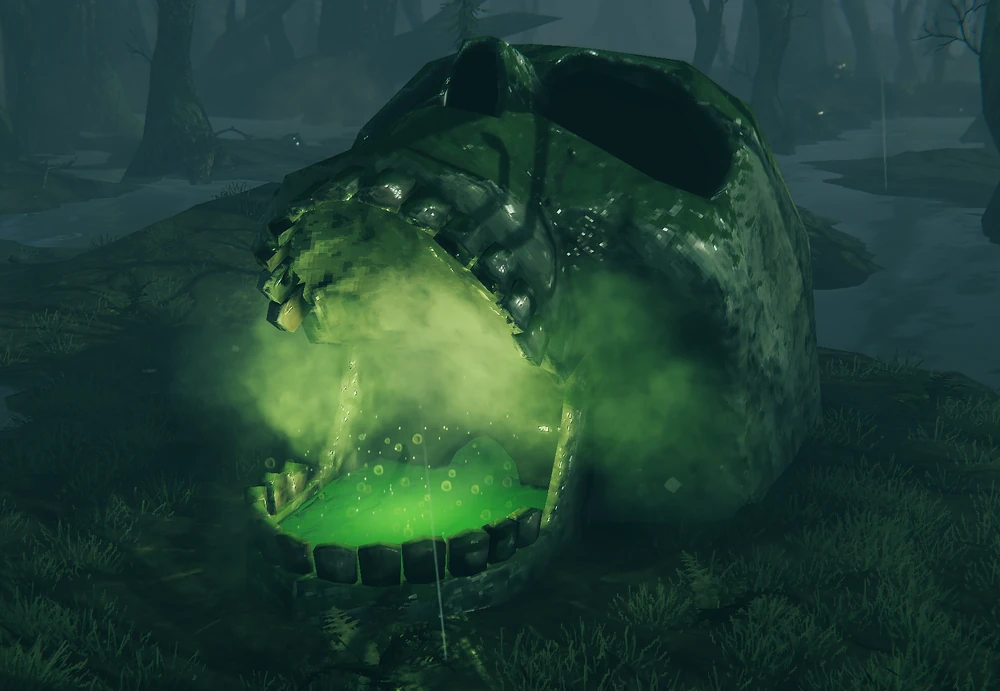
The Swamp is where Valheim's midgame really begins. Compared to the Black Forest, the biome is much less forgiving. You are almost constantly Wet, visibility is worse, enemies hit considerably harder, and Poison becomes a serious threat.
Your main goals here are to explore Sunken Crypts, collect Scrap Iron, improve your food and equipment, and prepare for Bonemass.
Where to Get Started
Before spending much time in the Swamp, make sure your Black Forest progression is mostly complete.
You should ideally have upgraded Bronze or equivalent gear, strong food, a good shield, a reliable weapon, the Rested buff, and Poison Resistance Mead.
Poison Resistance is especially important. Blobs, Oozers, and Leeches can all make early Swamp exploration much more dangerous than it needs to be.
It is also a good idea to place a Portal somewhere safe near the edge of the biome. Avoid putting it deep inside the Swamp before you know the area. If you die, you want your recovery route to be as simple as possible.
Because Scrap Iron cannot normally be transported through Portals, having access to a Karve or Longship will eventually become important for moving large amounts of Iron back to your main base.
Enemies You'll Find in the Swamp
Draugr
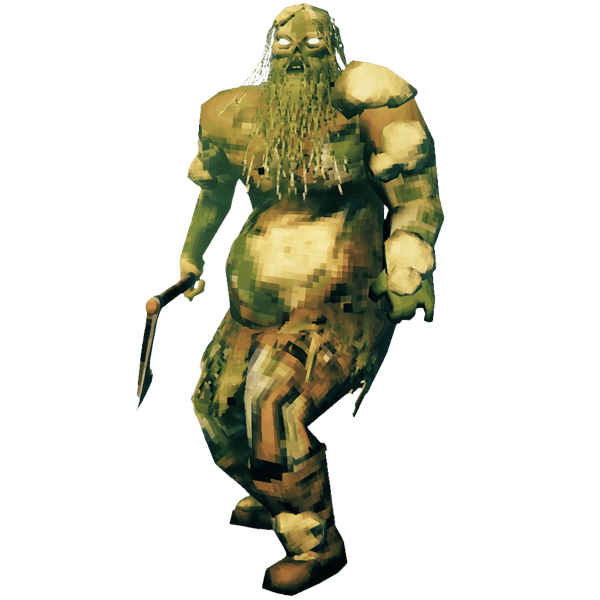
Draugr are some of the most common enemies in the biome and come in both melee and ranged variants. Their attacks deal significantly more damage than most Black Forest enemies, so avoid fighting several at once when possible.
Archers are especially worth prioritizing when fighting groups.
Draugr Elite
A stronger version of the standard Draugr with considerably more Health and damage. Treat them carefully until your Iron equipment starts coming online.
Blob
Blobs are relatively slow but can release a Poison cloud around themselves. Poison Resistance Mead makes them far less threatening.
Ooze
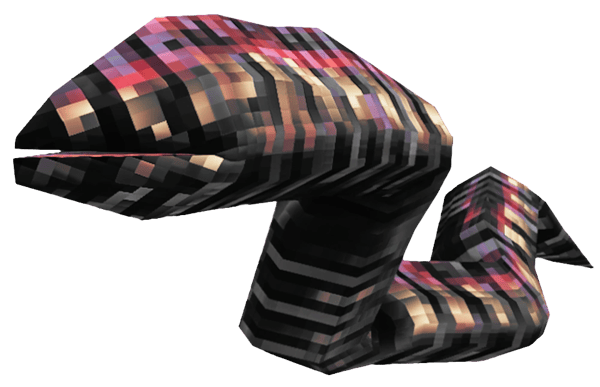
Oozers are larger and more dangerous versions of Blobs. When killed, they can split into additional Blobs, so don't assume the fight is over immediately.
Leech
Leeches live in the water throughout the Swamp and can deal Poison damage. They are easy to overlook while moving through shallow water, so pay attention before crossing.
Their Bloodbags are also an important resource for later food and Mead recipes.
Skeleton
Skeletons continue appearing throughout the Swamp. As before, they are especially vulnerable to Blunt damage.
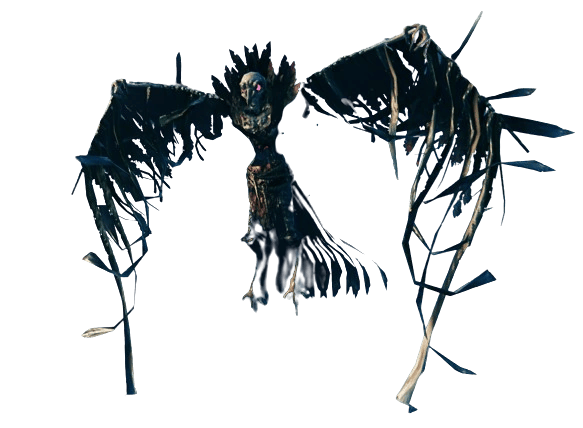
Wraith
Wraiths primarily appear at night and can be extremely dangerous when you first enter the biome. They can approach from above and deal heavy damage very quickly.
Their drops are useful, but there is little reason to intentionally explore the Swamp at night until you're comfortable with the biome.
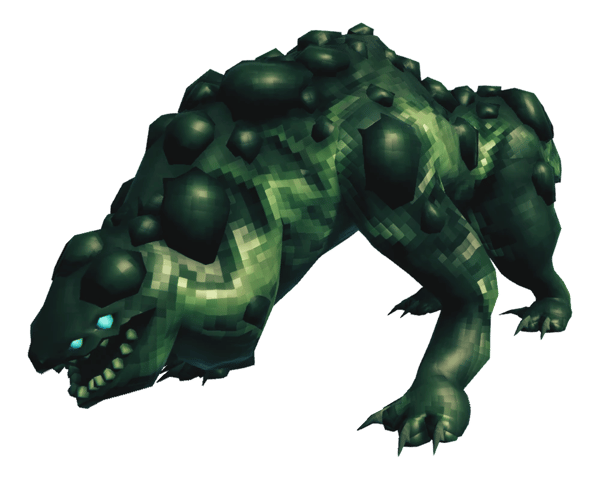
Abomination
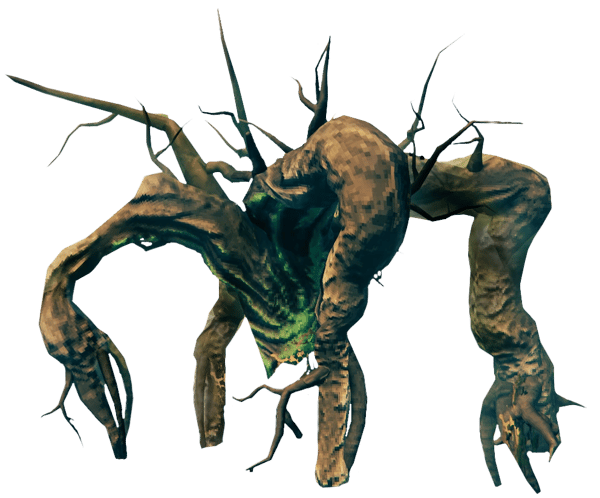
Abominations are large enemies that can emerge from the ground and are one of the Swamp's biggest threats.
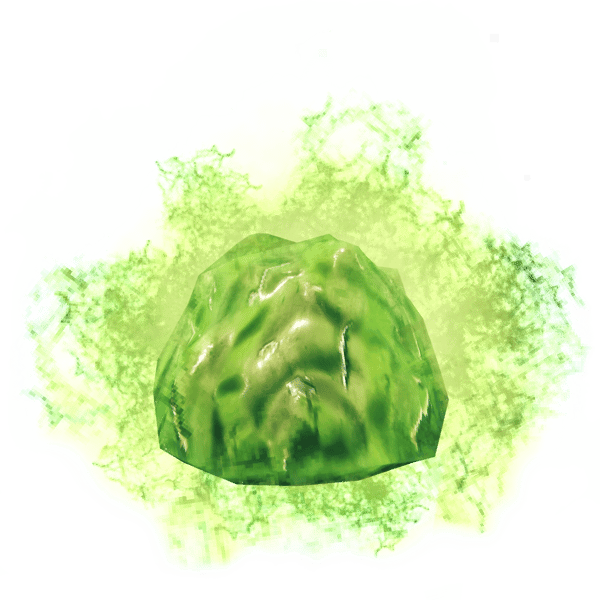
They hit extremely hard early on, but defeating them rewards Roots, which are required for the Root Armor set.
Abominations are resistant to several common damage types, while Fire is particularly effective against them. Using nearby Surtling Geysers or fighting them with Fire damage can make the encounter considerably easier.
Important Loot, Weapons and Gear
The Swamp introduces Iron, which is one of the most important resources in the entire game.
You obtain most of your early Iron by entering Sunken Crypts with the Swamp Key dropped by The Elder and breaking the Muddy Scrap Piles found inside.
Iron Pickaxe
An Iron Pickaxe is a worthwhile early investment.
It is a significant improvement over your Antler and Bronze options and remains useful well beyond the Swamp.
Iron Mace
The Iron Mace is one of the strongest weapons you can craft for Swamp progression.
Blunt damage performs extremely well against several enemies found here, and it becomes particularly valuable against Bonemass, who is vulnerable to Blunt damage.
Even if Maces aren't the weapon type you normally prefer, crafting one specifically for Bonemass can make the boss fight much easier.
Iron Buckler and Shields
If you've been using parries throughout the Black Forest, upgrading to an Iron Buckler gives you a much stronger defensive option for the harder-hitting enemies found in the Swamp.
Players who prefer straightforward blocking can instead use one of the heavier Iron shield options.
Iron Armor
Iron Armor provides a large defensive improvement over early-game armor, although crafting and fully upgrading the entire set requires a significant amount of Iron.
You don't necessarily need to spend all of your first Iron on armor. Weapons, tools, crafting upgrades, and other progression items may provide more immediate value.
Root Armor
Defeating Abominations allows you to craft the Root Armor set.
It is especially useful for Bow-focused builds and offers some valuable resistances. The Root Harnesk is also notable for its Pierce resistance, which can remain useful much later in the game.
The major drawback is increased vulnerability to Fire, so be careful when using it against enemies that deal significant Fire damage.
Huntsman Bow
The Huntsman Bow is your next major Bow progression option and is crafted using Iron.
It provides better damage than the Finewood Bow and also produces less noise when firing, making it useful for players who rely heavily on ranged combat.
However, the Finewood Bow can remain perfectly usable if you would rather spend your first Iron elsewhere.
Important Things to Do in the Swamp
Your main priority is finding and clearing Sunken Crypts.
Use the Swamp Key to open them, then mine the Muddy Scrap Piles inside for Scrap Iron. Bring a Pickaxe and enough inventory space, because Iron is extremely heavy and you'll often need several trips.
Mark every crypt you find on your map. Large Swamps can contain many of them, while smaller Swamps sometimes contain none at all.
You should also look for Turnip Seeds growing naturally in the biome. Farming Turnips back at your base unlocks important food progression and also contributes to upgrading your Cauldron.
Don't ignore Swamp resources such as Bloodbags, Entrails, Ancient Bark, Guck, and Chains. Many of them are required for useful food, weapons, building pieces, and crafting progression.
Use Surtling Geysers
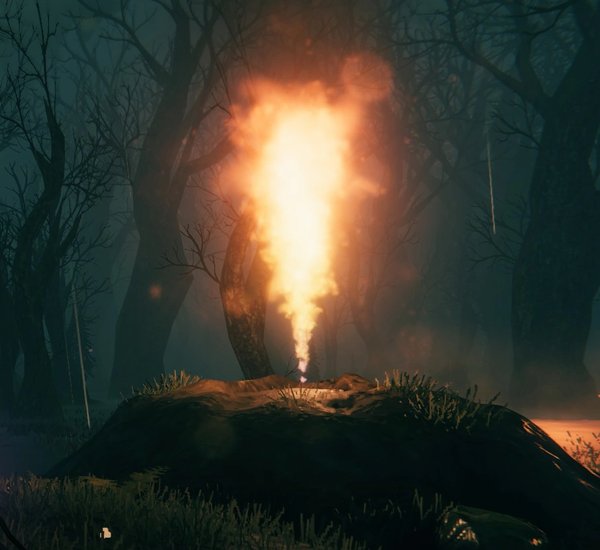
You may find Surtling Geysers throughout the Swamp, recognizable by the flames coming from the ground and the Surtlings spawning around them.
These are extremely useful locations.
Surtlings take damage from water, so lowering the terrain around a geyser until it is covered by shallow water can cause newly spawned Surtlings to die almost immediately.
This gives you a renewable source of Surtling Cores and Coal, both of which remain useful throughout the game.
Mark these locations whenever you find them.
Find Bonemass
The location of Bonemass can be revealed by interacting with Vegvisir runestones found inside some Sunken Crypts.
Before fighting him, you should ideally have:
Strong Swamp-tier food, Poison Resistance Mead, upgraded equipment, a good supply of healing items, the Rested buff, and a weapon that deals Blunt damage.
Placing a Portal somewhere safe near his altar is also highly recommended.
How to Beat Bonemass
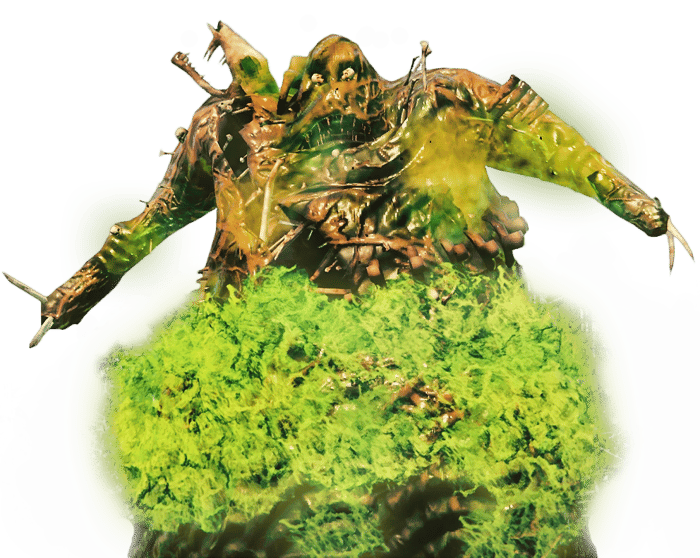
Bonemass is one of the first bosses where your weapon choice makes an enormous difference.
He is highly resistant to several damage types, while Blunt damage is particularly effective. This makes weapons such as the Iron Mace one of the safest and most straightforward options for the fight.
Bonemass has several major attacks to watch for.
His melee swings deal heavy damage but can be avoided by keeping track of his animations and moving or dodging at the right time.
More importantly, Bonemass can release a large Poison cloud around himself. You should have Poison Resistance Mead active for the entire fight. Without it, the Poison damage can become extremely difficult to manage.
He can also throw a mass that spawns additional enemies. Kill these adds before they begin overwhelming you, especially if Blobs or Skeletons start interfering with the fight.
Try not to spend your entire Stamina bar attacking. The Swamp's constant Wet effect reduces your Stamina regeneration, which makes overcommitting especially dangerous here.
A reliable strategy is to stay close enough to bait an attack, move or dodge out of the way, then punish Bonemass with a few Mace hits before backing off again.
You can also use the terrain around the arena to your advantage. Using a Hoe to flatten parts of the ground beforehand can remove some of the deeper water and make moving around the arena considerably easier.
How to Progress to the Mountains
Defeating Bonemass rewards you with the Wishbone, one of the key progression items required for the next biome.
The Wishbone can detect hidden objects and, most importantly, helps you locate Silver deposits in the Mountains.
Before moving on, you should ideally have:
Bonemass defeated, the Wishbone, upgraded Iron-tier equipment, improved Swamp food, Turnip farming established, and enough resources to prepare Frost Resistance Mead.
The Mountains introduce a completely different environmental threat: freezing temperatures.
Without Frost protection, you will continuously take damage, so preparing Frost Resistance Mead before your first serious Mountain expedition should be one of your final Swamp progression goals.
Once that's ready, your next destination is the Mountains.
Mountains
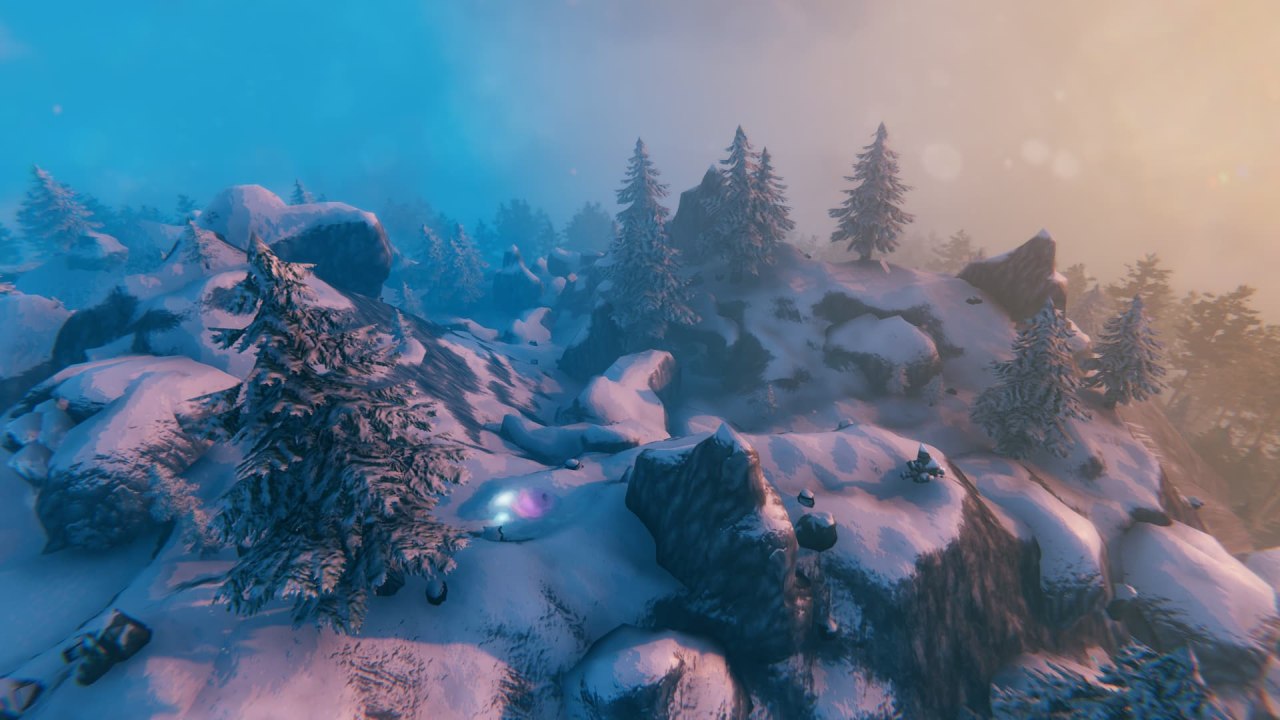
The Mountains are the next major step after the Swamp and introduce a completely different type of challenge. Instead of constant Poison and Wet conditions, your biggest problem is now the freezing temperature, steep terrain, and enemies that can quickly punish poor positioning.
Your main goals are to find Silver, upgrade into Mountain-tier equipment, collect Dragon Eggs, and prepare for Moder.
Where to Get Started
Before seriously exploring the Mountains, you need a way to survive the cold.
The easiest early solution is Frost Resistance Mead, which should ideally be prepared before leaving the Swamp. Without Frost Resistance or another source of protection, you will continuously take damage while exposed to the freezing environment.
Your first Mountain trips should focus on scouting for useful locations, finding Silver with the Wishbone, and establishing a safe Portal somewhere near the biome.
Try not to place your Portal directly on an exposed mountaintop. Wolves and Drakes can easily wander into the area, so a small protected outpost slightly below the highest terrain is usually safer.
Enemies You'll Find in the Mountains
Wolf
Wolves are fast, aggressive, and can deal a surprising amount of damage when you first enter the biome.
They are much more dangerous in groups, so avoid letting several surround you. Blocking and parrying can work well against them, but their speed means you need to pay attention to your Stamina.
Wolves also drop useful materials for Mountain equipment and can eventually be tamed.
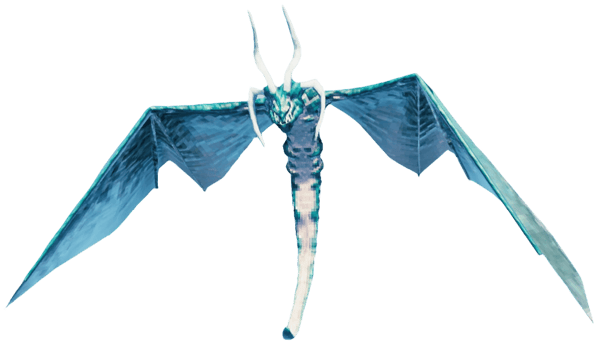
Drake
Drakes fly around the Mountains and attack with ranged Frost projectiles.
A Bow is usually the easiest way to deal with them. Their attacks are fairly easy to avoid once you recognize the animation, but fighting several while also dealing with Wolves can become dangerous quickly.
Drakes drop Freeze Glands, which are used in several useful recipes.
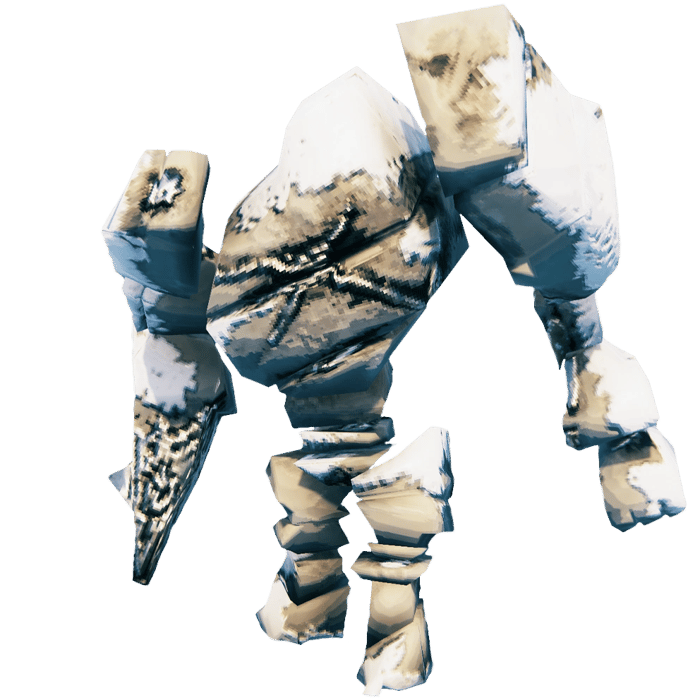
Stone Golem
Stone Golems are some of the toughest regular enemies in the biome.
They have high Health and strong physical defenses, so fighting them without the right weapon can take a long time. Pickaxes can deal very high damage to them, although using one in combat can be awkward because of the attack animation.
Parrying their attacks and punishing them with a suitable weapon is another option if you're comfortable with the timing.
You do not need to kill every Stone Golem you encounter. If one is blocking an important location, deal with it, but otherwise it is often easier to simply avoid them.
Fenring
Fenrings are dangerous nighttime enemies with fast attacks and strong mobility.
Unless you're specifically looking for their drops, there is little reason to spend long periods exploring the Mountains at night when you first arrive.
Cultist
Cultists can be found inside Frost Caves.
They are aggressive melee enemies that can use powerful Fire attacks, making them especially dangerous if you're relying on equipment with poor Fire resistance.
Frost Caves also contain additional enemies and materials used for specialized equipment.
Important Loot, Weapons and Gear
The main progression resource in the Mountains is Silver.
Equip the Wishbone obtained from Bonemass and explore sufficiently high Mountain areas. The Wishbone will begin pulsing when you get close to a hidden Silver deposit.
Once you find one, dig into the mountain and mine the Silver using an Iron Pickaxe.
Wolf Armor
Wolf Armor is one of the most important Mountain upgrades because pieces from the set provide protection against the cold.
Once you have permanent Frost protection from your equipment, you no longer need to rely on Frost Resistance Mead every time you enter the Mountains.
The armor also provides a solid defensive increase over earlier equipment.
Silver Weapons
Silver gives you access to several strong weapons and upgrades.
Weapons crafted from Silver are particularly valuable against enemies that are vulnerable to Spirit damage, which becomes useful in several later encounters.
You do not need to craft every Silver weapon. Prioritize something that fits your build and offers a meaningful improvement over your Iron equipment.
Draugr Fang
The Draugr Fang is one of the most important ranged upgrades available around this stage of progression.
It provides strong Bow damage and also adds Poison damage, making it useful against a wide range of enemies.
If you frequently use a Bow, this is one of the Mountain upgrades worth prioritizing.
Frostner
Frostner is another standout weapon available during this stage.
It deals a combination of Blunt, Frost, and Spirit damage, giving it useful damage coverage against many enemies. The Frost component can also slow targets, making it especially useful for controlling aggressive melee enemies.
It requires materials from multiple sources, so it takes more effort to craft than a standard Silver weapon, but it can remain useful far beyond the Mountains.
Fenris Armor
Frost Caves allow you to collect the materials needed for the Fenris Armor set.
Unlike Wolf Armor, Fenris equipment focuses much more on mobility. The complete set increases movement speed and also provides useful Fire resistance.
It offers less raw armor than heavier options, but players who prefer a faster playstyle may find it extremely strong.
Frost Caves are optional for normal progression, so you do not need Fenris gear to defeat Moder or move into the Plains.
Important Things to Do in the Mountains
Your main objective is to locate and mine enough Silver to improve your equipment.
Because Silver is heavy and cannot normally be transported through Portals, establish a plan for transporting it back to your crafting base. Depending on where your Mountain is located, this may mean carrying it downhill to a nearby ship.
You should also collect Obsidian, which can be mined throughout the biome and is used for several crafting recipes, including improved arrows and workstation progression.
Hunt Wolves and Drakes for their materials, and explore Frost Caves if you are interested in Fenris equipment or the additional resources found inside.
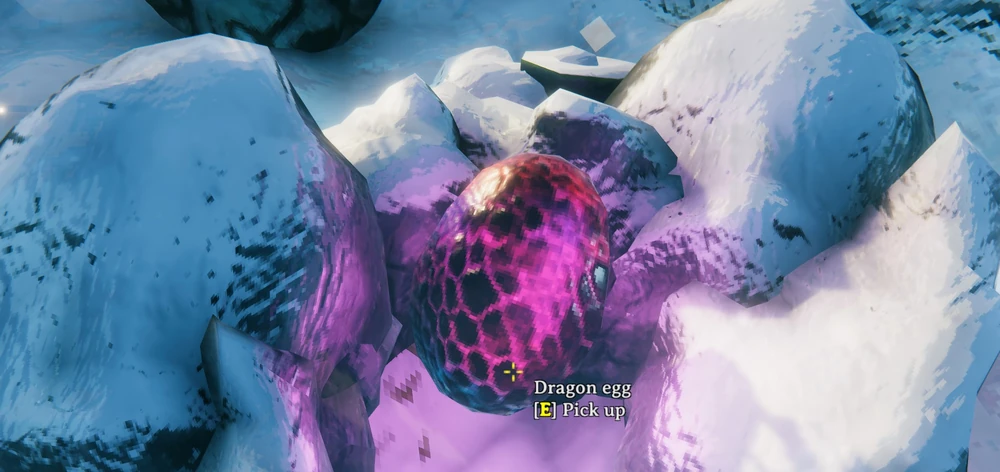
Collect Dragon Eggs
To summon Moder, you need three Dragon Eggs.
These can be found in nests throughout the Mountains and are extremely heavy. They also cannot normally be transported through Portals.
Because of their weight, it is usually easier to locate Moder's altar first and then transport the Dragon Eggs to a nearby storage location rather than carrying them around throughout your entire Mountain progression.
Mark every Dragon Egg nest you find on your map.
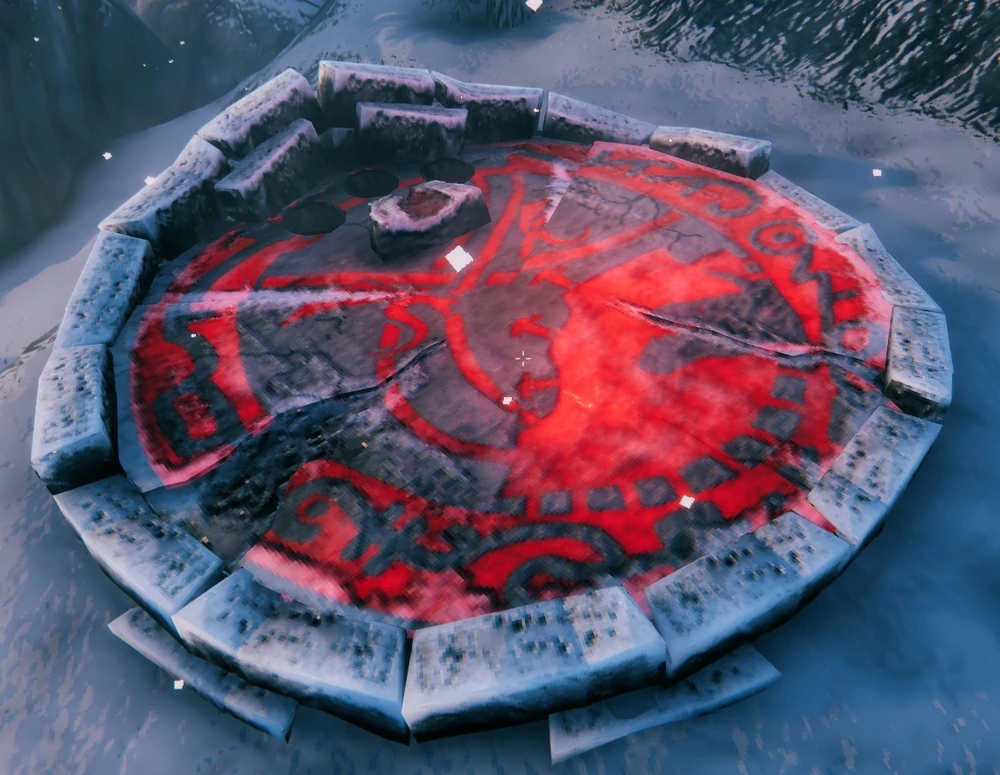
Find Moder
Moder's location can be revealed using Vegvisir runestones found throughout the Mountains, including inside certain structures and Frost Caves.
Once you know where her altar is located, establish a Portal somewhere safe nearby and begin moving your Dragon Eggs toward the area.
Before starting the fight, you should ideally have:
Strong Mountain-tier food, upgraded armor, a good Bow, a reliable melee weapon, the Rested buff, and plenty of arrows.
Keeping Frost protection active is also essential.
How to Beat Moder
Moder spends much of the fight switching between flying and fighting on the ground.
While airborne, she attacks using Frost projectiles. These can be avoided by moving sideways and using the uneven terrain or nearby rocks as cover.
This phase is where your Bow becomes most useful. Keep firing when you have a clear shot, but do not completely empty your Stamina bar. You still need enough to reposition when her next attack arrives.
Eventually Moder will land.
Once she is on the ground, melee becomes much more effective. She can use heavy physical attacks and Frost-based abilities, so avoid standing directly in front of her for extended periods.
Move toward her sides when possible, attack during recovery windows, and back away before committing to another long combo.
The terrain can sometimes be more dangerous than Moder herself. Fighting on extremely steep slopes can make dodging and Stamina management much harder, so clearing or flattening part of the arena beforehand can help.
Boss Tip: Bring both a Bow and a melee weapon. Moder frequently moves between the air and ground, so being able to deal damage effectively during both phases makes the fight much faster.
How to Progress to the Plains
Defeating Moder rewards you with Dragon Tears.
These allow you to build the Artisan Table, which unlocks several important crafting structures used during Plains progression.
Before moving on, you should ideally have:
Moder defeated, Dragon Tears collected, upgraded Mountain-tier equipment, reliable food, permanent Frost protection, and enough Silver and other resources to finish any important Mountain crafts.
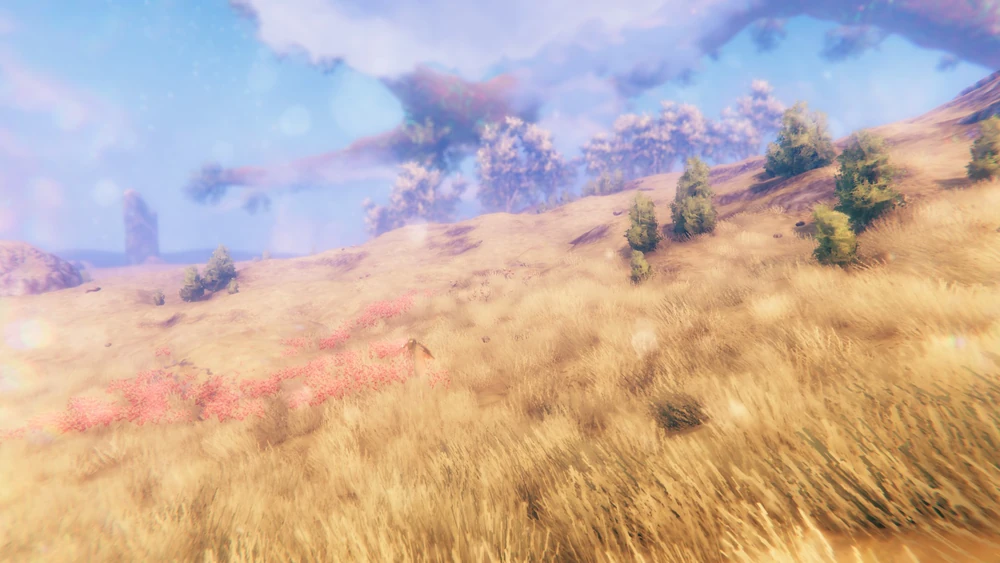
The next biome is the Plains, where enemies become much more aggressive, and Black Metal, Barley, Flax, and Fuling Villages become central to your progression.
Plains
The Plains are the next major progression step after the Mountains. At this point, Valheim becomes much less forgiving of careless movement. Enemies hit hard, open terrain gives ranged enemies plenty of space to attack you, and even something as small as a Deathsquito can kill an underprepared player very quickly.
Your main goals in the Plains are to raid Fuling Villages, collect Black Metal, start farming Barley and Flax, upgrade into Plains-tier equipment, and eventually prepare for Yagluth.
Where to Get Started
Before seriously exploring the Plains, you should have completed most of your Mountain progression.
Ideally, bring upgraded Mountain-tier armor, strong food, a good shield, a reliable ranged weapon, and the Rested buff. The Plains are very open, so ranged enemies can become a problem much faster than in earlier biomes.
Your first few trips should mostly focus on scouting. Mark Fuling Villages, Tar Pits, Lox, large rock formations, and Yagluth Vegvisirs when you find them.
A Portal is also extremely useful, but place it somewhere safe instead of directly next to a Fuling Village. Black Metal cannot normally be transported through Portals, so you will eventually need a ship or another way to move it back to your main crafting area.
Enemies You'll Find in the Plains
Fuling
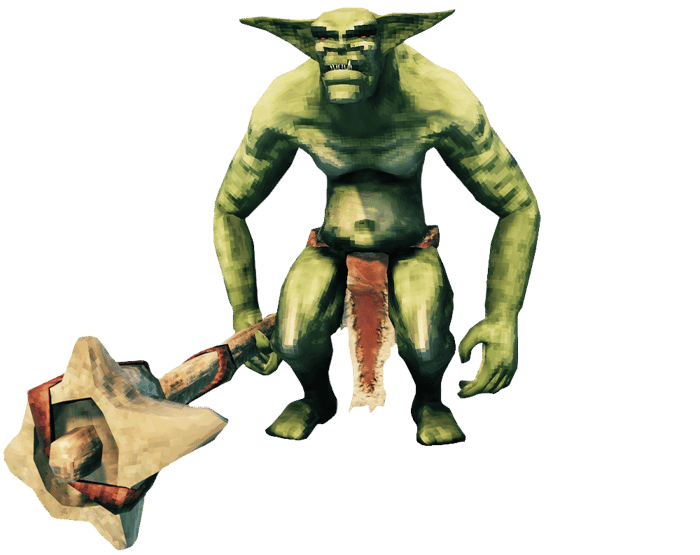
Fulings are the standard enemy of the biome and can use several different weapons.
Individually, they are manageable with good Mountain equipment, but groups are much more dangerous. Their attacks hit hard, and getting surrounded can quickly overwhelm your Stamina.
Parrying works very well against regular Fulings if your shield is strong enough.
Fuling Berserker
Berserkers are considerably larger and deal massive melee damage.
Their attacks are fairly telegraphed, but one mistake can cost a large amount of Health. Avoid trading hits with them and make sure you have enough Stamina to dodge or block.
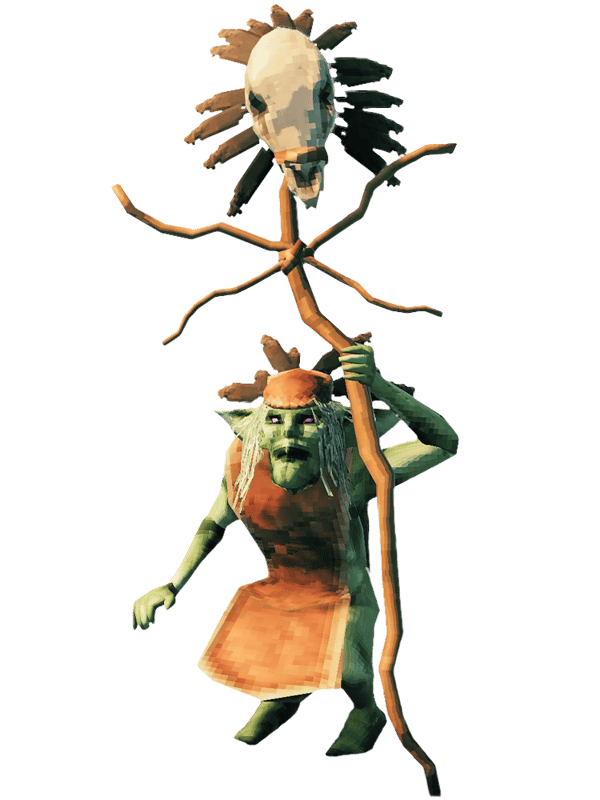
Fuling Shaman
Shamans should usually be one of your highest priorities during Fuling Village fights.
They can attack from range and provide magical protection to nearby Fulings, making the entire group harder to kill. Taking the Shaman out early can make clearing a village much easier.
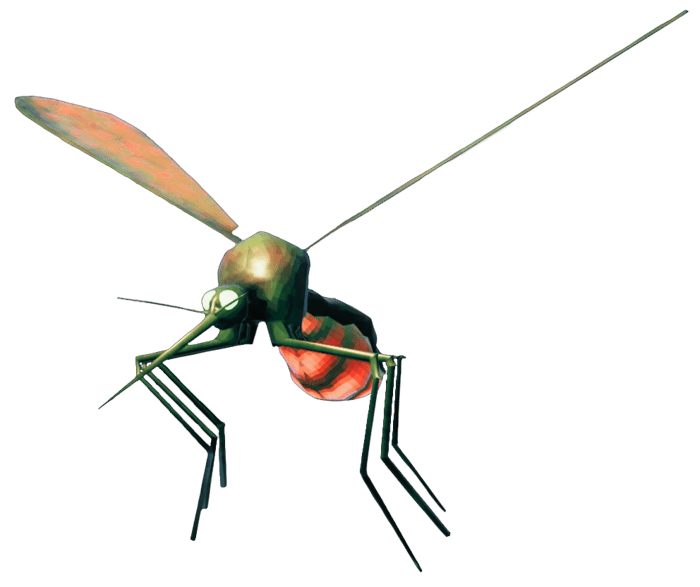
Deathsquito
Deathsquitos are one of the most infamous Plains enemies.
They have very little Health but deal extremely high Pierce damage when they connect. Listen for their distinctive sound and deal with them before focusing on other enemies.
A Bow works well, but you can also block, parry, or simply time a melee attack as they fly toward you.
Lox
Lox are large creatures that can deal enormous damage with their melee attacks.
They are relatively slow, making them easier to control than their size might suggest. Keep your distance while learning their attacks and avoid standing directly in front of them.
Lox can also be tamed, giving you access to a renewable source of Lox Meat later.
Growth
Growths are found around Tar Pits and are one of the more annoying enemies in the Plains.
Their ranged Tar attacks can heavily slow your movement, which becomes especially dangerous if other Plains enemies are nearby.
Try to fight them separately rather than engaging a Tar Pit while Fulings or Lox are already attacking you.
Important Loot, Weapons and Gear
The Plains introduce Black Metal, which drops from Fulings.
Unlike previous metal progression, you do not mine Black Metal directly. Instead, Fulings drop Black Metal Scrap, which can later be processed once you've built the required crafting infrastructure.
Padded Armor
Padded Armor is your main heavy armor progression for the Plains.
It combines Iron with Linen Thread and provides a significant defensive upgrade over Mountain equipment.
This also means that Iron remains relevant even after leaving the Swamp, so don't assume you're completely finished with it once you reach the Plains.
Blackmetal Weapons
Black Metal gives you access to several powerful weapons, including options such as the Blackmetal Sword, Blackmetal Atgeir, and Blackmetal Axe.
You don't need to craft every weapon available. Choose whichever fits your preferred playstyle and damage type.
The Blackmetal Axe is particularly useful because it also functions as your next major woodcutting upgrade.
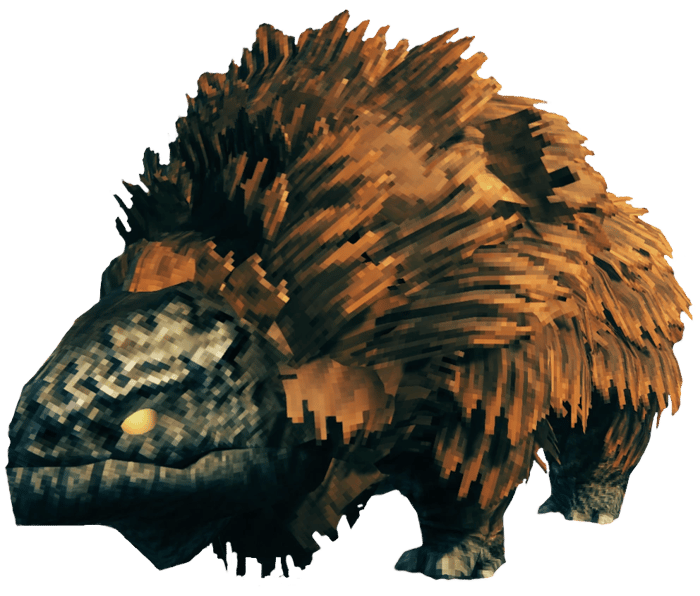
Porcupine
The Porcupine is one of the standout melee weapons available during Plains progression.
It deals both Blunt and Pierce damage, giving it useful damage coverage against a variety of enemies.
If you've enjoyed using Clubs or Maces throughout the game, it is a very natural late-game upgrade.
Draugr Fang
You don't immediately need to replace your Draugr Fang after leaving the Mountains.
It remains a strong ranged weapon throughout the Plains and is useful for dealing with Deathsquitos, pulling enemies away from villages, and weakening dangerous targets before they reach you.
Important Things to Do in the Plains
Your biggest progression goal is finding and raiding Fuling Villages.
Villages contain large groups of Fulings, Berserkers, and Shamans, so don't simply sprint into the middle of one.
Use your Bow to pull enemies individually when possible. Taking out Shamans and ranged Fulings first can make the rest of the encounter much easier.
Villages are especially important because they contain Barley and Flax, two crops that are central to Plains progression.
Start Farming Barley and Flax
Once you've collected Barley and Flax, bring them back to a base located in the Plains.
Unlike earlier crops, Barley and Flax normally need to be grown in the Plains biome.
Barley becomes an important ingredient for Plains-tier food, while Flax is processed into Linen Thread and is required for equipment such as Padded Armor.
Because both crops need time to multiply, plant your first batch rather than immediately consuming or processing everything you find.
Starting a farm early can save you a lot of waiting later.
Build Your Artisan Table
Defeating Moder gives you Dragon Tears, which allow you to build the Artisan Table.
The Artisan Table is the key to several Plains crafting structures.
The most important are the Blast Furnace, which processes Black Metal Scrap, the Spinning Wheel, which turns Flax into Linen Thread, and the Windmill, which processes Barley into Barley Flour.
This is why killing Moder is essential for normal Plains progression. You can collect Black Metal, Barley, and Flax beforehand, but you cannot properly use much of it until your Artisan crafting setup is established.
Explore Tar Pits
Tar Pits provide Tar, which is mostly important for additional building pieces.
They are not required to defeat Yagluth, so they are more of a secondary Plains objective than your main progression path.
However, if you're interested in expanding your base or unlocking more advanced building options, they are worth exploring.
Find Yagluth
Yagluth's location can be revealed by finding the appropriate Vegvisir in the Plains.
To summon him, you'll need to collect the required Fuling Totems, which are primarily found around Fuling Villages.
Before fighting Yagluth, you should ideally have:
Strong Plains-tier food, upgraded armor, a reliable weapon, Fire Resistance Barley Wine, healing items, the Rested buff, and a Portal somewhere safe nearby.
Fire resistance is particularly important for this fight.
How to Beat Yagluth
Yagluth deals a large amount of Fire and elemental damage, so Fire Resistance Barley Wine is one of the most useful preparations you can make.
He has several easily recognizable attacks once you learn the visual cues.
When Yagluth raises one hand into the air, he can call down a meteor barrage. Keep moving and use the large stone structures around his altar as cover where possible.
Another attack creates a powerful area of Fire around him, making it dangerous to remain directly beside him for too long.
He can also fire a long-ranged beam in your direction. This can be avoided by moving sideways or using terrain and the altar stones to block it.
For melee builds, the safest approach is usually to wait for one of his larger attacks to finish, move in for damage, and retreat before the next area attack begins.
Do not stay underneath him and continuously attack until your Stamina reaches zero. You need enough Stamina available to escape his Fire attacks.
Yagluth is also resistant to several common damage types, so this is another fight where bringing an appropriate weapon matters more than simply using whichever weapon has the highest displayed damage.
Boss Tip: Treat Fire Resistance Barley Wine as part of your equipment for this fight. Yagluth's Fire damage is much harder to manage without it.
How to Progress to the Mistlands
Defeating Yagluth provides the key item needed to properly deal with the Mistlands' dense mist, making exploration of the next biome considerably more manageable.
Before moving on, you should ideally have Yagluth defeated, upgraded Plains-tier equipment, a reliable Barley and Flax farm, strong Plains food, and your Artisan crafting infrastructure established.
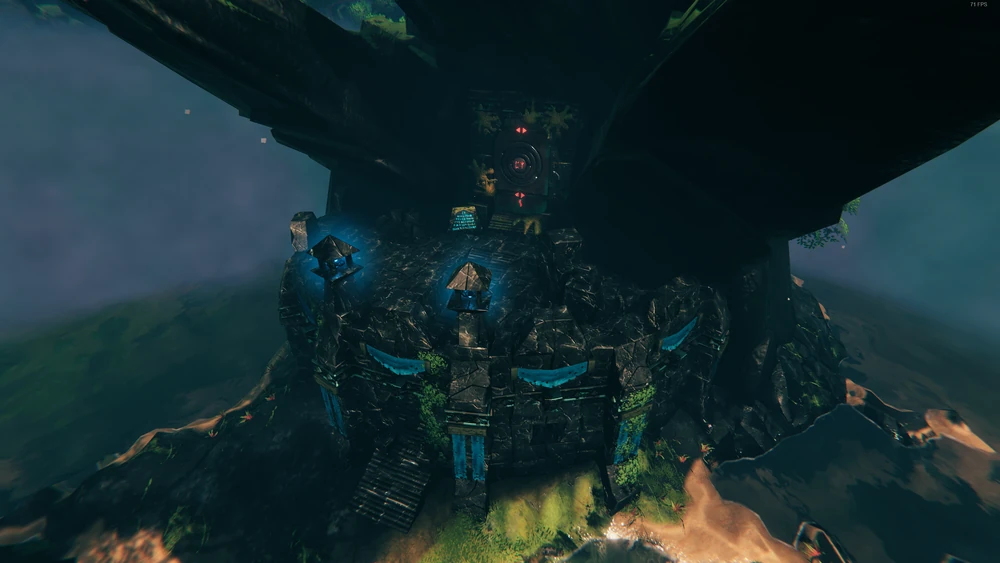
The Mistlands change the progression formula considerably. Visibility becomes a major mechanic, terrain becomes much harder to navigate, and you will begin working toward entirely new crafting systems, including Eitr and magic.
Mistlands
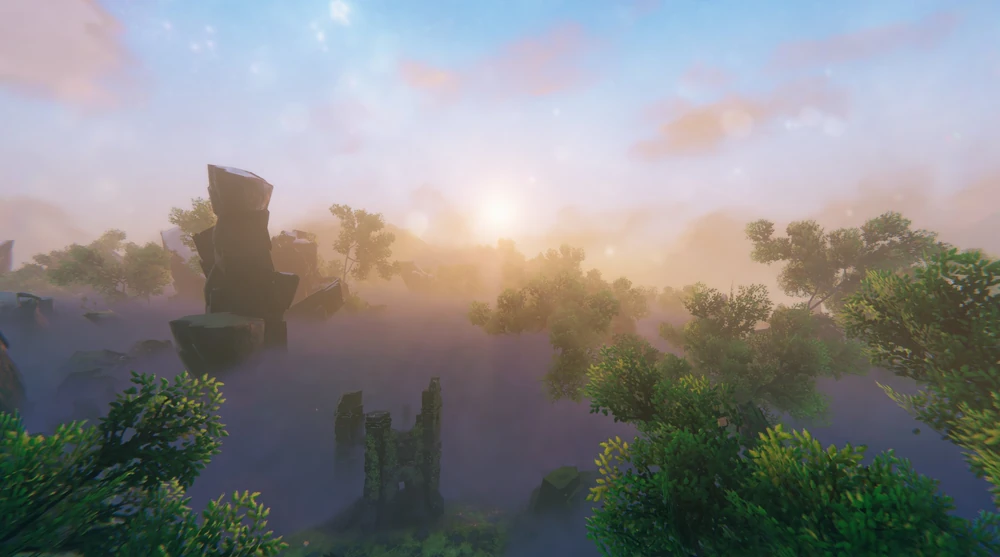
The Mistlands change the way Valheim progression works quite a bit. Visibility is limited, the terrain is much harder to move through, and enemies are far more dangerous than what you have encountered in the Plains.
Your main goals are to deal with the mist, explore Infested Mines, collect Black Cores, unlock Eitr-based crafting and magic, and prepare for The Queen.
Where to Get Started
Before entering the Mistlands, you should have completed most of your Plains progression and defeated Yagluth.
Yagluth gives you access to the item needed to create a Wisplight, which helps clear the mist around your character. You can technically enter the biome without one, but visibility becomes much worse, and exploration is considerably harder.
A strong setup should include:
Upgraded Plains-tier armor, strong food, a good shield, a reliable ranged weapon, healing items, the Rested buff, and a Wisplight.
Mistlands terrain can be just as dangerous as the enemies. Huge rock formations, steep drops, water, and narrow valleys can make escaping much harder than in earlier biomes.
Try to establish a Portal on the edge of the biome before moving deeper in.
Enemies You'll Find in the Mistlands
Seeker
Seekers are among the most common enemies in the biome and are extremely aggressive.
They can move quickly, deal heavy physical damage, and can become dangerous when several attack at the same time.
Blocking and parrying can work well with sufficiently strong equipment, but avoid getting surrounded.
Seeker Soldier
Seeker Soldiers are much tougher than normal Seekers and have very high defenses from the front.
Their weaker area is behind them, so positioning matters a lot more here. Fighting one head-on can take much longer than circling around and attacking its vulnerable backside.
They also hit extremely hard, so avoid trading attacks.
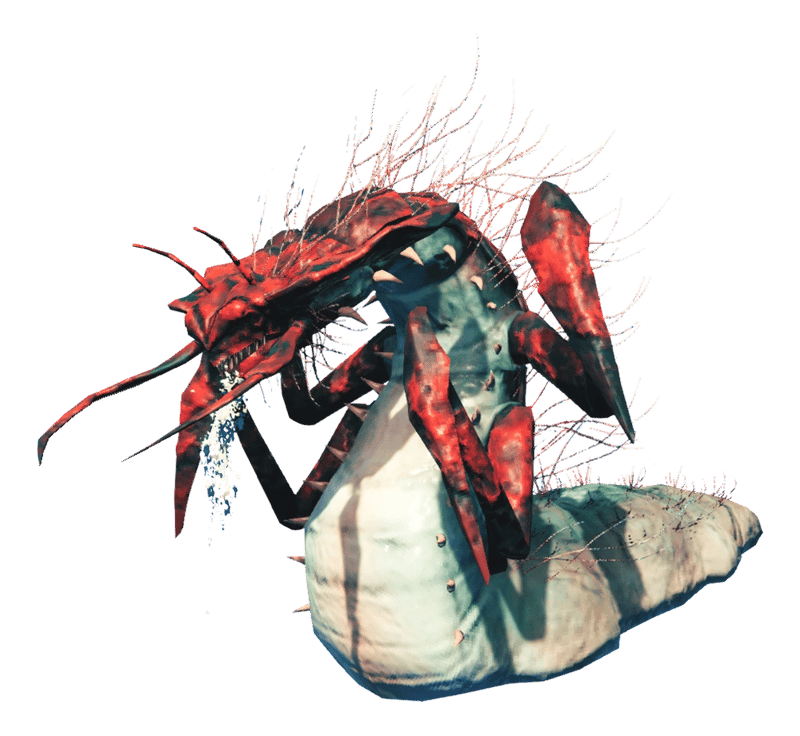
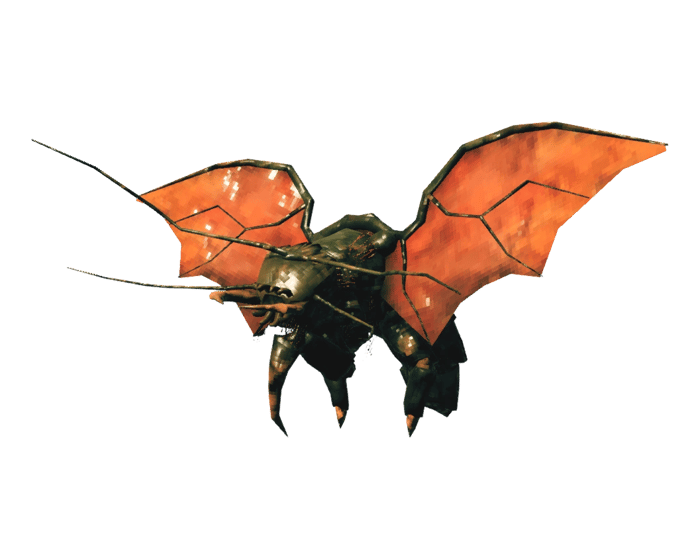
Gjall
Gjalls are large flying enemies that attack from above with powerful Fire attacks.
A Bow or Crossbow is generally the easiest way to fight them.
They also have a weak point on their underside, so aim carefully instead of simply firing at the main body.
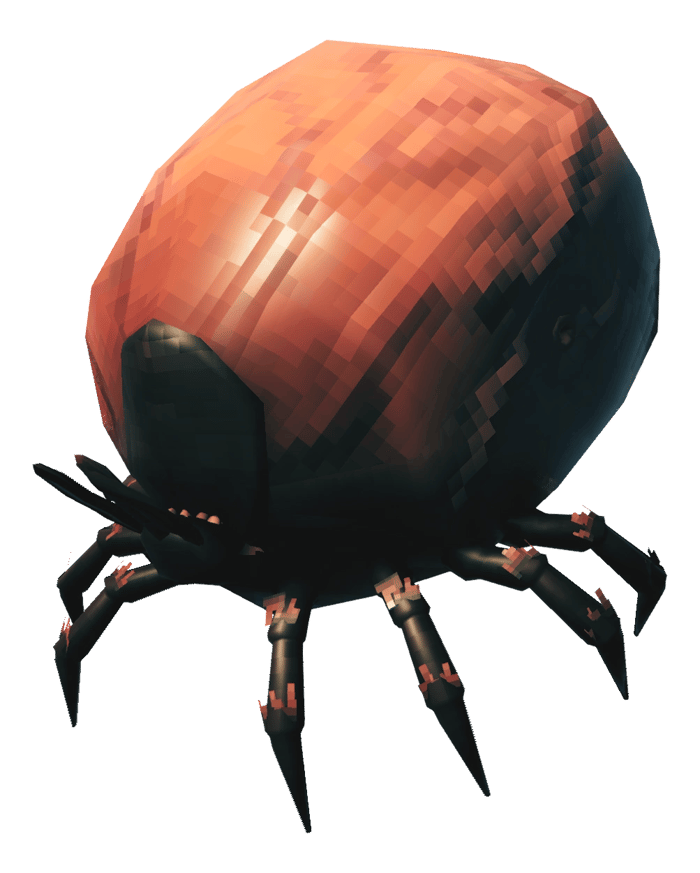
Gjalls can also release Ticks, which makes the fight more dangerous if you ignore them.
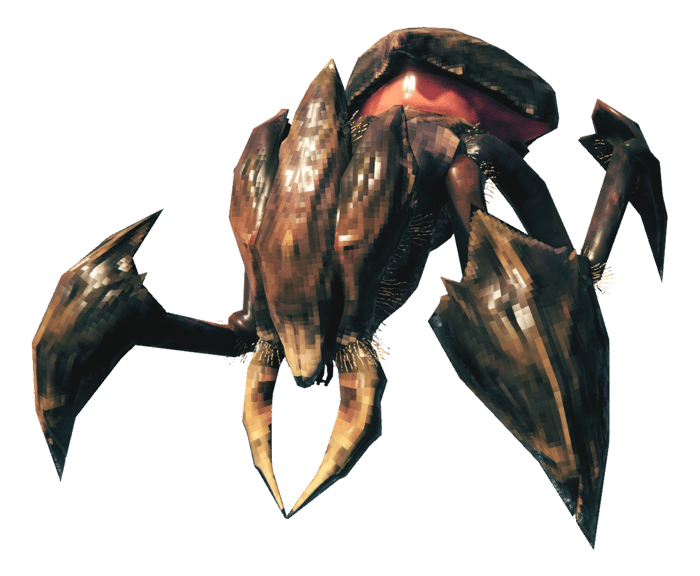
Tick
Ticks are small but can be surprisingly dangerous.
They can latch onto your character and continuously deal damage while attached. Rolling or using certain attacks can help remove them.
Do not underestimate them just because they are small.
Dvergr
Dvergr are not automatically hostile.
You can encounter Dvergr groups guarding towers, excavation sites, and useful resources throughout the Mistlands.
Avoid attacking them unless you are prepared for a difficult fight. They can use powerful magic and ranged attacks, and turning an entire Dvergr group hostile can become a serious problem.
Important Loot, Weapons and Gear
Mistlands progression revolves around several new resources and crafting systems.
Black Cores
Black Cores are one of your most important goals.
They are primarily found inside Infested Mines and are required to build the new Mistlands crafting stations.
You will need several of them before you can properly start progressing into the biome's equipment.
If you find an Infested Mine, mark it on your map.
Black Forge
The Black Forge is used to craft and upgrade several new Mistlands weapons and pieces of equipment.
It becomes the main crafting station for many of the biome's physical weapons.
Weapons such as Mistwalker, Krom, and the Arbalest become available through this stage of progression.
Mistwalker
Mistwalker is one of the strongest general-purpose weapons available during Mistlands progression.
It deals multiple damage types and works particularly well against several enemies found in the biome.
It is also useful because it can help clear a small amount of mist around you while equipped.
Arbalest
The Arbalest introduces Crossbows as a new ranged weapon type.
It reloads much slower than a Bow, but each shot deals very high damage and can be excellent for opening fights or targeting weak points on enemies such as Gjalls.
It is a strong alternative if you prefer slower, harder-hitting ranged attacks.
Carapace Armor
Carapace Armor is the main heavy armor progression for the Mistlands.
It provides a significant defensive upgrade over Padded Armor and becomes one of the safer options for players who prefer traditional melee combat.
Magic and Eitr
The Mistlands also introduce an entirely new combat resource called Eitr.
Certain foods increase your maximum Eitr, allowing you to use magical weapons and staffs.
This opens up completely new build options, including offensive magic and protective abilities.
You do not need to switch to magic to progress through the Mistlands, but it becomes a powerful alternative to standard melee and ranged builds.
Important Things to Do in the Mistlands
Your main objective is to find and explore Infested Mines.
These contain Black Cores and other progression materials that are required for Mistlands crafting.
The mines are dangerous and usually contain several Seekers, so bring strong food, healing items, and enough inventory space before entering.
You should also search for Dvergr structures and areas containing the resources needed for Sap and Eitr progression.
Collect Sap
Sap is one of the most important Mistlands resources.
You can extract it from Ancient Roots using the appropriate equipment obtained during Dvergr-related progression.
Sap is then used in the process of creating Refined Eitr, which is required for many of the biome's most important weapons, armor pieces, and magic items.
Because of this, setting up reliable Sap extraction becomes one of your main long-term goals in the biome.
Build the Eitr Refinery
Once you have the required materials, you can build an Eitr Refinery.
This allows you to process Sap and other resources into Refined Eitr.
Be careful where you place it. The refinery releases dangerous magical projectiles while operating, which can damage nearby structures.
It is usually better to build it in a separate protected area rather than directly inside the middle of your main base.
Find Sealbreaker Fragments
While exploring Infested Mines, you can find Sealbreaker Fragments.
Collect enough of them to craft the Sealbreaker, which is required to access The Queen.
These fragments are one of the main reasons to continue exploring additional Infested Mines even after you already have enough Black Cores for your crafting stations.
Prepare for The Queen
Before fighting The Queen, you should ideally have:
Upgraded Mistlands-tier equipment, strong food, healing and resistance consumables, the Rested buff, a reliable ranged option, and enough supplies for a long fight.
If you are using magic, make sure you have strong Eitr food and enough equipment to support your build.
You should also place a Portal somewhere safe near the entrance to her arena.
How to Beat The Queen
The Queen is one of the longest and most demanding boss fights in Valheim.
She fights inside a large enclosed arena and can summon additional enemies, making crowd control and Stamina management extremely important.
One of the biggest dangers is allowing too many Seekers to build up during the fight. If several are active at once, take the time to clear them instead of focusing entirely on the boss.
The Queen herself uses powerful melee attacks and can move around the arena quickly.
Avoid staying directly in front of her for long periods. Attack during clear openings and keep enough Stamina available to reposition when she becomes aggressive.
Ranged attacks can help when she moves away from you, while melee builds can punish her after her larger attacks.
Magic can also be very strong here, particularly because the arena gives you room to use ranged spells and protective abilities.
Use the pillars and layout of the arena to create space when you need to heal or recover Stamina.
Boss Tip: Do not tunnel vision on The Queen. If summoned enemies start surrounding you, deal with them first. Losing control of the adds is one of the easiest ways for the fight to spiral out of control.
How to Progress to the Ashlands
Defeating The Queen gives you the progression item required to begin preparing for the Ashlands.
Before moving on, you should ideally have:
The Queen defeated, upgraded Mistlands equipment, access to Black Forge and Eitr crafting, reliable high-tier food, strong ranged options, and enough resources to replace or repair important gear.
The transition into the Ashlands is much more dangerous than simply walking into another biome.
You will need to prepare for a hostile sea approach, extreme environmental hazards, and some of the strongest enemies in the game.
Once you are ready, the Ashlands become your next major destination.
Ashlands
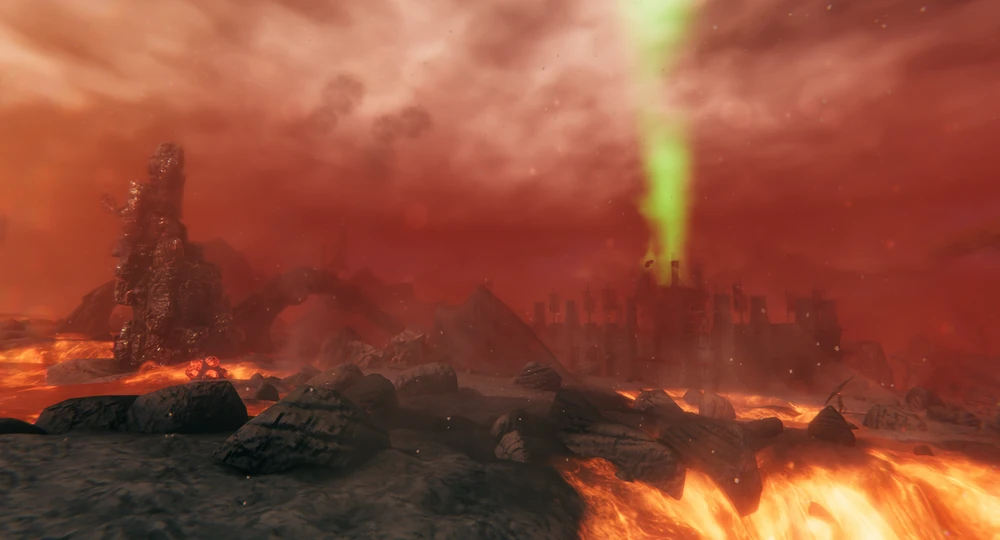
The Ashlands are the final biome covered in this progression guide and one of the most dangerous areas in Valheim. Reaching the biome is already part of the challenge, and once you arrive, you will be dealing with constant enemy pressure, harsh terrain, powerful ranged attacks, and some of the toughest regular enemies in the game.
Your main goals are to establish a safe foothold, gather Flametal, raid Charred Fortresses, unlock Ashlands-tier weapons and armor, and eventually prepare for Fader.
Where to Get Started
Before travelling to the Ashlands, you should have defeated The Queen and completed most of your Mistlands progression. Iron Gate specifically recommends defeating The Queen first, since her drop is used for Ashlands progression.
You also cannot simply sail there using your normal Longship. The waters surrounding the Ashlands are extremely hot, so you need to build a Drakkar, which is designed to survive the journey.
Bring your strongest Mistlands-tier equipment, good food, healing items, the Rested buff, and materials for a Portal. The landing itself can be dangerous, so being able to establish a safe return point quickly is extremely important.
Try to avoid landing directly into a large group of enemies. Find a relatively quiet section of coast, clear the immediate area, and secure your Portal before pushing deeper inland.
Enemies You'll Find in the Ashlands
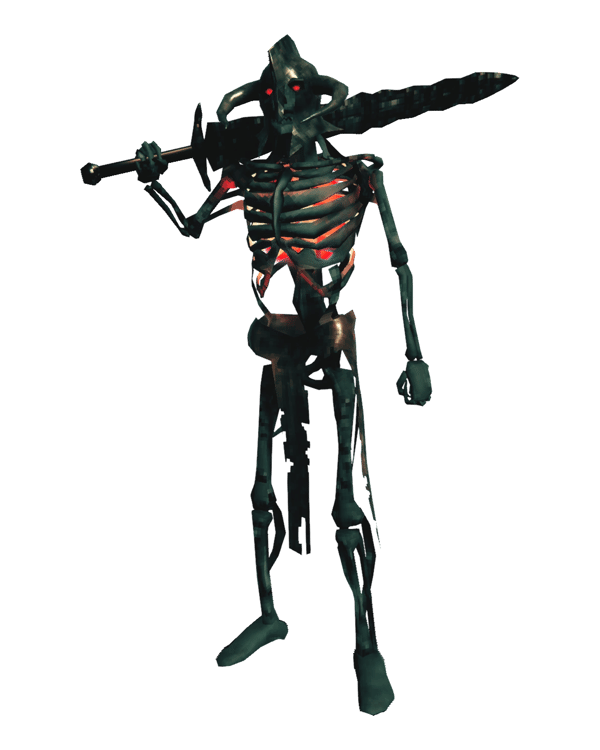
Charred Warrior
Charred Warriors are common melee enemies throughout the biome. They are aggressive, deal high damage, and become much more dangerous when several attack at once.
Try to avoid getting surrounded and use terrain or ranged attacks to separate groups.
Charred Marksman
Marksmen are a more dangerous ranged threat and should be treated as a priority target whenever they appear.
Their attacks can punish you heavily while your attention is focused elsewhere, so reposition before committing to a long melee fight.
Morgen
Morgen are large, highly aggressive enemies with unusual movement and powerful melee attacks.
They can close distance surprisingly quickly and are much harder to fight safely when other enemies are nearby.
Take your time learning their attack patterns and avoid fighting them in cramped areas where their mobility becomes difficult to deal with.
Fallen Valkyrie
Fallen Valkyries are flying enemies and one of the more dangerous threats in the biome.
Because they attack from the air, having a good Bow, Crossbow, or ranged magic option remains extremely useful even if your main build is melee-focused.
Asksvin
Asksvin are fast creatures that can deal heavy physical damage.
They are also important for Ashlands progression because their materials are used in several new recipes, and they can eventually be tamed.
Important Loot, Weapons and Gear
Ashlands progression introduces several new materials, but Flametal is one of the most important.
It is used for many of the biome's strongest weapons and equipment upgrades, so collecting it becomes one of your primary progression goals.
Flametal Weapons
Flametal gives you access to a large selection of powerful endgame weapons.
Rather than simply crafting a stronger version of every old weapon type, Ashlands equipment provides several distinct options that can support different builds.
This is also where the new gemstone upgrade system becomes especially important. Certain Ashlands weapons can be enhanced using different gems, allowing them to gain additional elemental effects.
Because these upgrades require valuable resources, it is worth deciding which weapon you actually want to use before investing heavily in several different options.
Ask Set
The Ask Set provides a lighter alternative for players who prefer mobility rather than maximum Armor.
It can be particularly useful for ranged or faster melee playstyles where movement and Stamina efficiency are more important than simply stacking as much defense as possible.
Flametal Armor
For players who prefer heavier armor, Ashlands also provides a much more defensive progression path.
This is usually the safer option if you are playing primarily in melee and expect to take hits from the biome's harder enemies.
Ashlands Magic
Magic continues to develop beyond the Mistlands.
New Staff options provide additional offensive and utility choices, so players who invested in an Eitr build do not need to transition back into conventional melee.
Make sure your food setup still supports enough Eitr if magic remains a core part of your build.
Important Things to Do in the Ashlands
The first objective is simply establishing a secure foothold.
Enemy density can be much higher than in previous biomes, so don't immediately push deep inland after arriving. Clear the surrounding area, establish a Portal, and create somewhere you can safely recover.
From there, begin gathering the biome's major resources, including Flametal, Grausten, Blackwood, and enemy materials.
Ashlands also introduces several new materials and equipment categories, including Flametal, Blackwood, gemstones, and new armor and weapon options.
Raid Charred Fortresses
Charred Fortresses are one of the most important locations in Ashlands progression.
They contain valuable resources used for endgame crafting and progression, but they are heavily defended.
Do not rush directly into a Fortress.
Clear enemies around the exterior first and deal with dangerous ranged targets before entering. Bringing healing items, strong food, and enough inventory space is highly recommended.
These locations are also closely tied to acquiring the materials needed for some of the biome's strongest weapon upgrades.
Use Gemstones to Specialize Your Weapons
One of the most interesting parts of Ashlands equipment progression is the ability to further specialize certain weapons using different gemstones.
Rather than simply increasing their base stats, these upgrades can add different elemental properties to the weapon.
This gives you more control over how your final build develops, so avoid automatically spending the first gemstone you find.
Think about which effect actually complements your weapon and playstyle before committing.
Keep Your Portal Safe
Portals become even more important here than in most previous biomes.
The Ashlands can produce large numbers of aggressive enemies, and leaving an exposed Portal outside your base can easily result in it being destroyed.
Build some basic protection around important Portals and avoid placing your only connection home directly beside a major enemy location.
Losing your Portal after dying deep inside the Ashlands can turn a normal corpse run into another dangerous sea journey.
Prepare for Fader
Fader is the Ashlands boss and the final boss covered by this guide.
Before summoning him, you should have completed a significant amount of Ashlands progression.
Ideally, bring fully upgraded or near-fully upgraded Ashlands-tier equipment, your strongest available food, healing and Stamina consumables, the Rested buff, a reliable ranged option, and a Portal somewhere safe nearby.
Make sure you also understand how your chosen weapon performs against him before committing to the fight.
How to Beat Fader
Fader is an extremely aggressive fight with a strong focus on Fire damage, area denial, and positioning.
One of the biggest mistakes you can make is remaining stationary for too long. Several of his attacks can make areas of the battlefield unsafe, so constantly pay attention to where you can retreat before committing to damage.
For melee builds, wait for clear recovery windows instead of trying to remain underneath him and continuously attack.
Get your damage in, then create distance before the next major attack begins.
Ranged builds can maintain damage from further away, but you still need to watch your positioning carefully. The fight can become much harder if you allow yourself to get trapped between hazards.
Stamina management is especially important. Avoid completely draining your bar simply to land a few additional attacks, since you may need to sprint or dodge immediately afterward.
Bring healing consumables and don't hesitate to disengage briefly if the arena becomes difficult to control.
Boss Tip: Fader rewards patience more than aggression. Focus on staying out of dangerous areas first, then punish him once you have a safe opening.
Finishing Your Ashlands Progression
Defeating Fader marks the end of the progression covered in this guide.
You should still continue exploring the biome if you want to finish upgrading your weapons, collect additional gemstones, complete your armor setup, or gather resources for building and crafting.
At this stage, you should ideally have:
Fader defeated, upgraded Ashlands-tier equipment, a stable Ashlands Portal or base, access to Flametal and gemstone upgrades, strong endgame food, and a finalized build capable of handling the hardest current content.
The next step is the Deep North, which arrives as the final major biome with Valheim 1.0. We have this in a seperate guide linked here: Valheim Deep North Progression Guide
Take Your Time and Enjoy the Journey
This guide is designed to help you understand the general progression through Valheim and show you what is worth prioritizing in each biome. You can use it to progress efficiently, avoid missing important unlocks, and prepare for the challenges ahead.
However, there is no need to rush through Valheim.
Some players enjoy progressing quickly from boss to boss, while others spend dozens of hours building, farming, sailing, exploring, or experimenting with different weapons before moving on. Both approaches are completely valid.
If you want to fully upgrade your equipment before entering the next biome, take your time. If you find a biome you enjoy and want to build a large base there, do it. You do not need to follow the fastest possible progression path to play the game correctly.
Valheim is just as much about the journey as it is about defeating bosses and reaching the next biome. Use this guide whenever you need direction, but most importantly, play at your own pace and focus on what you enjoy doing.


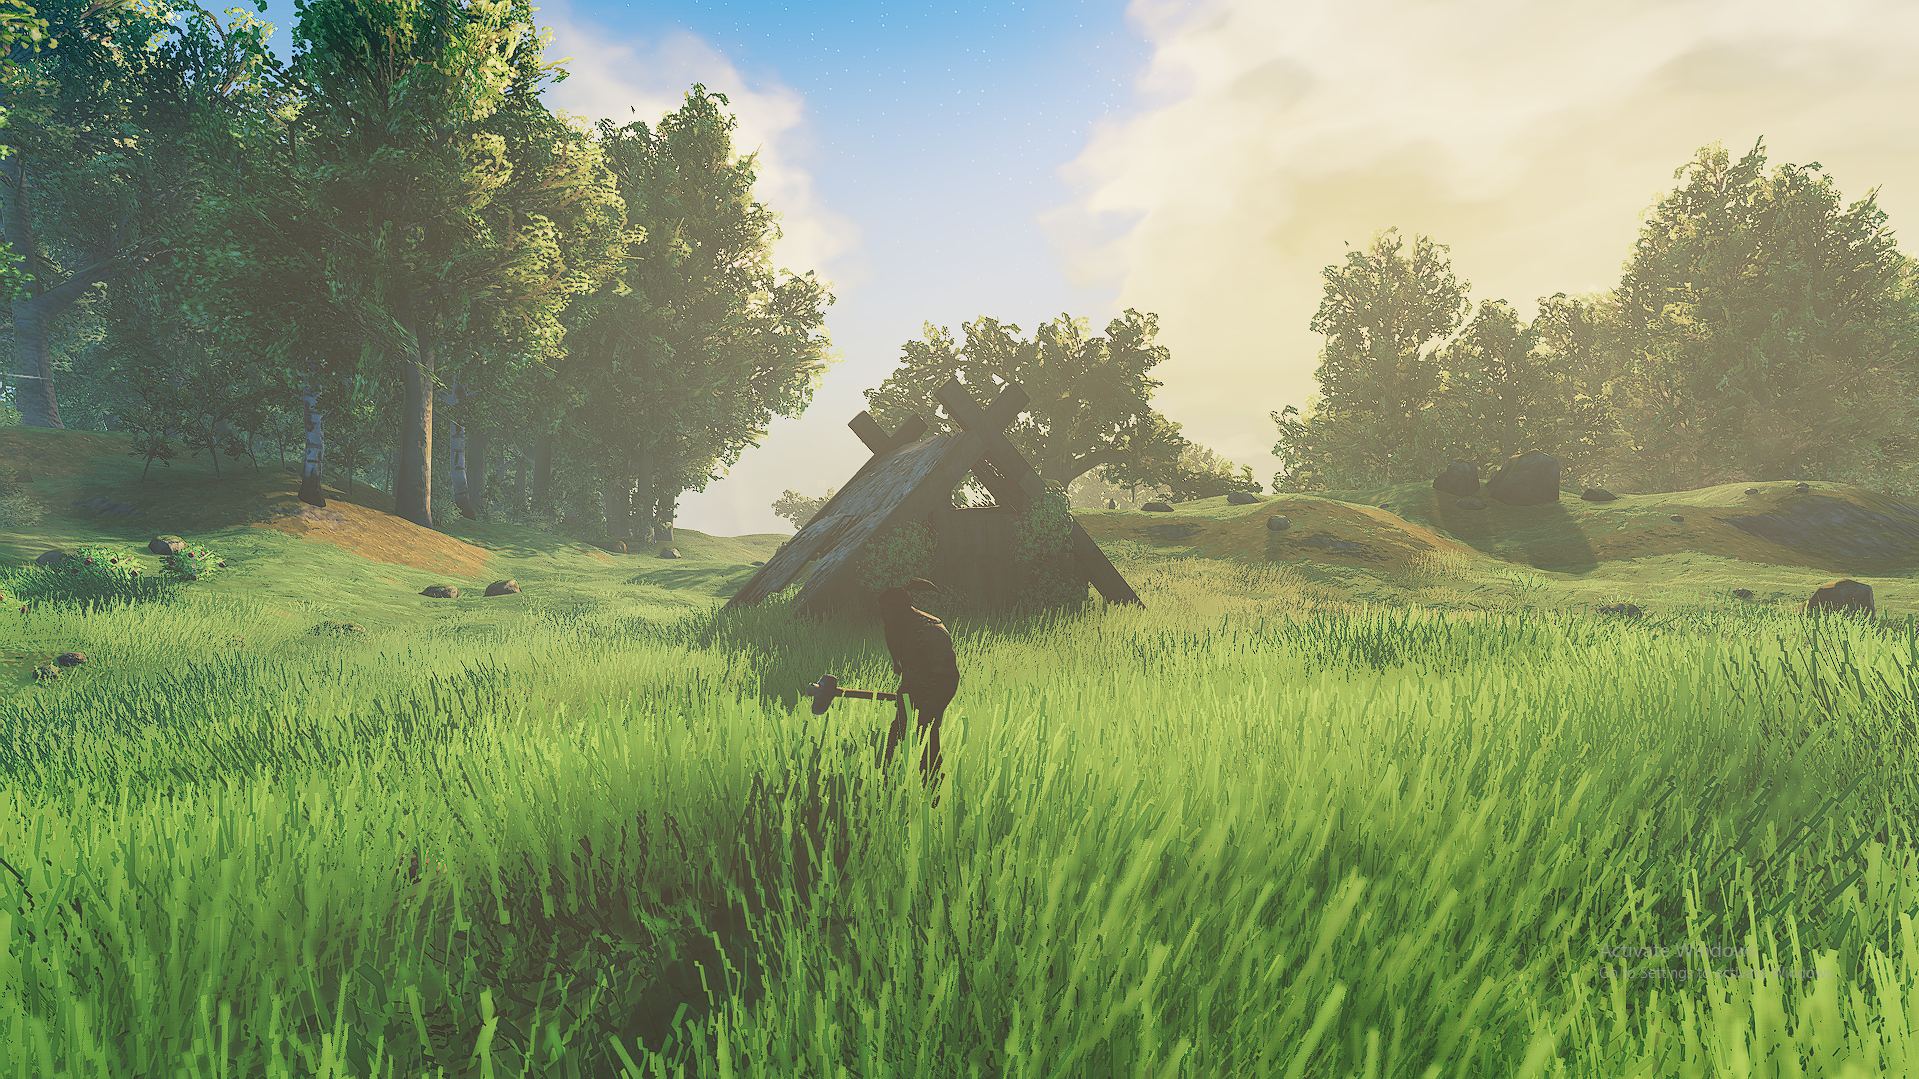















.webp)