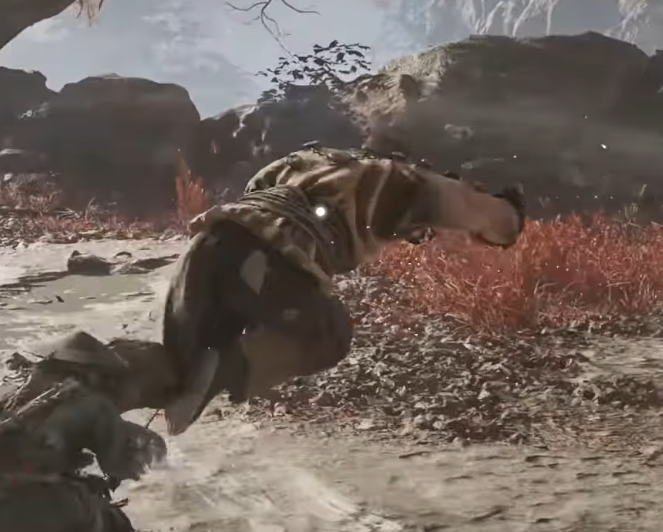
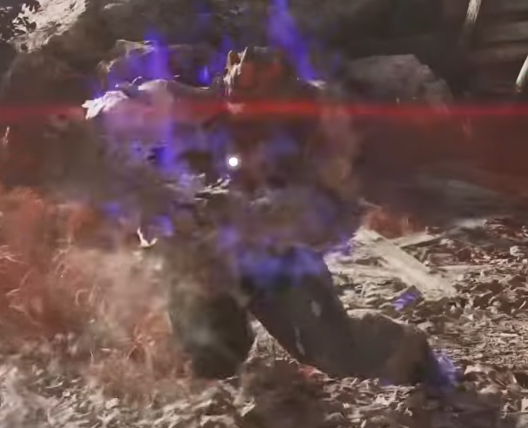
Stone Hand Iron Fever is a highly aggressive Hand-to-Hand fighter who pressures you with relentless attack strings and heavy Sha-Chi damage.
He is the third boss found in the Crimson Forest and can be encountered near the Mirrorwood Entrance.
Stone Hand has two distinct phases. The second begins once he reaches roughly 65 to 70% HP, where he becomes Perfectly Transcended and significantly more aggressive.
This guide was written and tested on Hellwalker difficulty.
Boss Mechanics
Stone Hand is primarily a test of your parry consistency.
Most of his damage comes from long Hand-to-Hand strings that rapidly drain your Sha-Chi if you block them instead of parrying. Once your Sha-Chi is broken, he can easily chain into another combo and kill you before you have a chance to recover.
Because of this, learning the rhythm of his regular strings is much more important than trying to constantly attack him.
Phase 1
During Phase One, Stone Hand uses several different melee strings, most of which deal heavy Sha-Chi damage if you fail to parry them correctly.
His combos are generally quite readable once you have seen them a few times, and many finish with either a Red Flash or Blue Flash attack.
Successfully countering these finishers gives you one of your best damage opportunities in the fight. They can also deal significant Sha-Chi damage to Stone Hand, which may allow you to break his posture and extend the punish even further.
For most of Phase One, your game plan should be simple: parry the string, counter the finisher, punish, then reset.
Dash Attacks
Stone Hand will occasionally back away from you, but do not treat this as a guaranteed opportunity to recover.
He has three different dash attacks that allow him to immediately close the gap again. These attacks hit hard and can quickly catch you if you lower your guard just because he created some distance.
Whenever he disengages, keep watching him instead of immediately healing or rushing forward. Be ready for the dash first, then take your opening once you know he is actually finished.
This is especially important on Hellwalker, where getting clipped by one dash can easily lead into another full combo.
Do Not Rely on Blocking
Blocking works as an emergency option, but it is not a good long-term strategy against Stone Hand.
His multi-hit strings deal enough Sha-Chi damage that repeatedly blocking them will quickly break your guard. Once that happens, the boss is often already in position to continue attacking.
Try to treat blocking as a backup when your timing is off, not as your primary defensive tool.
Phase 2: Perfectly Transcended
Once Stone Hand reaches around 65 to 70% HP, he becomes Perfectly Transcended.
This phase makes him significantly more aggressive and much less forgiving. His attack strings become longer, he gains additional Red and Blue Flash attacks, and he becomes much better at maintaining pressure once he gets close to you.
He also becomes harder to interrupt, meaning you can no longer rely on smaller staggers to stop his offense as consistently as before.
The safest approach is to become more defensive and wait for clear counter opportunities rather than trying to trade with him.
Longer and More Aggressive Strings
Stone Hand gains more extended combo sequences in Phase Two.
Many of these strings flow directly into one another, which makes it dangerous to attack just because you think a combo has ended. He can continue pressure with another strike almost immediately.
Wait for a clearly finished animation or a successful Red or Blue counter before committing to damage.
This phase punishes greed much harder than Phase One.
Avoid Getting Caught on the Back Foot
The most dangerous situation in Phase Two is being forced into constant defense.
Once Stone Hand starts chaining attacks while you are already retreating or blocking, it can be extremely difficult to regain control. If your Sha-Chi breaks during one of these sequences, he can continue directly into another combo before you recover.
This is where the fight can snowball very quickly.
If you feel yourself losing the rhythm, prioritize creating space and stabilizing your Sha-Chi instead of trying to immediately attack back.
Grabs and Heavy Stun Attacks
His grabs and heavy stun attacks become especially dangerous during the second phase.
Getting caught by one can place you directly into another offensive sequence, which makes these attacks much more dangerous than their initial damage alone suggests.
Avoiding these moves should take priority over dealing damage. One missed punish is much less costly than getting stunned and immediately forced into another full combo.
General Strategy
Stone Hand Iron Fever is a fight about maintaining control.
In Phase 1, focus on learning his parry rhythm and taking advantage of the Red and Blue Flash attacks that end many of his strings.
Do not relax when he backs away. His dash attacks are specifically designed to punish players who assume distance means safety.
Once Phase 2 begins, become more patient. His pressure increases dramatically, and trying to attack in the middle of his extended strings can quickly lead to a Sha-Chi break.
The most important thing is to avoid letting one mistake become several. If you miss a parry or get pushed onto the defensive, stabilize first before trying to take your turn back.
Once you become comfortable with his combo rhythm, Stone Hand becomes much more manageable. His attacks are aggressive, but most of his pressure still gives you clear opportunities to counter if you remain patient.