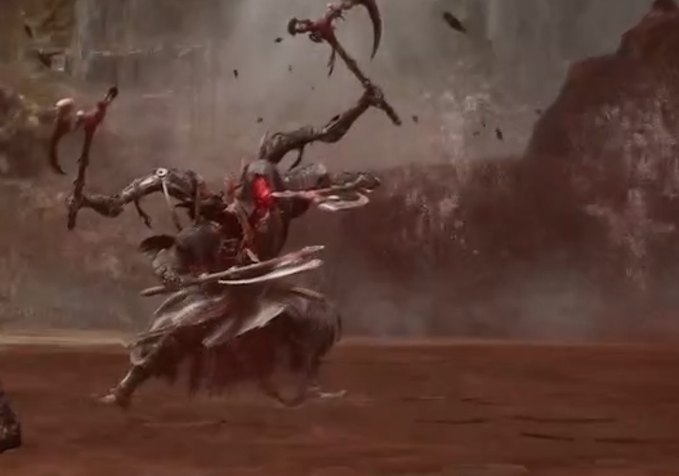
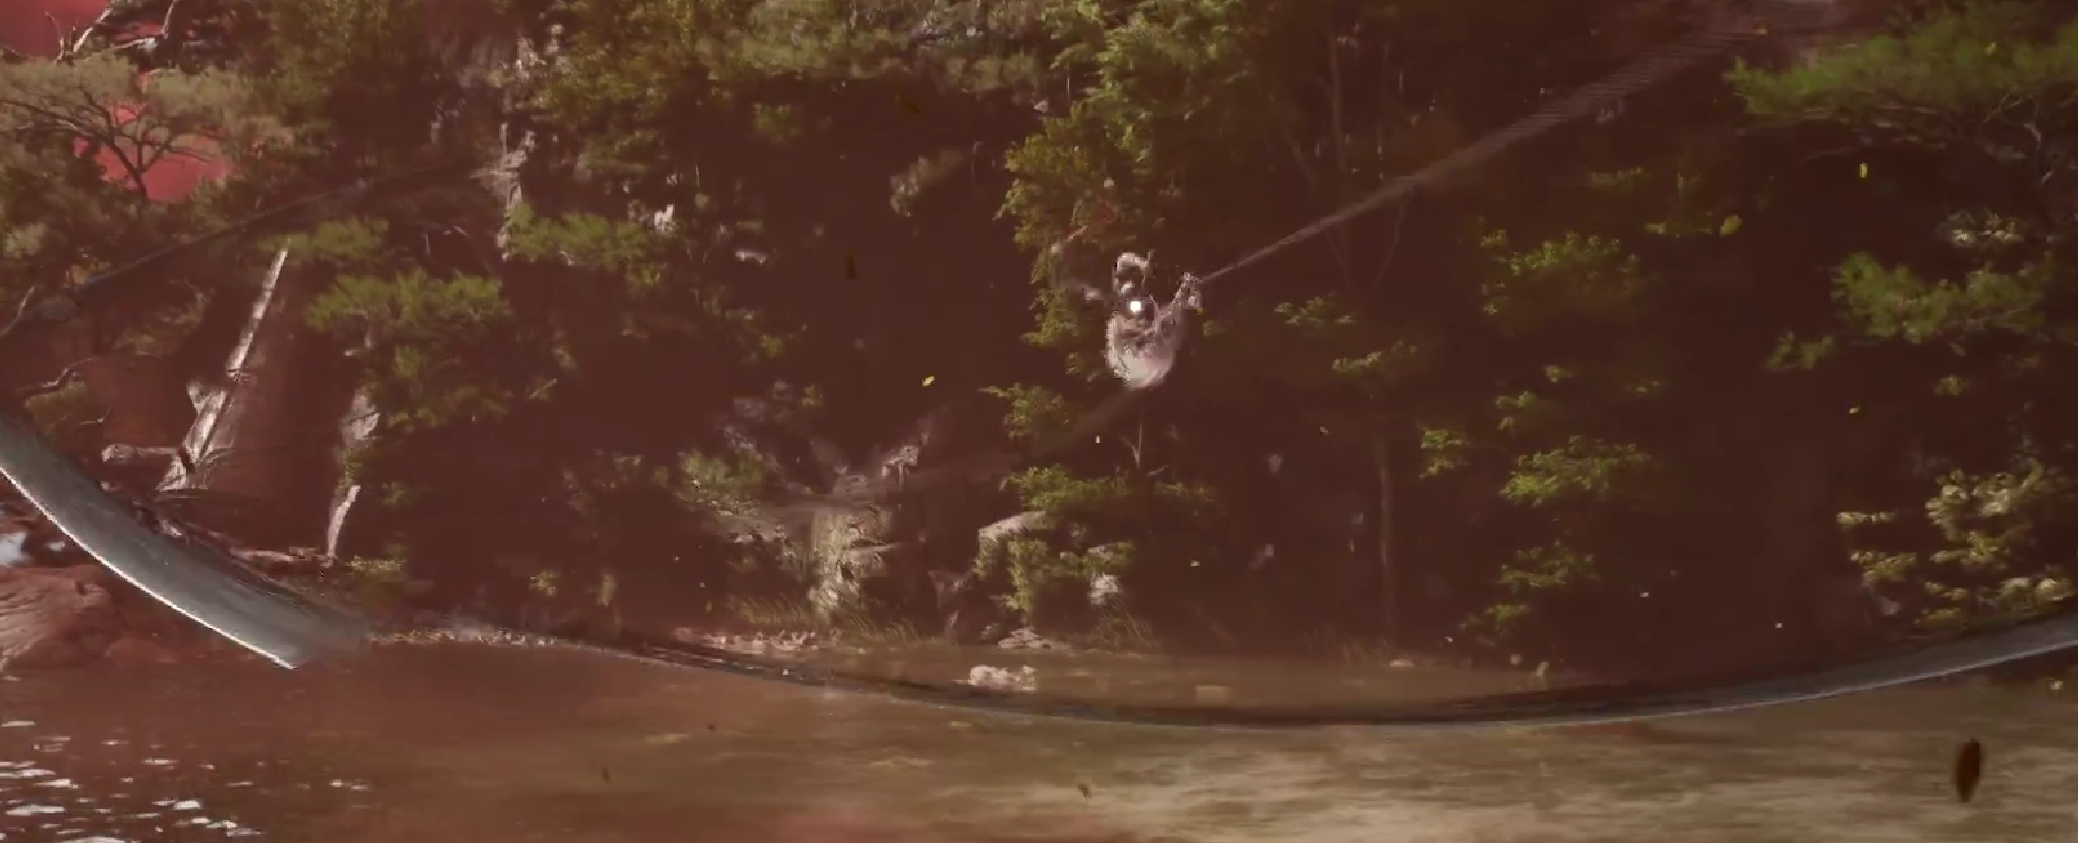
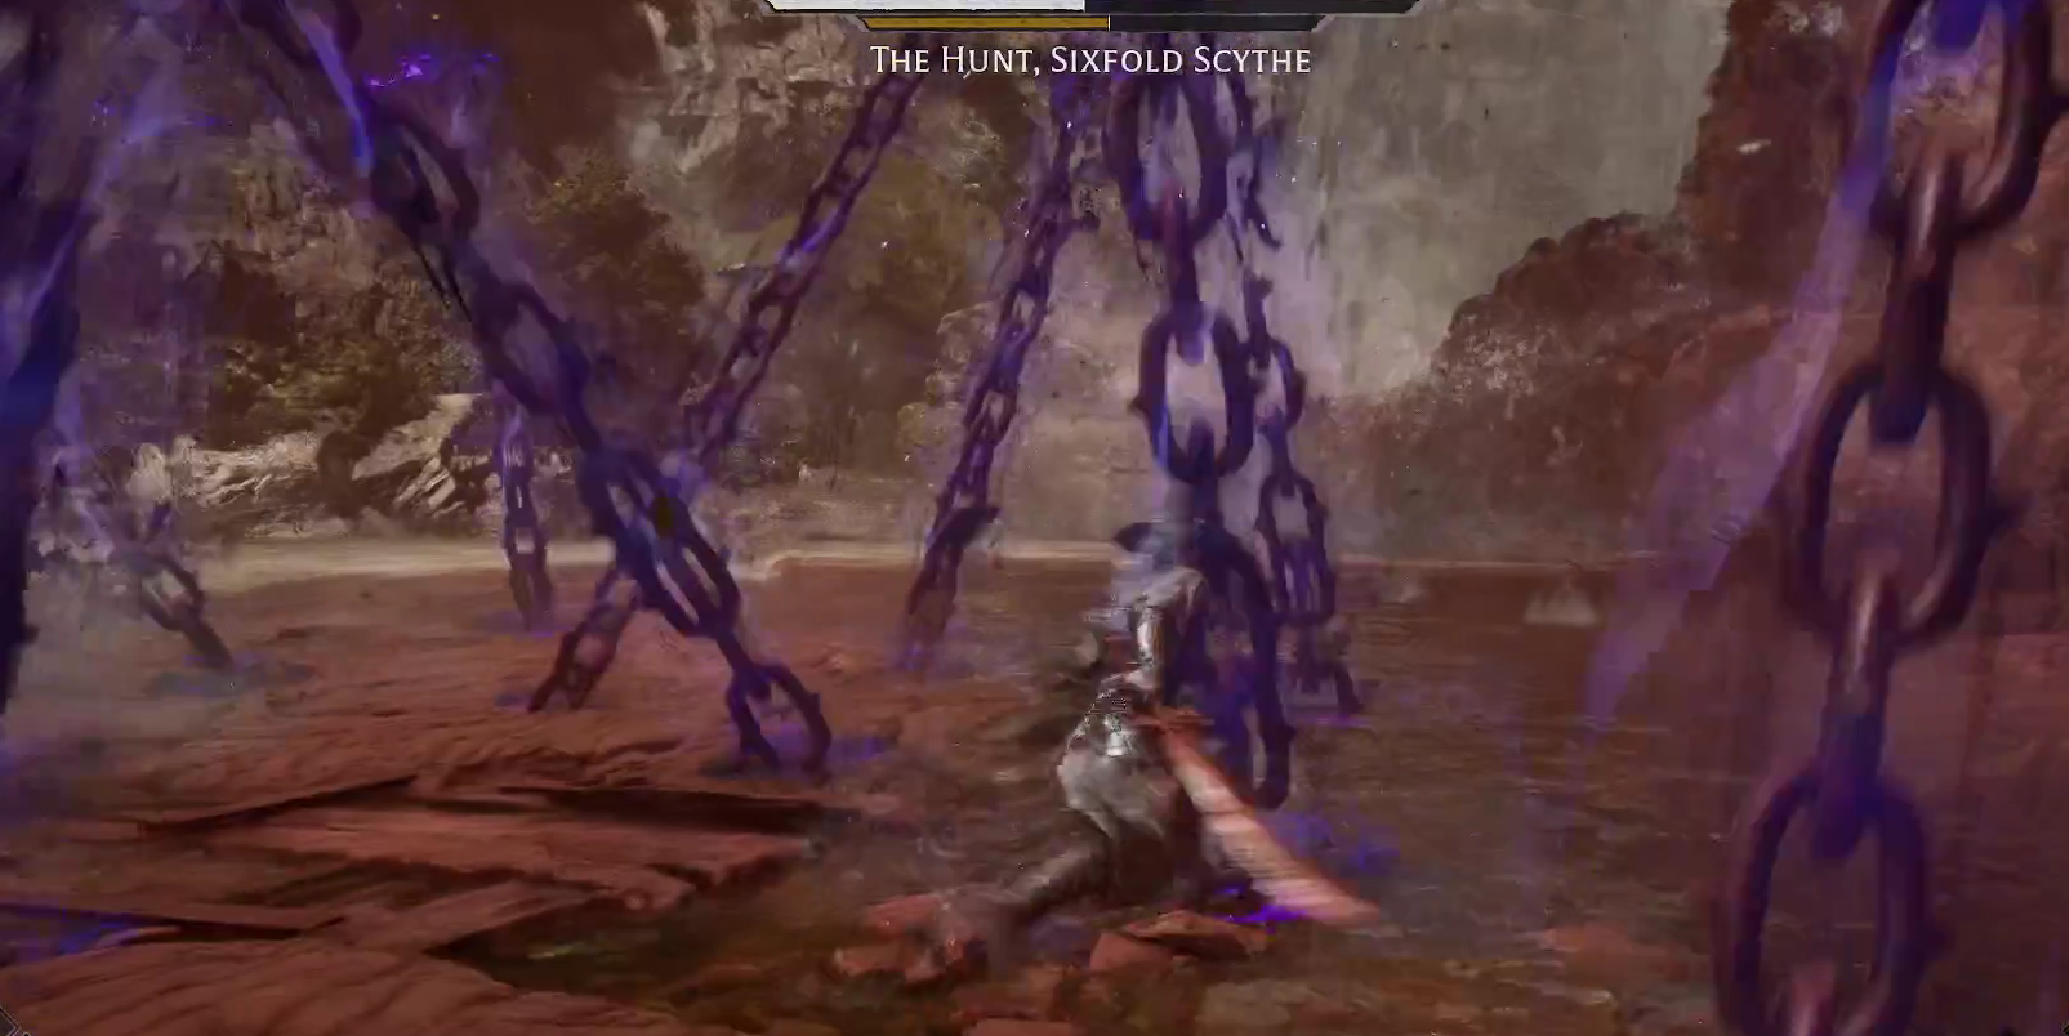
The Hunt is the final boss of Weeping Creek Valley and is a pretty difficult fight.
To reach him, you need to go towards the Great Waterfall directly after the Sha-Chi Tower.
He is the first multi-phase boss fight with two phases.
This guide was written and tested on Hellwalker difficulty. We'll cover his mechanics in detail below.
Boss Mechanics Phase 1
Flying Attacks
The Hunt has several aerial attacks where he launches himself into the air before diving back toward you with a fast sequence of hits.
These attacks are especially dangerous because missing the initial parry can cause you to get caught by multiple hits from the same string, quickly turning one mistake into a large amount of damage.
The safest approach is to focus on the first impact rather than trying to react to every hit individually. If you are not confident in the parry timing, dodging out of the sequence is usually safer than attempting to recover midway through it.
Red Marker Attacks
In Phase 1, some of The Hunt's Red Marker attacks are much harder to read because the marker can be partially hidden by his animations and the increased visual clutter.
This makes them significantly easier to miss than the more obvious Red Marker attacks earlier in the fight.
Pay close attention to his body movement rather than relying entirely on the marker itself. Once you recognize the animation leading into the attack, reacting to the motion becomes much more reliable than waiting until the Red Marker is clearly visible.
Successfully parrying the attack does not end the sequence, however. The Hunt will follow it with a grab that triggers a random button prompt. Mash the displayed button quickly enough to escape. If you fail the input, the grab will still connect and deal damage despite successfully parrying the initial attack.
Red Attacks on Hellwalker
Like Hua, The Hunt becomes extremely aggressive with Red Marker attacks if you repeatedly fail to counter them, particularly on Hellwalker difficulty.
Missing one can therefore create a snowball effect where he immediately follows with another dangerous Red attack before you have fully reset.
Do not panic and start mashing defensive inputs after the first mistake. Regain your timing and react to the next attack properly instead of allowing one missed counter to turn into several.
Axe Throws
The Hunt can also use ranged axe throws, which are easy to underestimate because they often come after movement that looks like he is disengaging.
These can catch you off guard if you immediately chase him or start attacking as soon as he creates distance.
Whenever he suddenly backs away, wait for a moment before committing. If he transitions into the throw, deal with the projectile first and then close the gap.
MultiHit Chains
His regular multi-hit chain attacks look more intimidating than they actually are.
The strings are long, but the timings are generally consistent once you have seen them a few times. They are much less dangerous than his flying attacks or hidden Red Markers, so do not overcomplicate them.
Focus on keeping your rhythm and avoid greedily attacking before the chain has fully ended.
General Phase 1 Strategy
Phase 1 is mostly about staying patient and learning The Hunt's rhythm.
His regular multi-hit chains are not the biggest threat once you get used to them. The more dangerous moments come from his aerial attacks, axe throws, and harder-to-read Red Marker attacks, especially when you start attacking too early and get caught during your recovery.
Do not chase him every time he creates distance. His axe throws are designed to punish exactly that, and he can quickly turn what looks like a safe opening into another attack.
When he goes airborne, prioritize the first parry timing. Missing it can cause you to get caught by the rest of the string, so these attacks are worth treating more carefully than his normal melee combos.
His Red Marker attacks also deserve extra attention. Watch his body movement instead of relying entirely on the marker, and remember that successfully parrying one can still lead into the button-mash grab sequence afterward.
The safest approach is to let The Hunt finish his pressure, punish the clear recovery windows, and then reset instead of trying to stay permanently aggressive.
On Hellwalker, this becomes even more important. If you repeatedly miss his Red Marker timings, he can keep applying pressure with them, so one mistake can quickly turn into several.
Phase 1 Tip: Do not greed after avoiding a normal combo. The Hunt's most dangerous attacks often come from transitions that initially look like the end of his turn.
Boss Mechanics Phase 2
Once you reach Phase 2, the fight becomes more forgiving than it first appears.
If you die during this phase, you restart directly from Phase 2 instead of having to repeat Phase 1. This means you can focus entirely on learning the second phase without wasting time replaying the opening part of the fight every attempt.
That checkpoint makes Phase 2 much easier to practice, especially because the boss becomes more aggressive and several attacks are harder to read than before.
In Phase 2, The Hunt grows two additional arms, which makes his melee pressure much more aggressive. He gains longer combo strings, more frequent slash attacks, new axe throws, and several attacks that are designed to catch you if you assume the first part of a sequence is already finished.
The good news is that some of his grabs actually become easier to read than in Phase 1, because they are more often used as combo finishers instead of suddenly appearing in the middle of his pressure.
Longer Combo Strings
The biggest change in Phase 2 is the amount of multi-hit melee pressure.
With four arms, The Hunt can chain together much longer slash sequences than before. The attacks themselves are not necessarily difficult to read, but there are more of them, which makes it easier to lose the timing if you try to greed damage in the middle of a combo.
Do not assume a string is over just because there is a short pause. Wait until you clearly see the recovery before committing to your punish.
Grab Attacks
The grab attacks are less sudden in this phase.
They are often used at the end of a combo, which makes them much easier to anticipate than the grabs in Phase 1. Once you recognize which strings lead into them, you can prepare for the grab instead of reacting at the last possible moment.
This makes Phase 2 more readable despite the increased aggression.
Aerial Attacks
His aerial attacks remain some of the most dangerous moves in the fight.
If you miss the initial parry timing, you can still get caught by most of the follow-up string. However, these attacks now end with a Blue Marker, which gives you a much better opportunity to turn the sequence around.
If you successfully hit the Blue Marker timing, the Hunt is immediately opened up for a punish.
Because of this, it is often better to focus on surviving the aerial string and preparing for the Blue Marker rather than trying to challenge him in the middle of the attack.
Axe Throws
The Hunt becomes much more dangerous at range in Phase 2.
He can still throw his axes in quick succession, but he also gains a new attack where he throws two axes at the same time.
After the first double throw, he will sometimes follow it with another throw and sometimes stop entirely. This makes the attack intentionally awkward to punish, because reacting too early can get you caught by the delayed follow-up.
Wait until you are sure the sequence has ended before rushing back in.
He can also use these throws from melee range, which is particularly dangerous. If both axes connect, they can remove around half your Health very quickly, especially on Hellwalker.
Half Health Nuke Attack
At around half Health, The Hunt gains one of his most dangerous attacks.
He summons several pillars around the arena before preparing a powerful dive attack.
As soon as the pillars appear, move away from them and create as much clear space as possible.
When The Hunt dives toward you, dodge with R1 or RT instead of trying to parry. The risk of missing the parry is not worth it here, because the attack deals extremely high damage if it connects.
The safest approach is simply:
Move away from the pillars → wait for the dive → dodge the impact → punish afterward if the opening is safe.
Phase 2 Strategy:
Phase 2 looks much more chaotic because of the extra arms and longer attack strings, but most of the fight becomes easier once you stop trying to interrupt him.
Let the combo play out, identify whether it ends in a grab, Blue Marker, axe throw, or normal recovery, then take your punish.
The most dangerous mistakes usually come from assuming an attack is finished too early.