In Guildrun, players are continuously presented with difficult problems that need to be solved. When a single fight can determine the outcome of a run, it's important to plan accordingly to avoid defeat.
Bosses are by far the biggest challenge of the game so far, and if you don't have a game plan in mind, they can easily send you right back to the beginning. Here we'll provide some tips and tricks to help guide your direction on the rift!
Disclaimer: This guide is based on the Guildrun Demo, so please keep in mind that everything is subject to change as new patches get released.
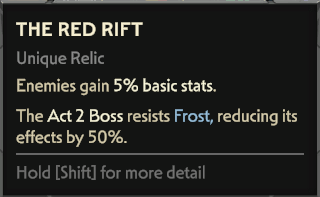
This guide is primarily based on the Red Rift difficulty but will still apply across all settings. The main difference comes from boss passives at SSS/Red Rift, along with the Frost nerf against Dragons.
For the most part, lower difficulties are just far less punishing, allowing you more freedom to experiment with different hero combinations. You may be able to get away with winning despite having suboptimal setups, which is rarely the case for Red Rift runs.
General Team Building Principles
While there are specific challenges to address in each boss fight, generally speaking, you're still aiming to solve the same problems overall. When it comes to building a strong team, these are some of the key principles to look out for in almost every single run.
Durable Frontline — Having a durable tank is crucial for survival. Without one, your team will melt.
Strong DPS — Upfront damage is vital for backing up the frontline, and winning before the storm.
Reliable Sustain — Heal and Shield effects are often essential for keeping the team alive.
In-Combat Scaling — Allows you to overcome enemy HP/S and persistent Debuffs.
Backline Bait (Optional) — Usually a secondary frontliner or an Assassin with Stealth. By no means necessary, but it helps deal with those pesky Plants.
How things change comes down to a combination of the heroes that are available, along with the boss you're up against. This will often determine which of the principles you need to focus on first.
Act 1 Boss - How to Beat the Hydra
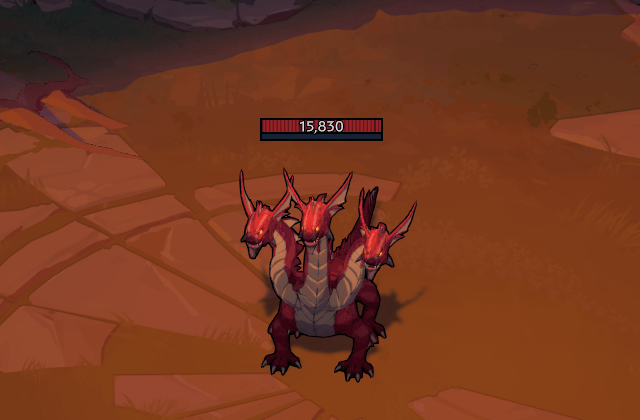
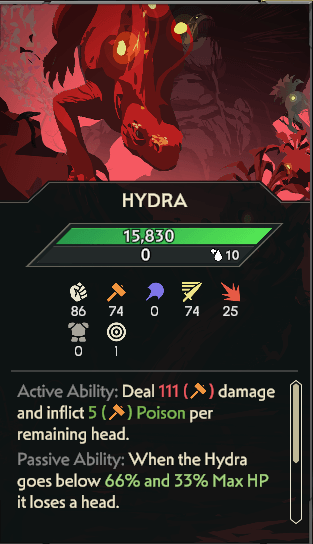
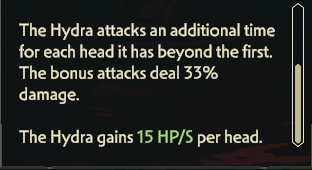
The Hydra is most powerful at the start of the fight as it will have all three of its heads. Each one beyond the first gives it an additional (reduced damage) strike, along with a substantial amount of HP/S.
When preparing for the Hydra, you'll want to ensure you have enough upfront burst damage so that you can weaken it as soon as possible.
Act 1 Boss: Hydra
Hydra Abilities
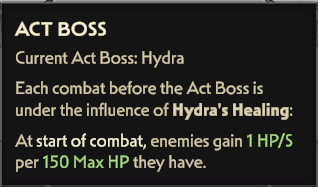
Act Boss Passive — Hydra's Healing
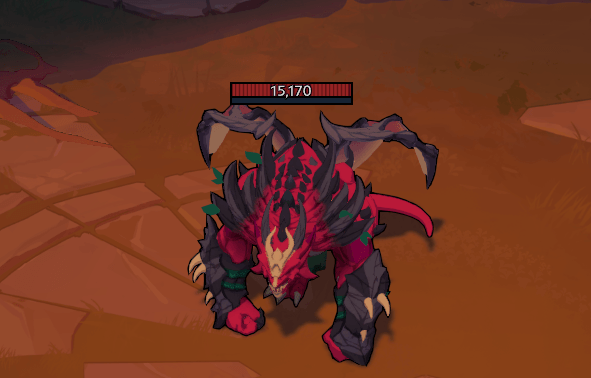
Act 1 Boss - How to Beat the Demon
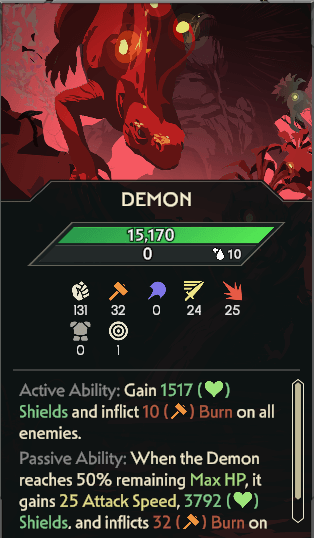
The Demon is relatively passive during the beginning of the fight, but ramps up considerably as soon as it reaches 50% remaining Max HP. At this point, it'll gain a large Shield while inflicting AoE Burn.
In this fight, it's important to ensure you have enough scaling and/or sustain to overcome the sizeable buff during the second half of the fight.
Act 1 Boss: Demon
Demon Abilities
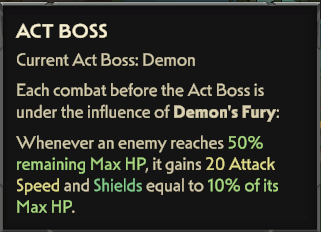
Act Boss Passive — Demon's Fury
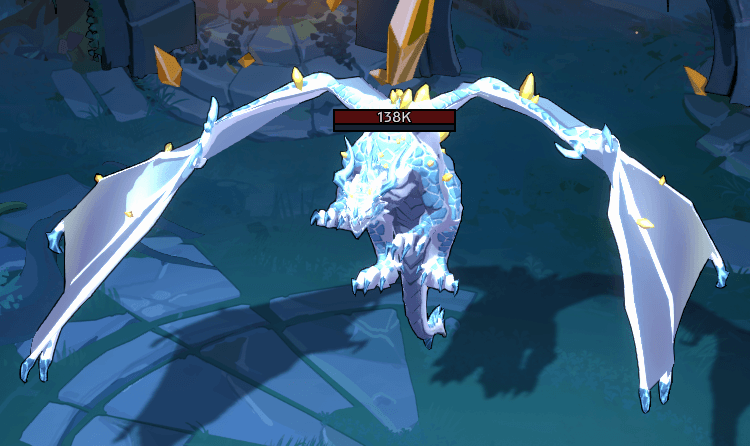
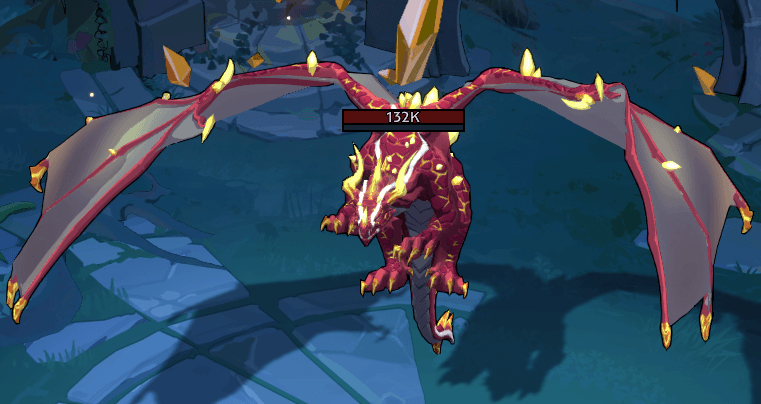
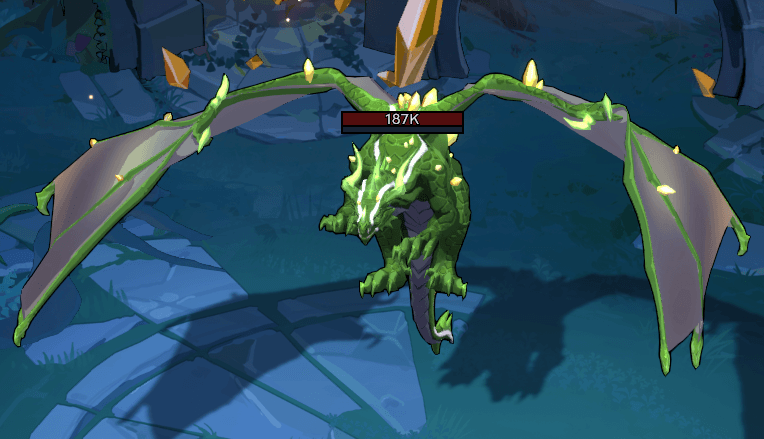
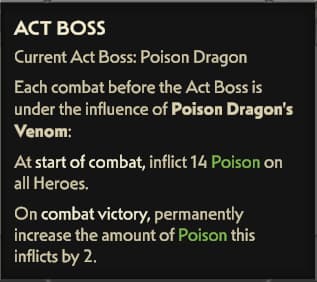
Act 2 Boss - How to Beat the Dragon (Frost, Fire, Poison)
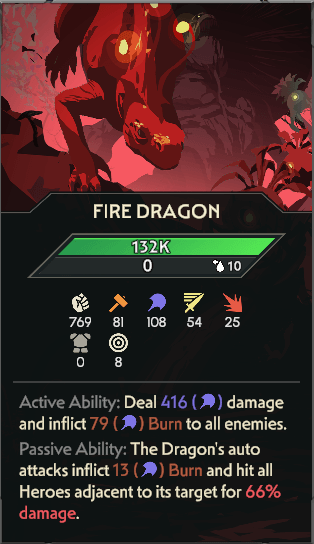
The Dragon is the highest skill-testing fight by a landslide, especially since you only have one attempt at winning. Unlike Act 1 Bosses which allow you to use your Emergency Rewind, once you reach the end of Act 2, it'll be immediately consumed at the final shop.
Unless you're extremely ahead, chances are you're going to need to solve each of the aforementioned principles. Reliable sustain and in-combat scaling are almost always a must, outside of having a ton of permanently-scaled stats (ex. Logan, Ratna) or insane Relic synergies.
Important Considerations
Another important thing to note is that not all strategies are created equal. Some mechanics rely heavily on having multiple enemies around, whereas boss fights are one single enemy.
If you've been relying on strong Relics like Shard Resonator to get you through hallway fights, you better have ways to generate Shards that don't involve on-kill effects (ex. Shard Collector).
Similarly, a hero like Rip can feel like an unstoppable machine with Bloodthirsty. But this is far less effective when it can only trigger a couple of times.
Always take a moment to evaluate your position and be ready to make adjustments when necessary. Some heroes are built for AoE (ex. Funke) while others stand out against a single foe (ex. Karsu).
Every hero is still viable under the right conditions, but just know that some will need more support than others to be worth using at the very end.
The Frost Mechanic
One of the most reliable ways to tackle the Dragons is with Frost. Even after the nerfs, it's still a way to both weaken their overall offense and defense.
Dragon Differences
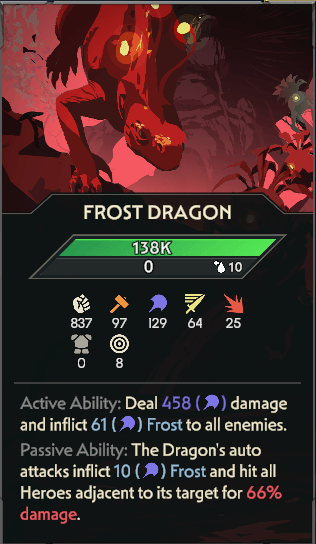
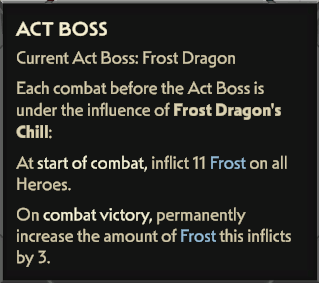
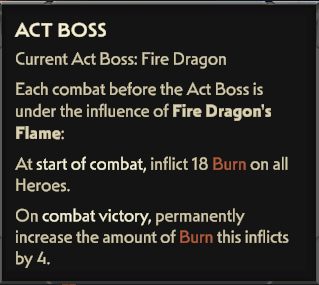
Of the three Dragons, the only one that truly stands out is the Frost Dragon. Frost is the strongest Debuff by far, and it will eventually overwhelm your team if you can't win fast enough.
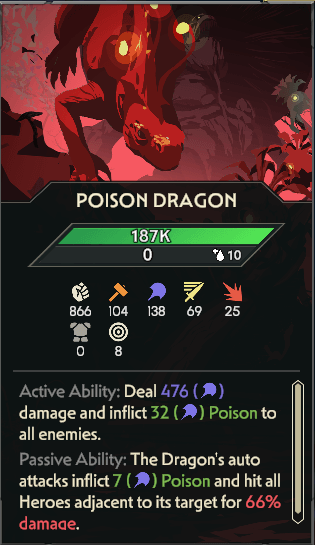
The Poison Dragon is generally the easiest, since Poison damage occurs half as often as Burn. But it will still outlast and defeat anyone who comes unprepared.
Positioning
Overall, there isn't a whole lot to know about positioning in boss fights, but make sure you double check all your items to ensure you're getting their additional stat bonuses (frontline/backline).
However, most importantly, don't bother with any adjacent positioning. Each of the Dragons will hit units adjacent to their target with auto attacks, which also includes stacking Debuffs!
Forget those few extra stats and/or Shields. Keep your team separated enough to avoid AoE autos, and maintain within range of your Mystic abilities (ex. Pollen, Gustav).