menu
MobalyticsUse your favourite features in-game with our Desktop App
Gamebase

GTA 6: Photo Mode and Studio

Guides
GTA 6
By Jack Briggs
Updated on Nov 20, 2026
Nov 20, 2026

Overview

Few open-world games are built for virtual photography quite like Grand Theft Auto VI. Whether you're capturing a sunset over Leonida's coastline, documenting the neon-soaked streets of Vice City, or creating cinematic action shots during a police chase, GTA 6's Photo Studio (or Photo Mode) gives you the tools to turn ordinary gameplay moments into stunning screenshots.

This guide covers everything you need to know about GTA 6's Photo Mode, from the basic controls to advanced photography tips that will make your images stand out.

Make sure to check out our PlayStation and Xbox Control Guides for other important systems.

Credit to Epic for all these amazing shots.
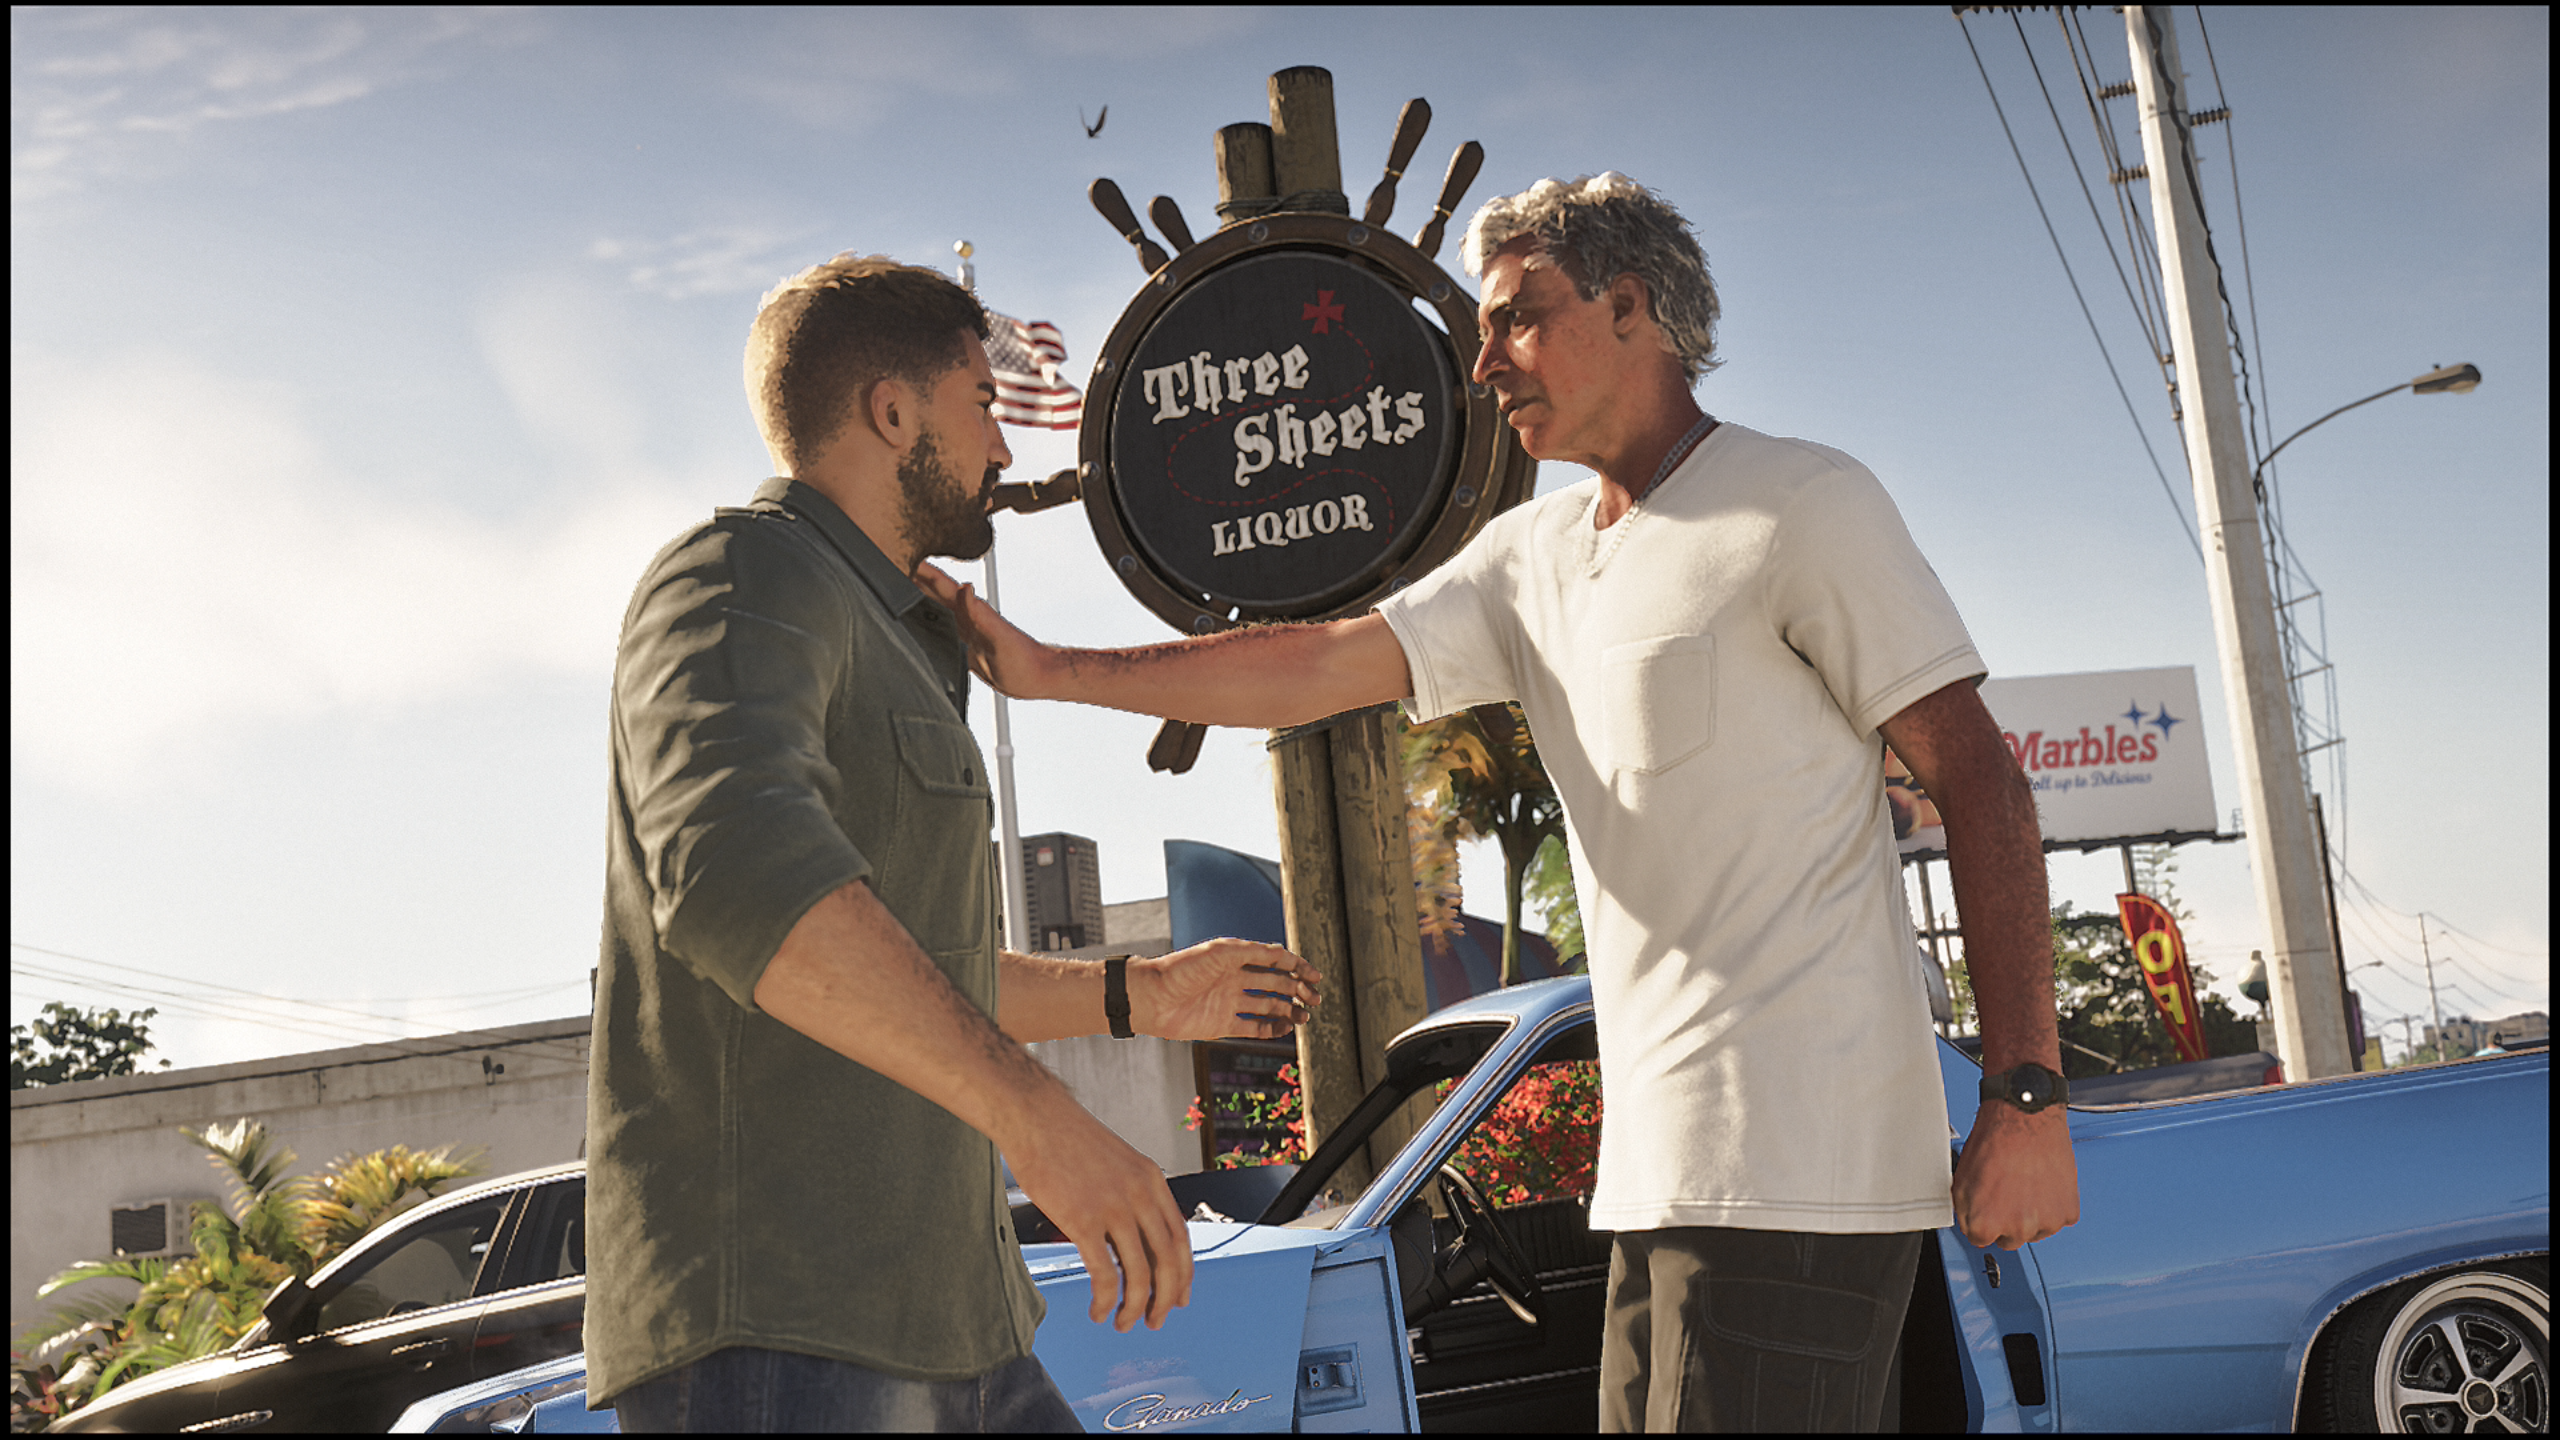
How to Access Photo Mode

You can access Photo Mode at almost any point during gameplay, except during certain story missions, cutscenes, or scripted events.

  1. Pause the game with the Options button on PS5 or the Menu button on Xbox Series X|S.
  2. Select Photo Studio from the pause menu.
  3. Adjust the camera, lighting, and filters until the shot looks right.
  4. Select Save Photo to capture it.

Once active, you'll gain complete control over camera positioning, visual effects, lighting settings, and image composition.

Photo Studio is available from the start of Lucia’s prologue, so you don't need to complete missions or find unlocks first. You can also open it during cutscenes, though some settings are locked there and show as unavailable.

Understanding the Camera Controls

The first thing you'll want to master is camera movement. Photo Mode allows you to:

  • Move the camera freely around the environment
  • Rotate and tilt the camera
  • Raise or lower the viewpoint
  • Zoom in for detailed character shots
  • Pull back for sweeping landscape images

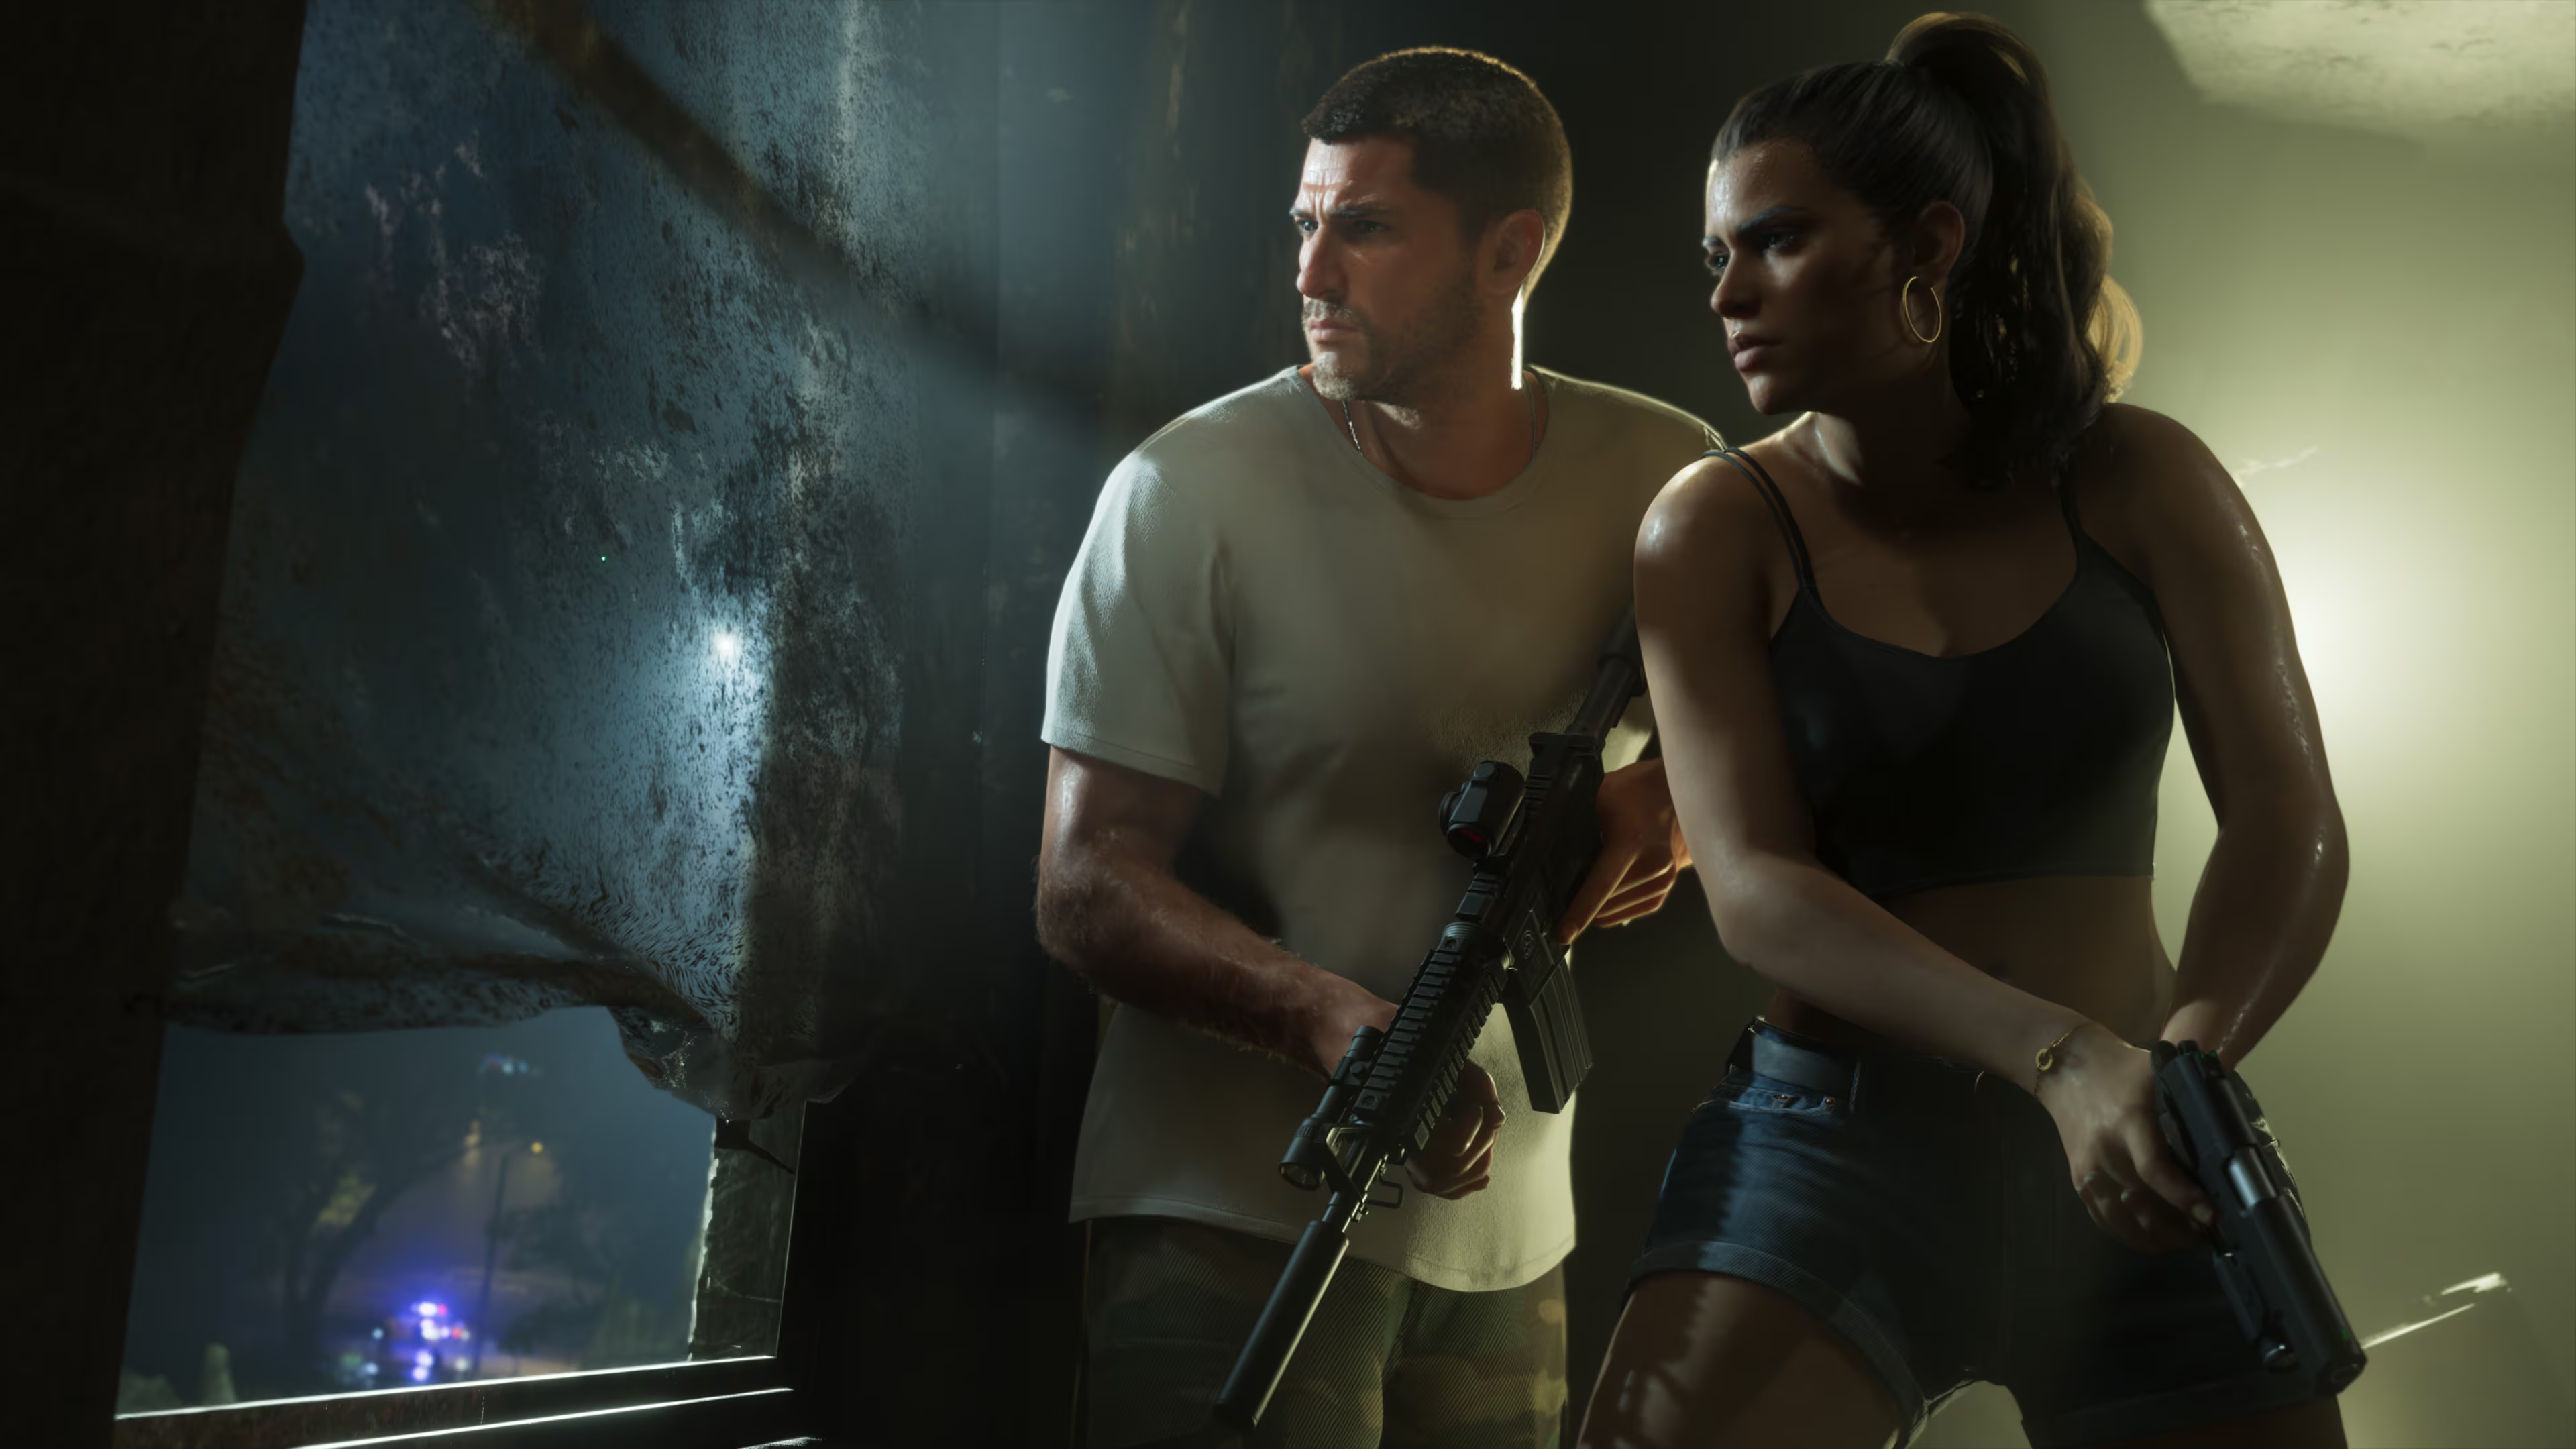
Jason and NPC

Think of the camera as a floating drone rather than a traditional game camera. The more you experiment with different angles, the more dynamic your screenshots will become.

A slight low-angle shot can make a character look powerful, while a high-angle perspective can emphasize the scale of the world around them.

Adjusting Camera Settings

Tab

What it does

Camera

Rotate and zoom the view, change the field of view, roll the camera, switch the aspect ratio, and show a grid for composition. You can also turn off depth of field and hide your character.

Effects

Fine-tune the image with exposure, contrast, tint, bloom, grain, and similar color controls.

Lighting

Add up to five separate light layers. Move each one around the scene, with its own color, size, intensity, range, and beam angle. Presets include stage lights and camera flashes.

Vehicle

Toggle your vehicle’s lights, such as headlights and turn signals, for night shots and street scenes.

Overlay

Choose from 17 filters, set the filter intensity, add a vignette, isolate a single color, and switch gameplay effects (like low-health warnings) on or off.

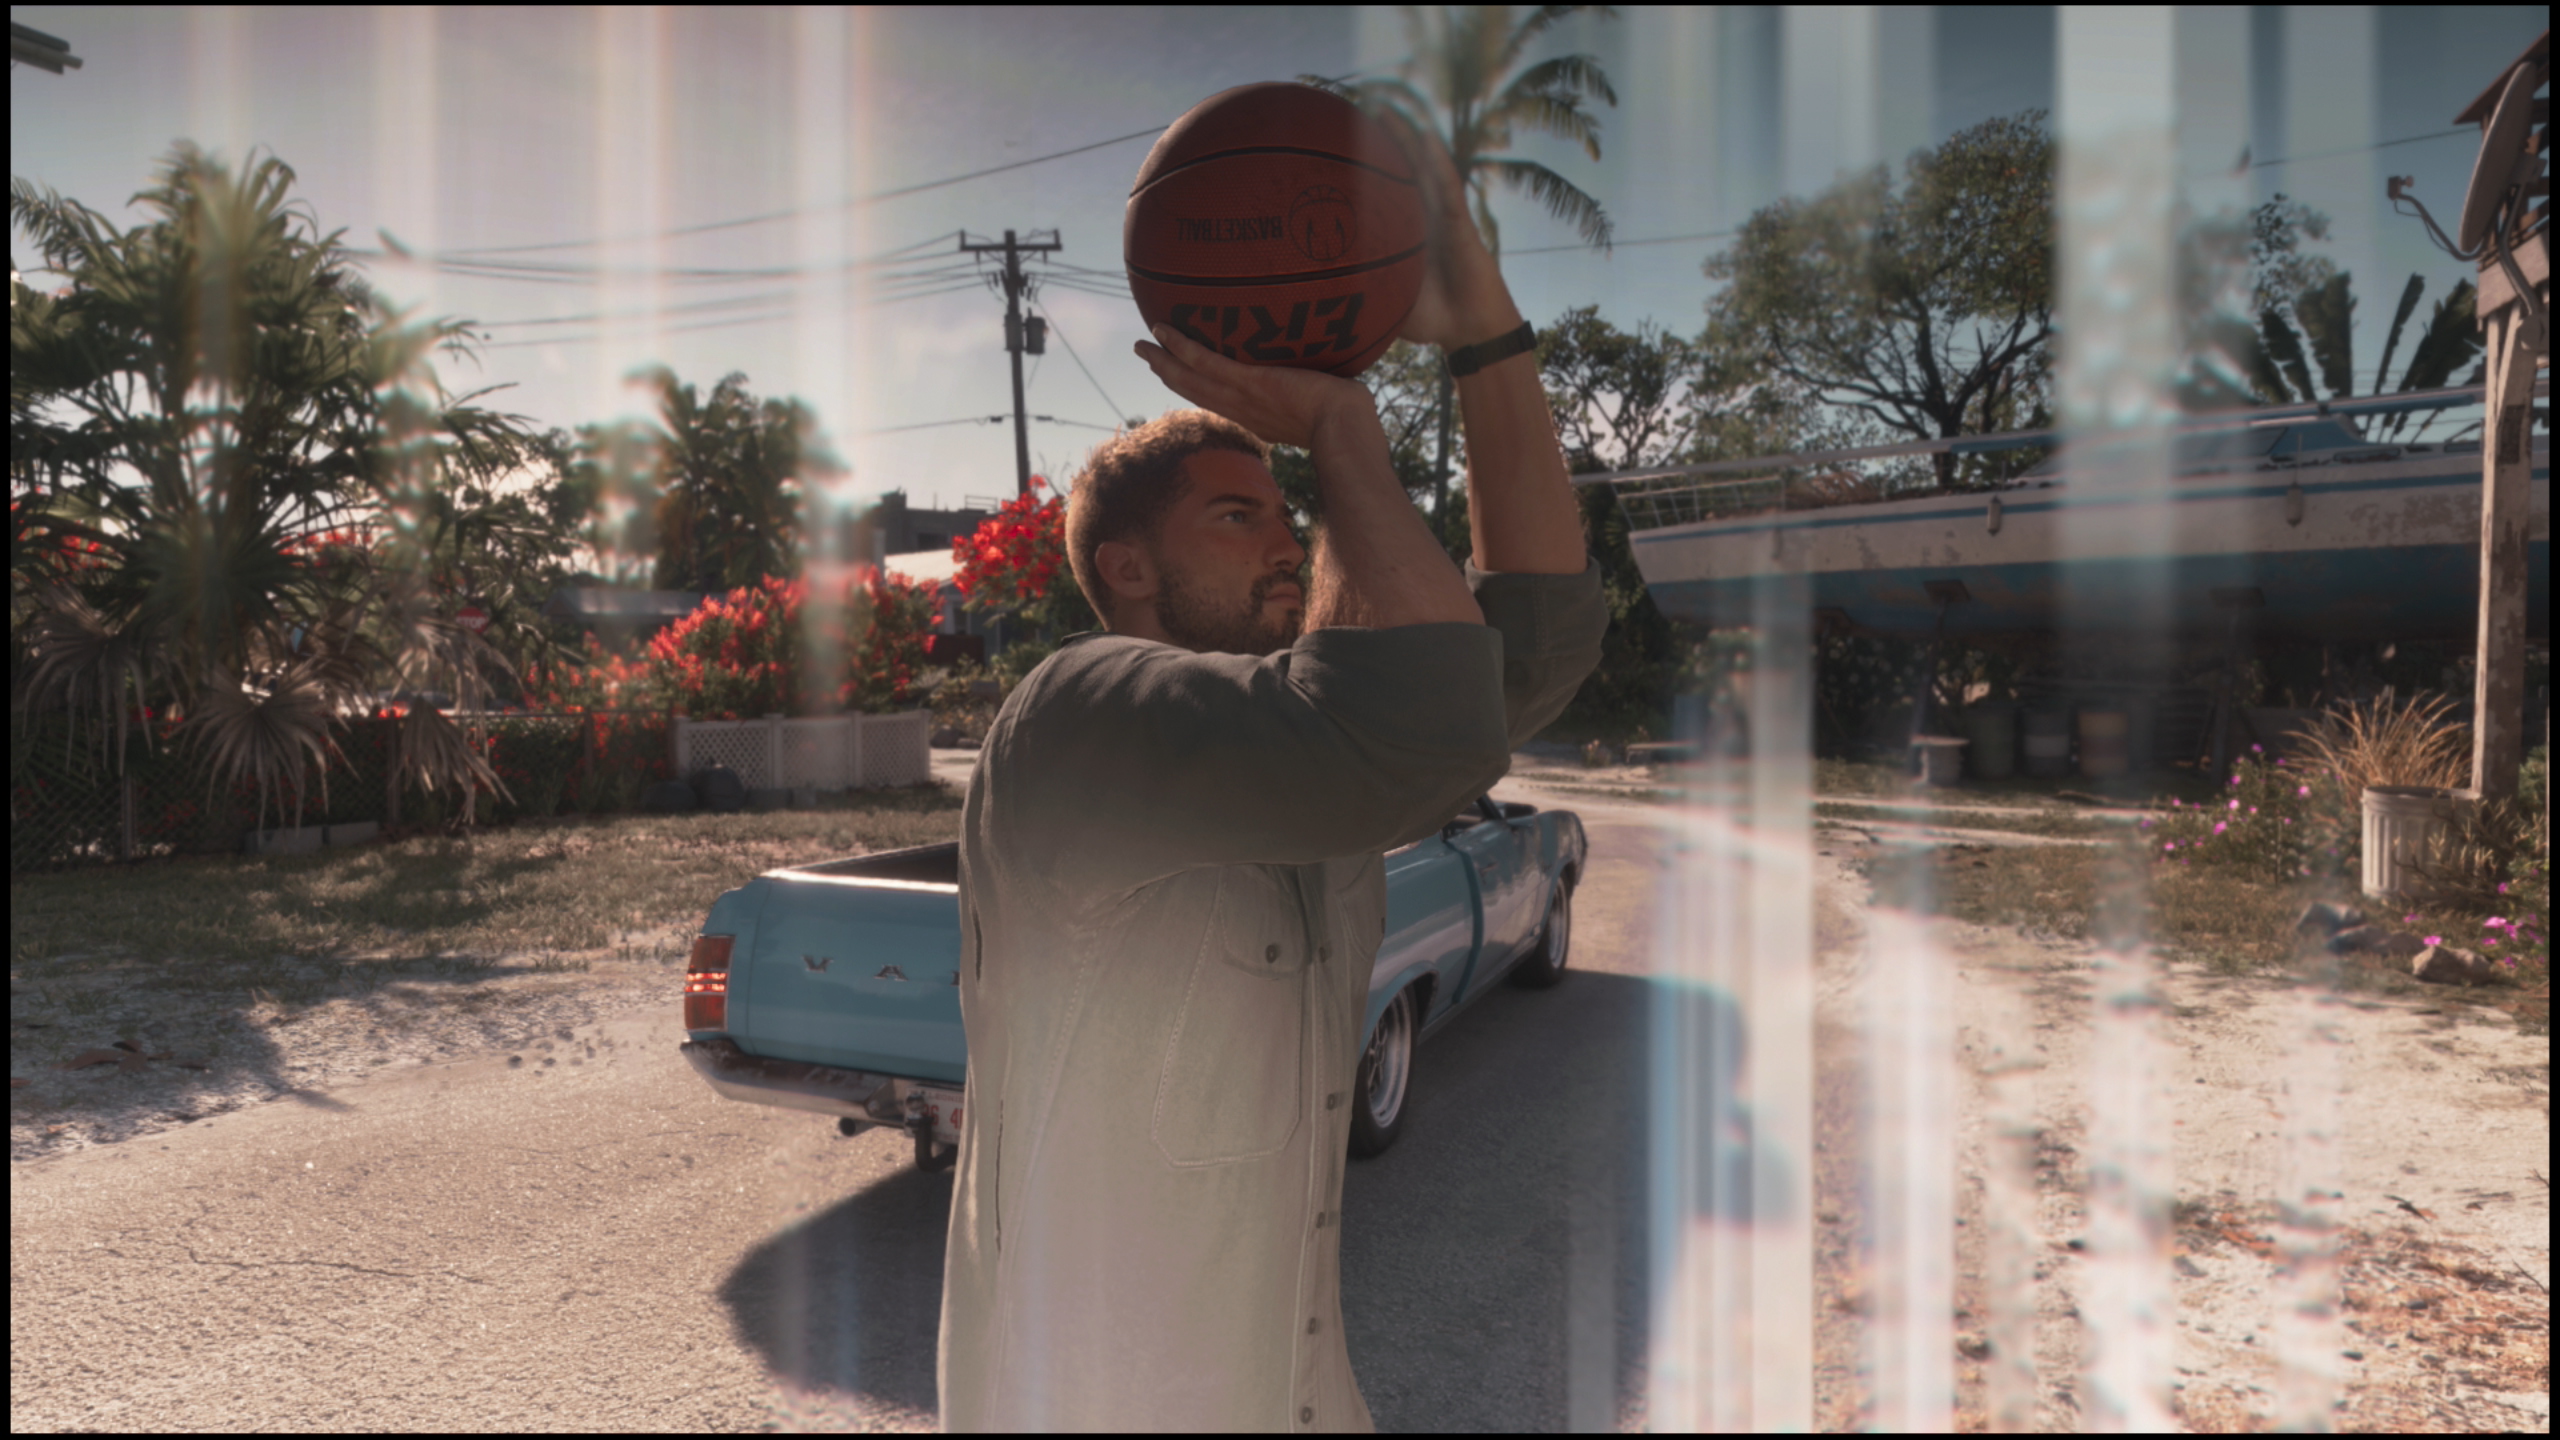
Jason playing Basketball

Some filters are very stylized. Cartoon Universe gives a slightly cel-shaded look, Found Footage adds a grainy, glitchy feel, and Pixel Art gives the picture a retro 8-bit look.

Tips for Better GTA 6 Photos

  • Set up the scene before you pause. Since you can’t change the time of day or weather in Photo Studio, set up the conditions you want first, then open the menu.
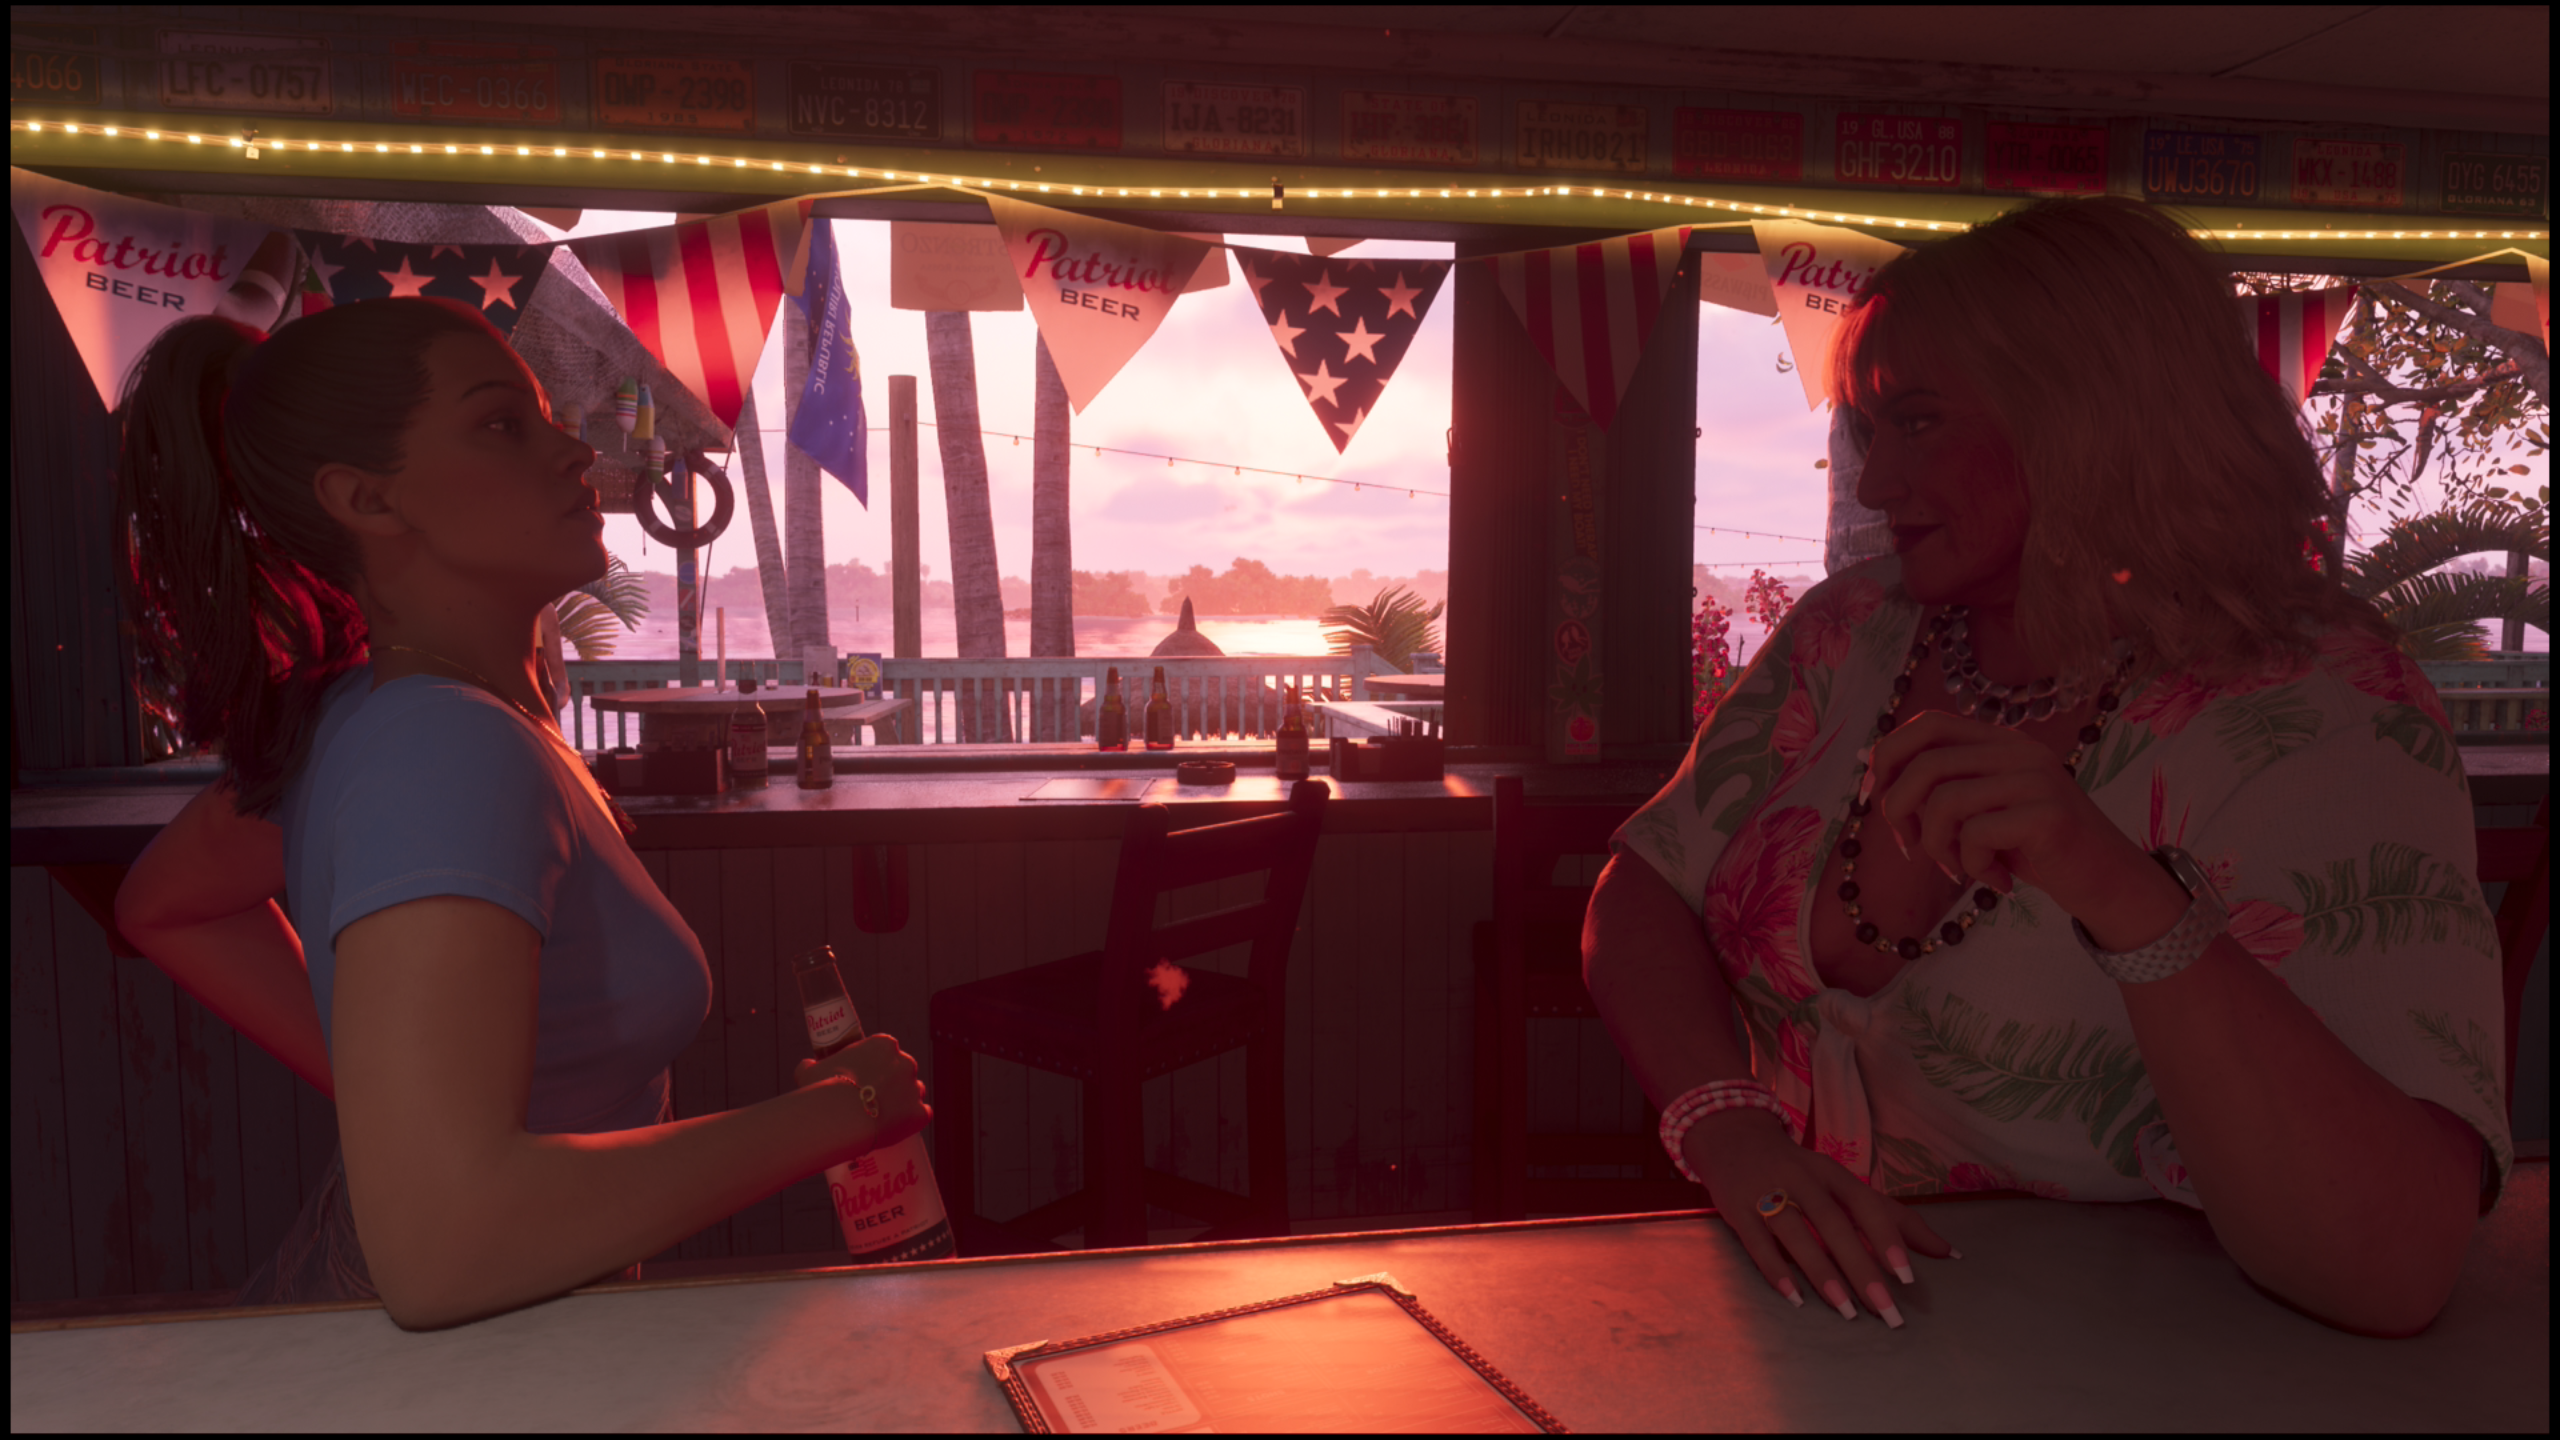
  • Use lighting layers to rescue dark faces. Placing a light close to a character can bring them out of the shadows, and sometimes lighting alone makes a filter unnecessary.

Sunset at the Bar

  • Hide your character for scenery shots. Turning your character invisible gives you clean shots of locations.
  • Turn on the grid. Lining up the horizon and your subject on the grid lines makes composition easier, and the usual photography rules still apply.
  • Use vehicle lights at night. Toggling headlights and turn signals adds color and interest to street shots.
  • Don’t overdo the filter. Lower the filter intensity and add a light vignette to draw the eye to your subject.

Capturing People vs Vehicles

When photographing Jason, Lucia, or any custom character, think like a movie director.

Instead of centering the character in every image:

  • Place them to one side of the frame
  • Use scenery to tell a story
  • Capture idle animations
  • Experiment with facial expressions
  • Include environmental details

For example, Lucia leaning against a sports car during sunset often tells a more interesting story than a simple front-facing portrait.

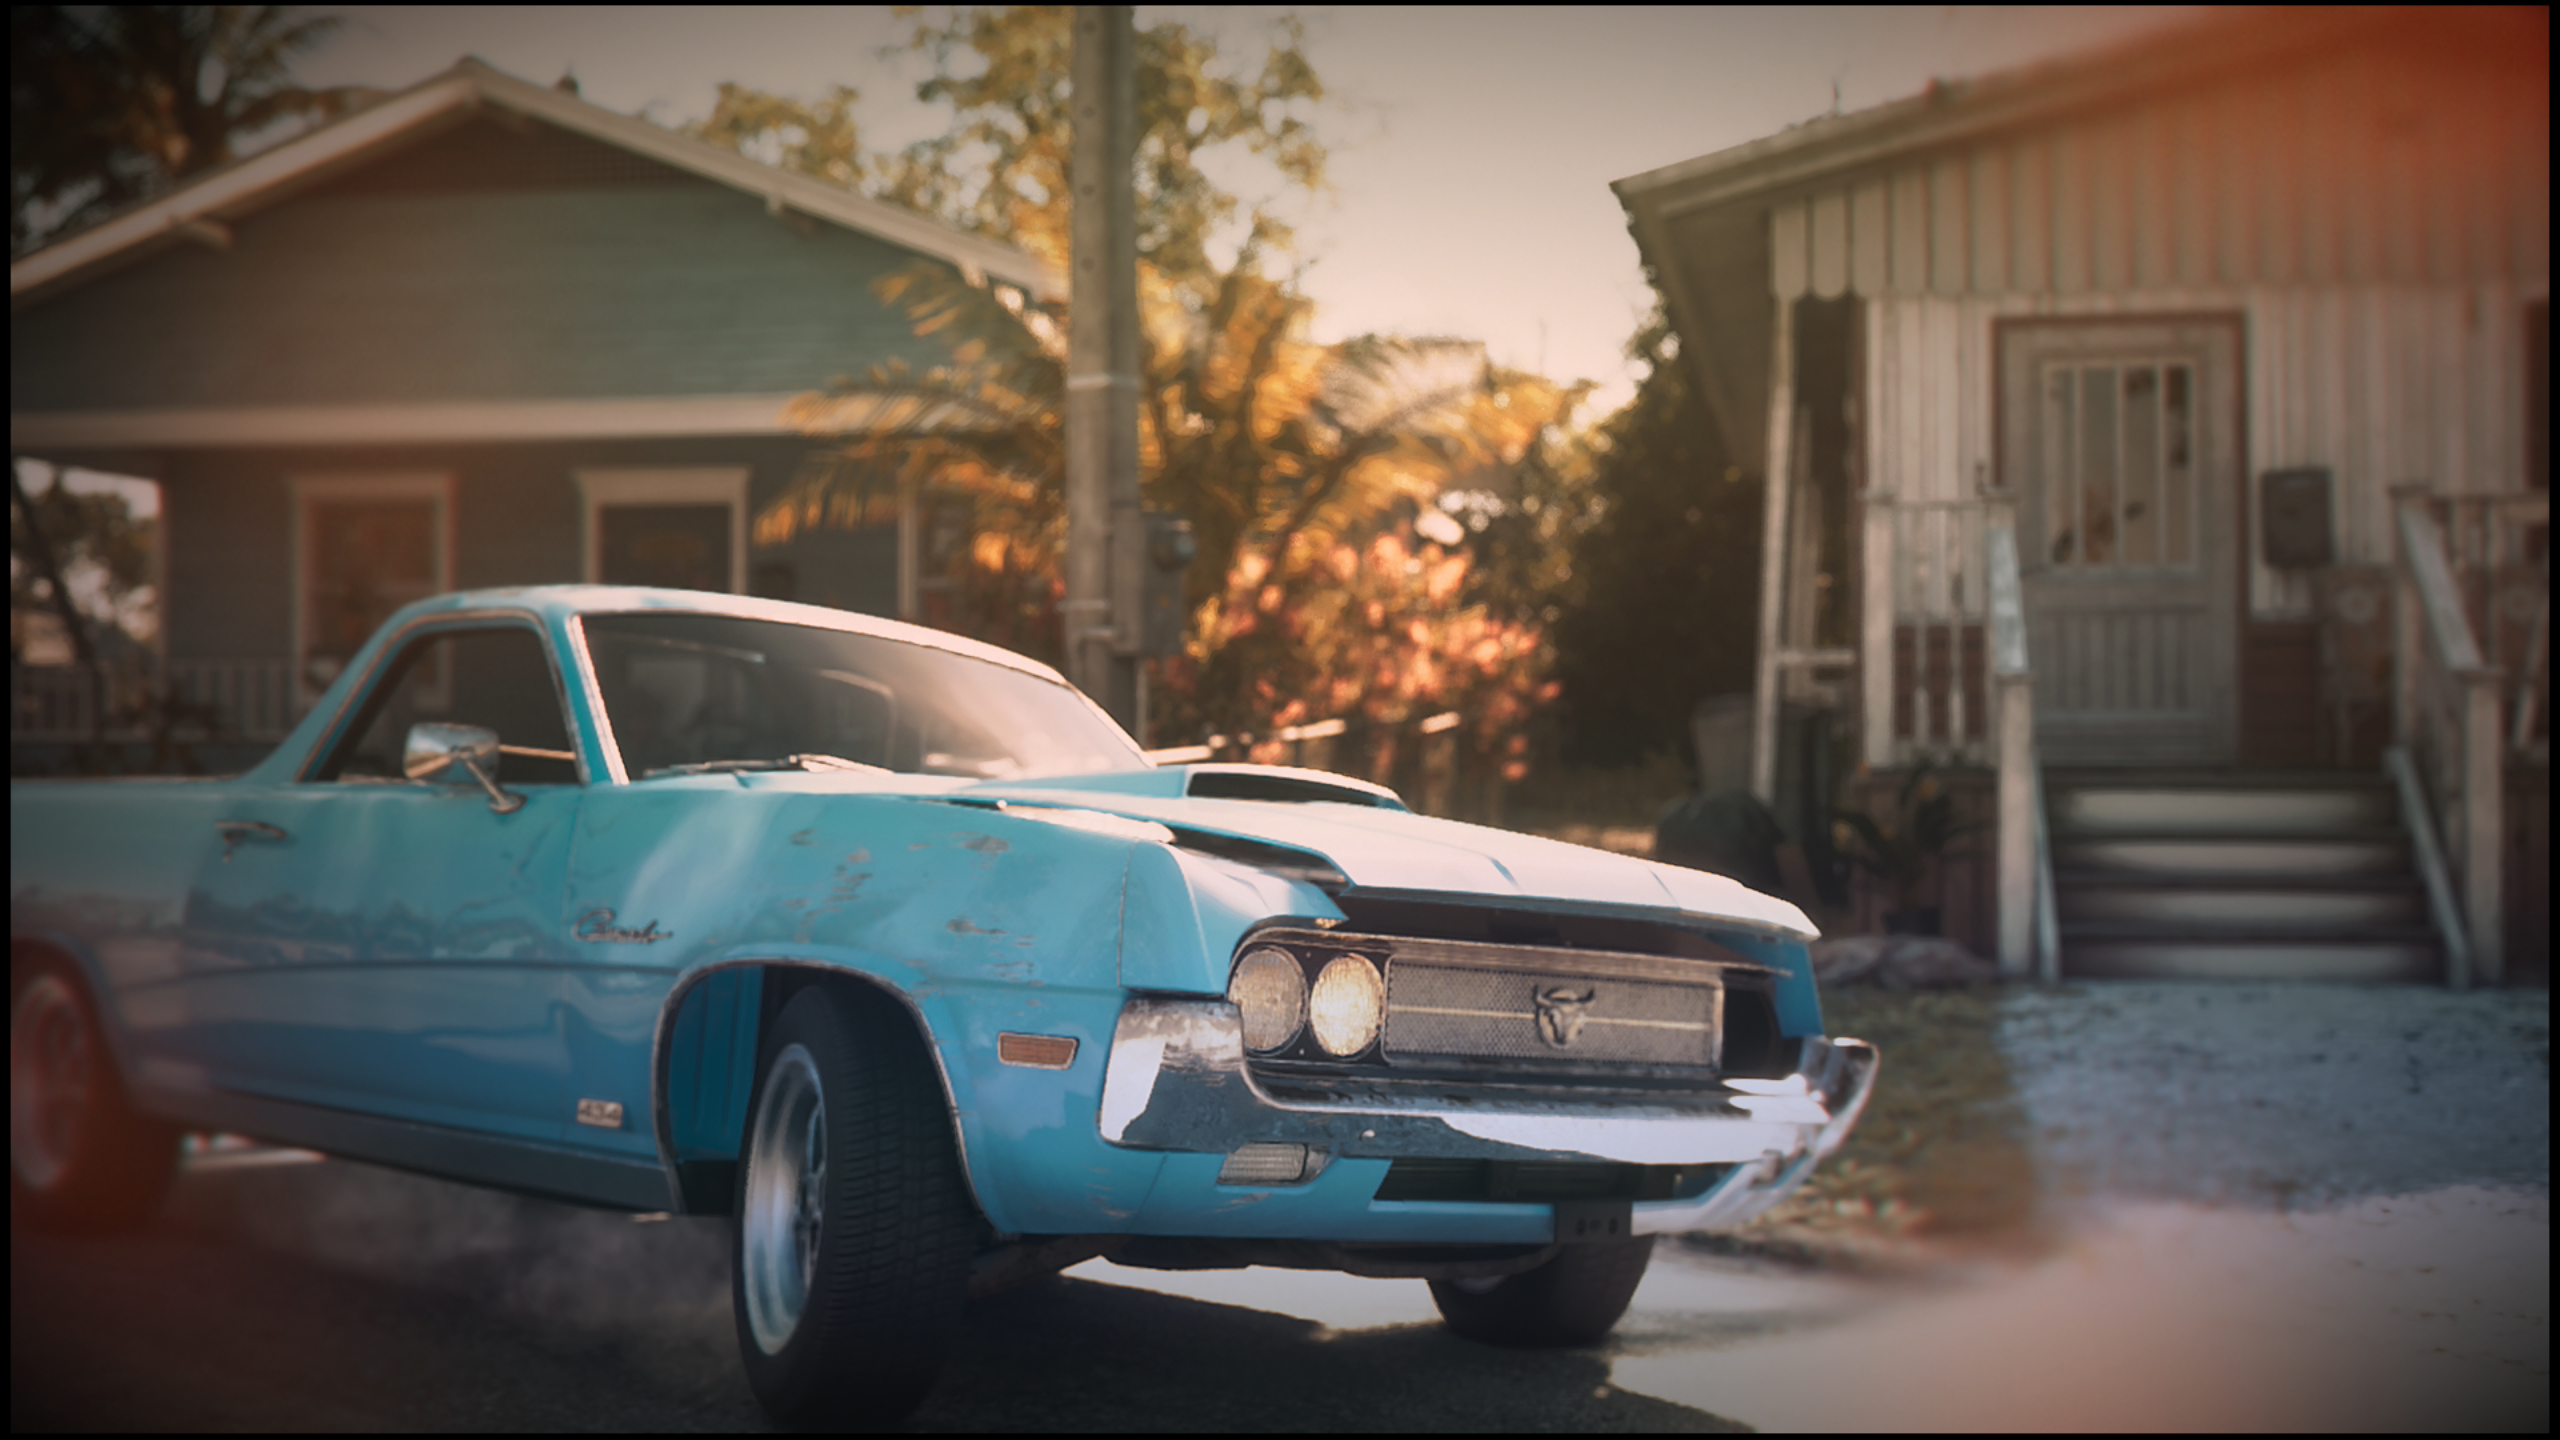
Jason's Car

On the other hand, cars are a huge part of GTA, and GTA 6's detailed vehicle models deserve proper showcases.

For the best vehicle shots:

  • Lower the camera to wheel height
  • Turn the vehicle slightly rather than facing it directly forward
  • Use morning or evening light
  • Position vehicles near reflective surfaces
  • Capture motion when possible

A three-quarter angle generally looks better than a flat side view because it shows both the front and side of the vehicle simultaneously.

Comments

0

Table of Contents

See More

All Missions & Chapters in GTA 6
Updated on Nov 20, 2026
GTA 6: Weapon Wheel and Loadout
Updated on Nov 20, 2026
'Home Sweet Home' Mission Walkthrough Guide - GTA 6
Updated on Nov 20, 2026
'Tourist Trap' Mission Walkthrough Guide - GTA 6
Updated on Nov 20, 2026
Grand Theft Auto 6 - Full Trophy List & Walkthrough
Updated on Nov 20, 2026

Like our guides?

Add Mobalytics as a preferred source on Google!