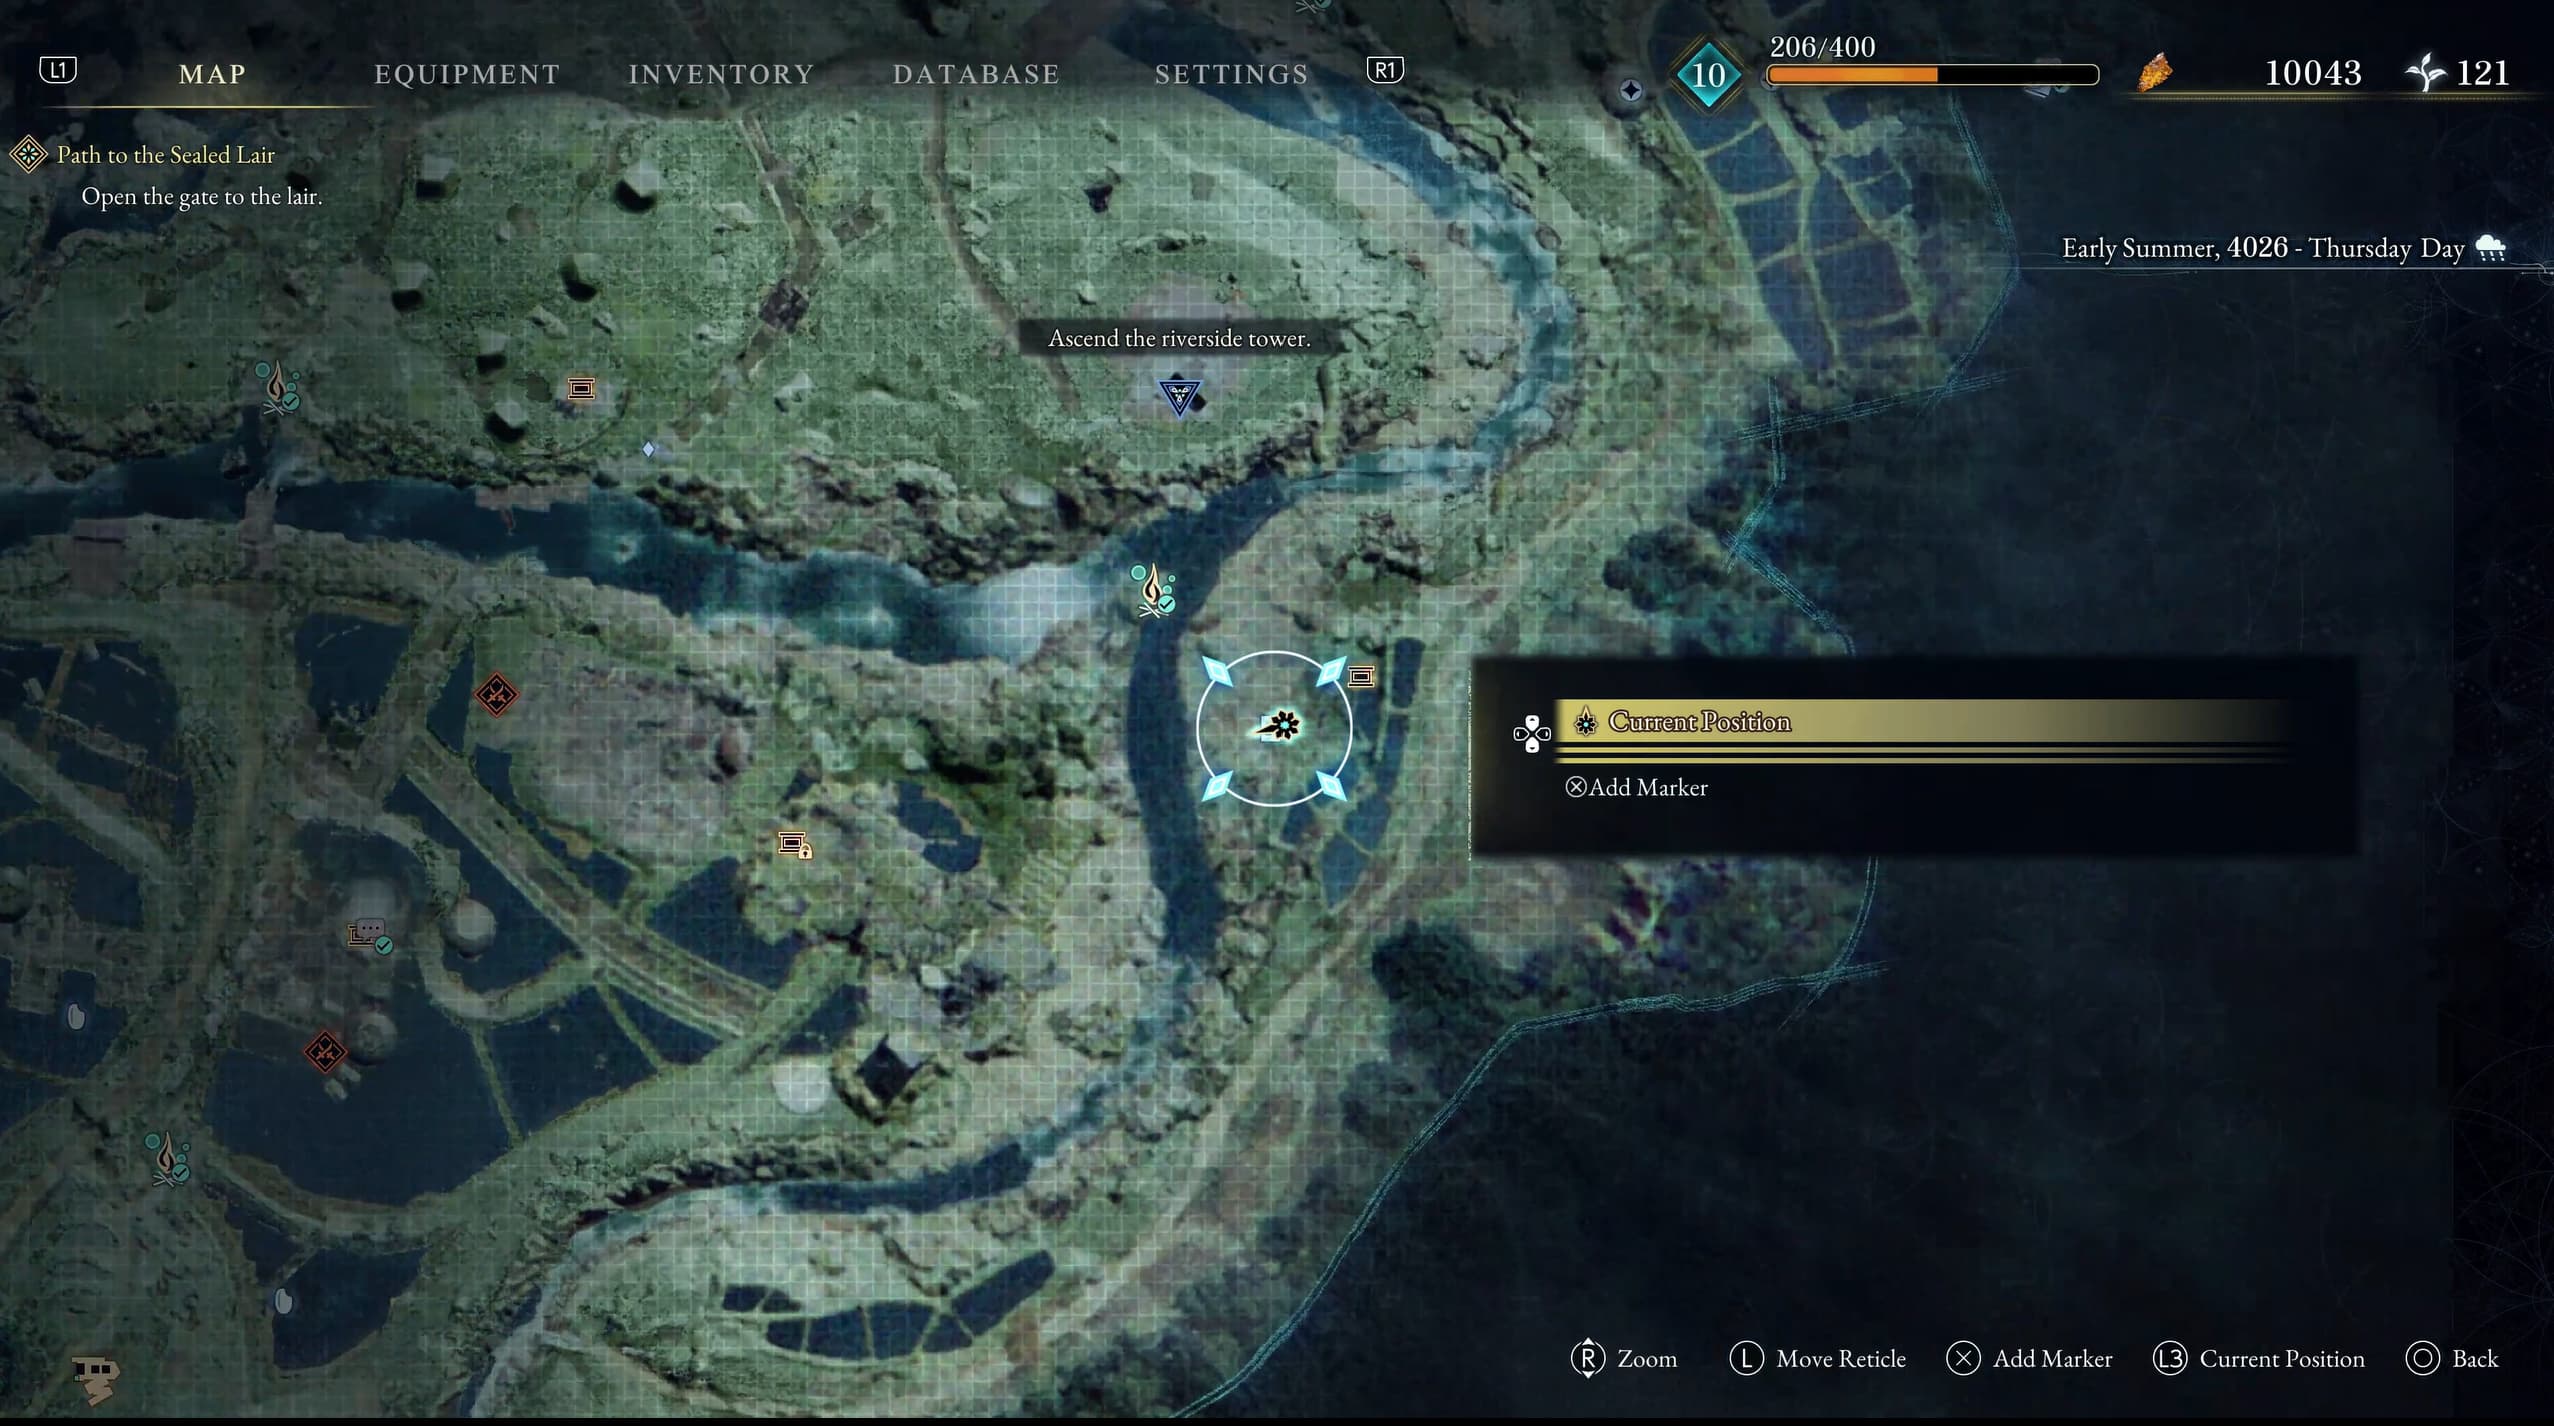
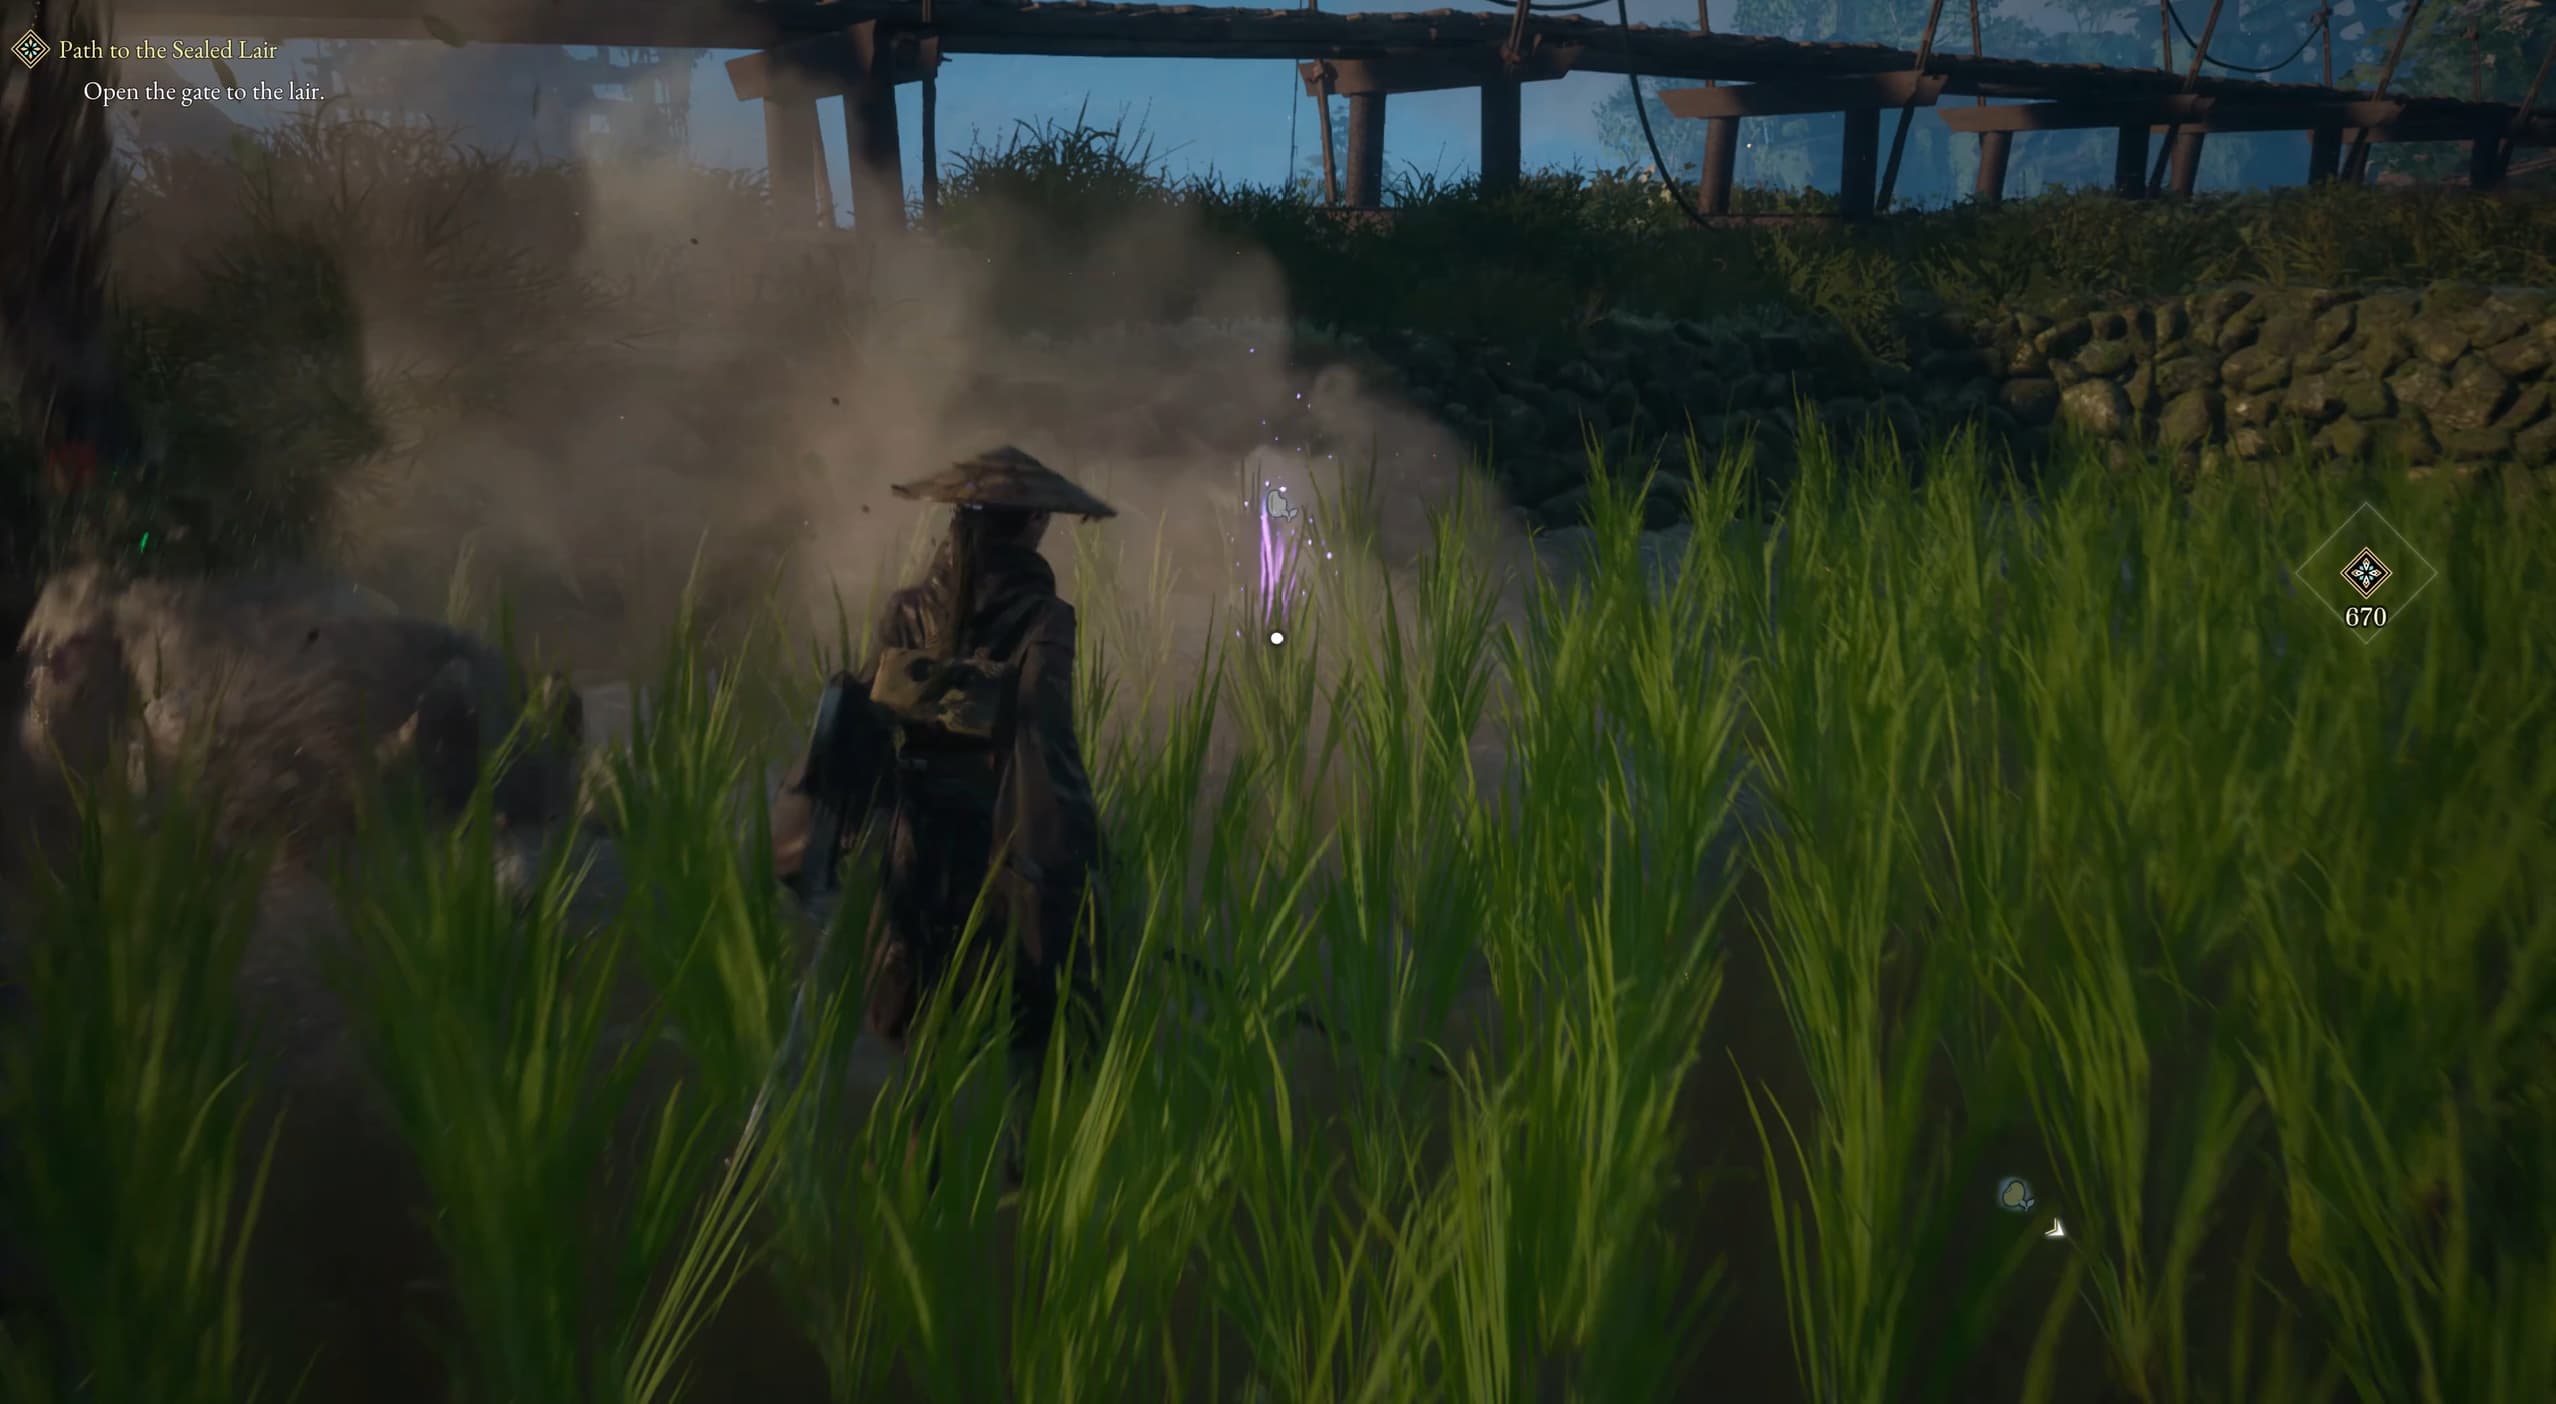
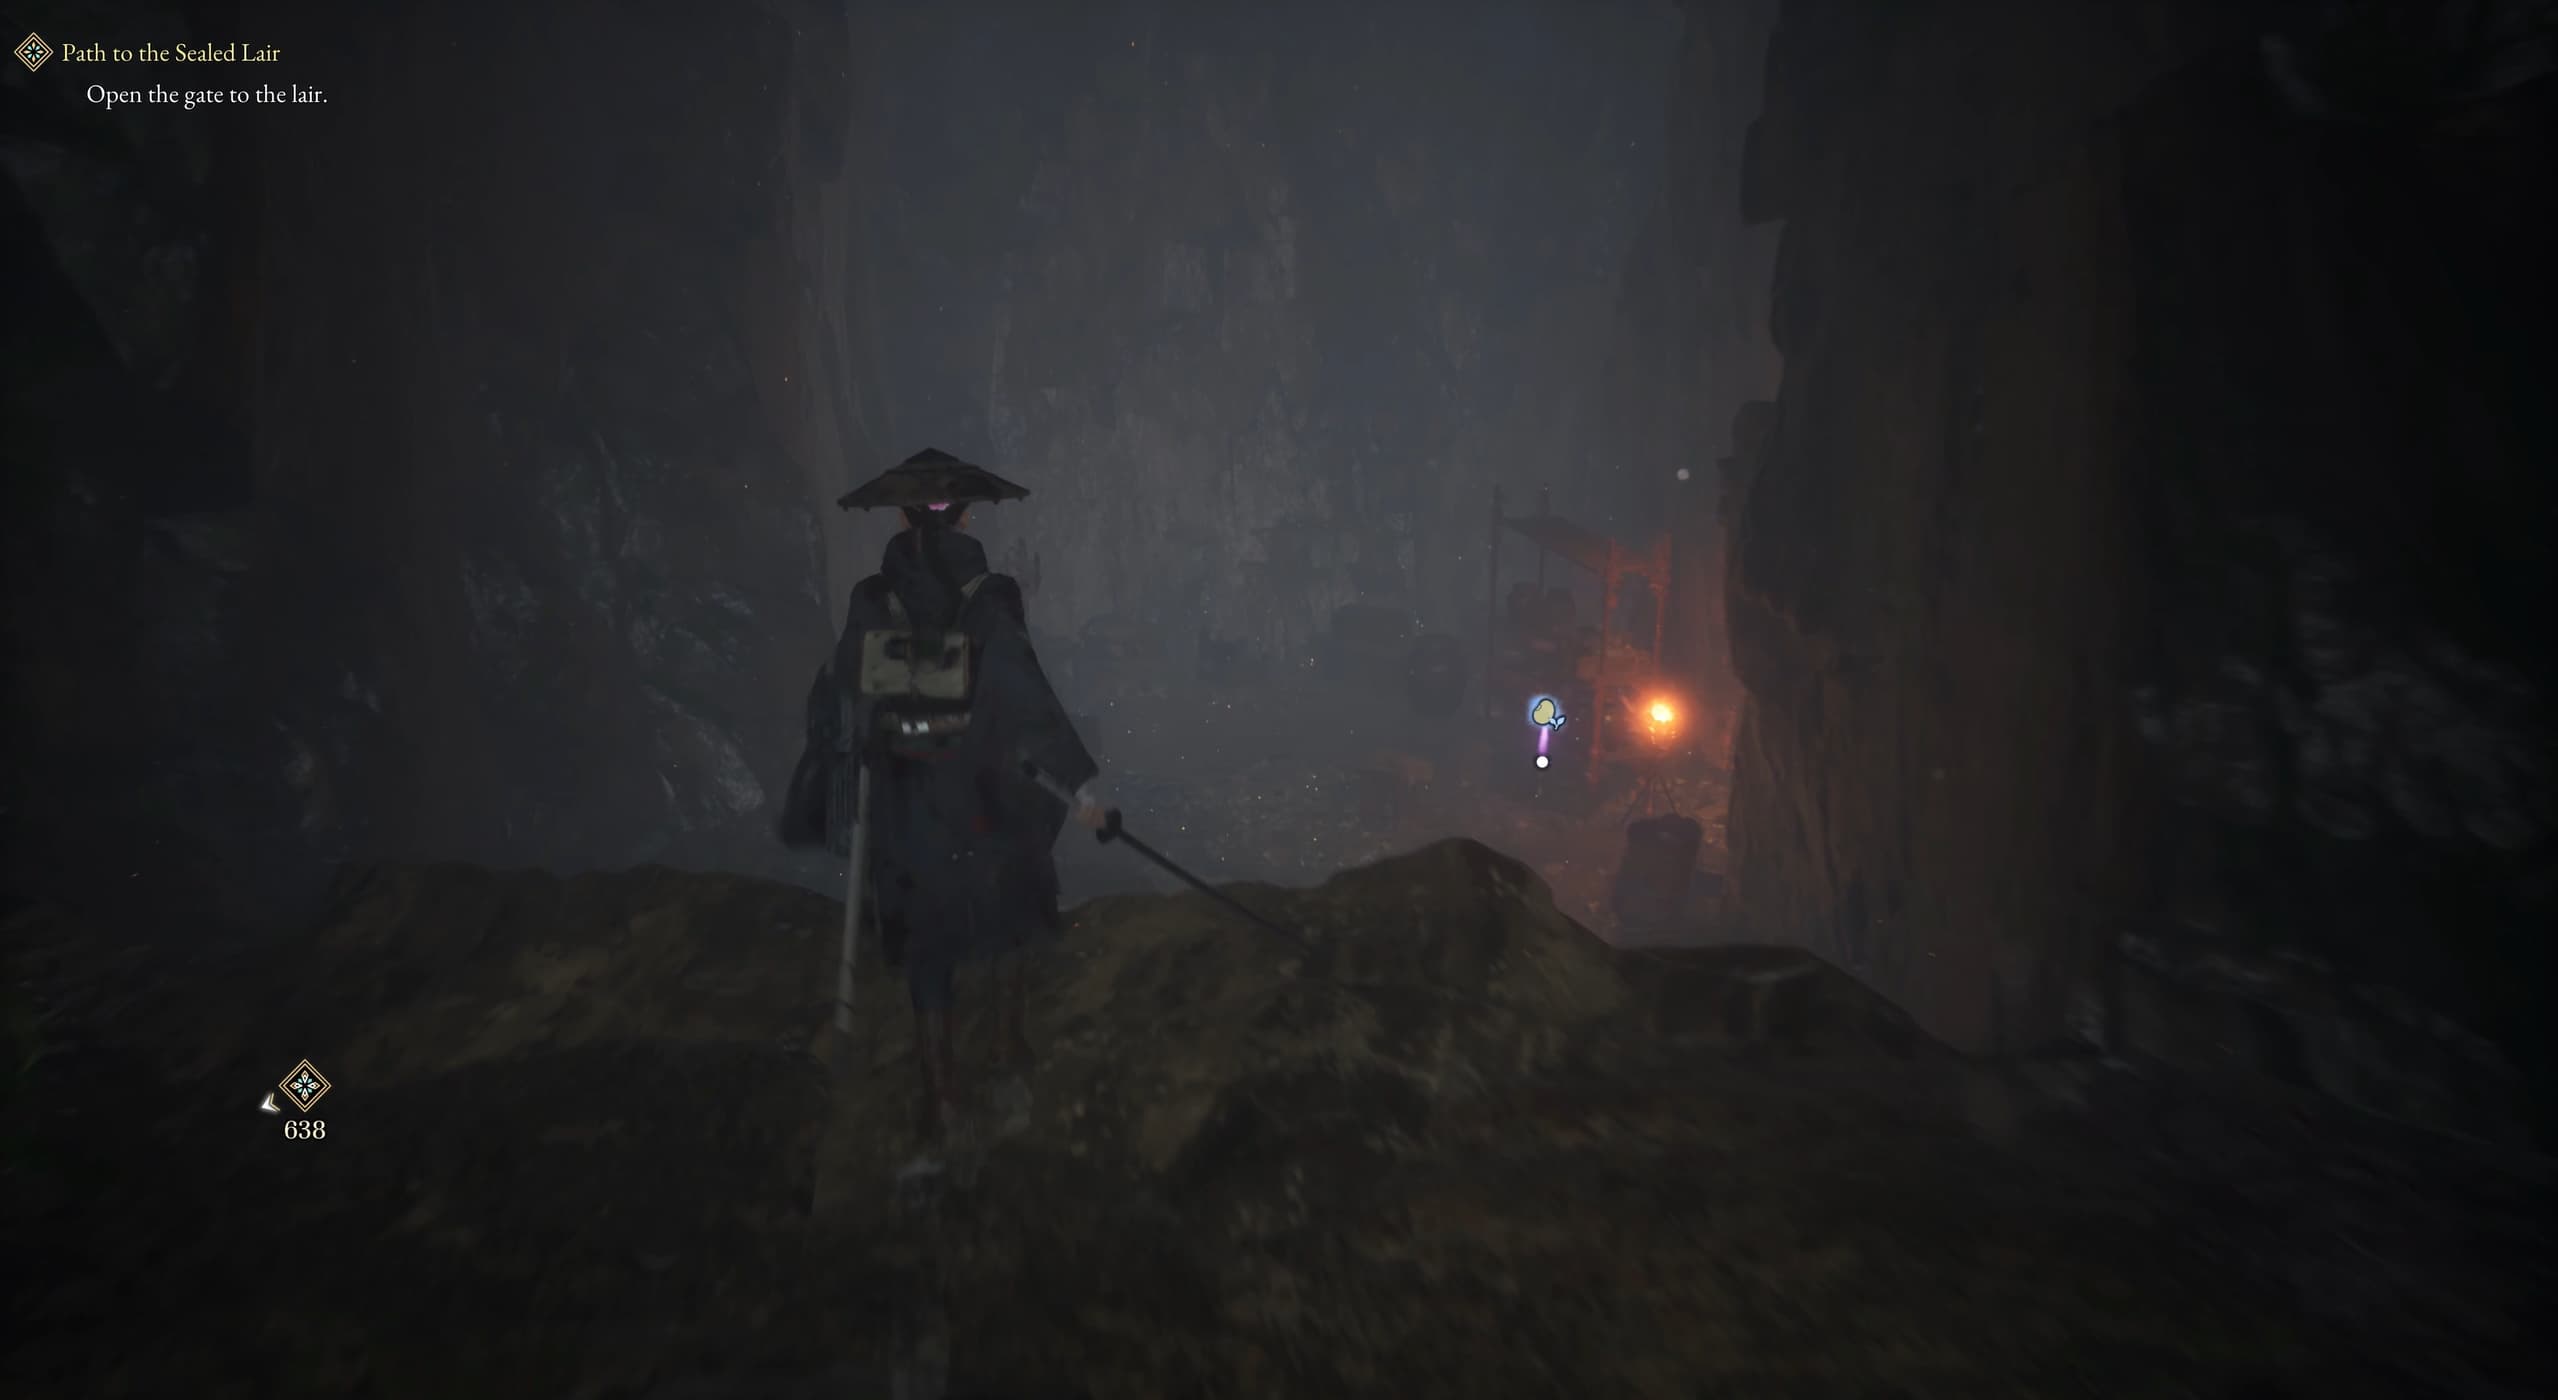
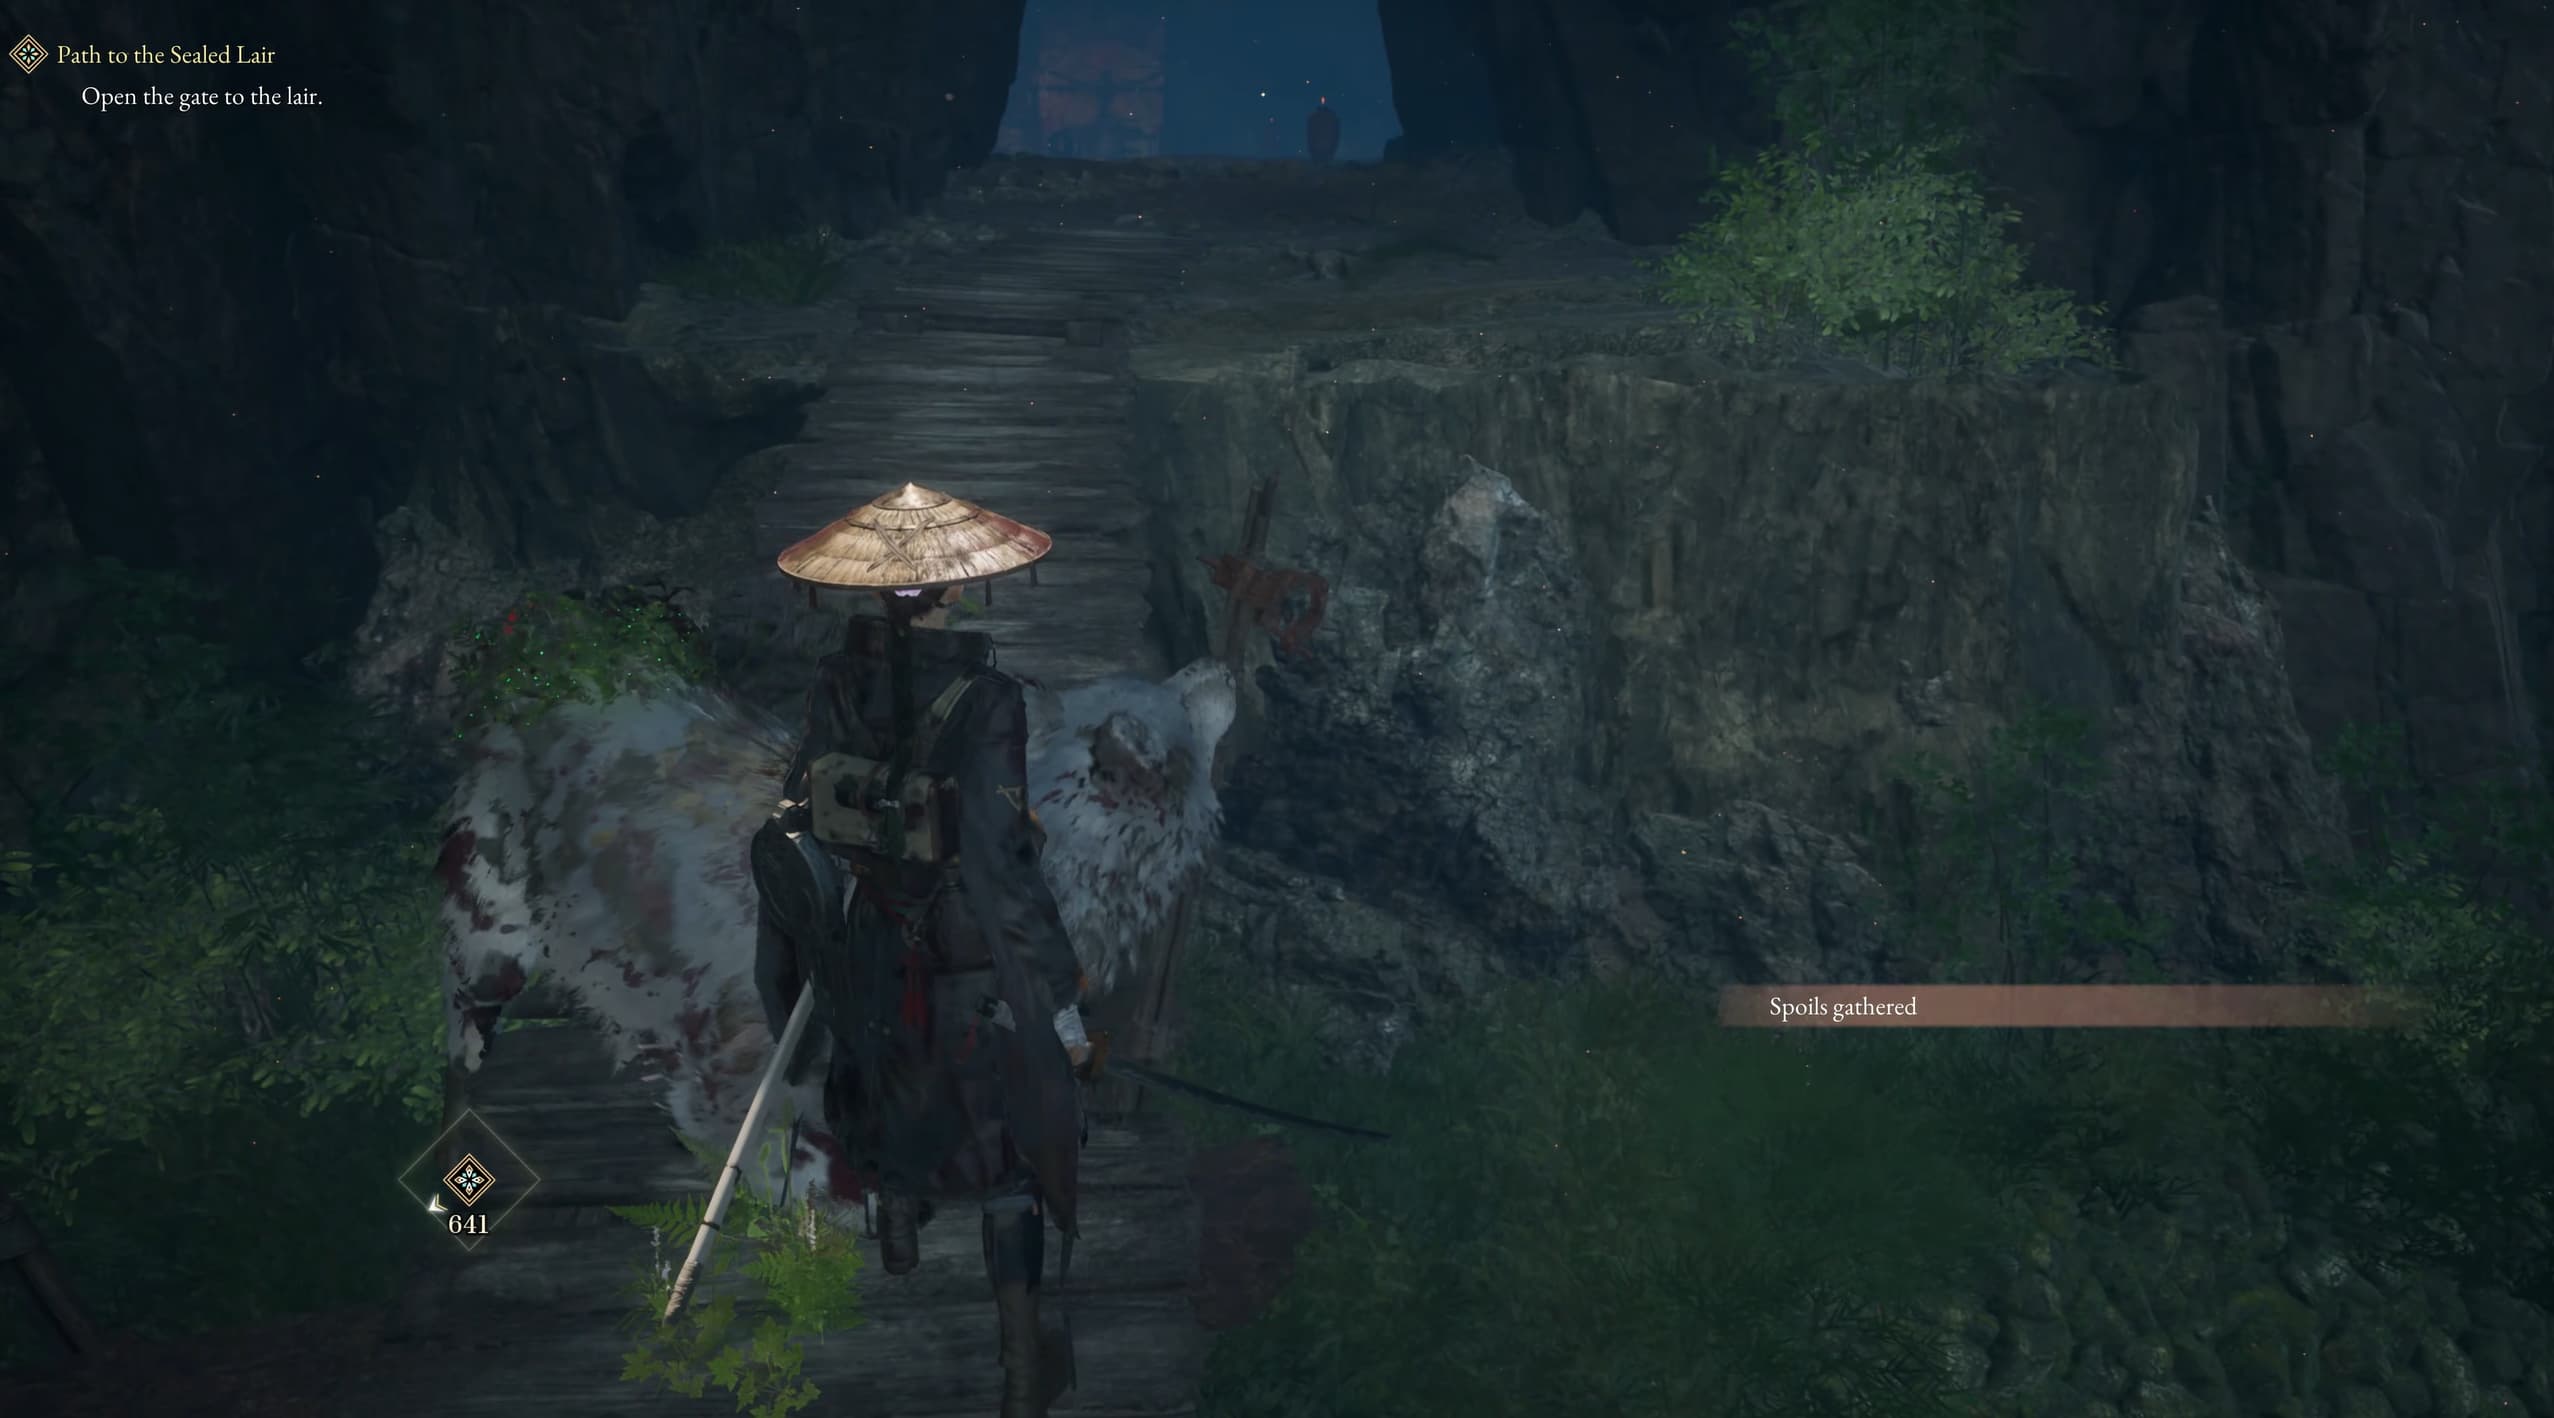
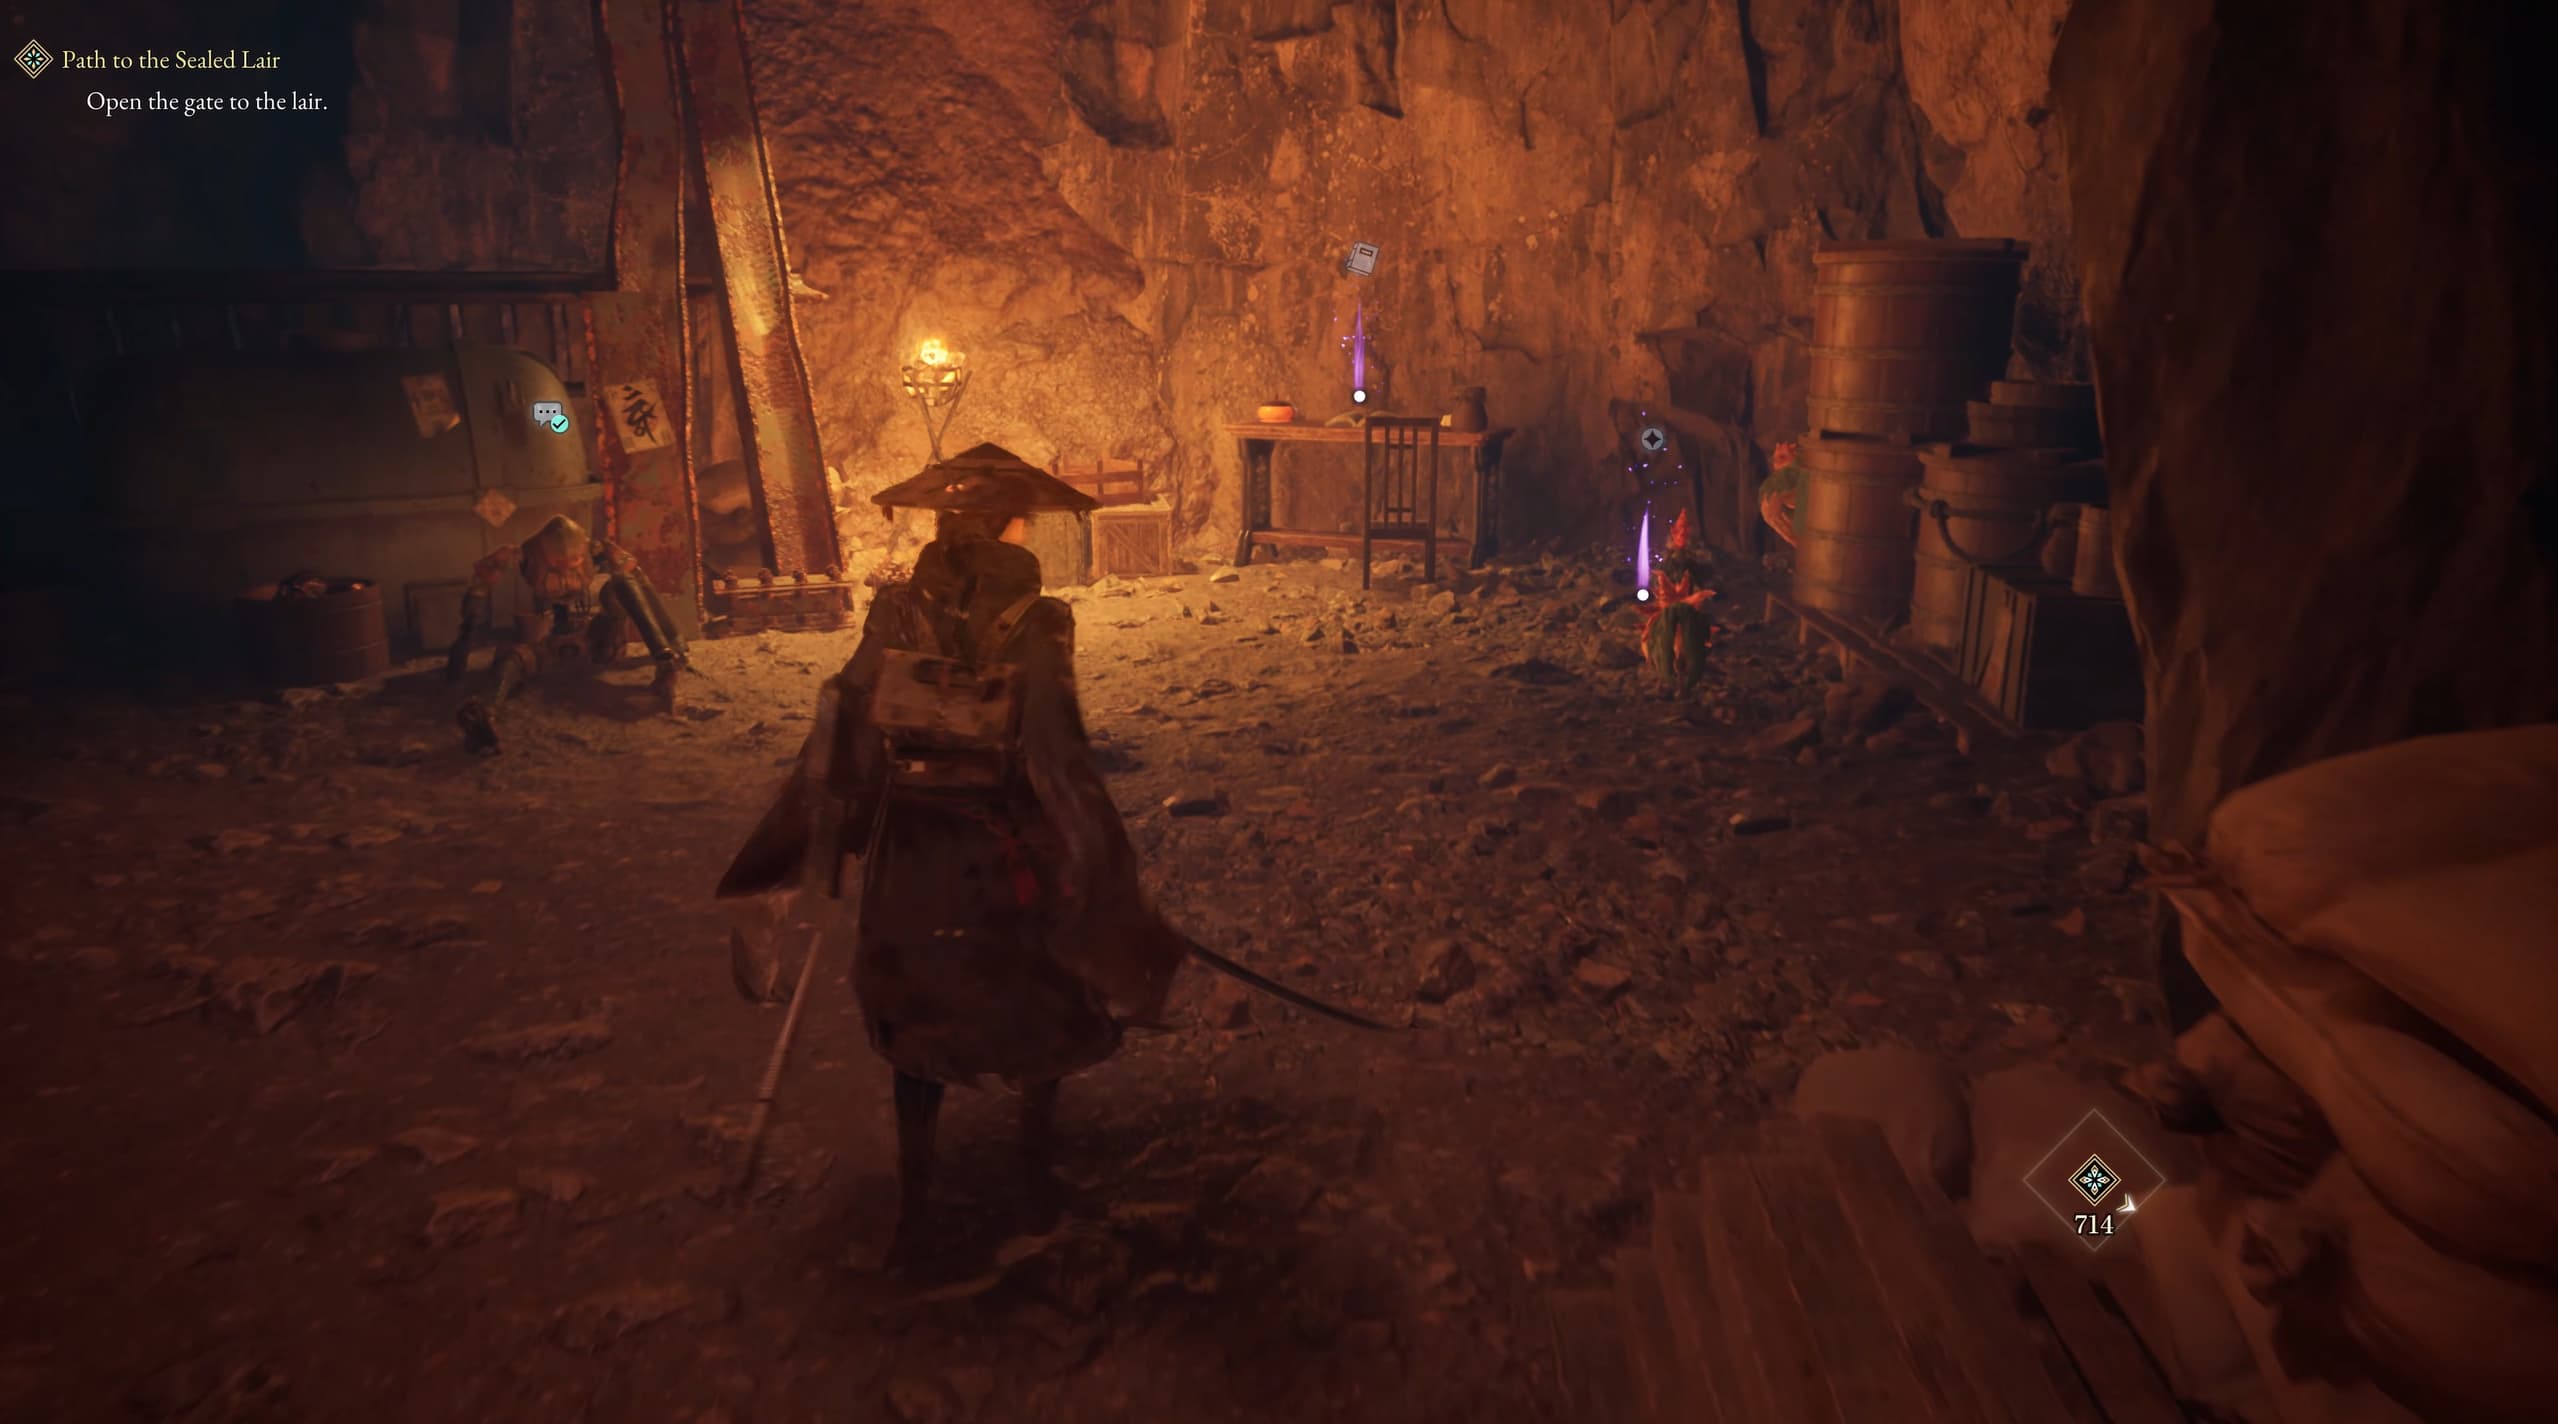
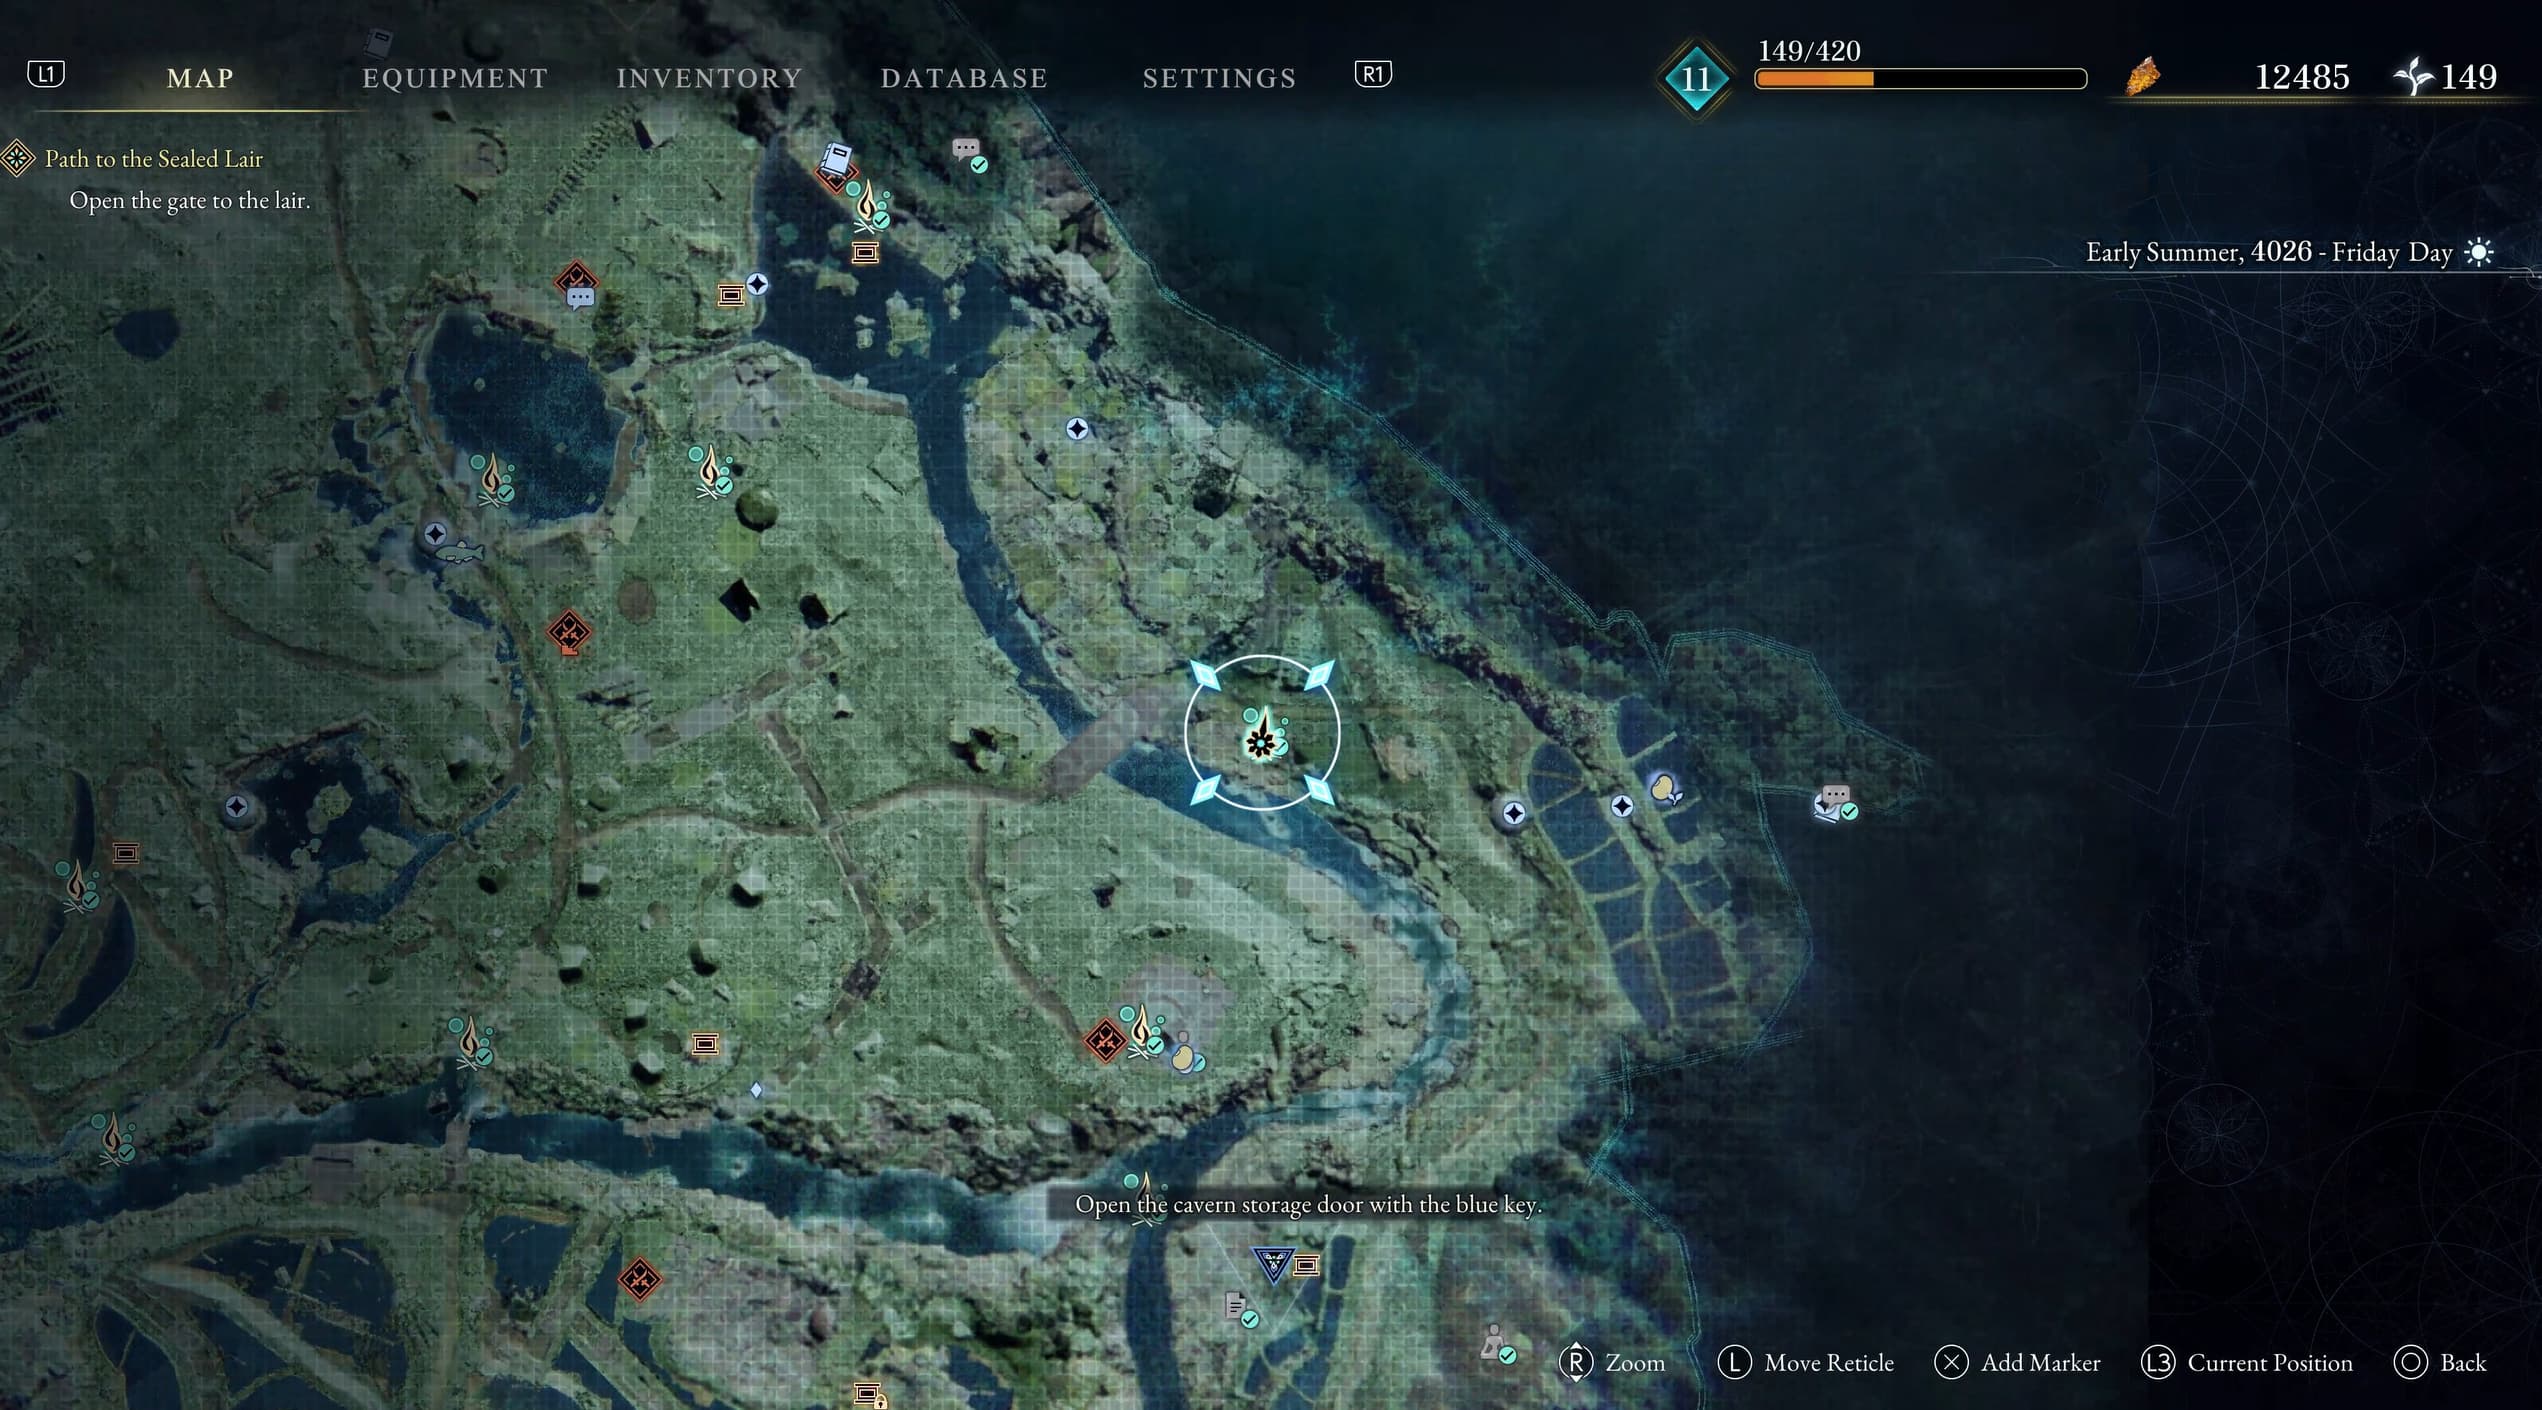
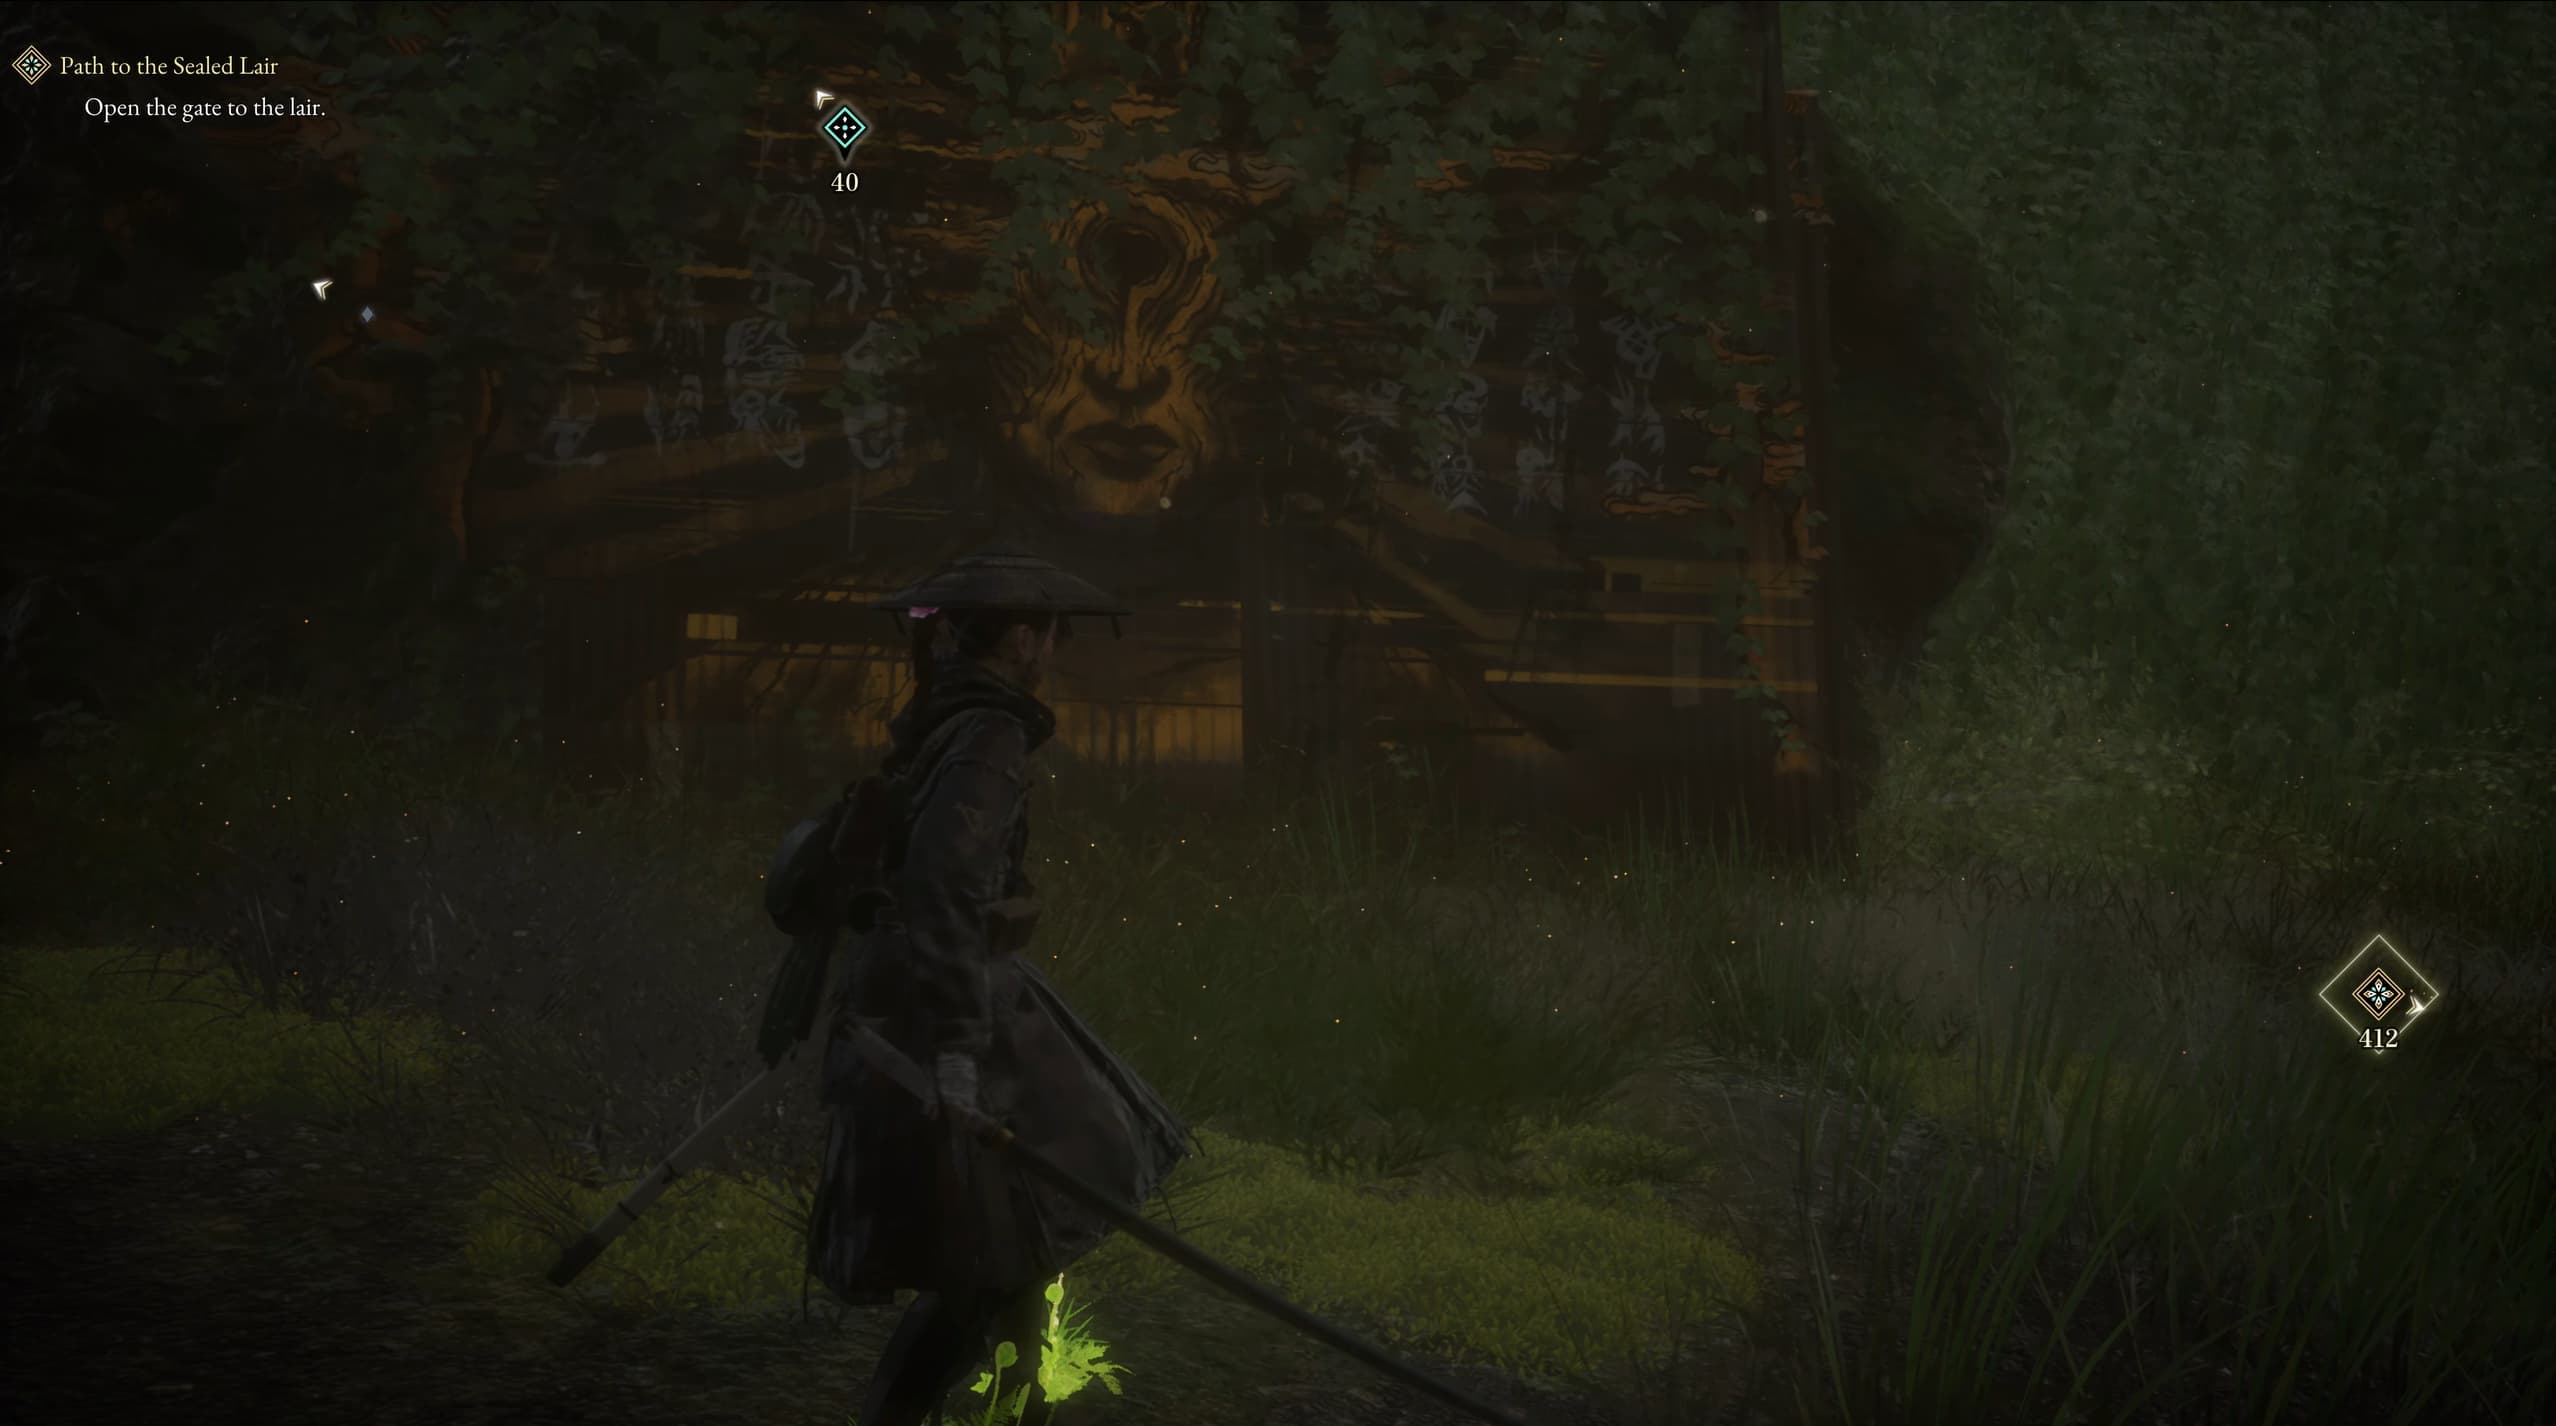
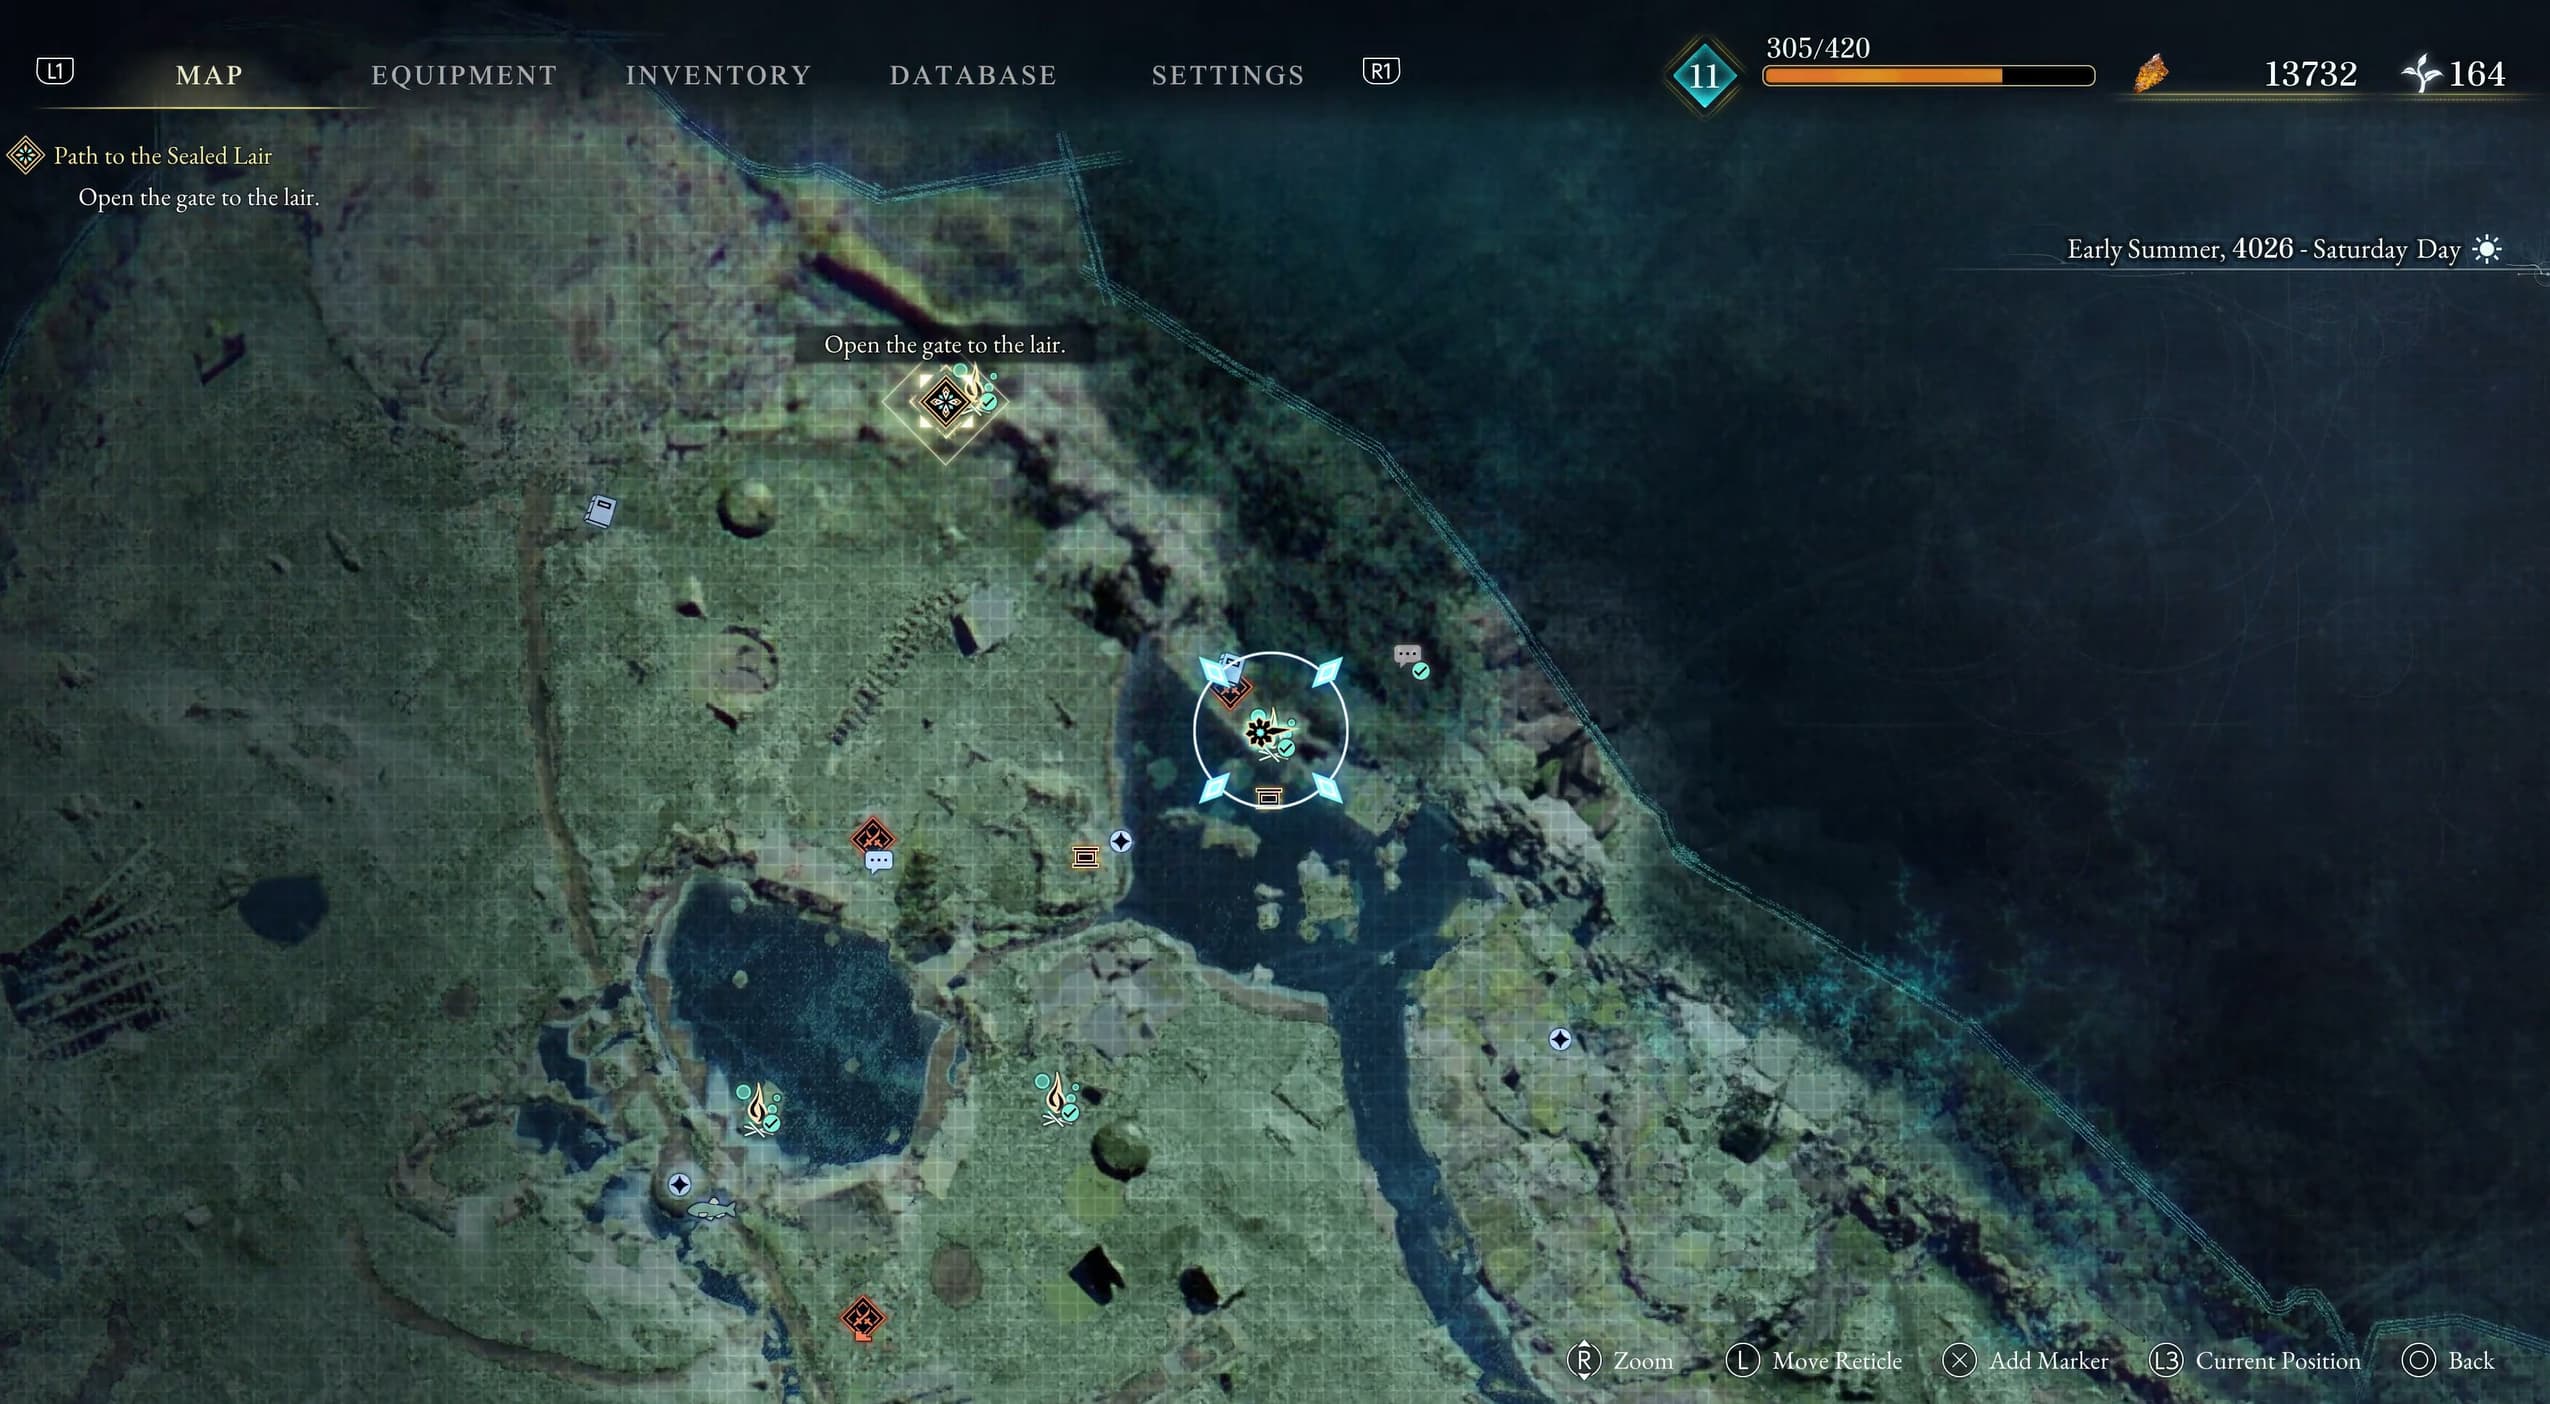
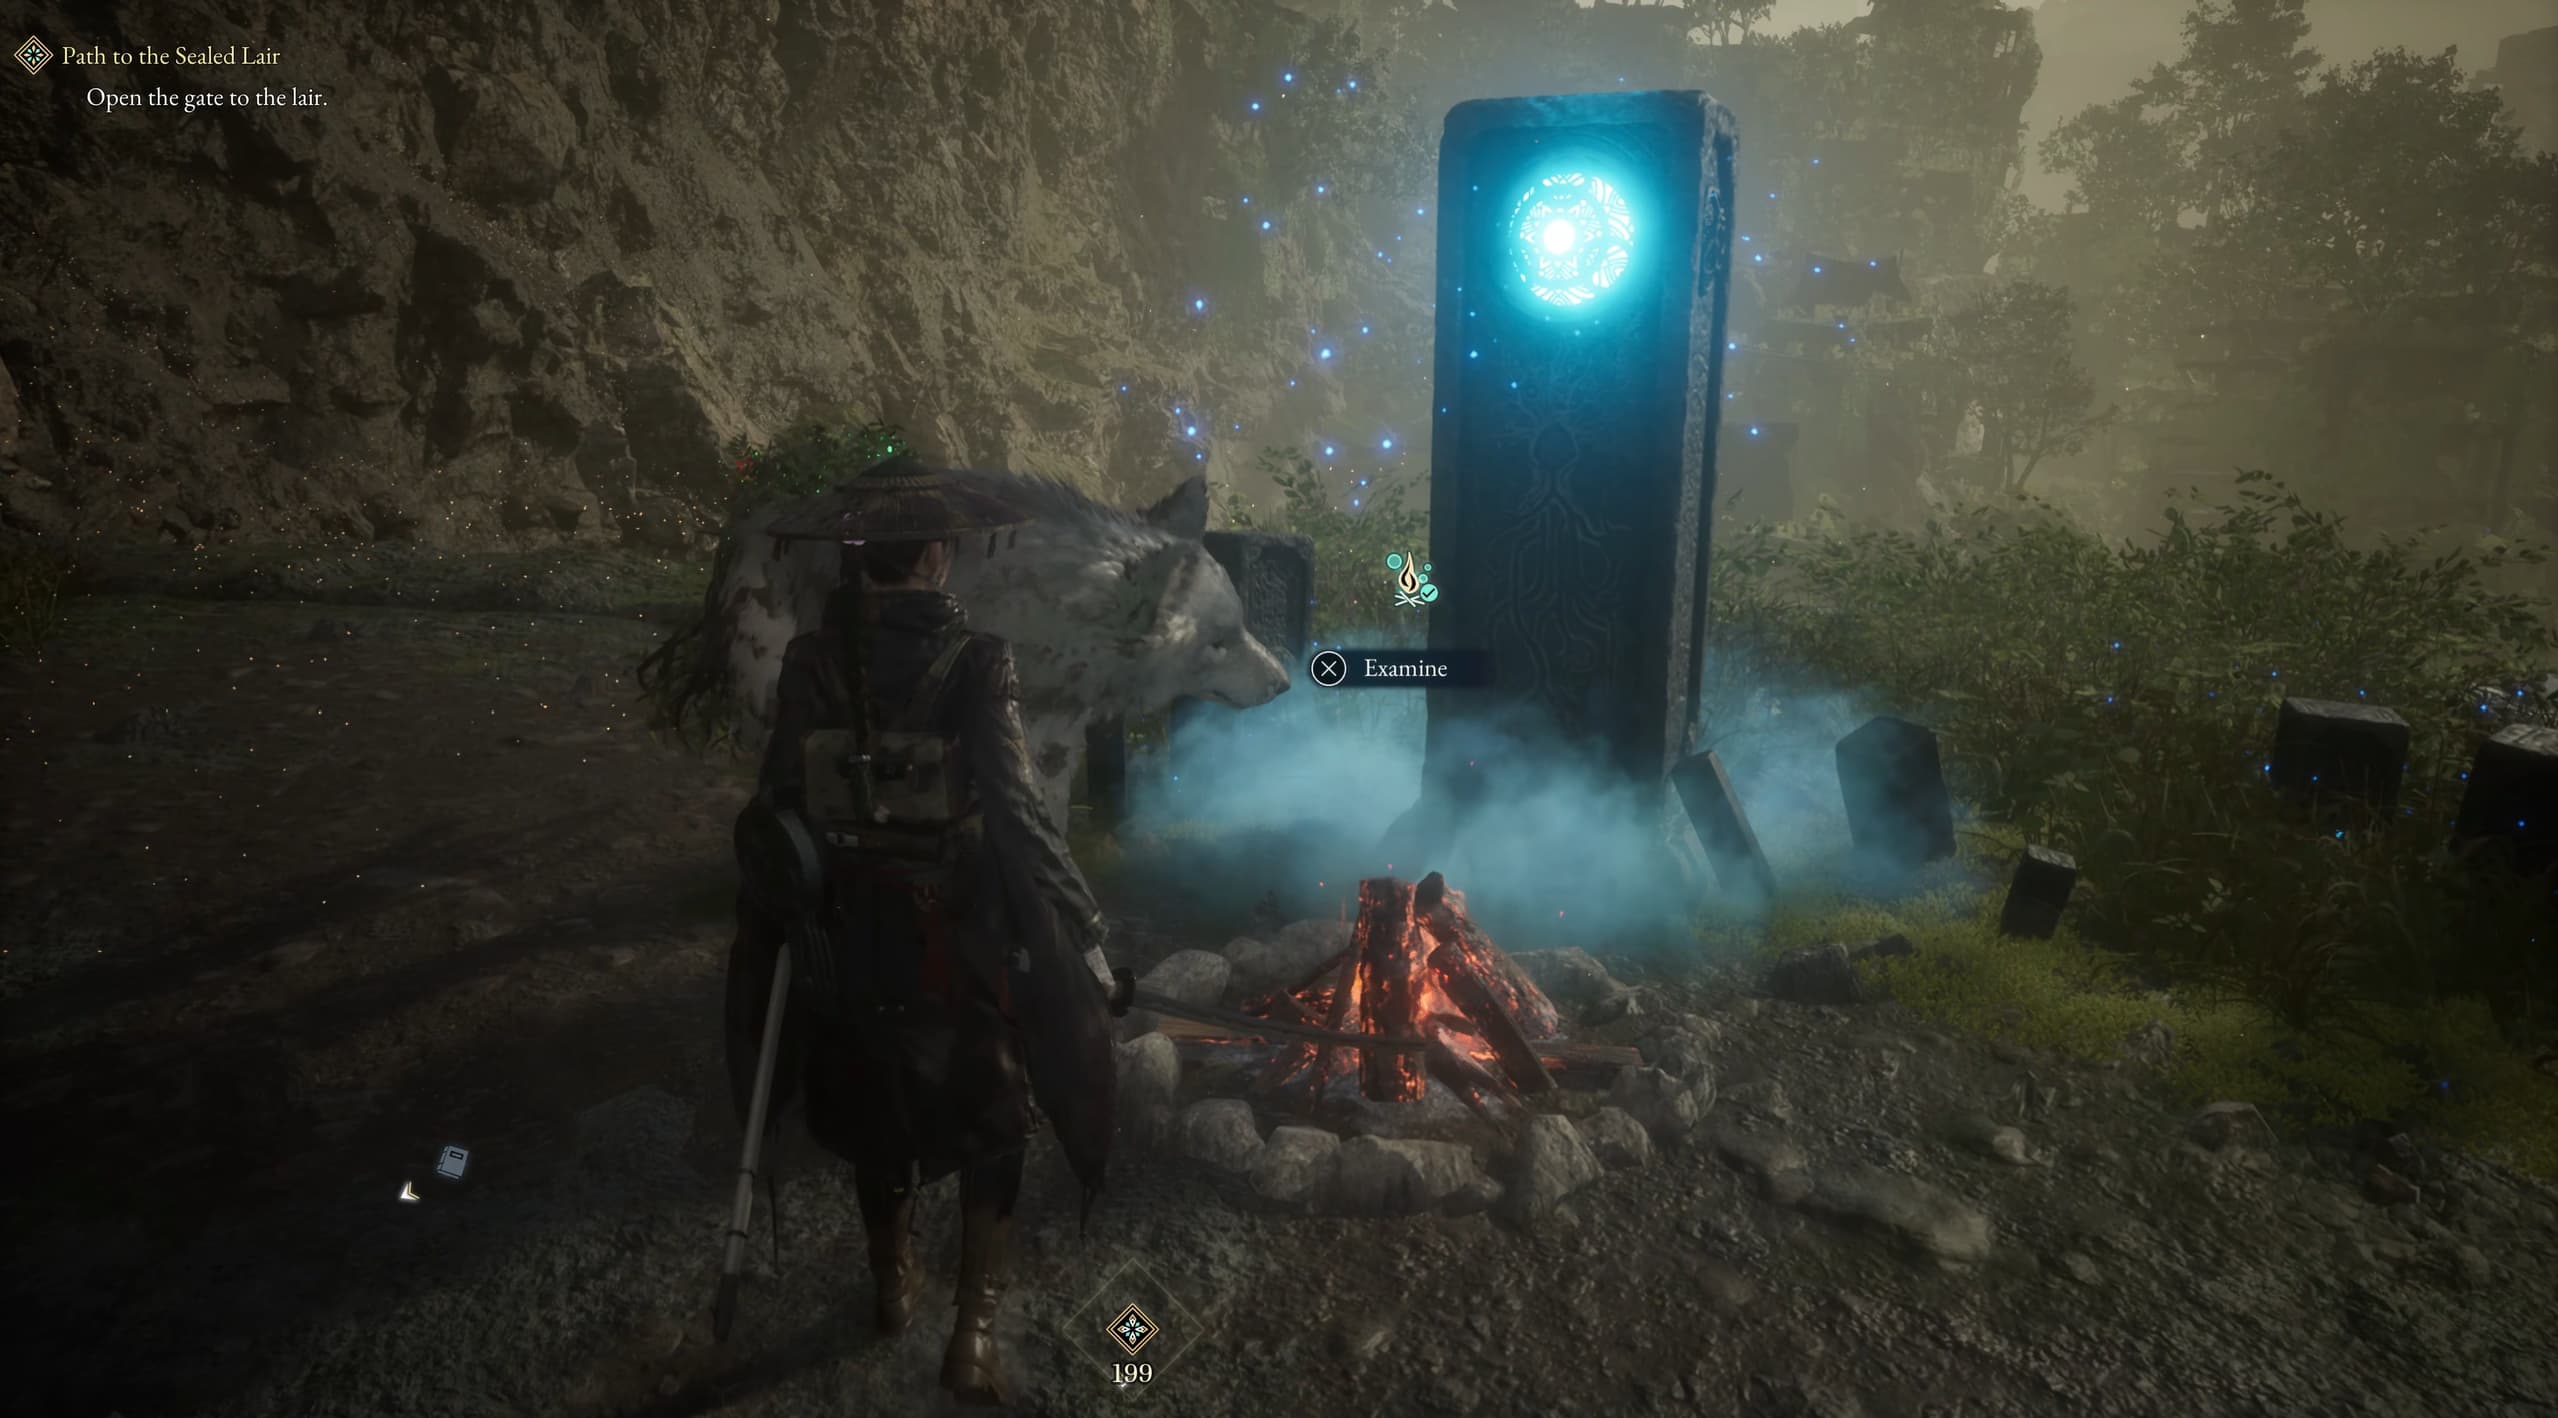
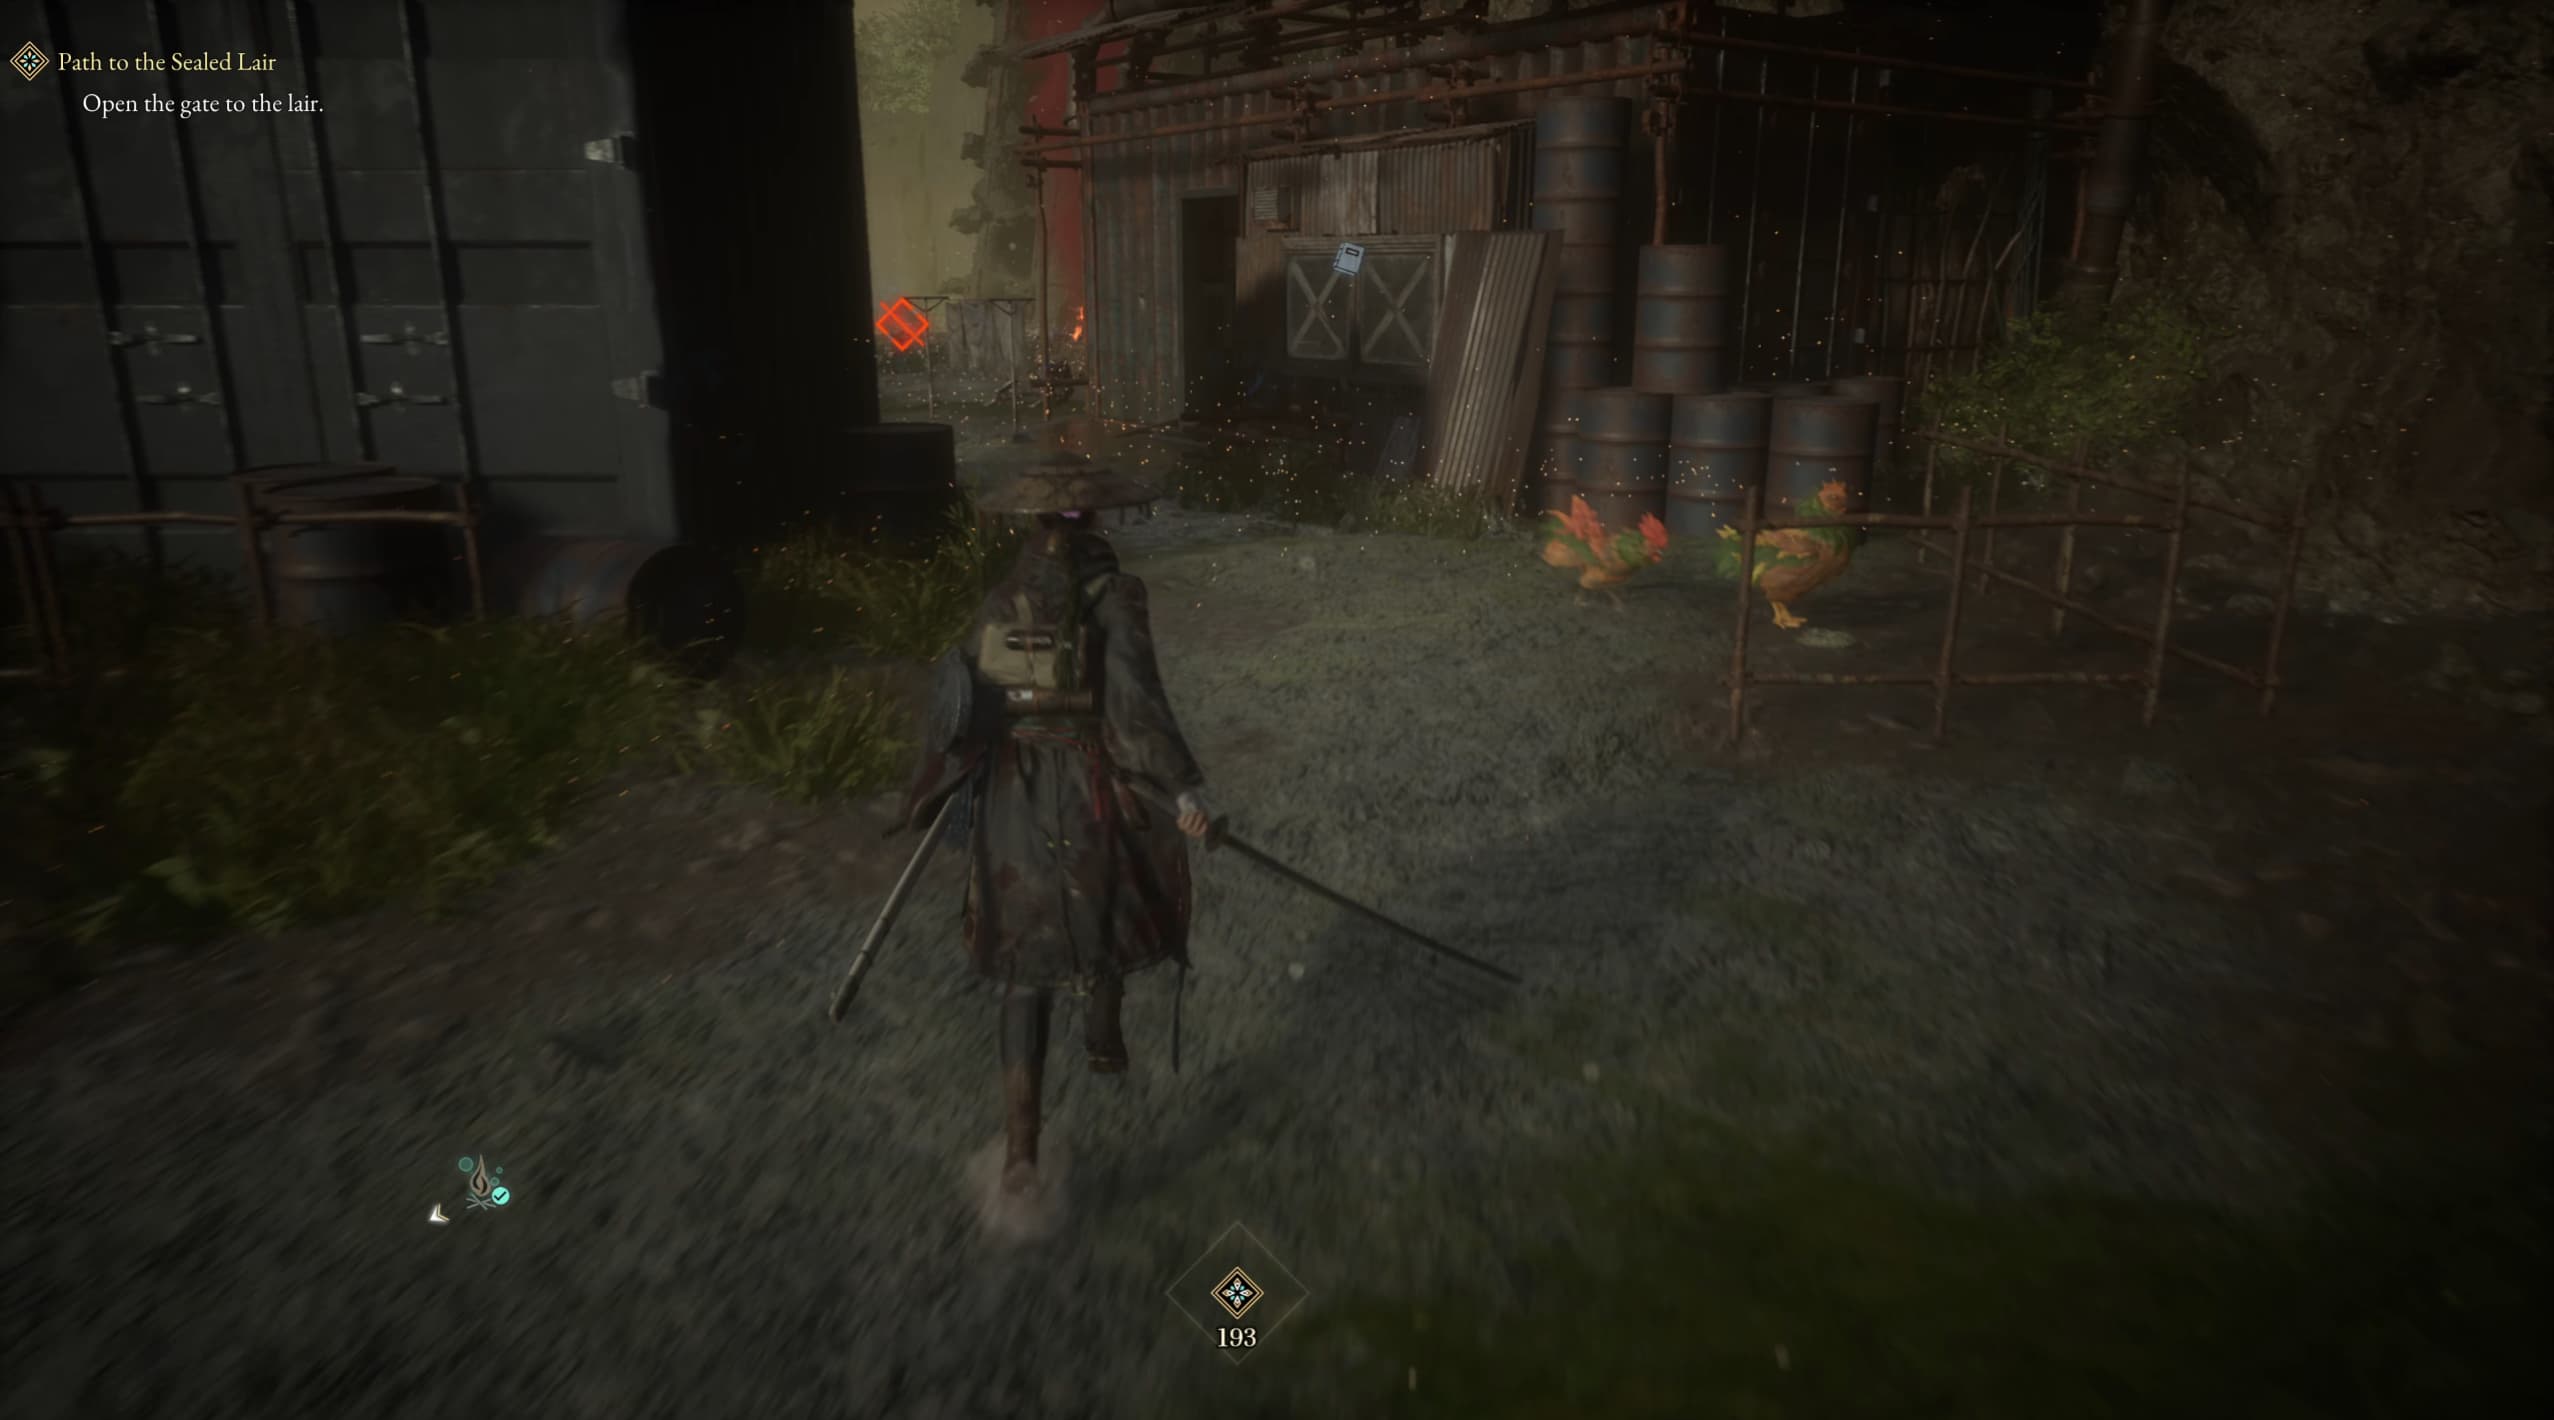
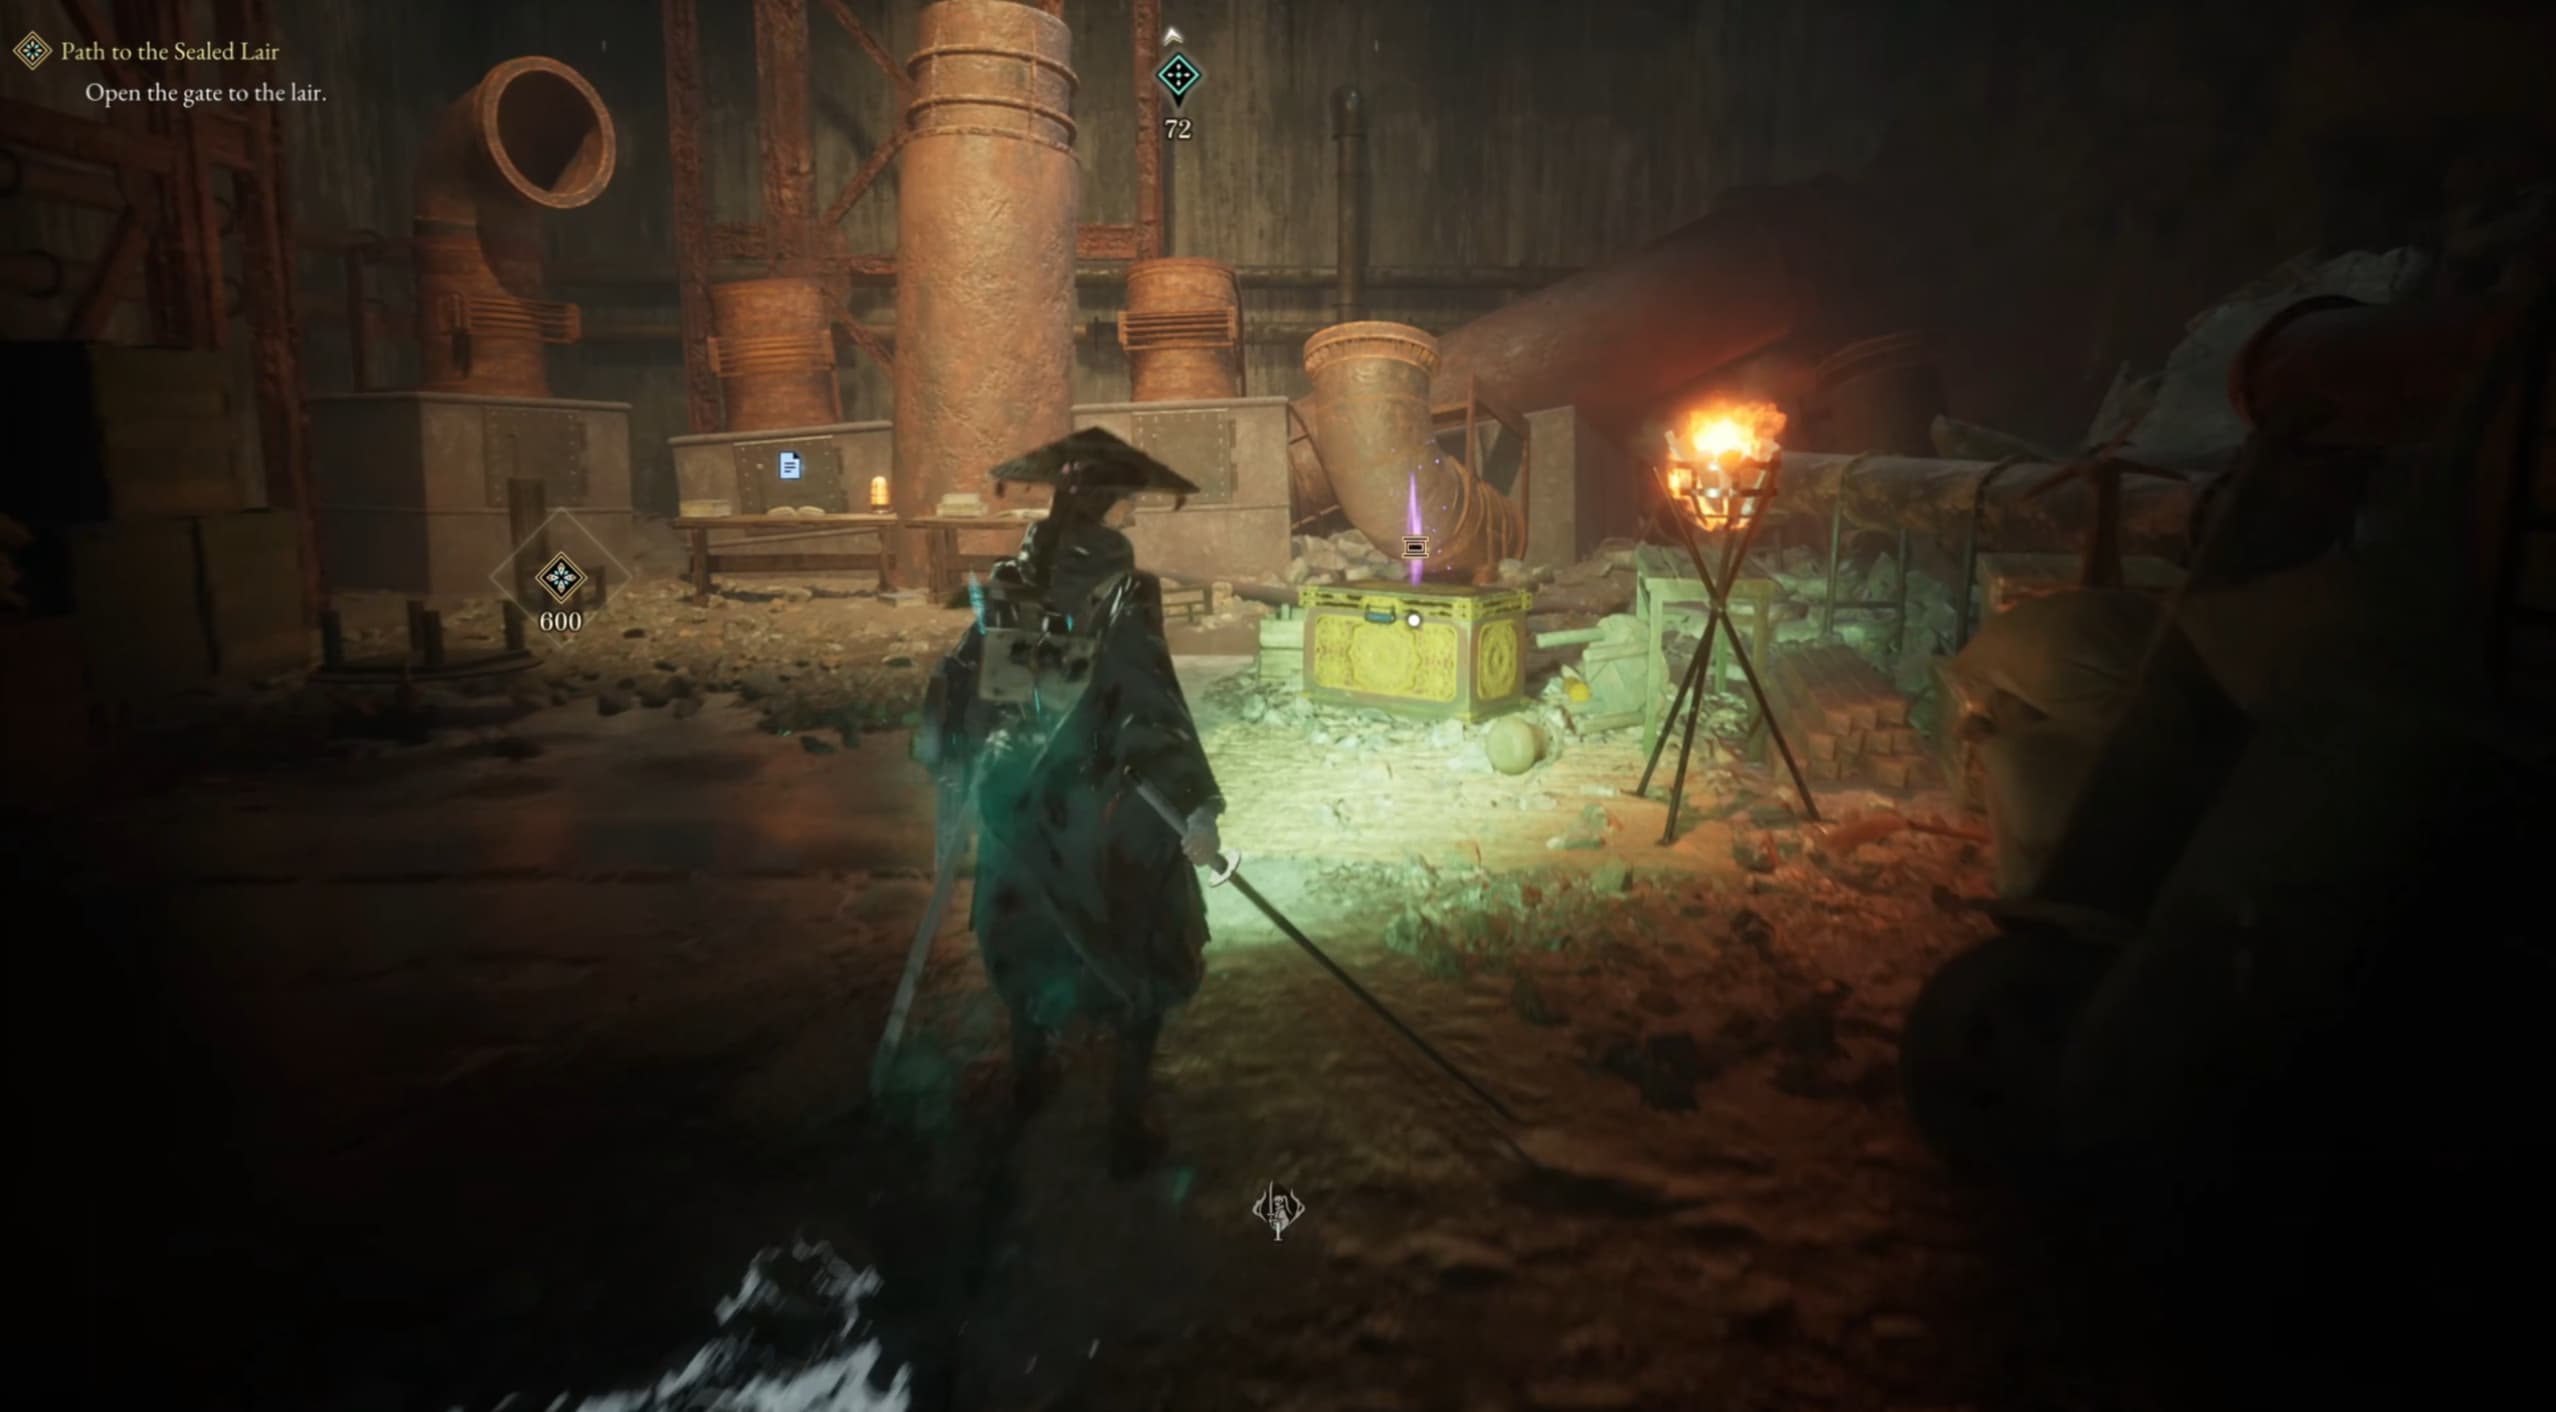
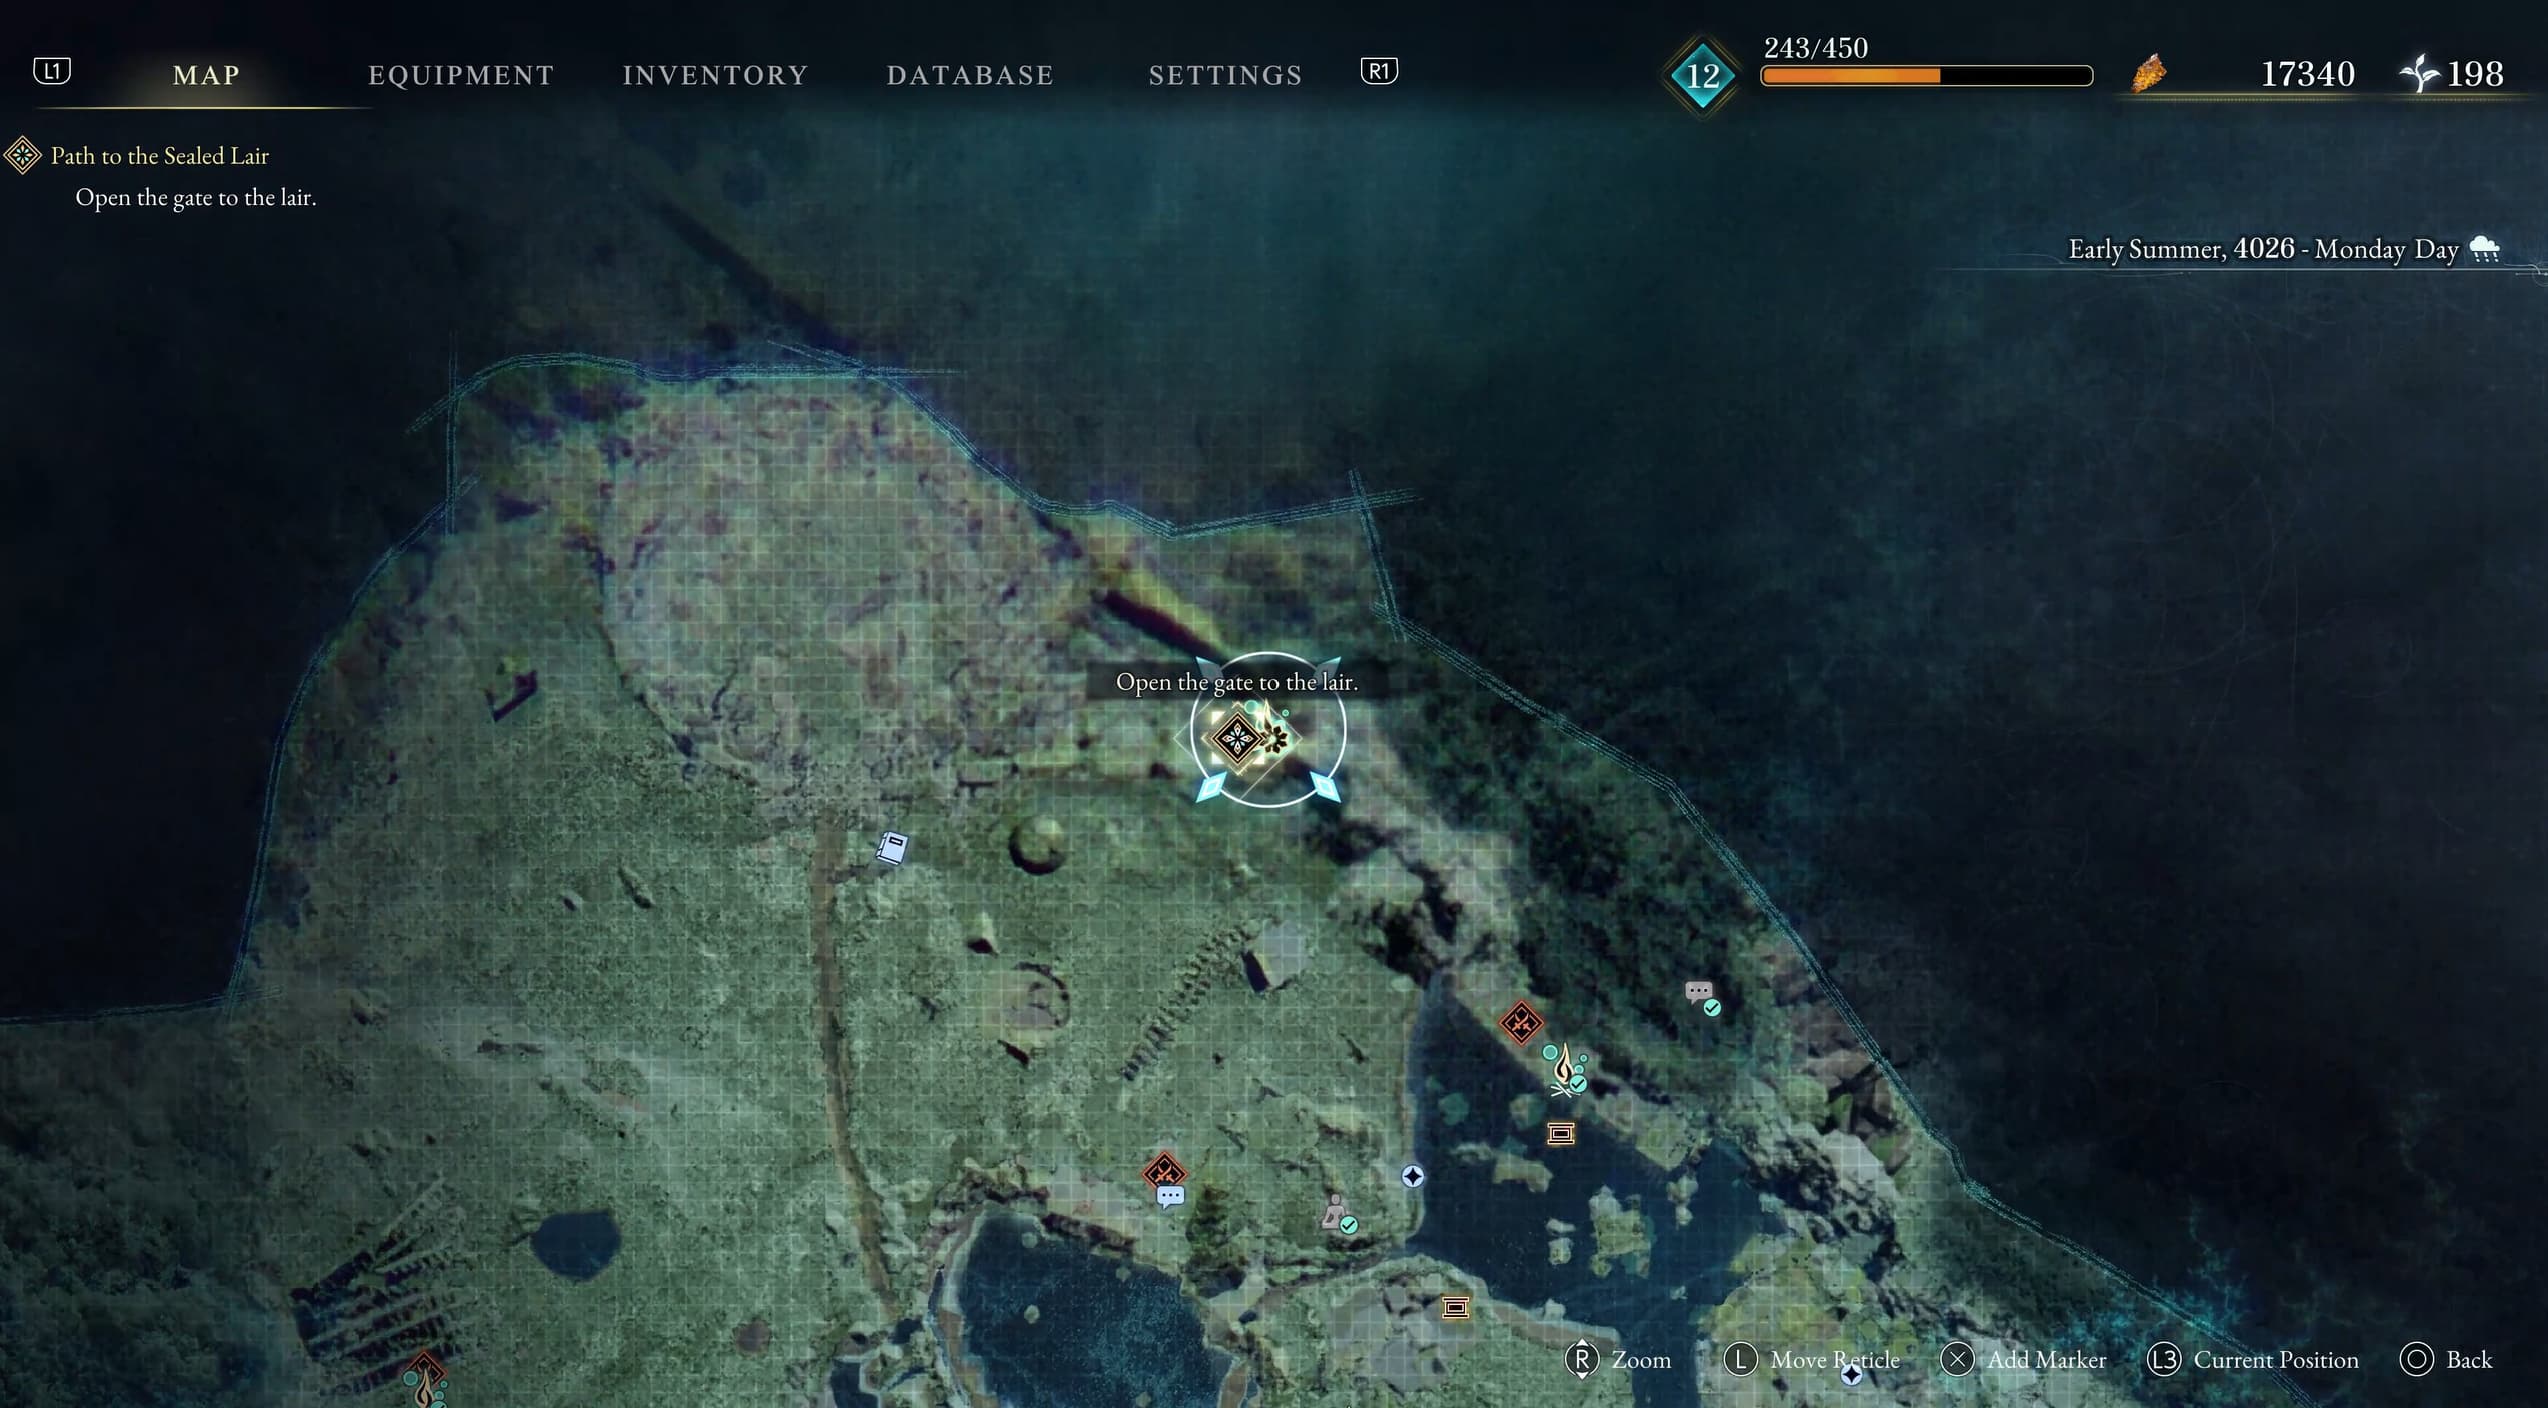
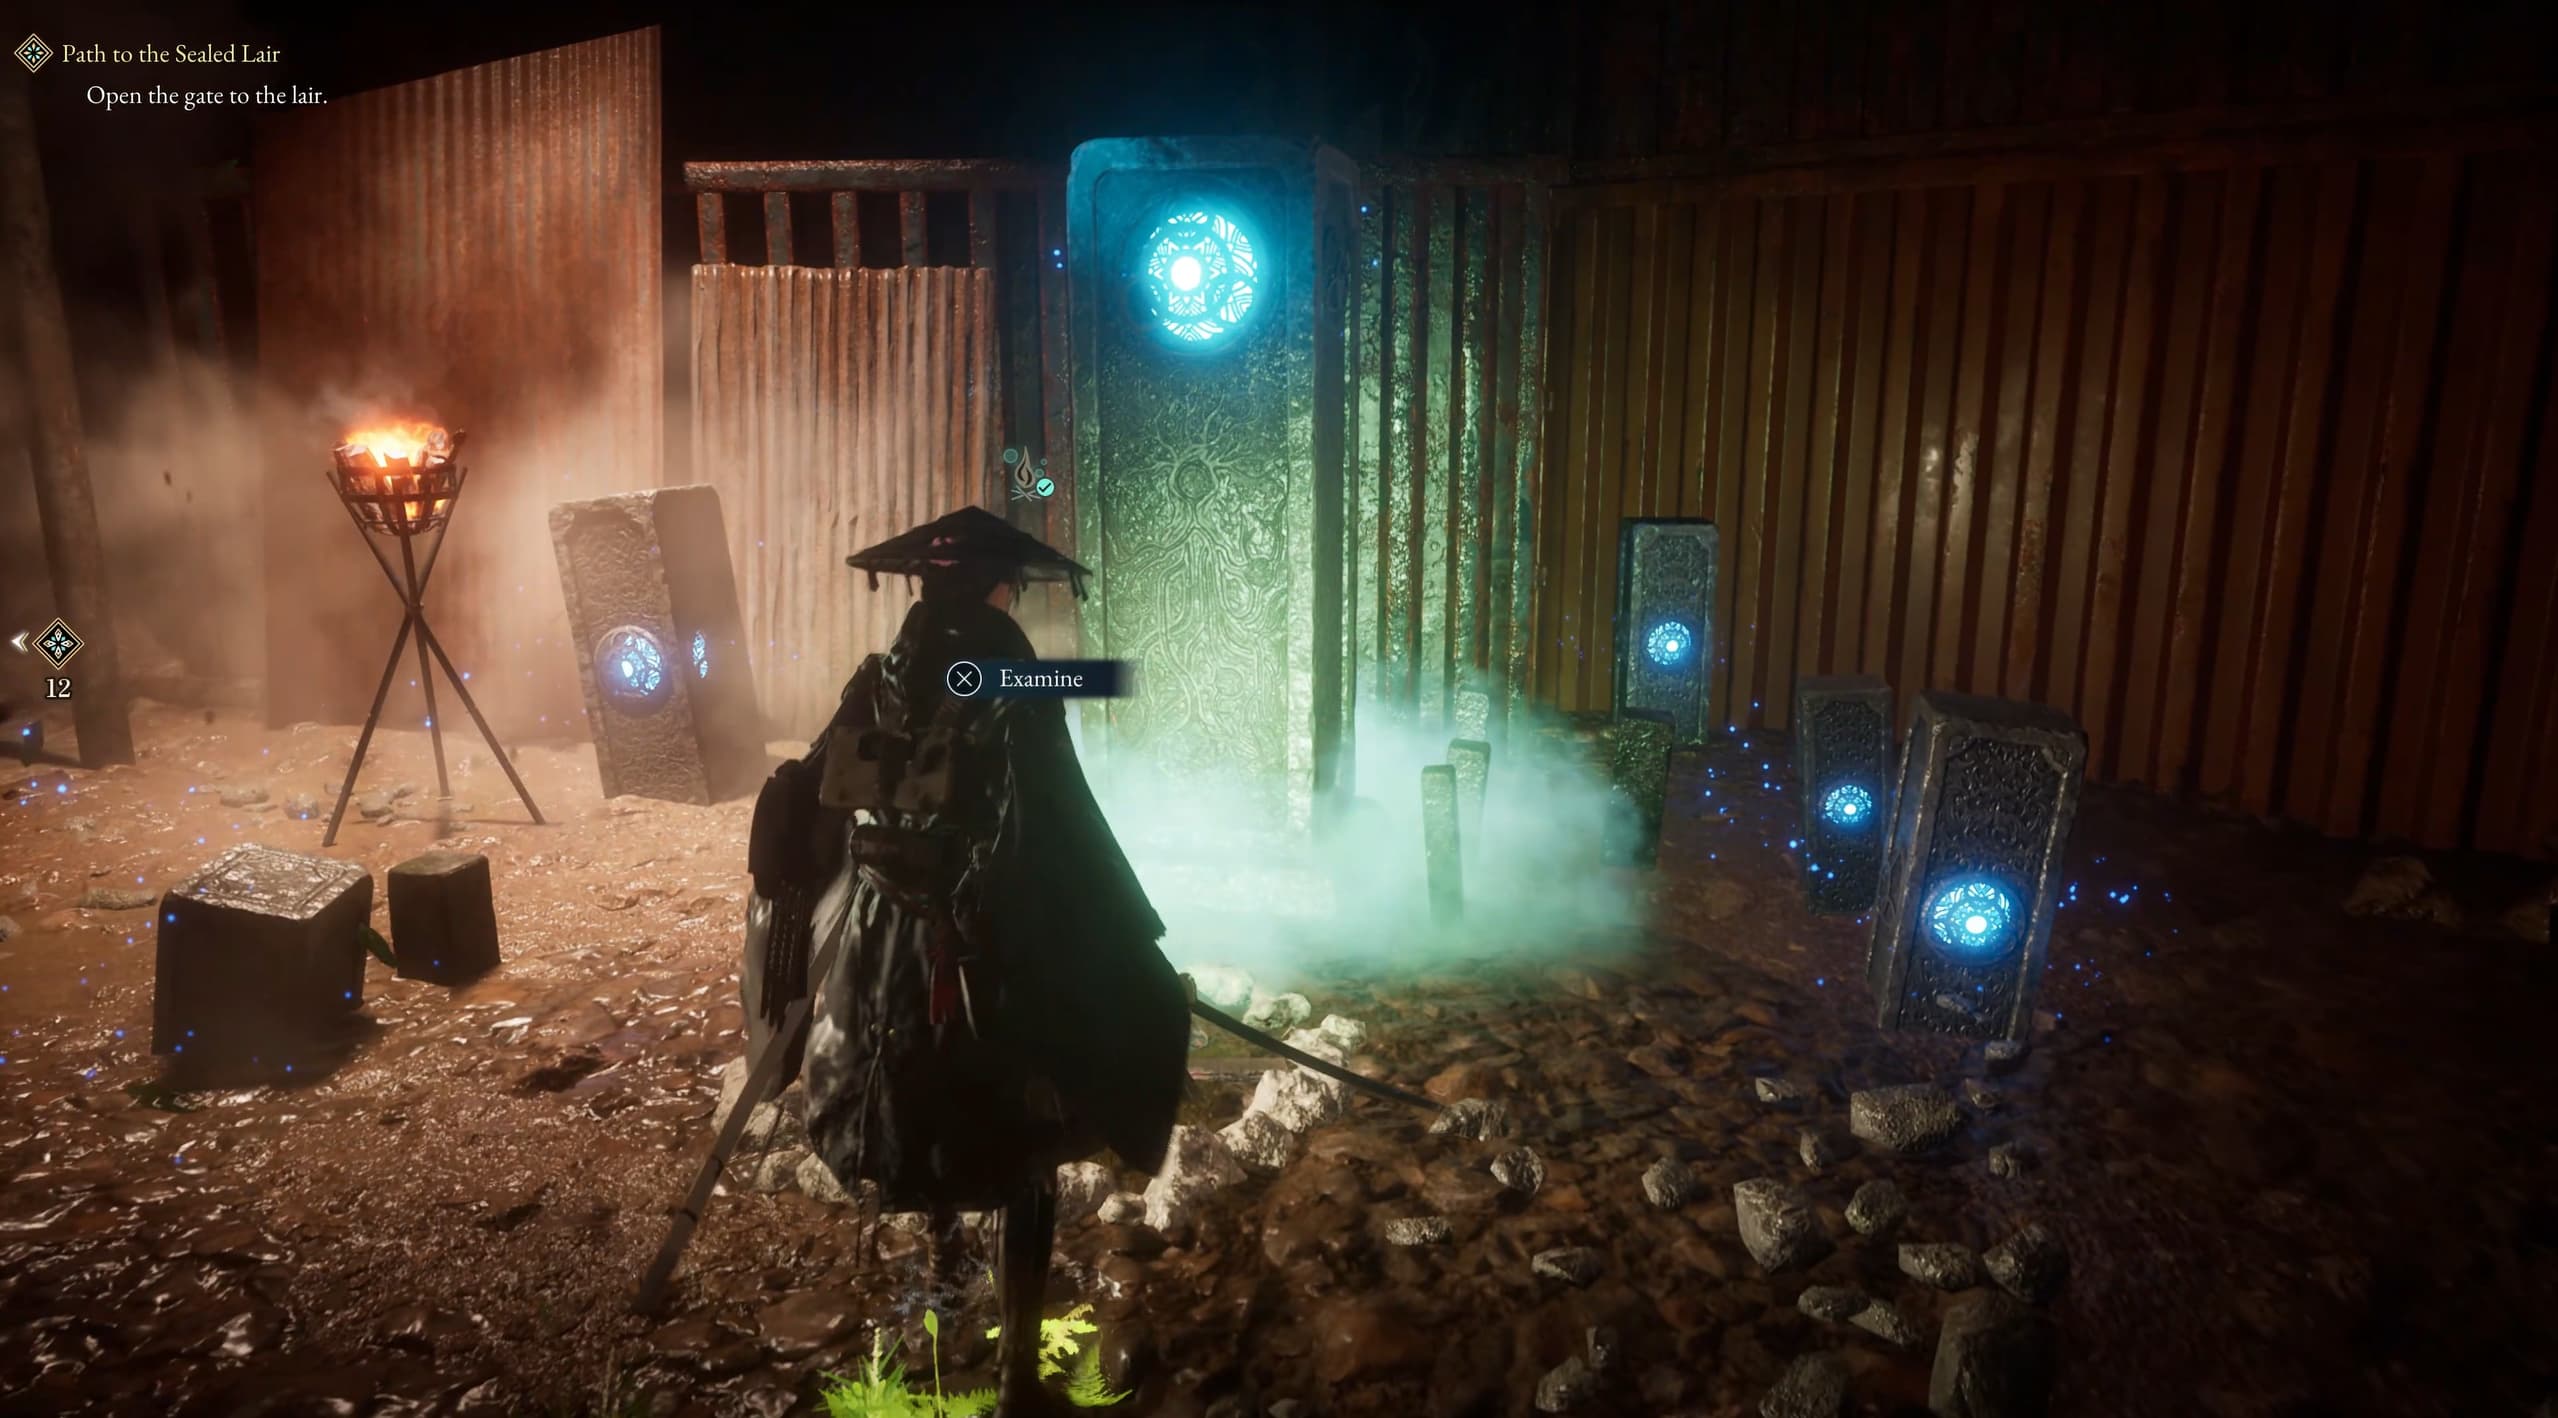
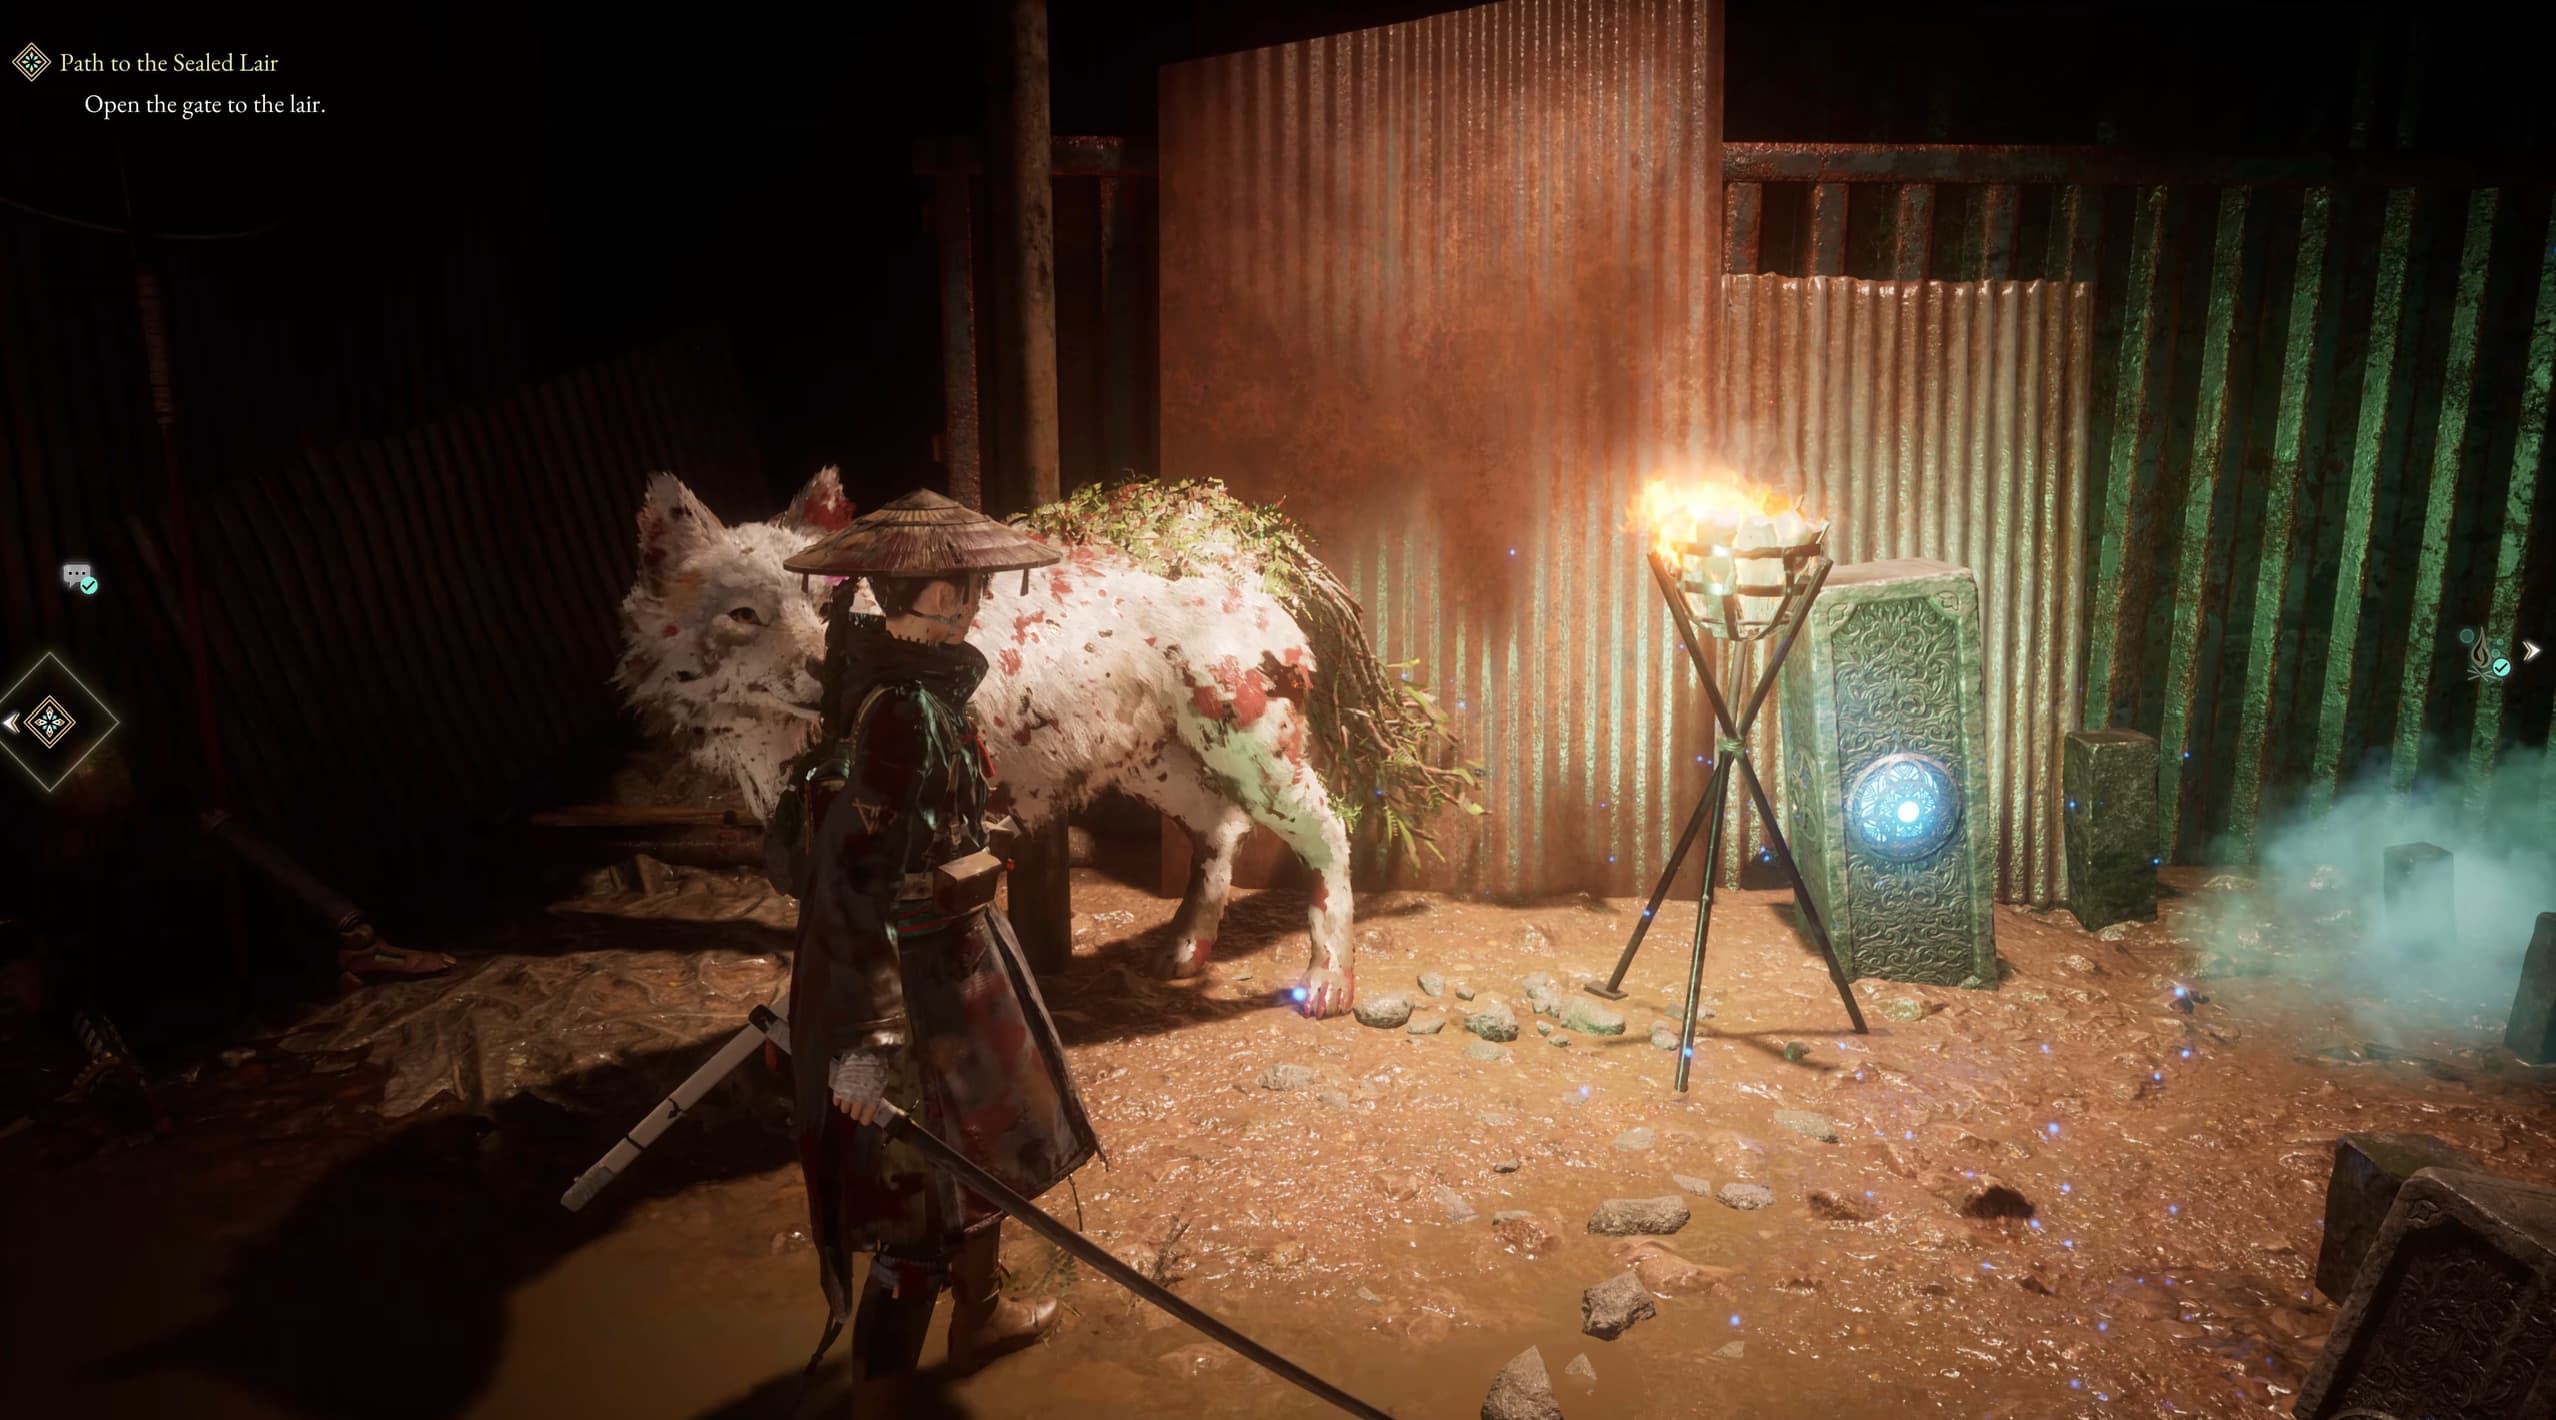
This guide will walk you through the most simple route of where all of the collectibles are located in the Ogouchi Buffer Zone.
Some of the collectibles are automatically obtained, but I will still share everything to guarantee the overall trophy achievements. You can return to every map area to pick up anything that you missed after completing the main story.
This Ogouchi Buffer Zone is home to the following collectibles:
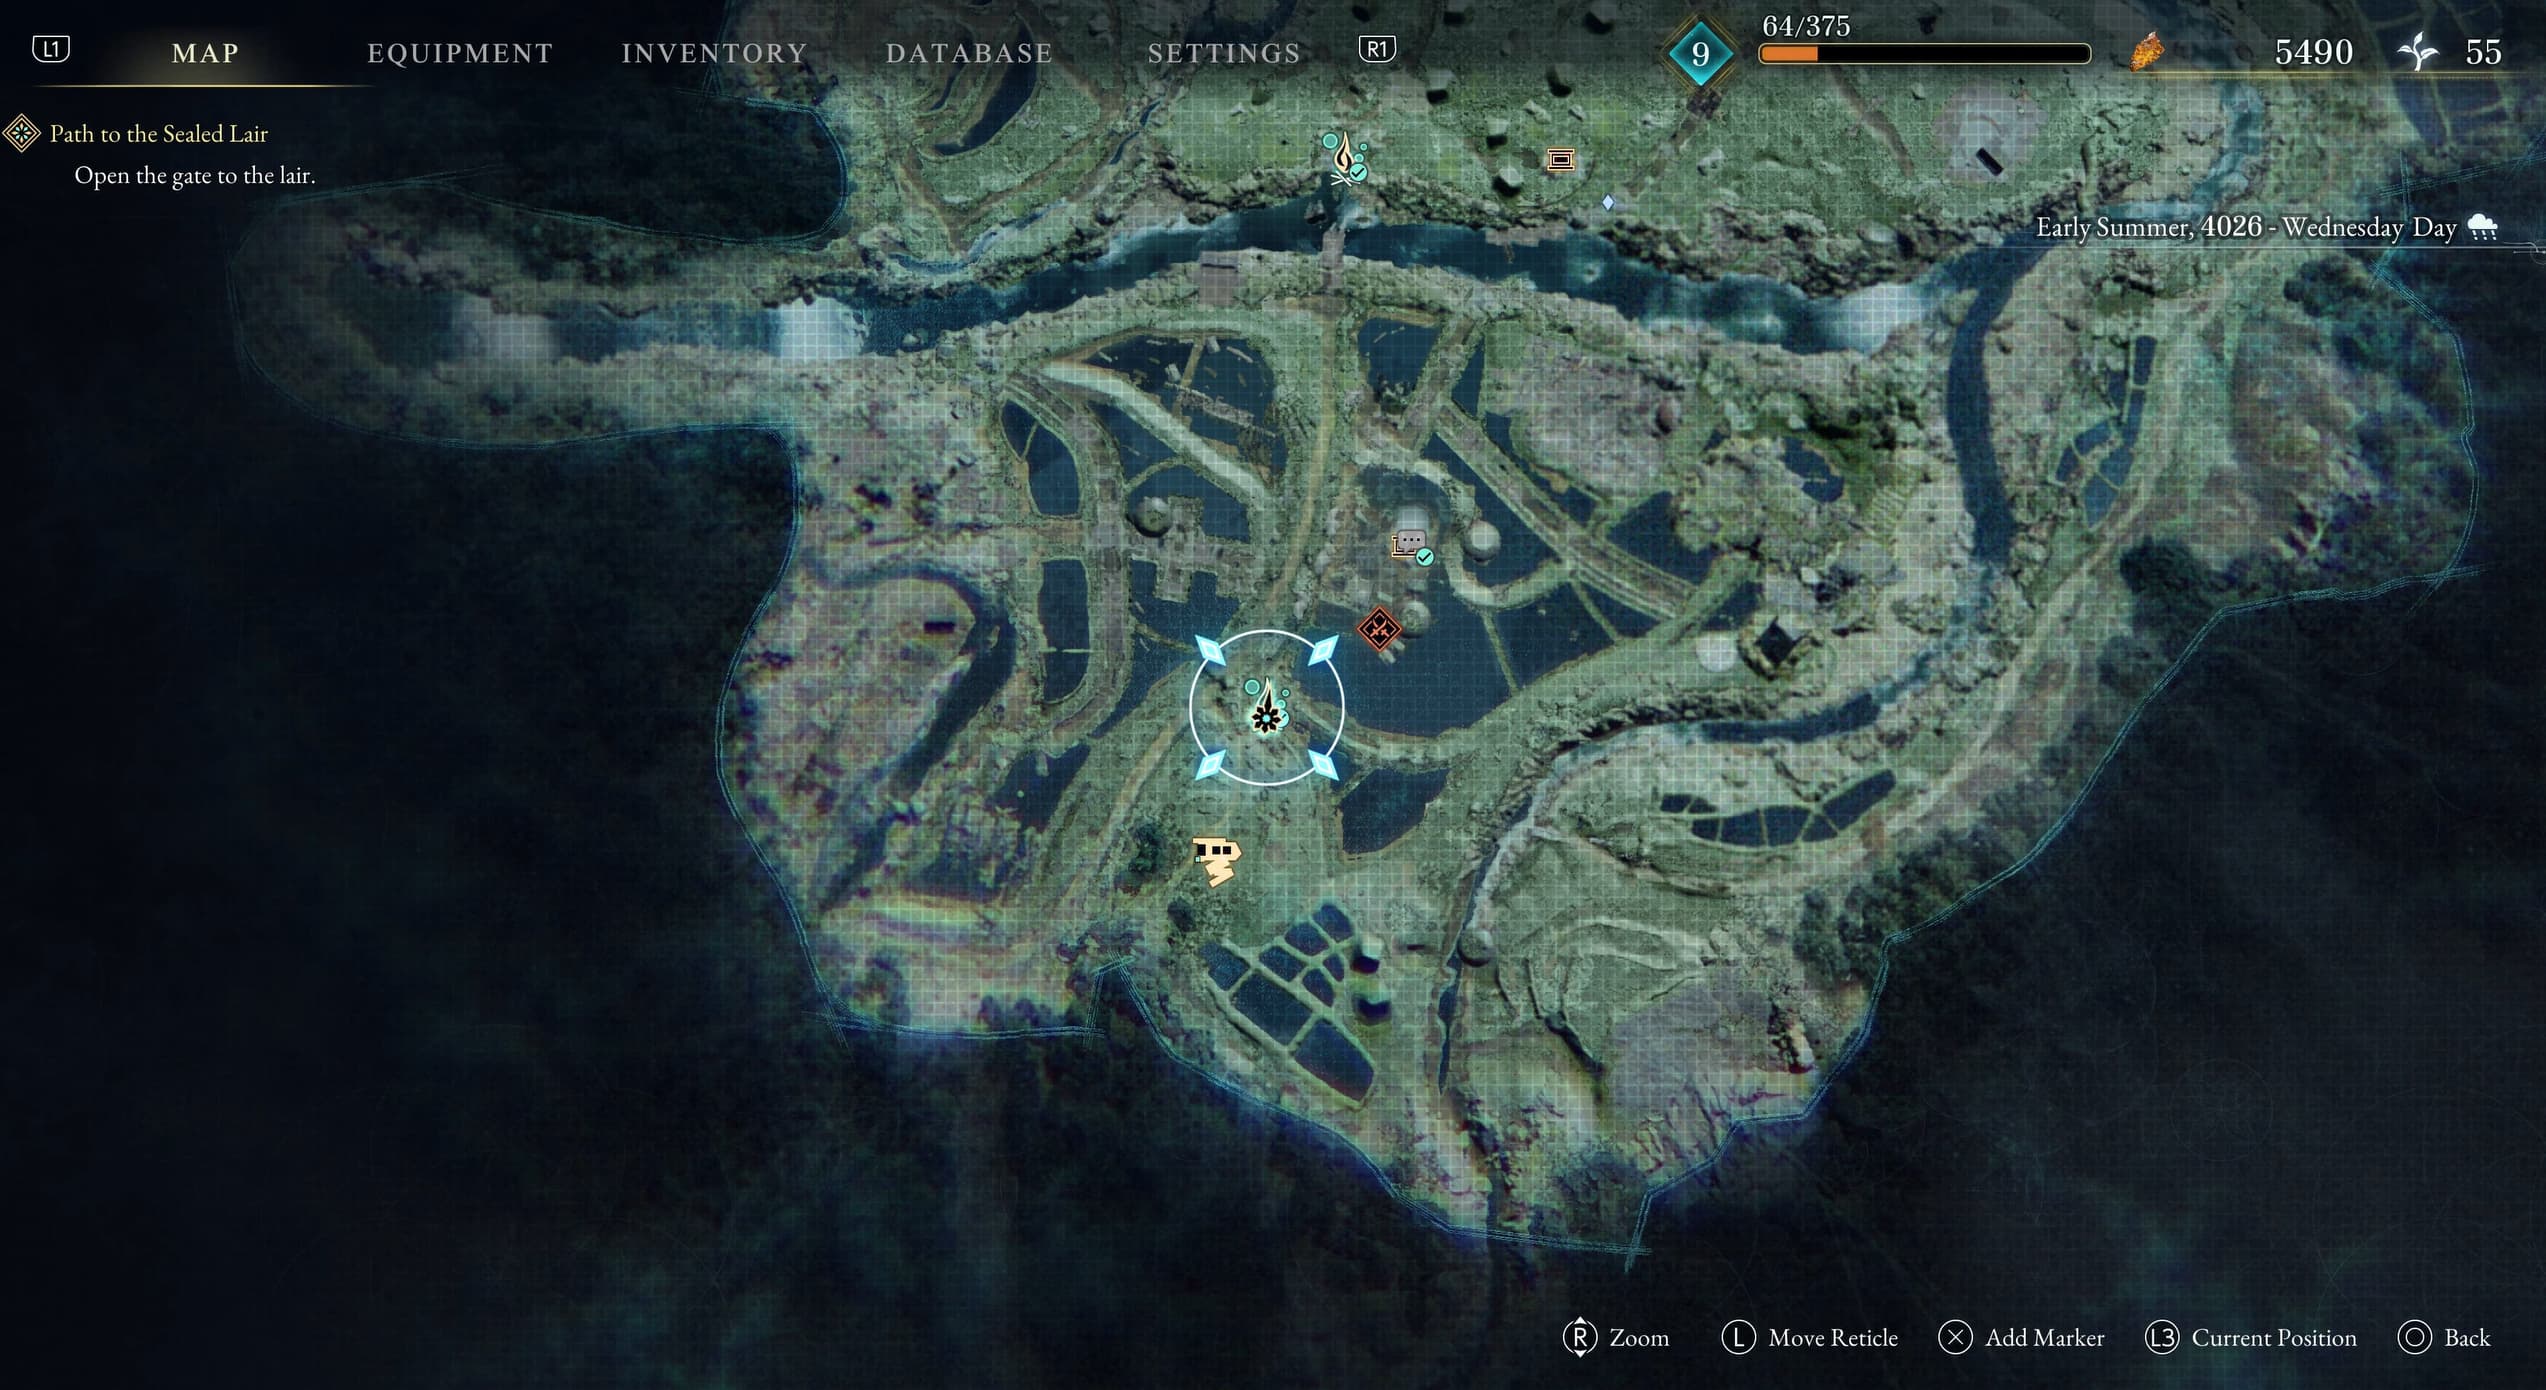
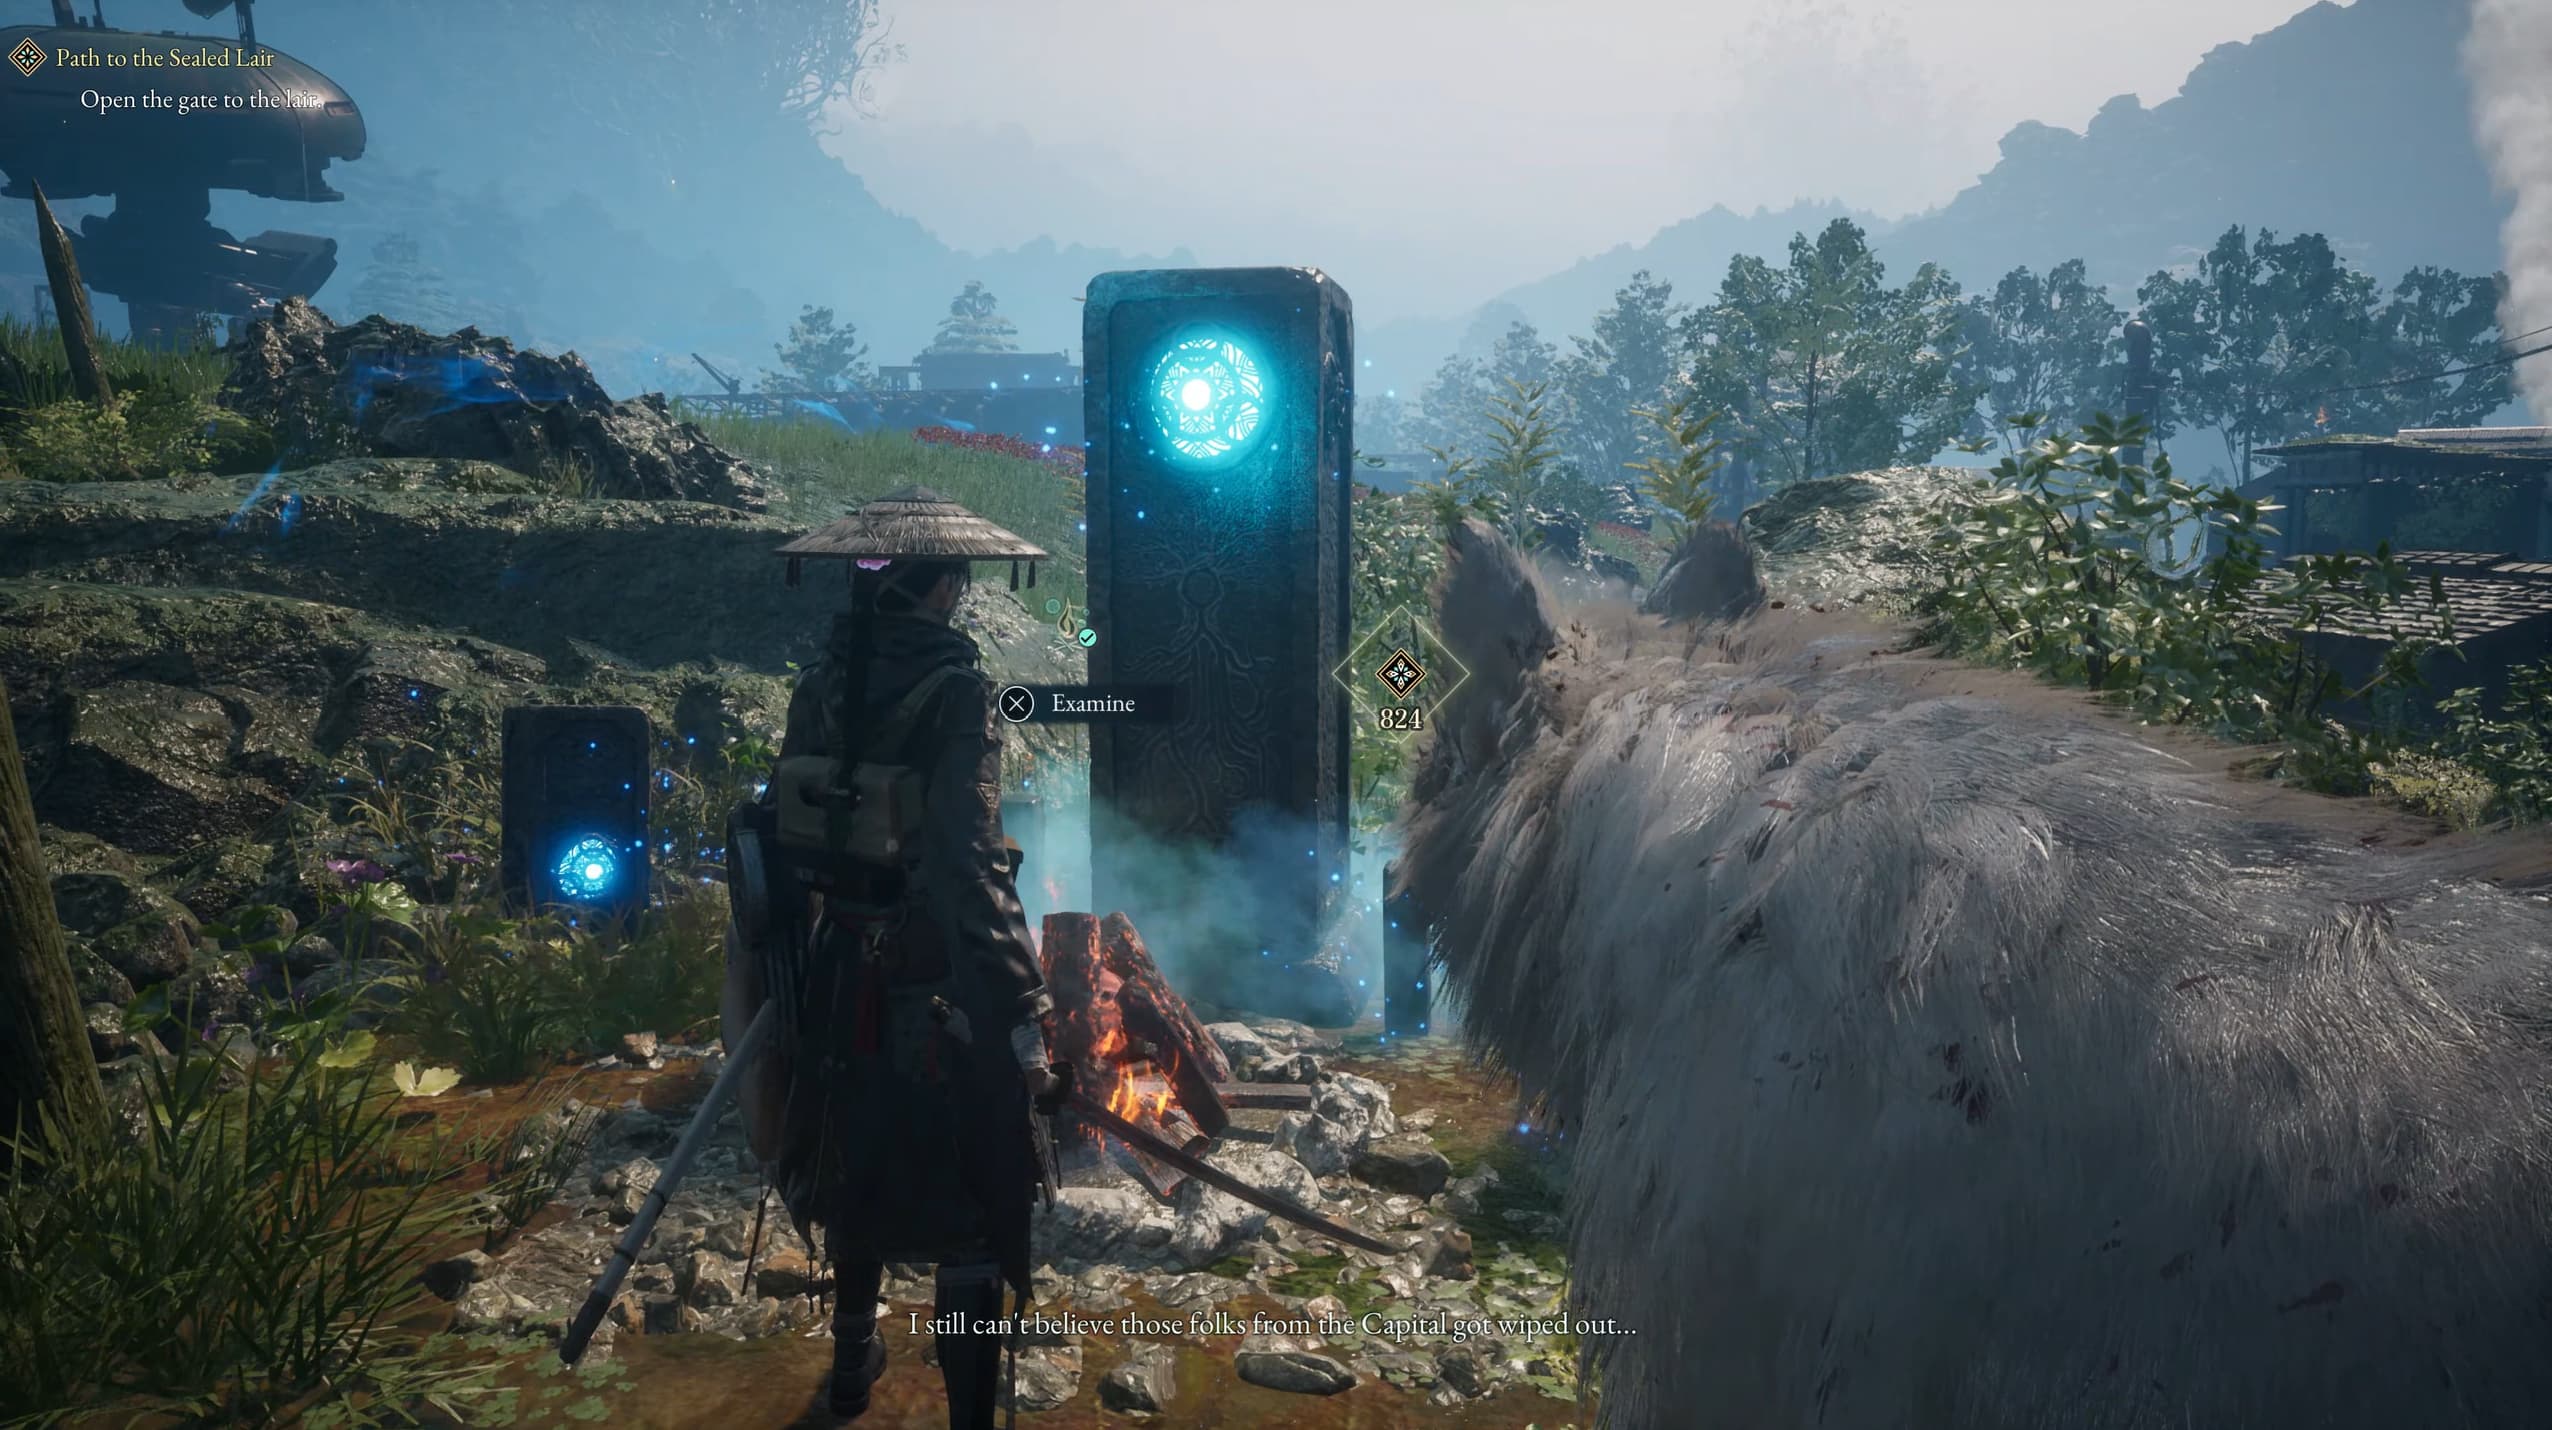
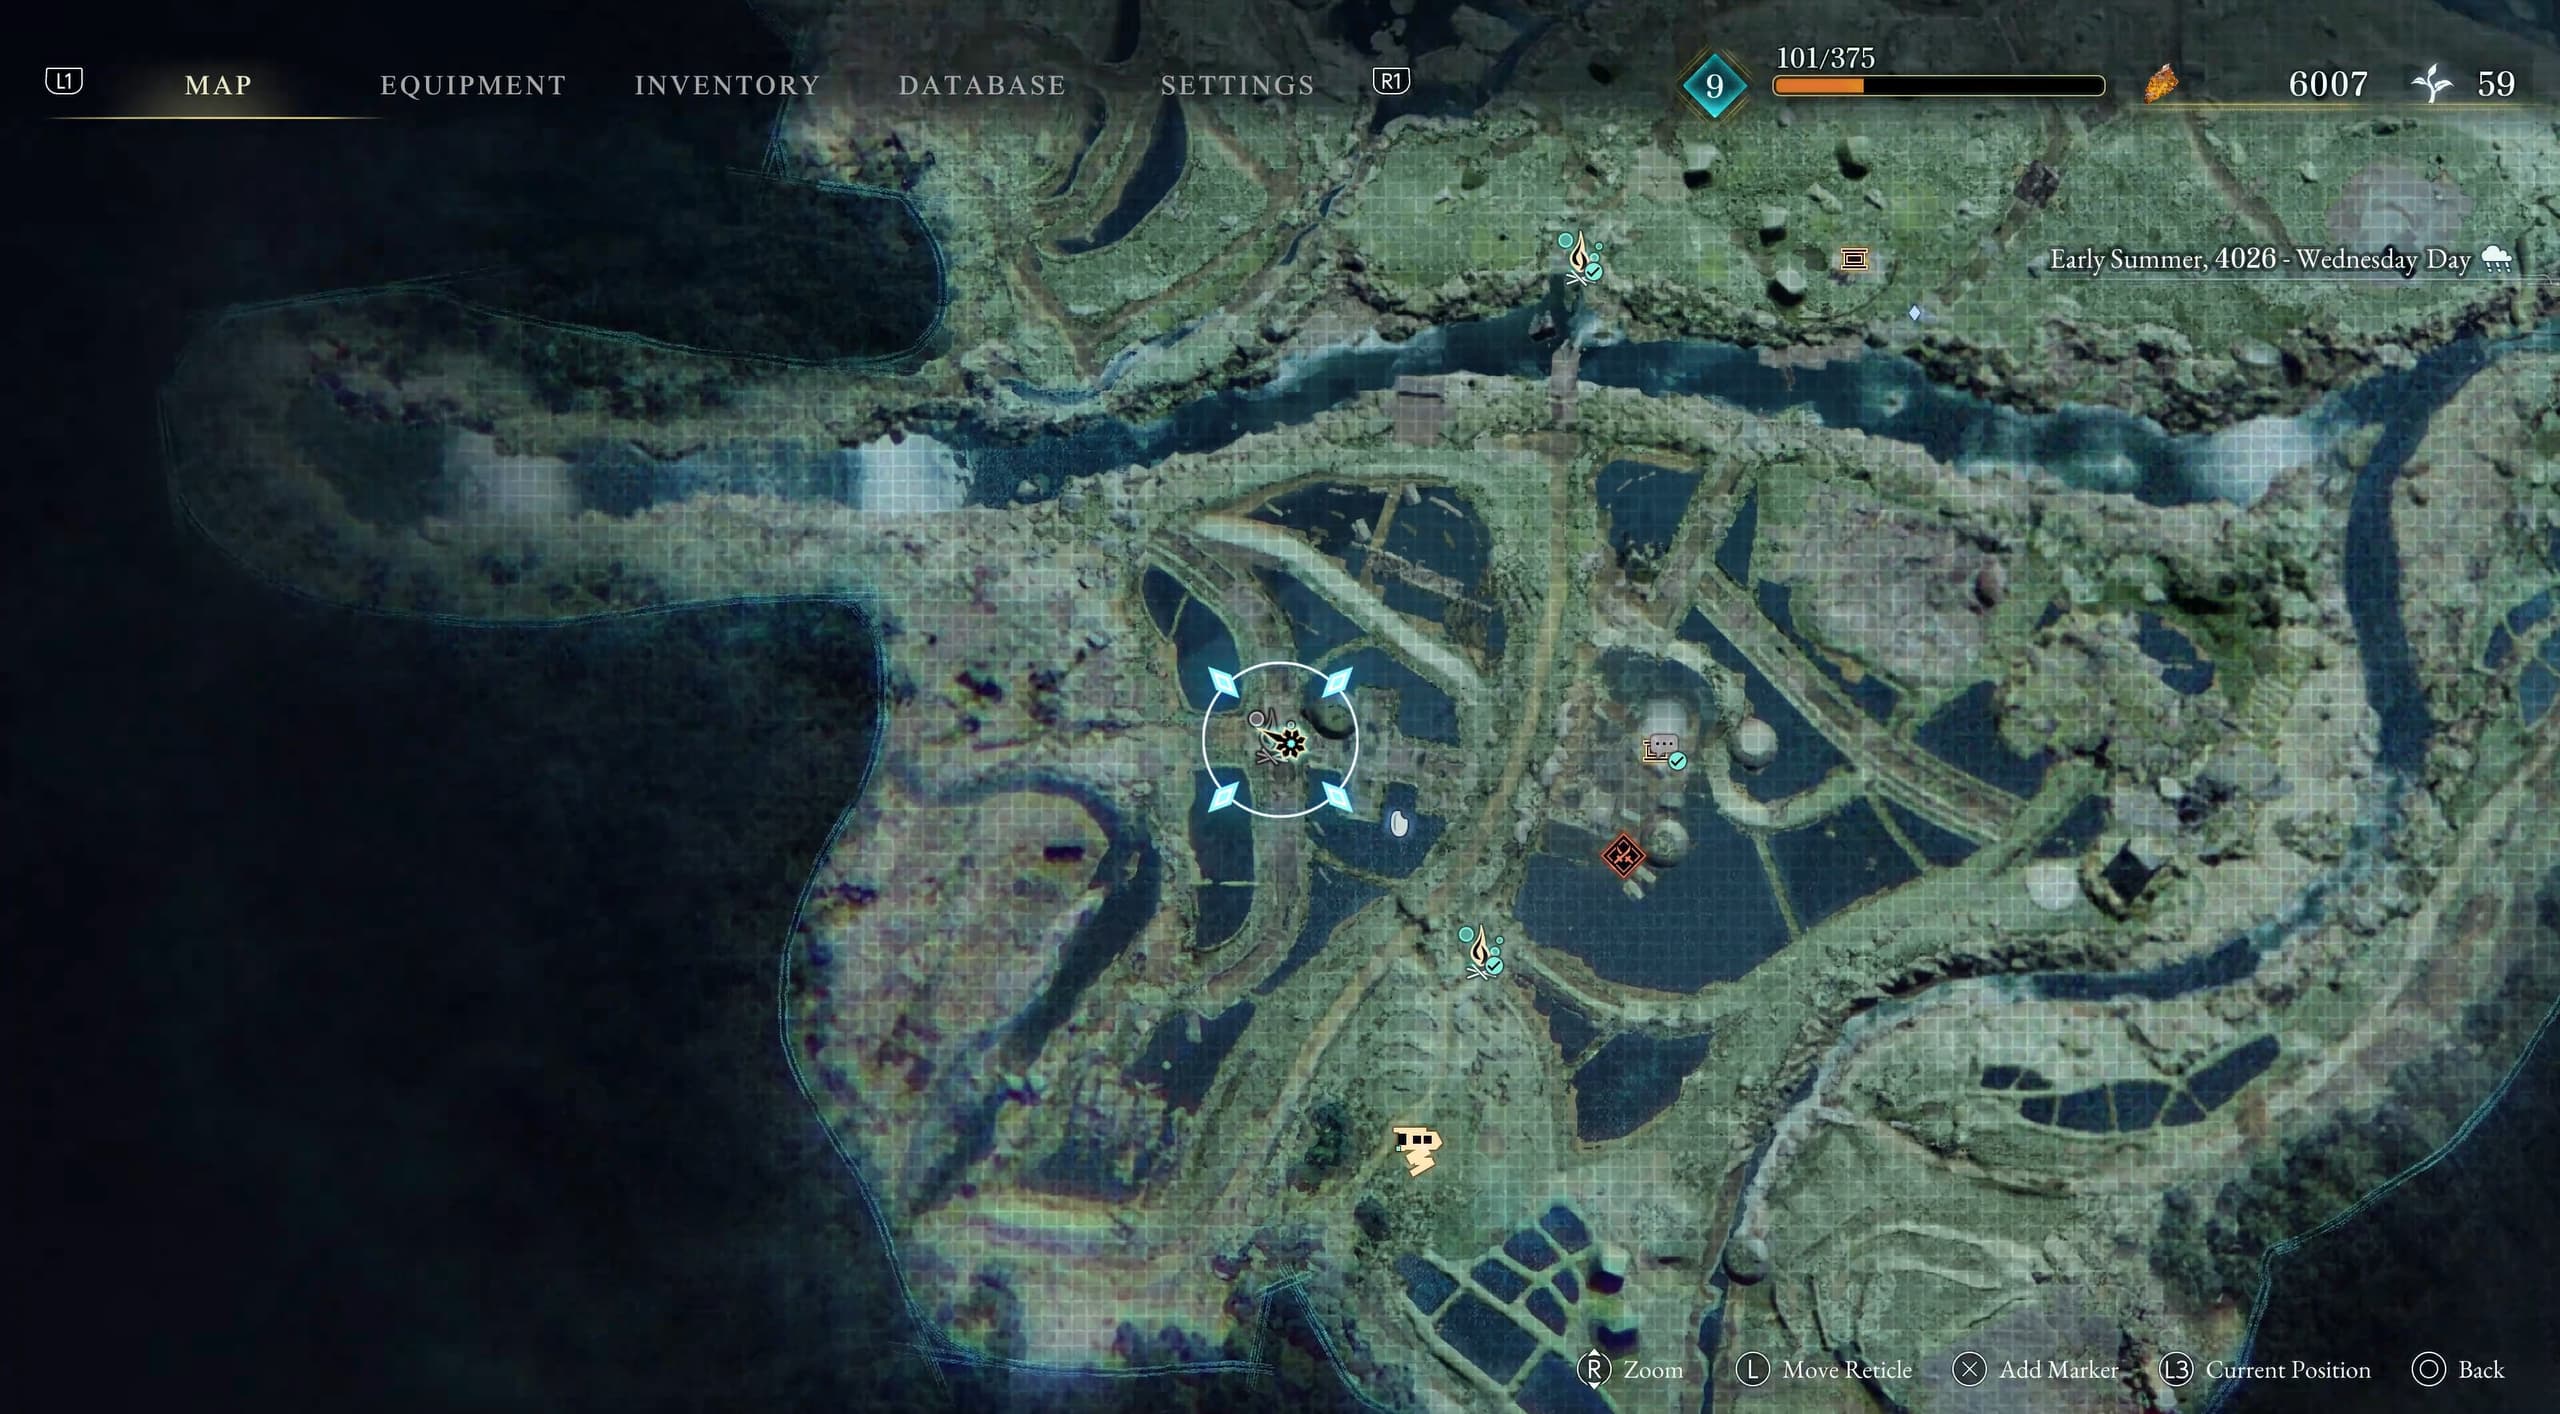
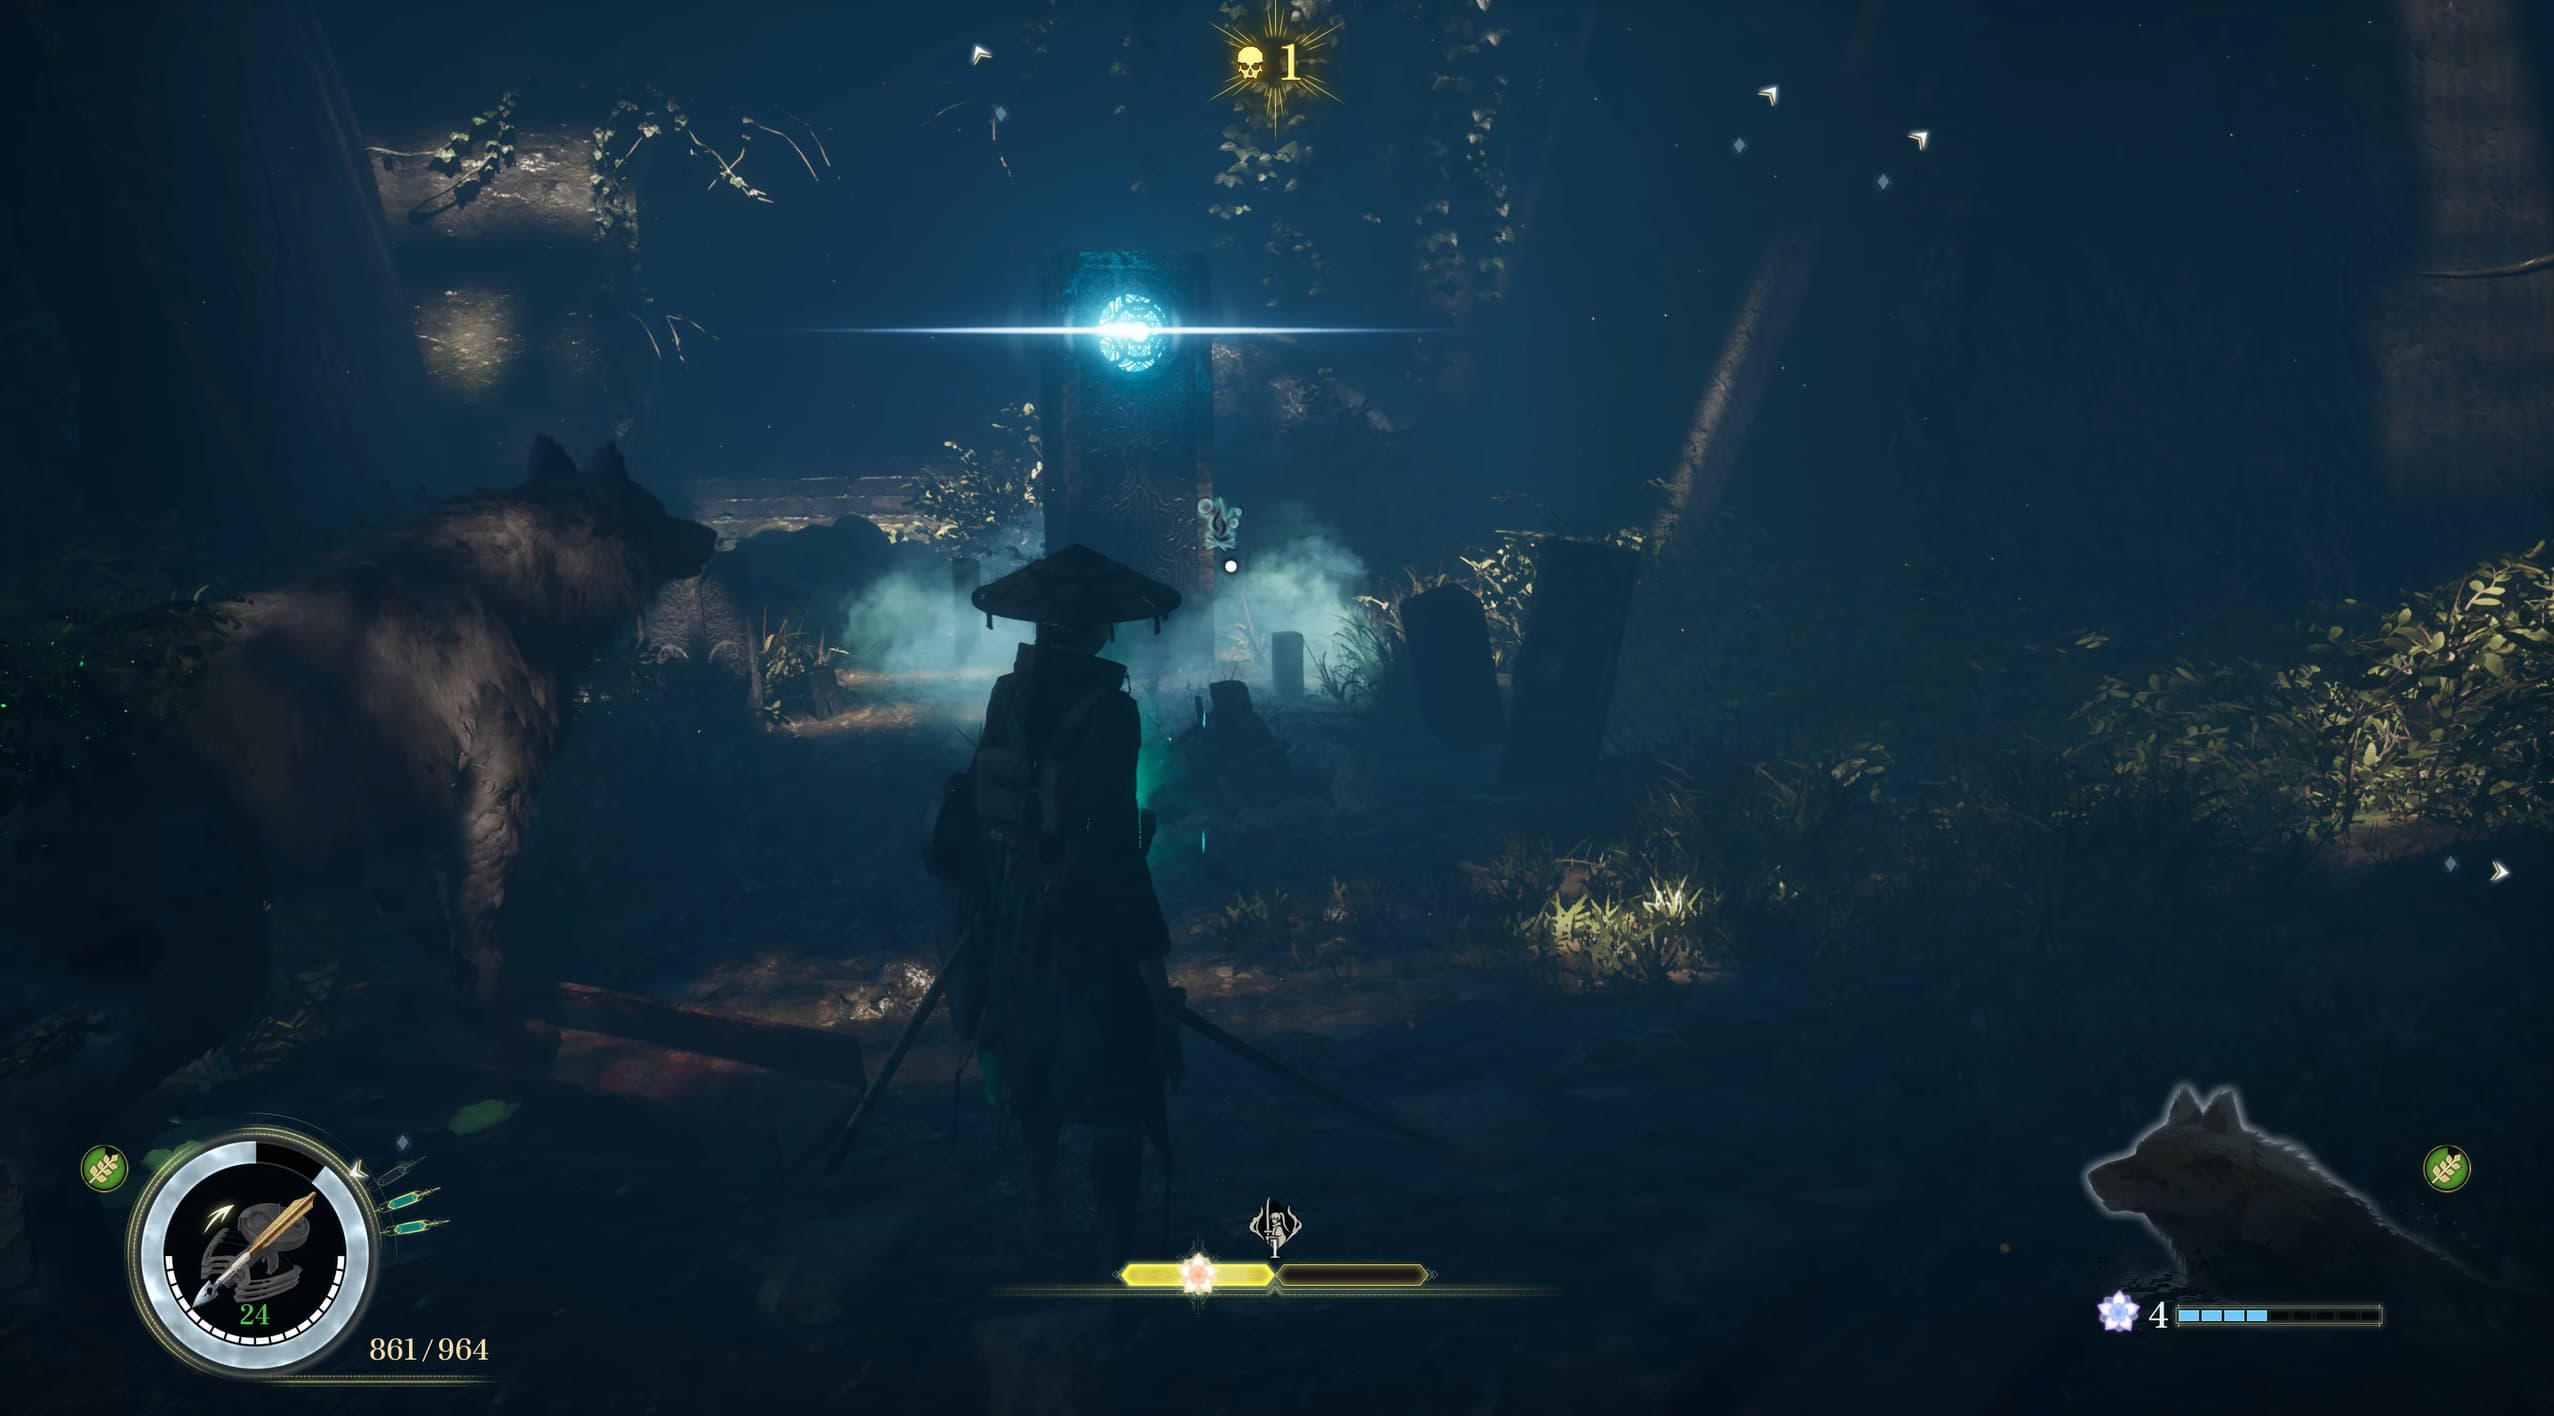
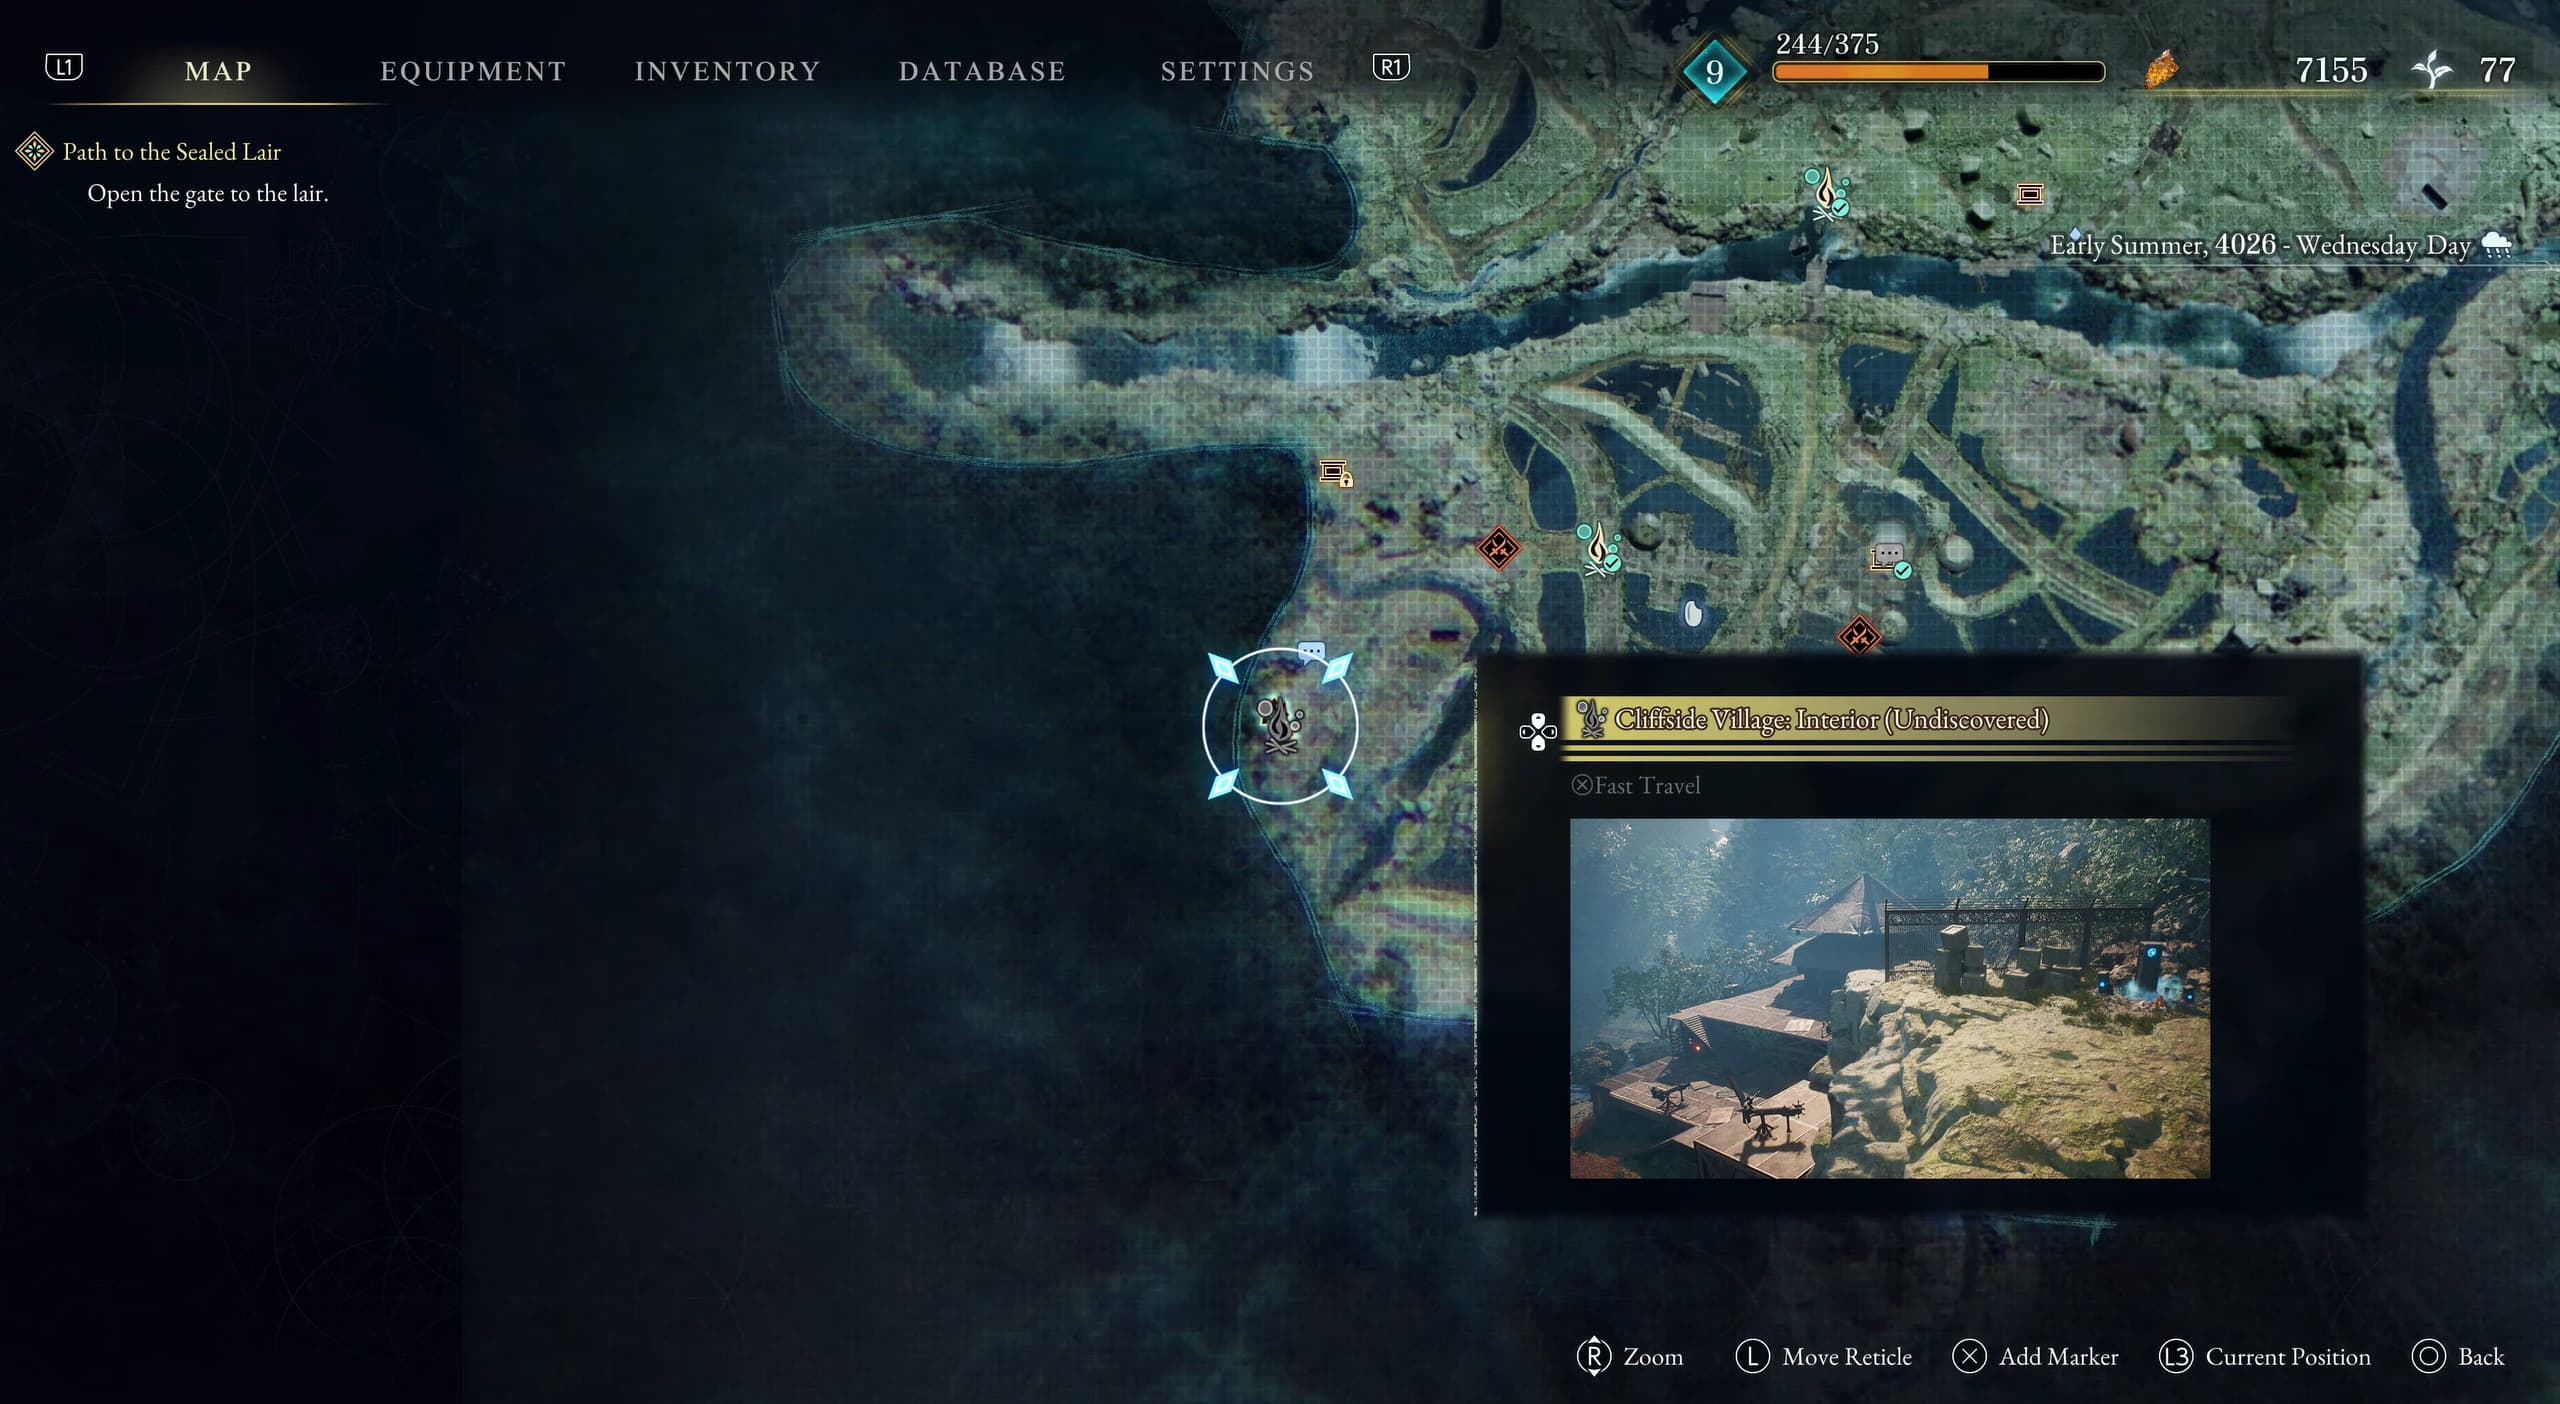
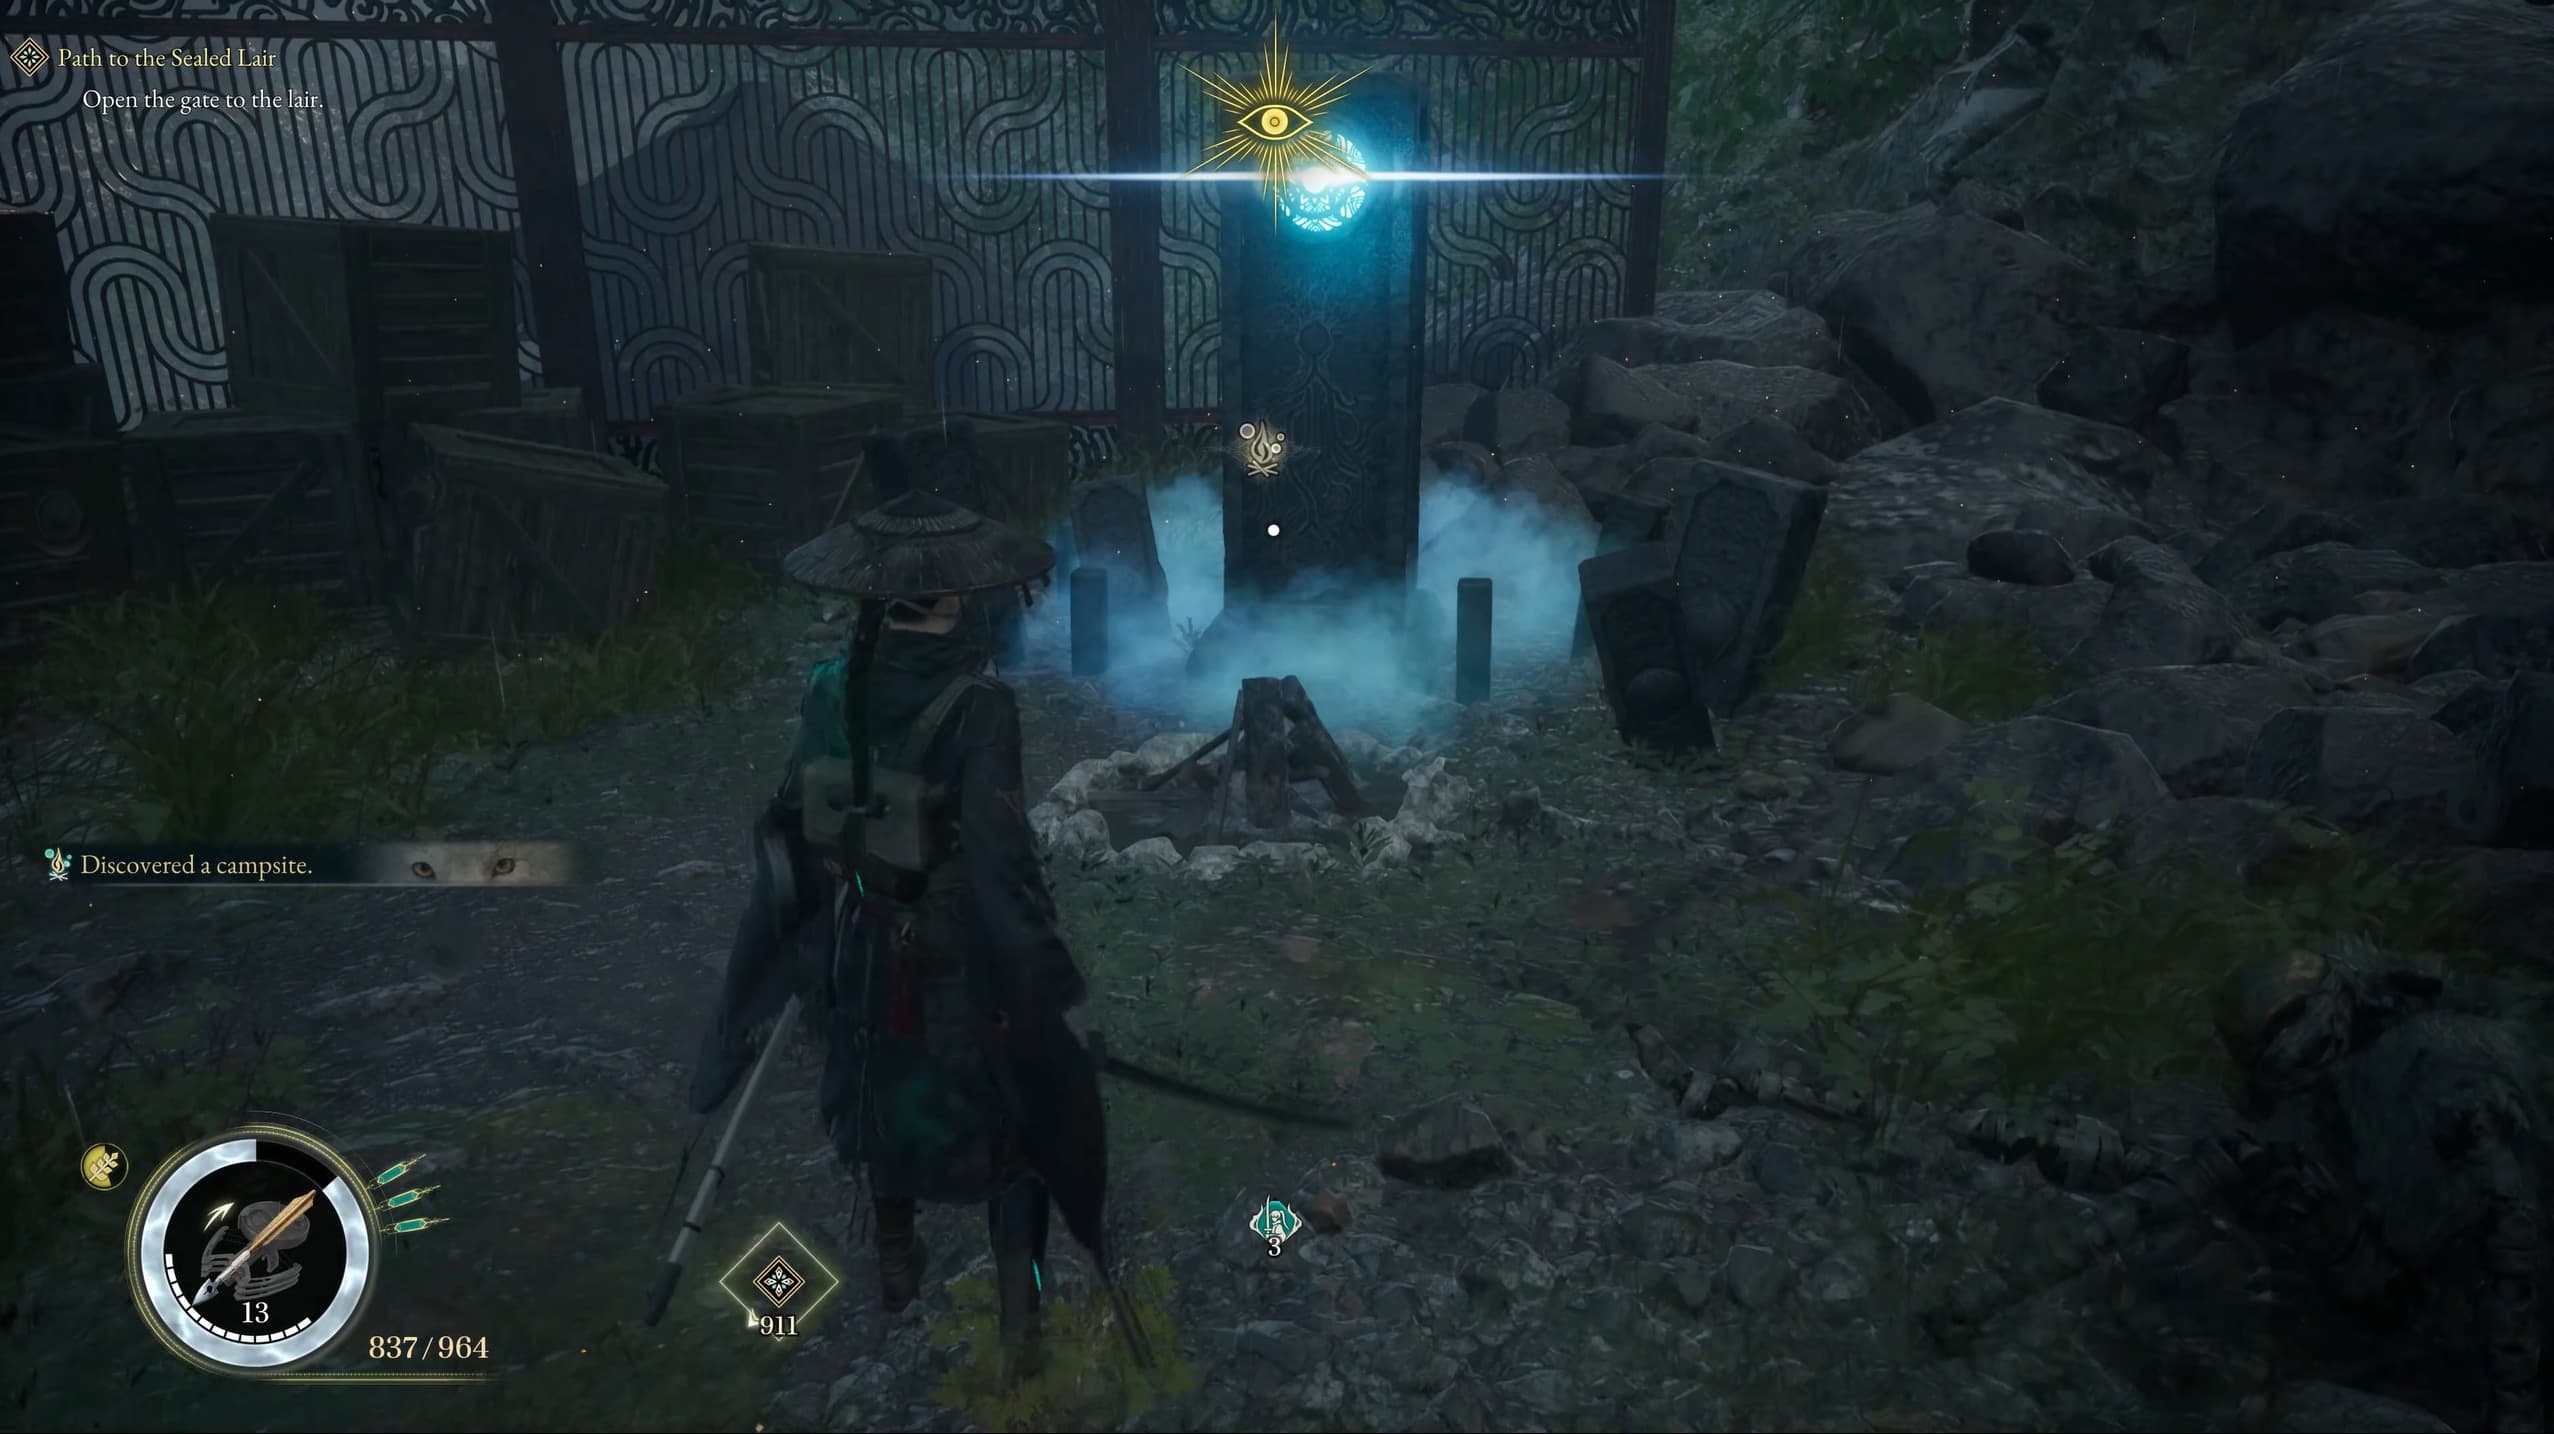
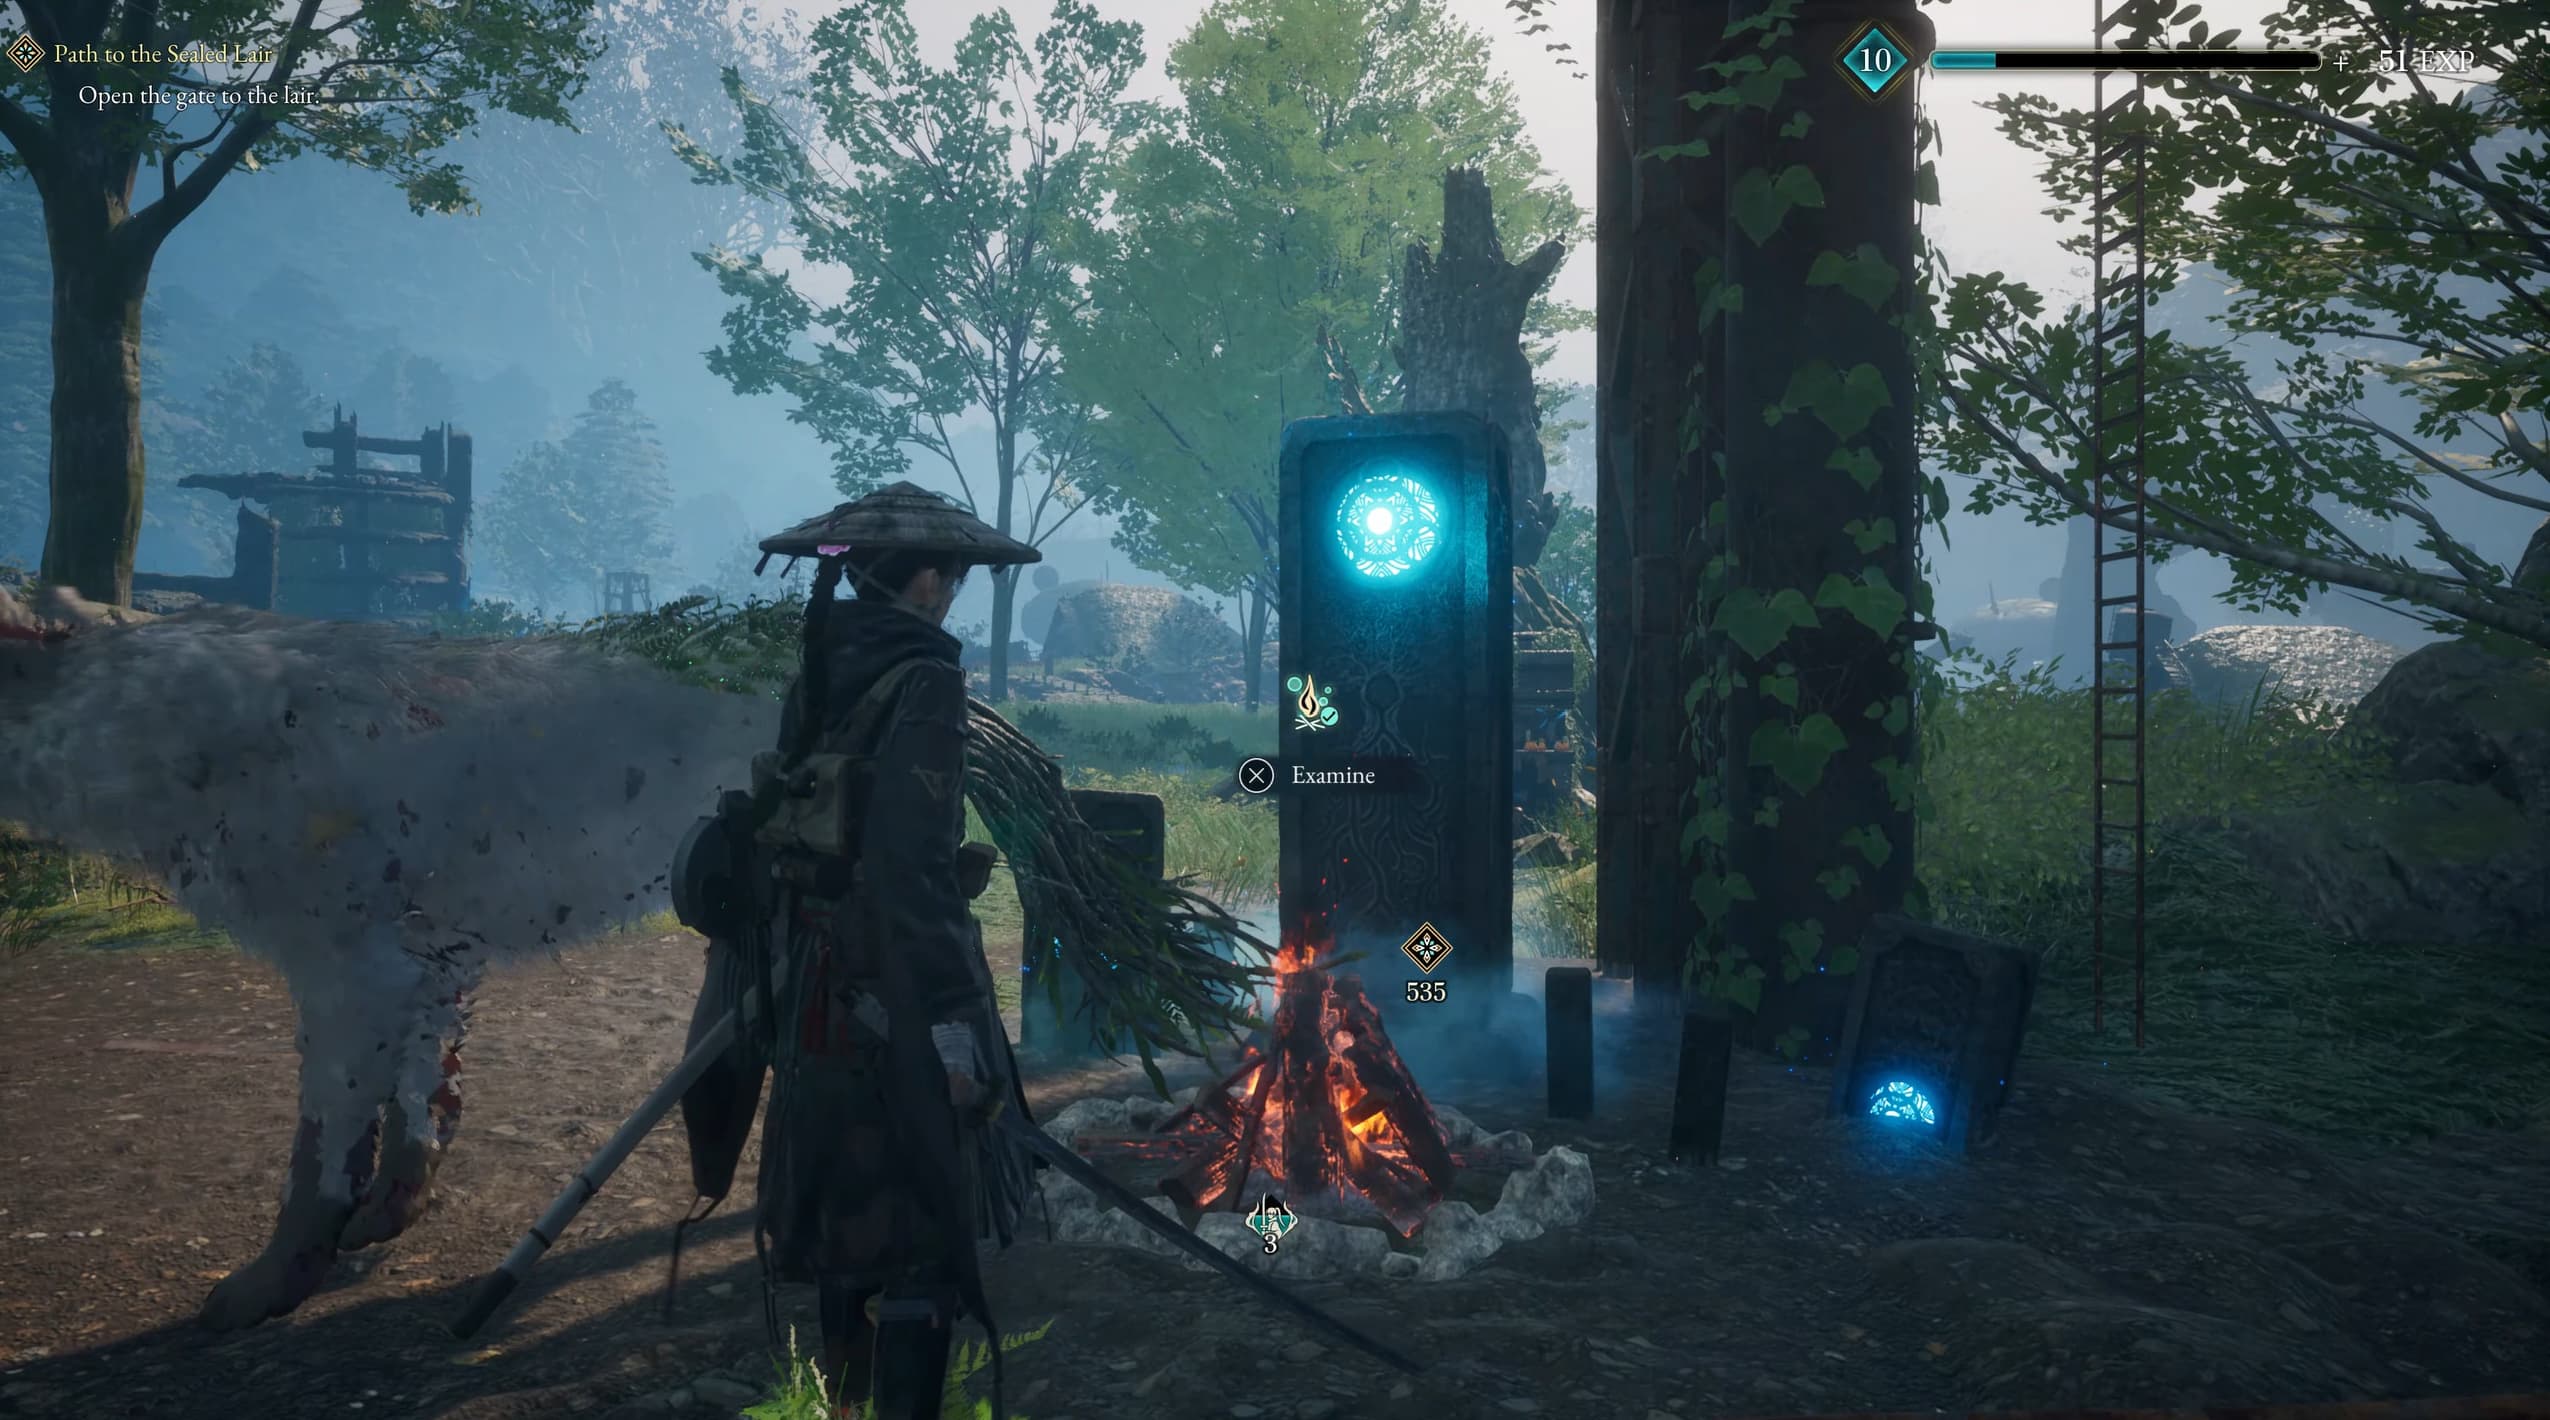
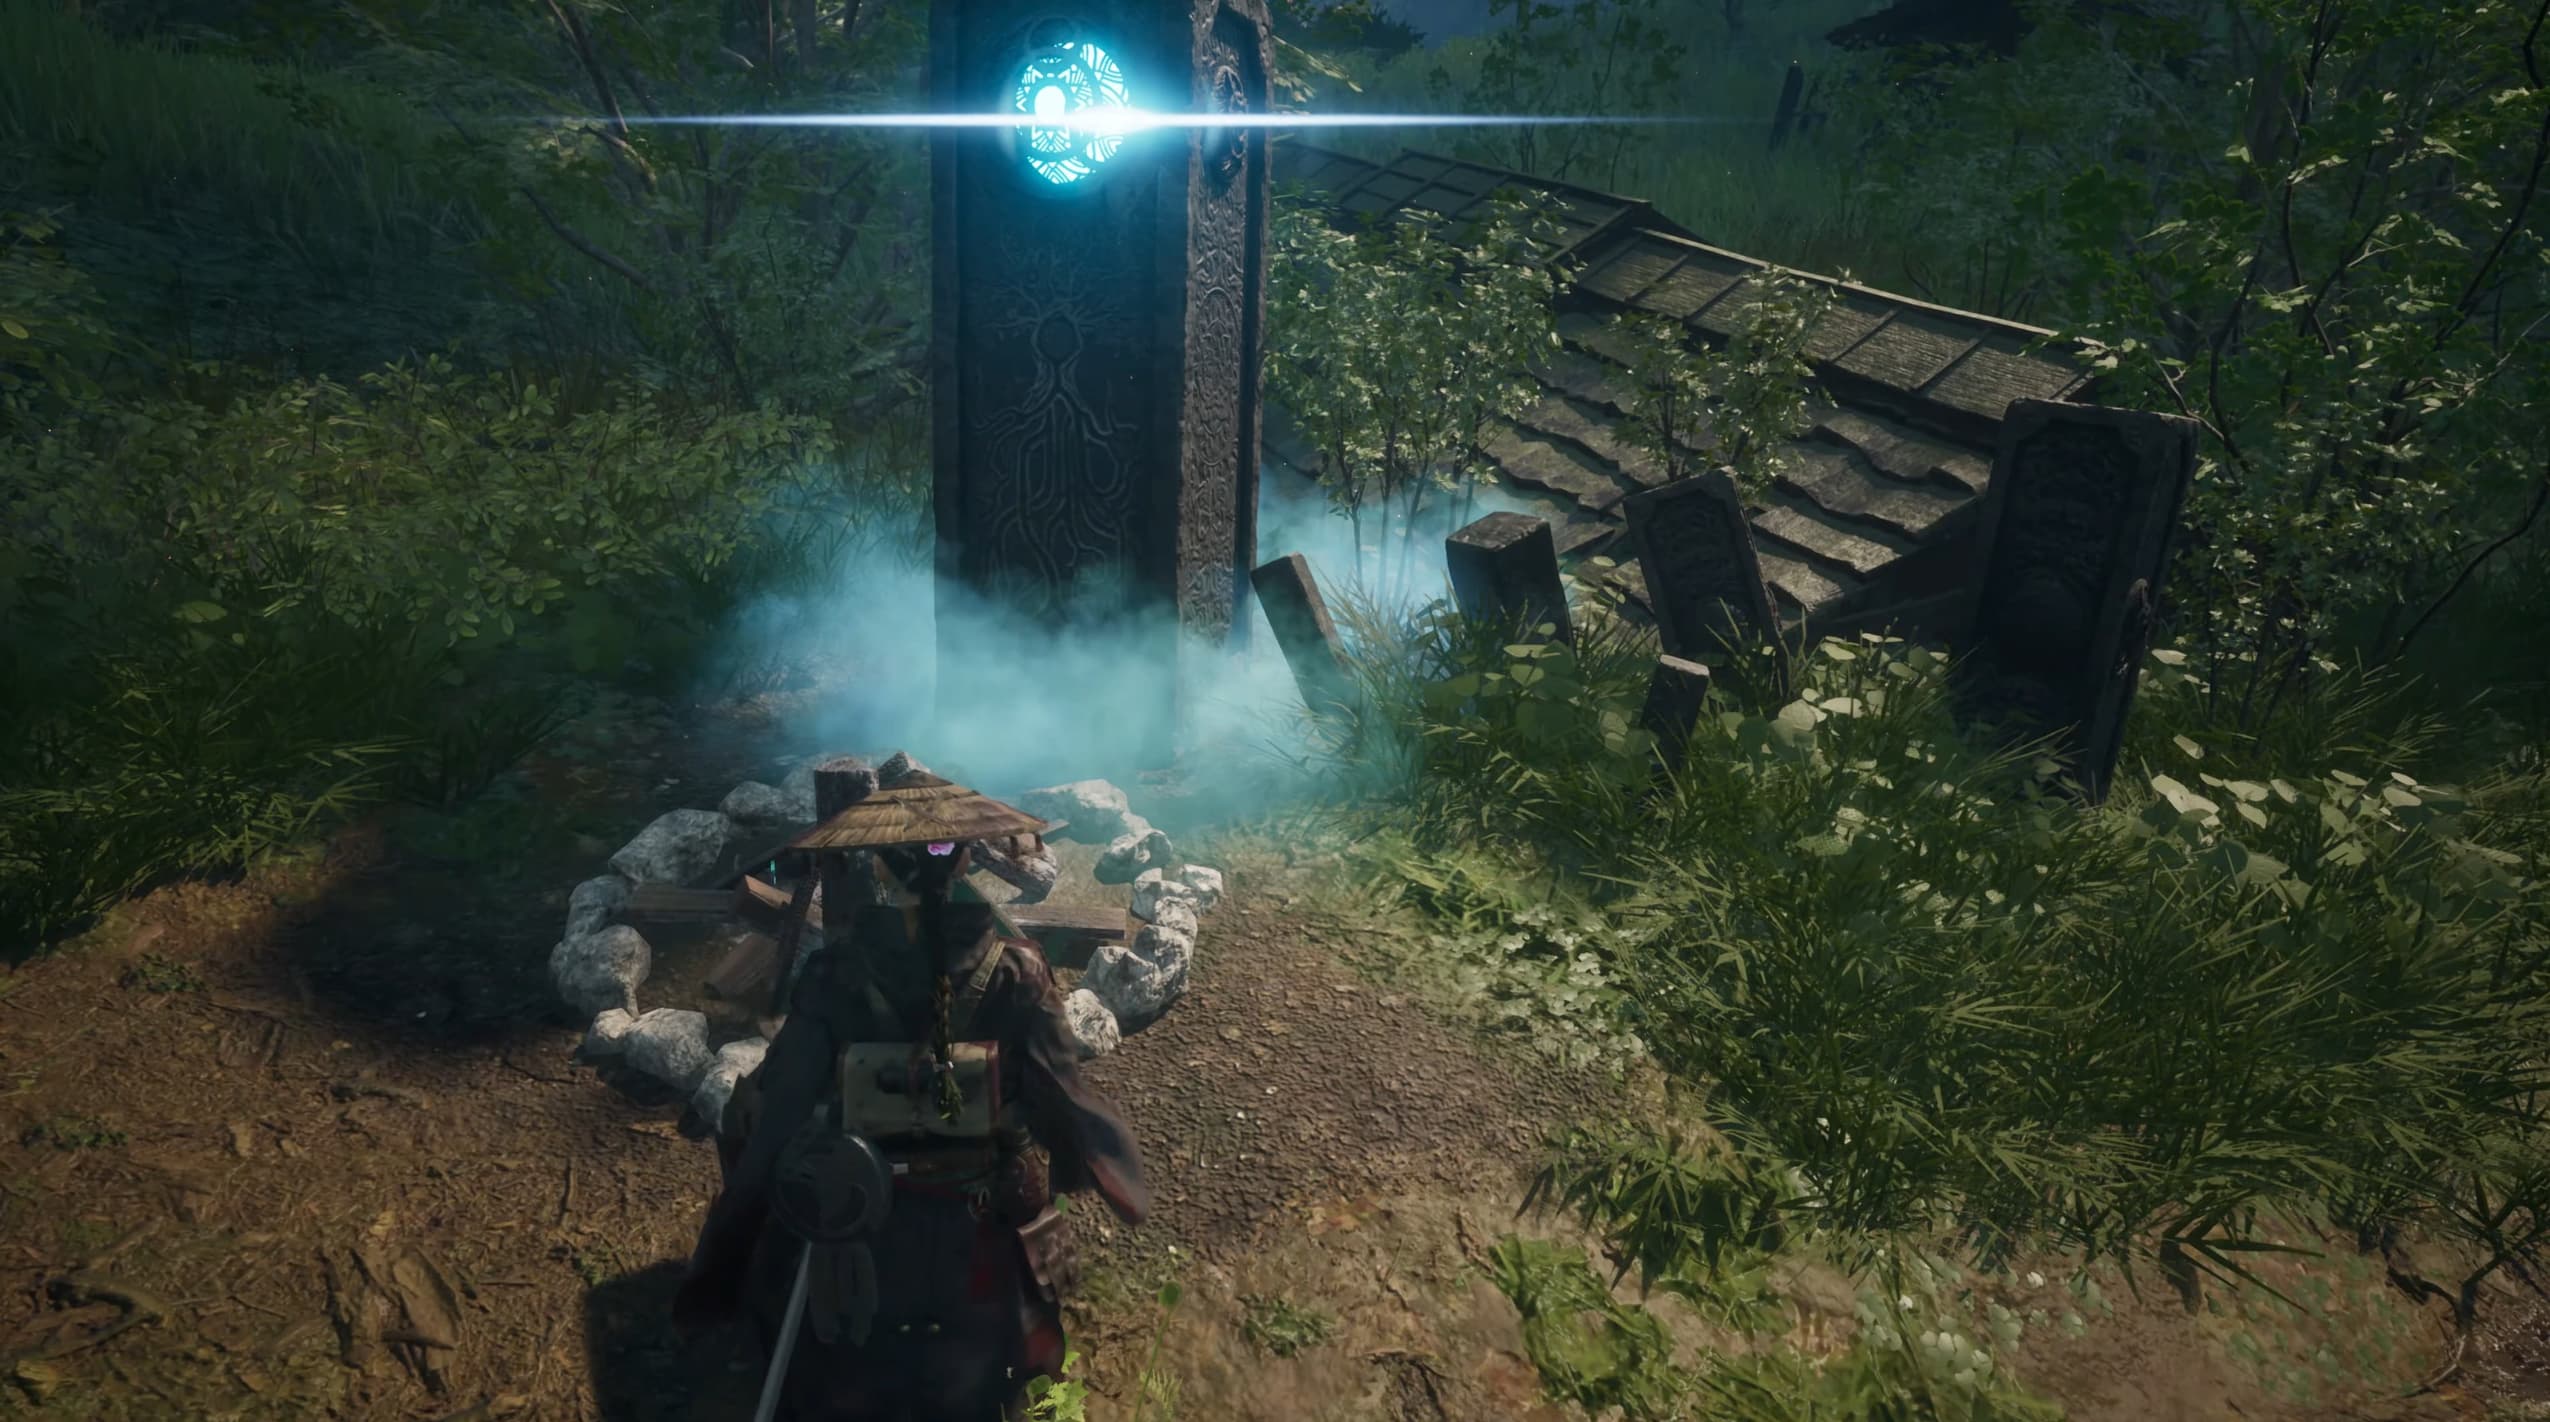
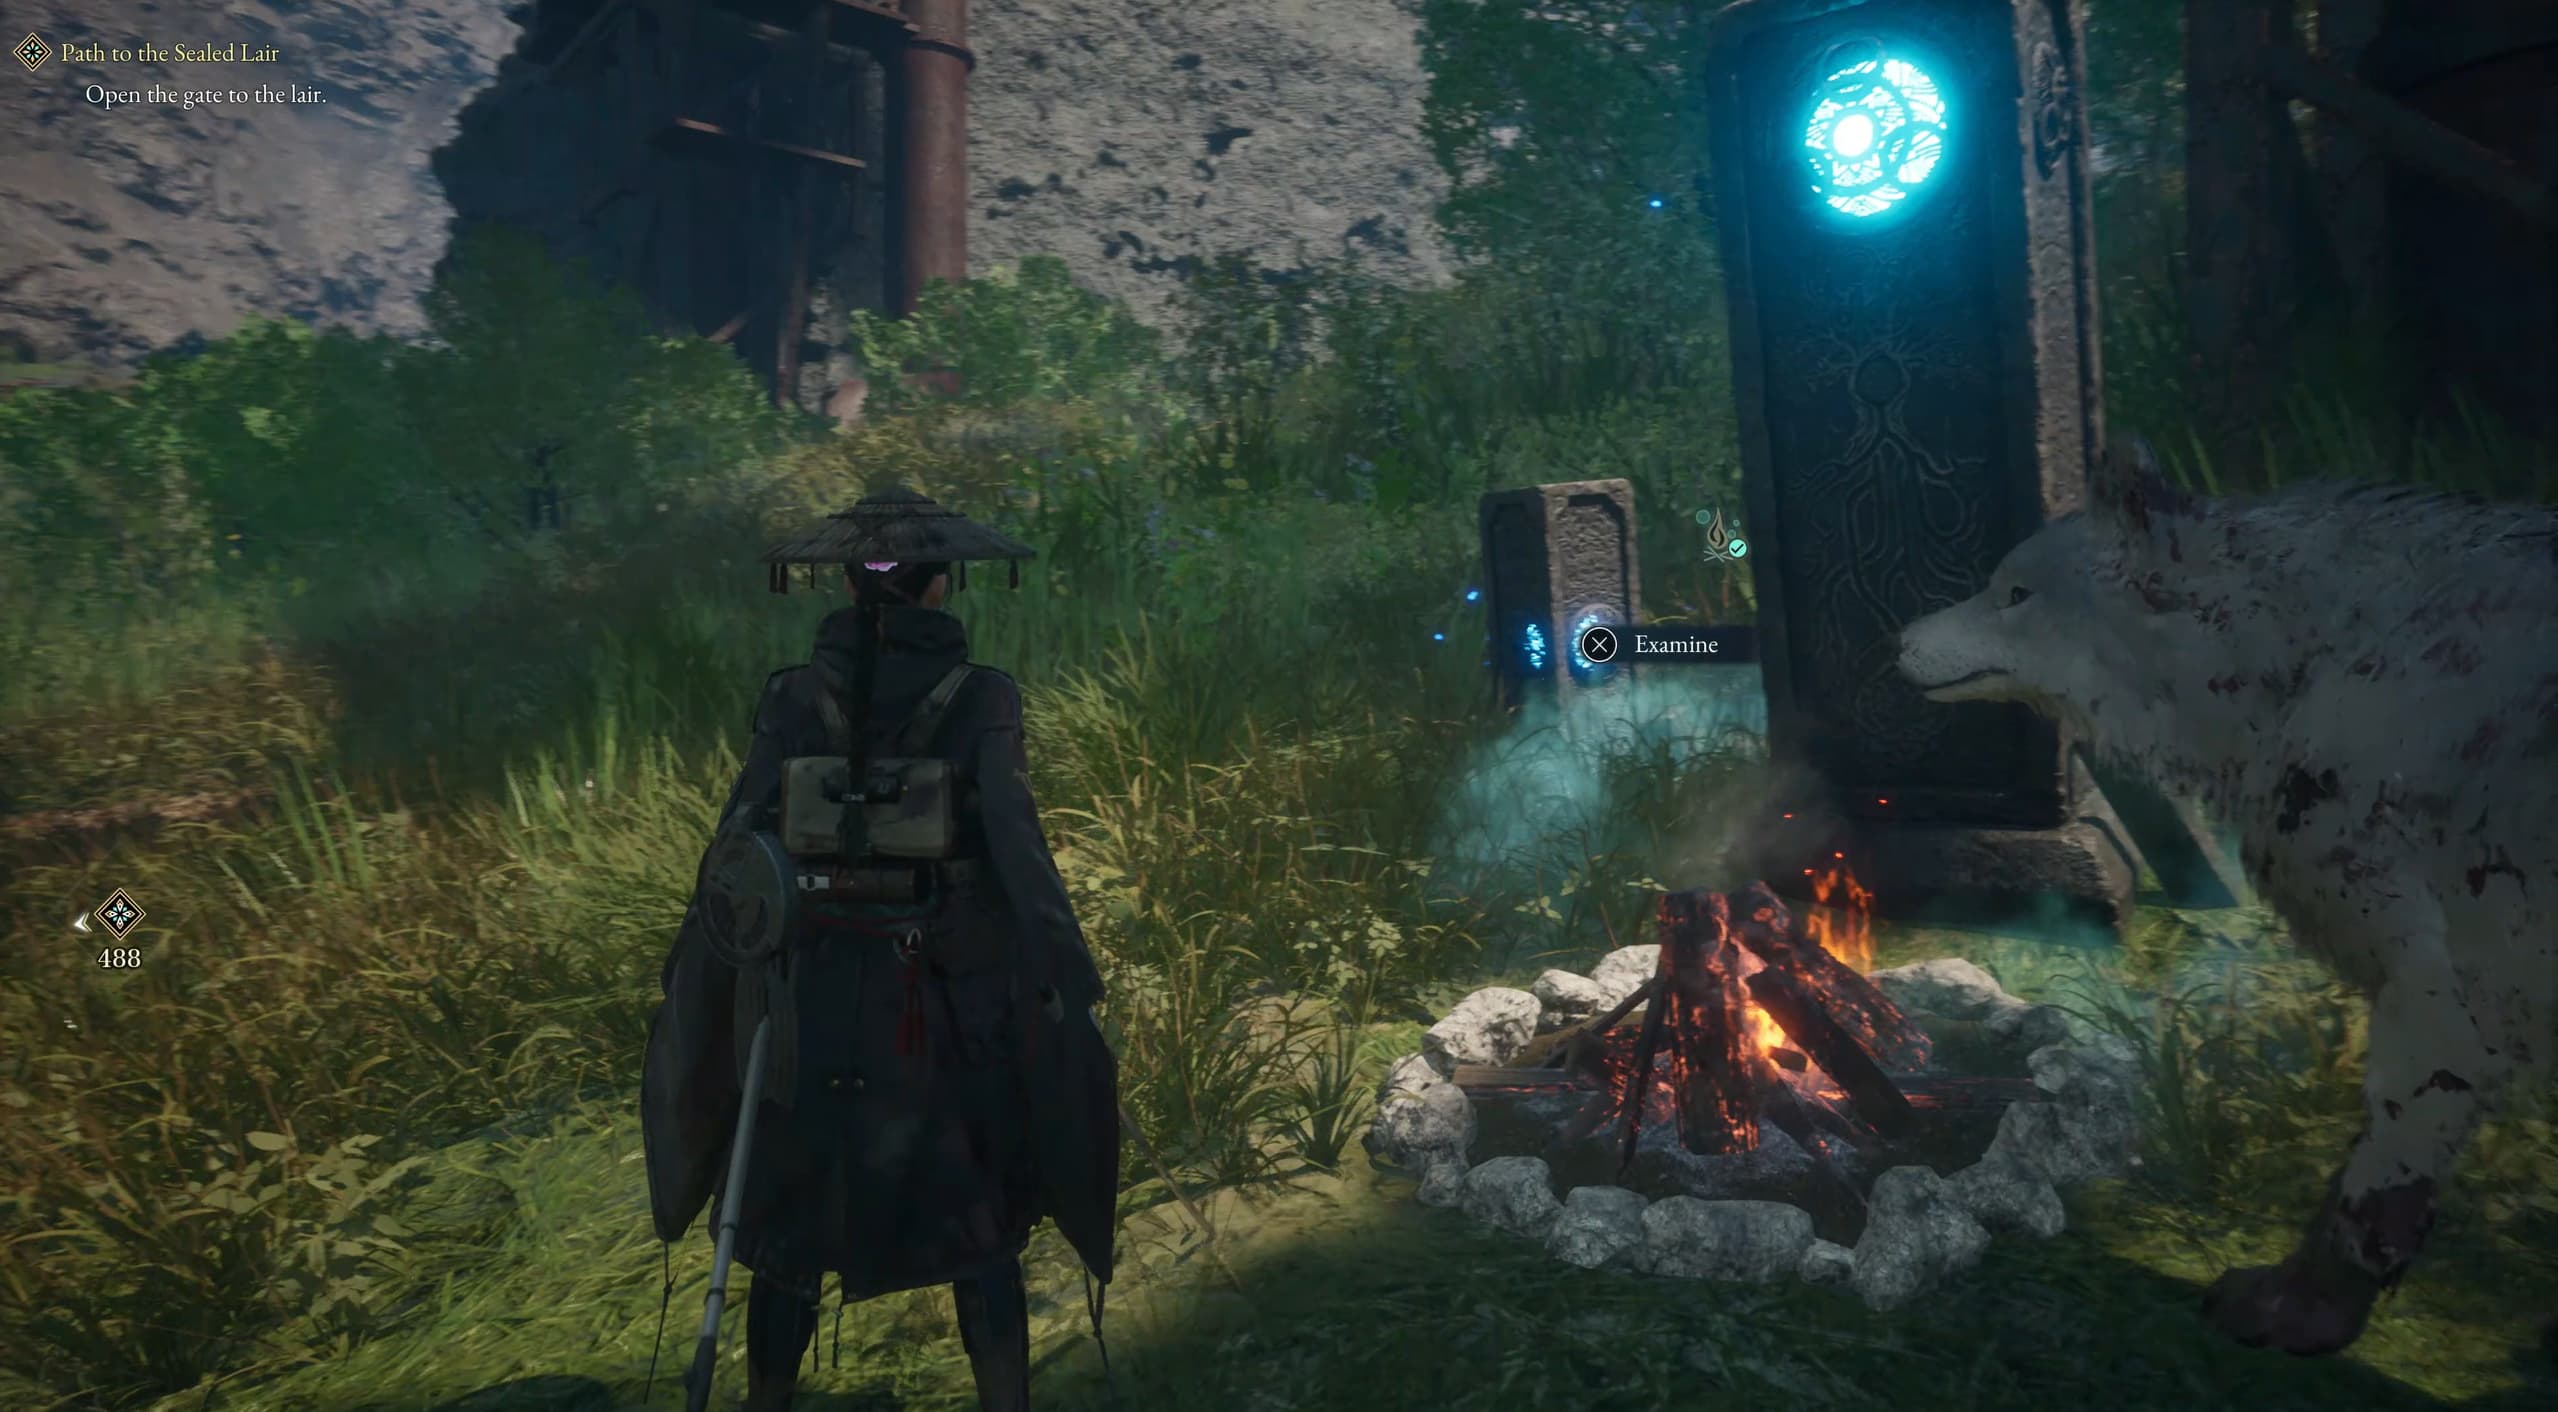
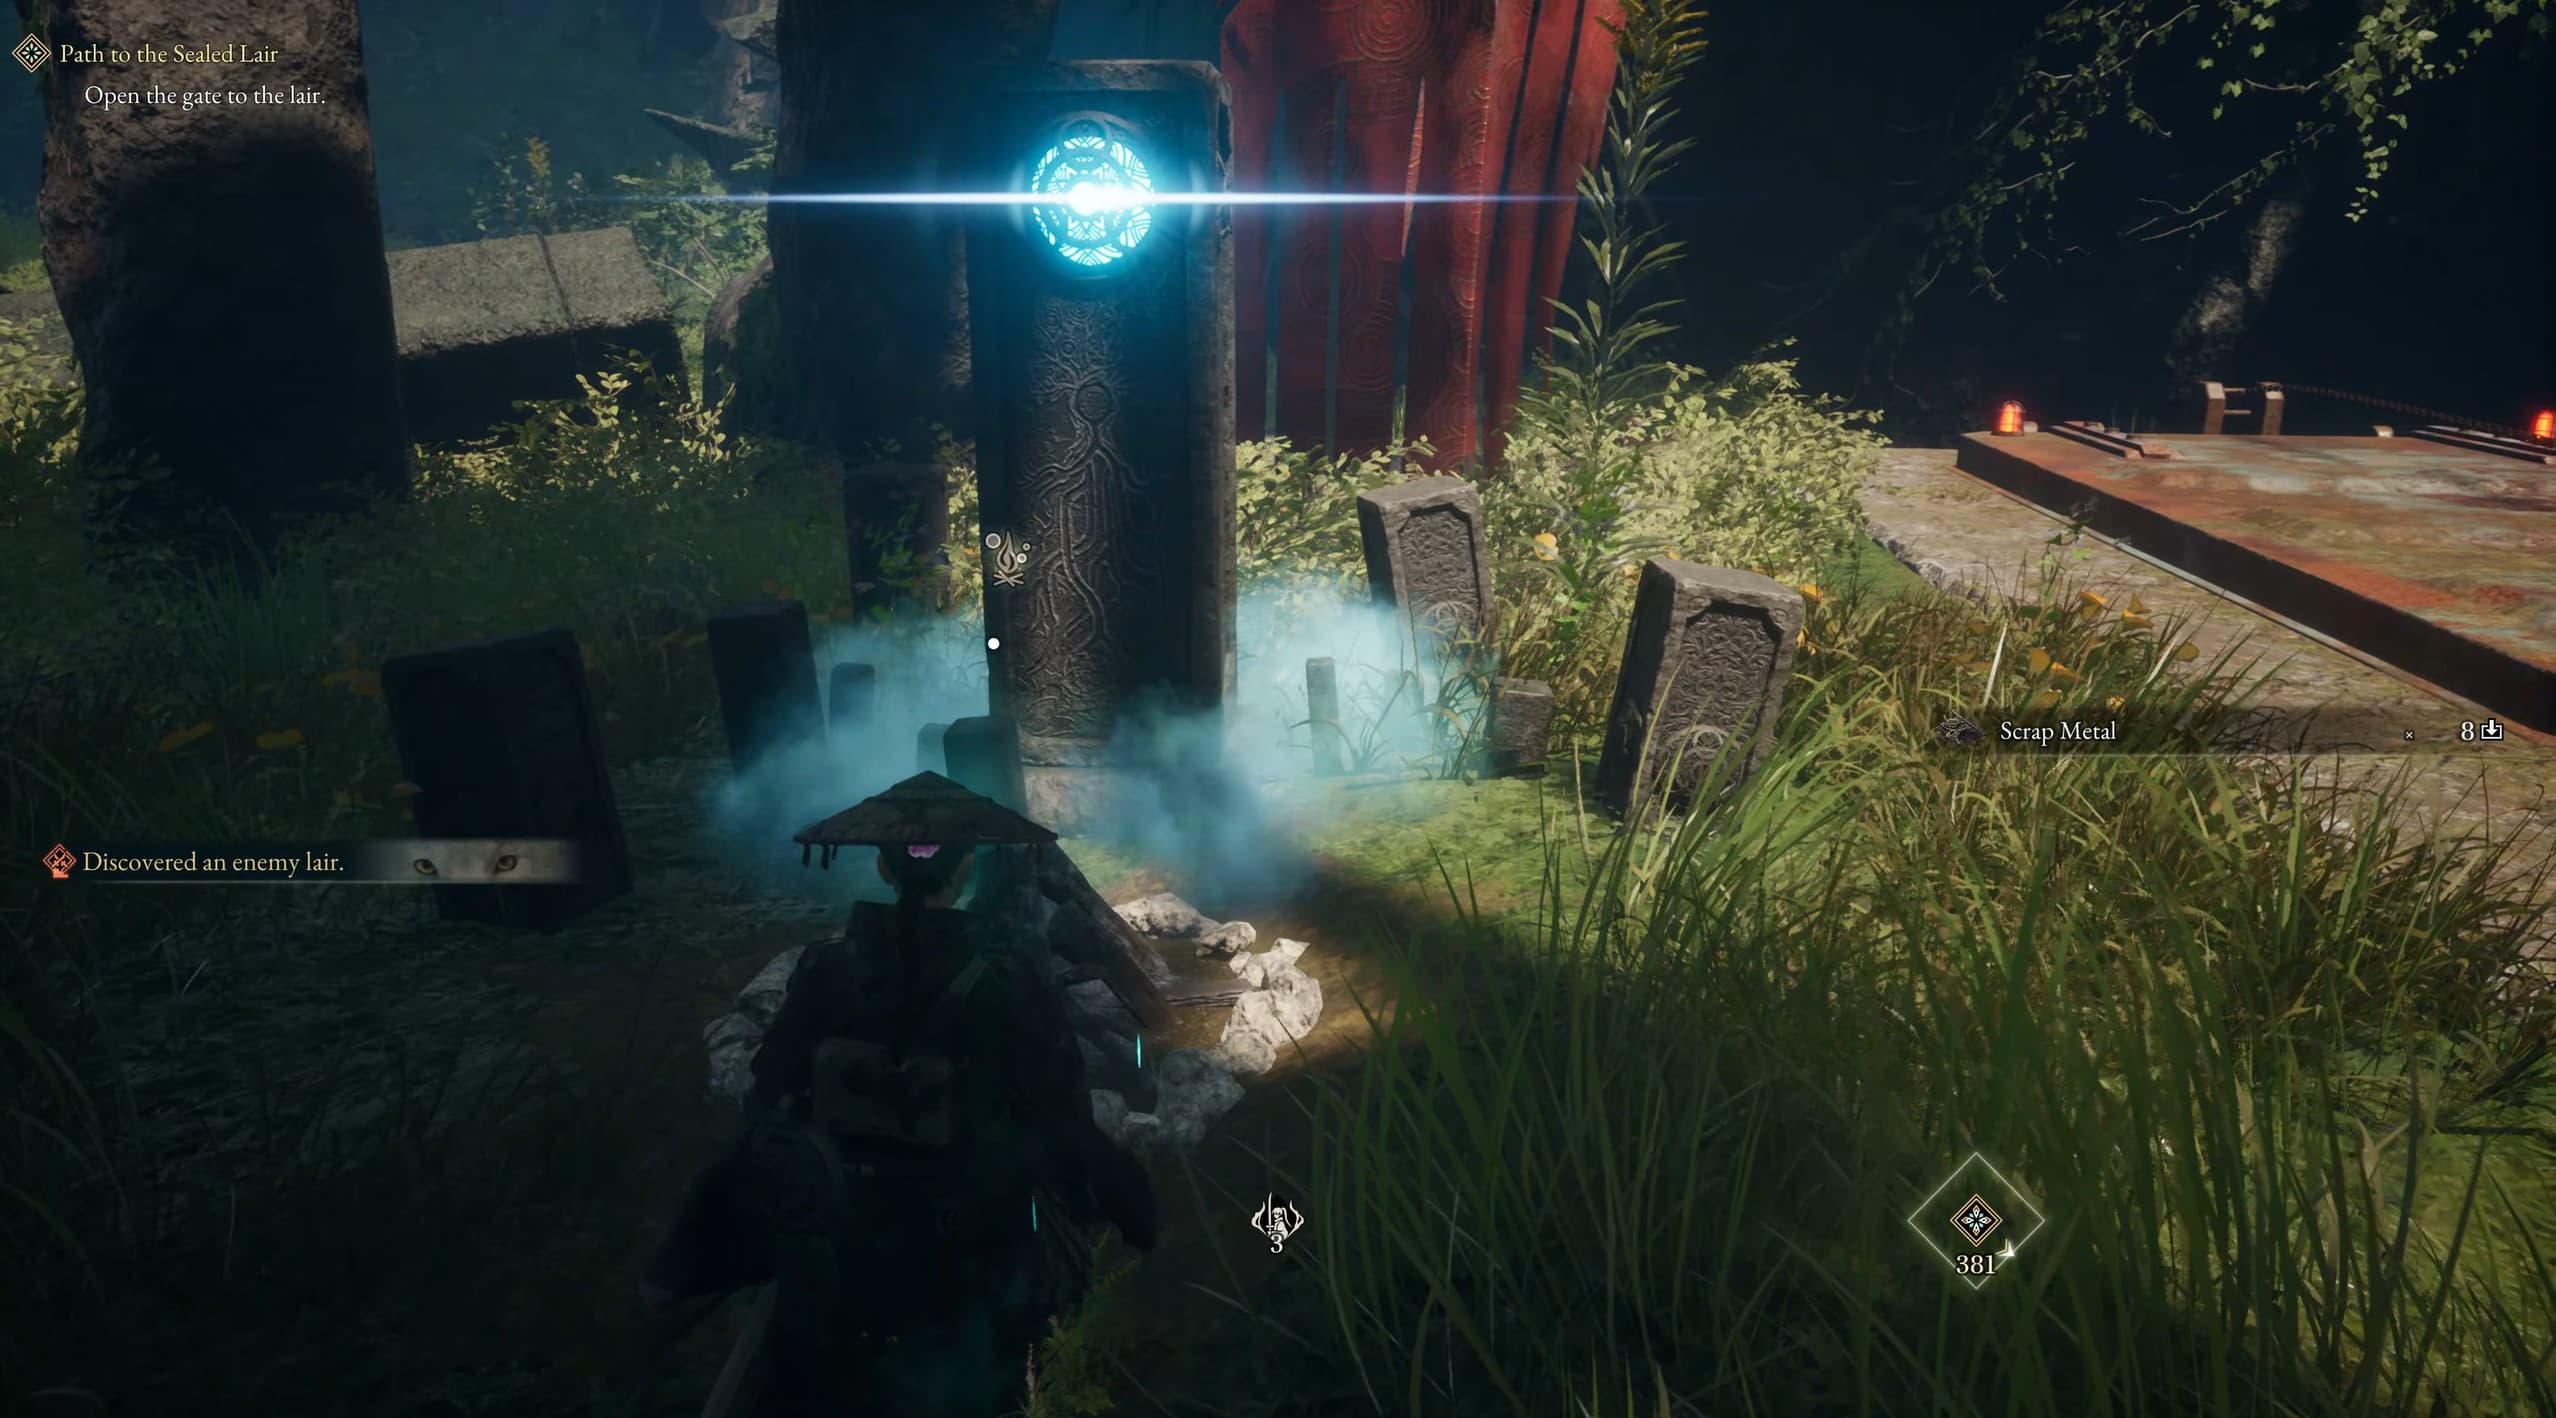
The first campsite is impossible to miss, as soon as we make our way into the area, we use this one.
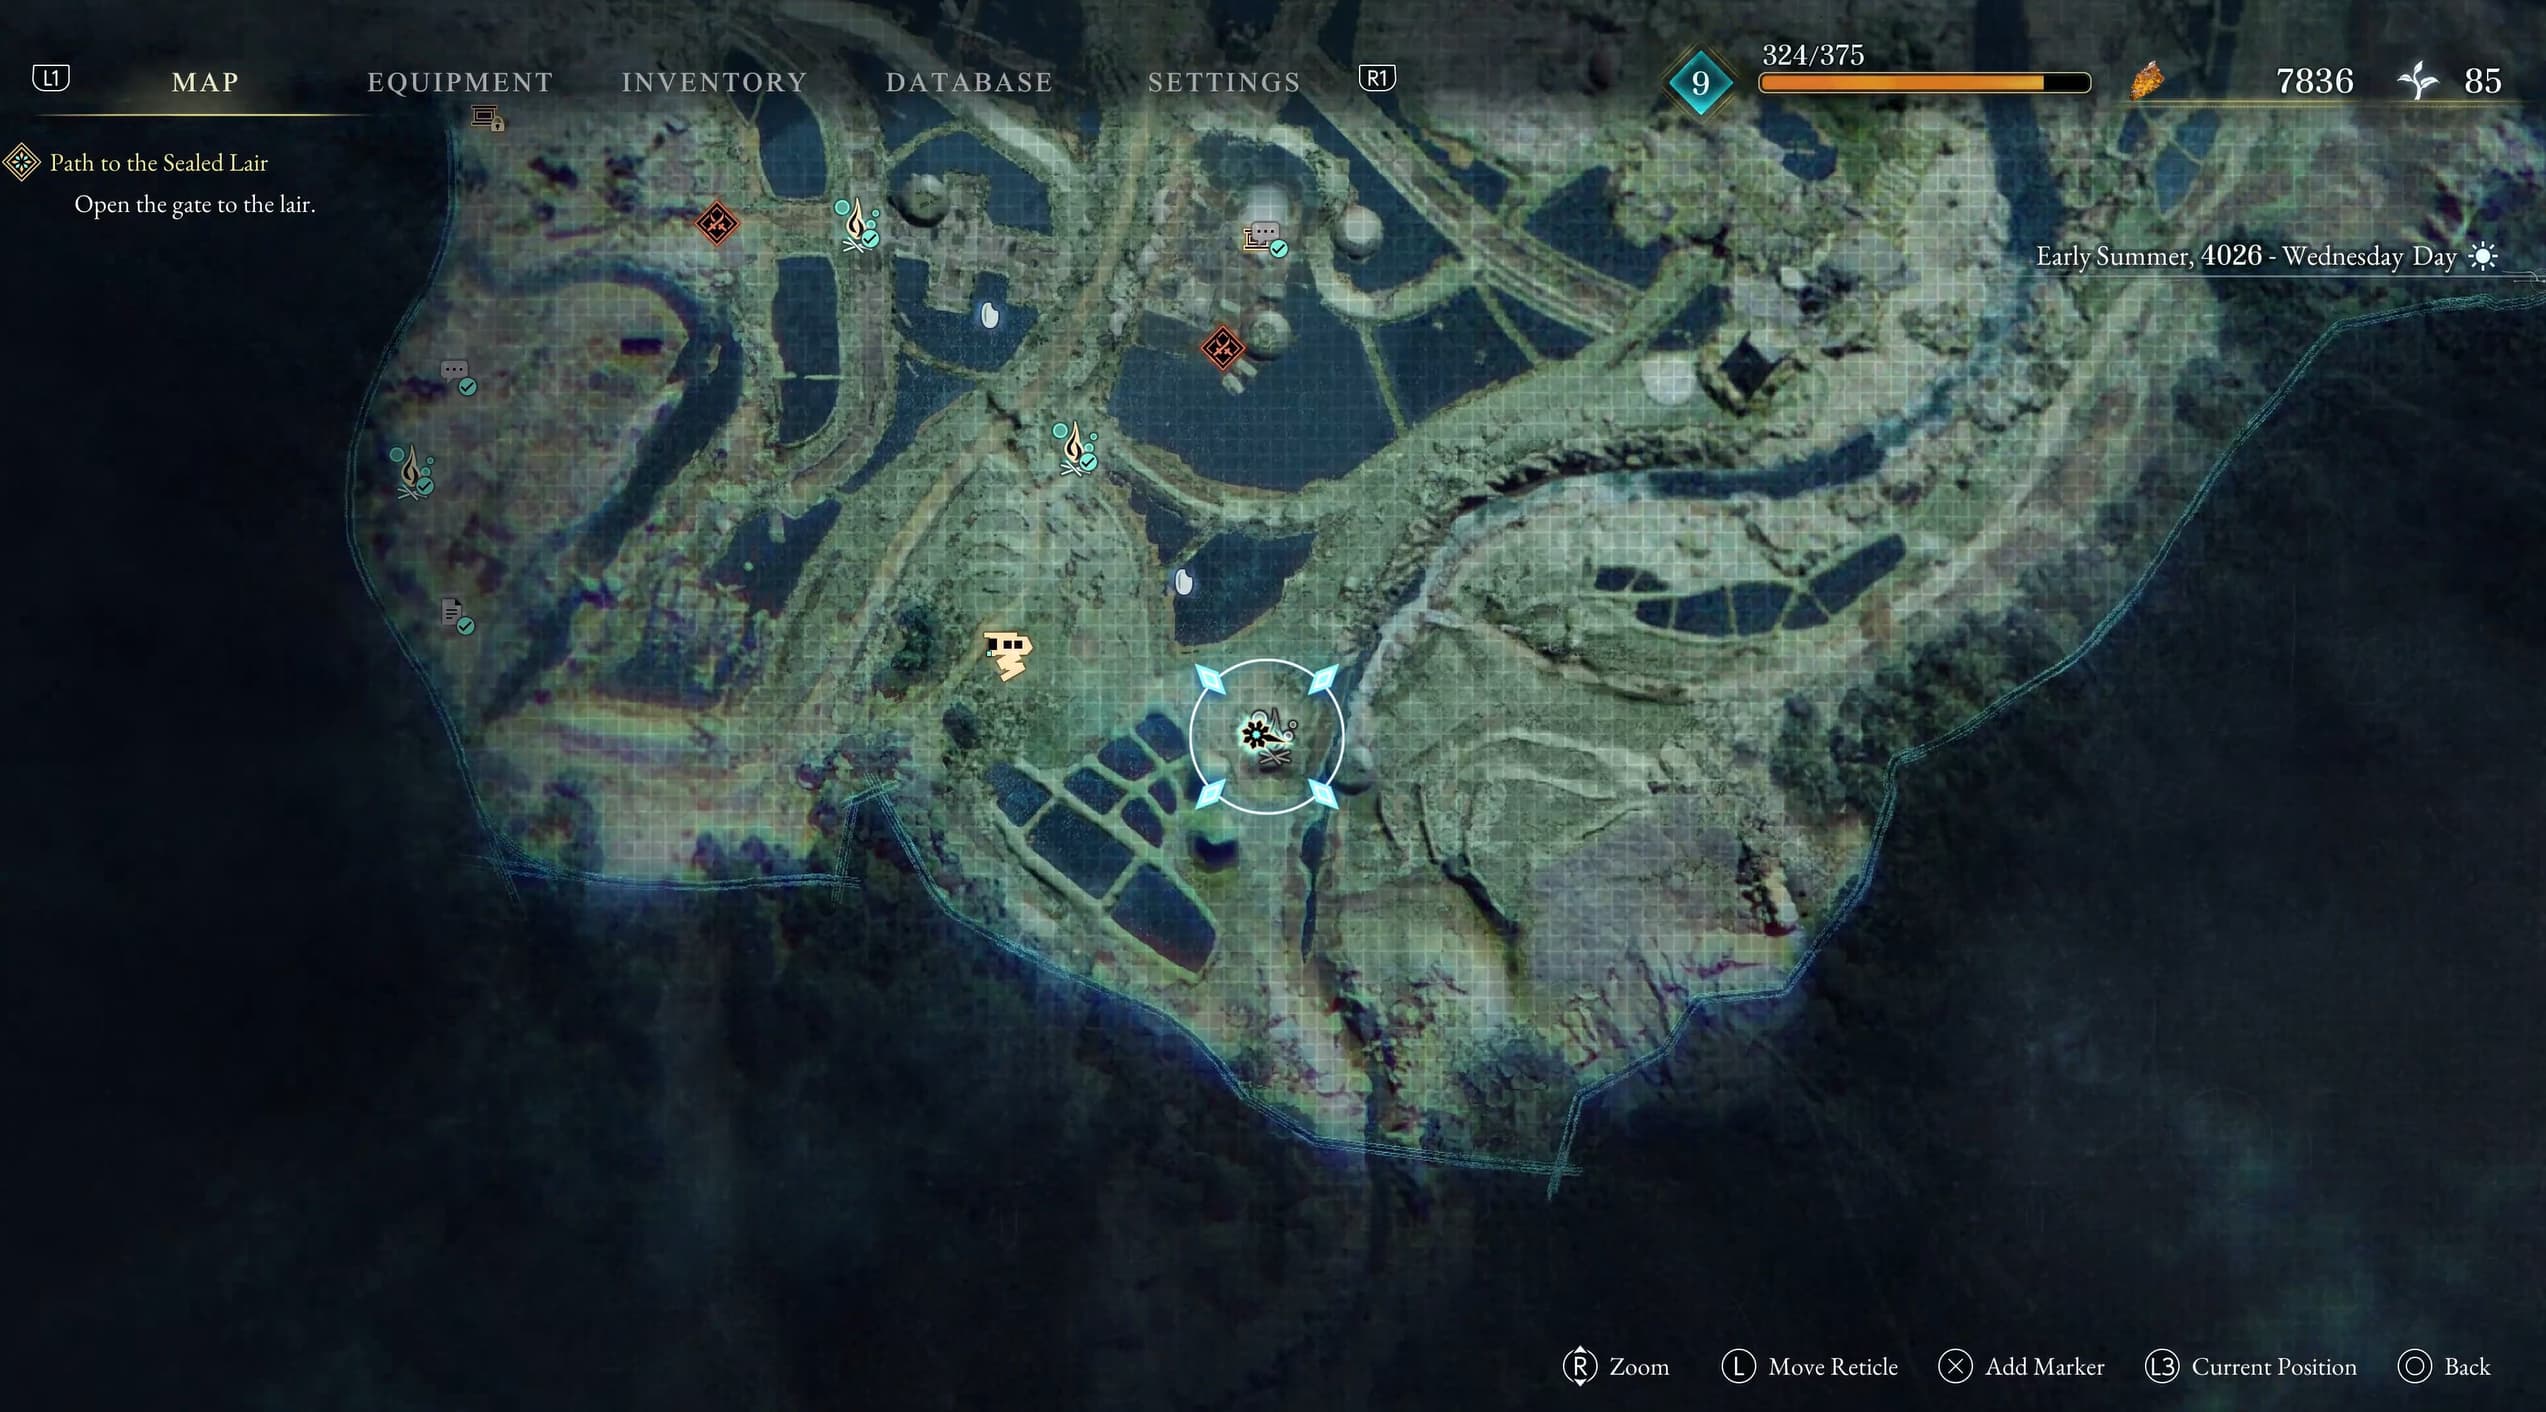
Making our way back on ourselves a little, down and to the east, we will find the next campsite.
Heading north and to the west a little, the next campsite will be located under the industrial, gridded area, you will have to drop down to access this campsite.
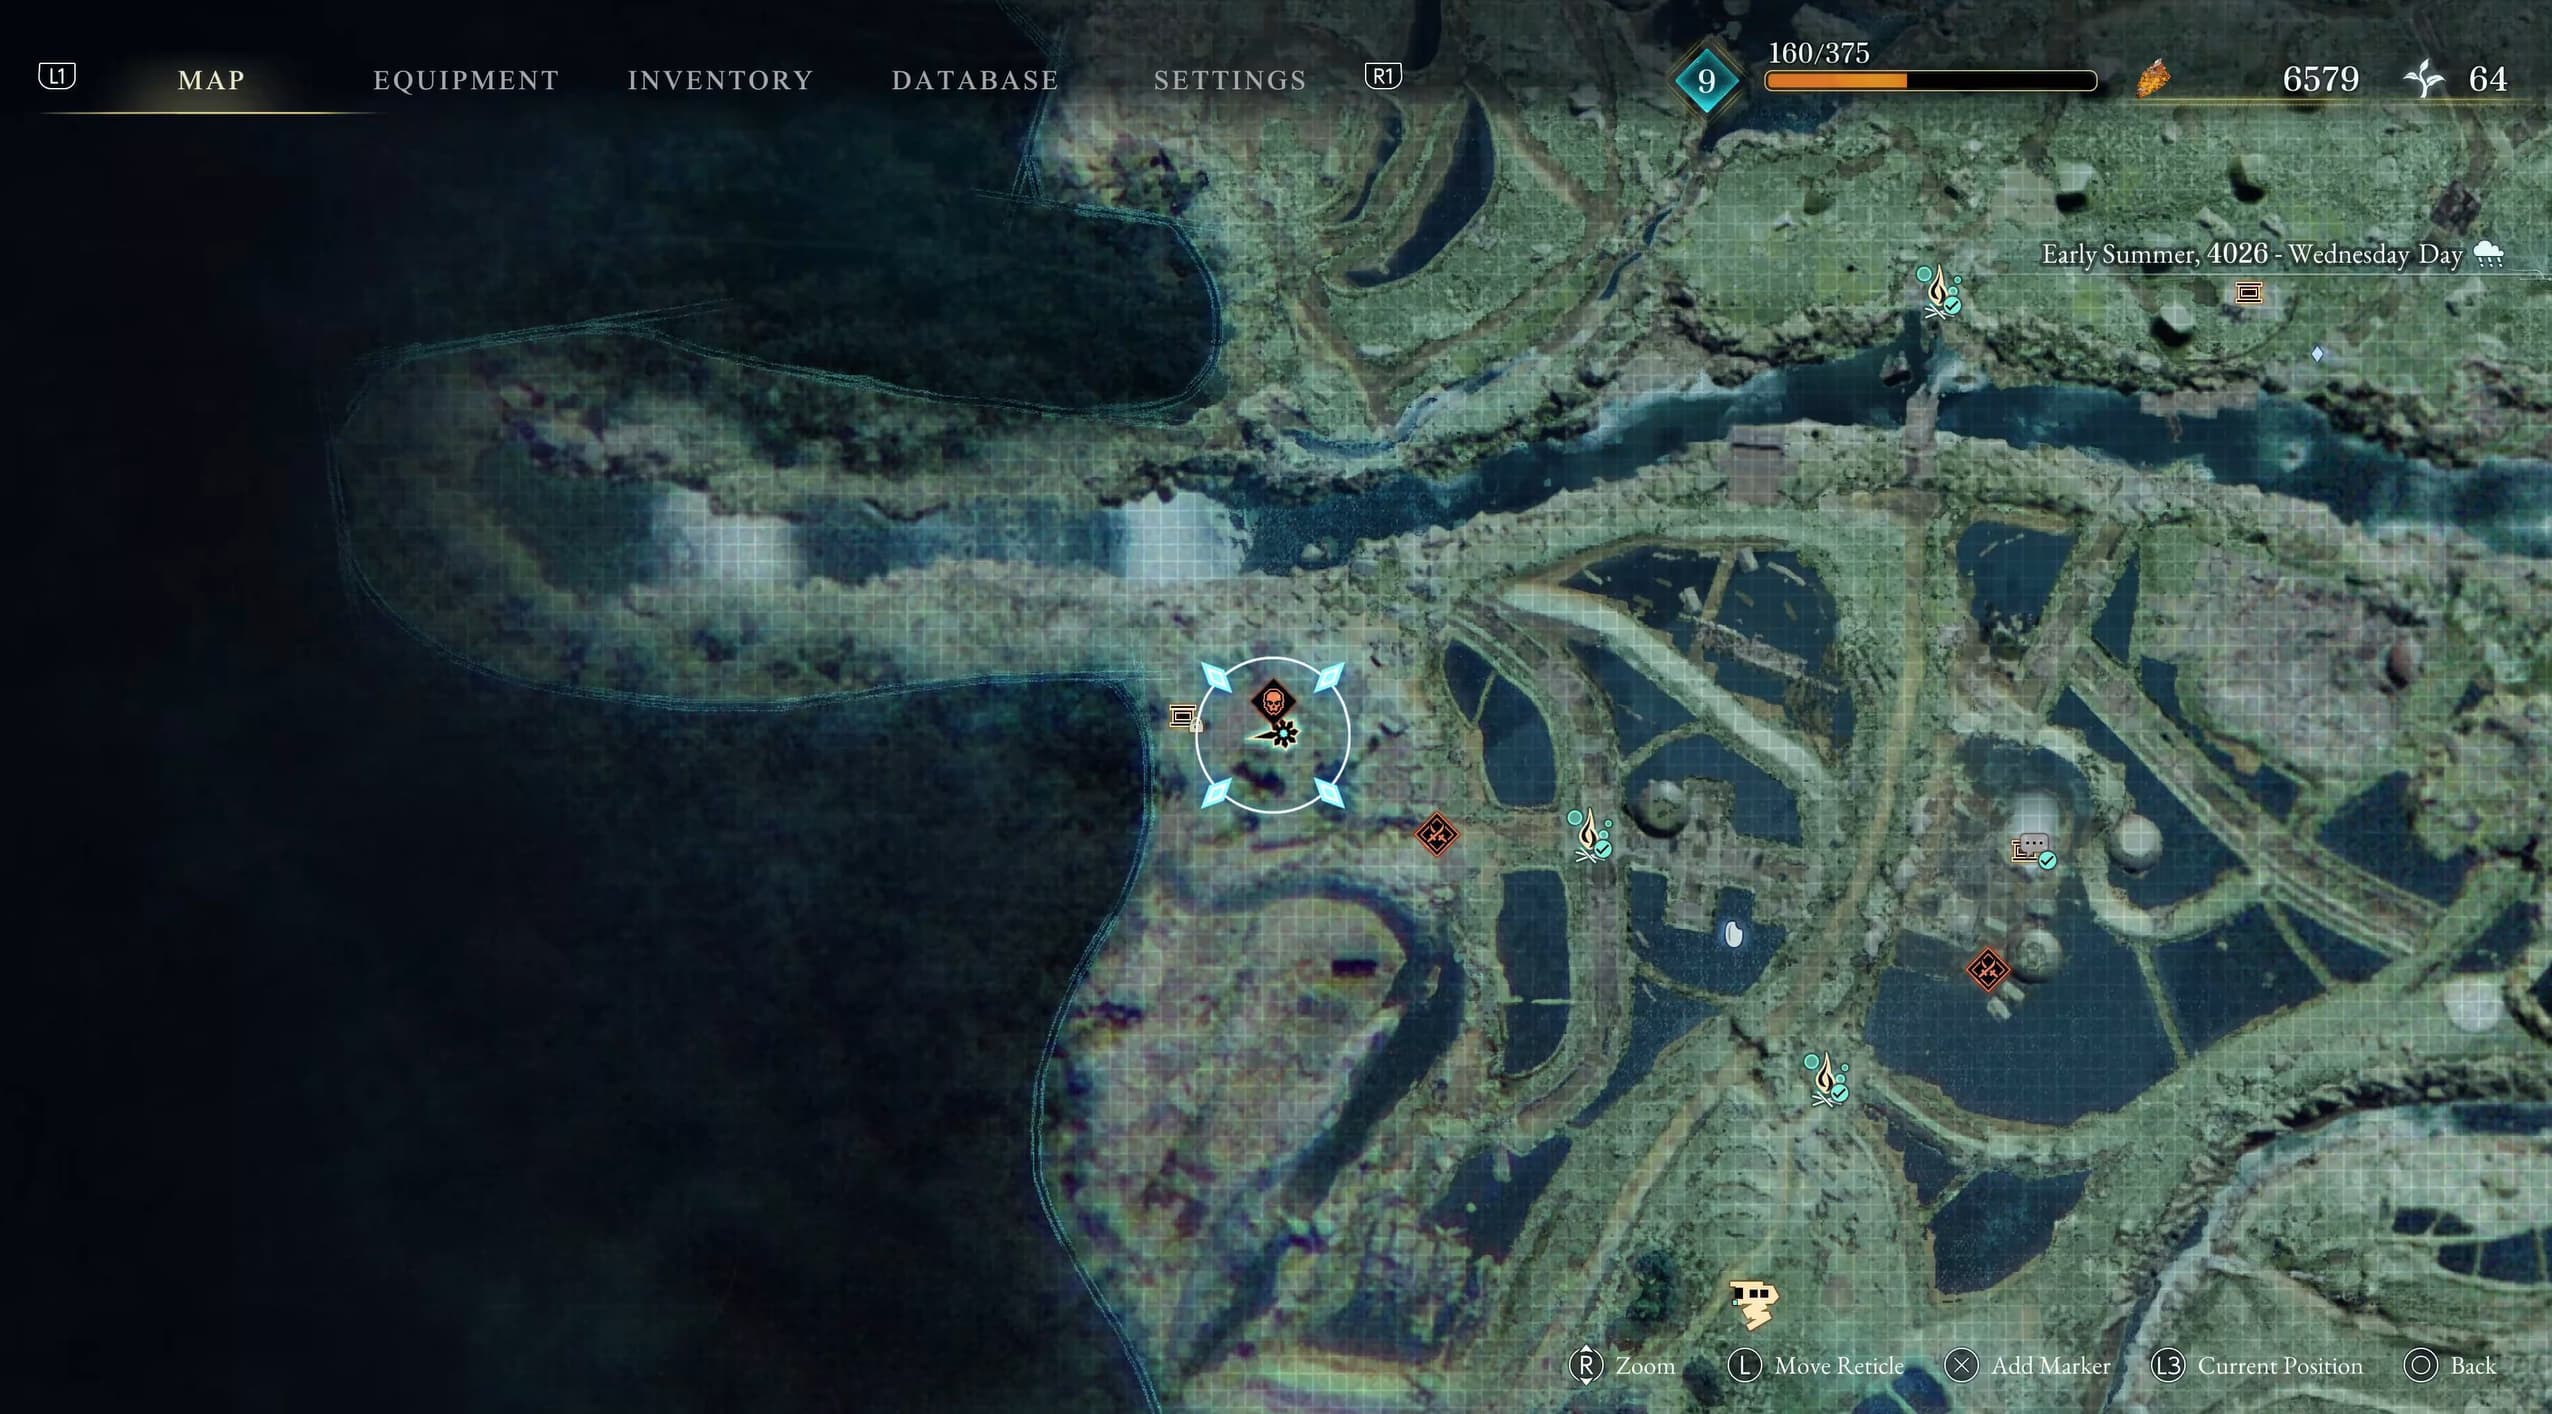
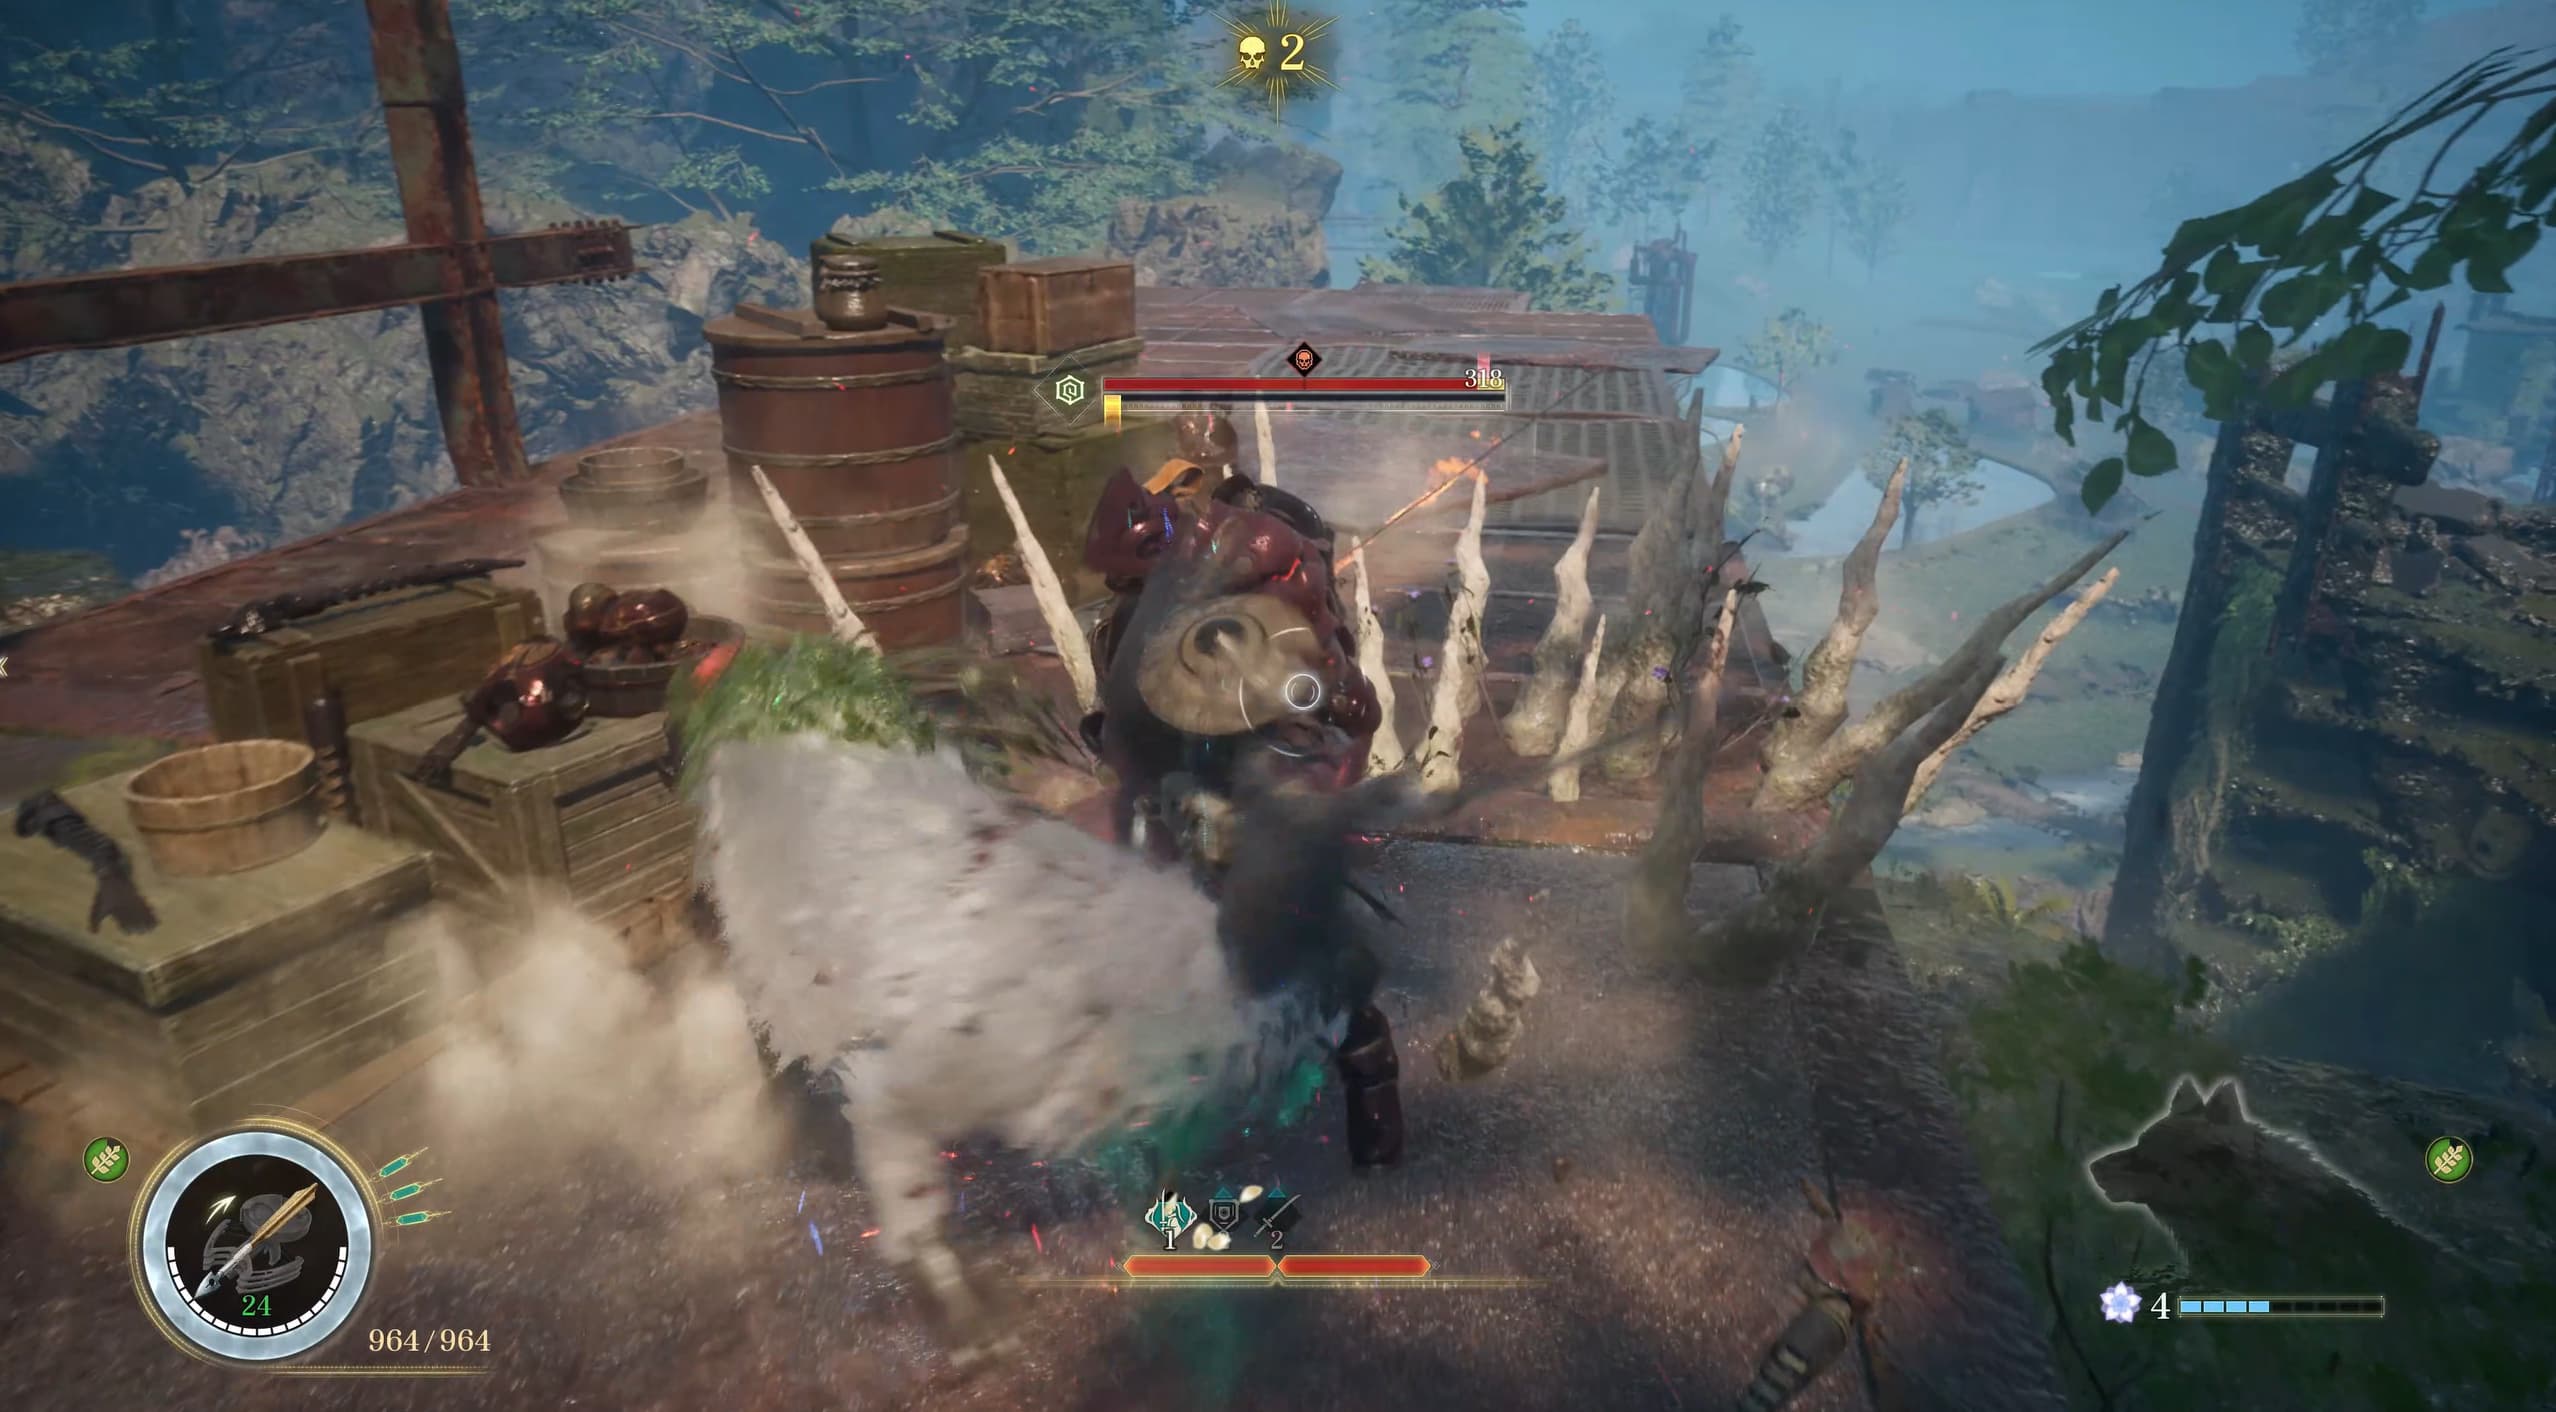
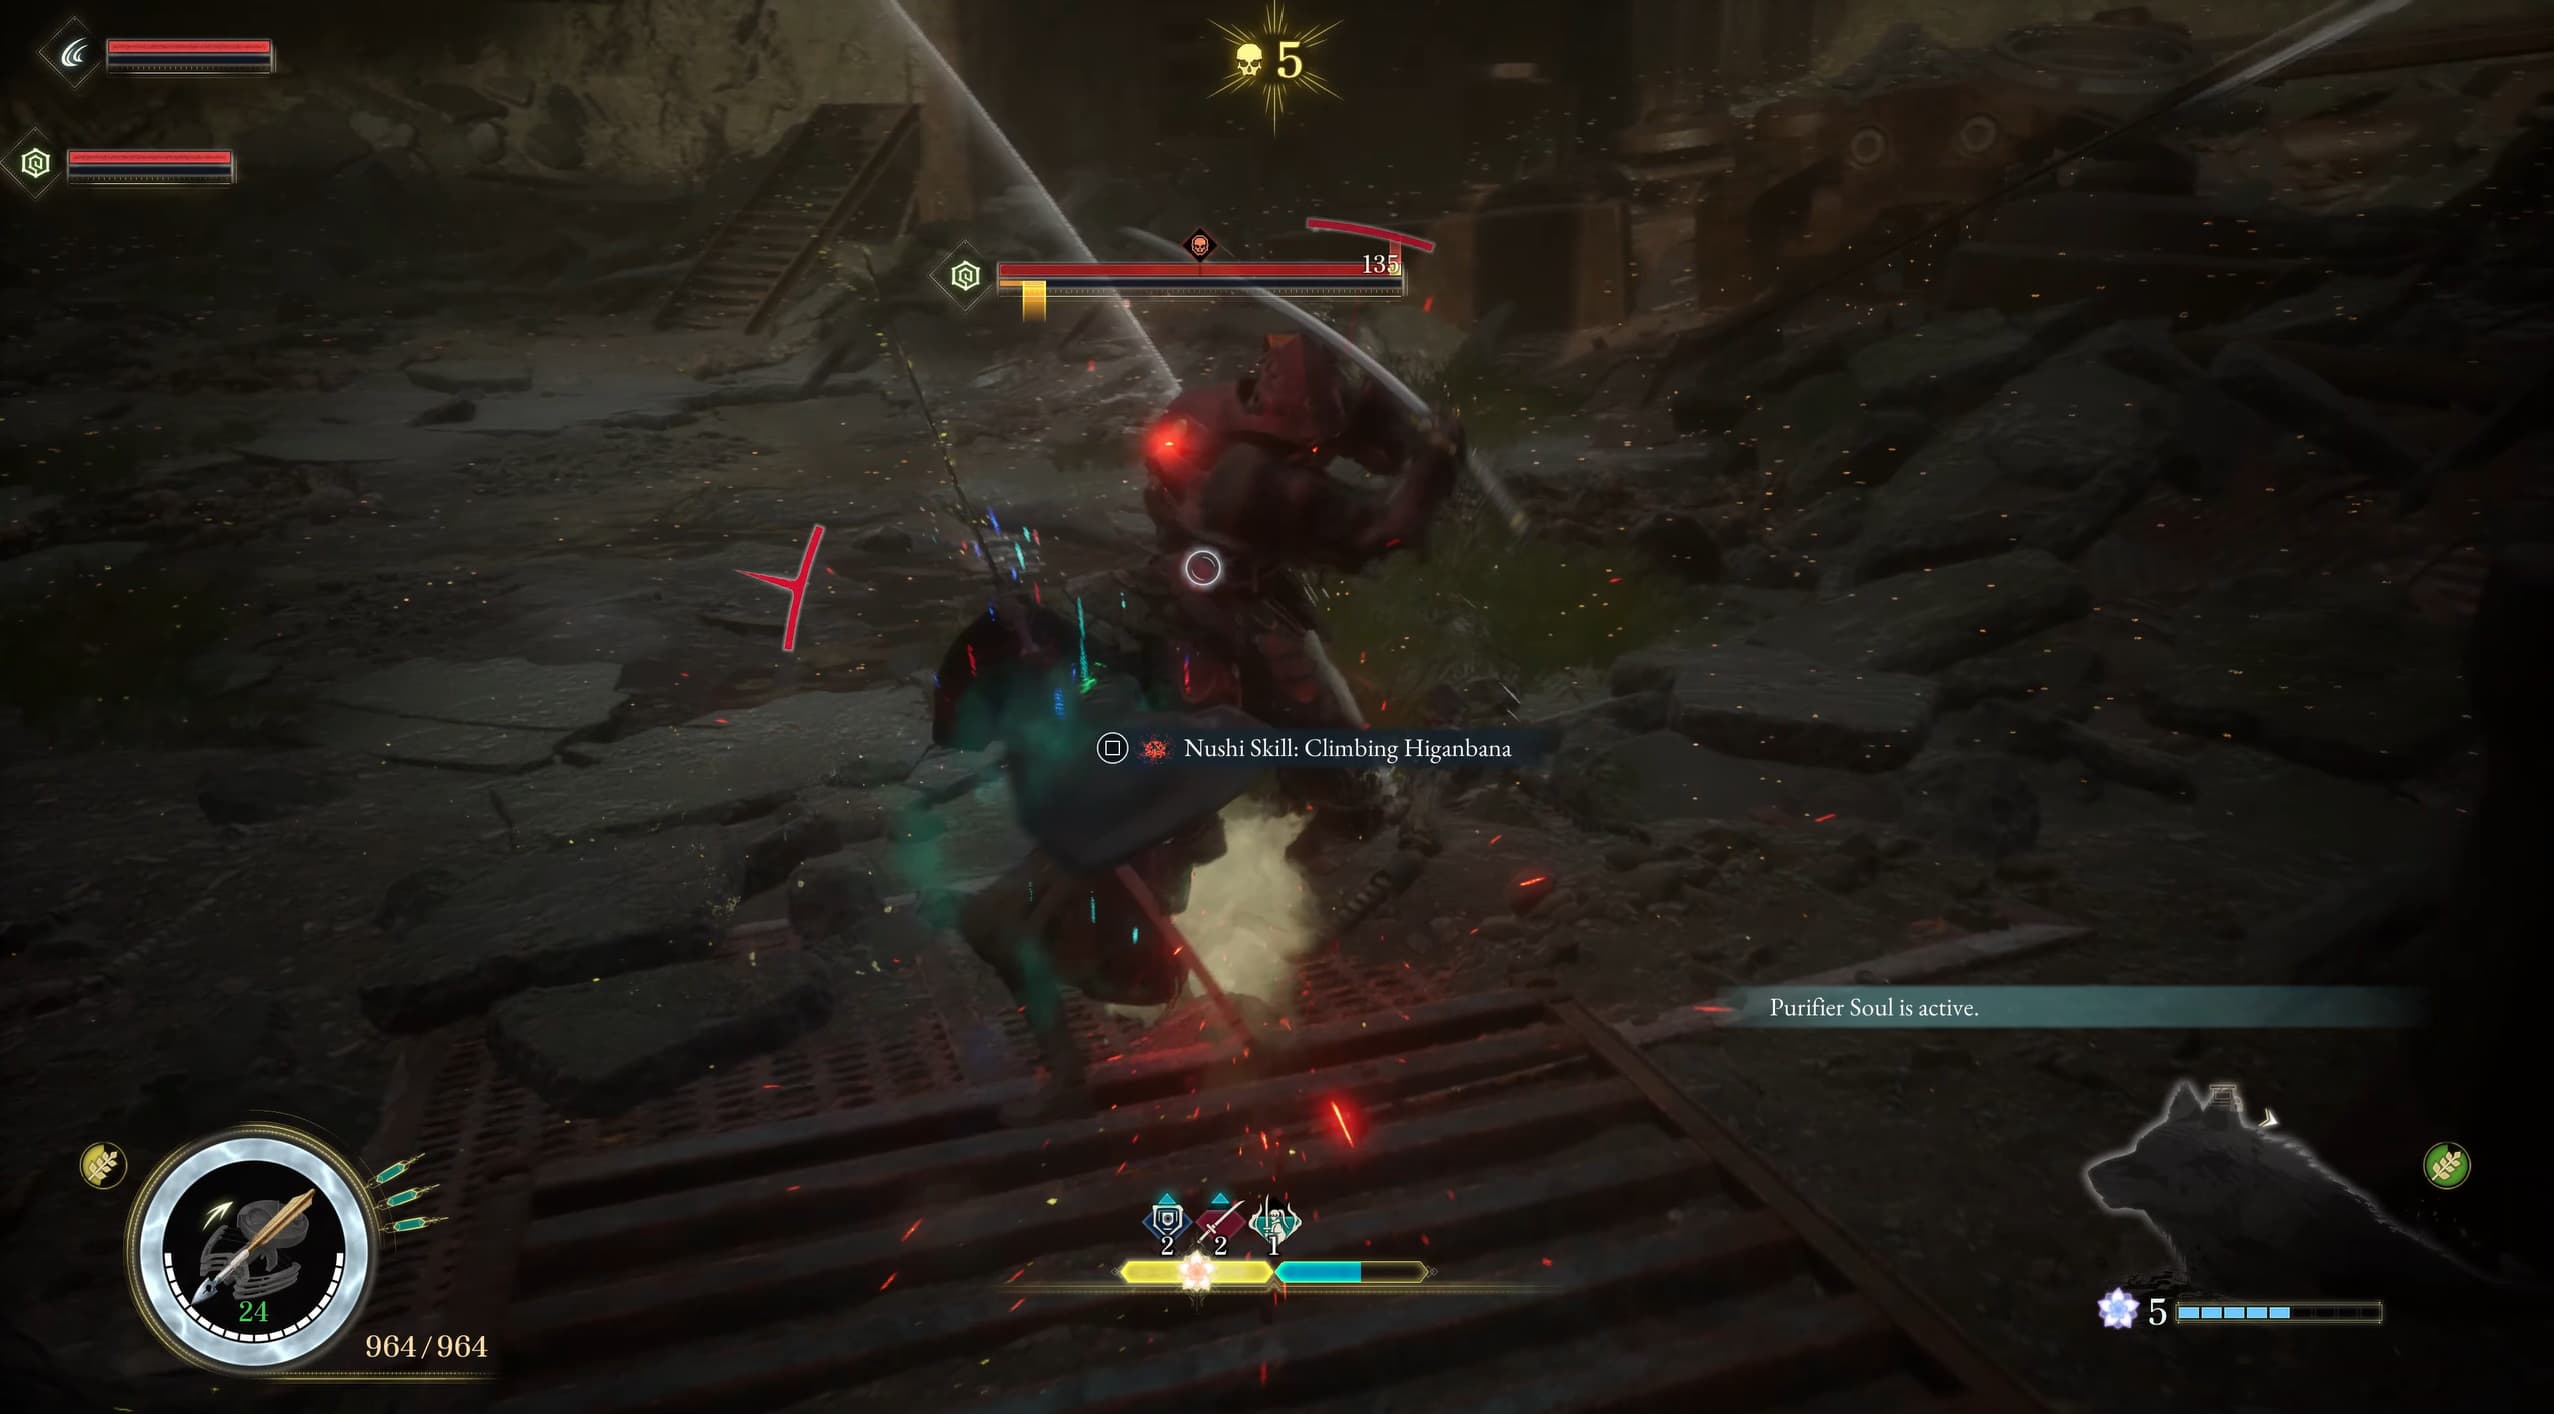
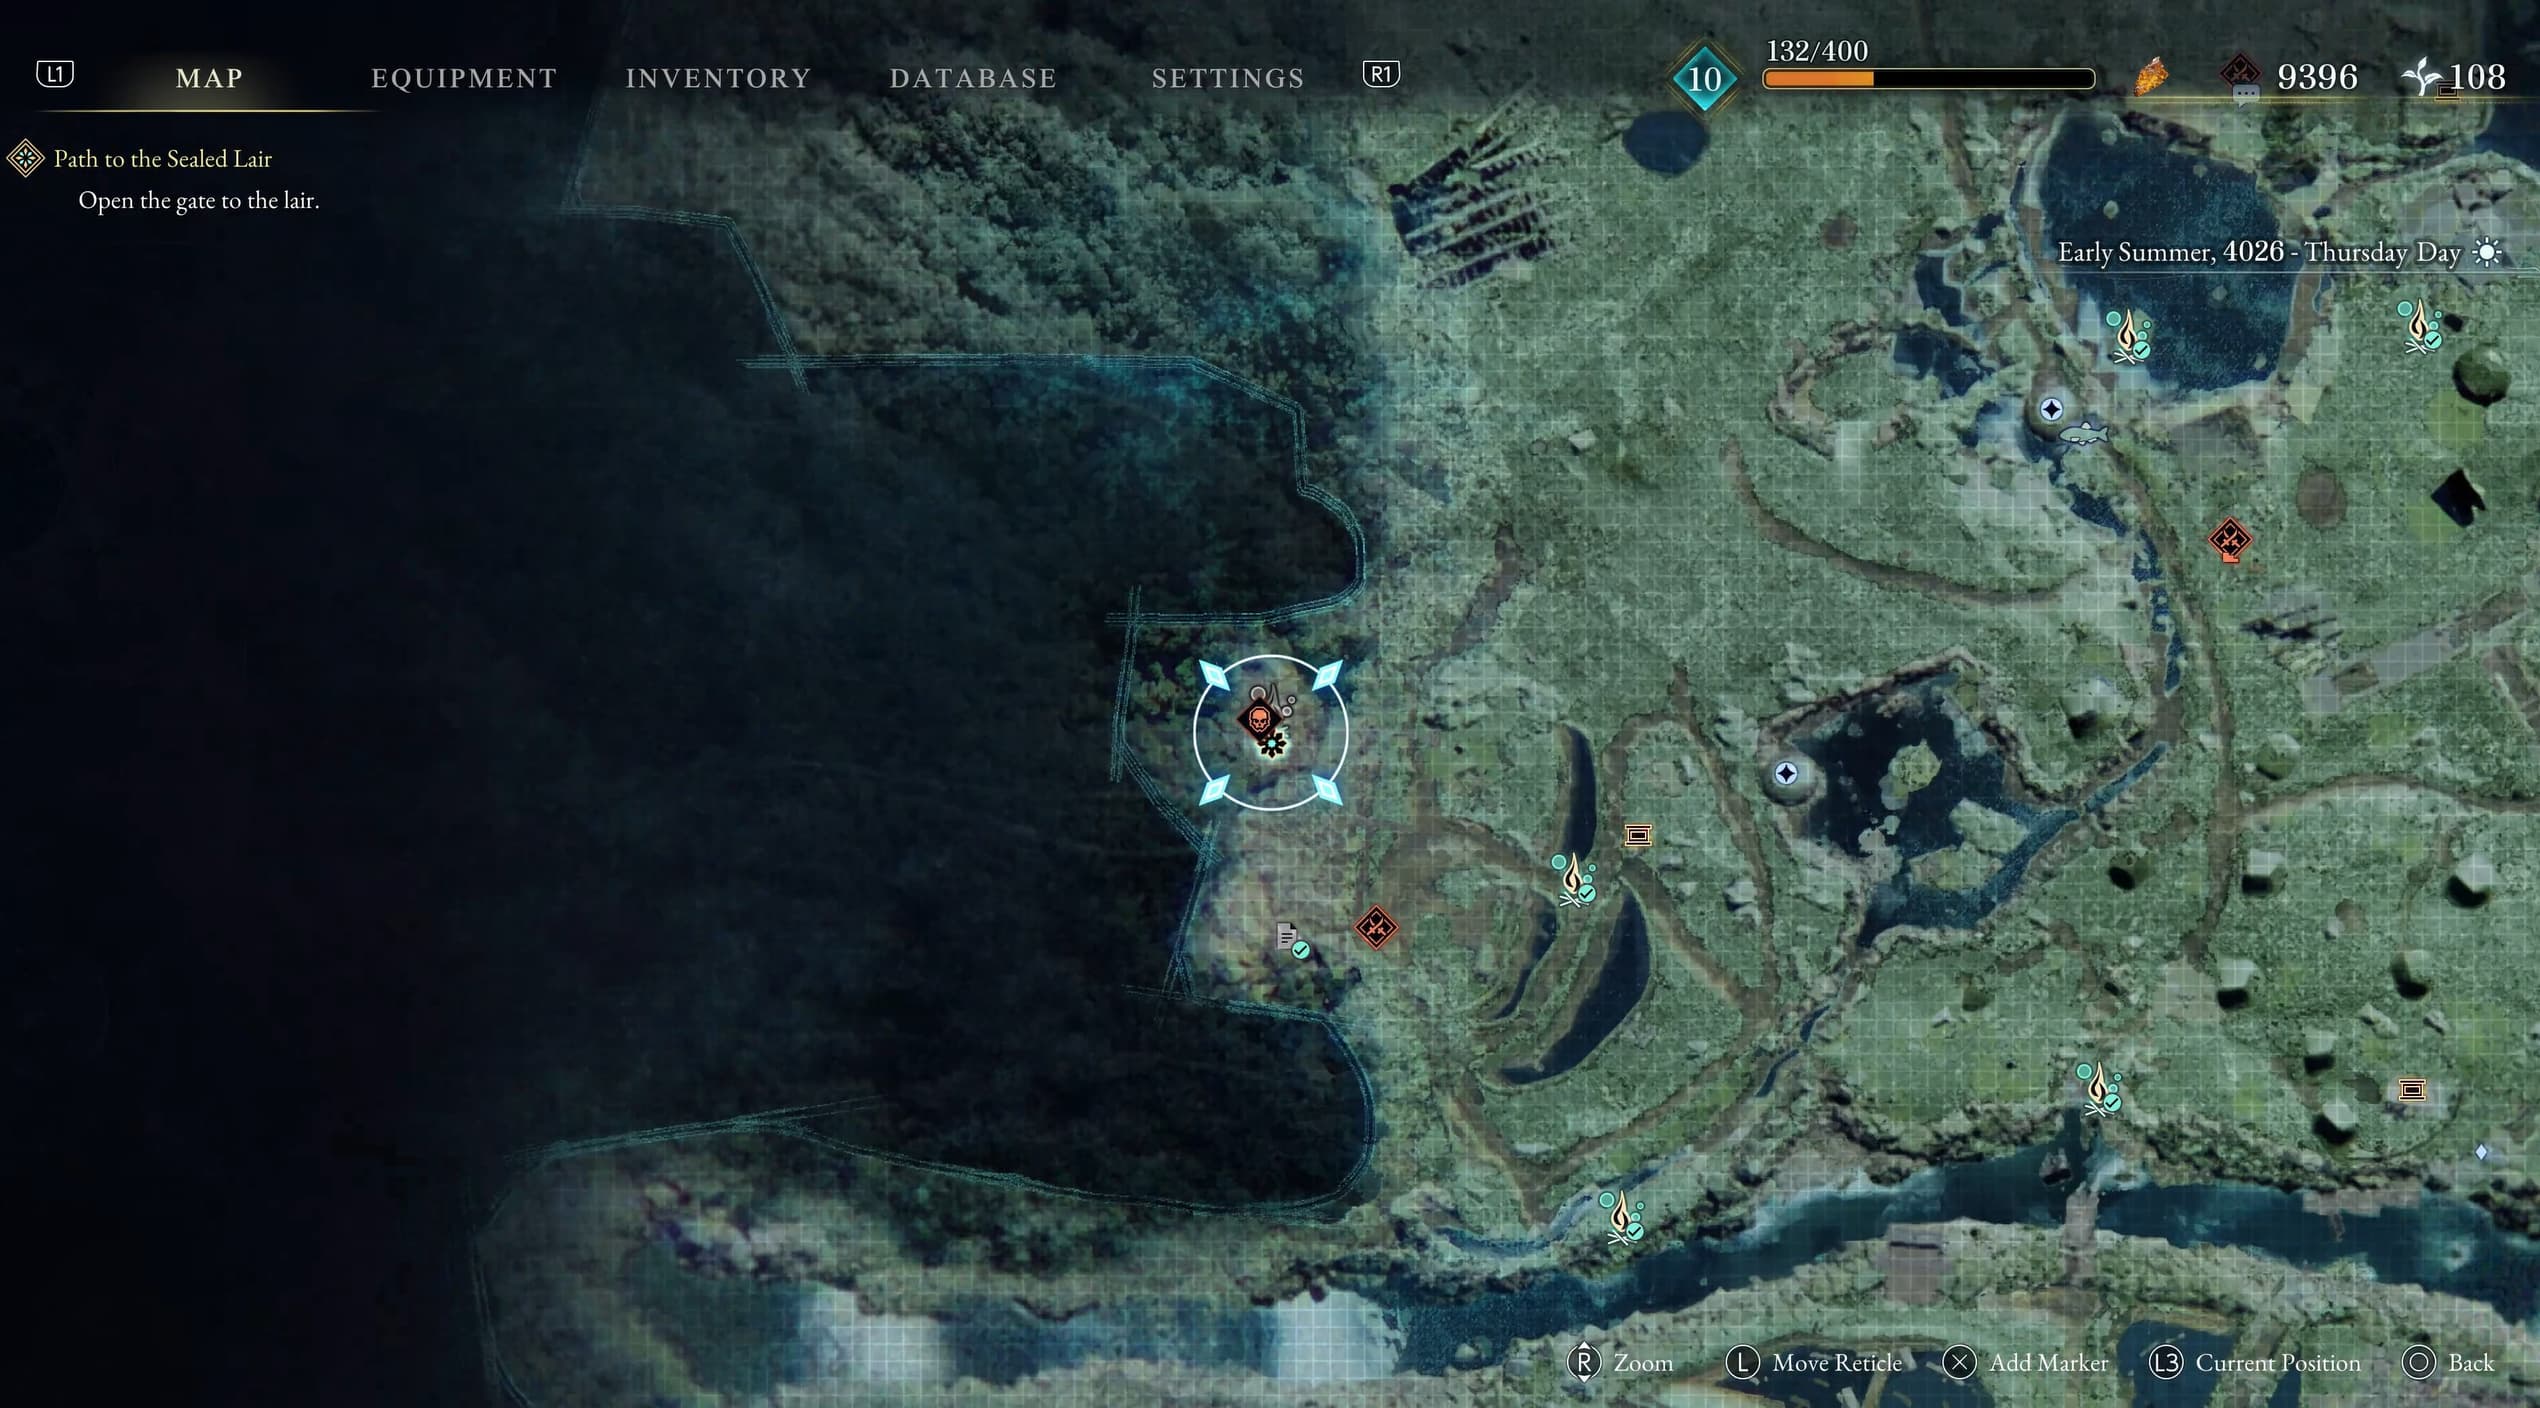
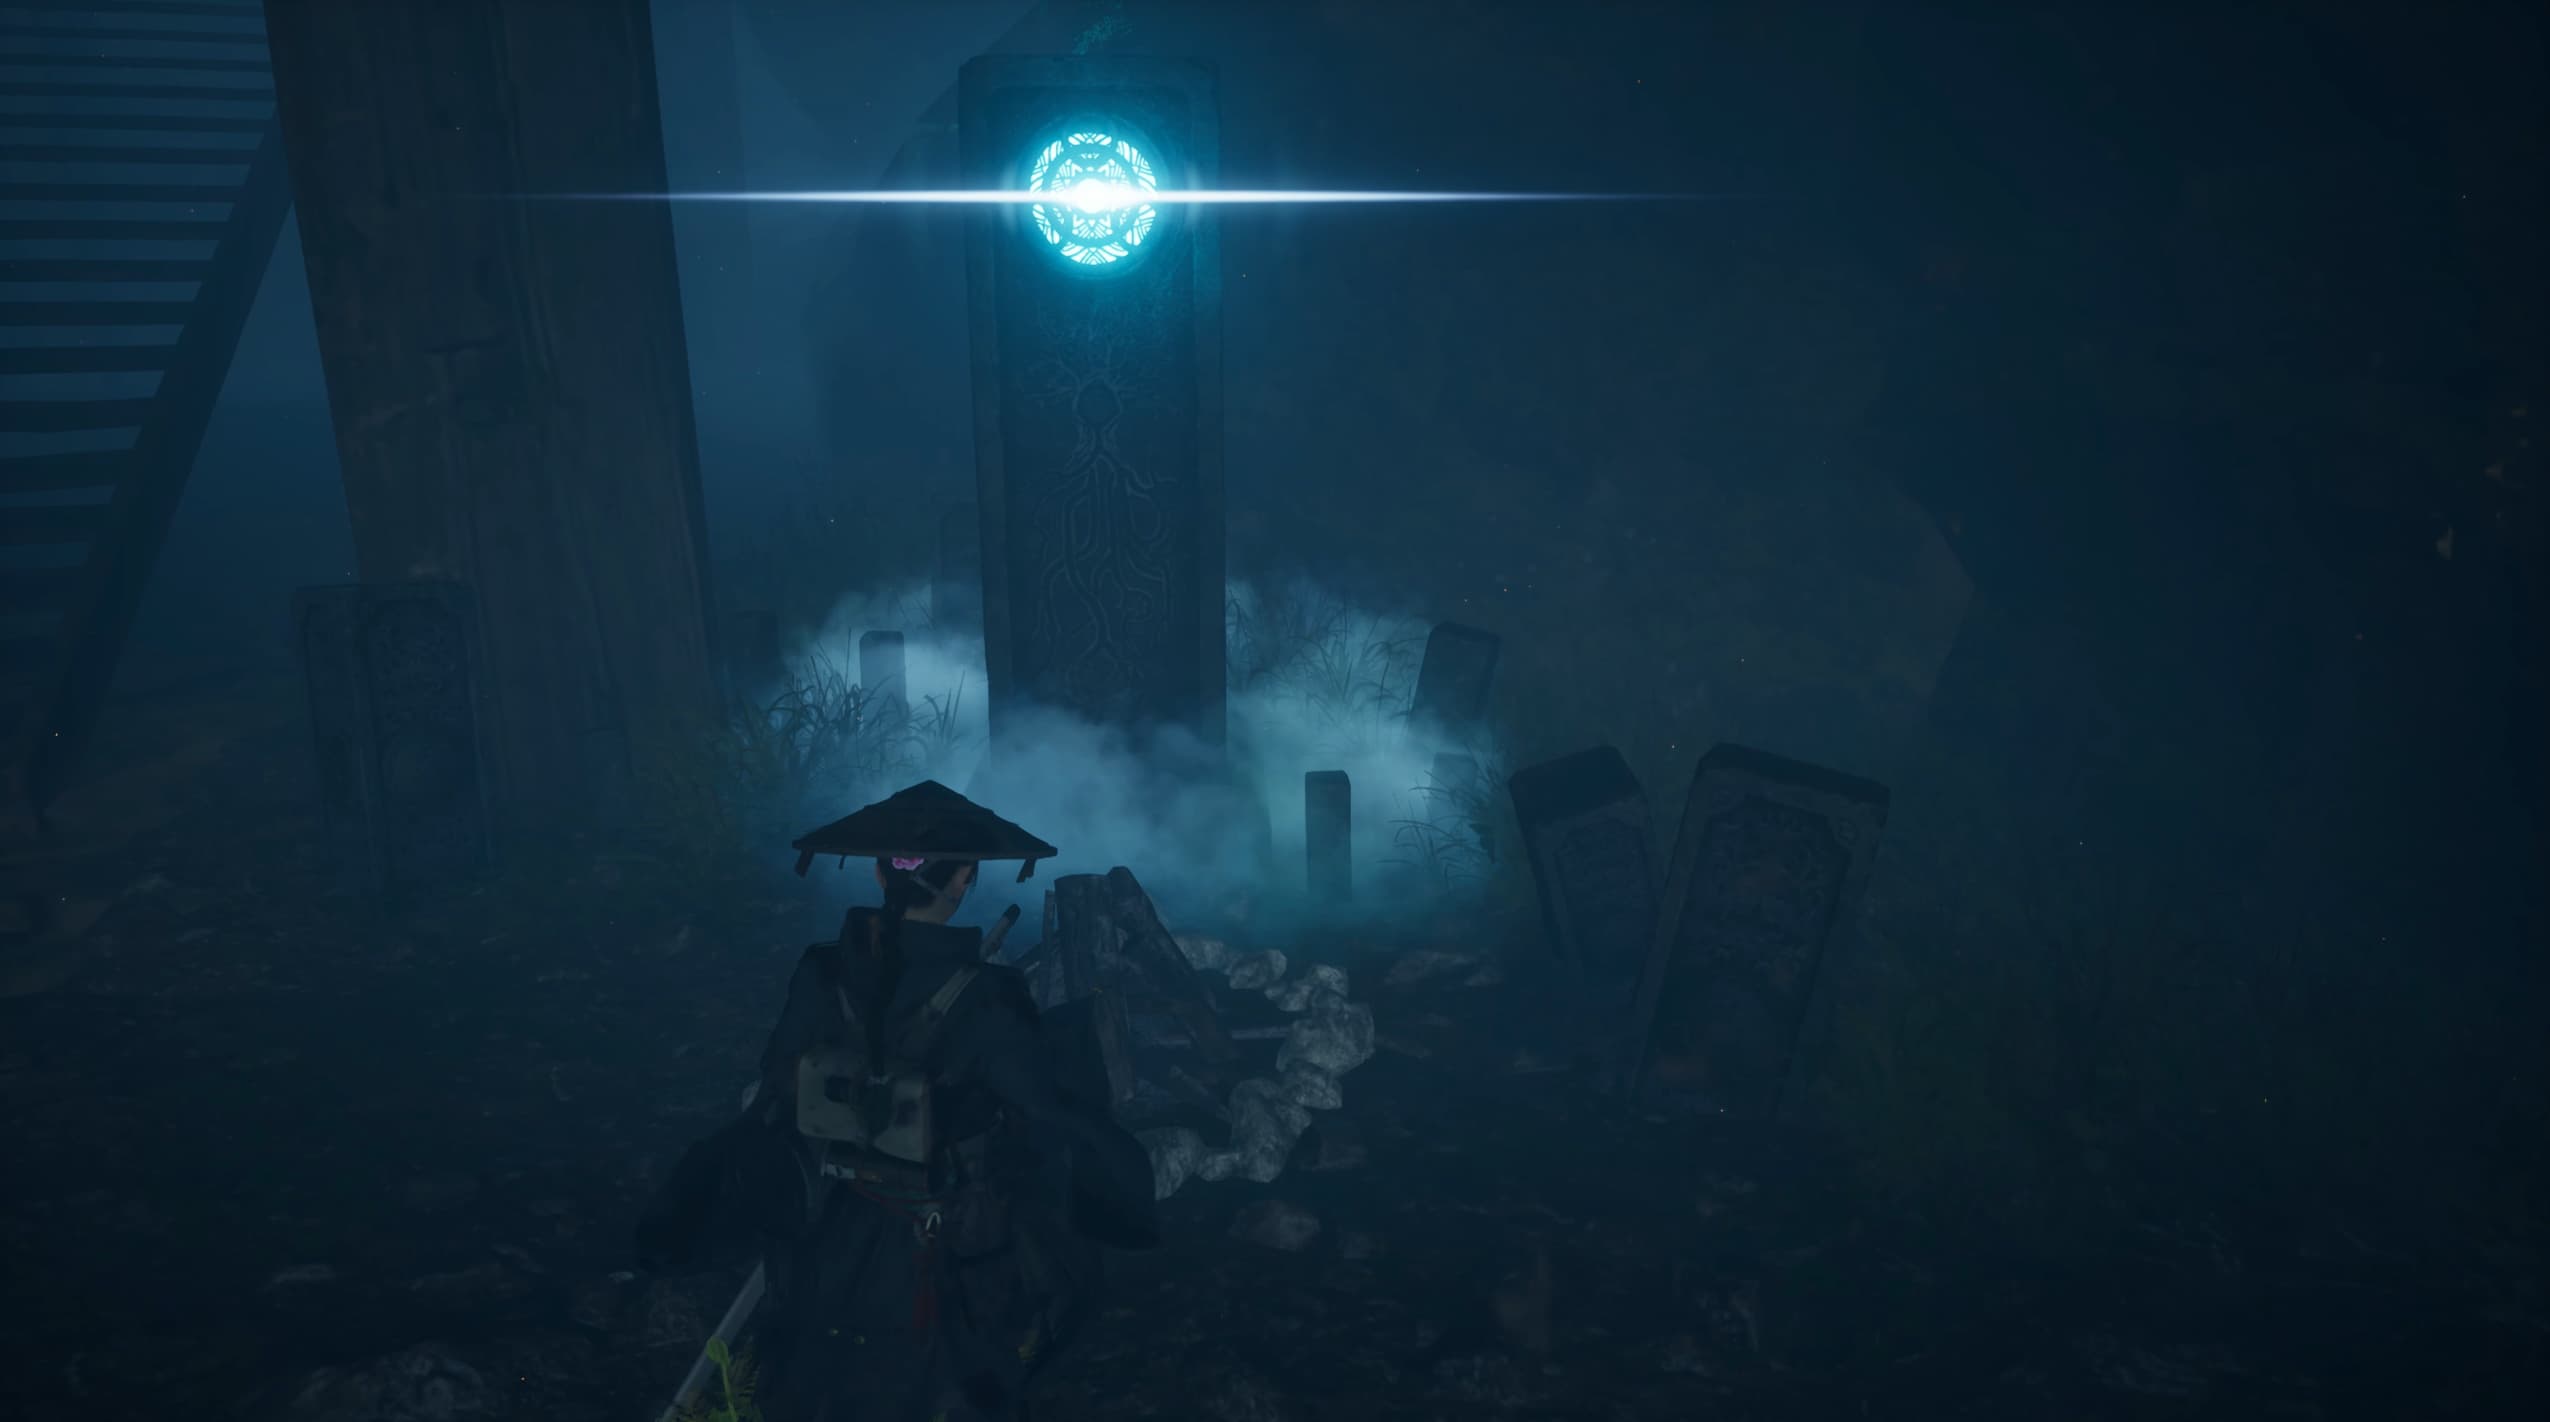
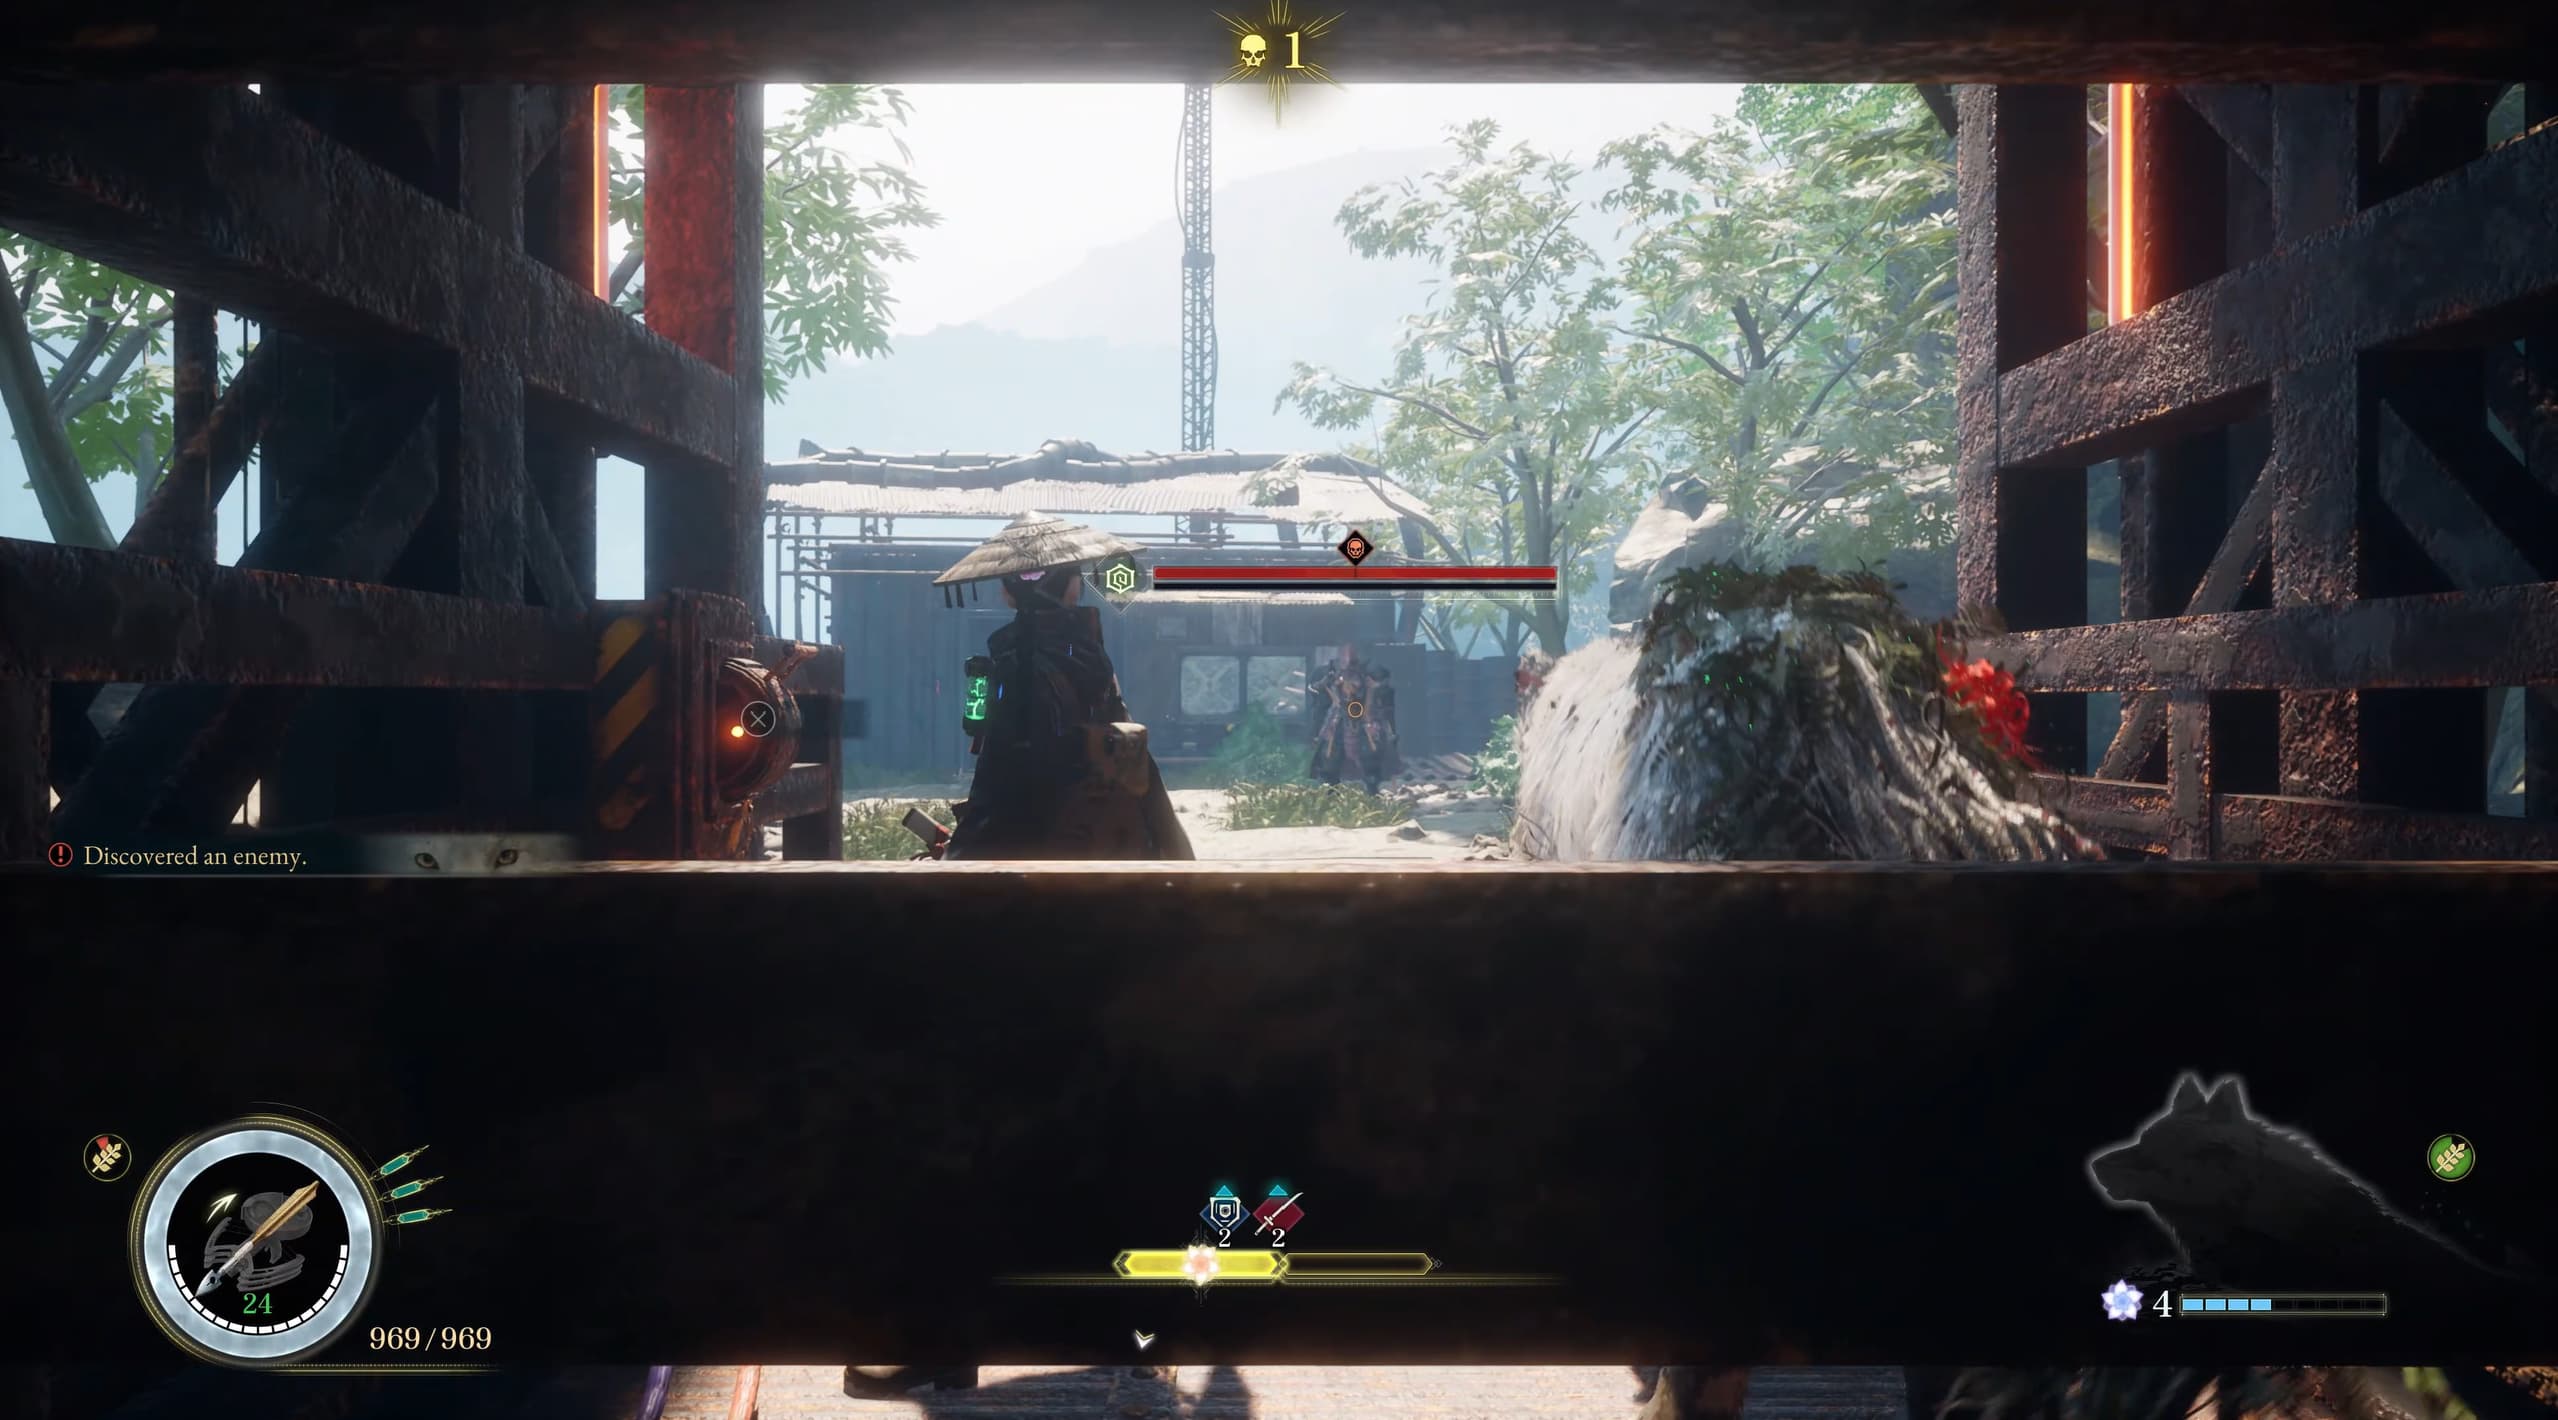
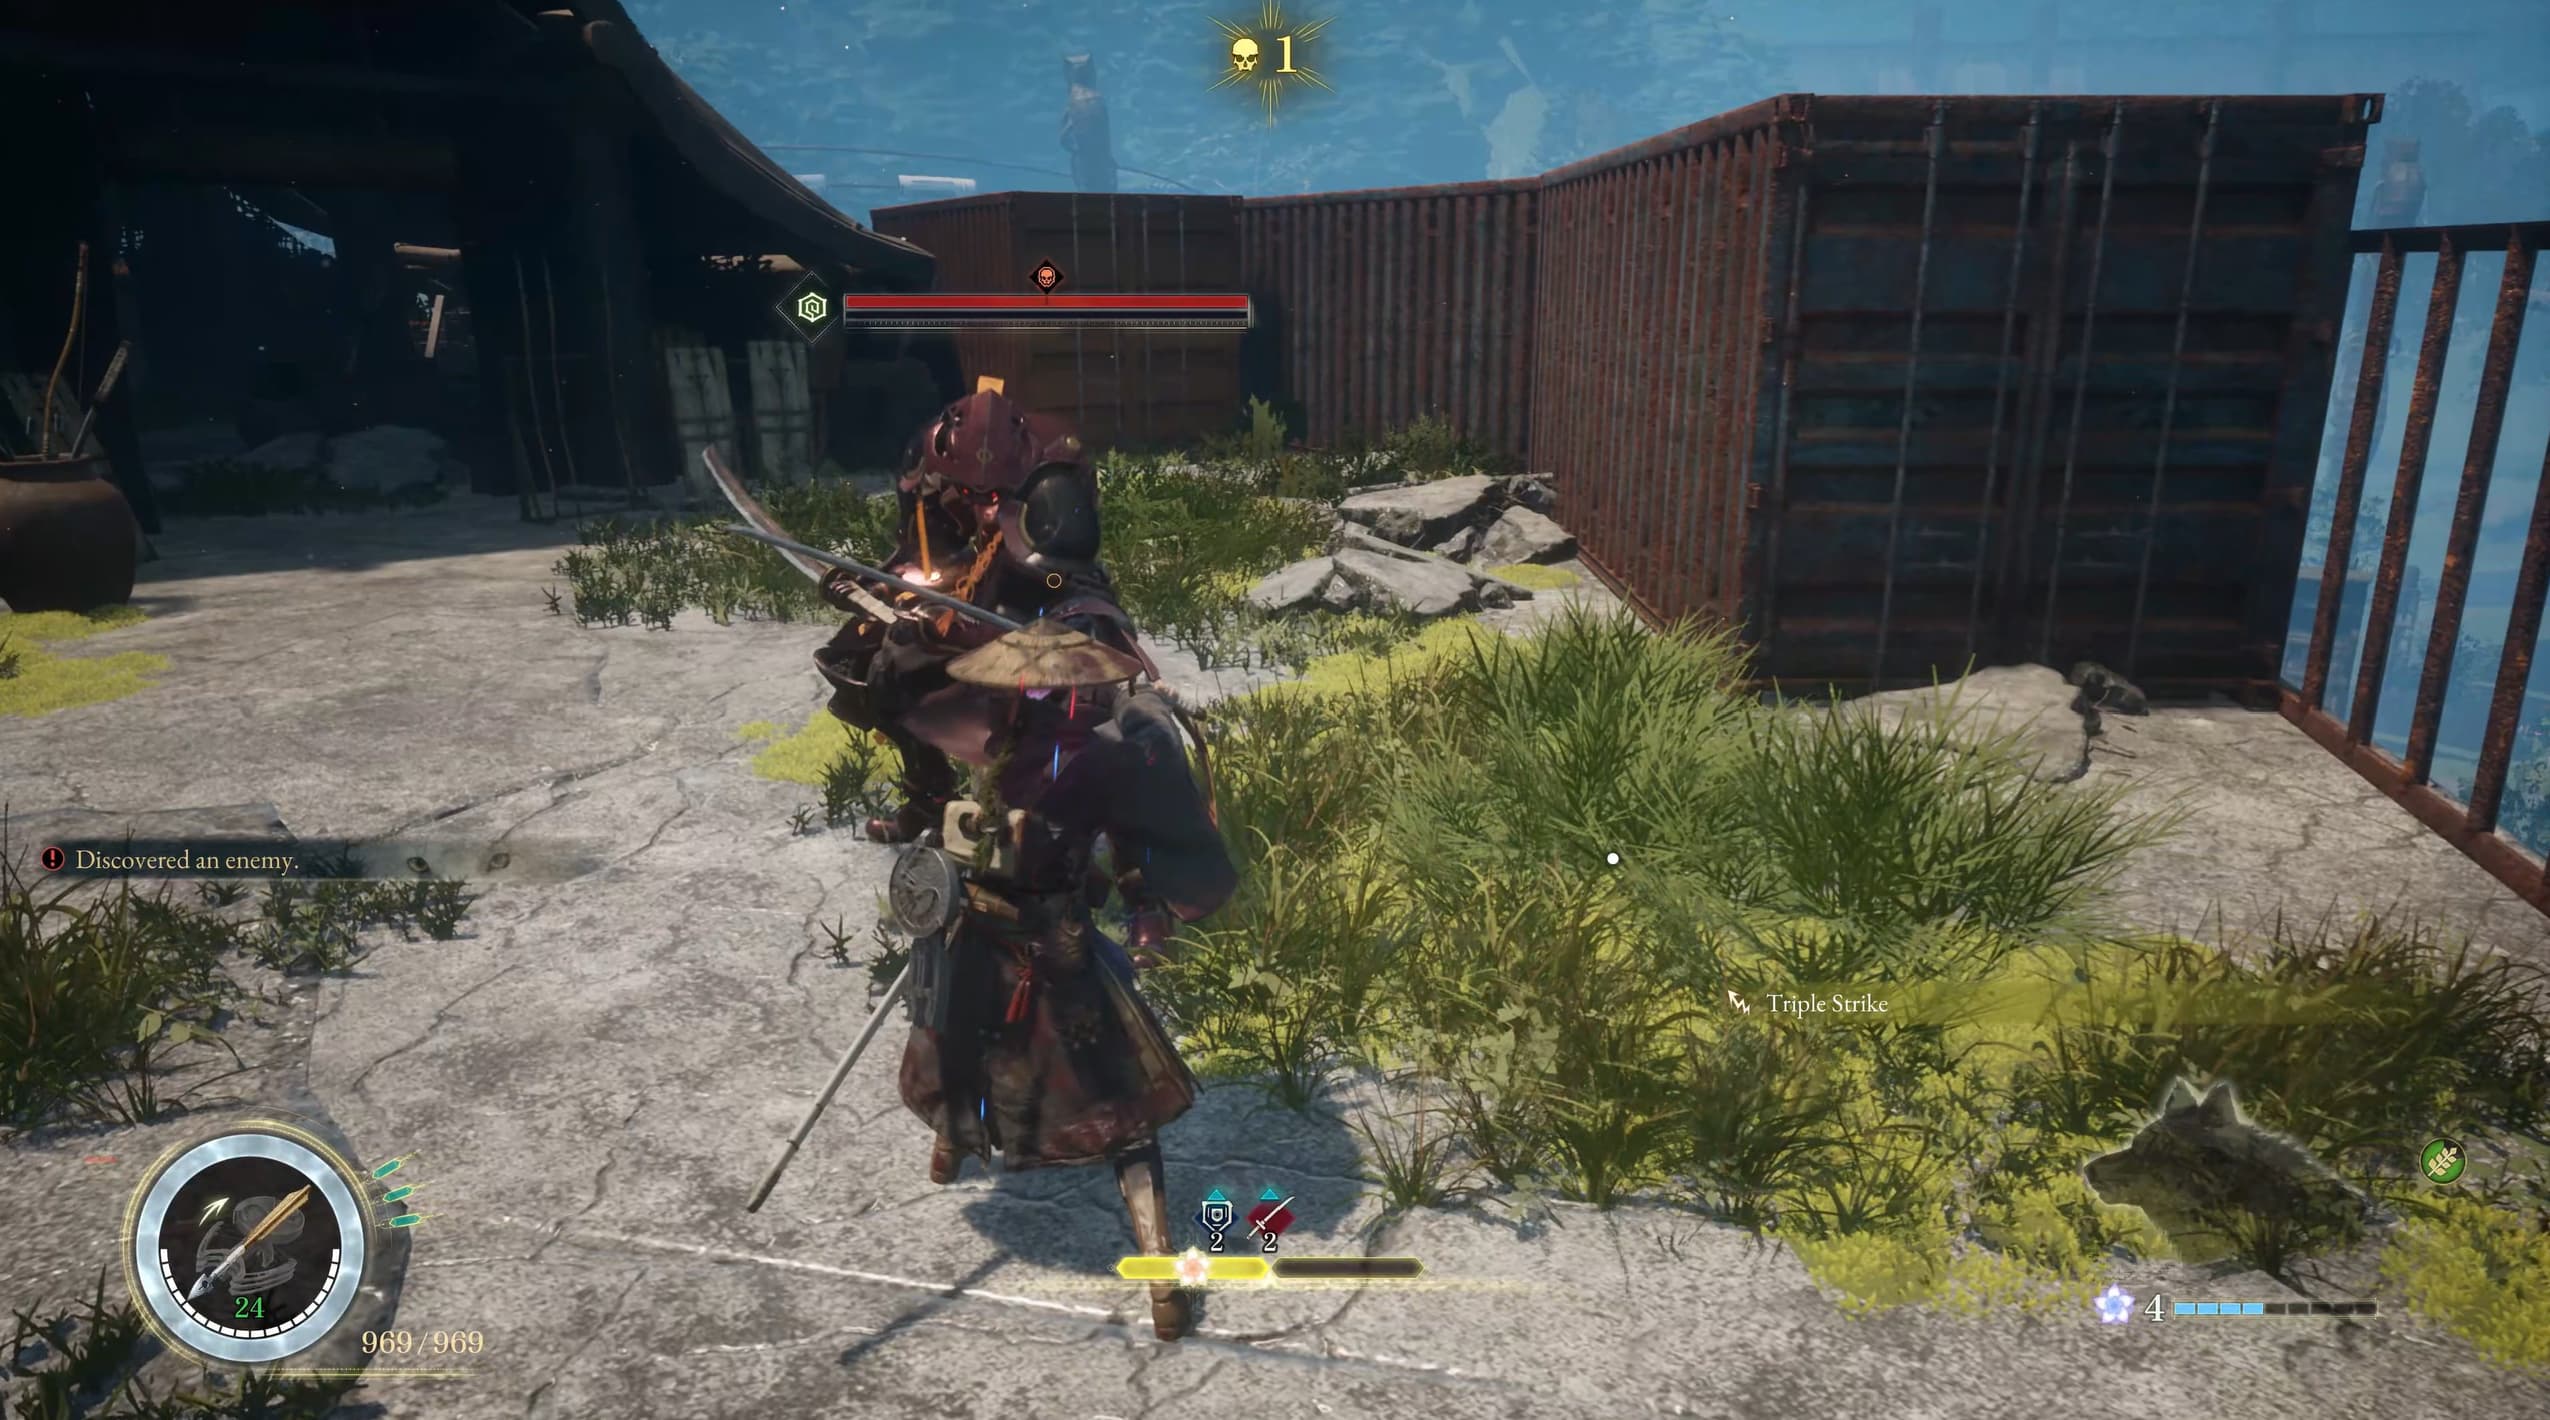
Keep making your way to the west to locate the Elite Enemy Golem, make sure to defeat him before progressing.
Heading south a little from the Elite Golem, will be the next campsite, if you need to replenish anything definitely head here first before getting more collectibles.
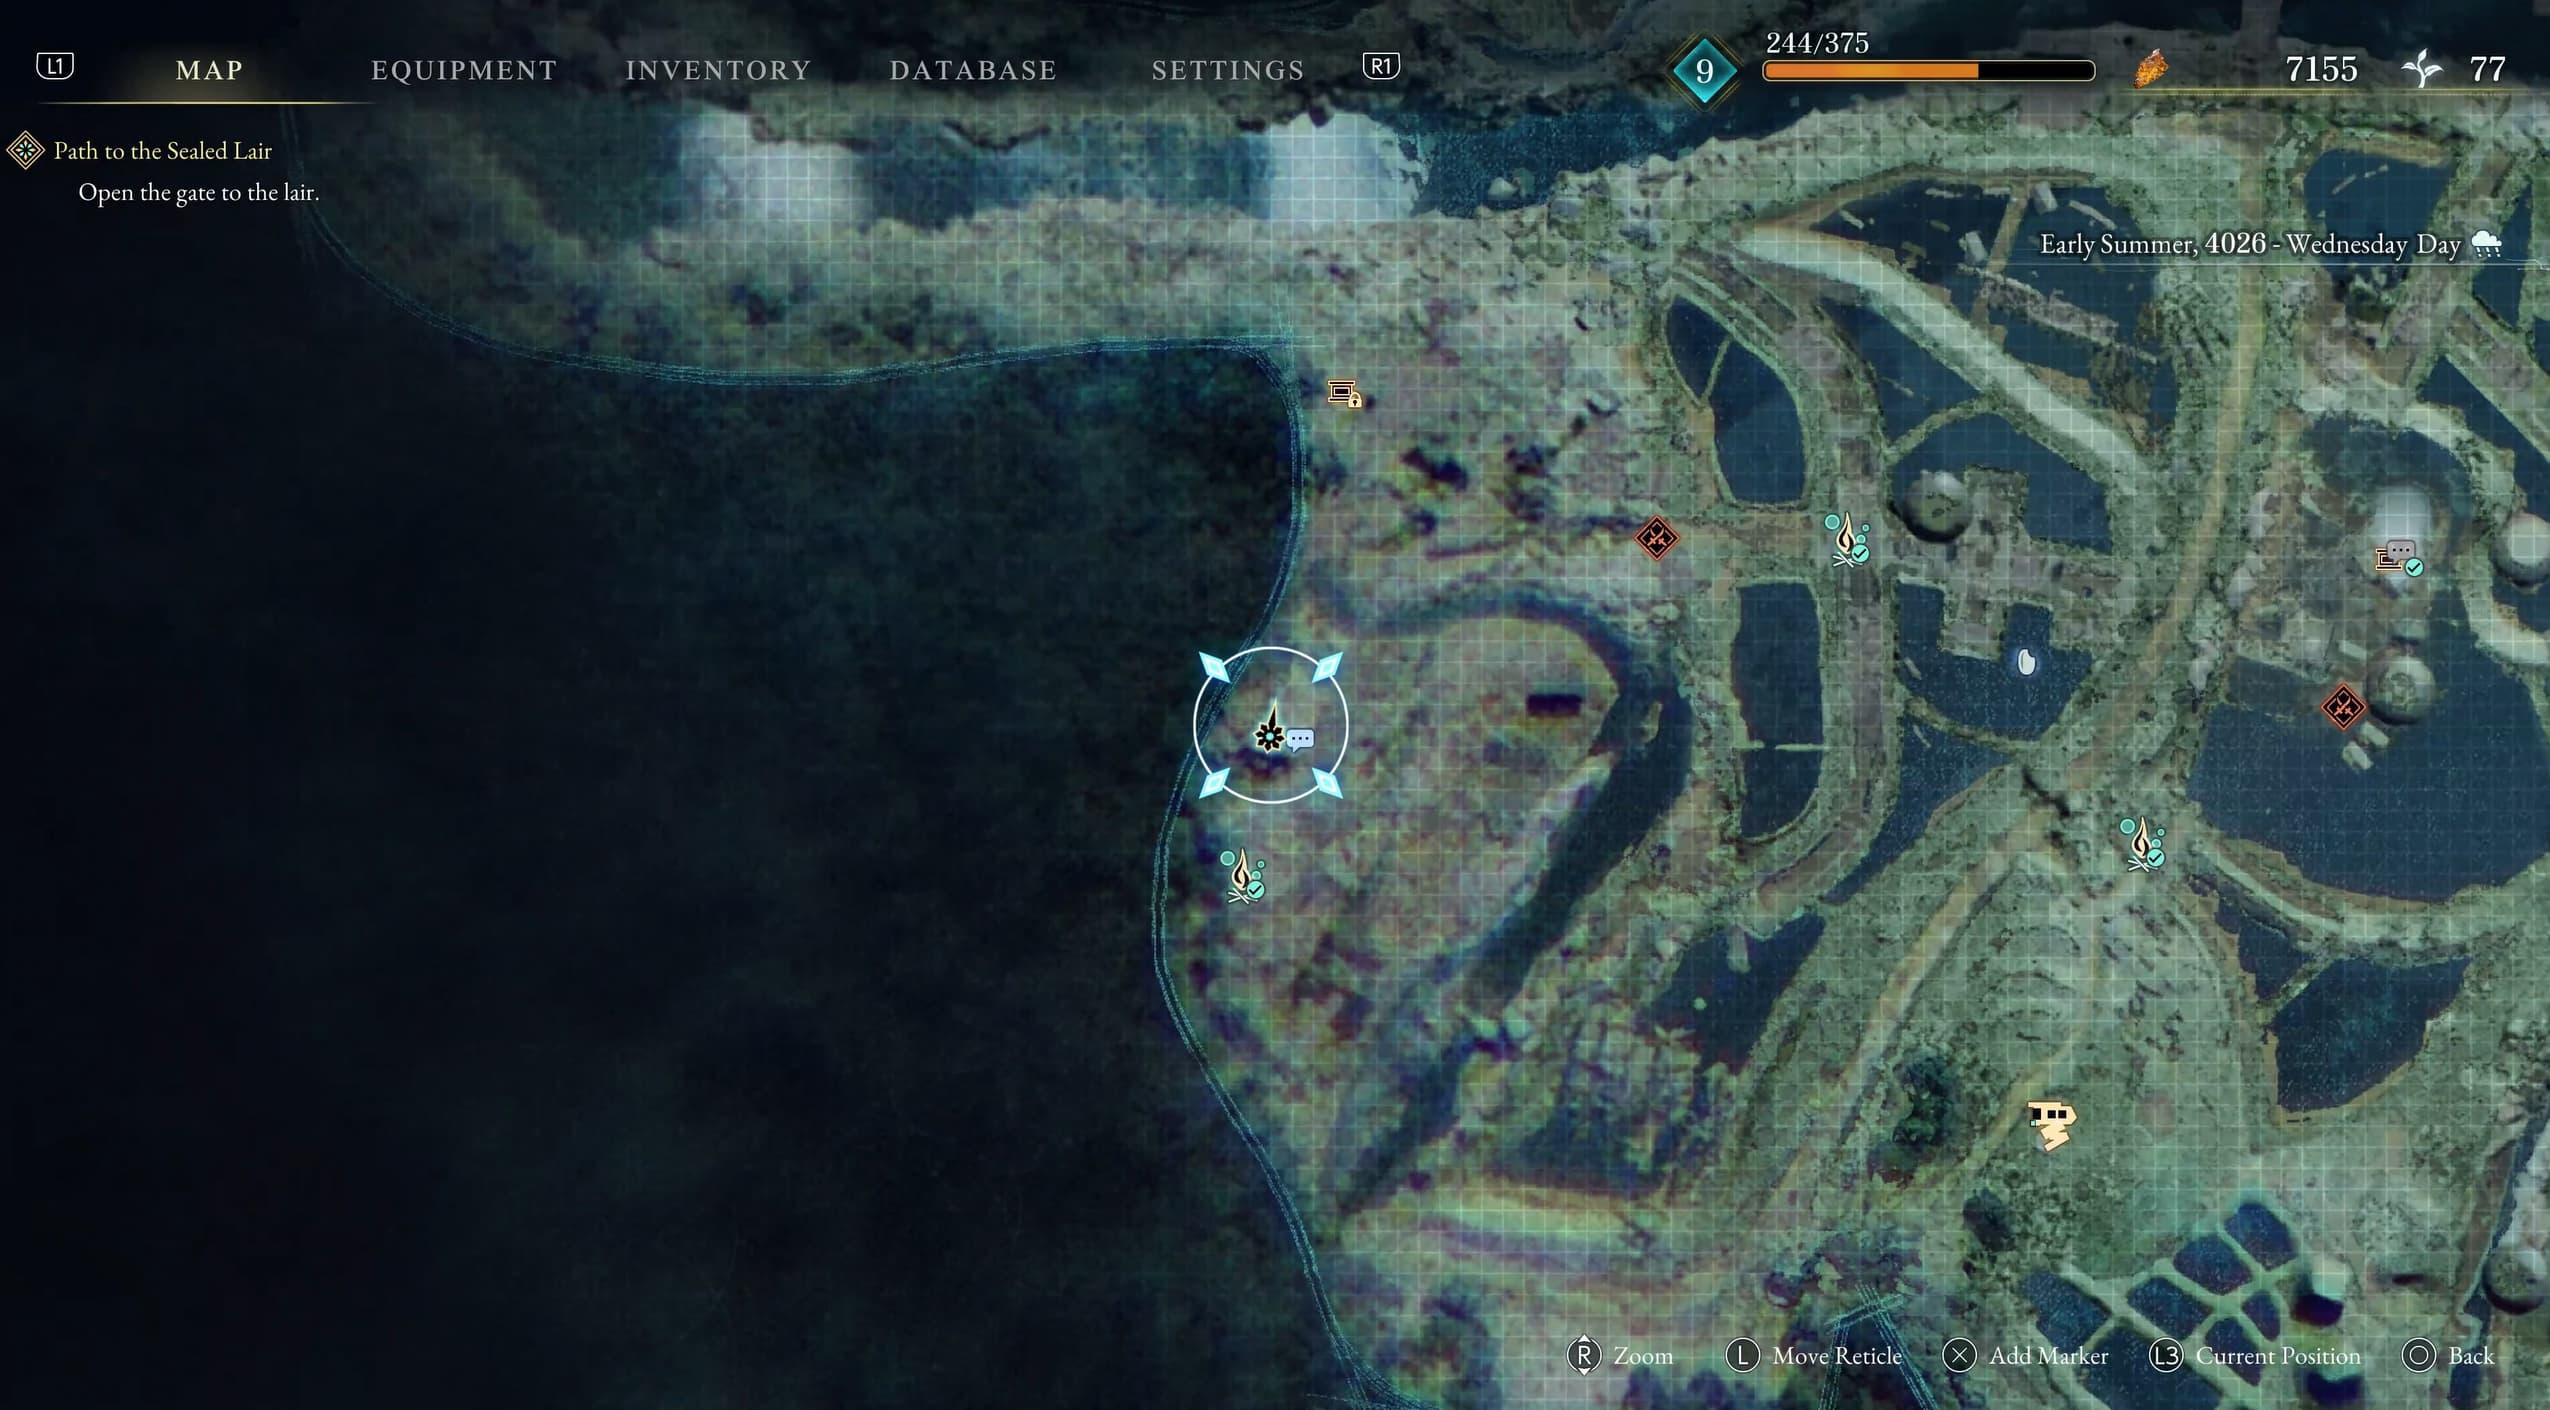
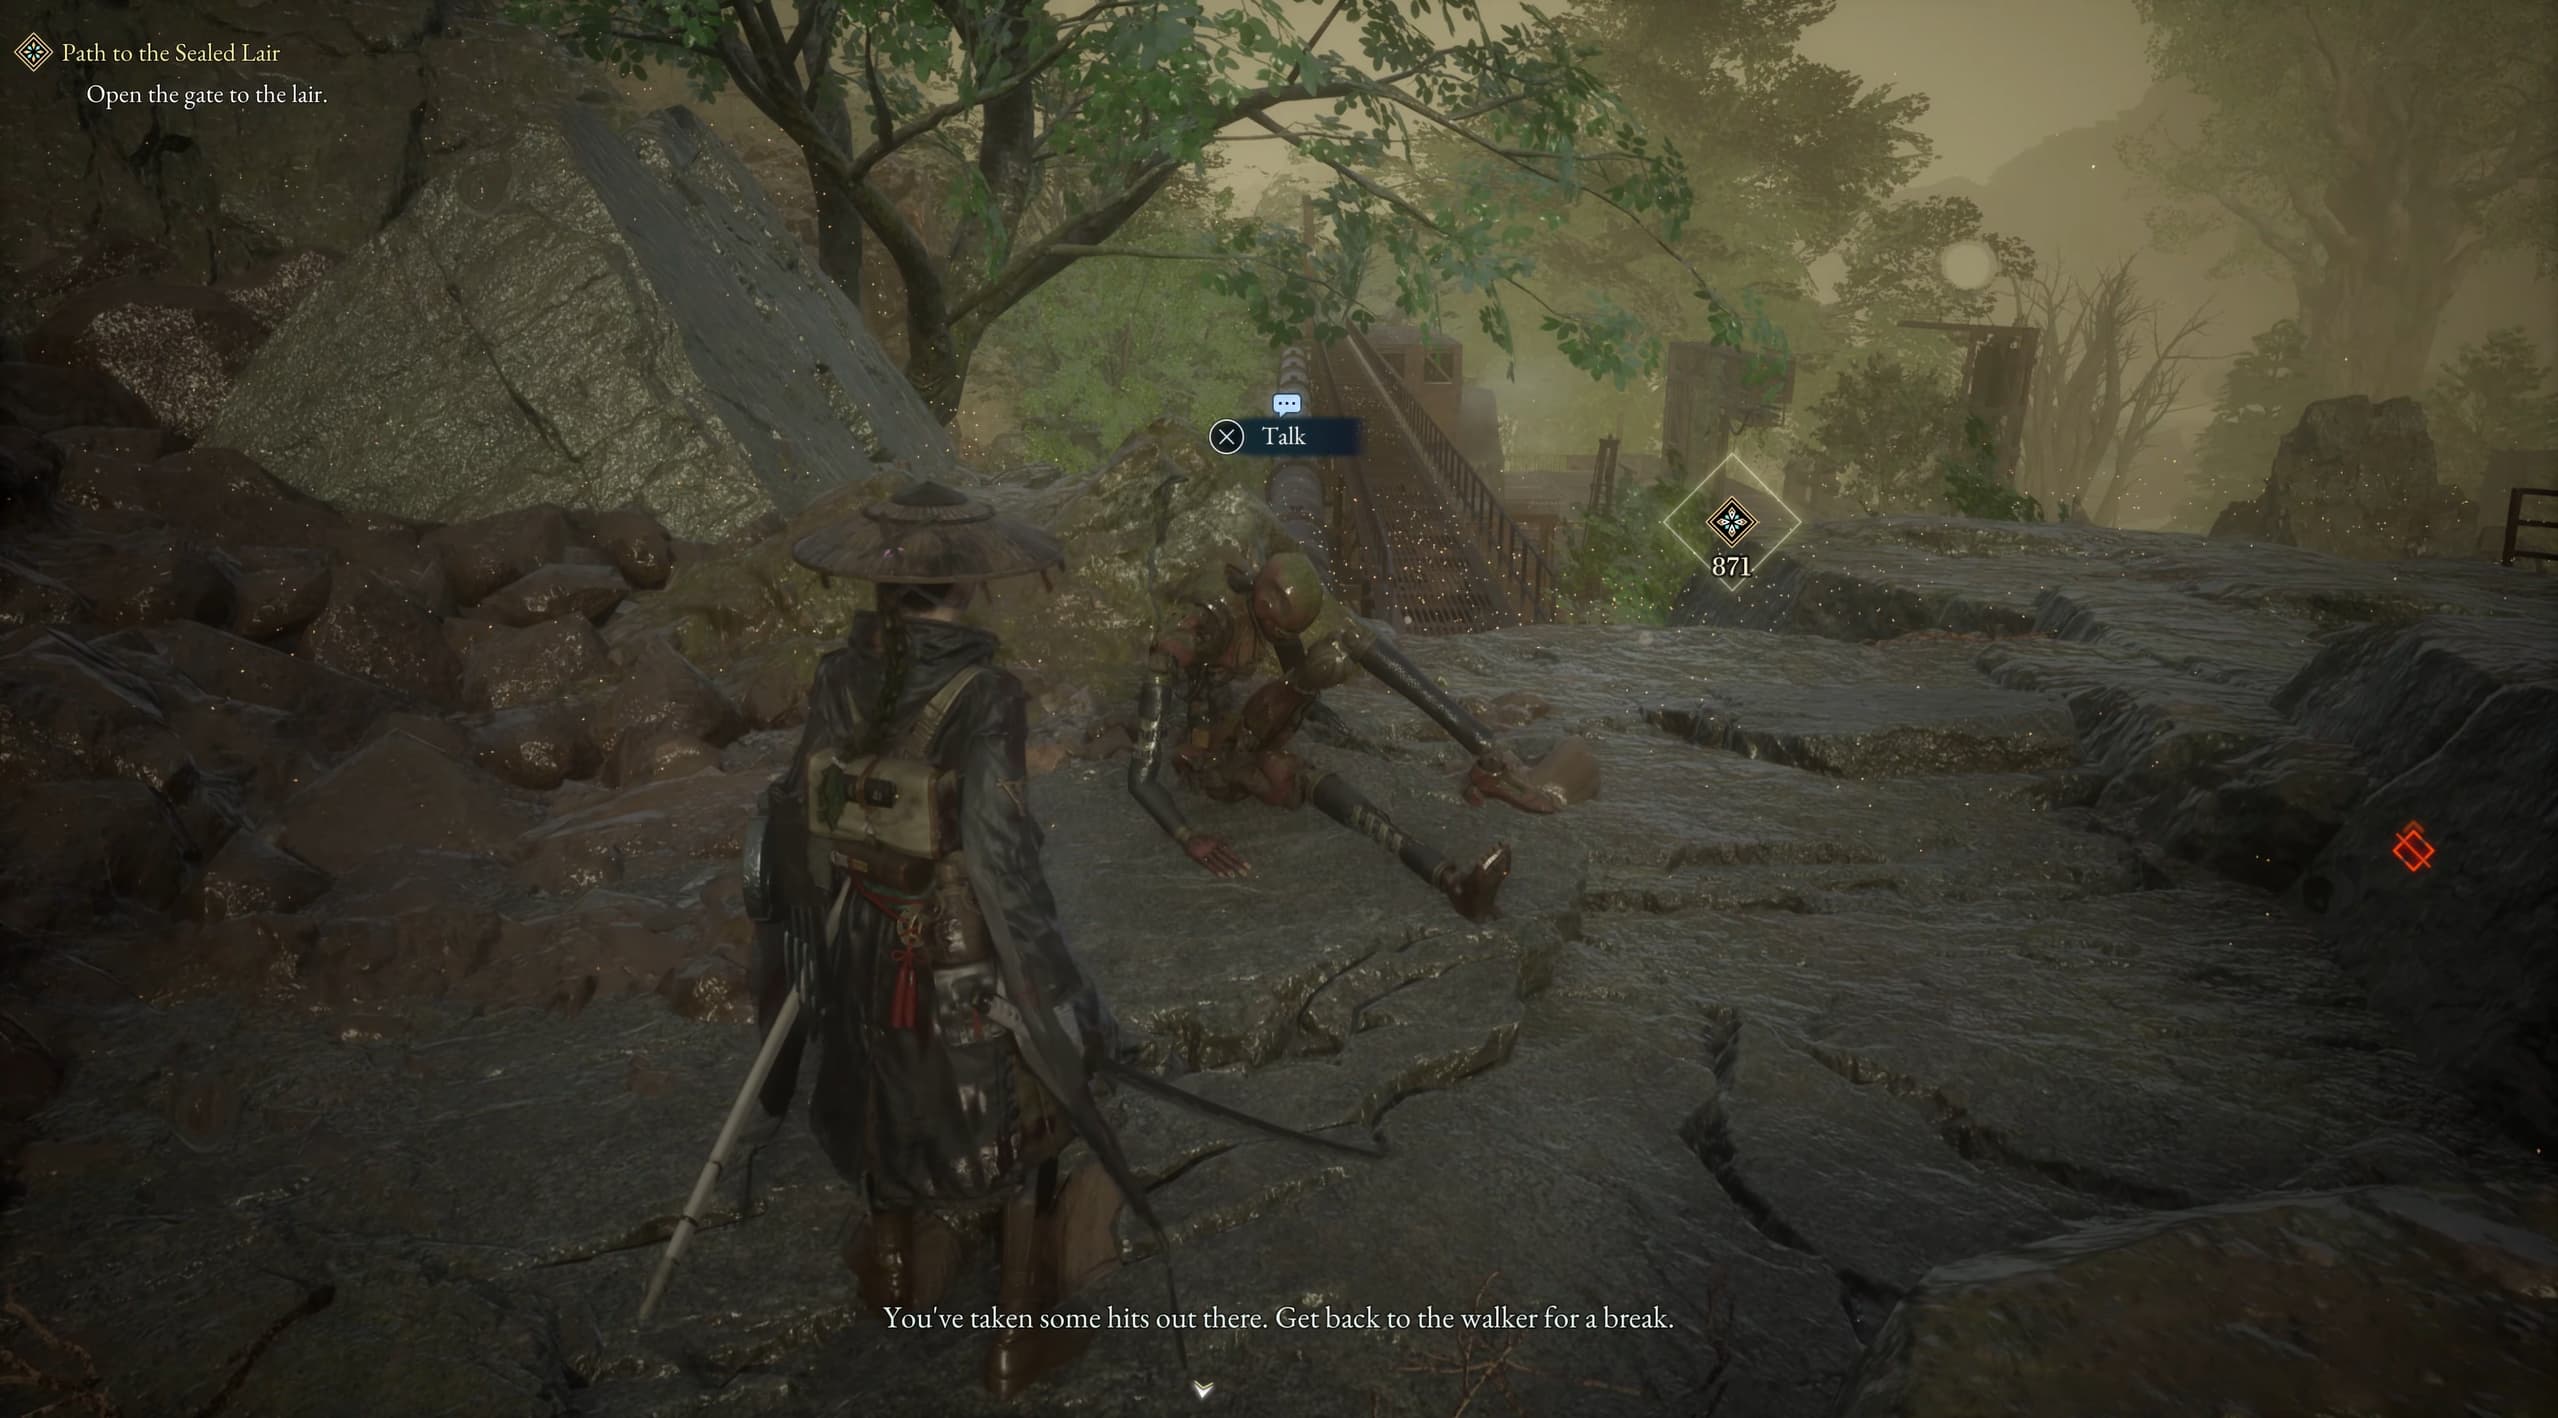
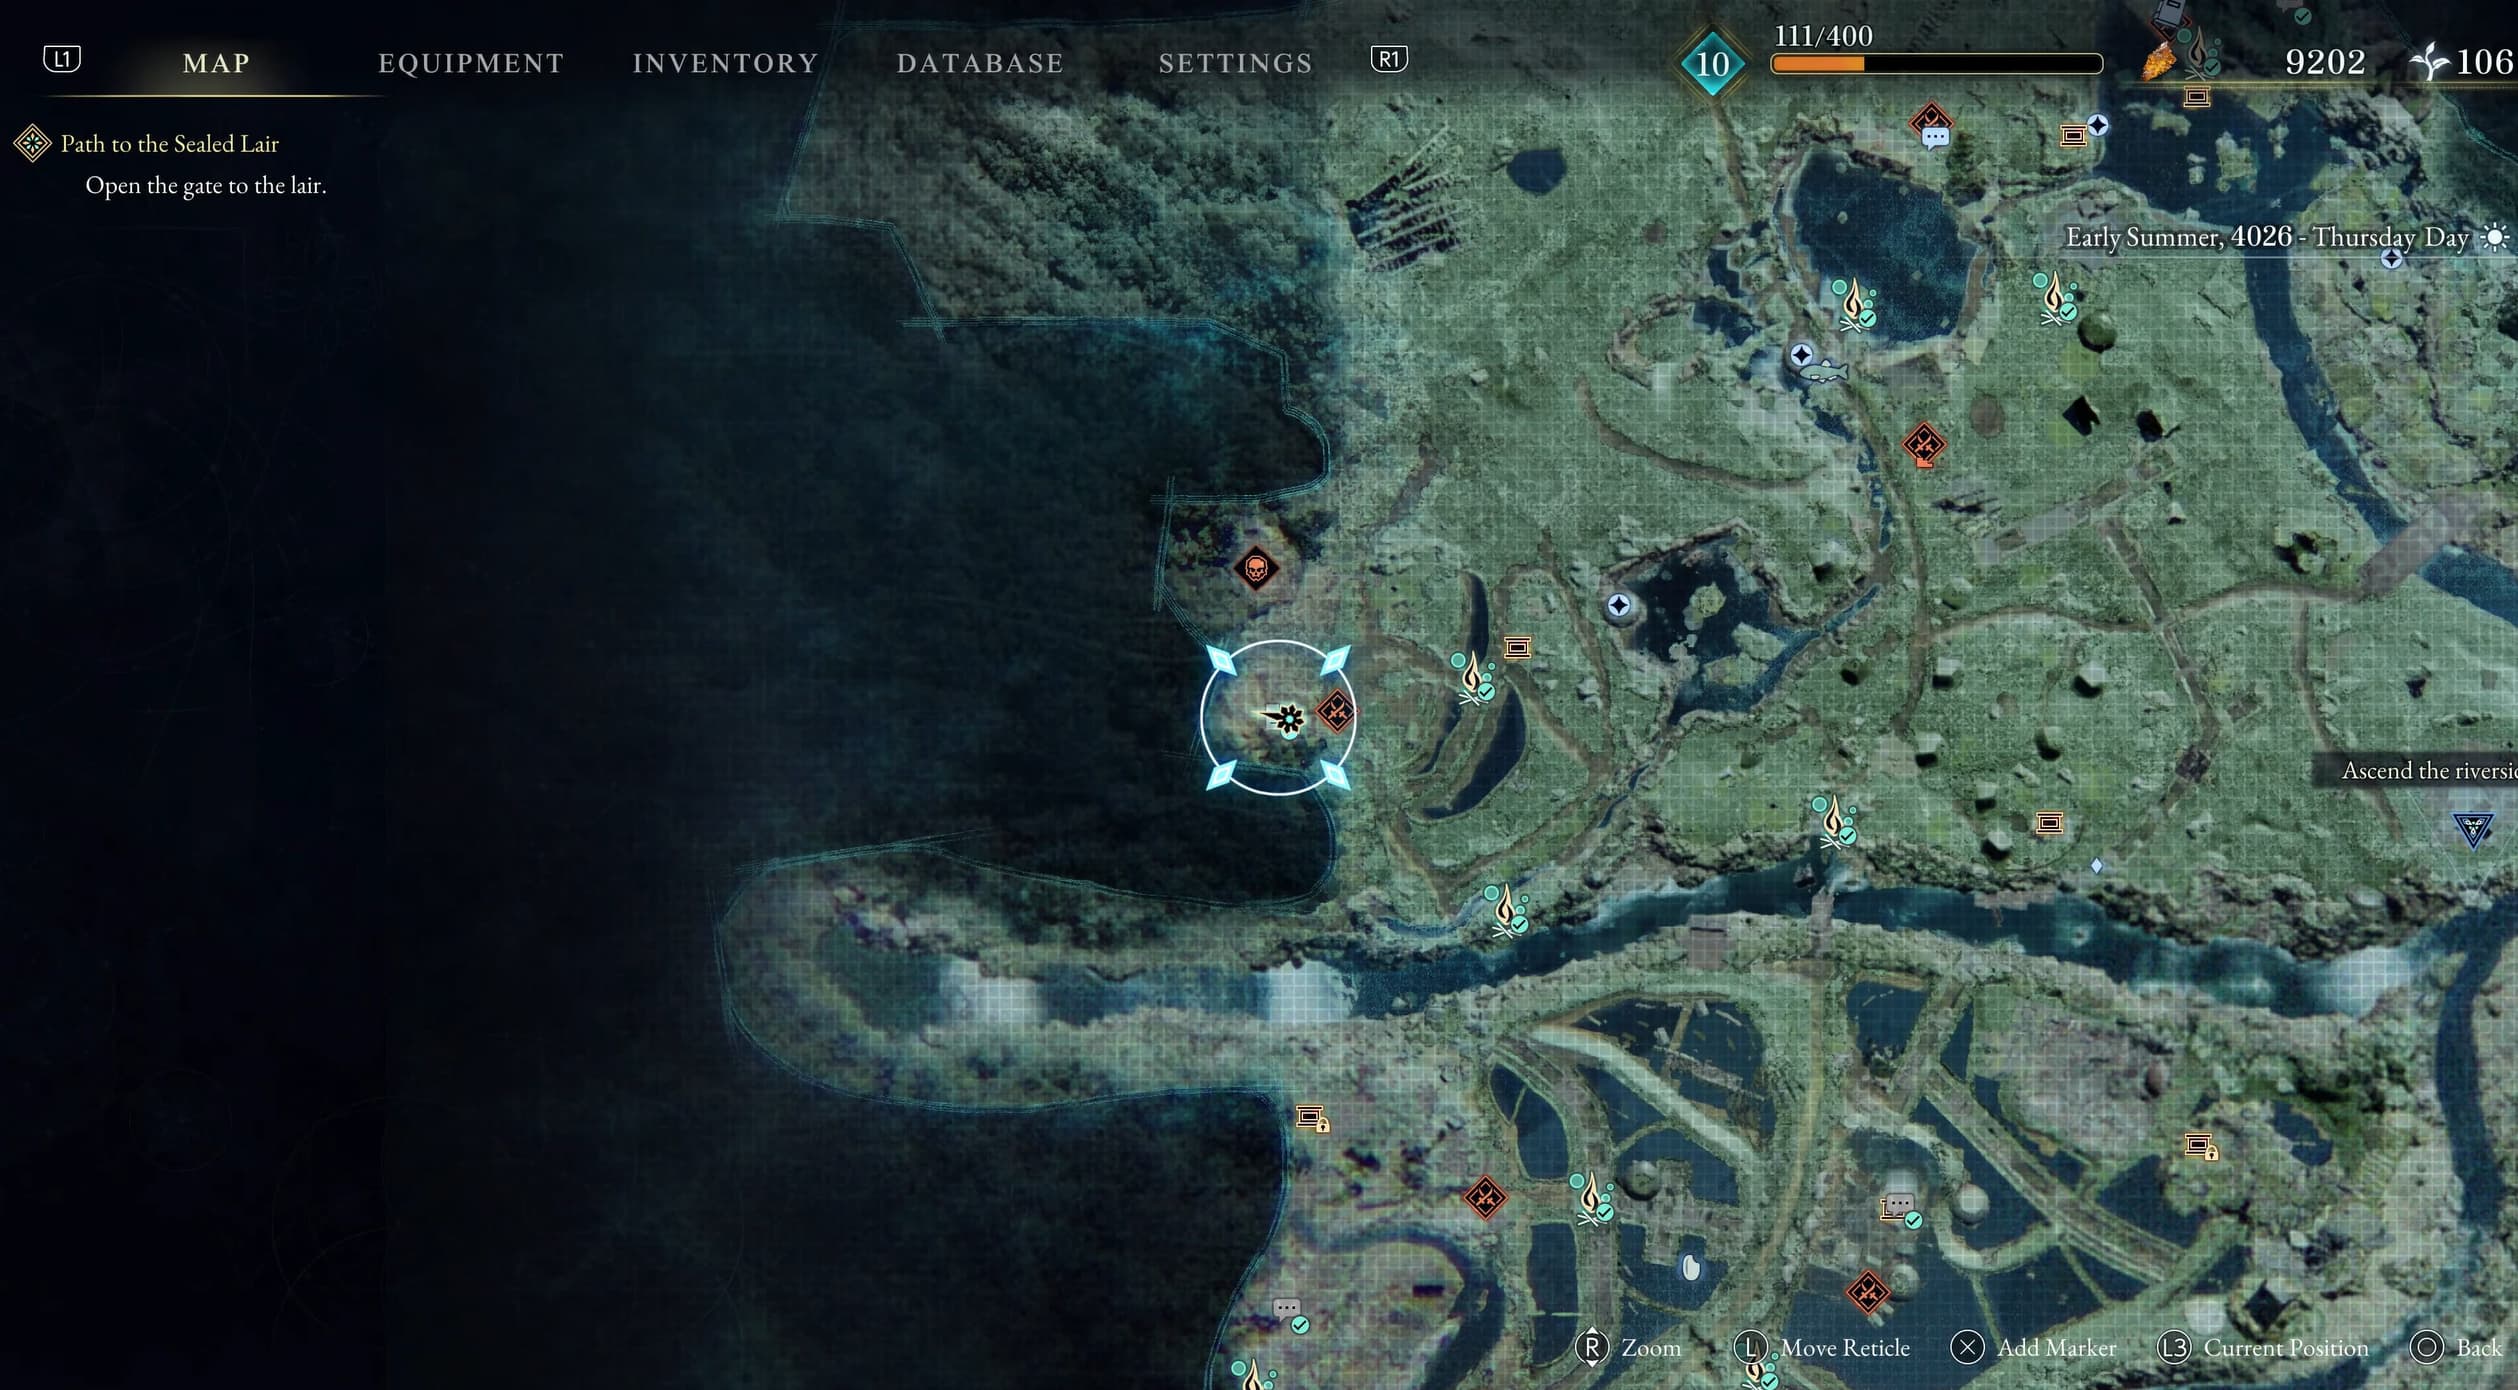
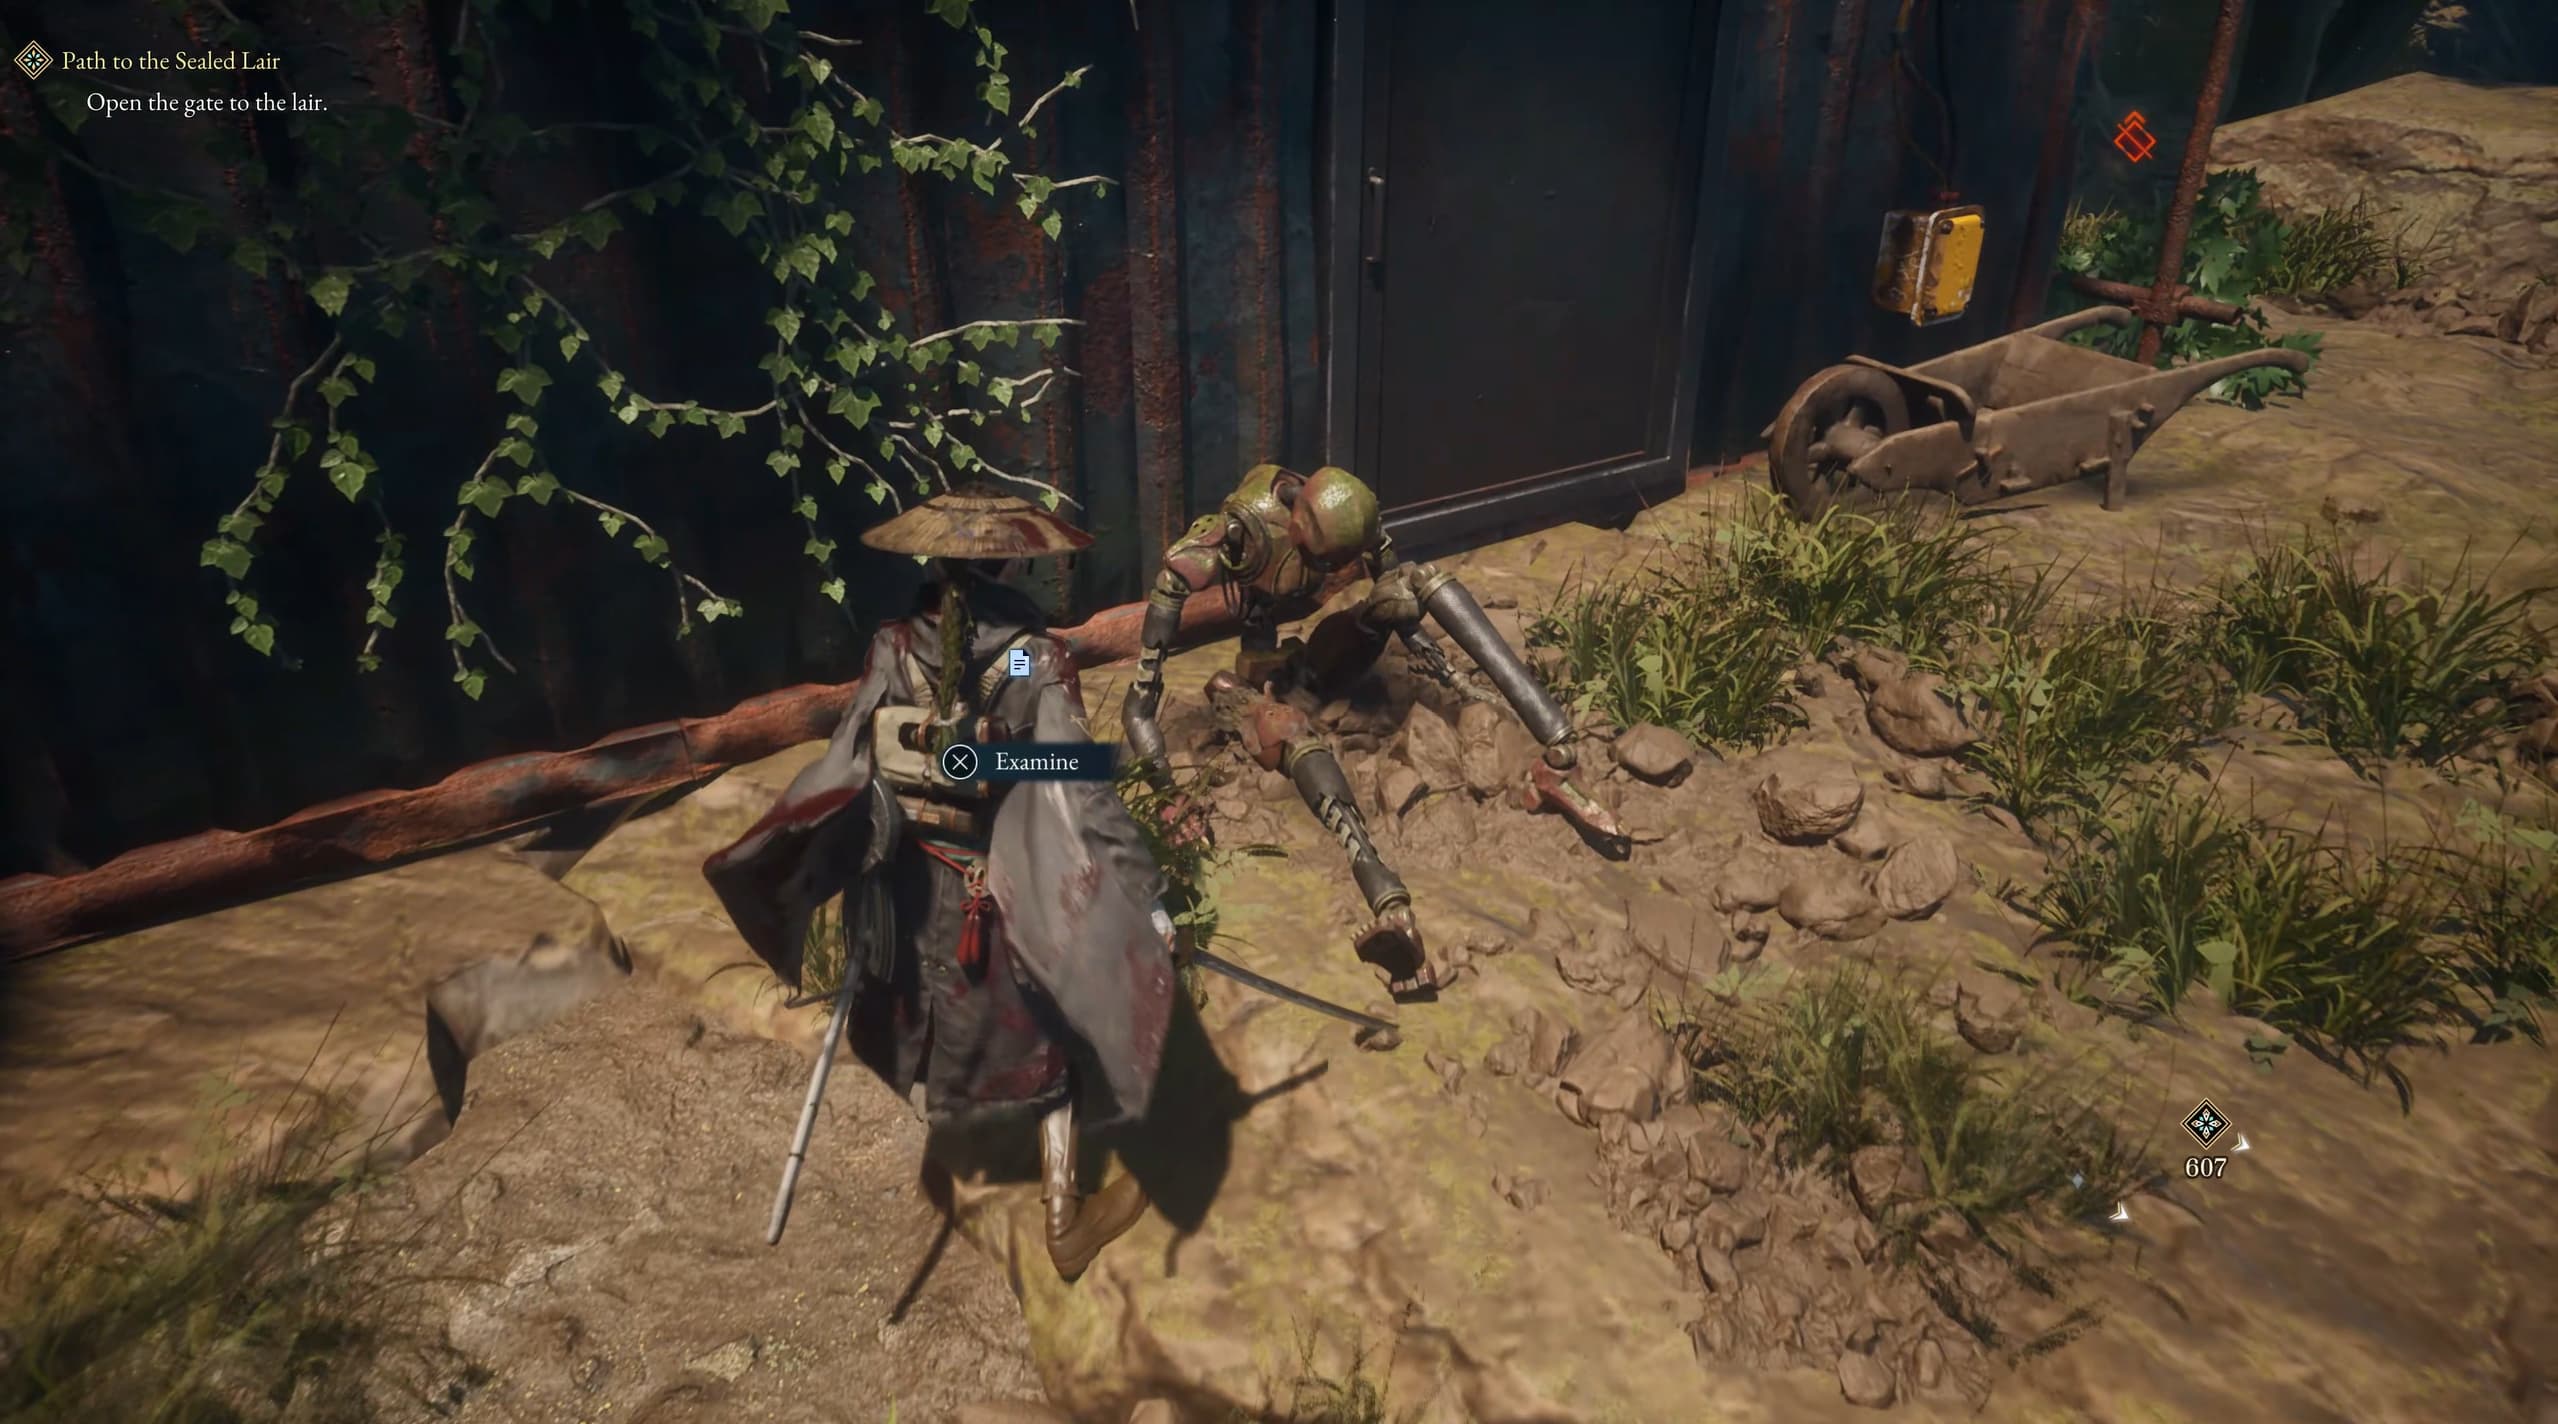
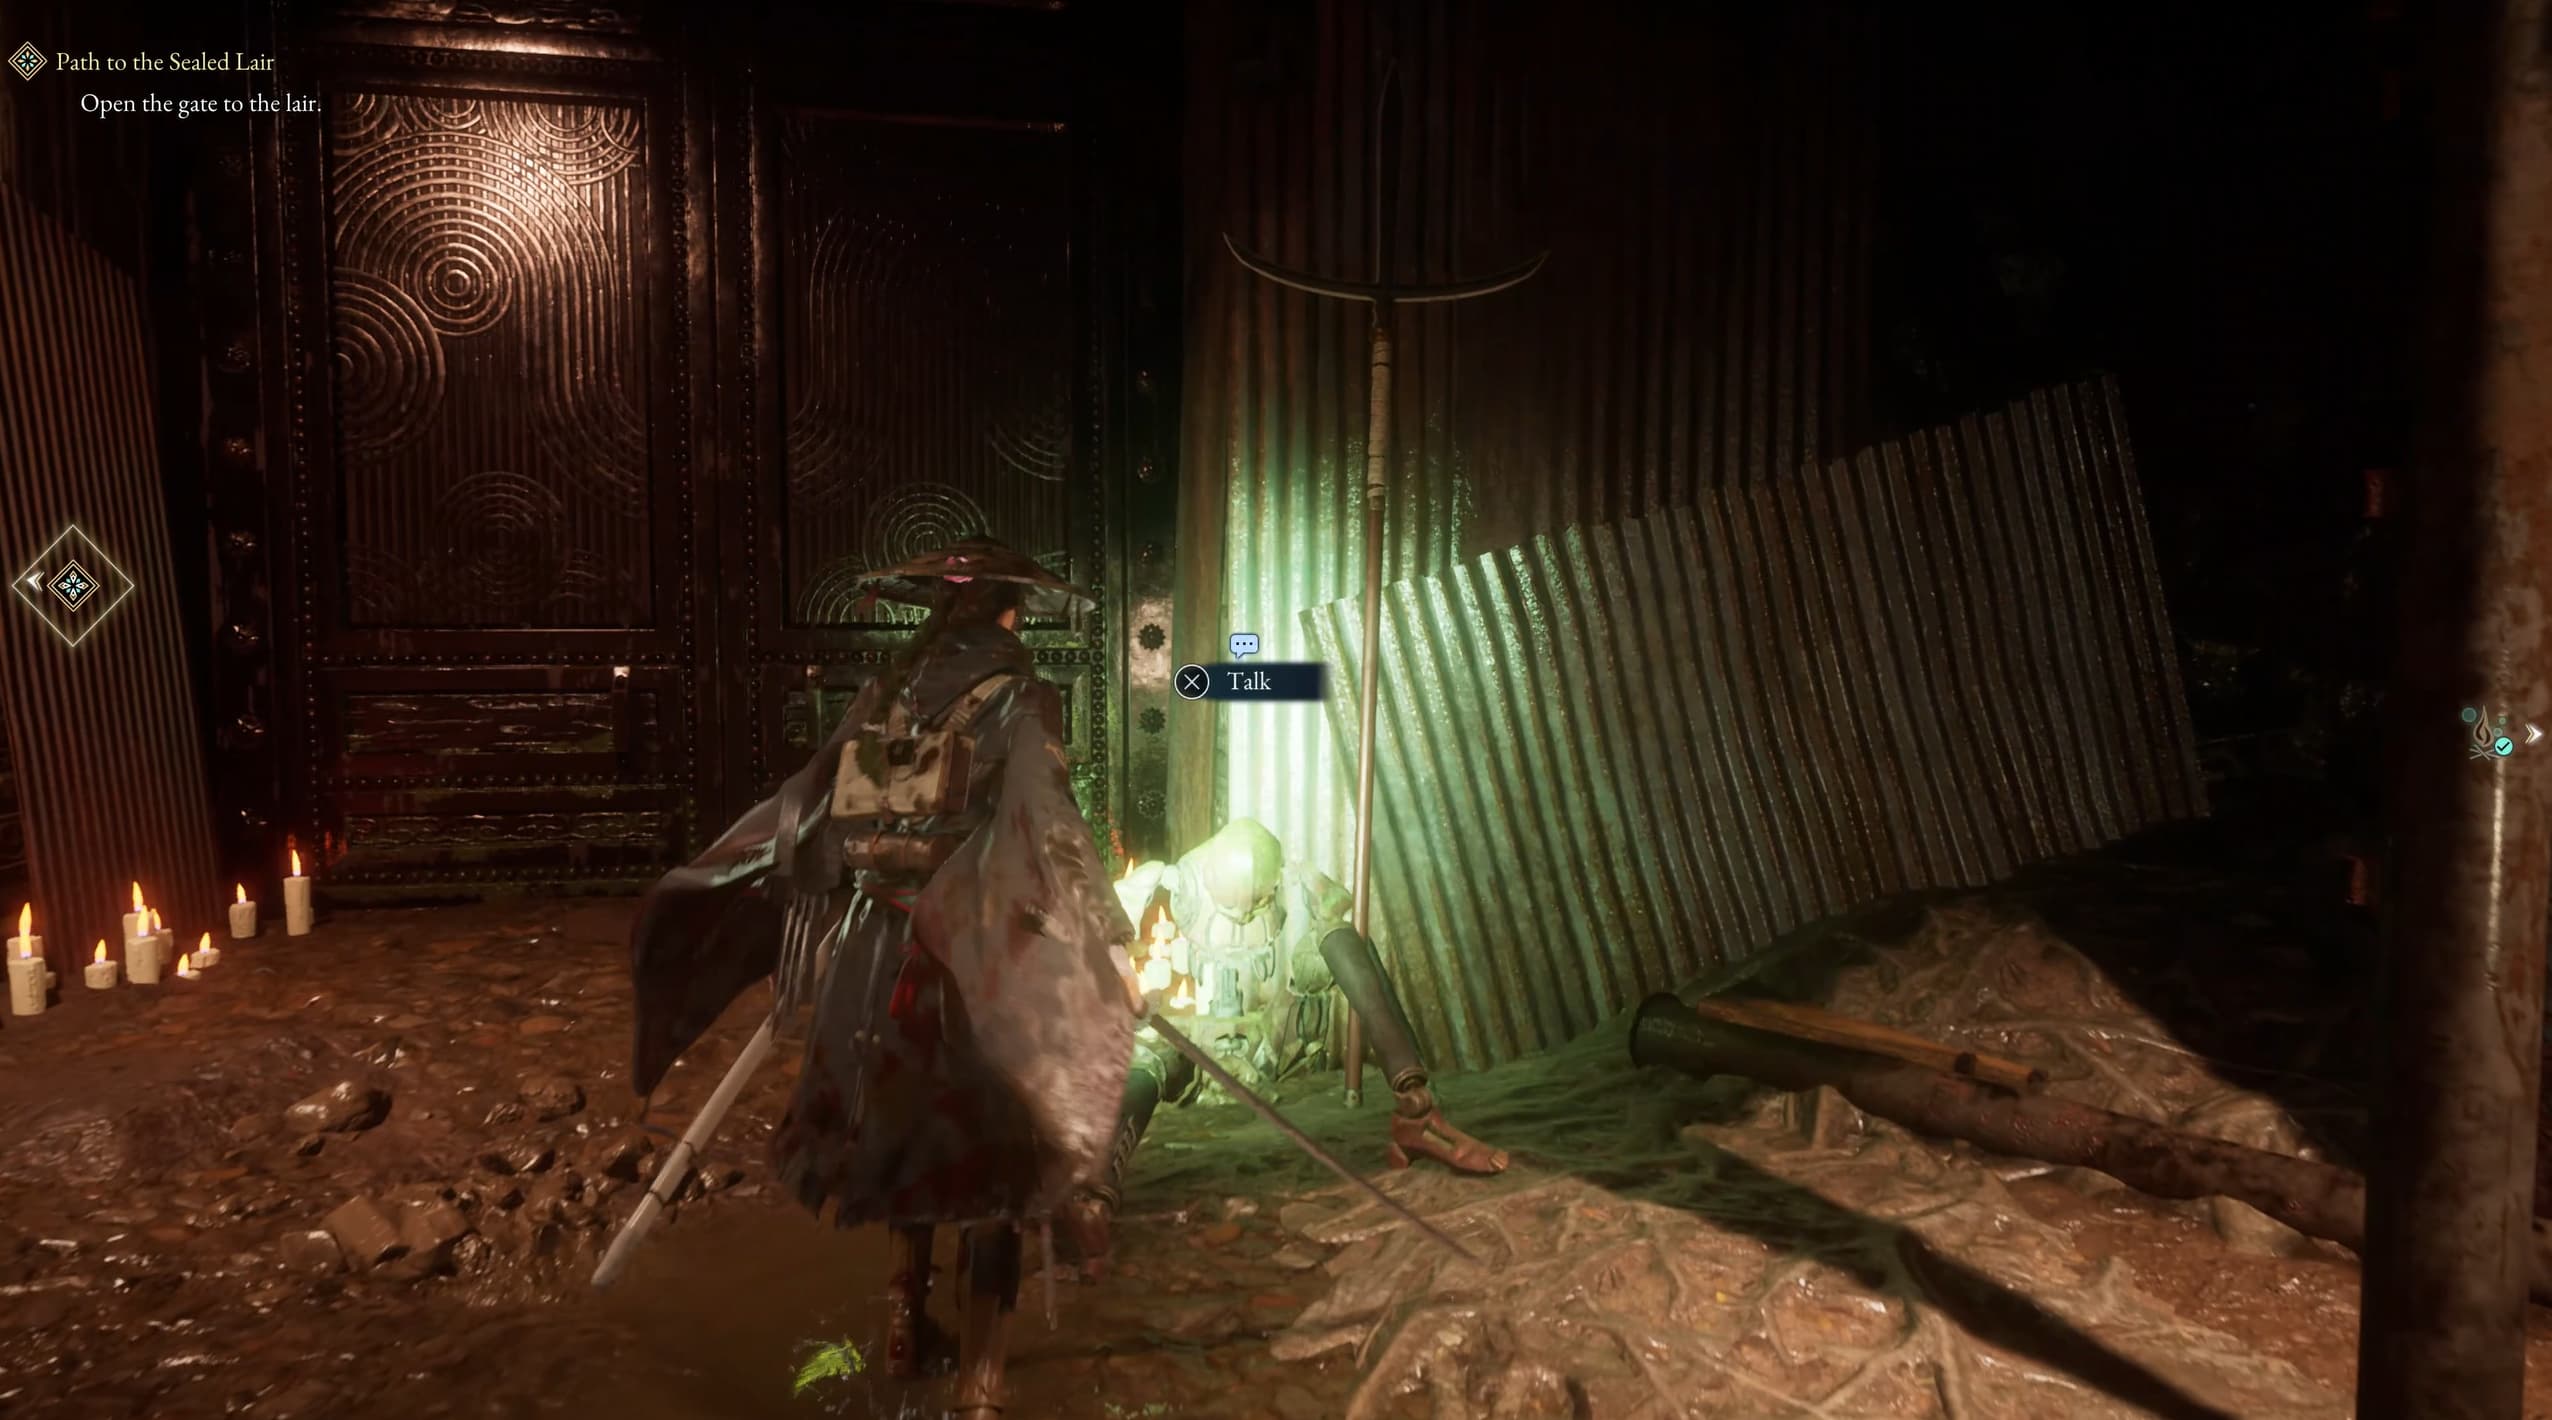
Make your way north a tiny bit to find the Rusted Golem to talk with, he will count towards your Keeper Golems, so make sure to exhaust all dialogue with him before continuing.
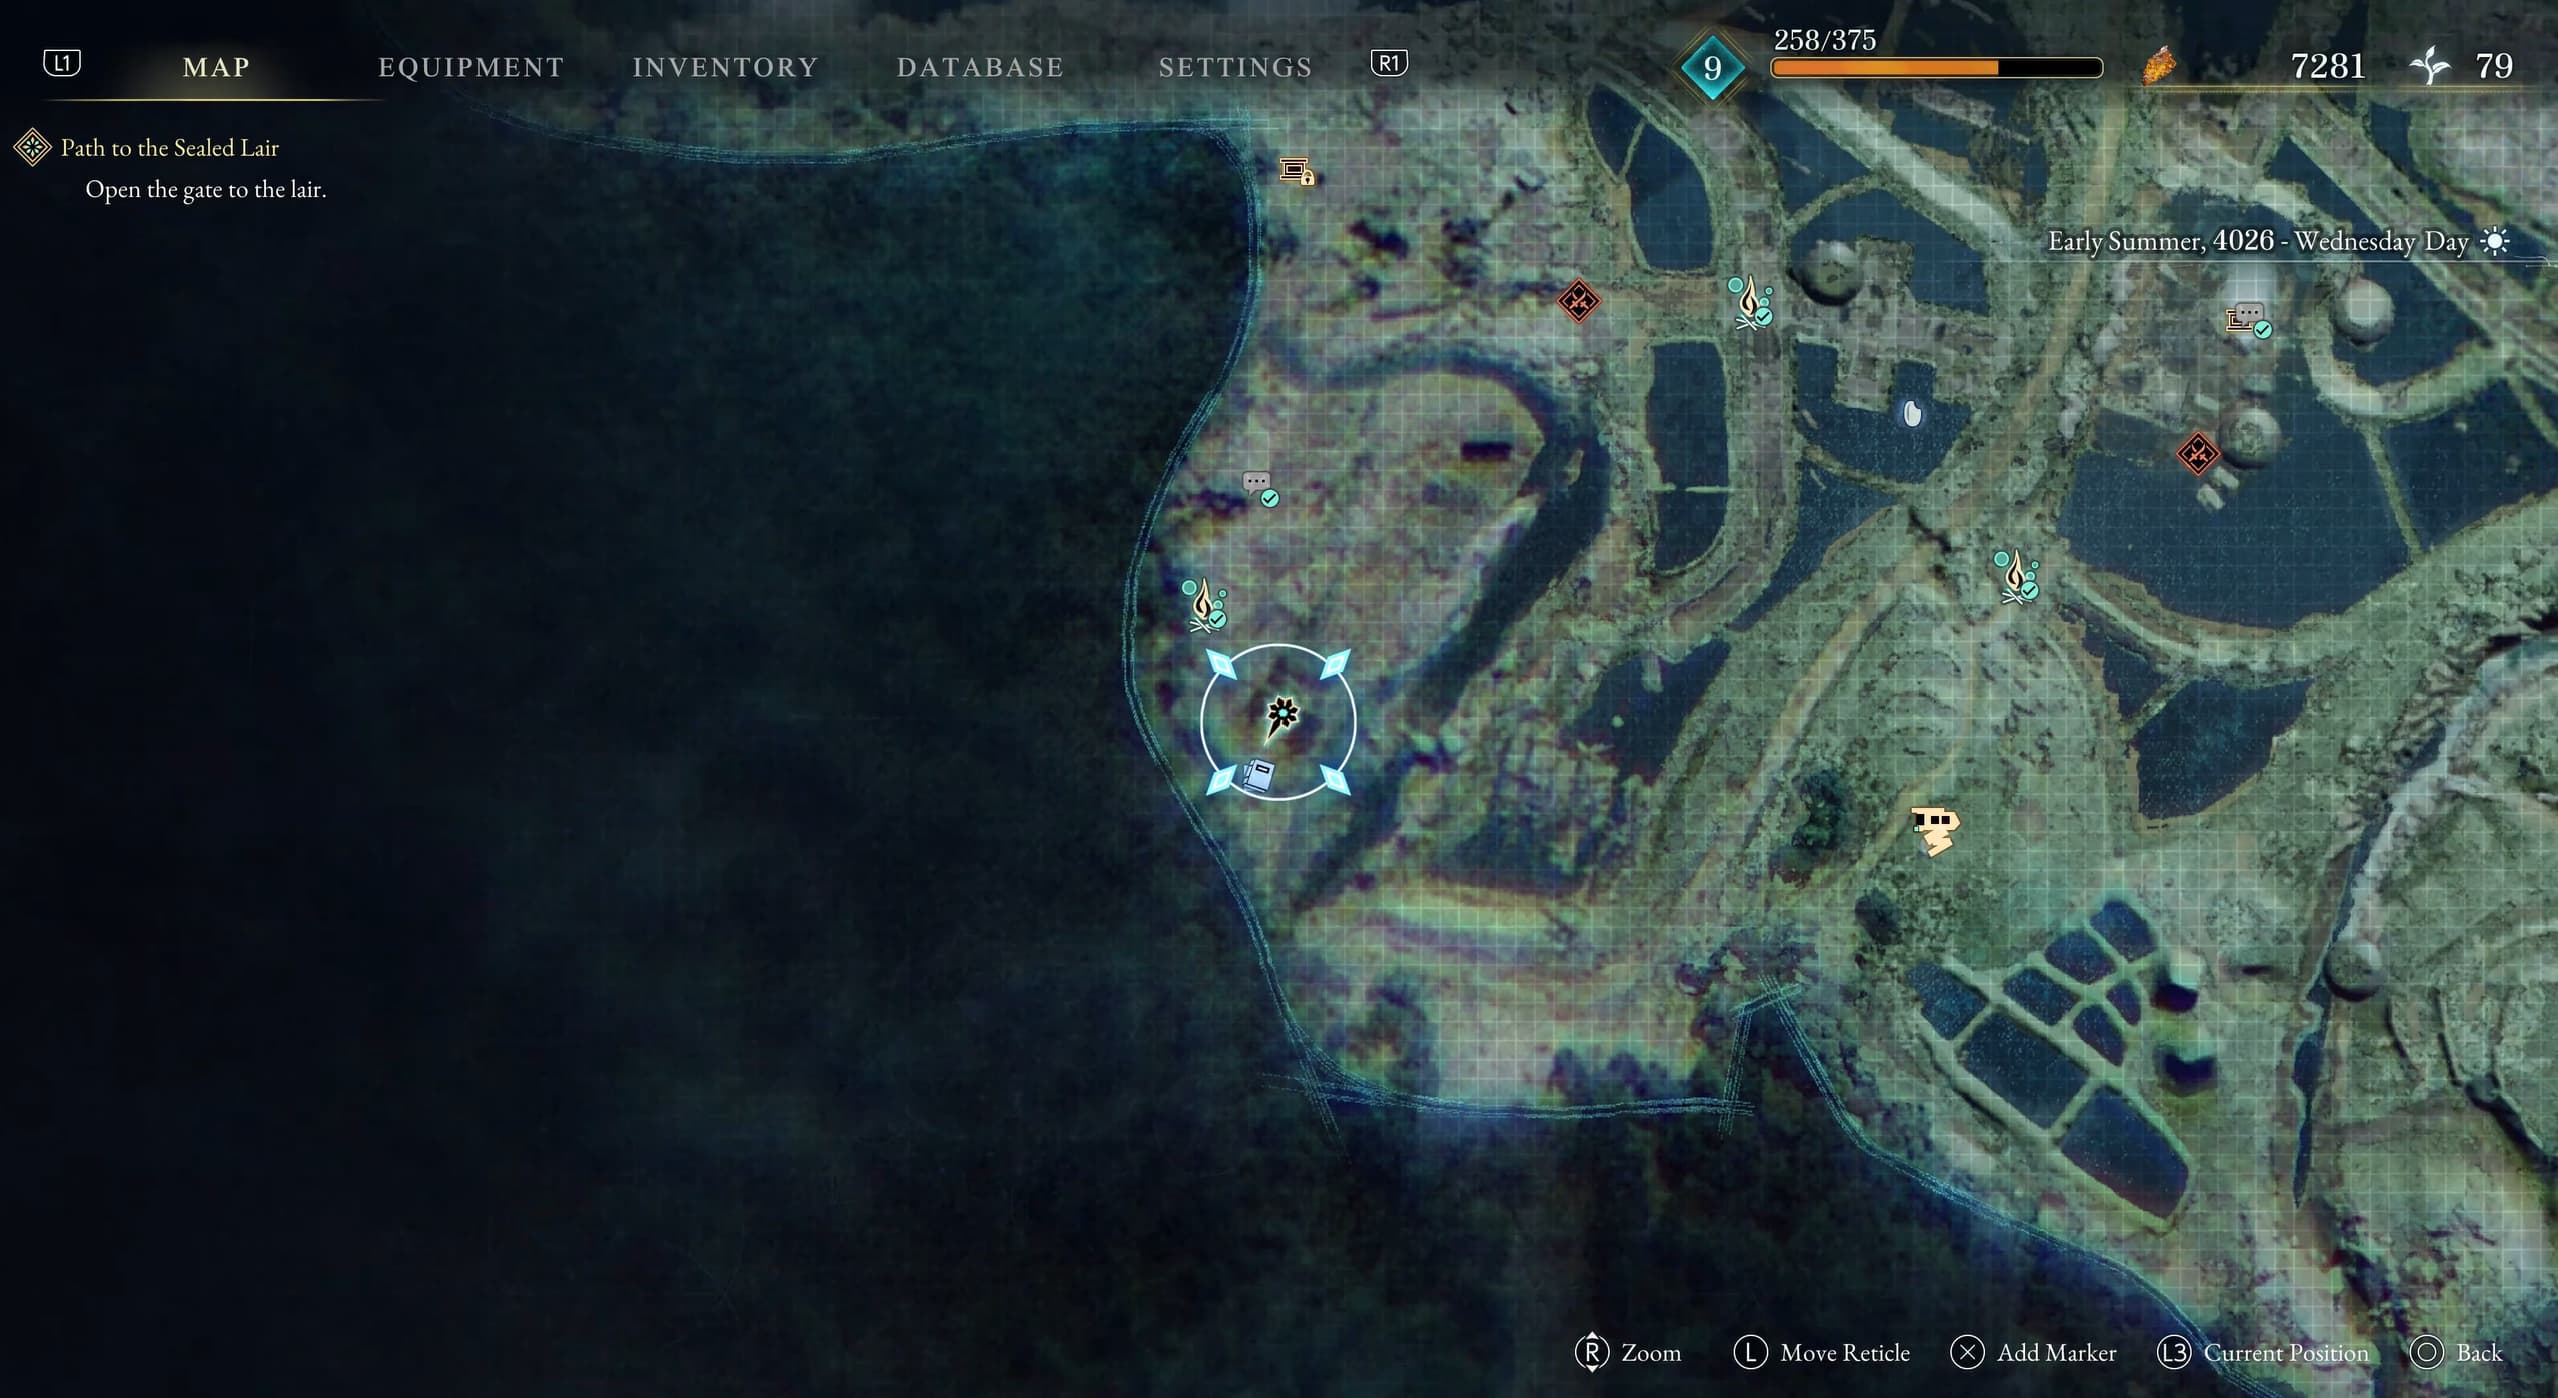
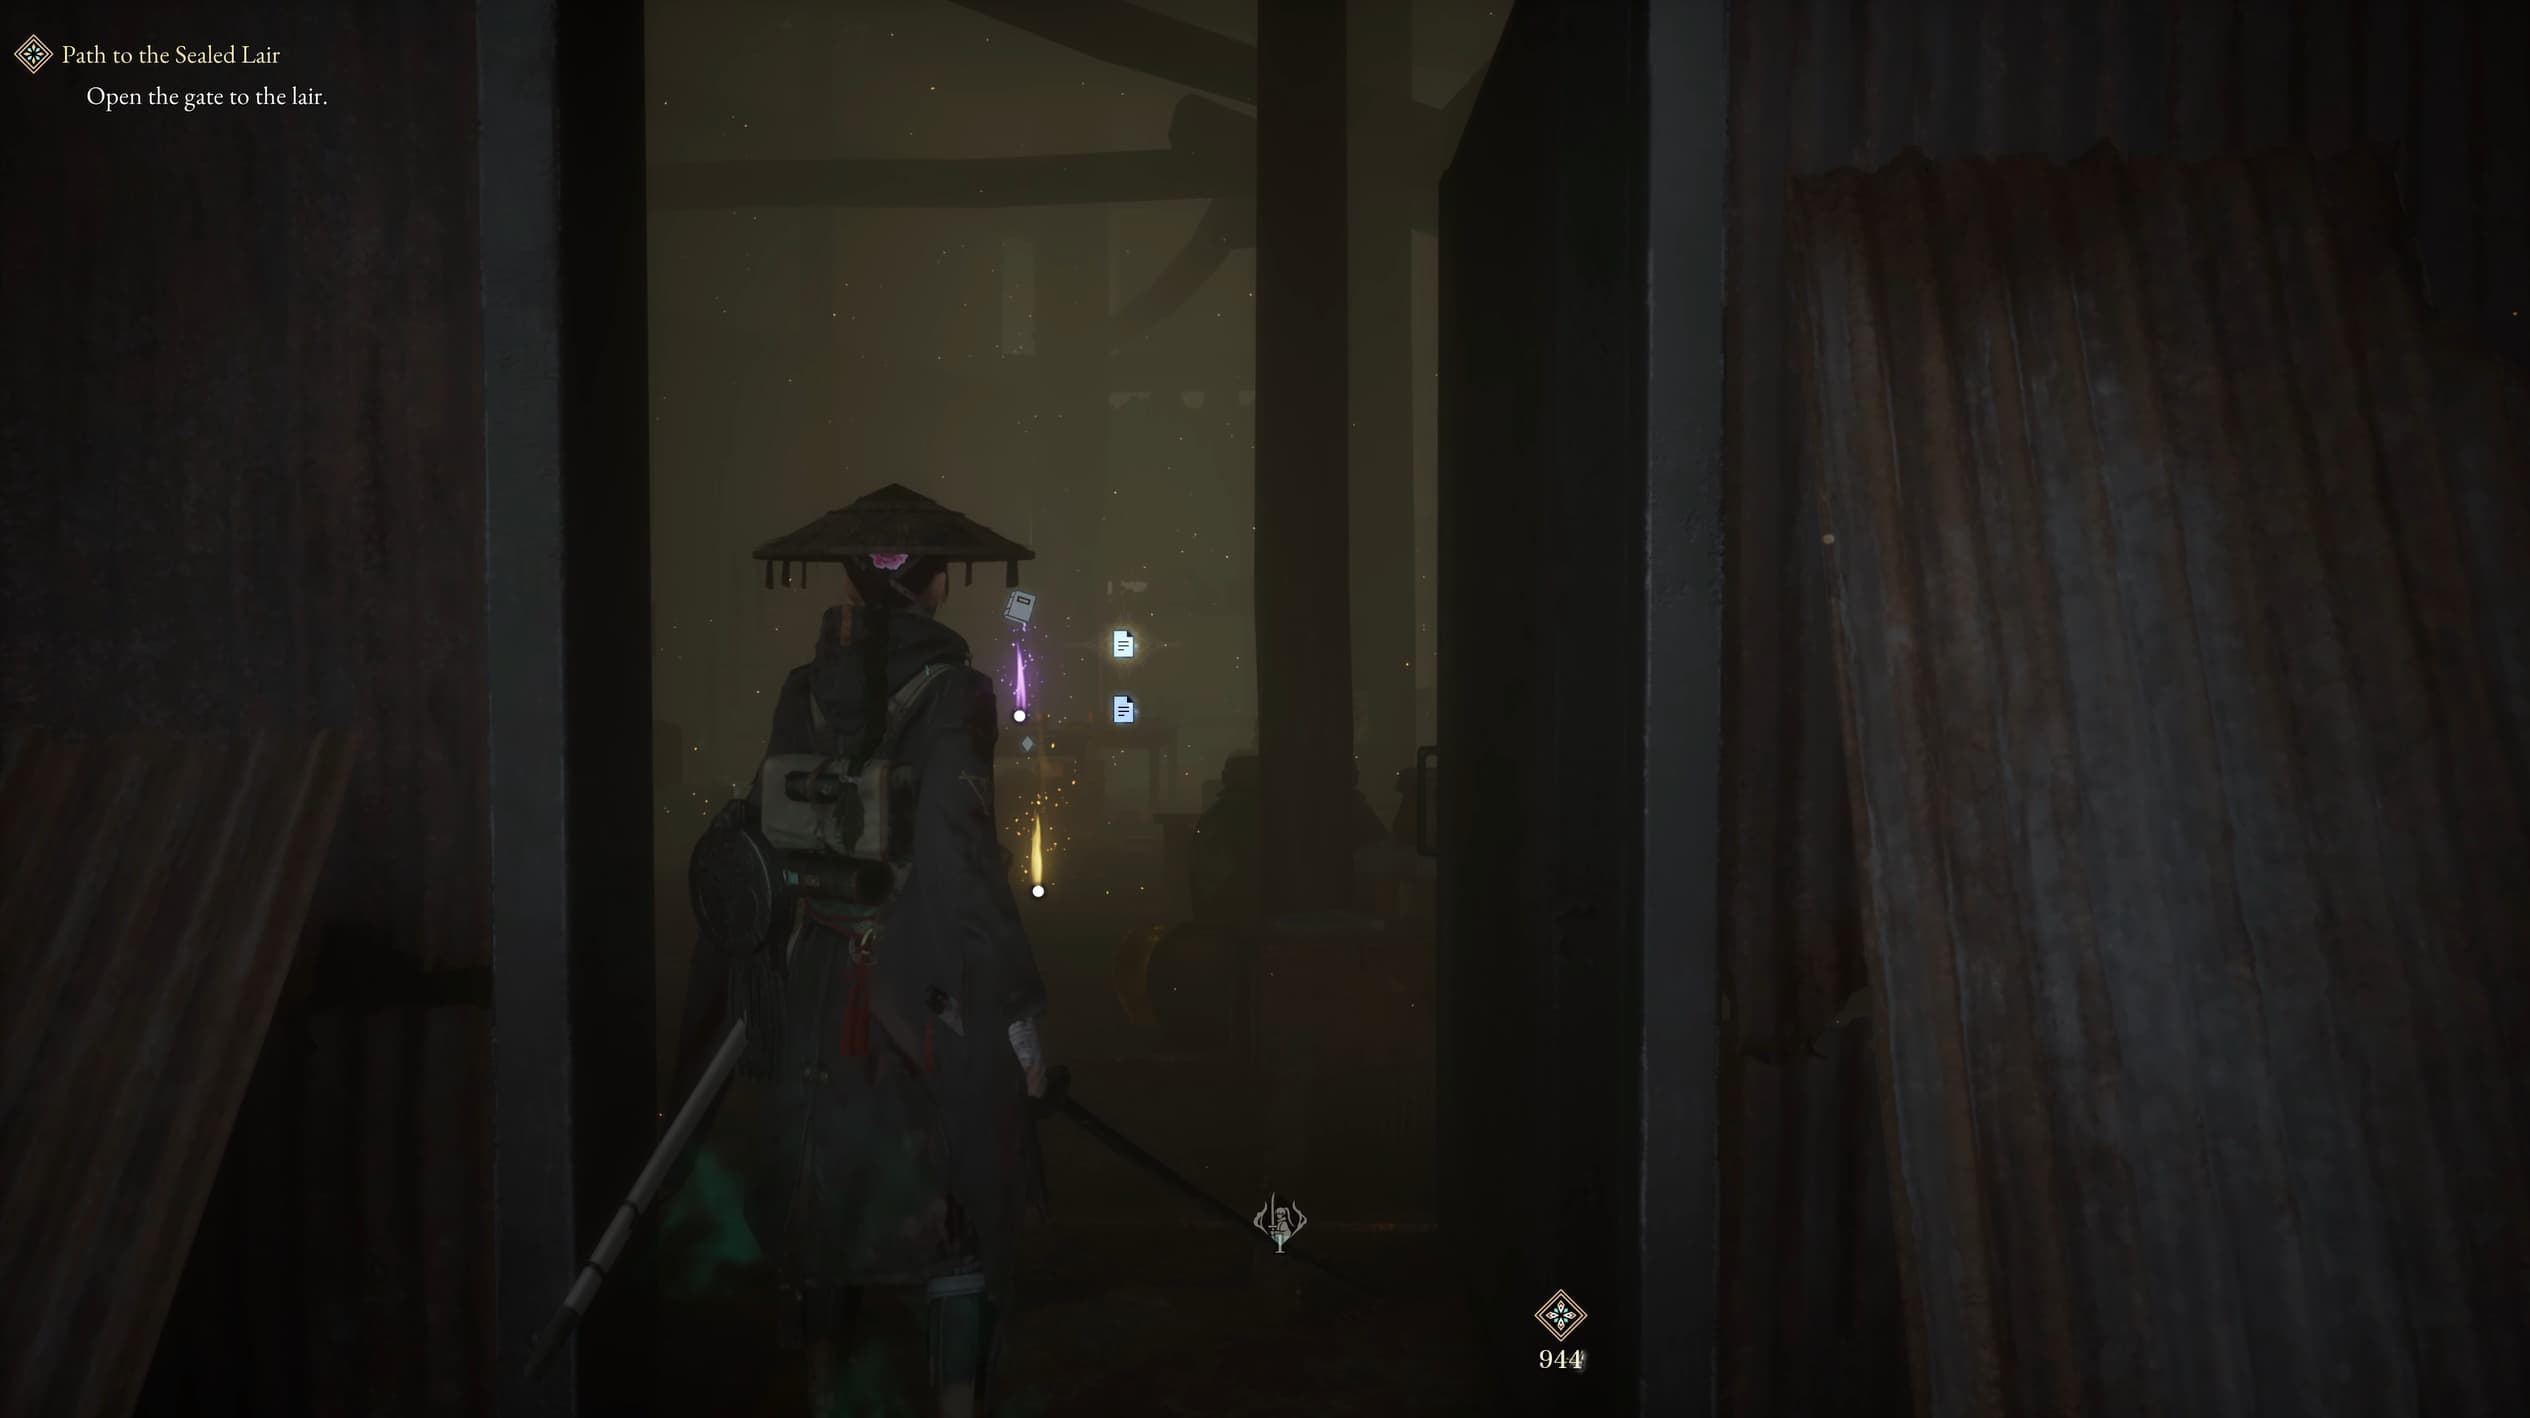
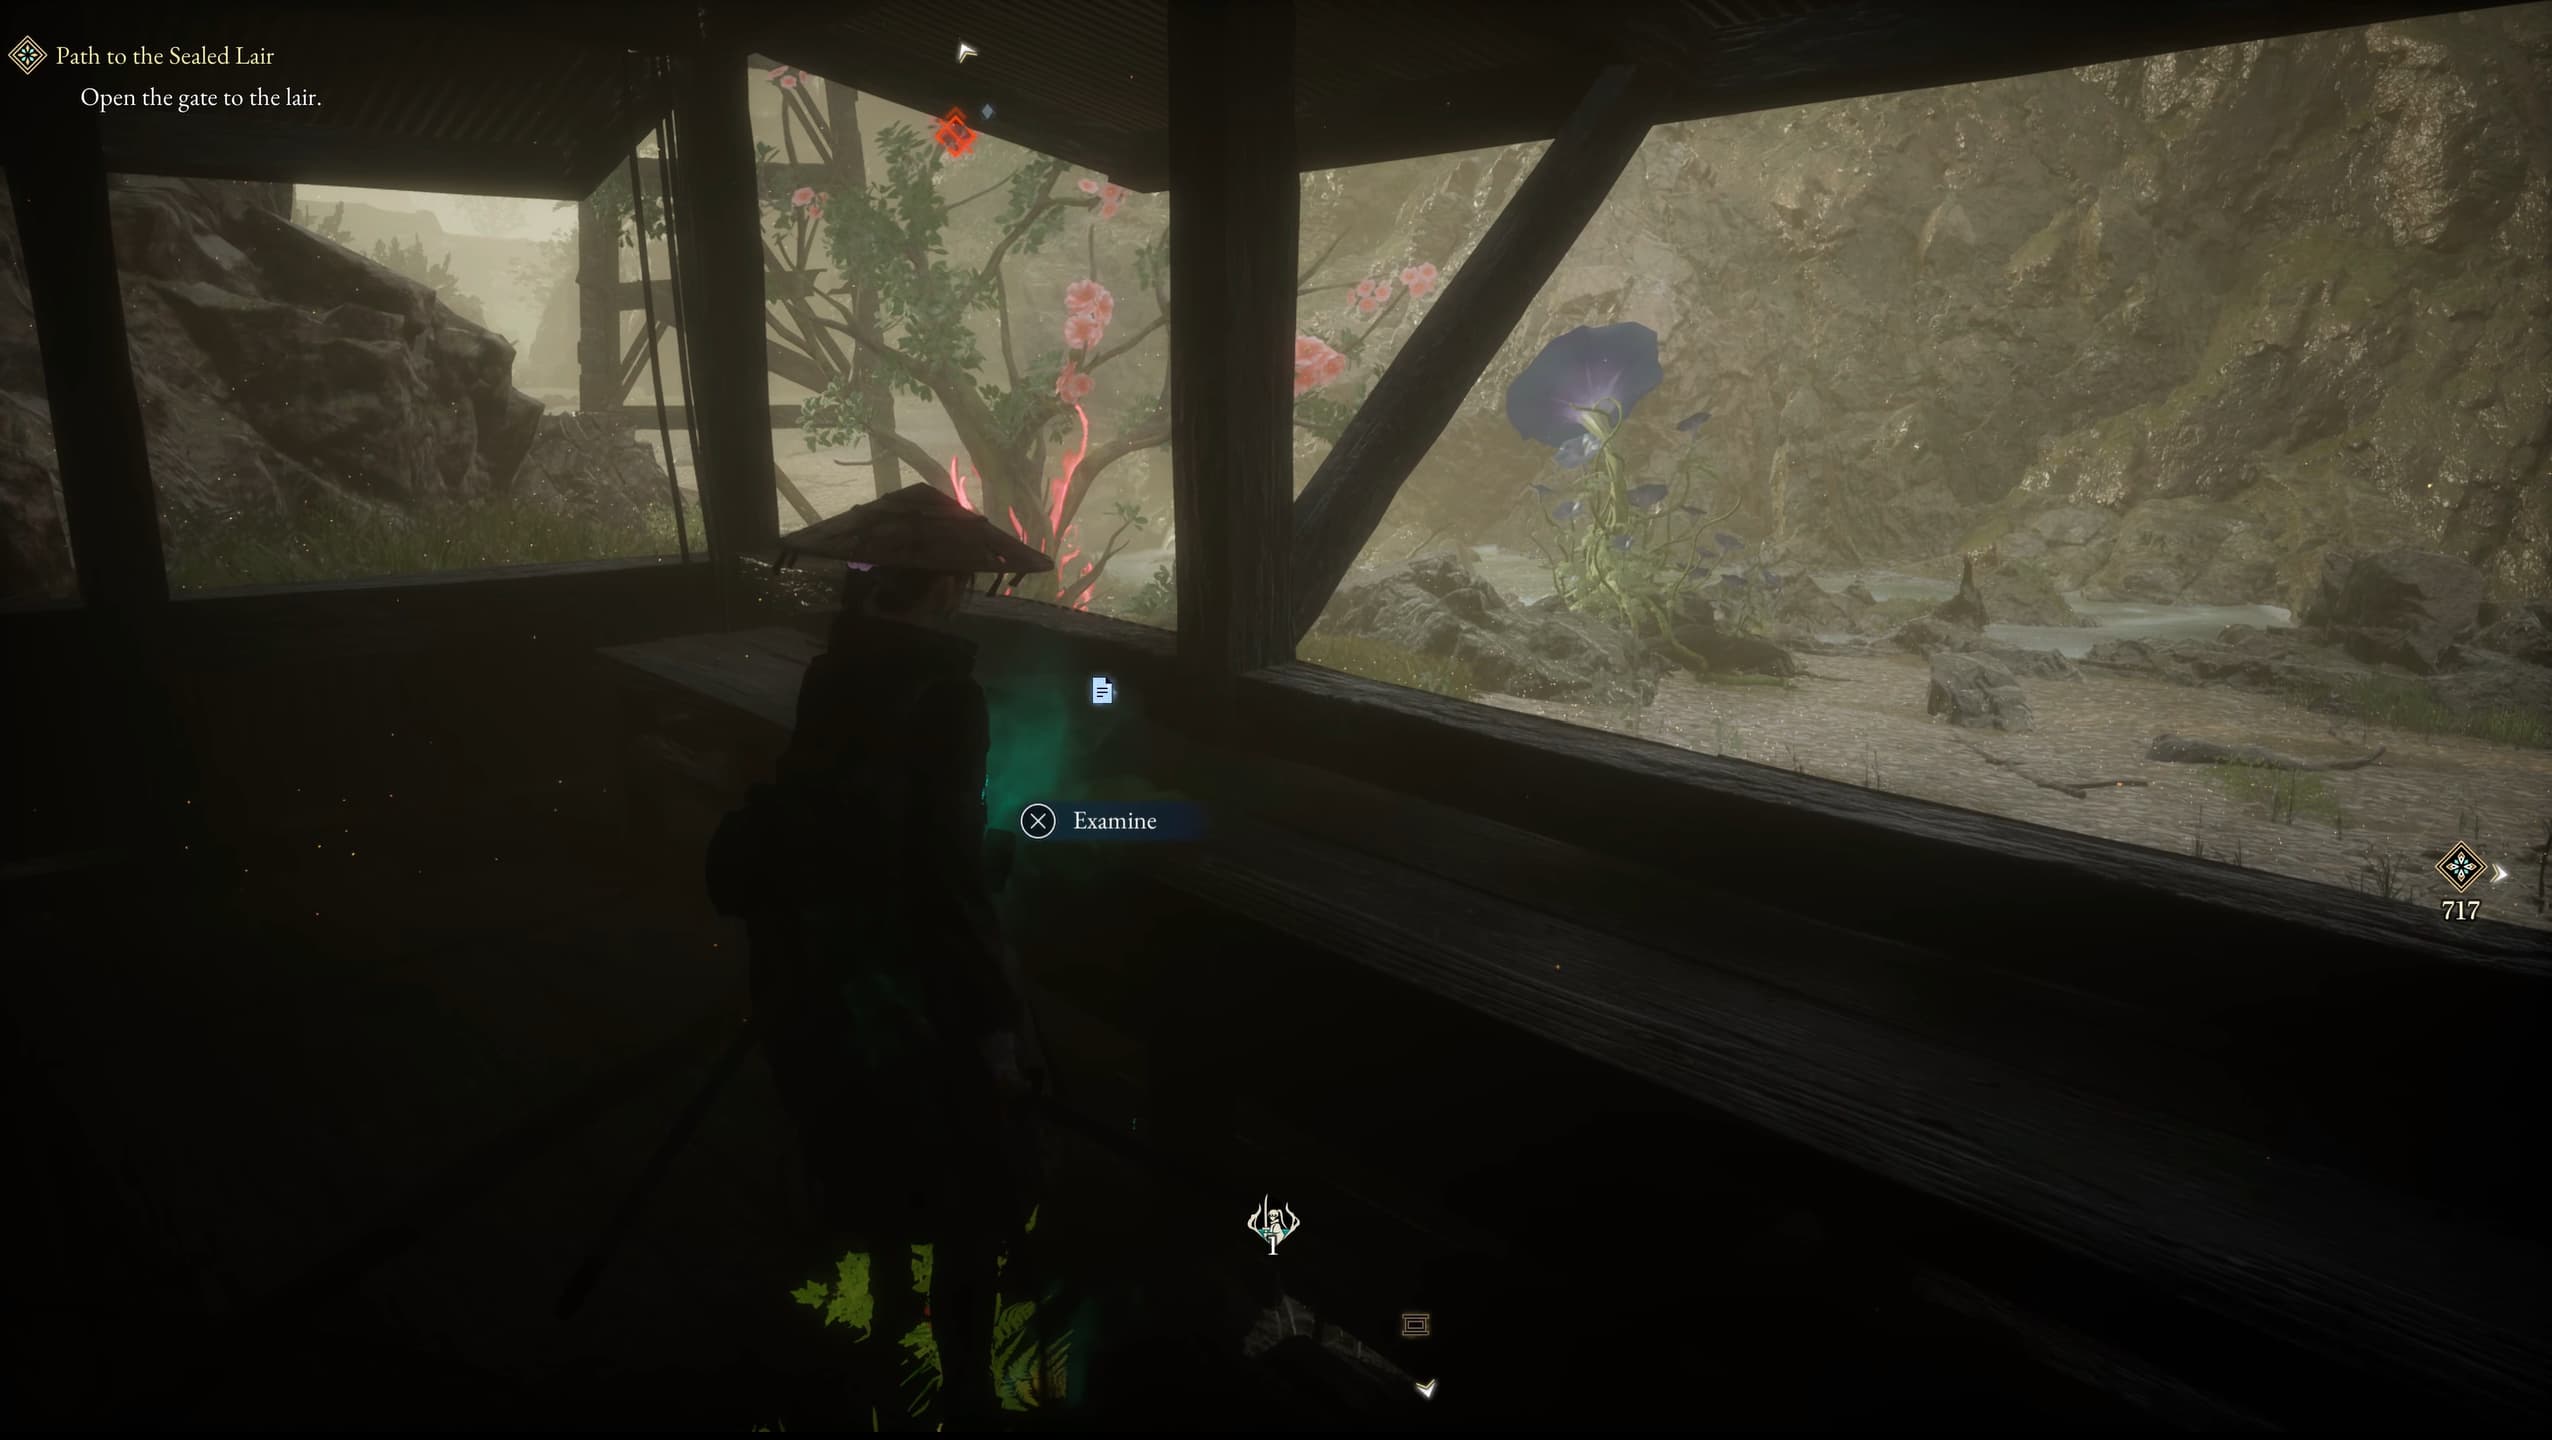
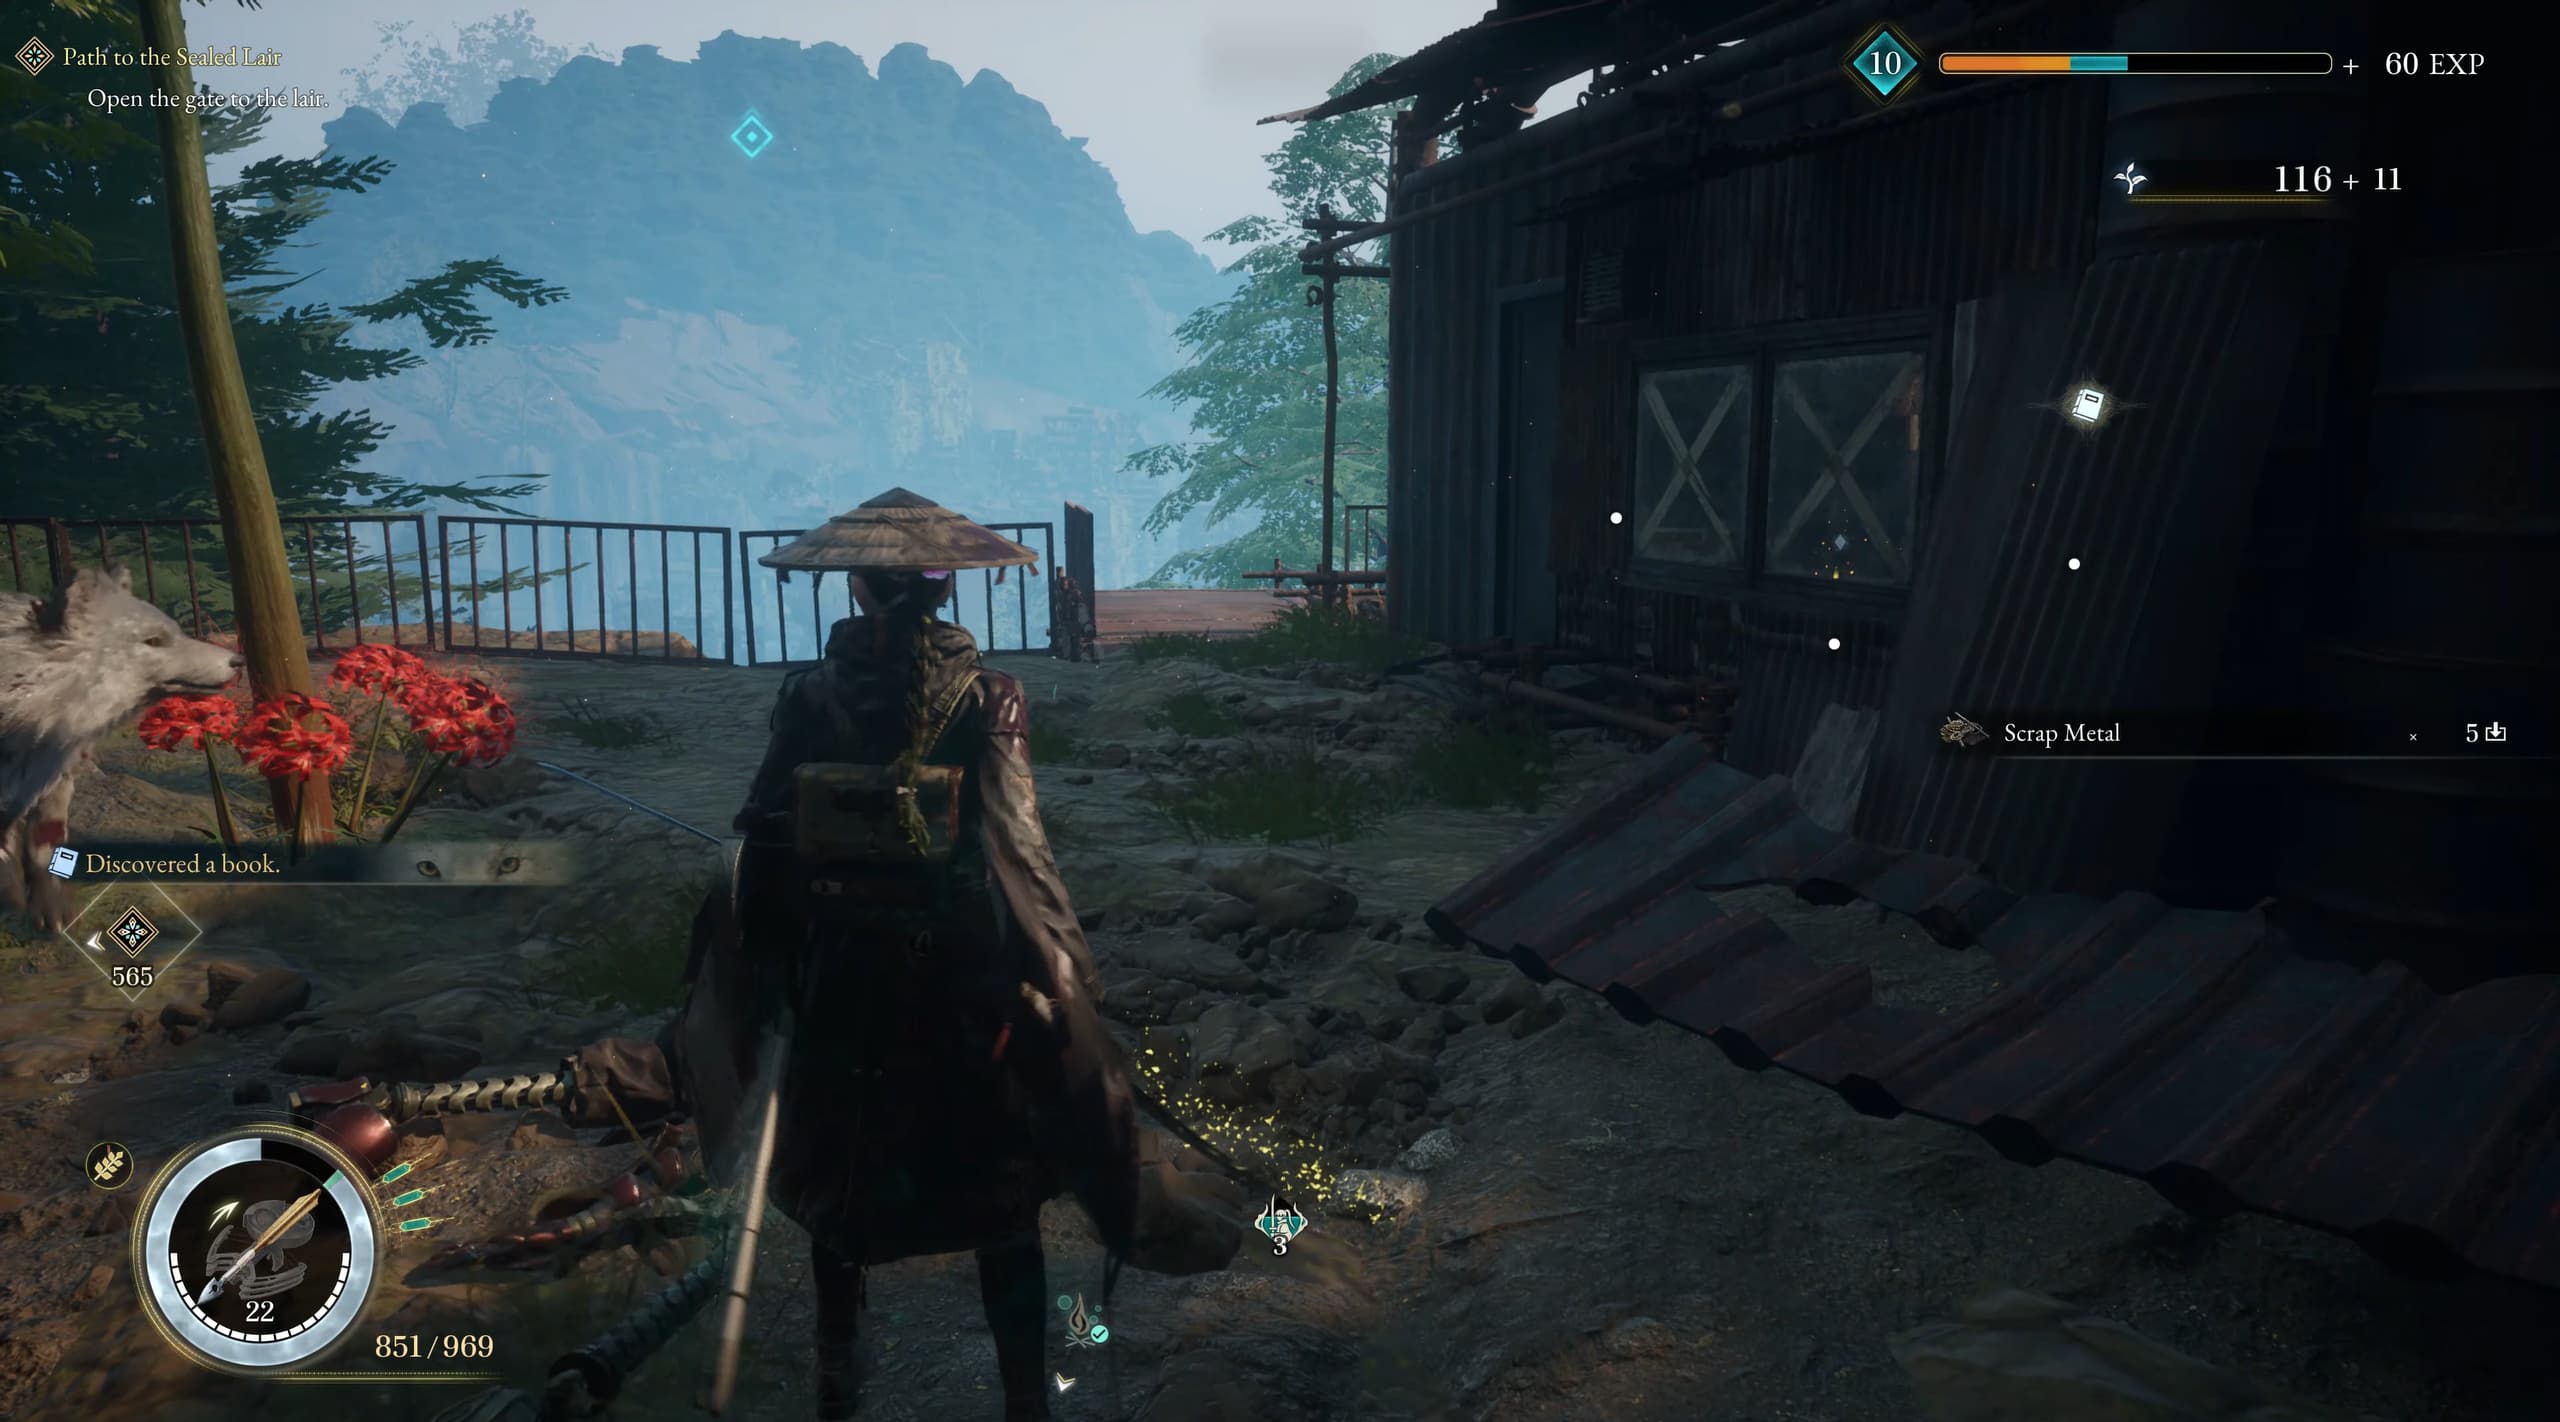
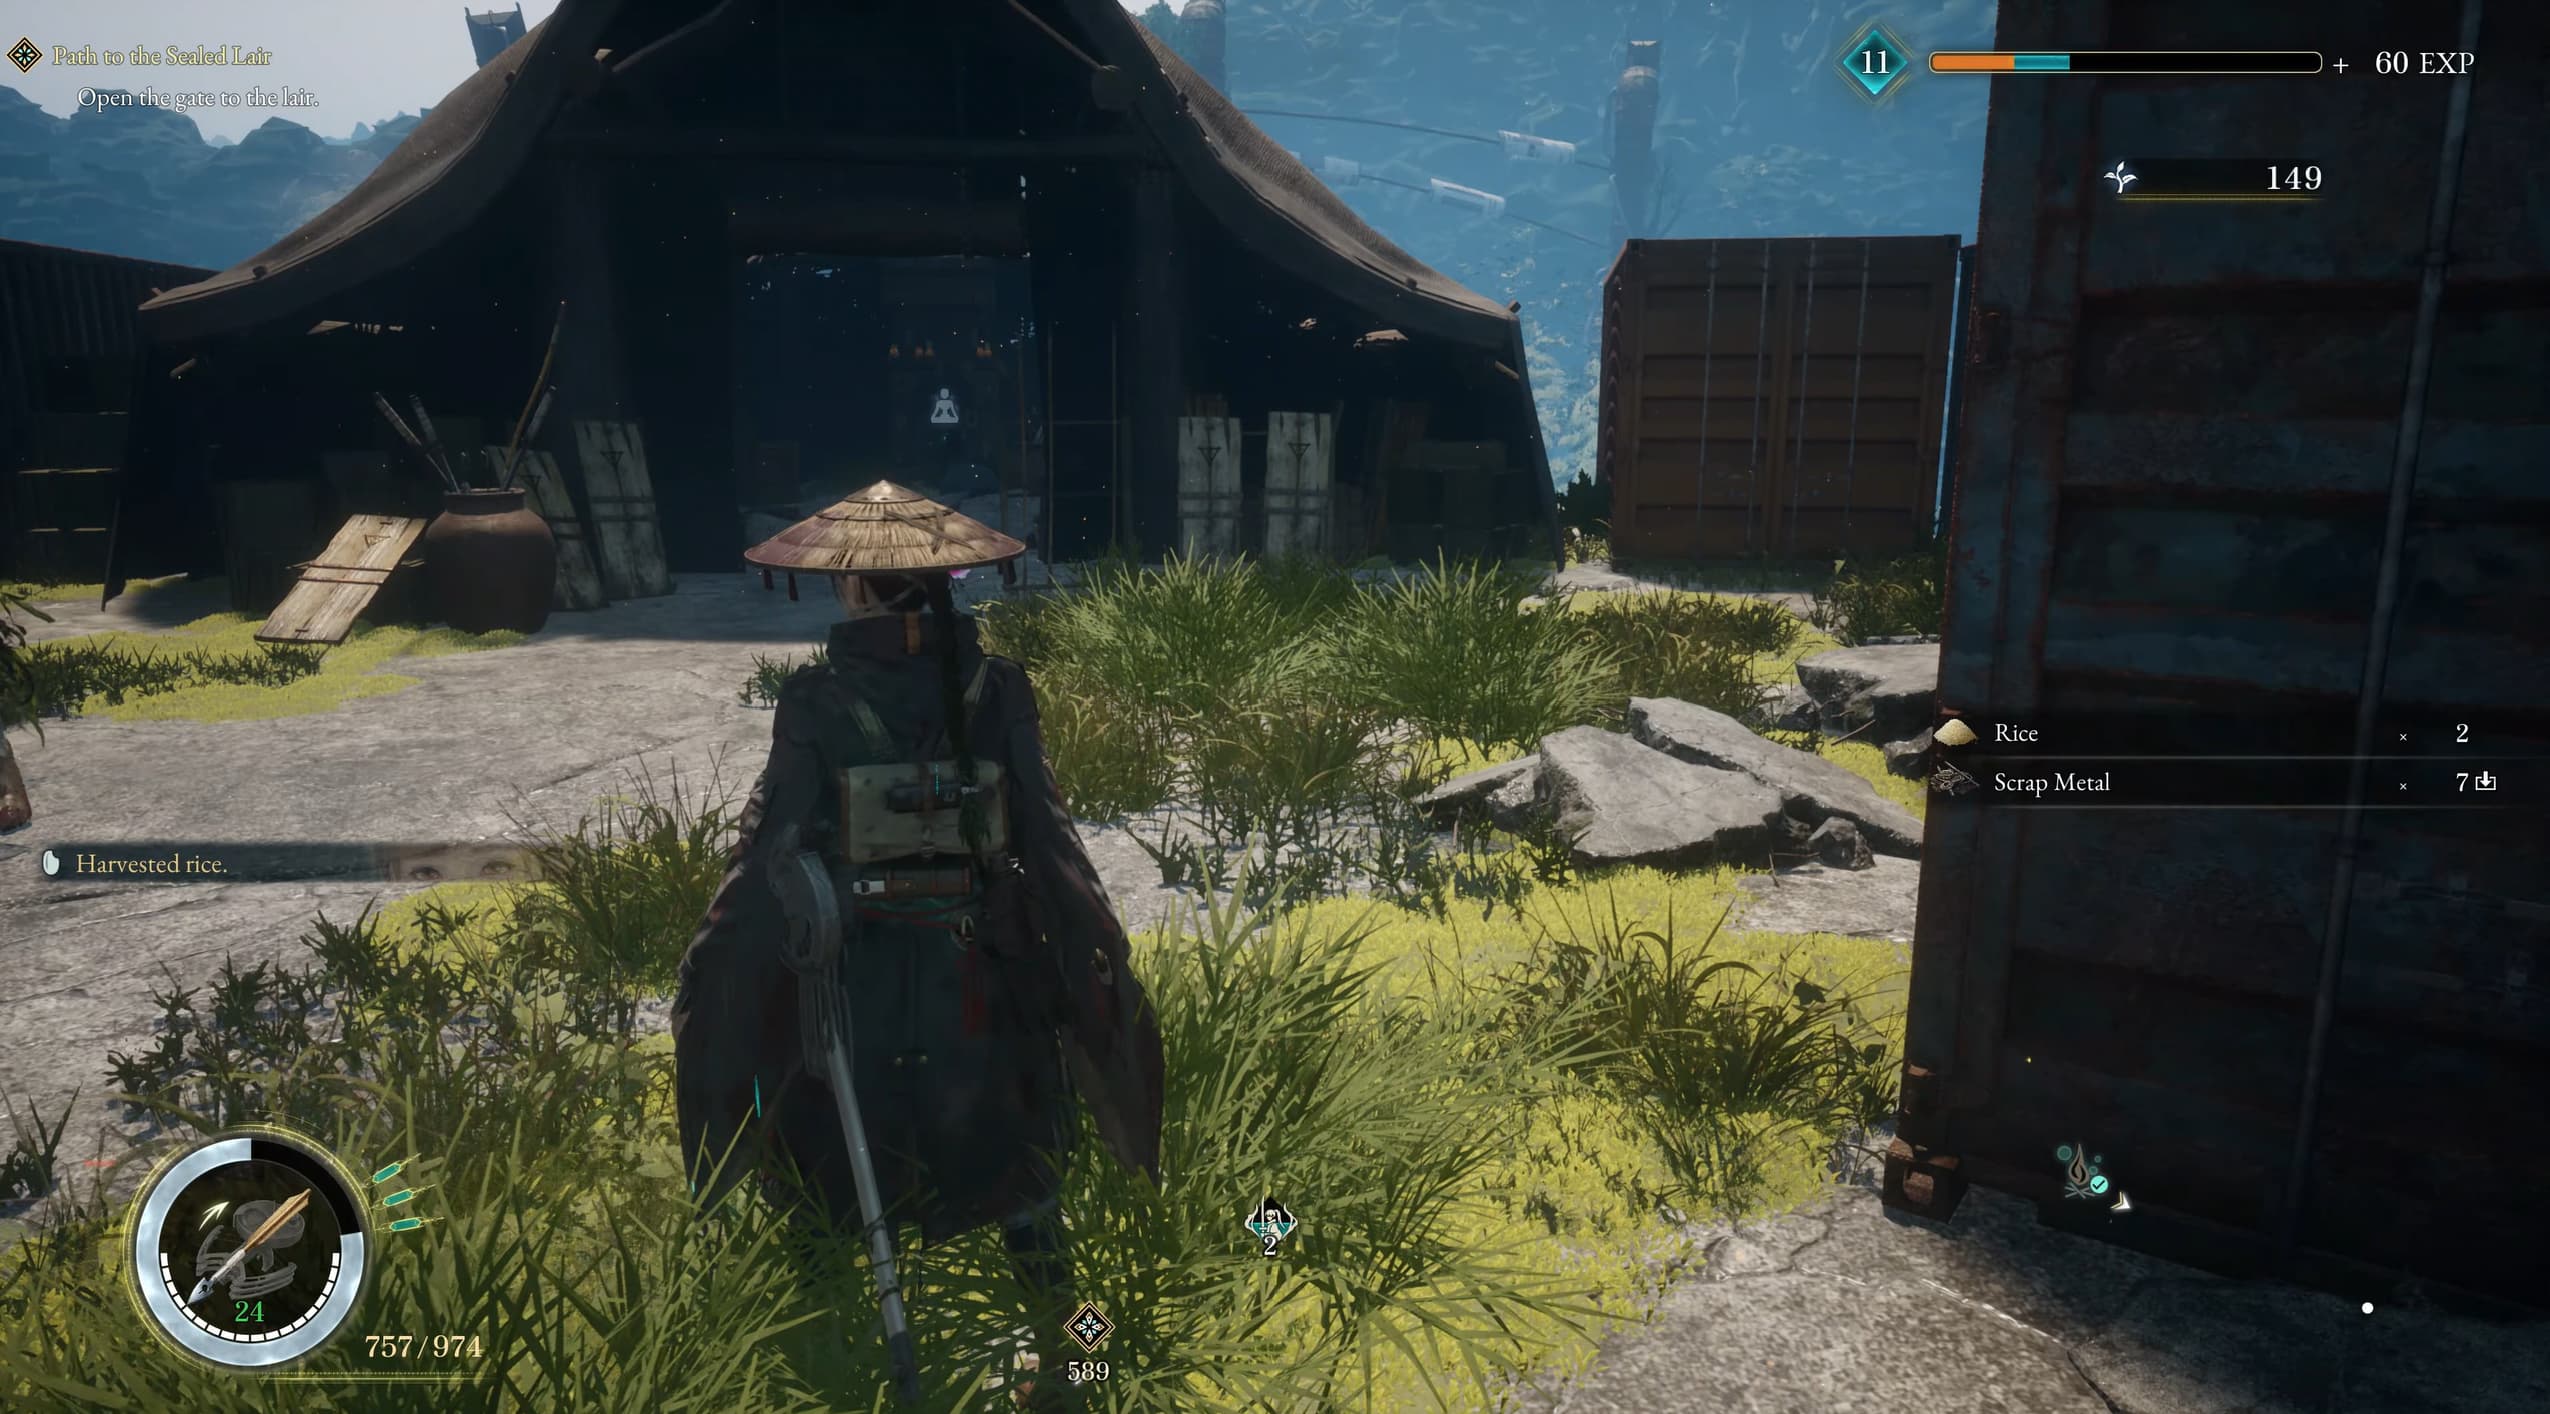
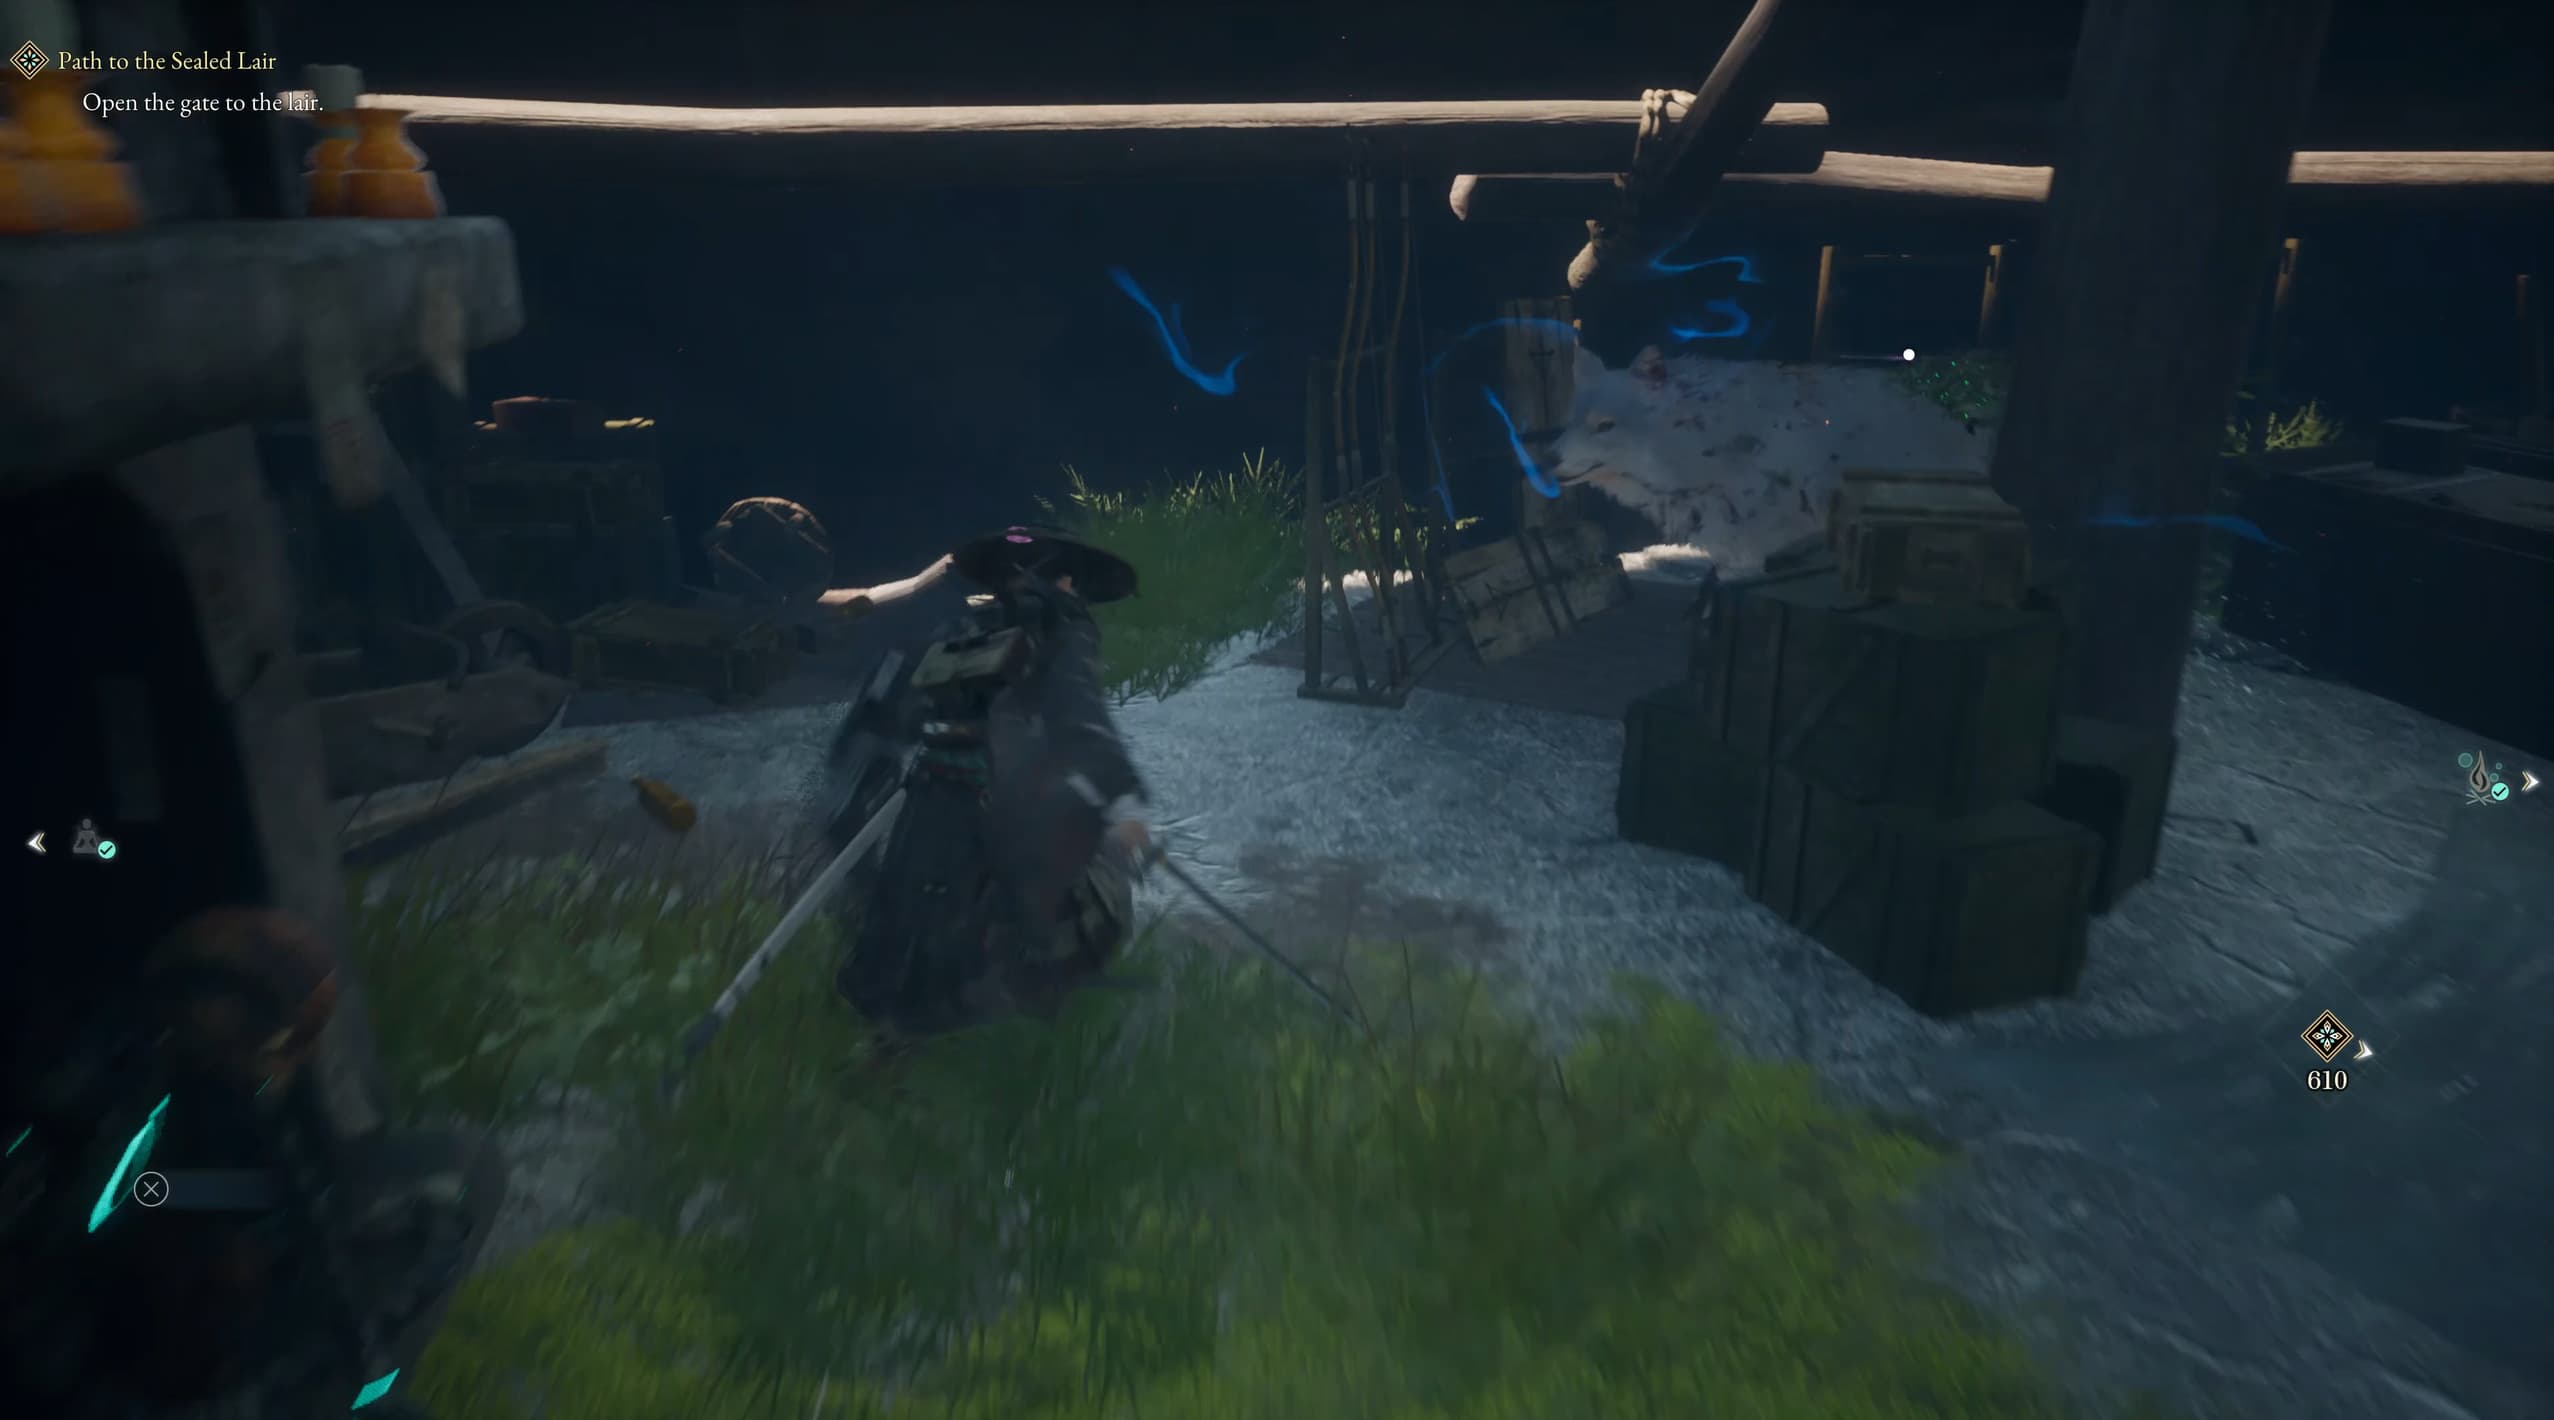
Head back past the nearby campsite and keep heading south to find a large rusted shack where inside will be a Manual for the Fire Arrows on the left table, and a Document titled "Arsonist's Ramblings" on the right table, collect both of these before continuing.
Heading over to the east now to a large pit to find the next Elite Enemy Golem to defeat.
Making your way east again and over the water for the next Document, titled "Warehouse Watchman's Diary", found inside the derelict building.
Heading east again from the previous collectible towards the edge of the map, to find the next Keeper Golem to talk to.
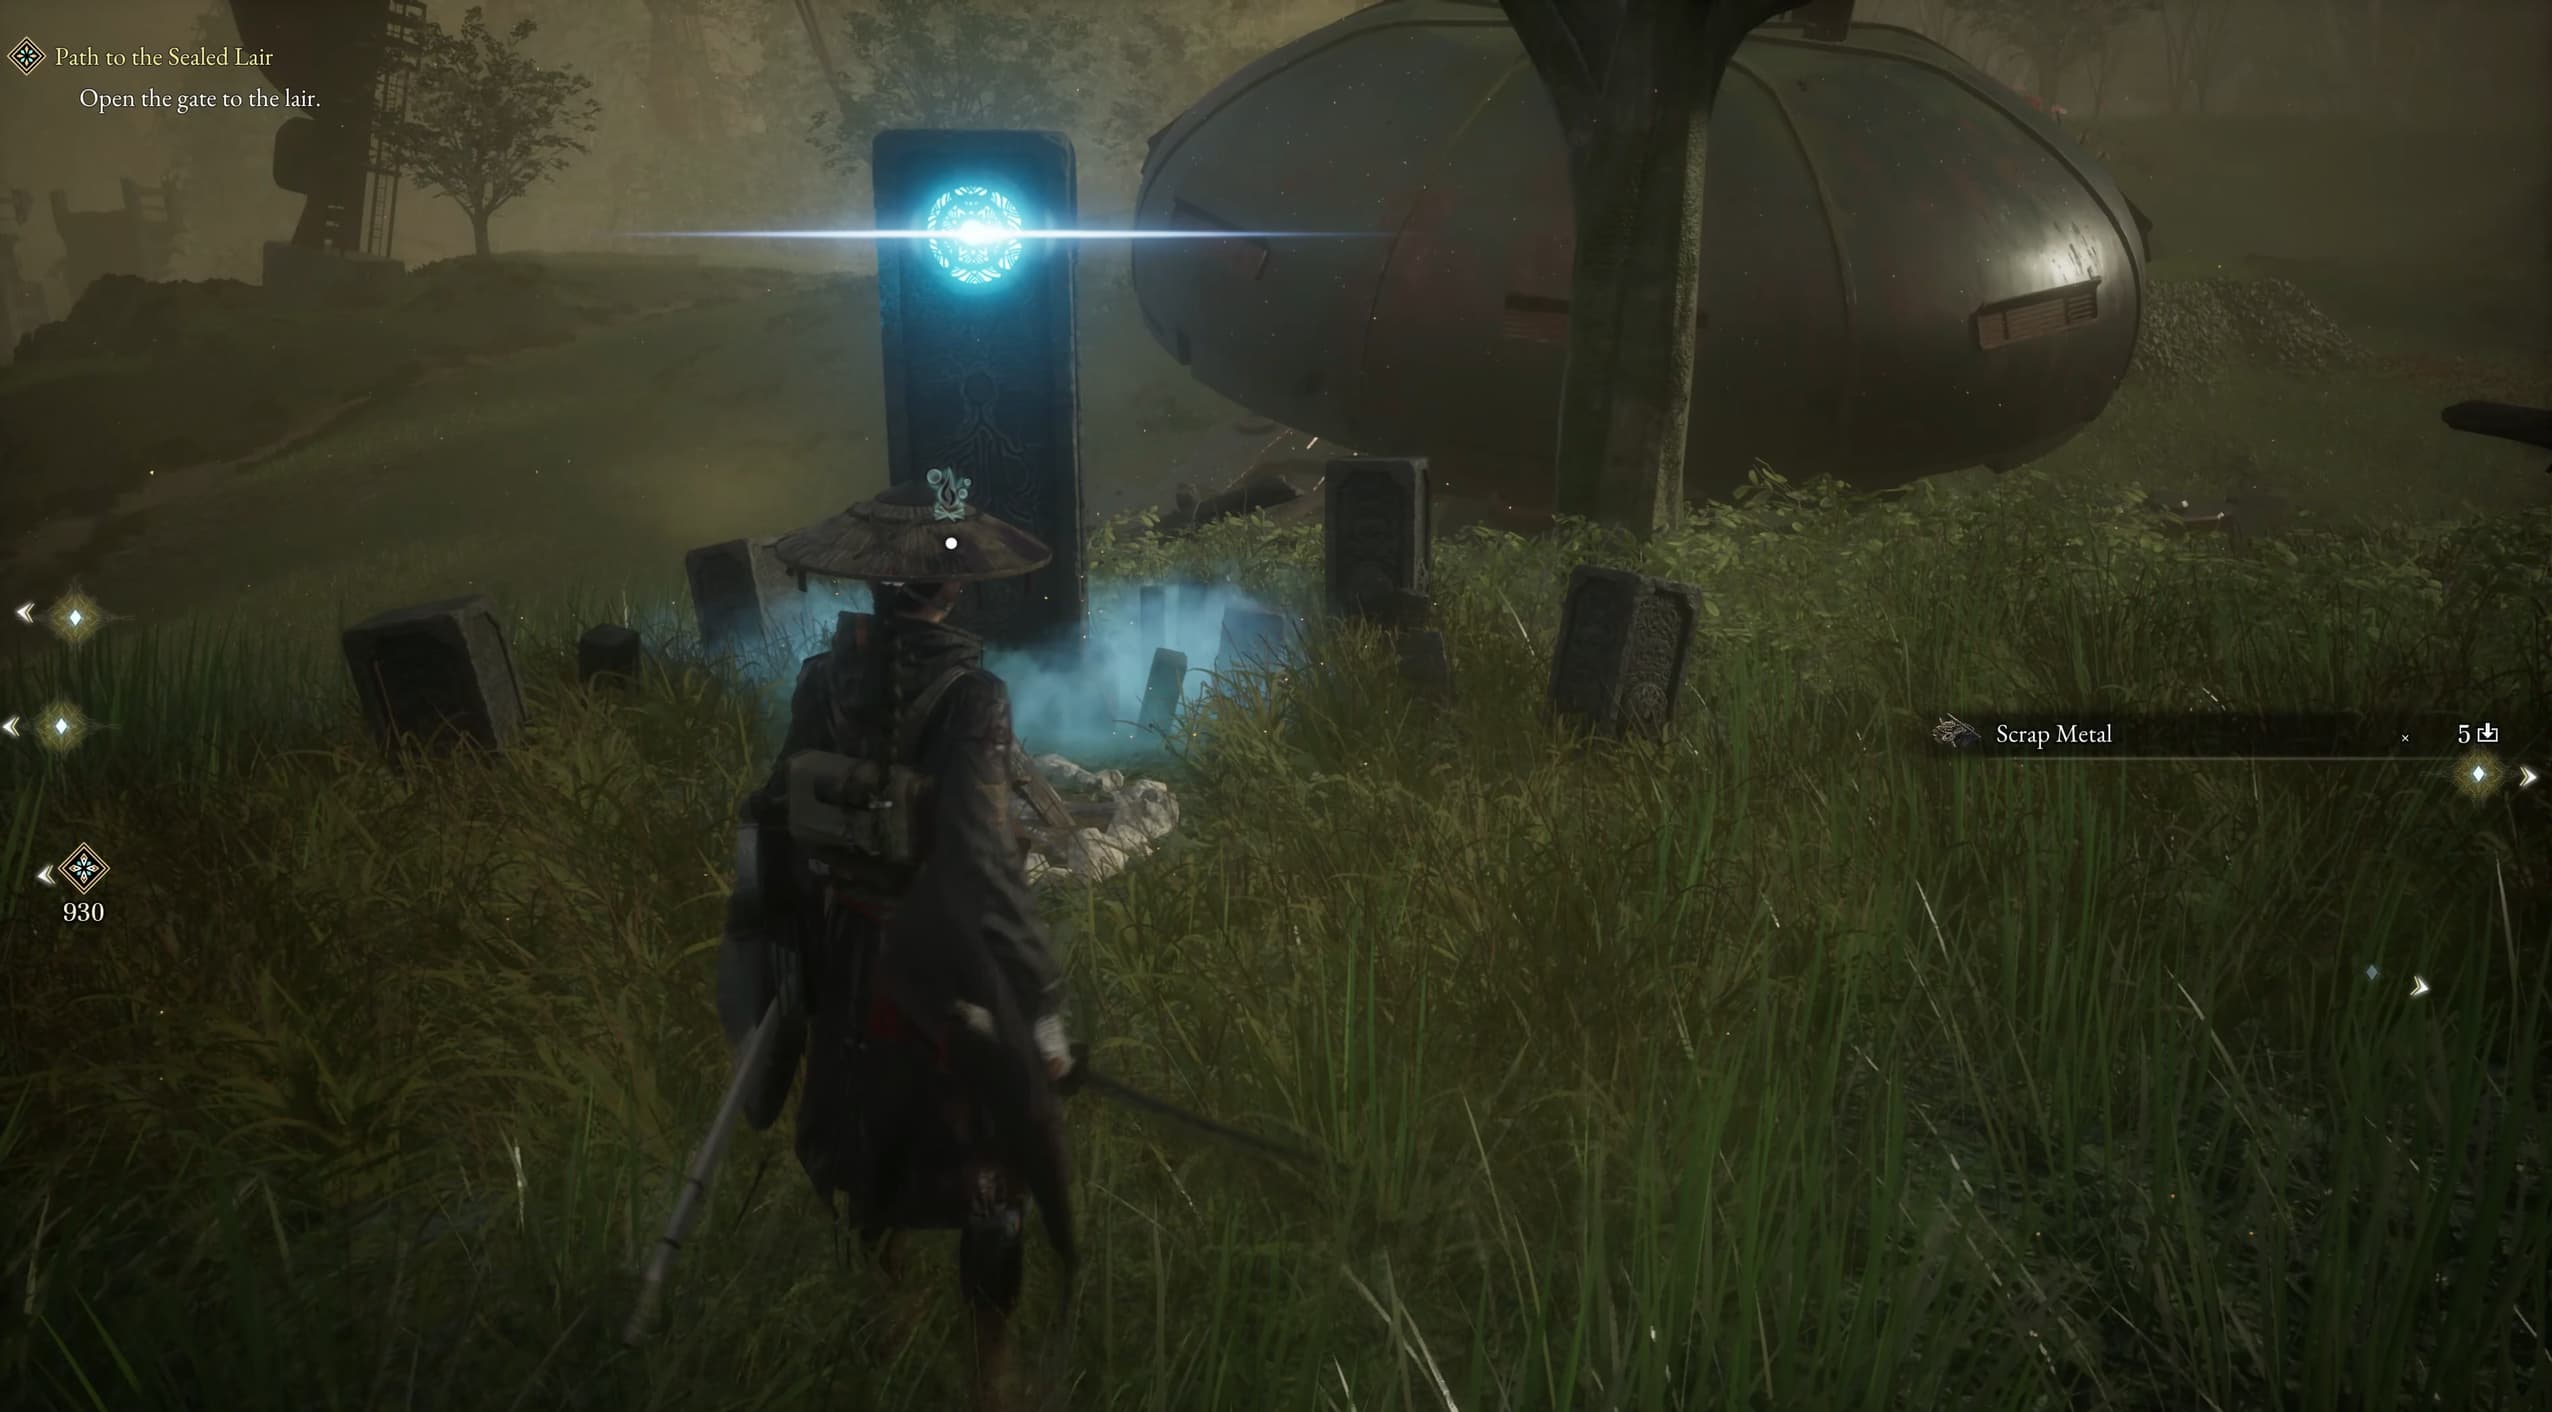
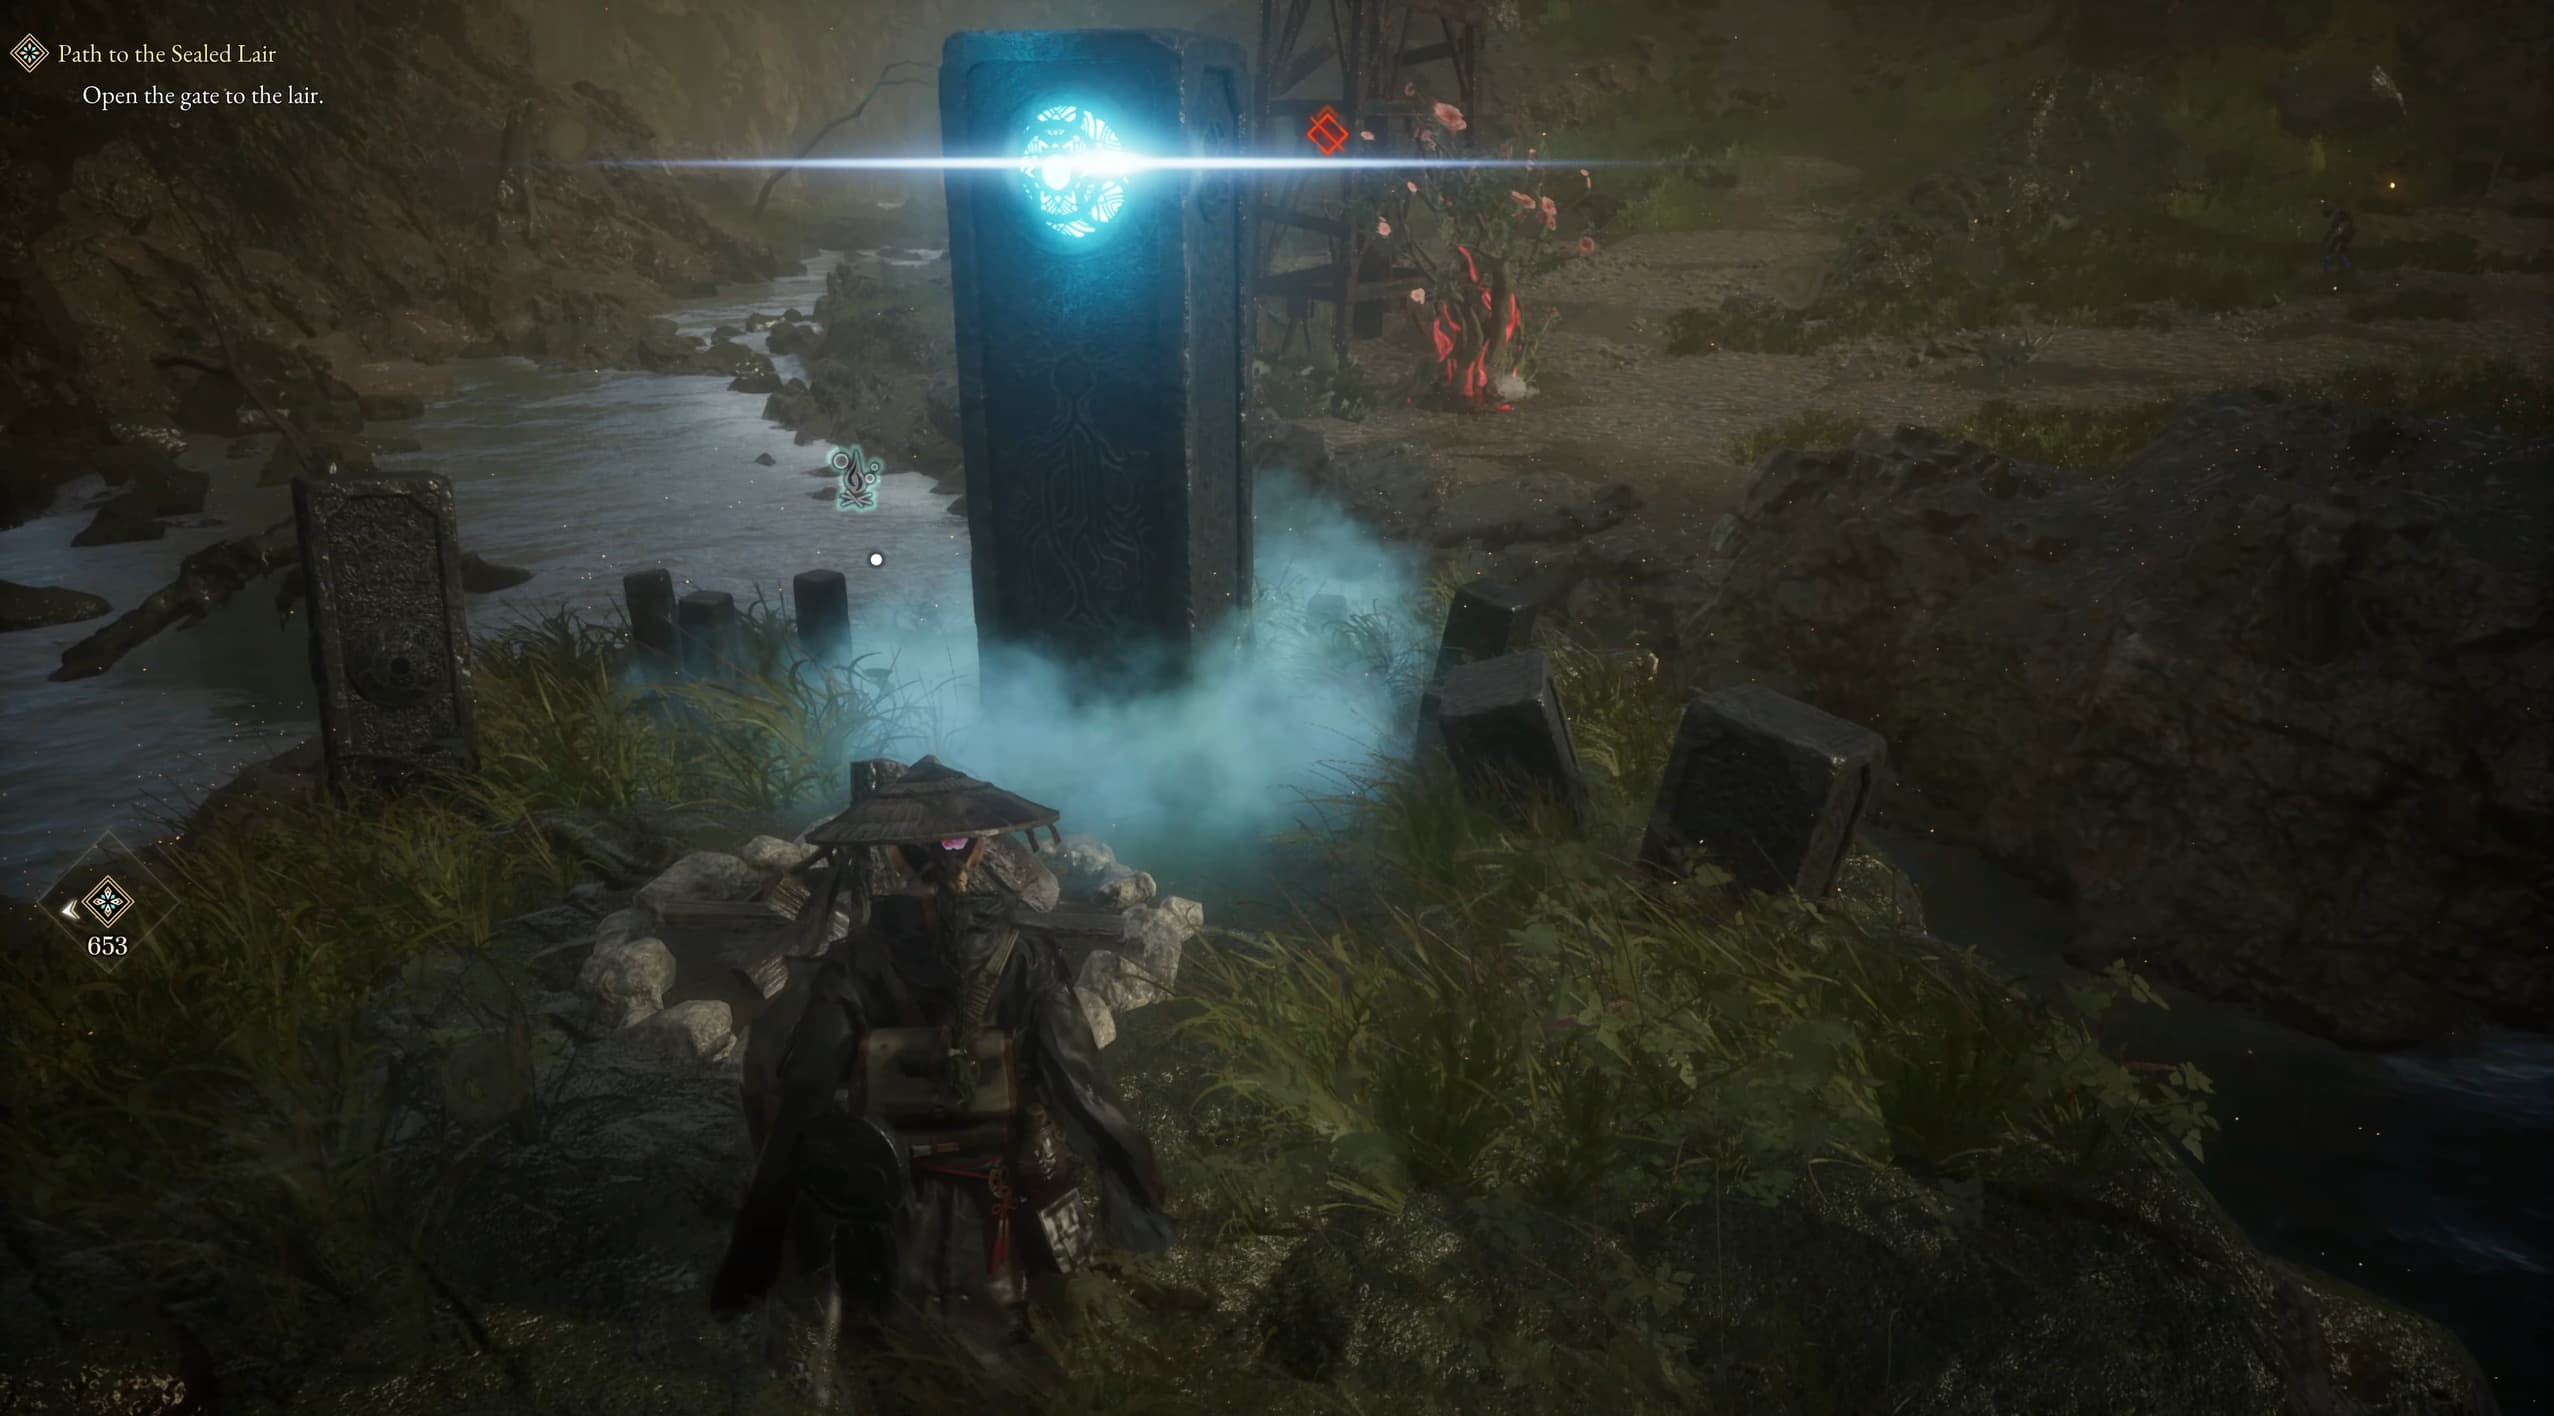
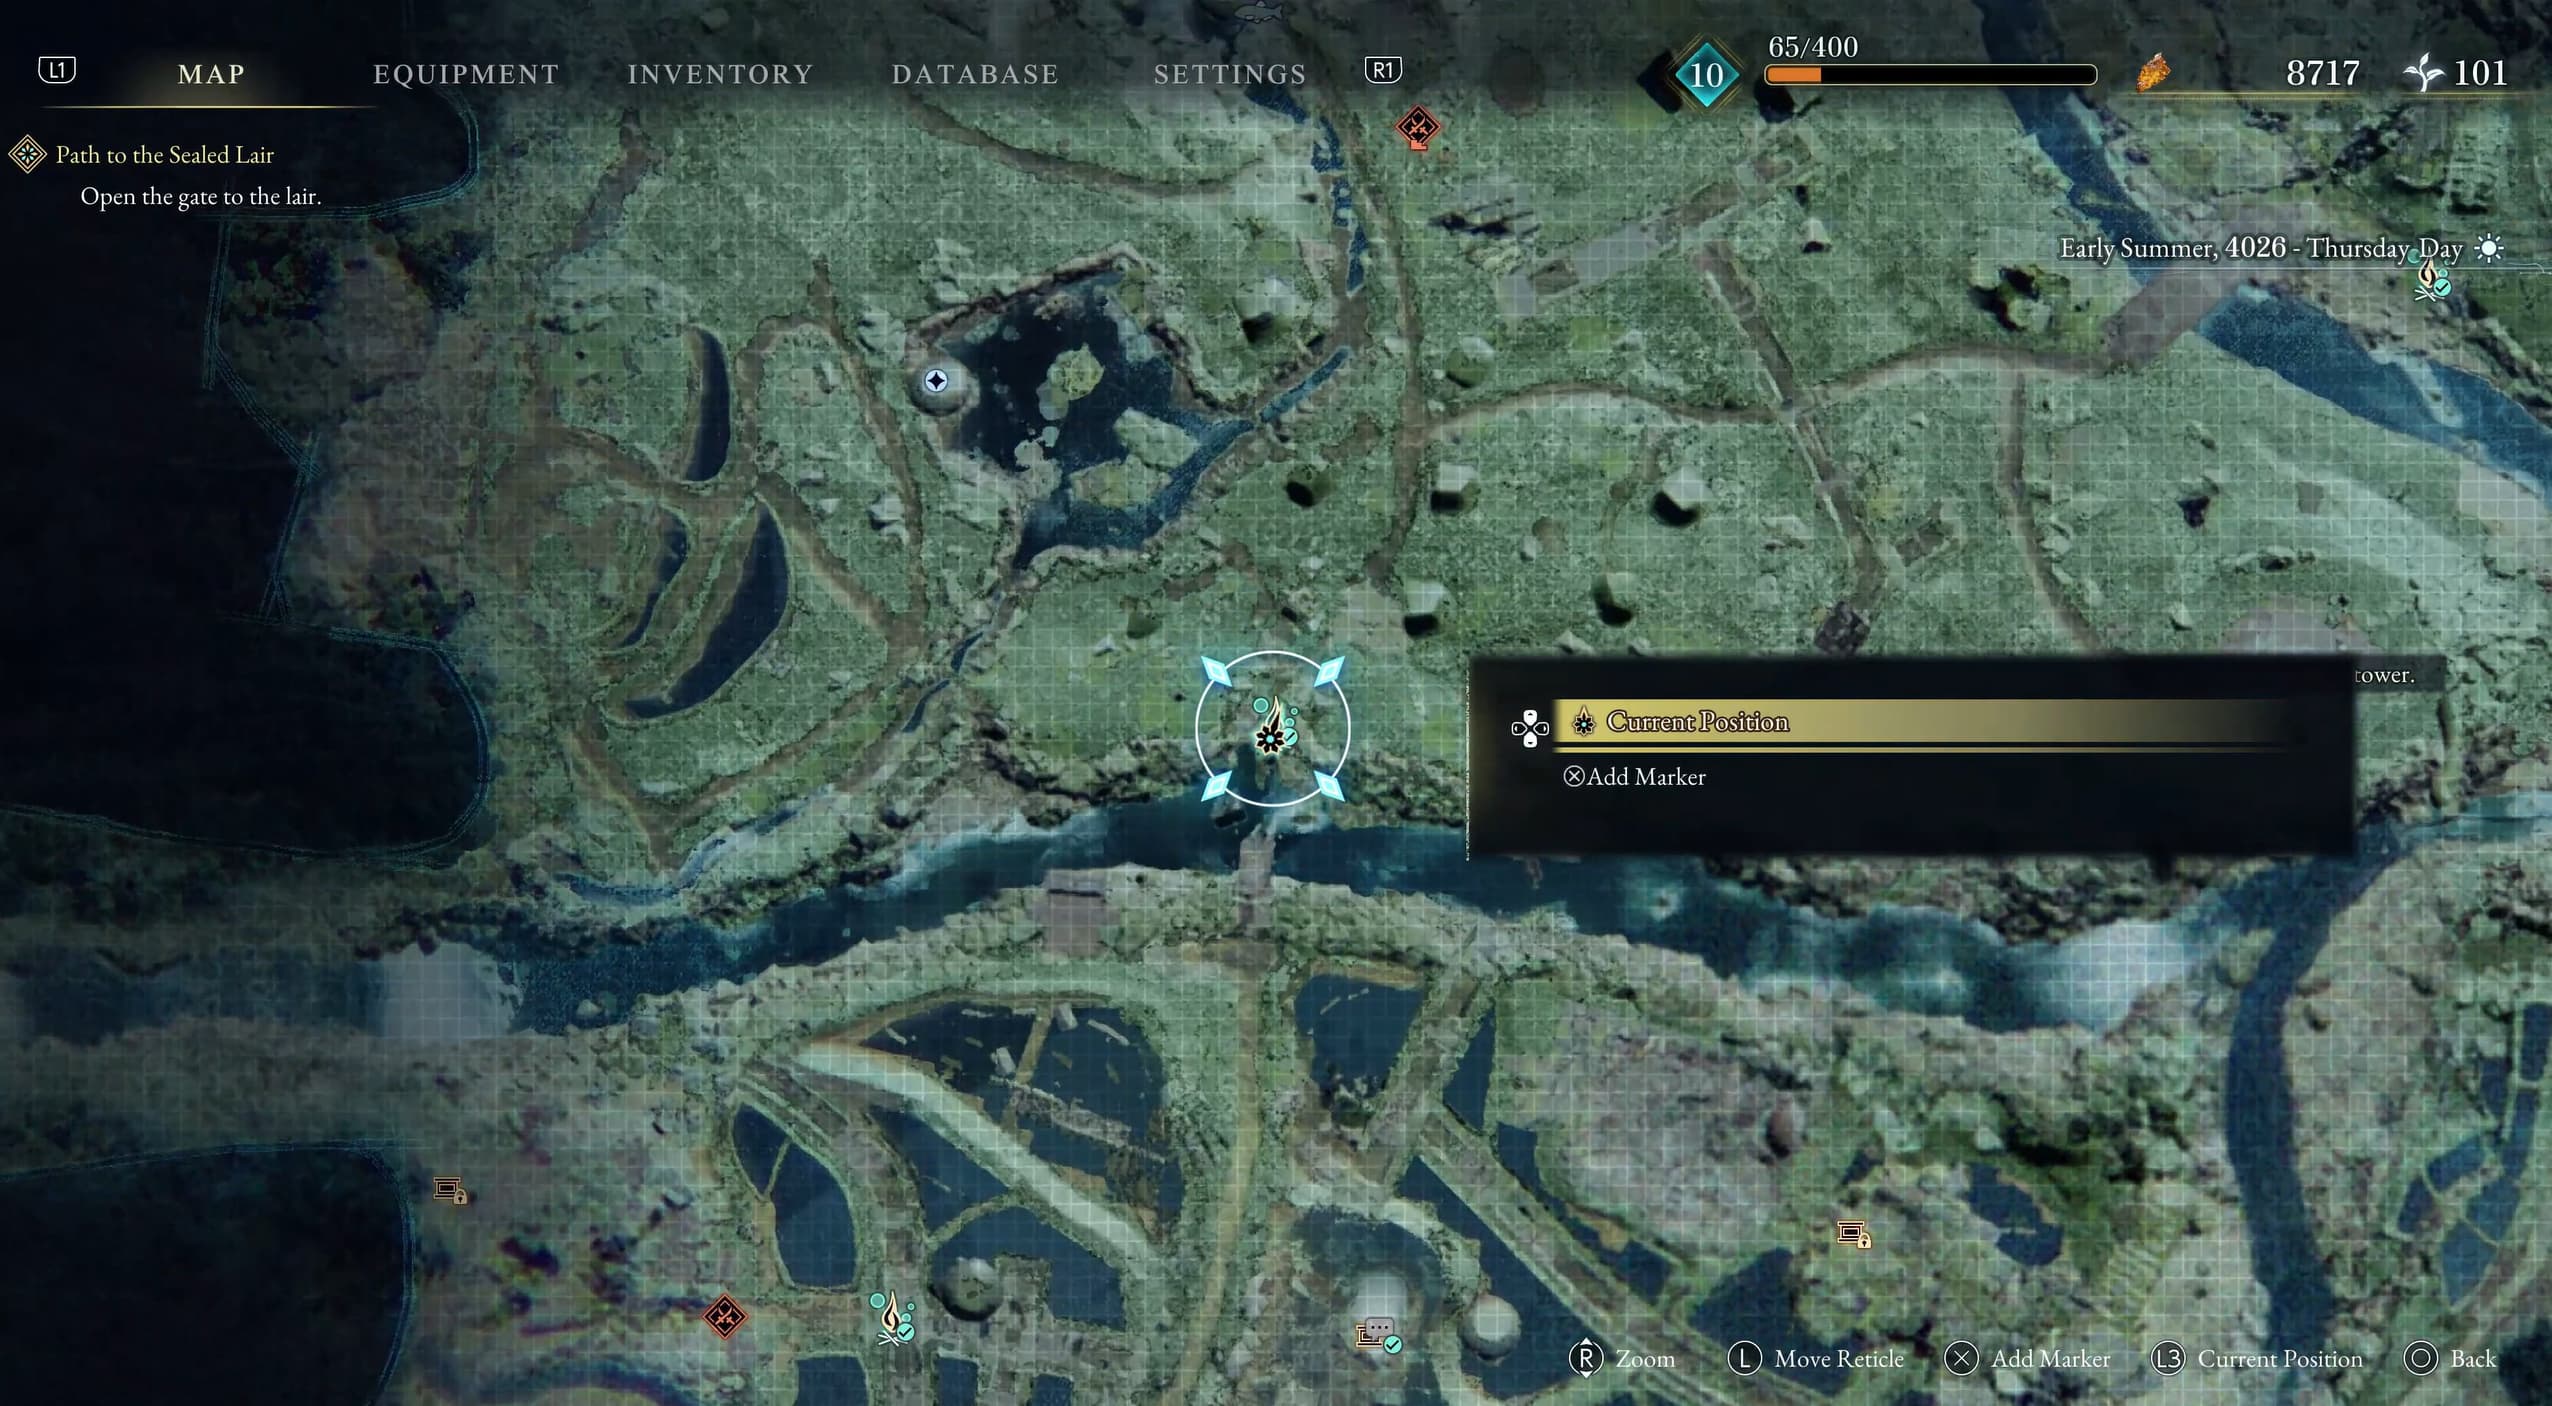
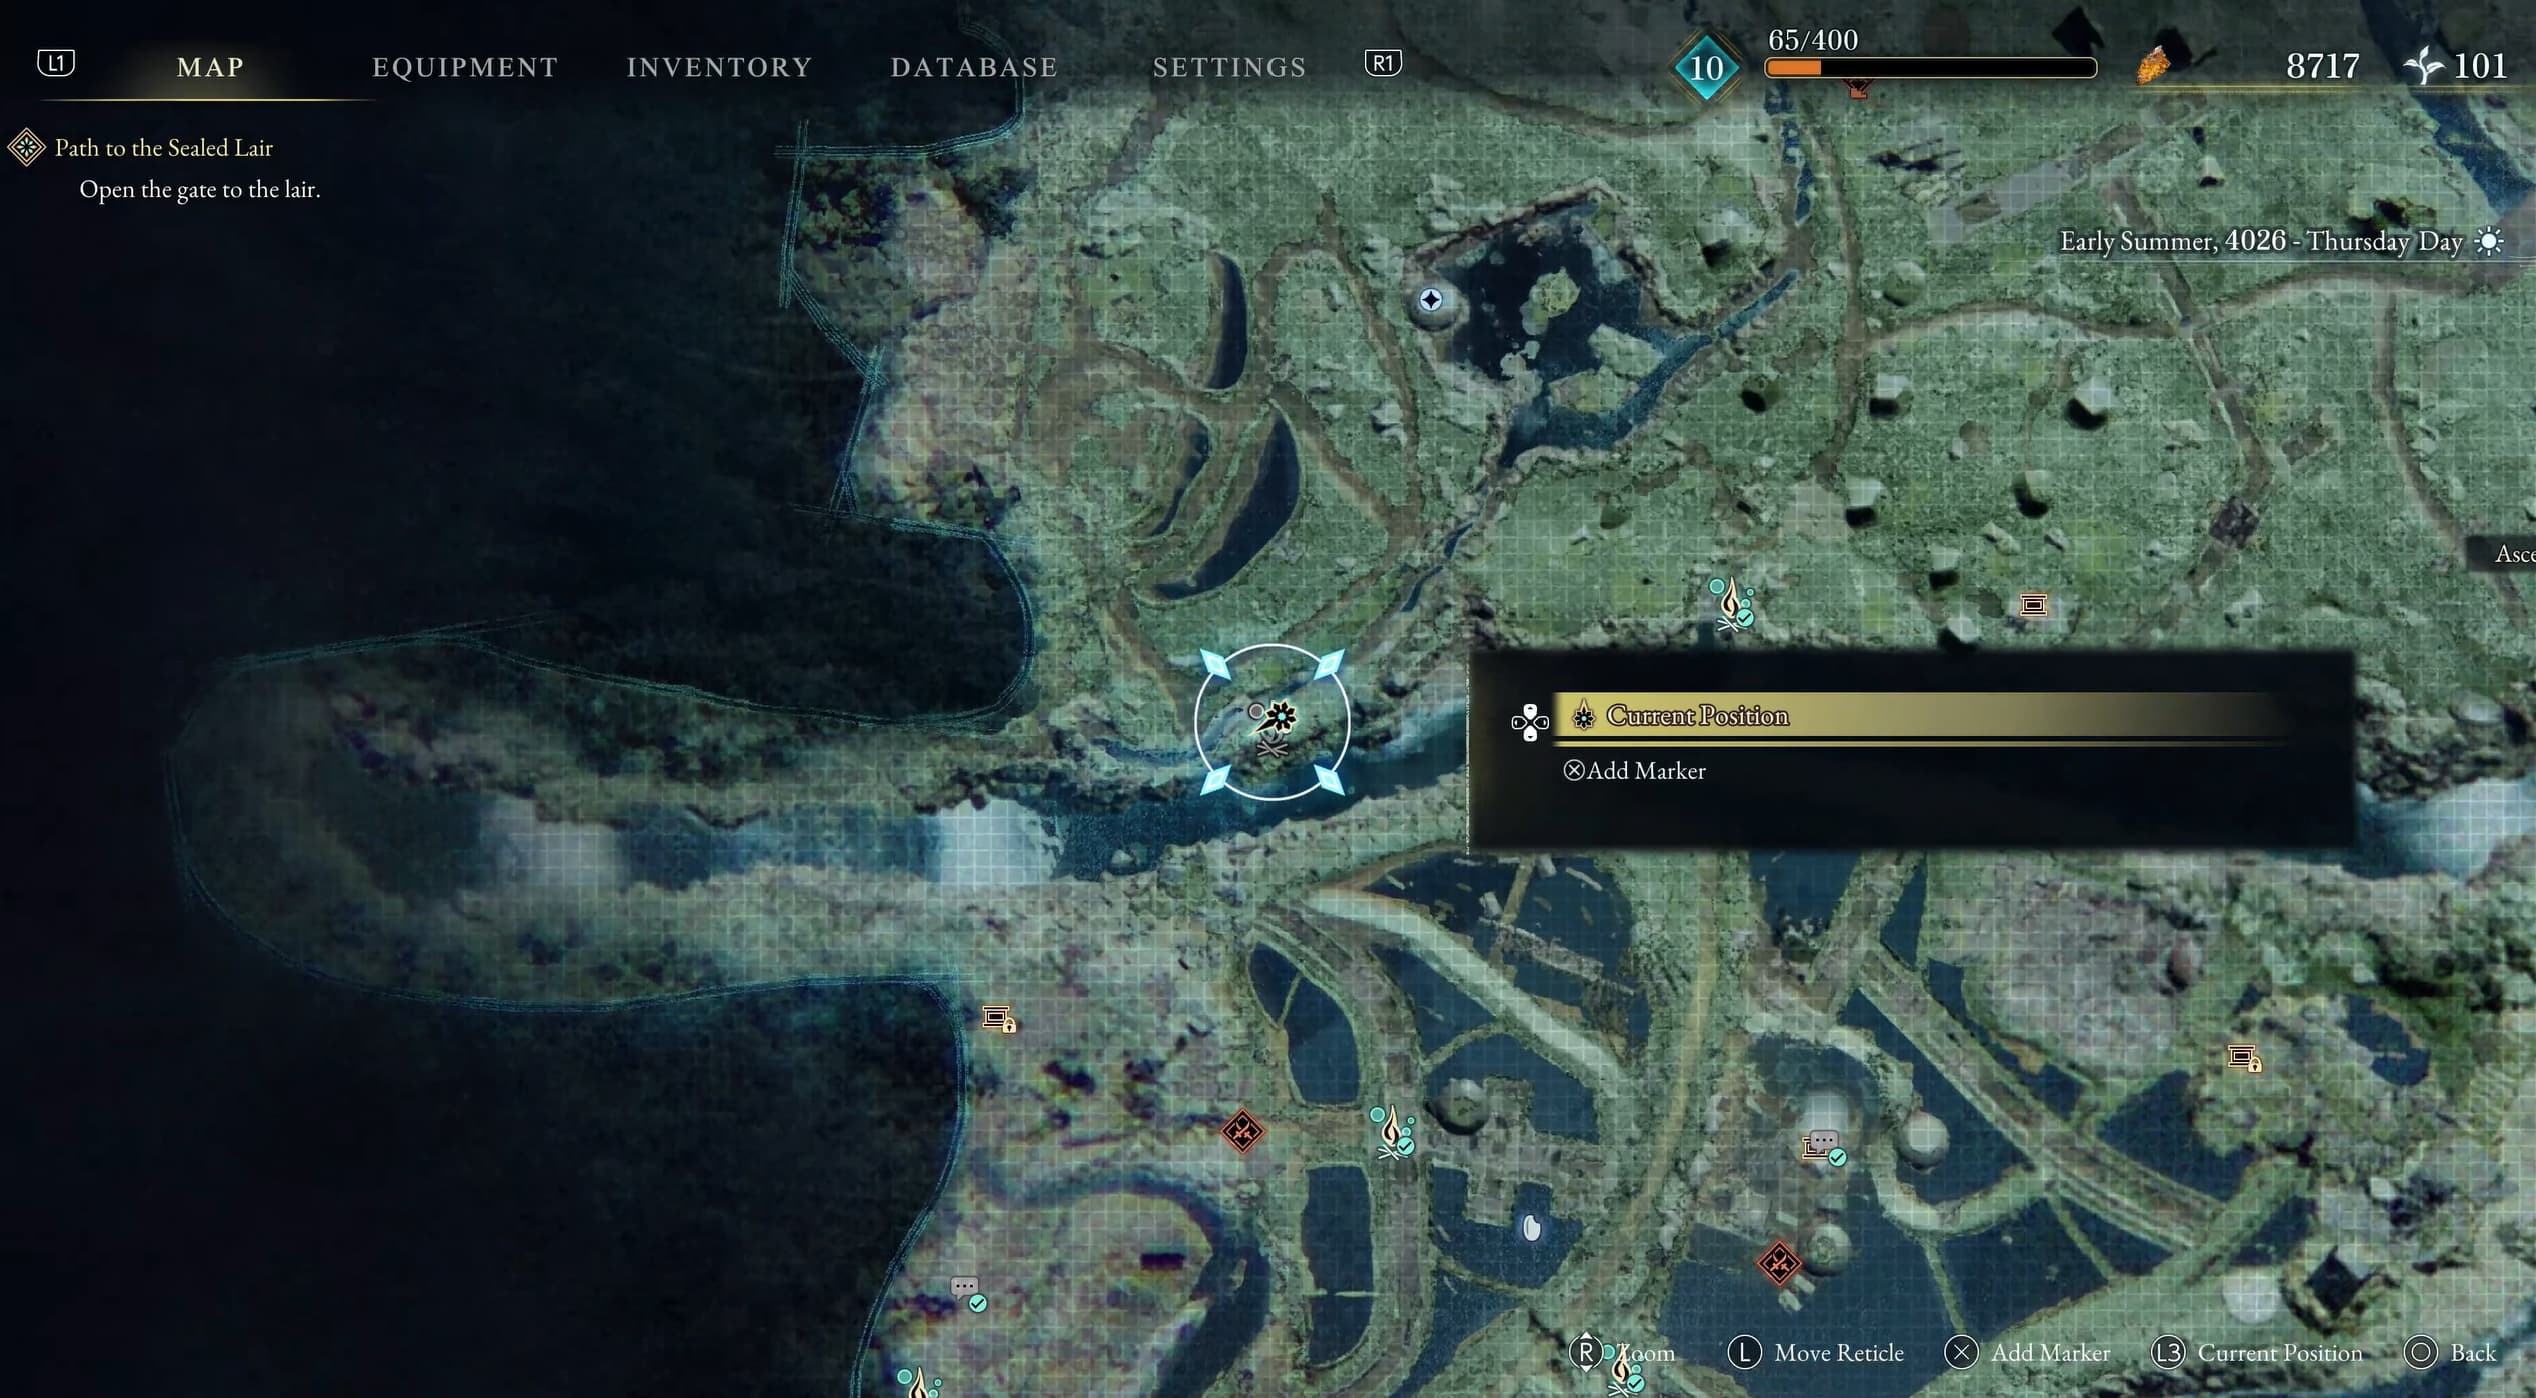
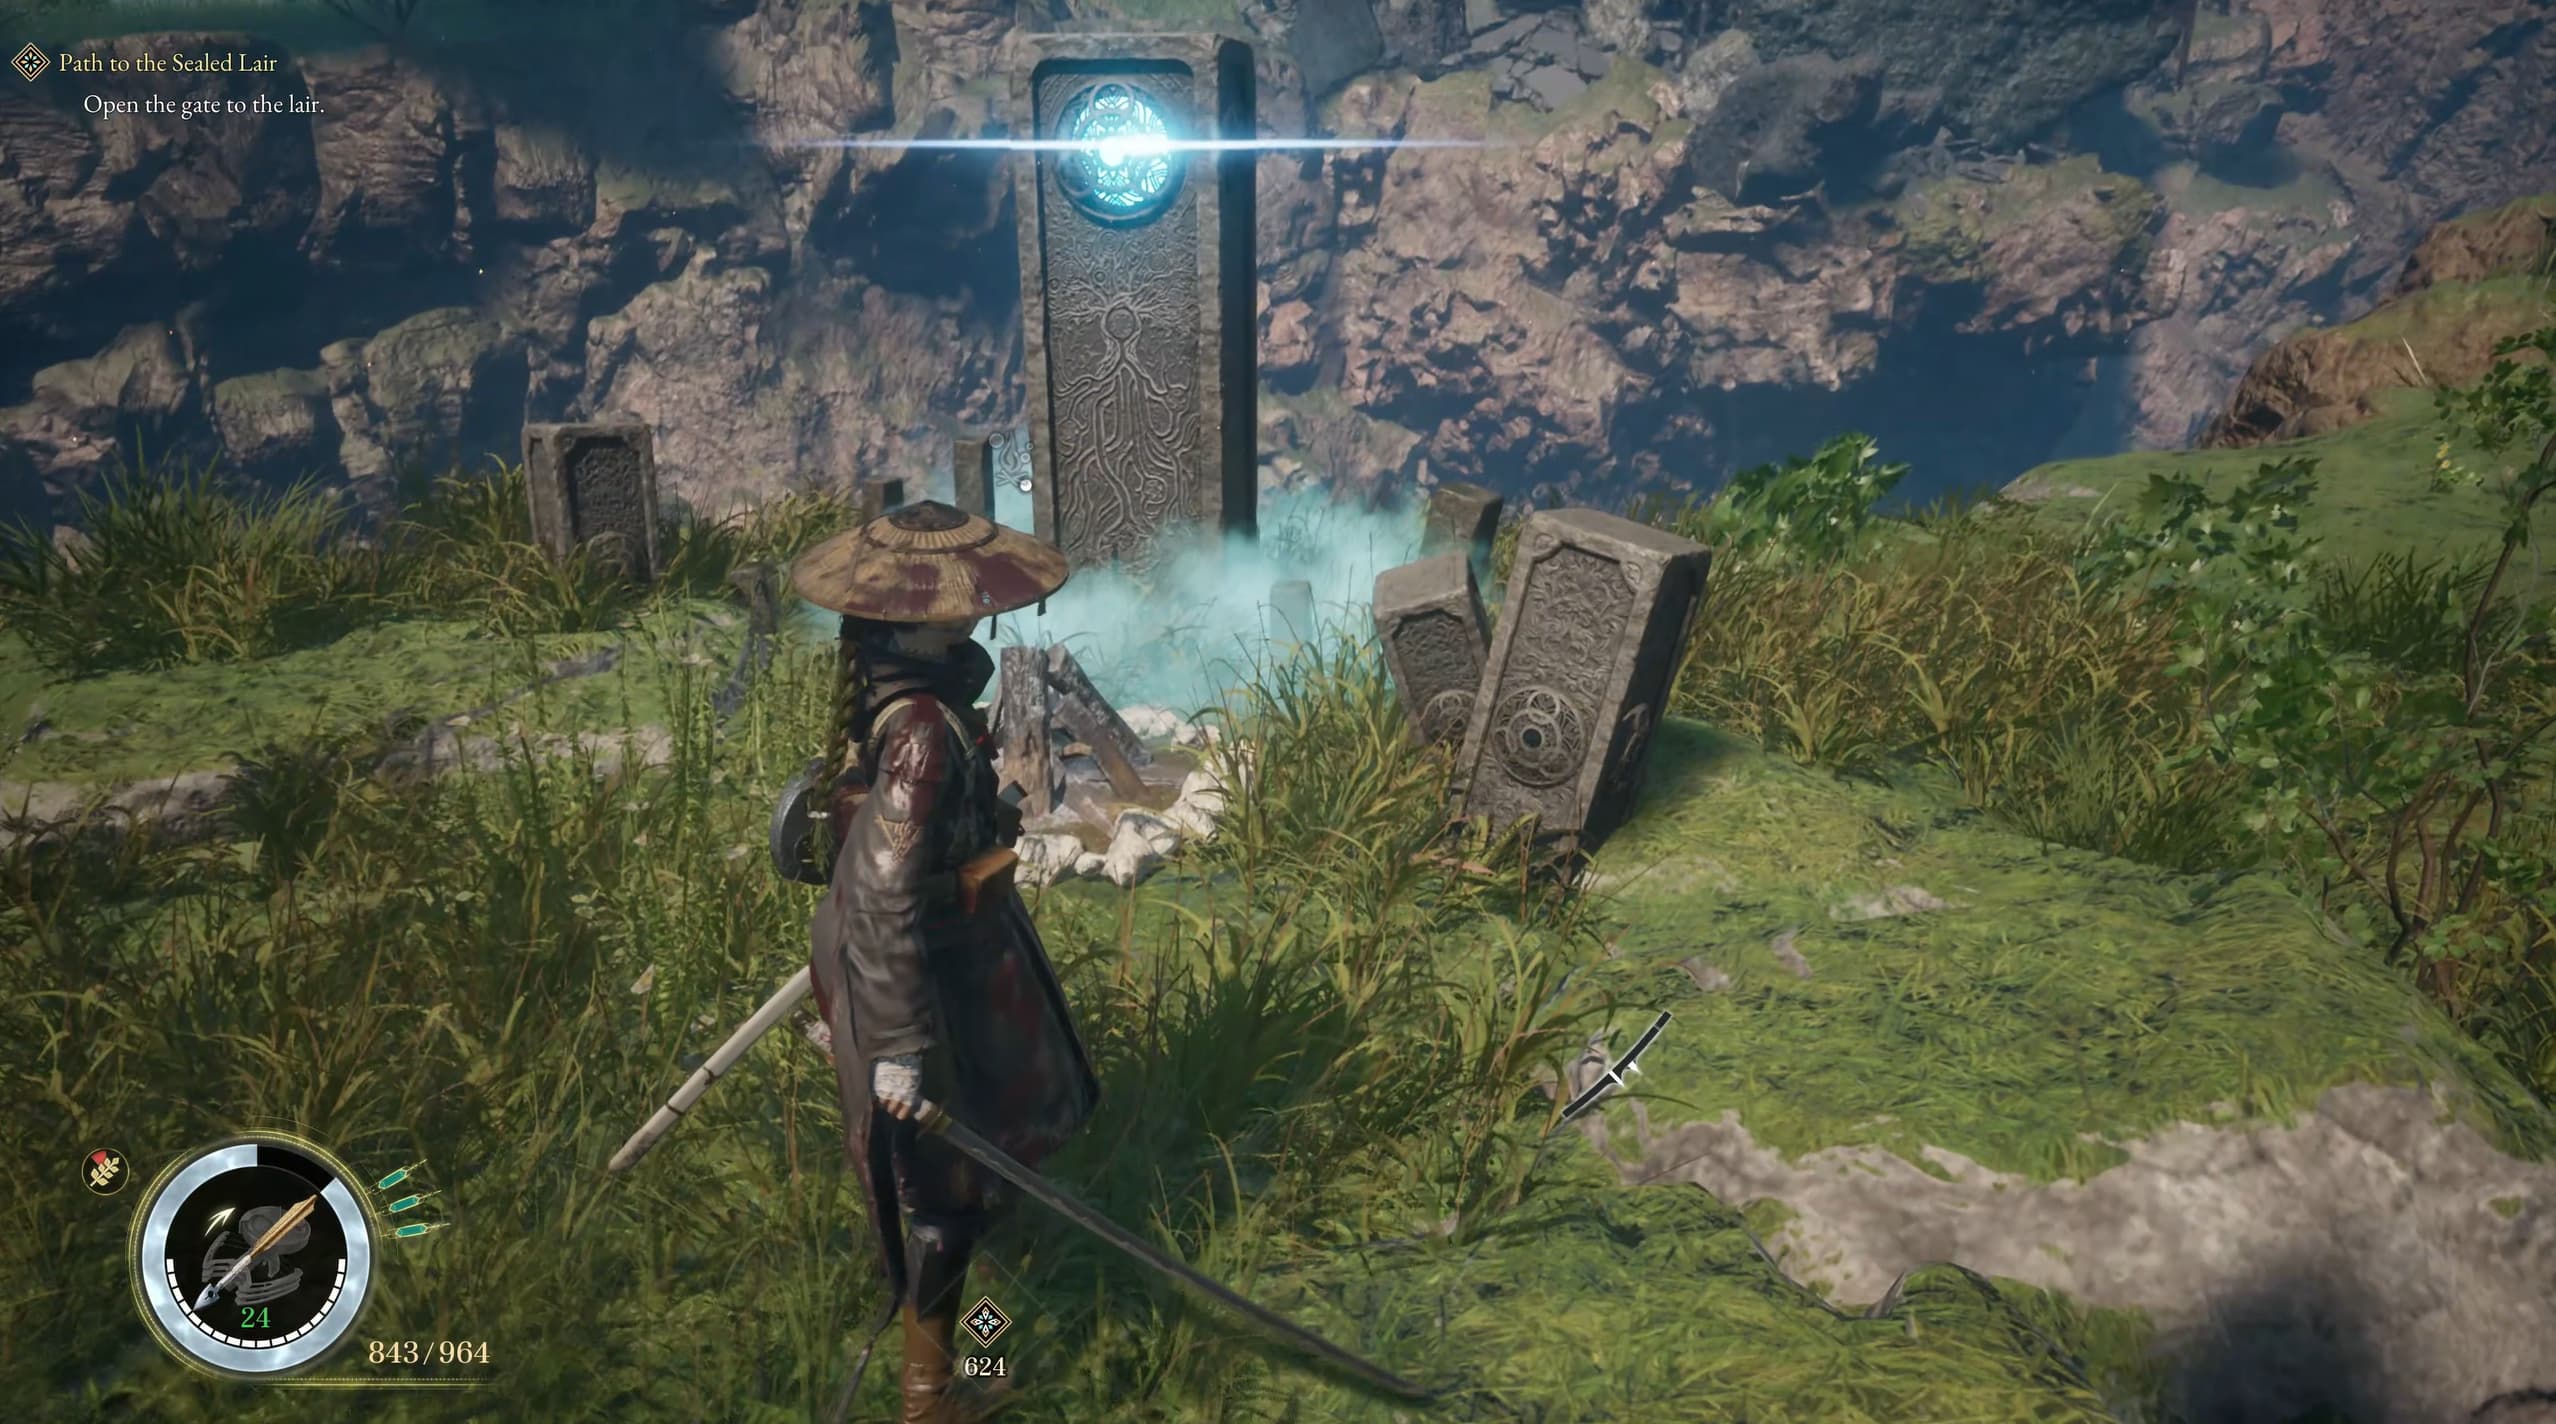
Making your way back to the west to find the point of land where the water splits, on this point will be the next campsite.
Those are all the collectibles for the south section of the map.
Making your way up and towards the center of the map, across the water, to find the next campsite.
Make your way west with the water to the left side of you, along here will be the next campsite.
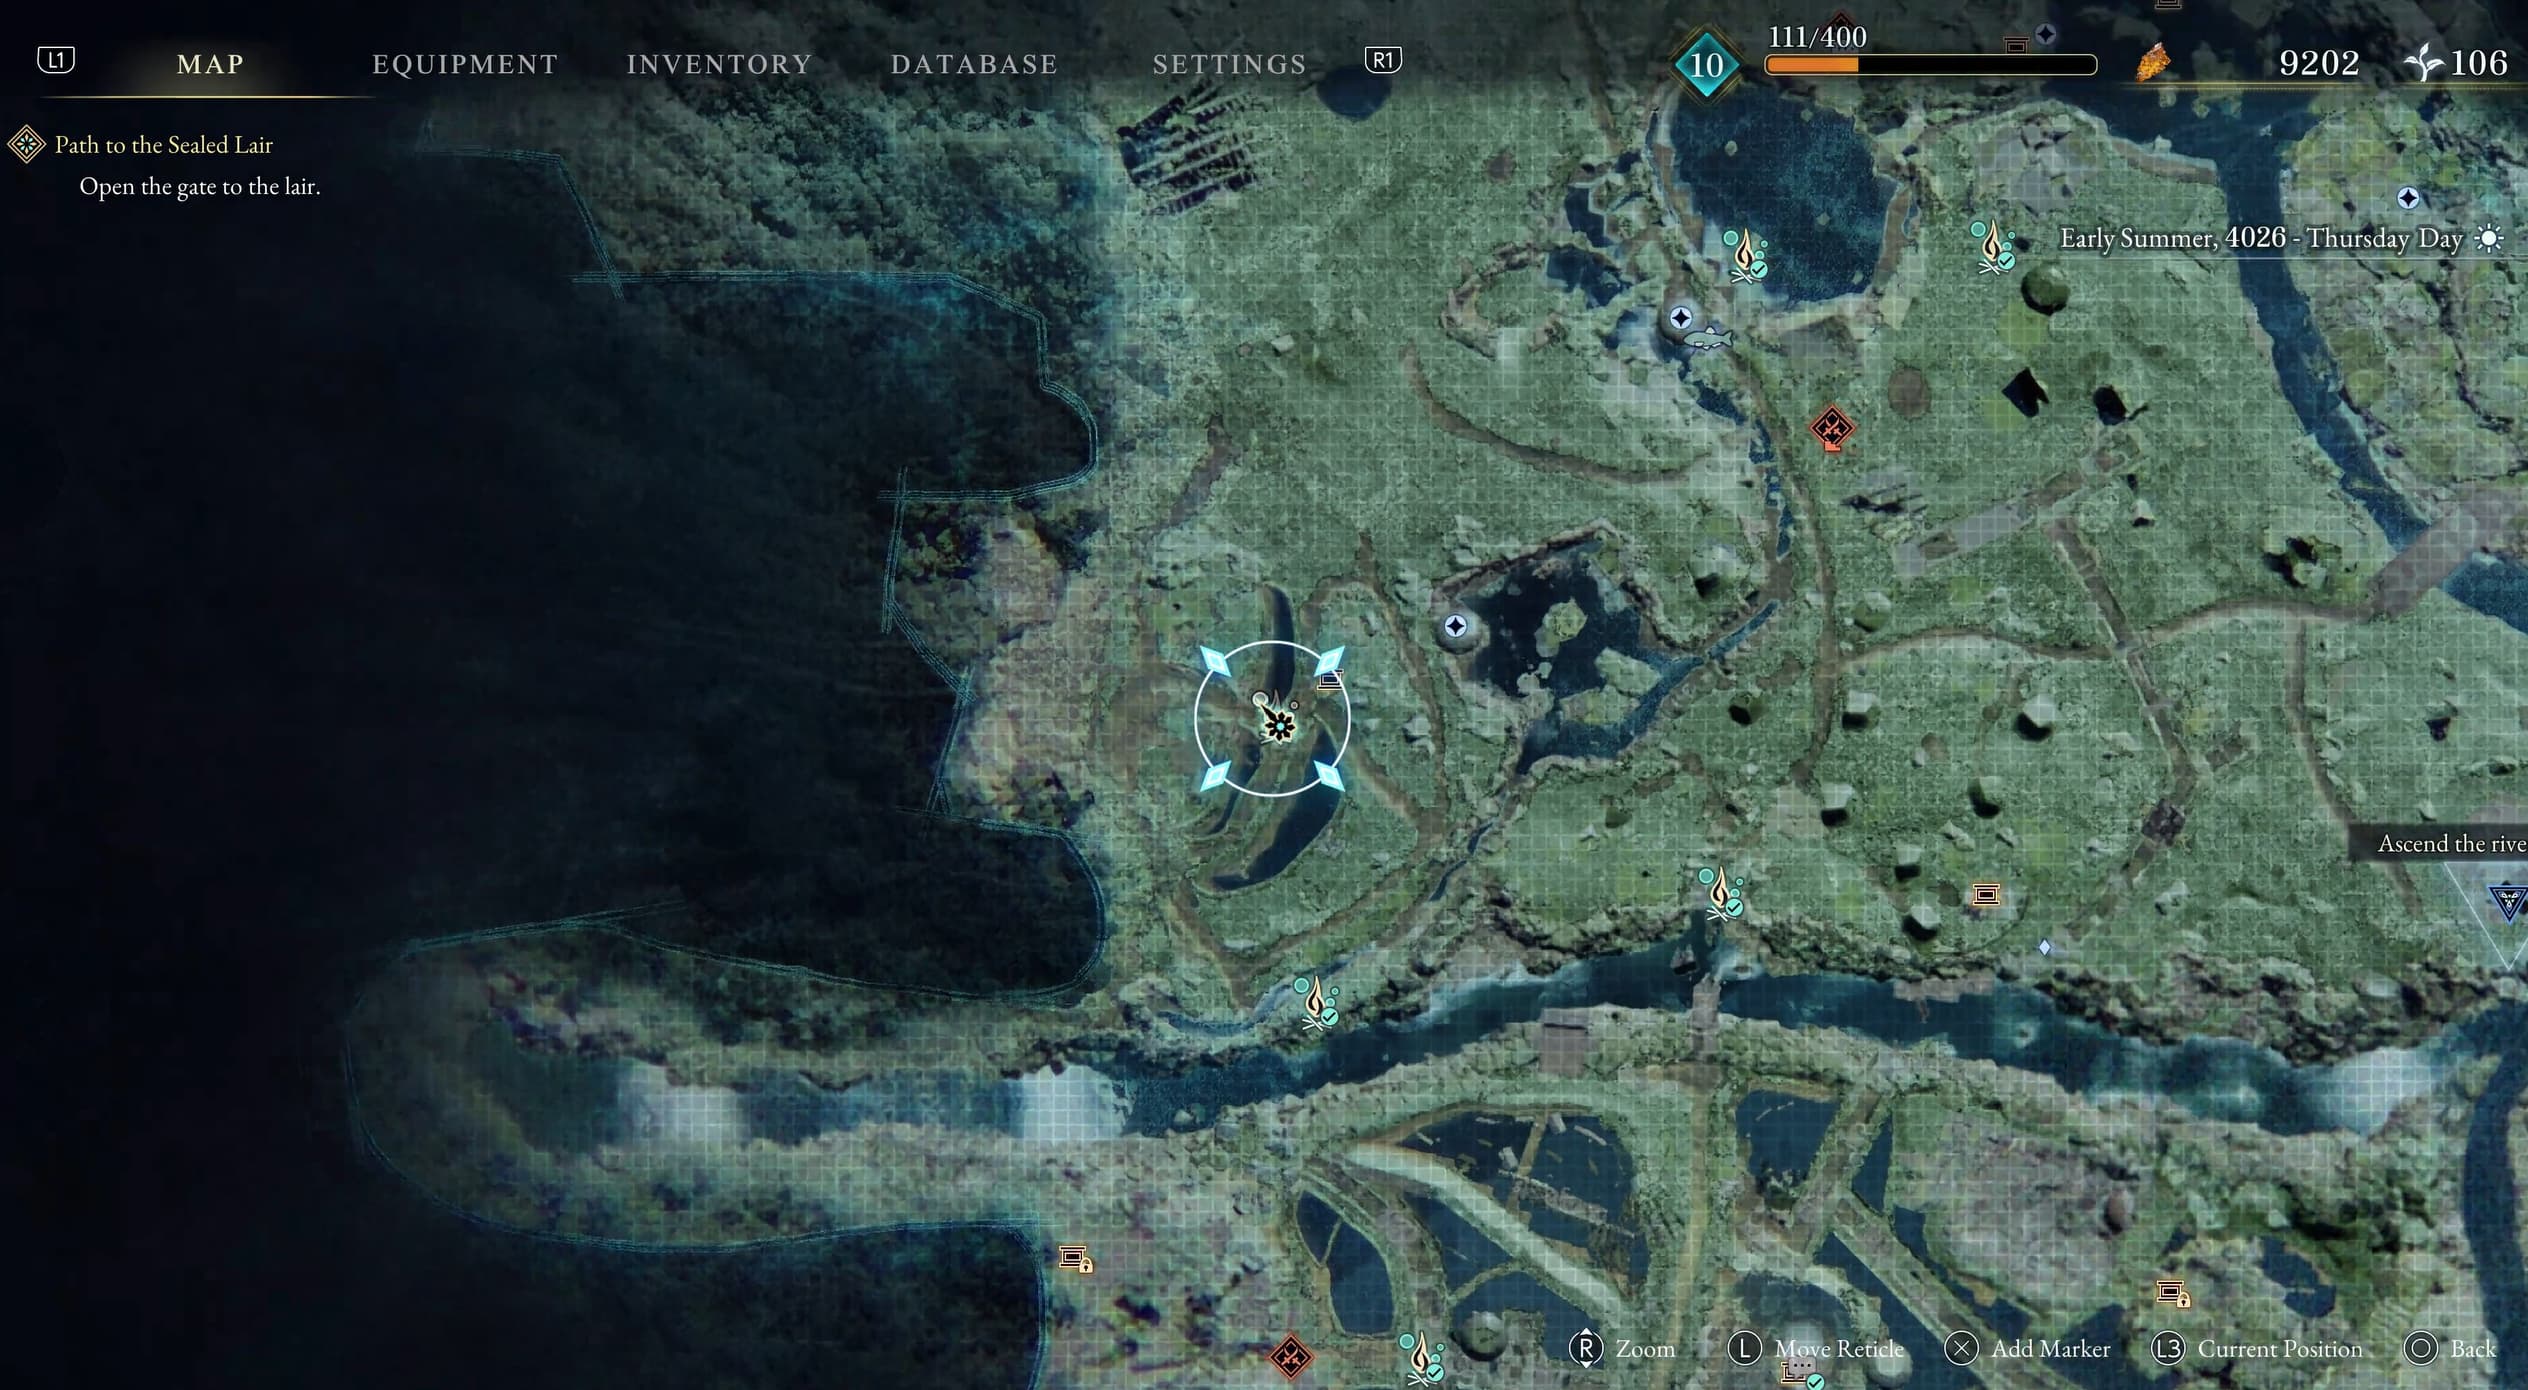
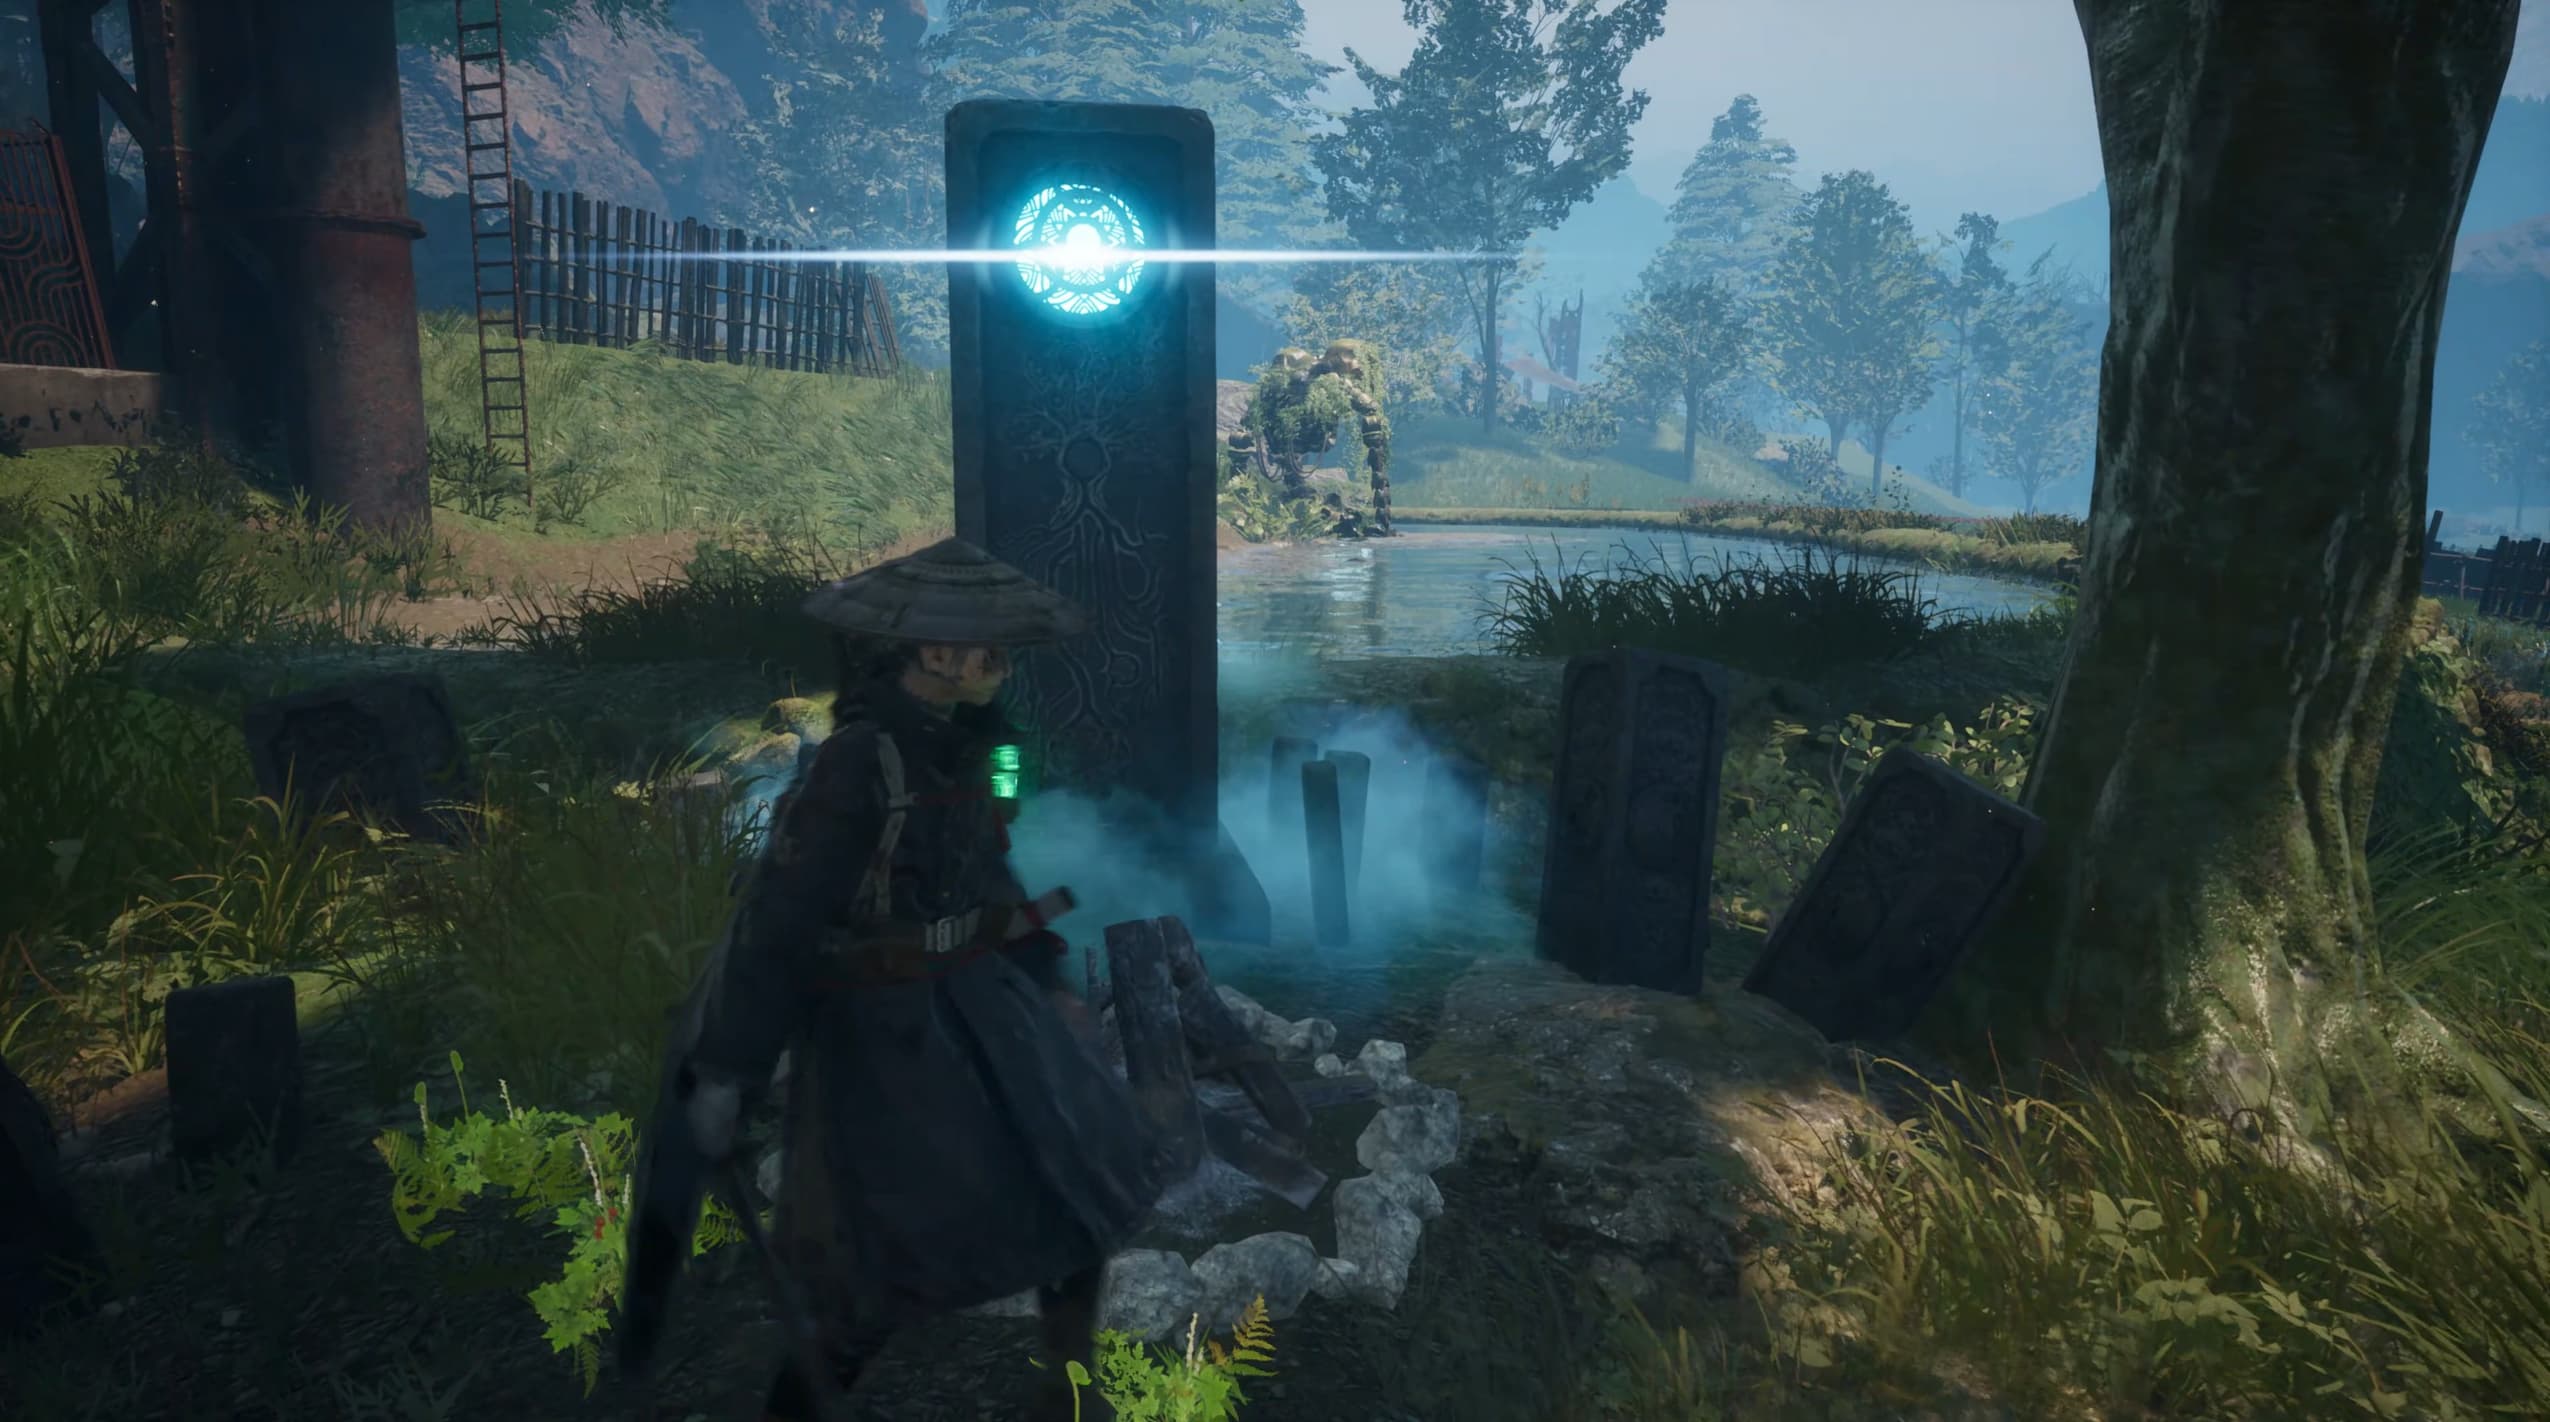
Heading north from the previous campsite, inbetween the two water pools, here will be the next campsite.
Heading over to the west of the map, you will enter into an old mining vibe cave, take the elevator on the left after entering to go up, after exiting the elevator, on the ground next to the fallen golem will be the next document, titled "A Golem's Worst Enemy".
Keep advancing in this area, taking out the relevant enemies on the way, and make your way slightly north to the next campsite.
From this campsite, make your way up the stairs to the left of the campsite, and the next Elite Enemy Golem will be at the top to defeat.
After defeating this Elite Enemy Golem, the shack just behind him will contain the next Manual, it will be for the Acid Bolts, make sure to head inside and pick this one up before leaving the area.
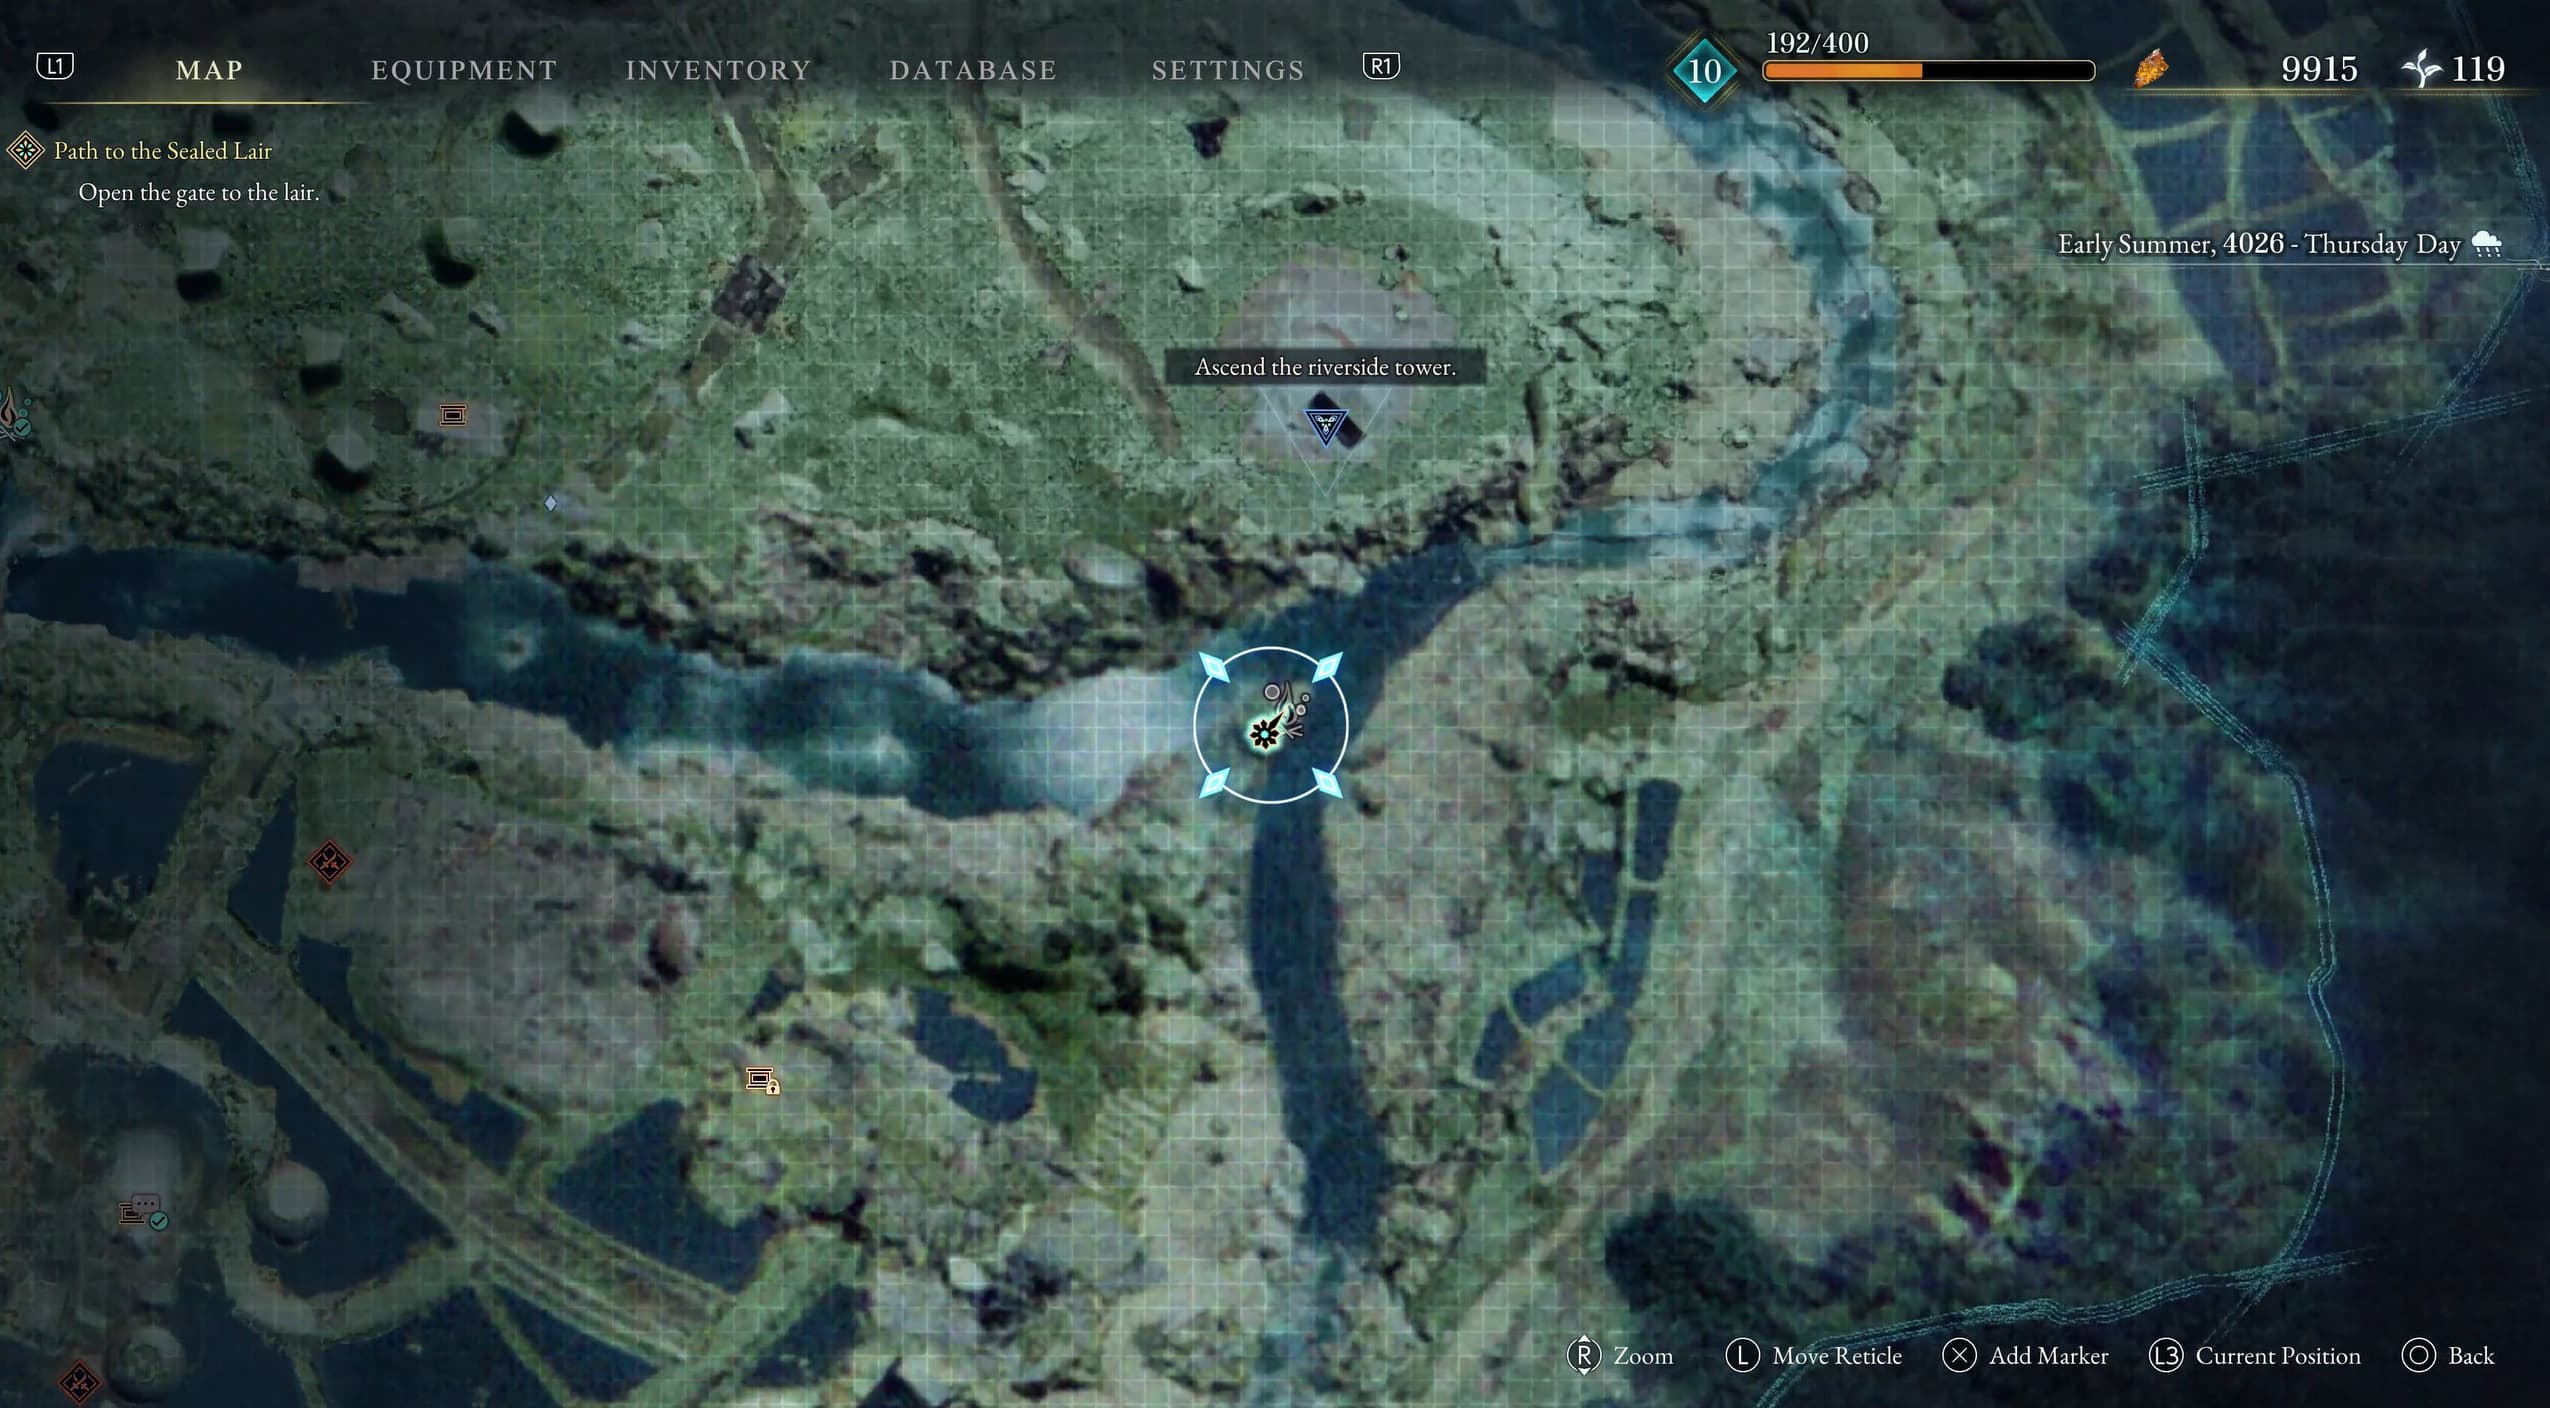
To get to the next location quickly, it is best to fast travel to the central campsite that you have already unlocked, named "Village By The Bridge" campsite, from there, make your way over to the east to the ruined Riverside Tower.
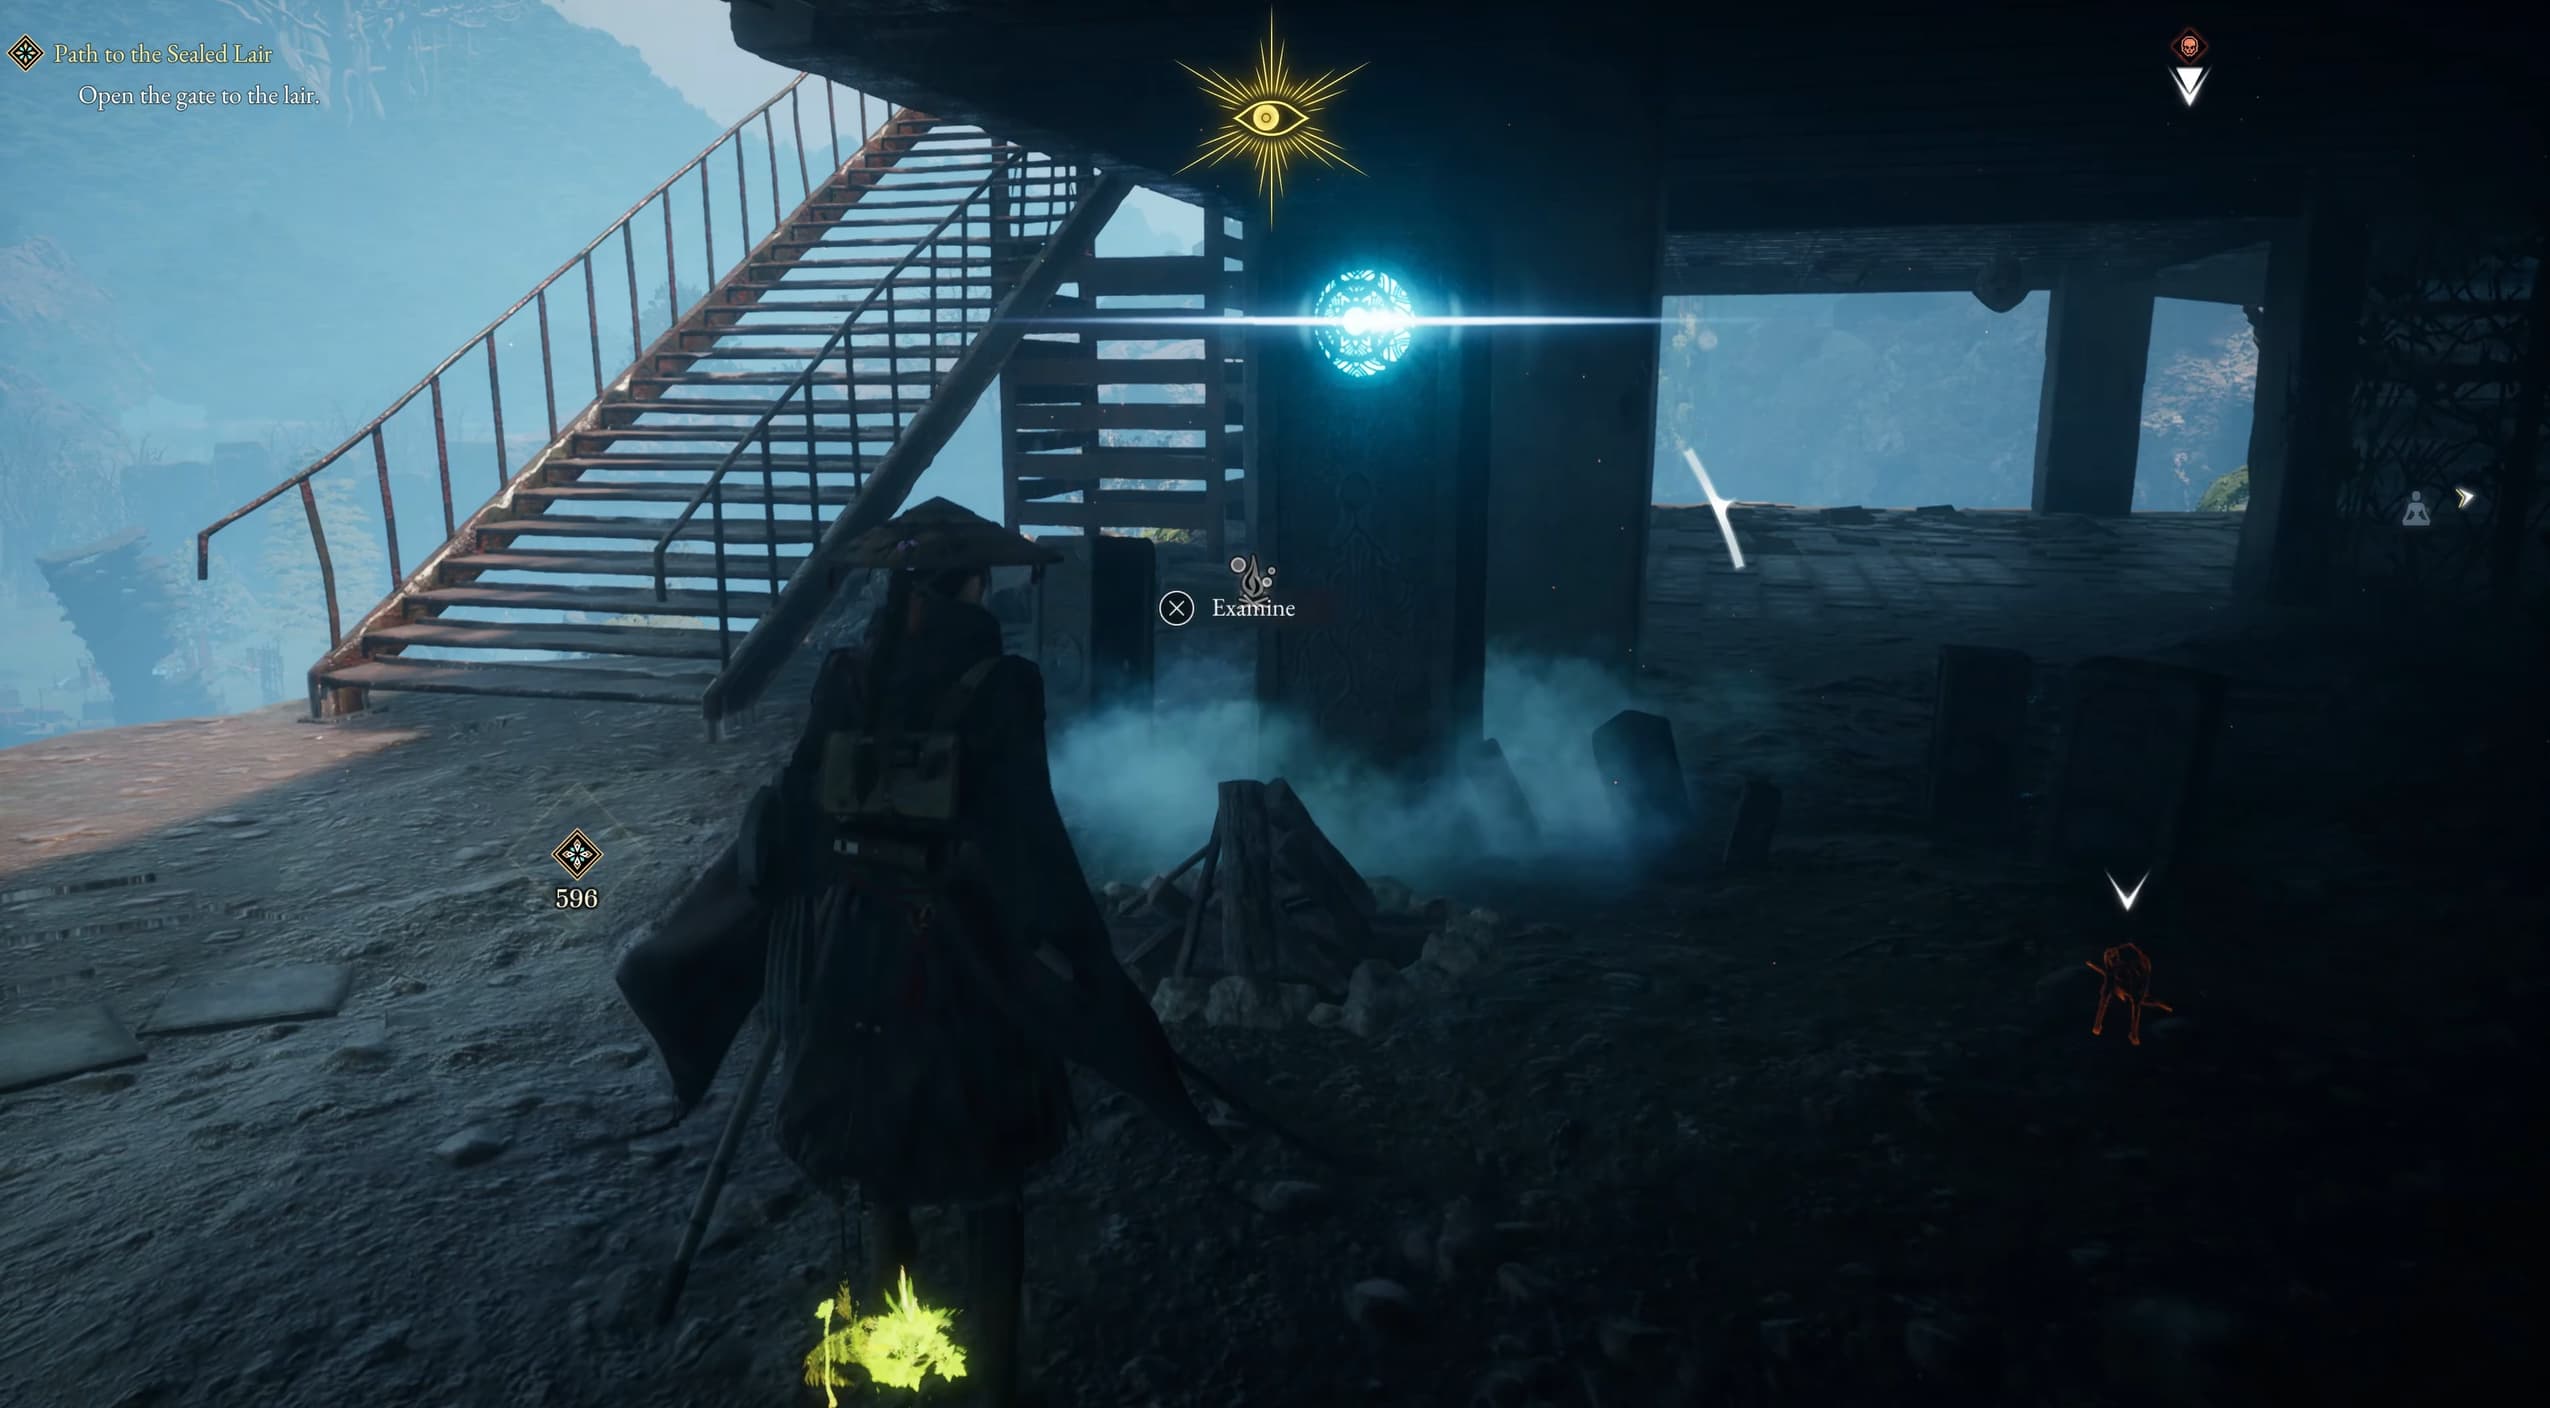
You will need to climb this ruined tower pretty much to the top, there will be a lot of enemies on your climb. Then, on the second floor from the top will be the next campsite to sit at.
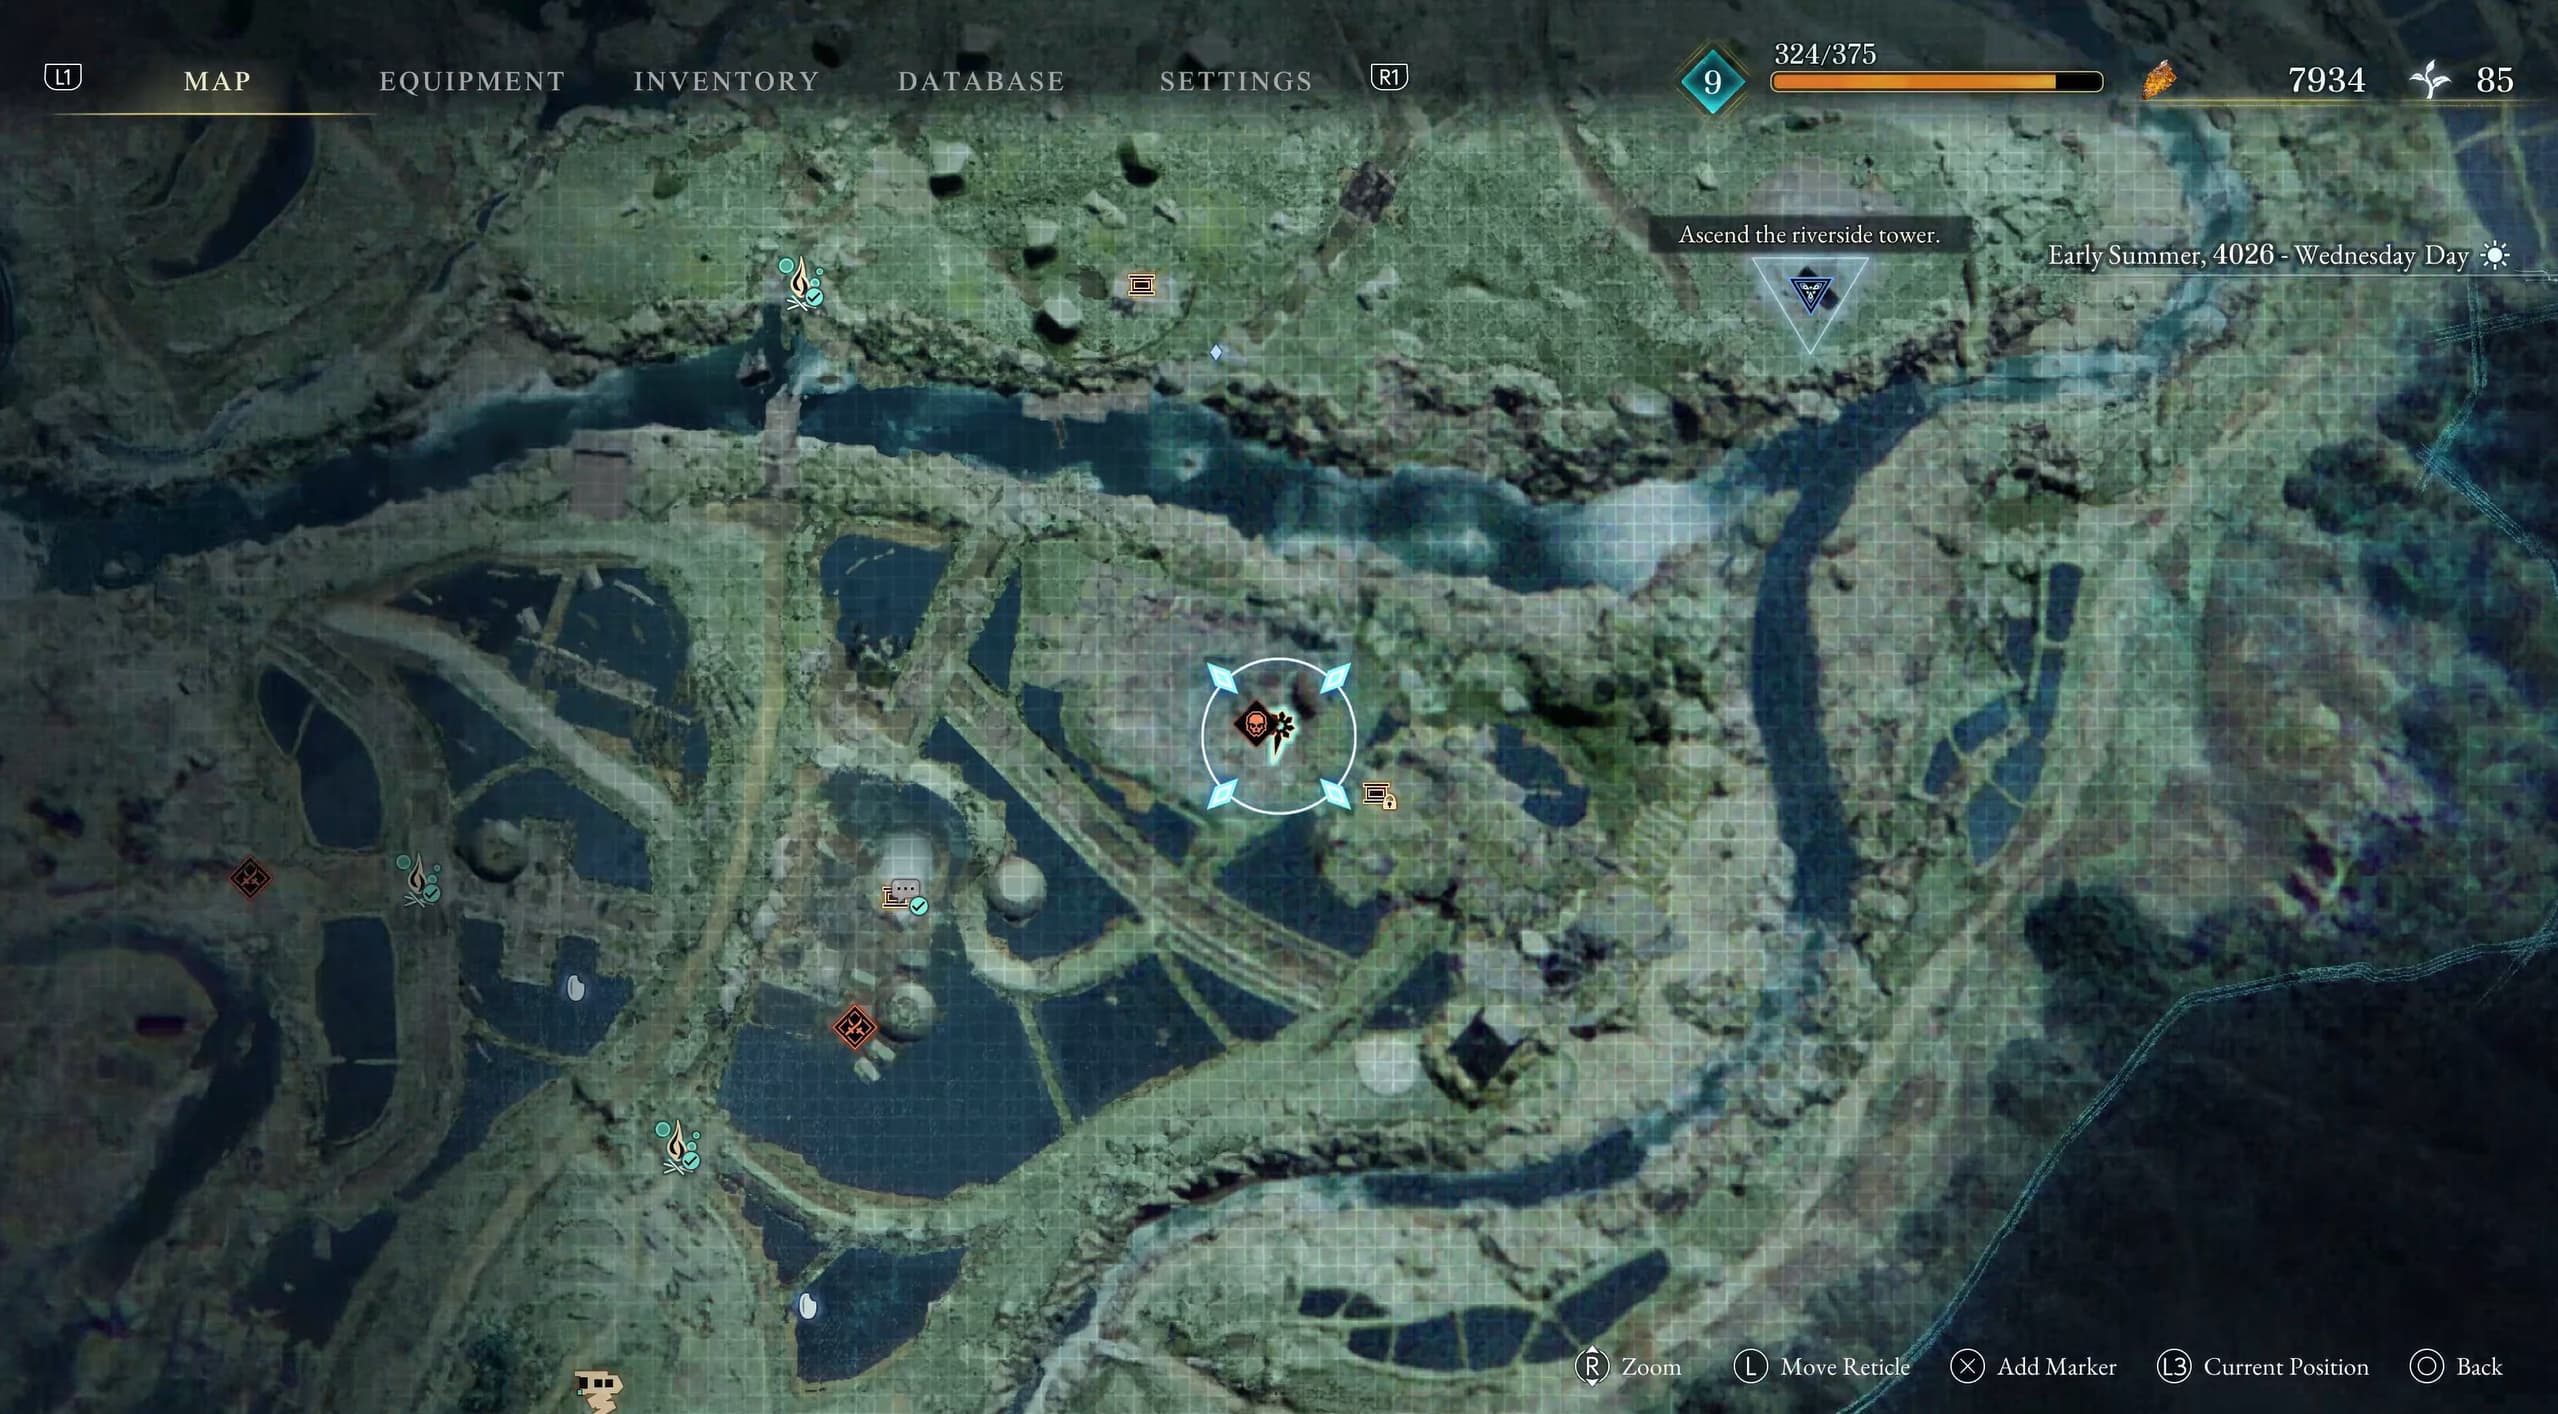
From this campsite, take the stairs on the left, up to the very top level, where the next Elite Enemy Golem will be to defeat.
In the tent just behind this Elite Enemy Golem will be the next Keeper Golem to talk with.
After talking with the Keeper Golem, go to the right of the tent where on a rack, will be a Weapon to collect, Mechblade Light.
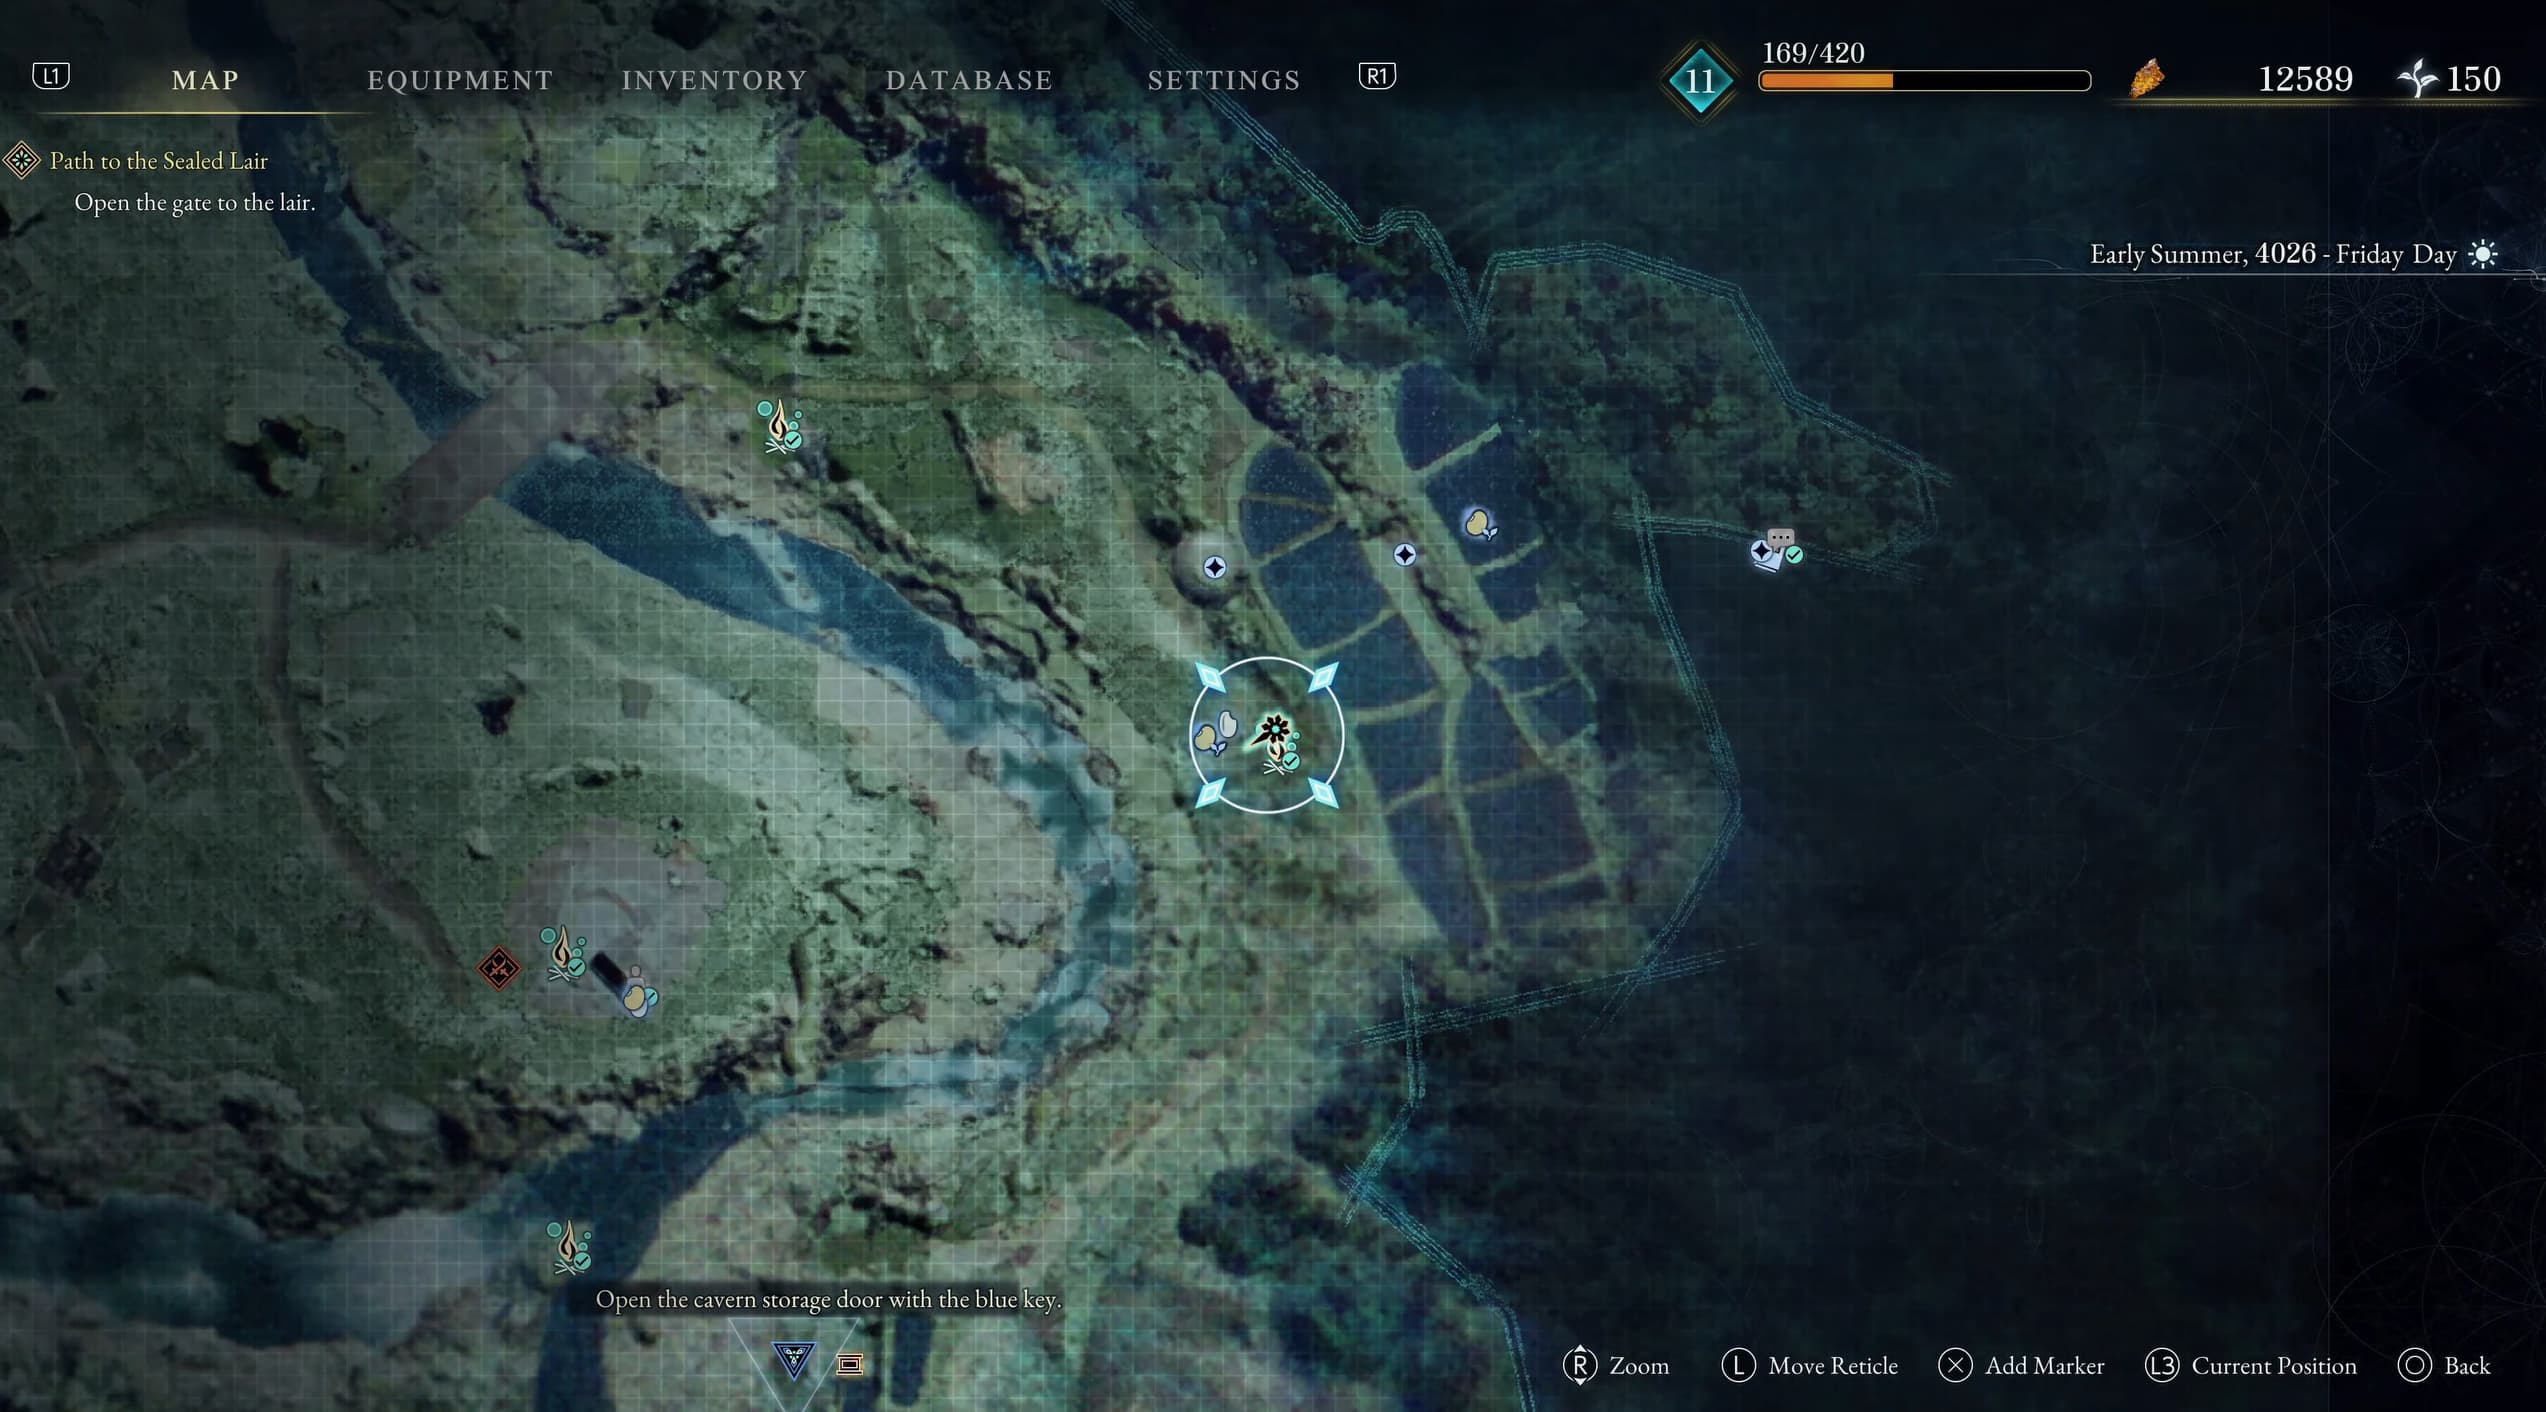
Make your way over to the east of the map now, towards the rice fields, here will be the next campsite to sit at.
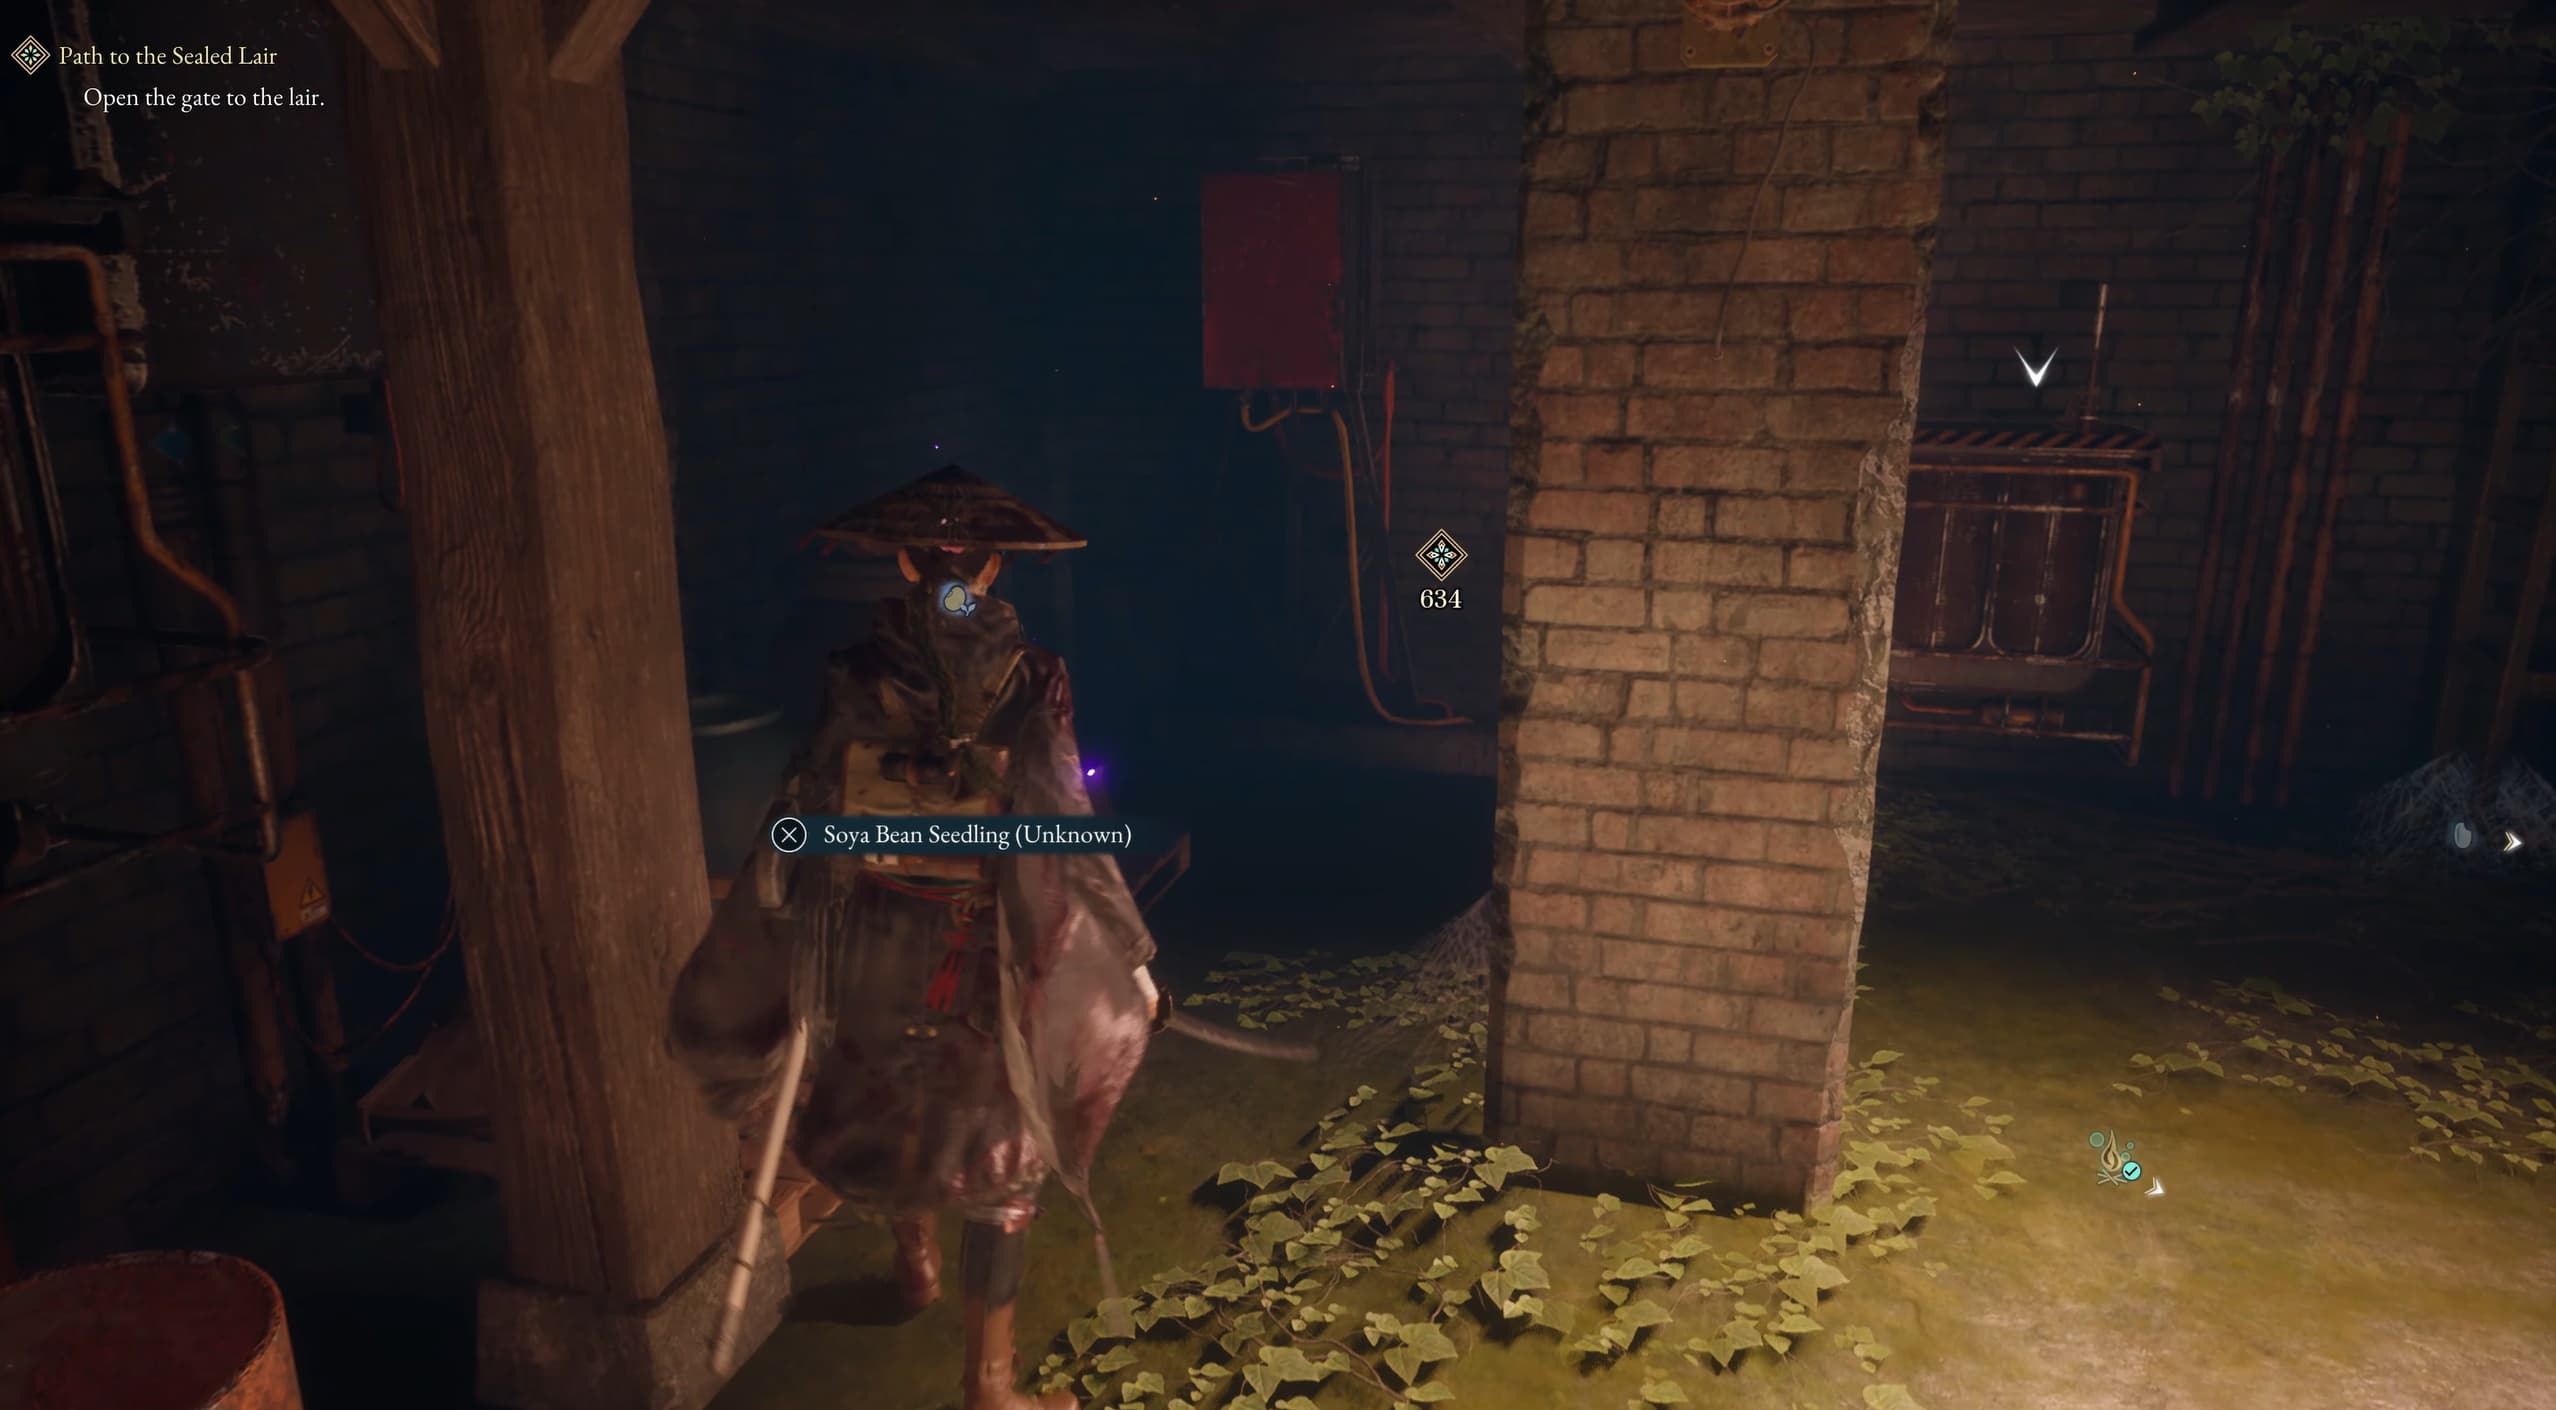
Just behind you from this campsite will be another derelict building, where inside at the back left, will be a Soyabean Seedling to collect.
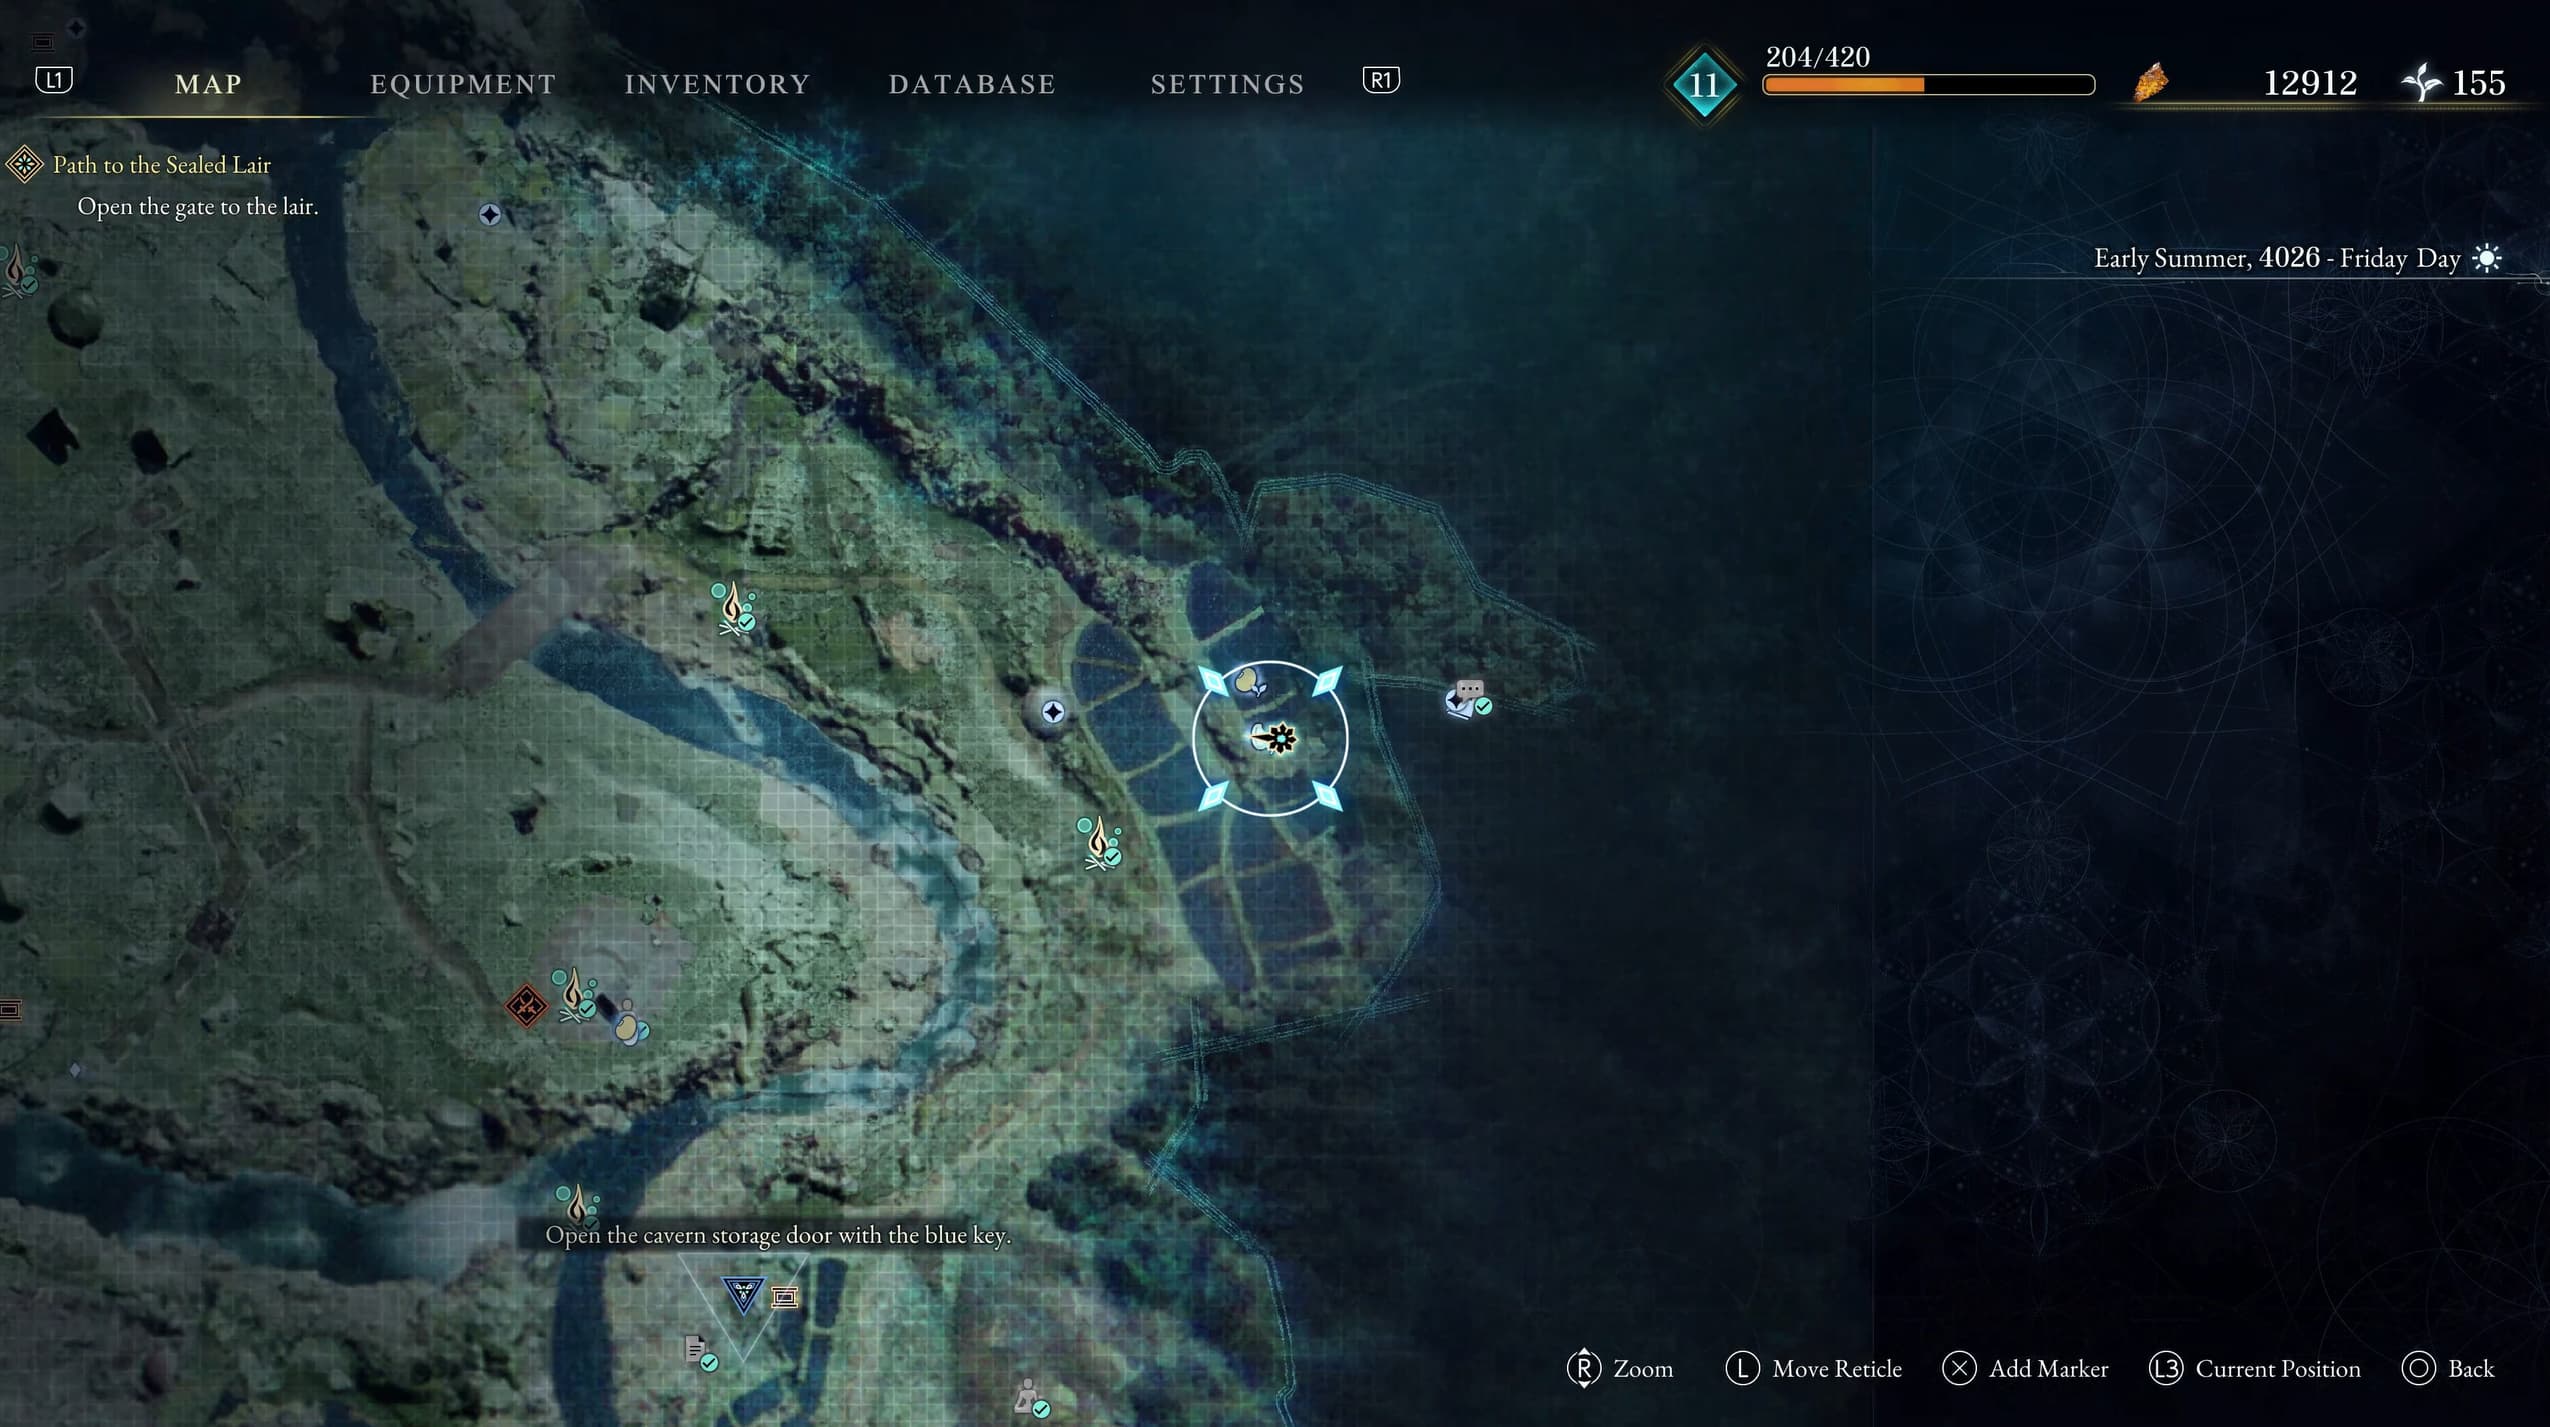
Now making your way over to the east into the rice fields, here there will be a Rice Seedling to collect.
From this seedling, make your way down to the lower rice fields, where if you look towards the rocks, you will find a cave, and inside will be another Soyabean Seedling to collect, if you missed the first one.
Make your way back up to the top rice fields and ahead will be another cave to explore, in the back right room will be a Fried Egg recipe to collect from the table, and a Keeper Golem to talk with on the left.
Heading across to the west a little is going to be the next campsite to sit at.
Heading up and to the left a little from the campsite, you will see a more built up rocky area, in here will be another Elite Enemy Golem, you will know you're in the right place if you see this graffiti in the rocks.
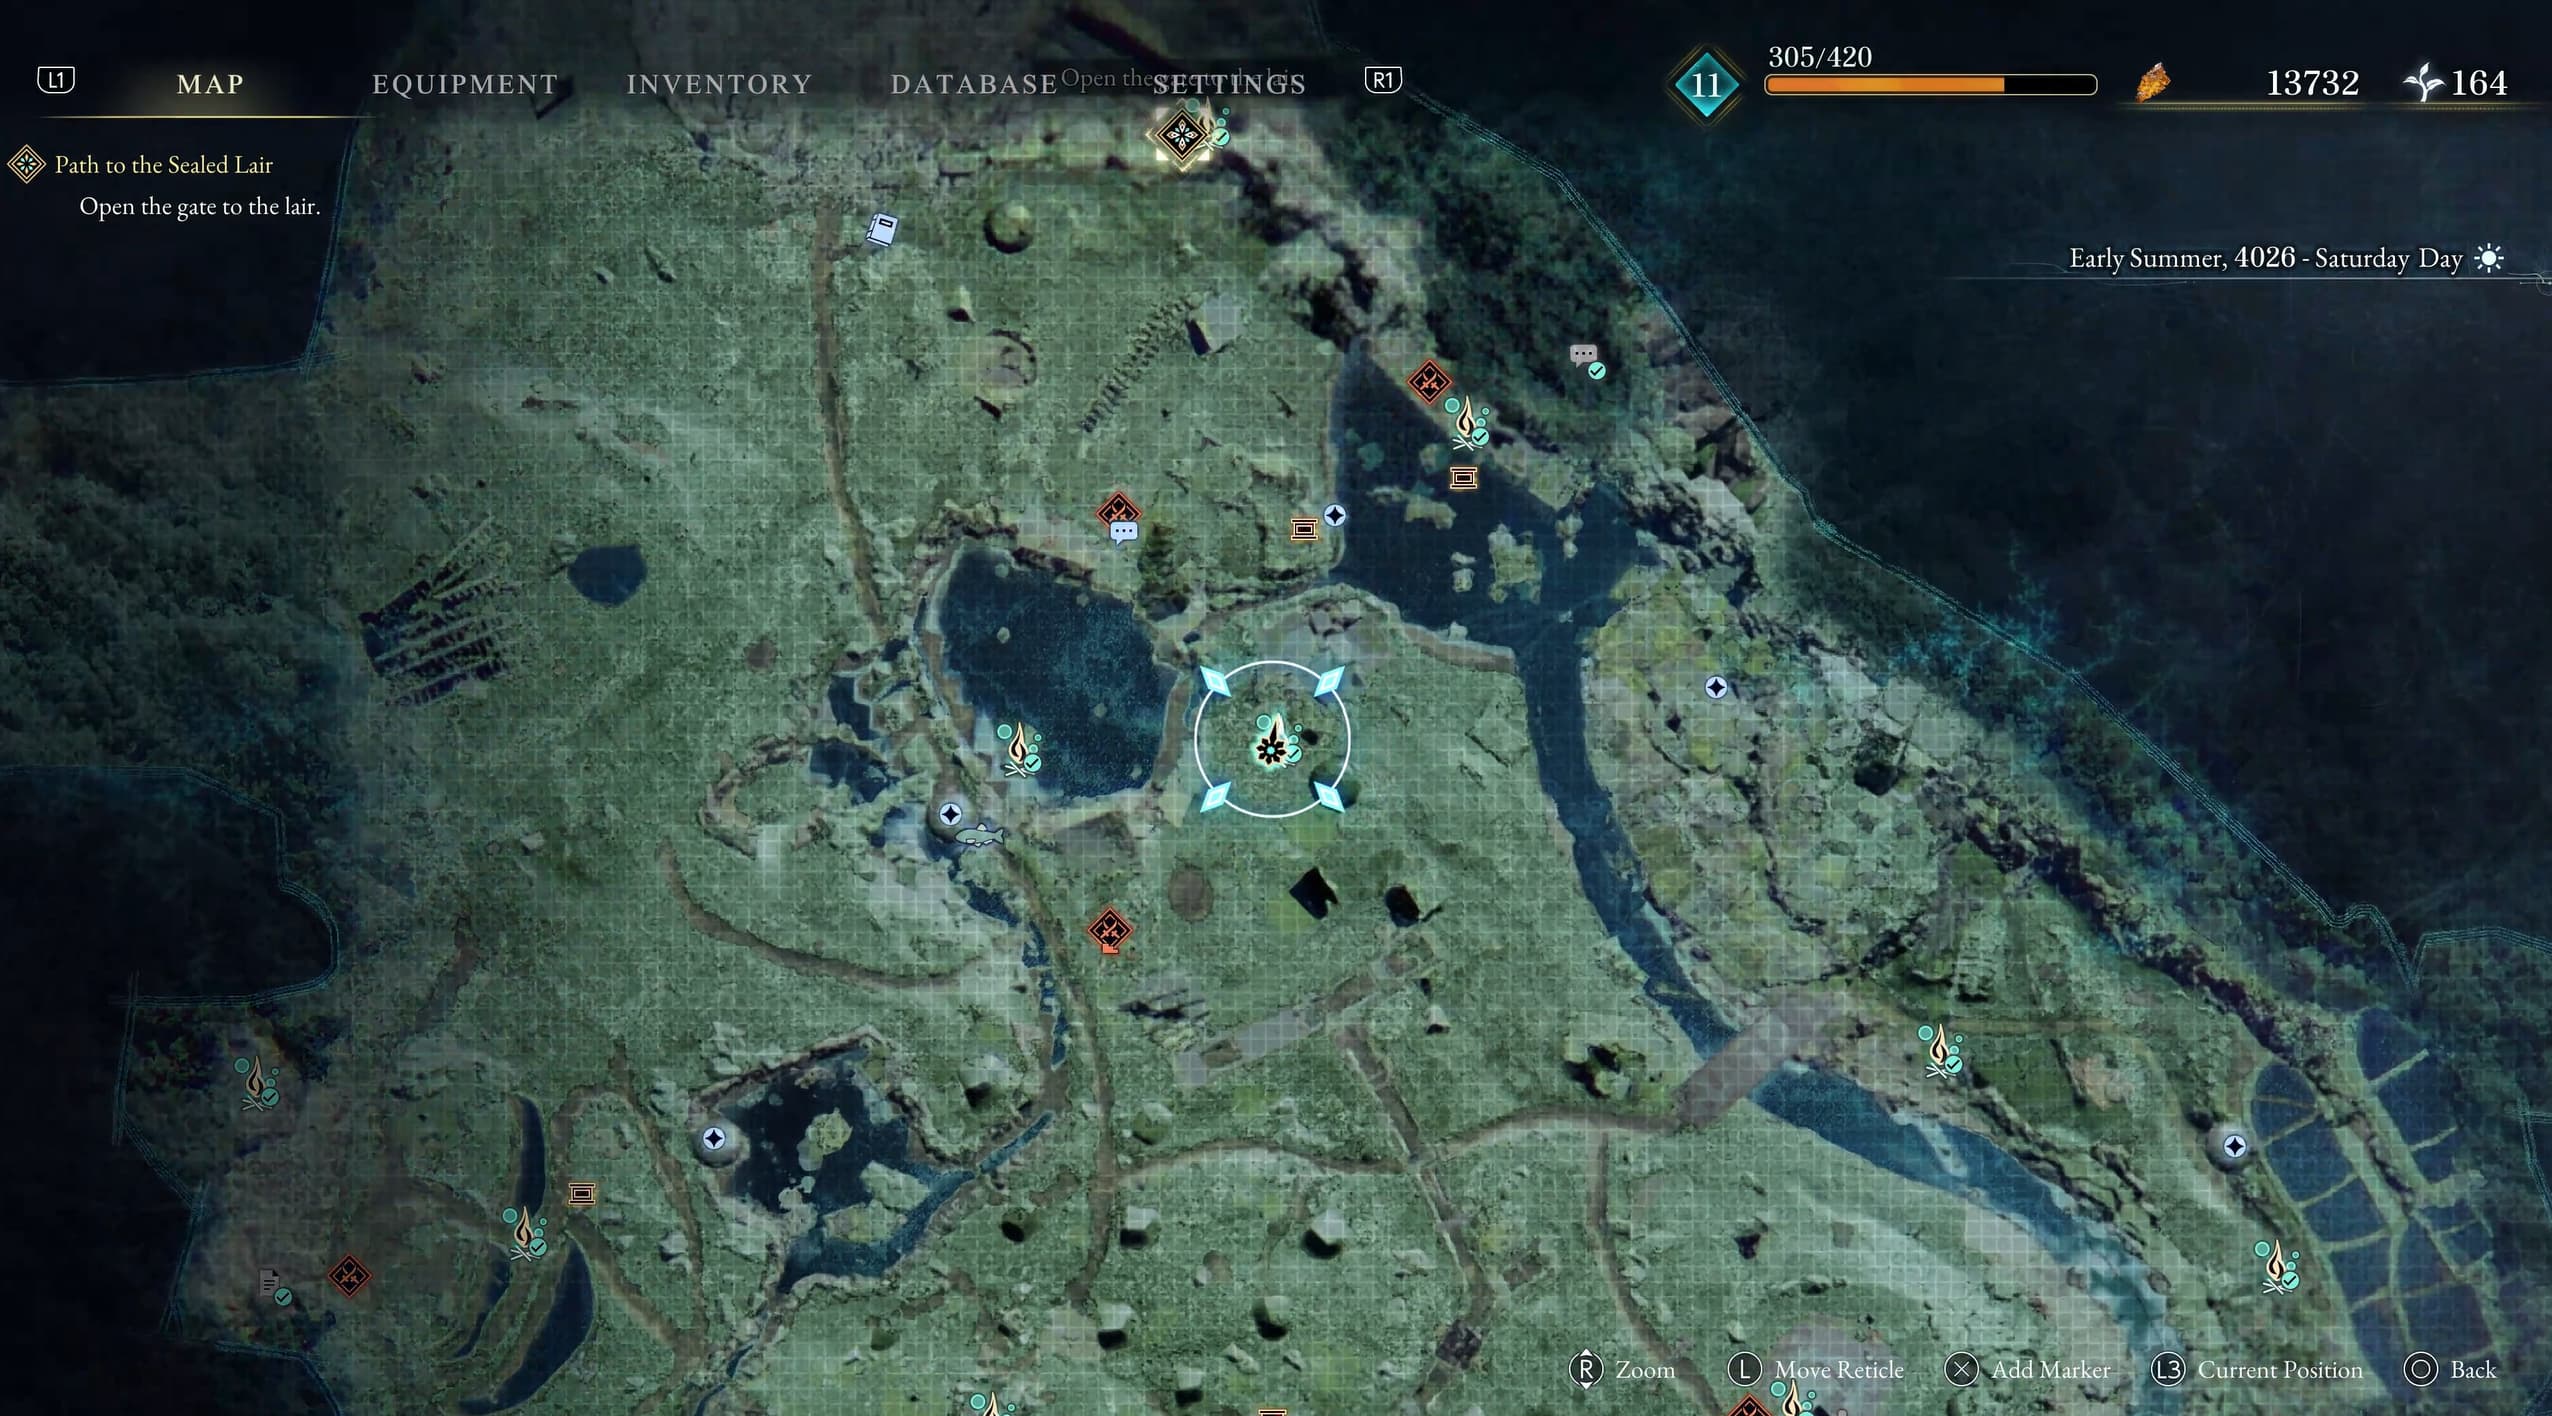
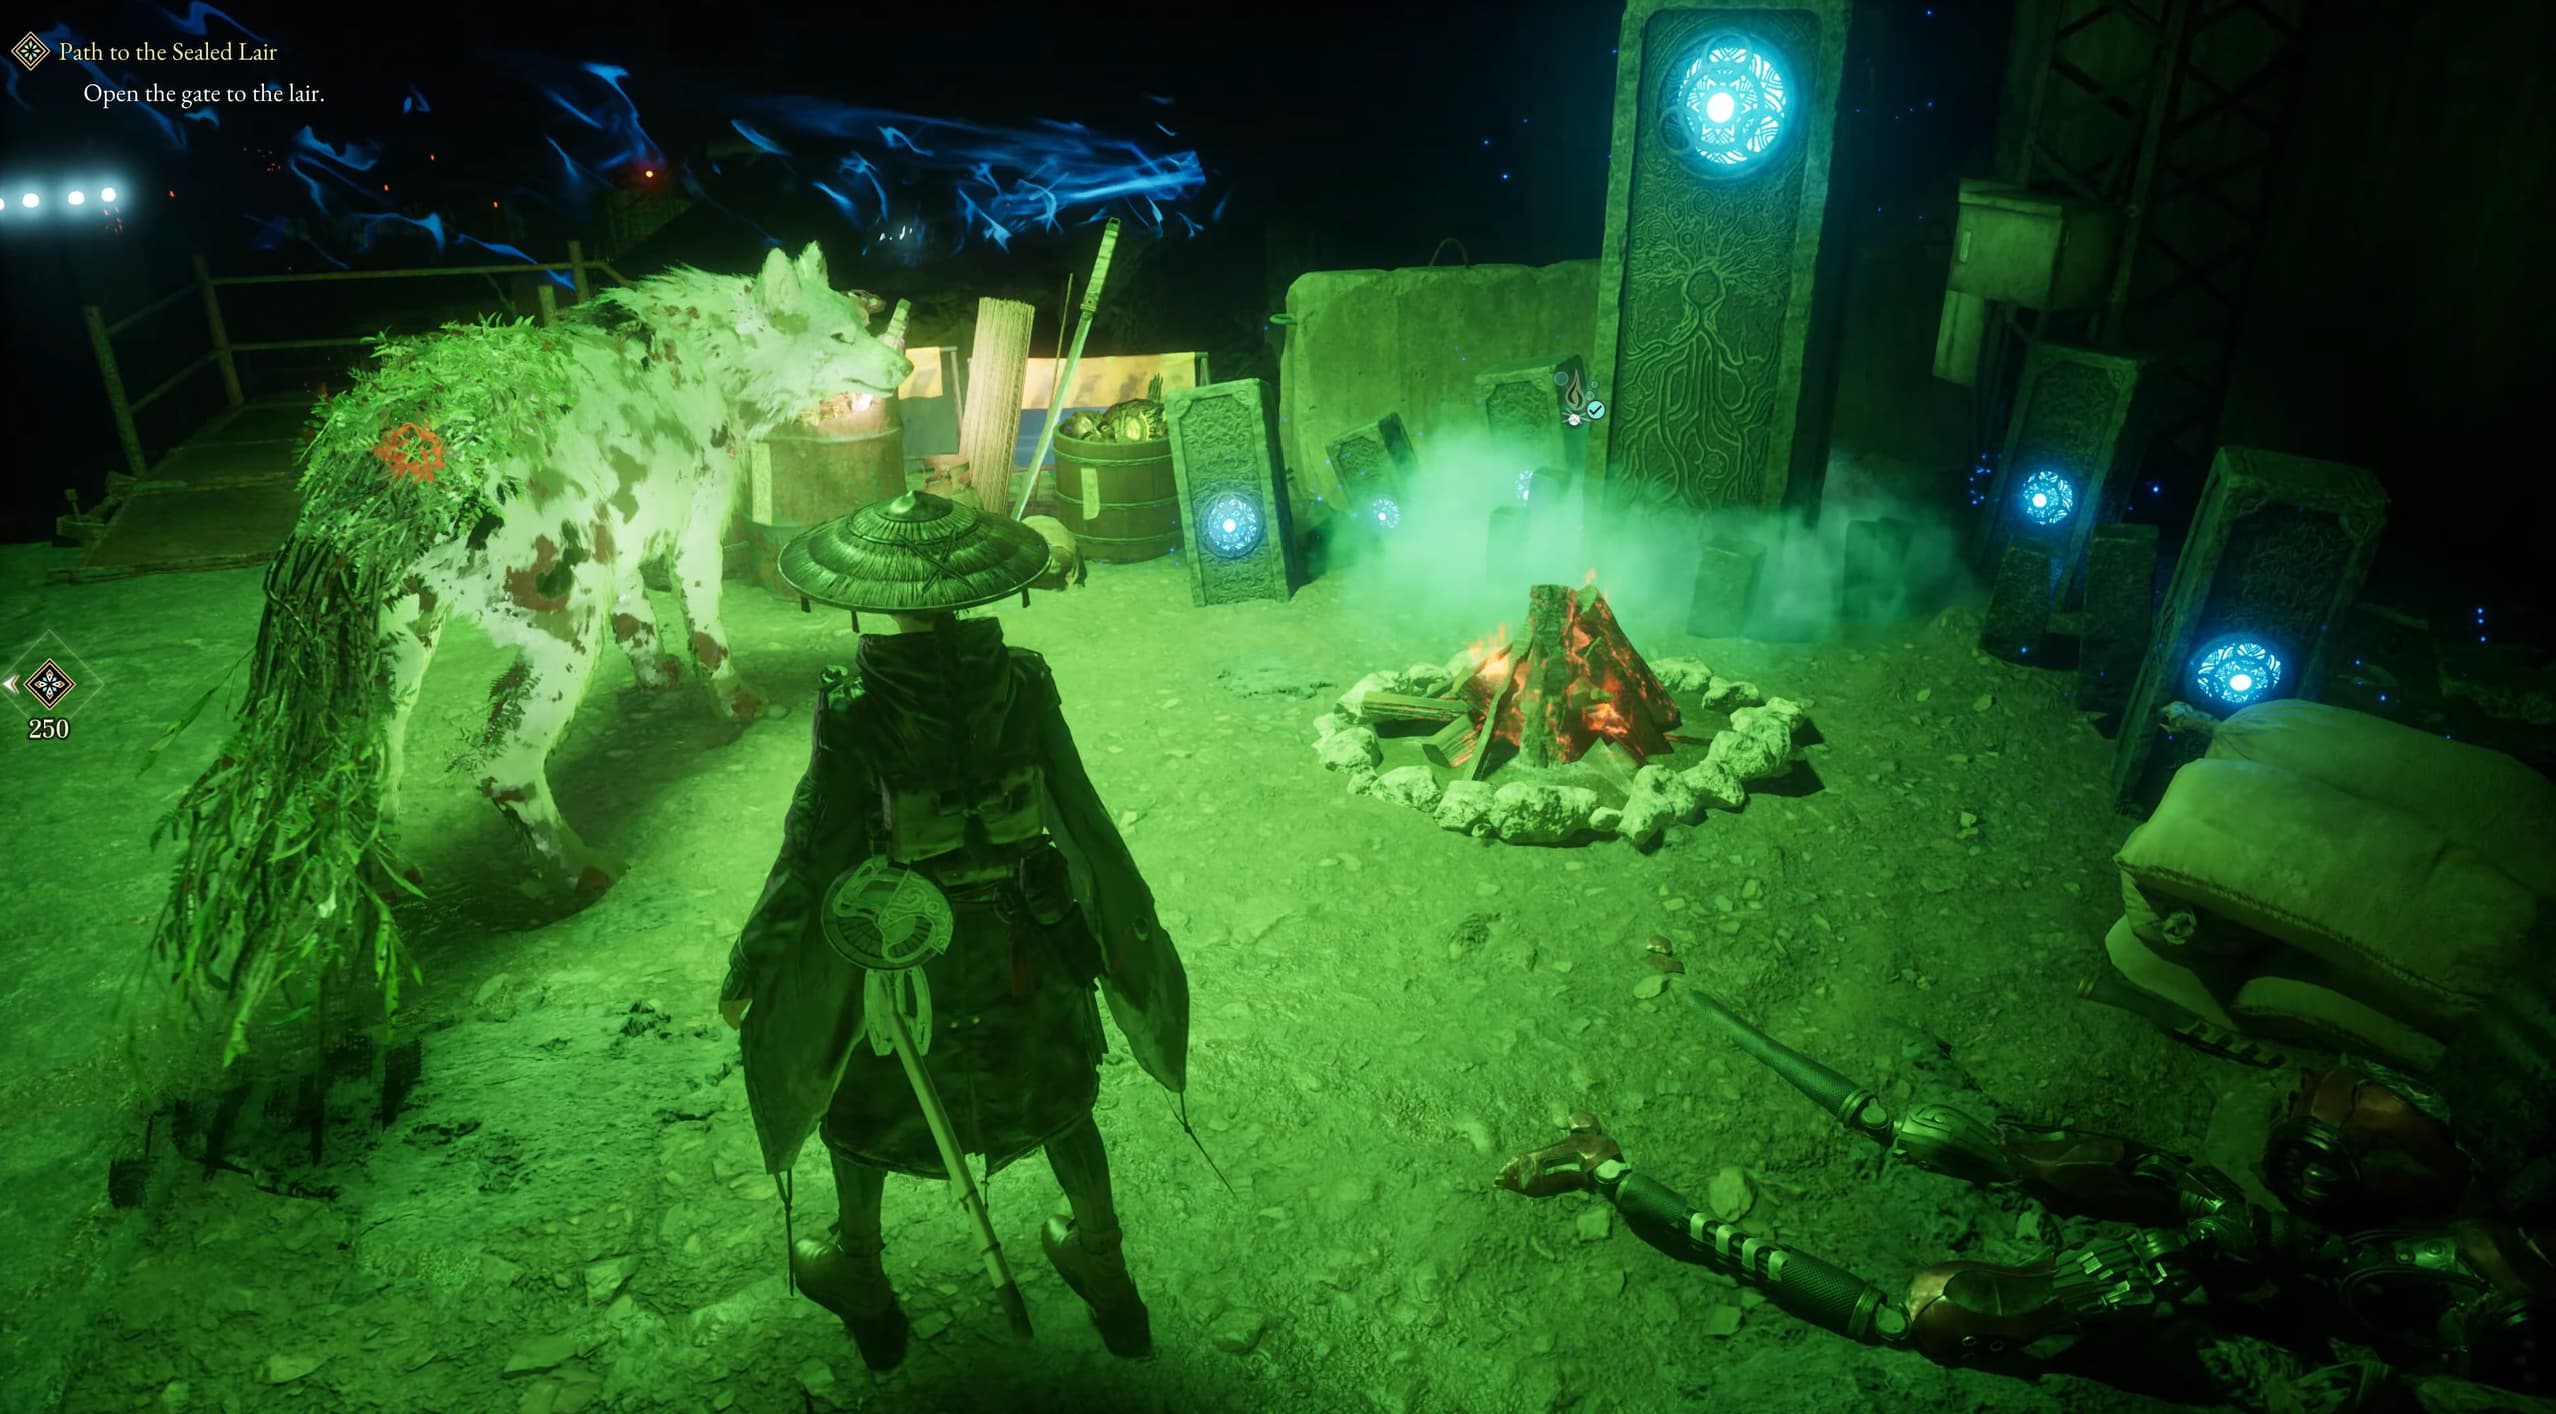
Heading now to the north east lake, here will be another campsite to sit at.
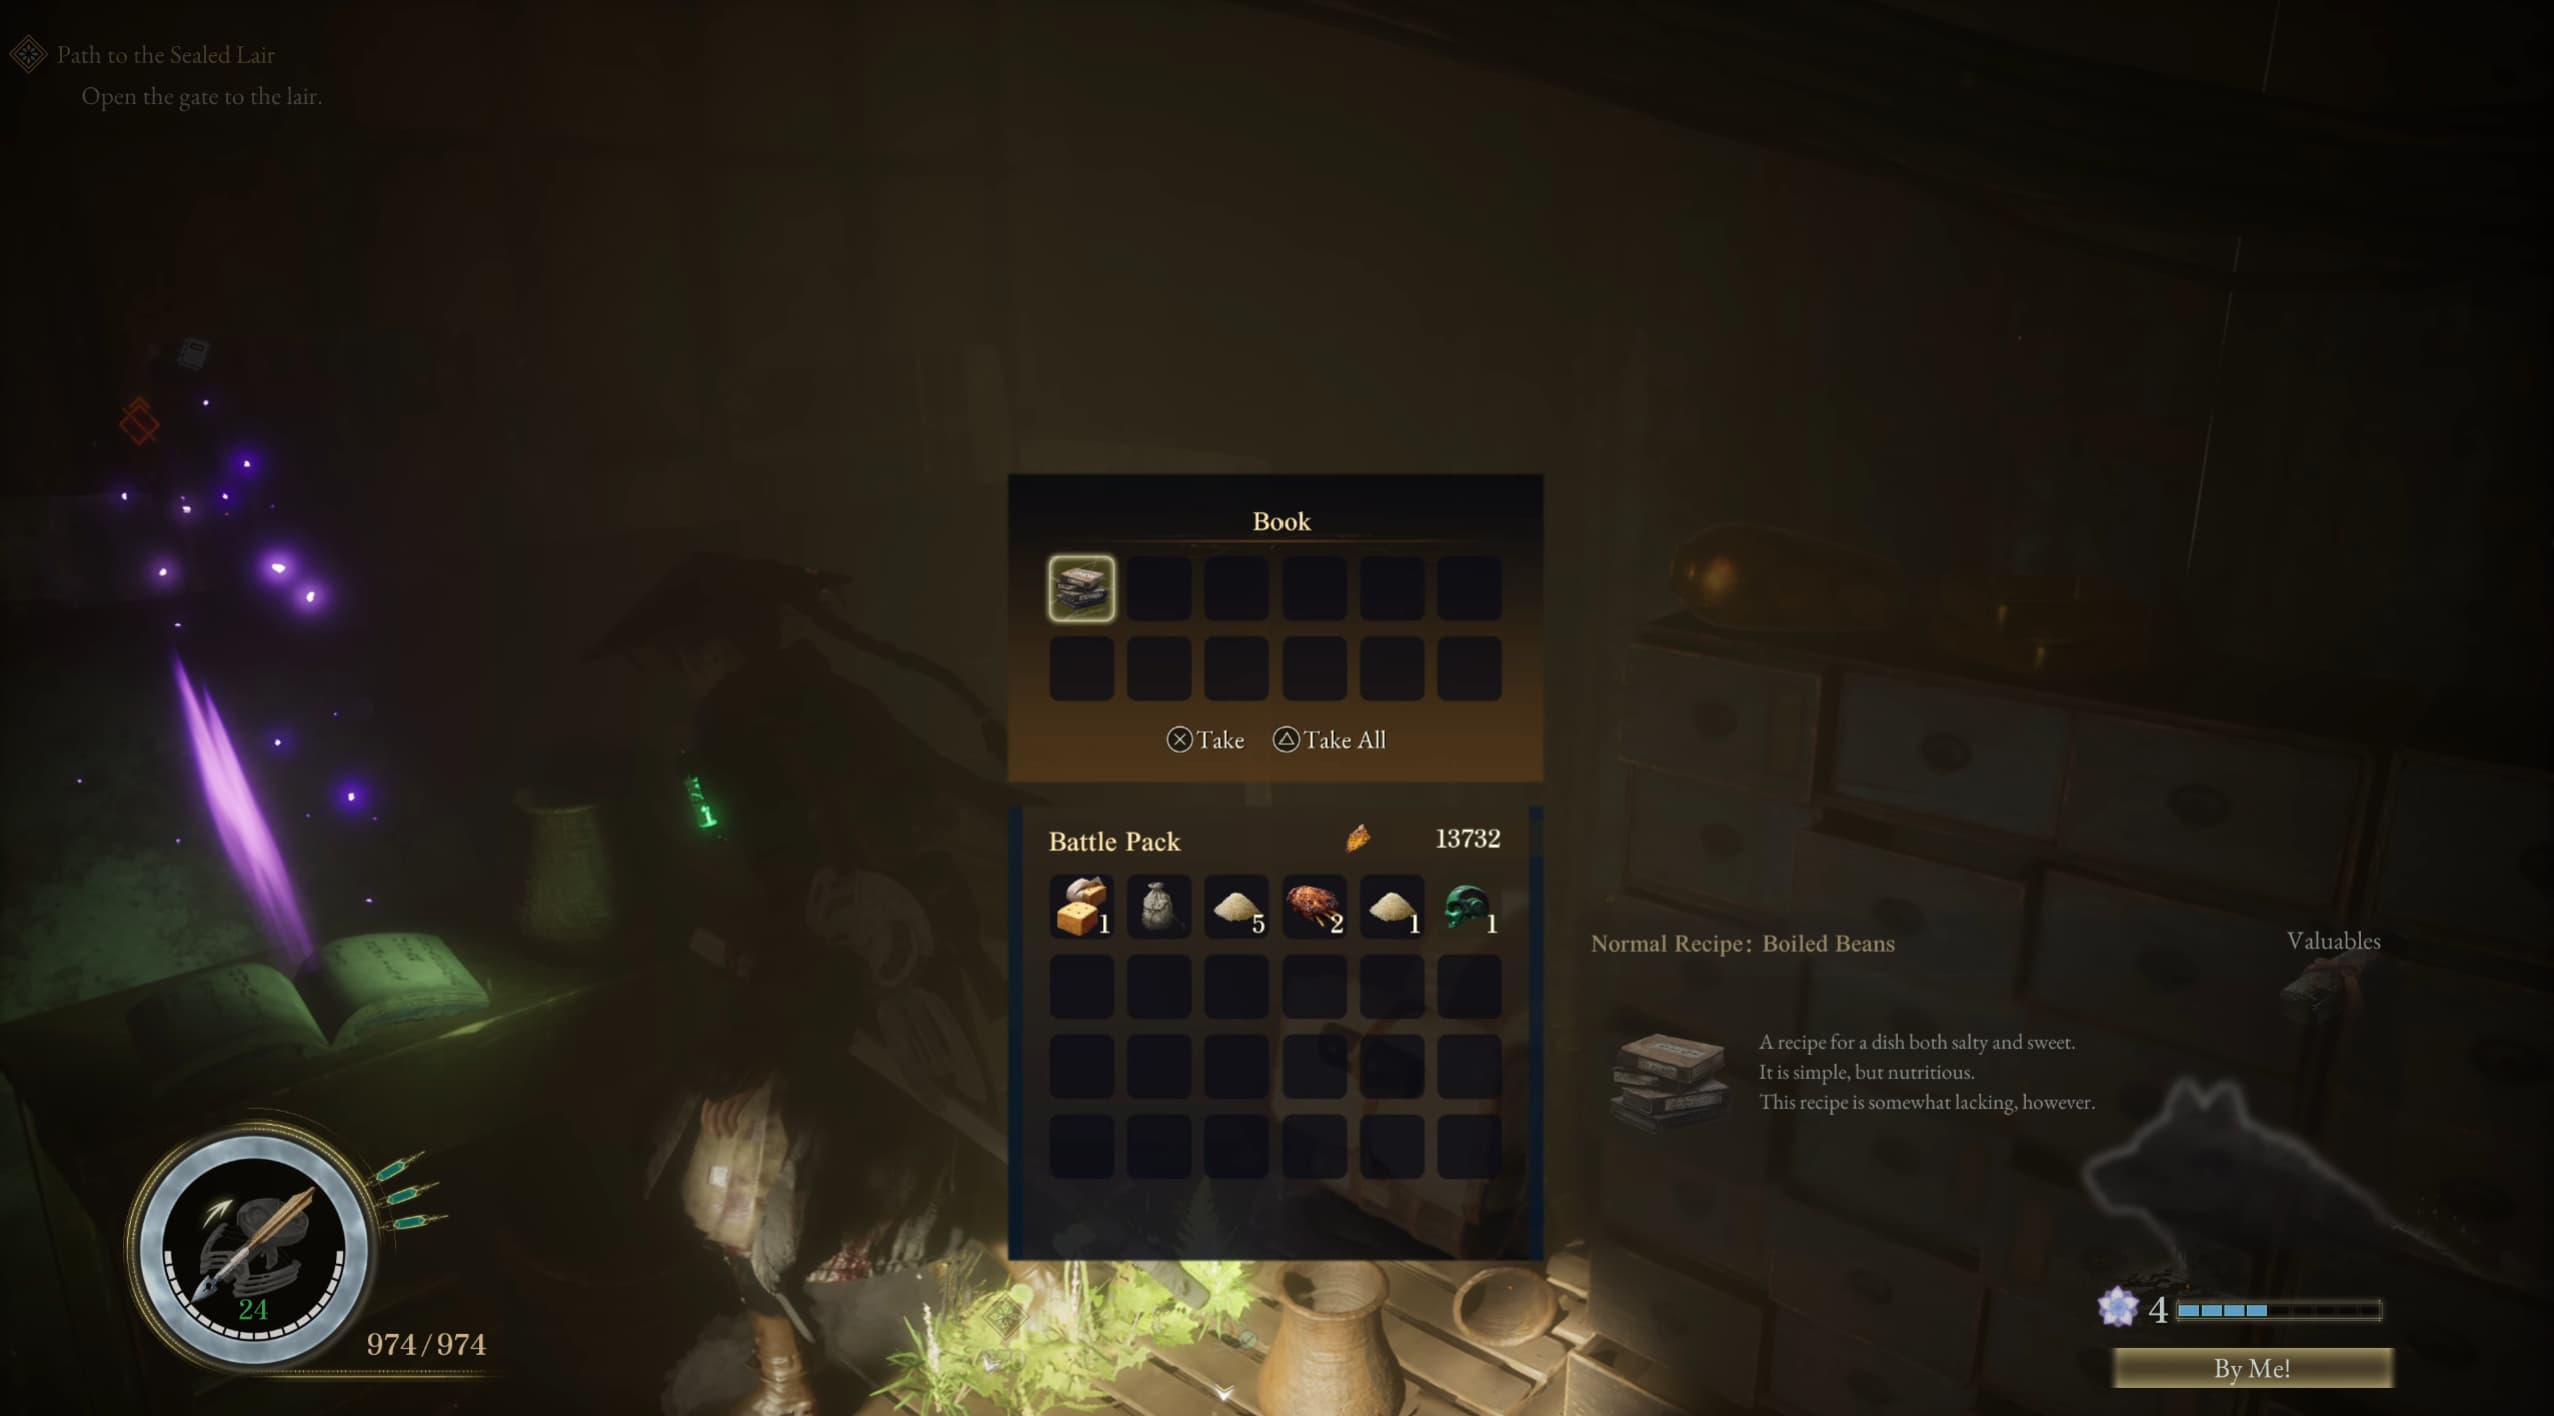
Spinning around from this campsite, and heading into the building, inside will be the next recipe to collect, Boiled Beans.
Now heading into Subcity 01, the campsite in here is hard to miss.
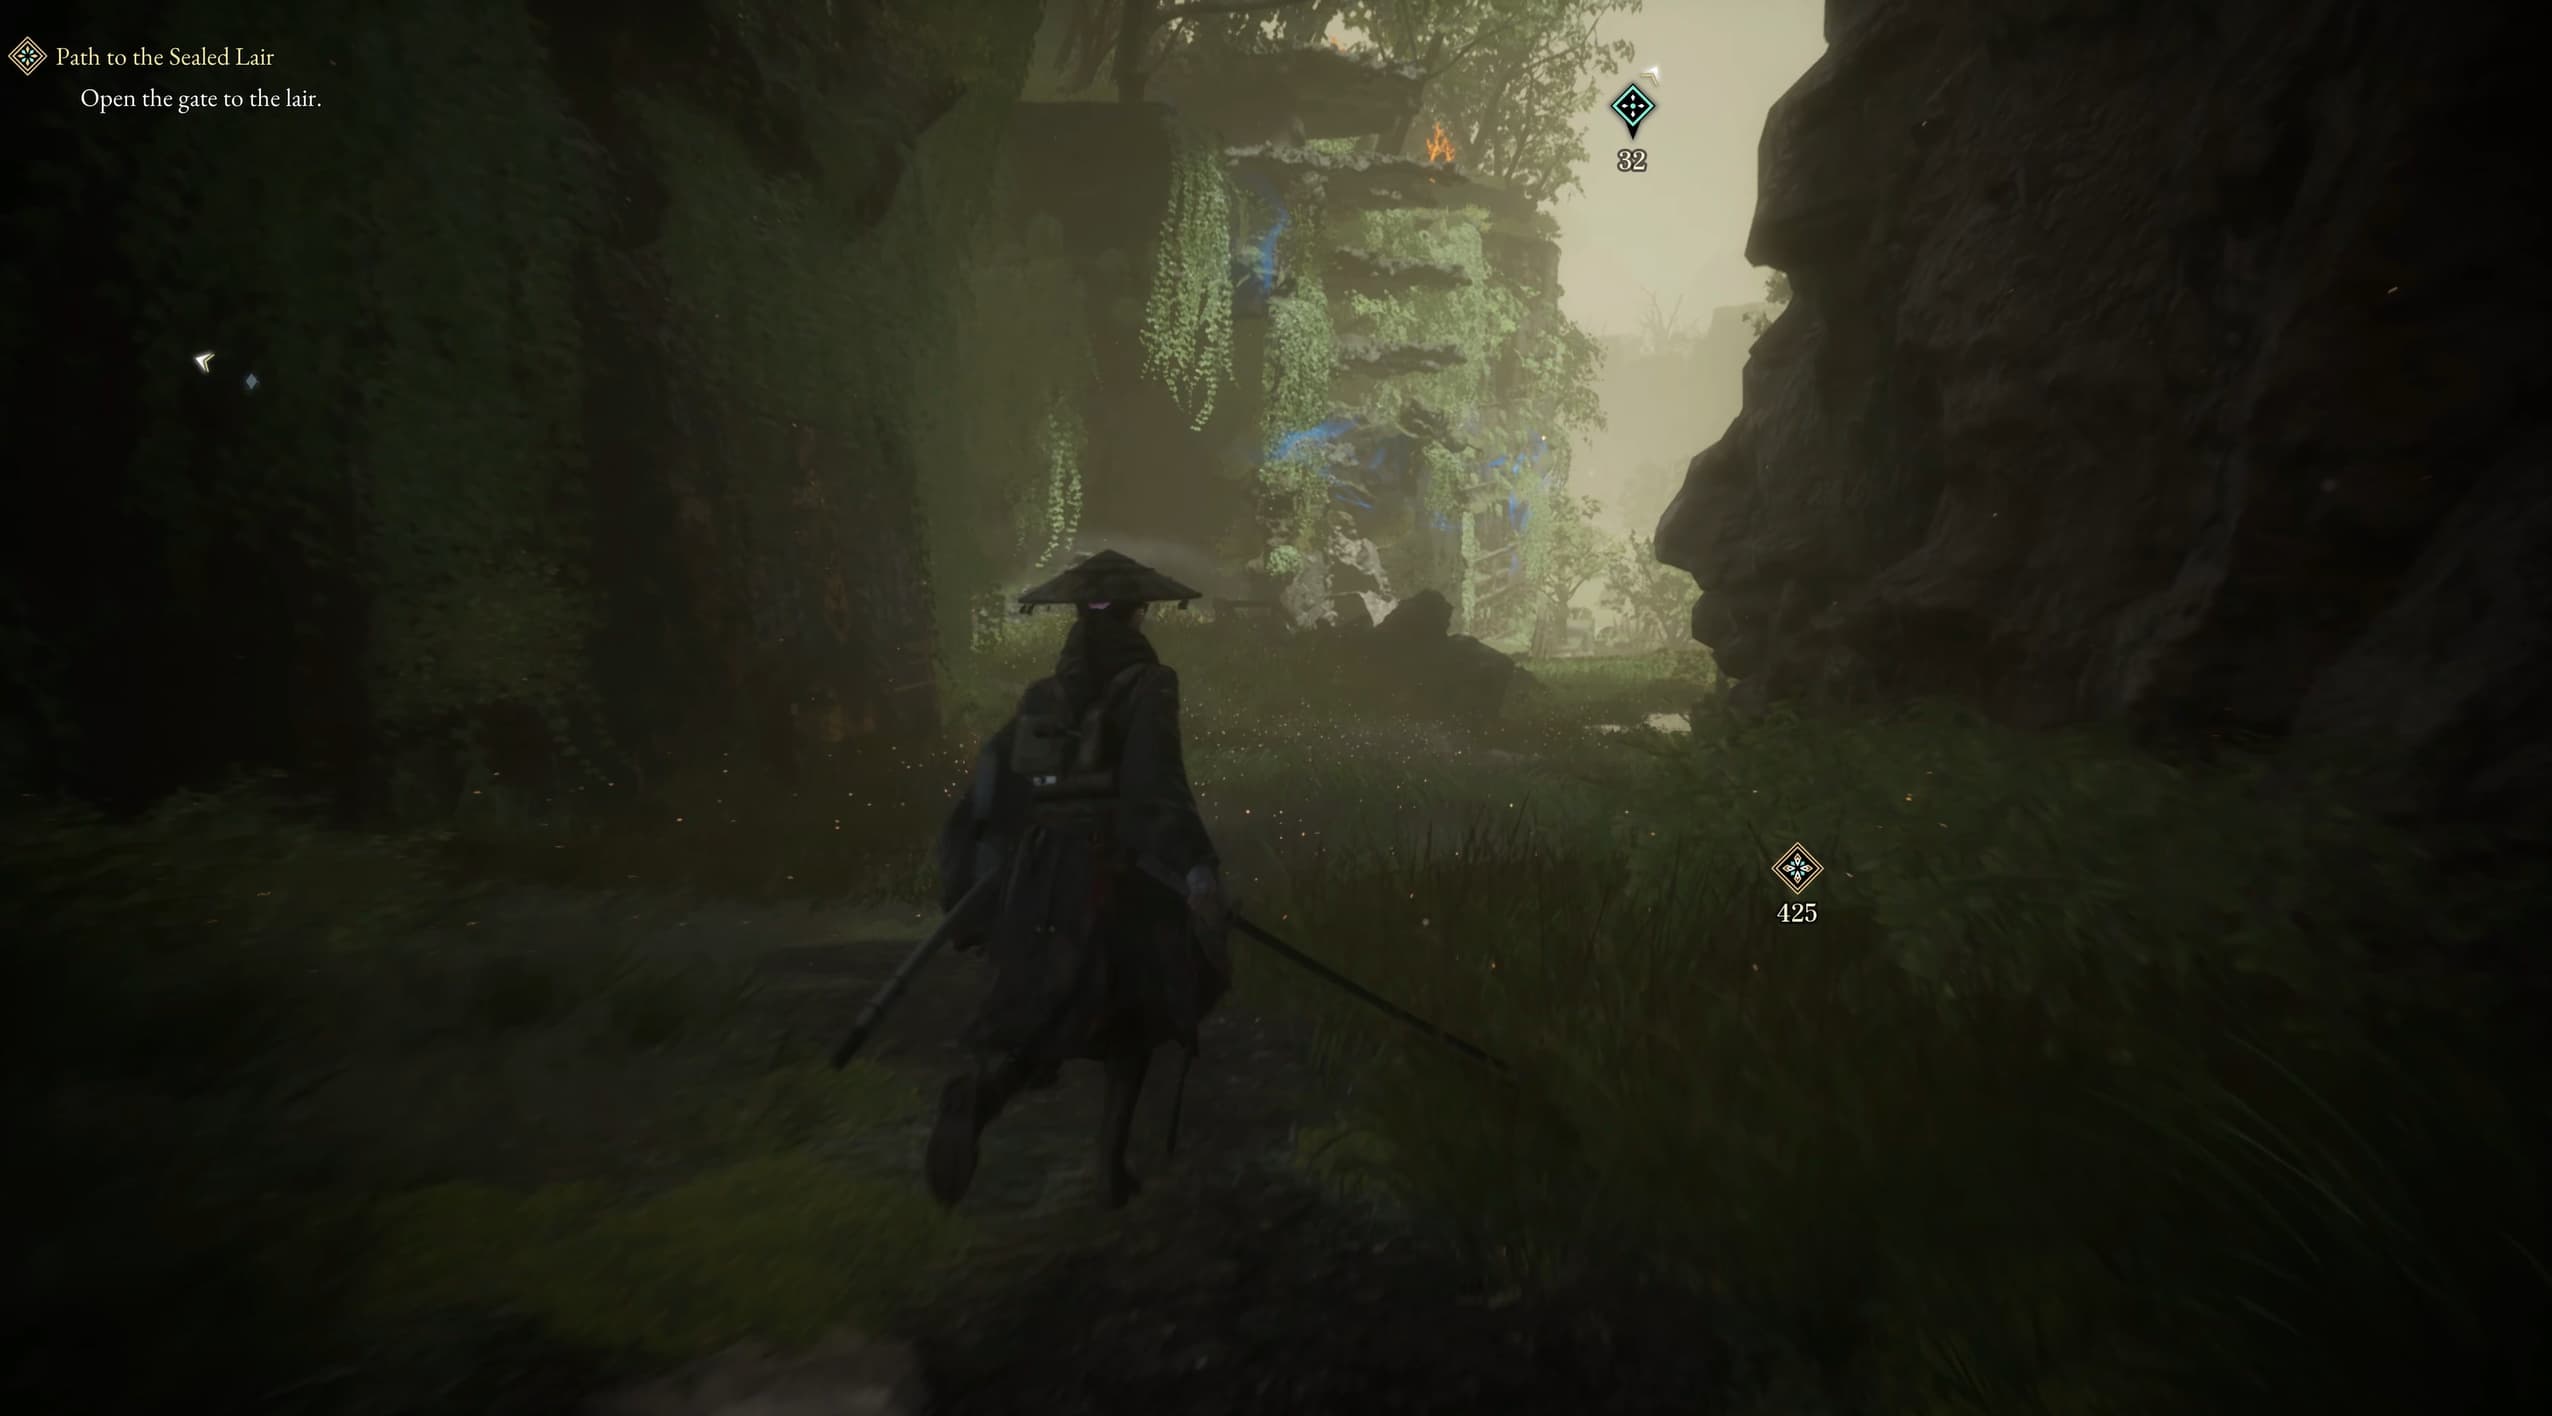
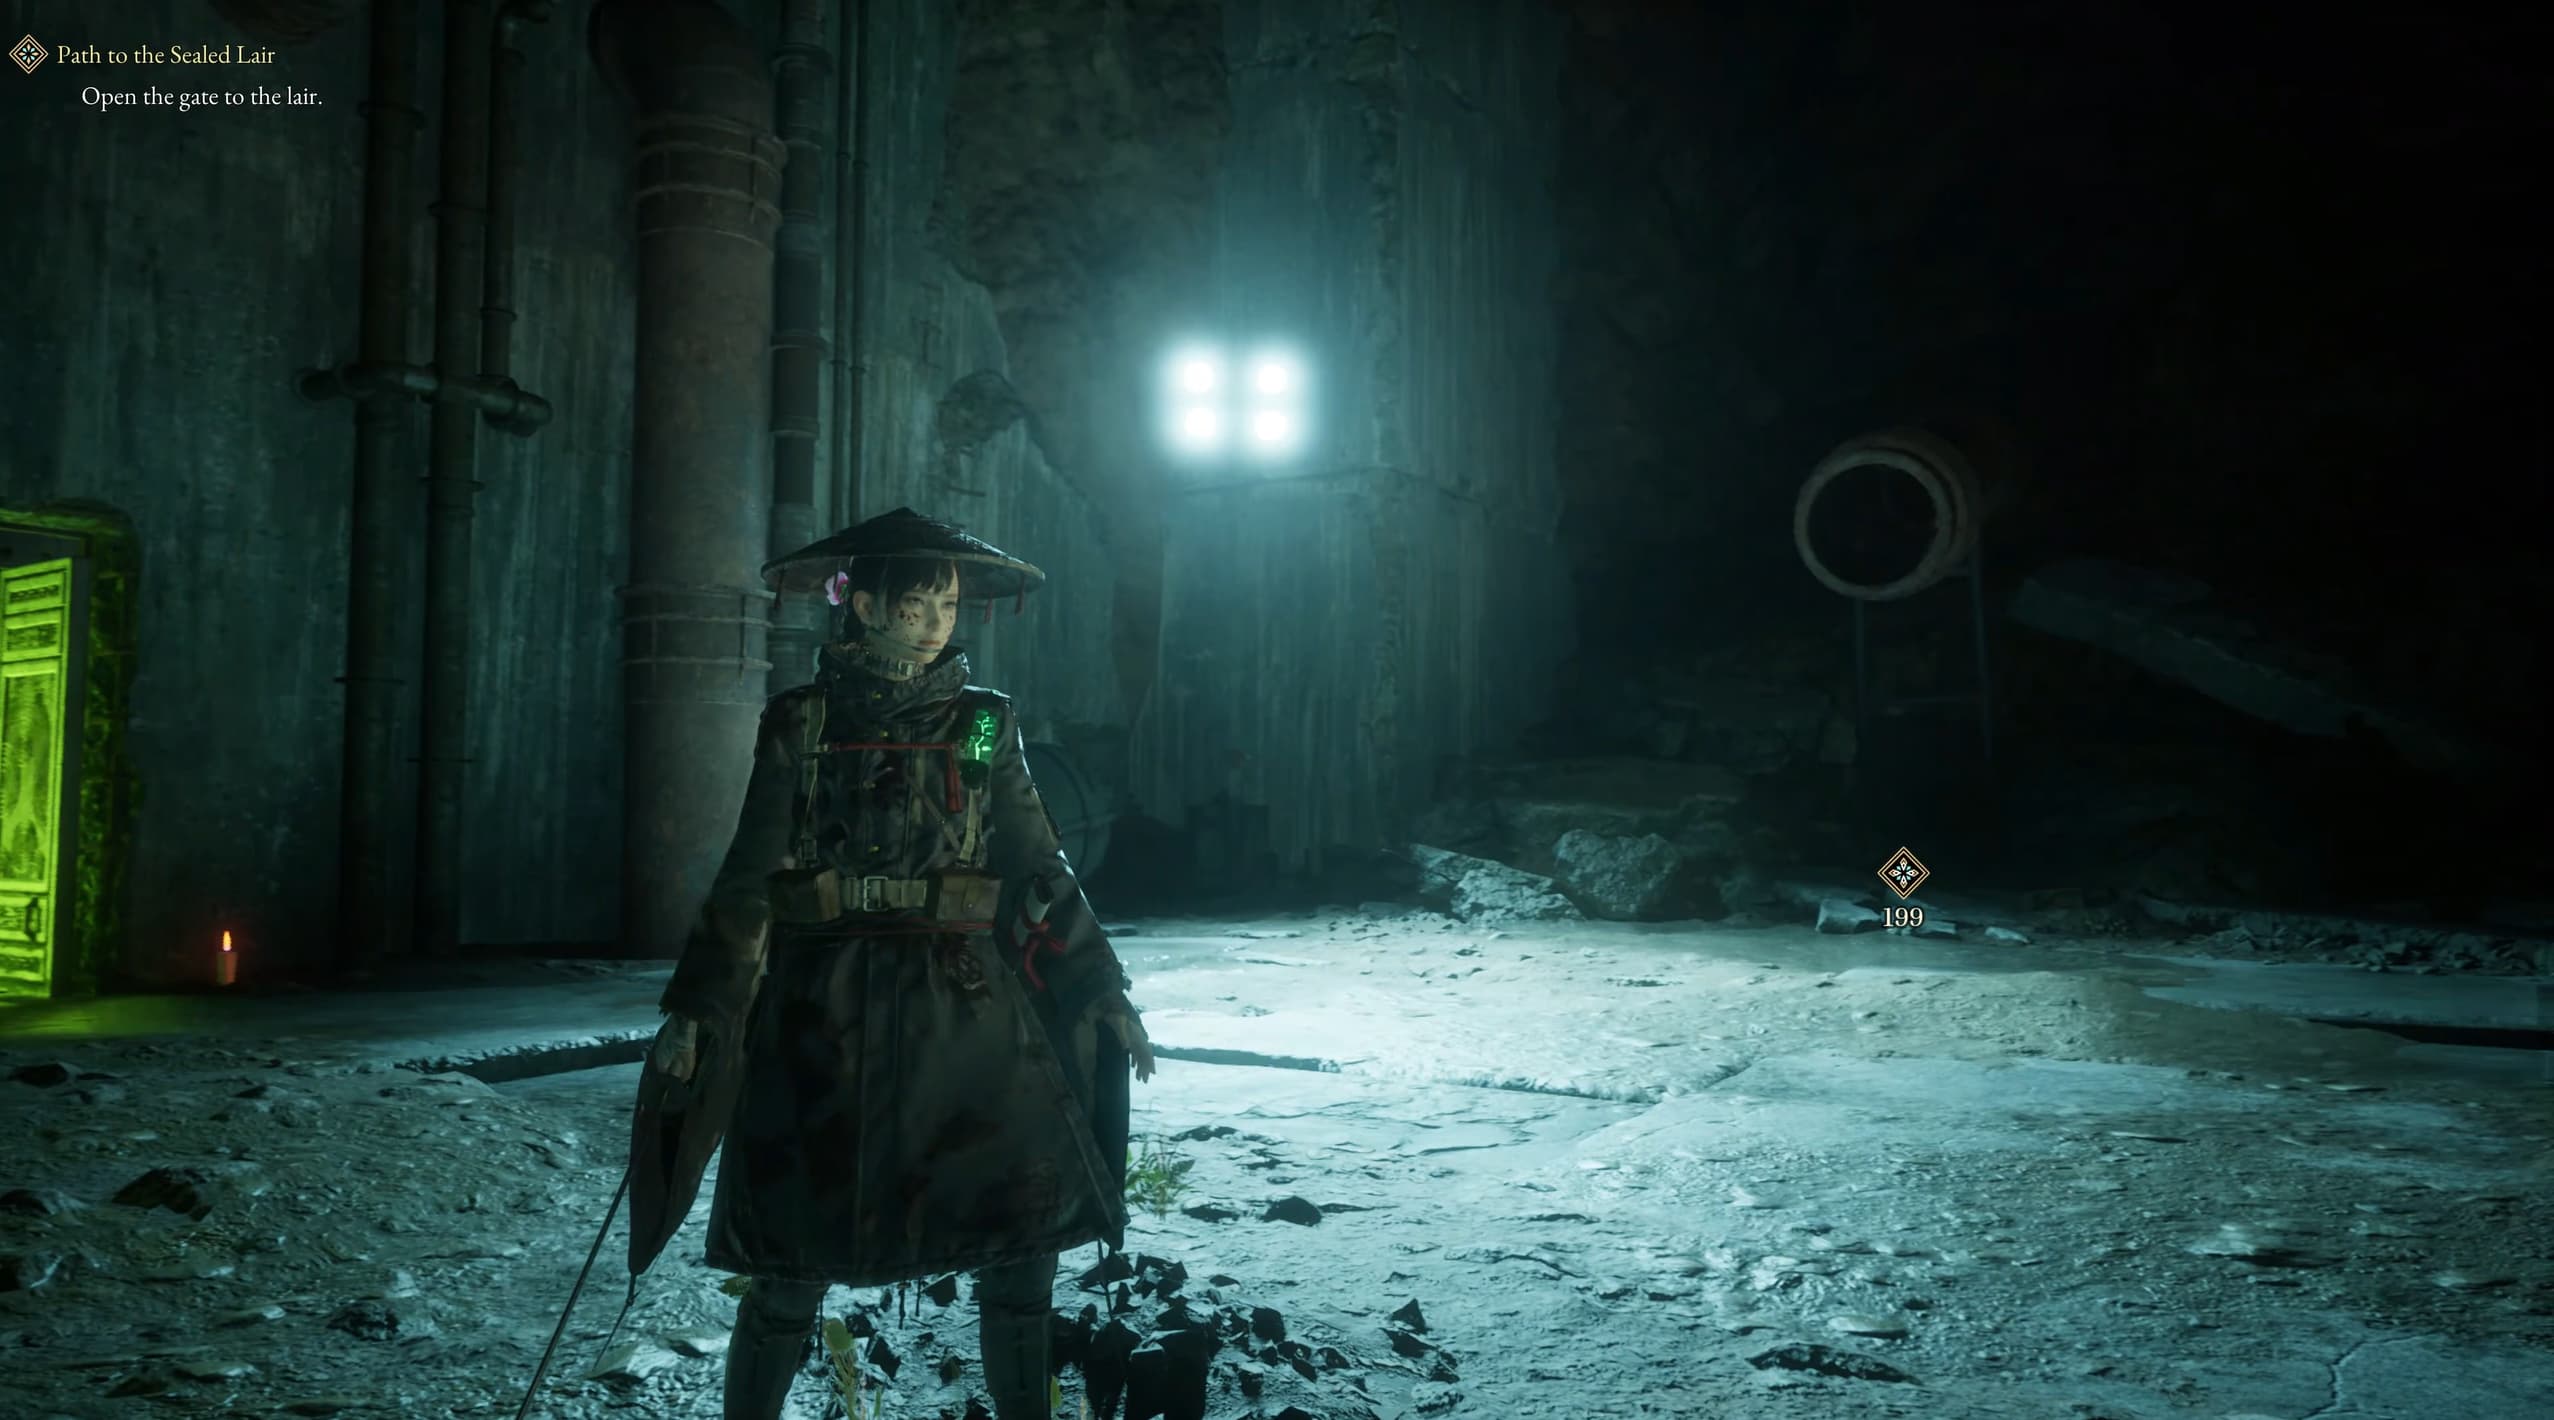
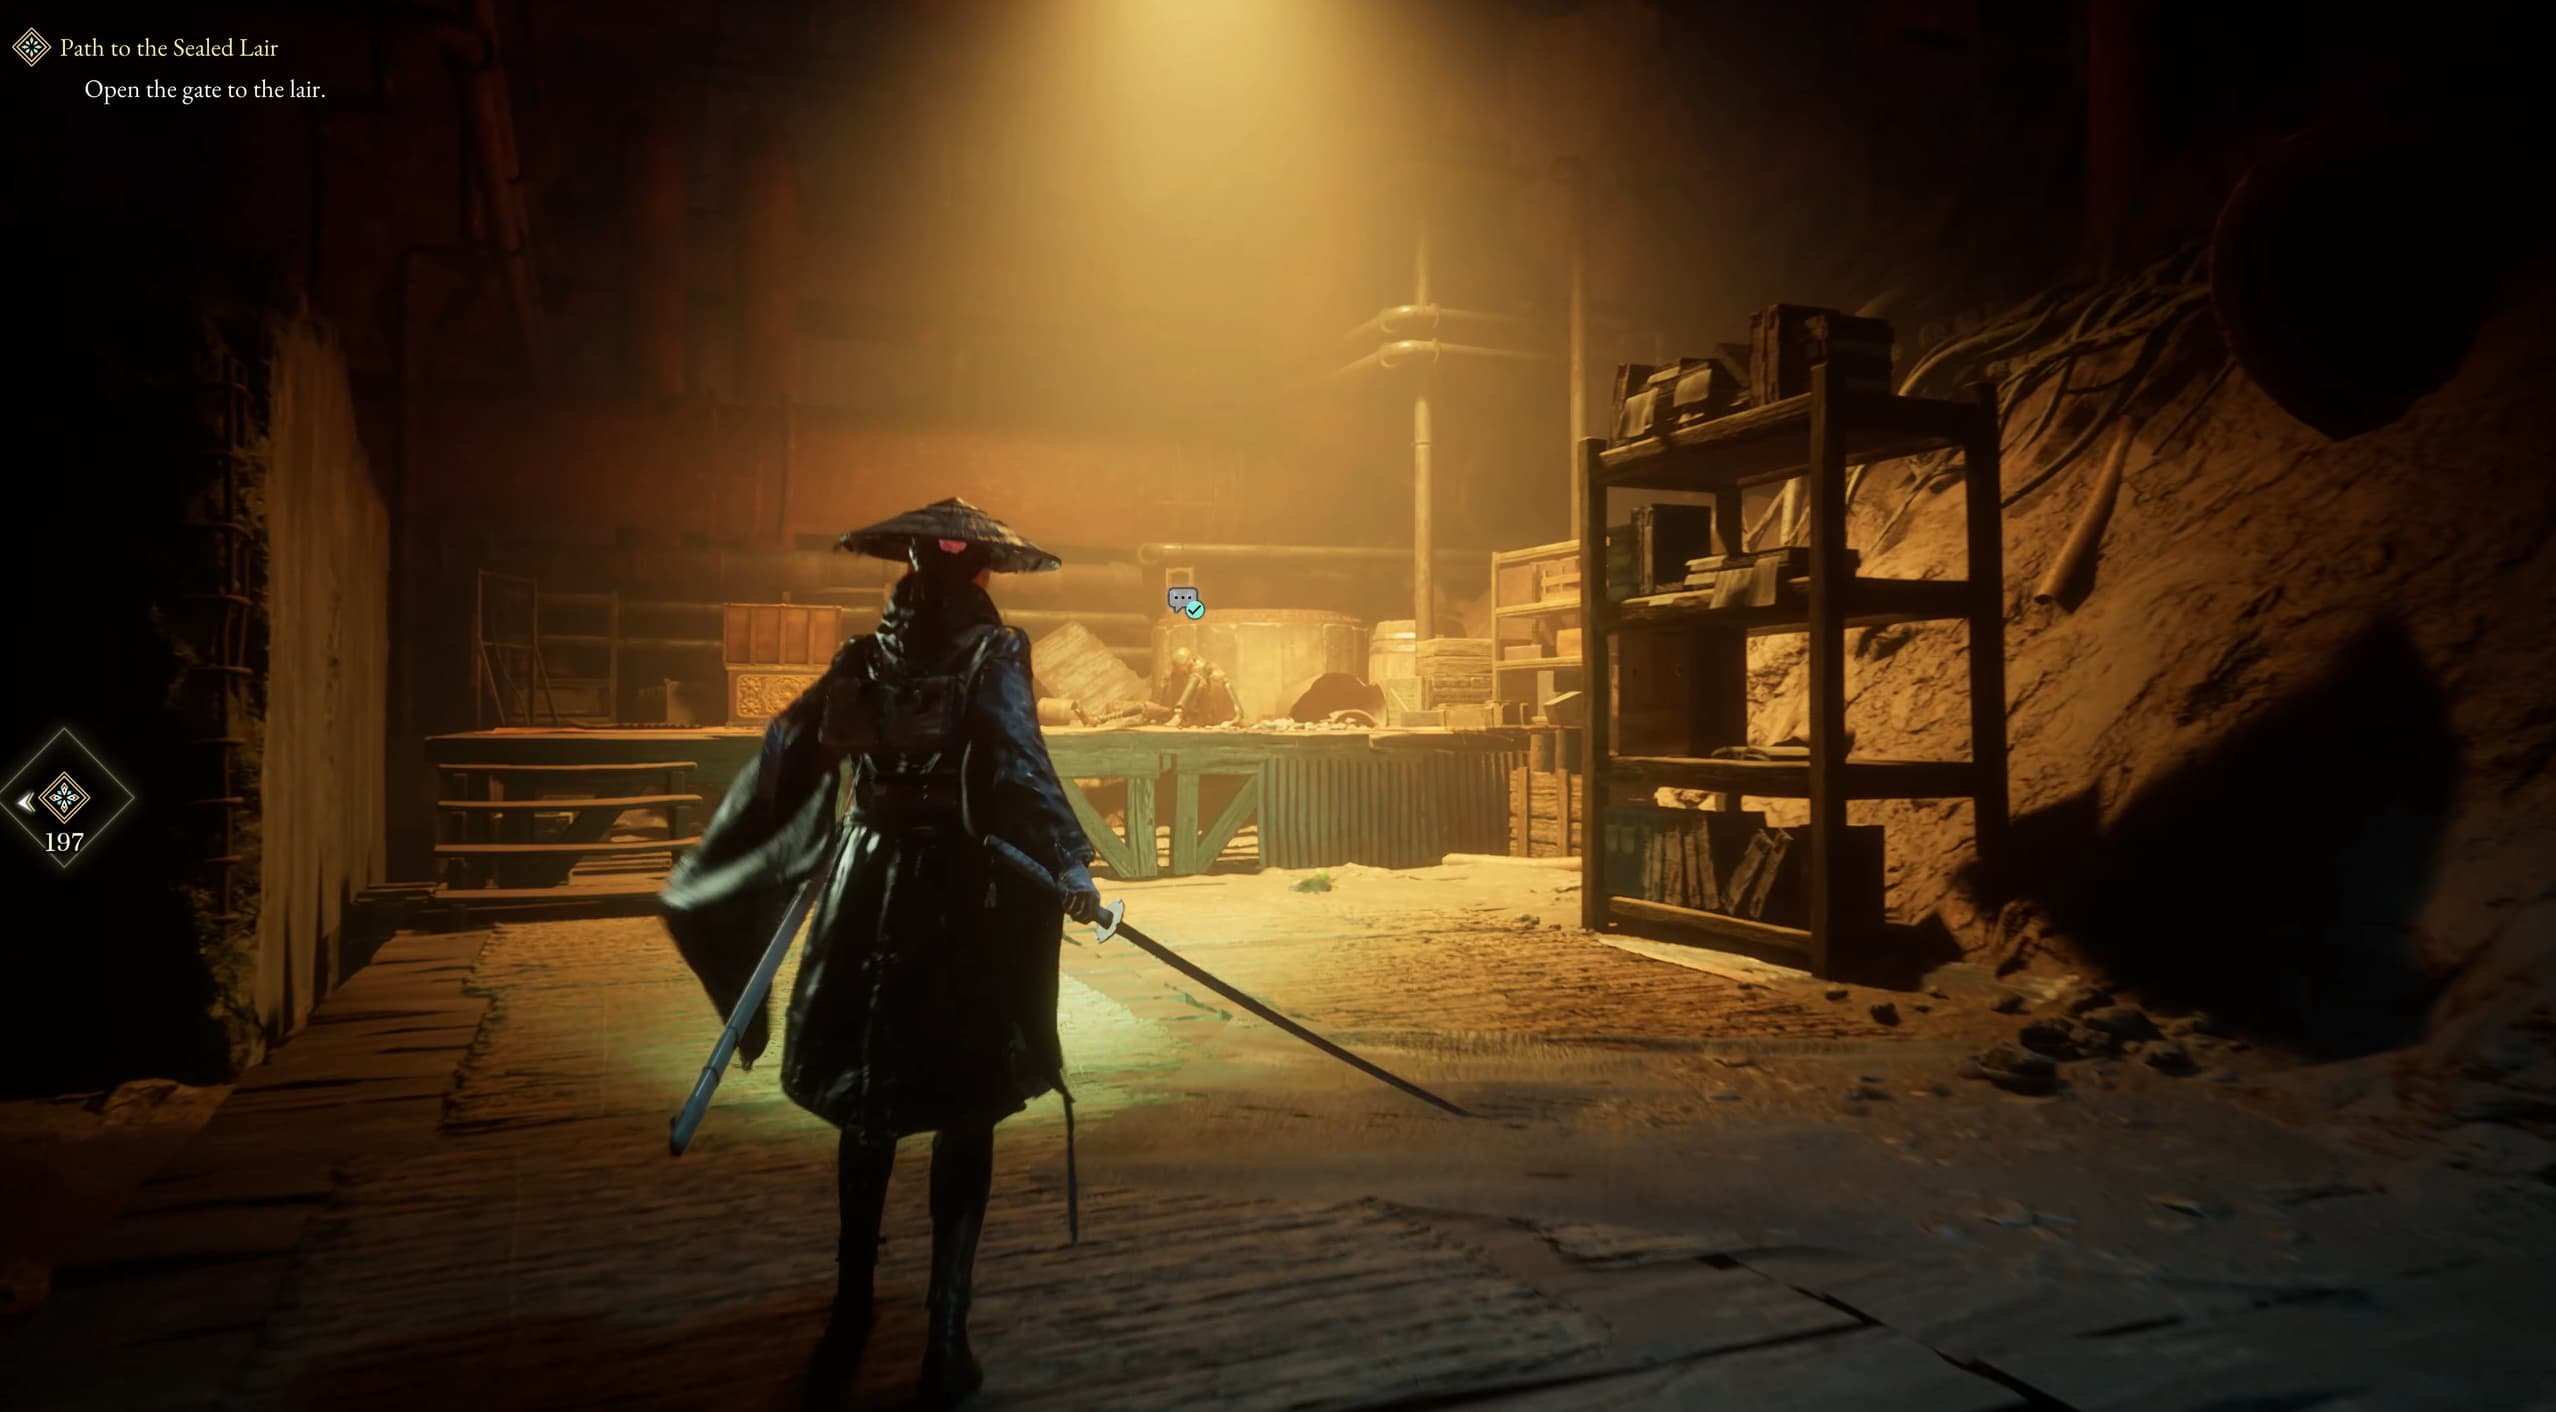
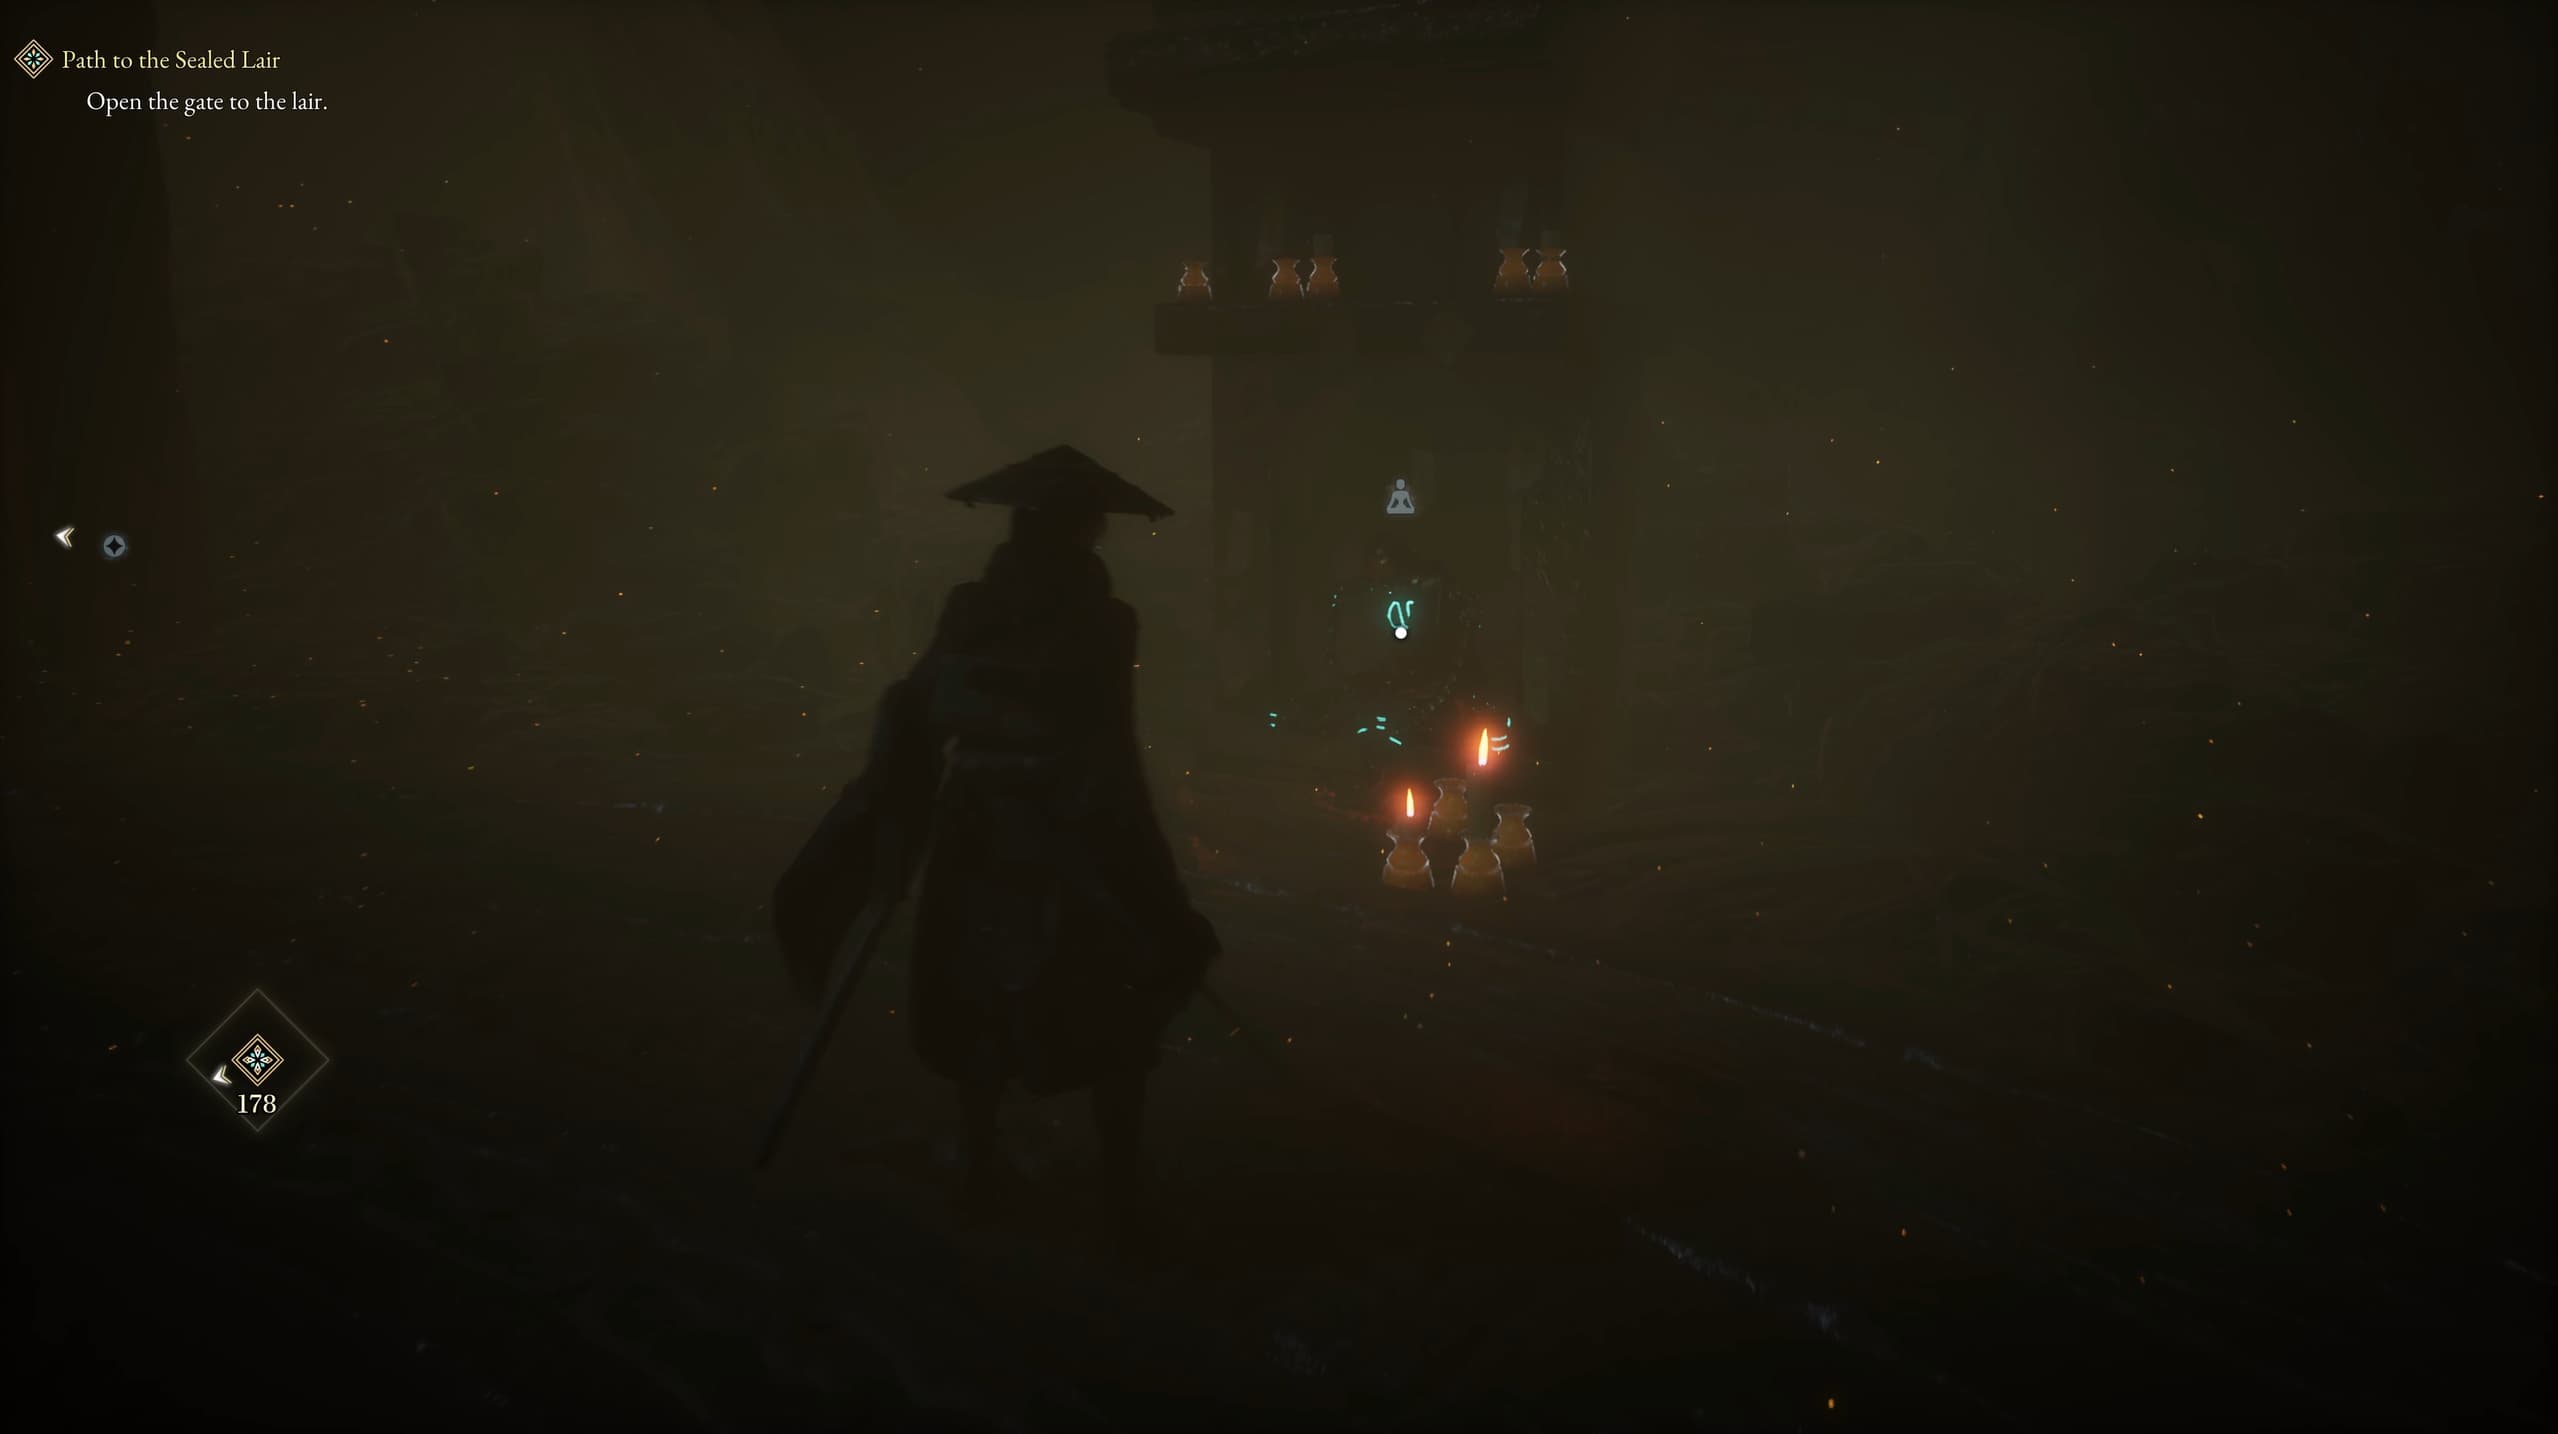
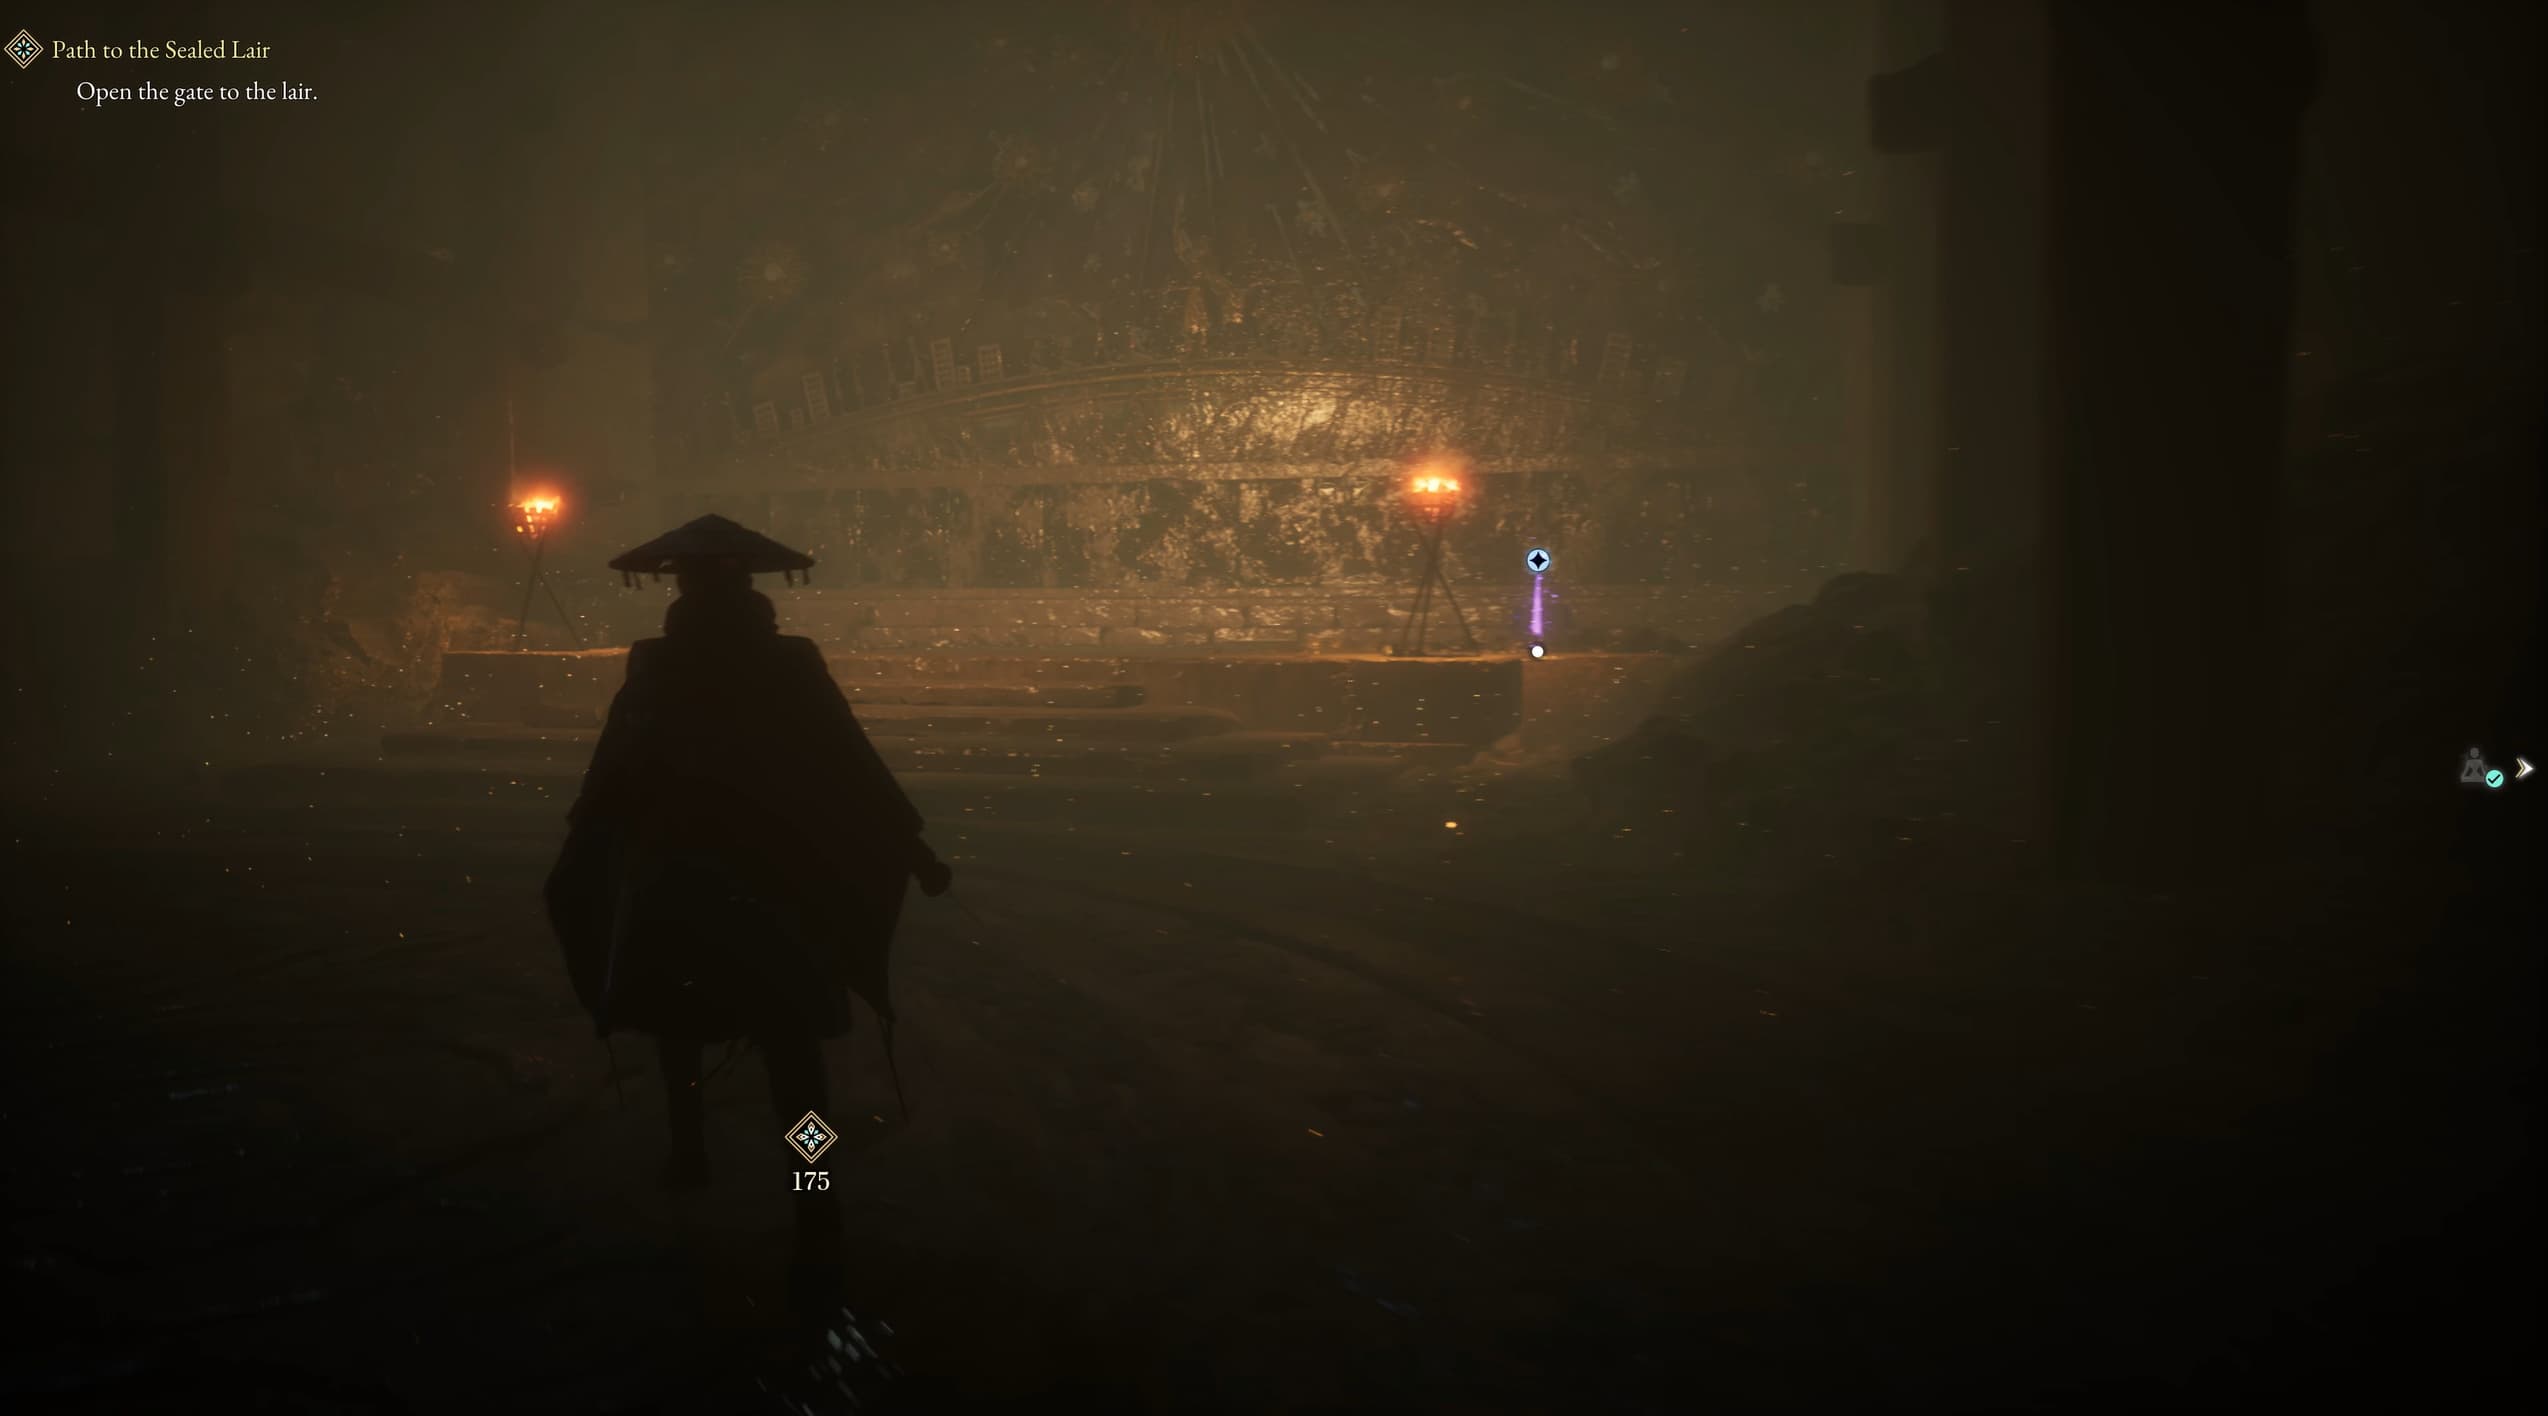
Keep advancing through Subcity 01 until you reach the following area, where there will be an Elite Enemy Golem to defeat, the area looks as shown in the images below.
And in the following room where the Elite Enemy Golem was located, there will be a Keeper Golem to talk with at the back of the room.
Heading back outside to the central lake in the map, here will be the next campsite.
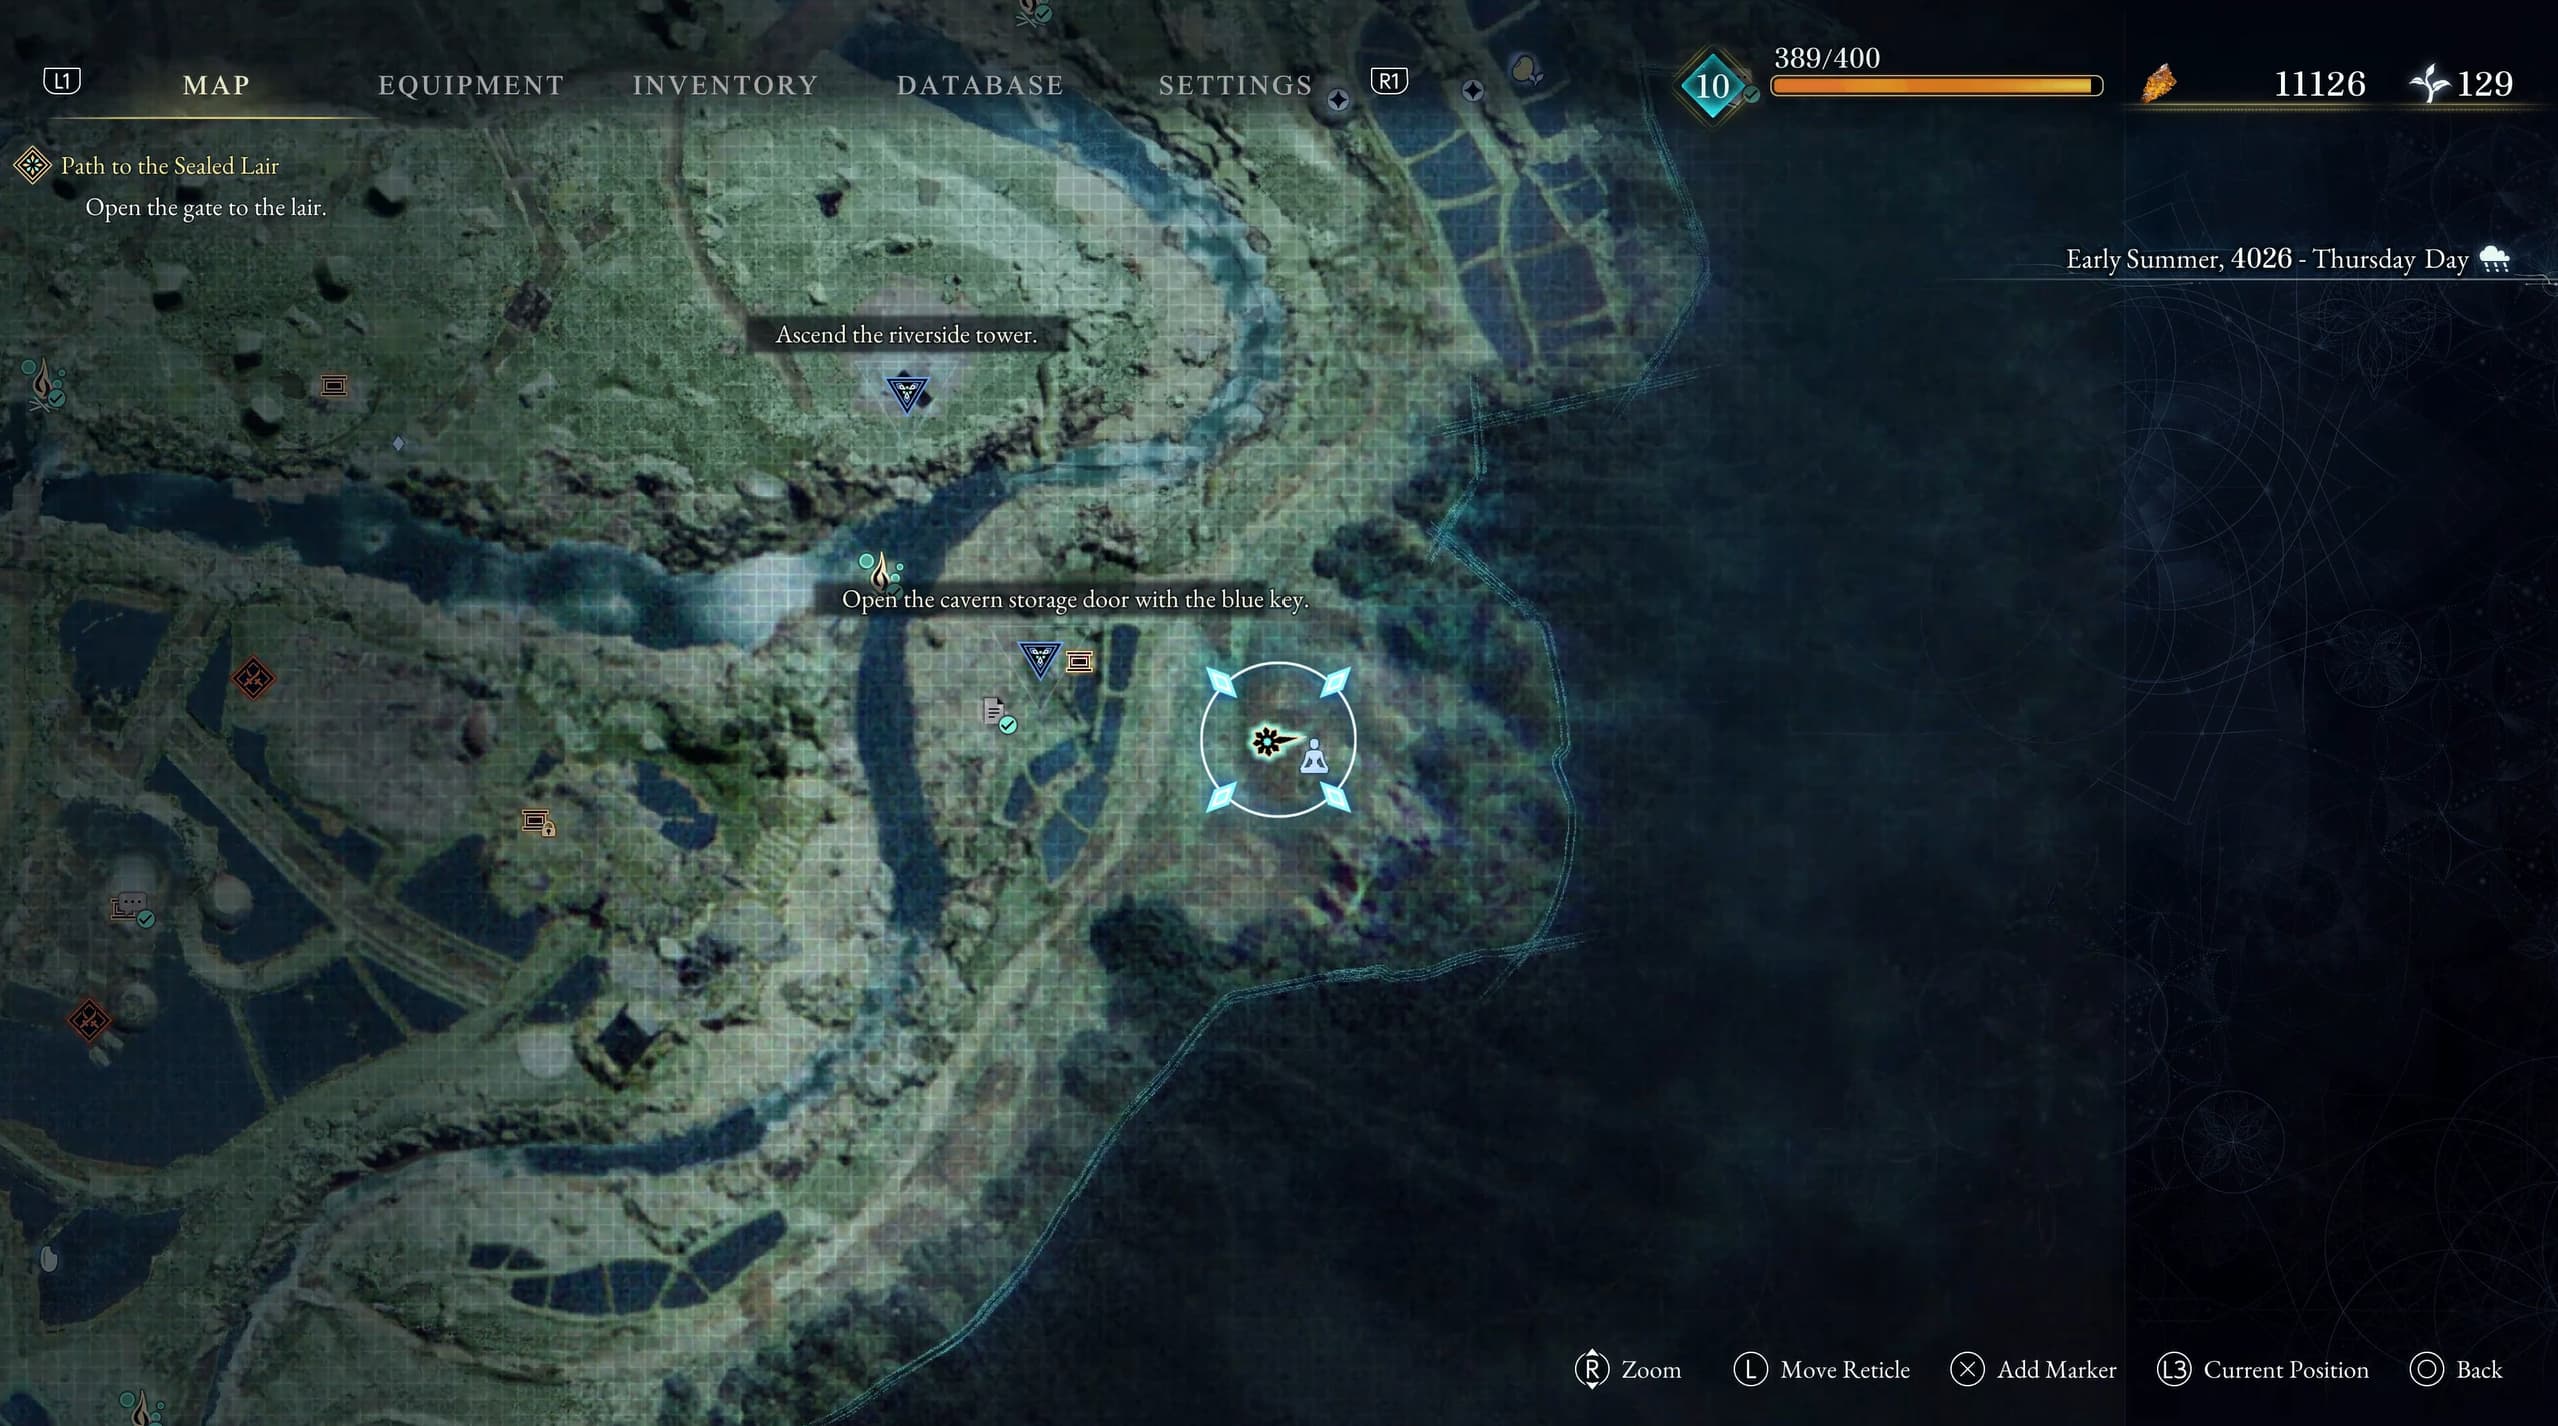
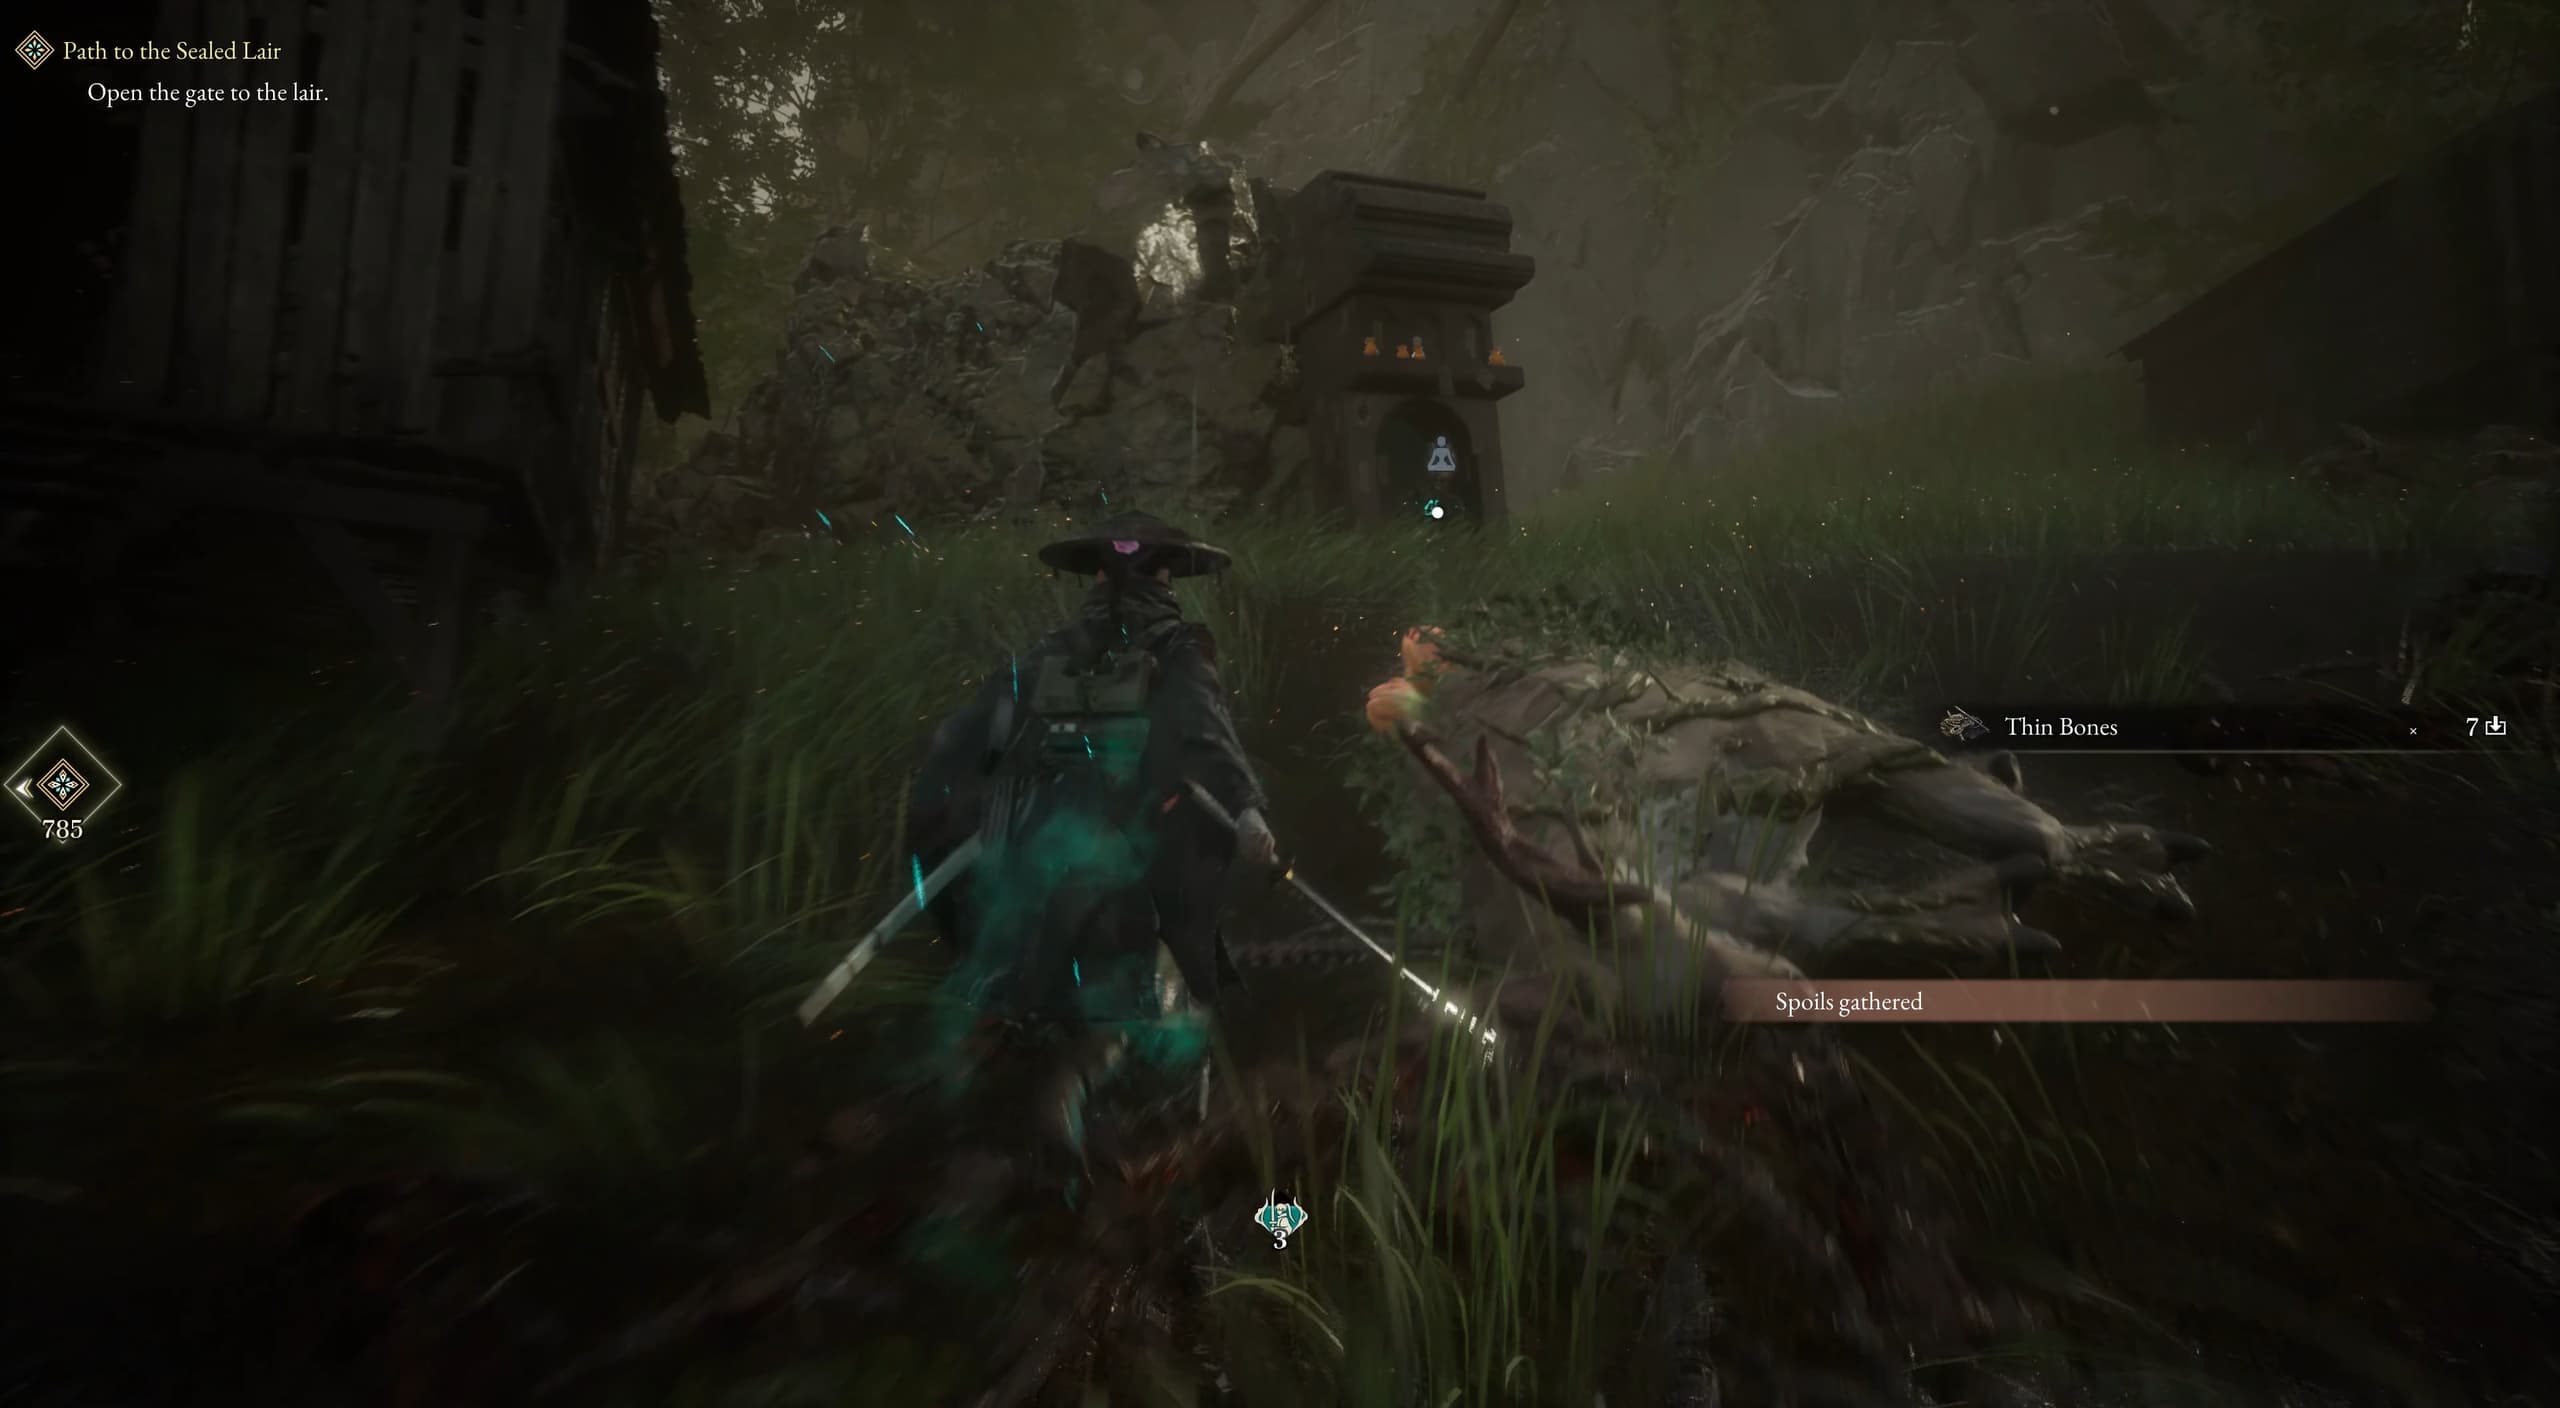
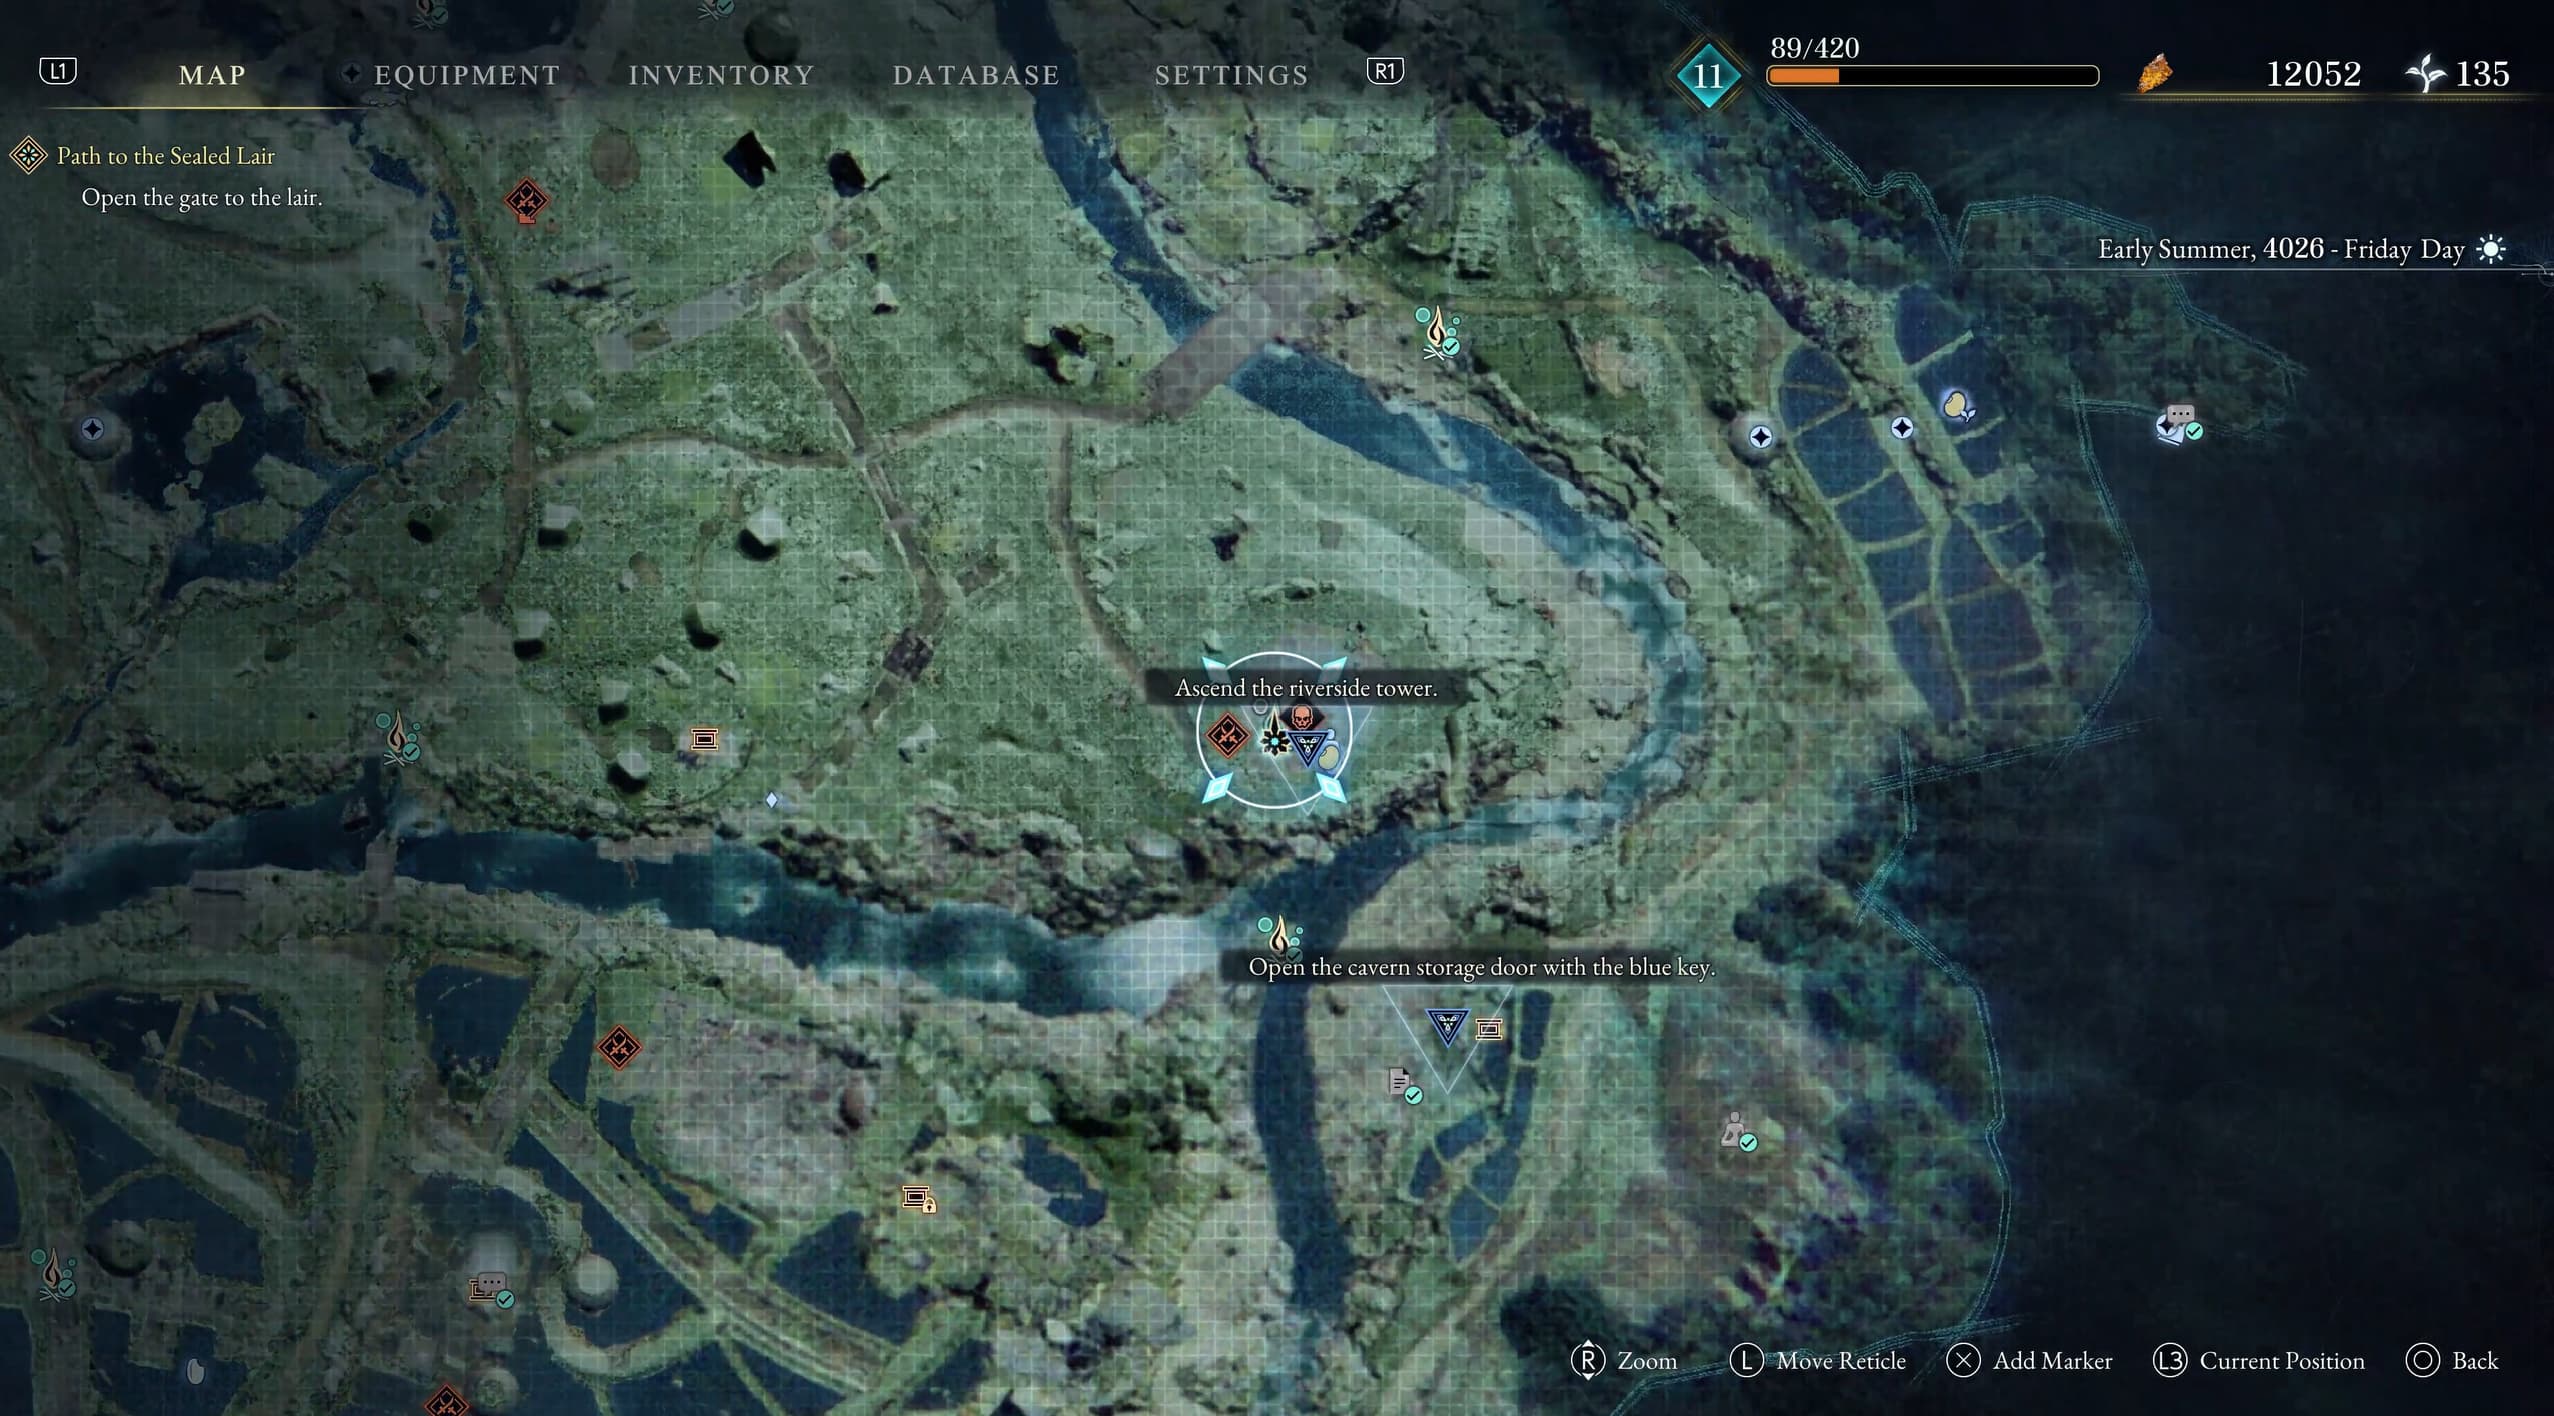
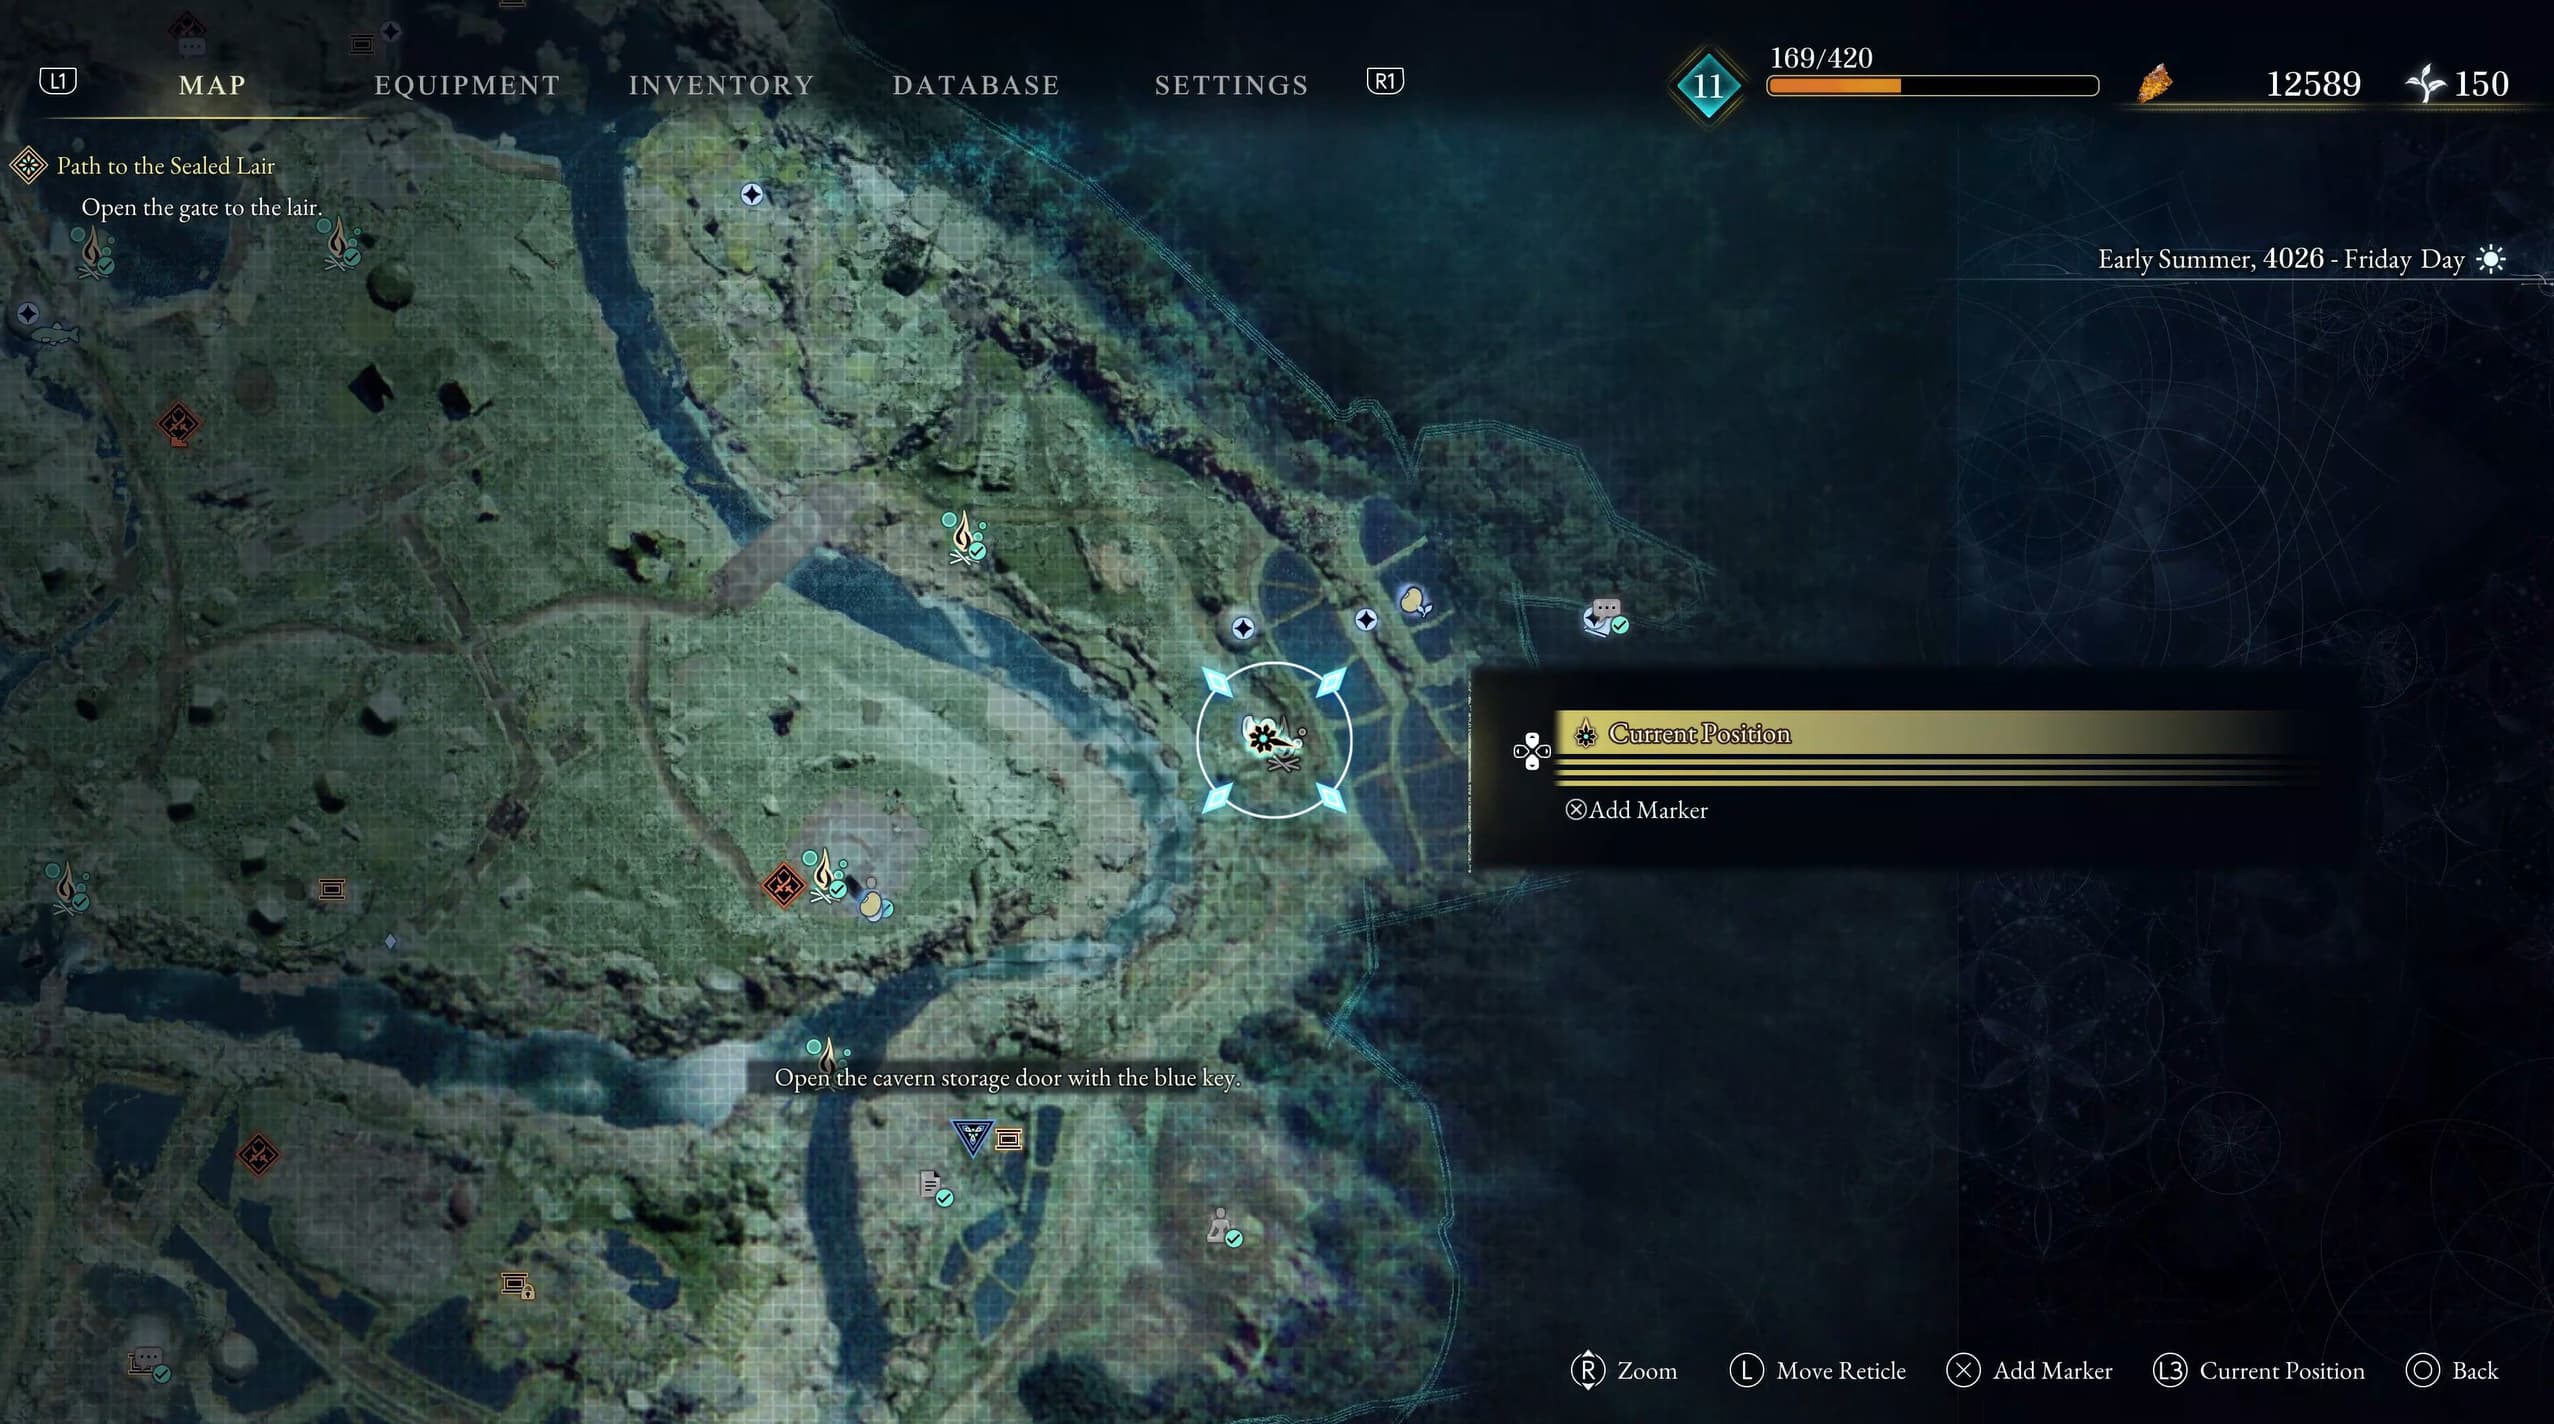
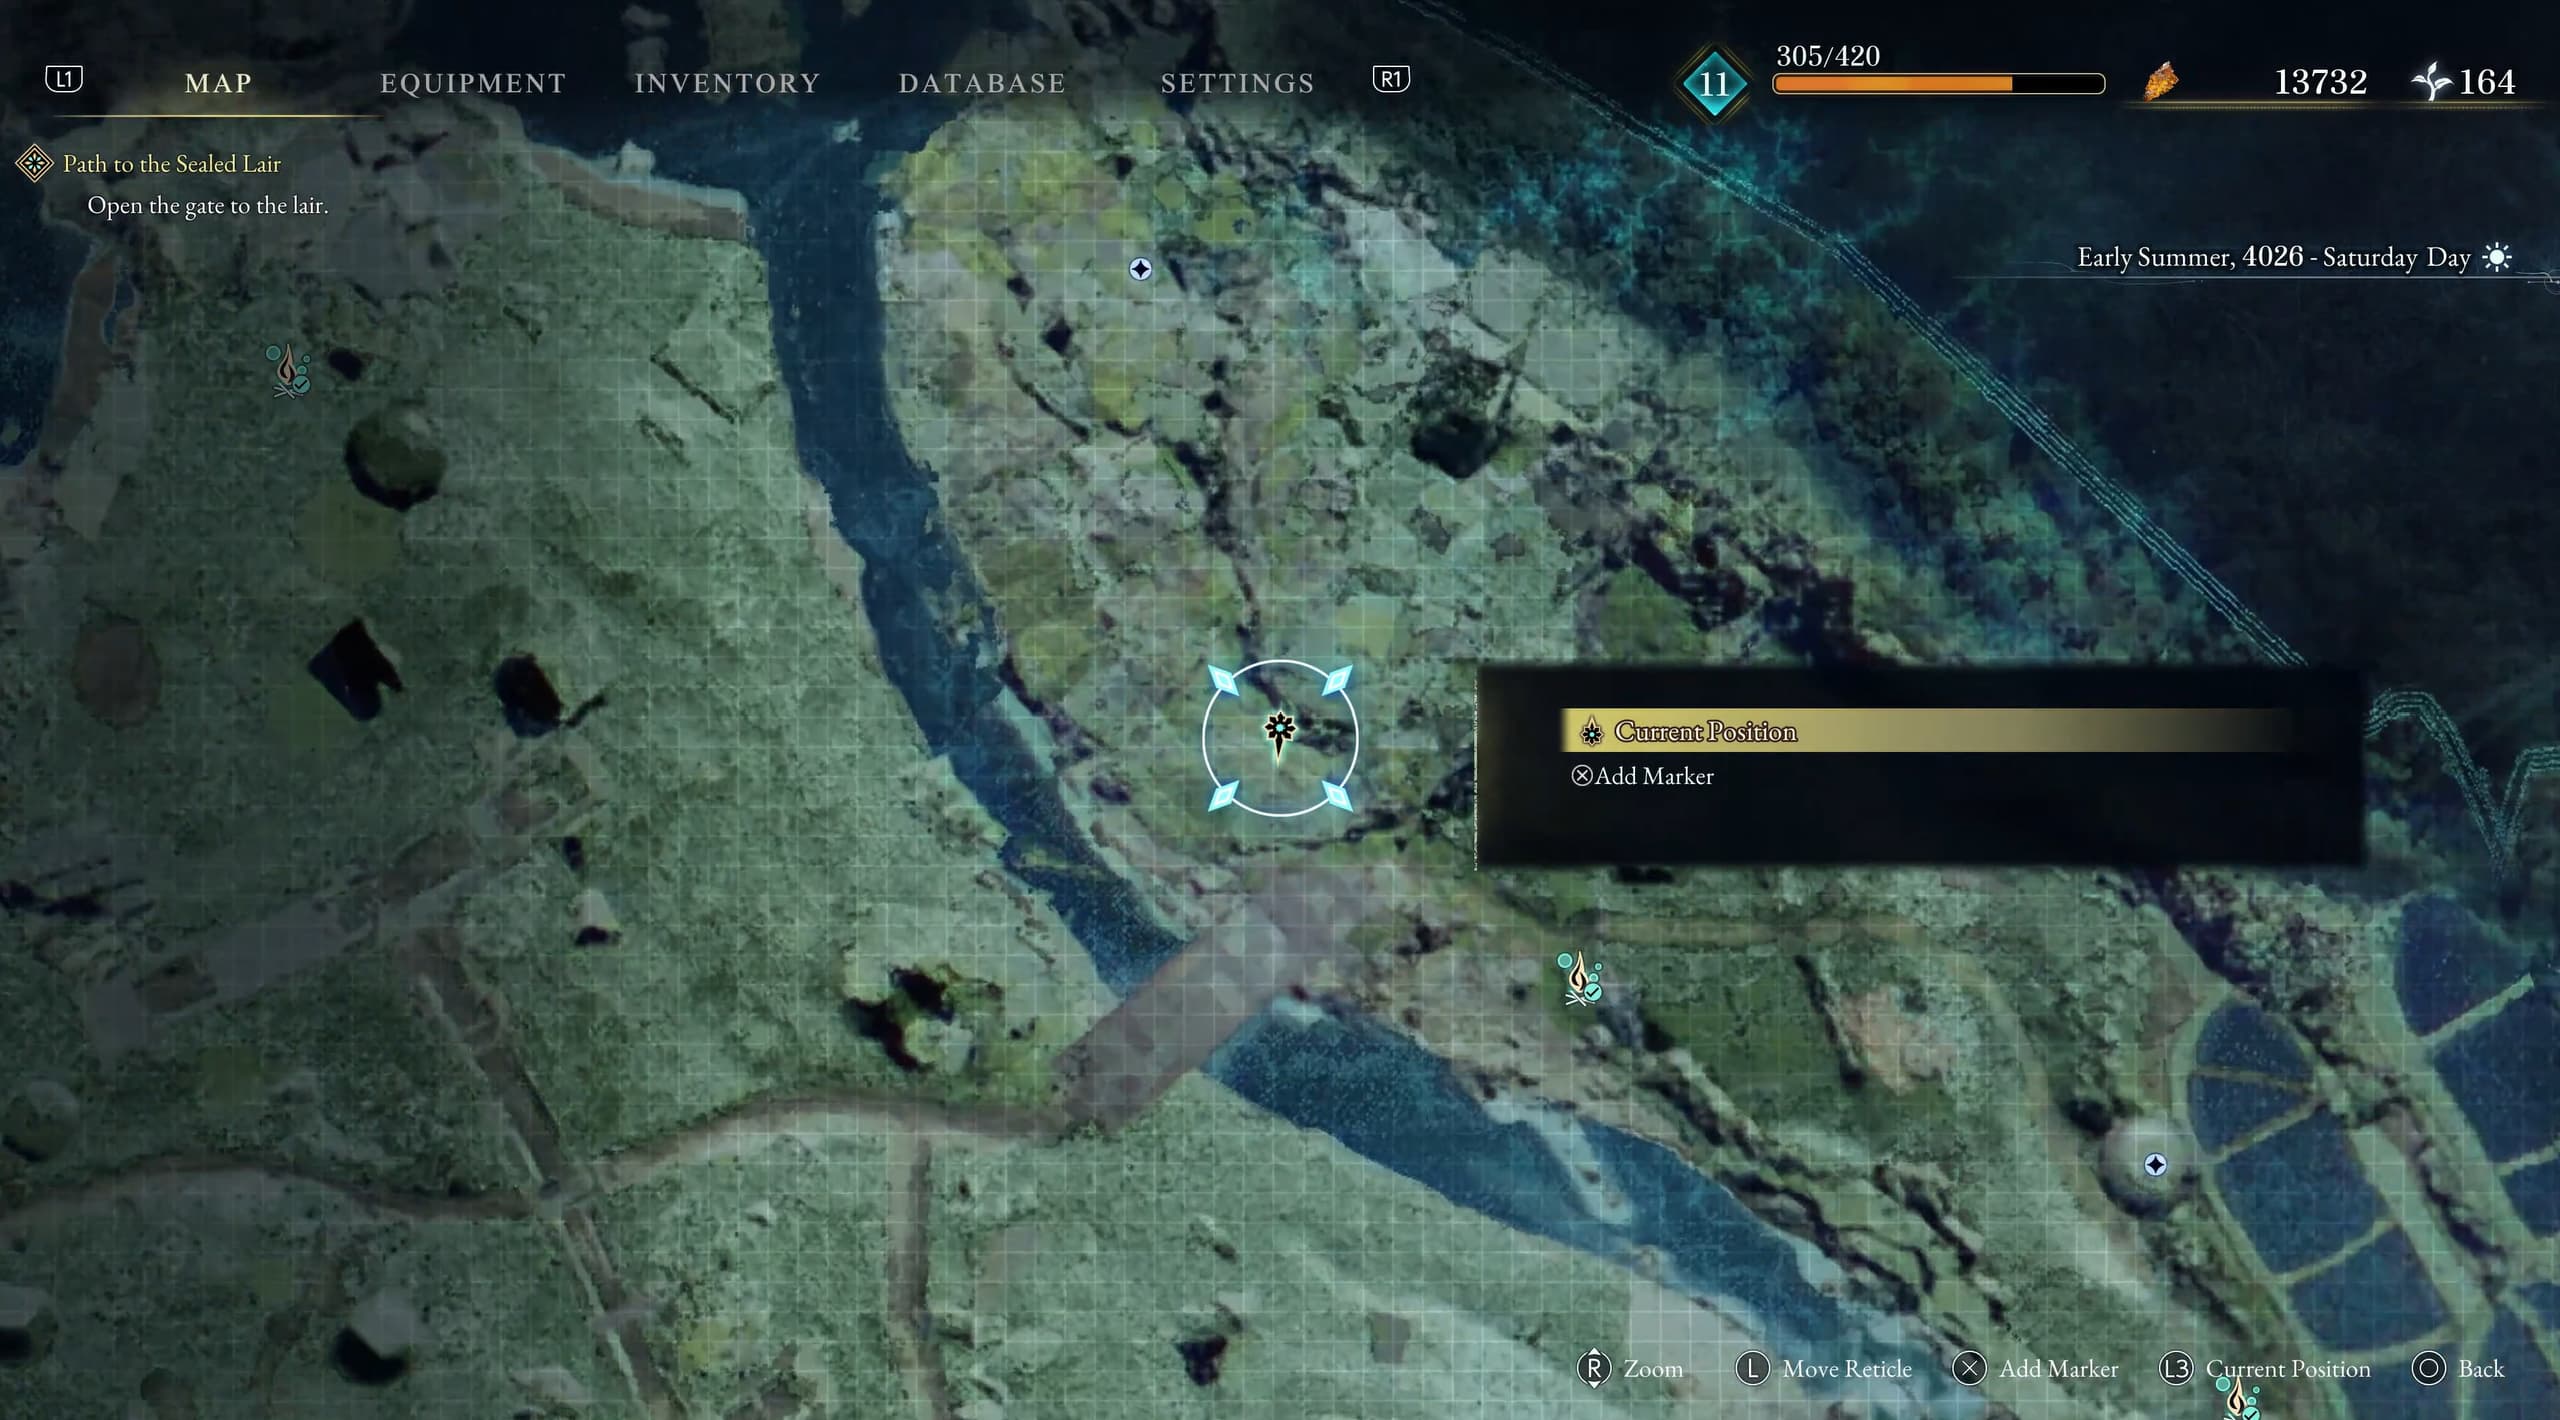
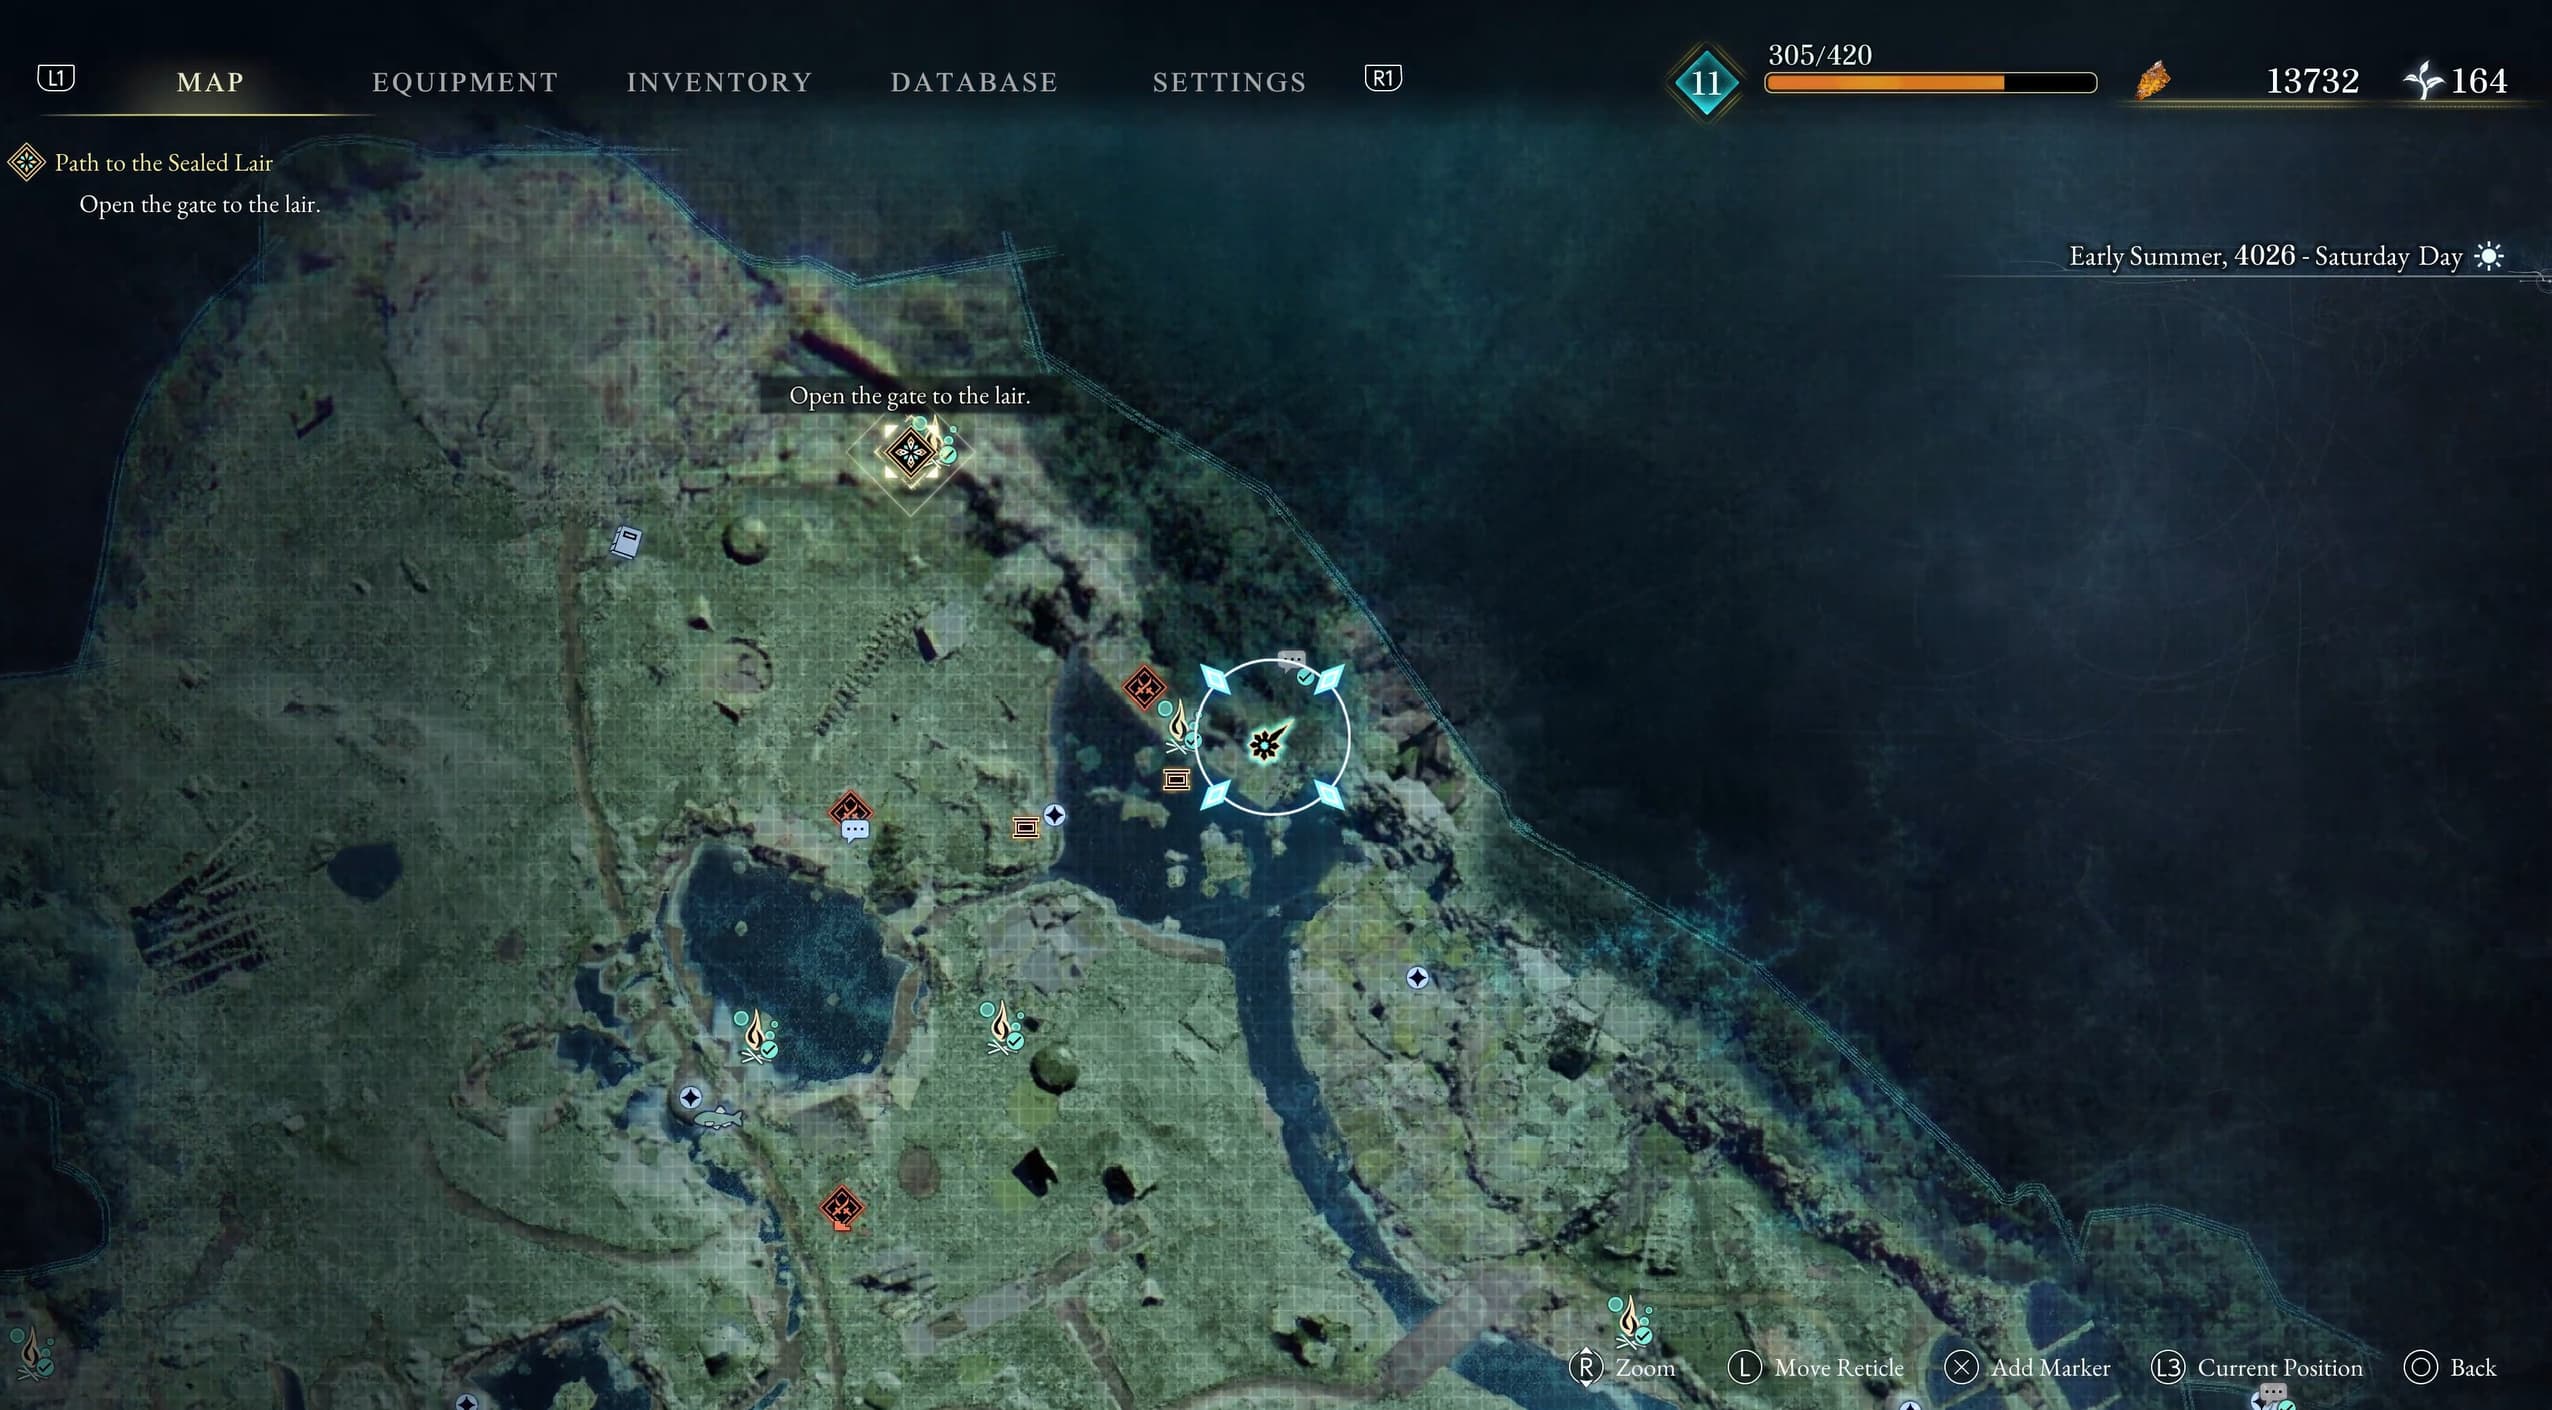
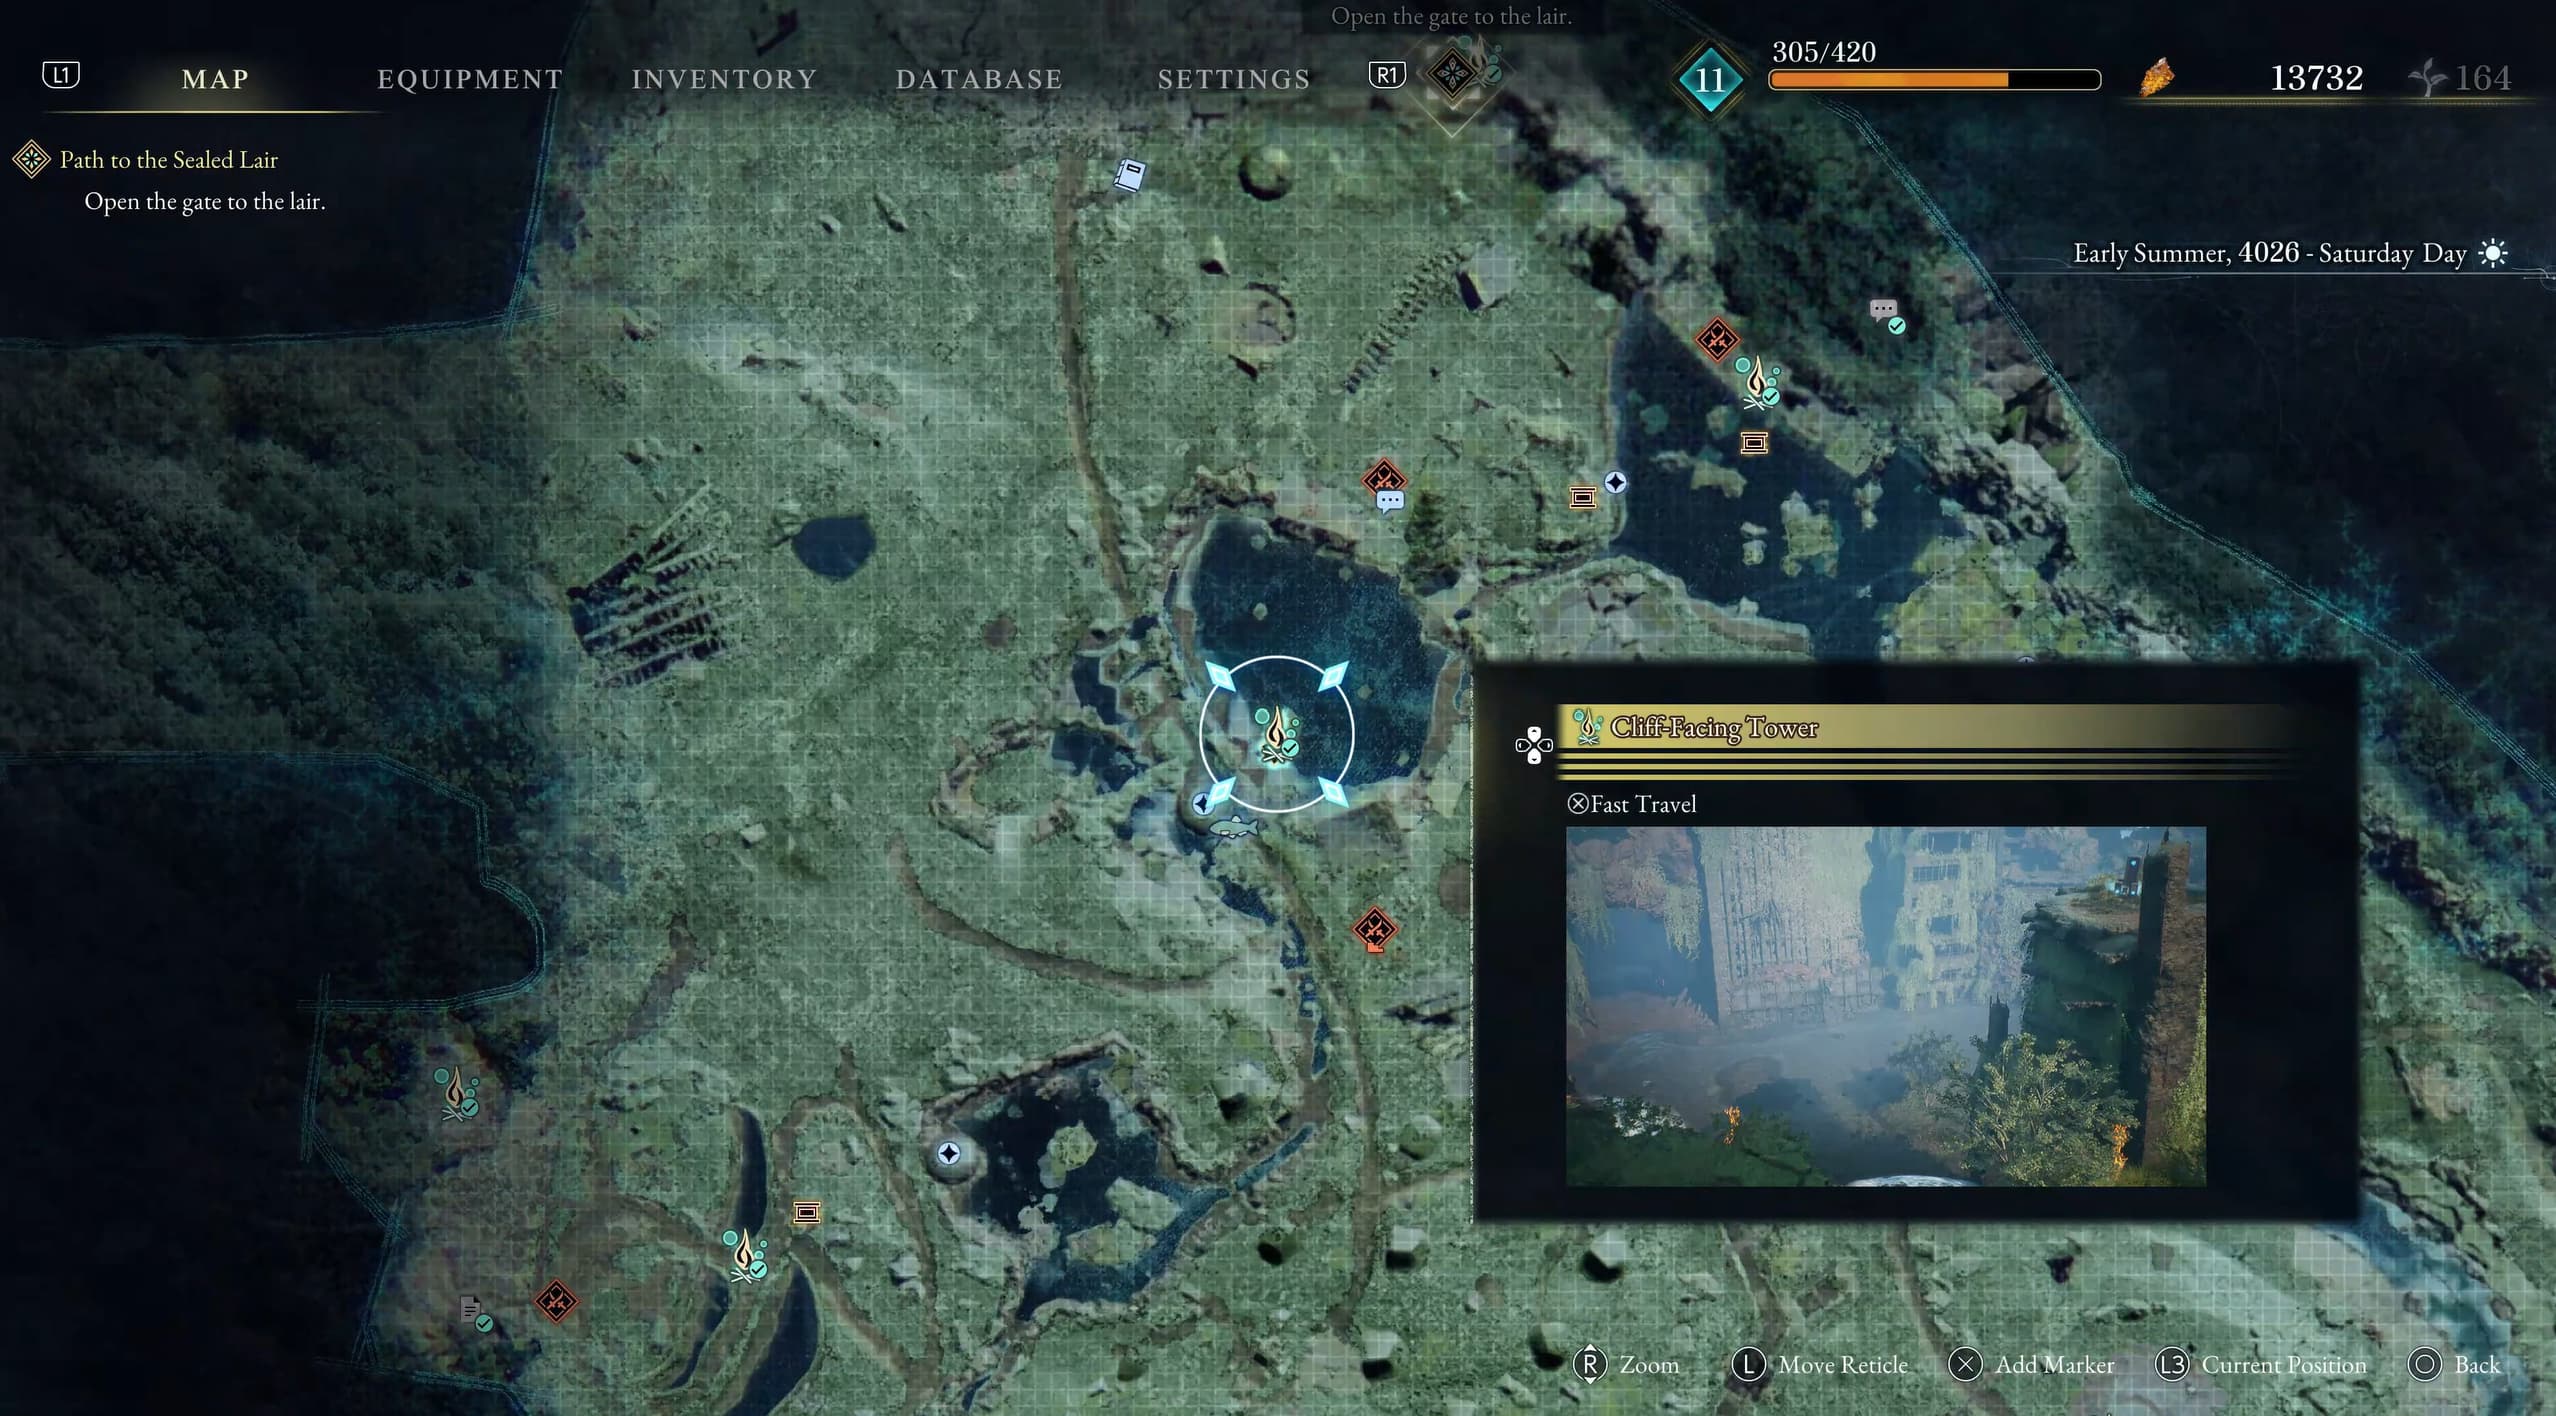
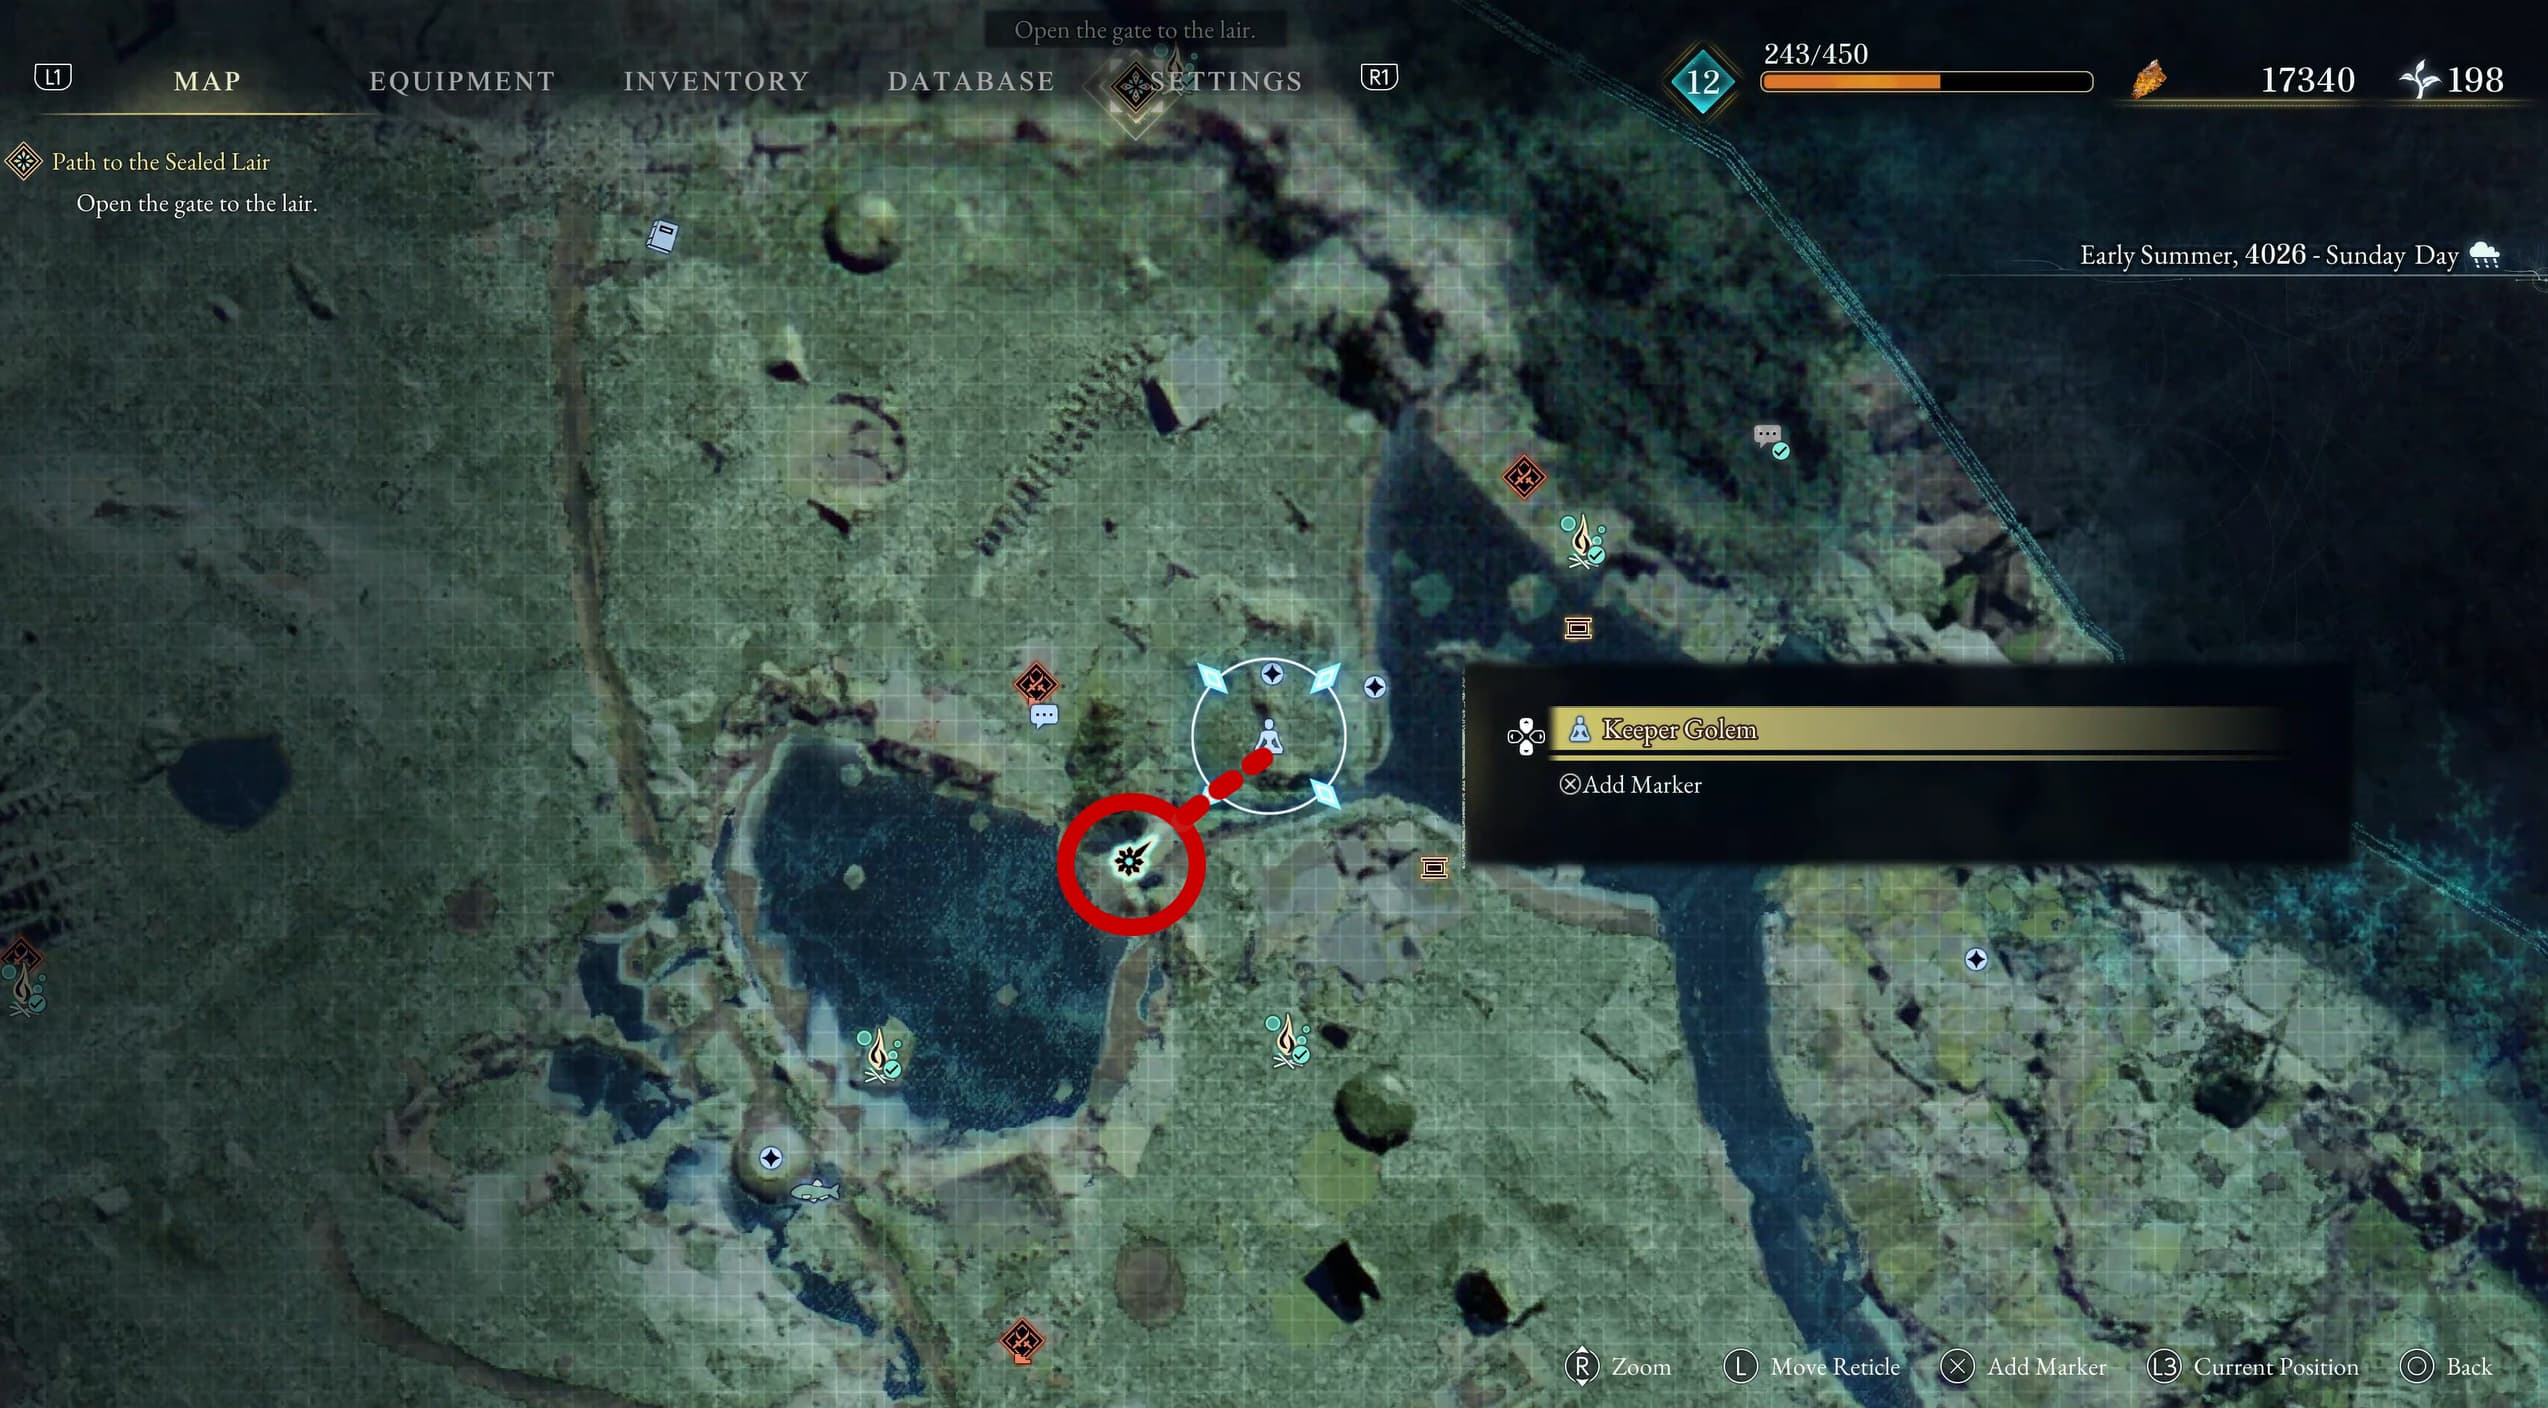
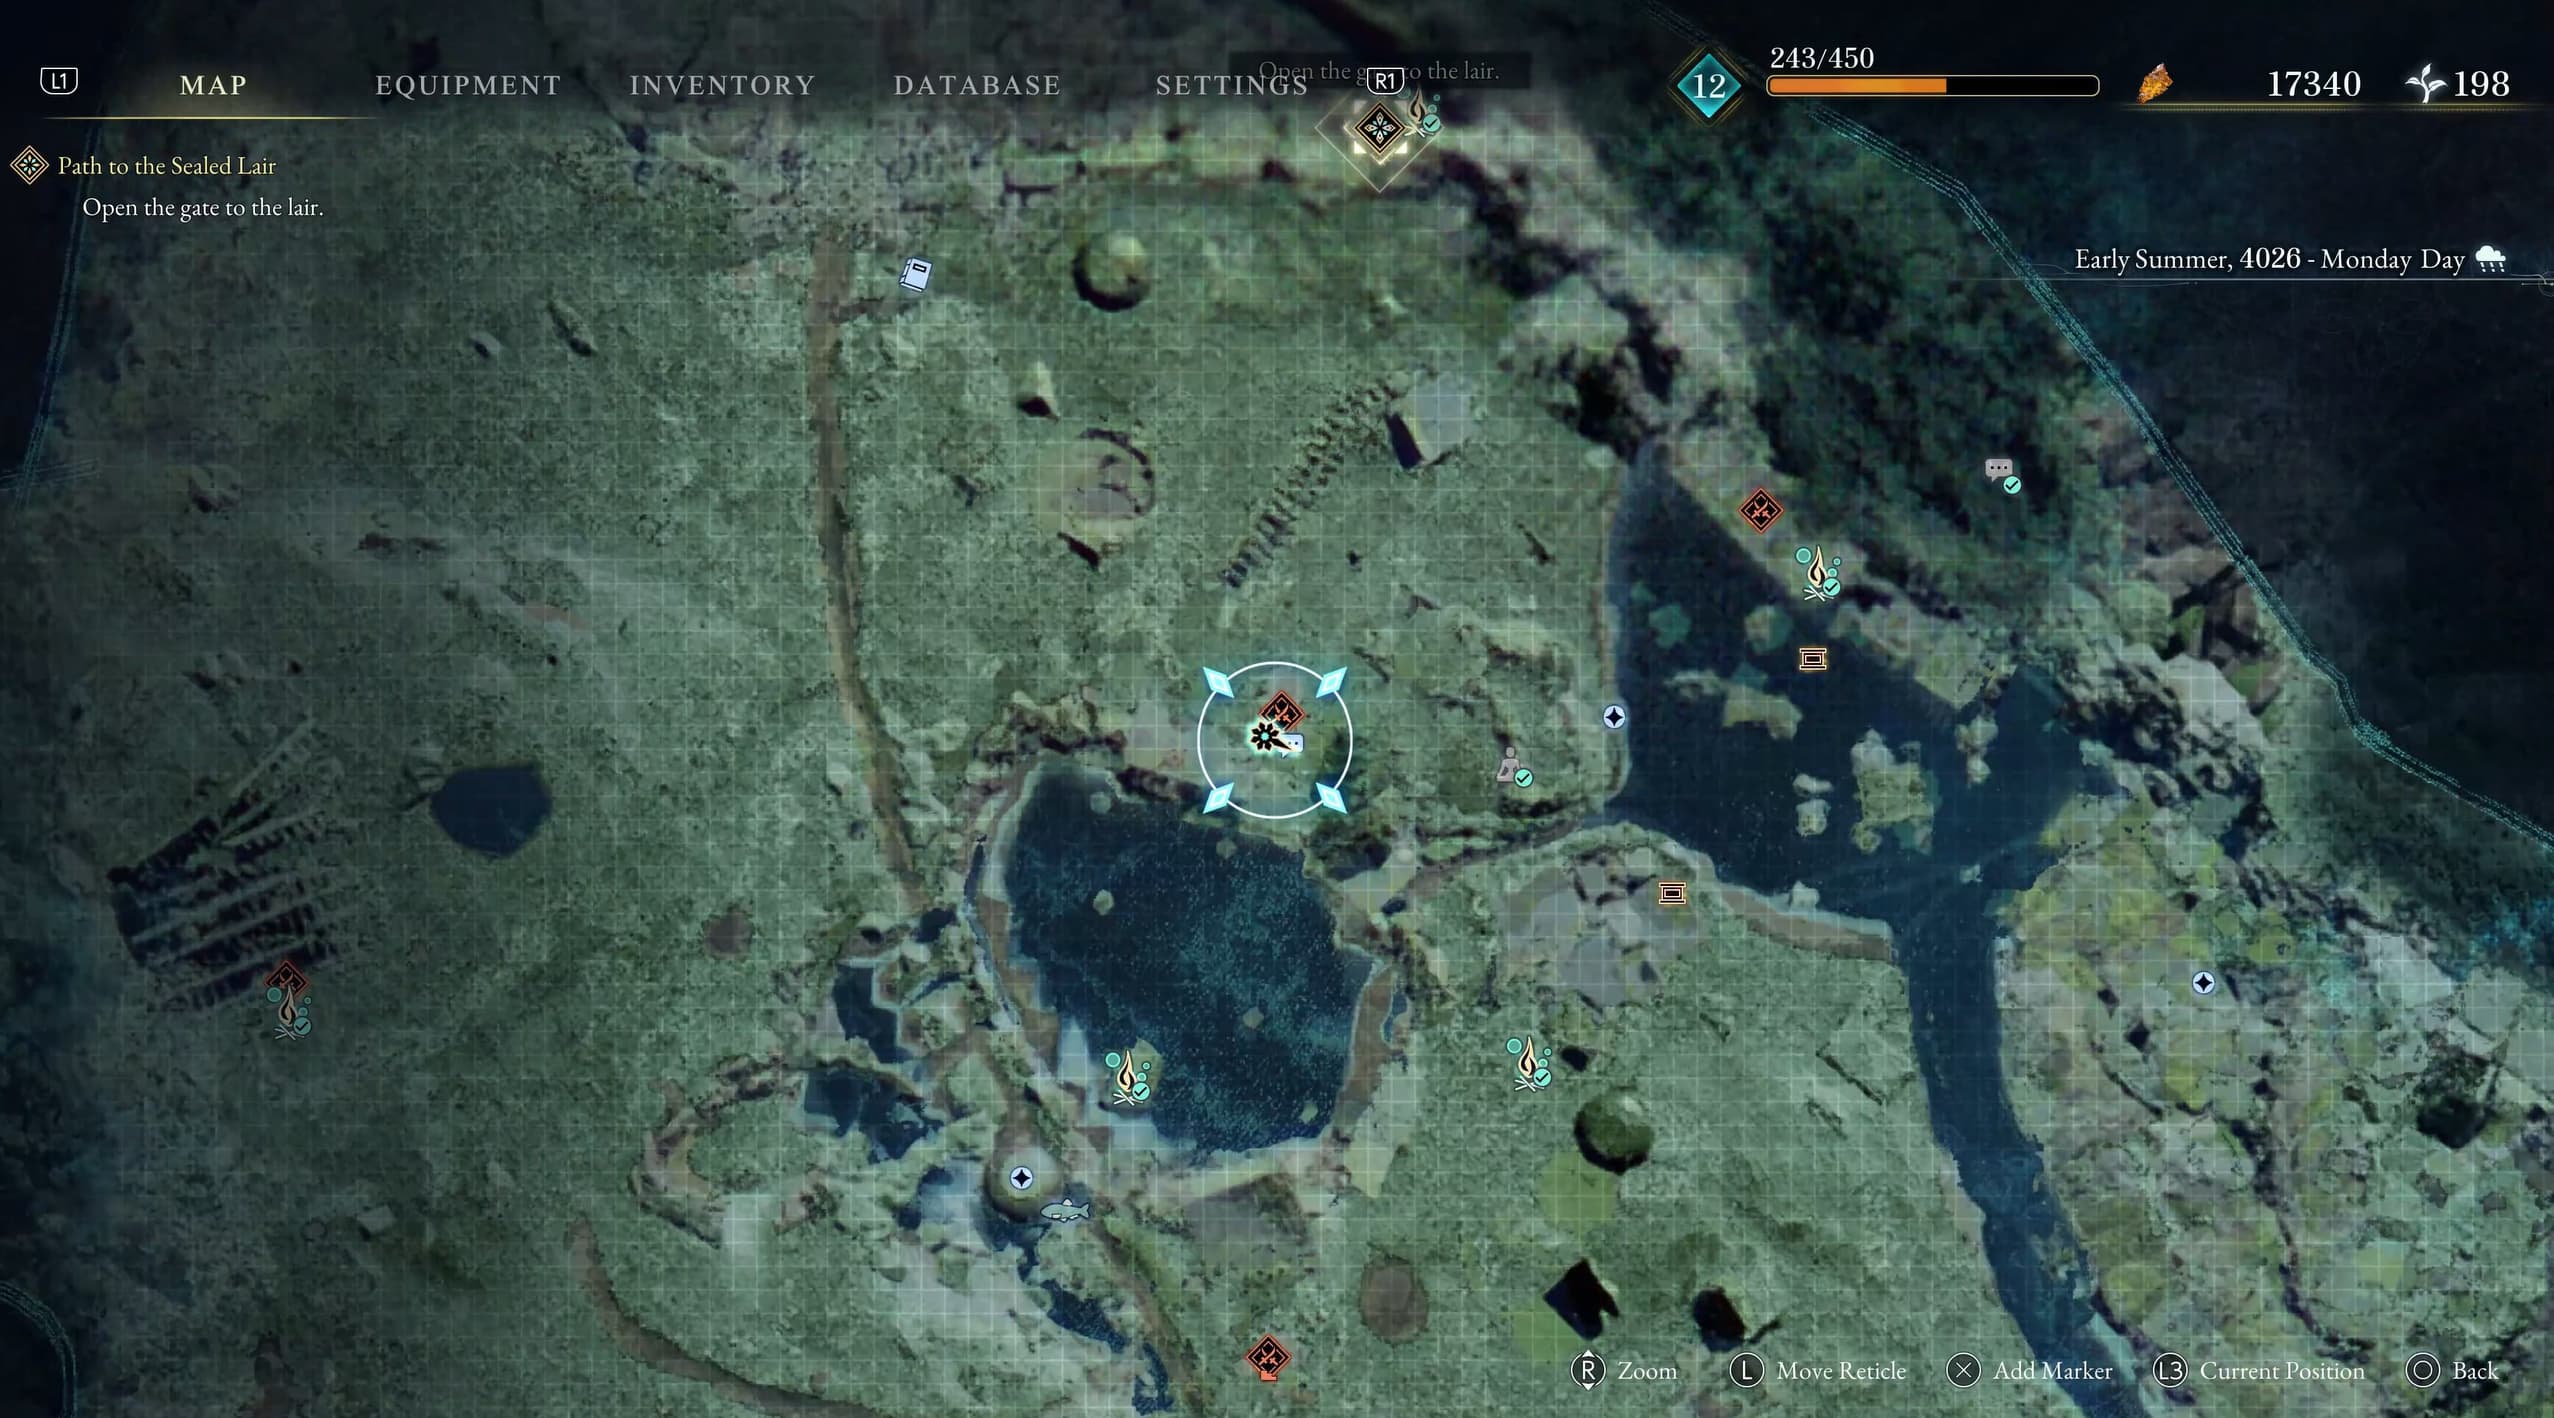
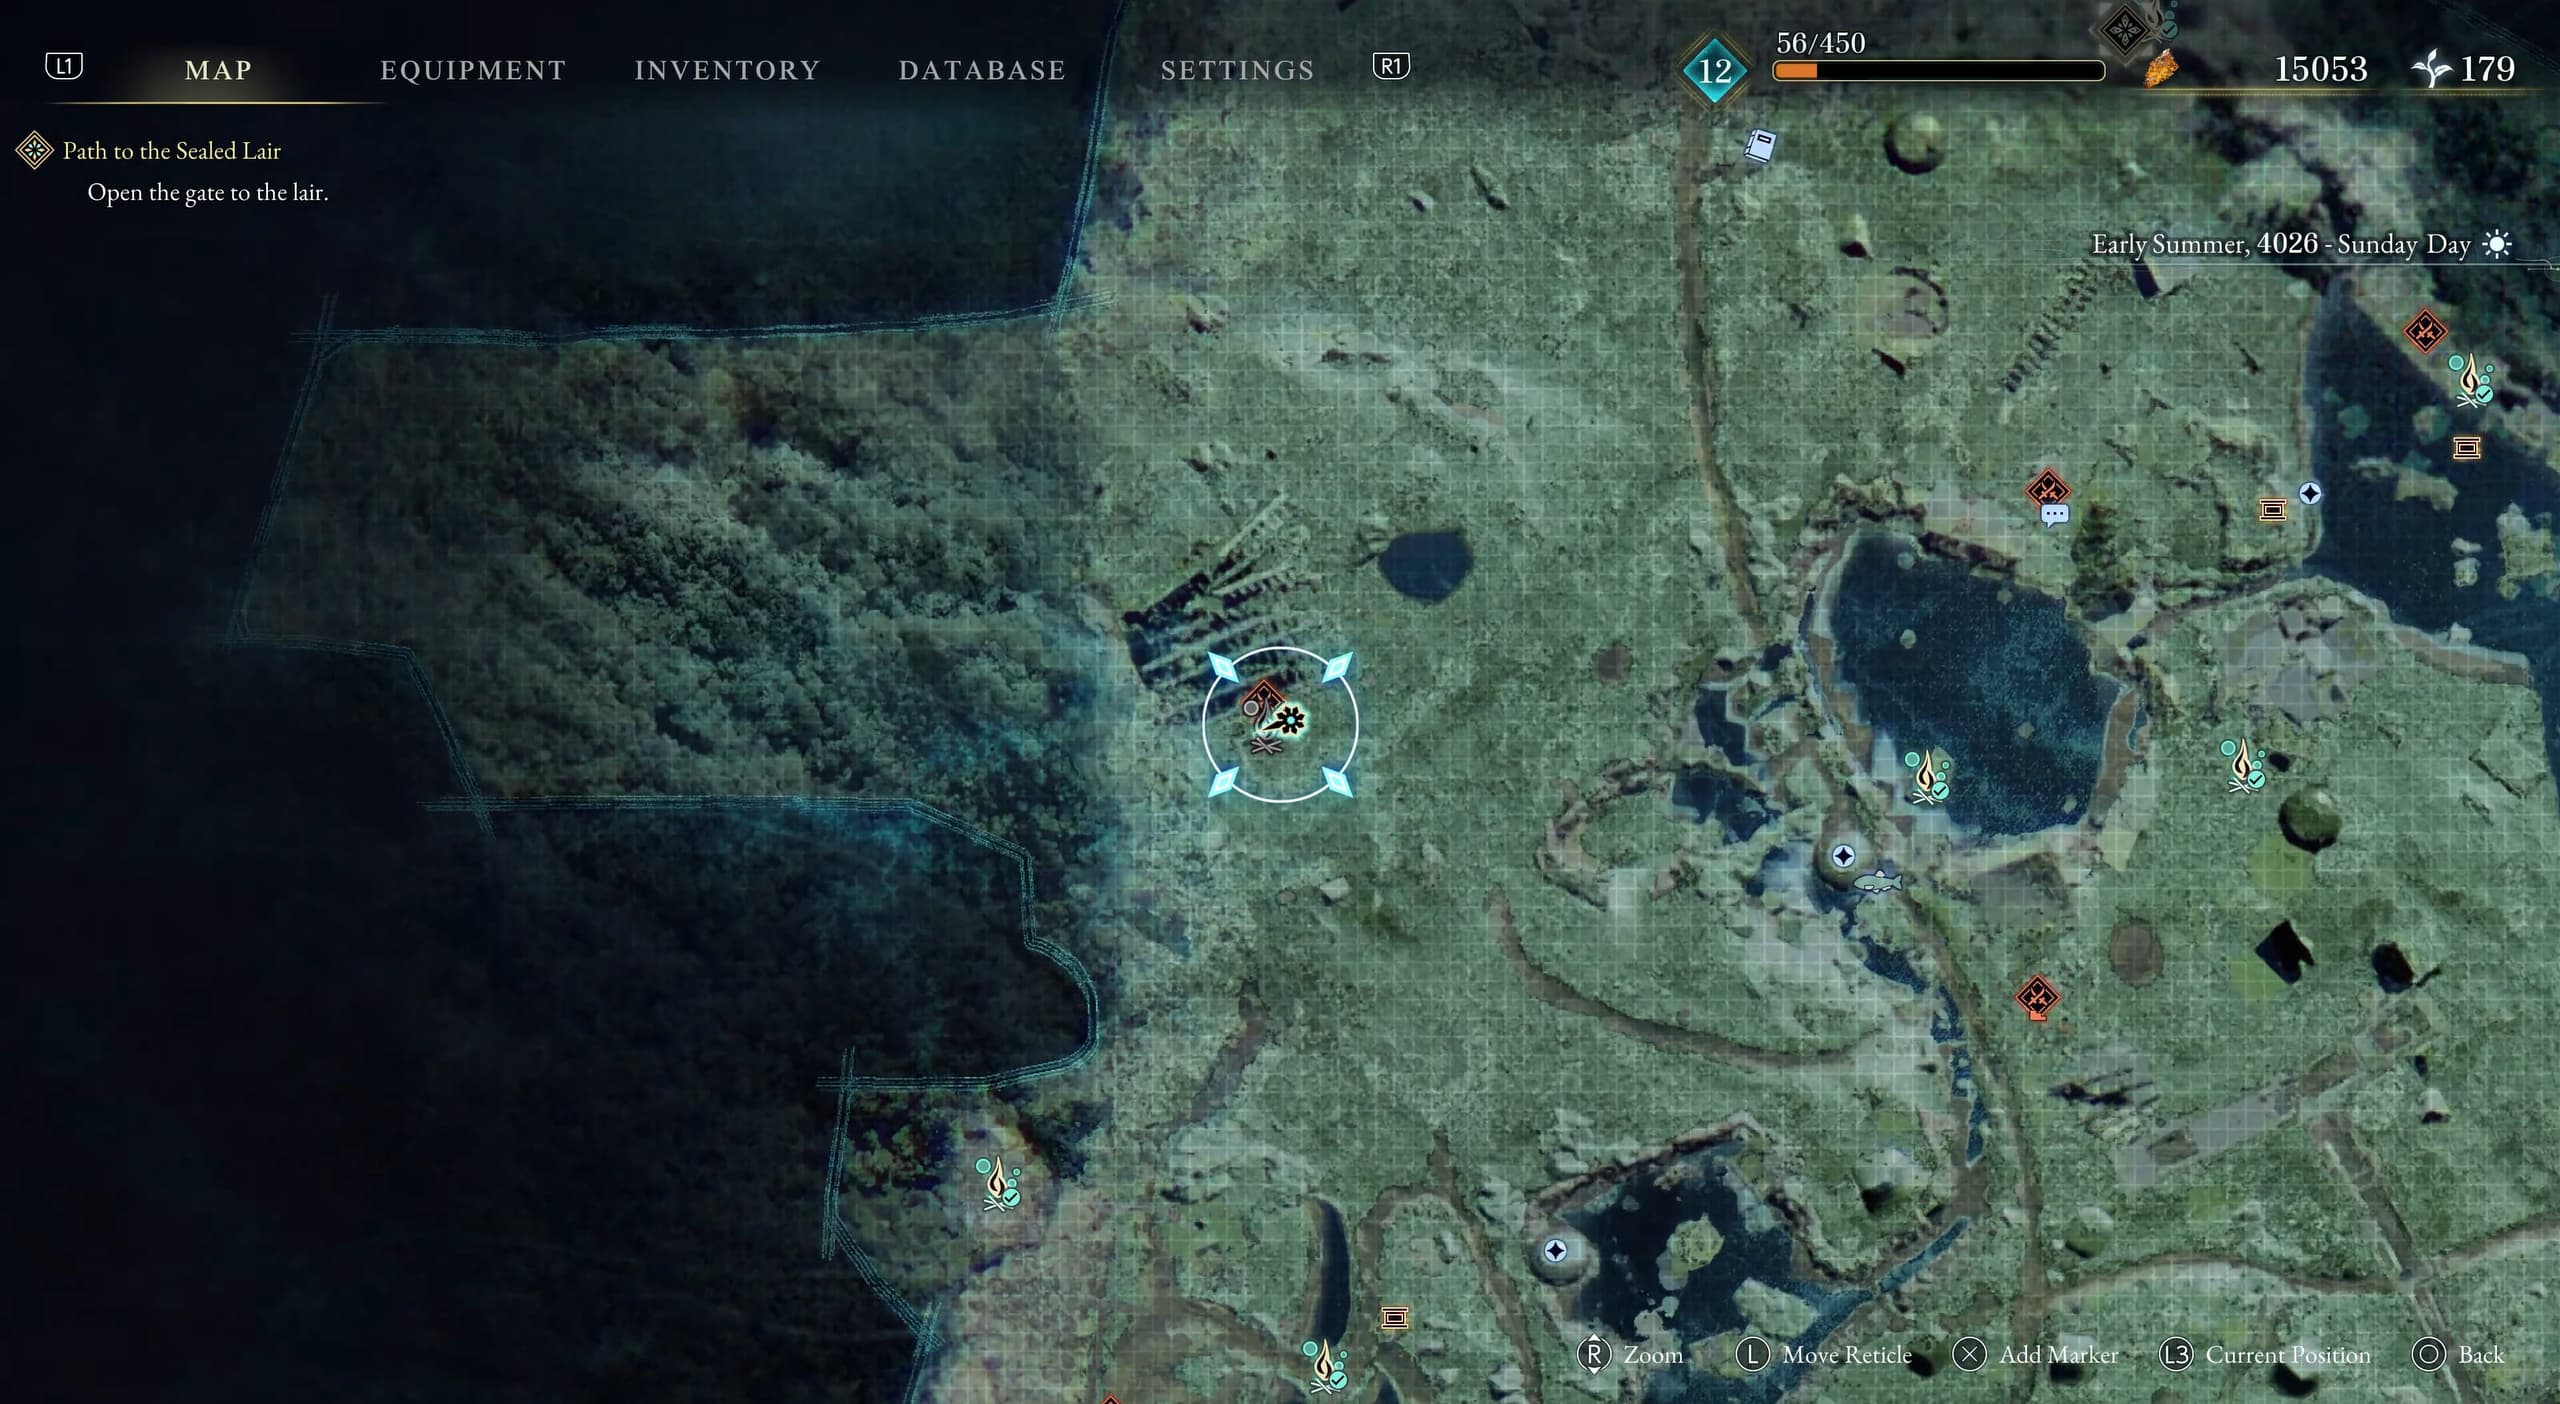
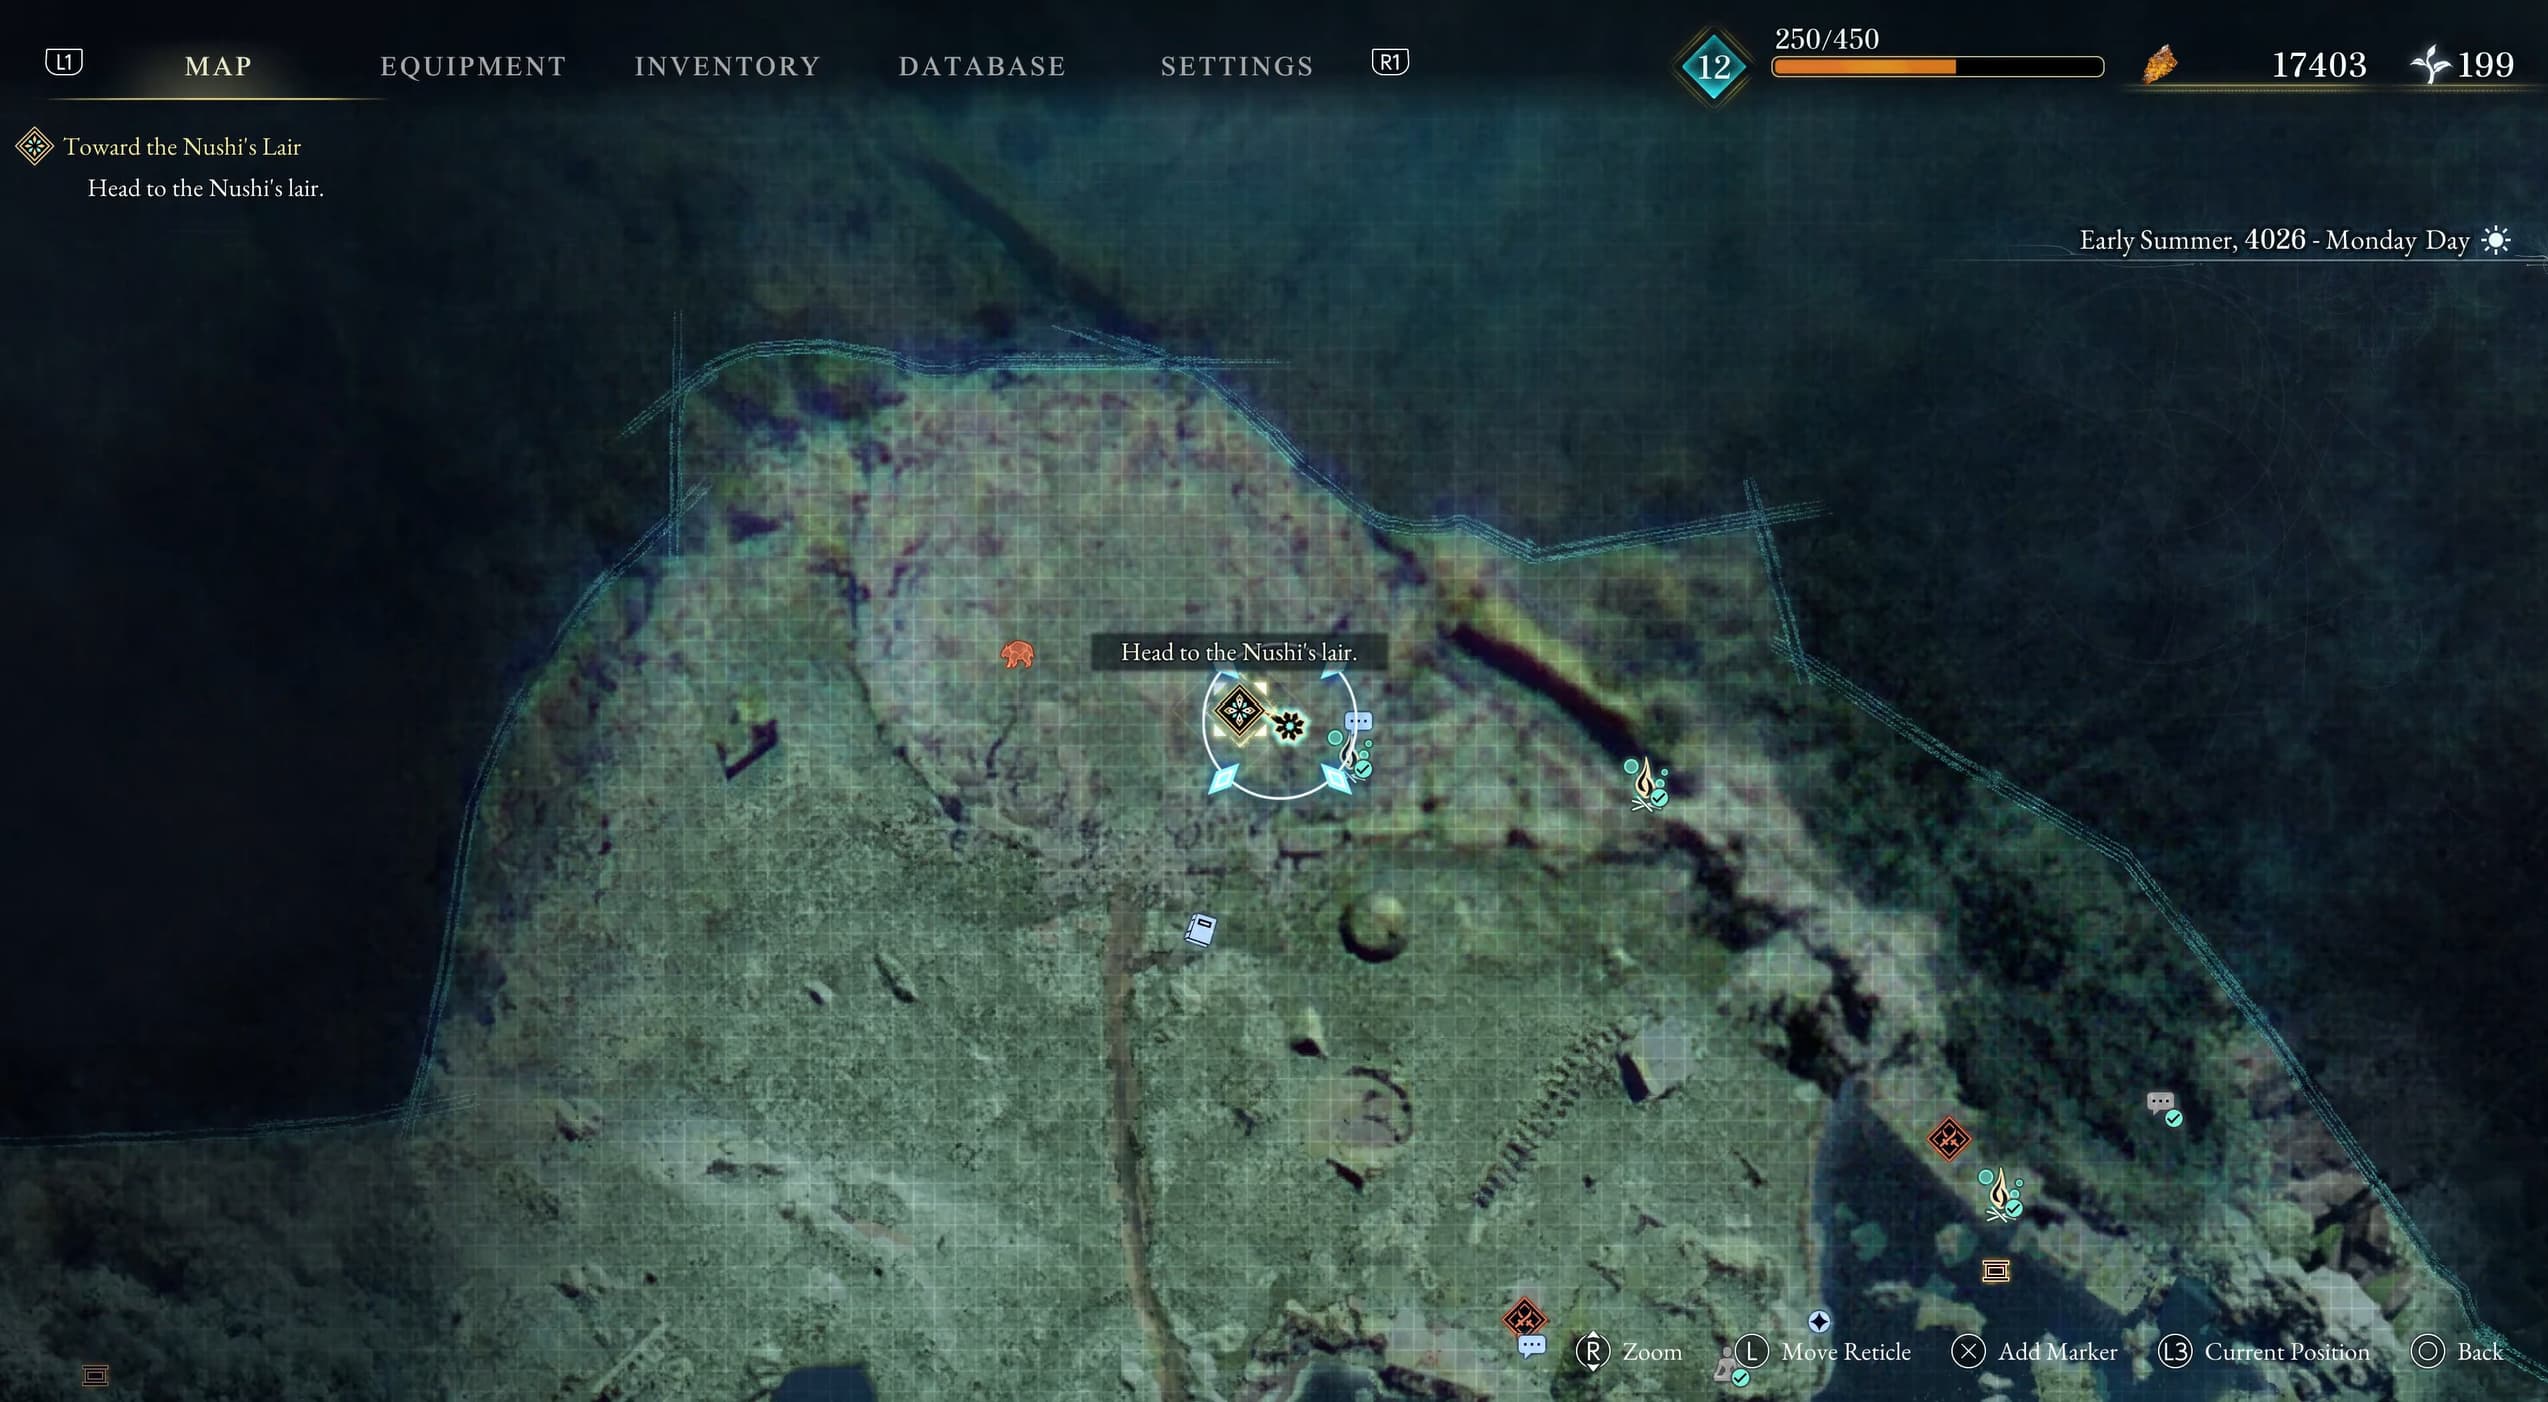
Now making your way over to the east again to locate the next Keeper Golem, however this one isn't as obvious to find, you will need to stand where you can see my pointer on the map below and make your way into the cave, to find the Keeper Golem on the right.
Just to the left from this Keeper Golem will be a mural on the wall to examine, this will contribute to the Artworks we are collecting along the way. Note that you will be able to examine this over and over, but for it to contribute to the trophy, you only need to examine it one time.
Heading to the west a little from our last location, we are going towards Subcity 03 entrance but we aren't going in just yet, there is a Keeper Golem to talk with just outside.
Now heading over to the west, to Subcity 02 entrance, there will be a number of enemies to take out before you can sit at the campsite here.
Now make your way all the way into Subcity 02 and take out all of the enemies inside, you will come into a room that tells you to "eliminate all enemies" after doing so, a double door will open, allowing you to access the Document on the left table, titled "Taking The Yellow Key".
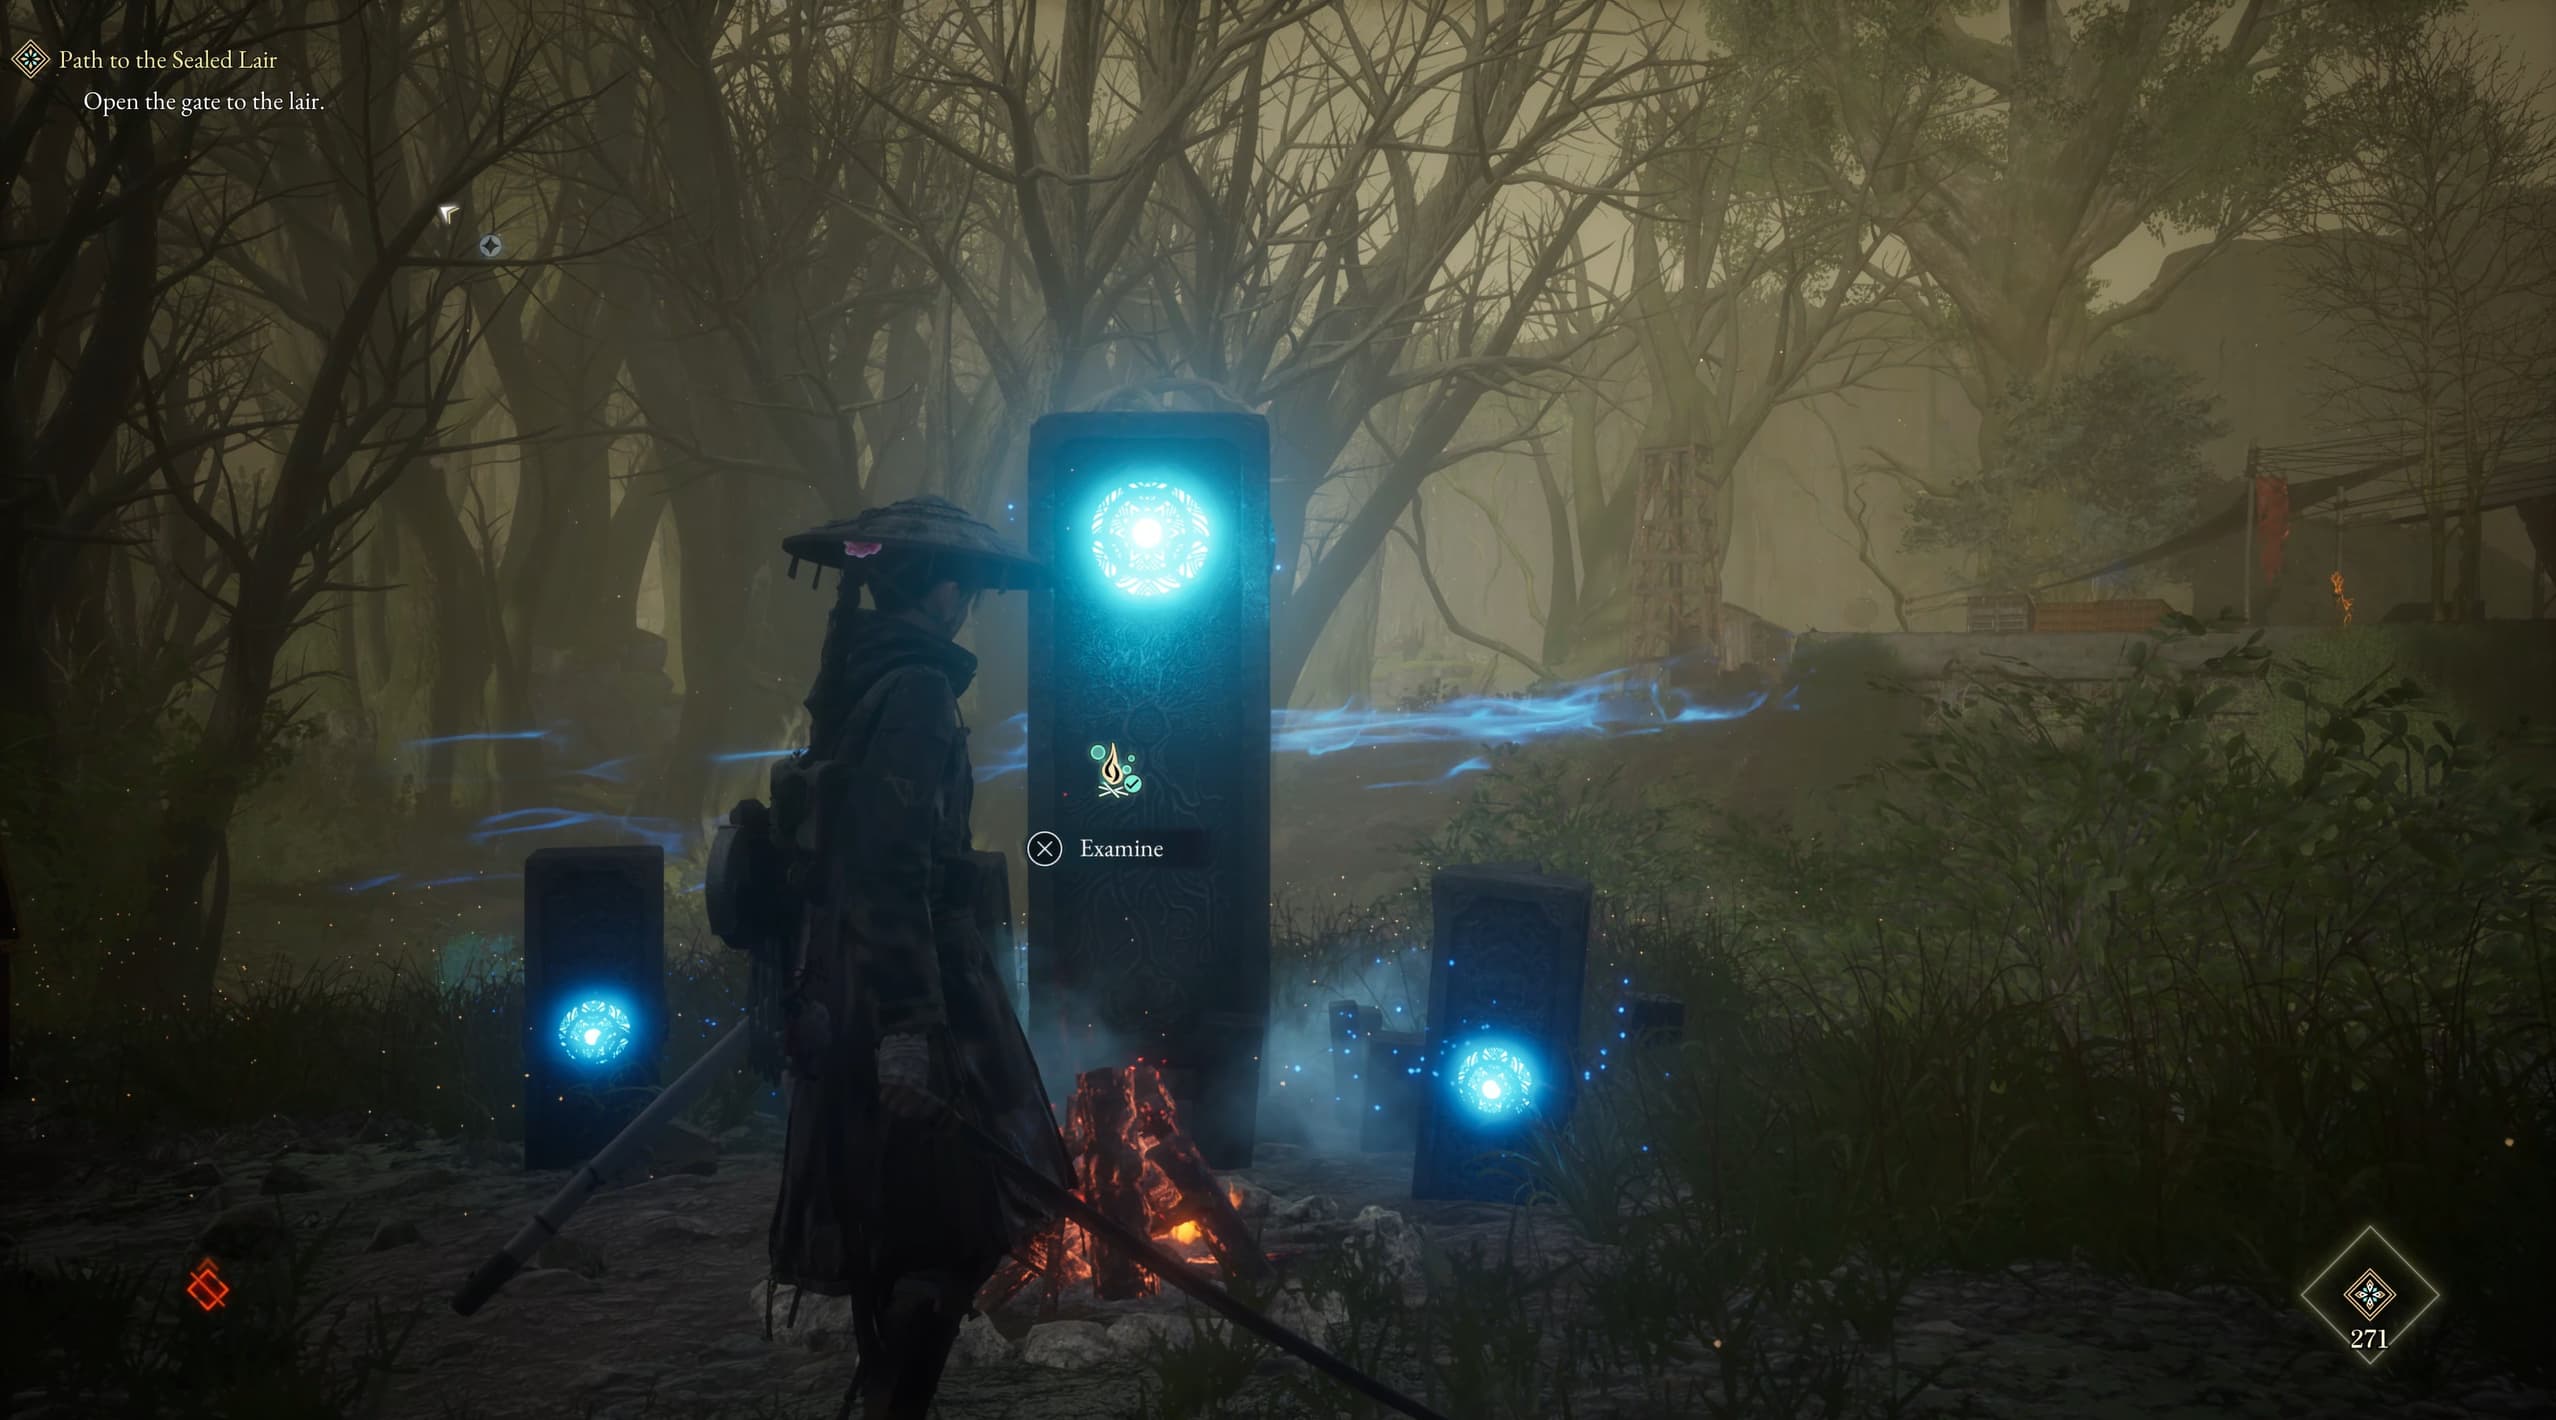
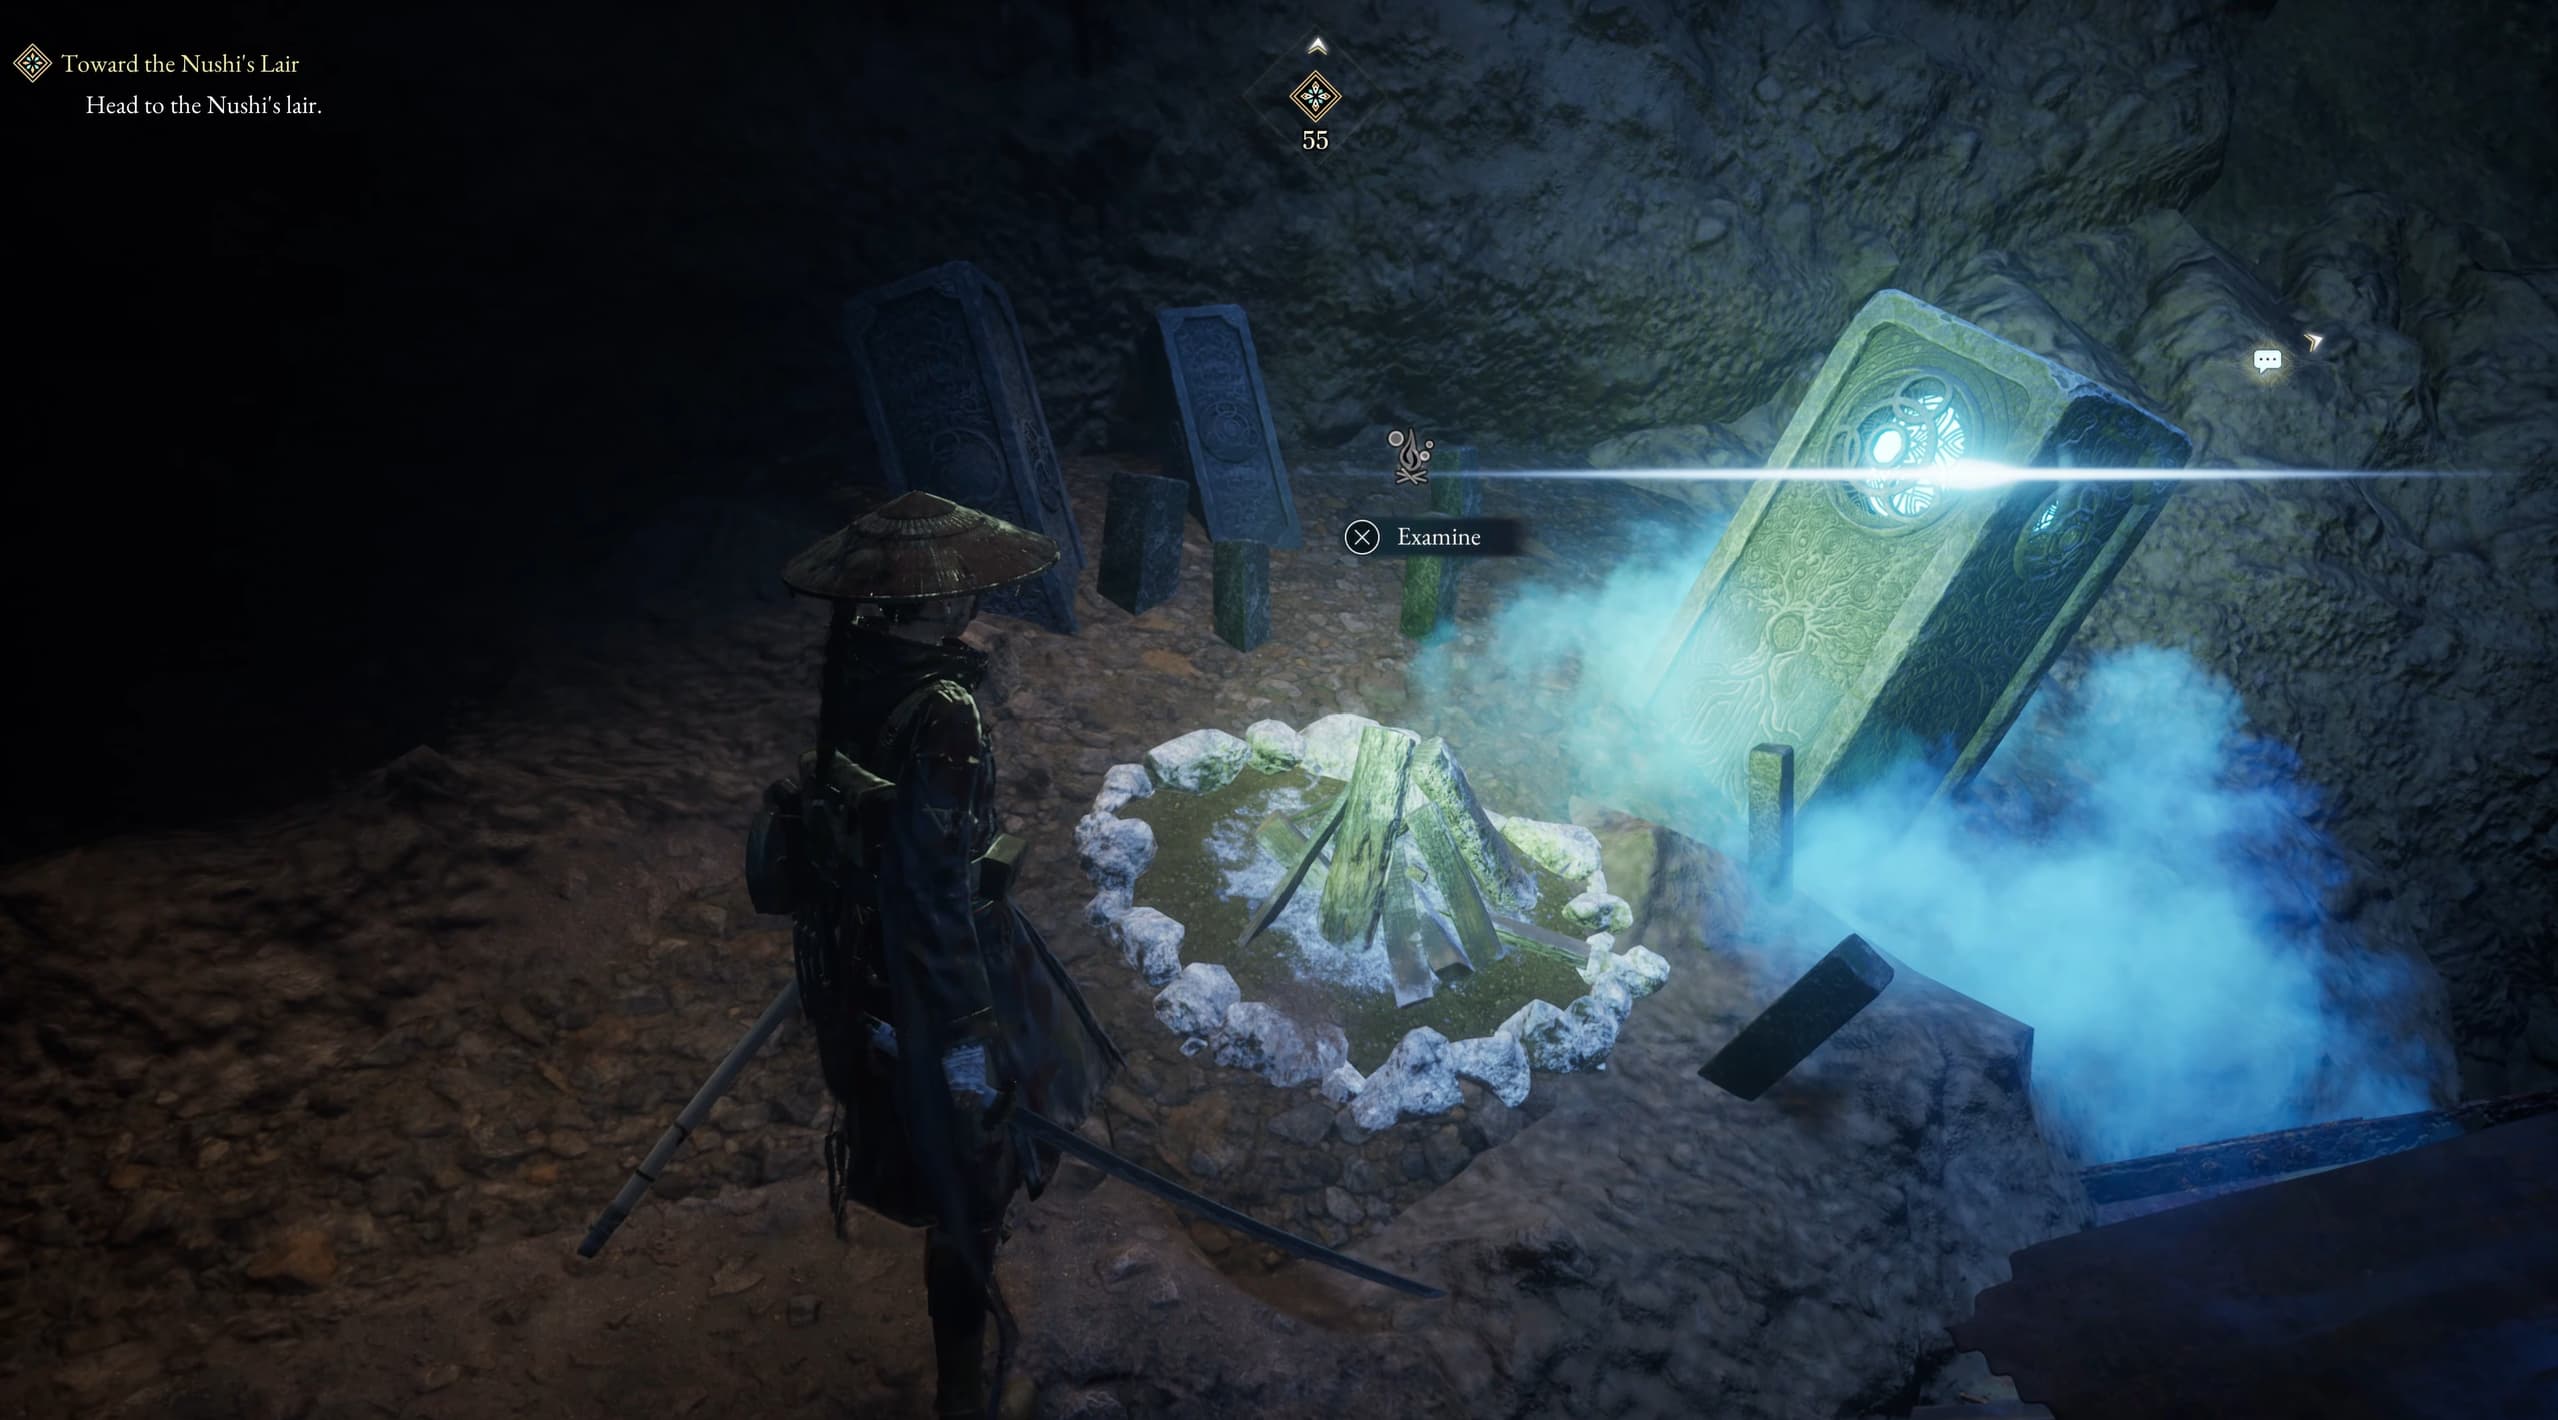
Making your way into Subcity 03 now and to the penultimate campsite as shown below.
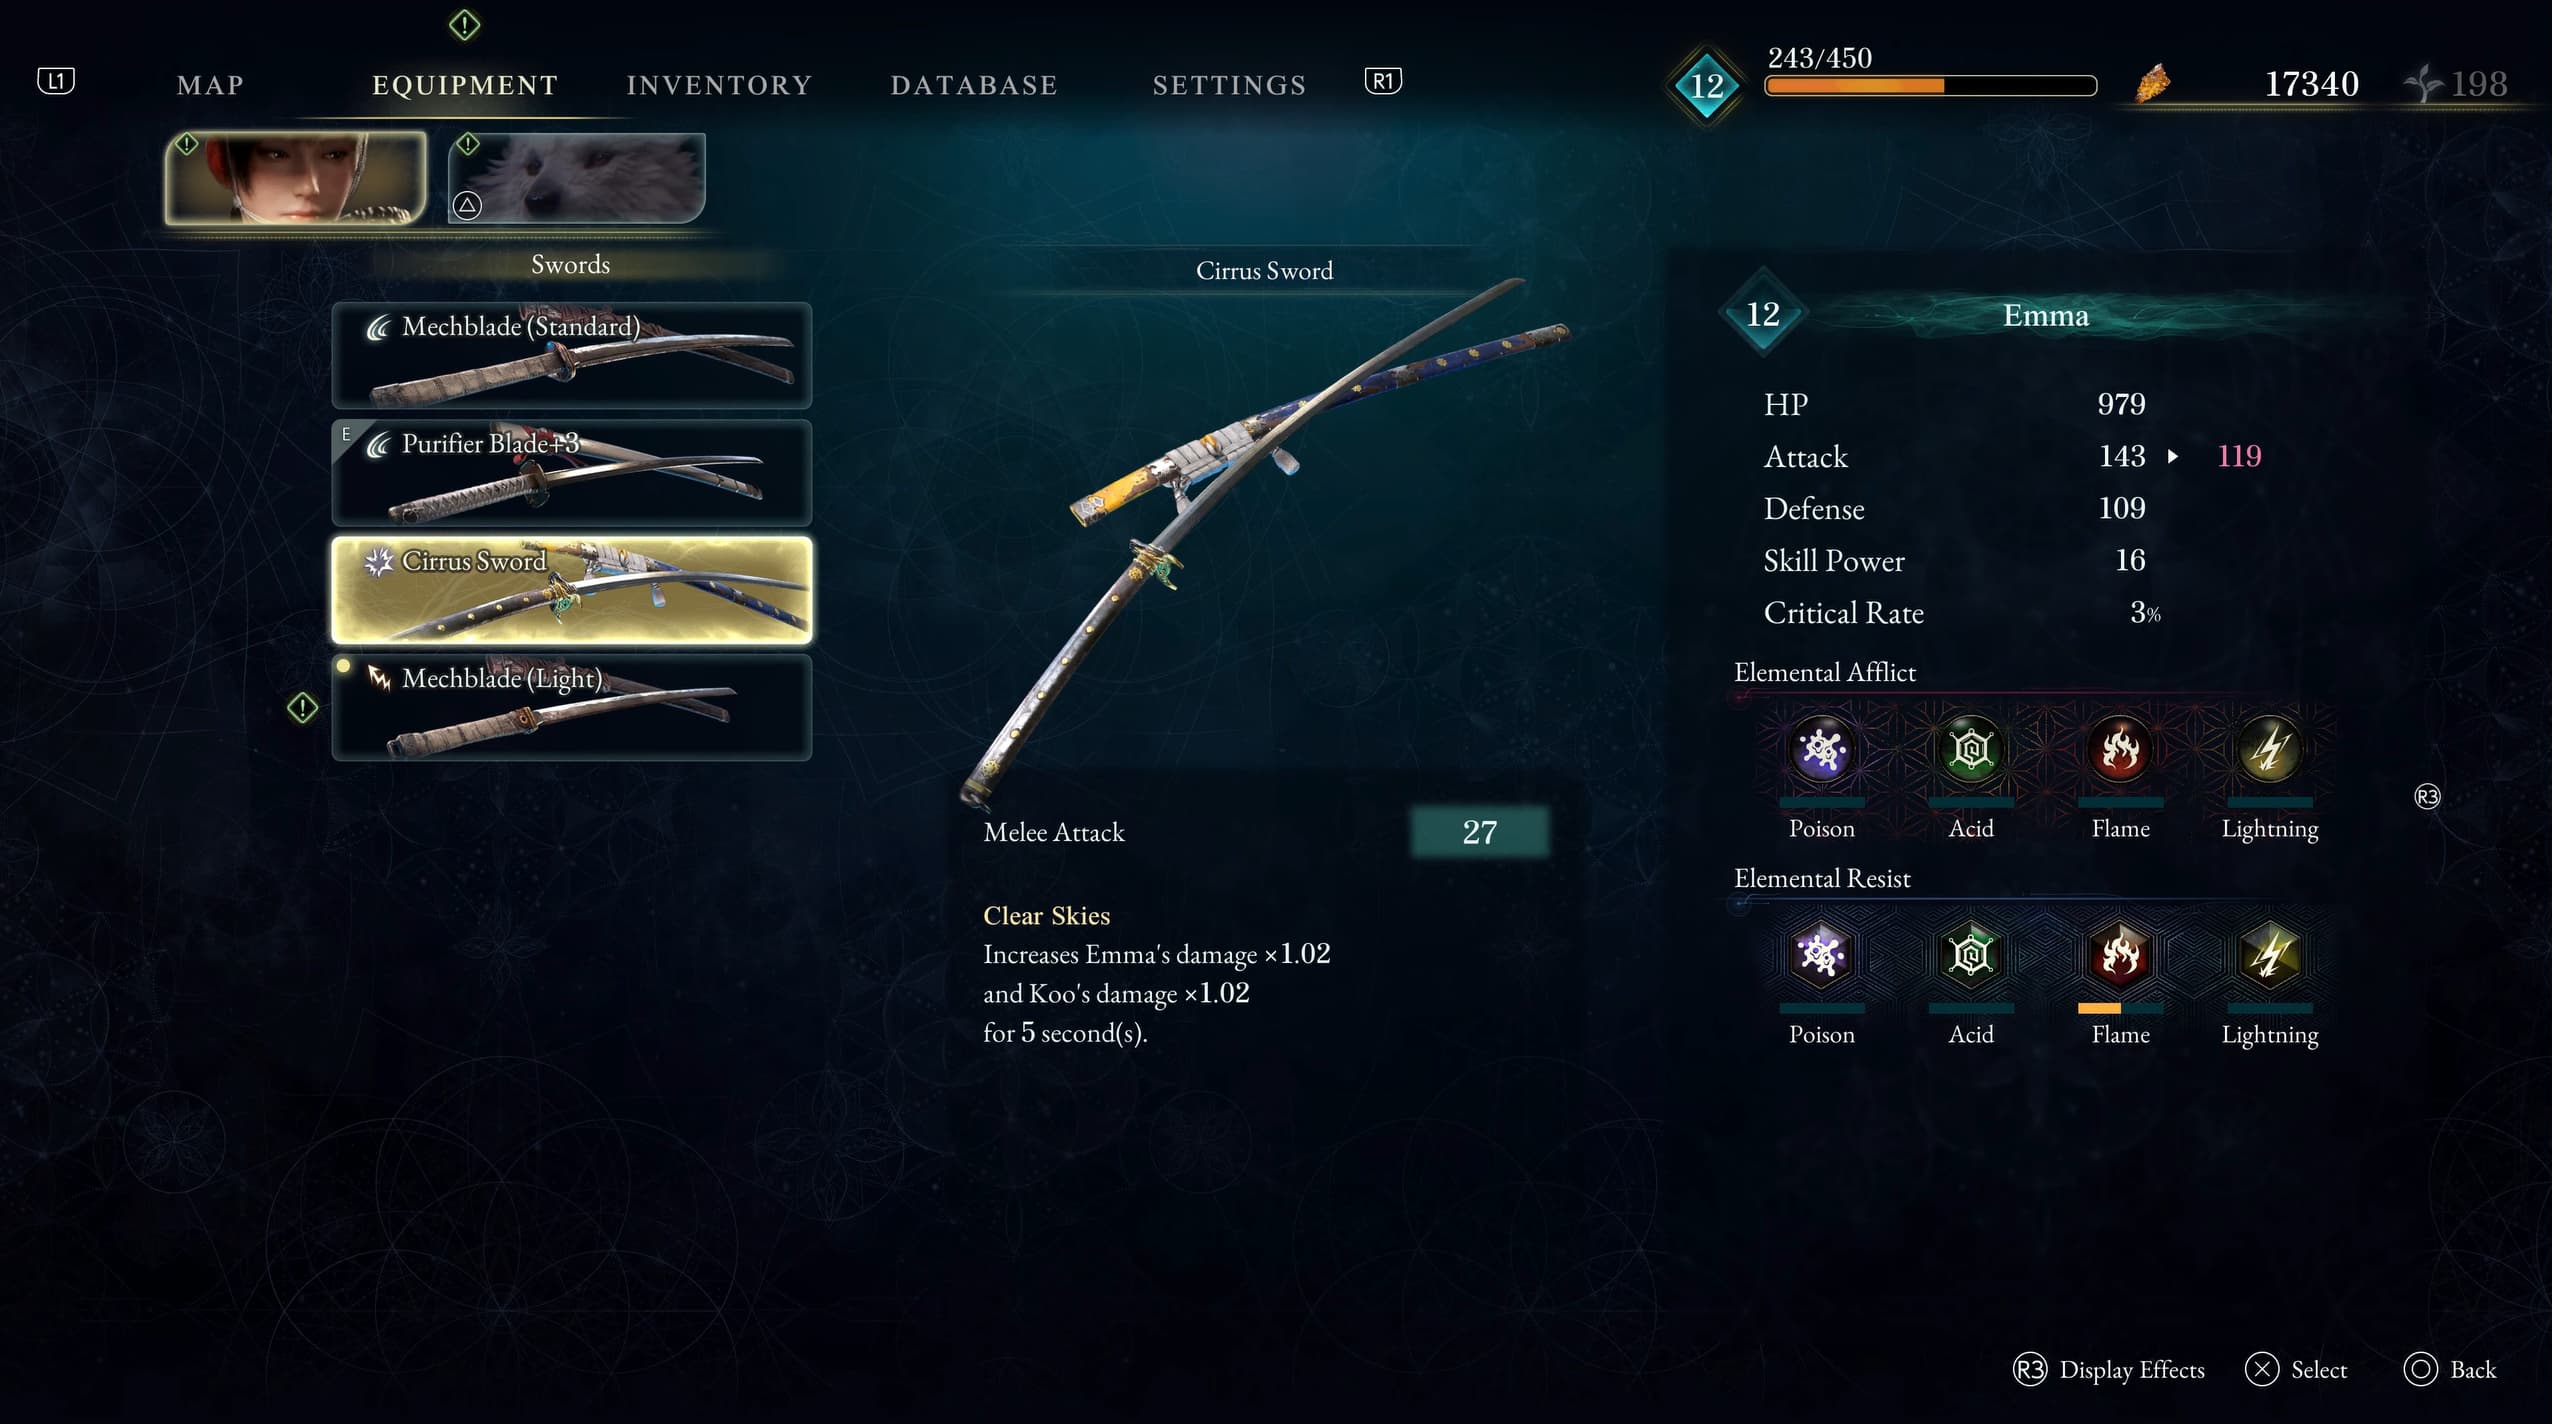
Just to the left of this campsite will be another Weapon to collect, the Cirrus Sword.
Also in this room, just to the left of where you collected the new weapon, there will be a Keeper Golem to talk with before advancing into the next room.
Into the very final area, the last campsite here is unmissable, on your ascent to the final boss of this area.
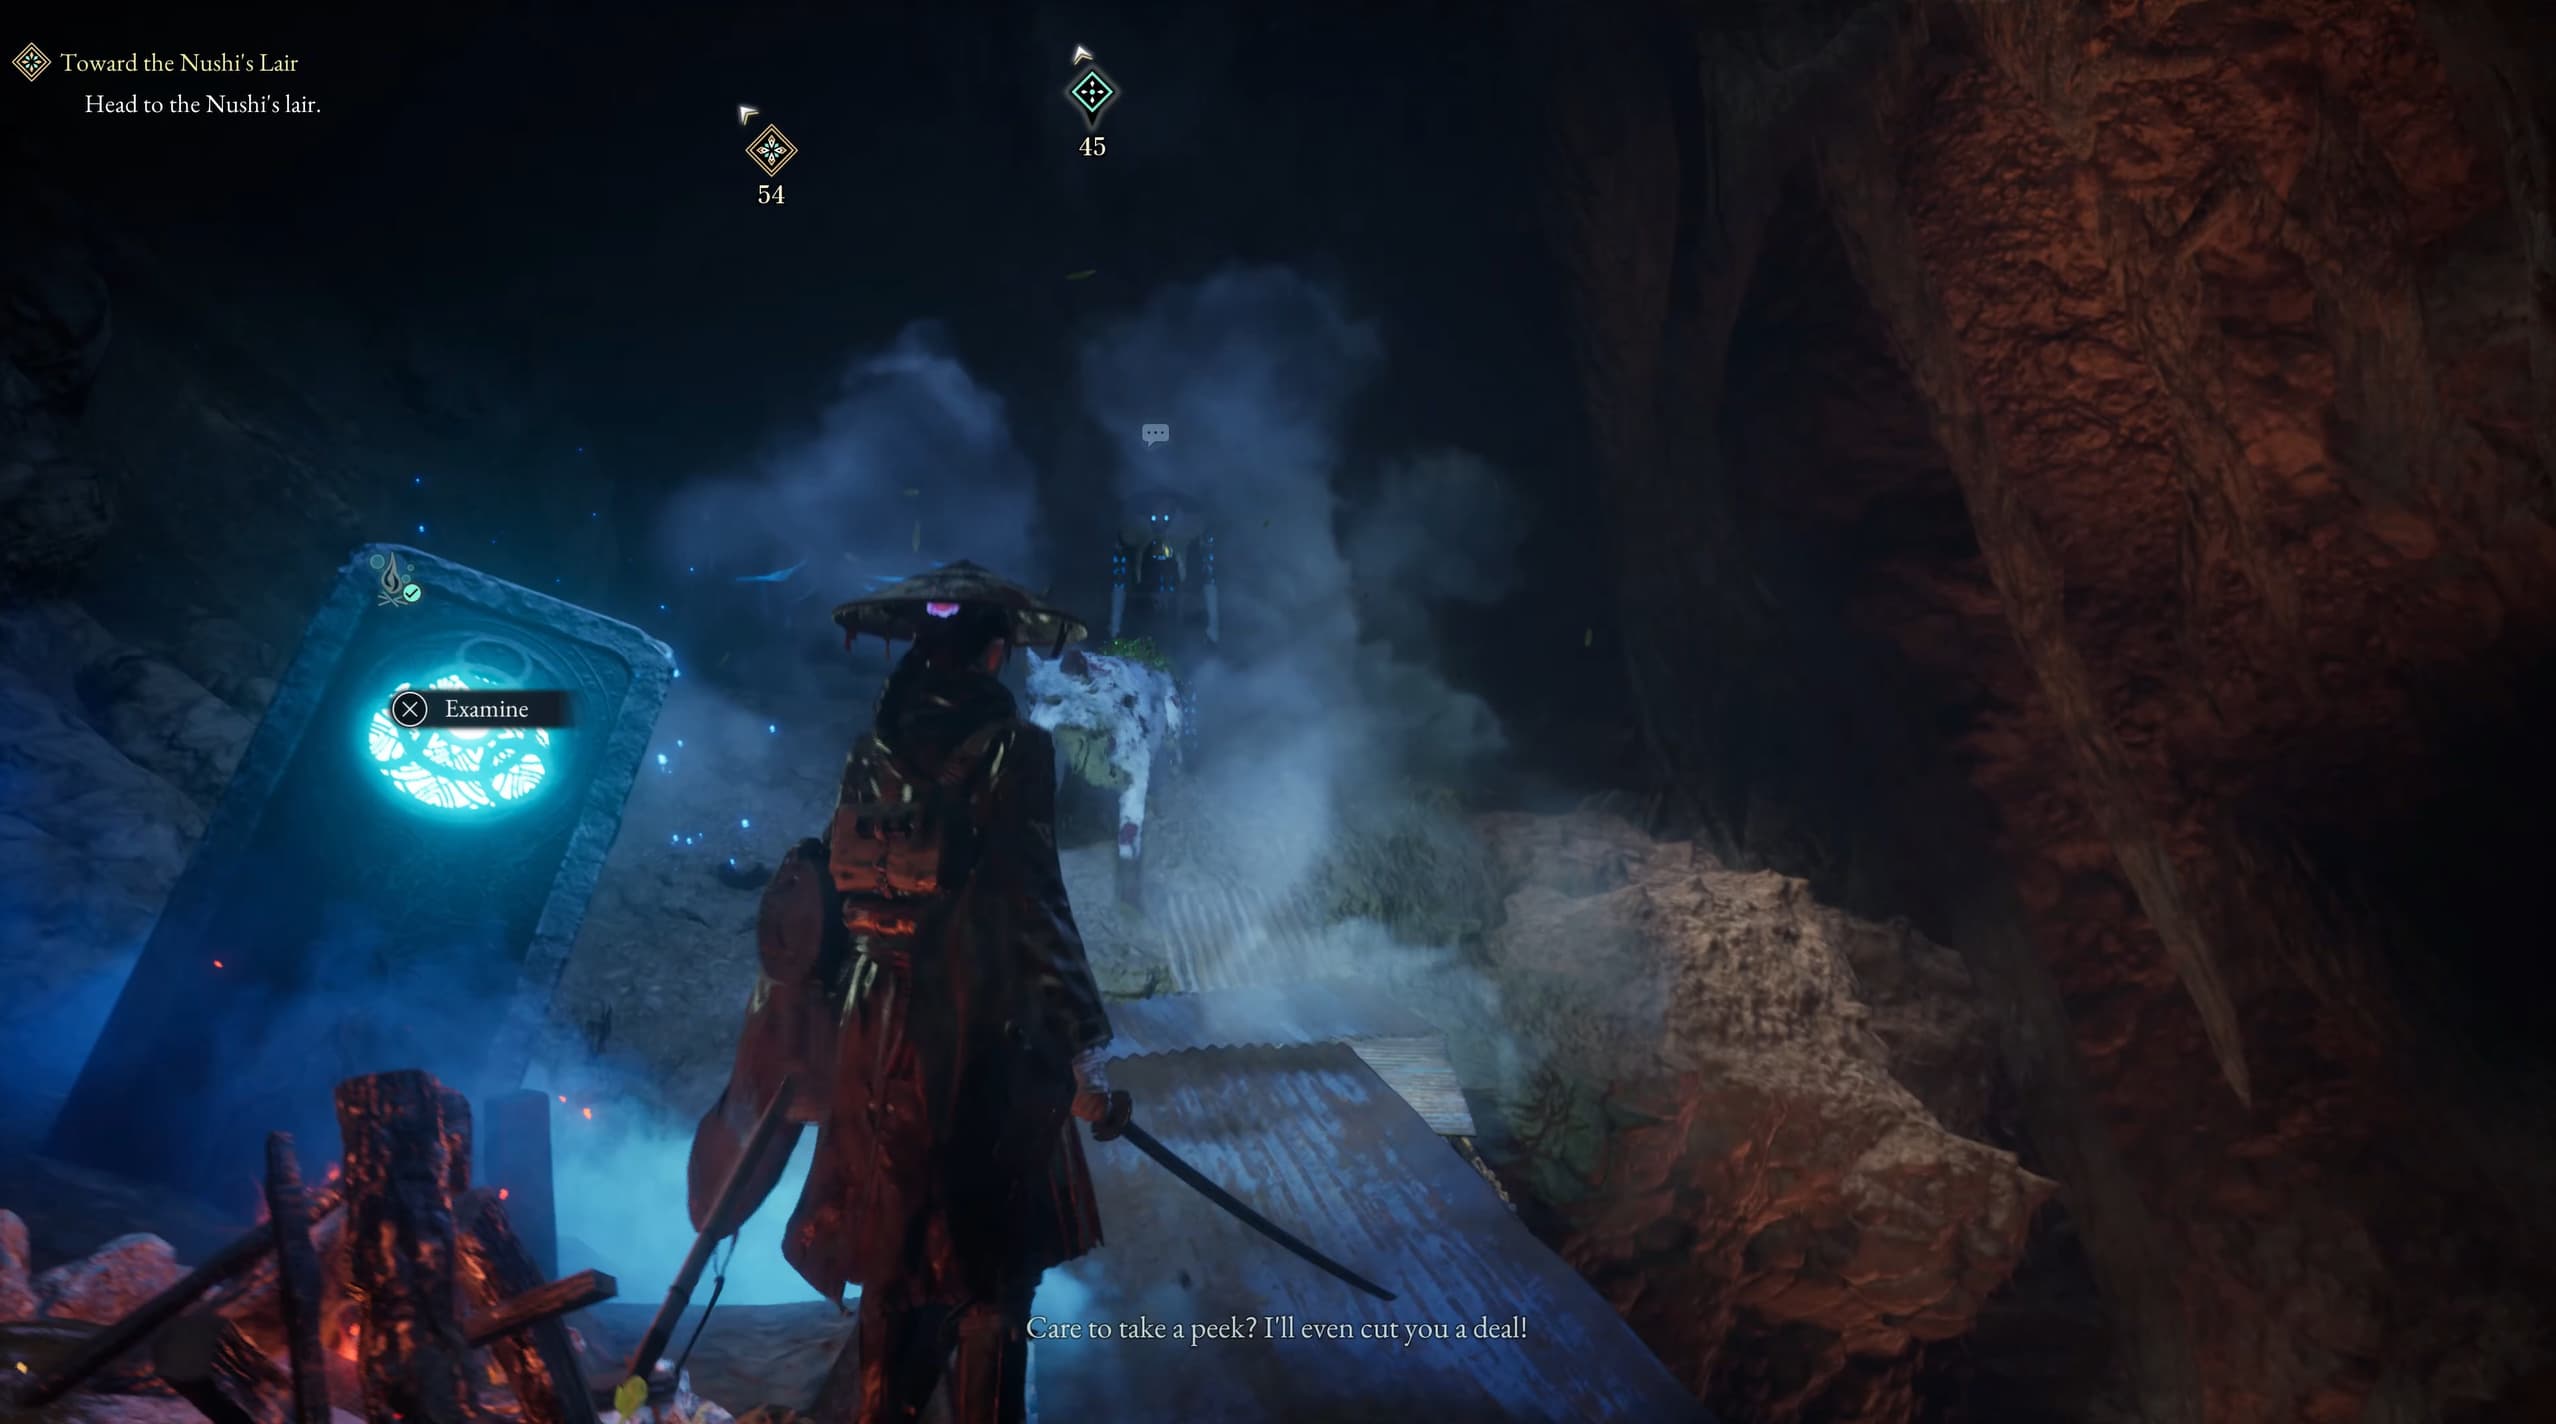
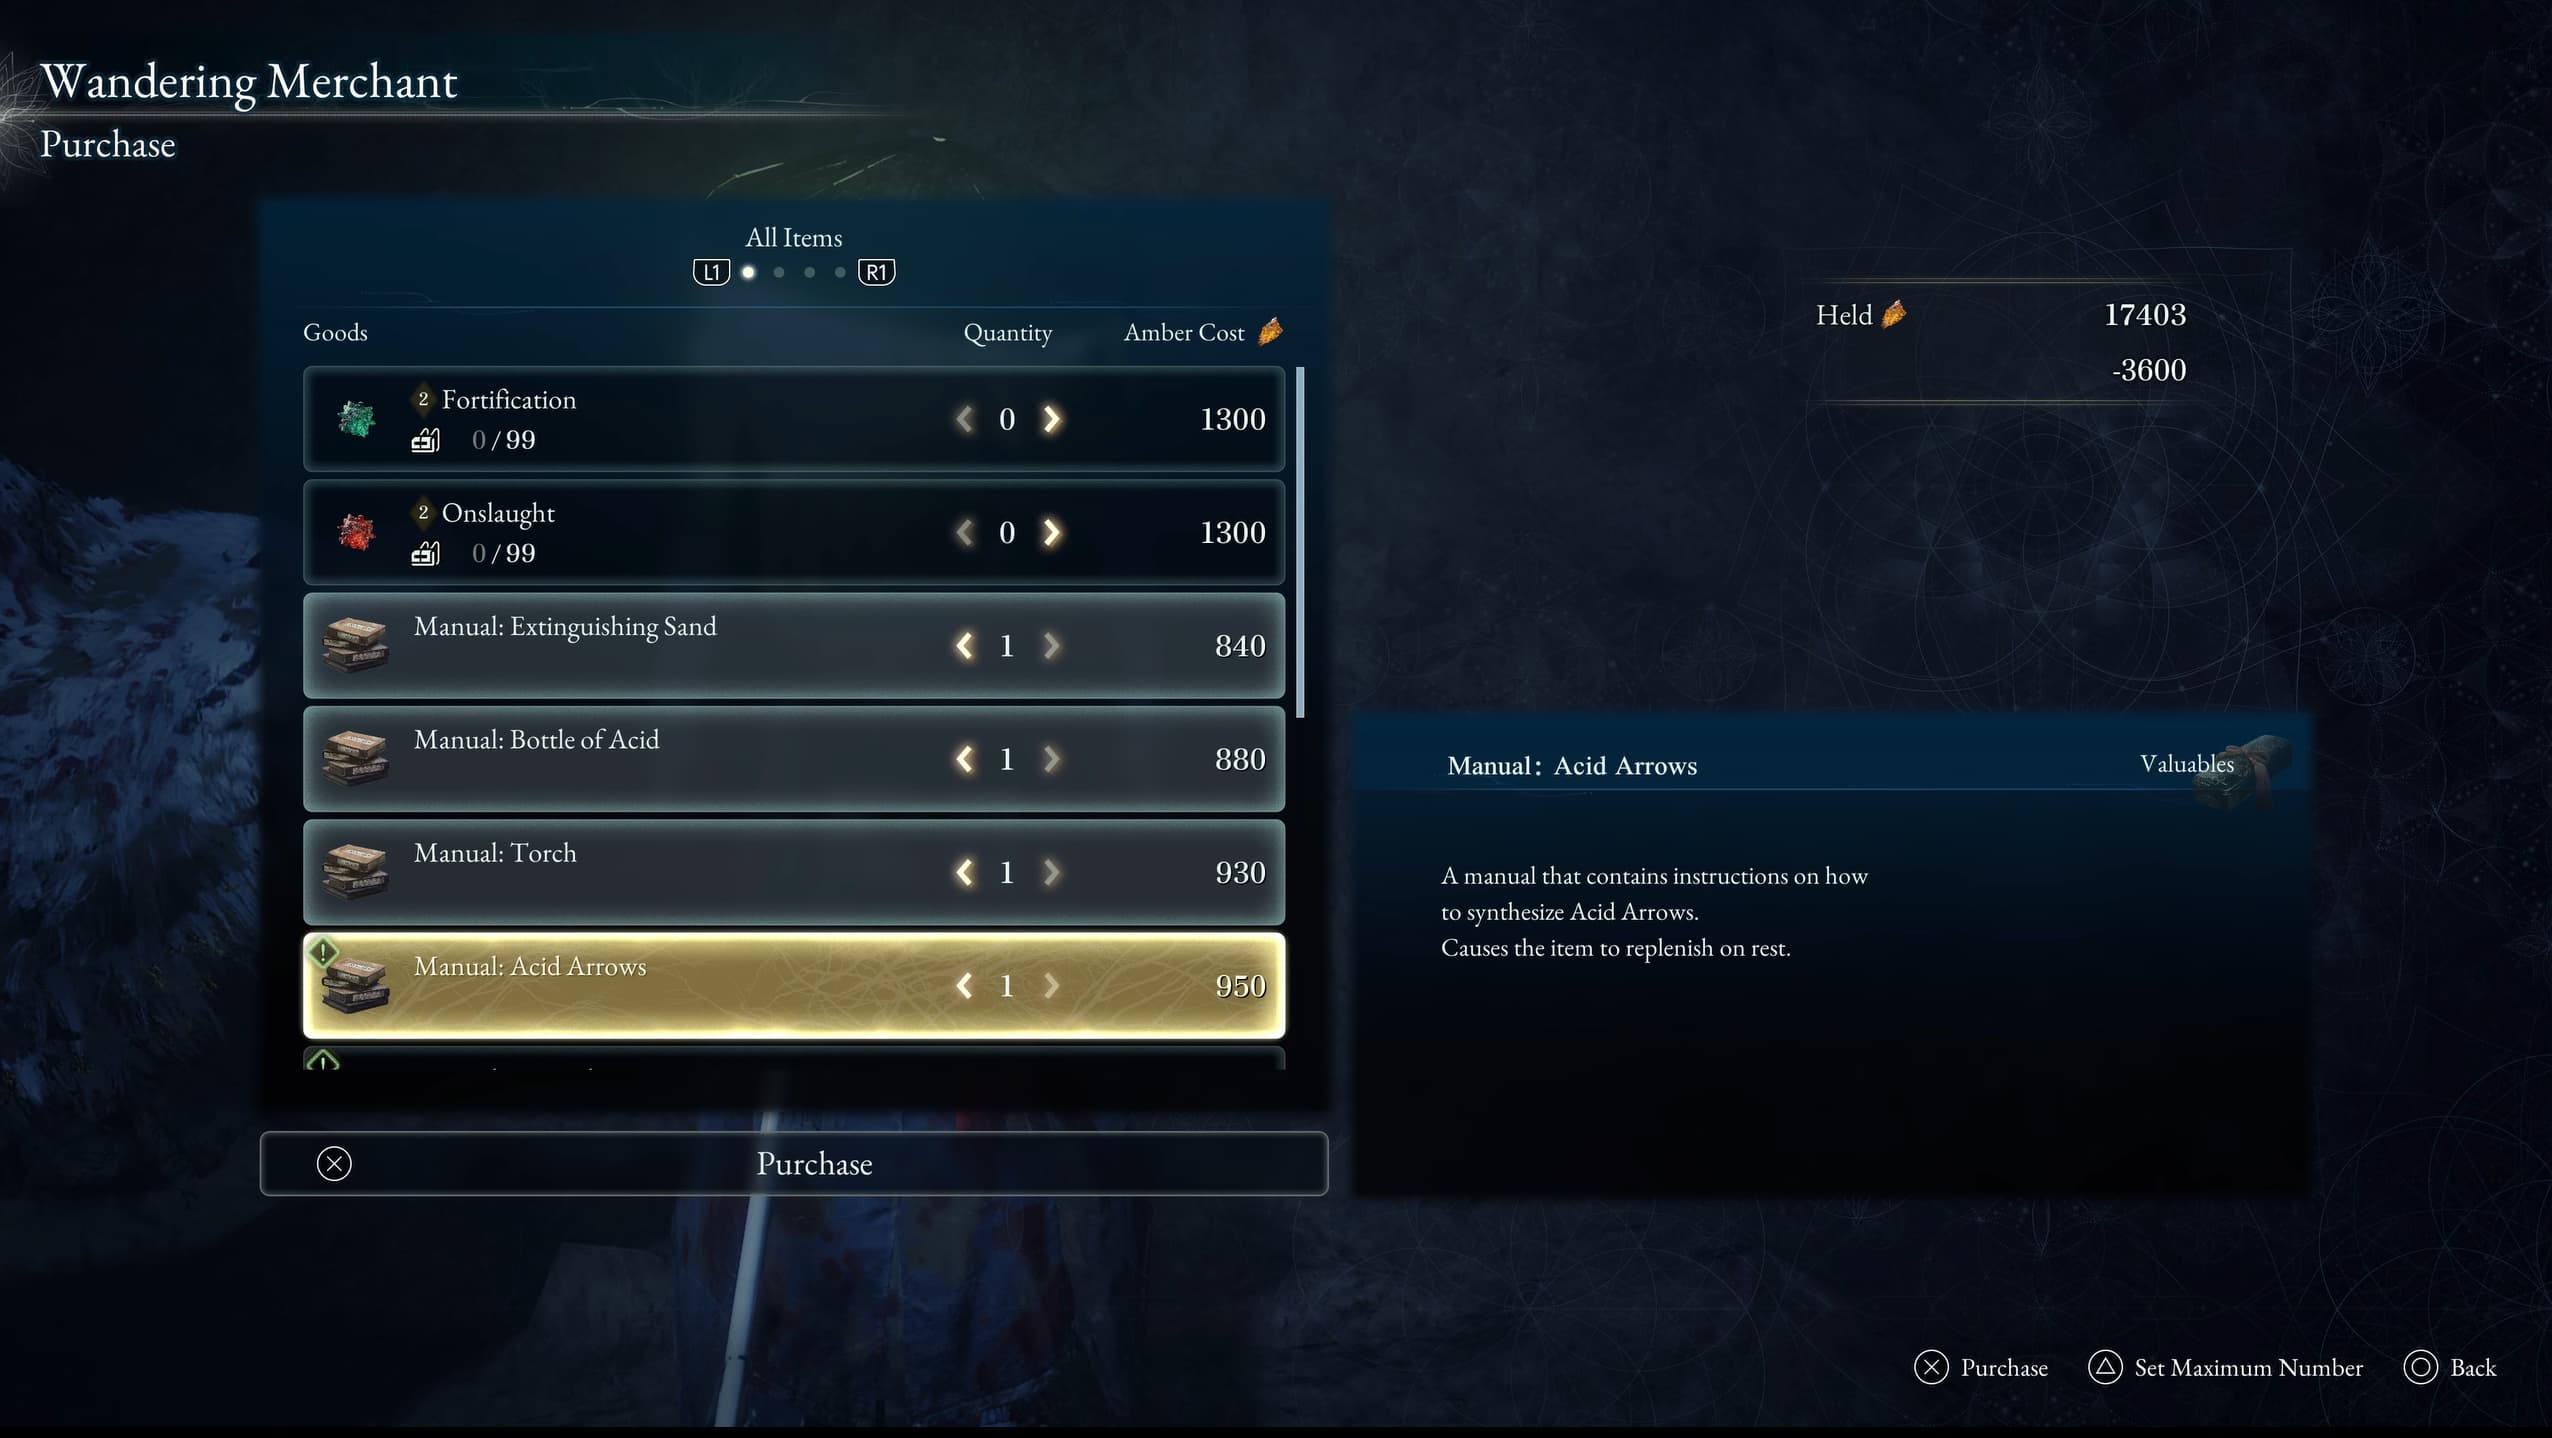
And finally, just to the right of the campsite will be a Merchant that you will need to purchase 5 Manuals from, including; Extinguishing Sand, Bottle Of Acid, Torch, Acid Arrows and Fire Bolts.
If you see something in your inventory that wasn't shown in this guide after completing this level, it is likely that it was collected or obtained as part of the story progression, making it an unmissable item, this guide covered most items or locations that were likely missable.