menu
MobalyticsUse your favourite features in-game with our Desktop App
Gamebase Guide

All Lumin Amber Locations in Aniimo Season 1: Part 2

Guides
Aniimo
By EpicNNG
Updated on Oct 31, 2026
Oct 31, 2026

Overview

Aniimo is a free-to-play, open-world RPG where players can explore the vast world of Idyll, meet unique Aniimos, unlock new abilities, and travel across the world while meeting other Pathfinders and their friends! It just got the brand new 1.1 update, bringing with it a whole new host of changes!

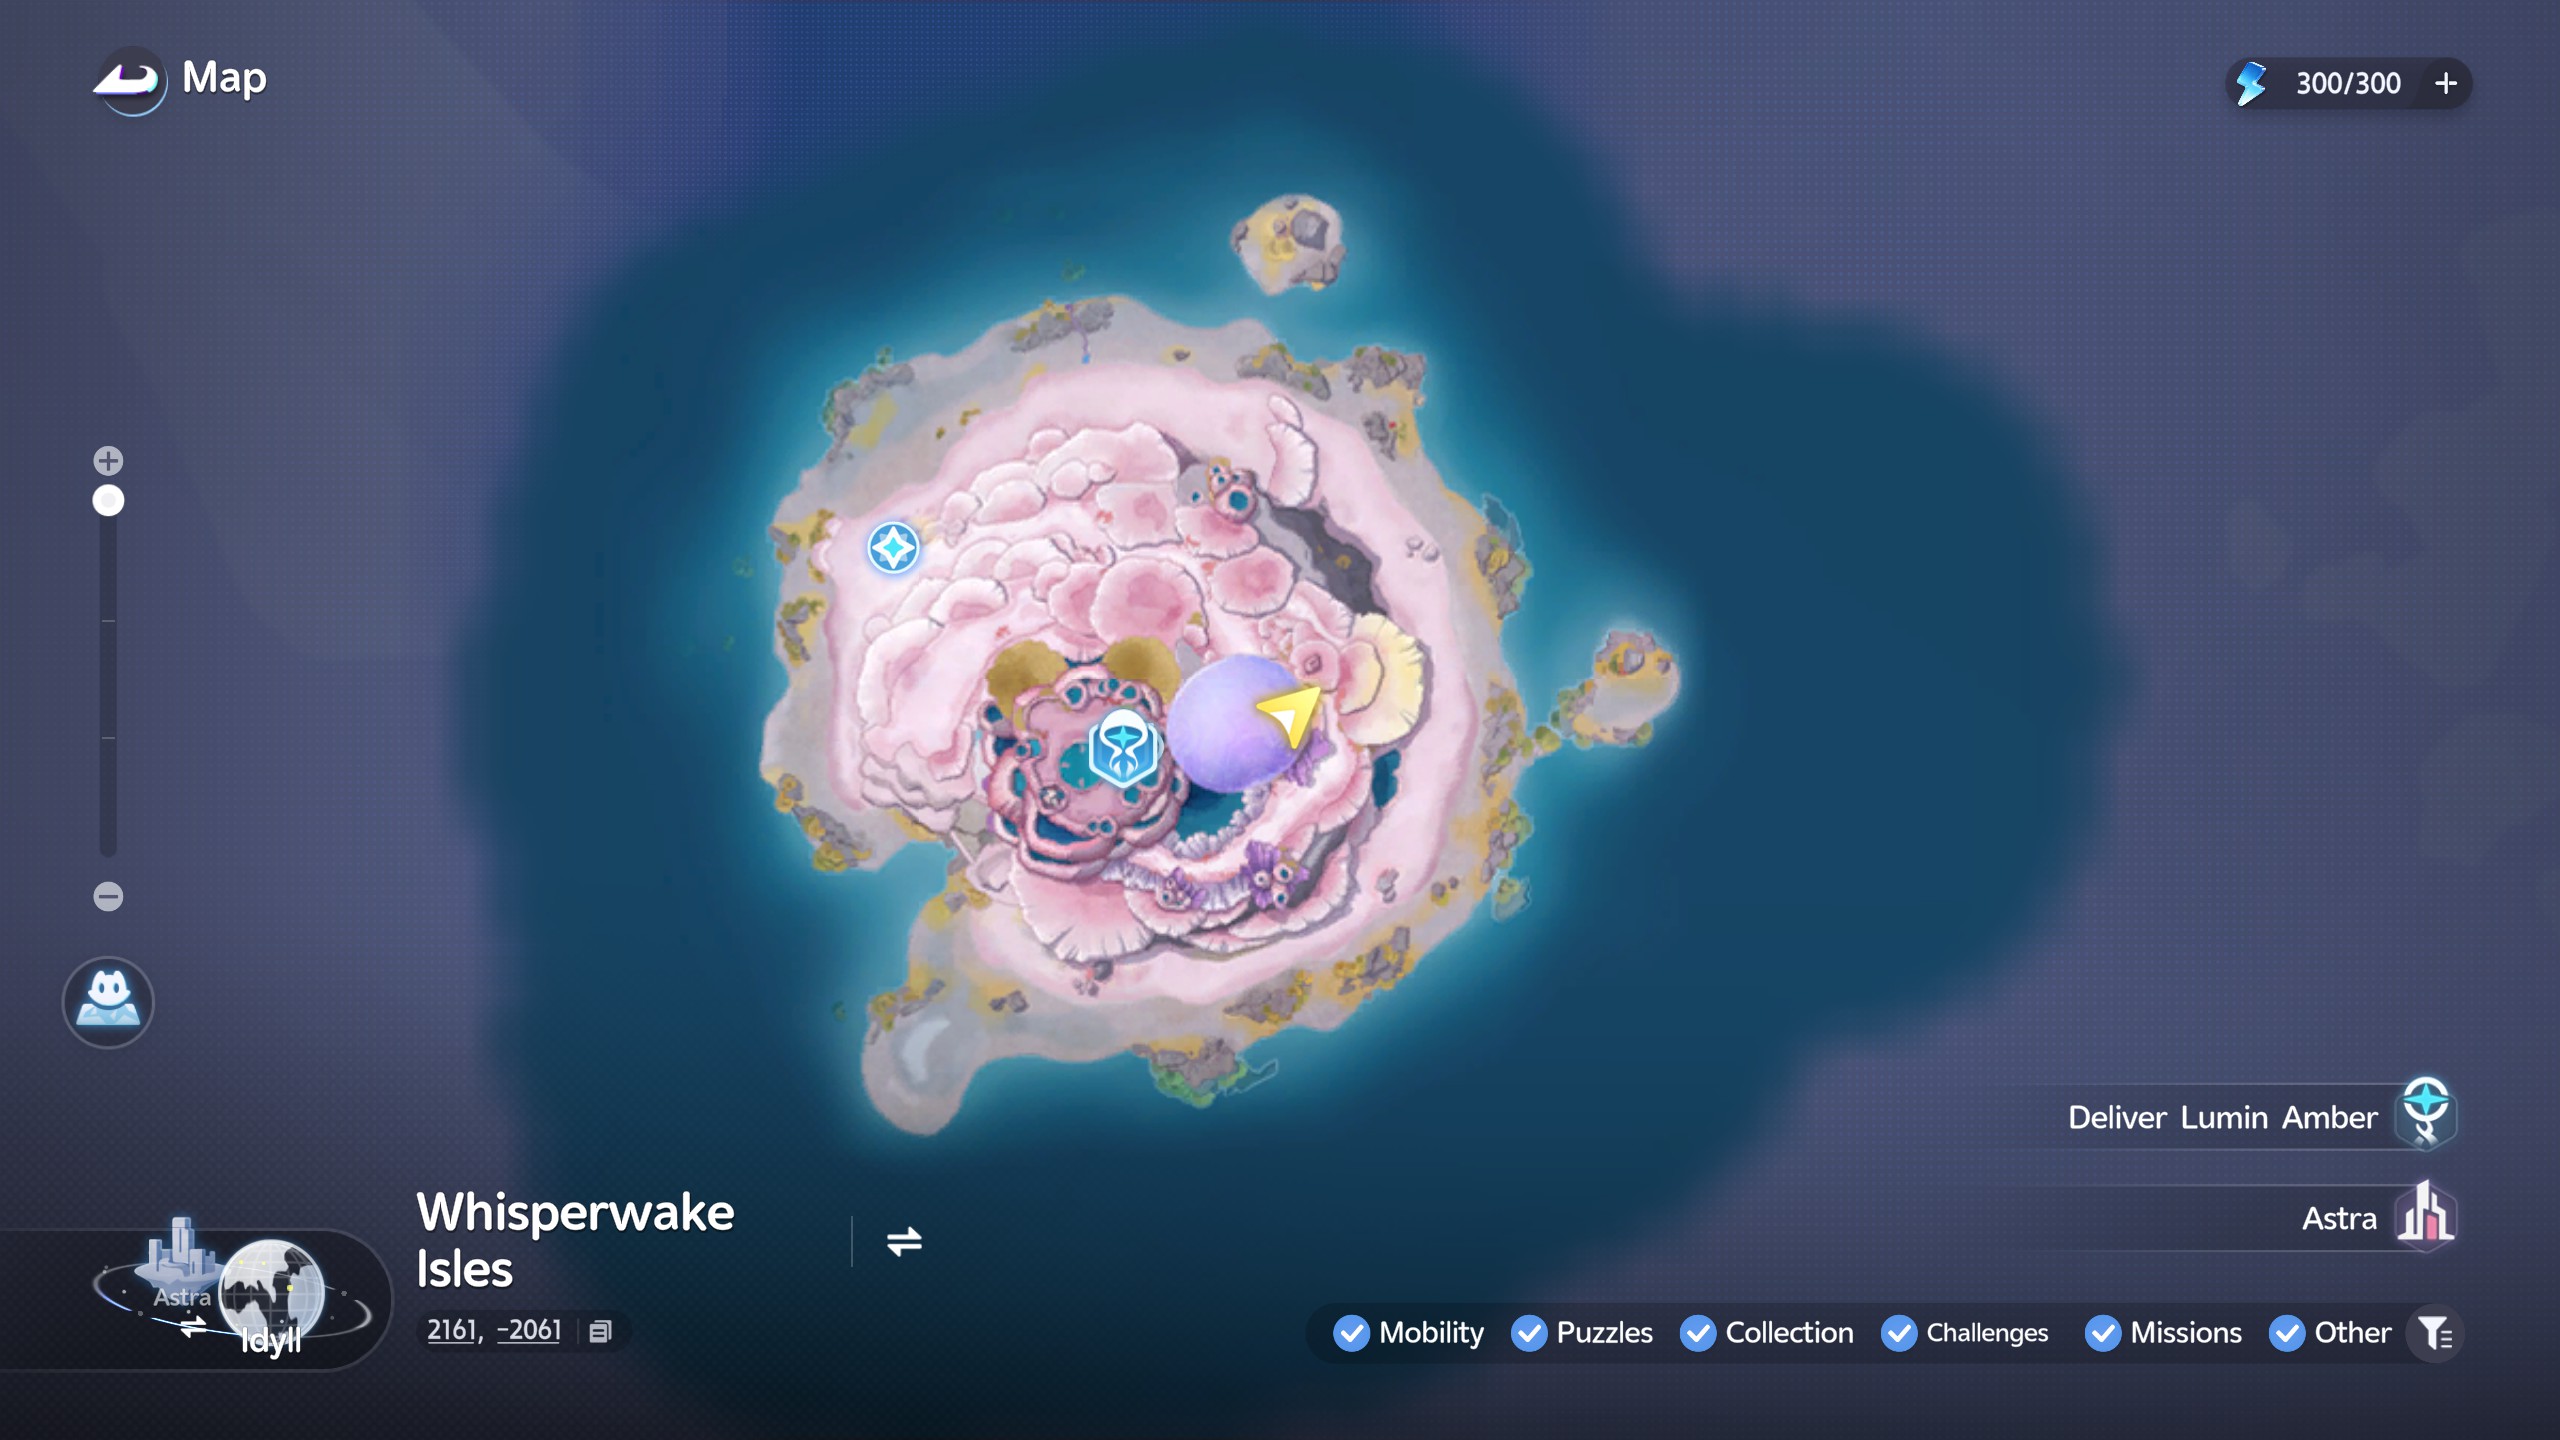
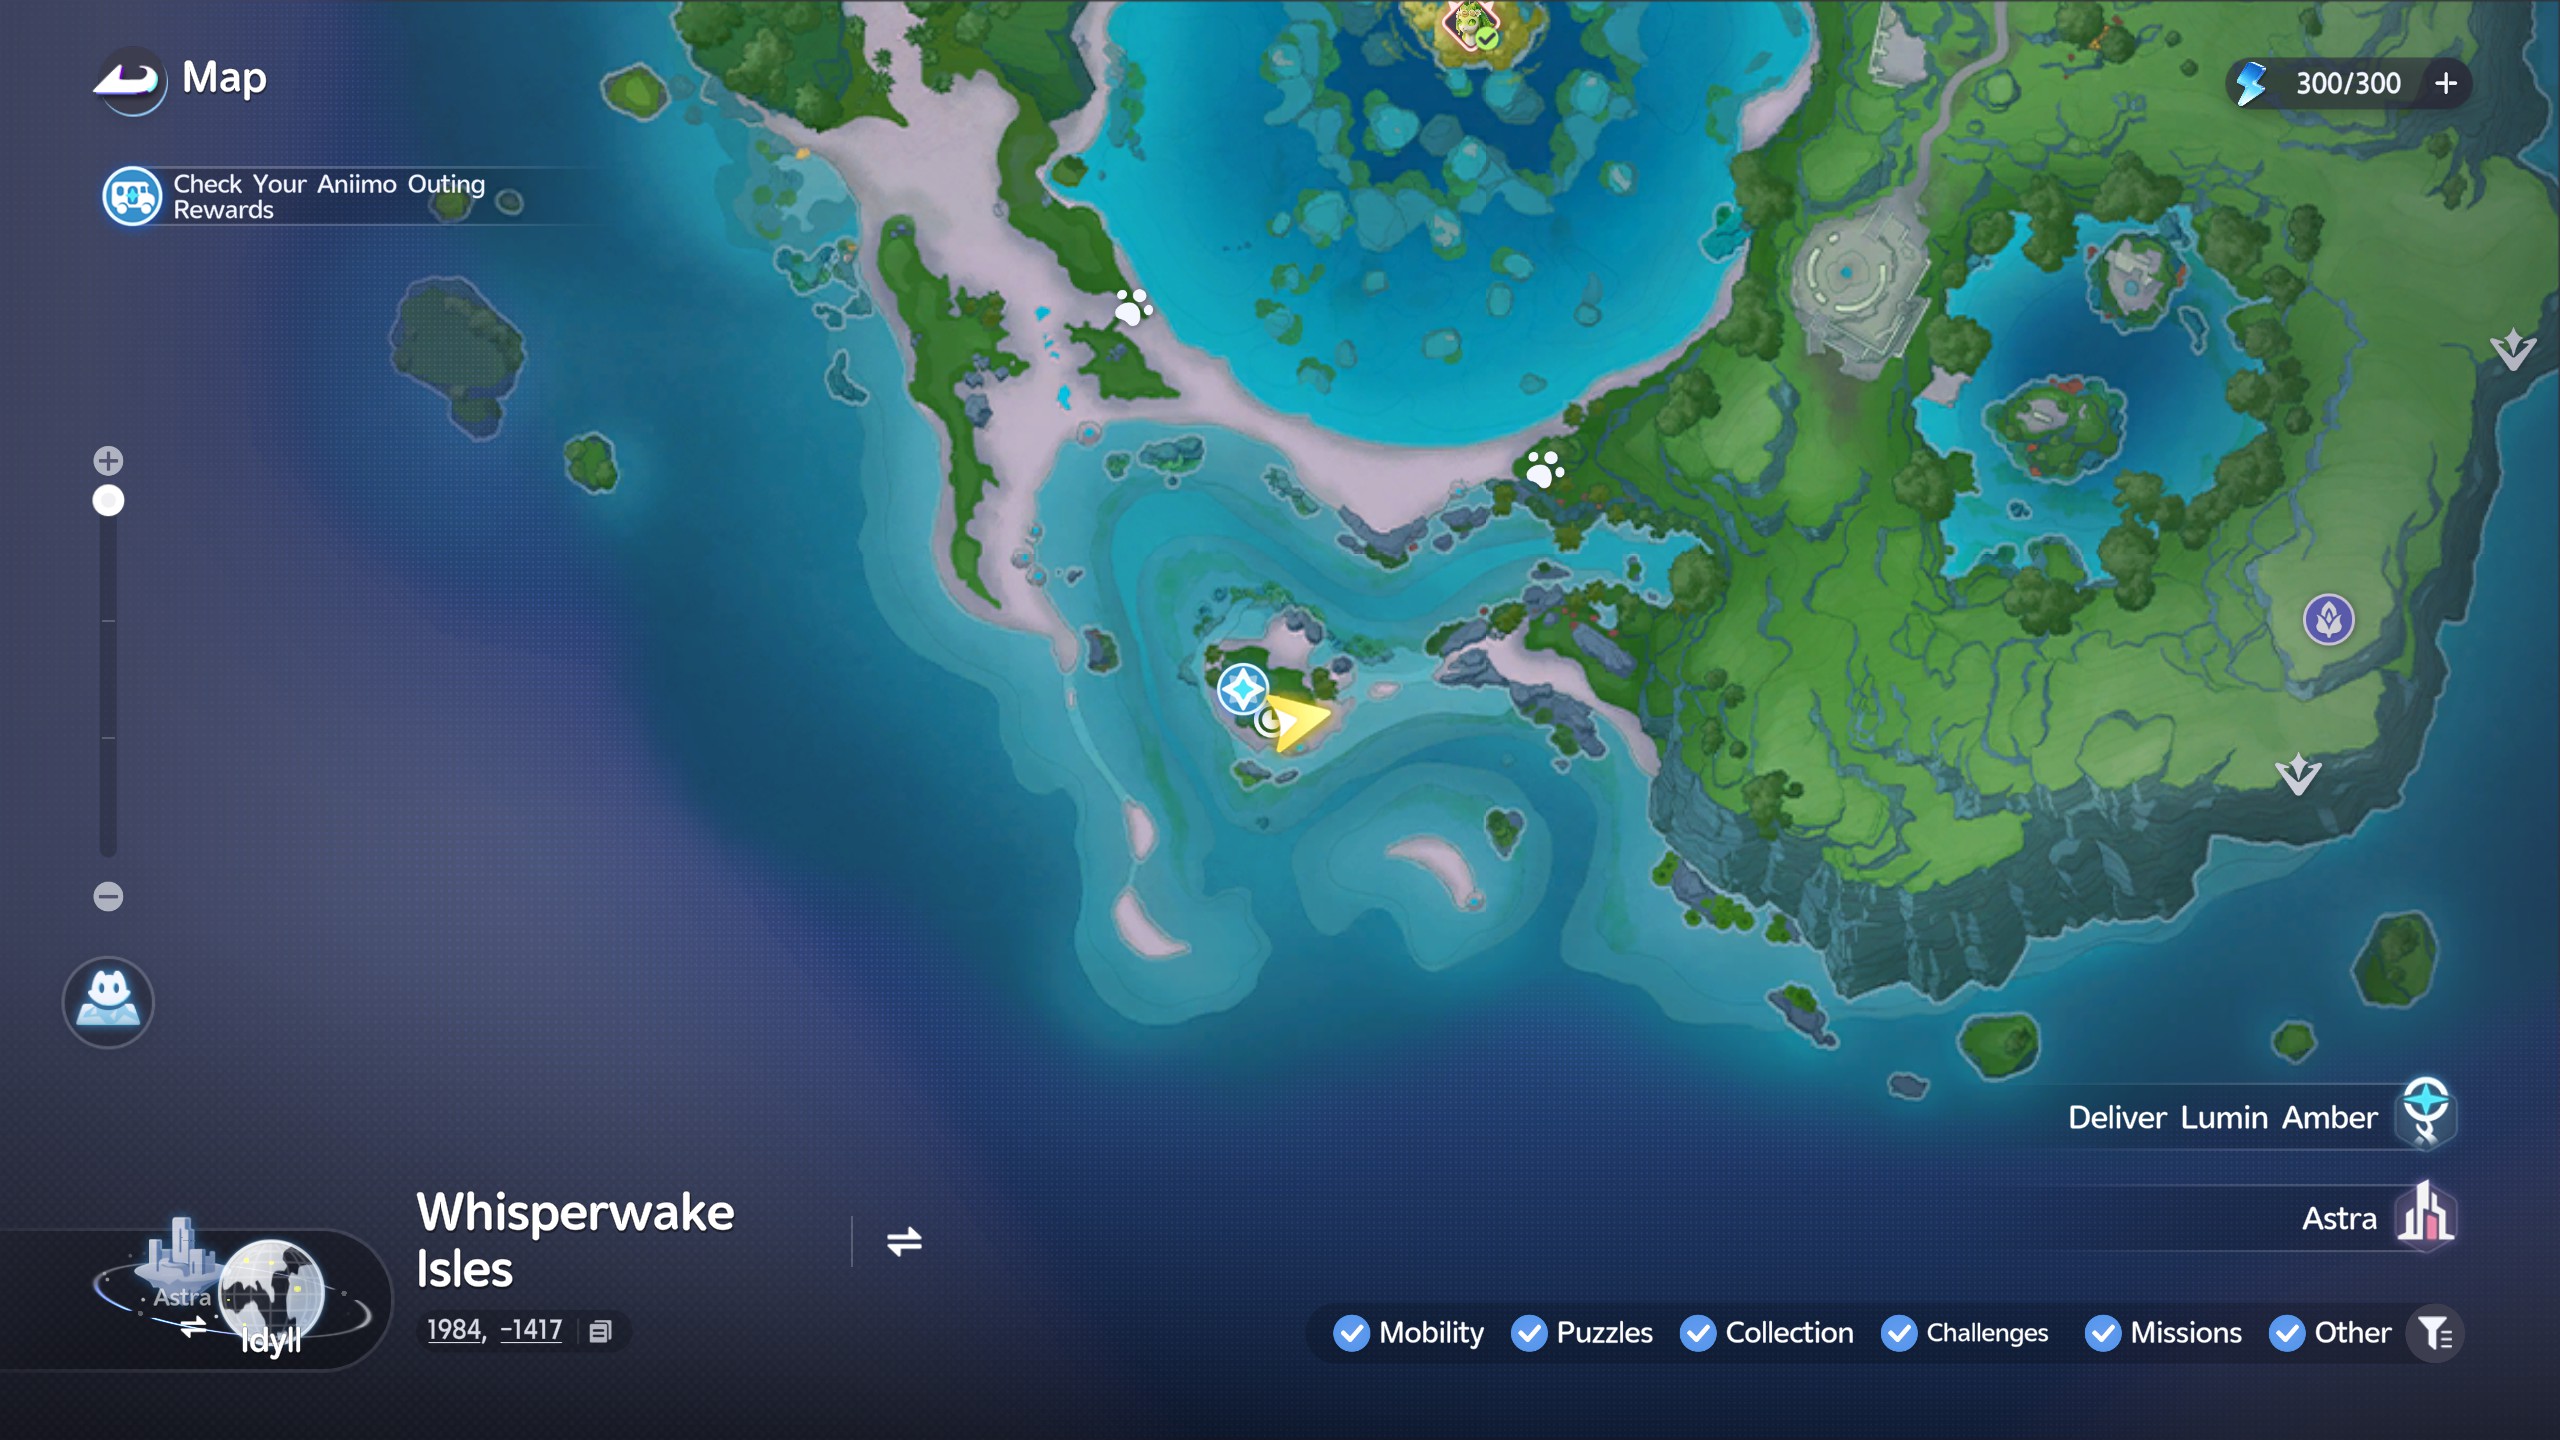
Season 1 Part 2 introduces a brand new map named "Whisperwake Isles" - Along with it comes a new story, Aniimo types, missions, and of course Lumin Amber

Amber is particularly useful for progressing towards your Wanderer's Might, rewarding you with a handful of useful bonuses along the way. In this guide we'll go over where to find each of the locations in the new map, and how to solve the puzzles tied to them!
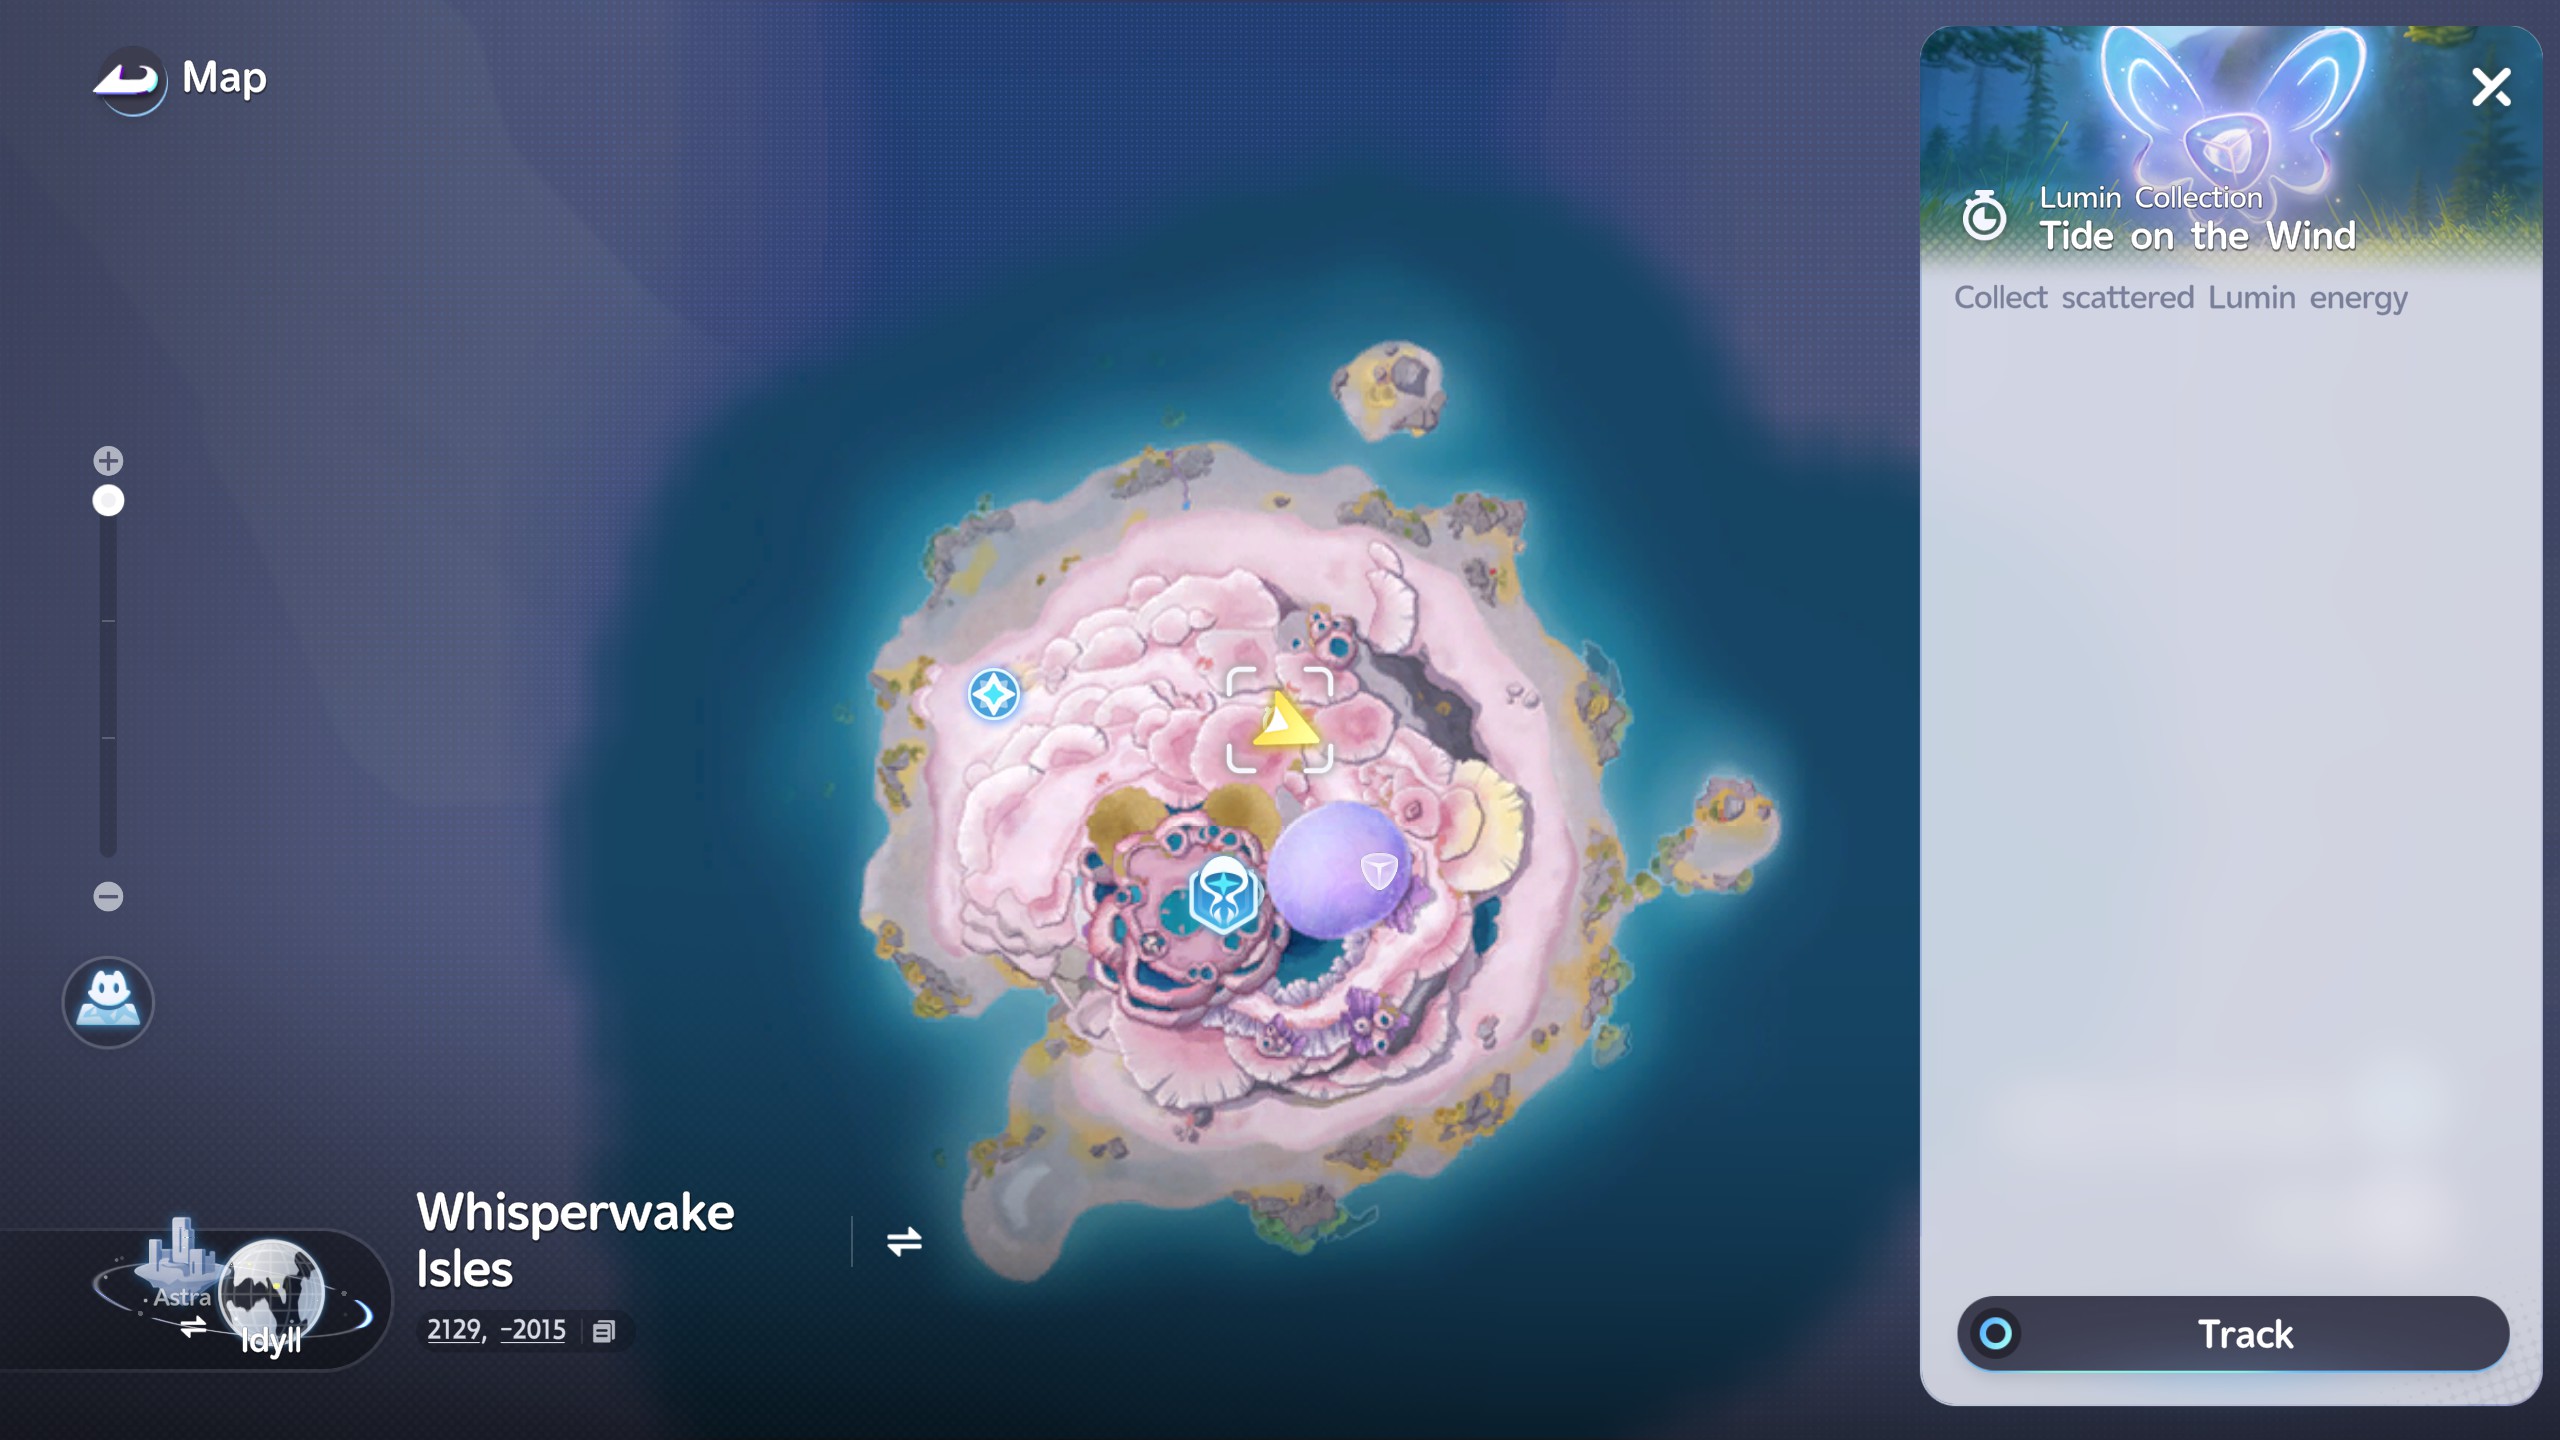
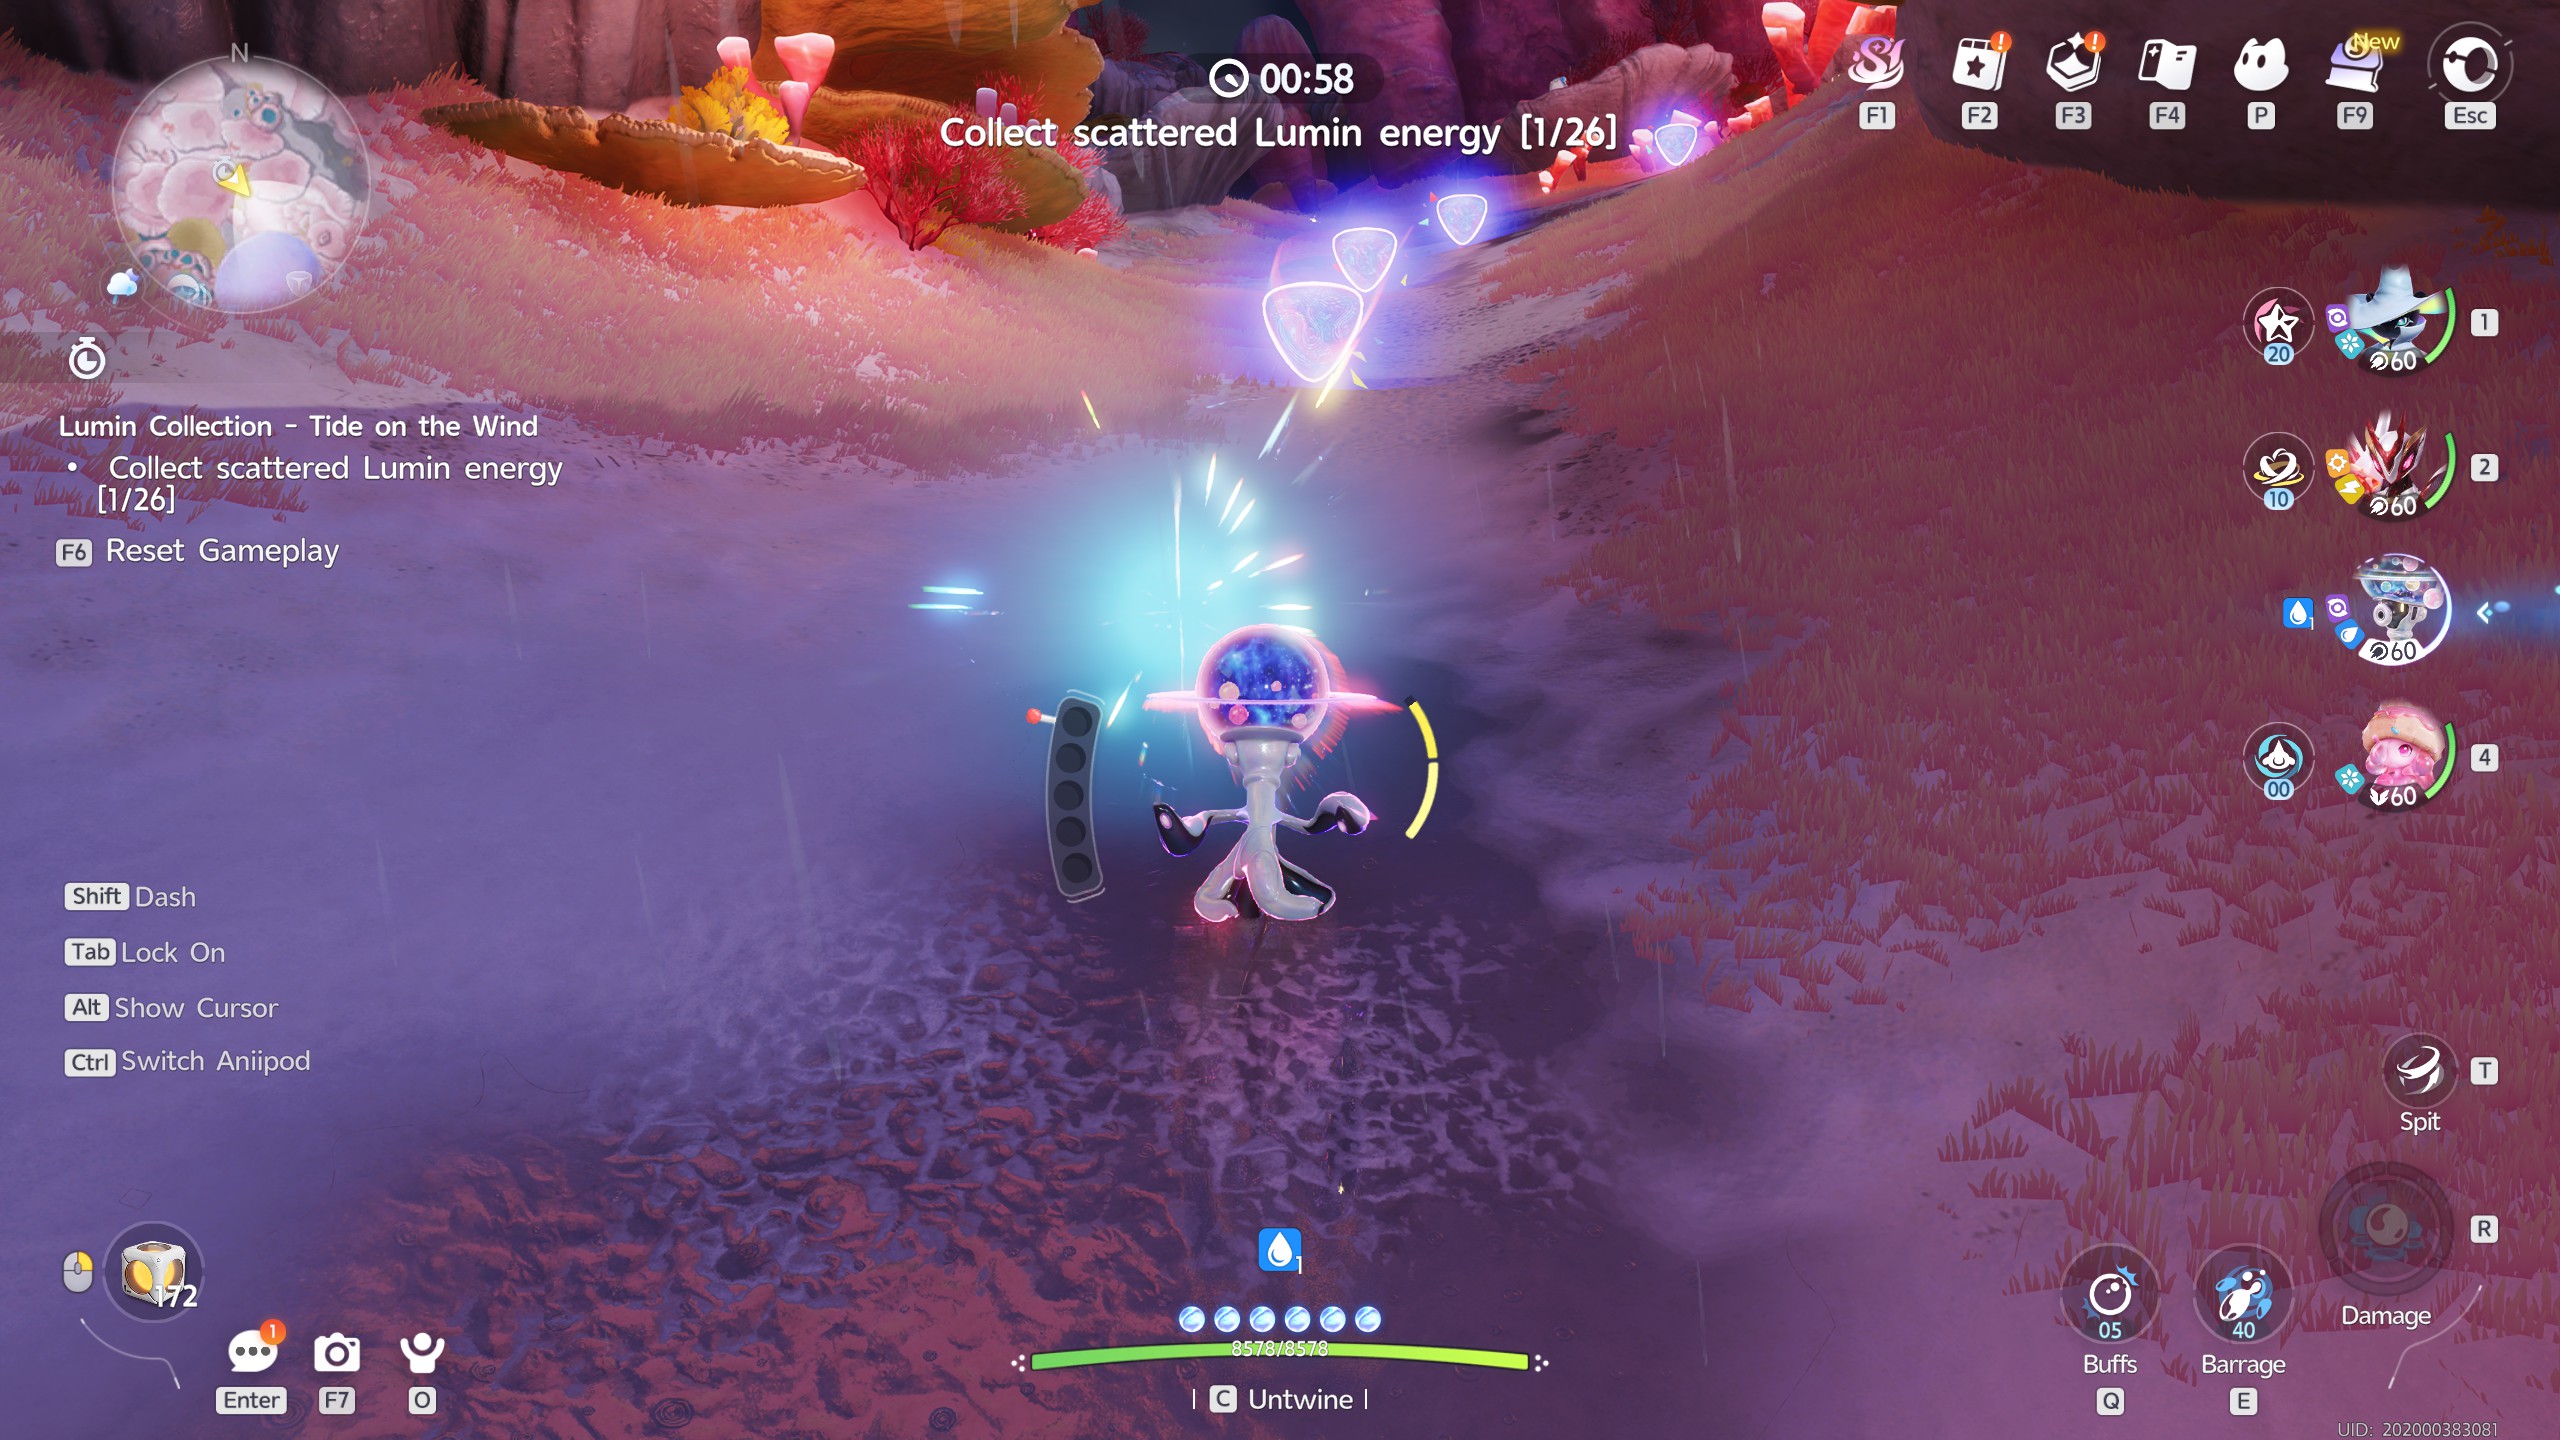
Tide on the Wind

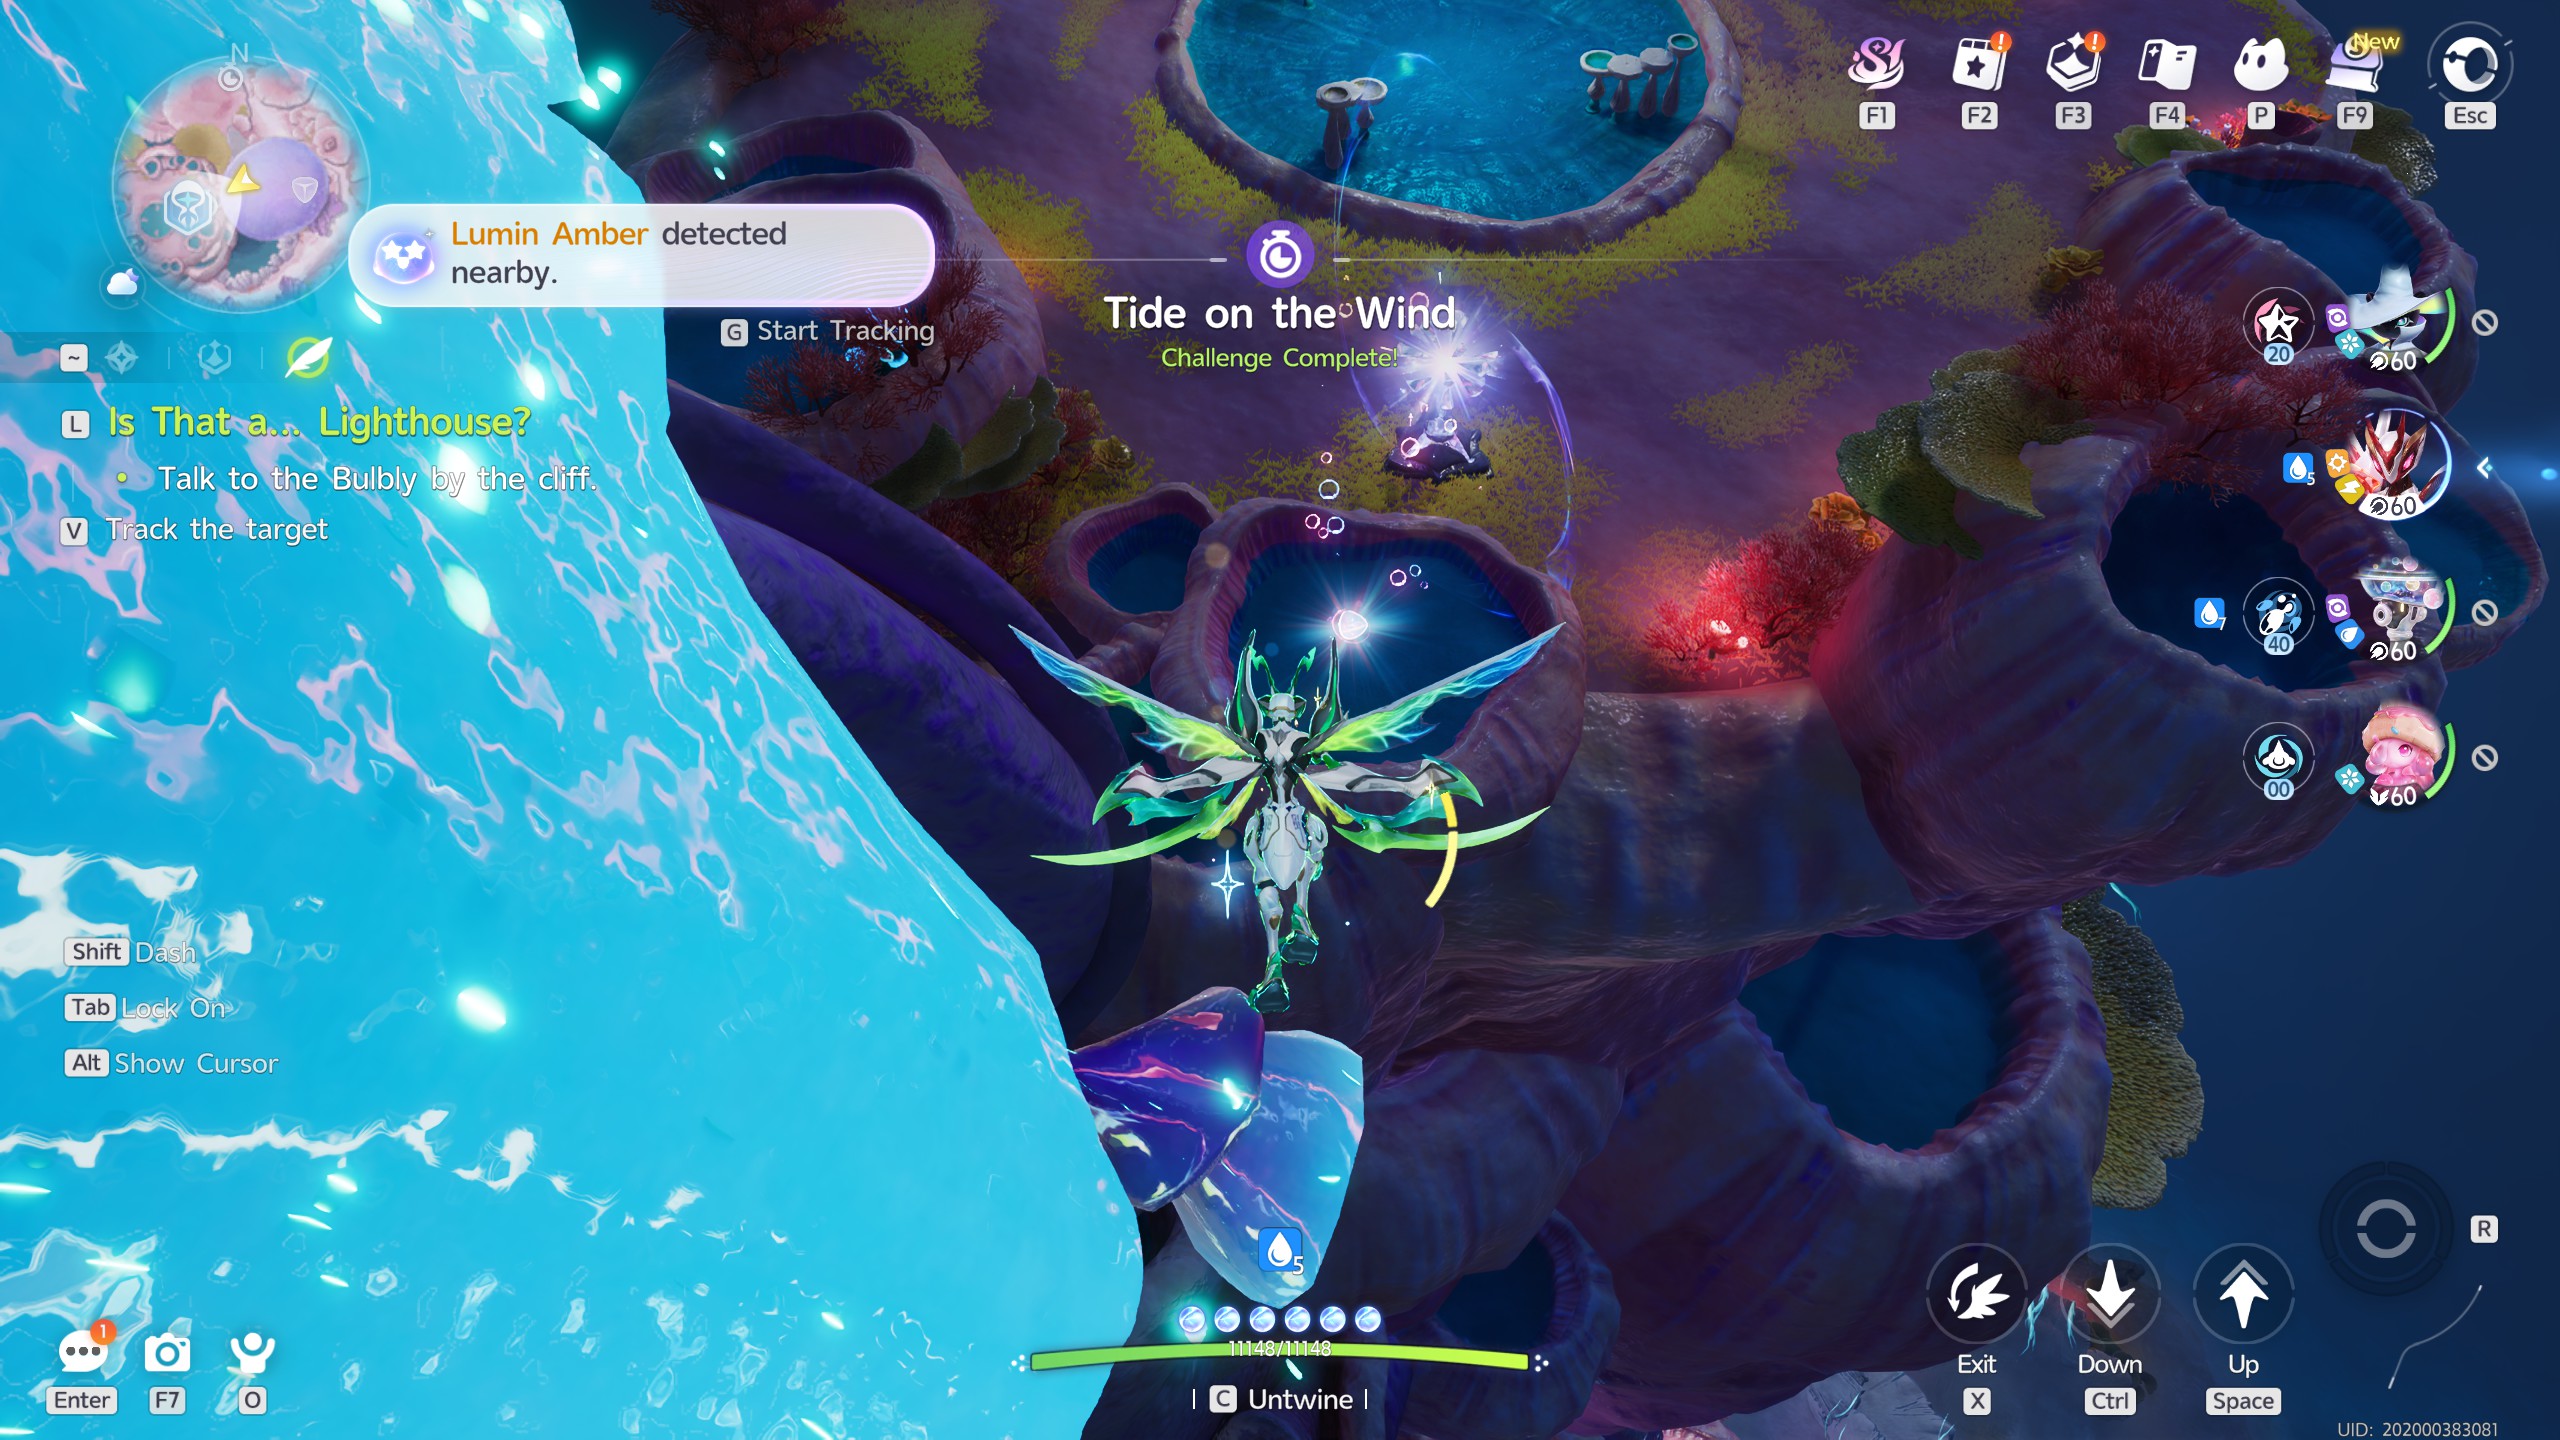
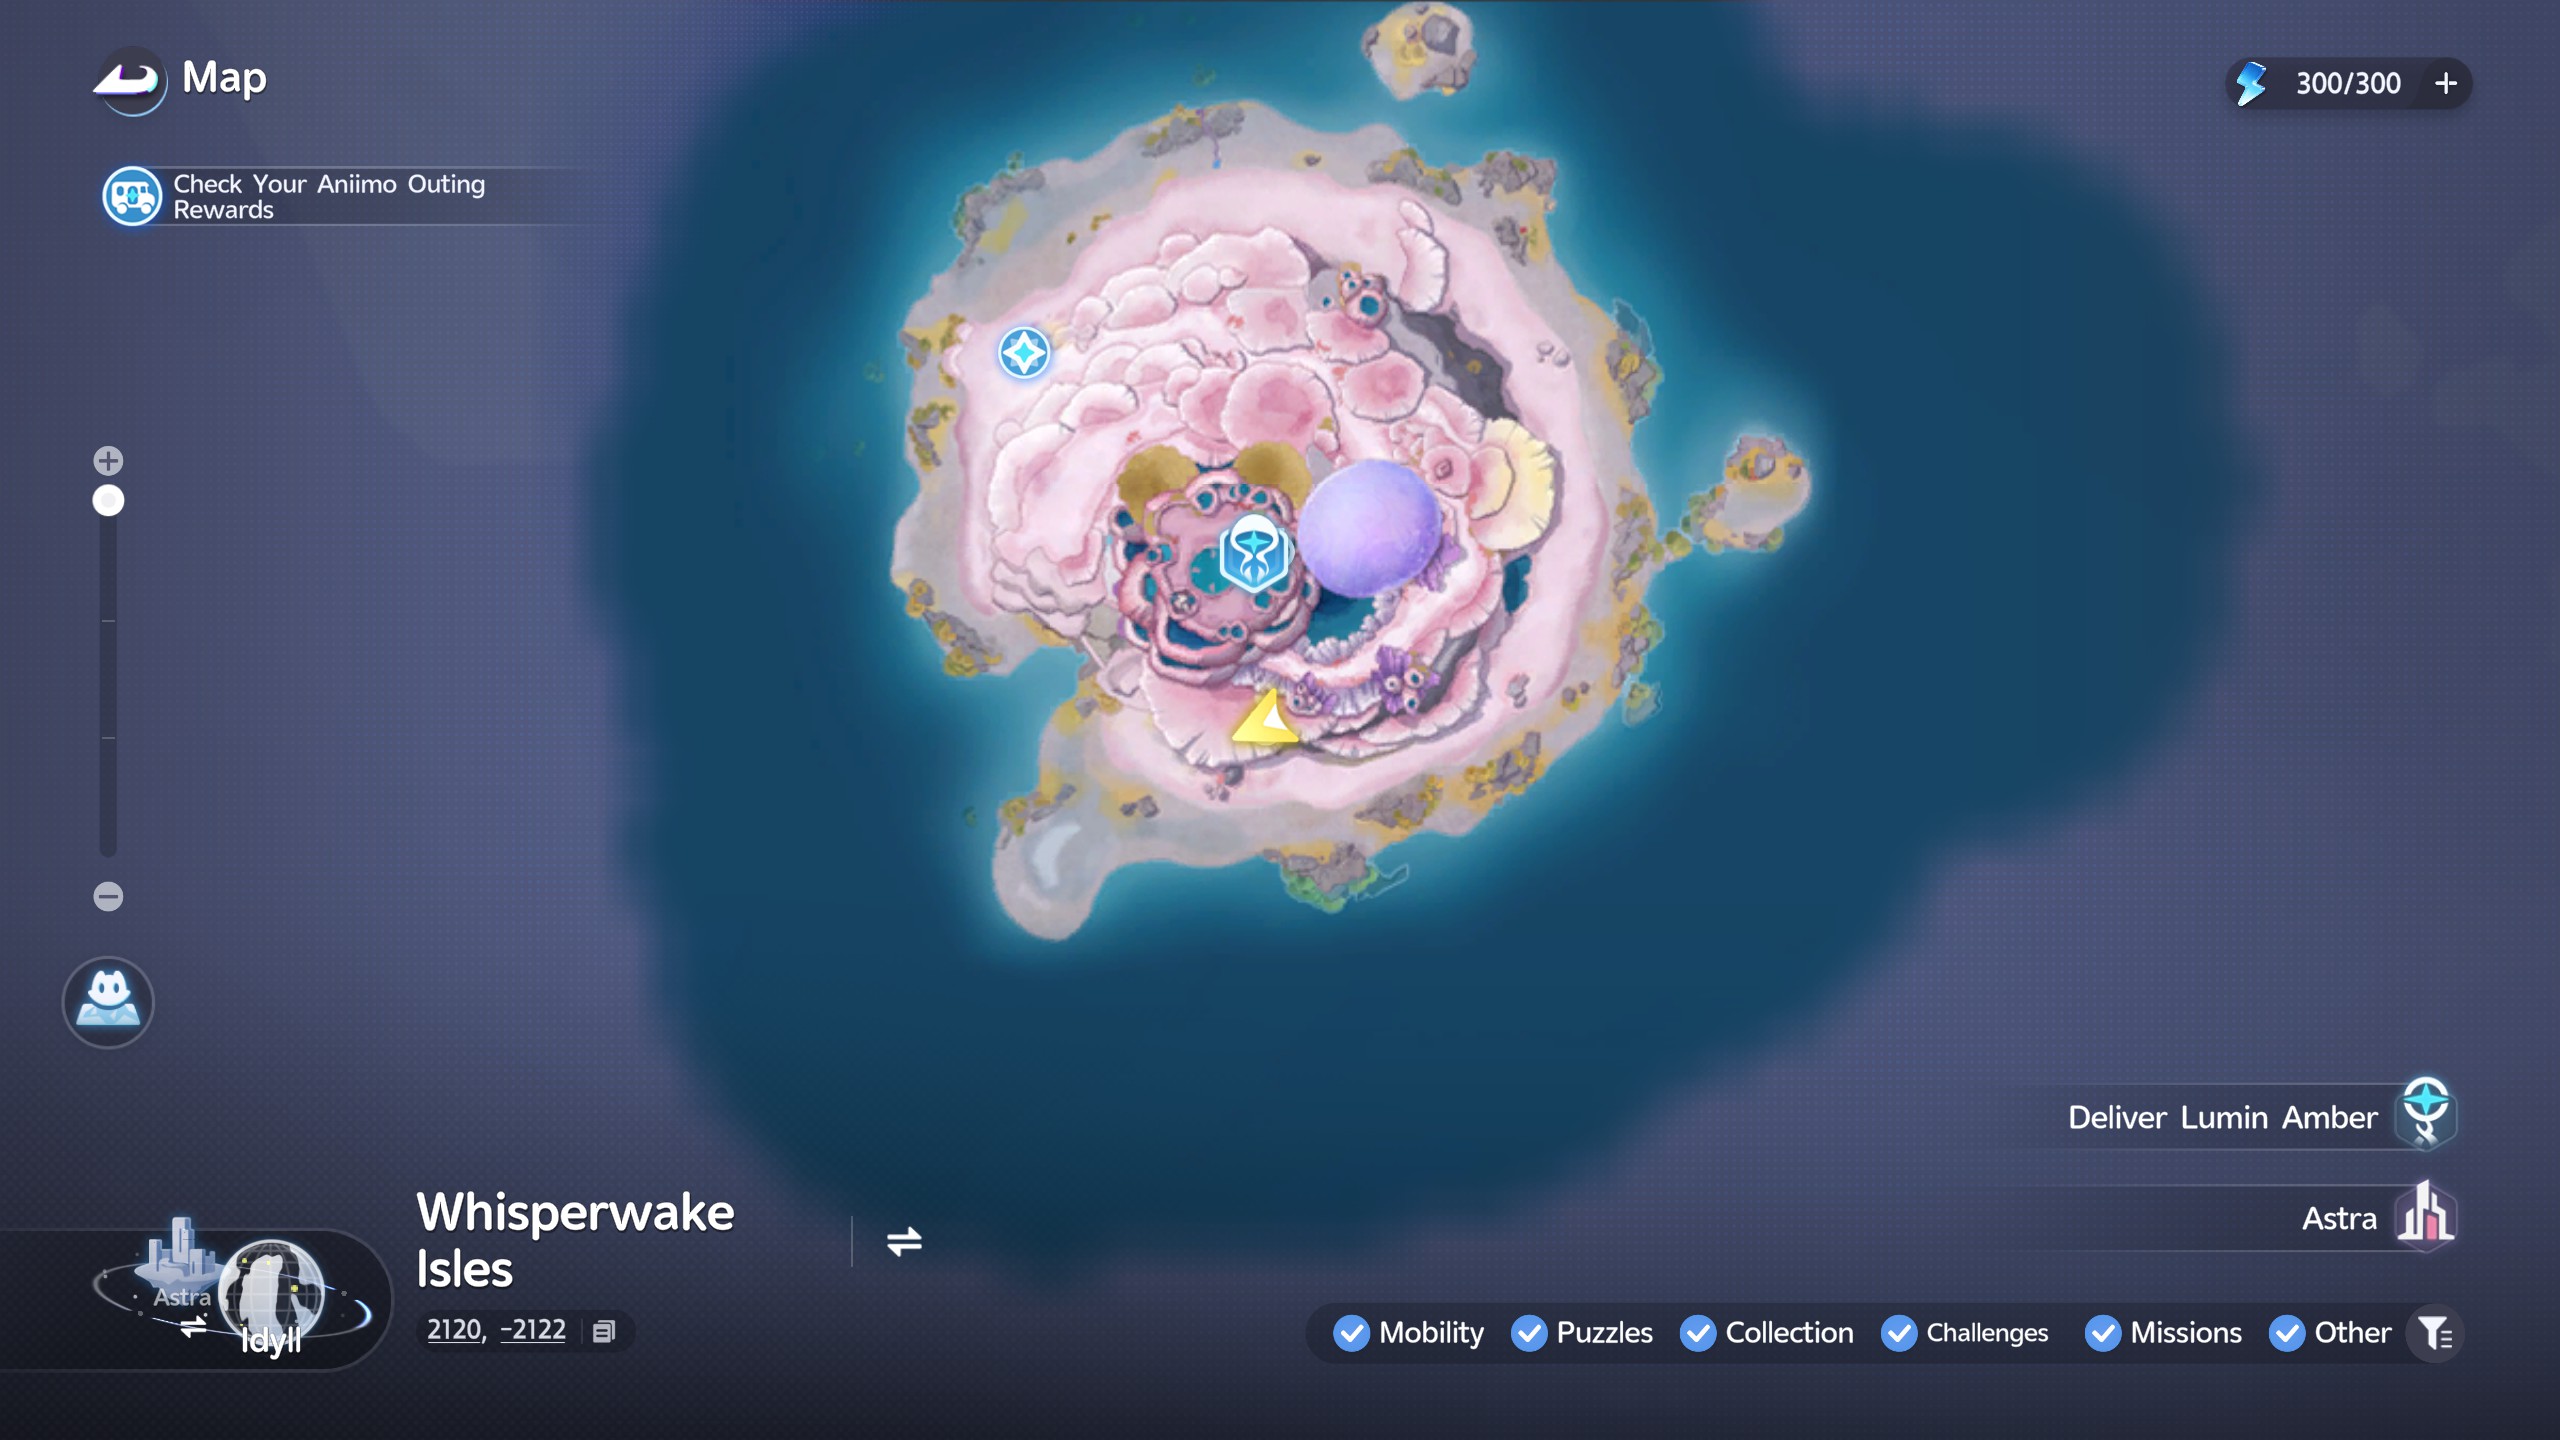
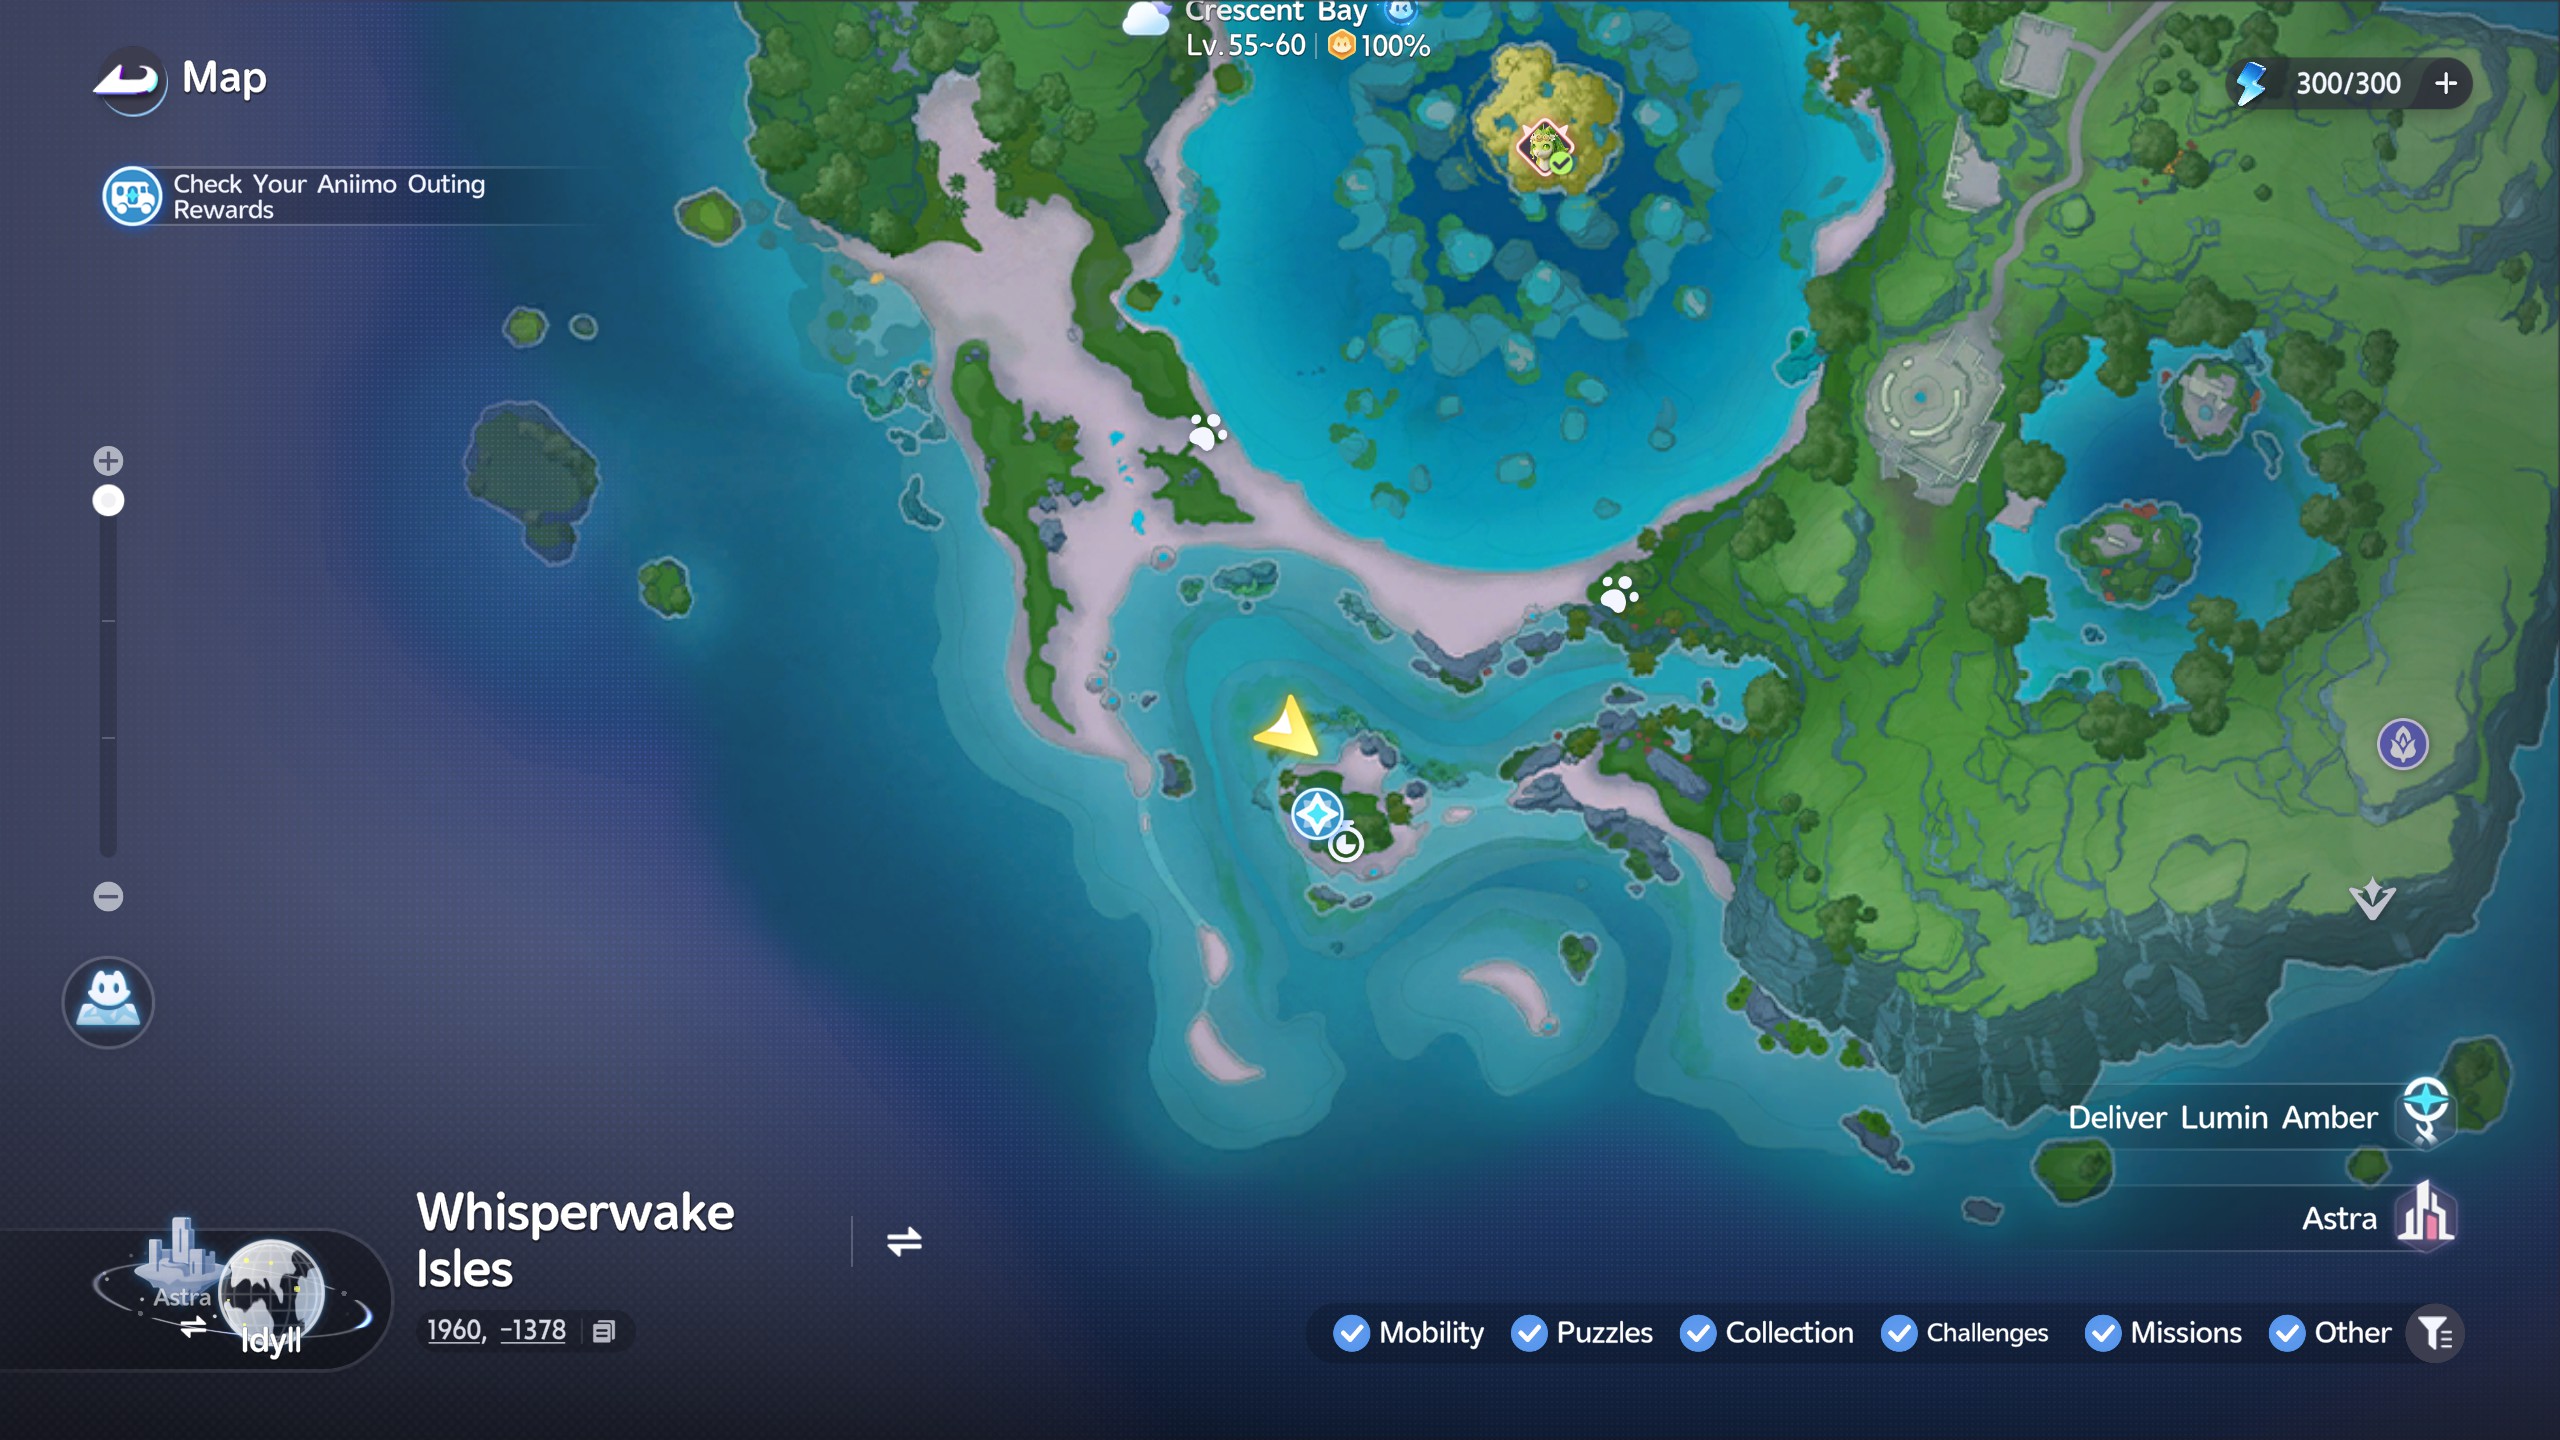
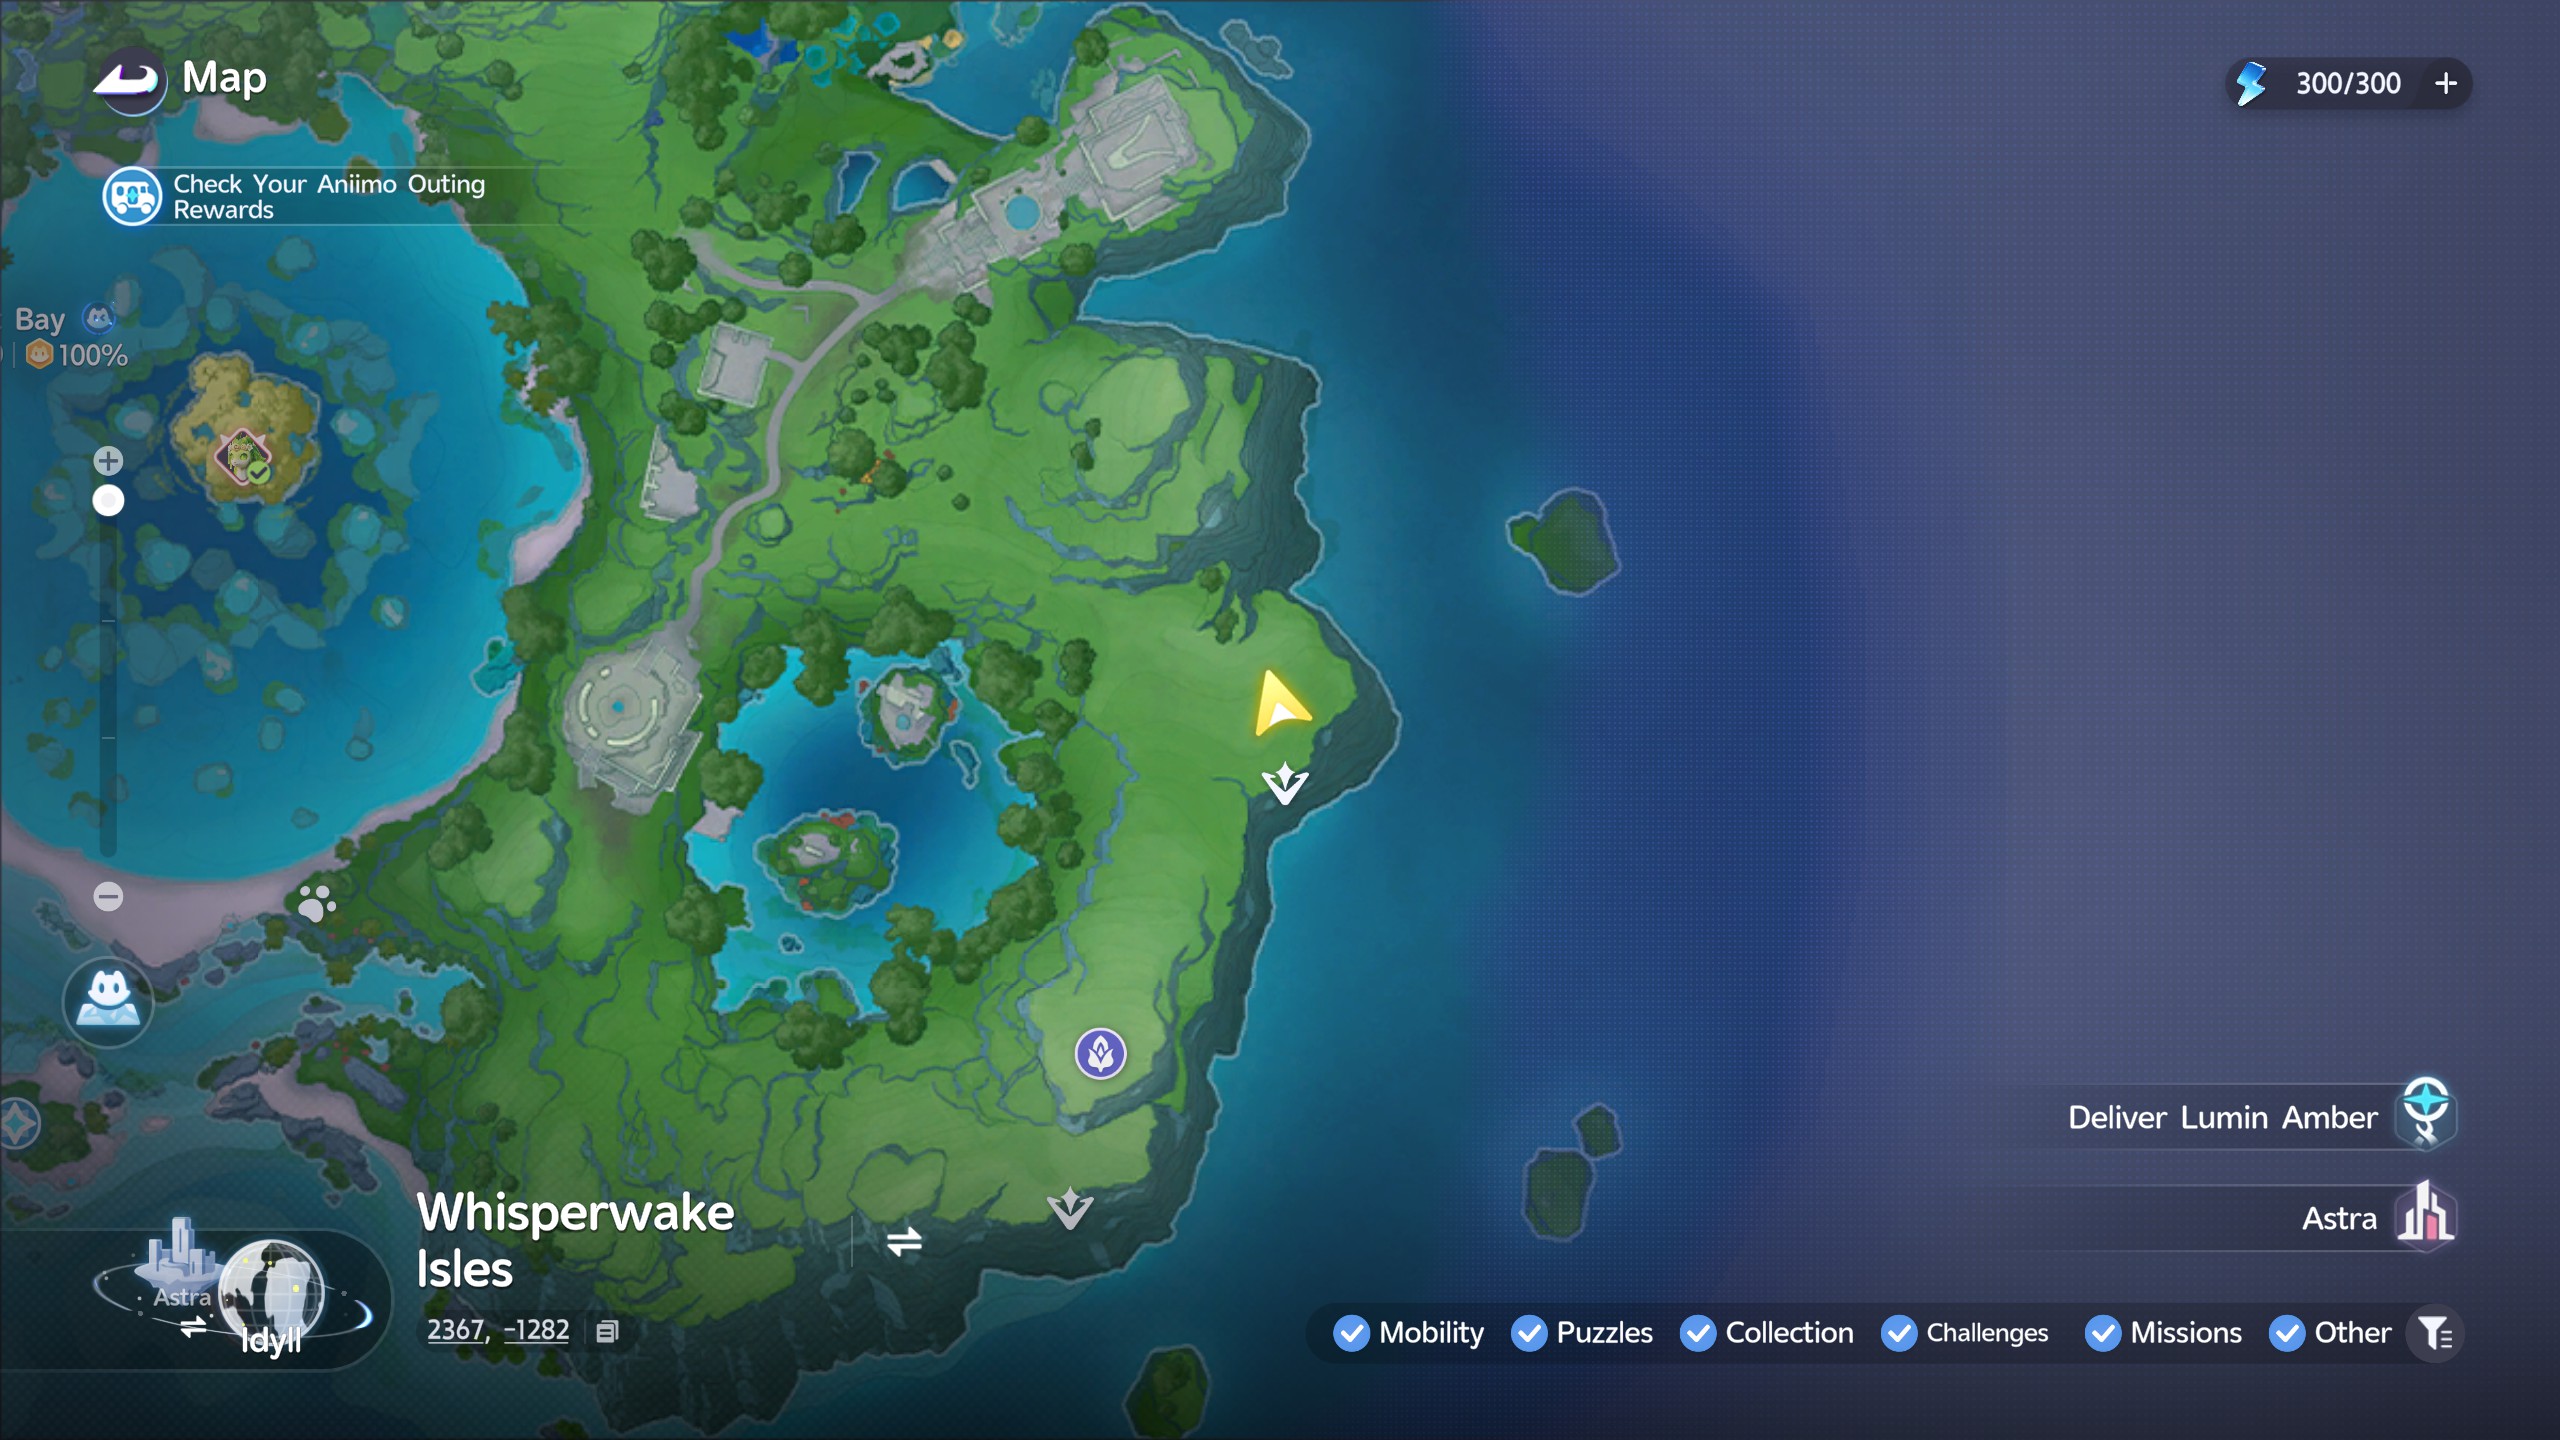
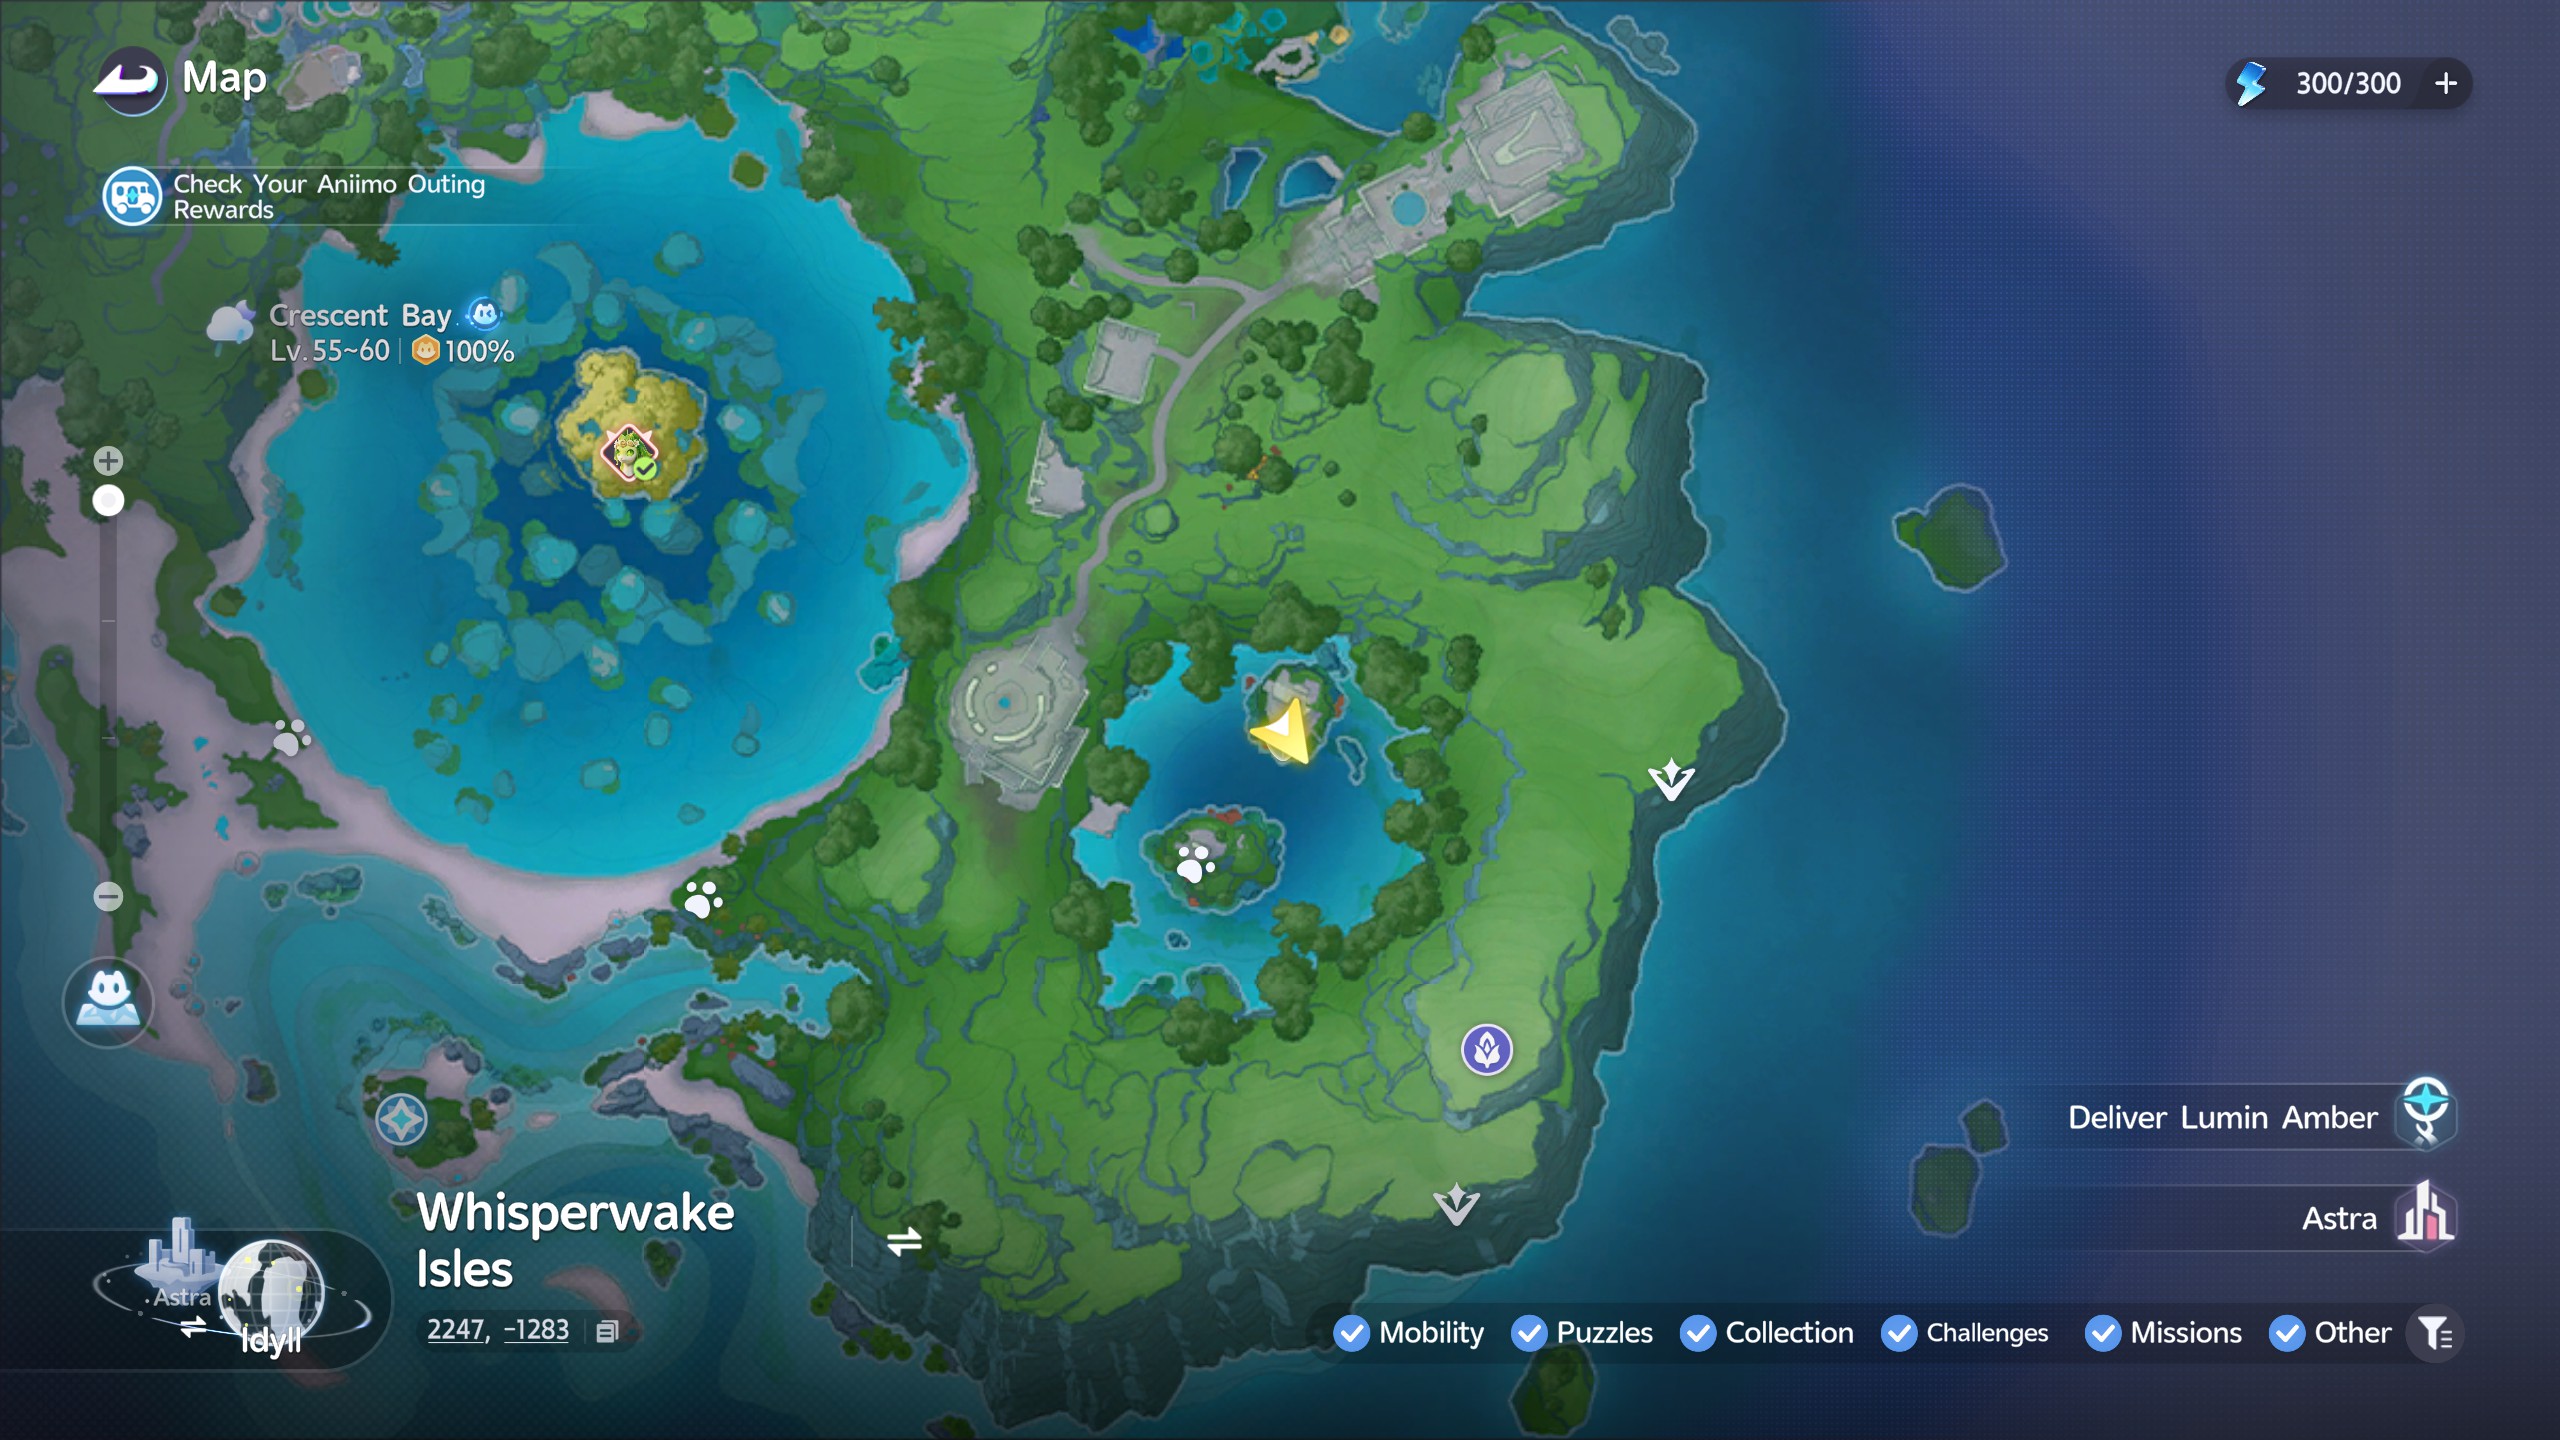
This first one is located on the starter island. You can see it pinged on the map below, head over there to begin. For this Amber, you'll be required to complete a time trial.

The moment you touch the first Amber, it will kick off a 1 minute timer in which you'll need to collect 26 projections of the item. Assuming you complete it within the time limit, you won't need to restart and try again.

The only real tricky part, is the gust of wind you'll need to use as an elevator to the top. For this, you'll need to make use of a Flying Aniimo of any kind to ascend, hitting all Ambers on the way up. Once done correctly however, the final Amber can be collected on the platform above.


Swim with Fish

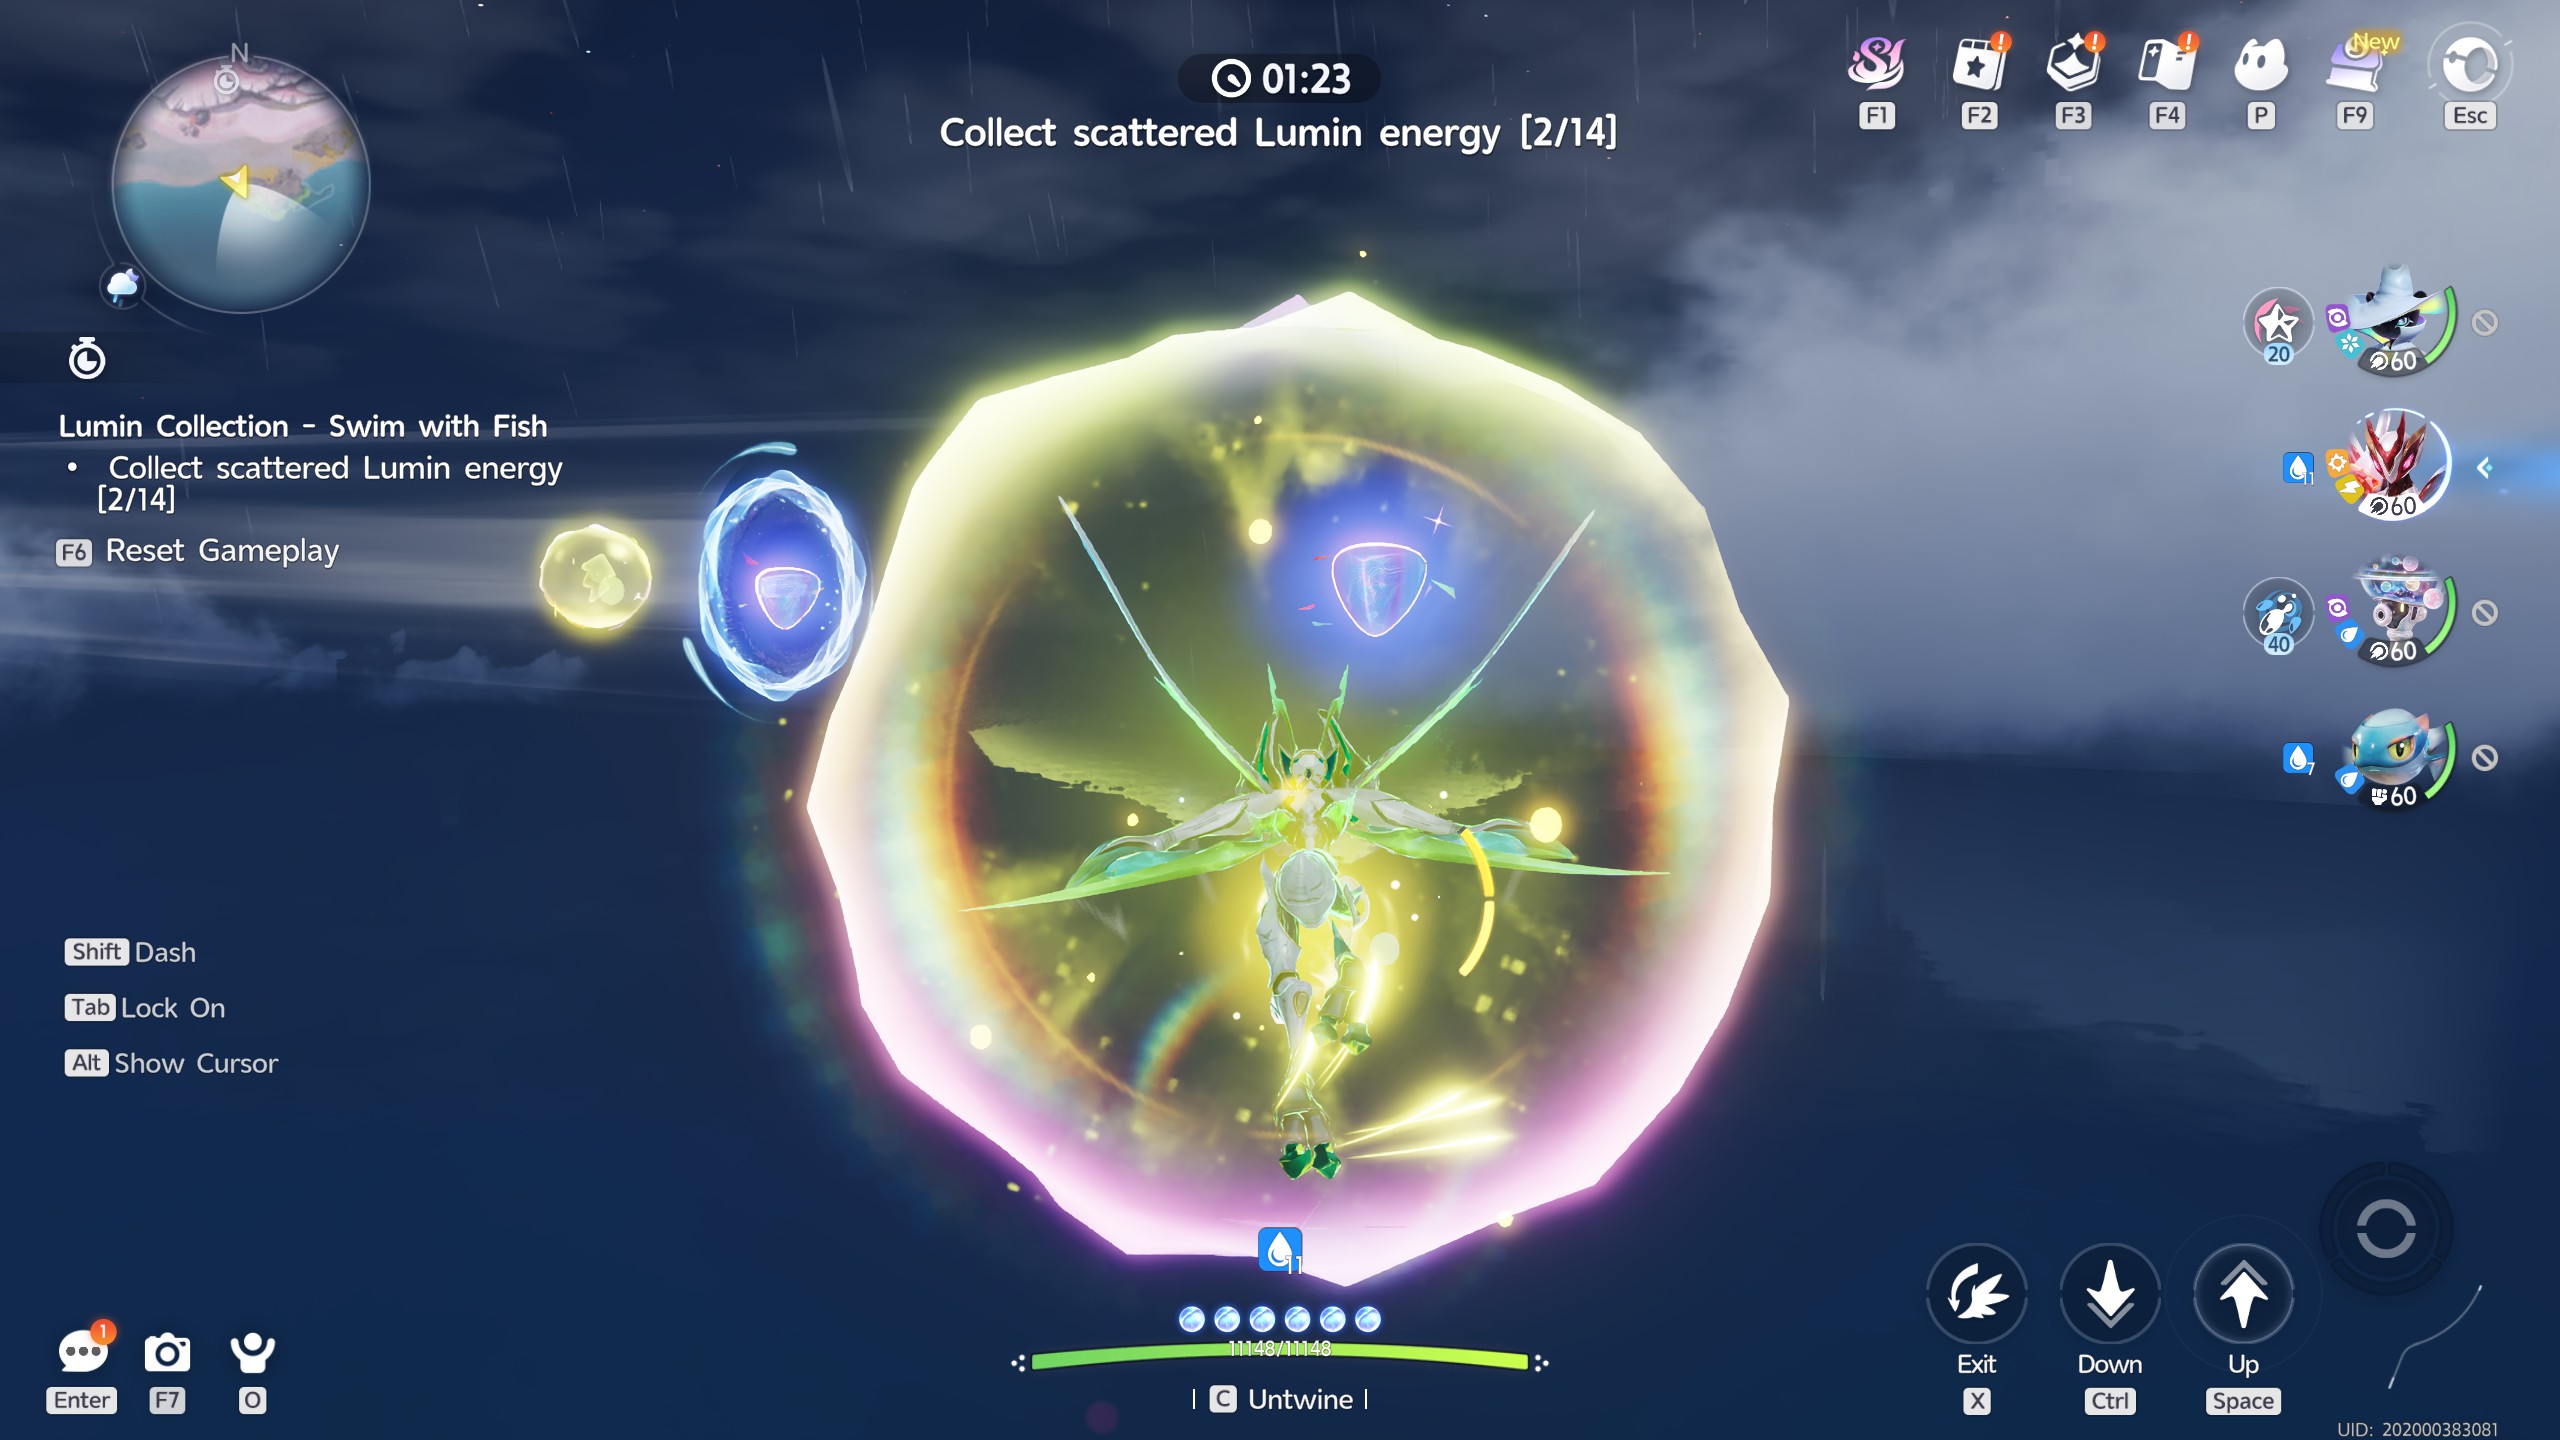
This collection time trial will have you completing a flying course in which you'll need to collect a total of 14 Amber. It's fairly simple to complete, and you don't need to worry about your stamina during it due to the pickups along the way.

The main tip with this trial is to take it semi-slow, making sure not to rush and accidentally make a mistake. You have plenty of time on your hands.


Whisperwake Isles

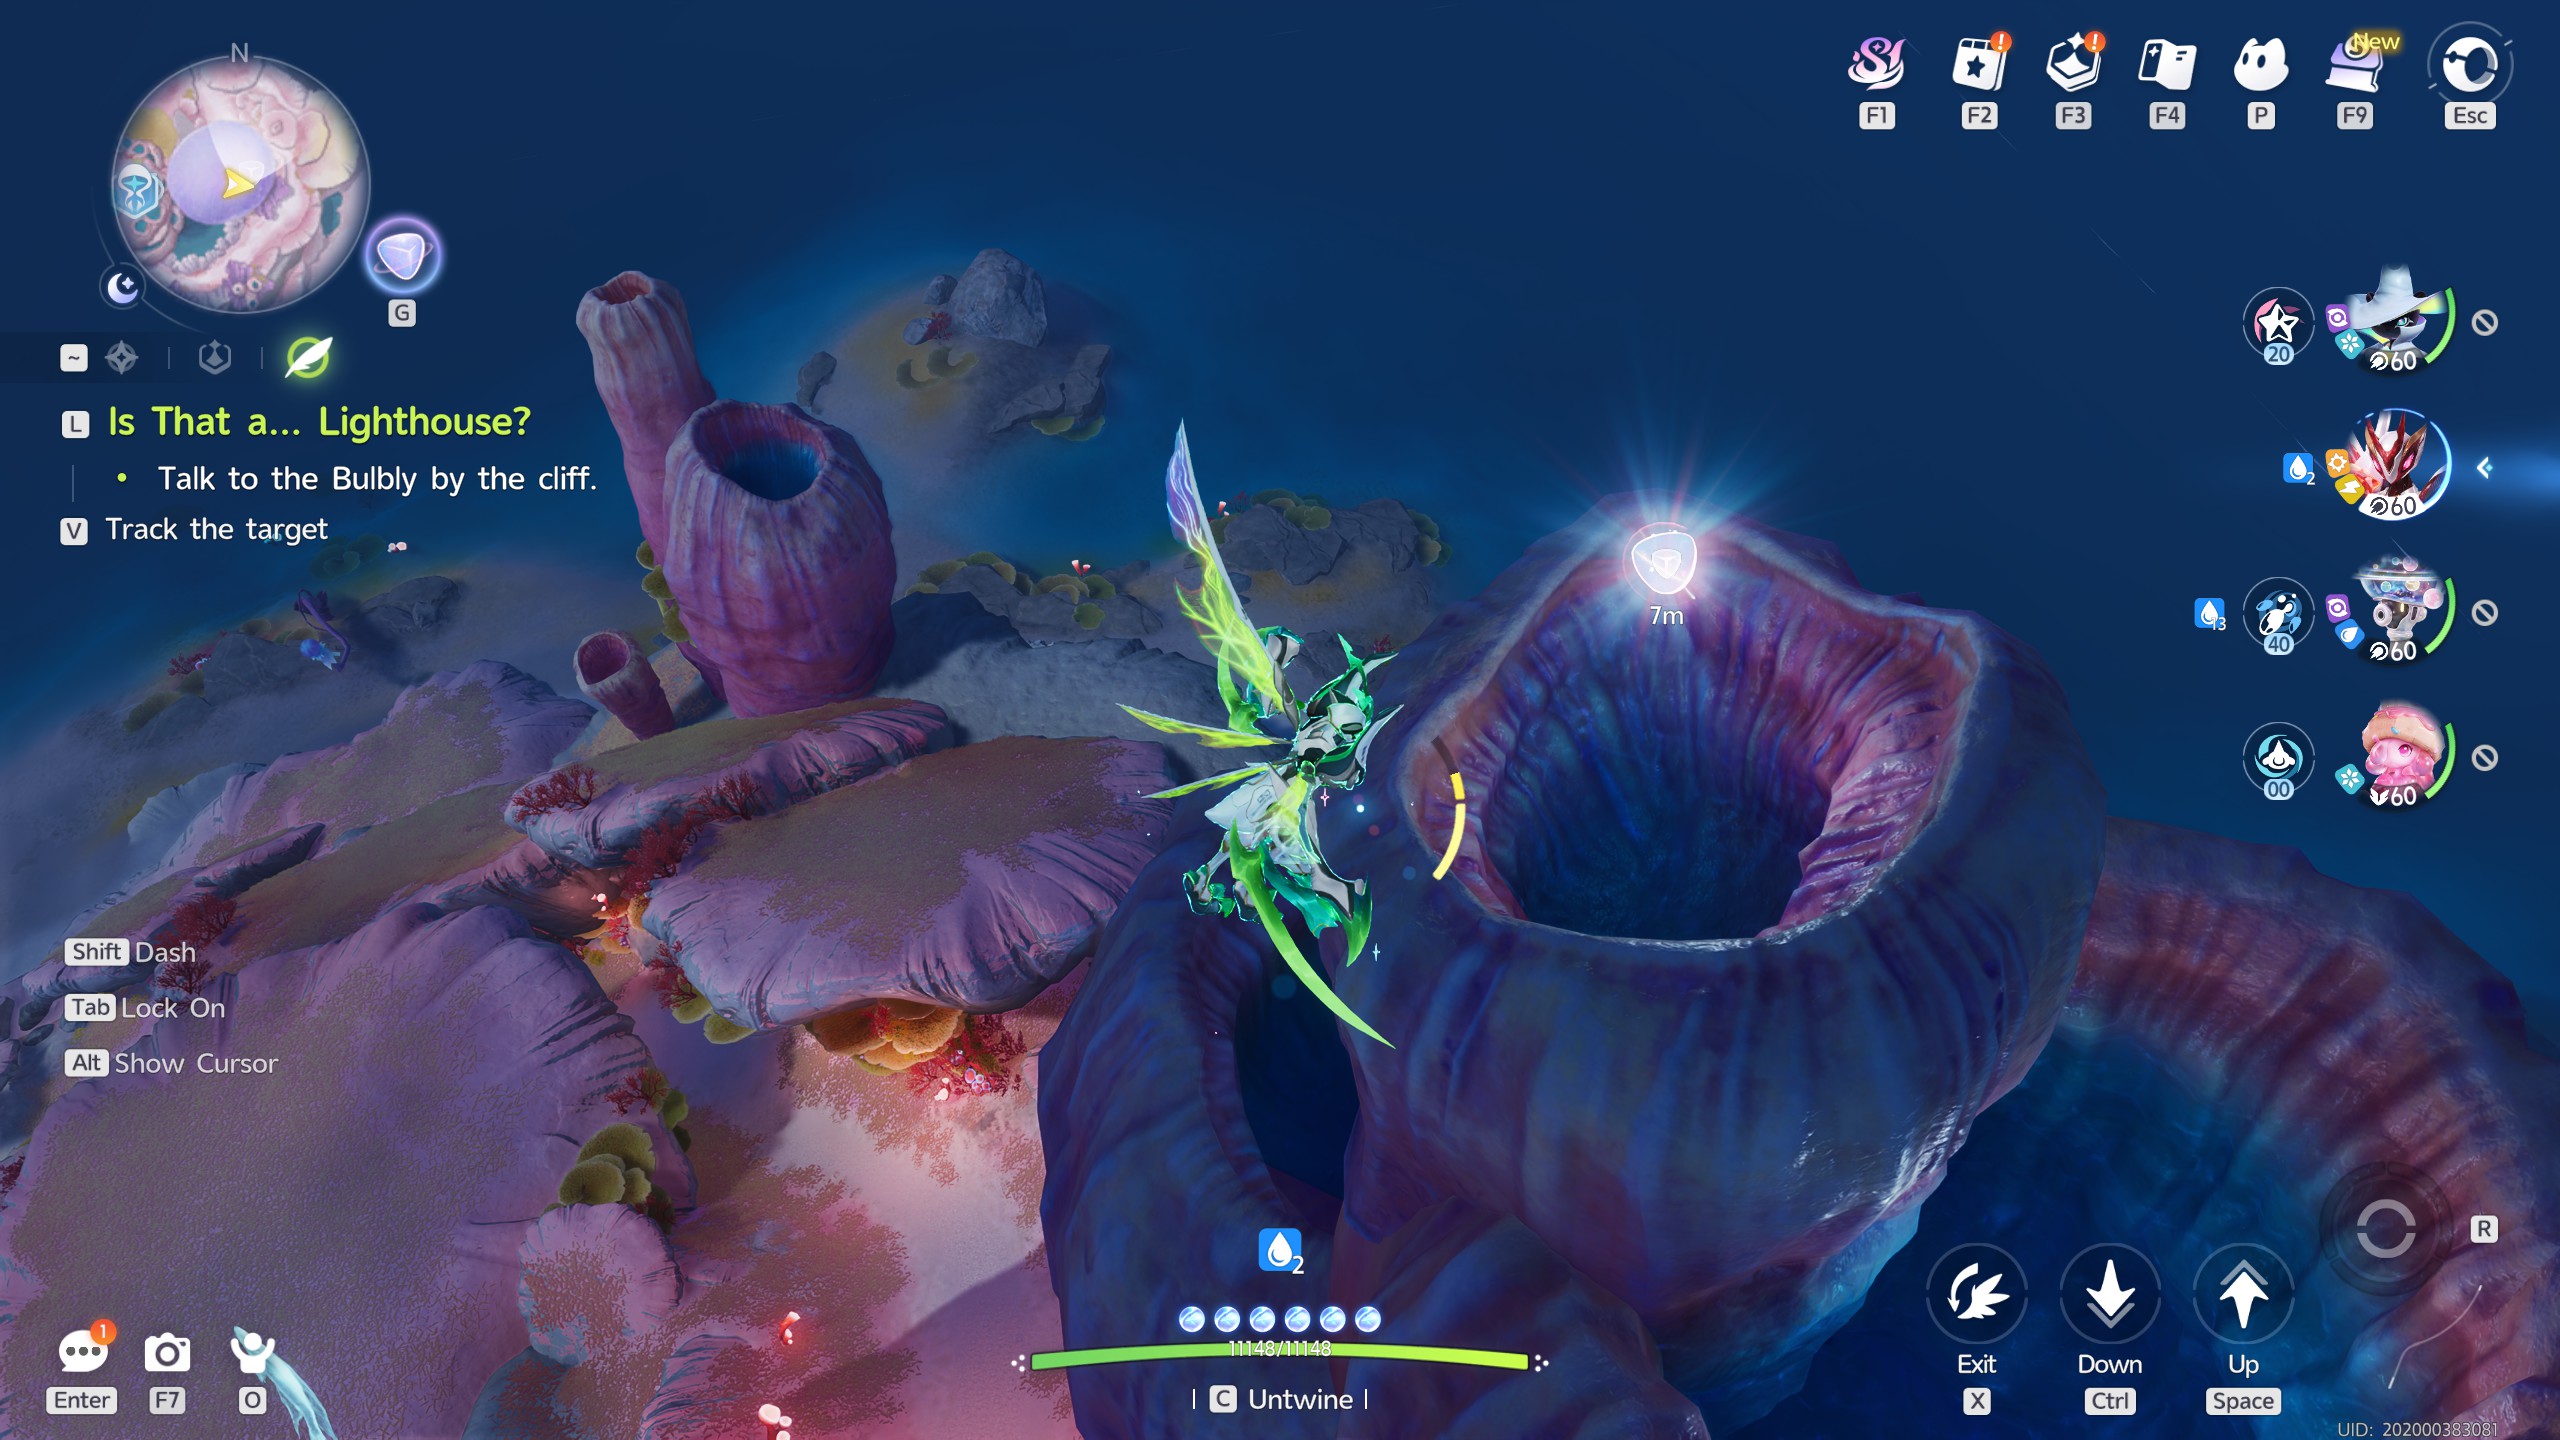
The second Amber can be found atop of the large coral nearby, a short drop from the previous Amber.

This Amber has no specific requirement, meaning it can be collected simply by just touching it.

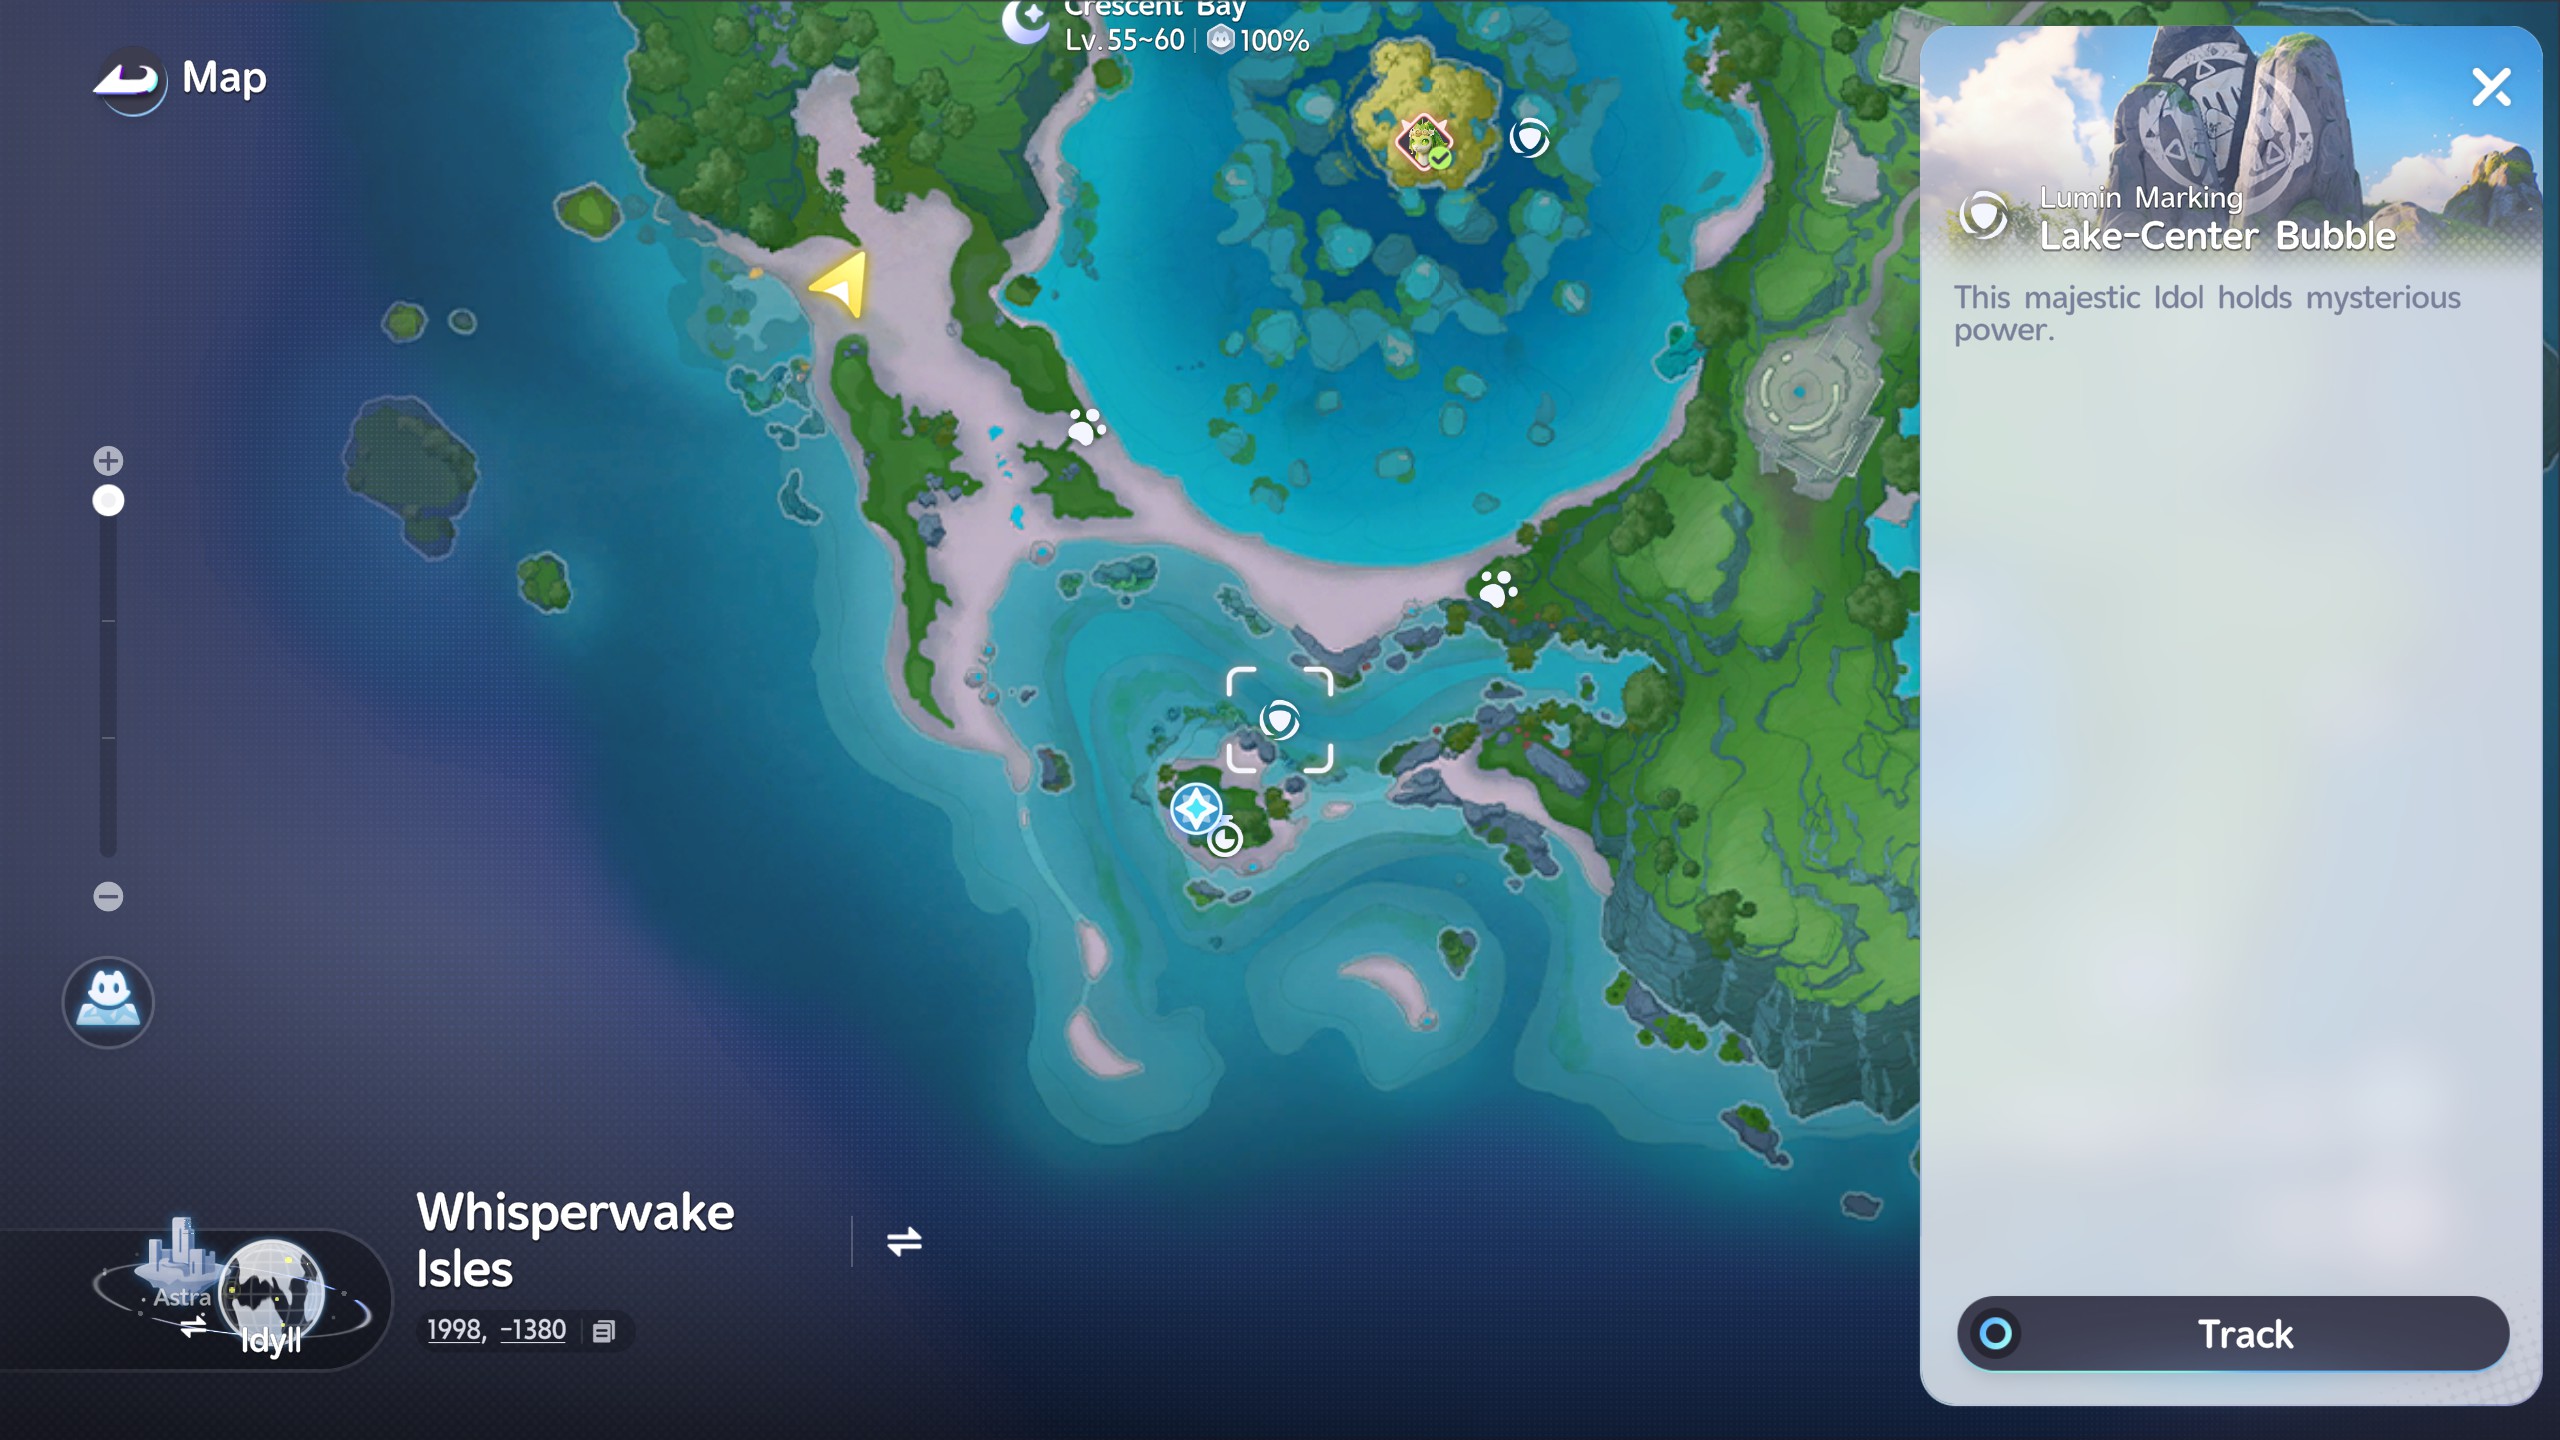
Lake Center Bubble

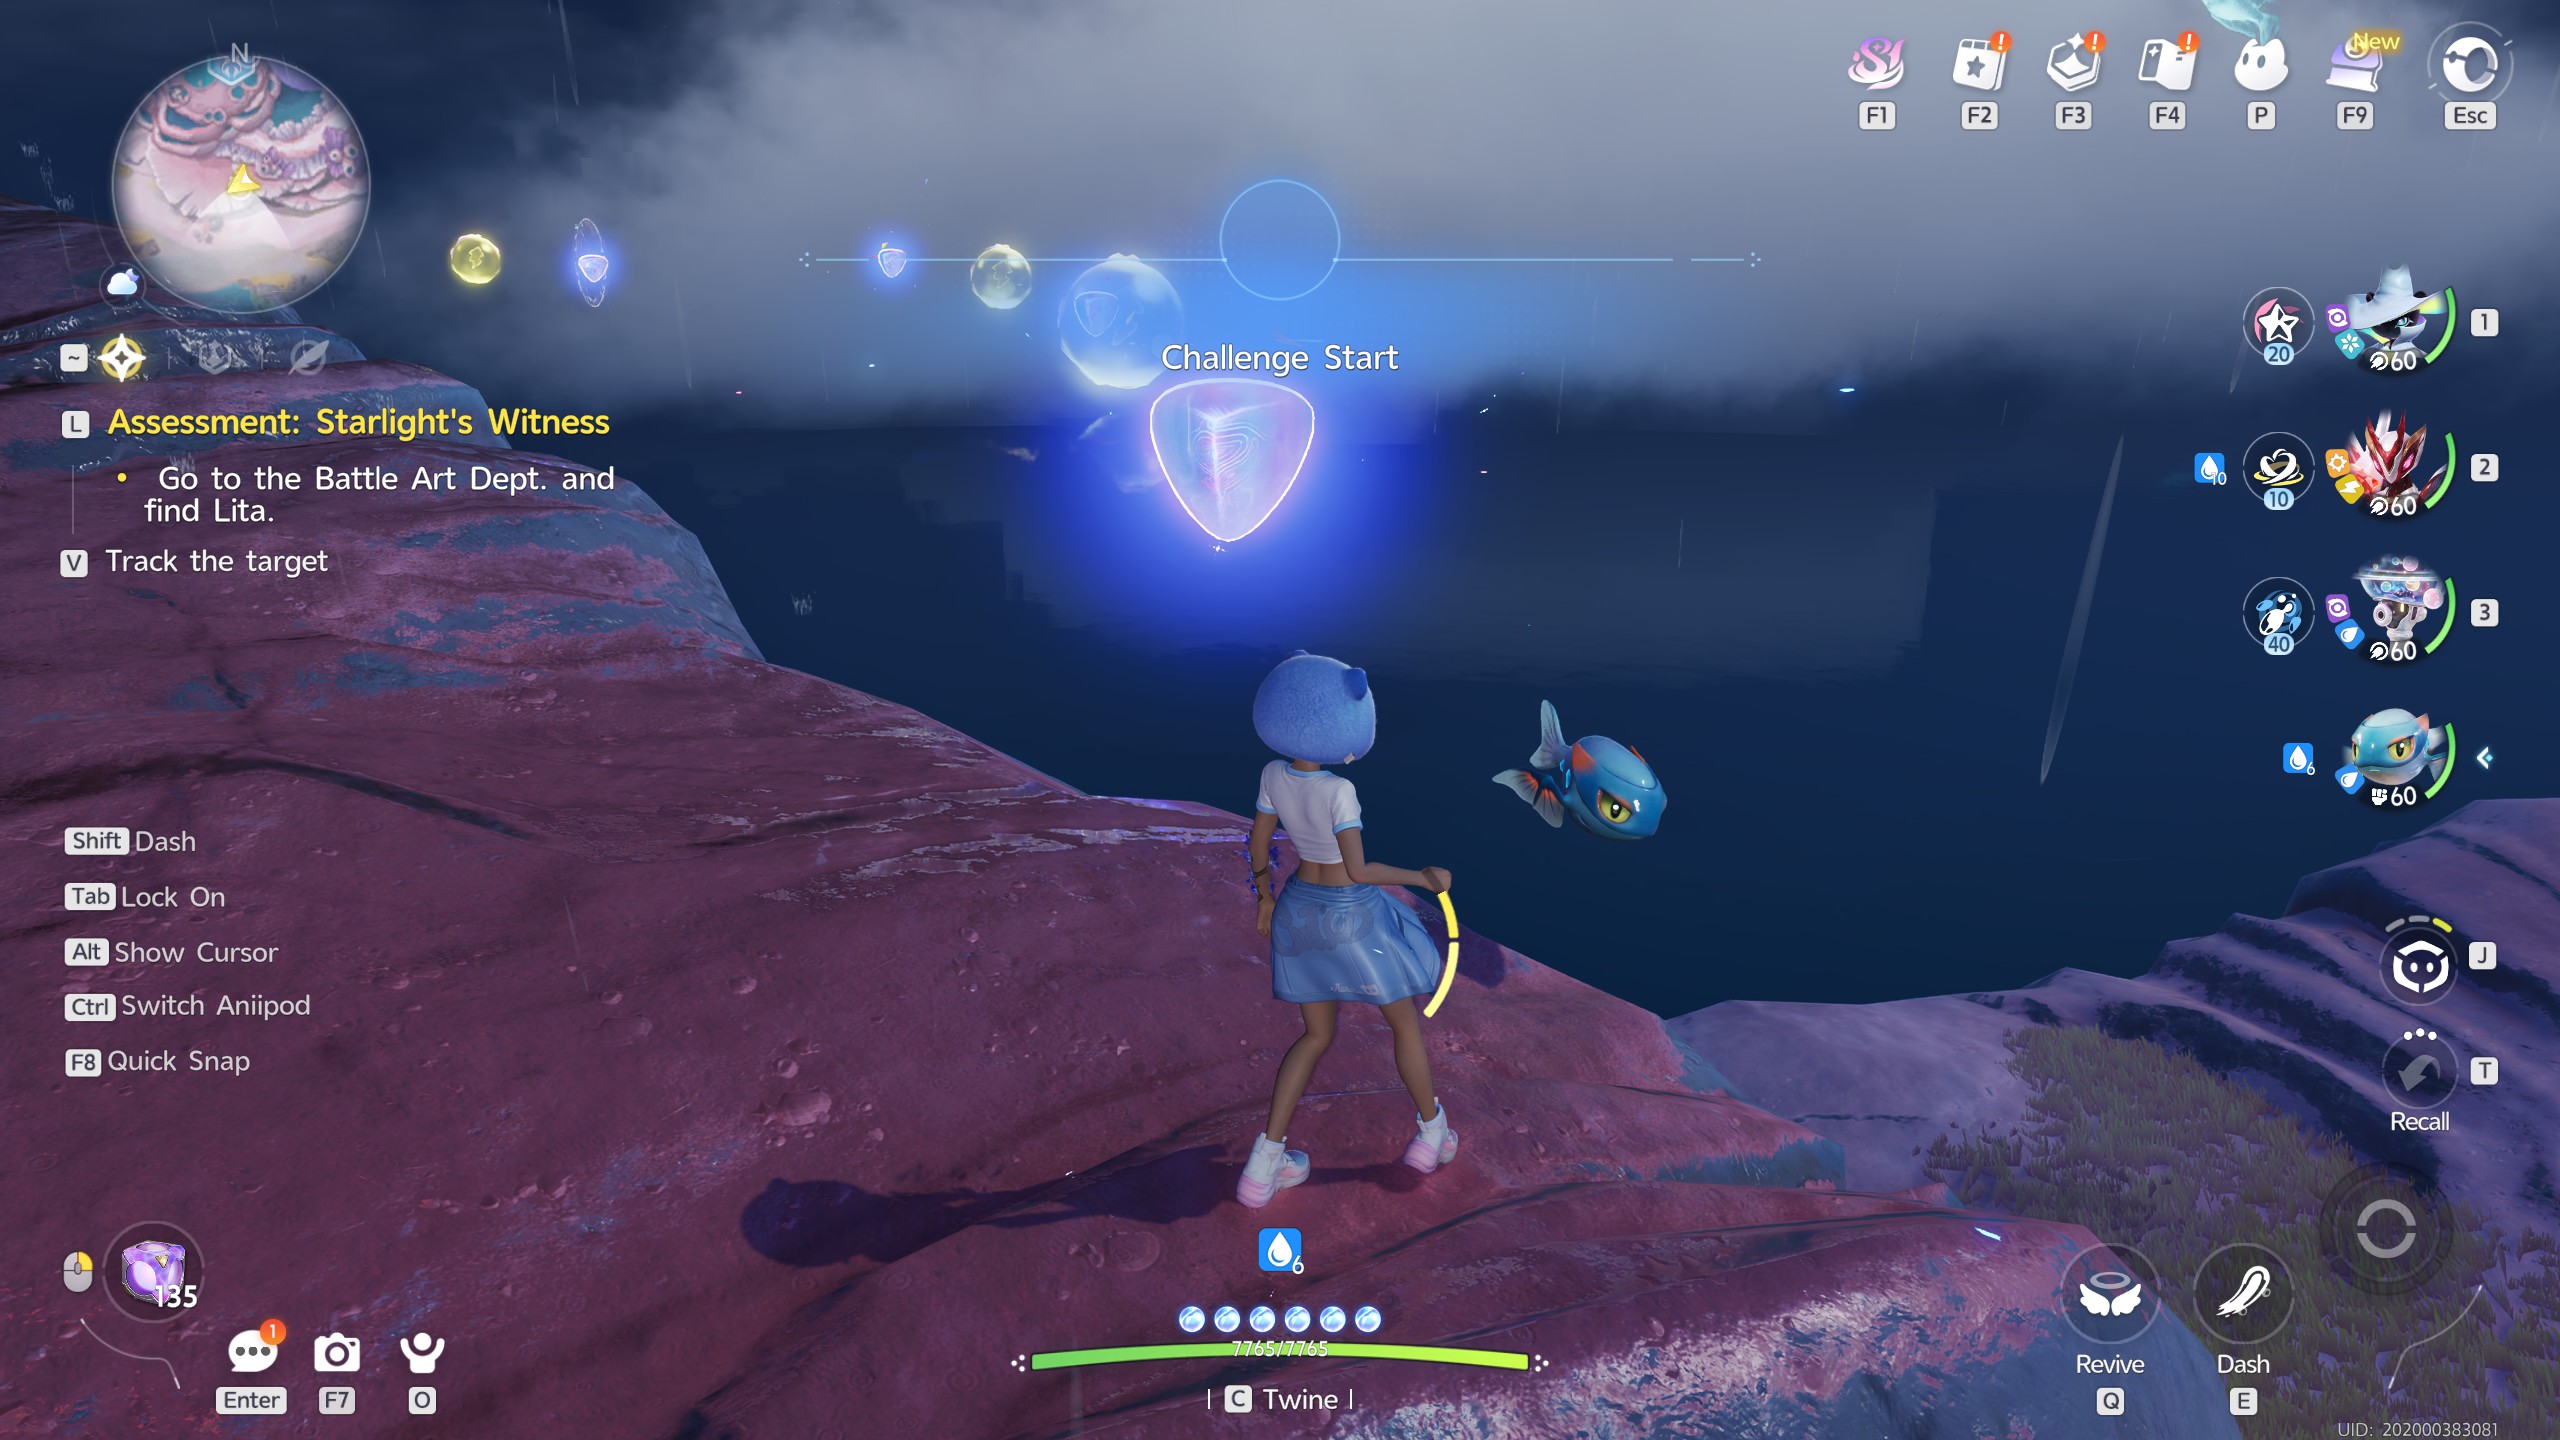
For this Amber, you may need to make sure your game is set to night time, due to the rising tide mechanic in the area.

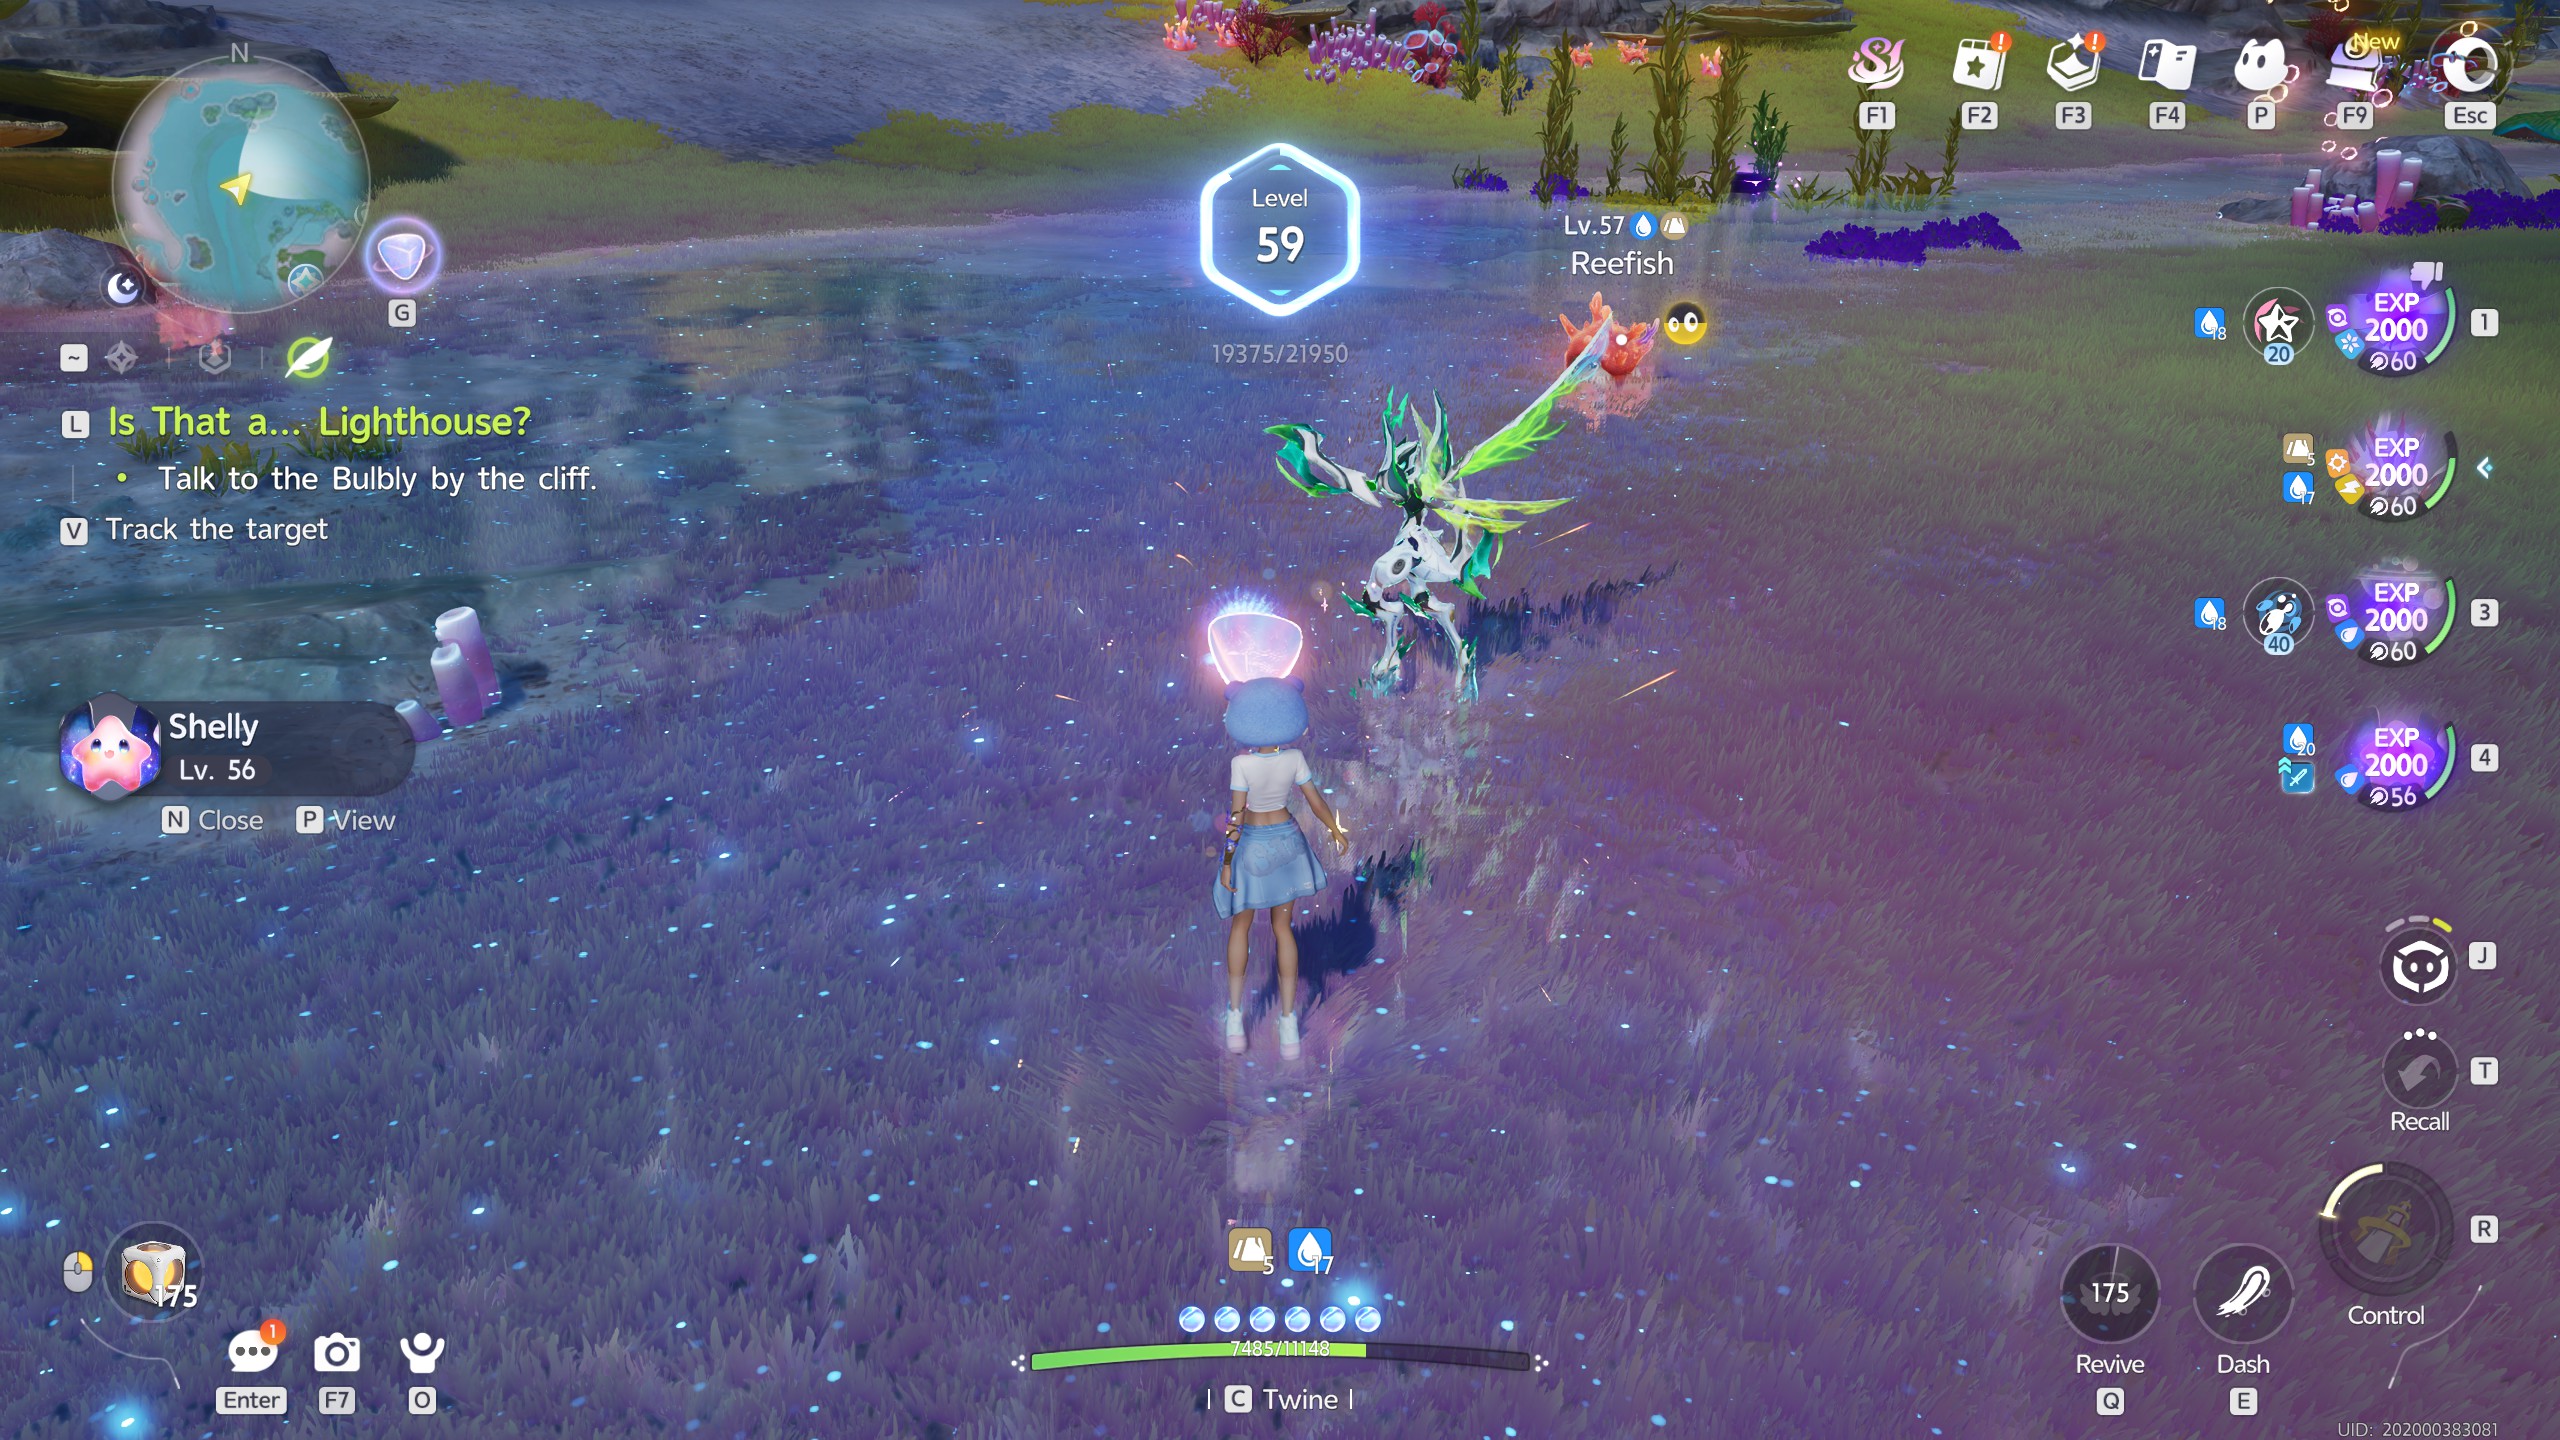
When you arrive, you'll find 3 Shelly guarding the Amber. In order to unlock the bubble and grab it, you'll need to either kill or capture the Aniimo. Once done, the bubble will open and release the Amber.


Bubble Ball

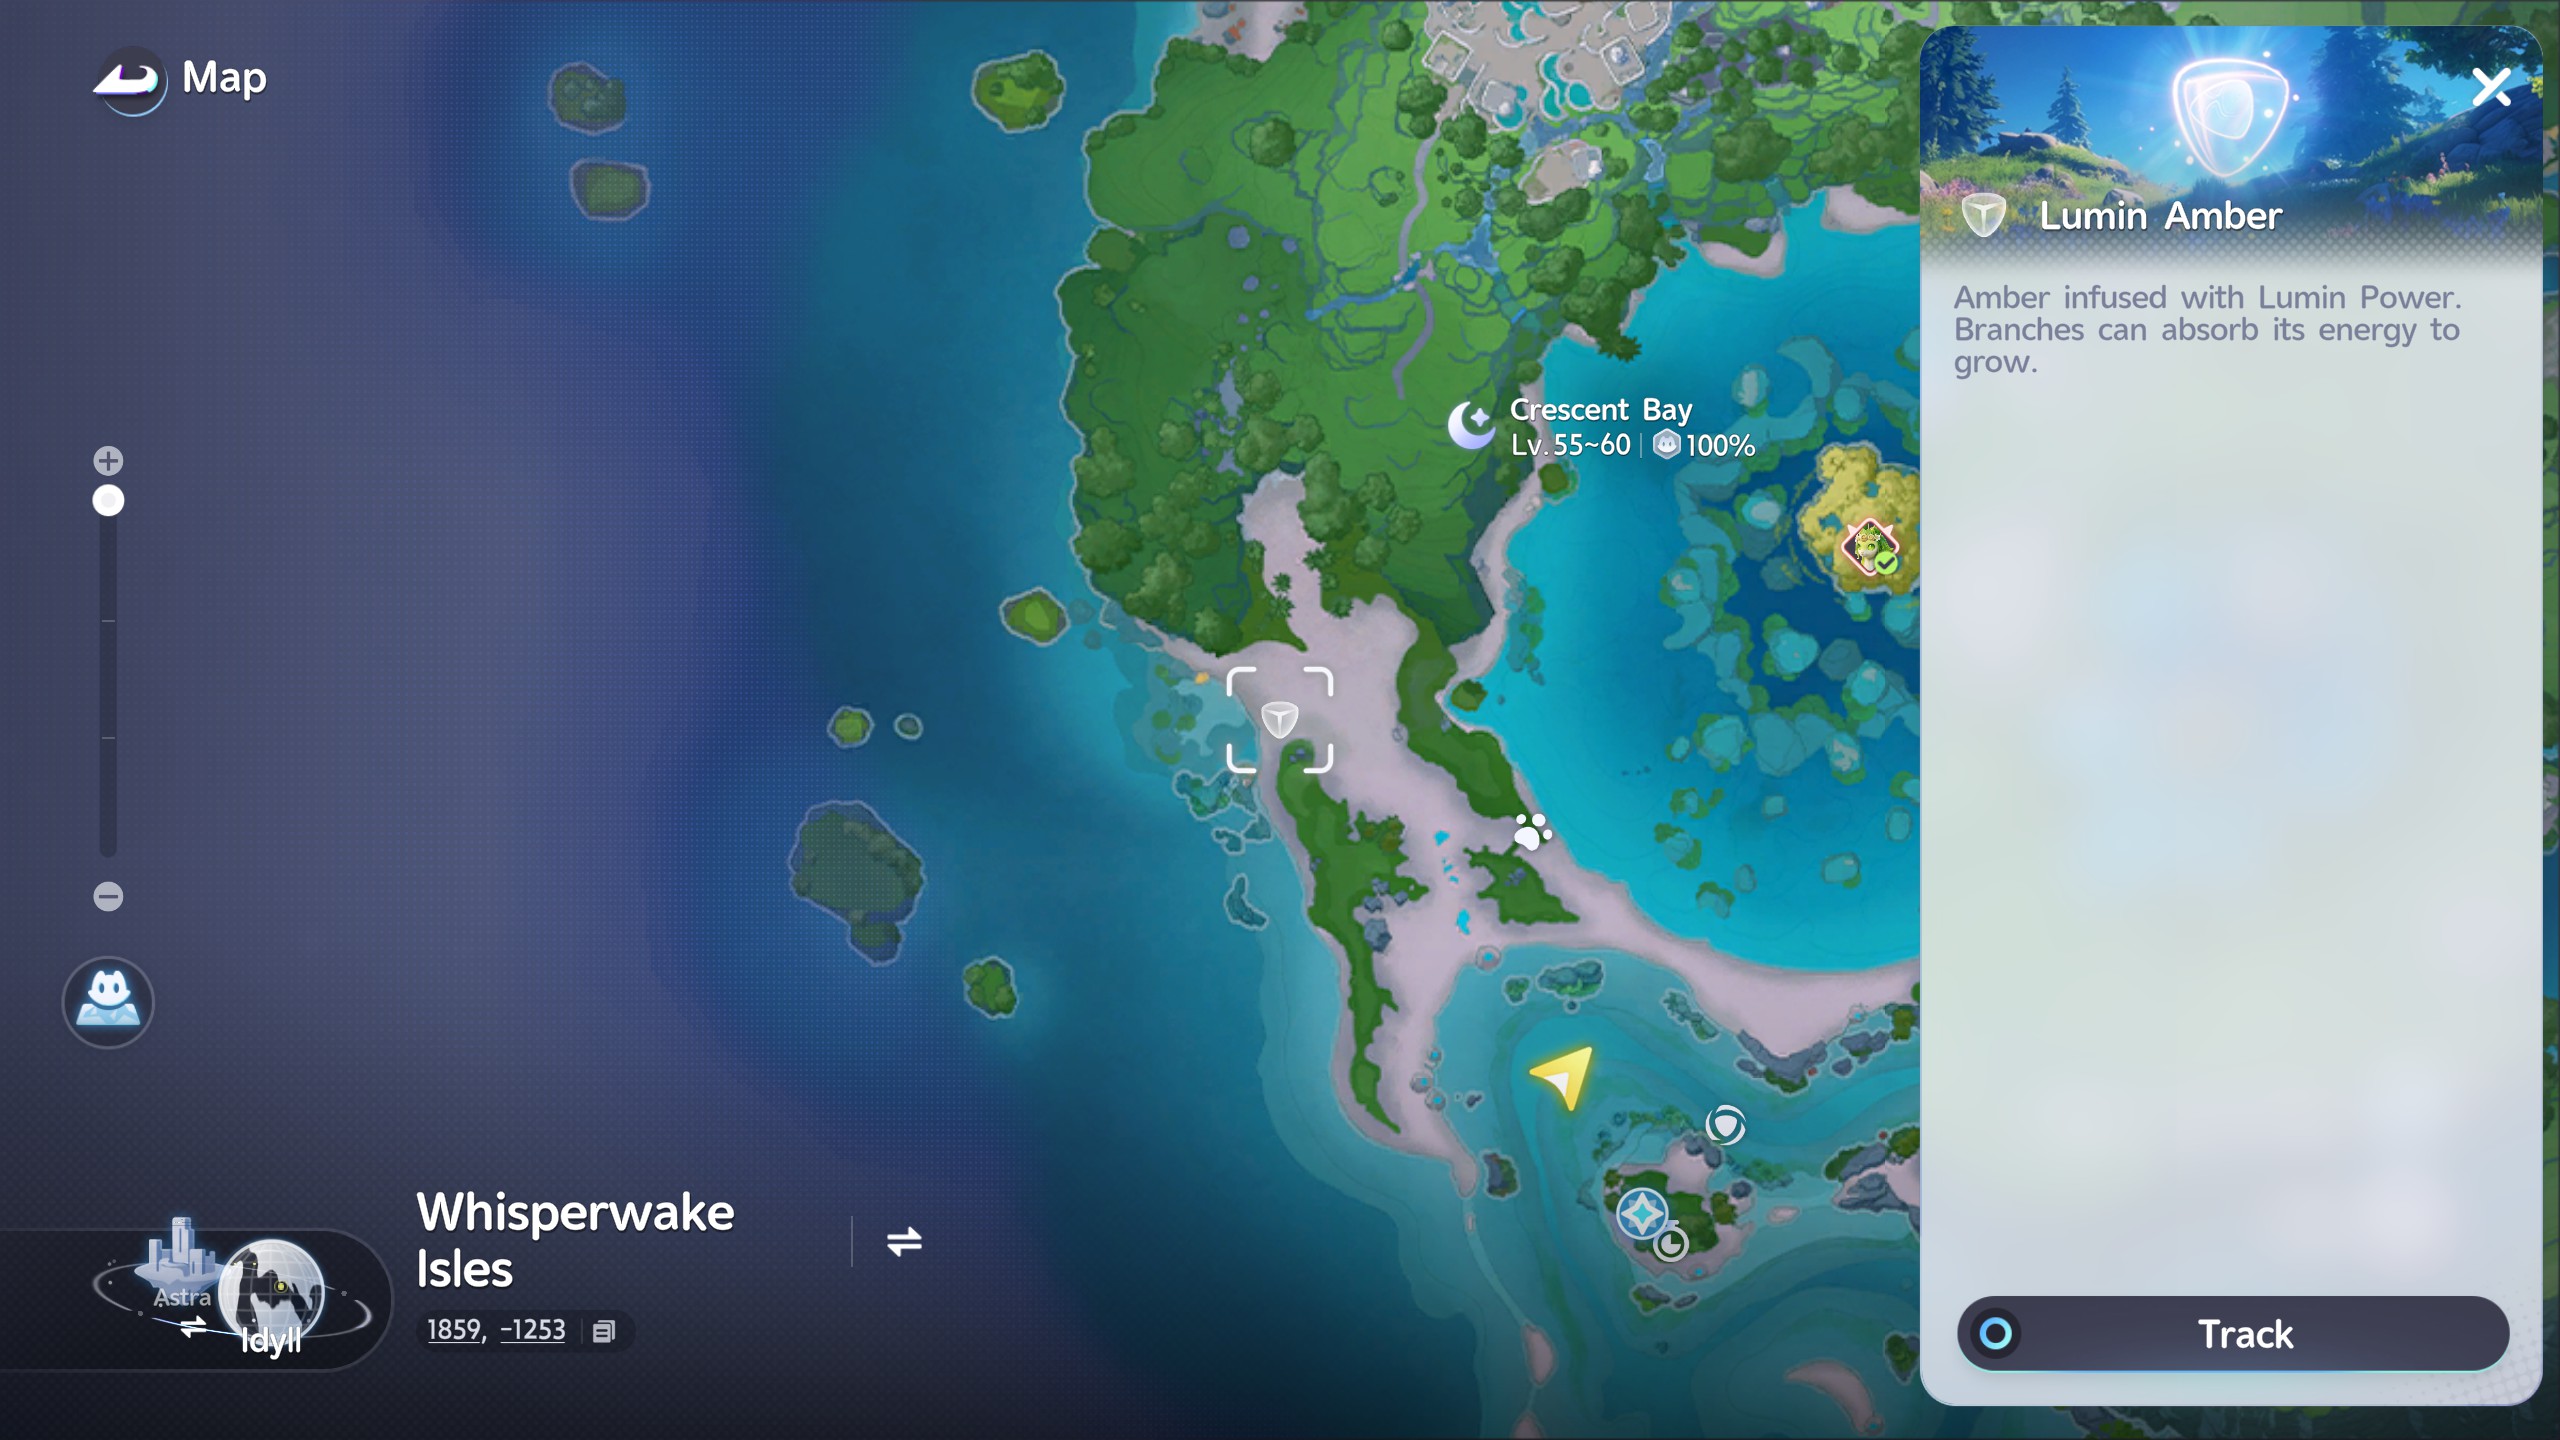
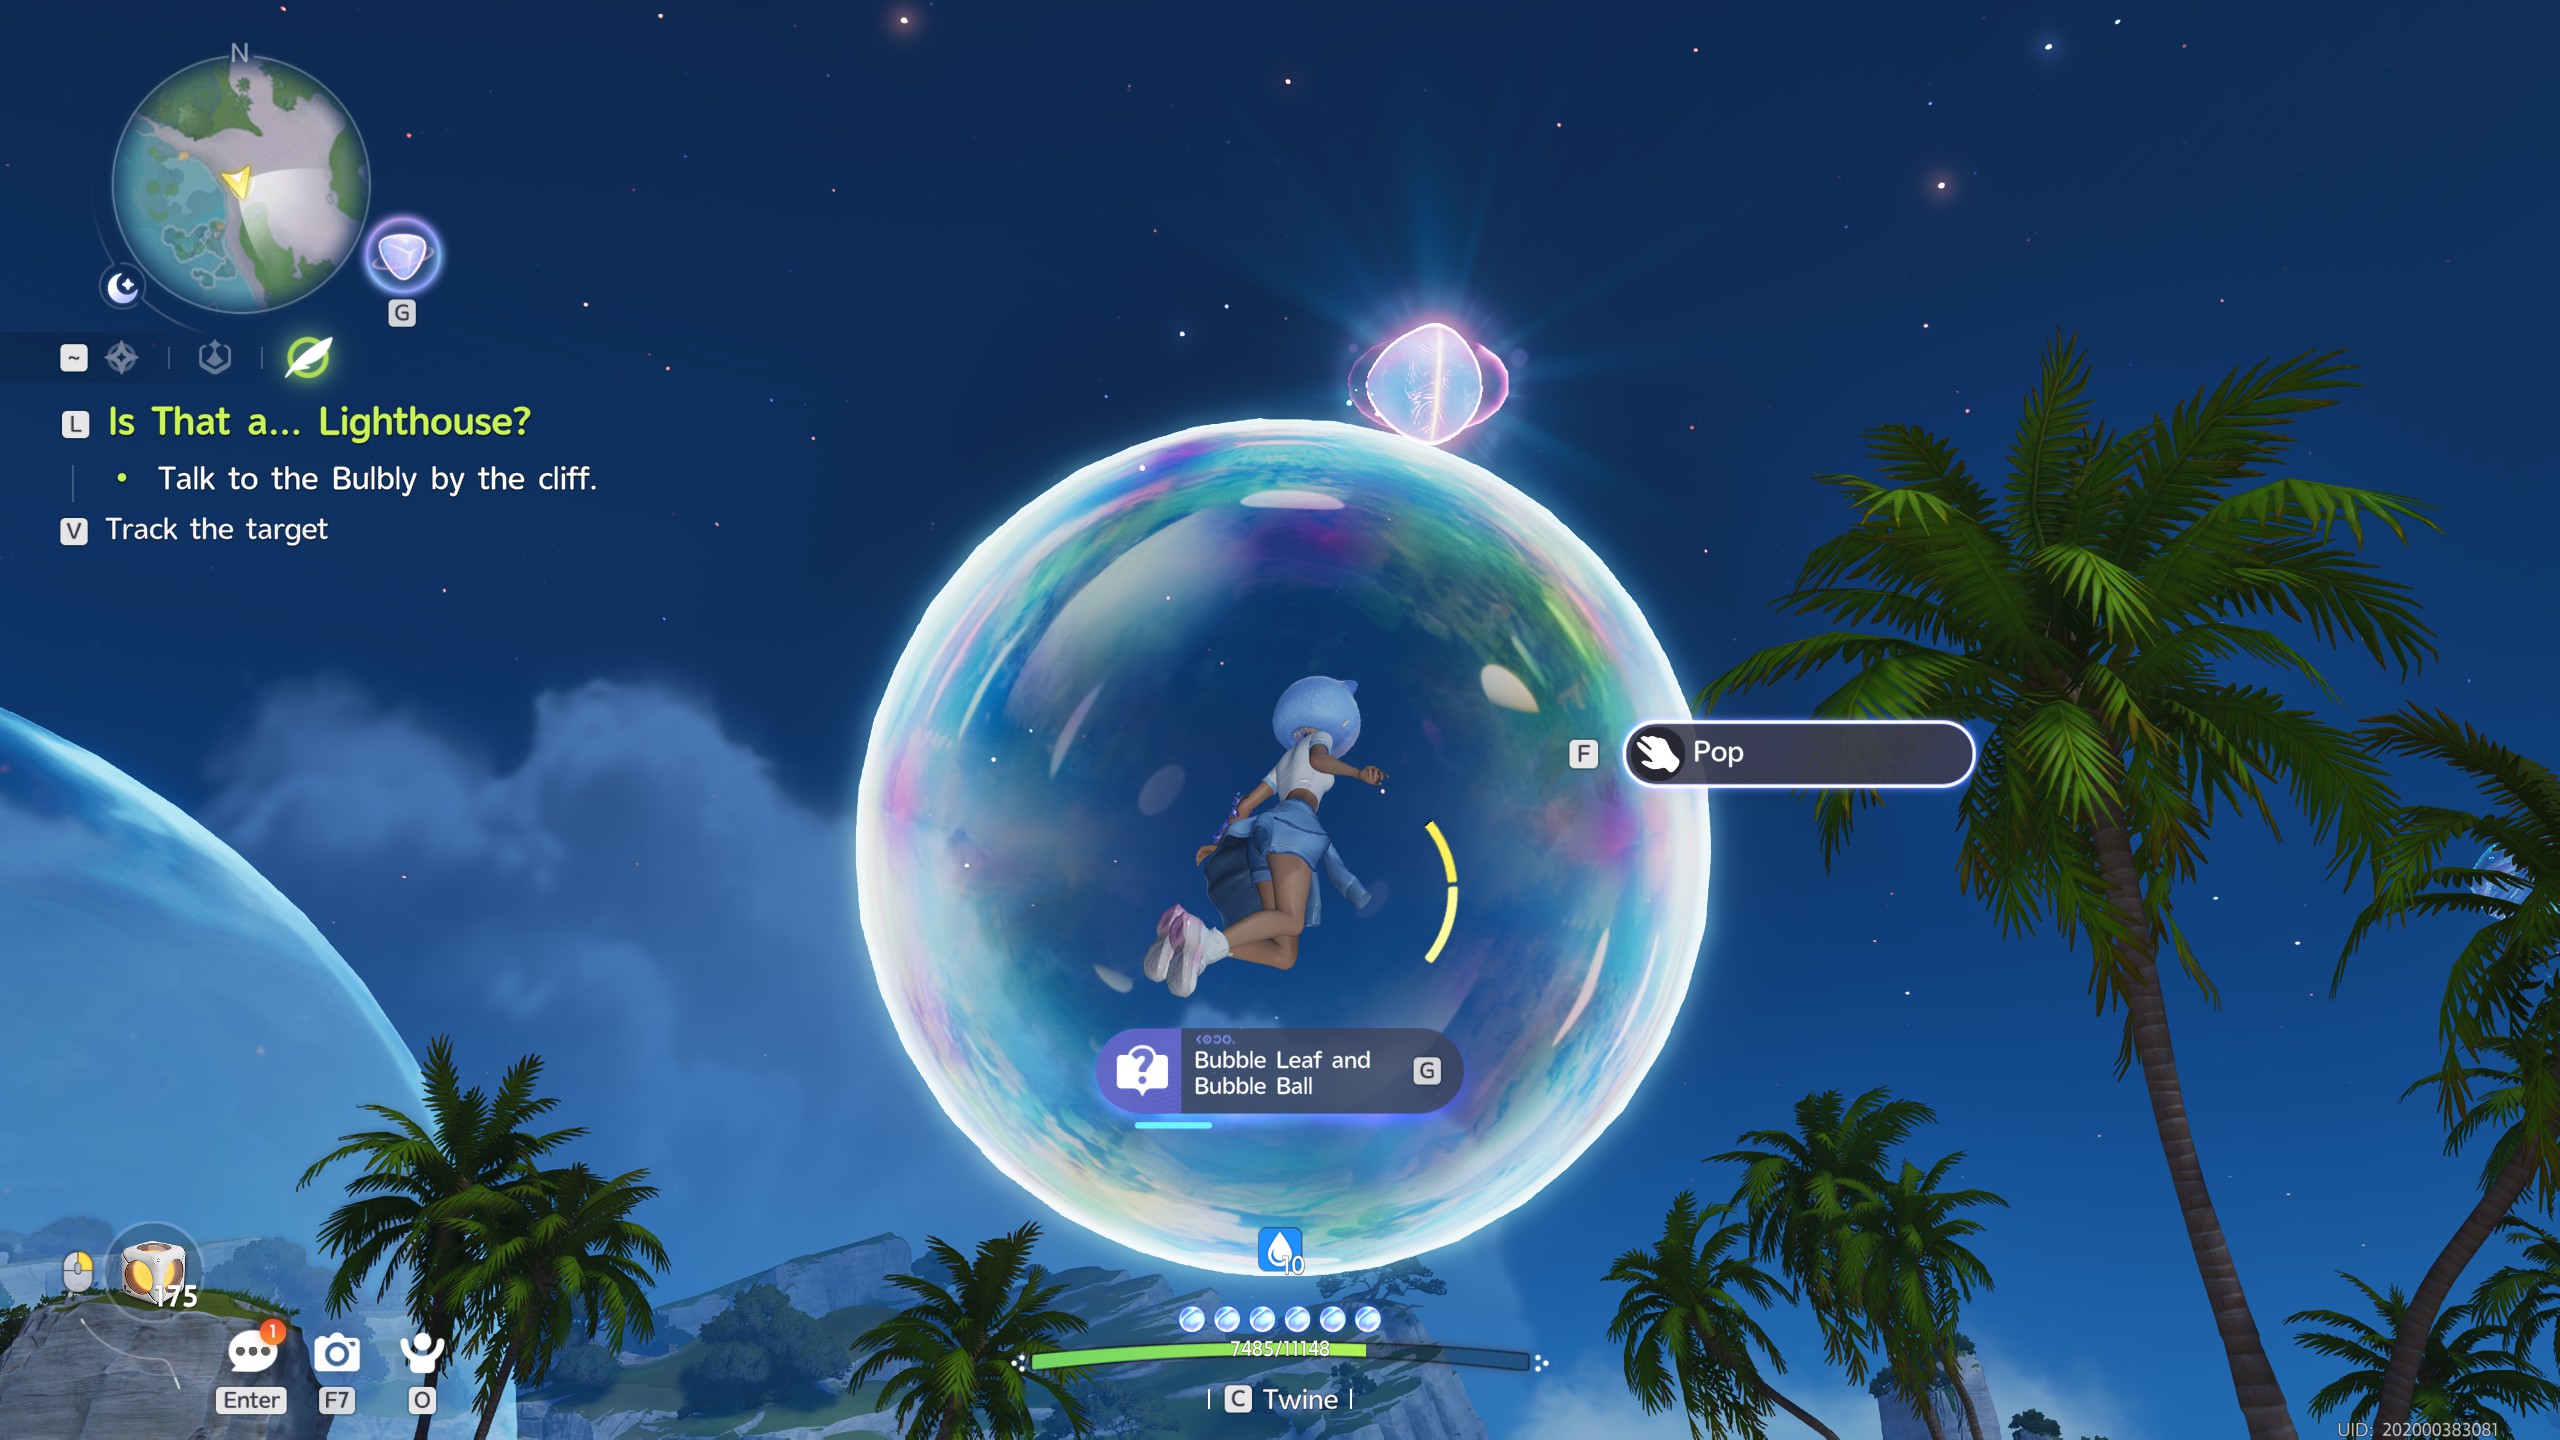
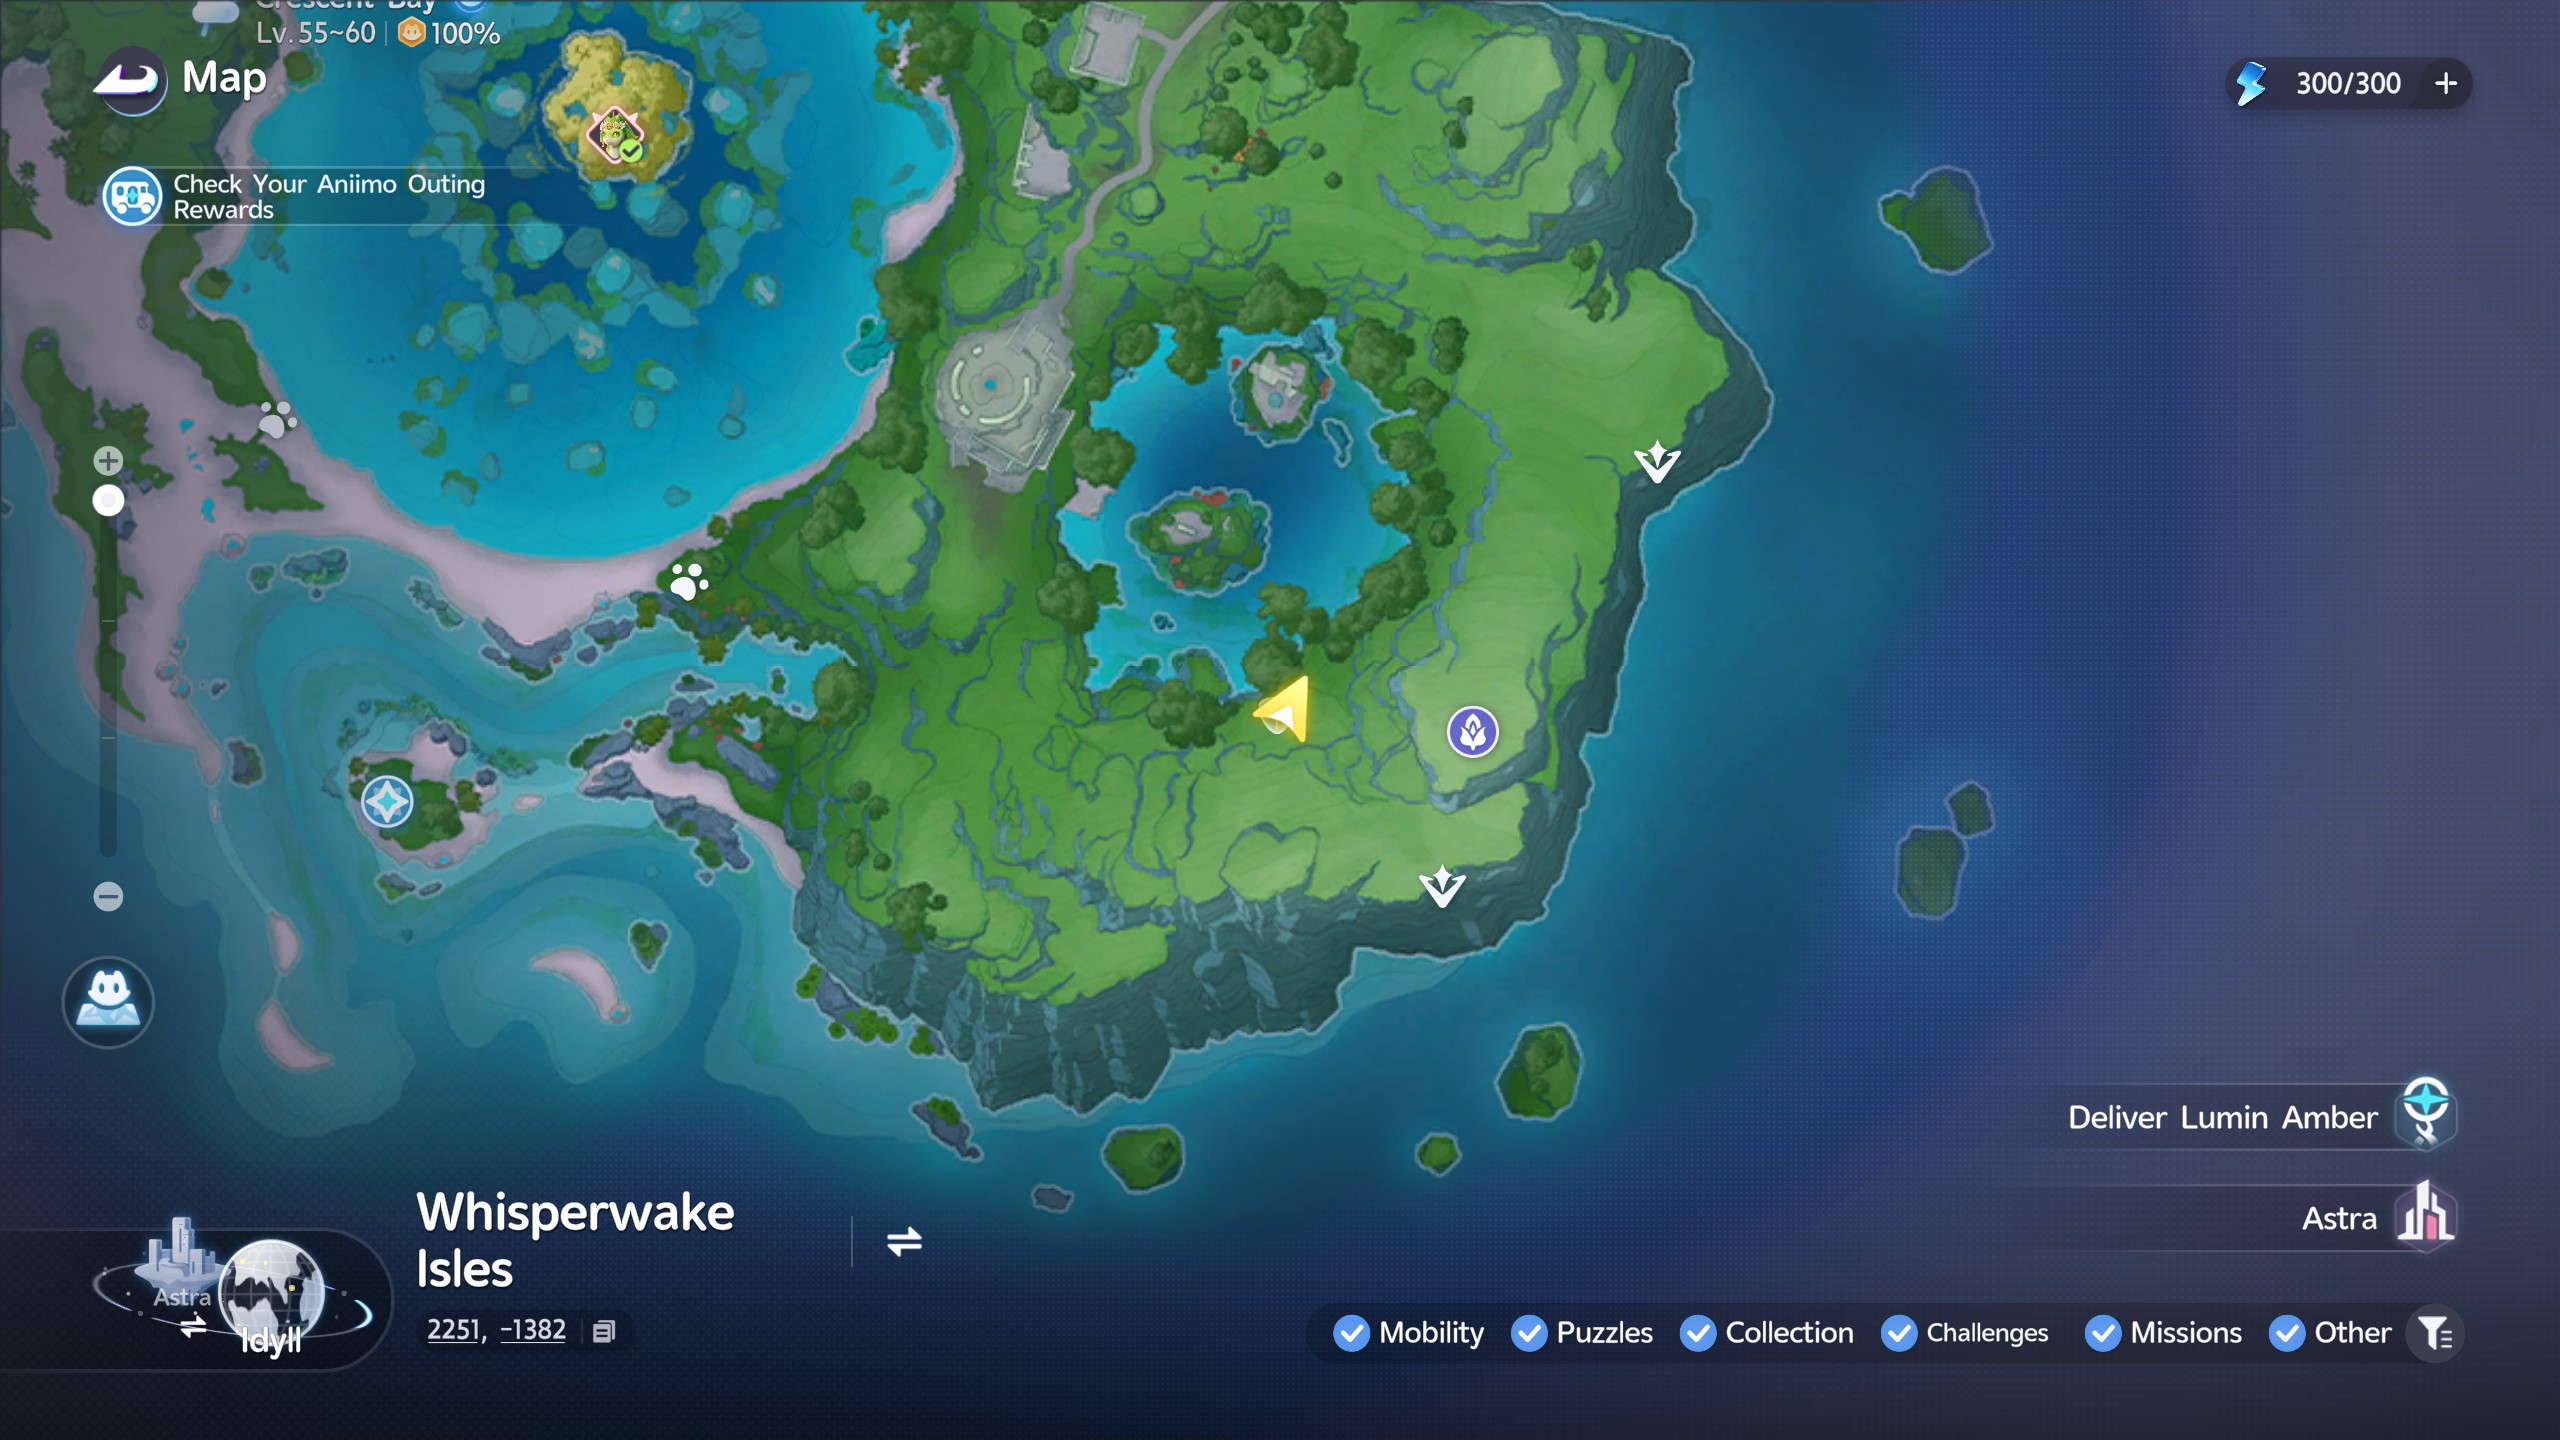
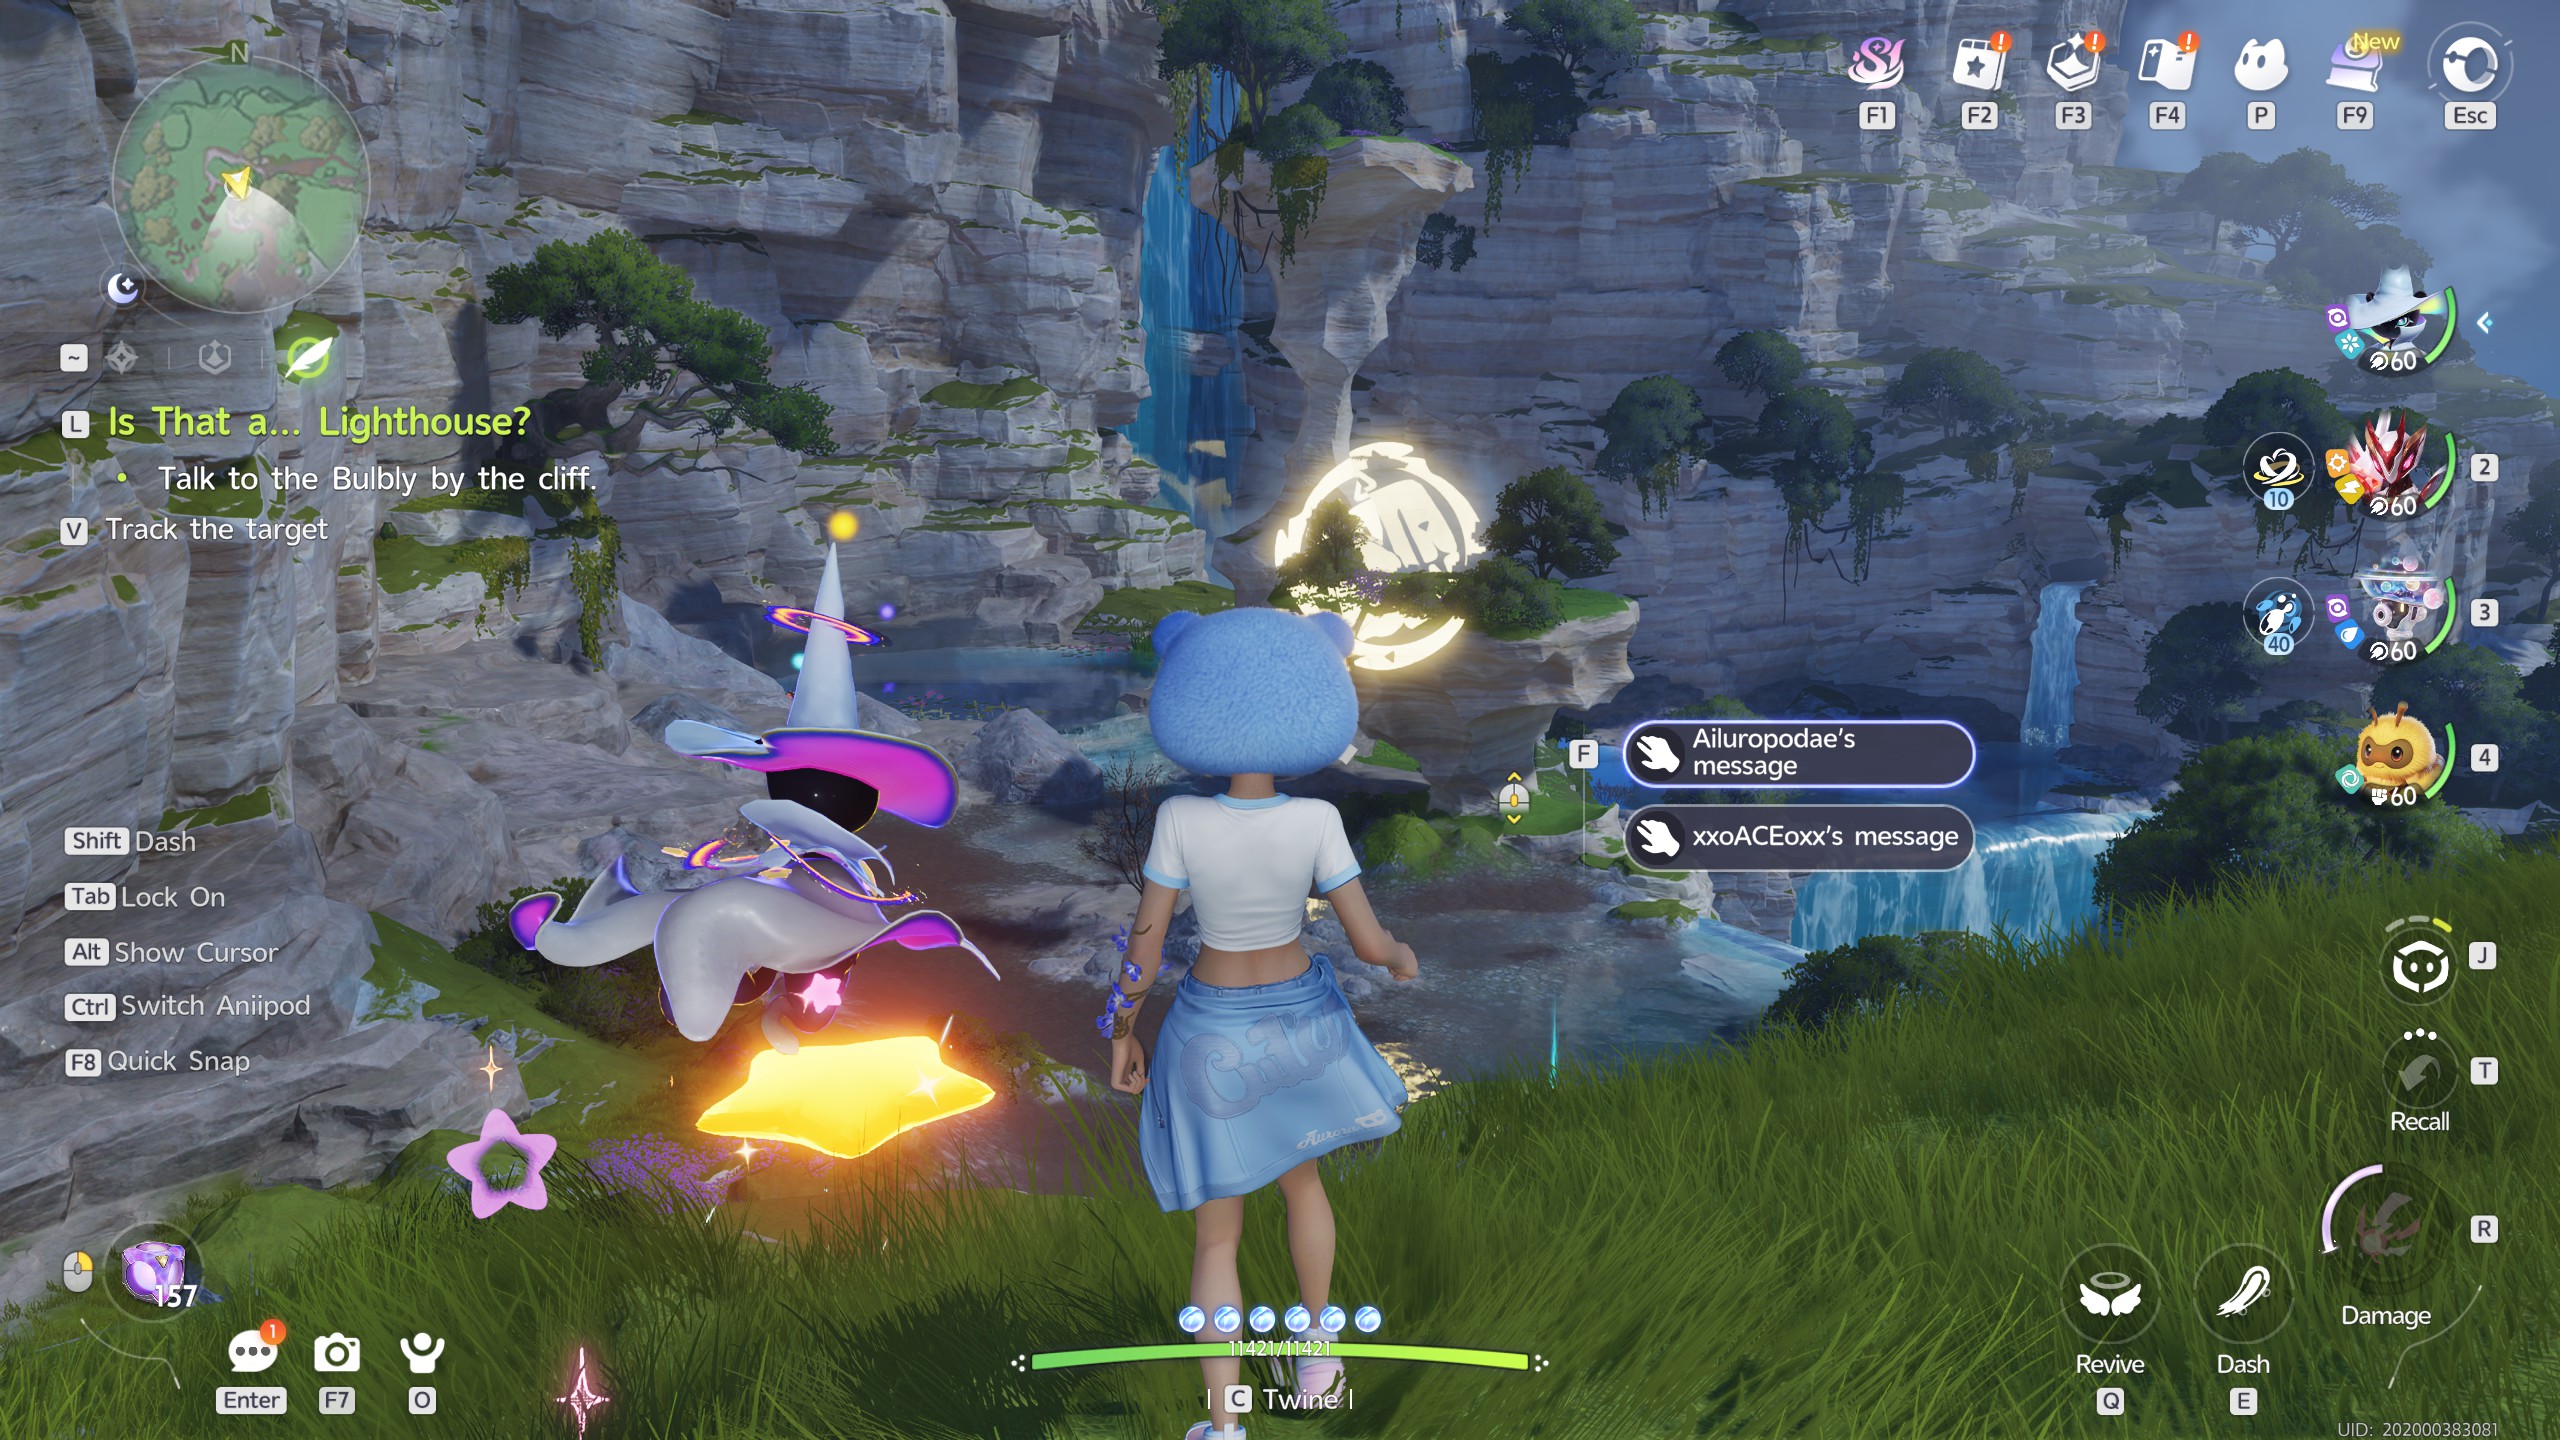
For this next Amber, you'll find it floating in the air above a bubble pad on the shores of Crescent Bay

In order to collect the Amber, simply use the bubble created by the pad to float up and grab it. That's it!
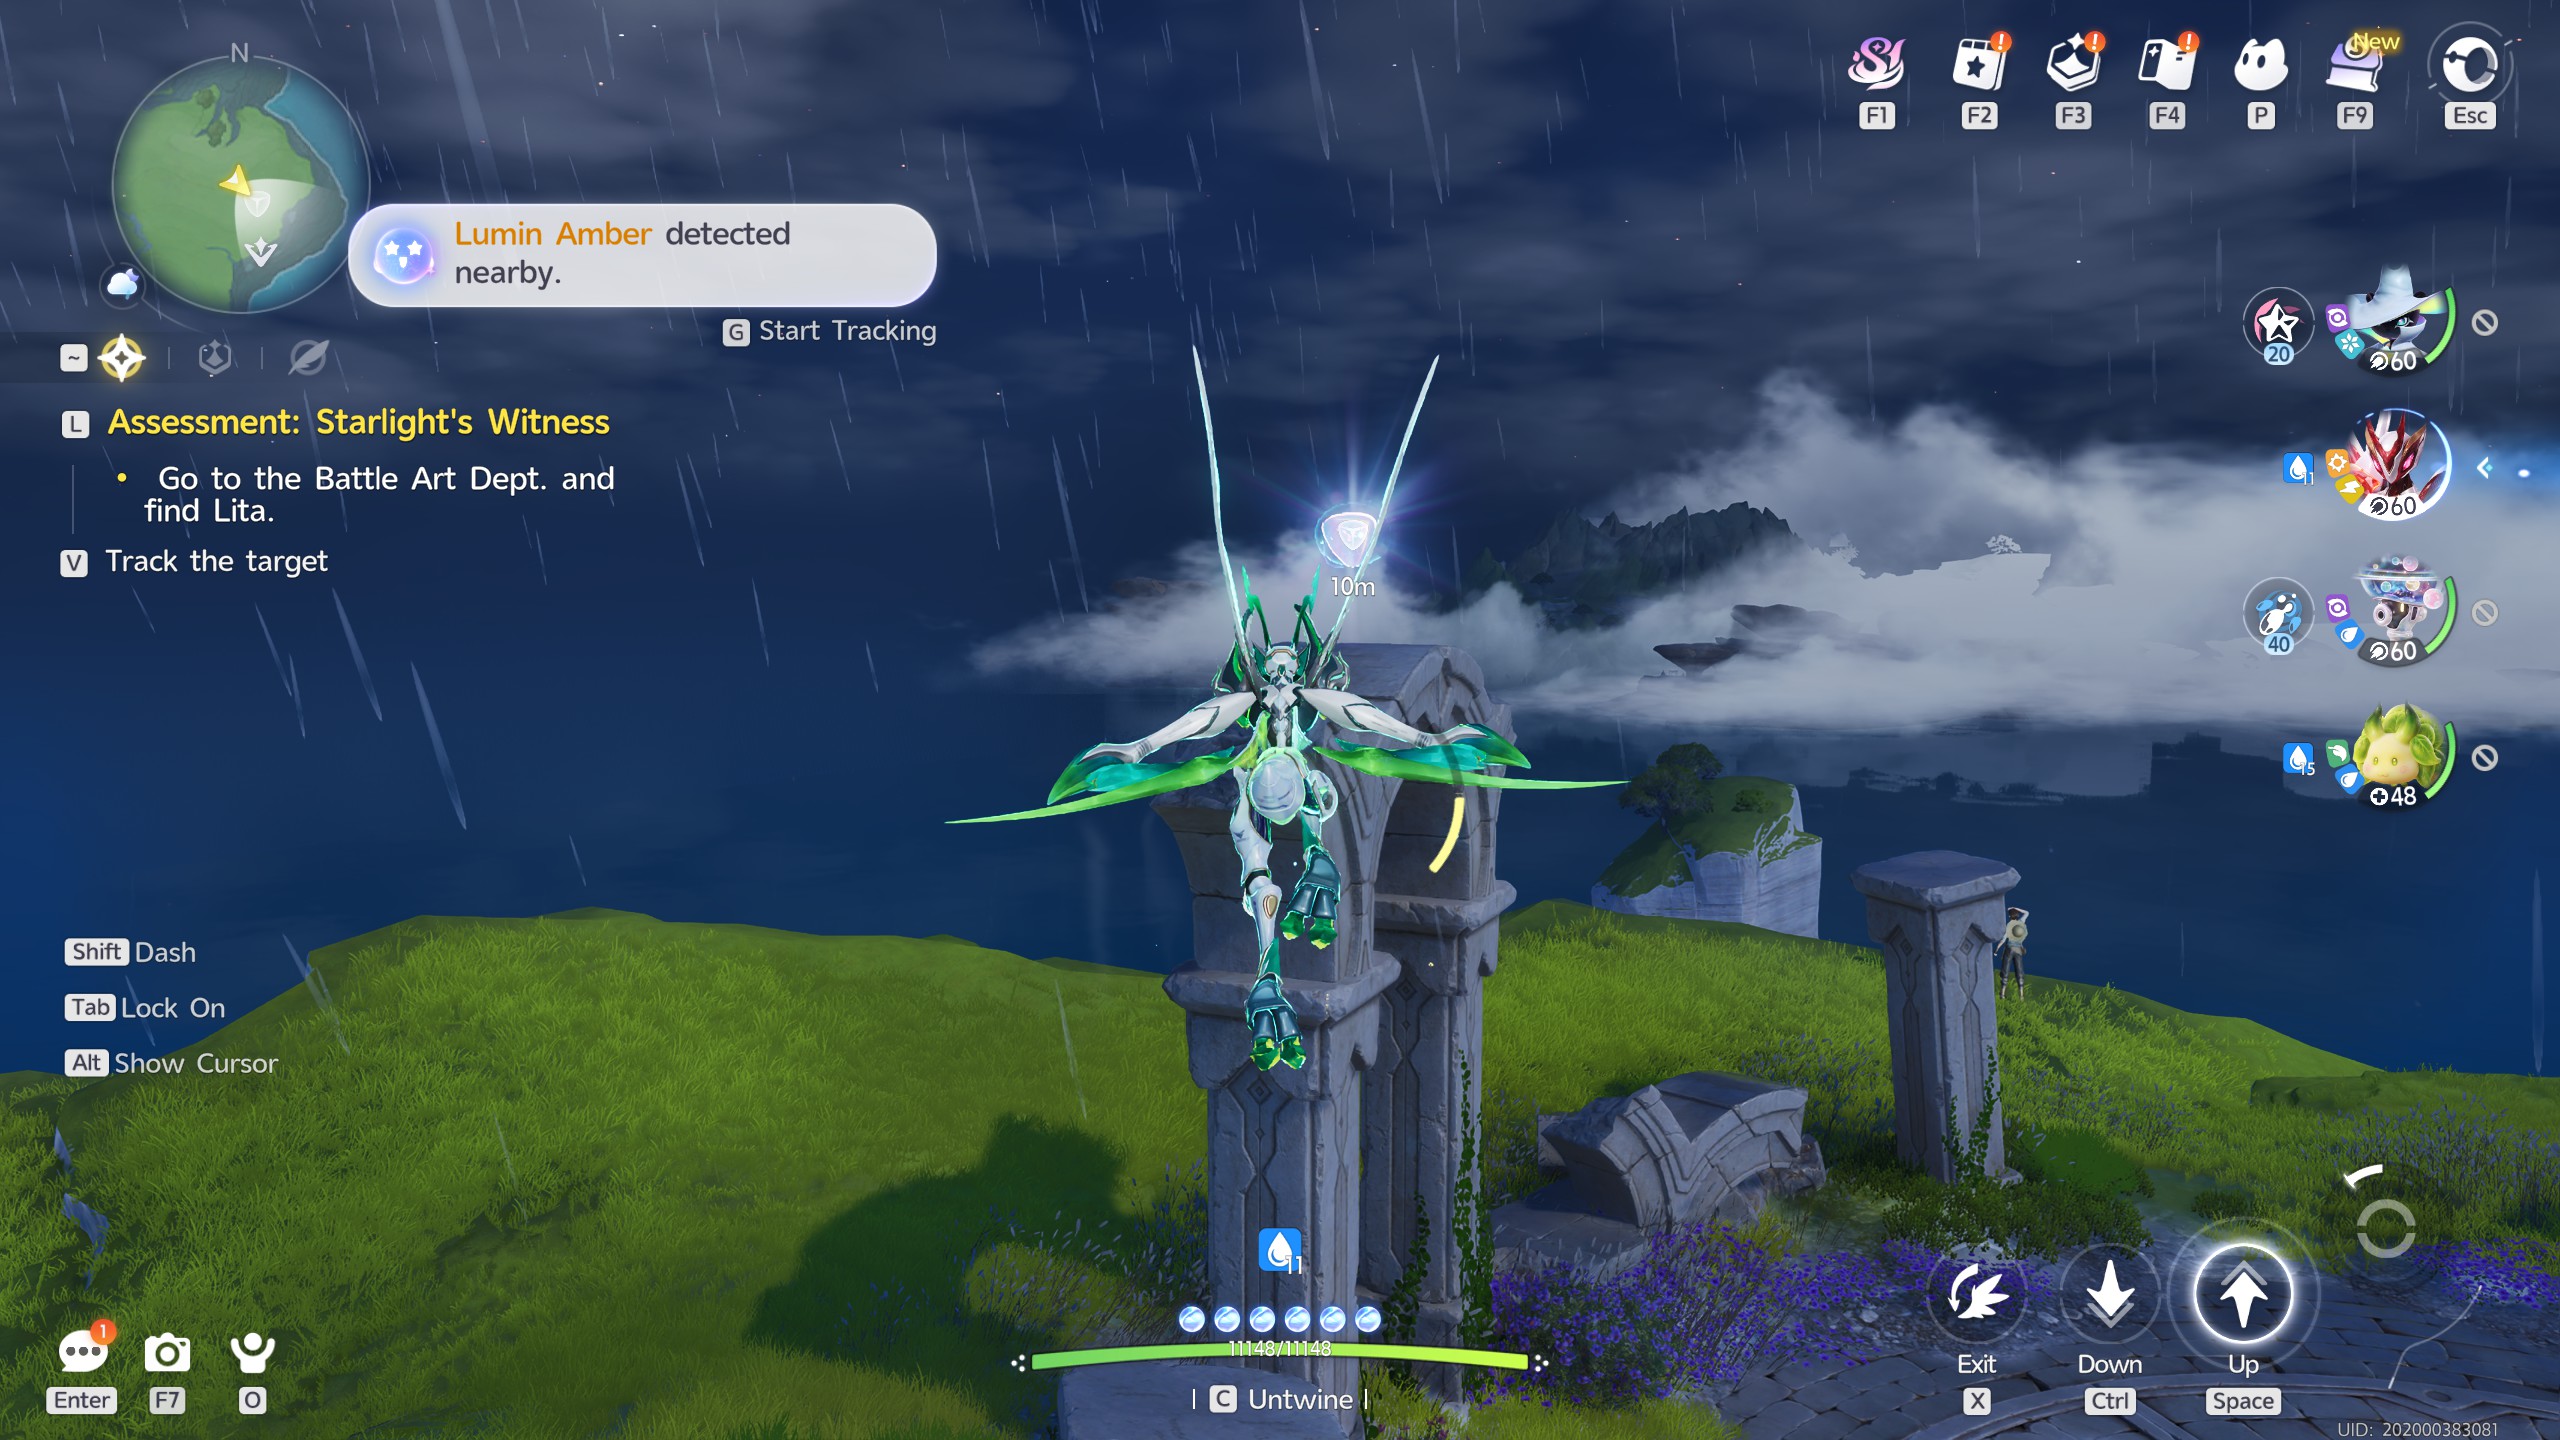

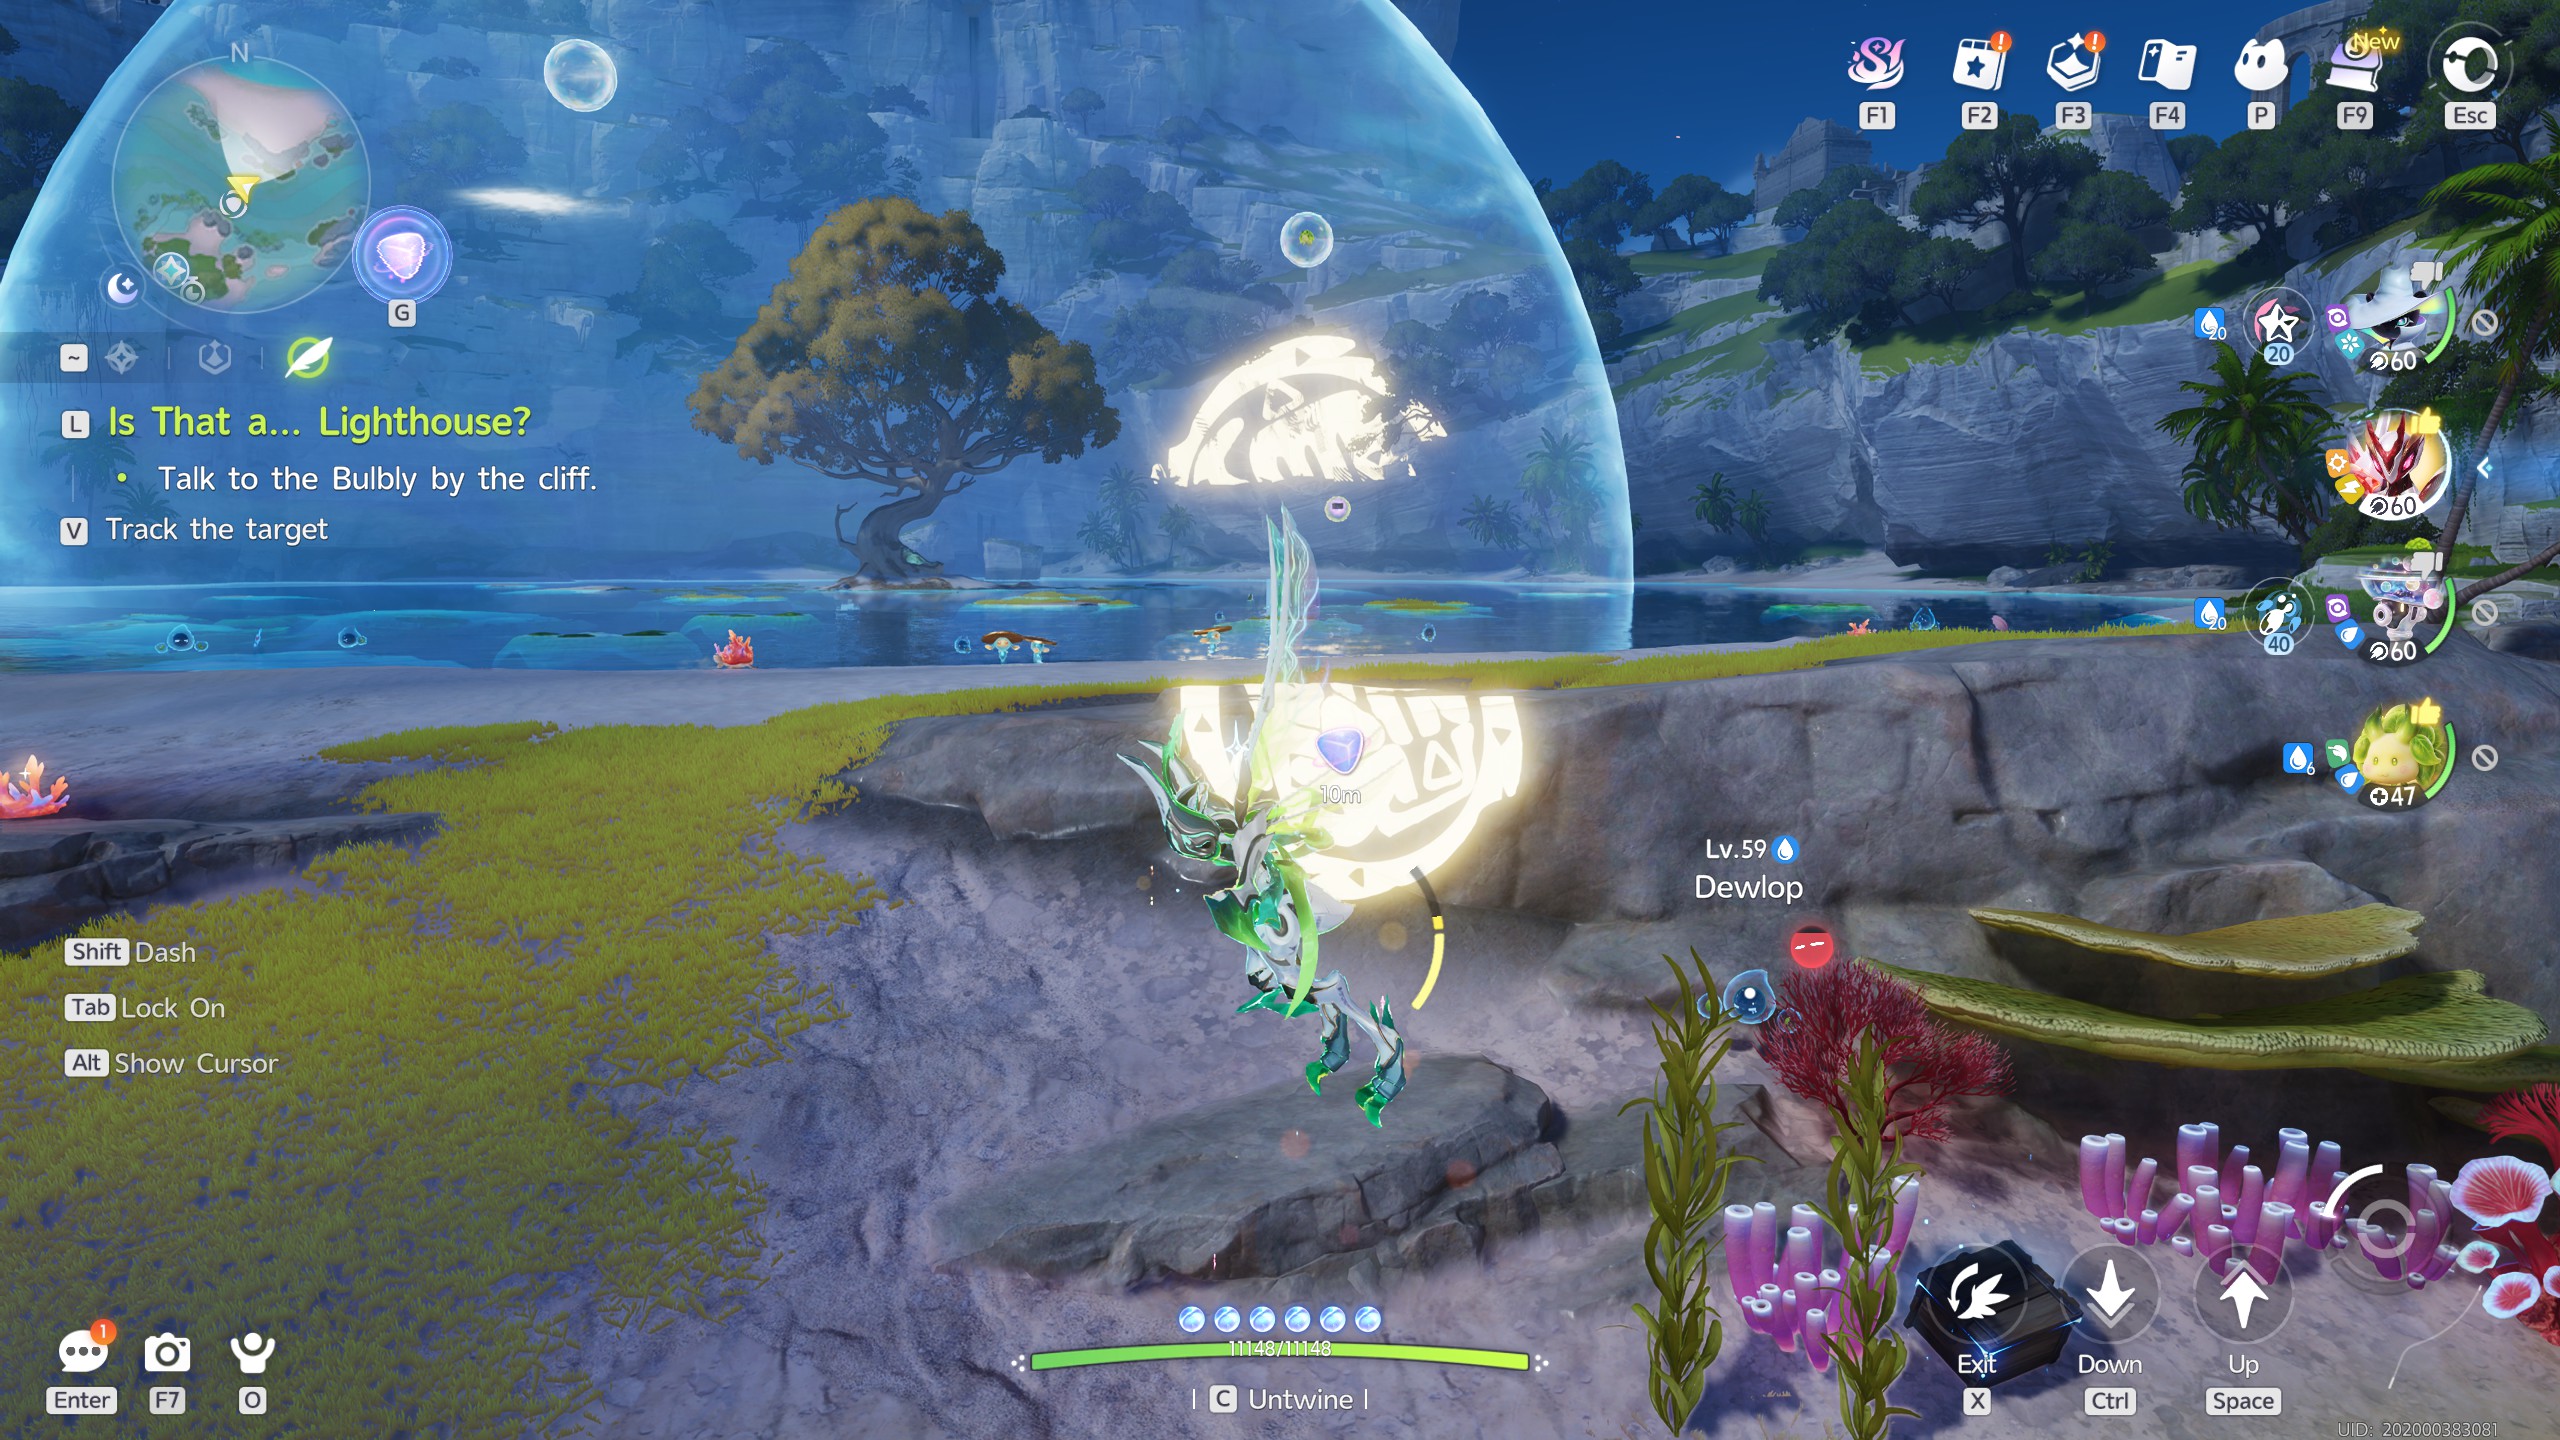
Water Reflections

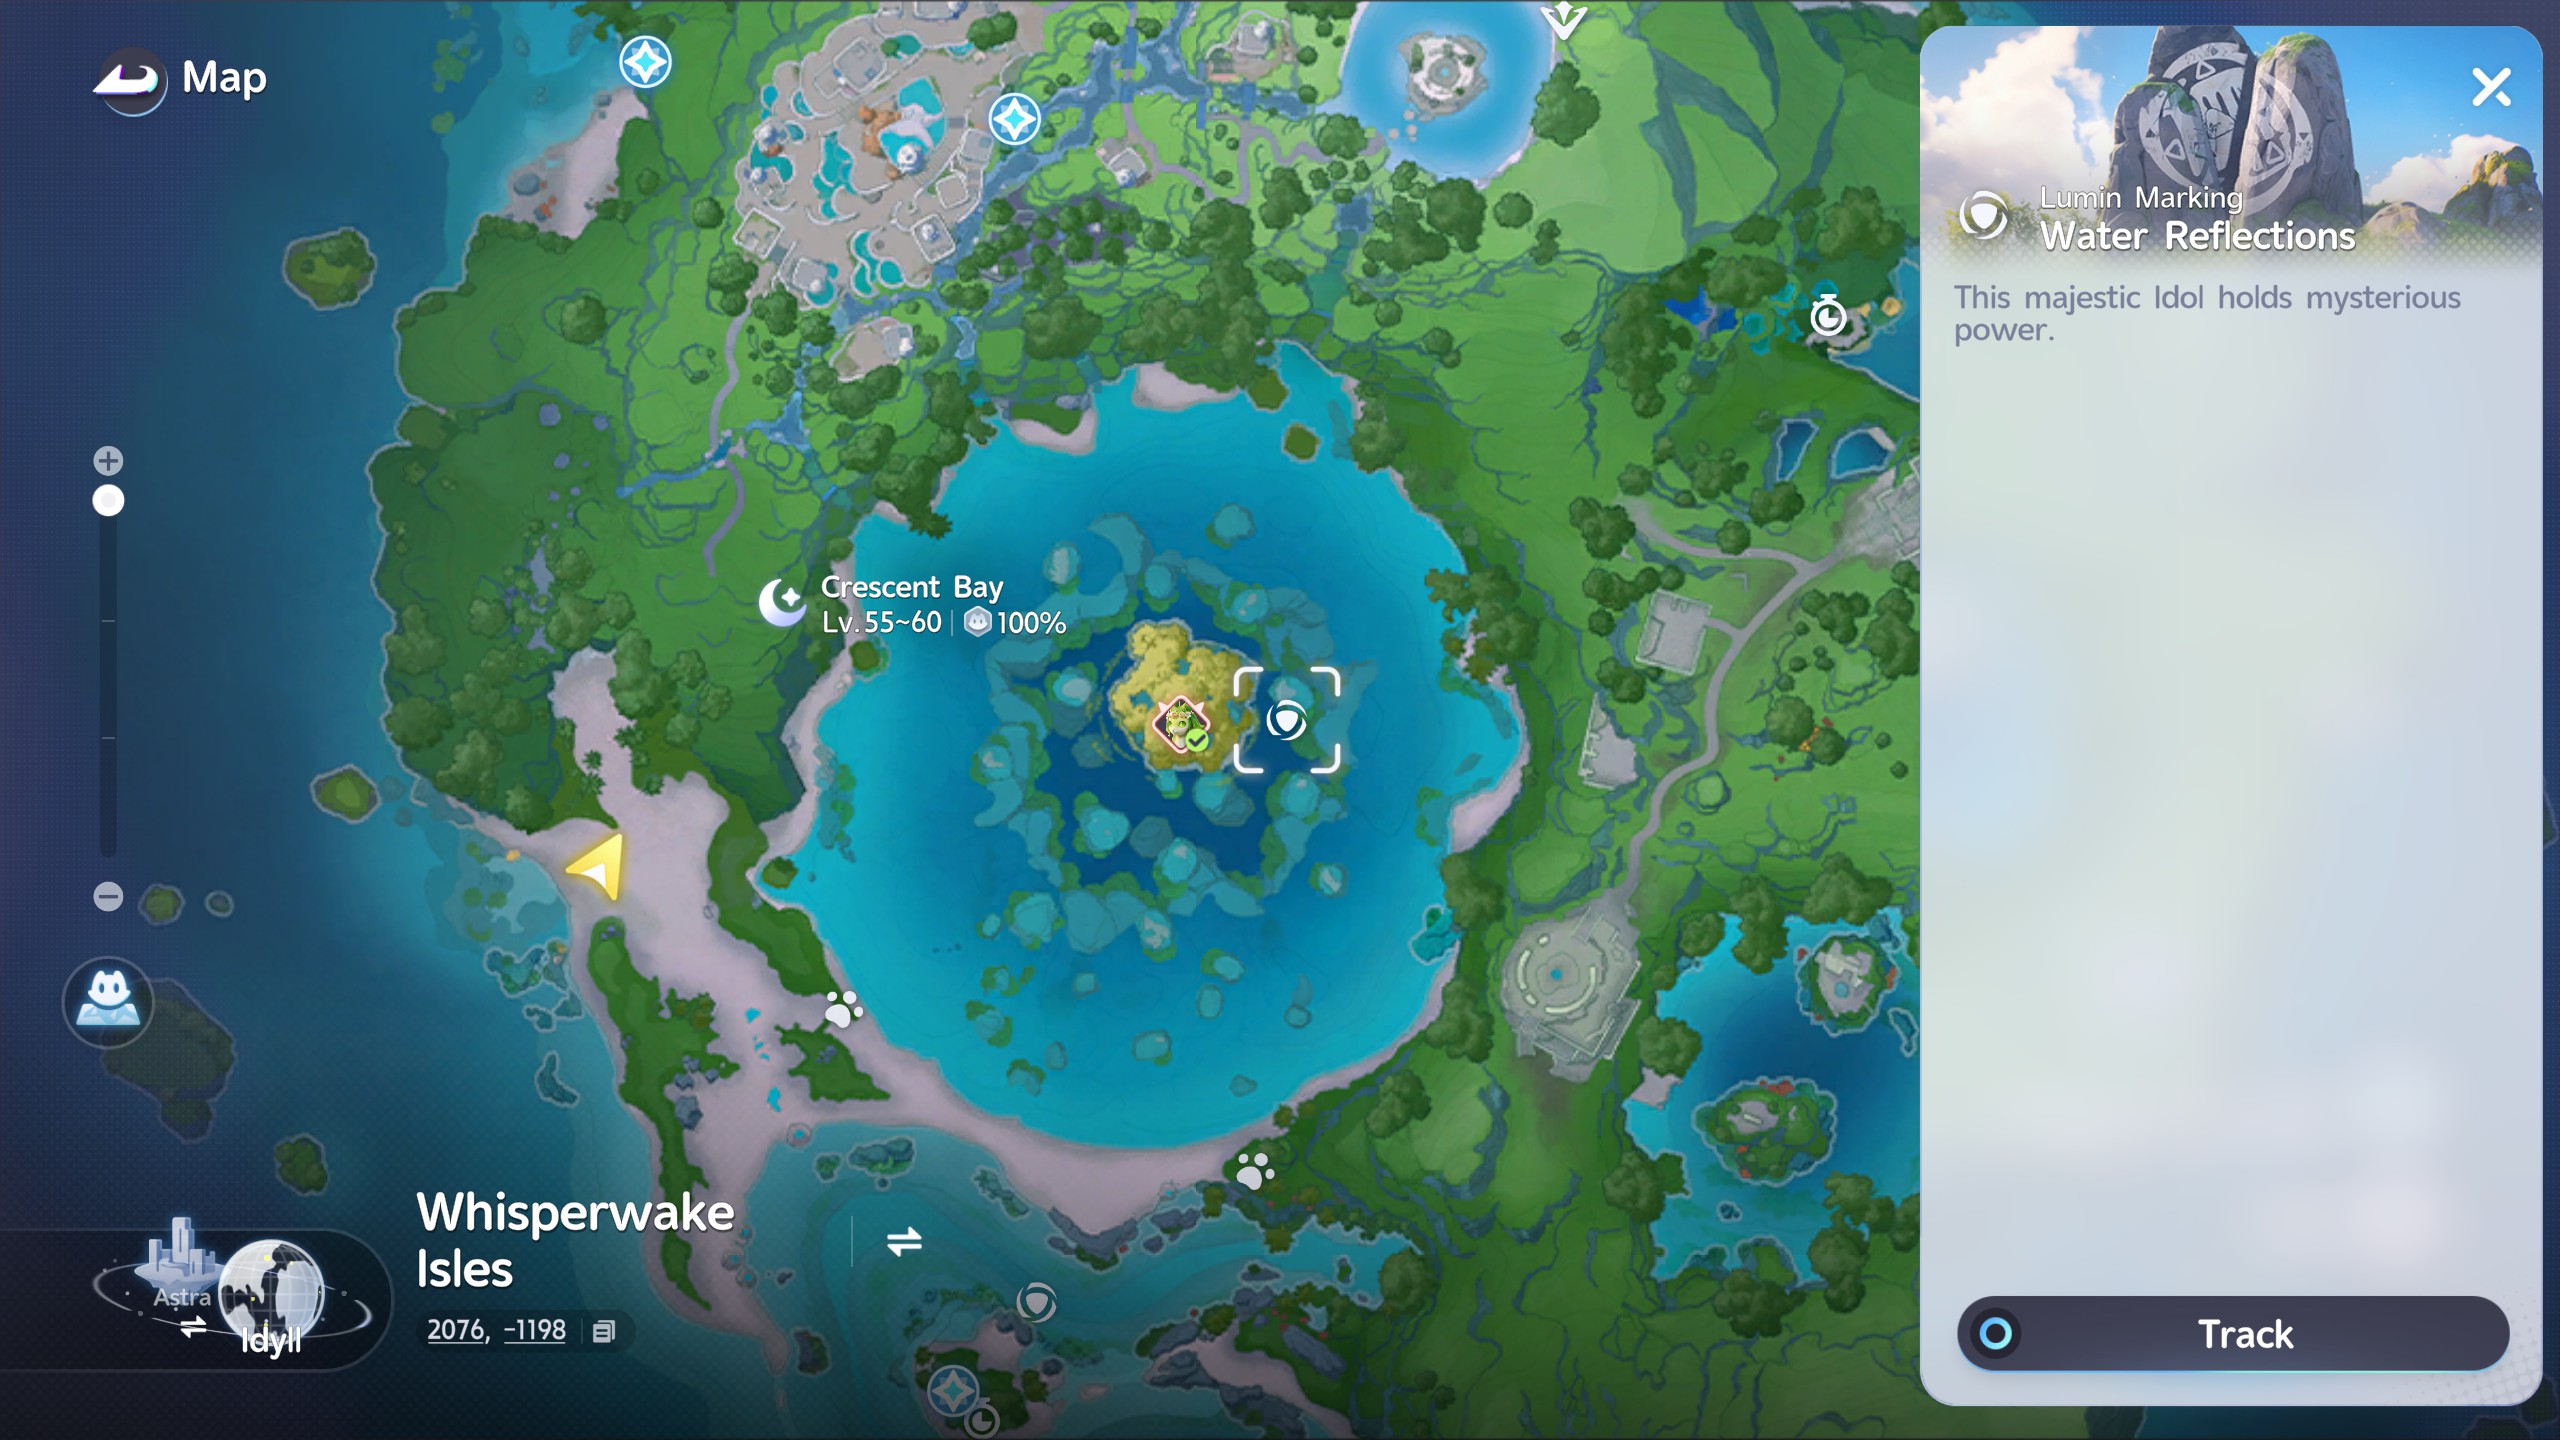
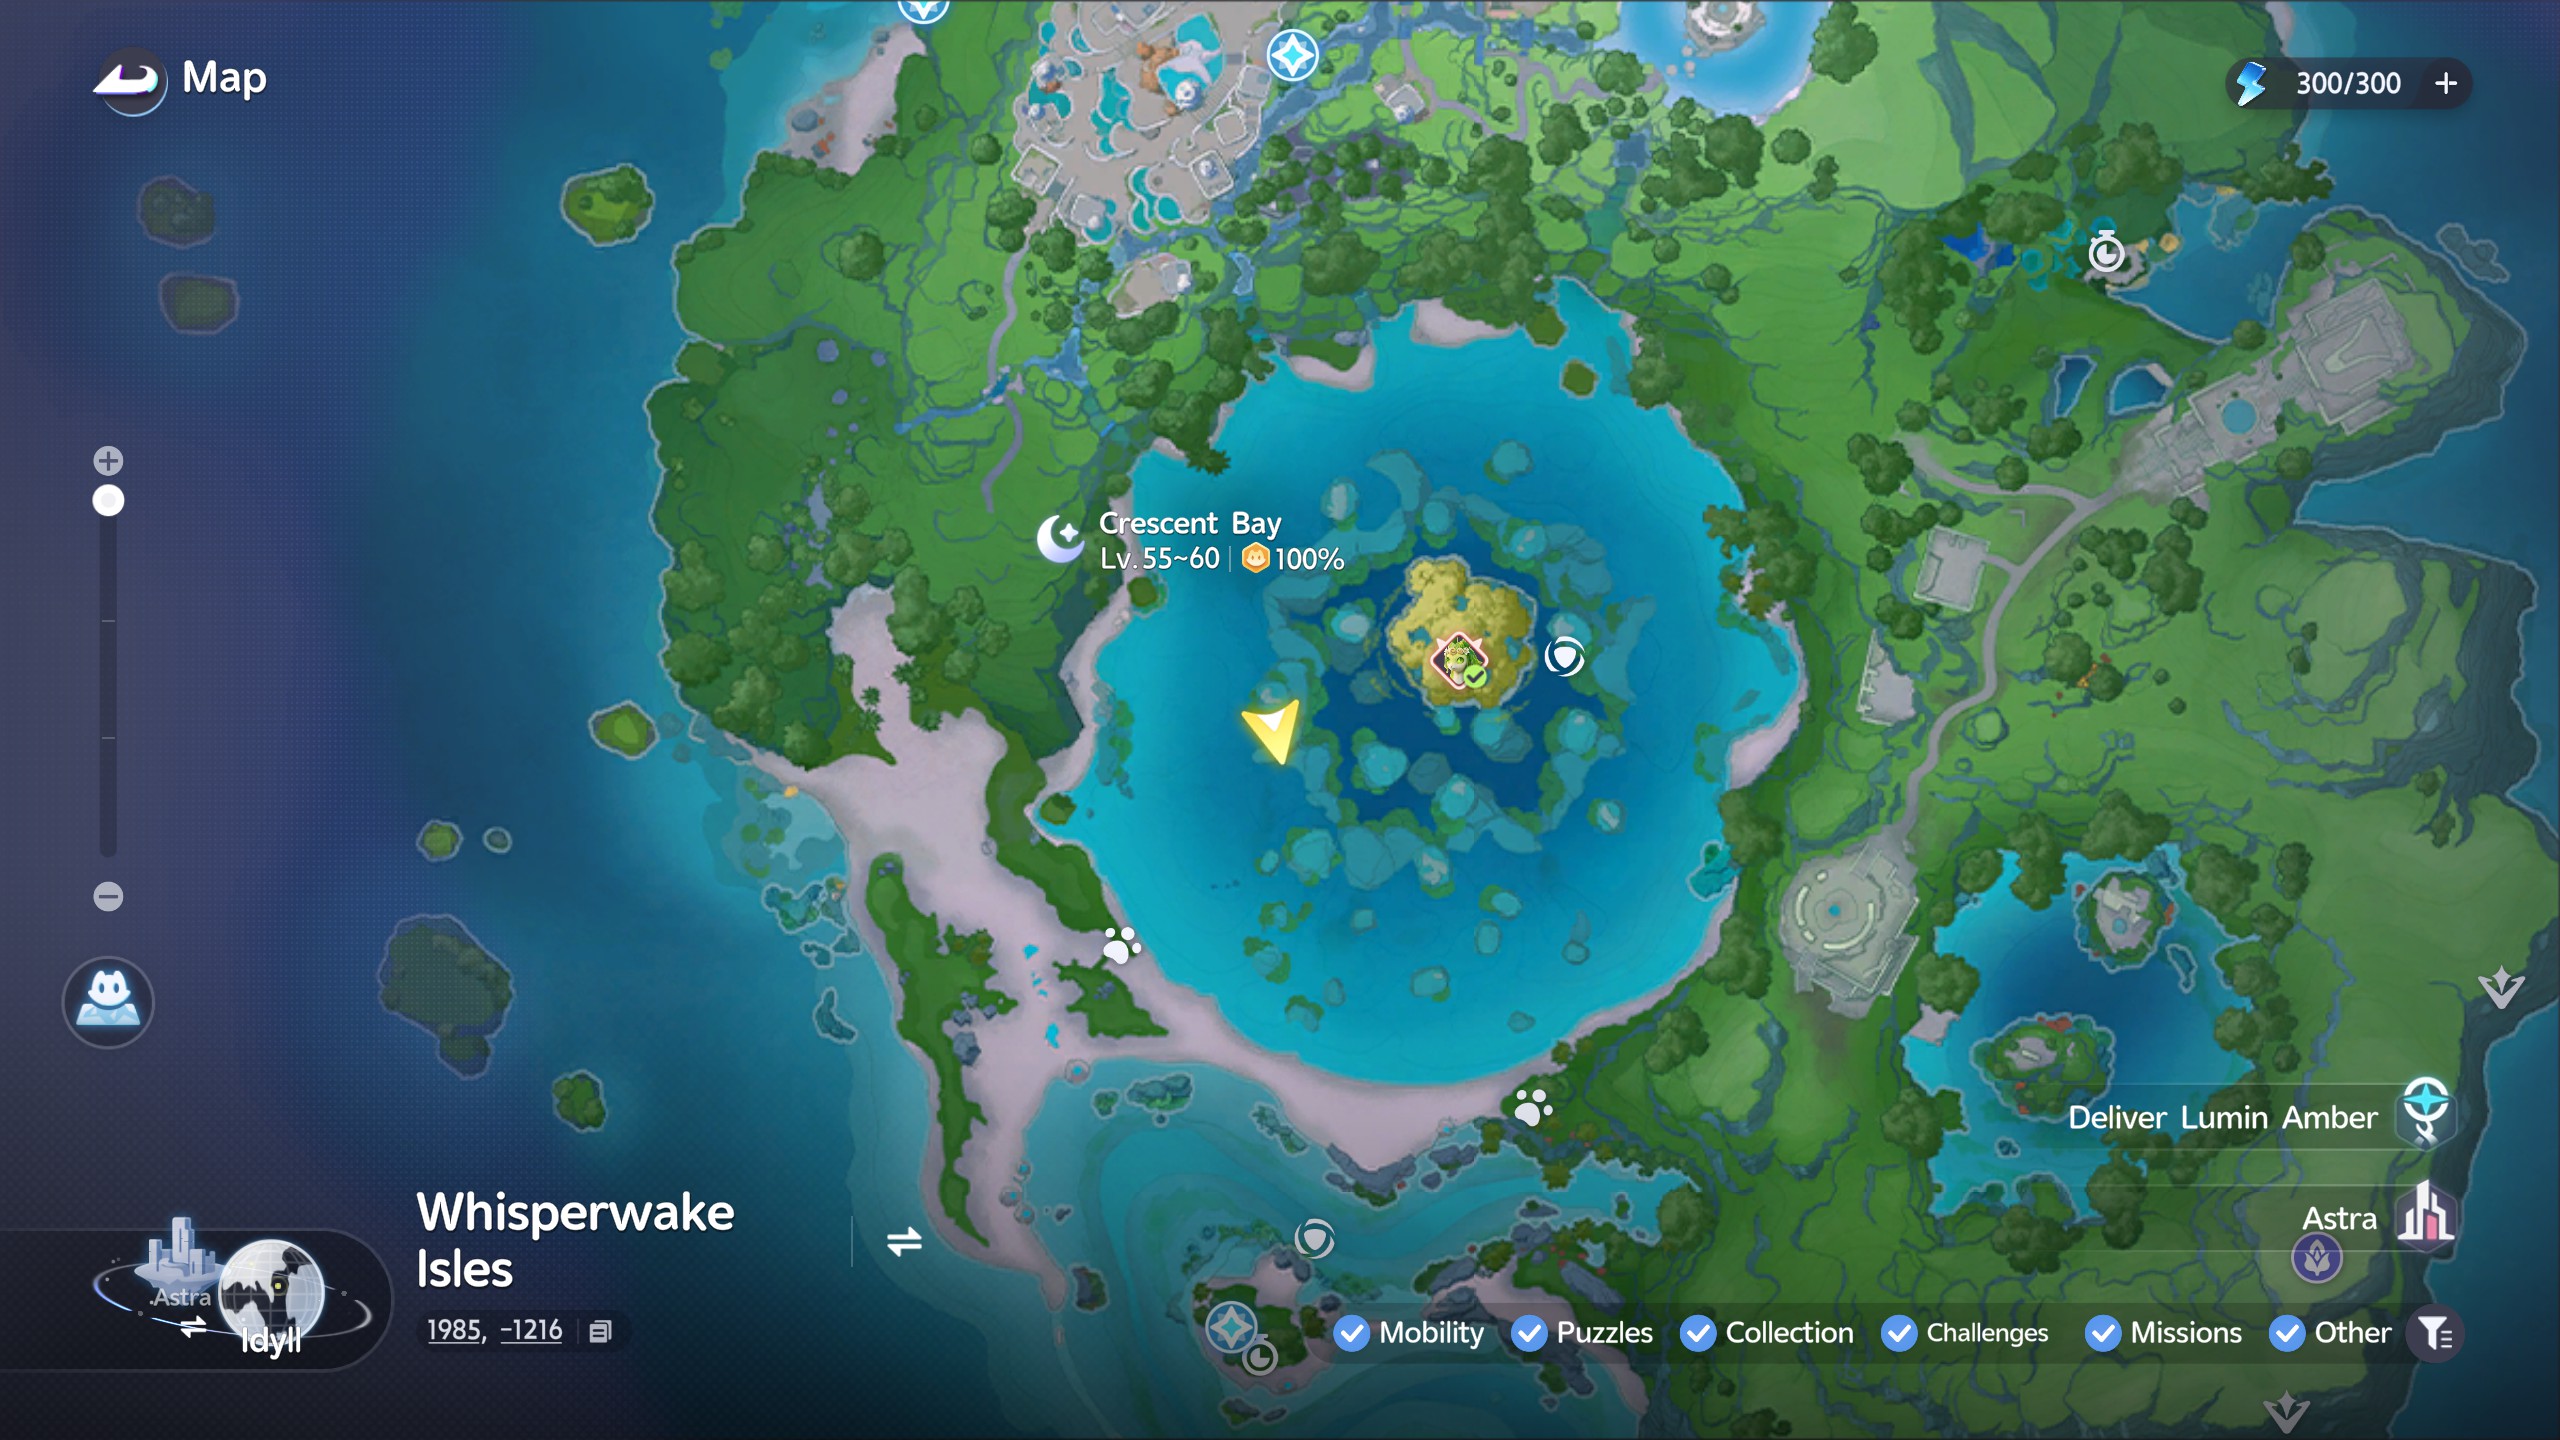
For this next Amber, head inside of the large bubble at the center of the map.

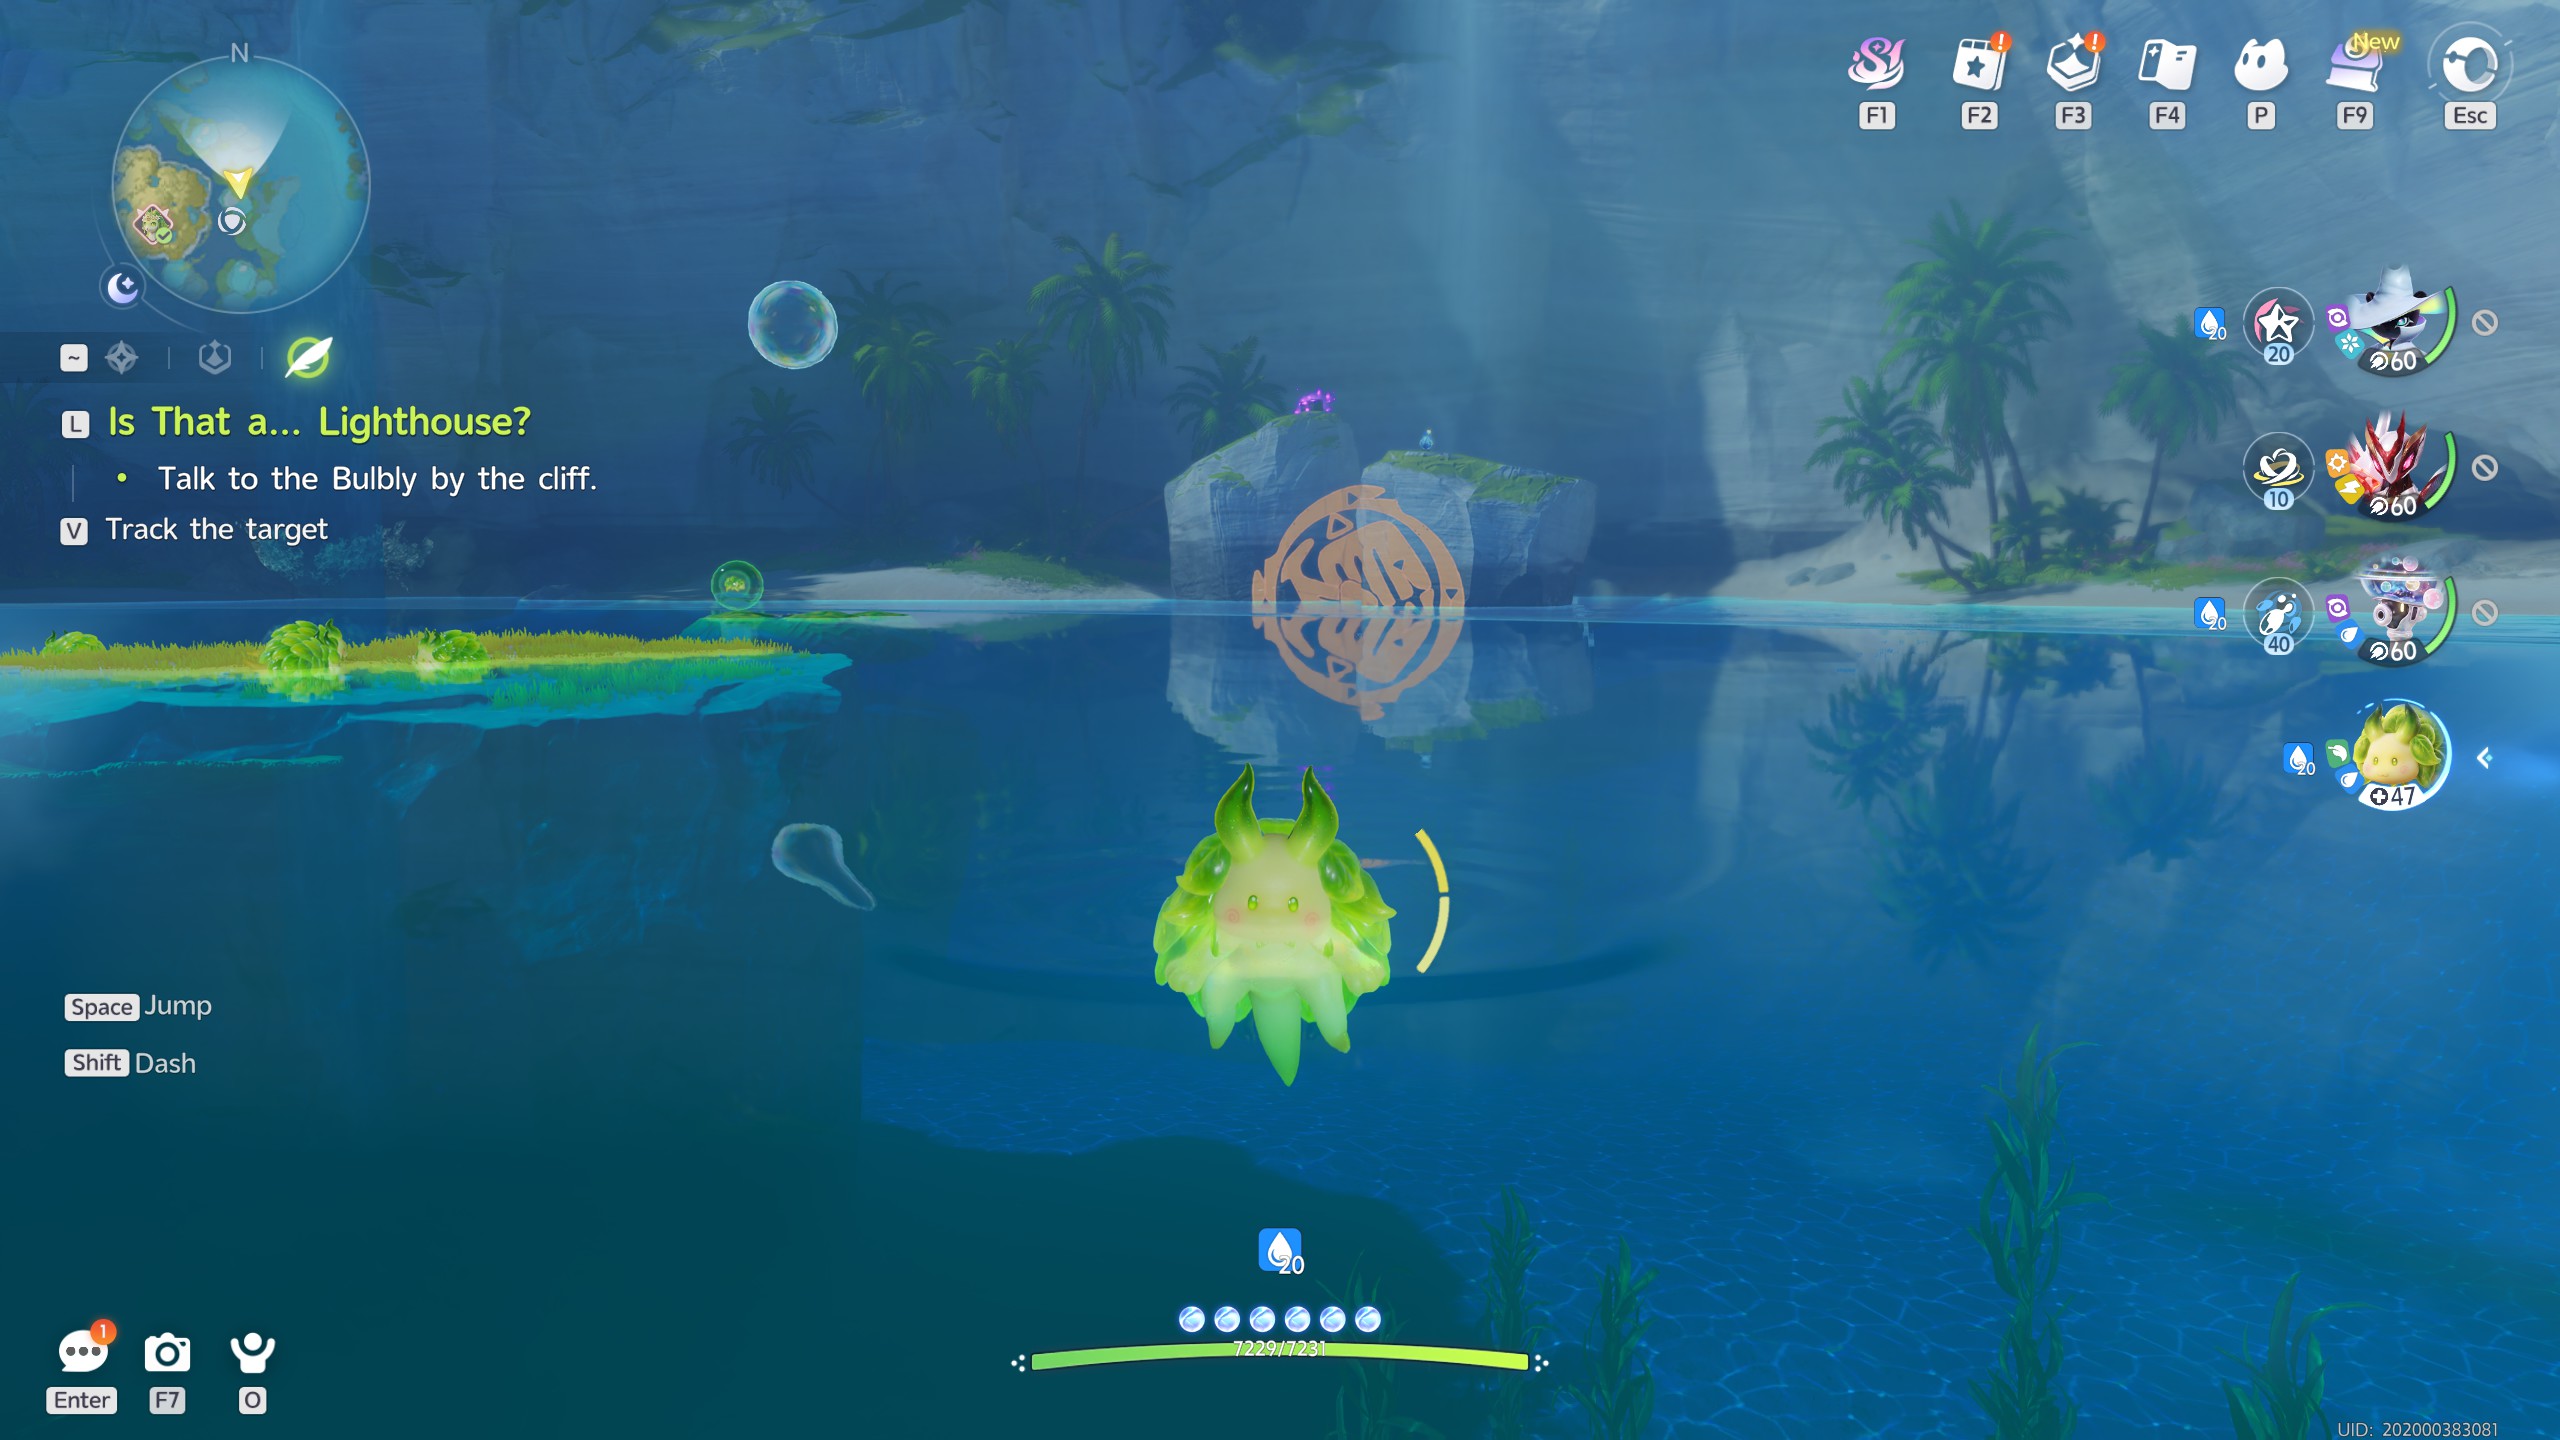
Just off to the side near the central tree you'll find two rocks with half of a marking on either one. Simply adjust your view in the water until the symbol is fully formed. Once done, you'll receive an Amber.


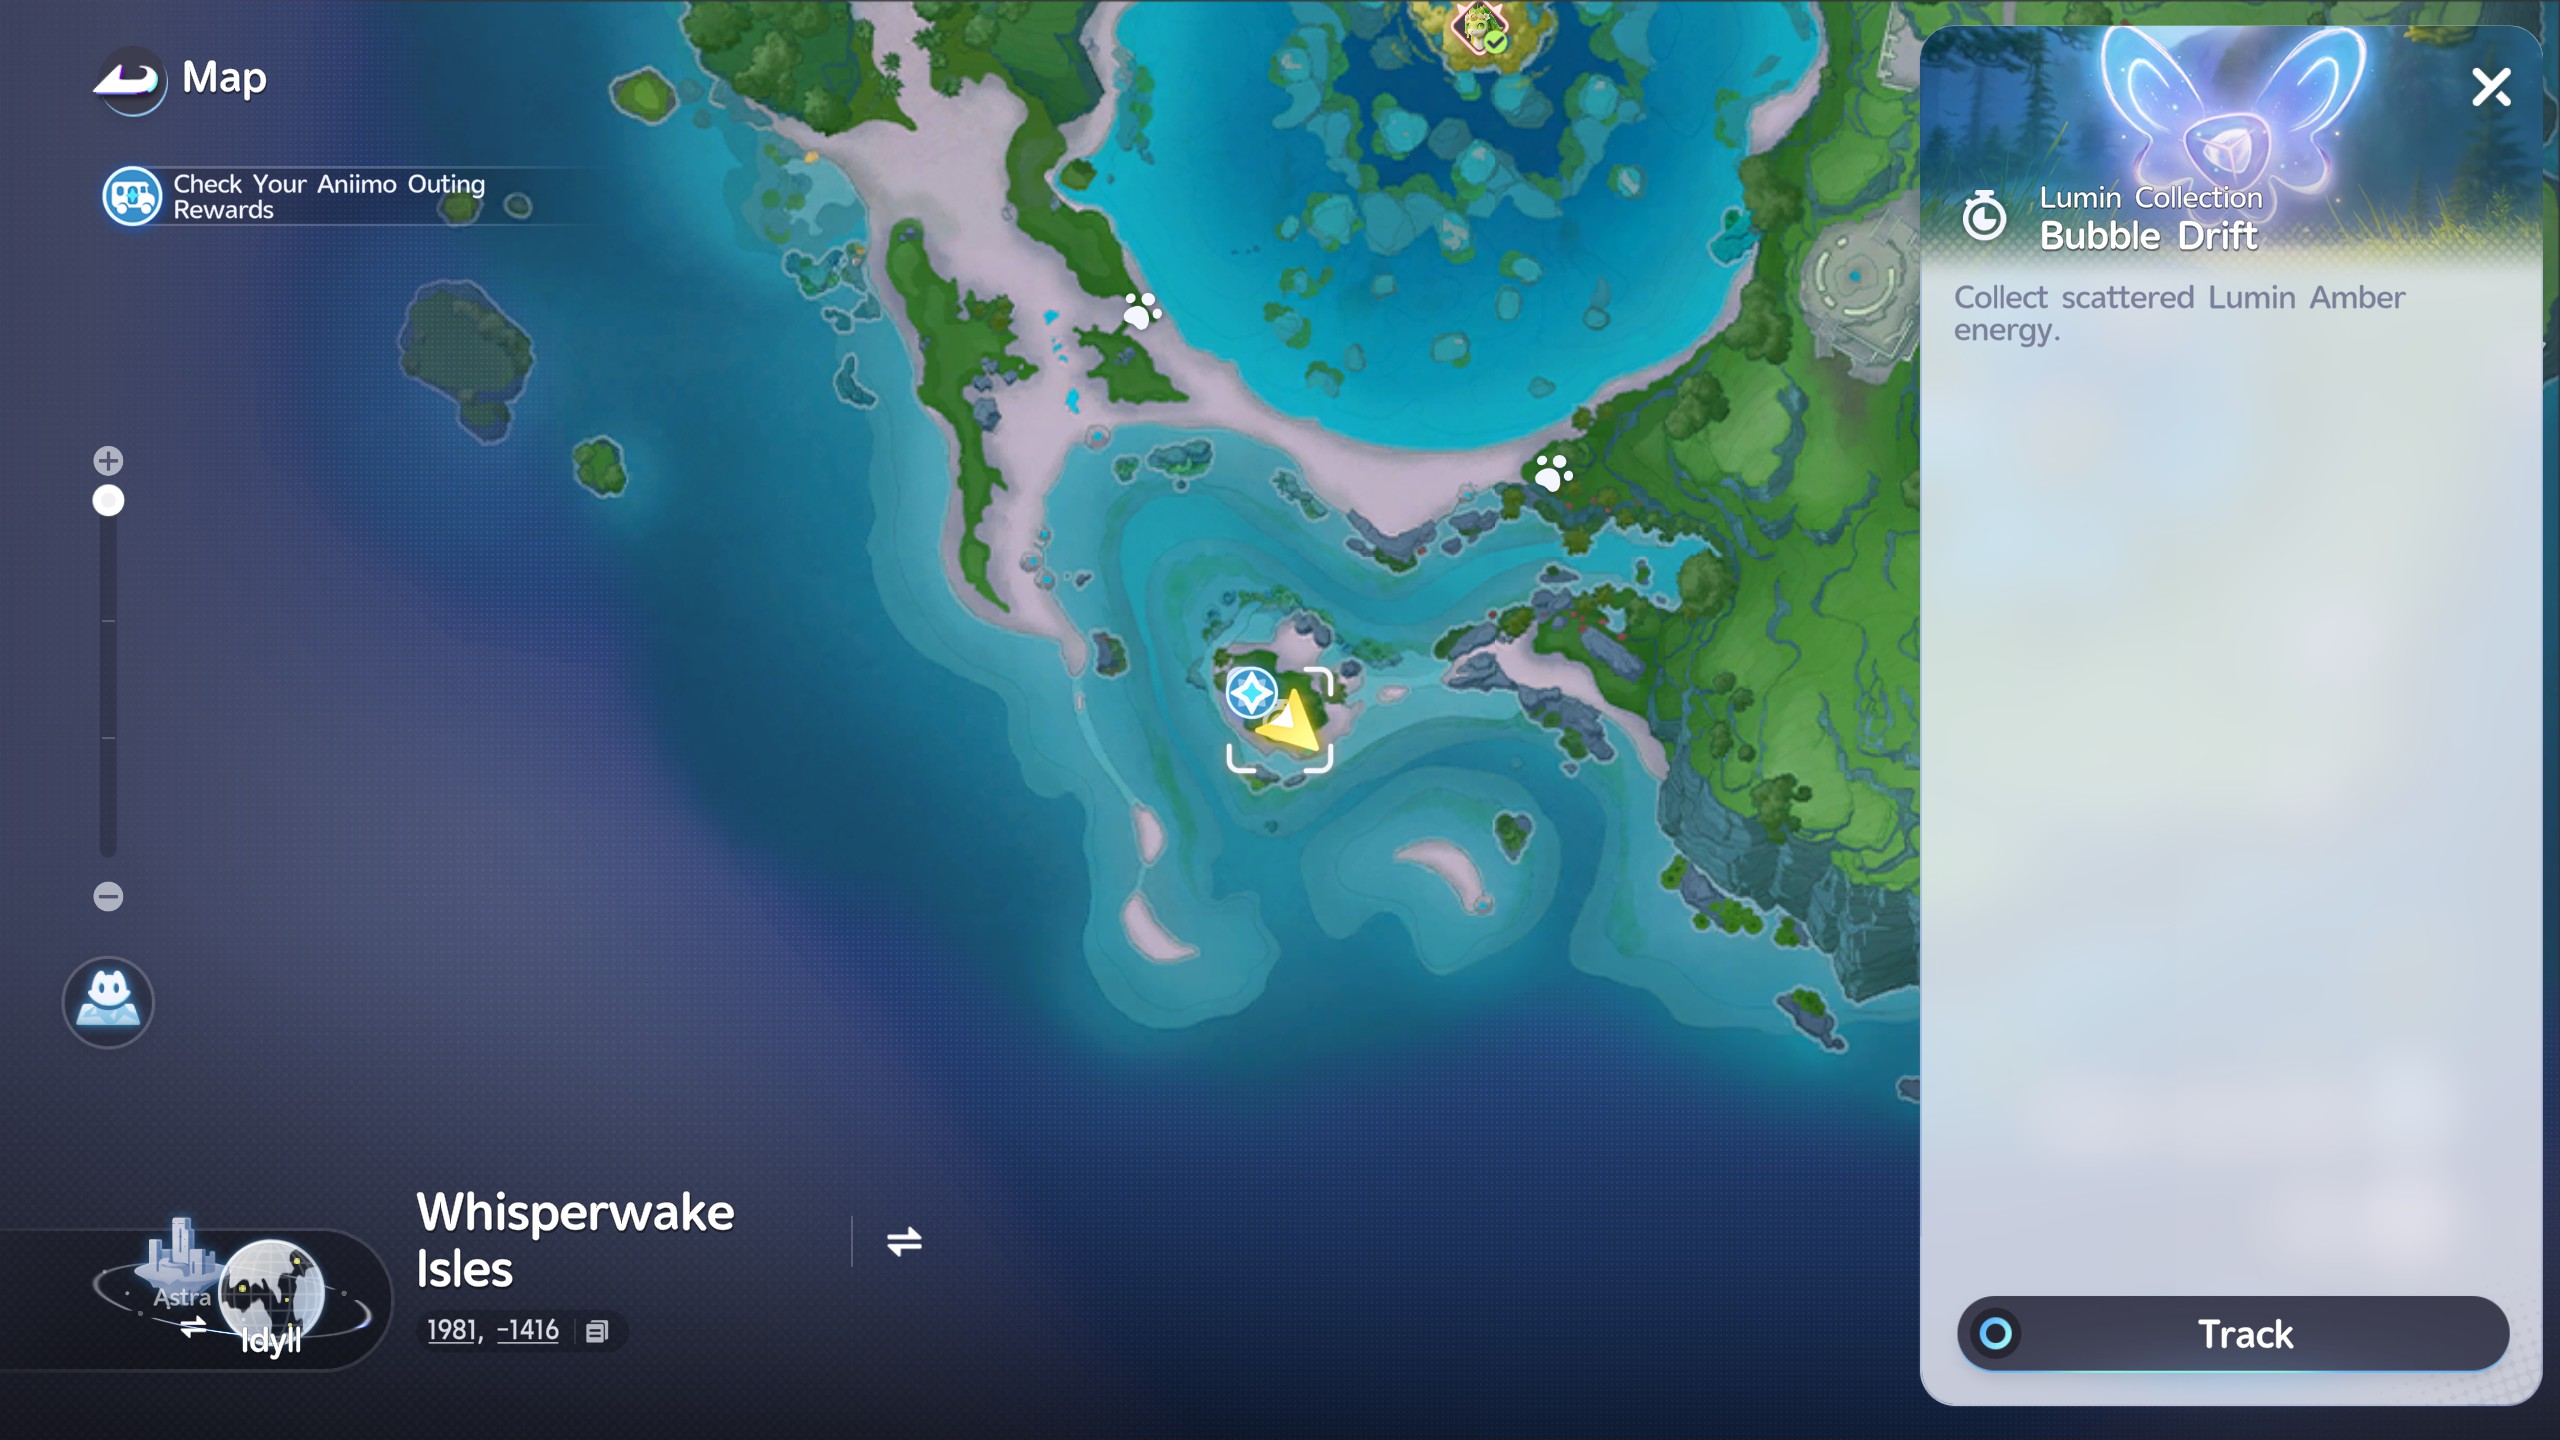
Bubbeep Floating Bubble

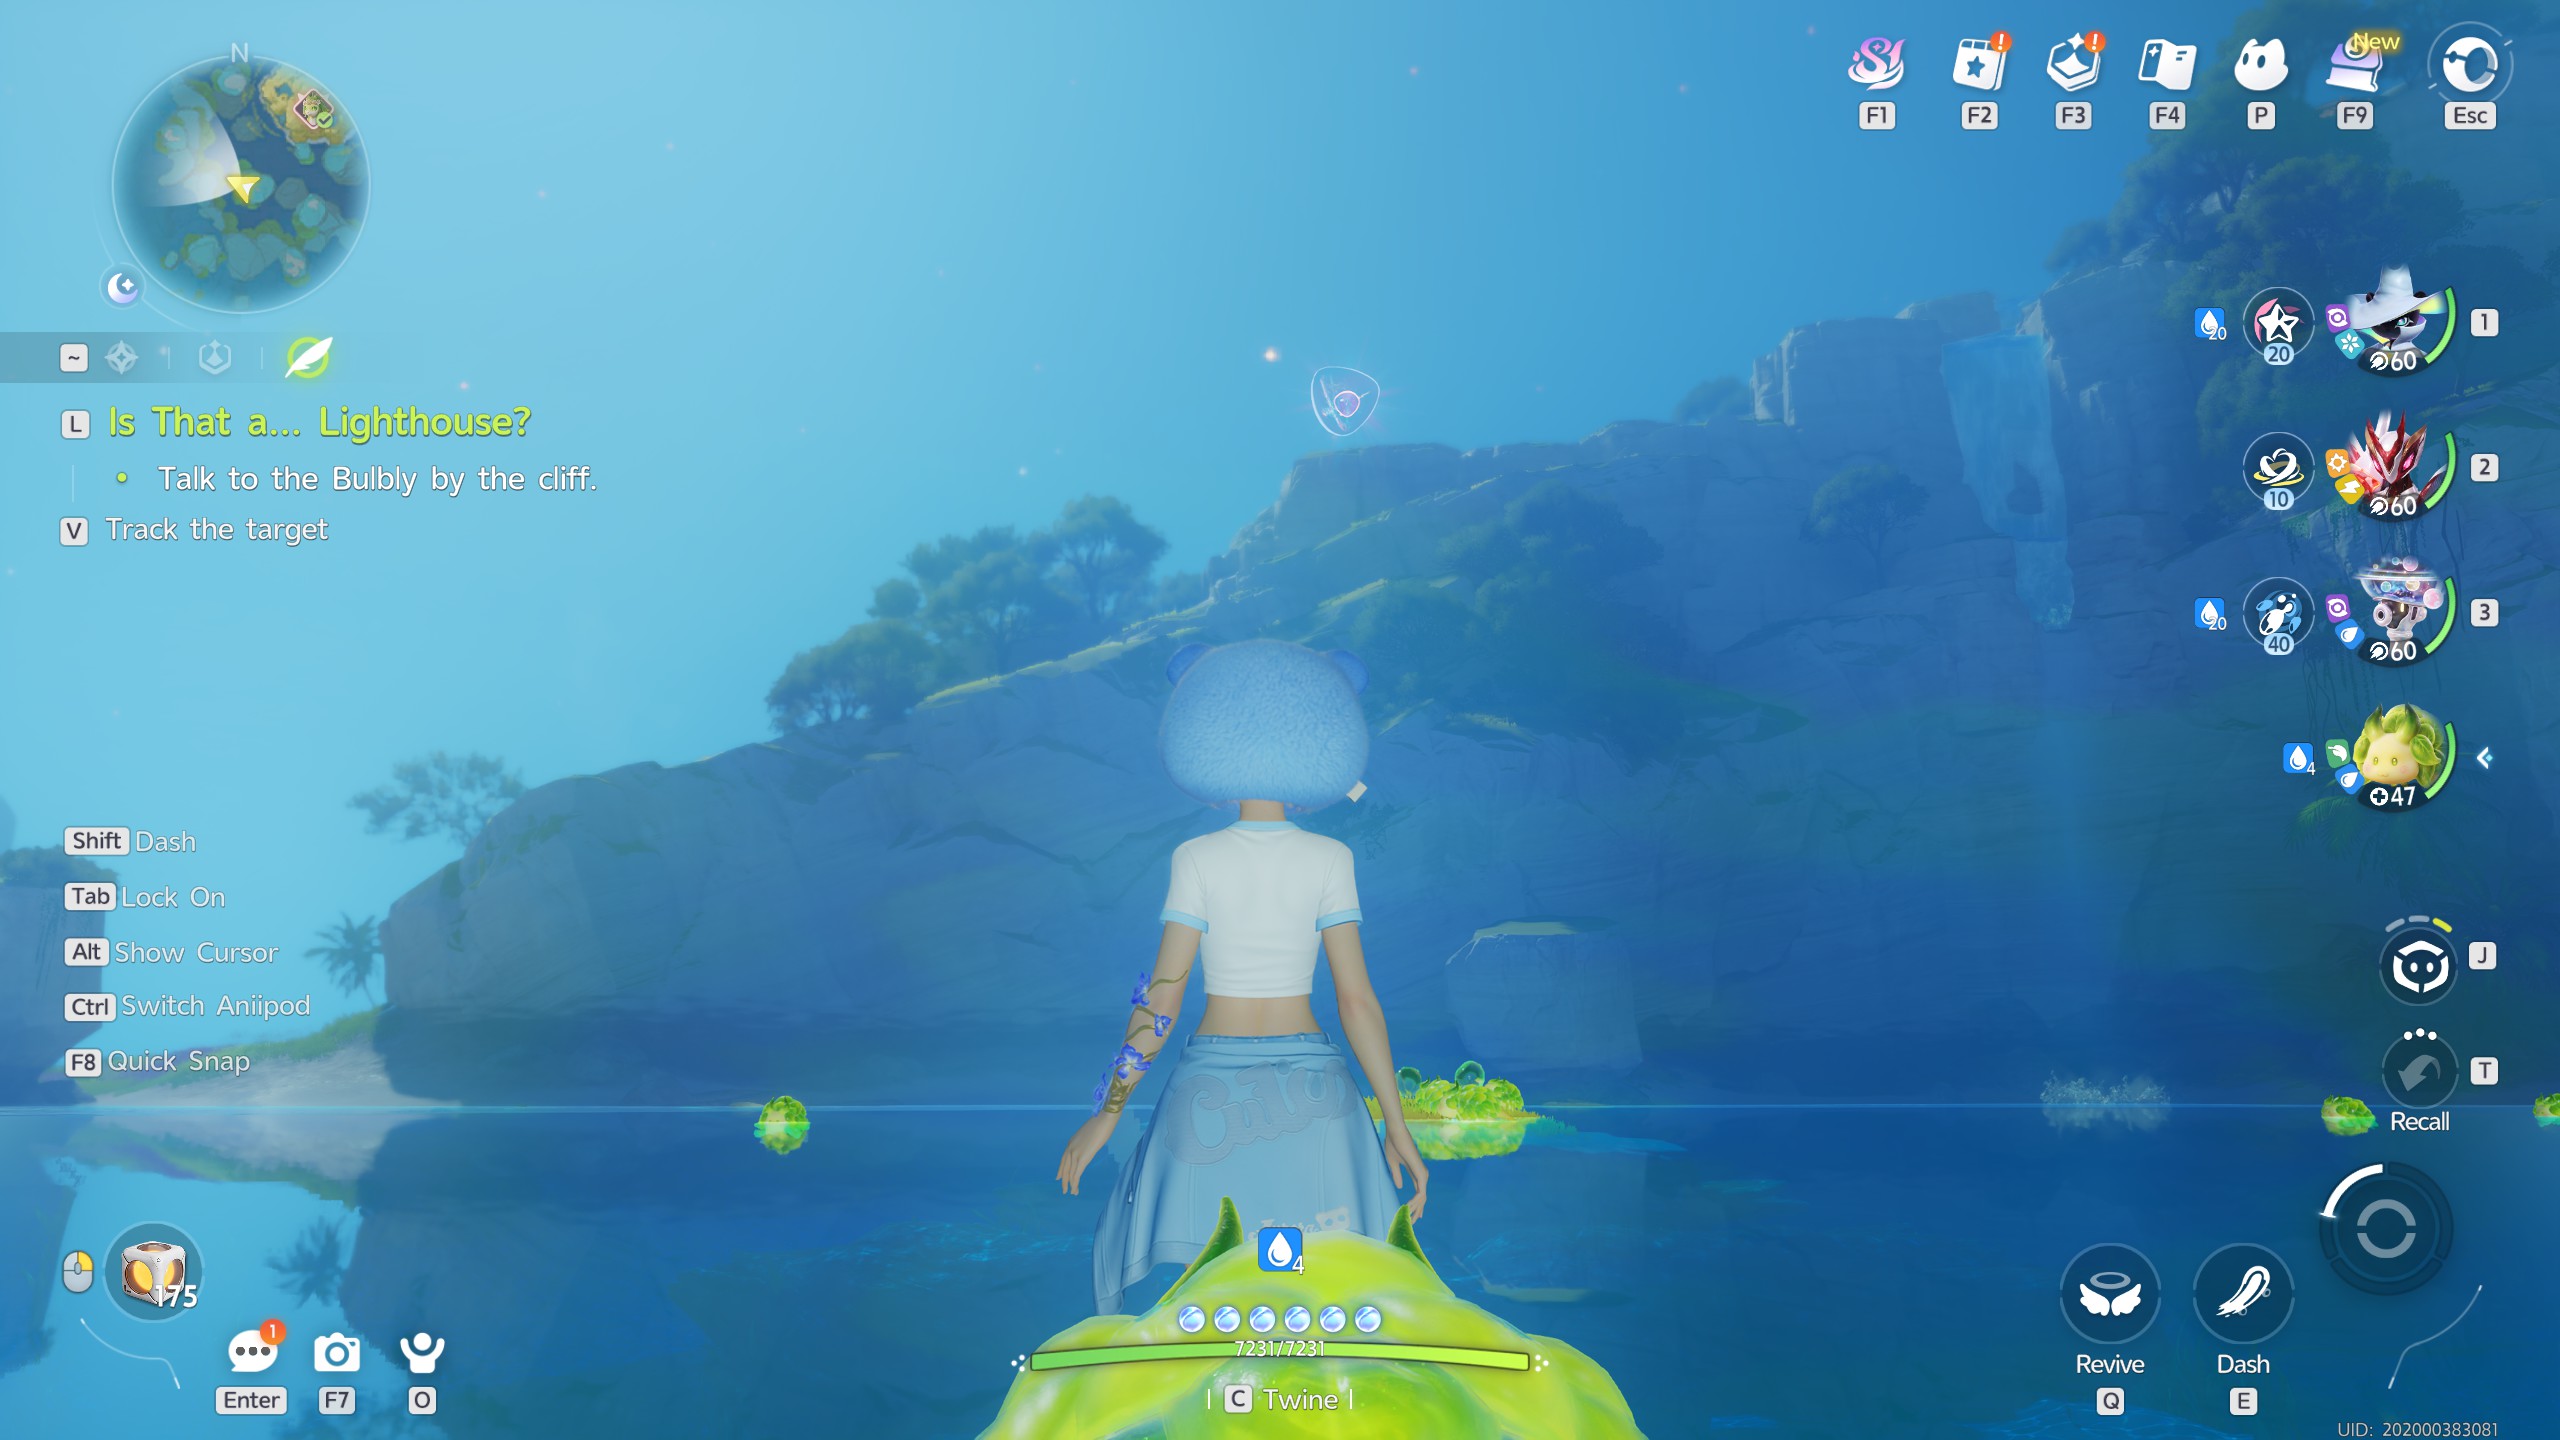
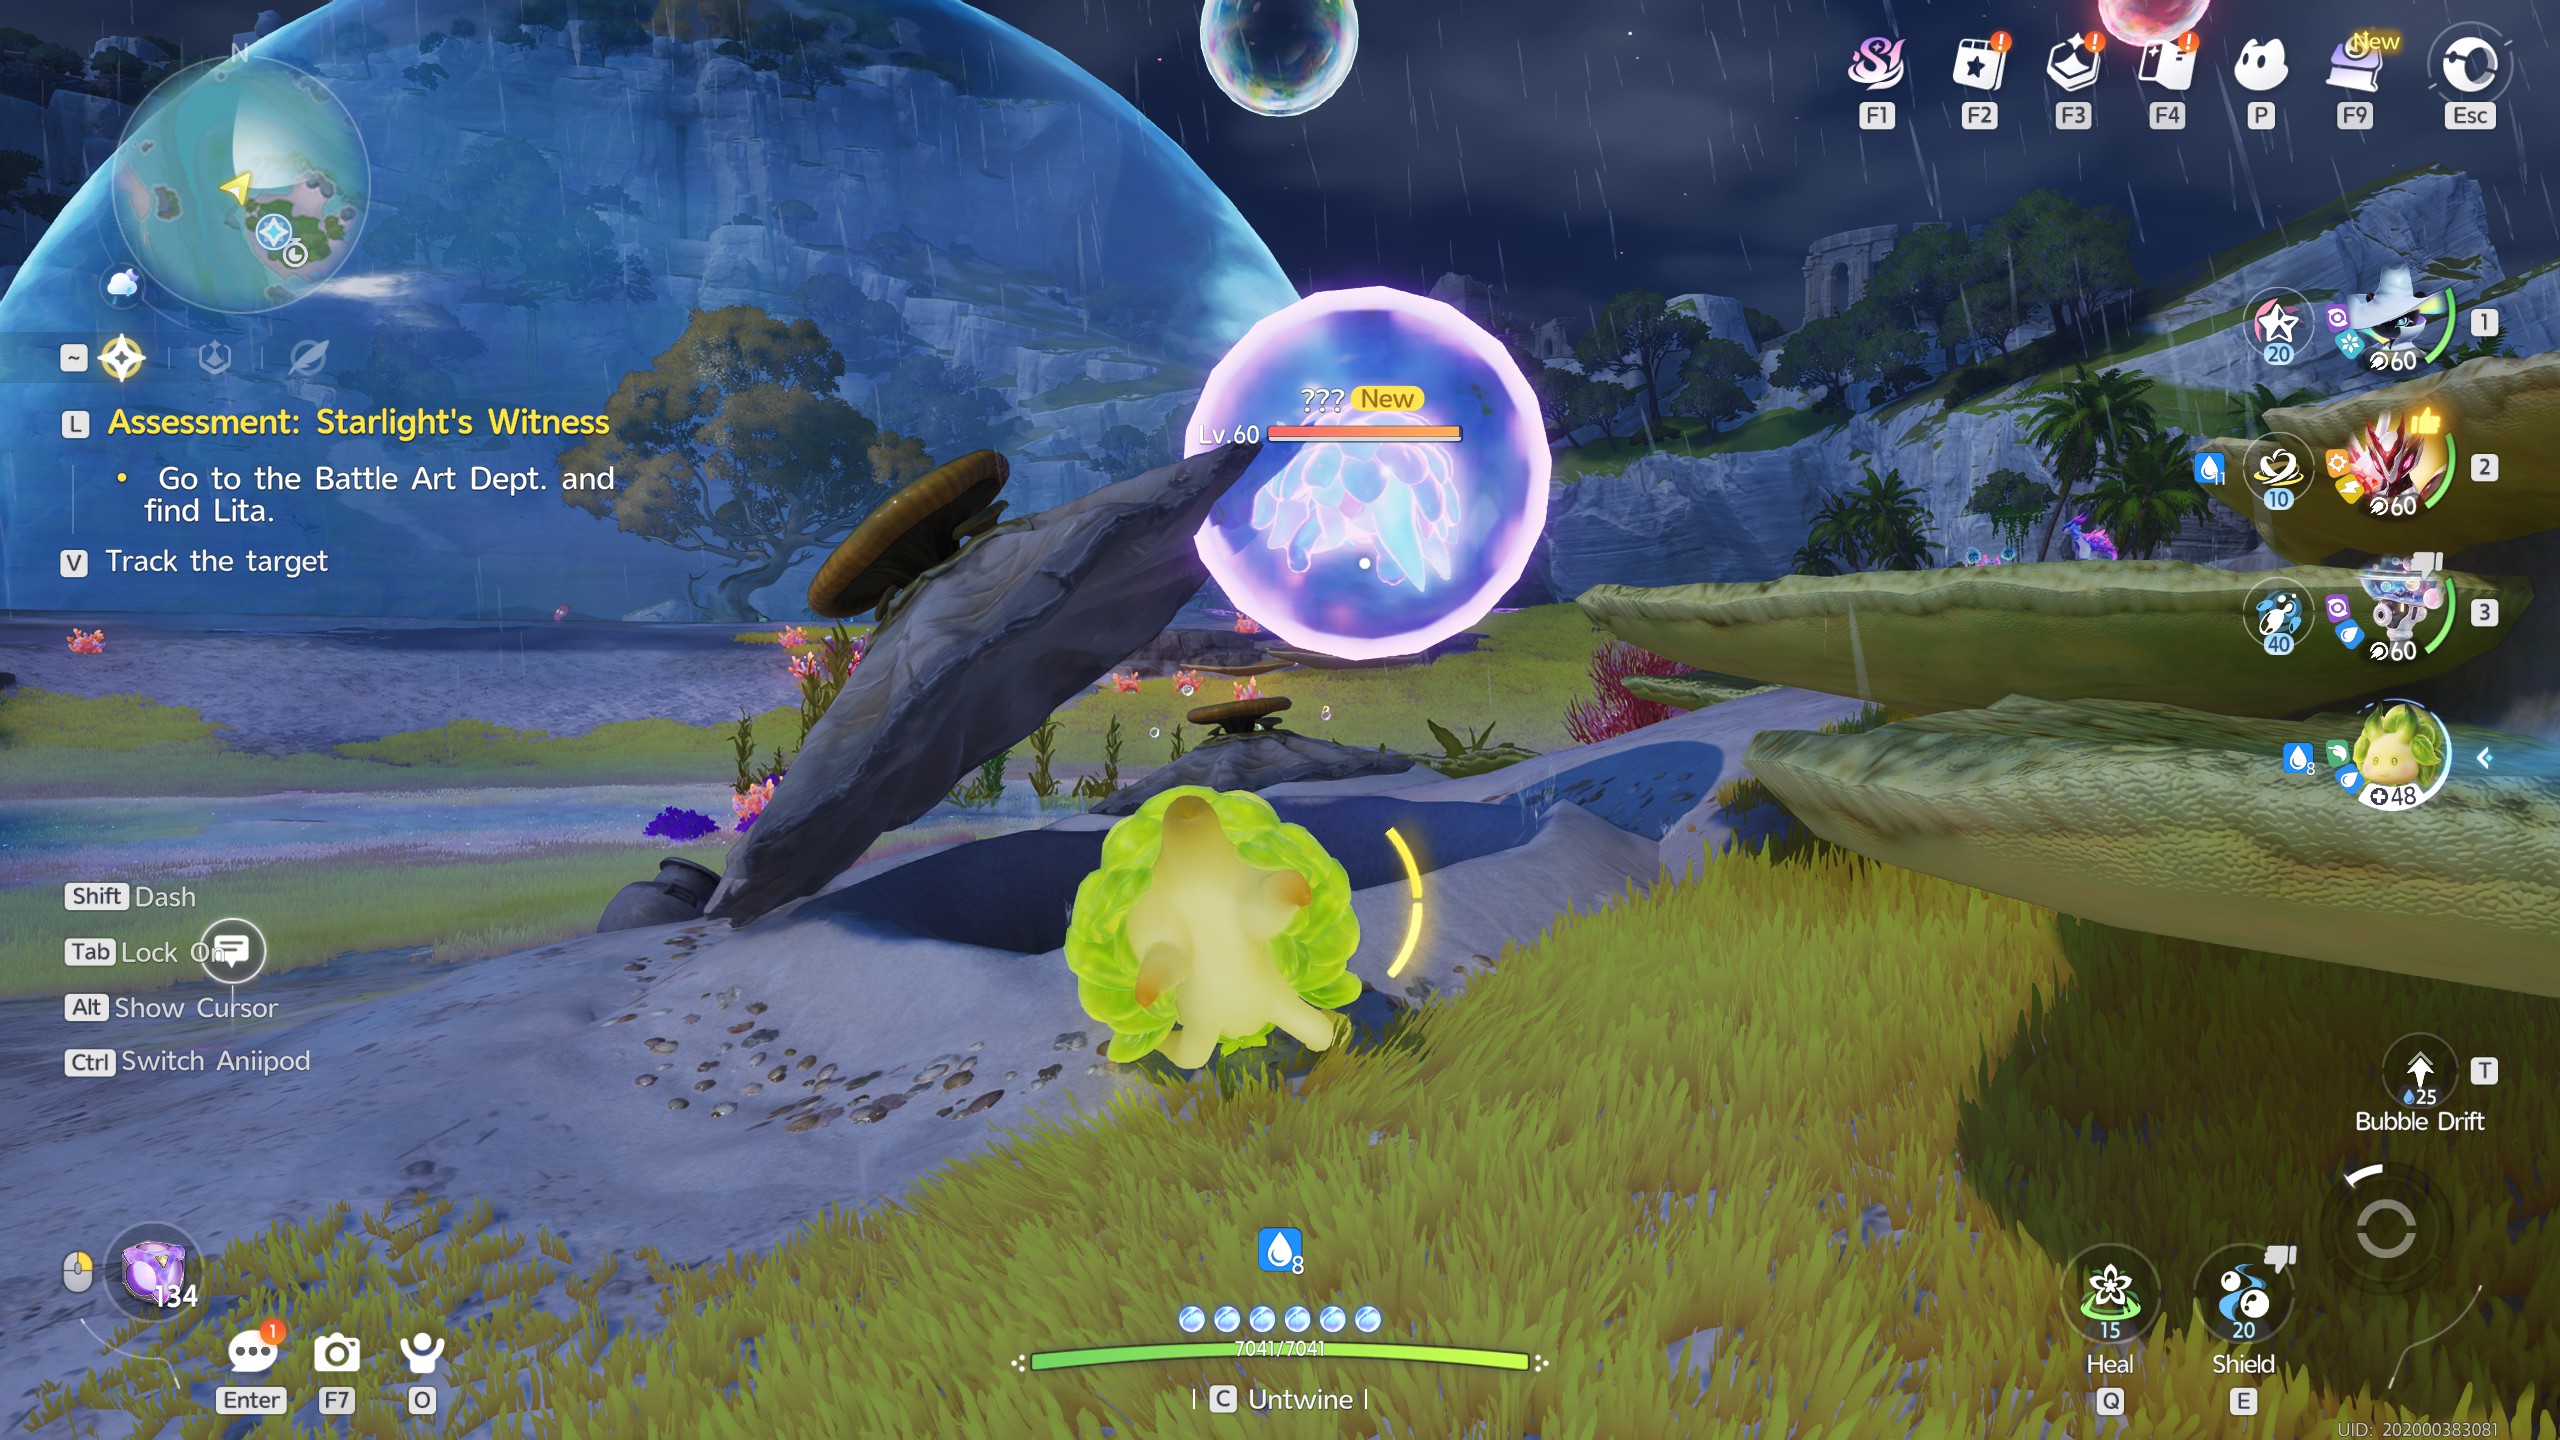
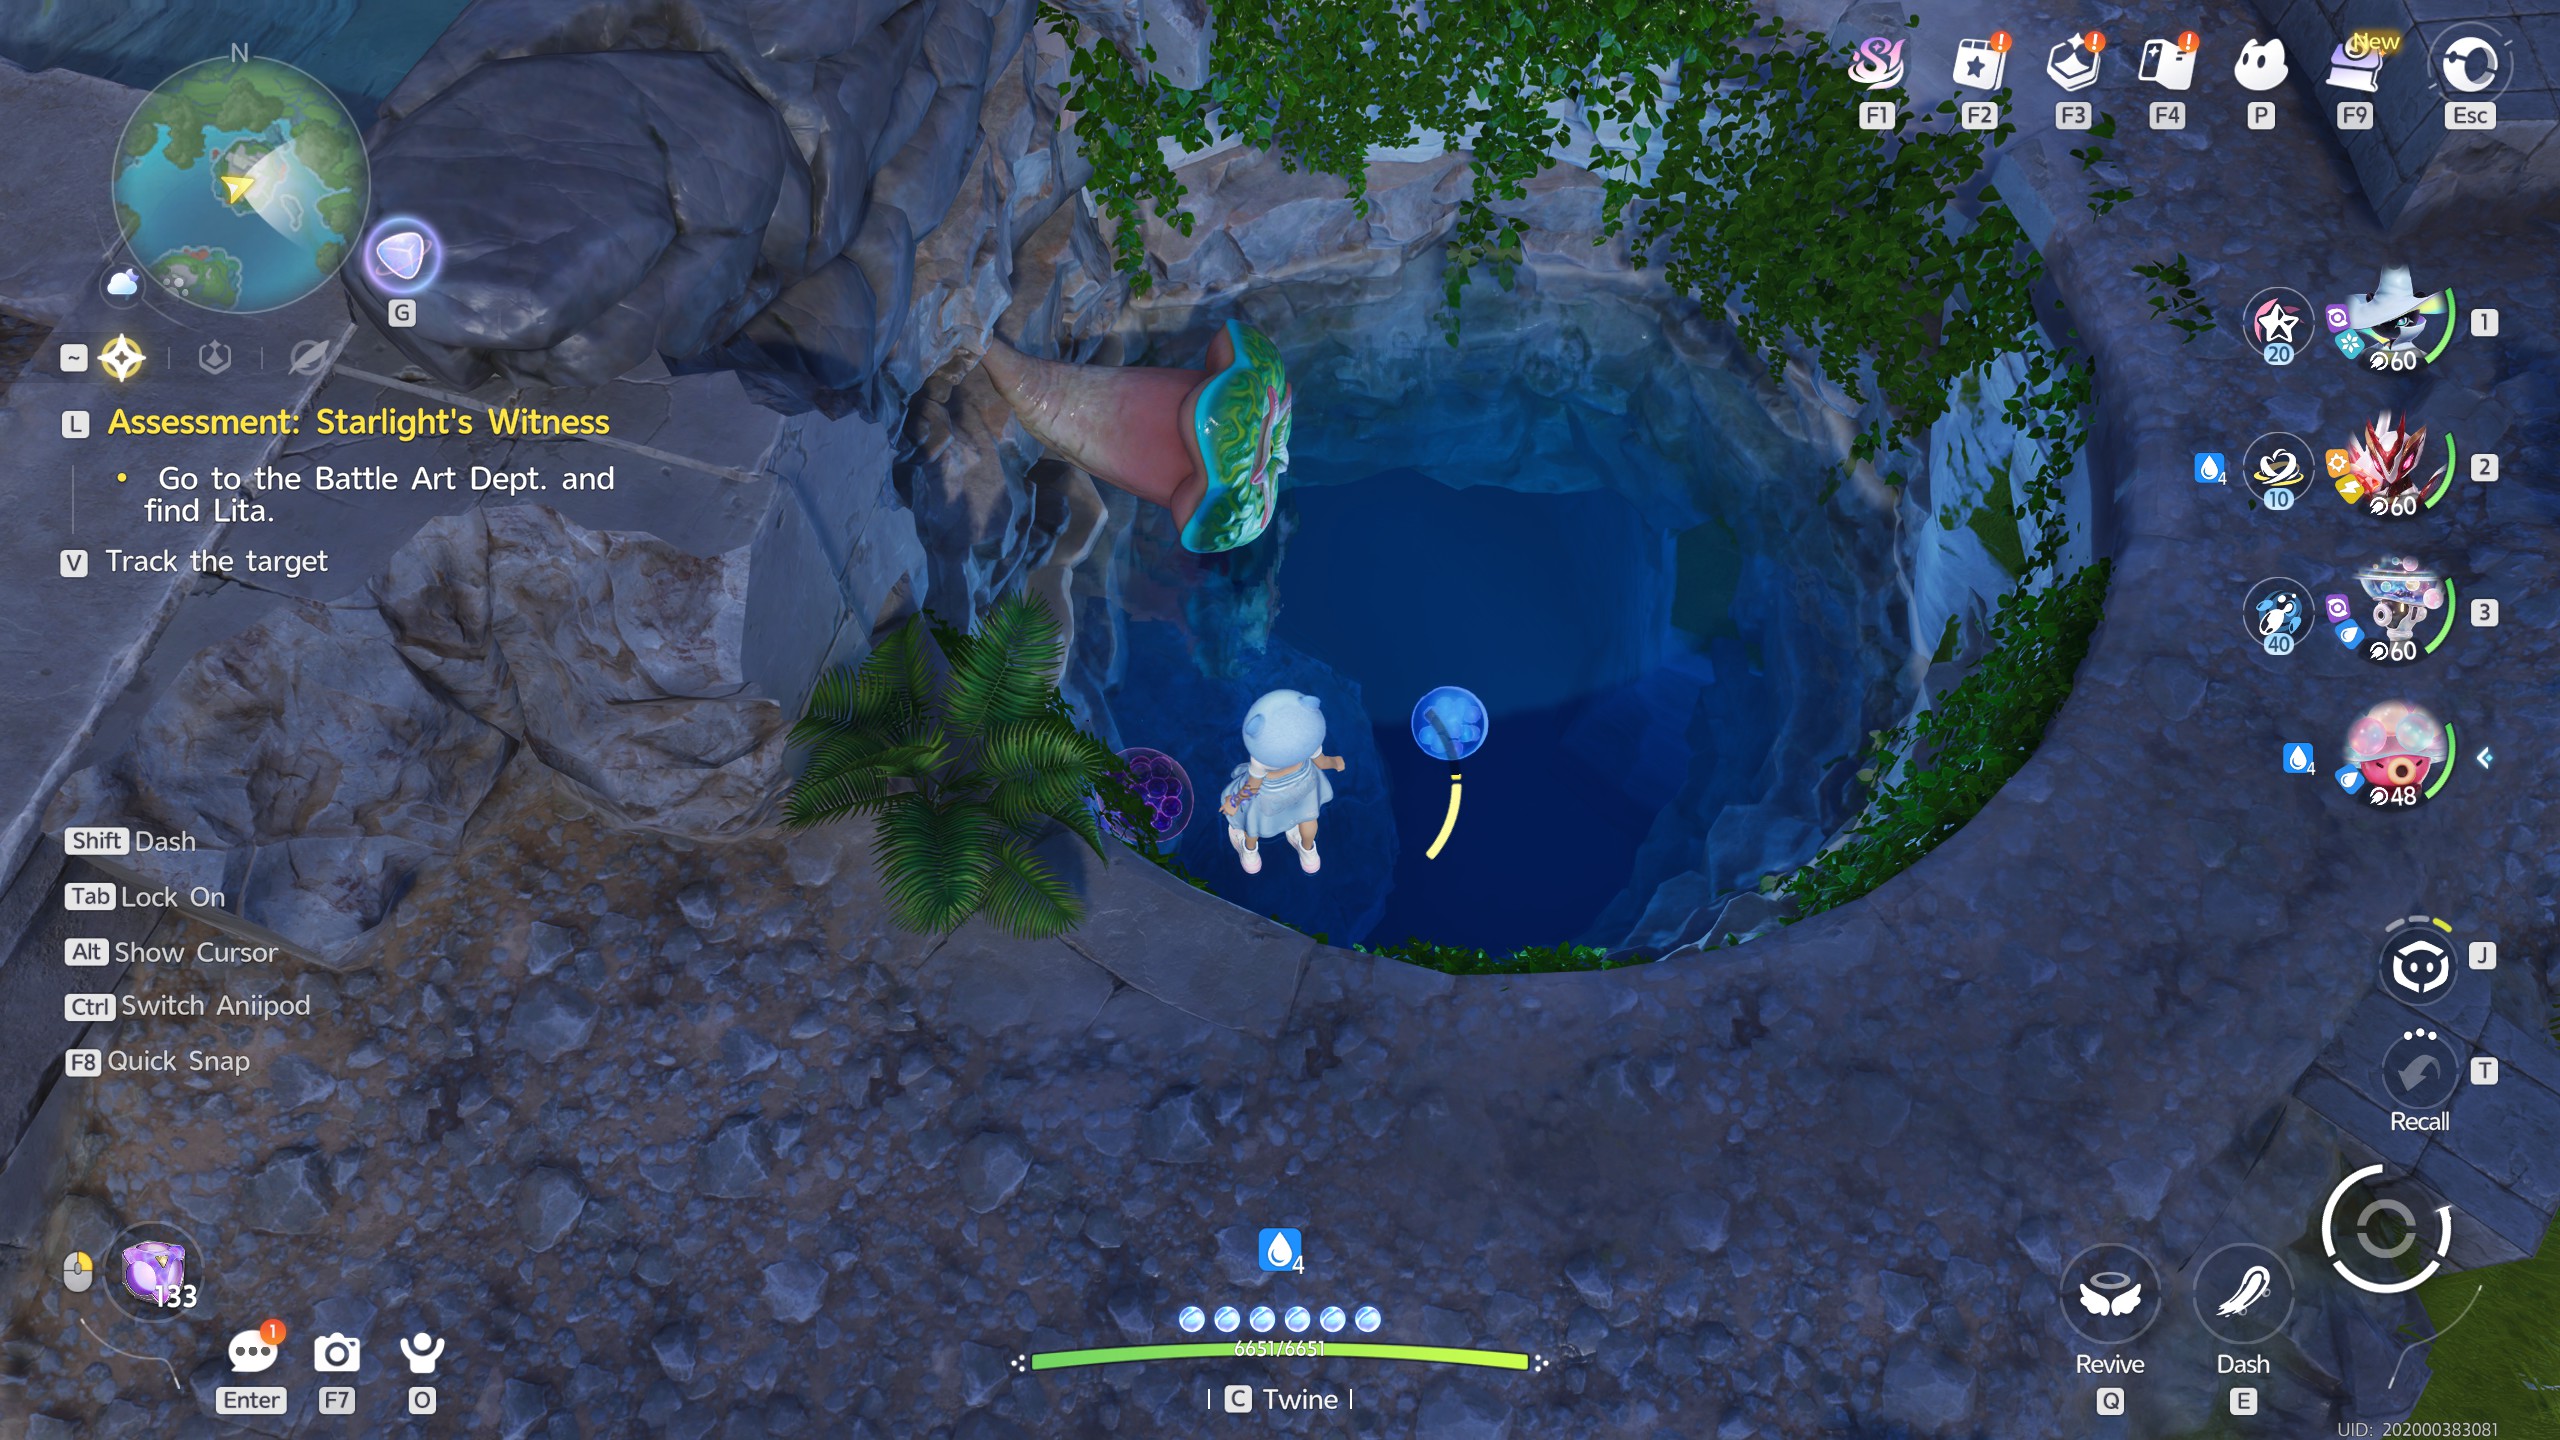
For this Amber, you'll want to first enter the big giant bubble in the center of the map, and twine with the Aniimo type Bubbeep

The Amber will be floating in the air on arrival, but won't be accessible normally.

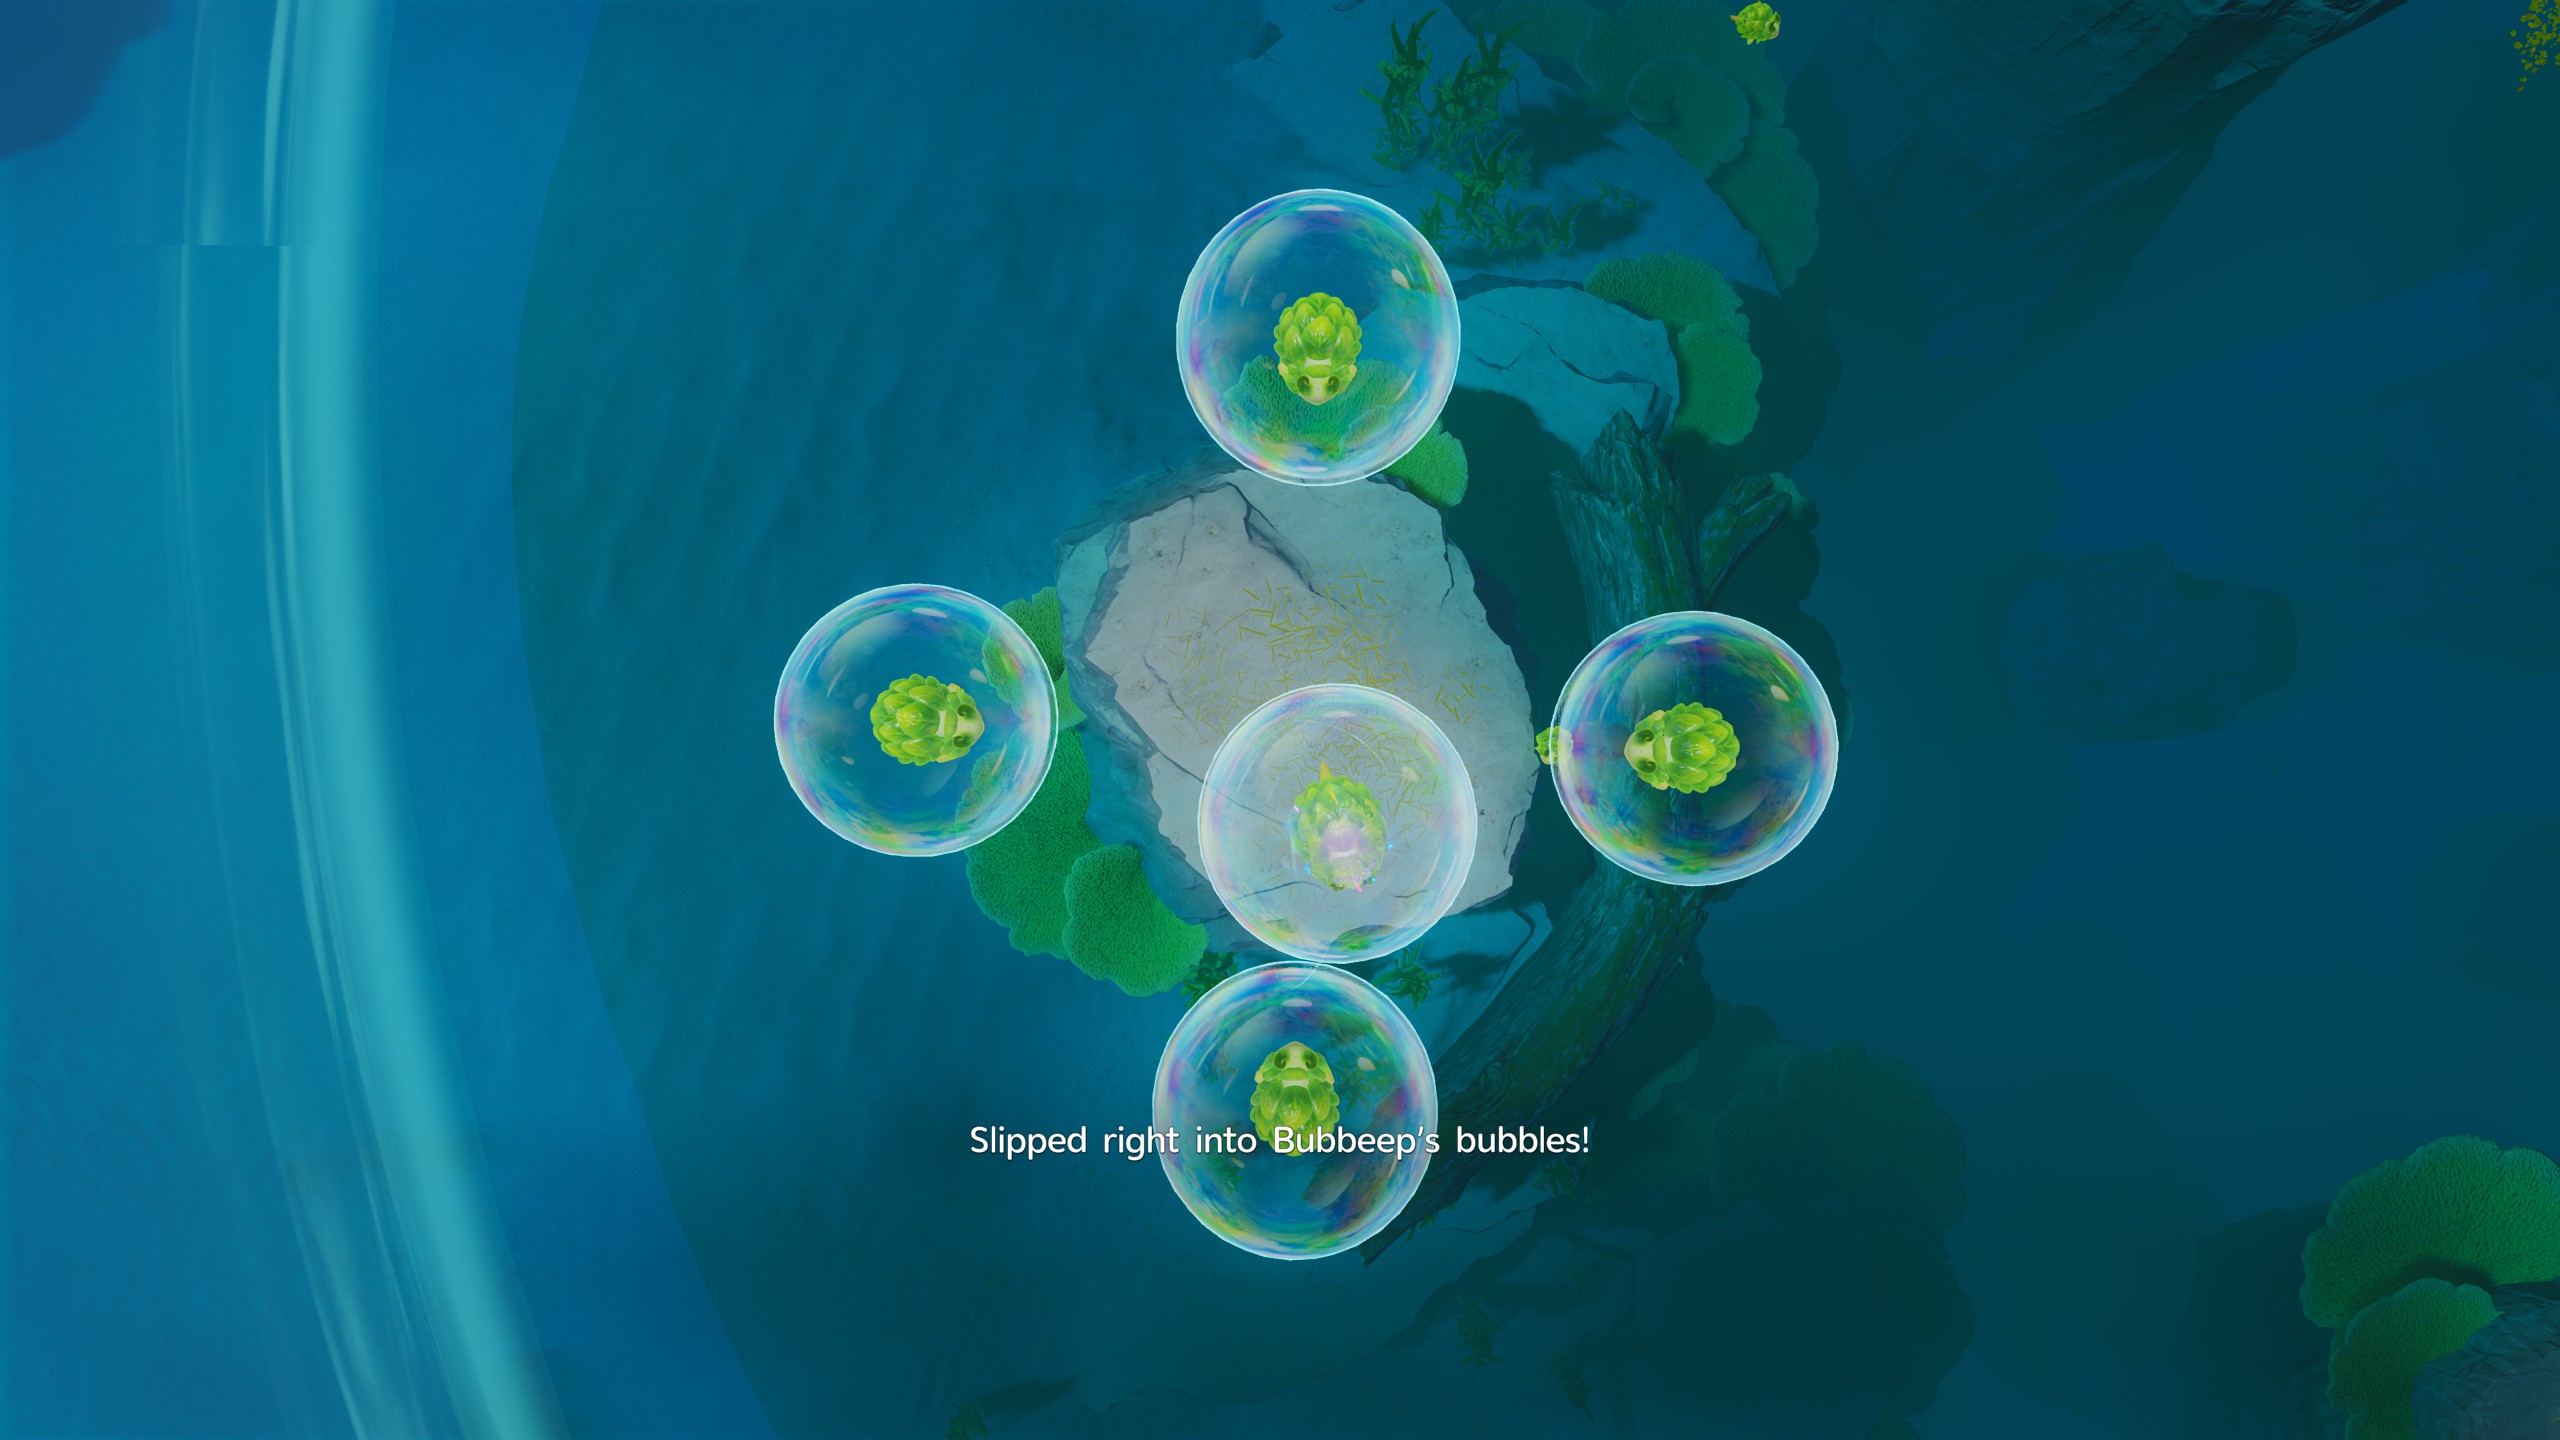
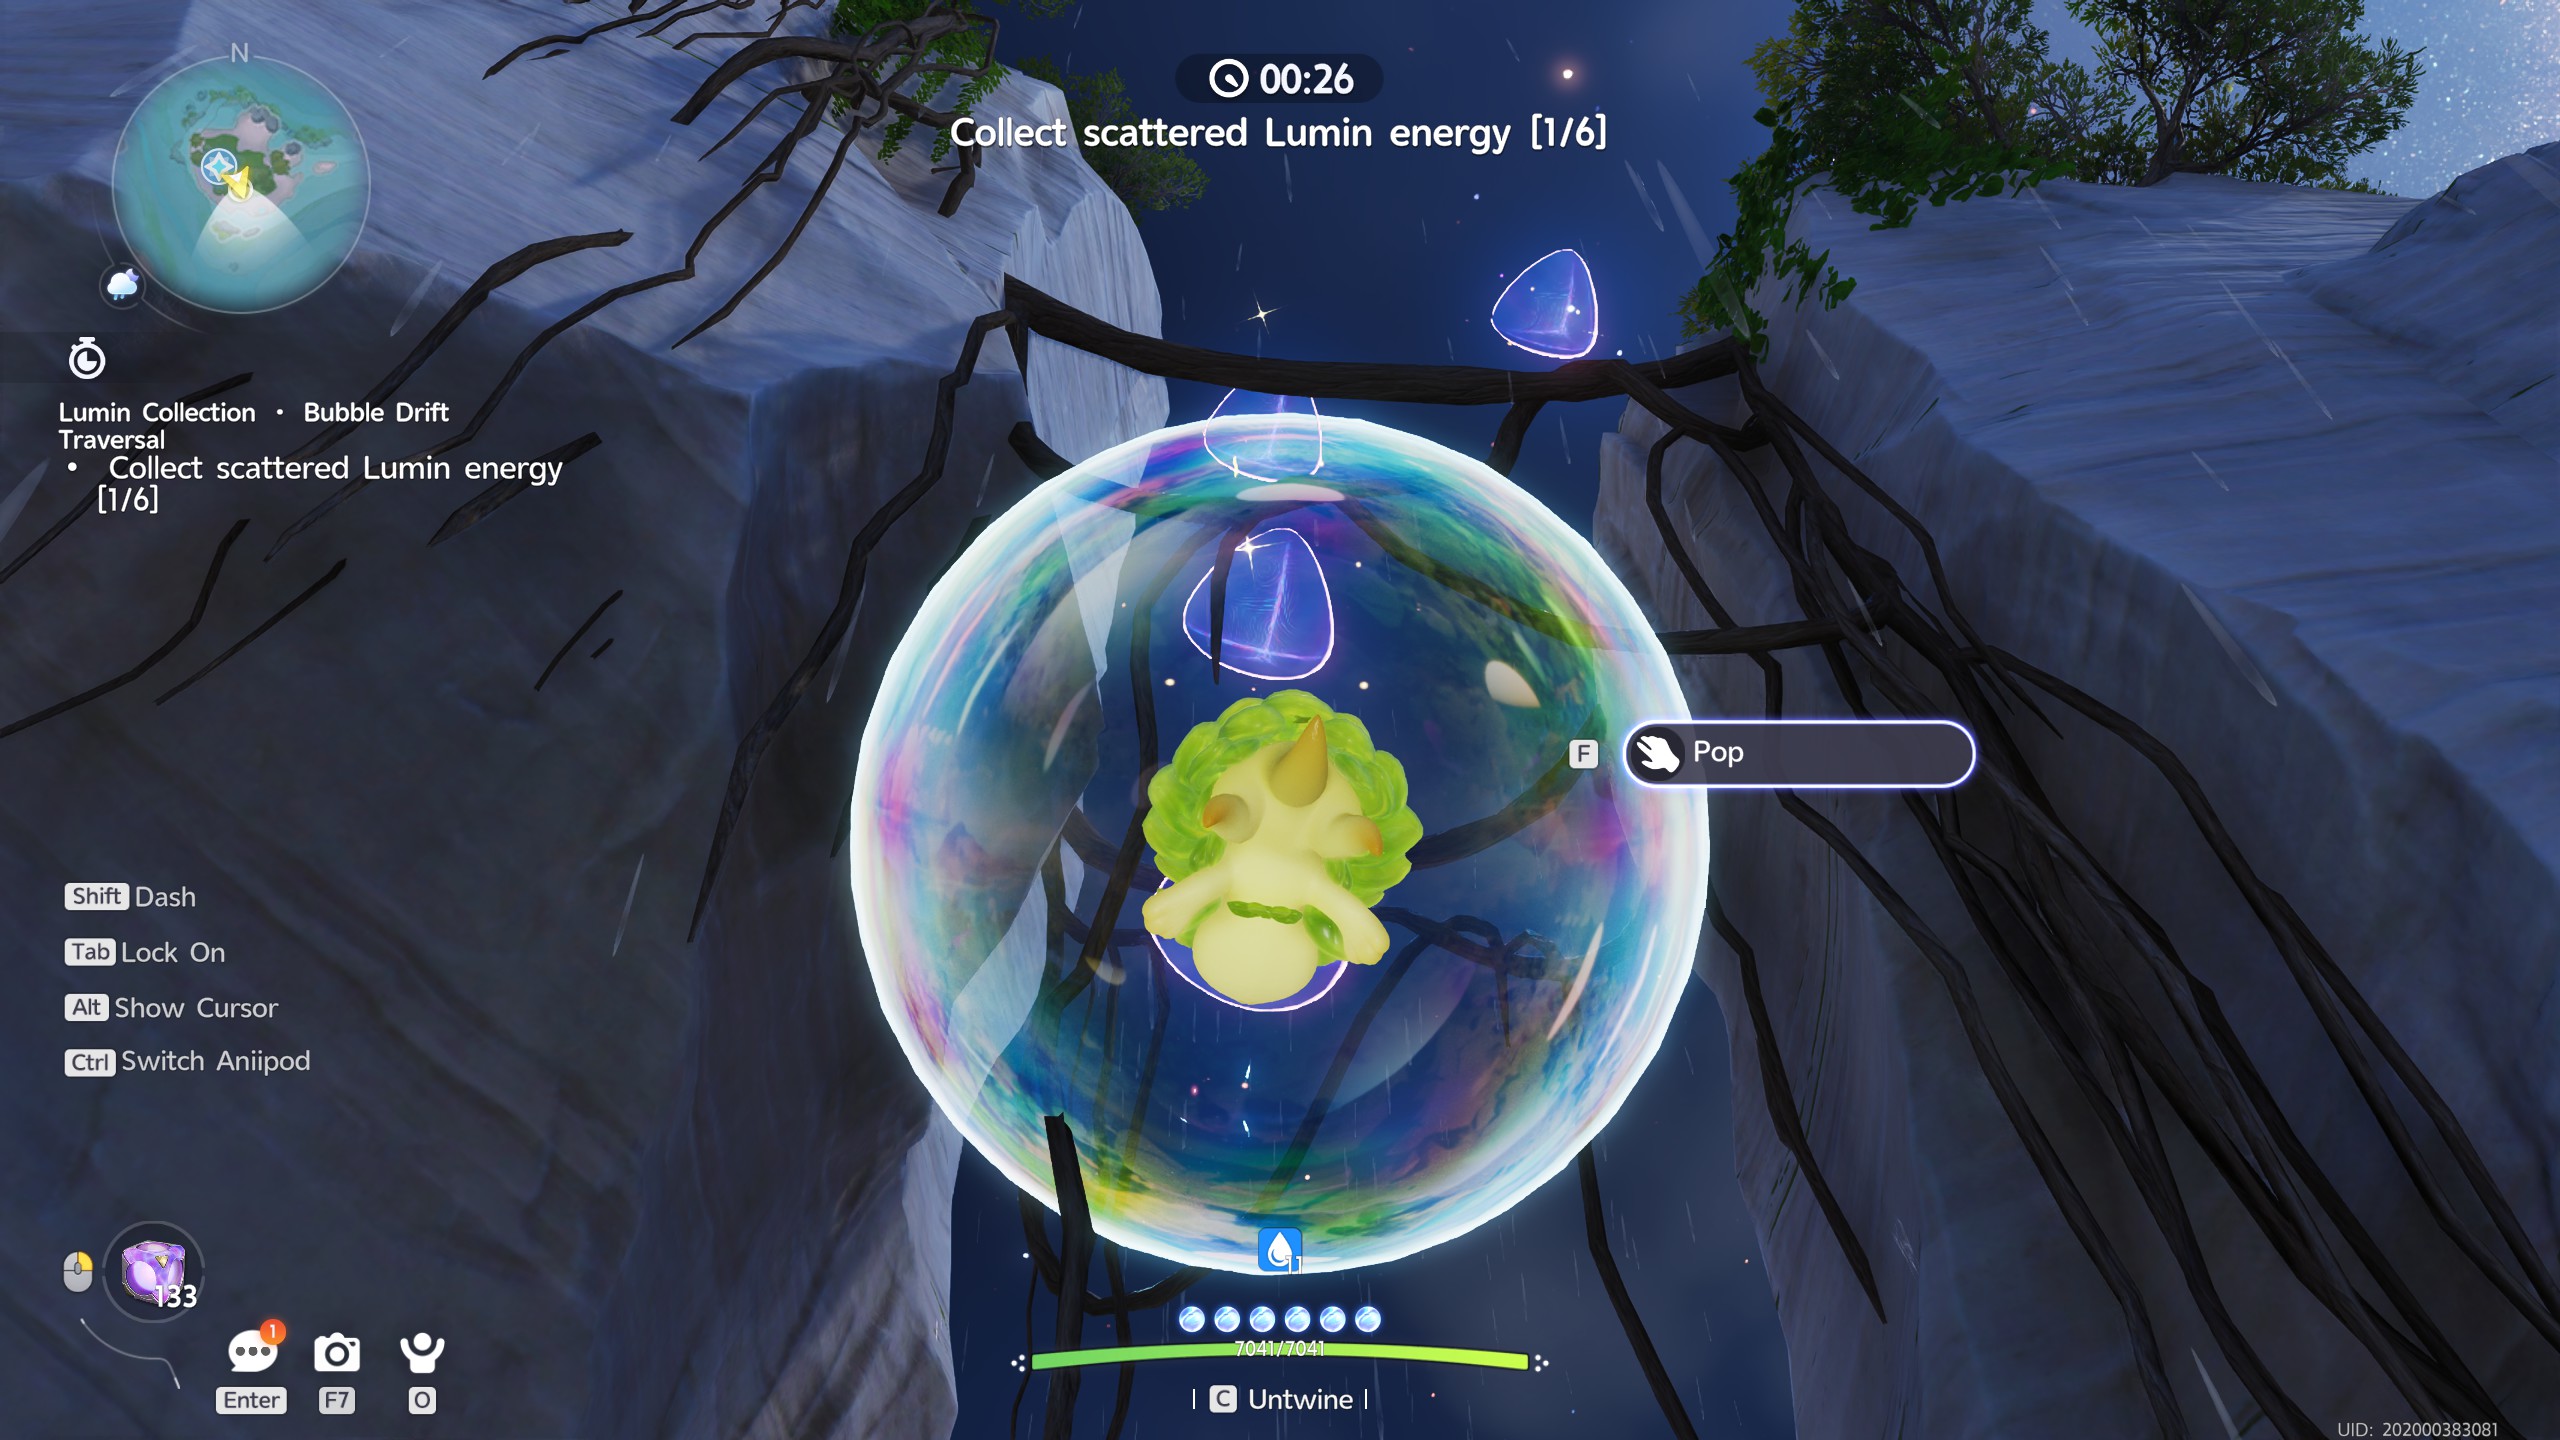
Once you make your wave over to the platform below the Amber, use Bubbeep's Bubble Drift ability to blow a bubble, and then step inside. Once done, a cutscene will play and you'll receive the Amber.

Blessed Bubbeep

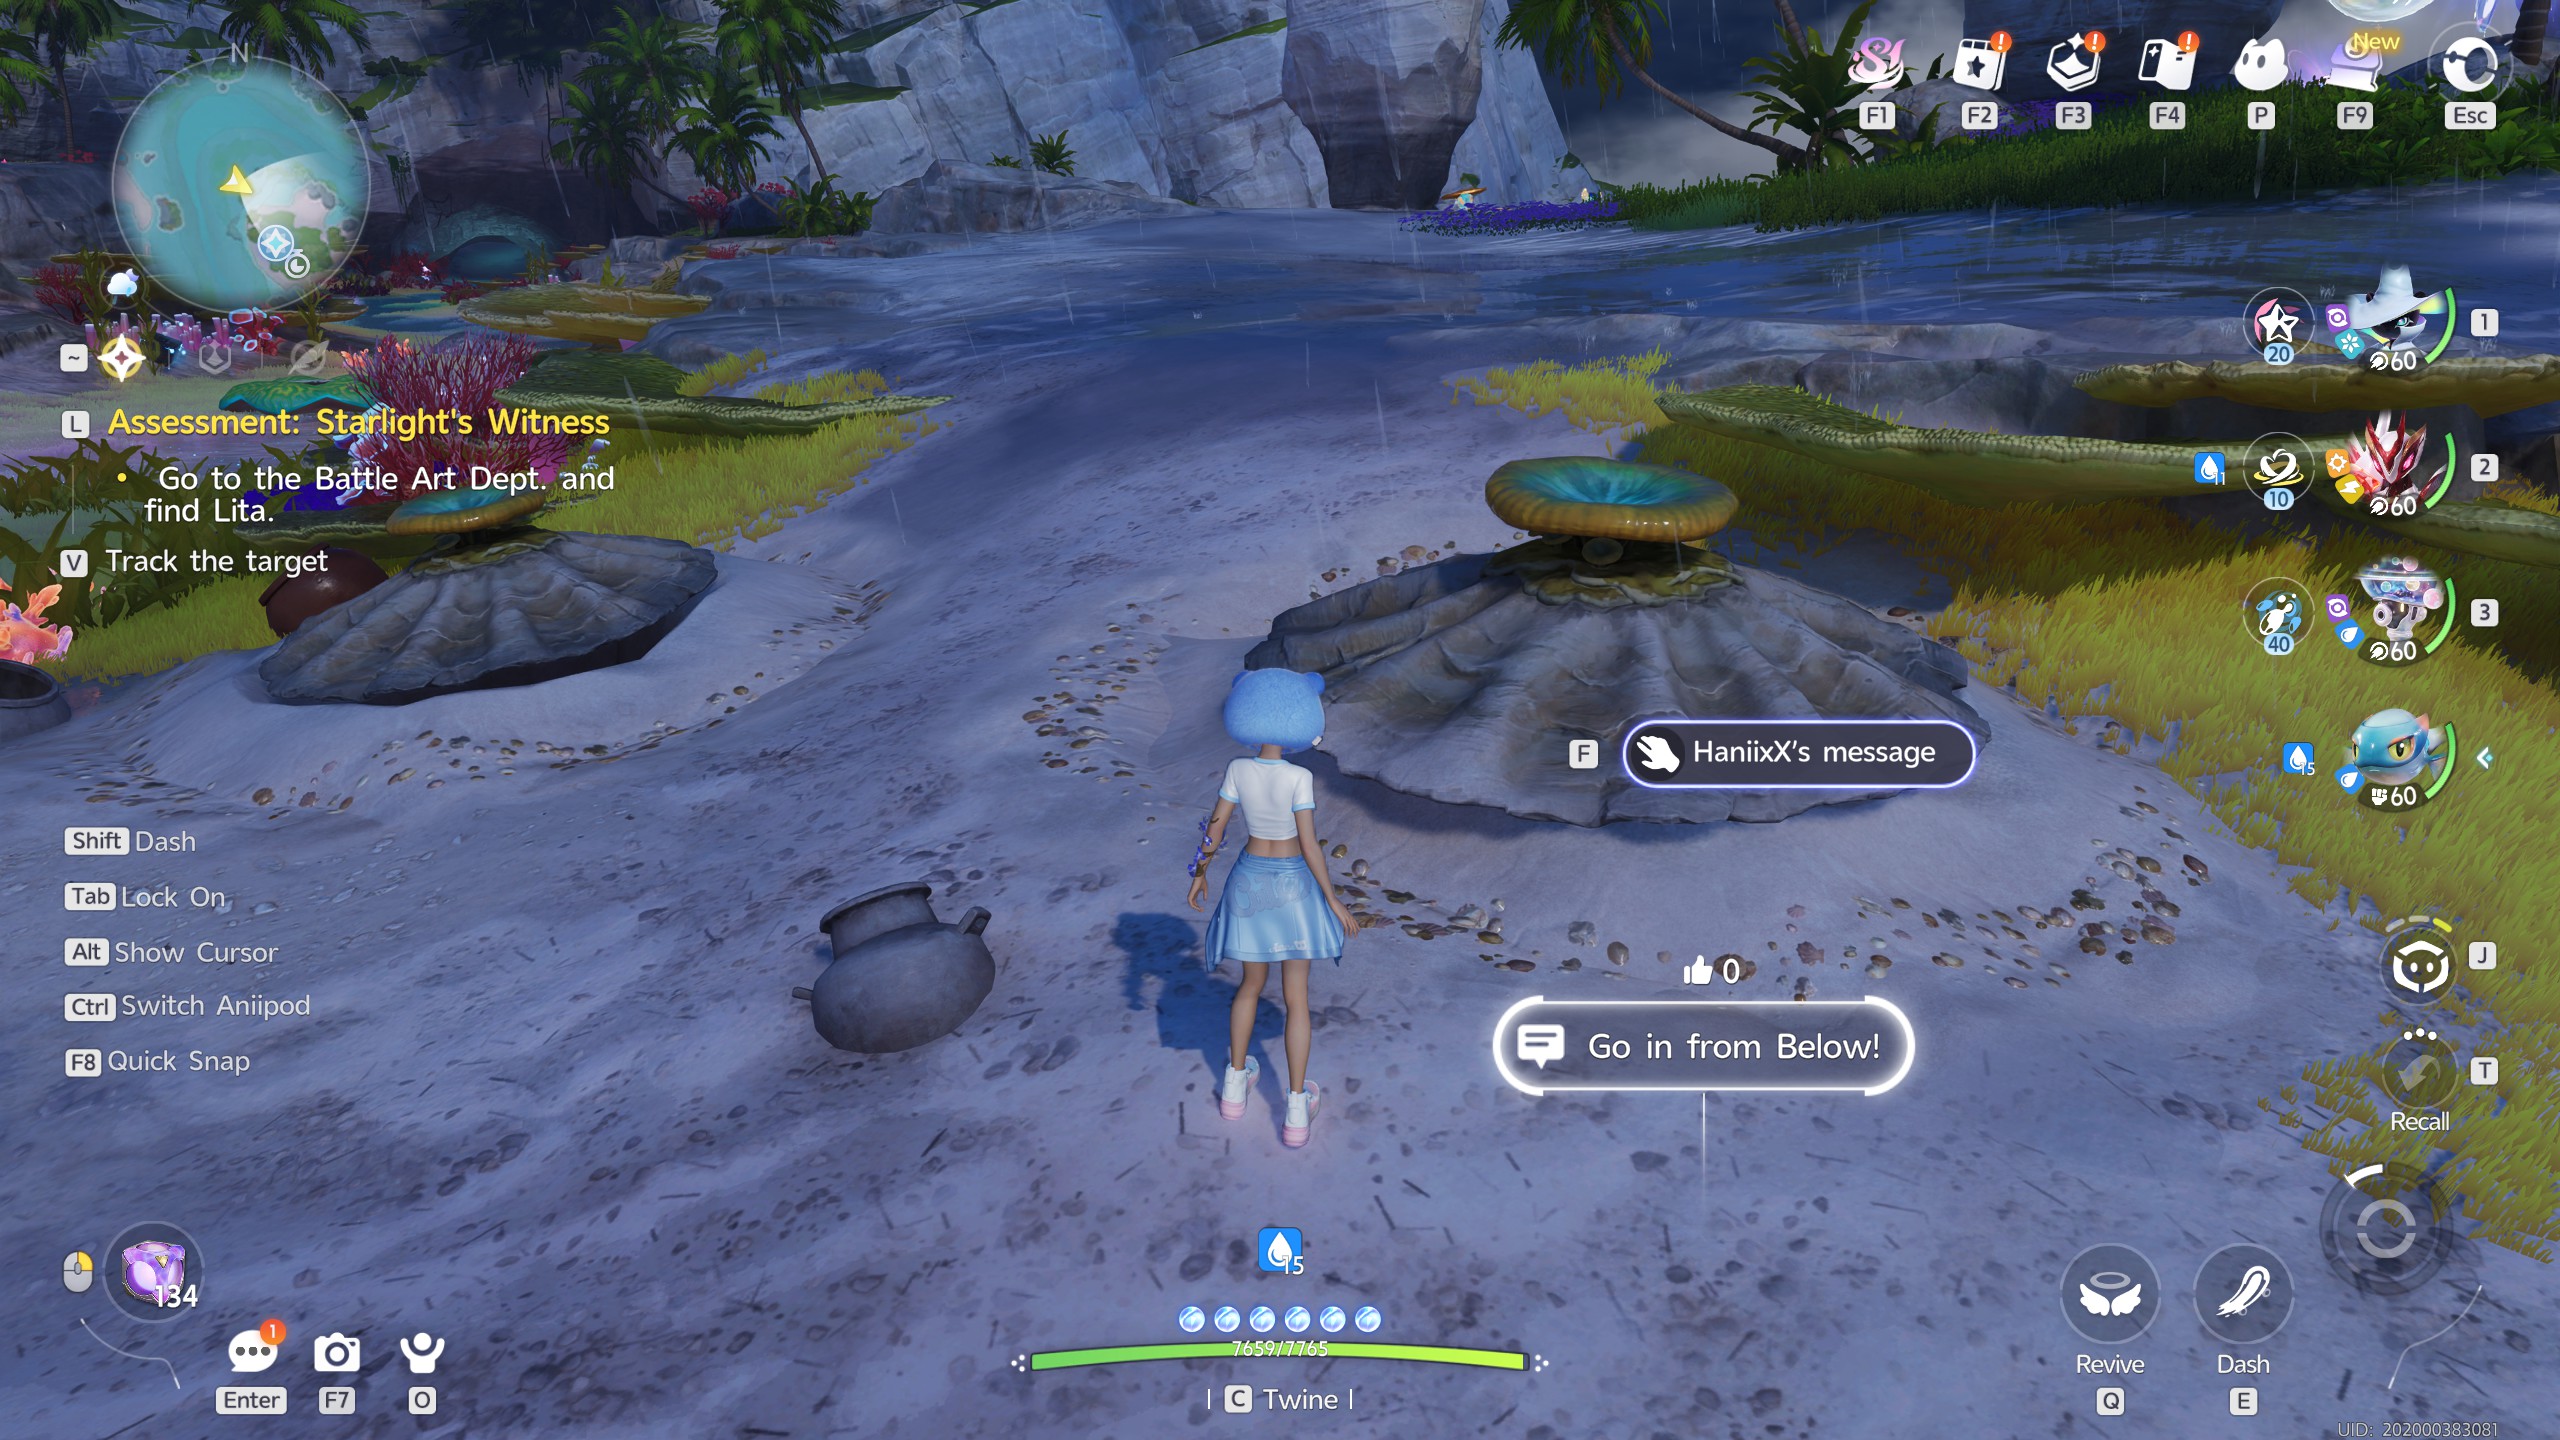
To find the Blessed Bubbeep, first ensure that it is currently nighttime. You'll find it underneath the shell seen in the second picture.

Twine with a Bubbeep, and use their Bubble Drift skill to blow a bubble underneath. If done correctly, it will lift the Blessed one out, and you can capture it.


Blessed Hypnowl

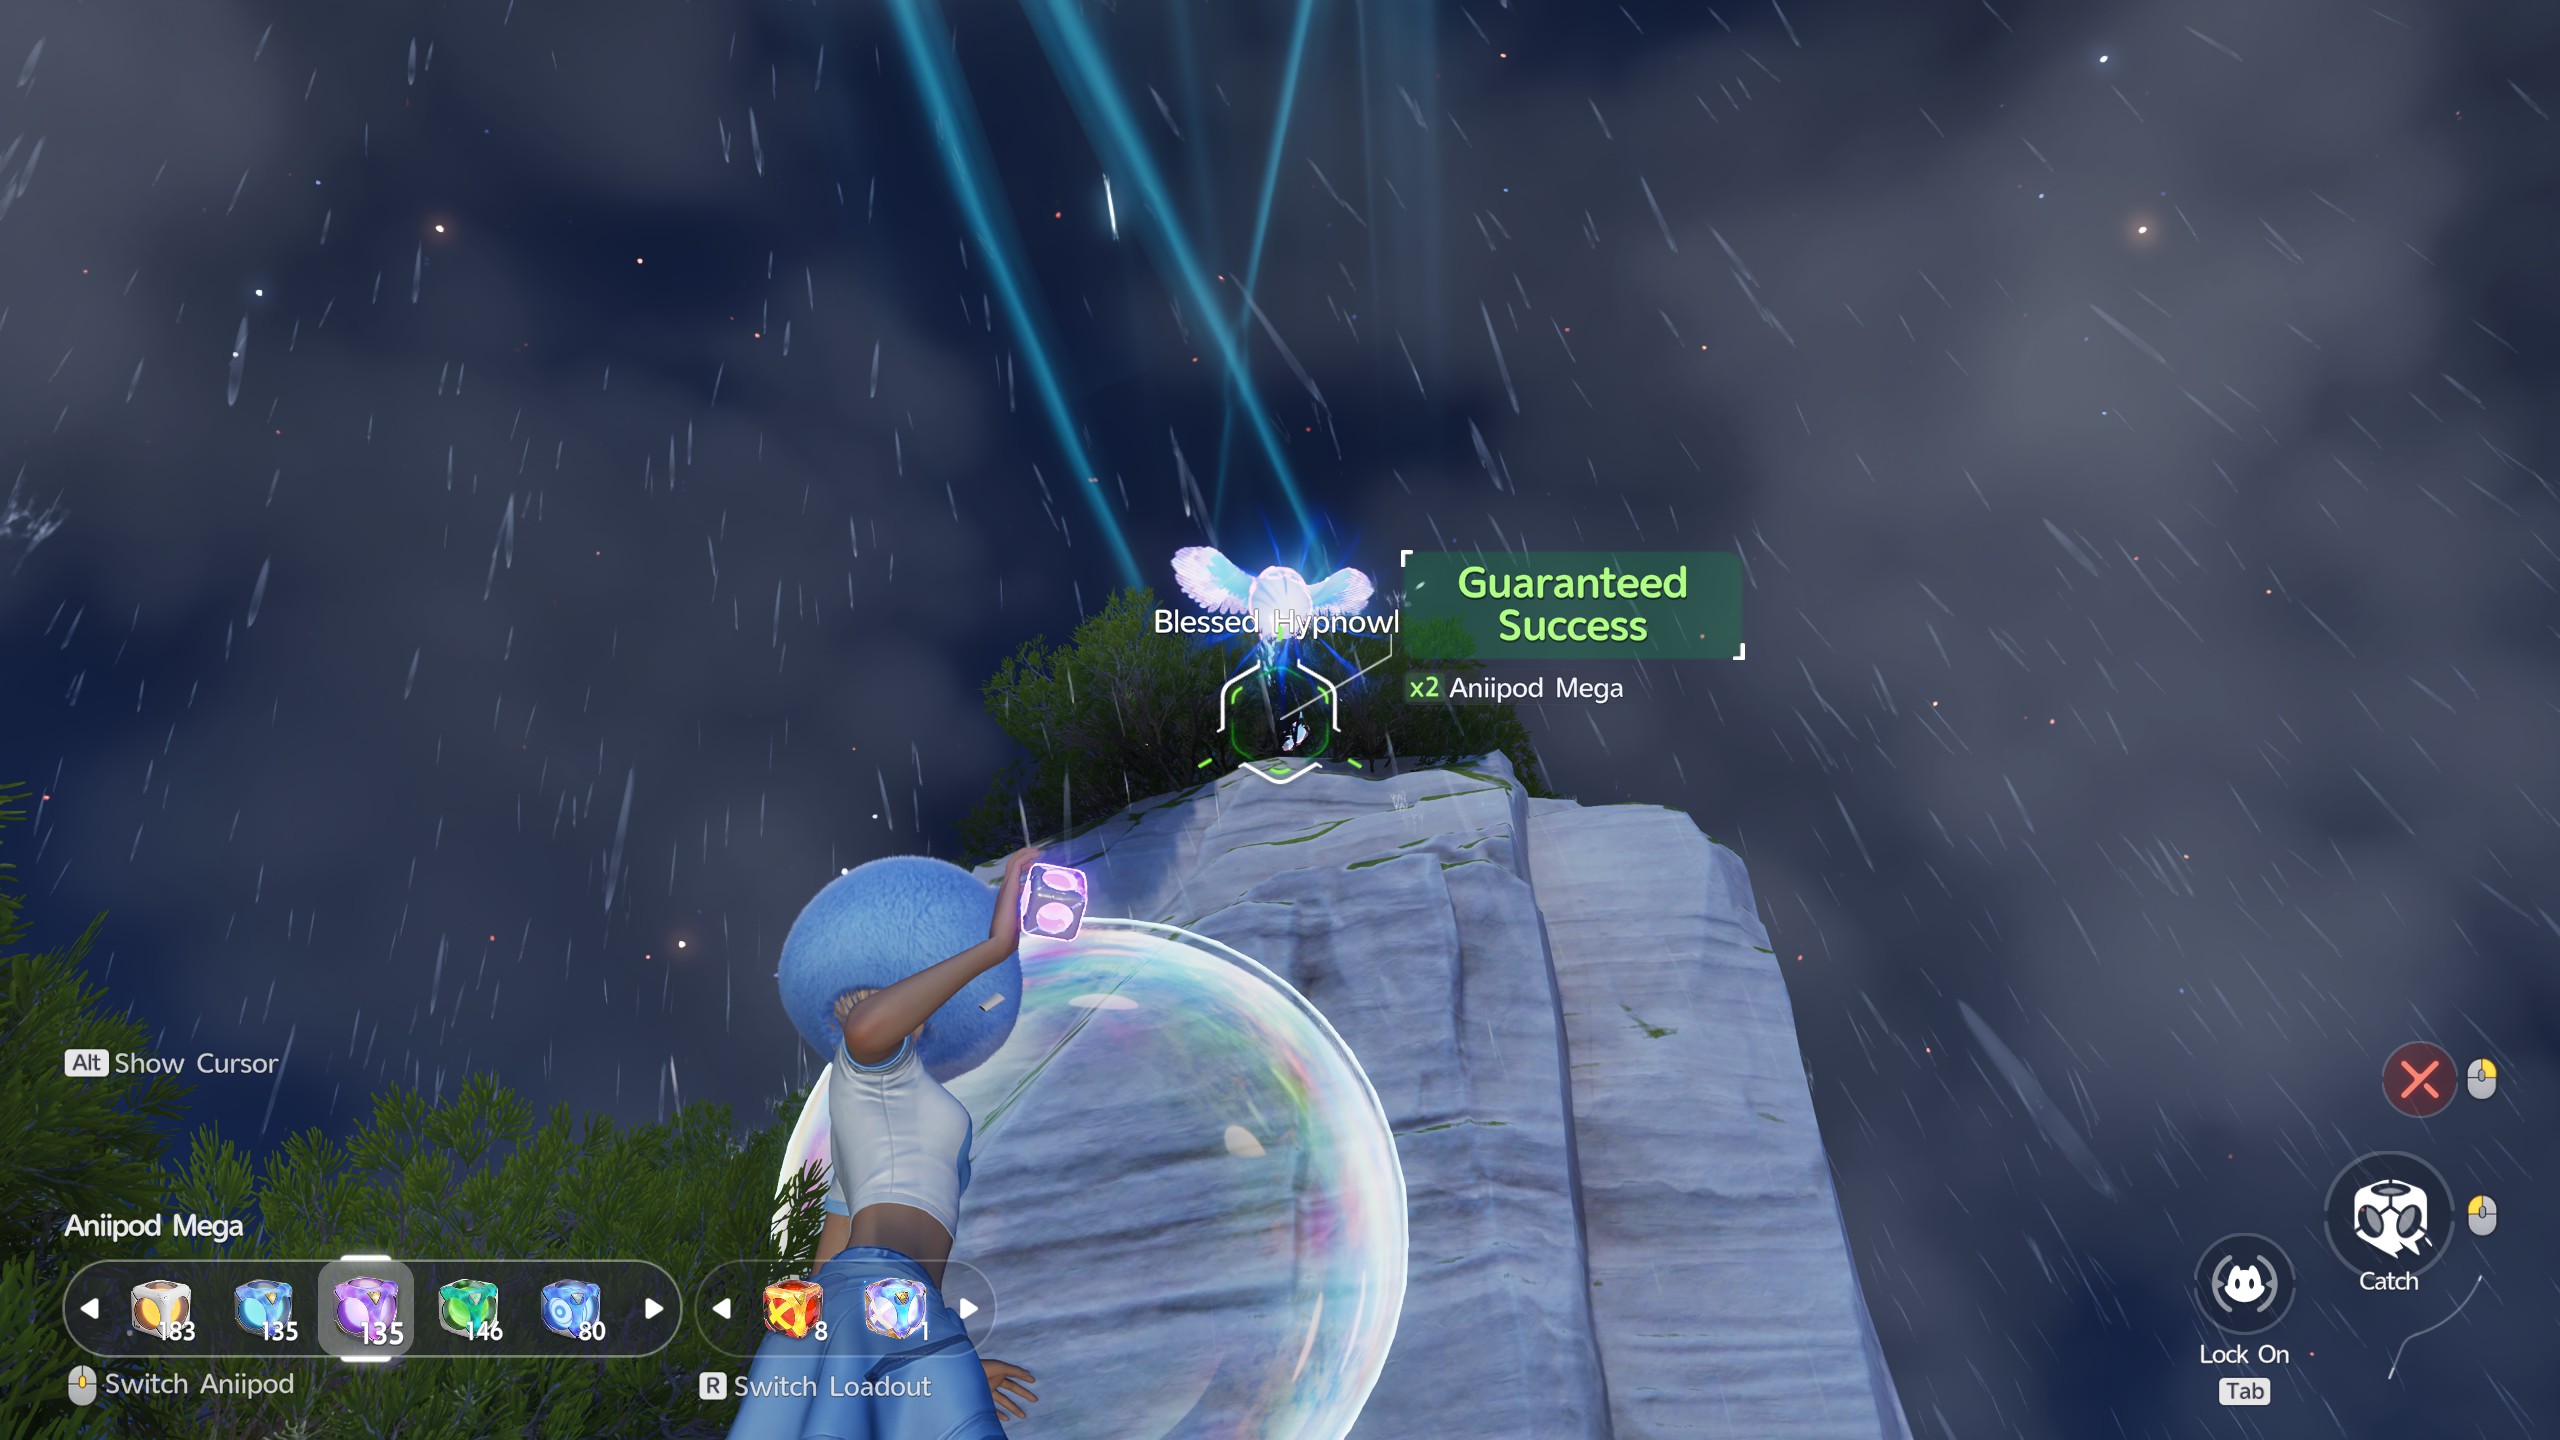
This Hypnowl is sitting right above you when teleporting in to the marker shown below. Be quick, and hit it with a pod to capture it before it takes off.


Lake Center Bubble Marking

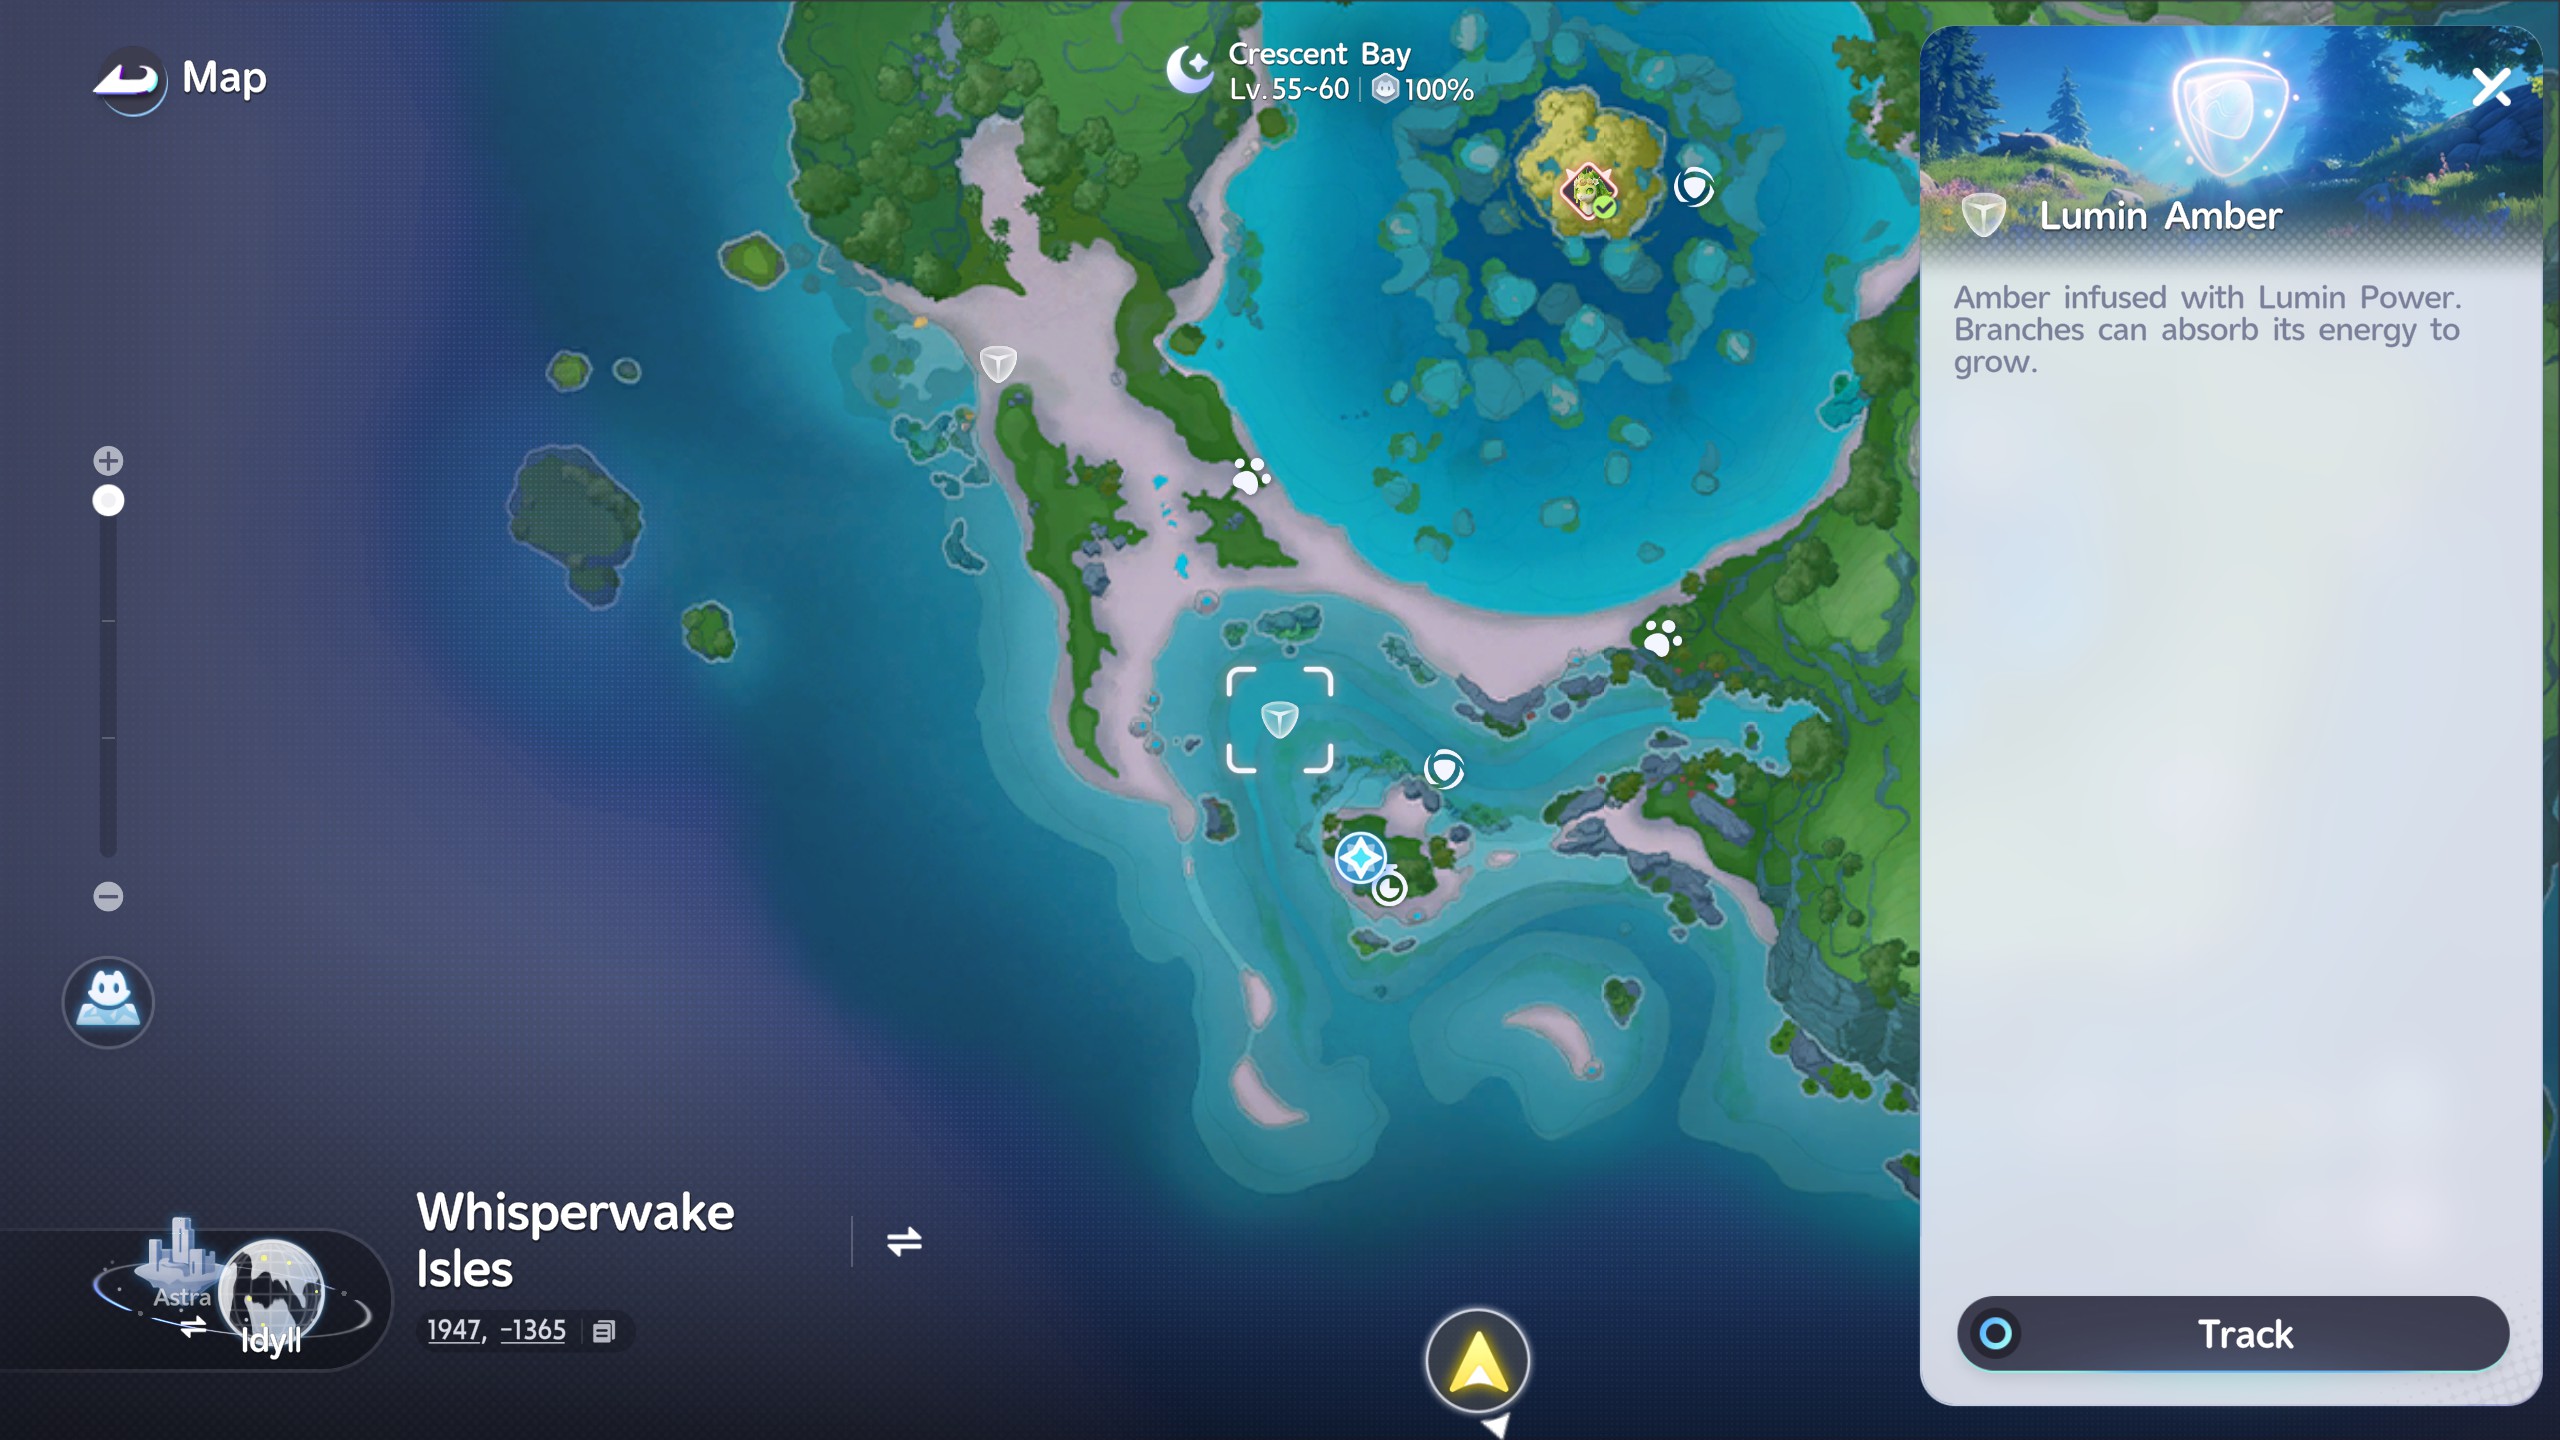
For this next Amber, head to the teleport right near the Shelly Amber we collected earlier.

The goal here is to adjust your perspective until the symbol on the rocks closest to you, and farthest away beyond the giant bubble come together. Once you complete the picture, you'll receive the Amber.

Bubble Drift Trial

This is a fairly easy trial that will ask you to use a provided bubble to float in the air, collecting the required Ambers as you go. Just try to aim for making it on top of the rocky pillar, collecting each Amber as you ascend.


Village Trial

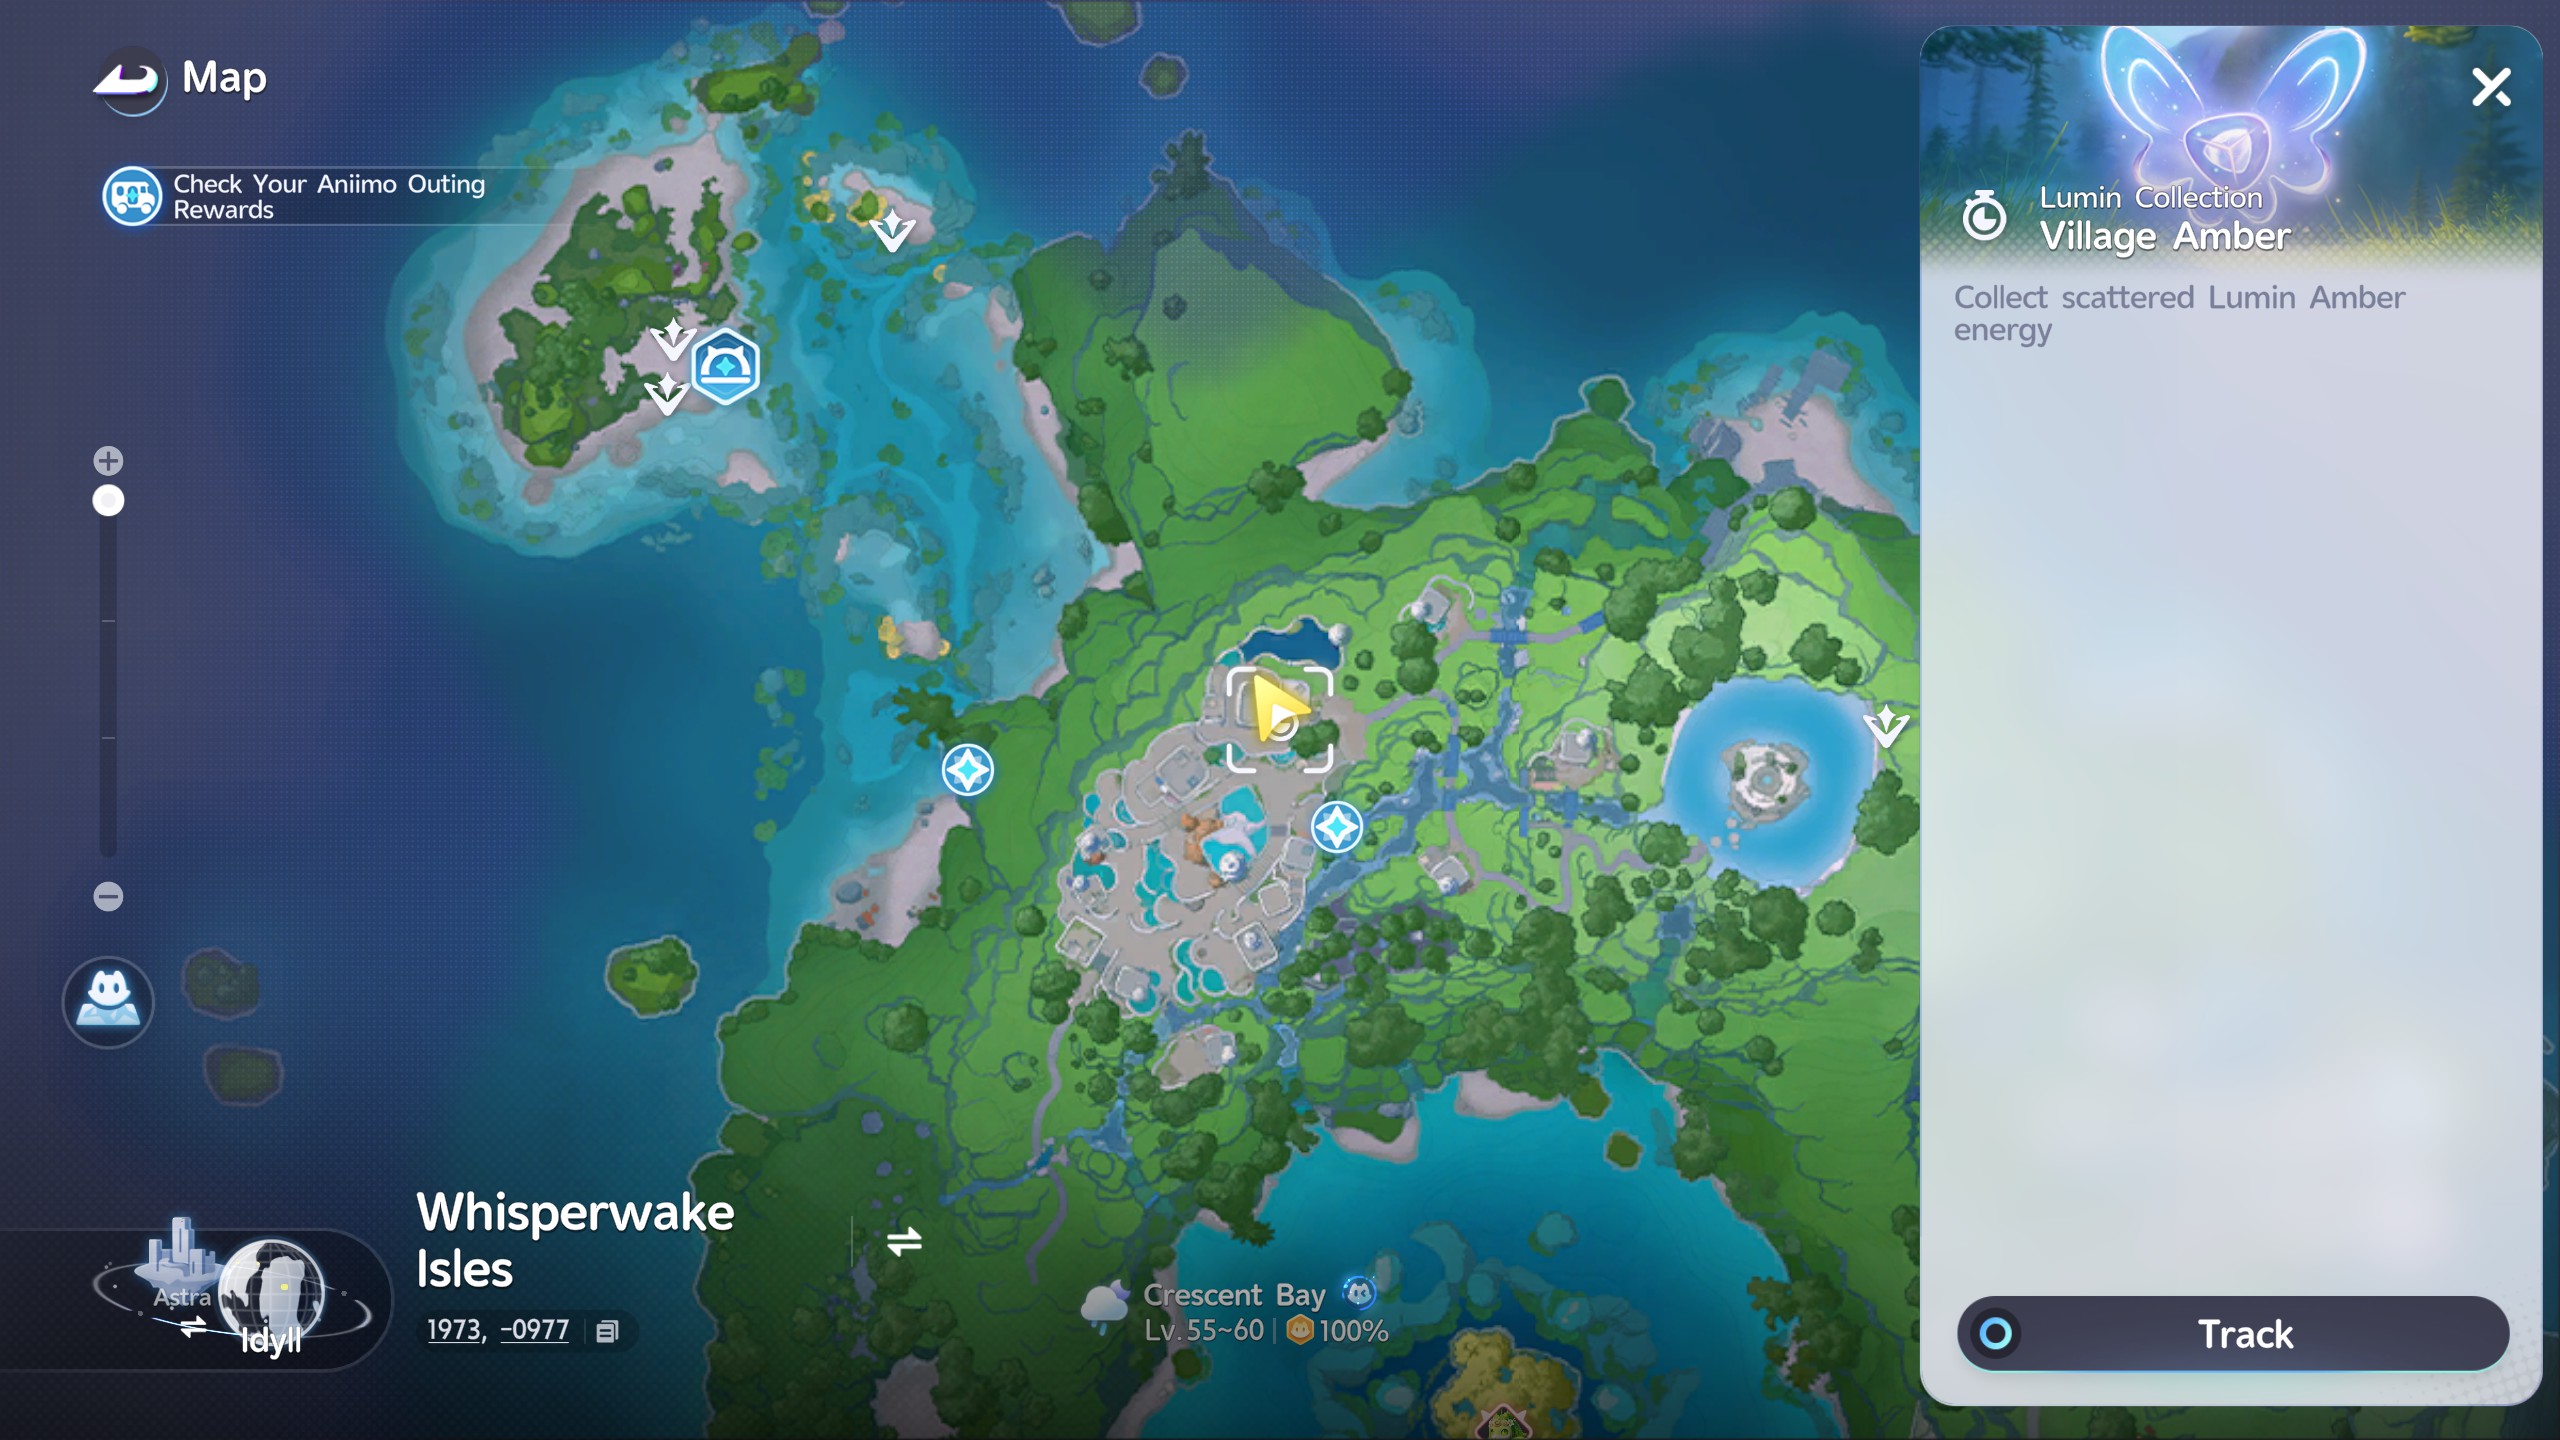
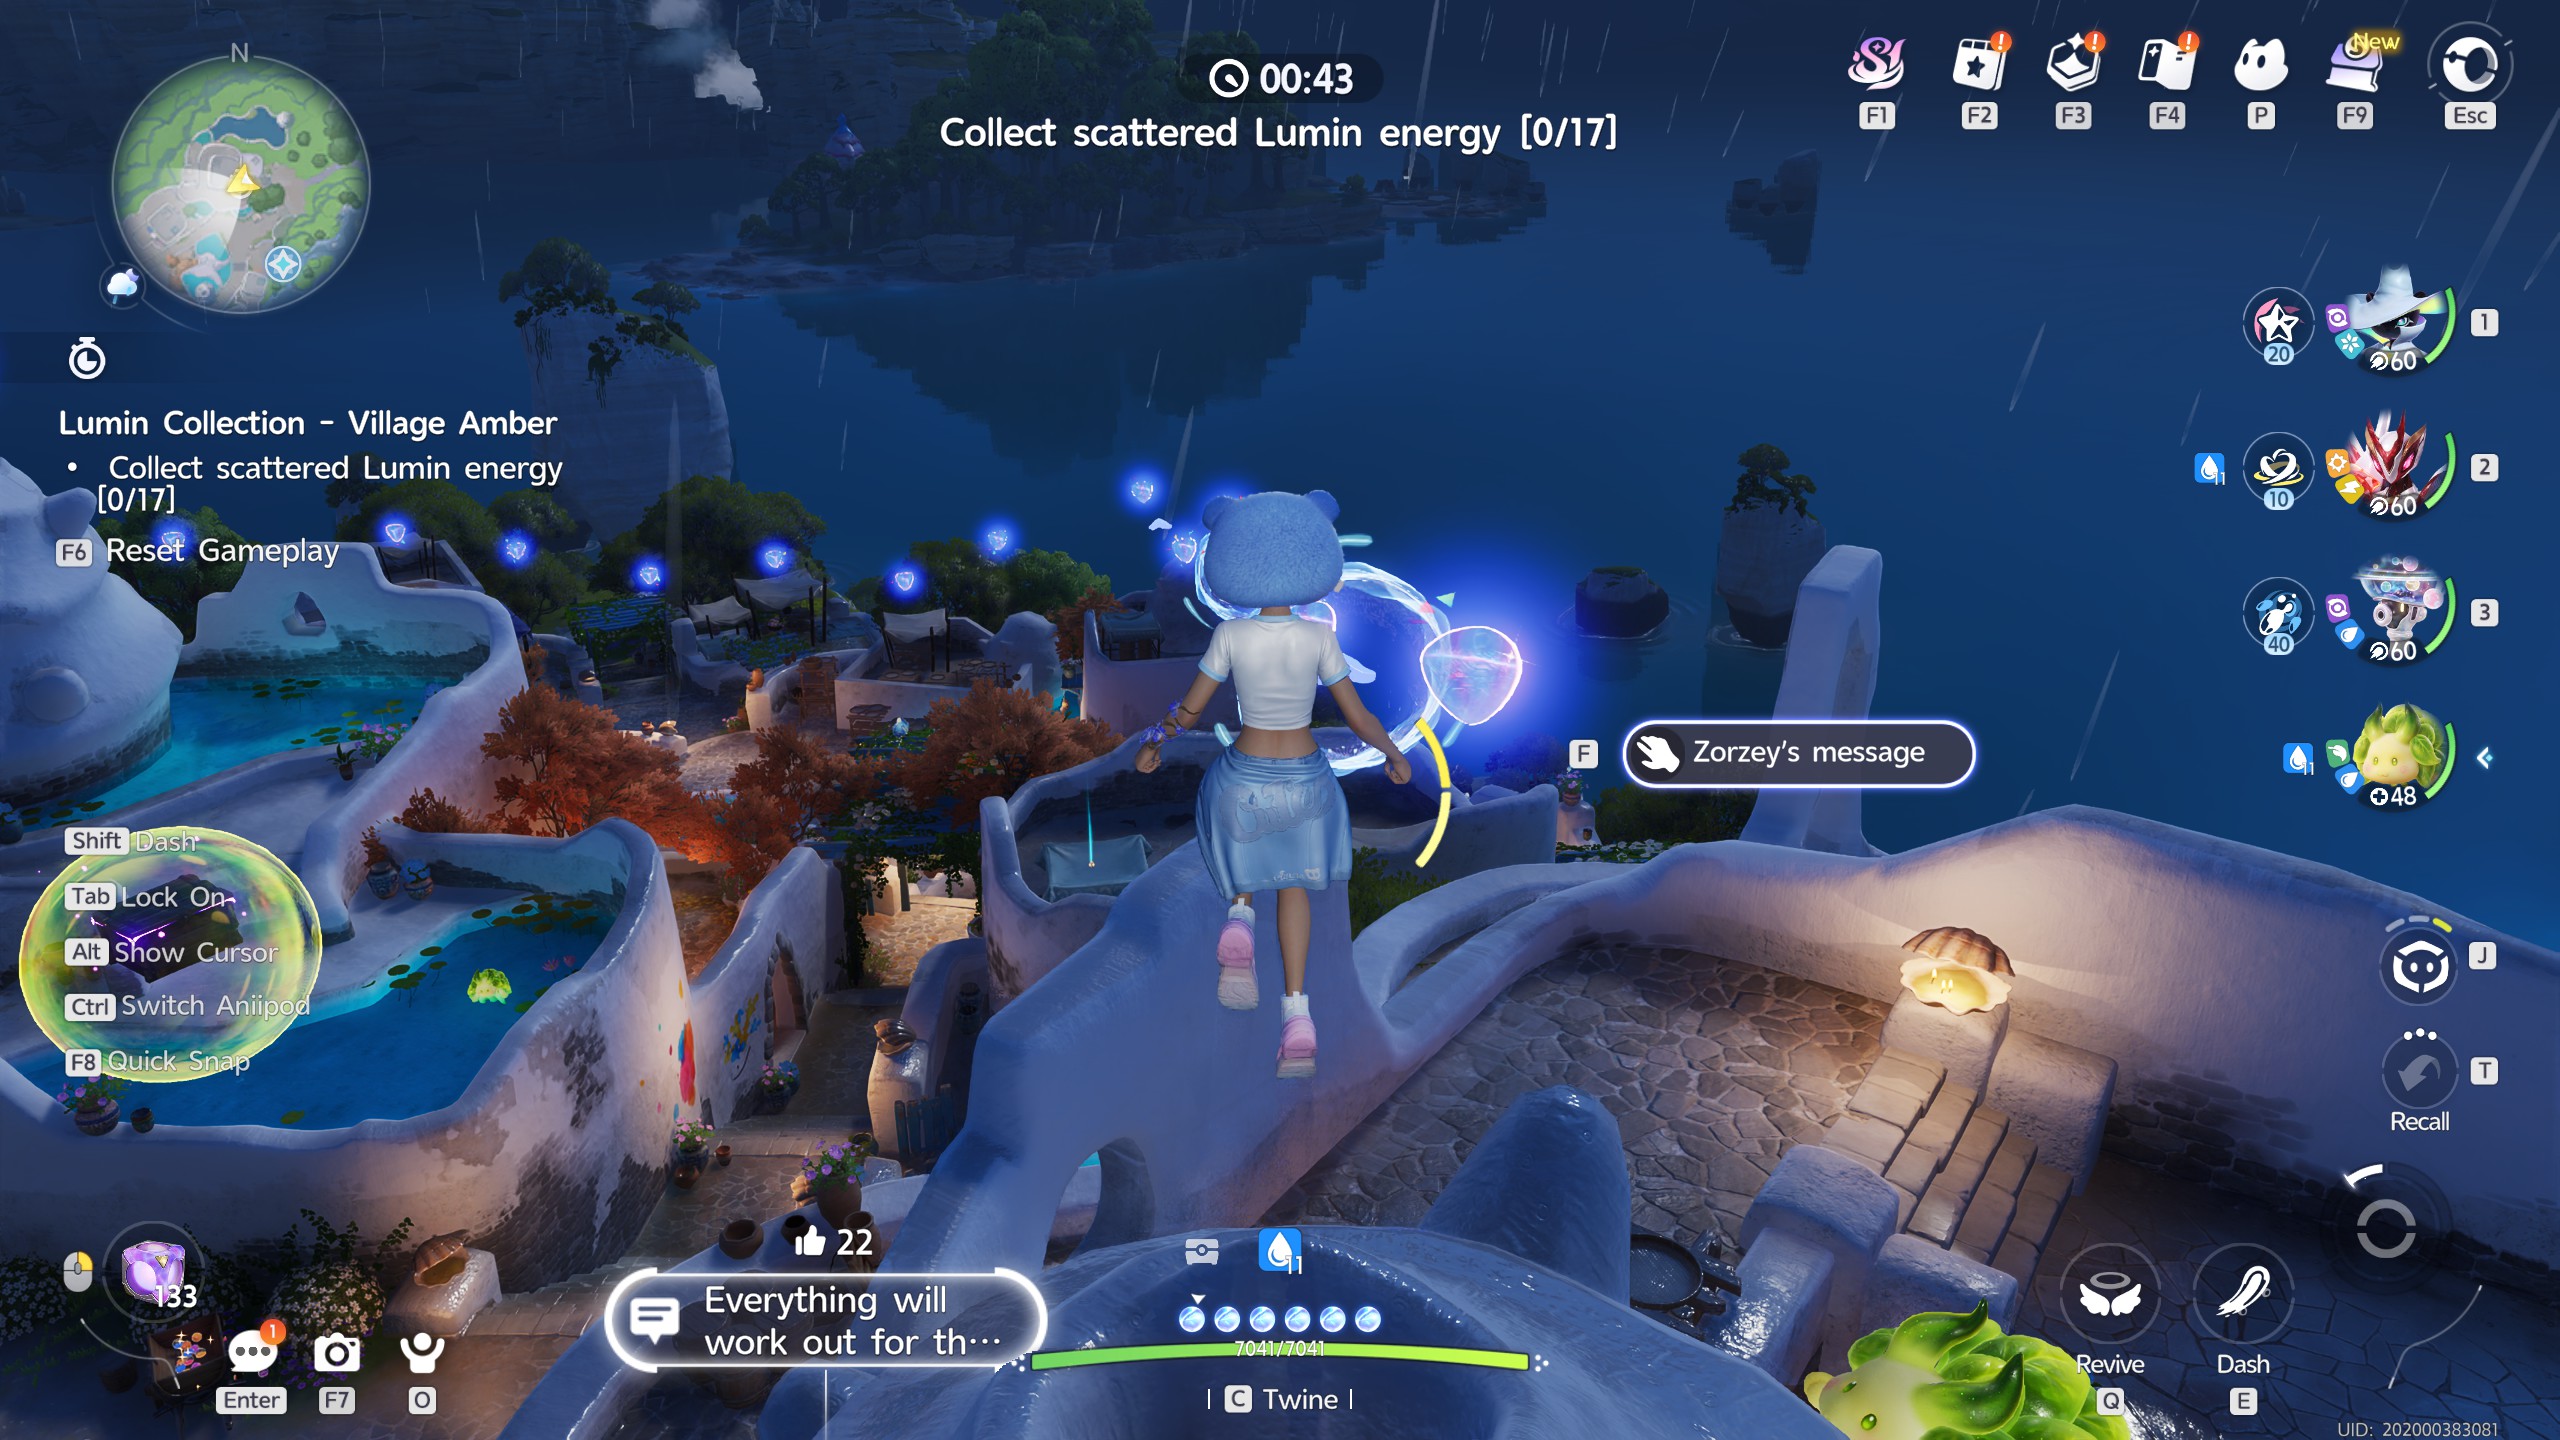
This trial is a flying based one in the main village of Crescent Bay. In the trial, you'll need to successfully perform essentially a loop of the rooftops. It's not too hard to do, but just be careful not to overshoot any of the Ambers, which can be fairly overlooked if you're not paying attention.


Lake Centered Tree

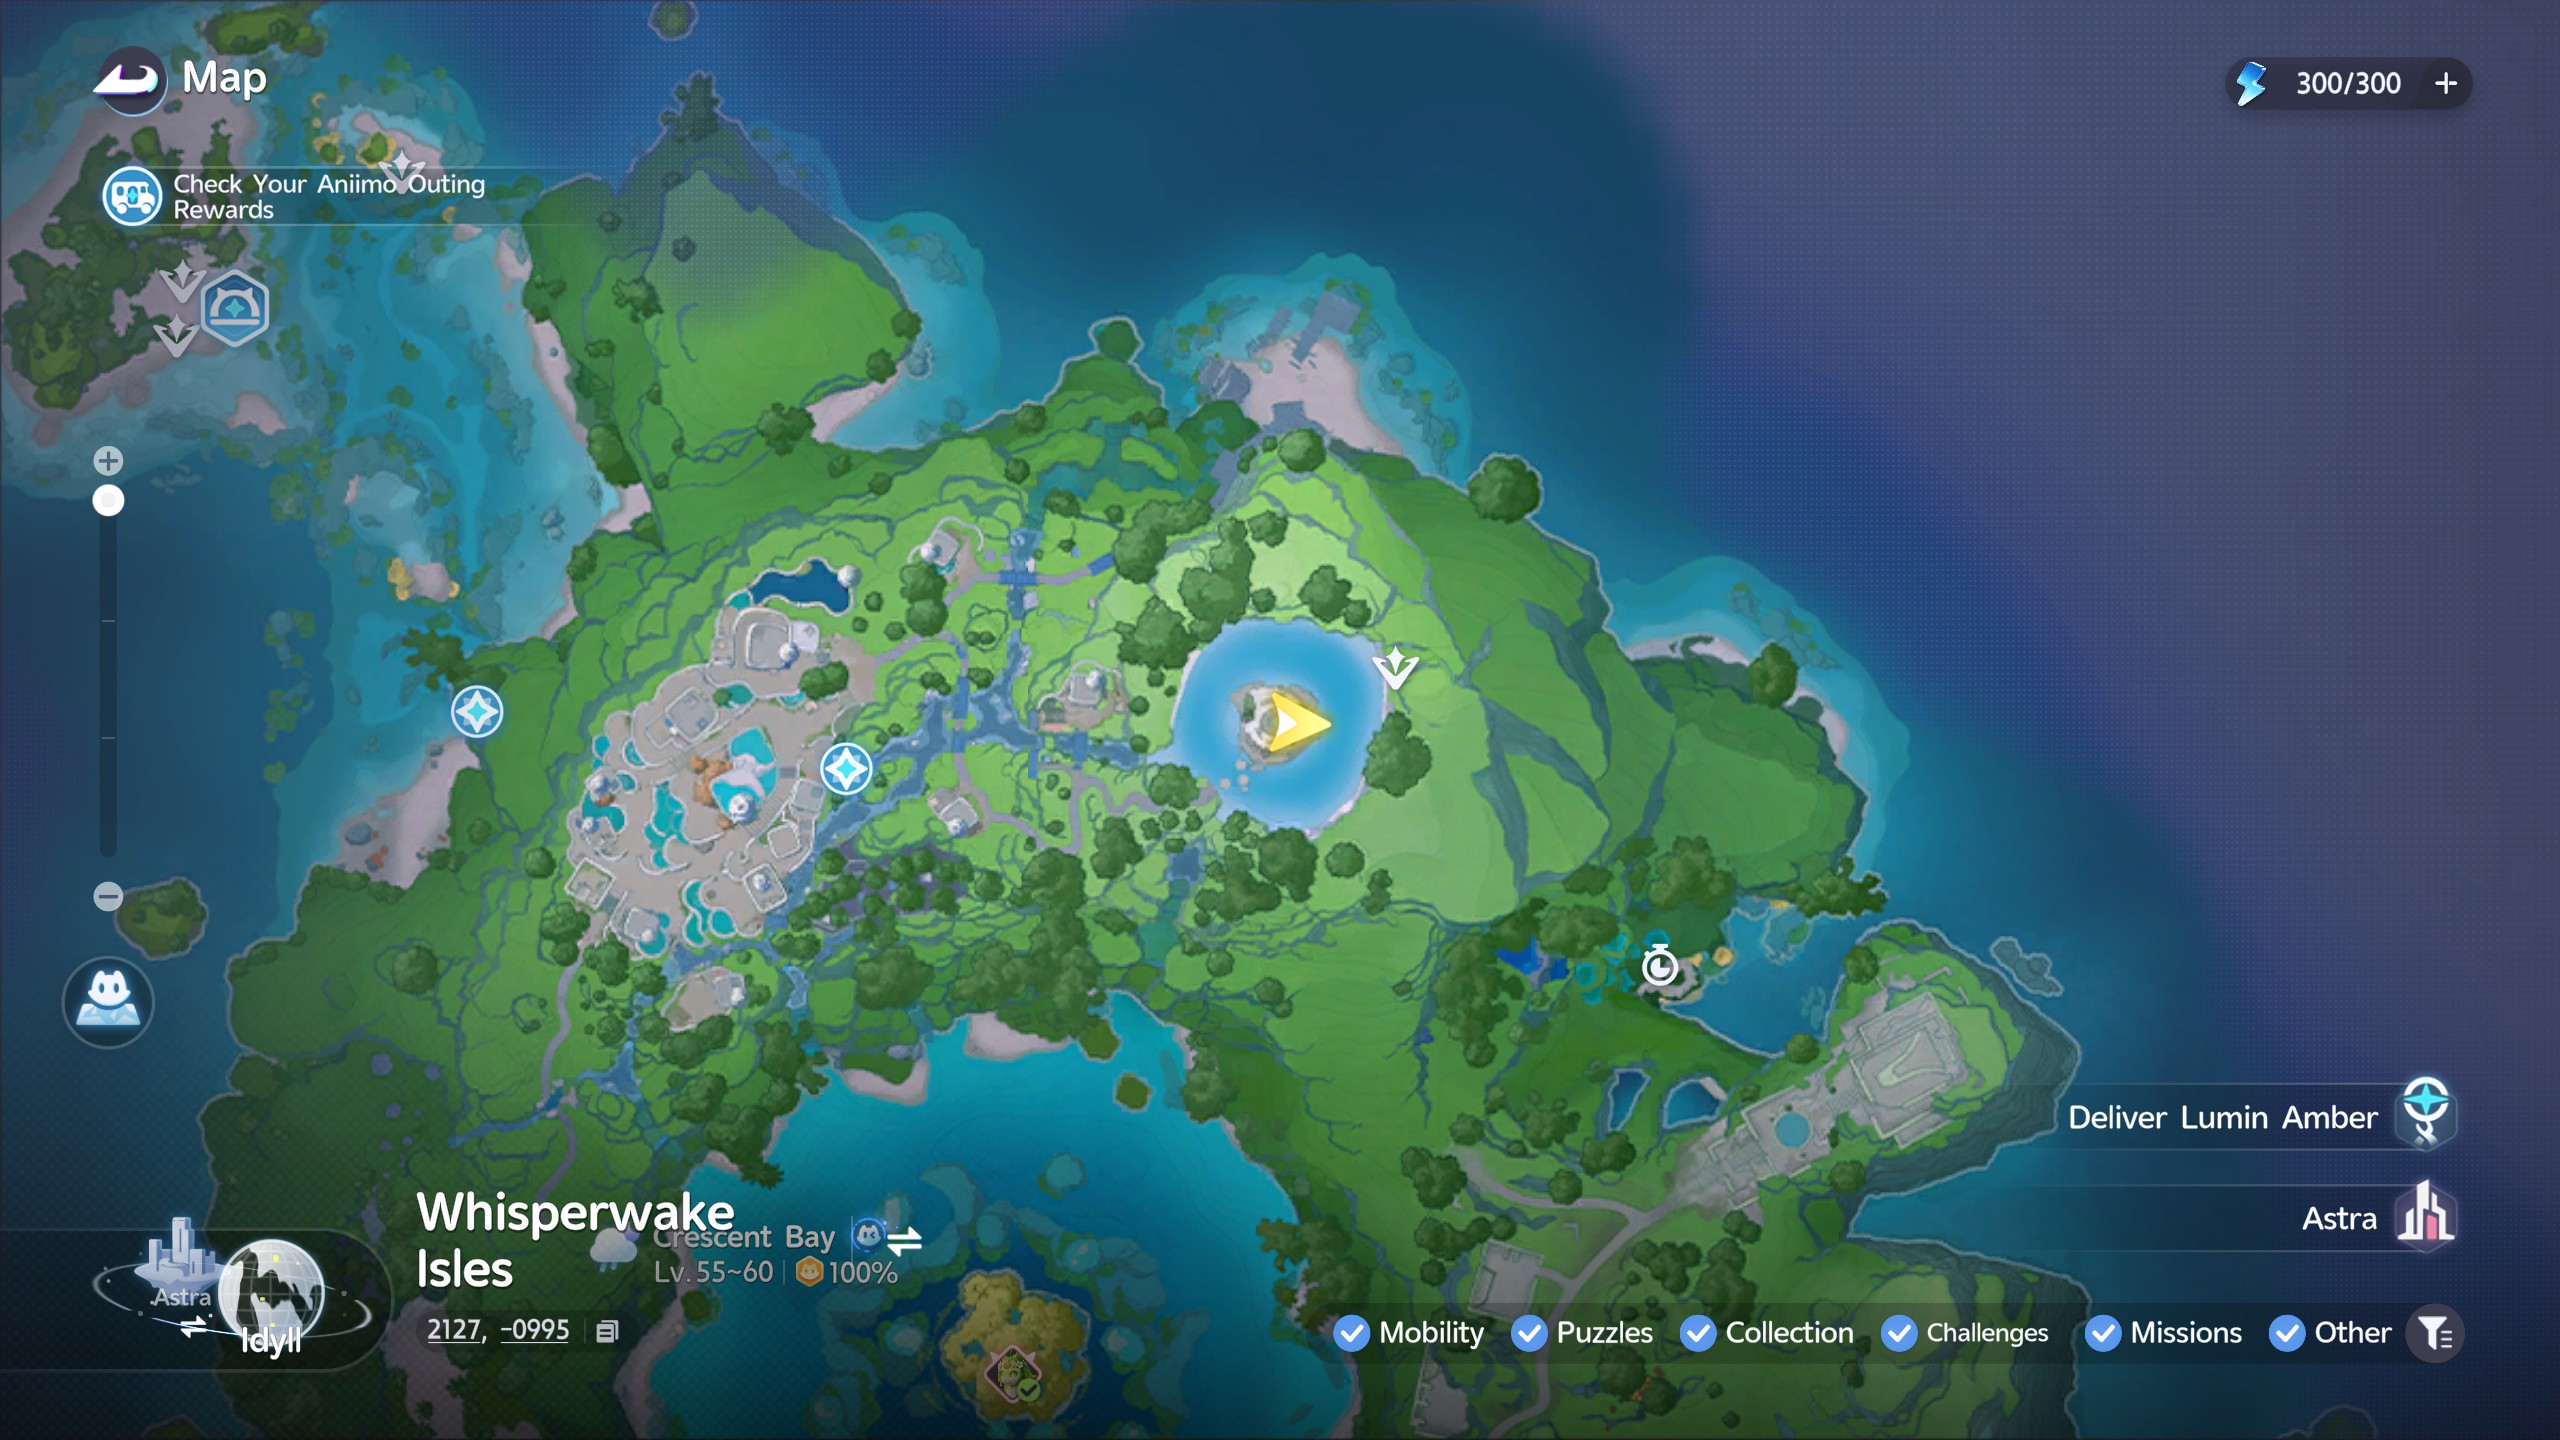
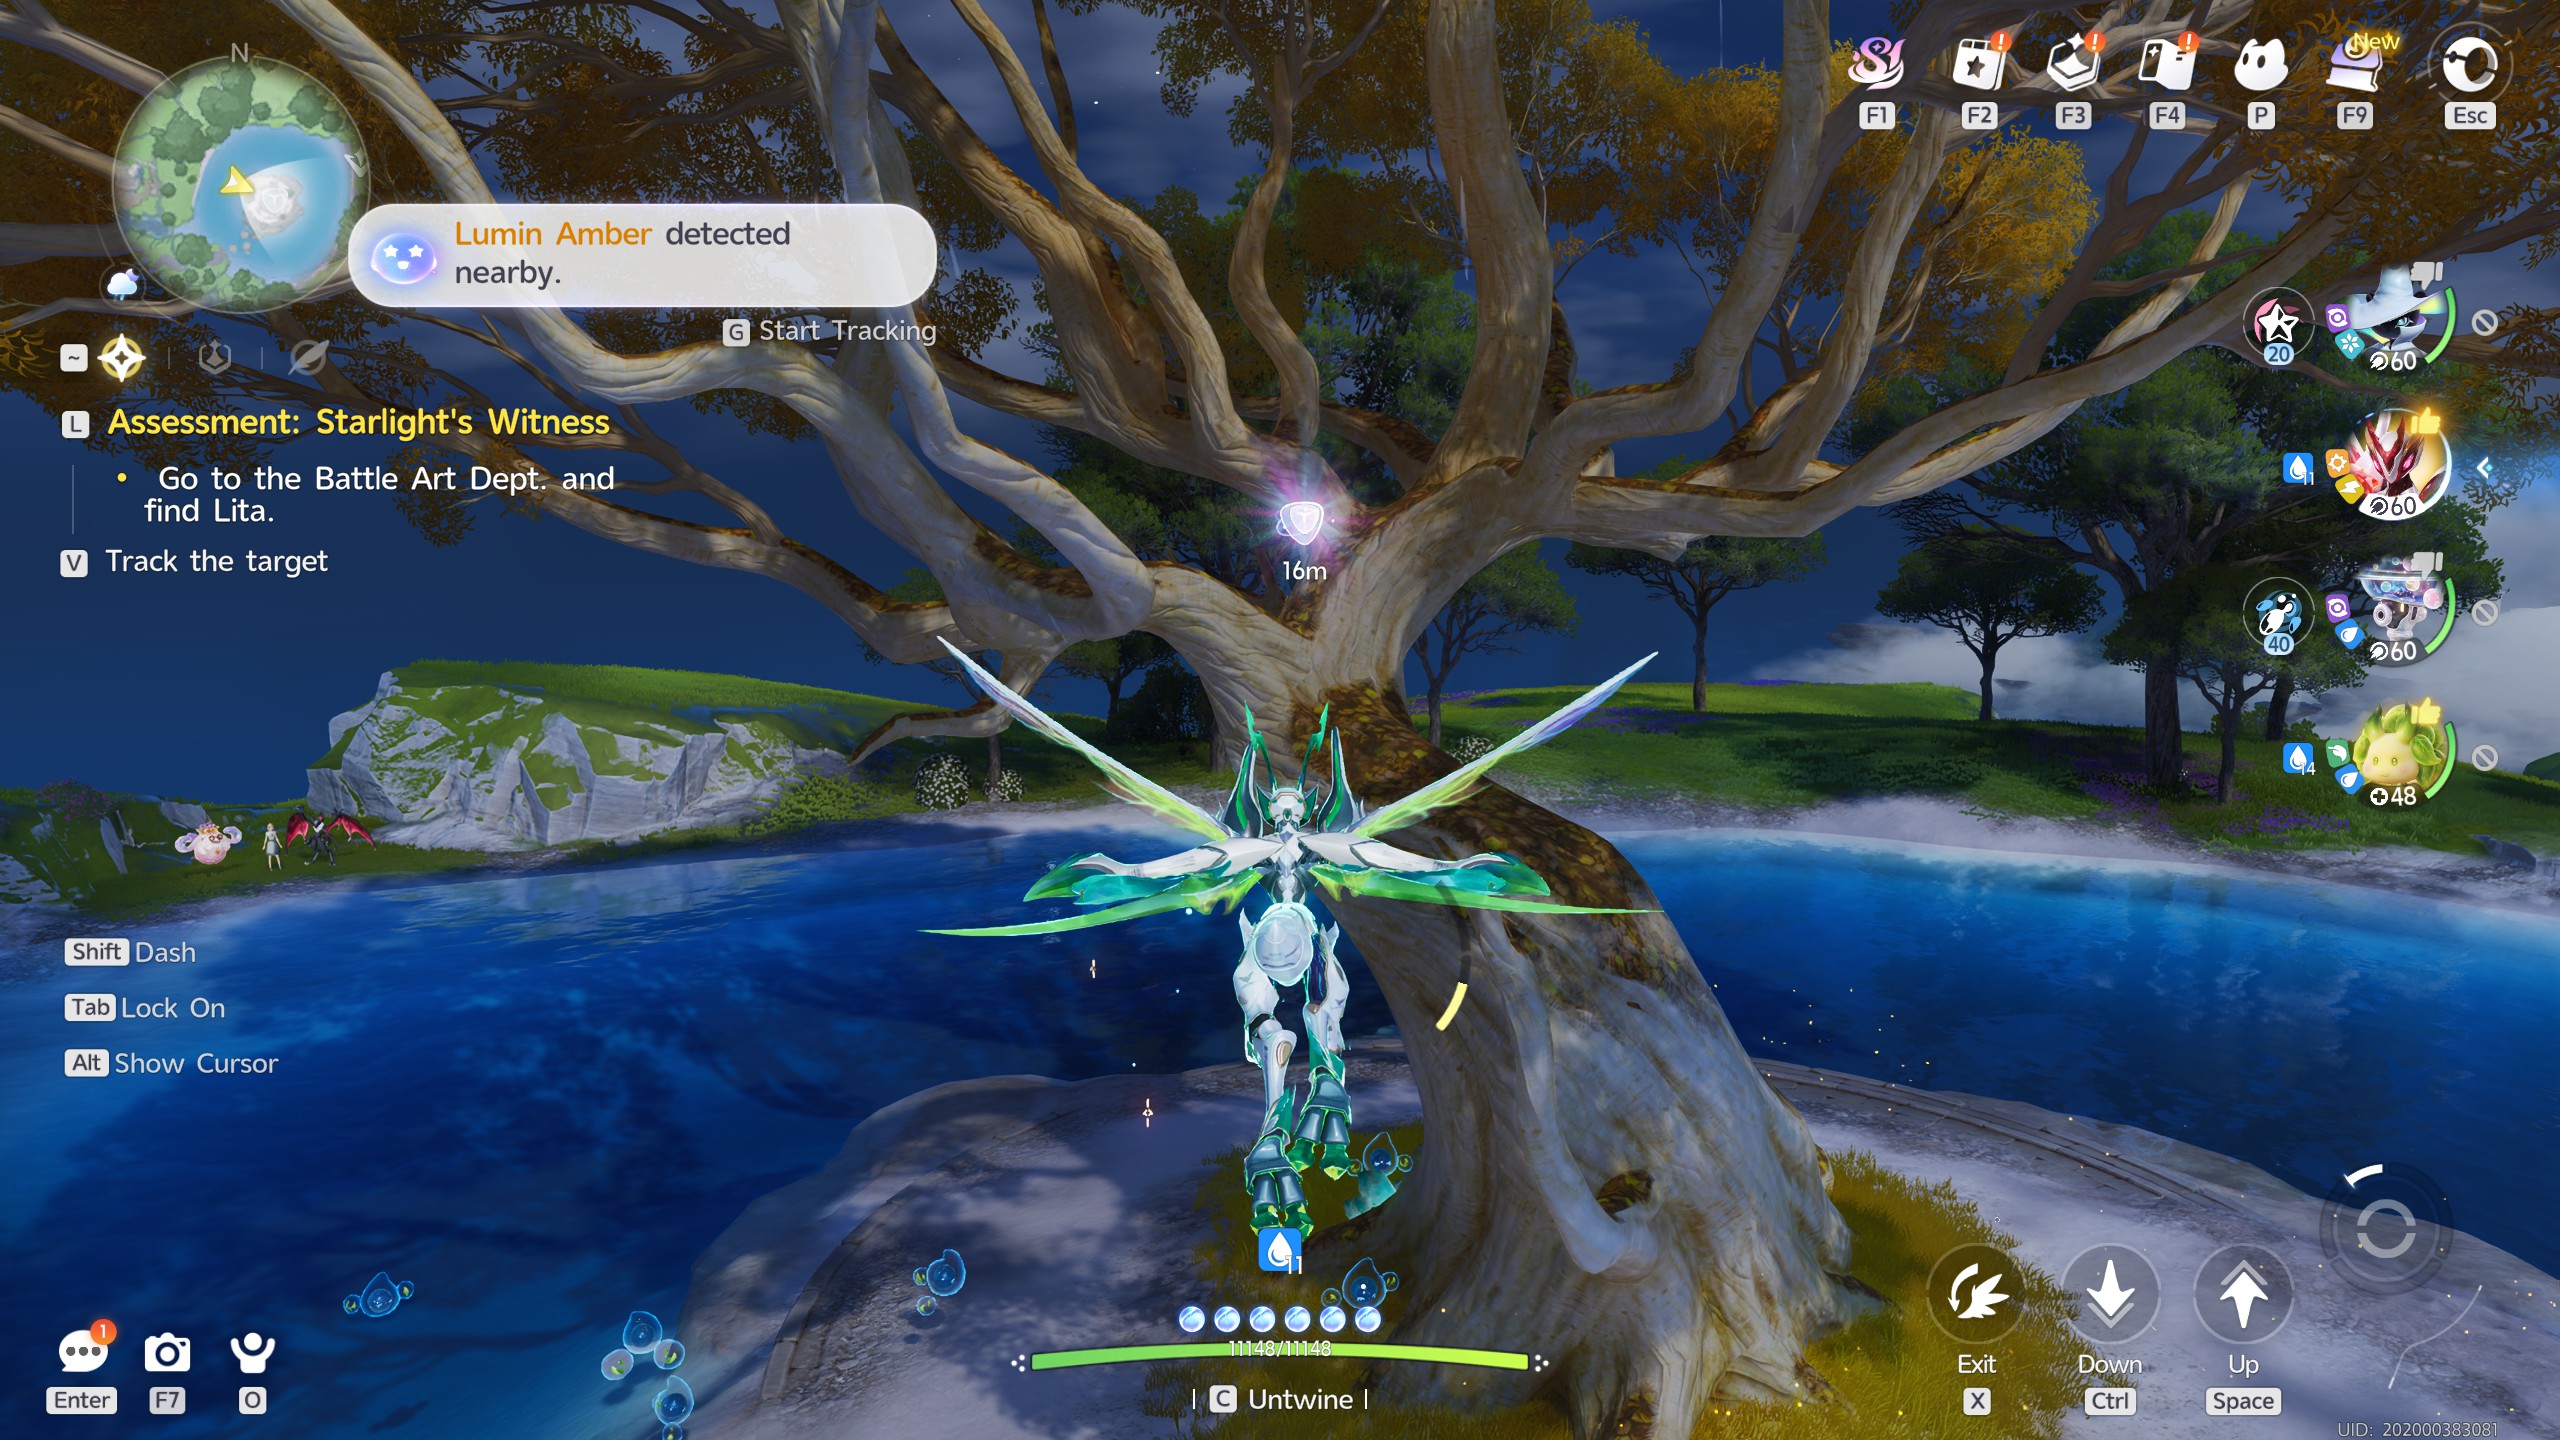
You can find this Amber sitting on a tree in the center of the lake marked below. There's no special requirements for this Amber, meaning you can just go up and grab it!
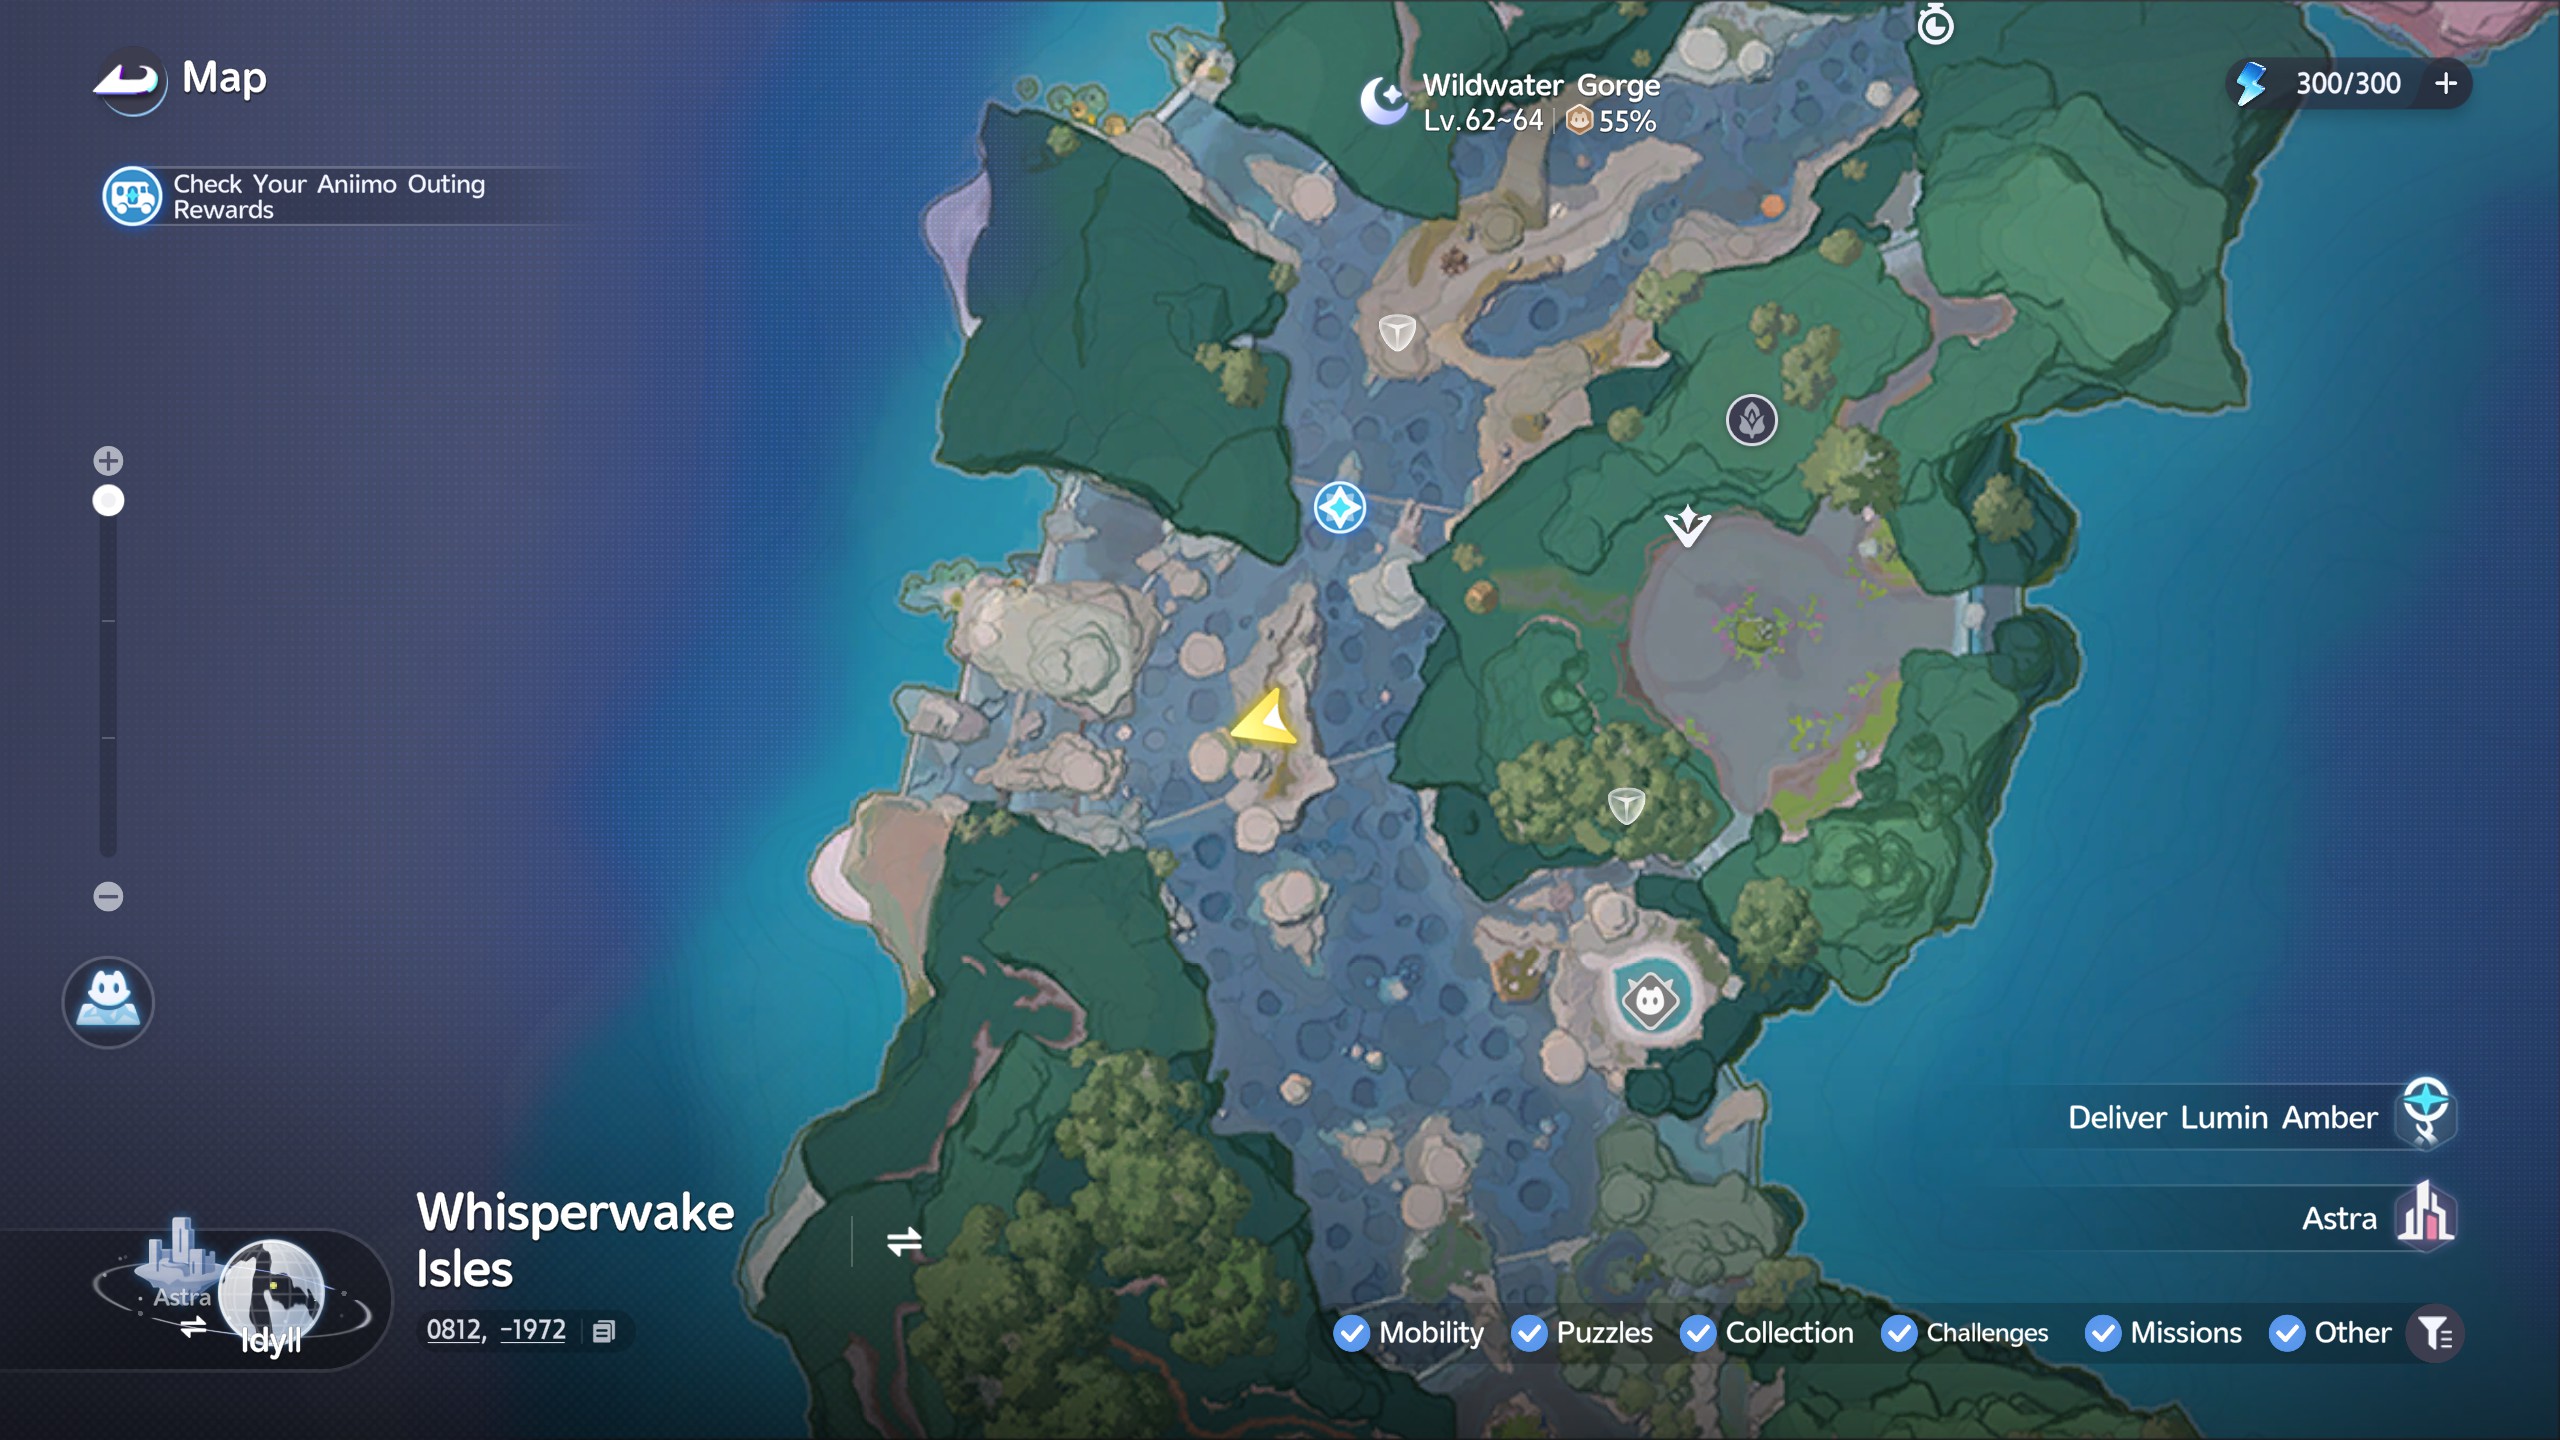

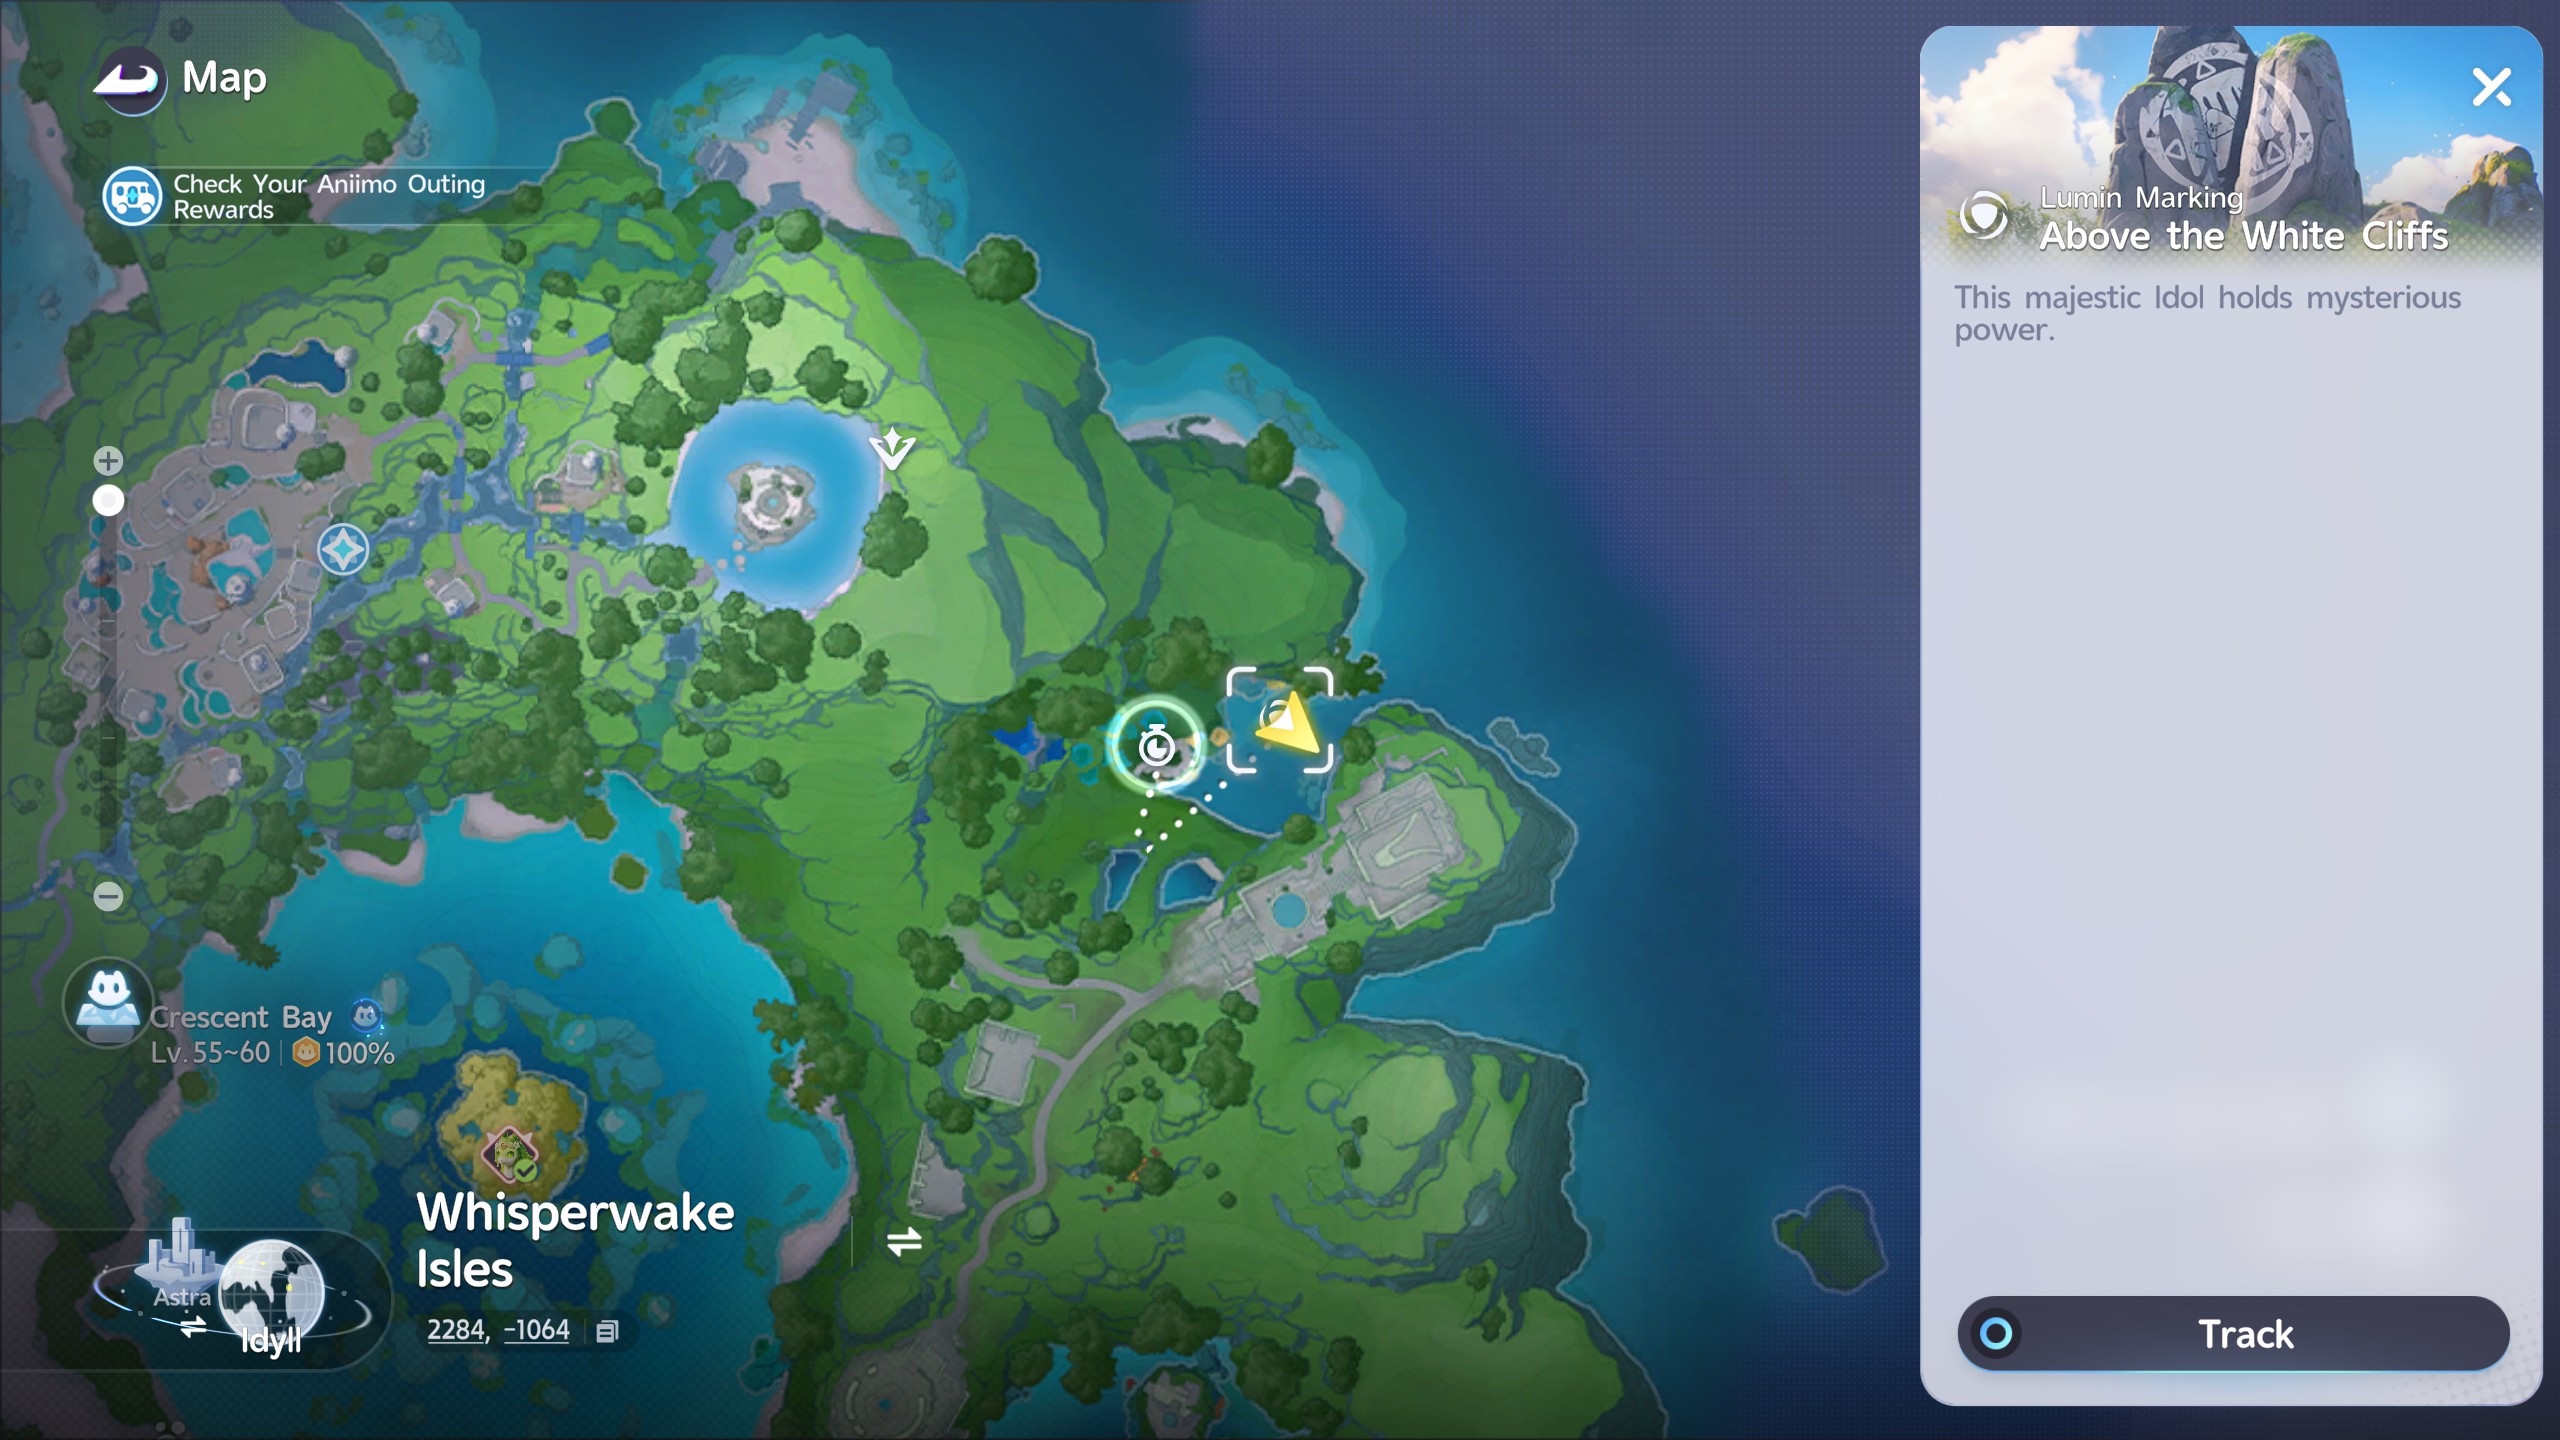
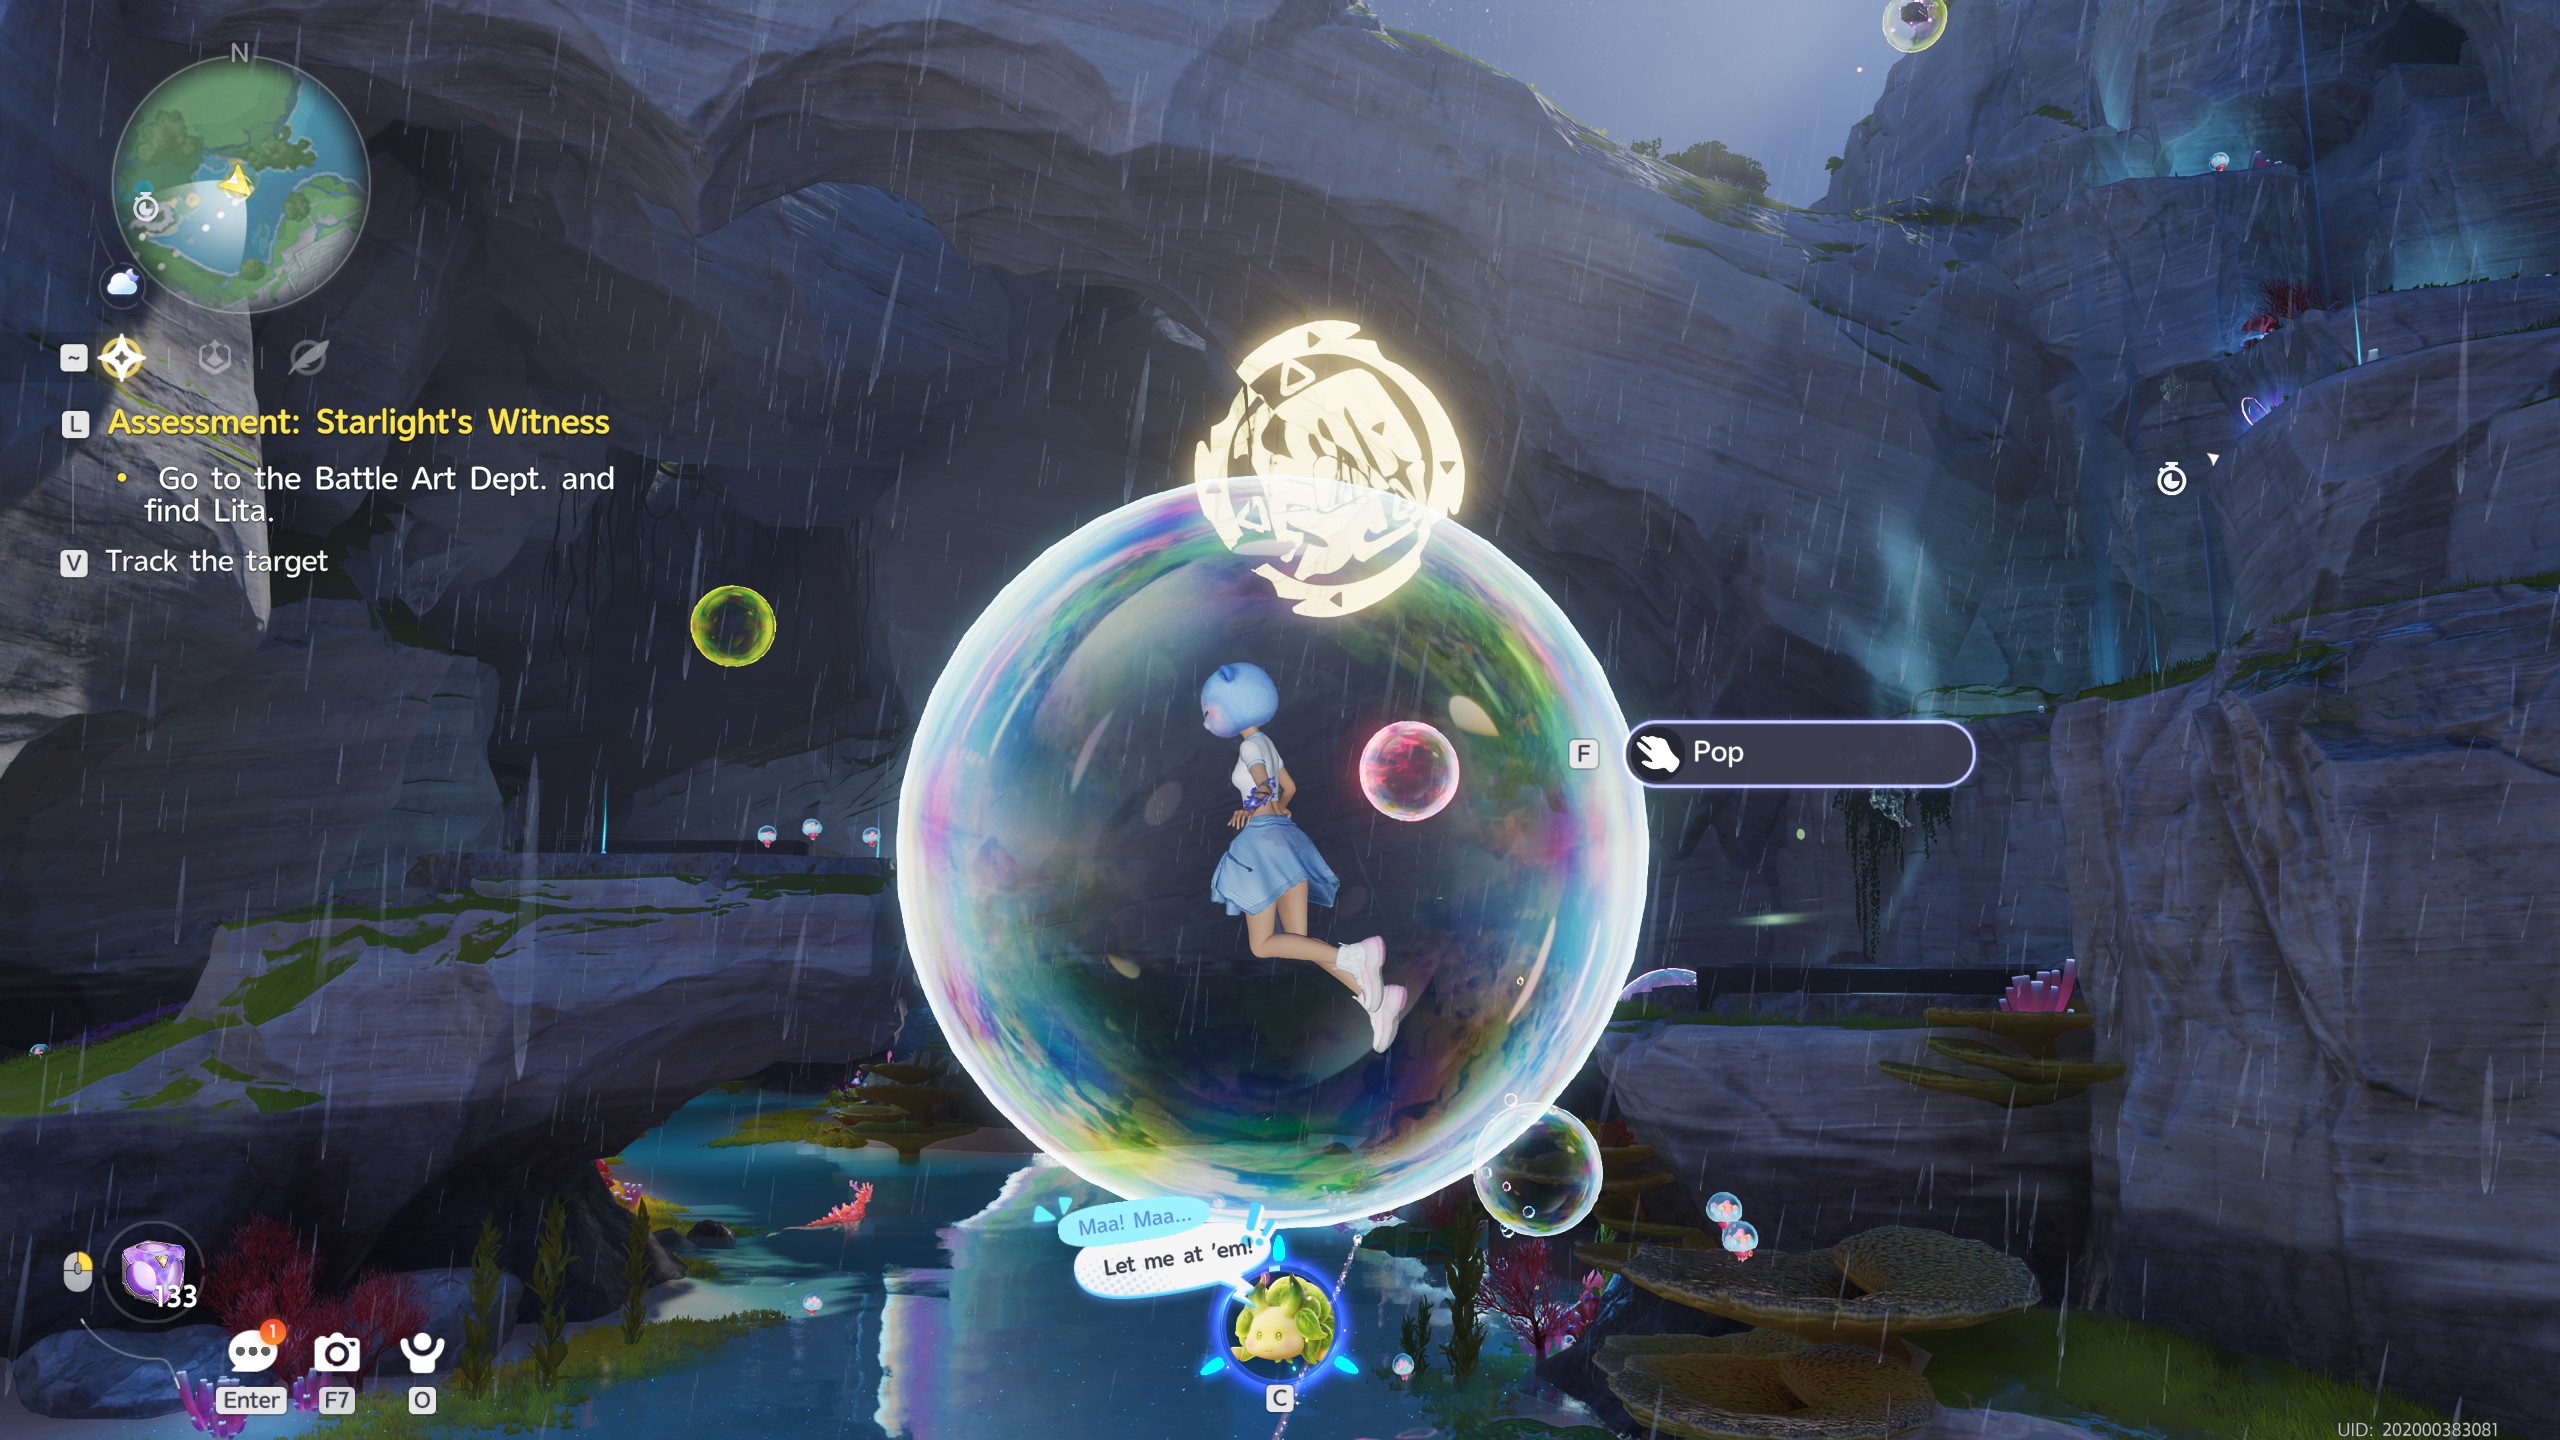
Above the White Cliffs

This is another perspective puzzle. Use the Bubble pad provided to float into the air, revealing the fully completed symbol. Once done, you'll get the Amber.


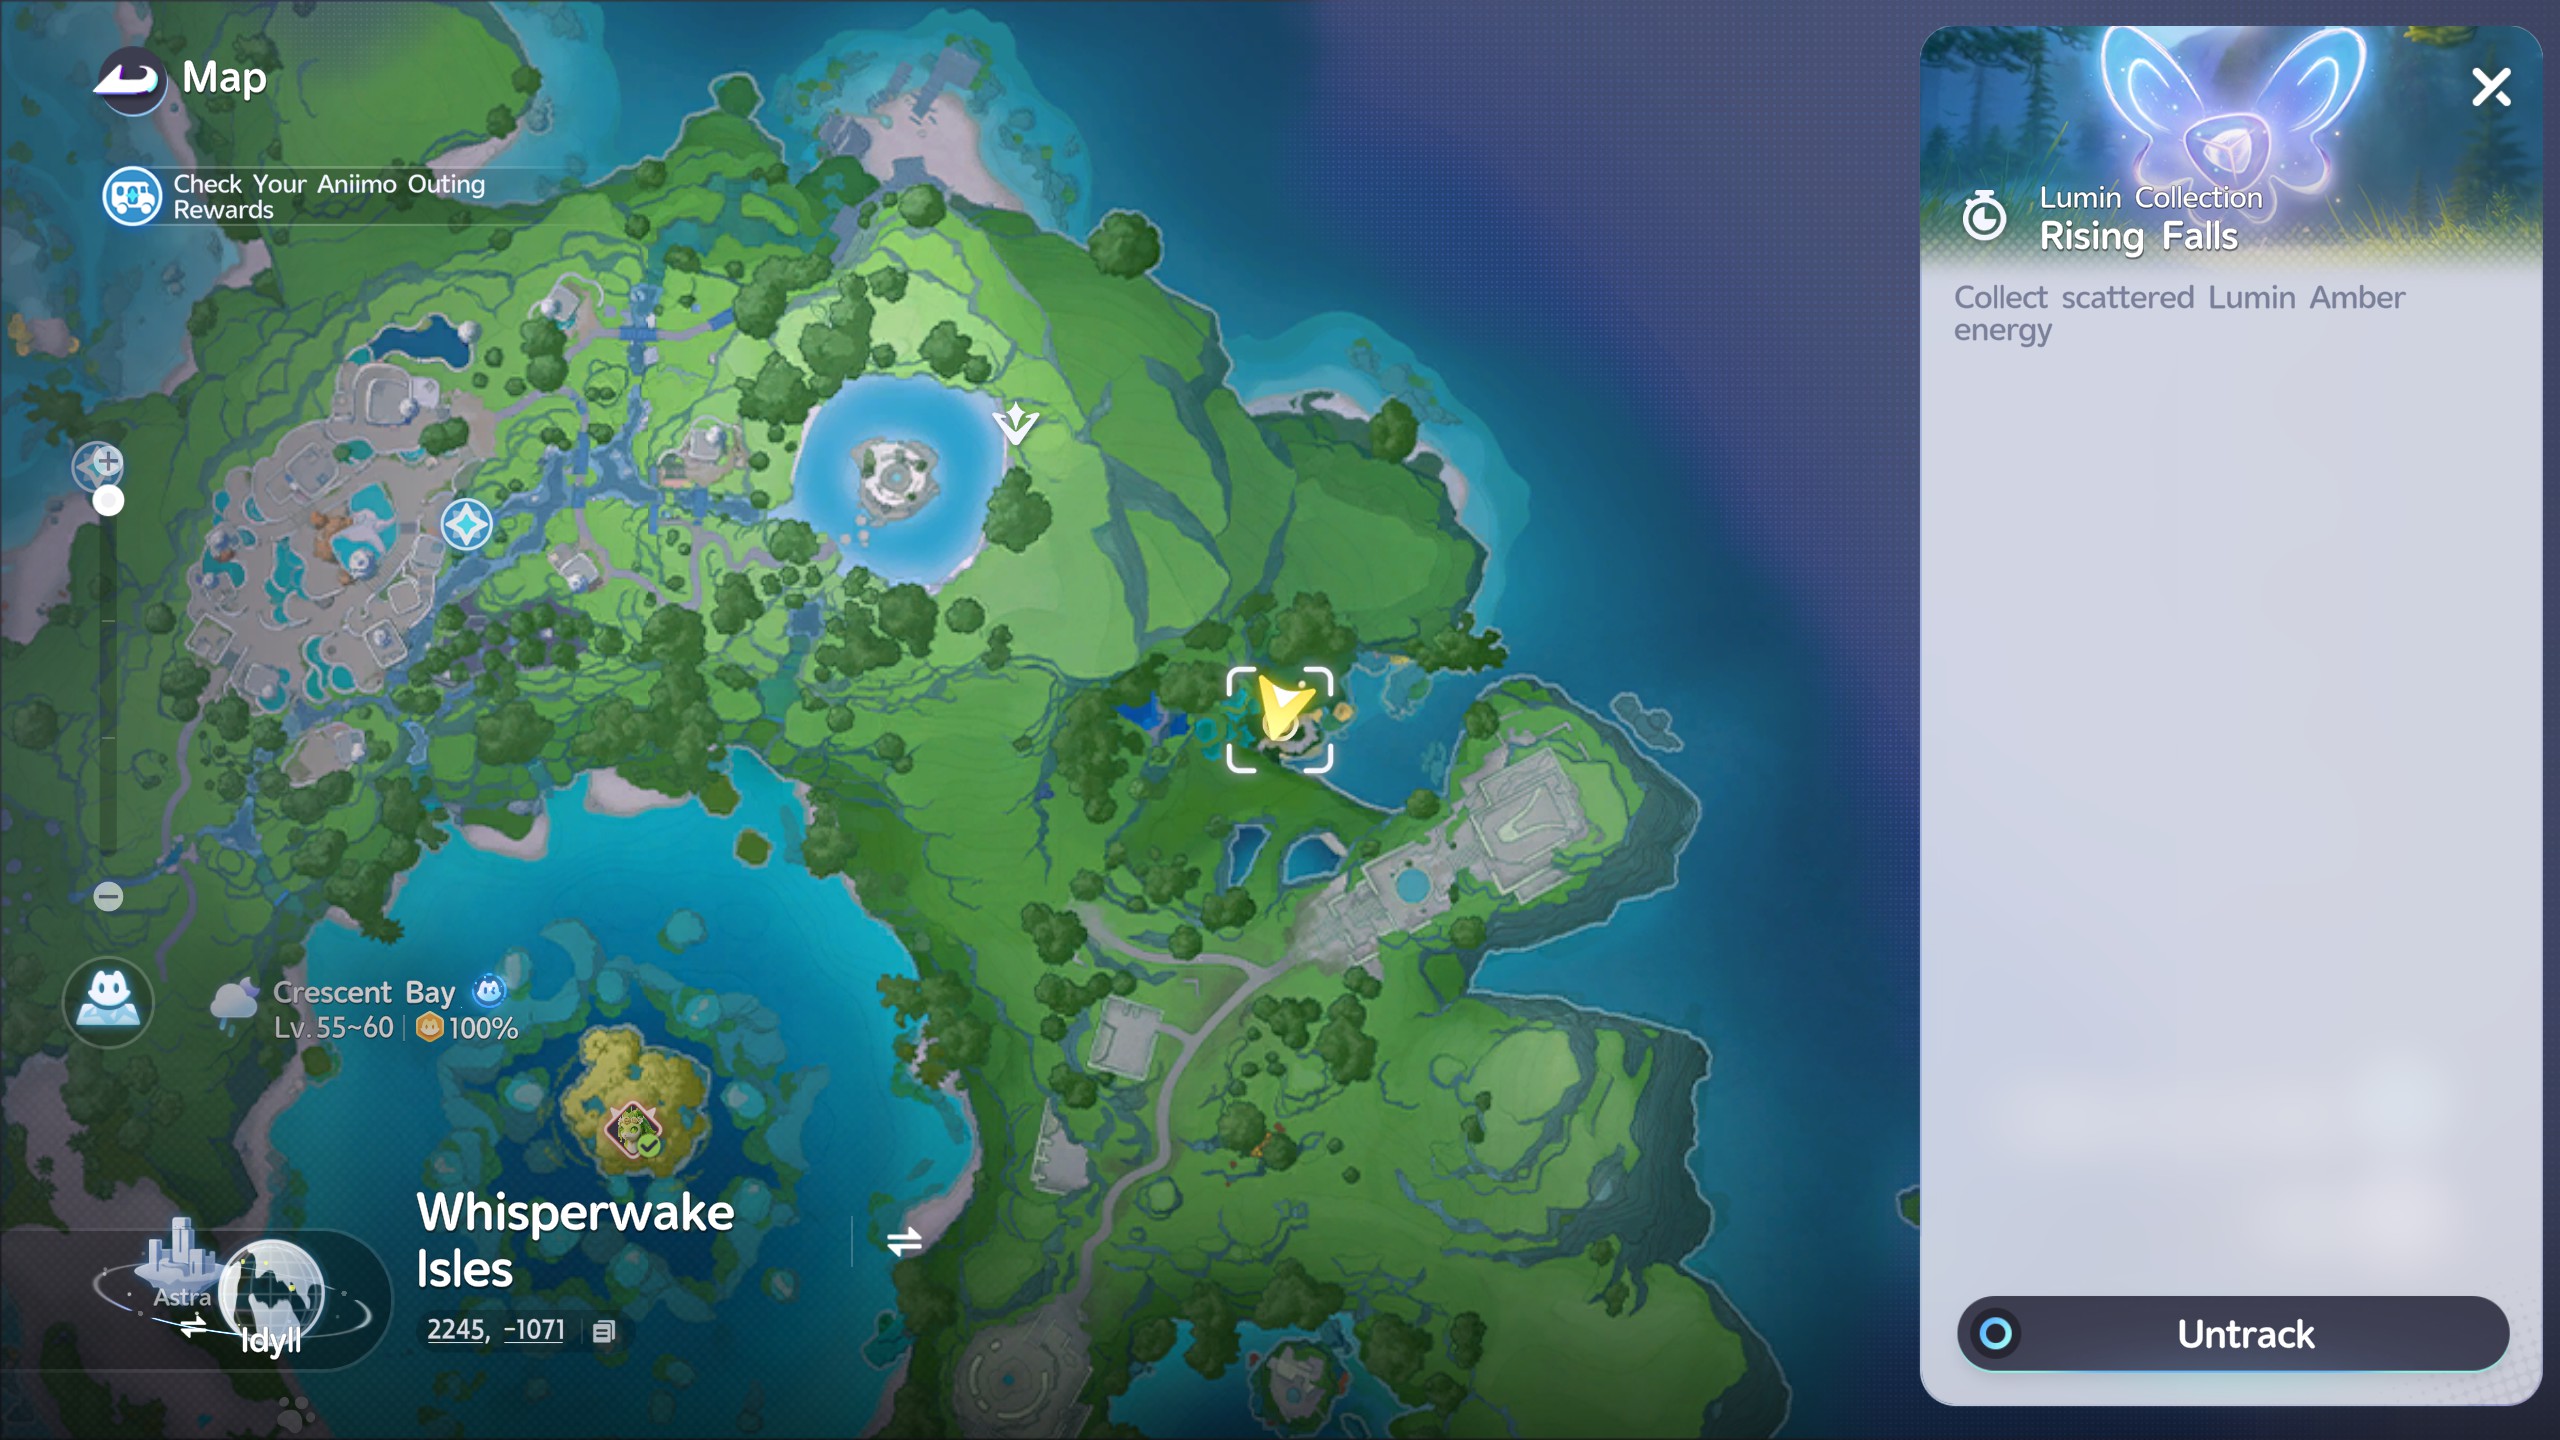
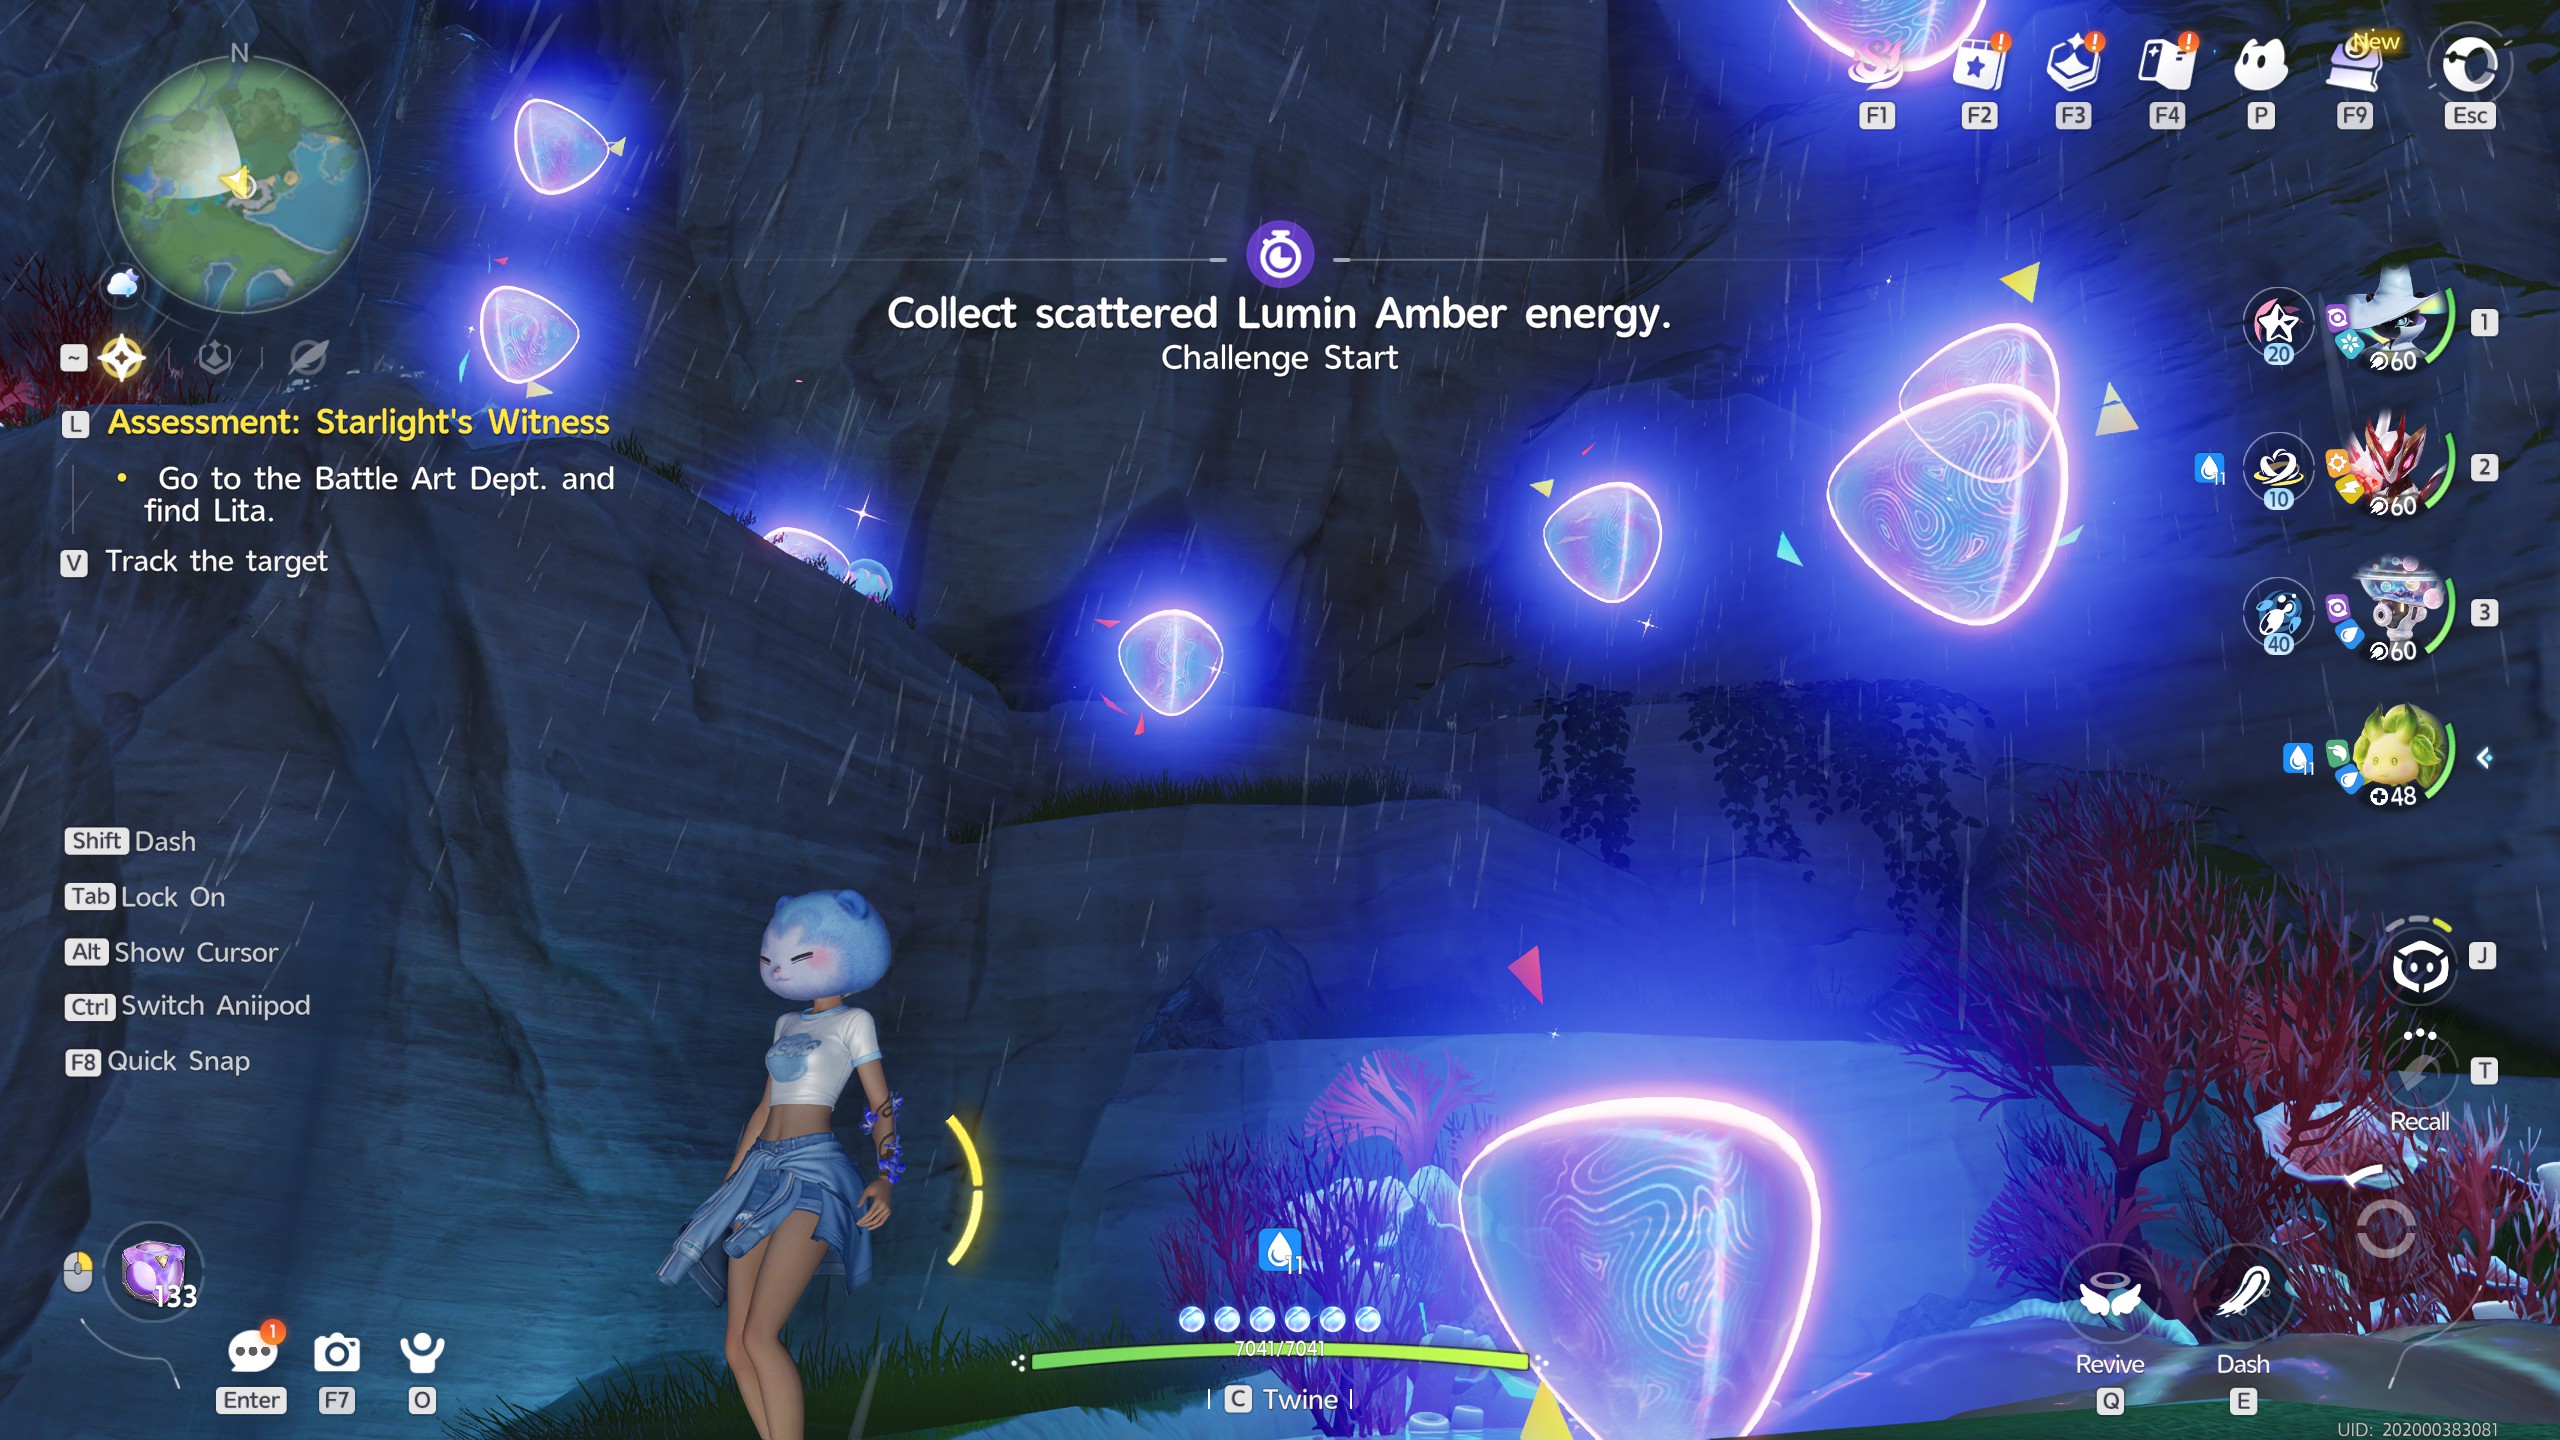
Rising Falls

For this trial, you'll have 1 Minute 30 Seconds to collect a total of 18 Amber. It's highly recommended that for this trial you take in some kind of Flying Aniimo, as it speeds the entire process up without relying on the bouncy pads.


On the Ruins

On the far side of the map you'll find an Amber sitting on top of some ruins. No requirement to grab it, simply fly up and you'll be free to pick it up.


Complete the Painting

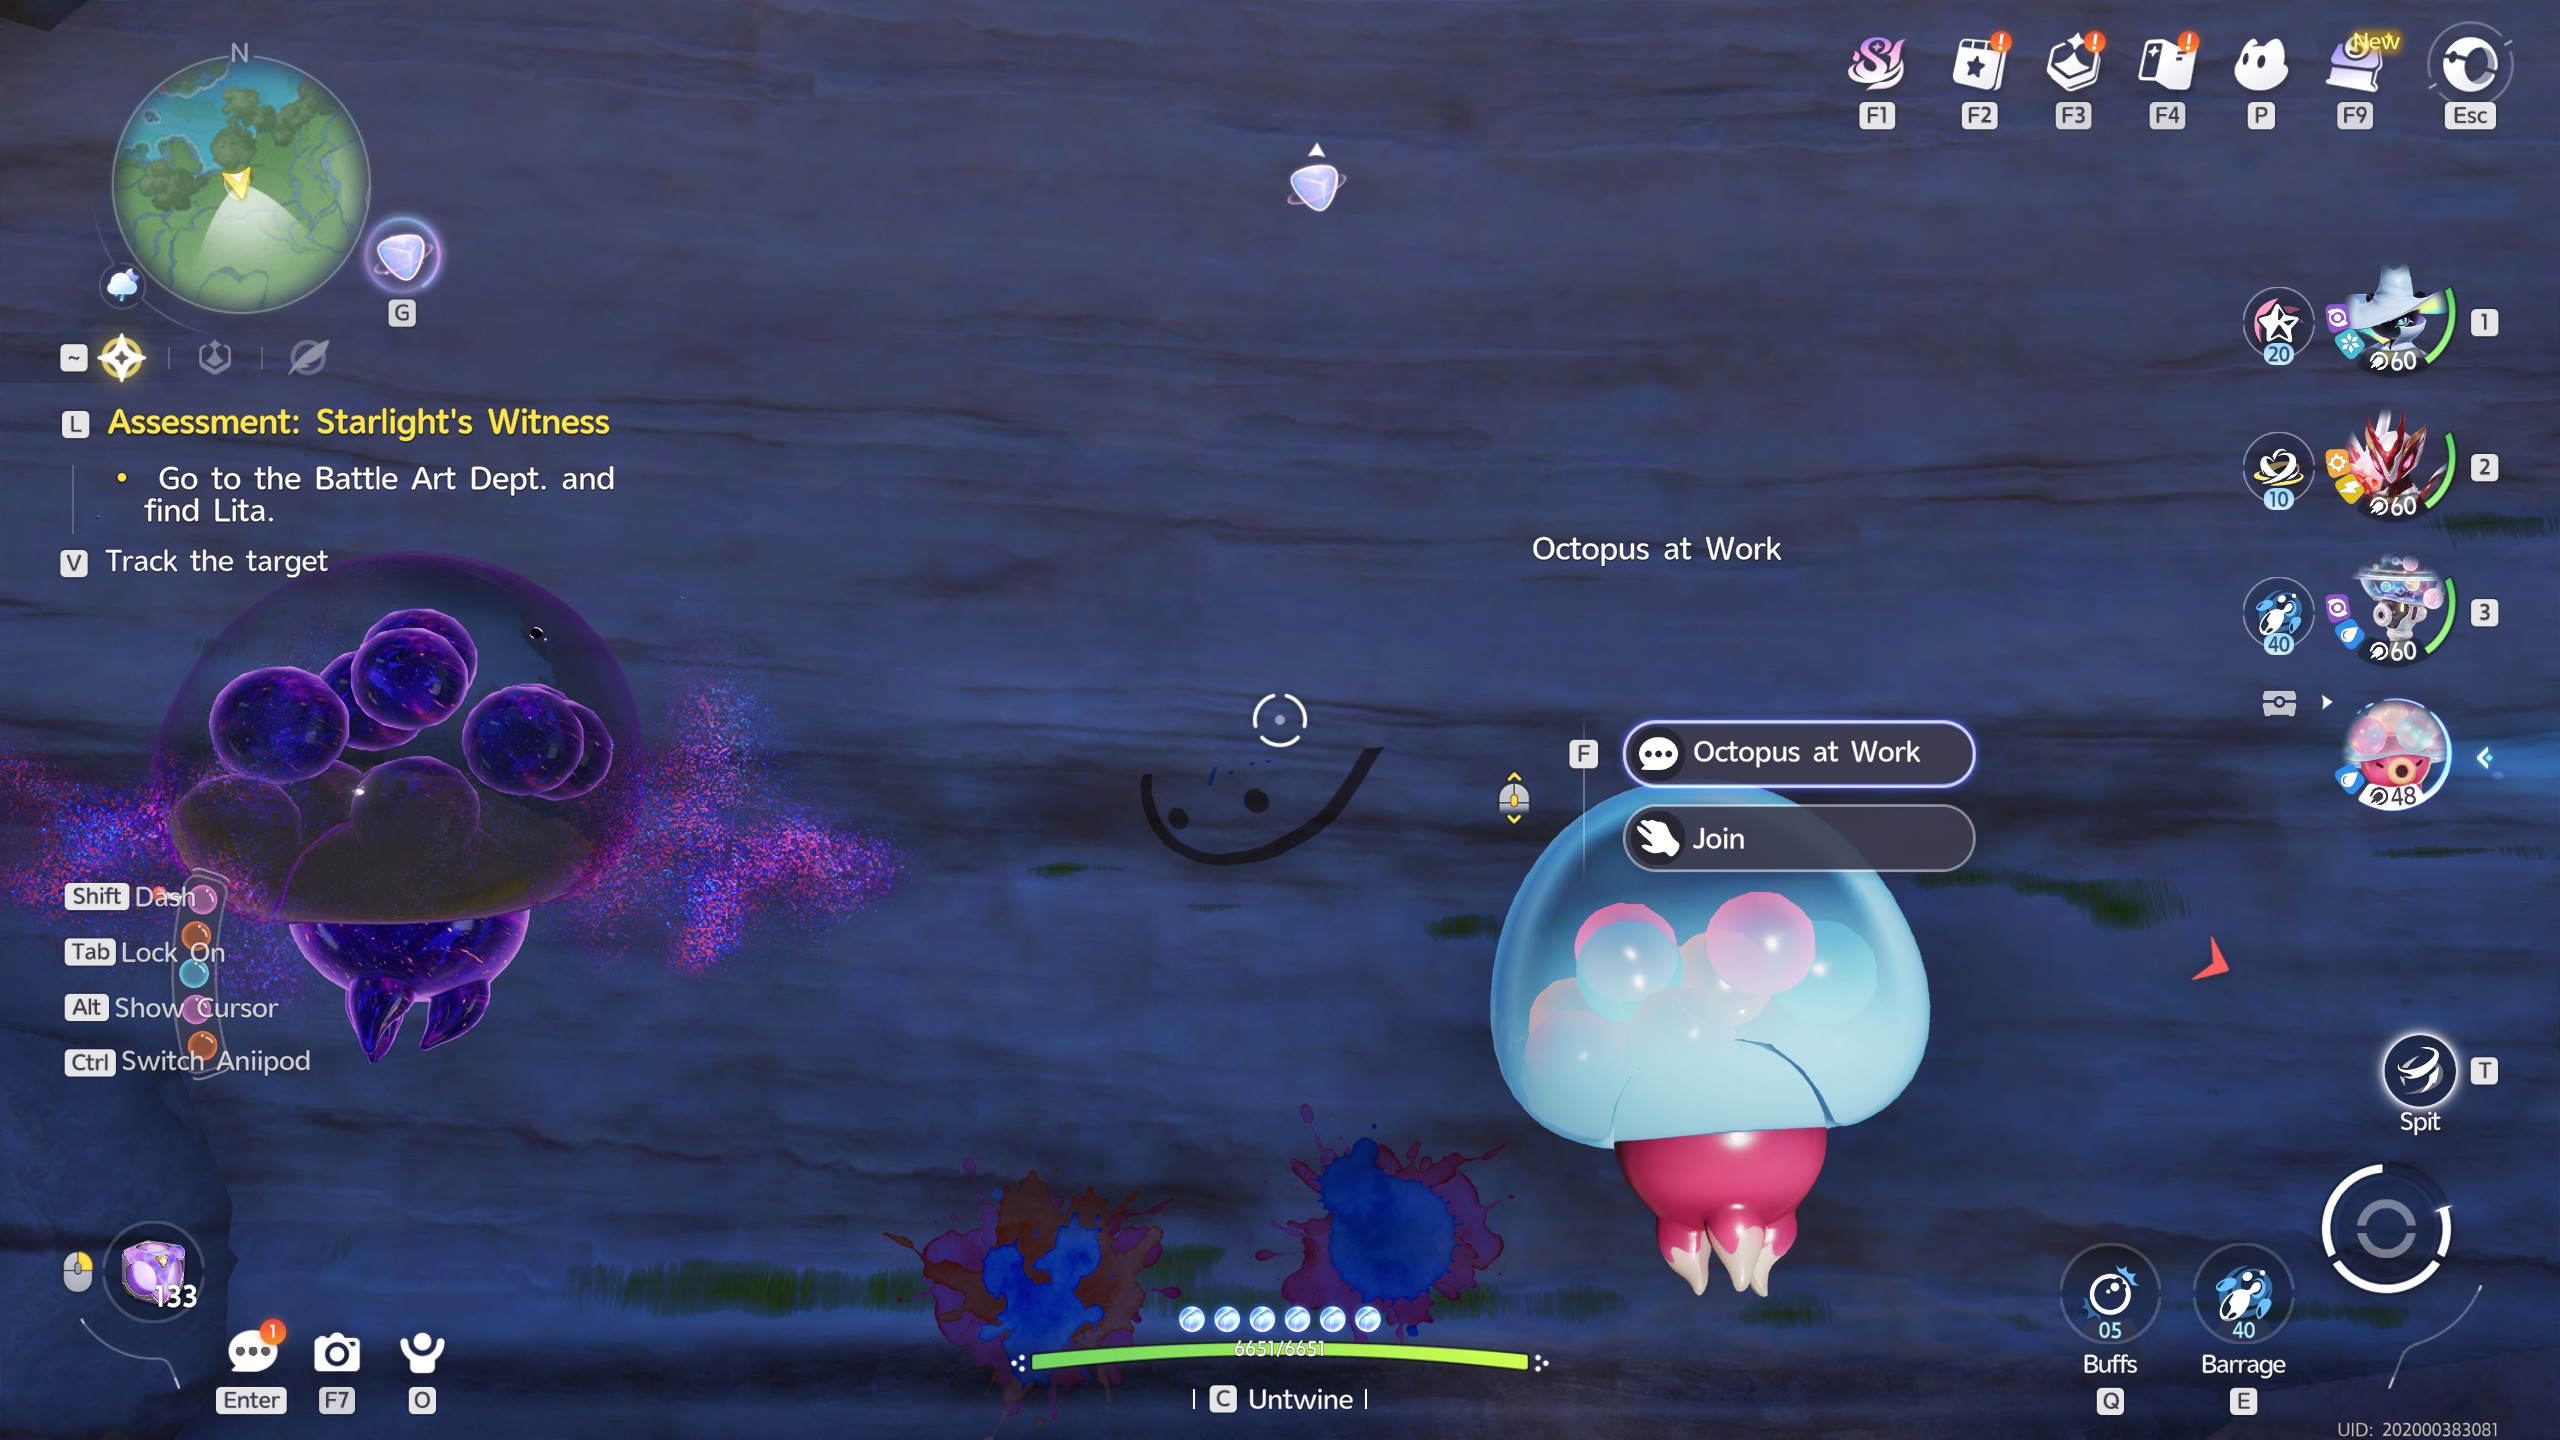
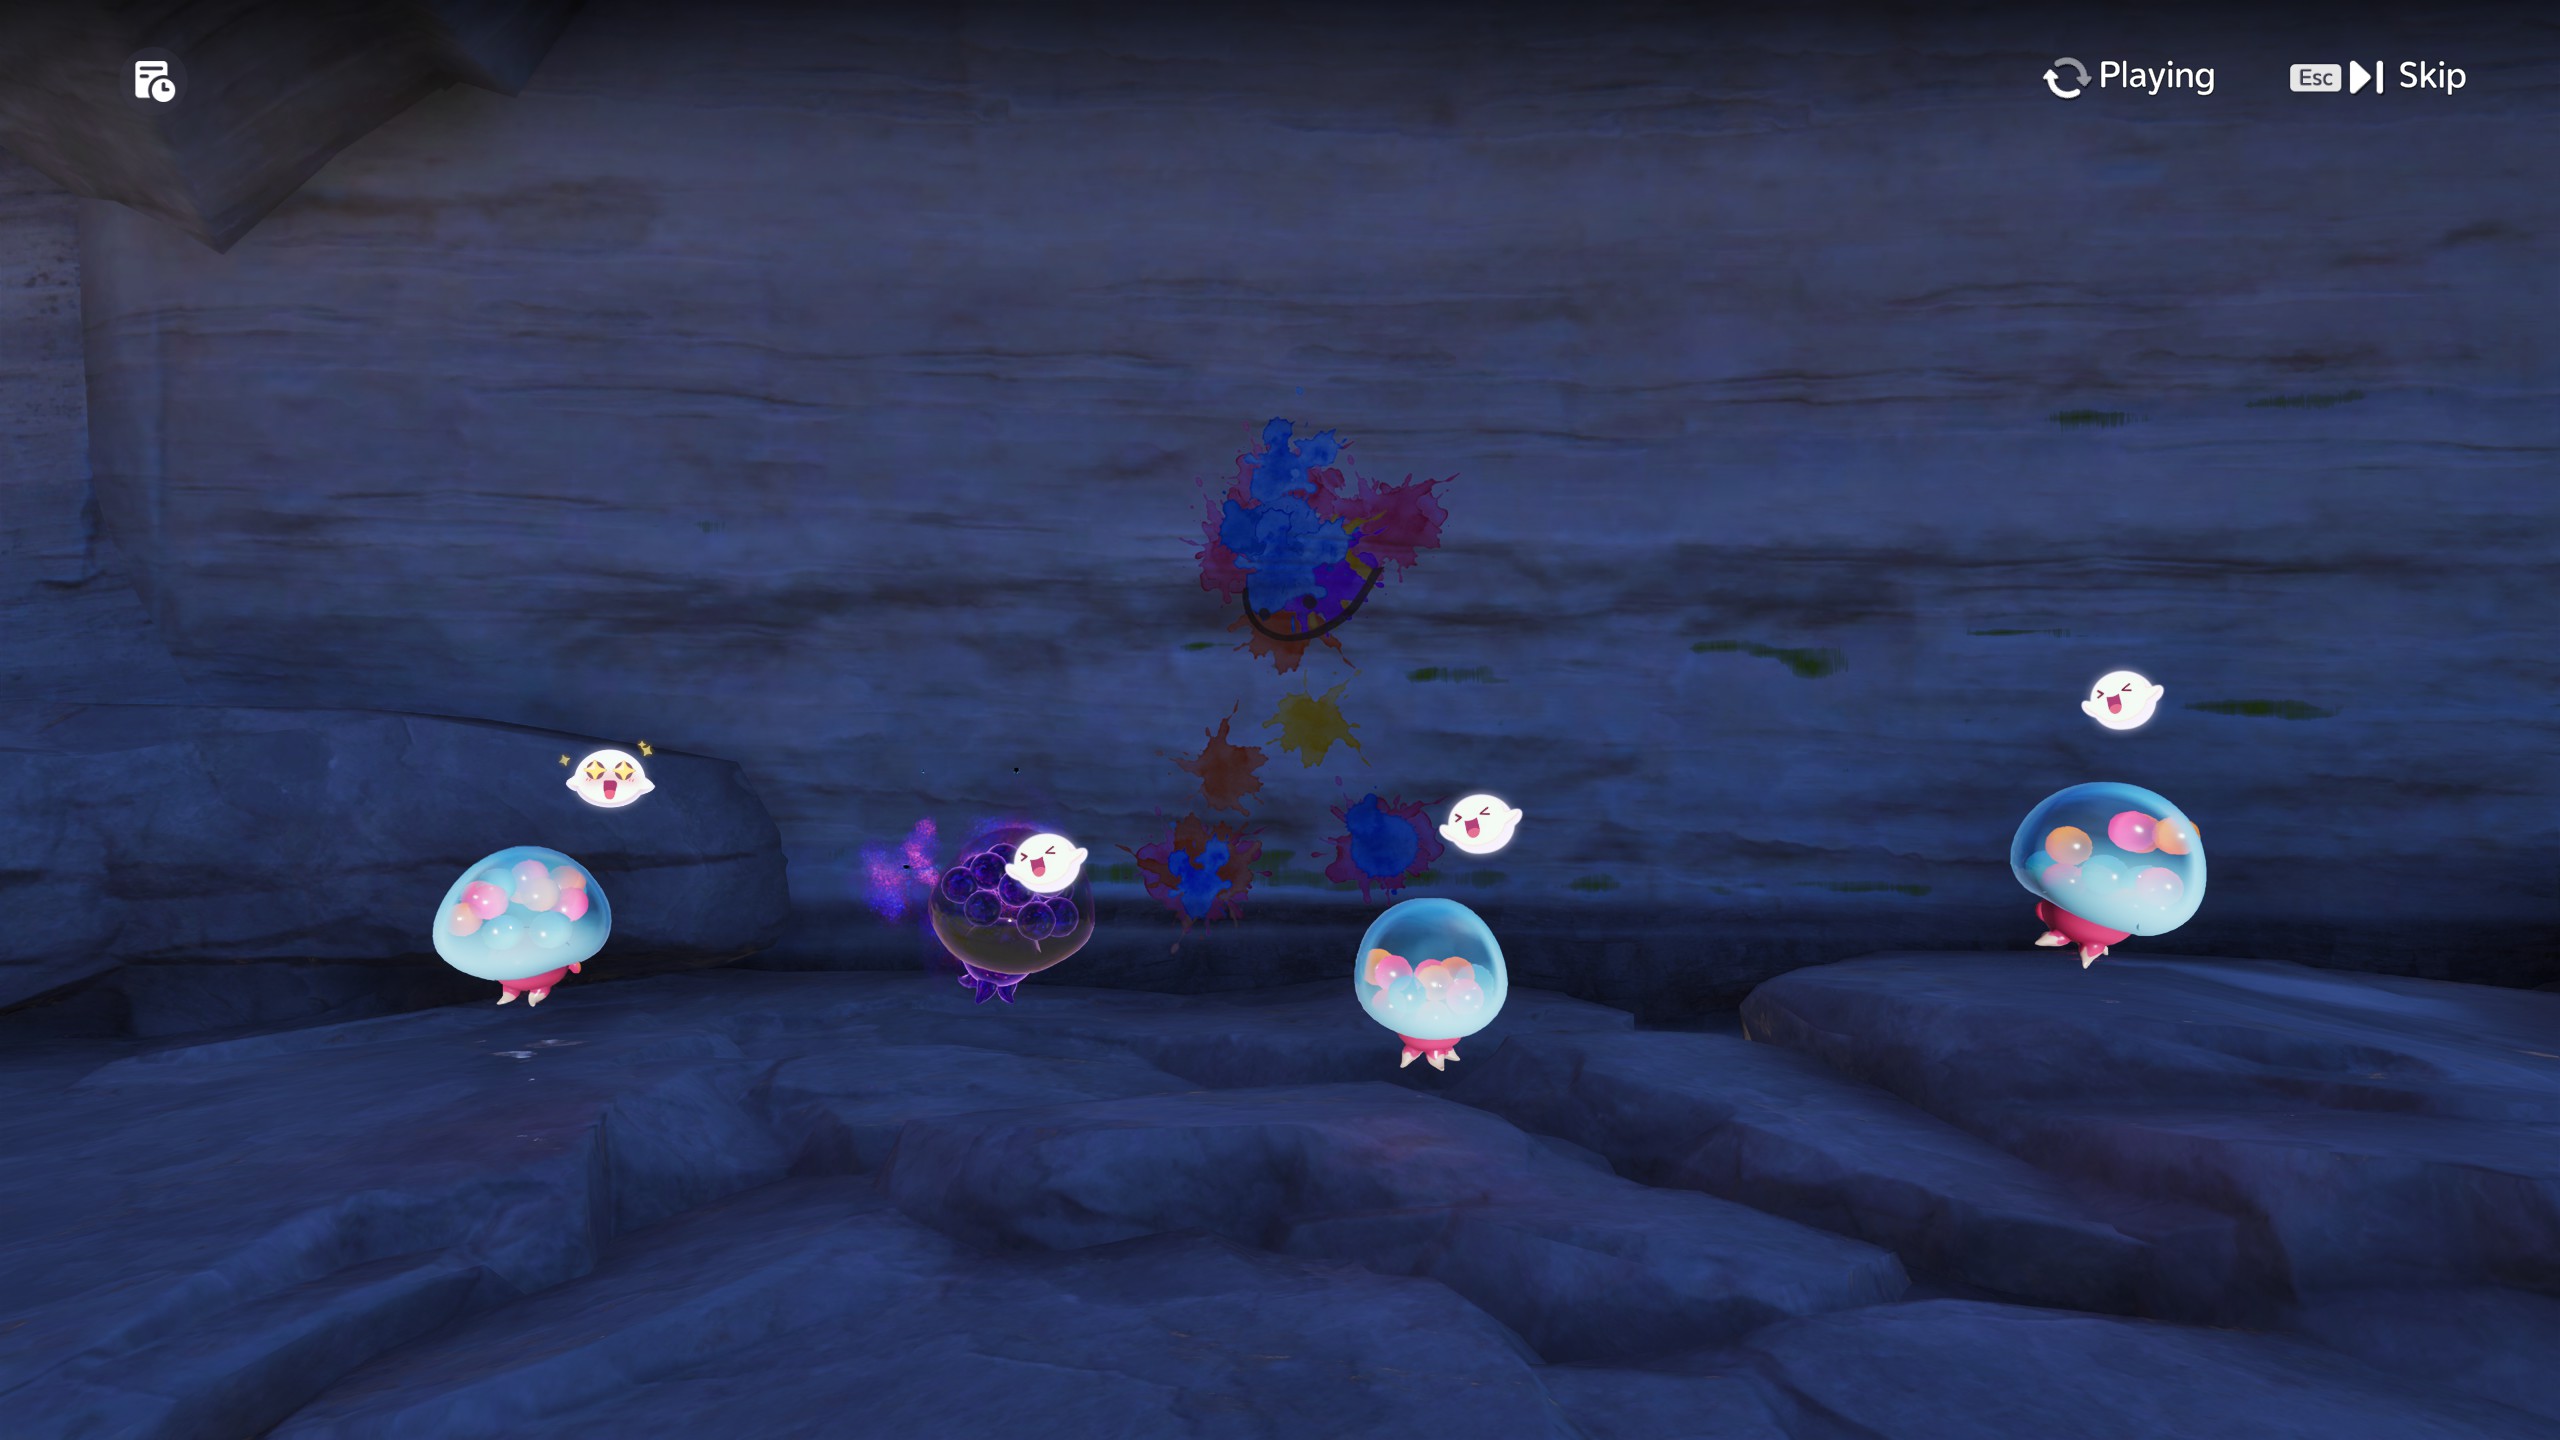
Located under the mountain pictured below, twine with a Popapus, and use the "Spit" ability (held) to fire paint at the drawing on the wall. Do this until the painting is completed, and the Amber located above you will be released so you can pick it up!


Blessed Popapus

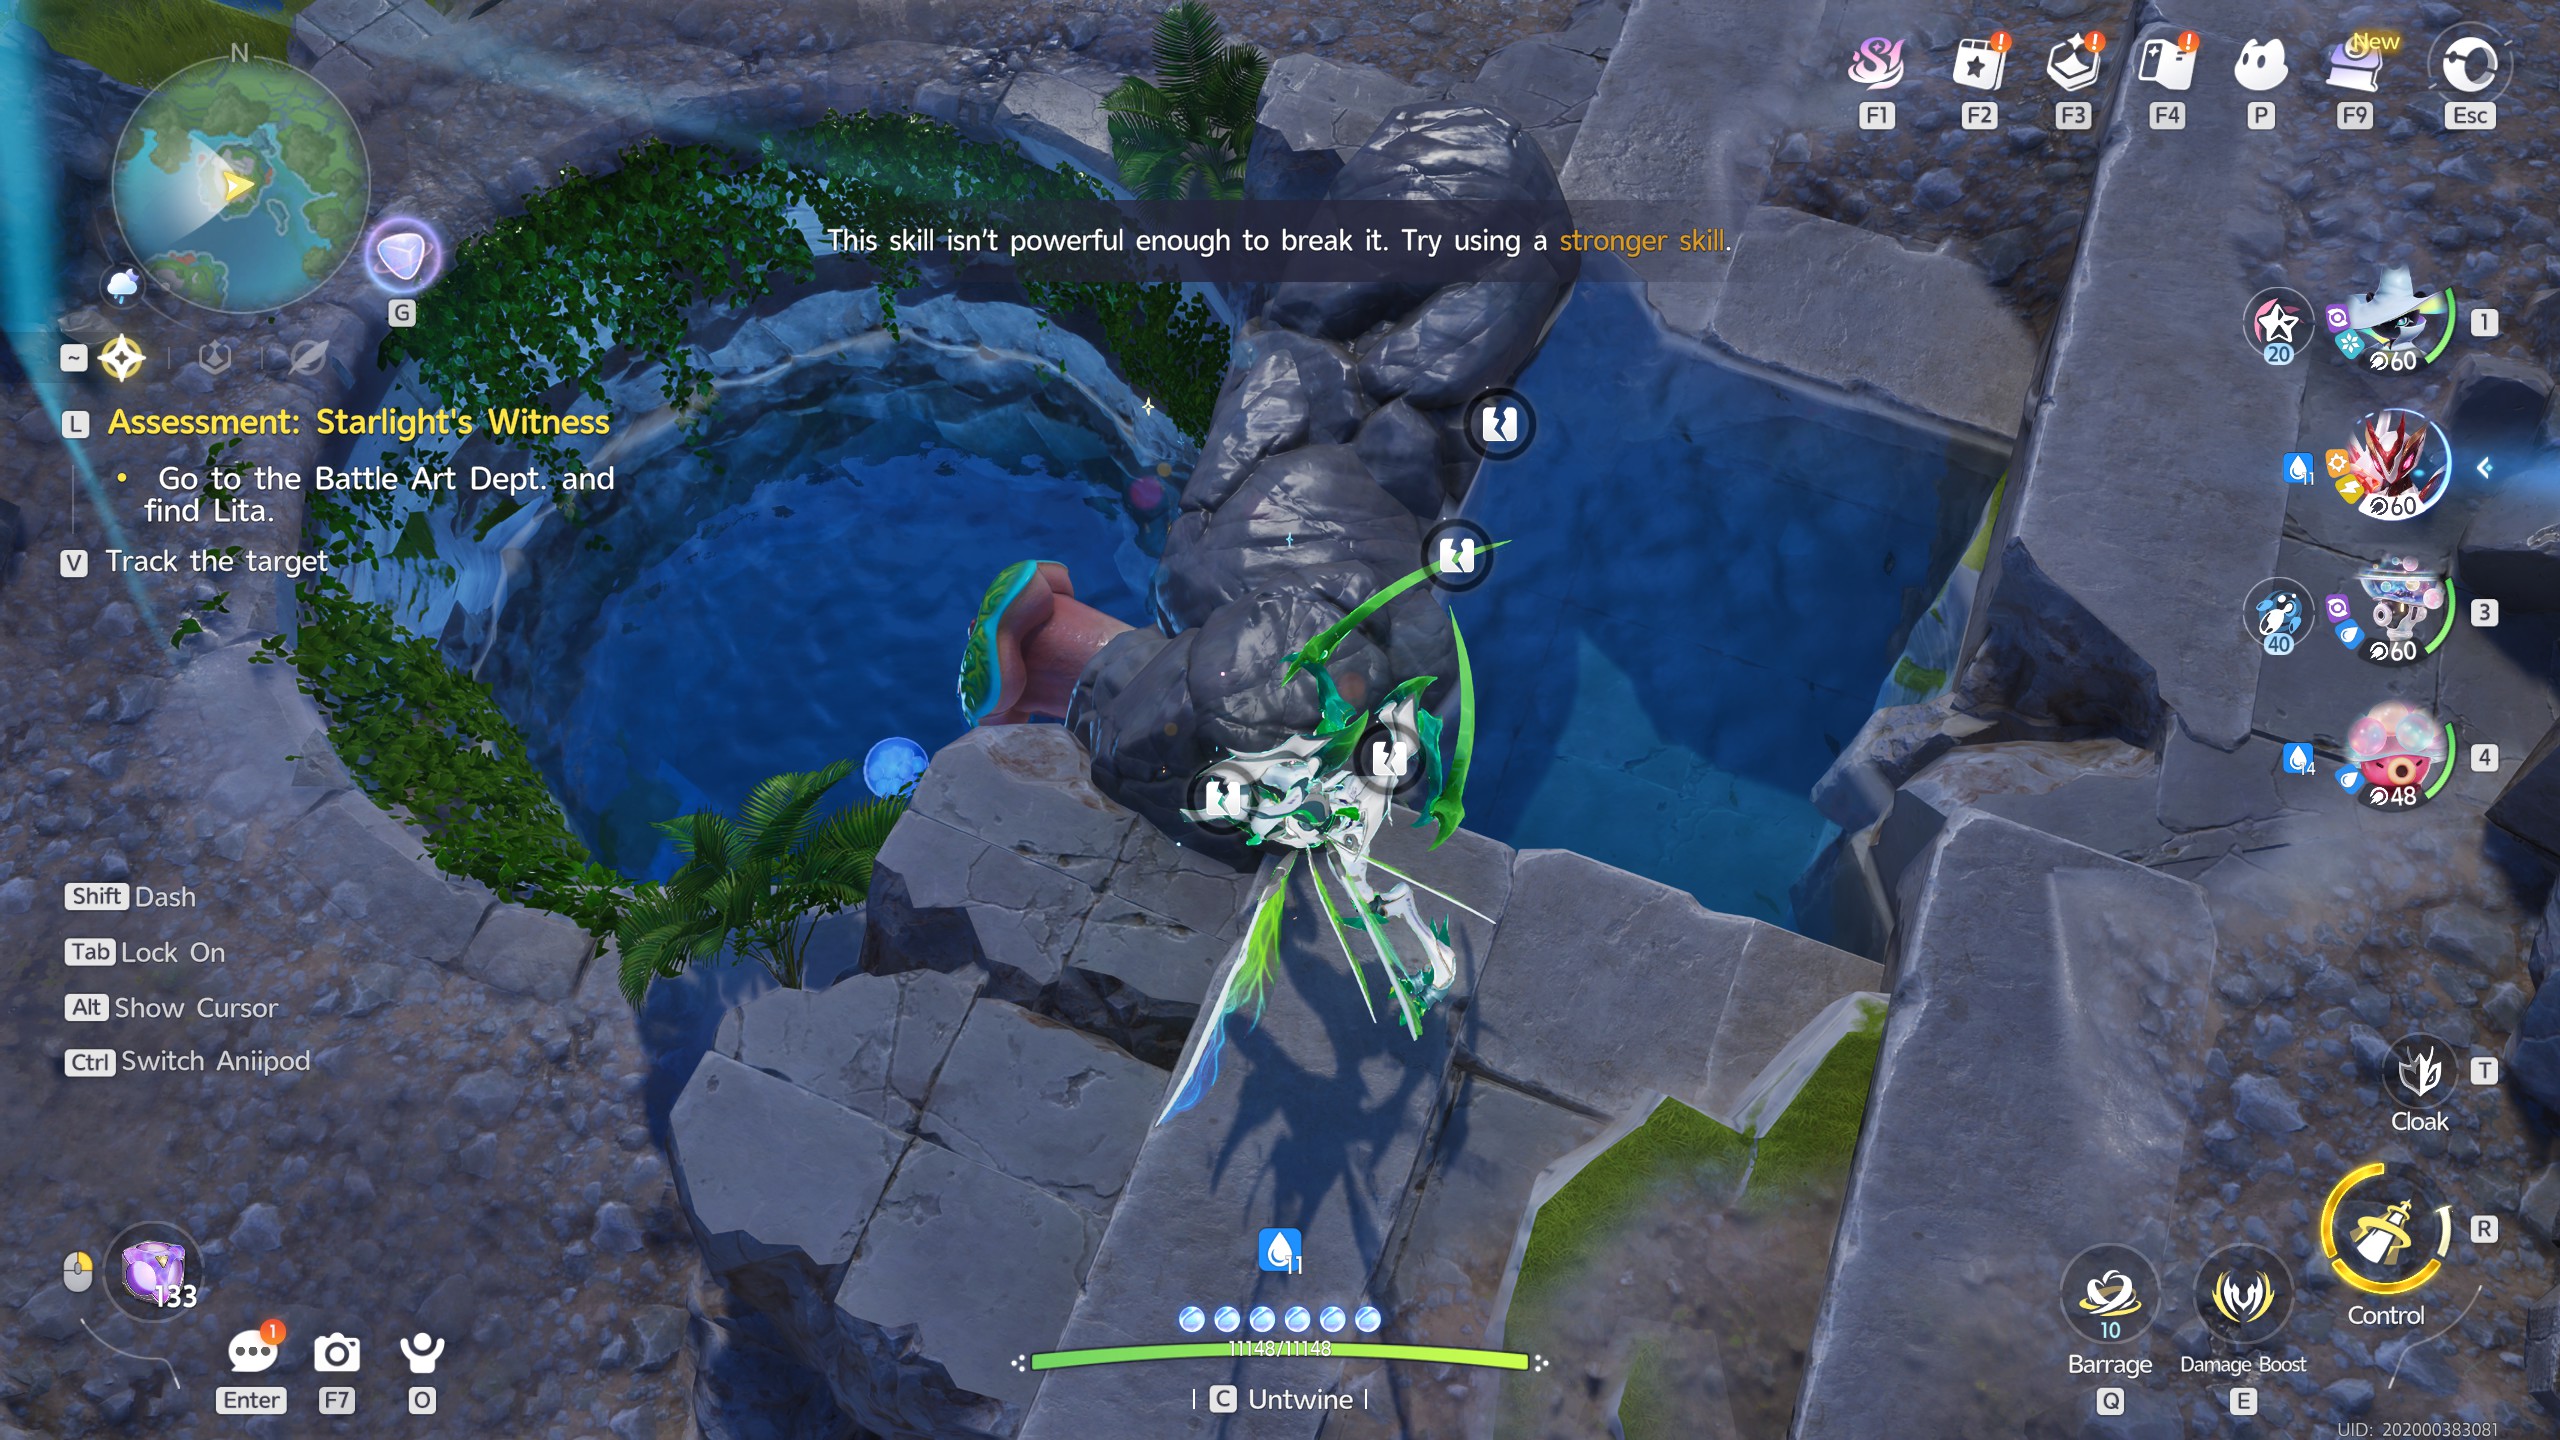
This one can be confusing at first. Upon arrival, the Blessed Popapus will dive into the well of water. In this state, you won't be able to capture it at all.

To fix this, break the rocks above the well. Once done, water will fill up the hole, and a bubble will be blown that will lift the Popapus out. Once the bubble pops, it will fall to the ground and you'll be able to capture it, freeing the Amber.


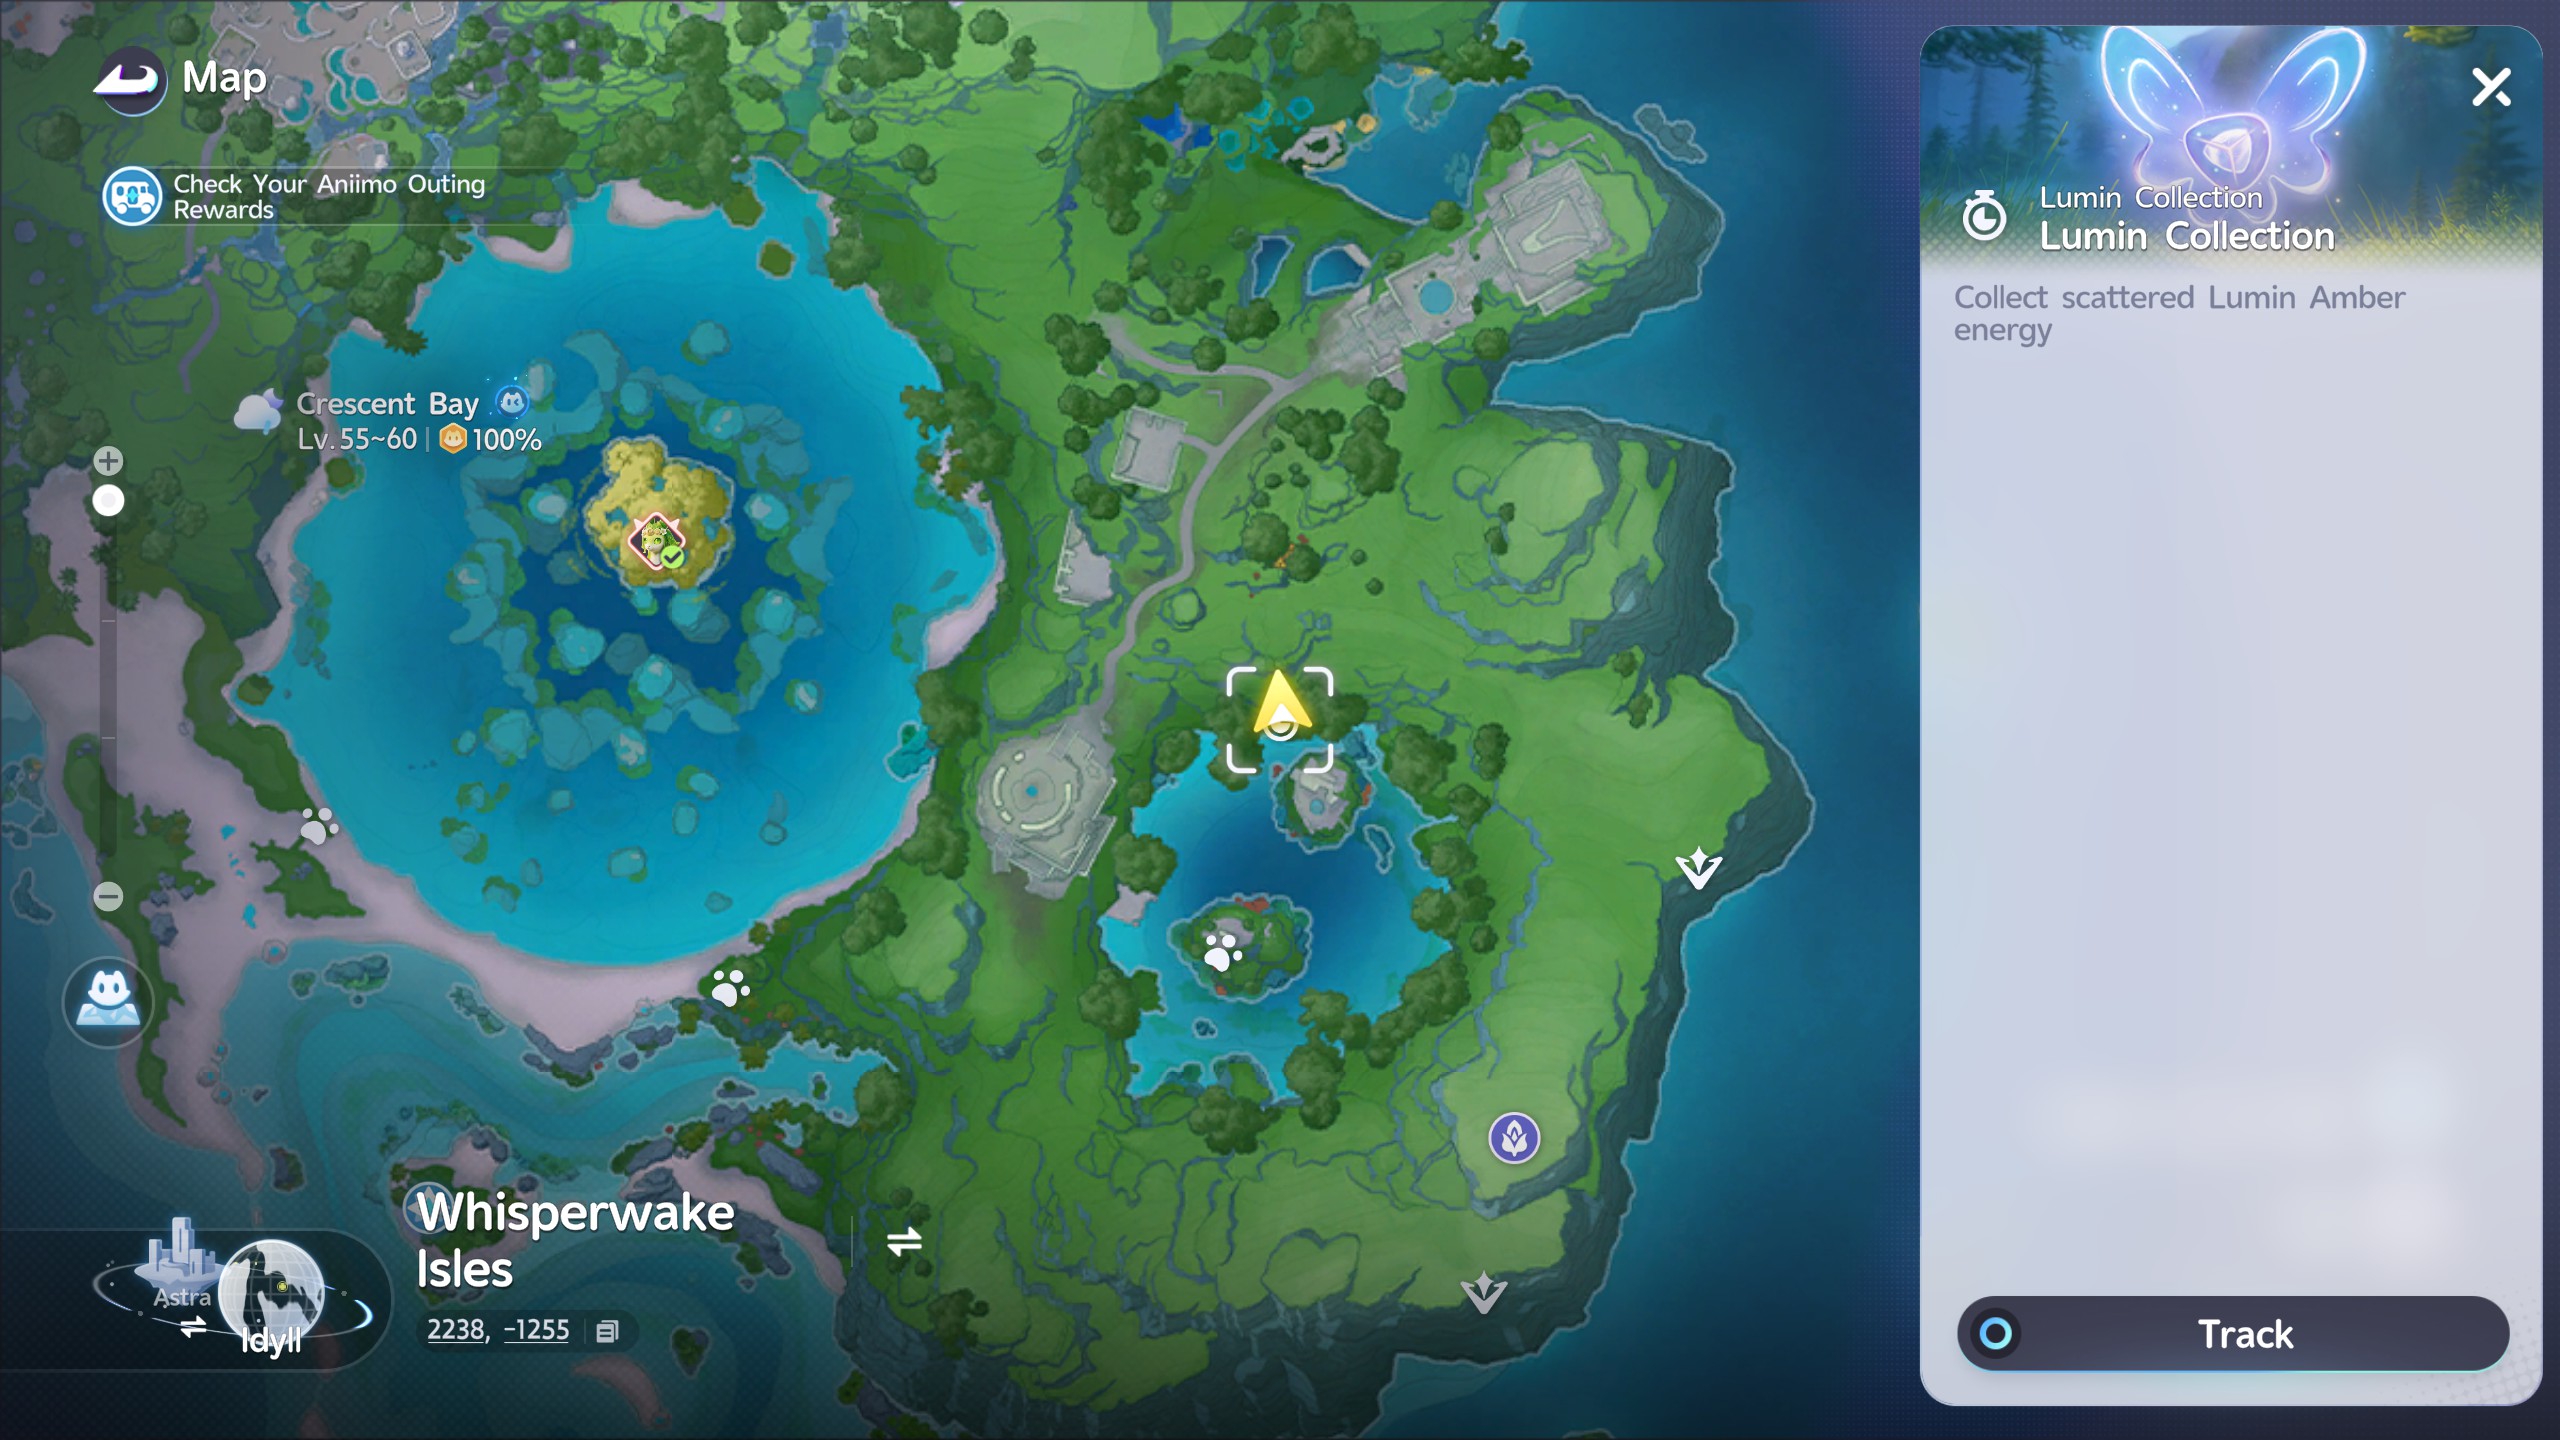
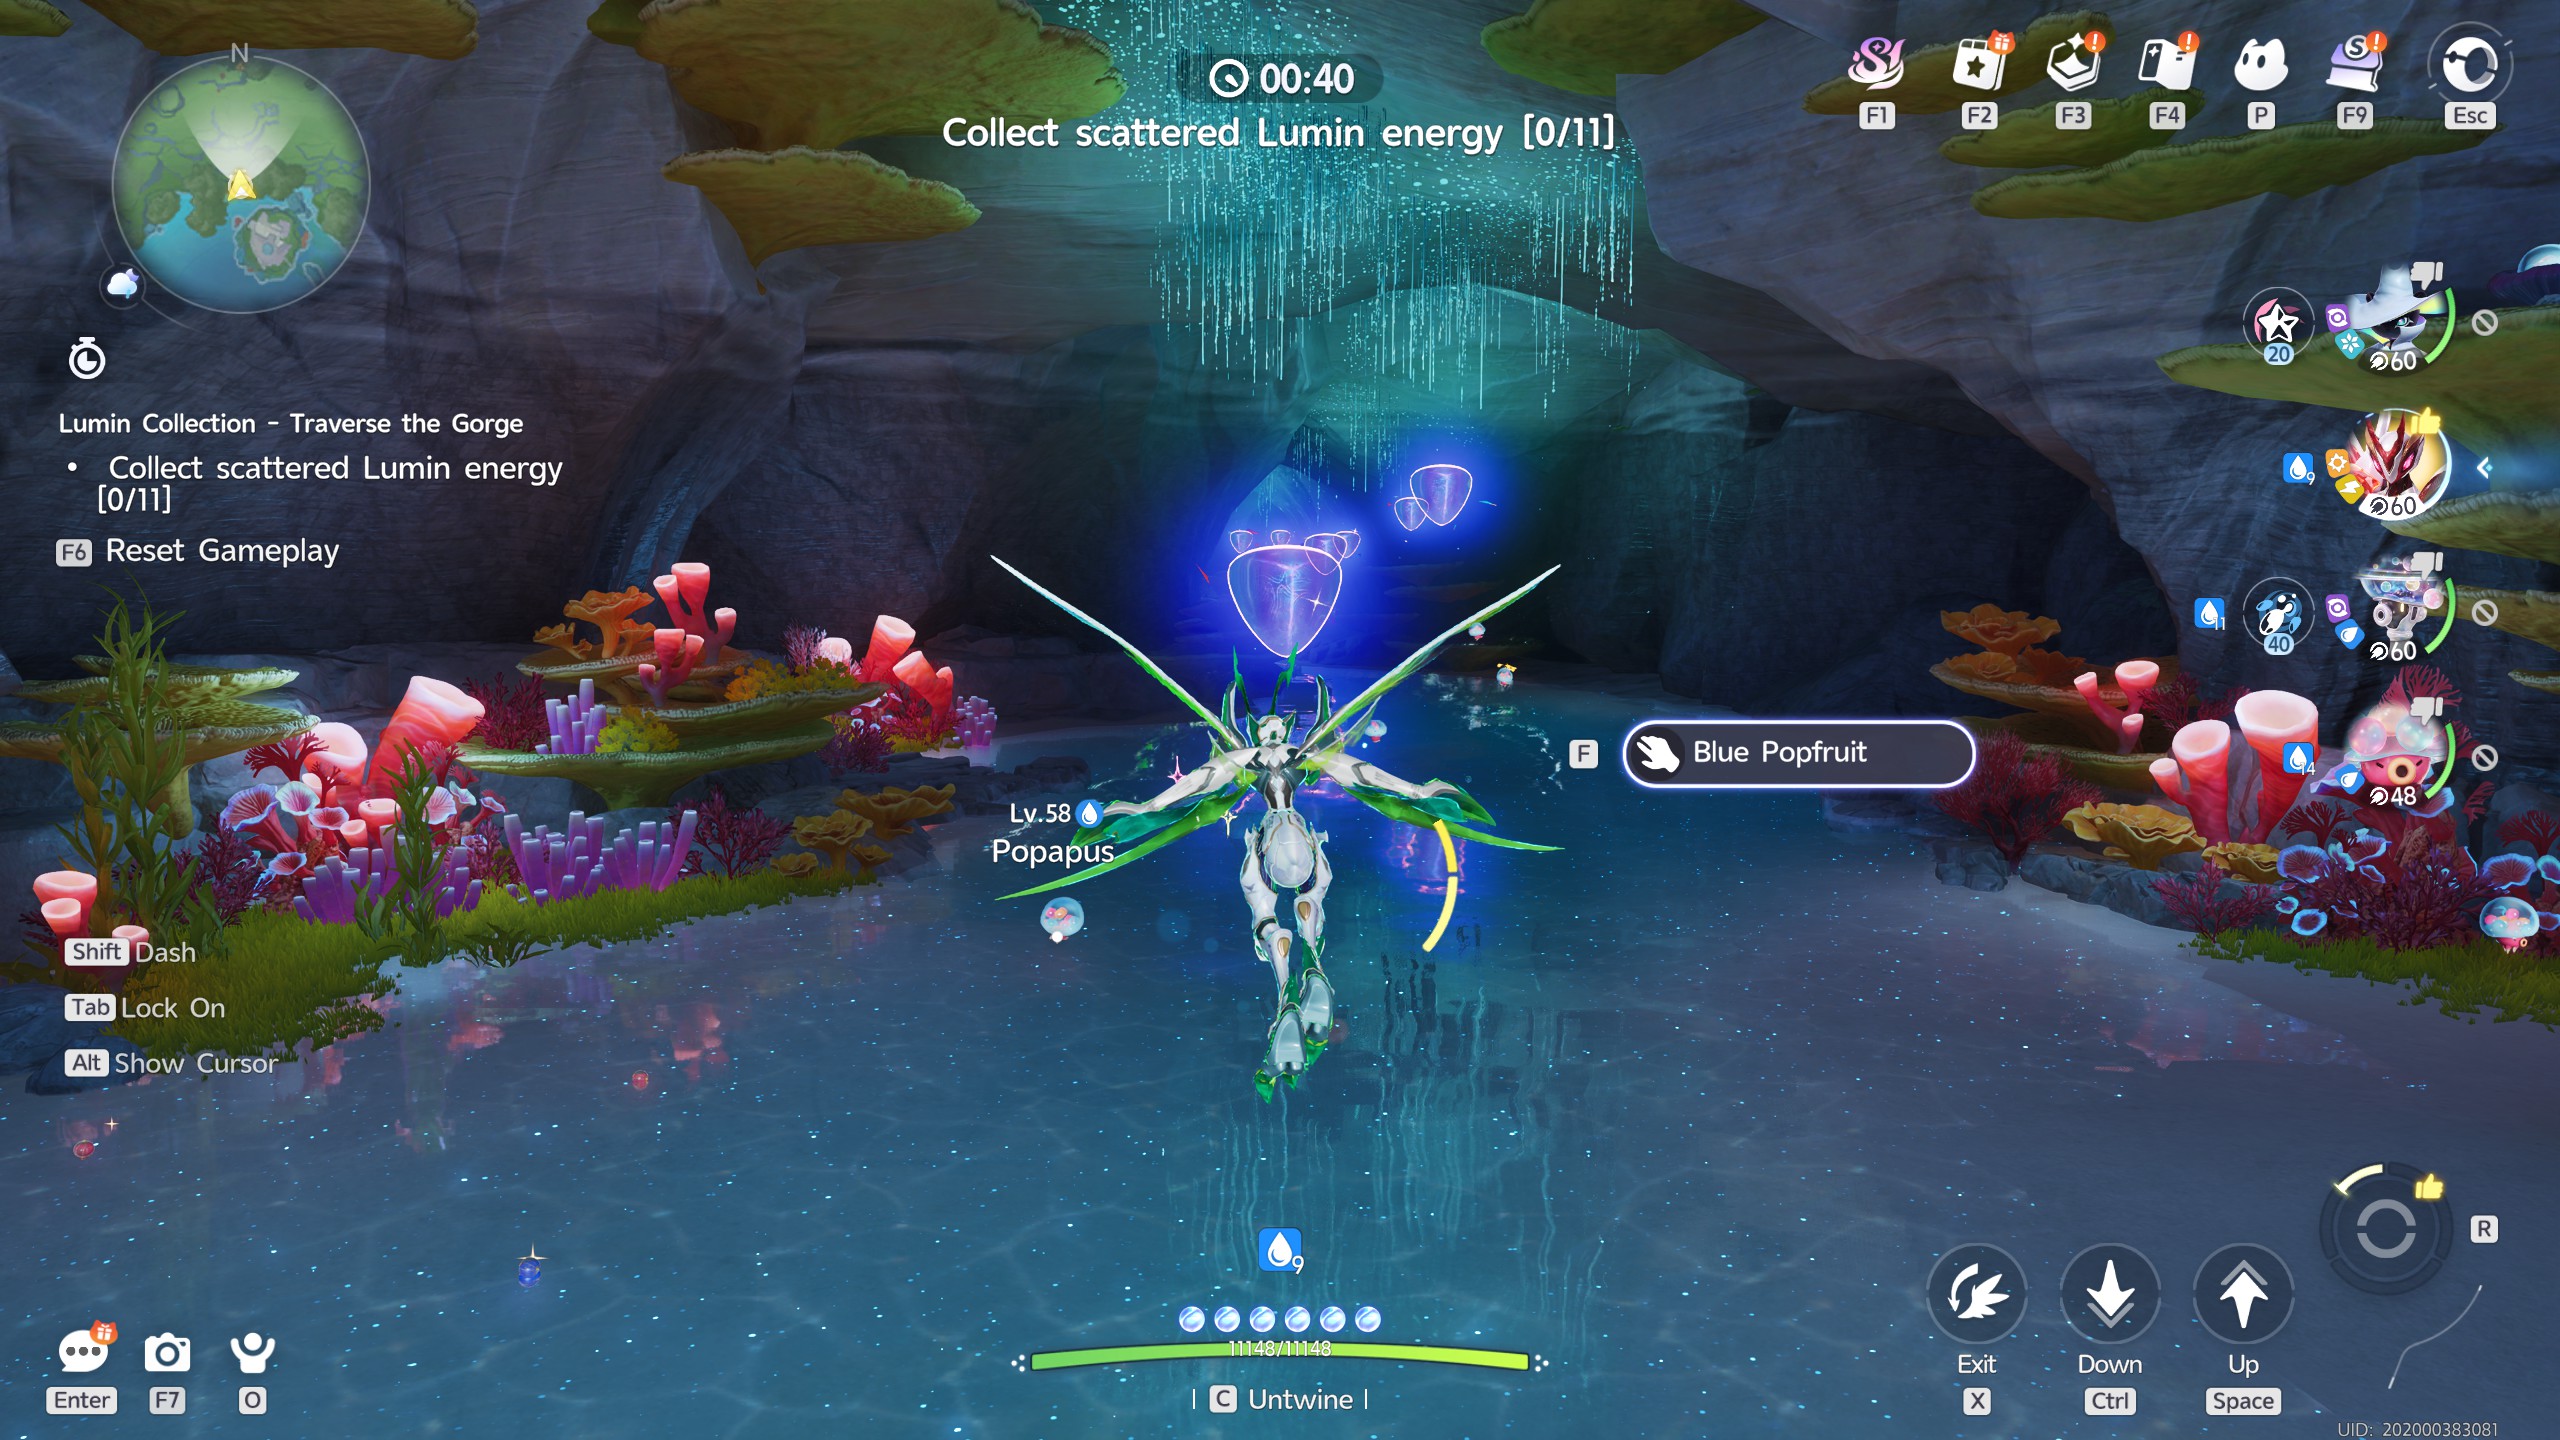
Cave Collection

This trial will have you flying through a cave tunnel to get all 11 Ambers in the allotted time. To best do this, use a Flying Aniimo such as Fulmintis to quickly navigate through the opening before the time runs out.


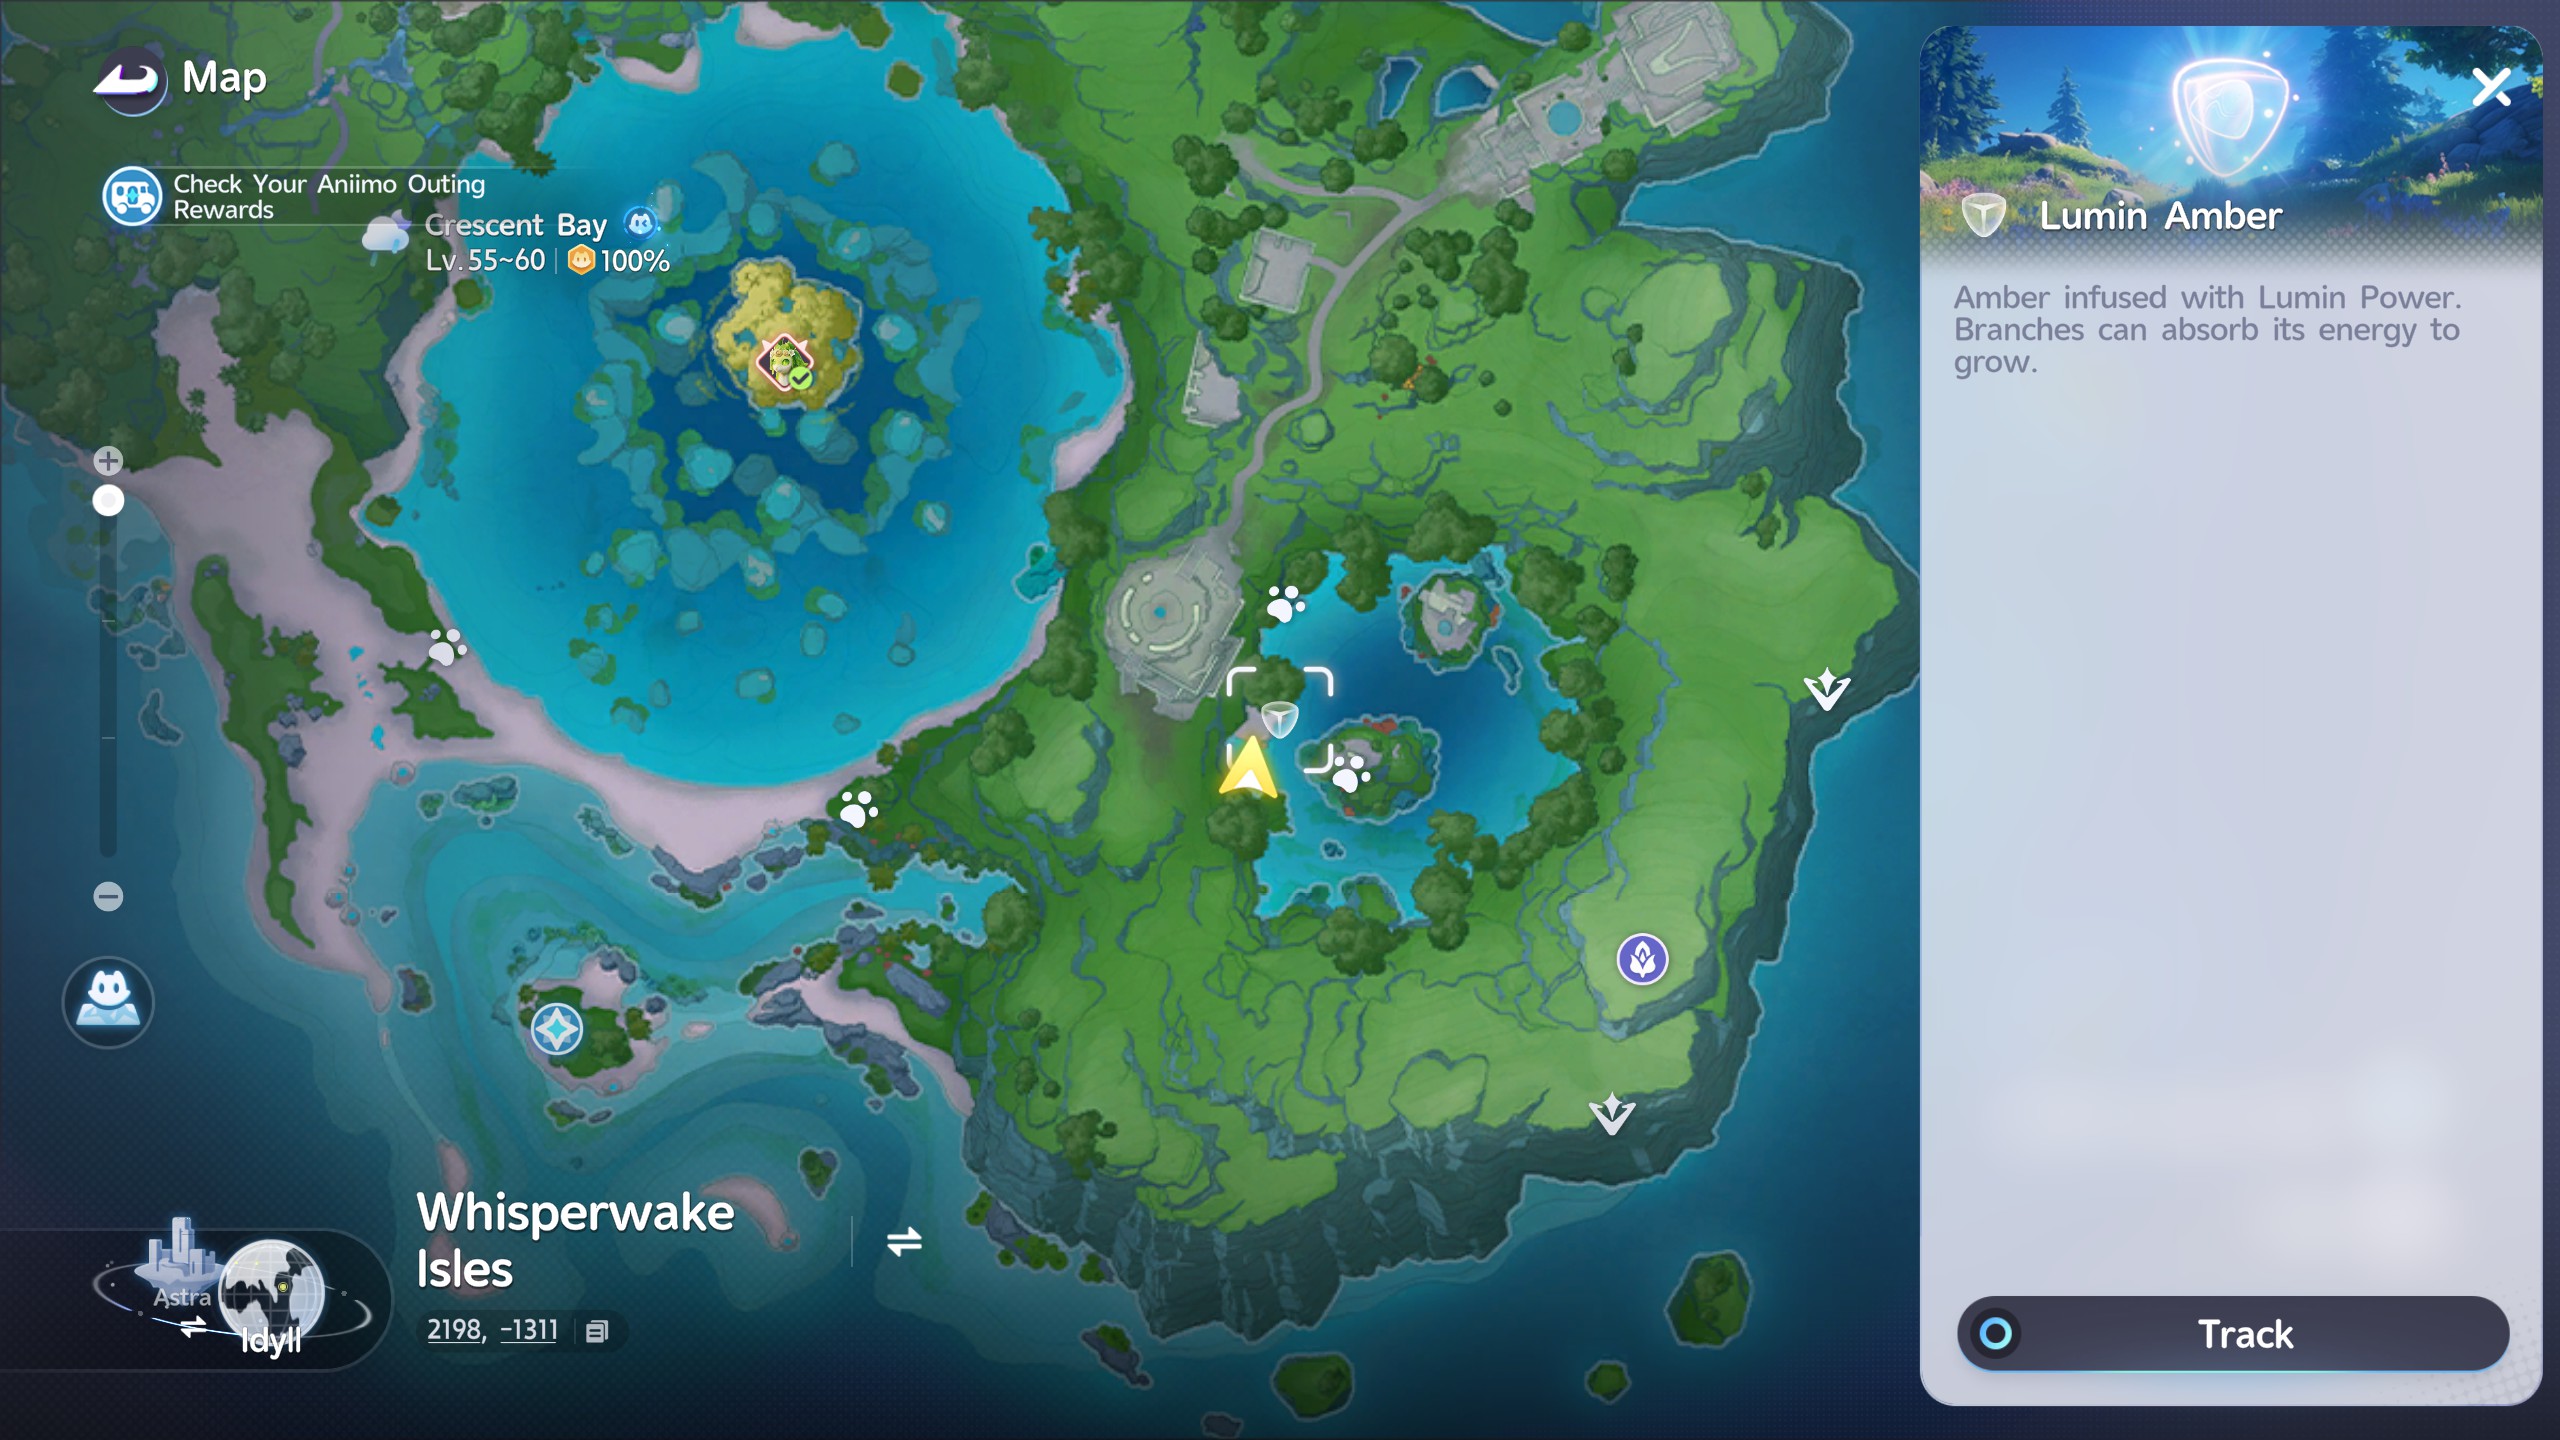
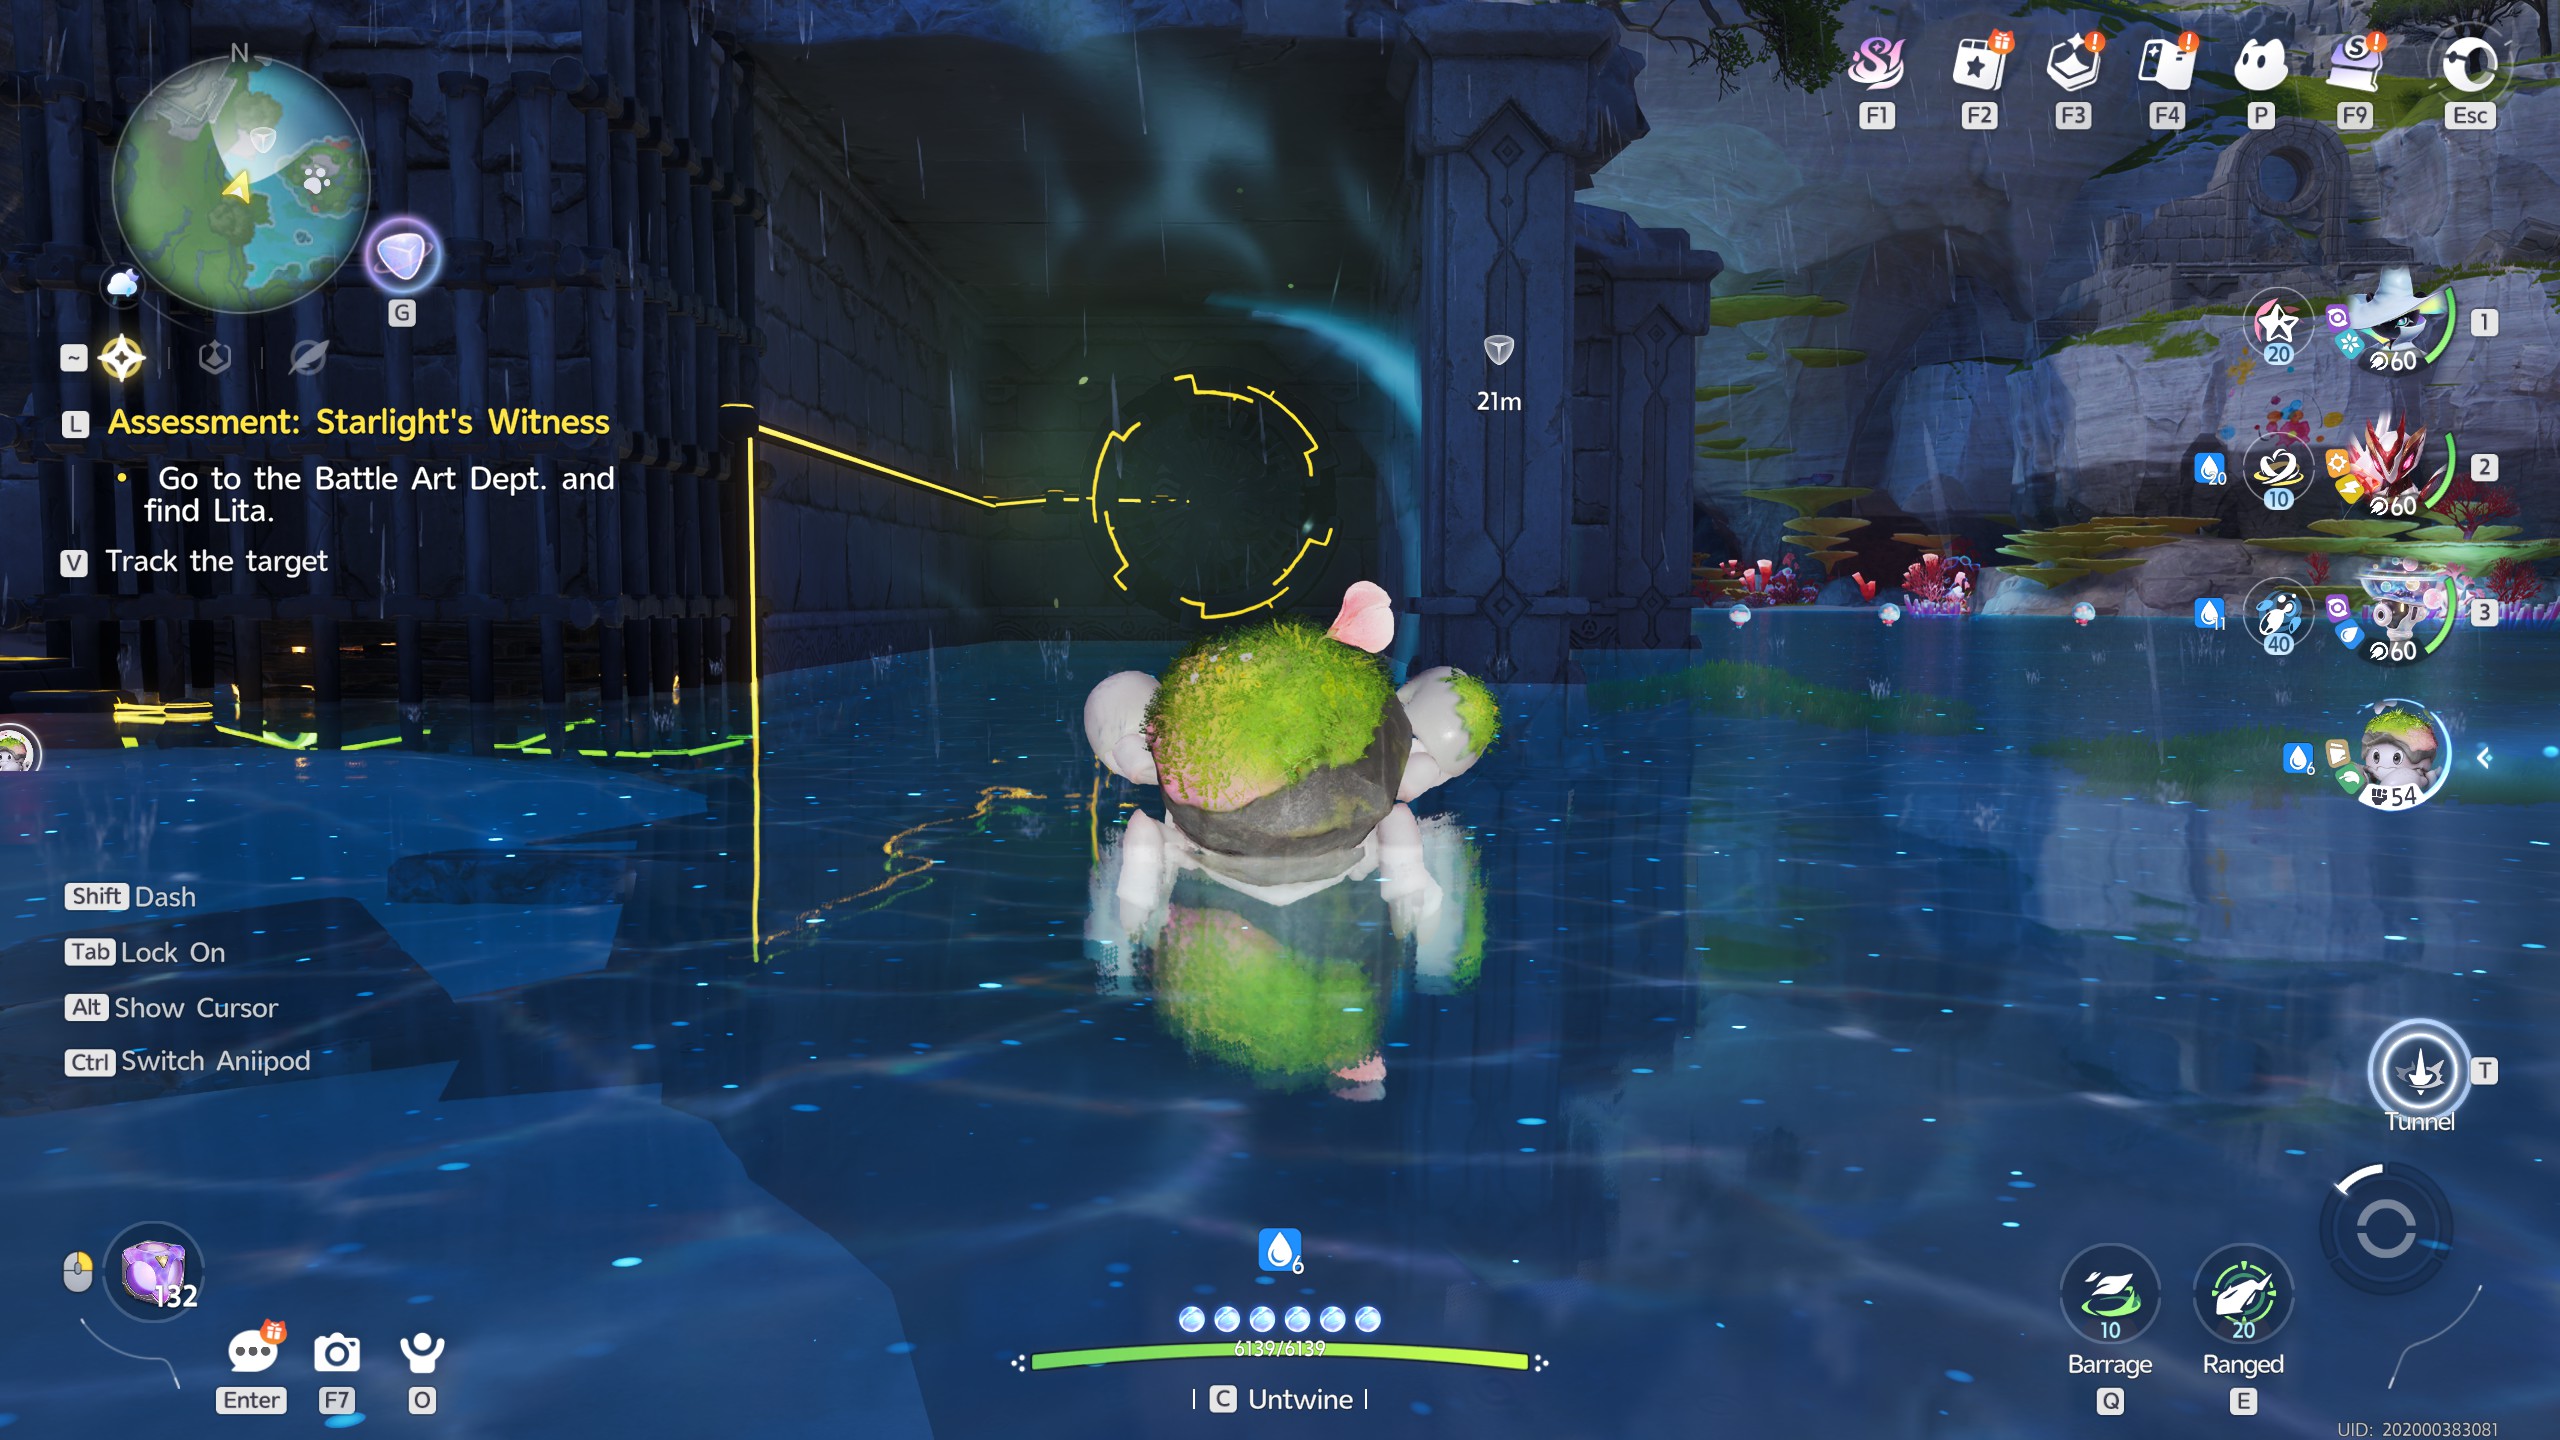
Wind Tunnel

This is a cheeky one. There's a room with the Amber at the end, sitting peacefully on the ceiling. The issue is that there's a giant fan blocking the way.

Instead of worrying how to shut it off, one sneaky trick it to twine with a Budclaw and use the tunnel ability to crawl all the way to the end of the tunnel without being affected by the wind.

Once you're at the end, come out of the ground, and then climb the wall until you trigger the pickup for this Amber!


Farwatch Castle

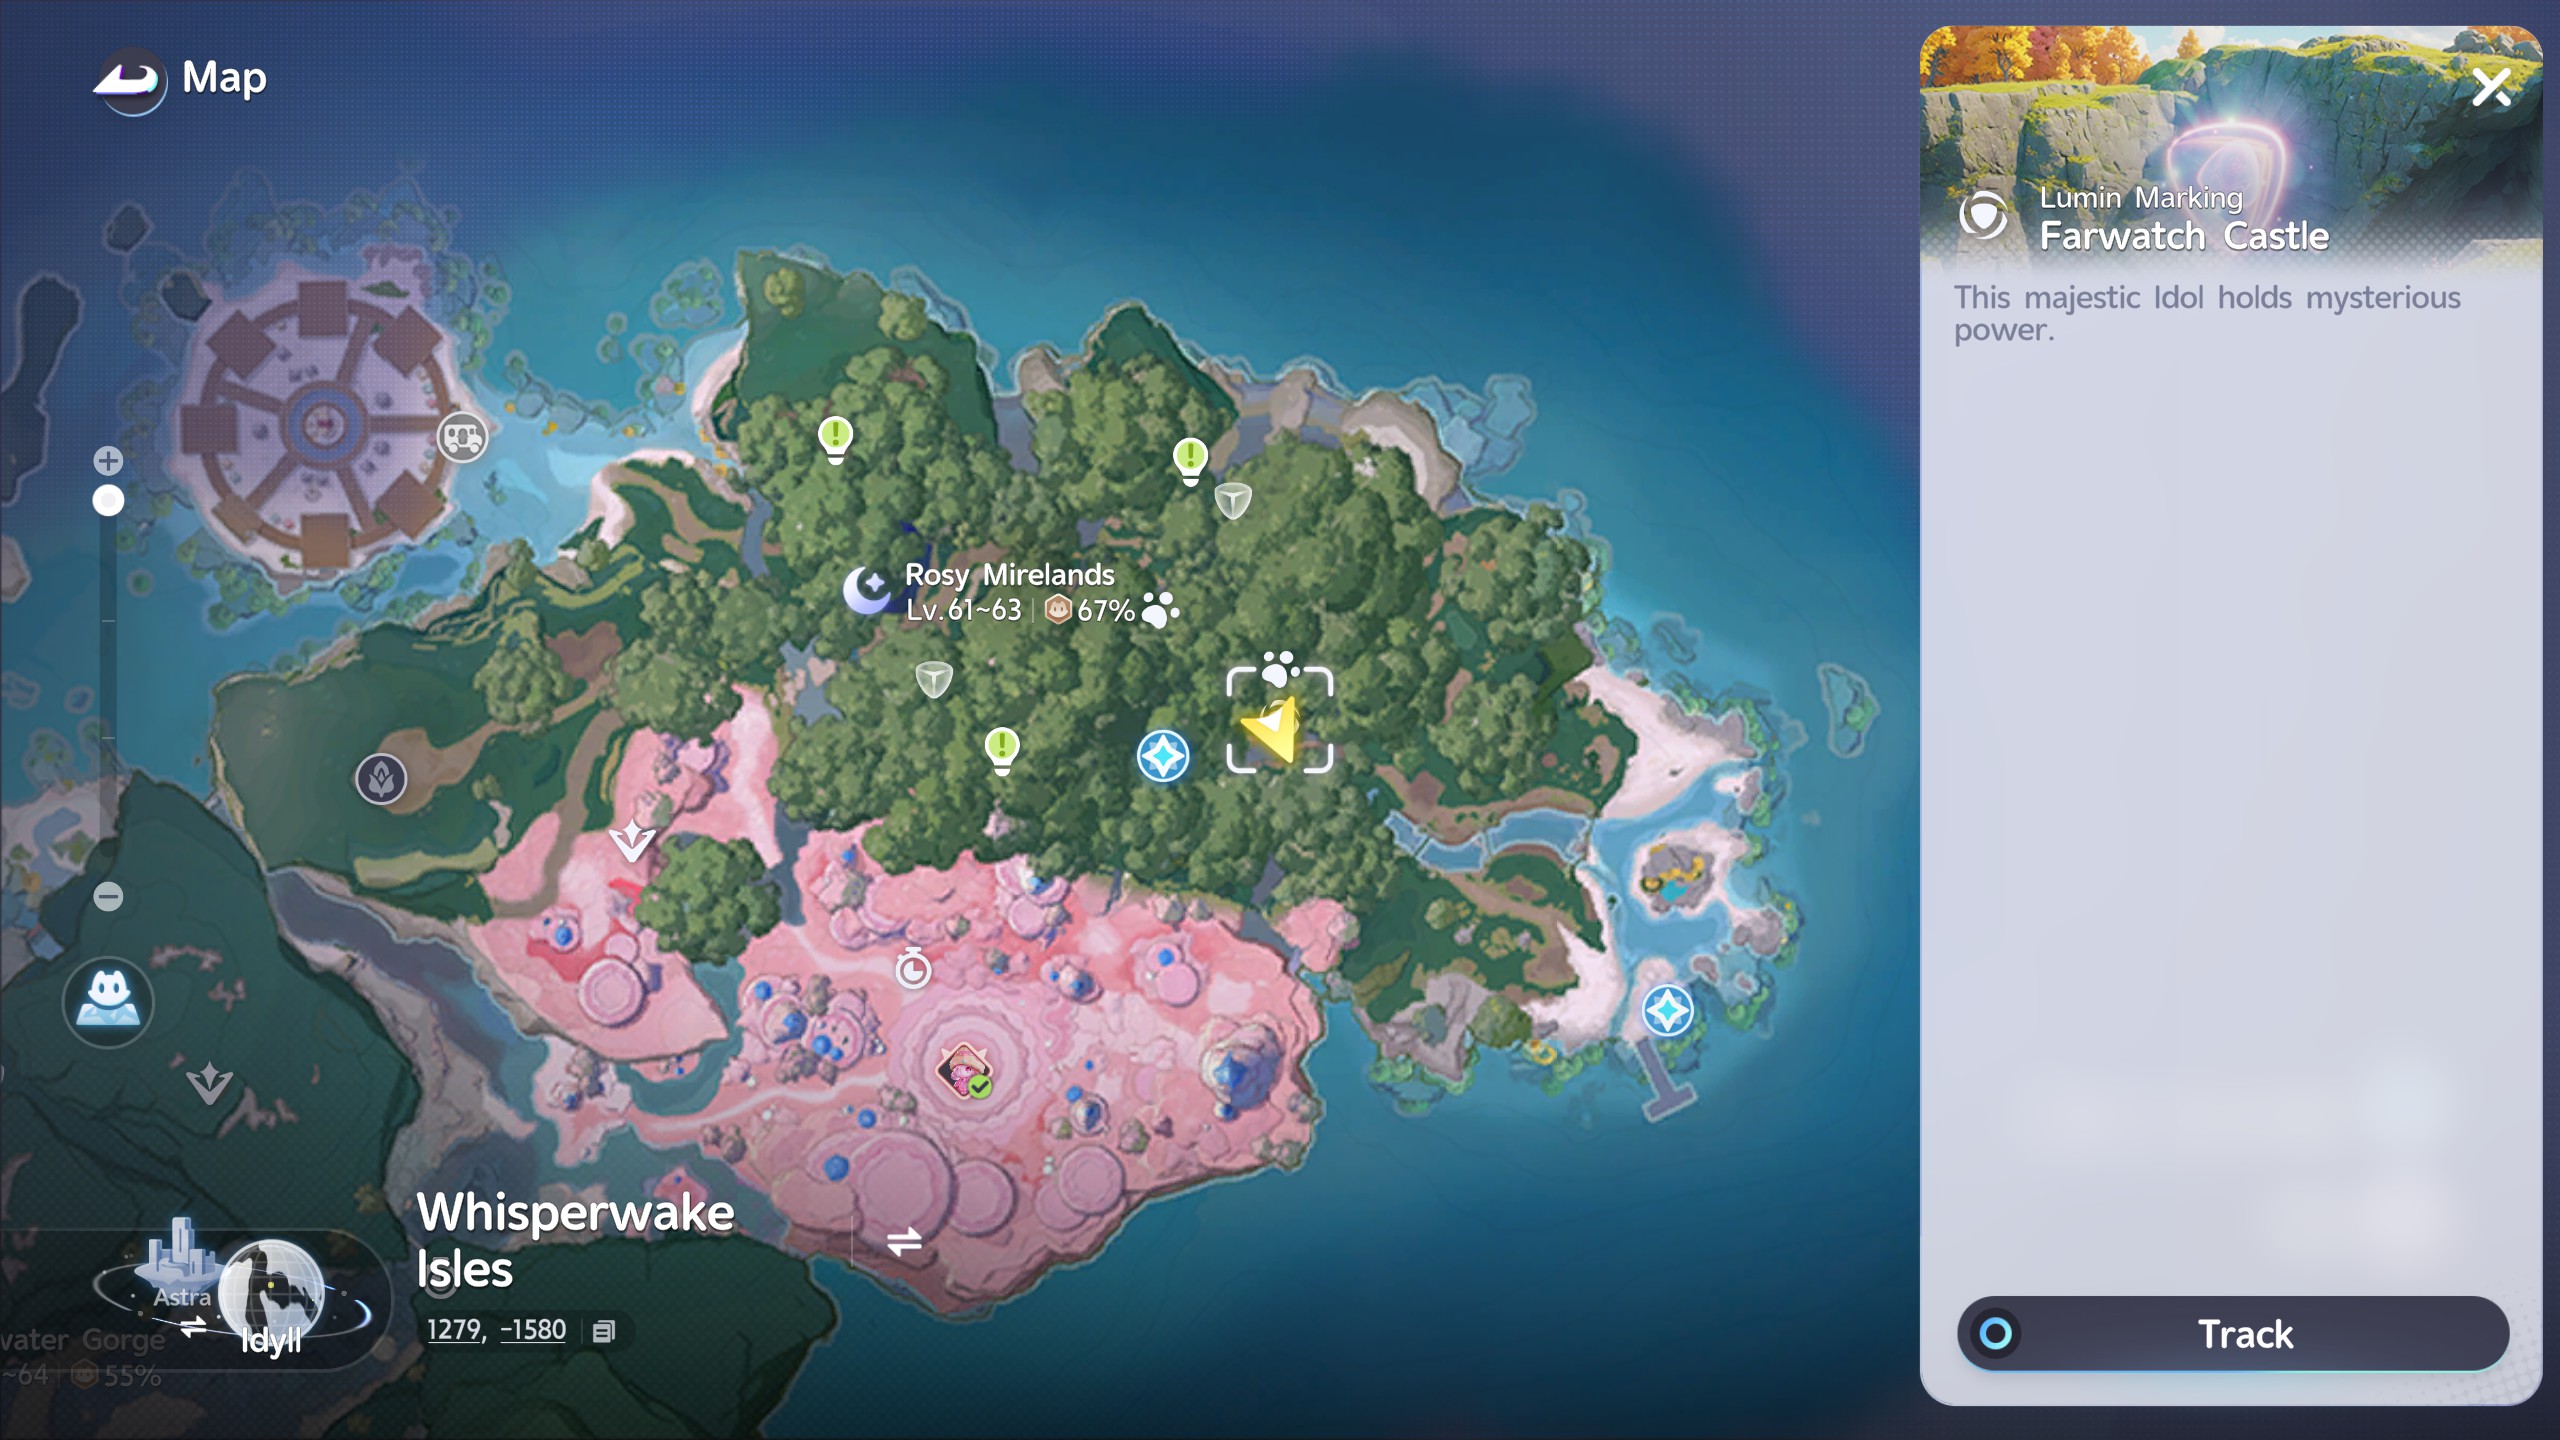
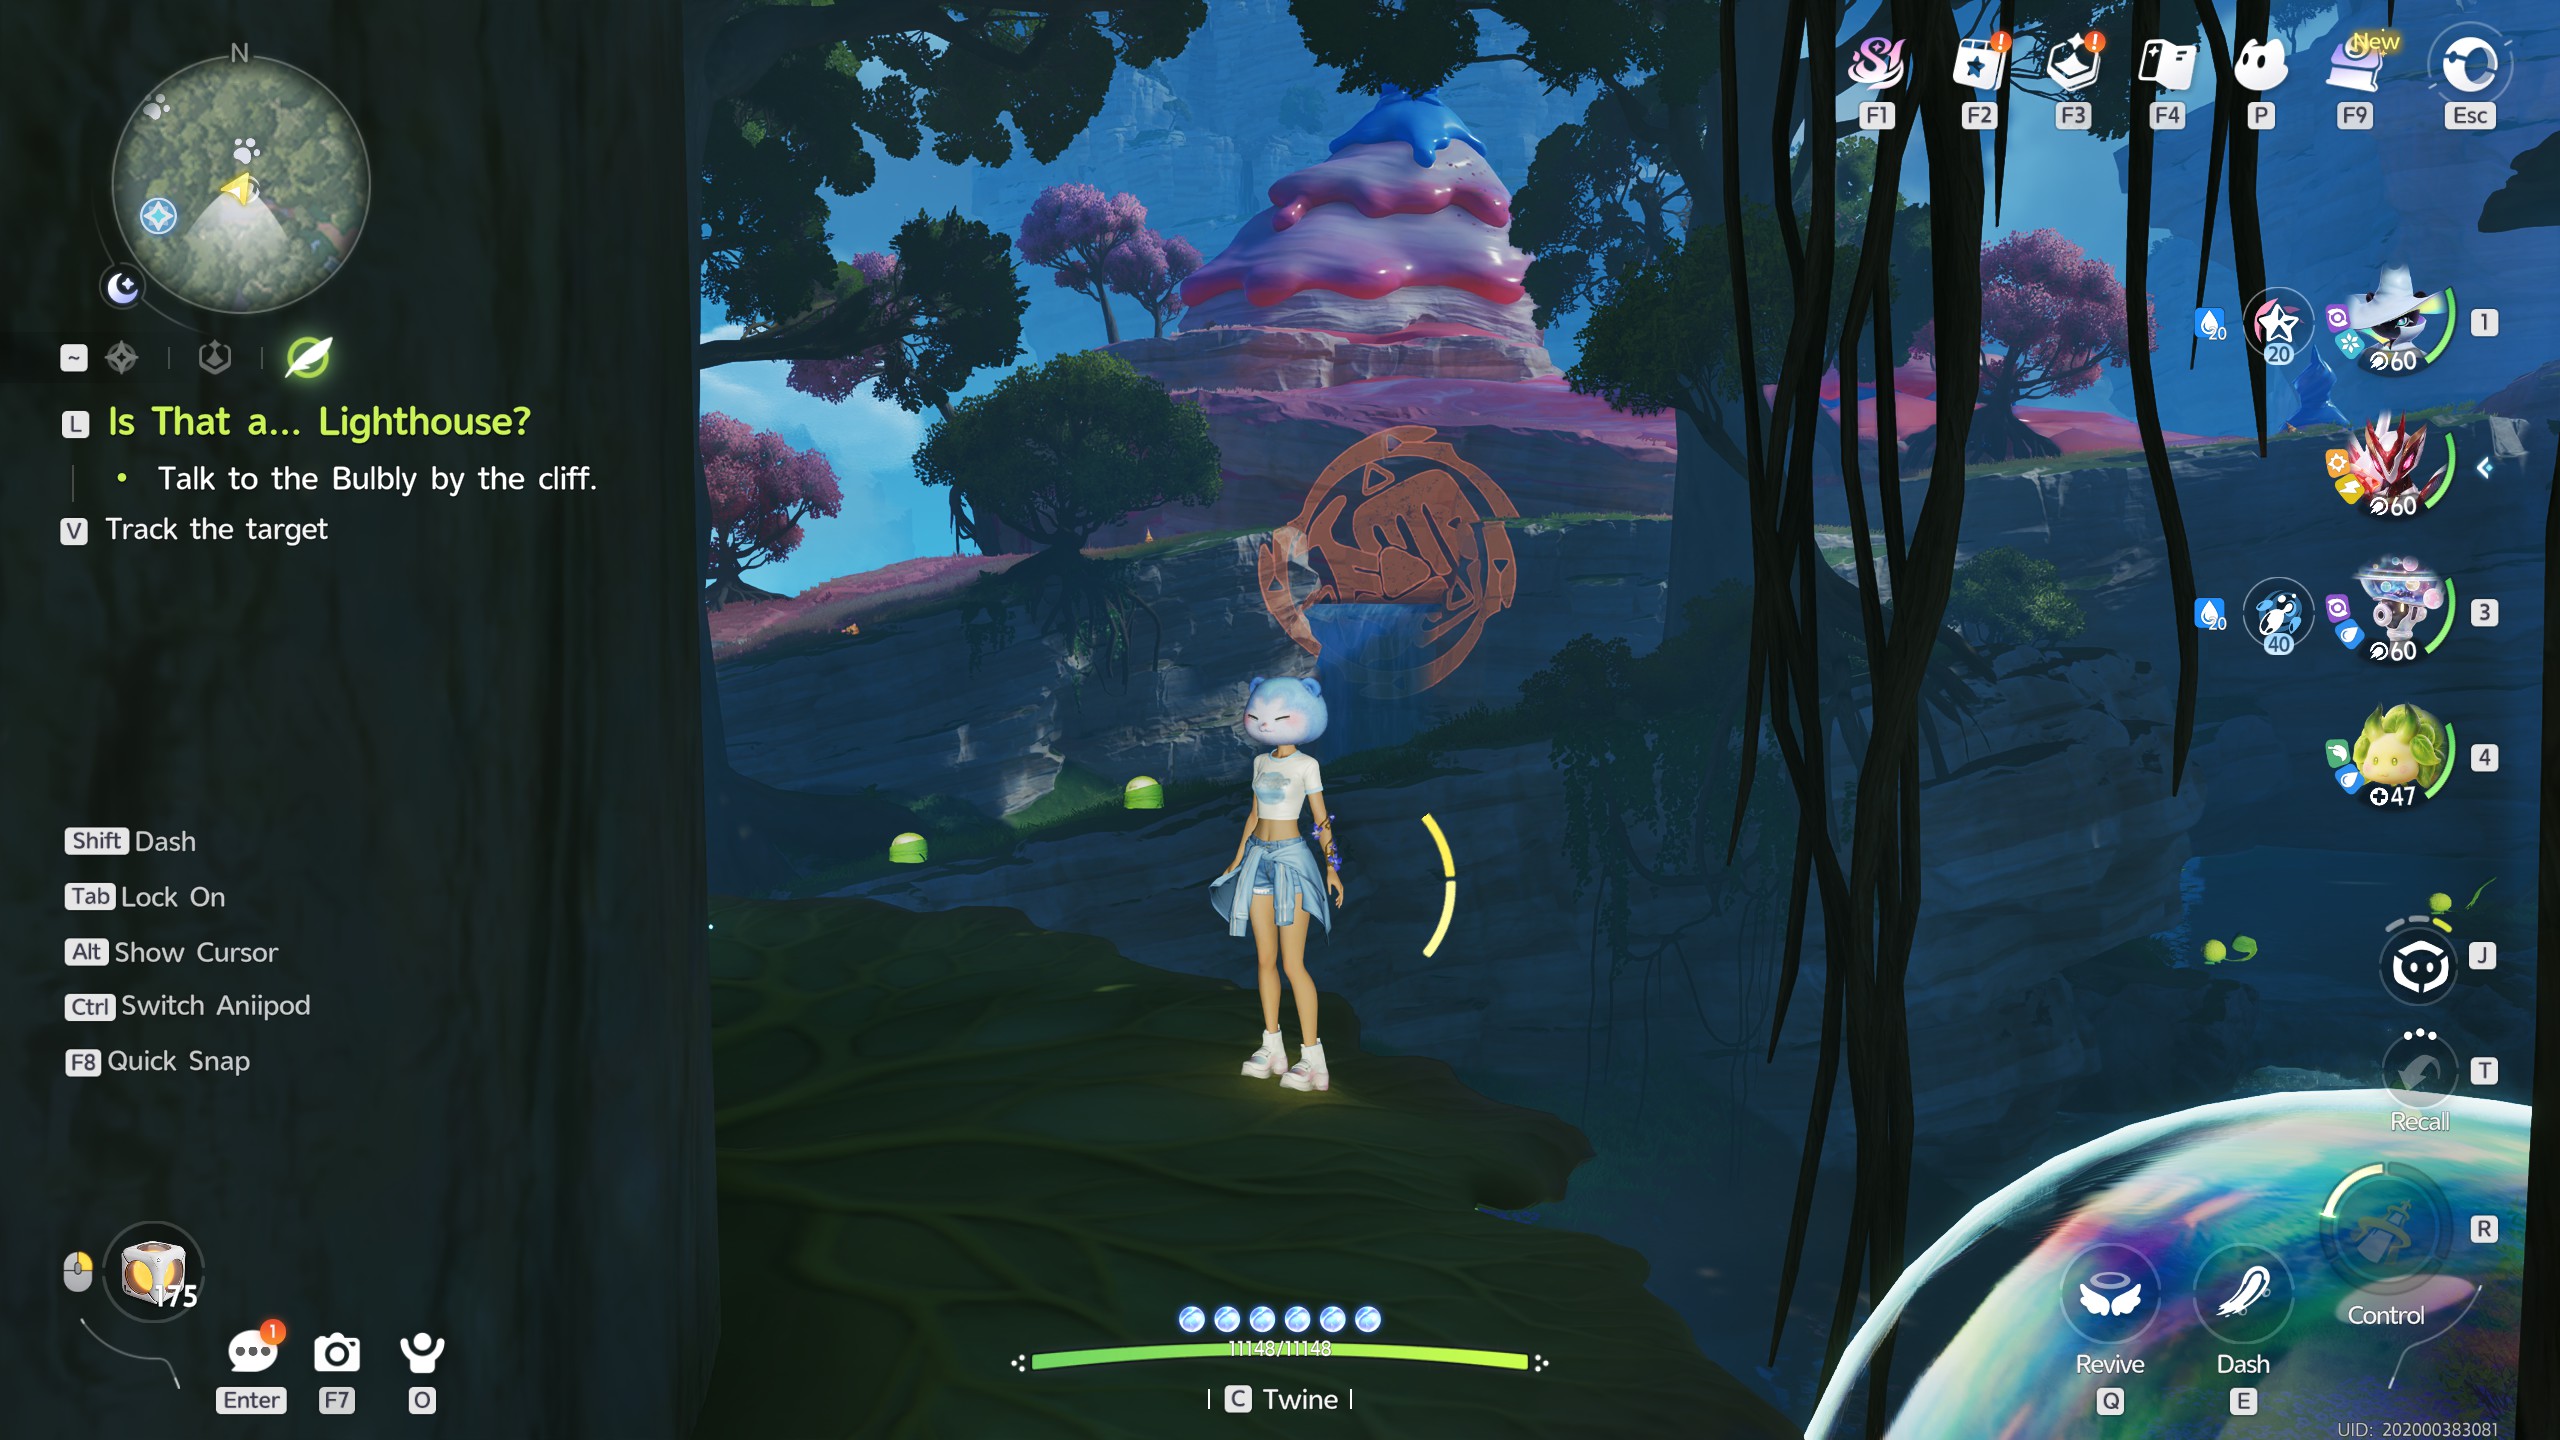
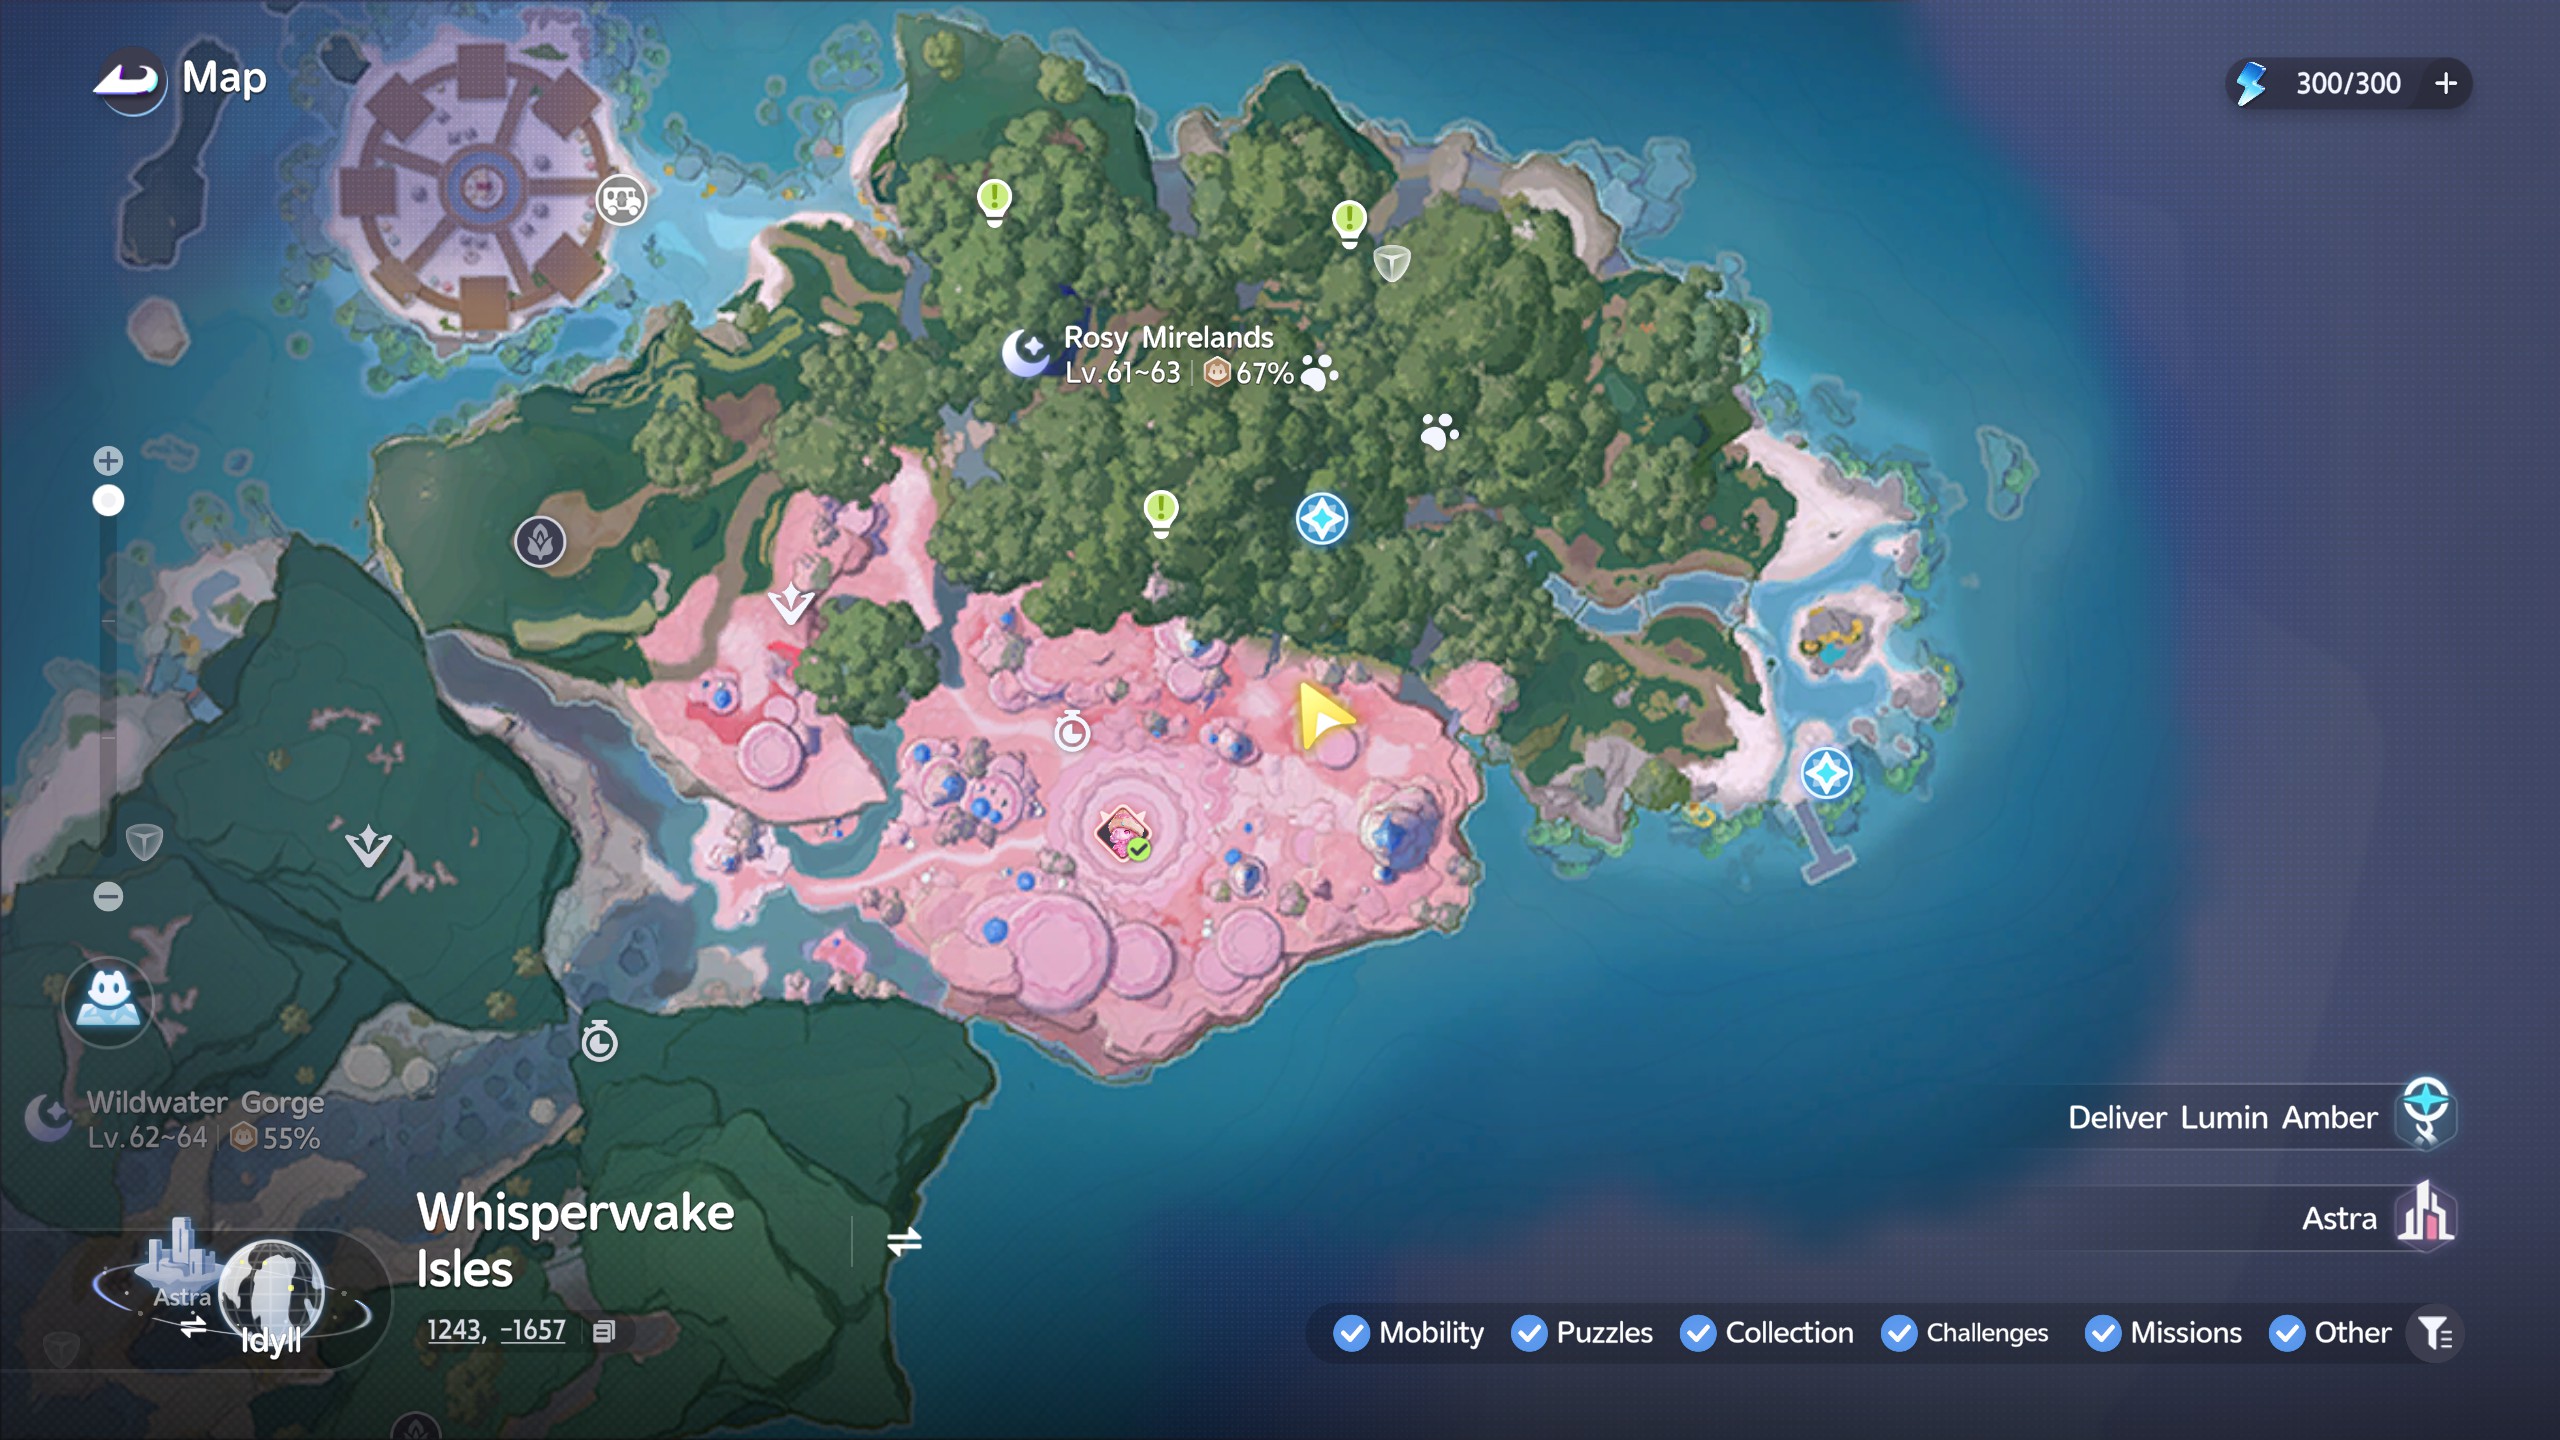
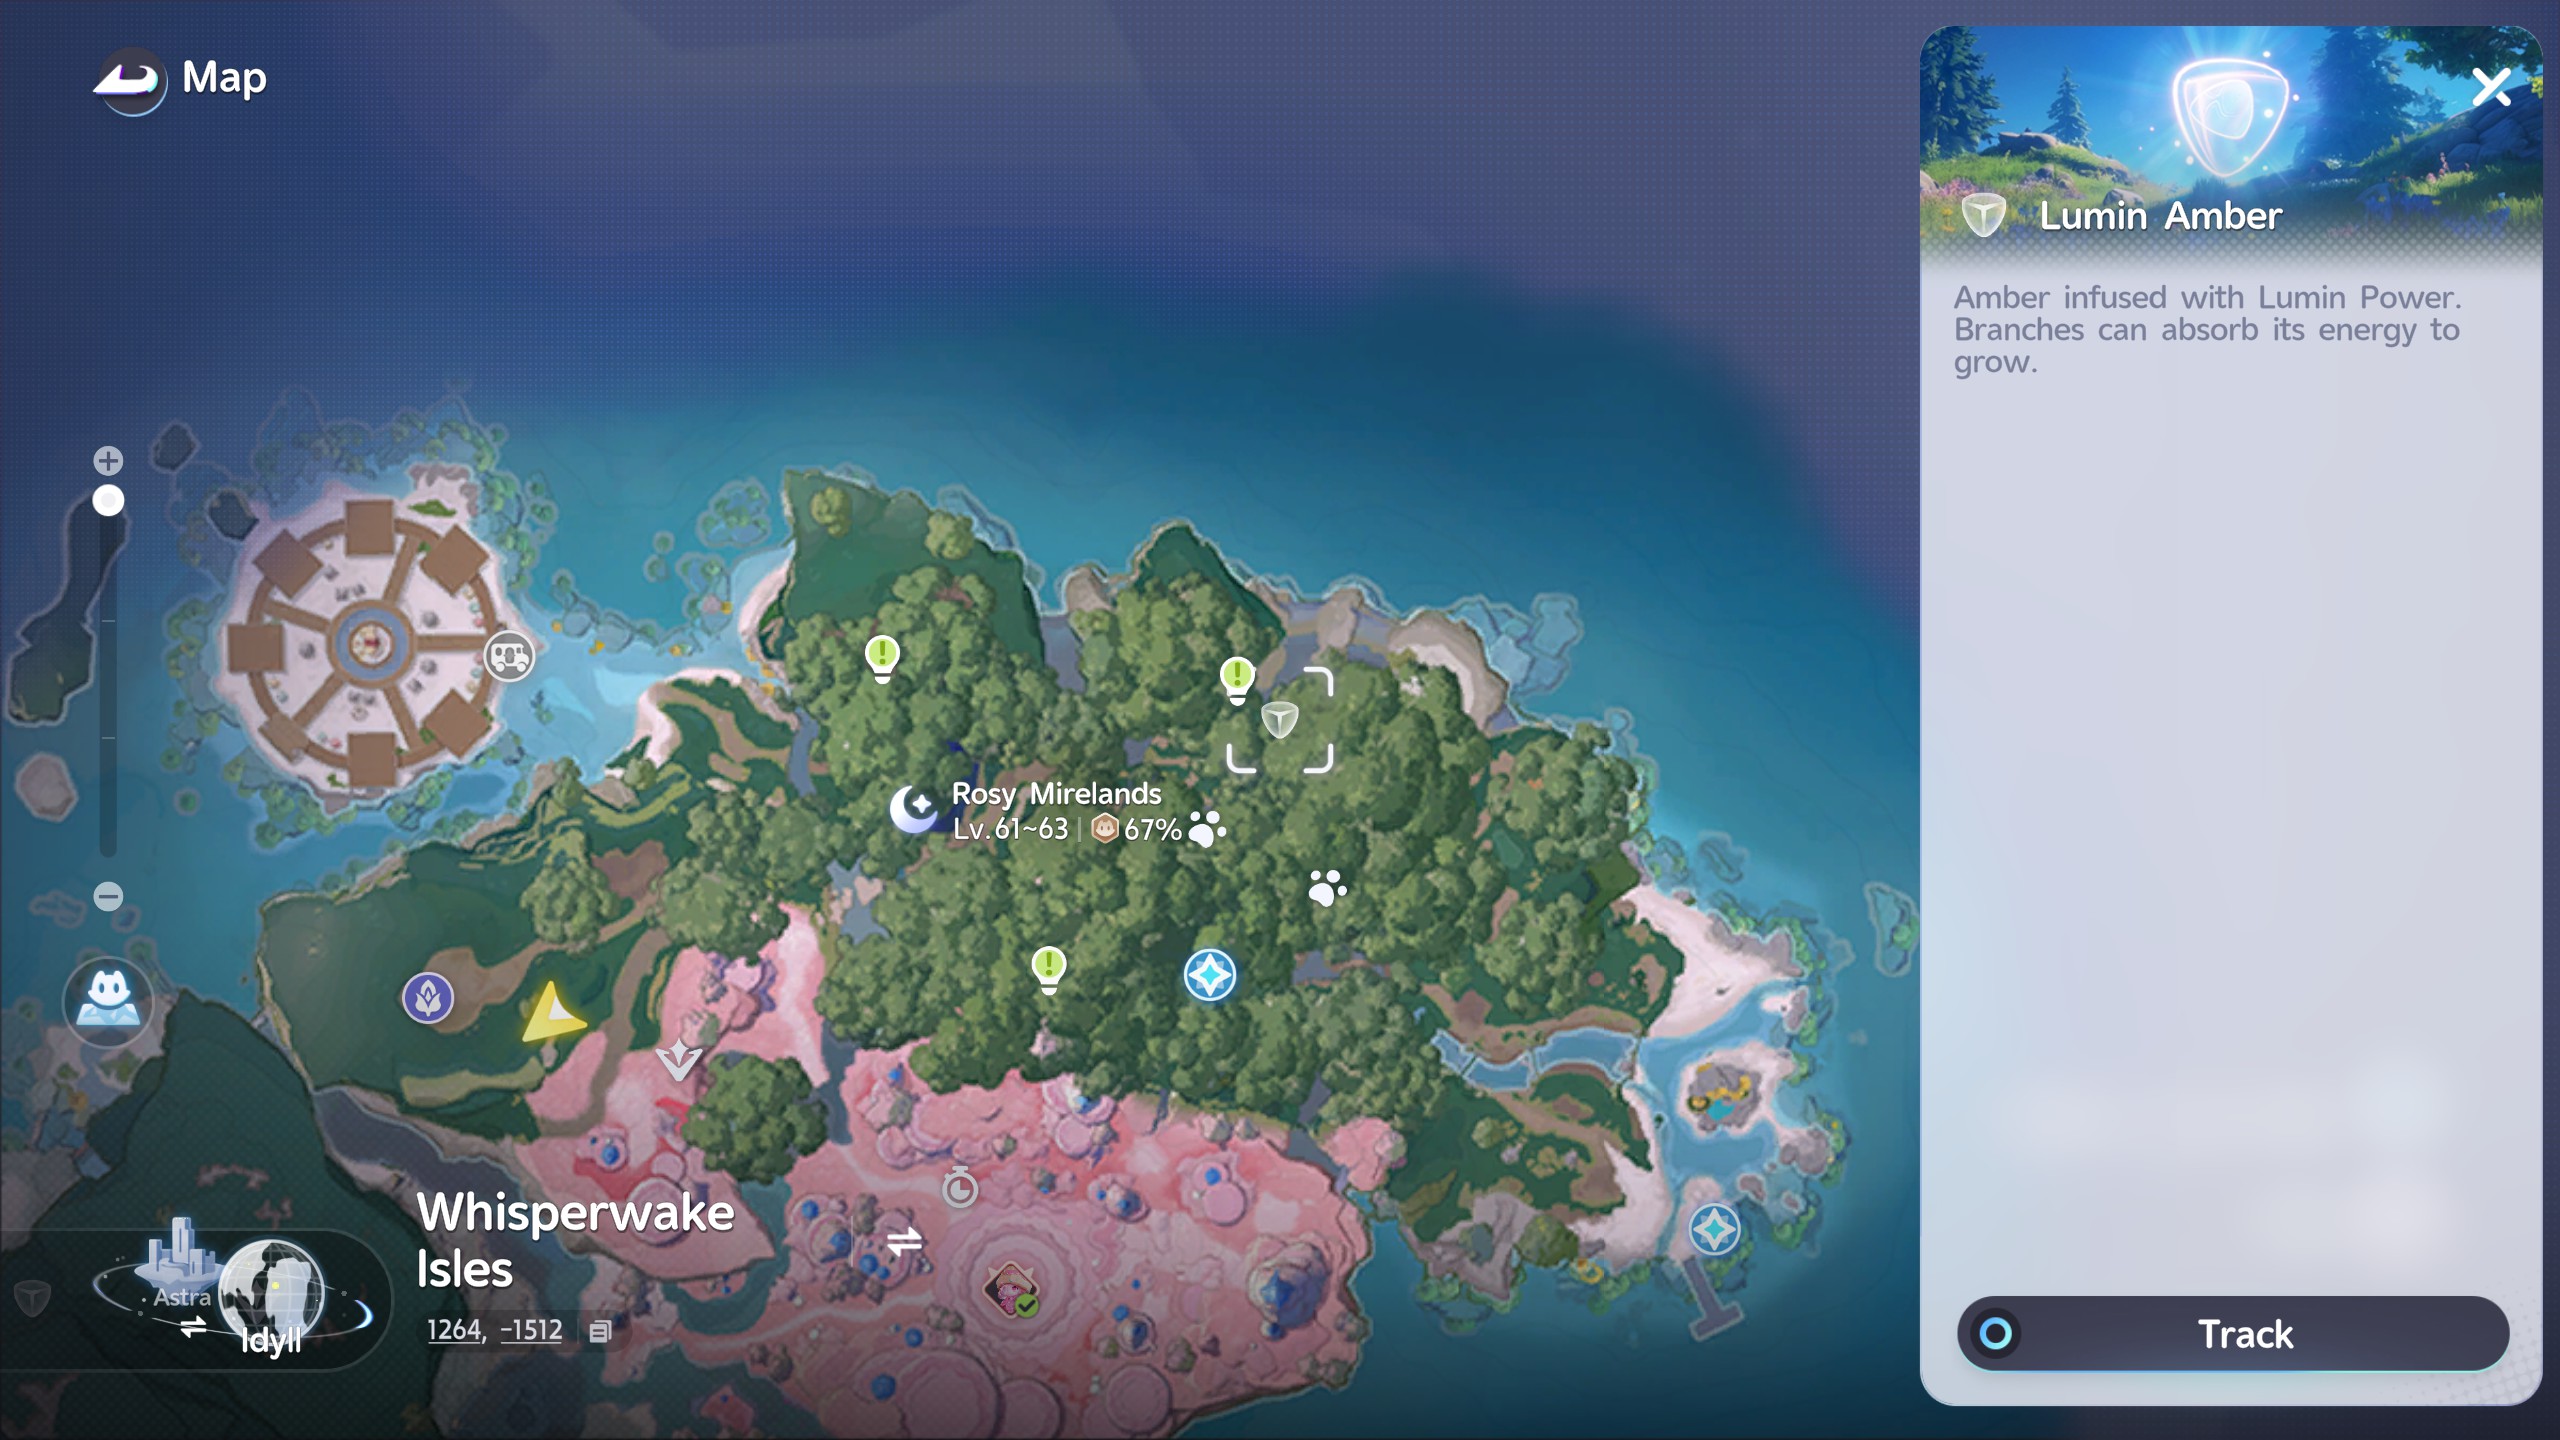
For the next Amber, head over to the Rosy Mirelands. This is yet another perspective puzzle, and to start it you'll need to climb up onto the giant leaf sticking out of the tree on arrival.

Once on the tree, look out towards the Alpha Boss of the area, where you'll see the symbol on the edge of a cliff face. Simply line it up to receive the Amber.


Atop the Puffby Tree

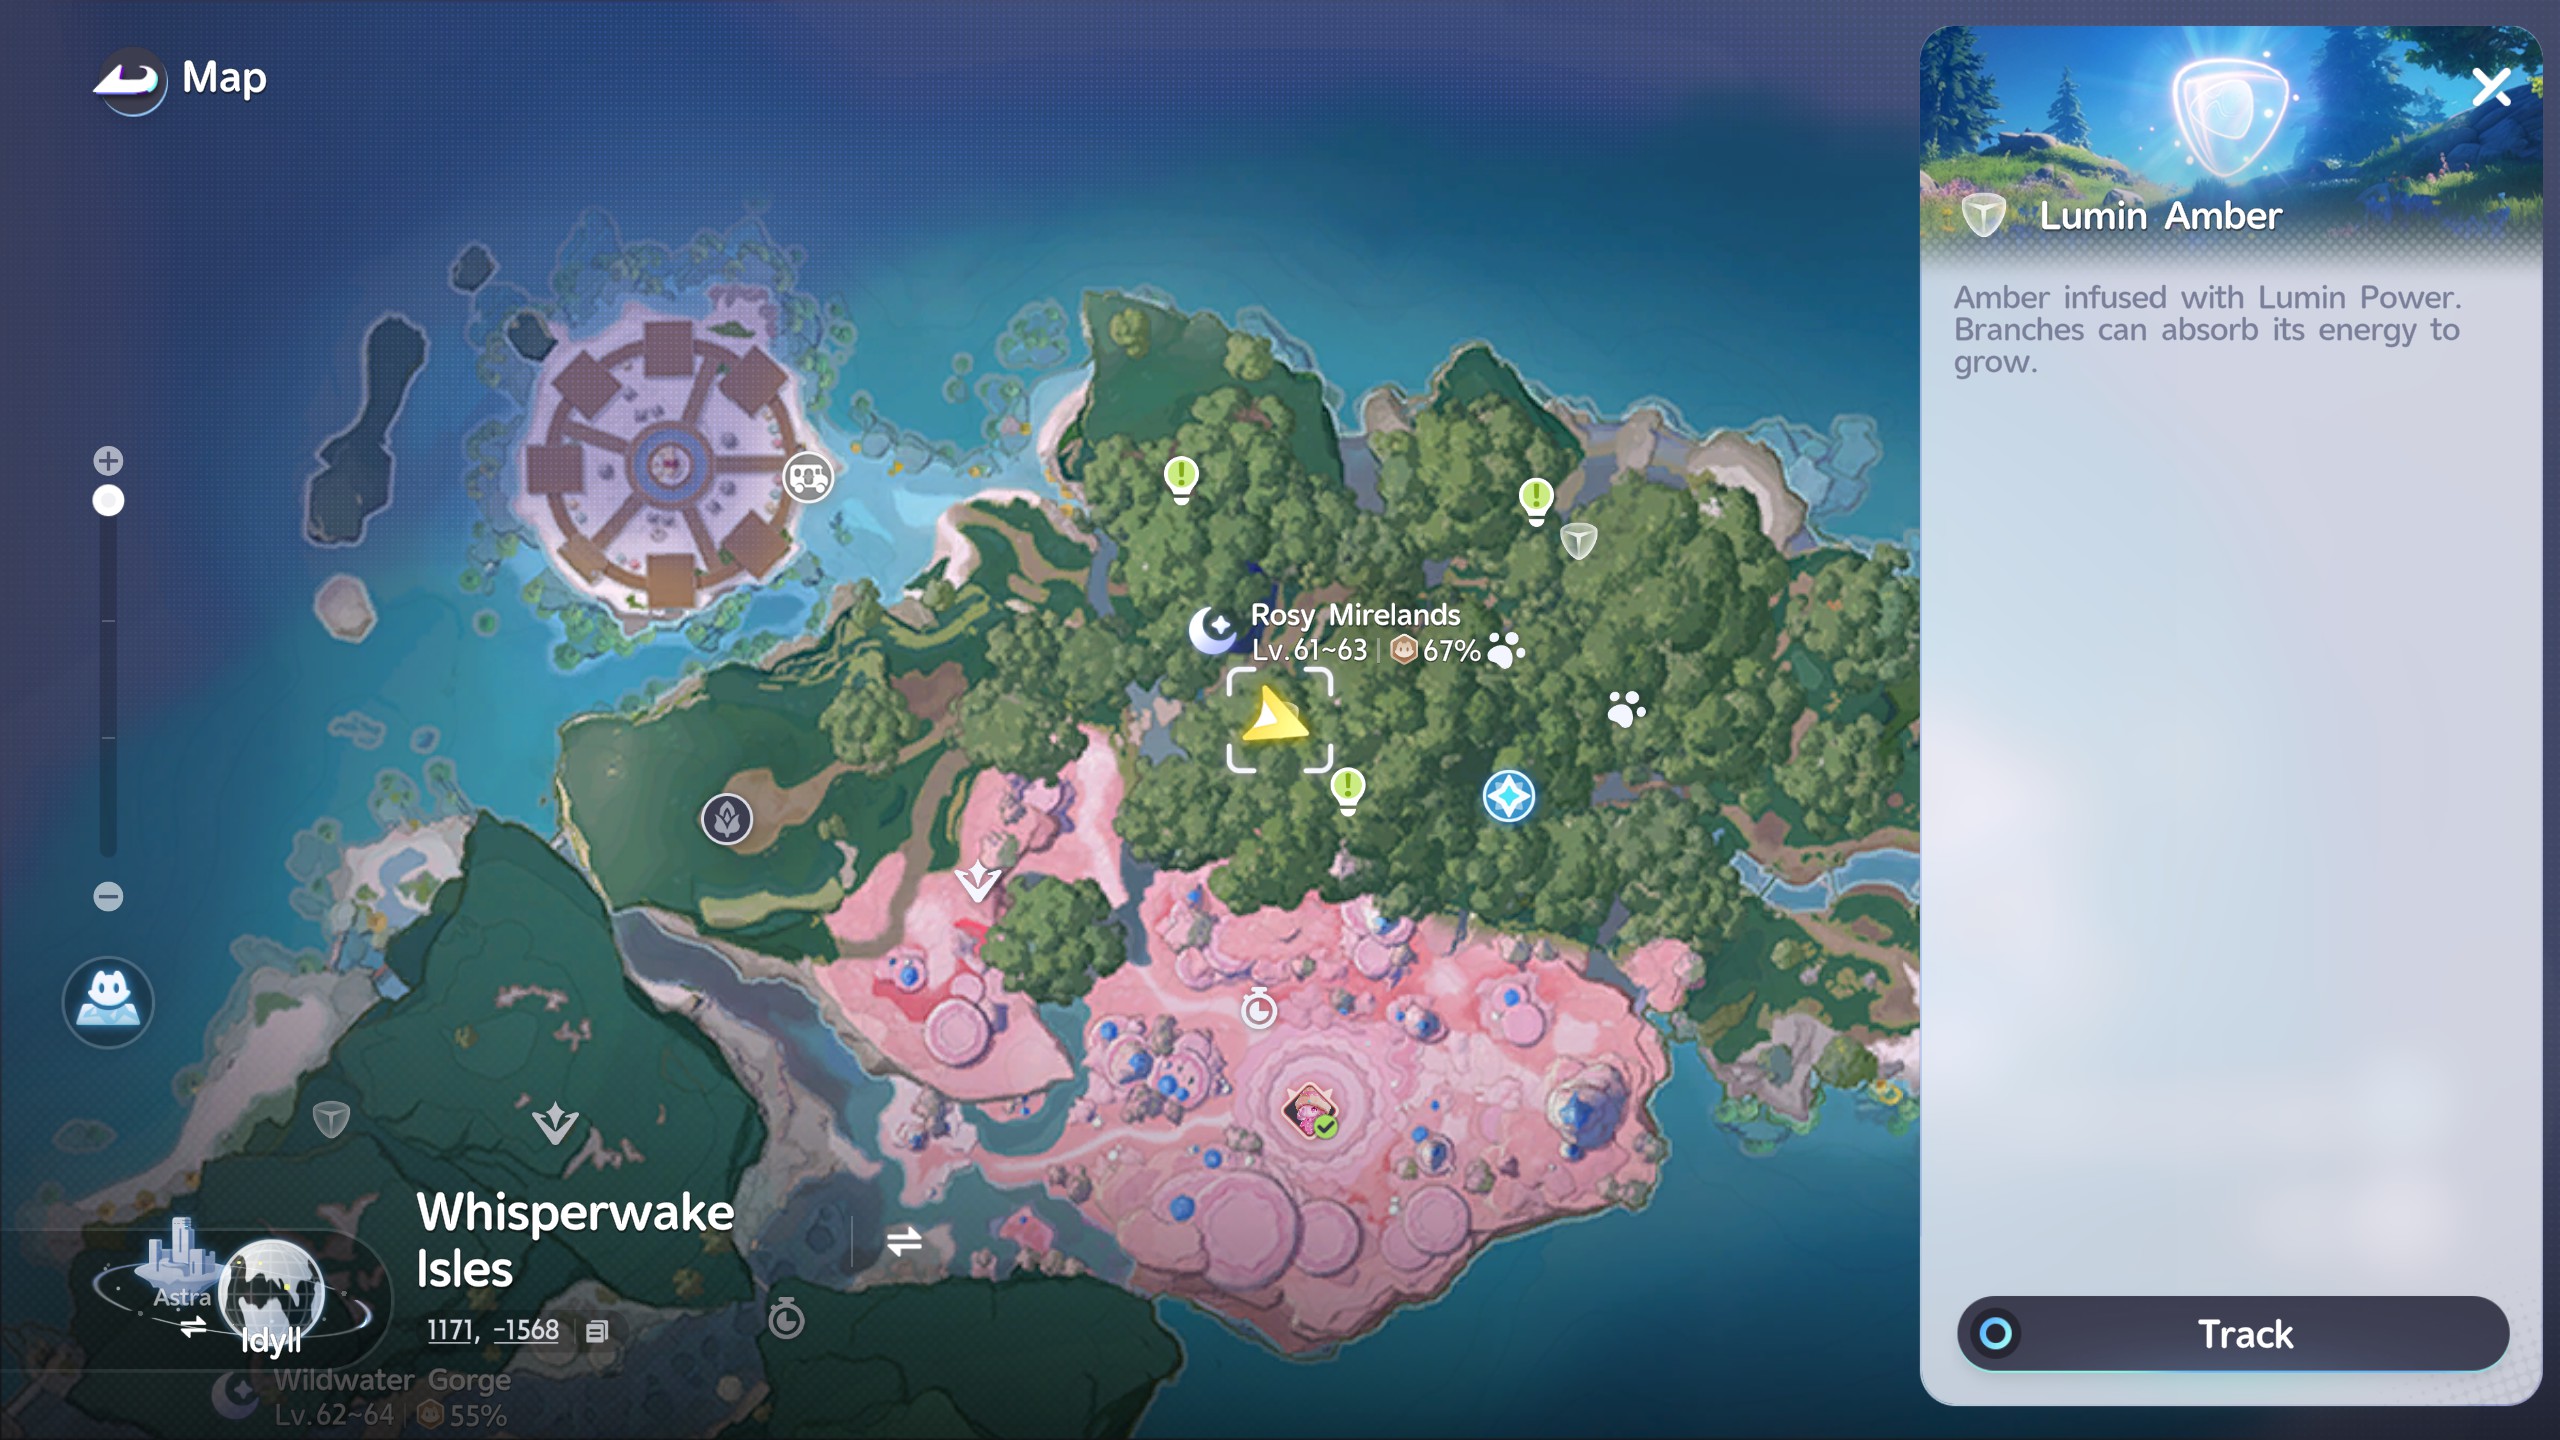
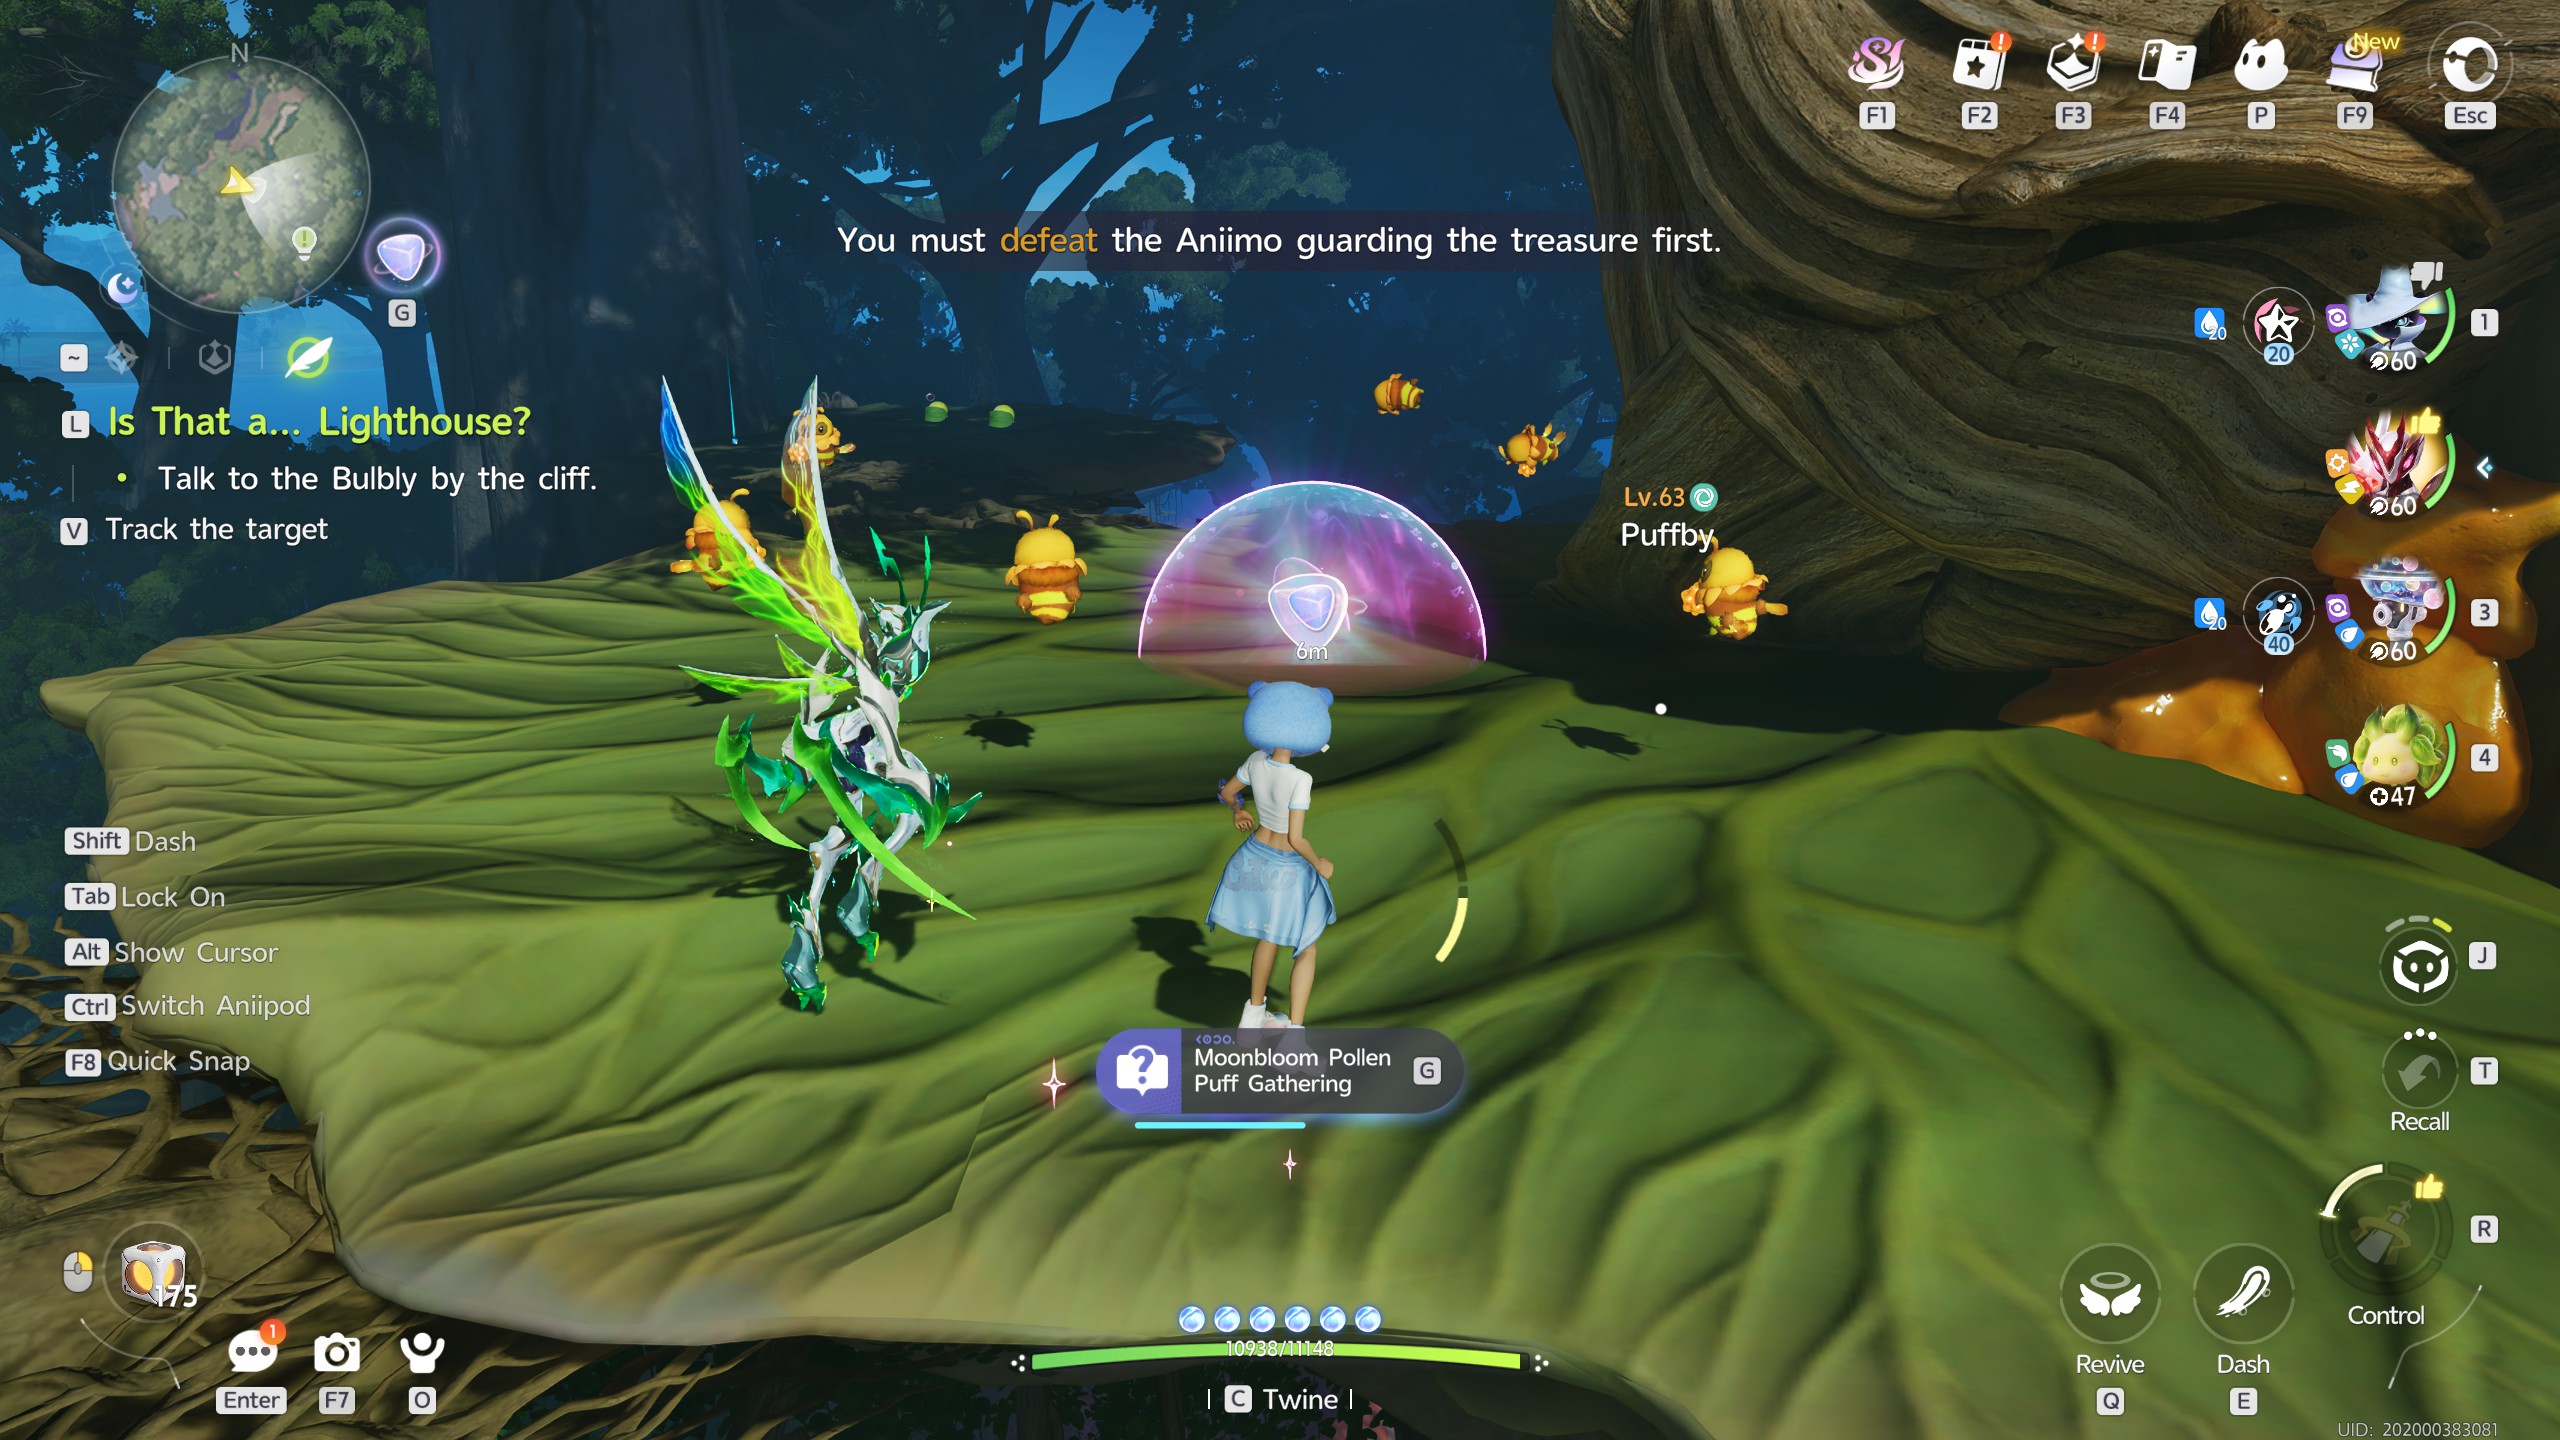
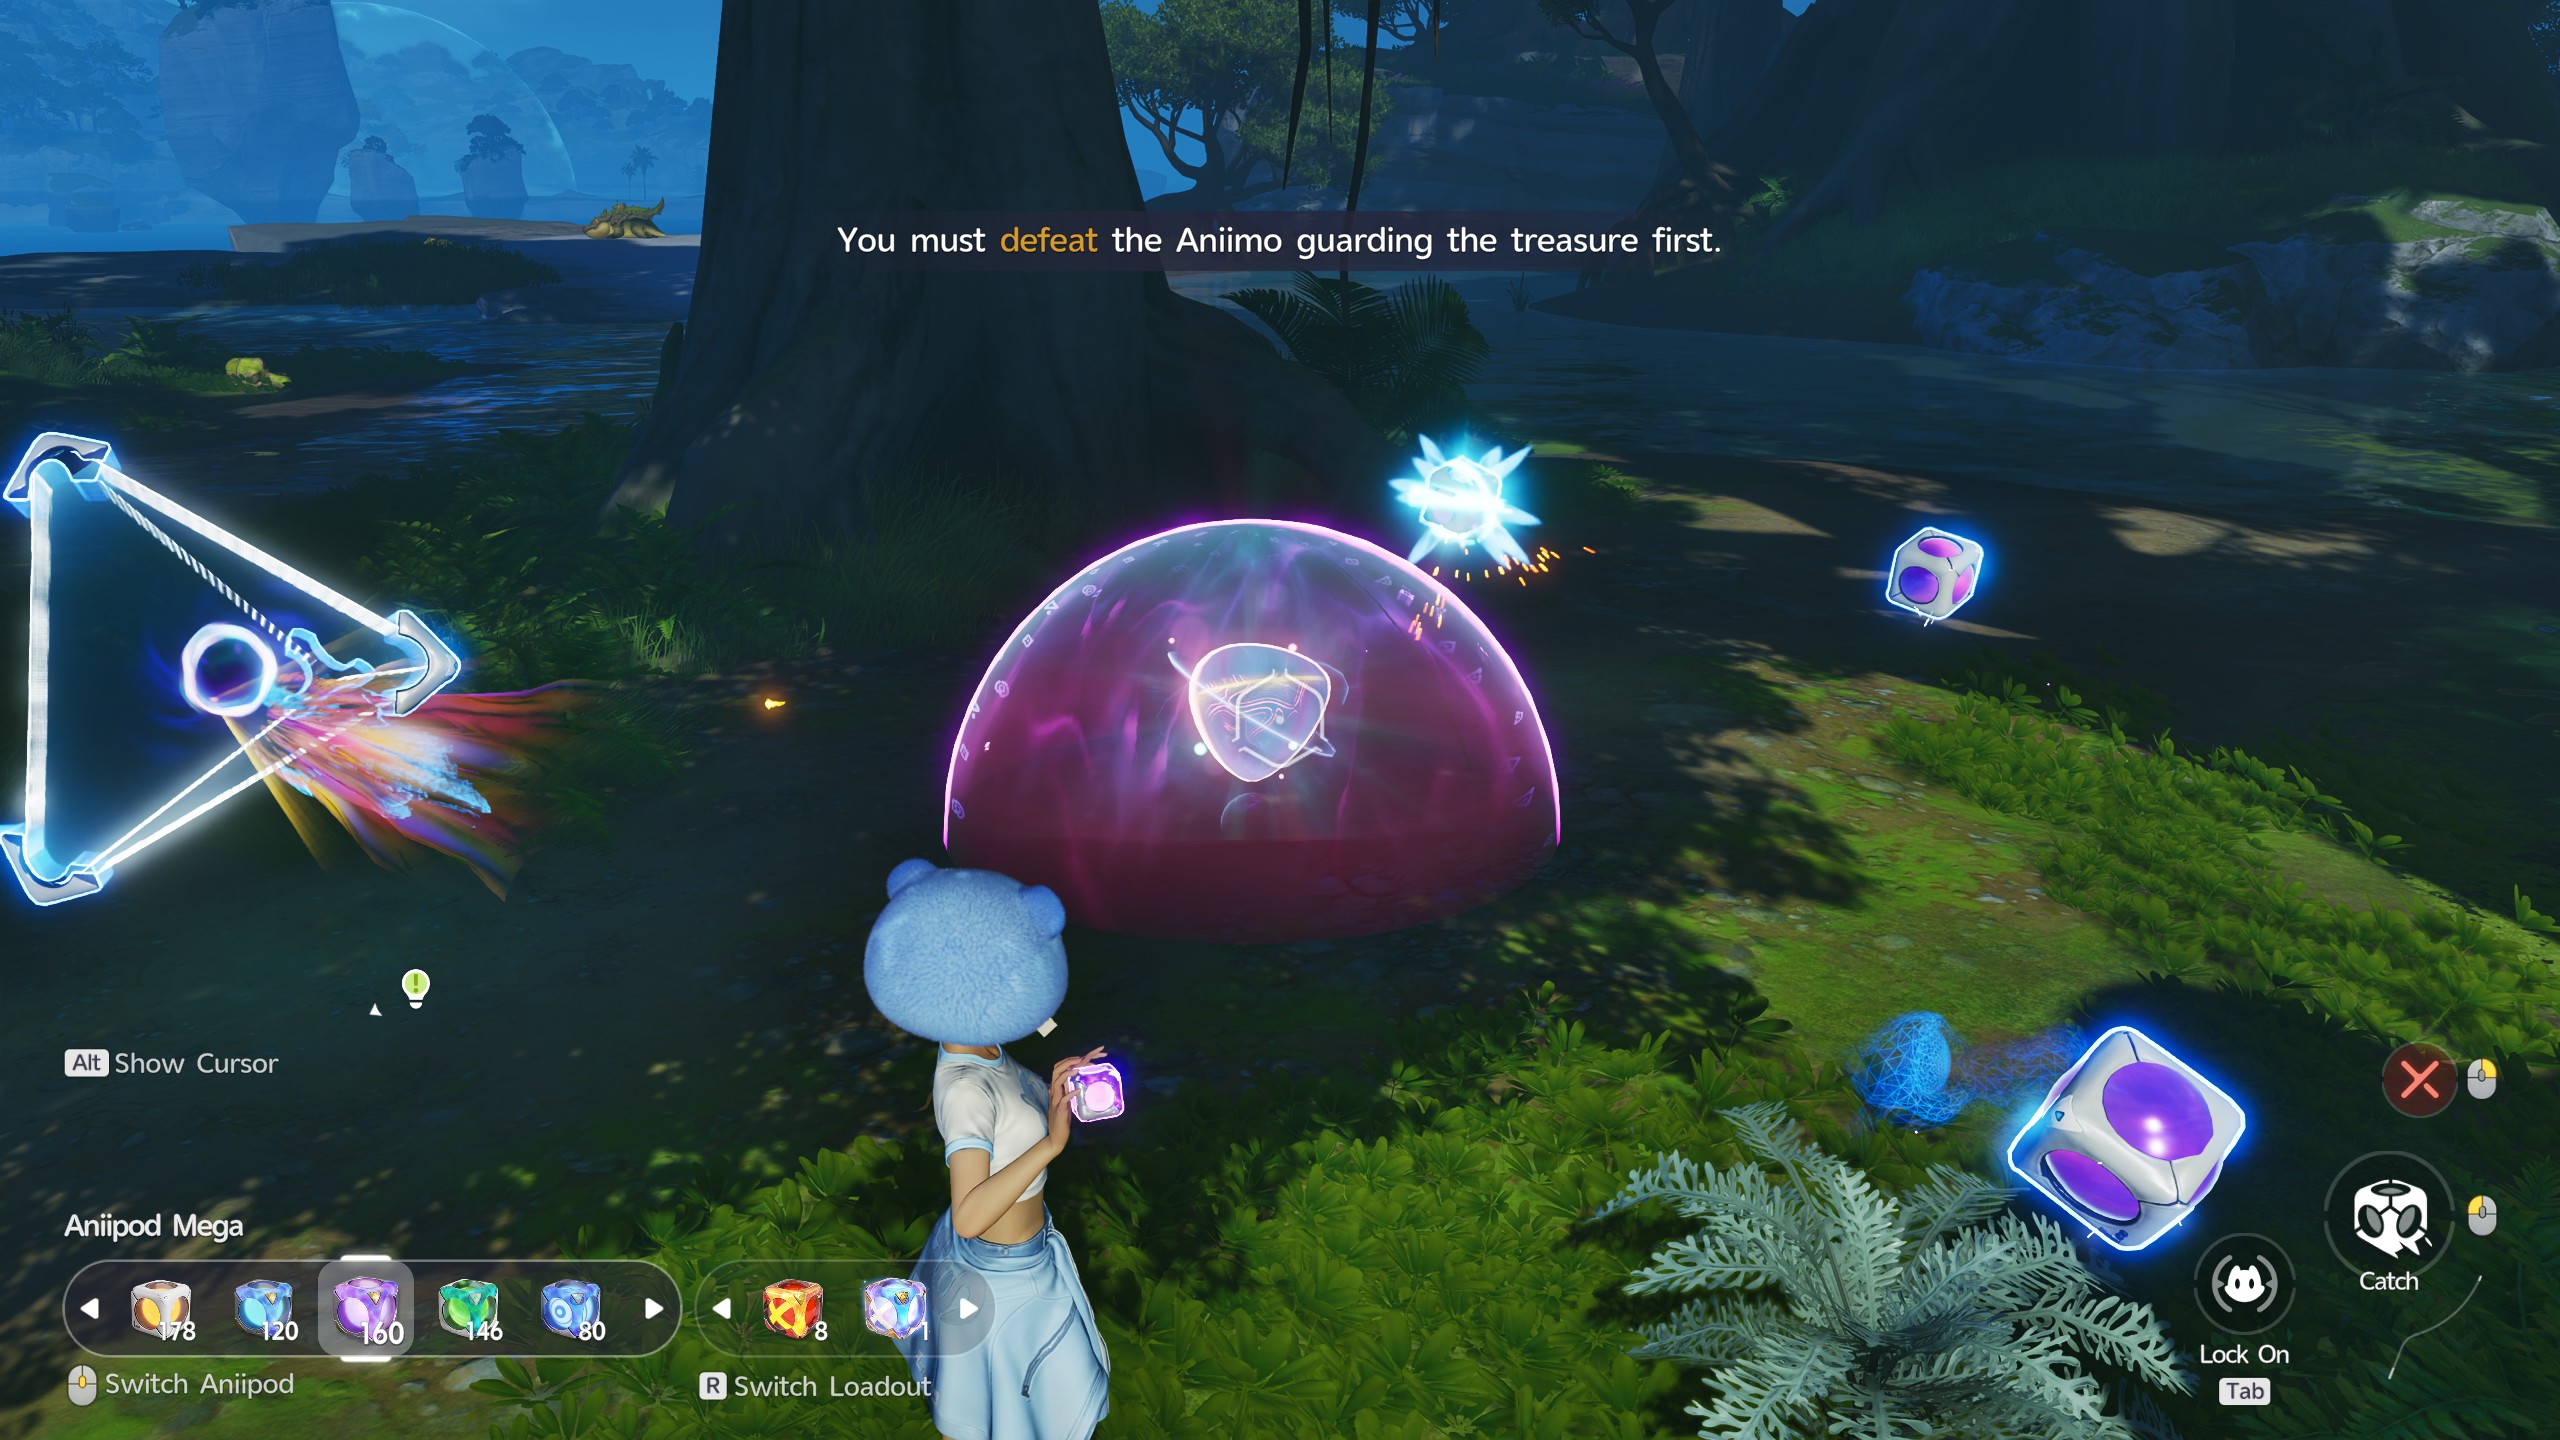
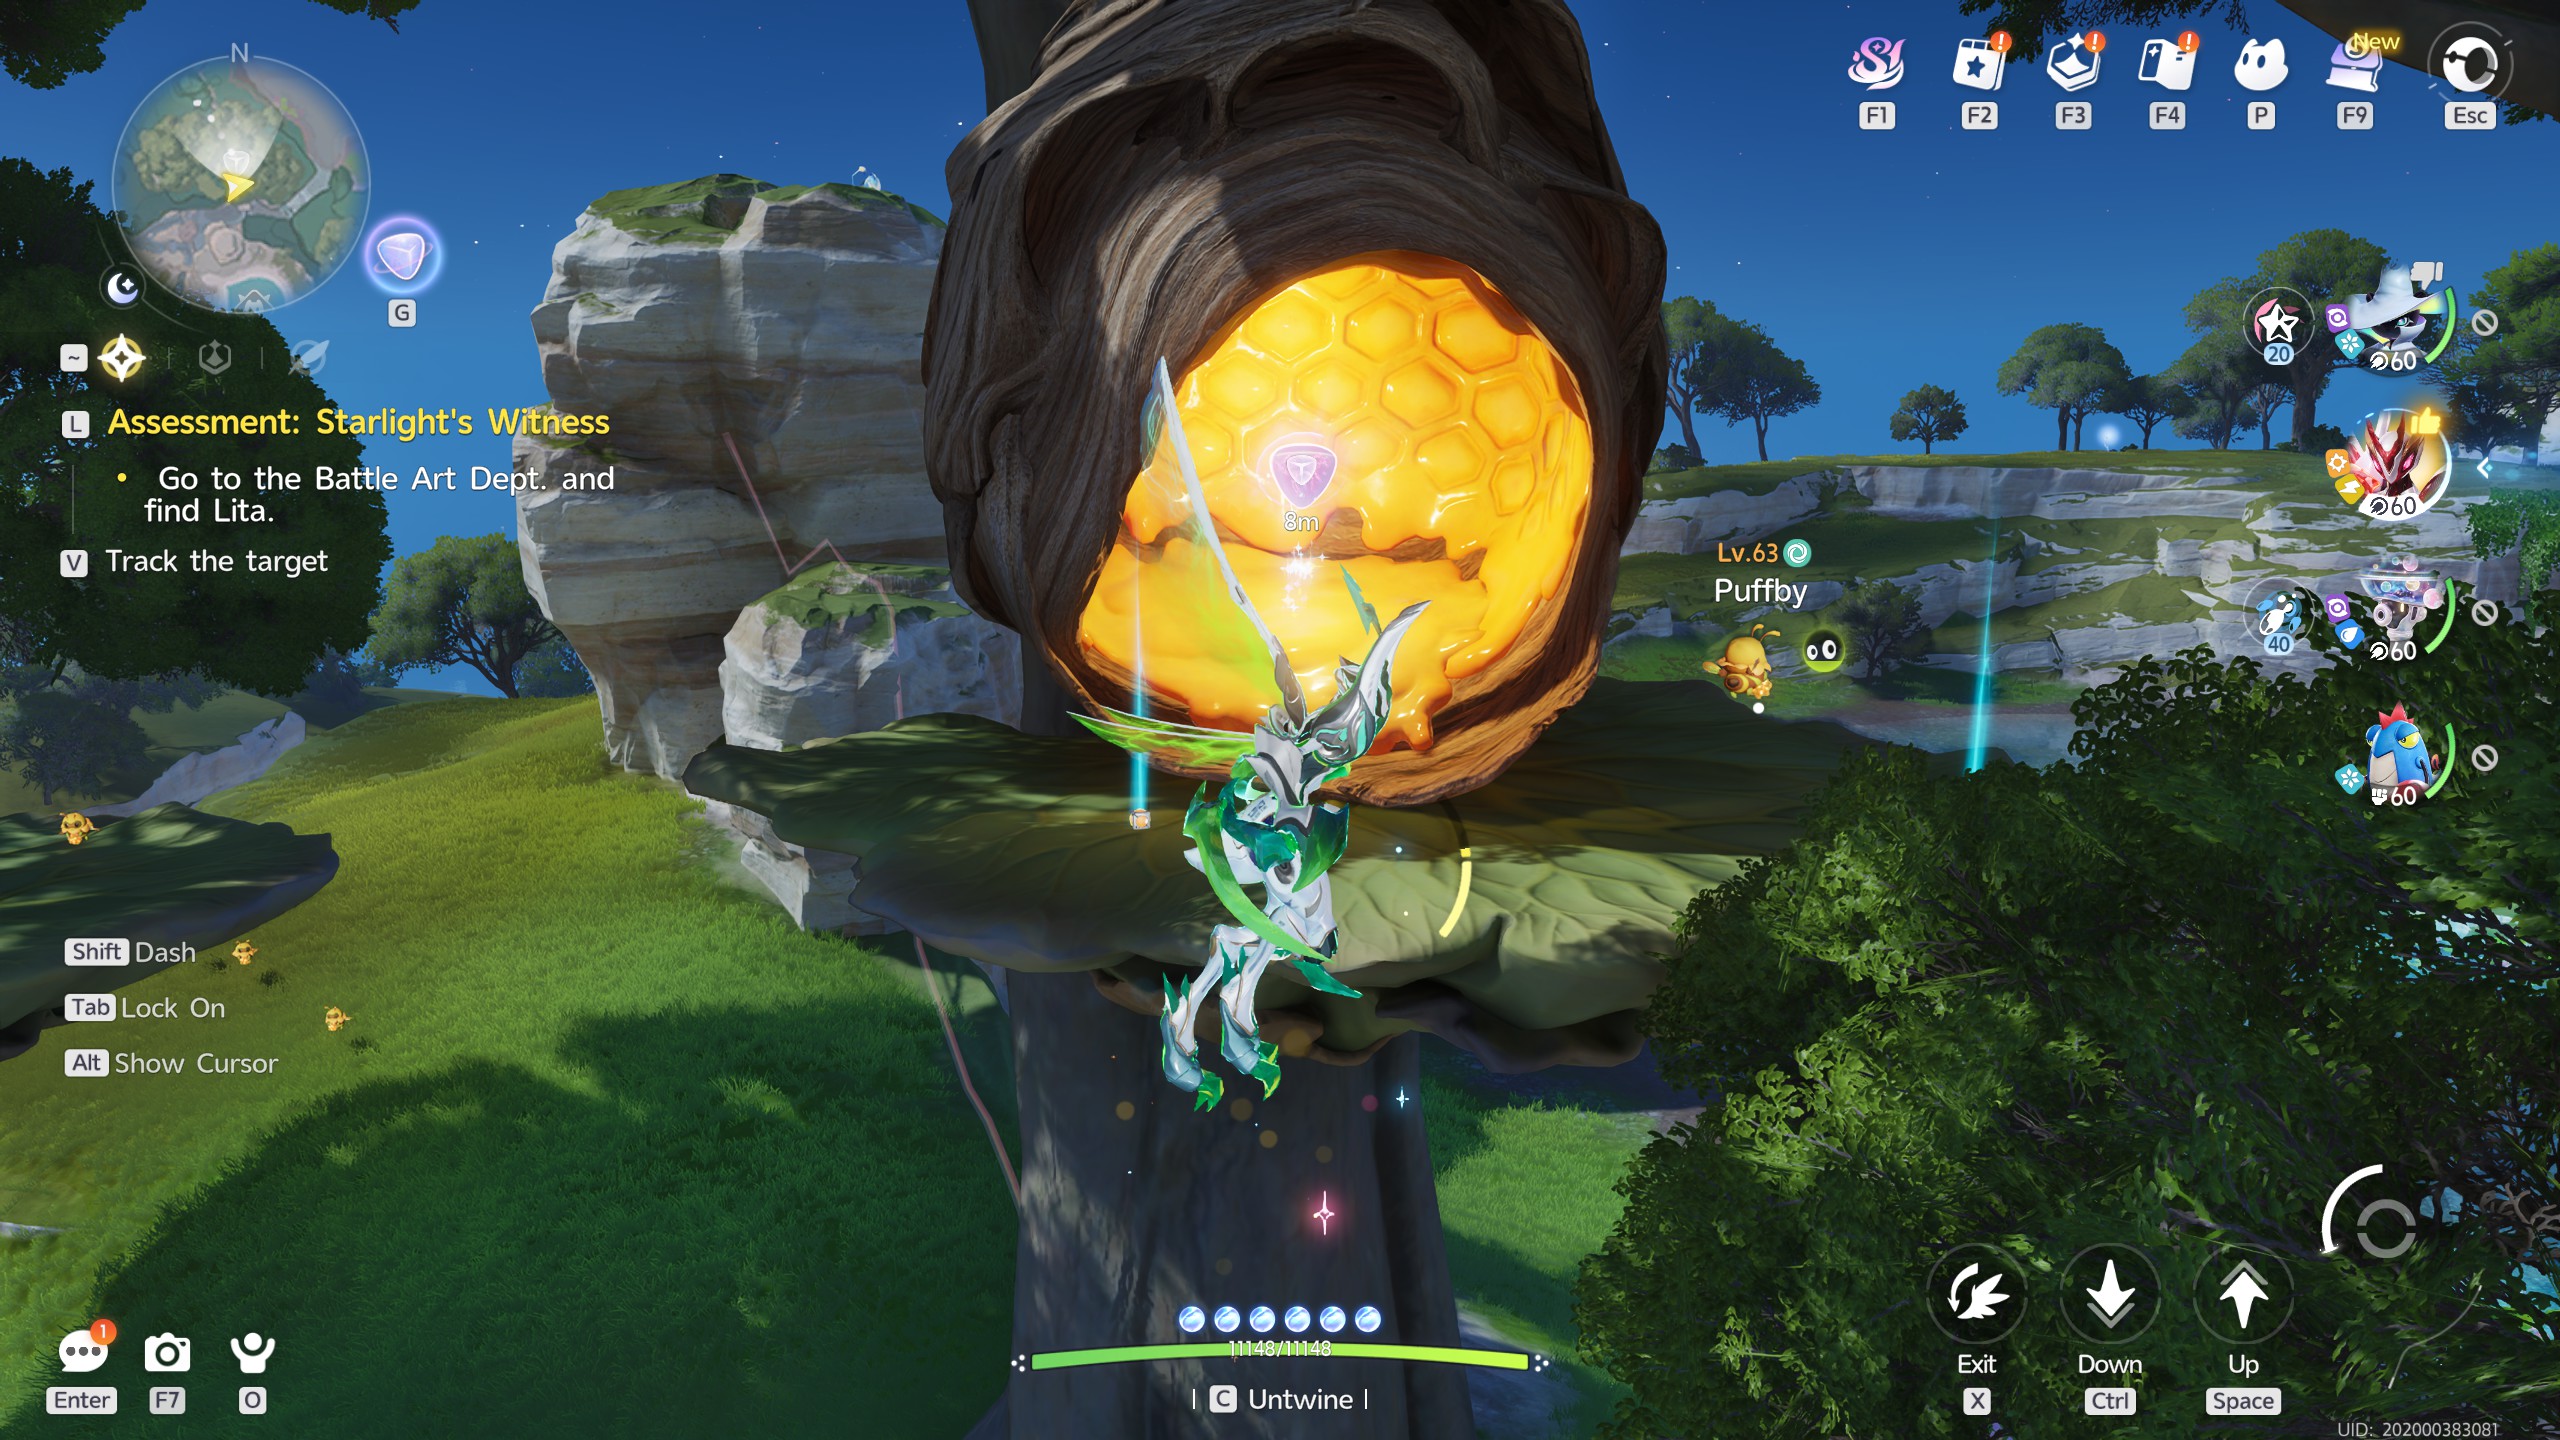
The next Amber is found atop a nearby tree, this time guarded in a bubble by a group of defensive Puffby

To get the Amber, you simply need to defeat the Aniimo guarding it. Once done, the bubble will release the Amber for you to collect.


Floating near the Sugartini Arena

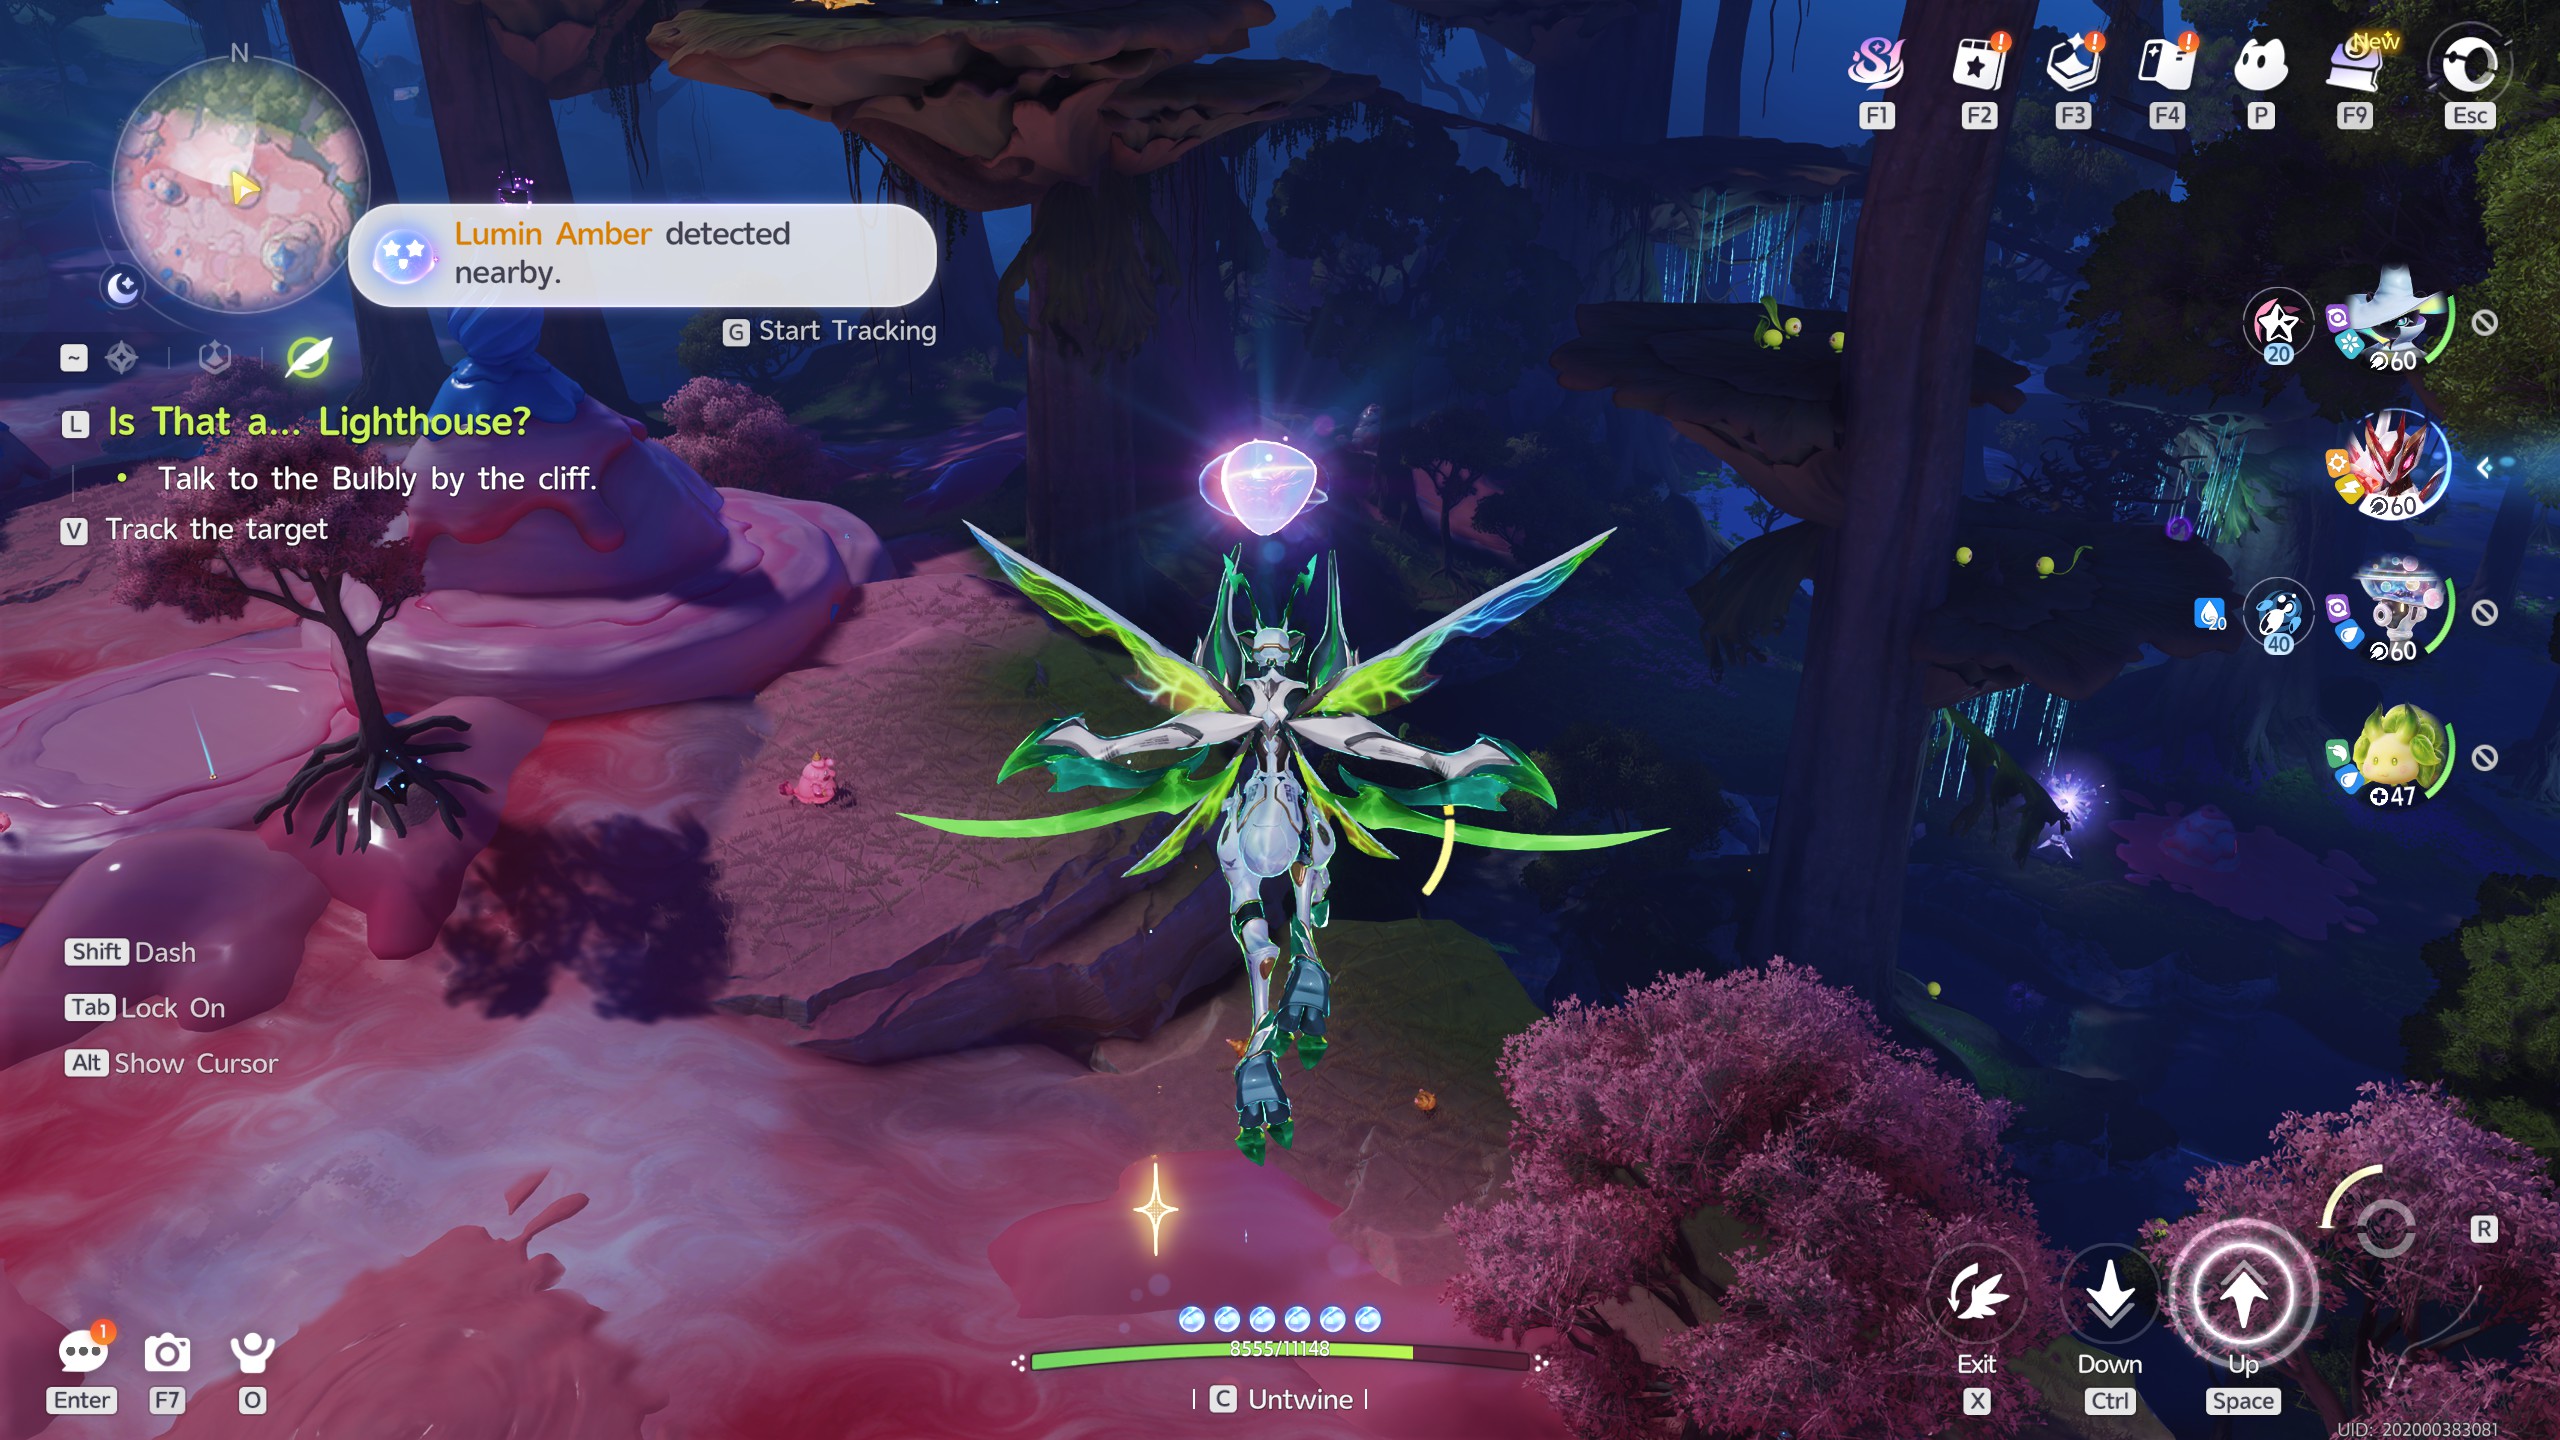
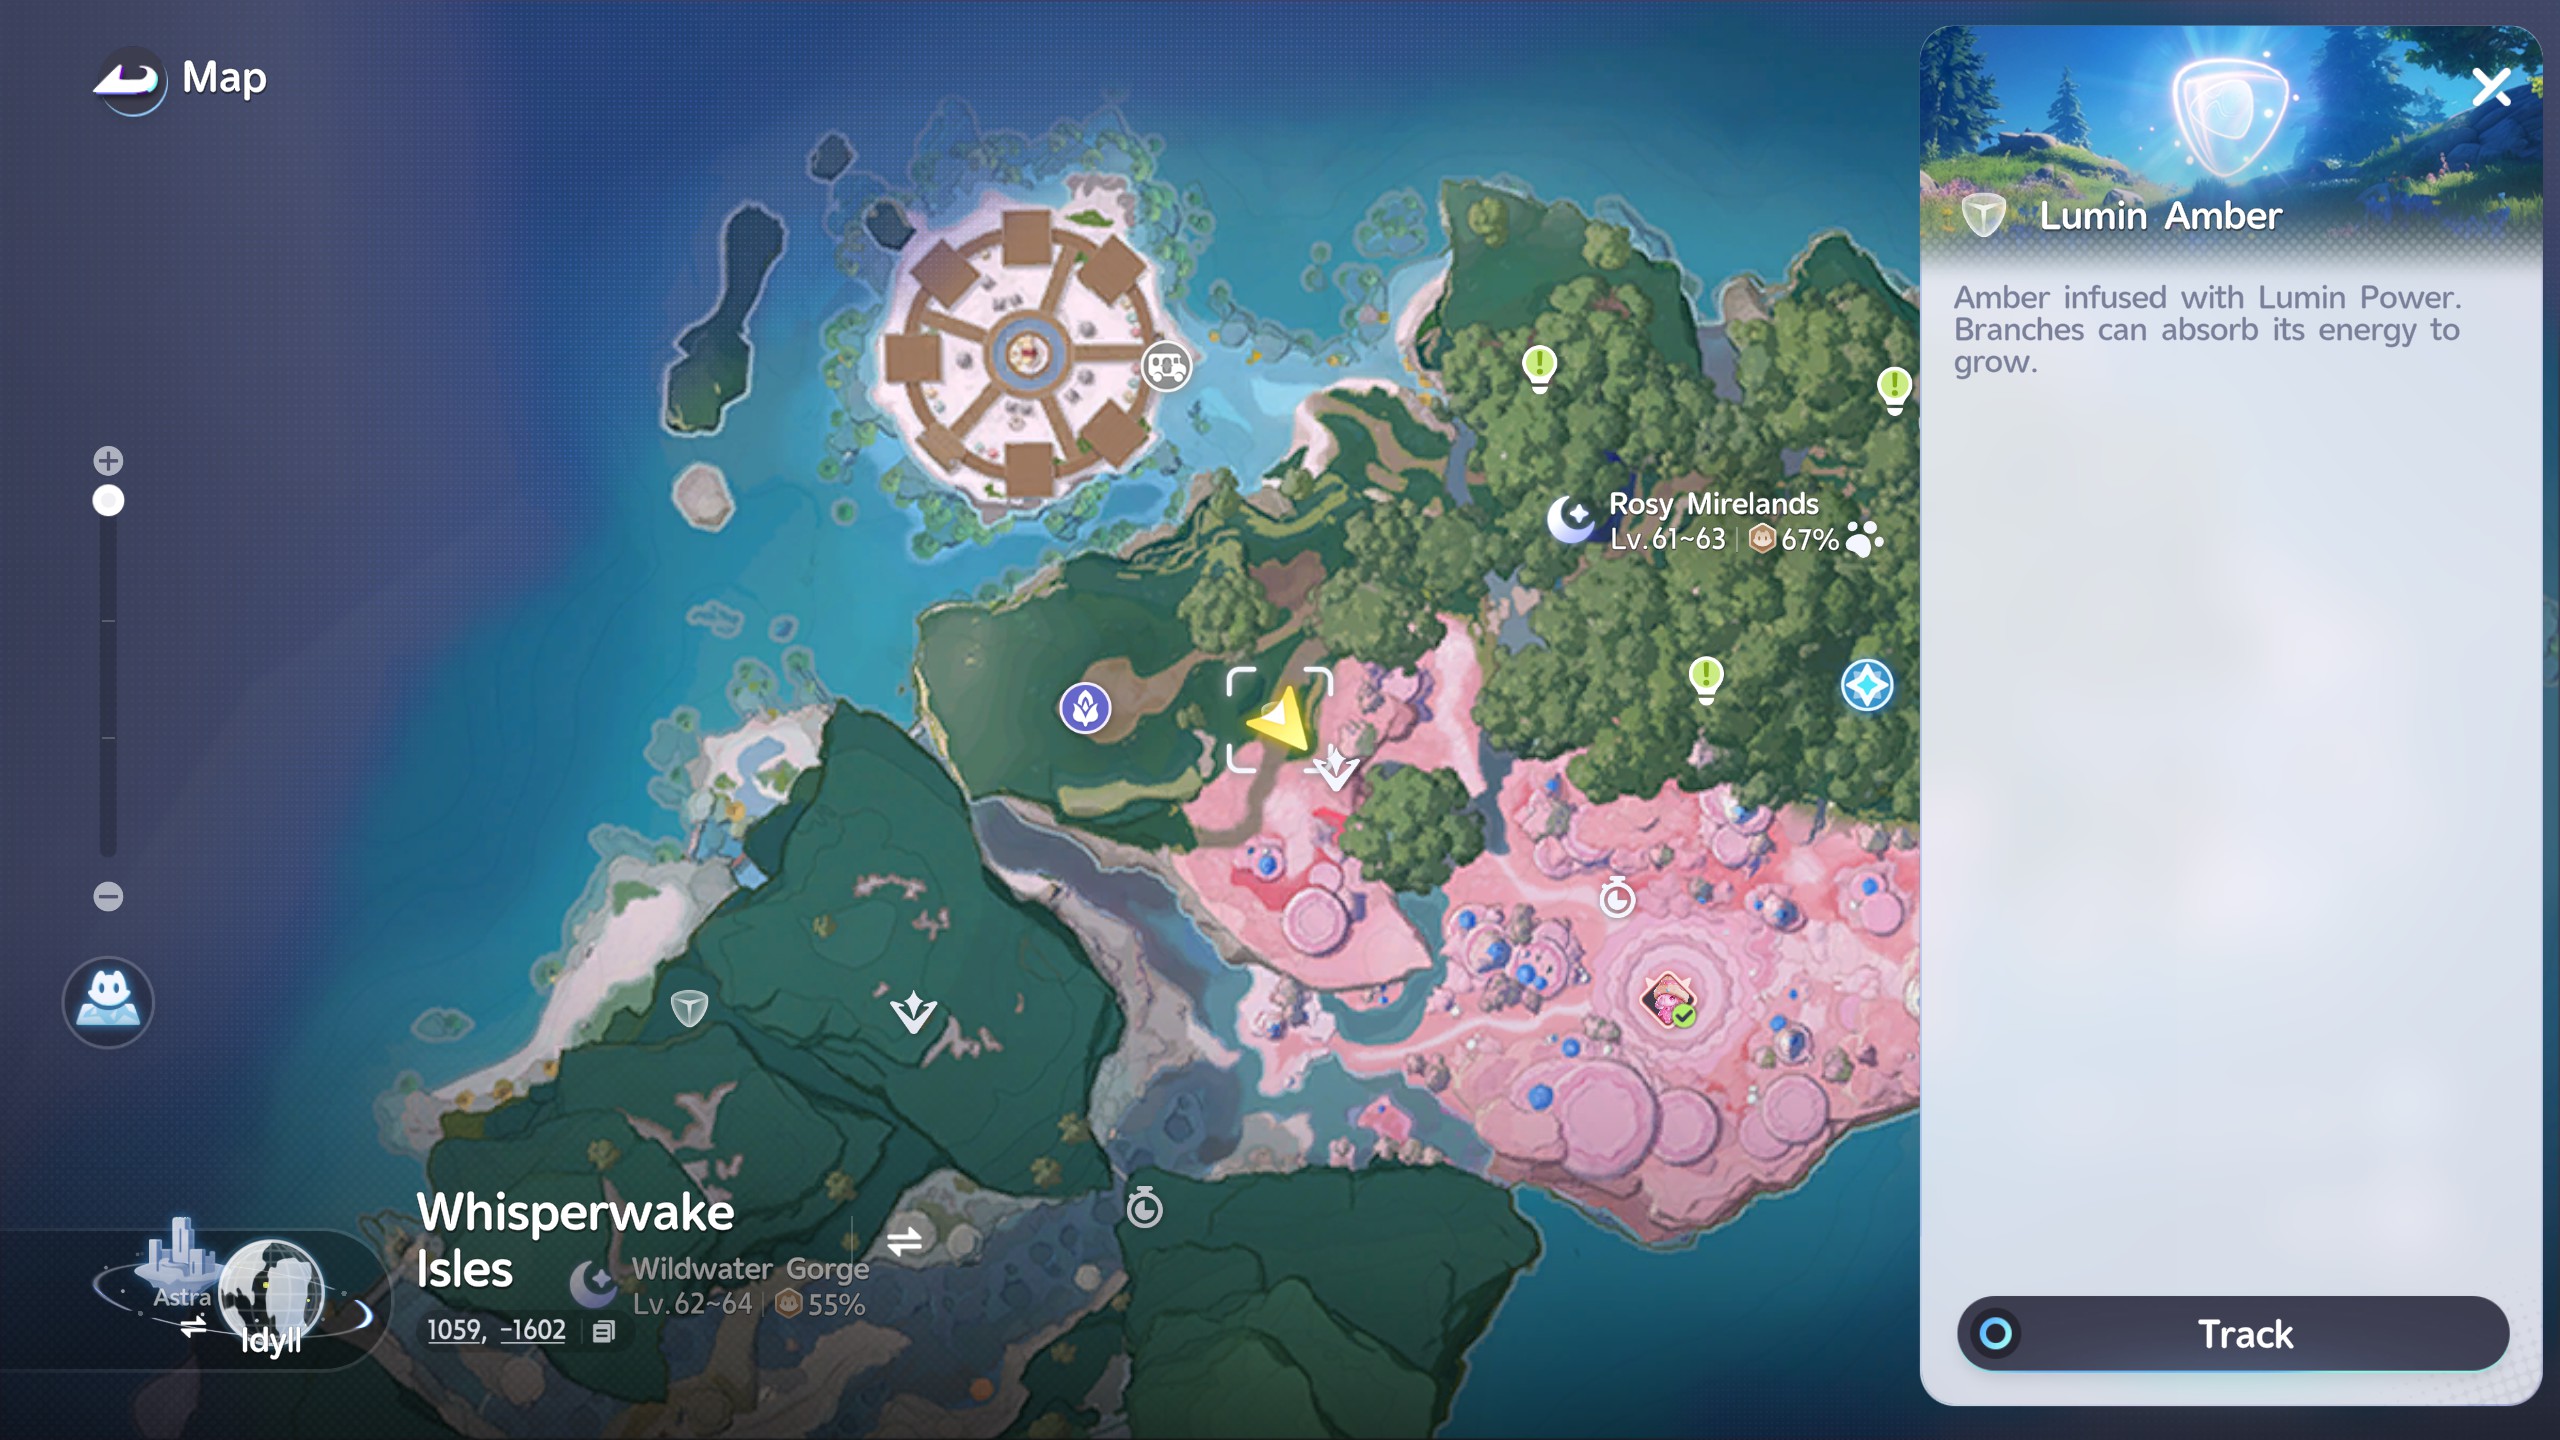
The next Amber is rather close by. It doesn't have any specific puzzle tied to it, rather you just need to bring a Flying Aniimo to help with obtaining it.

Simply fly up into the air, even using the nearby mountain as a boost if need-be.

Guarded by Sugarfish

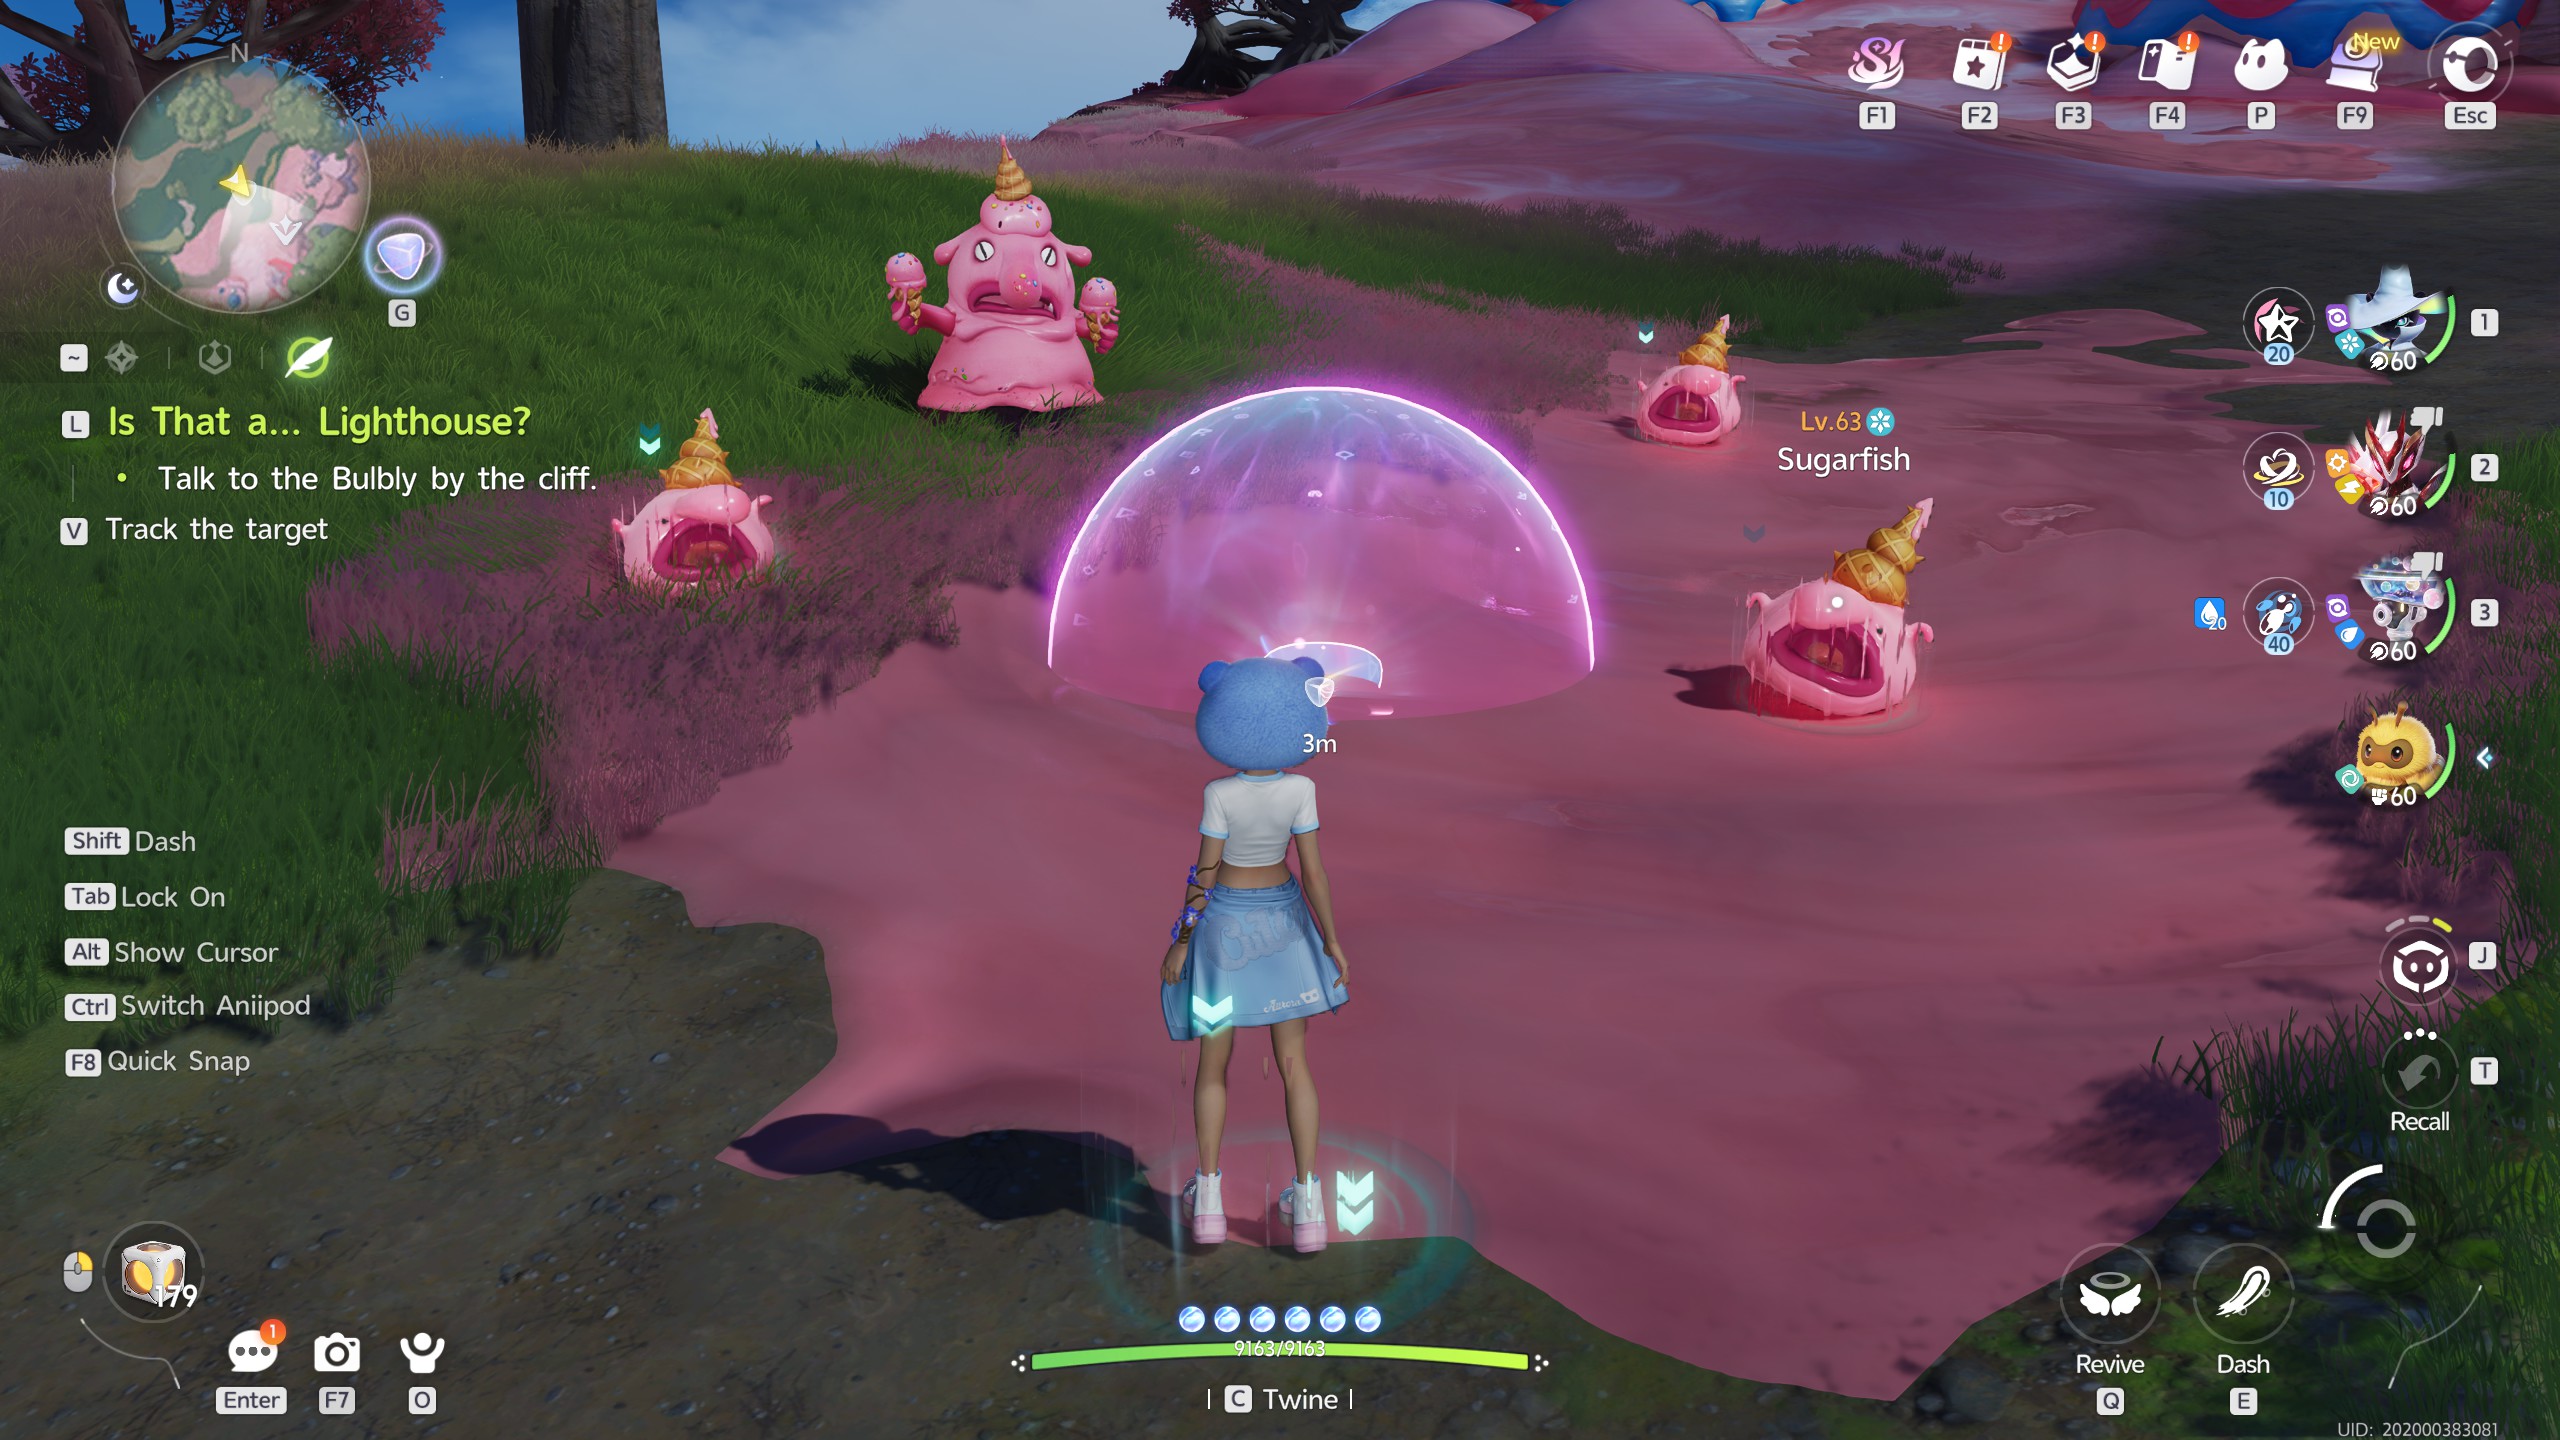
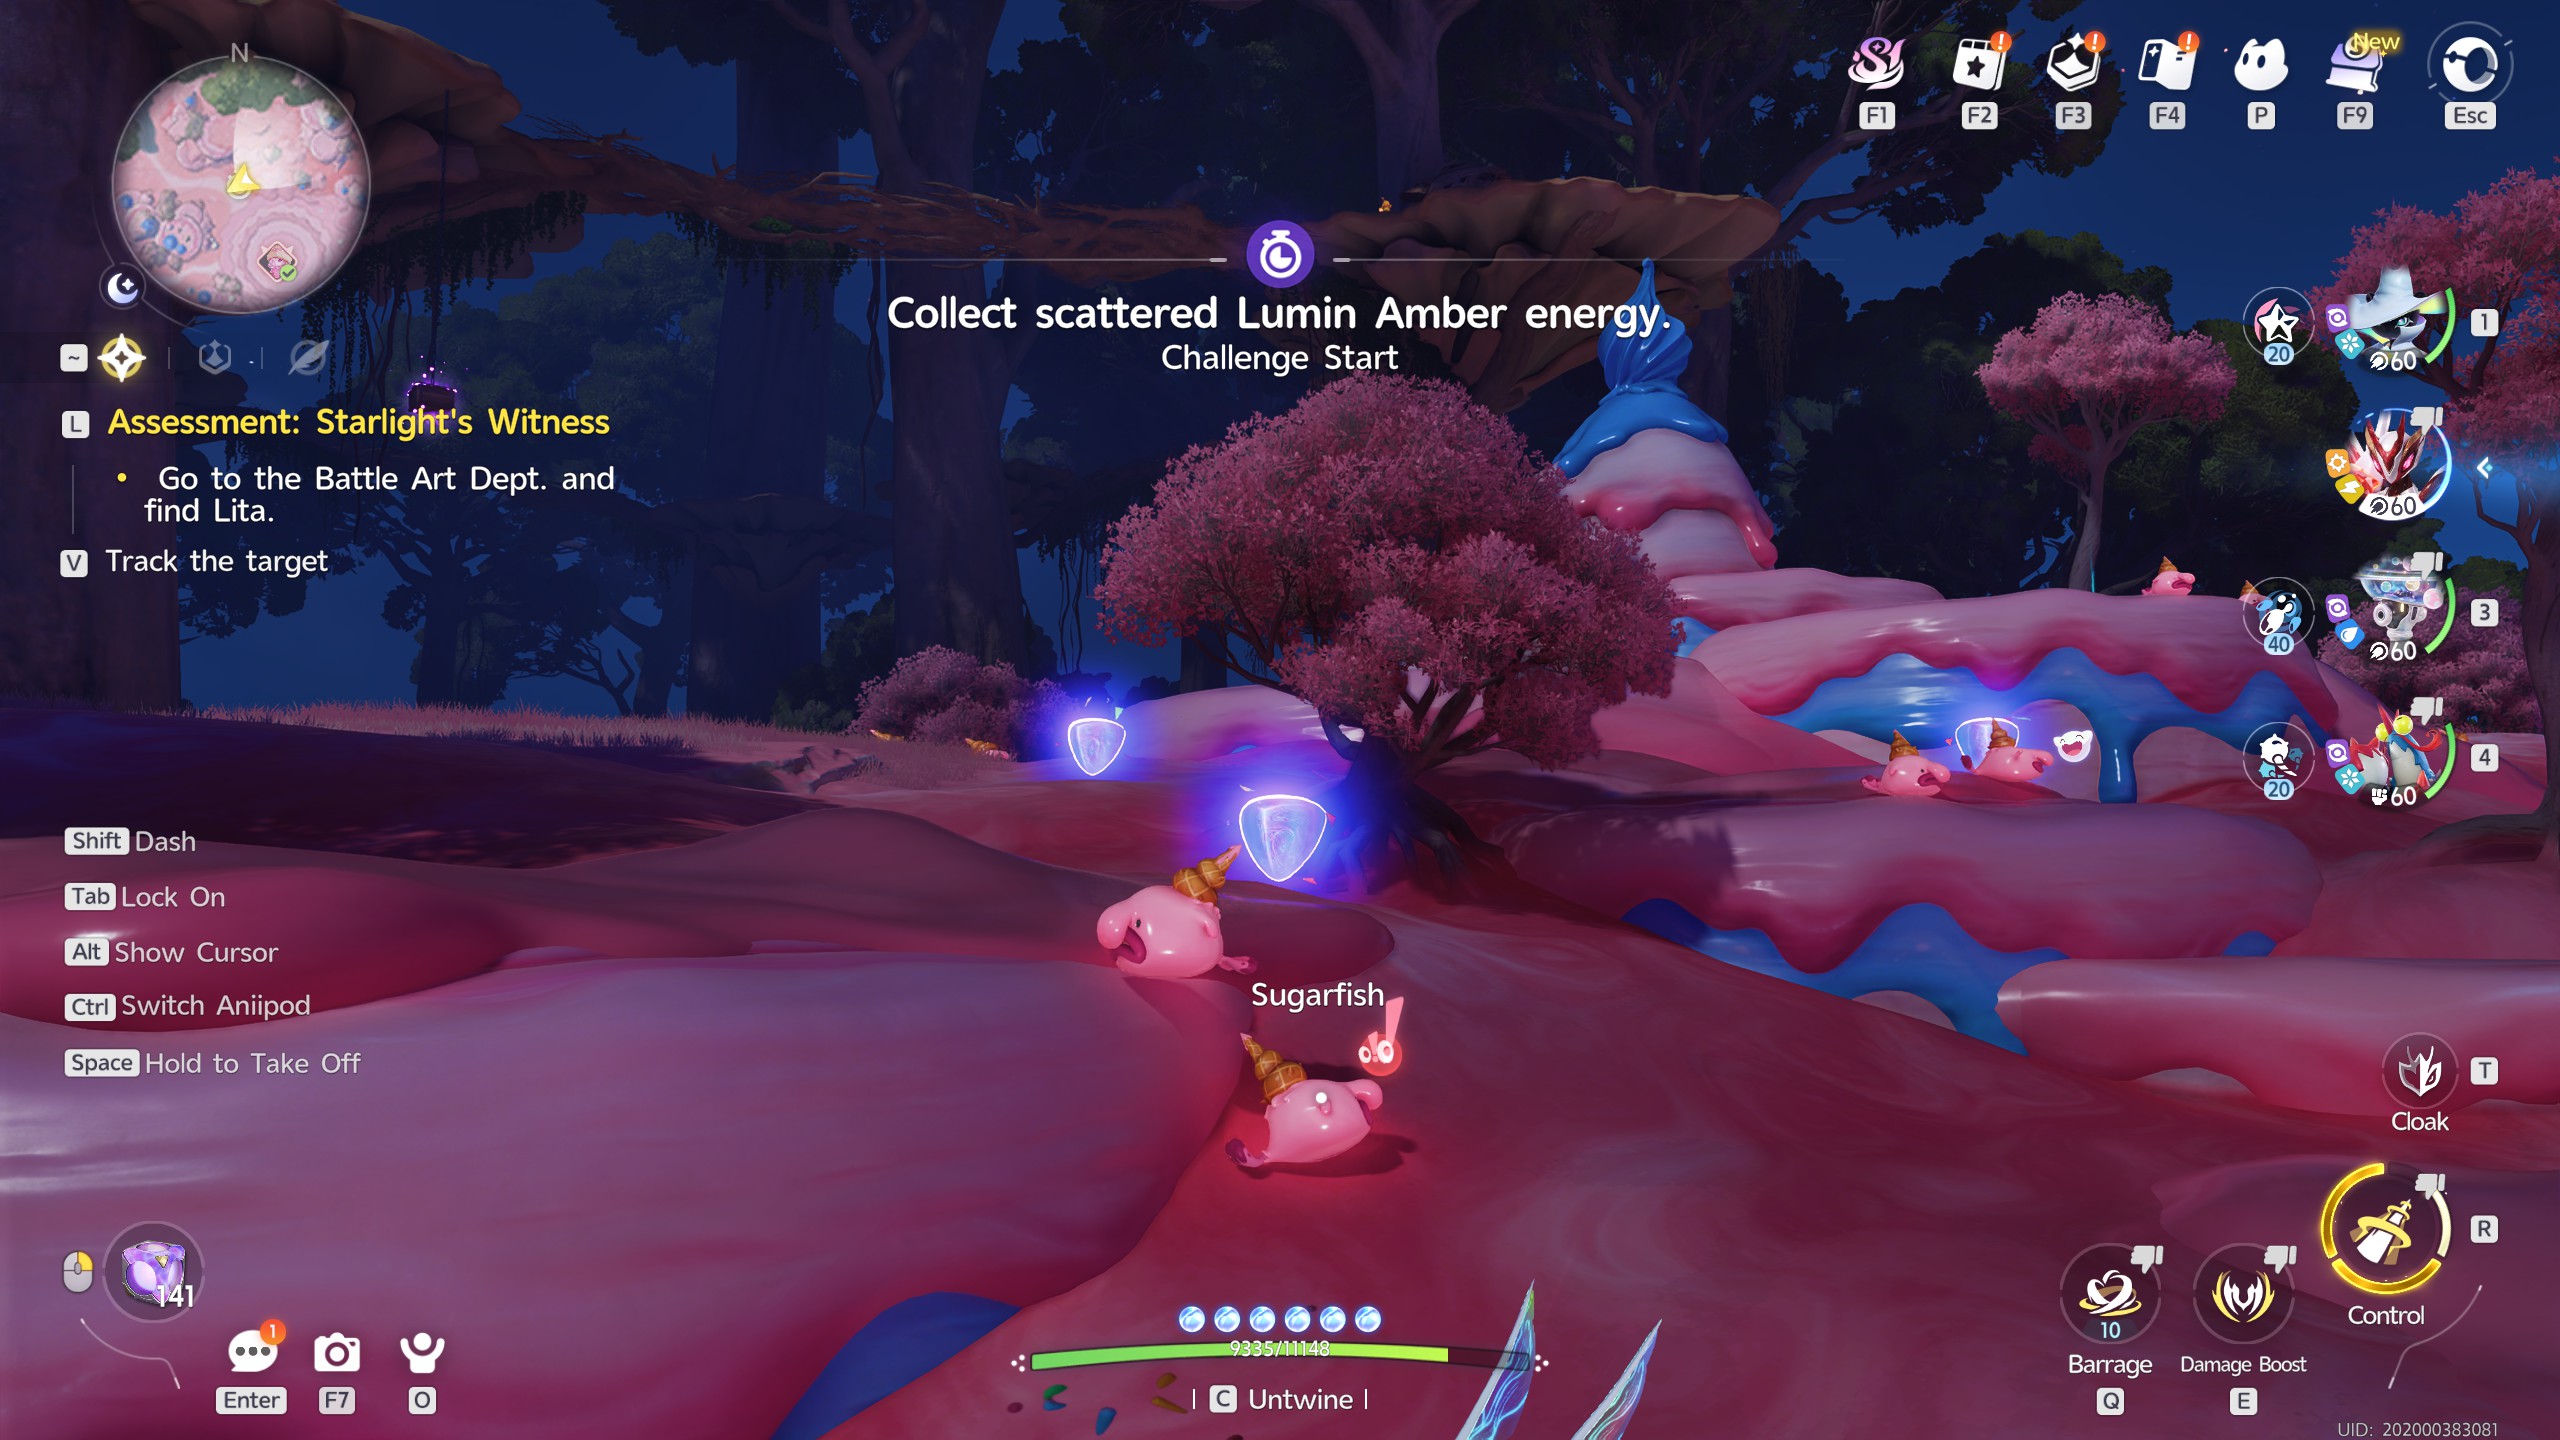
The next location for the Amber can be found below. This is yet another guarding bubble, this time surrounded with Sugarfish

Provided you defeat or capture all nearby Aniimo, the bubble guarding the Amber will release and let you collect it!


Blessed Sugarfish

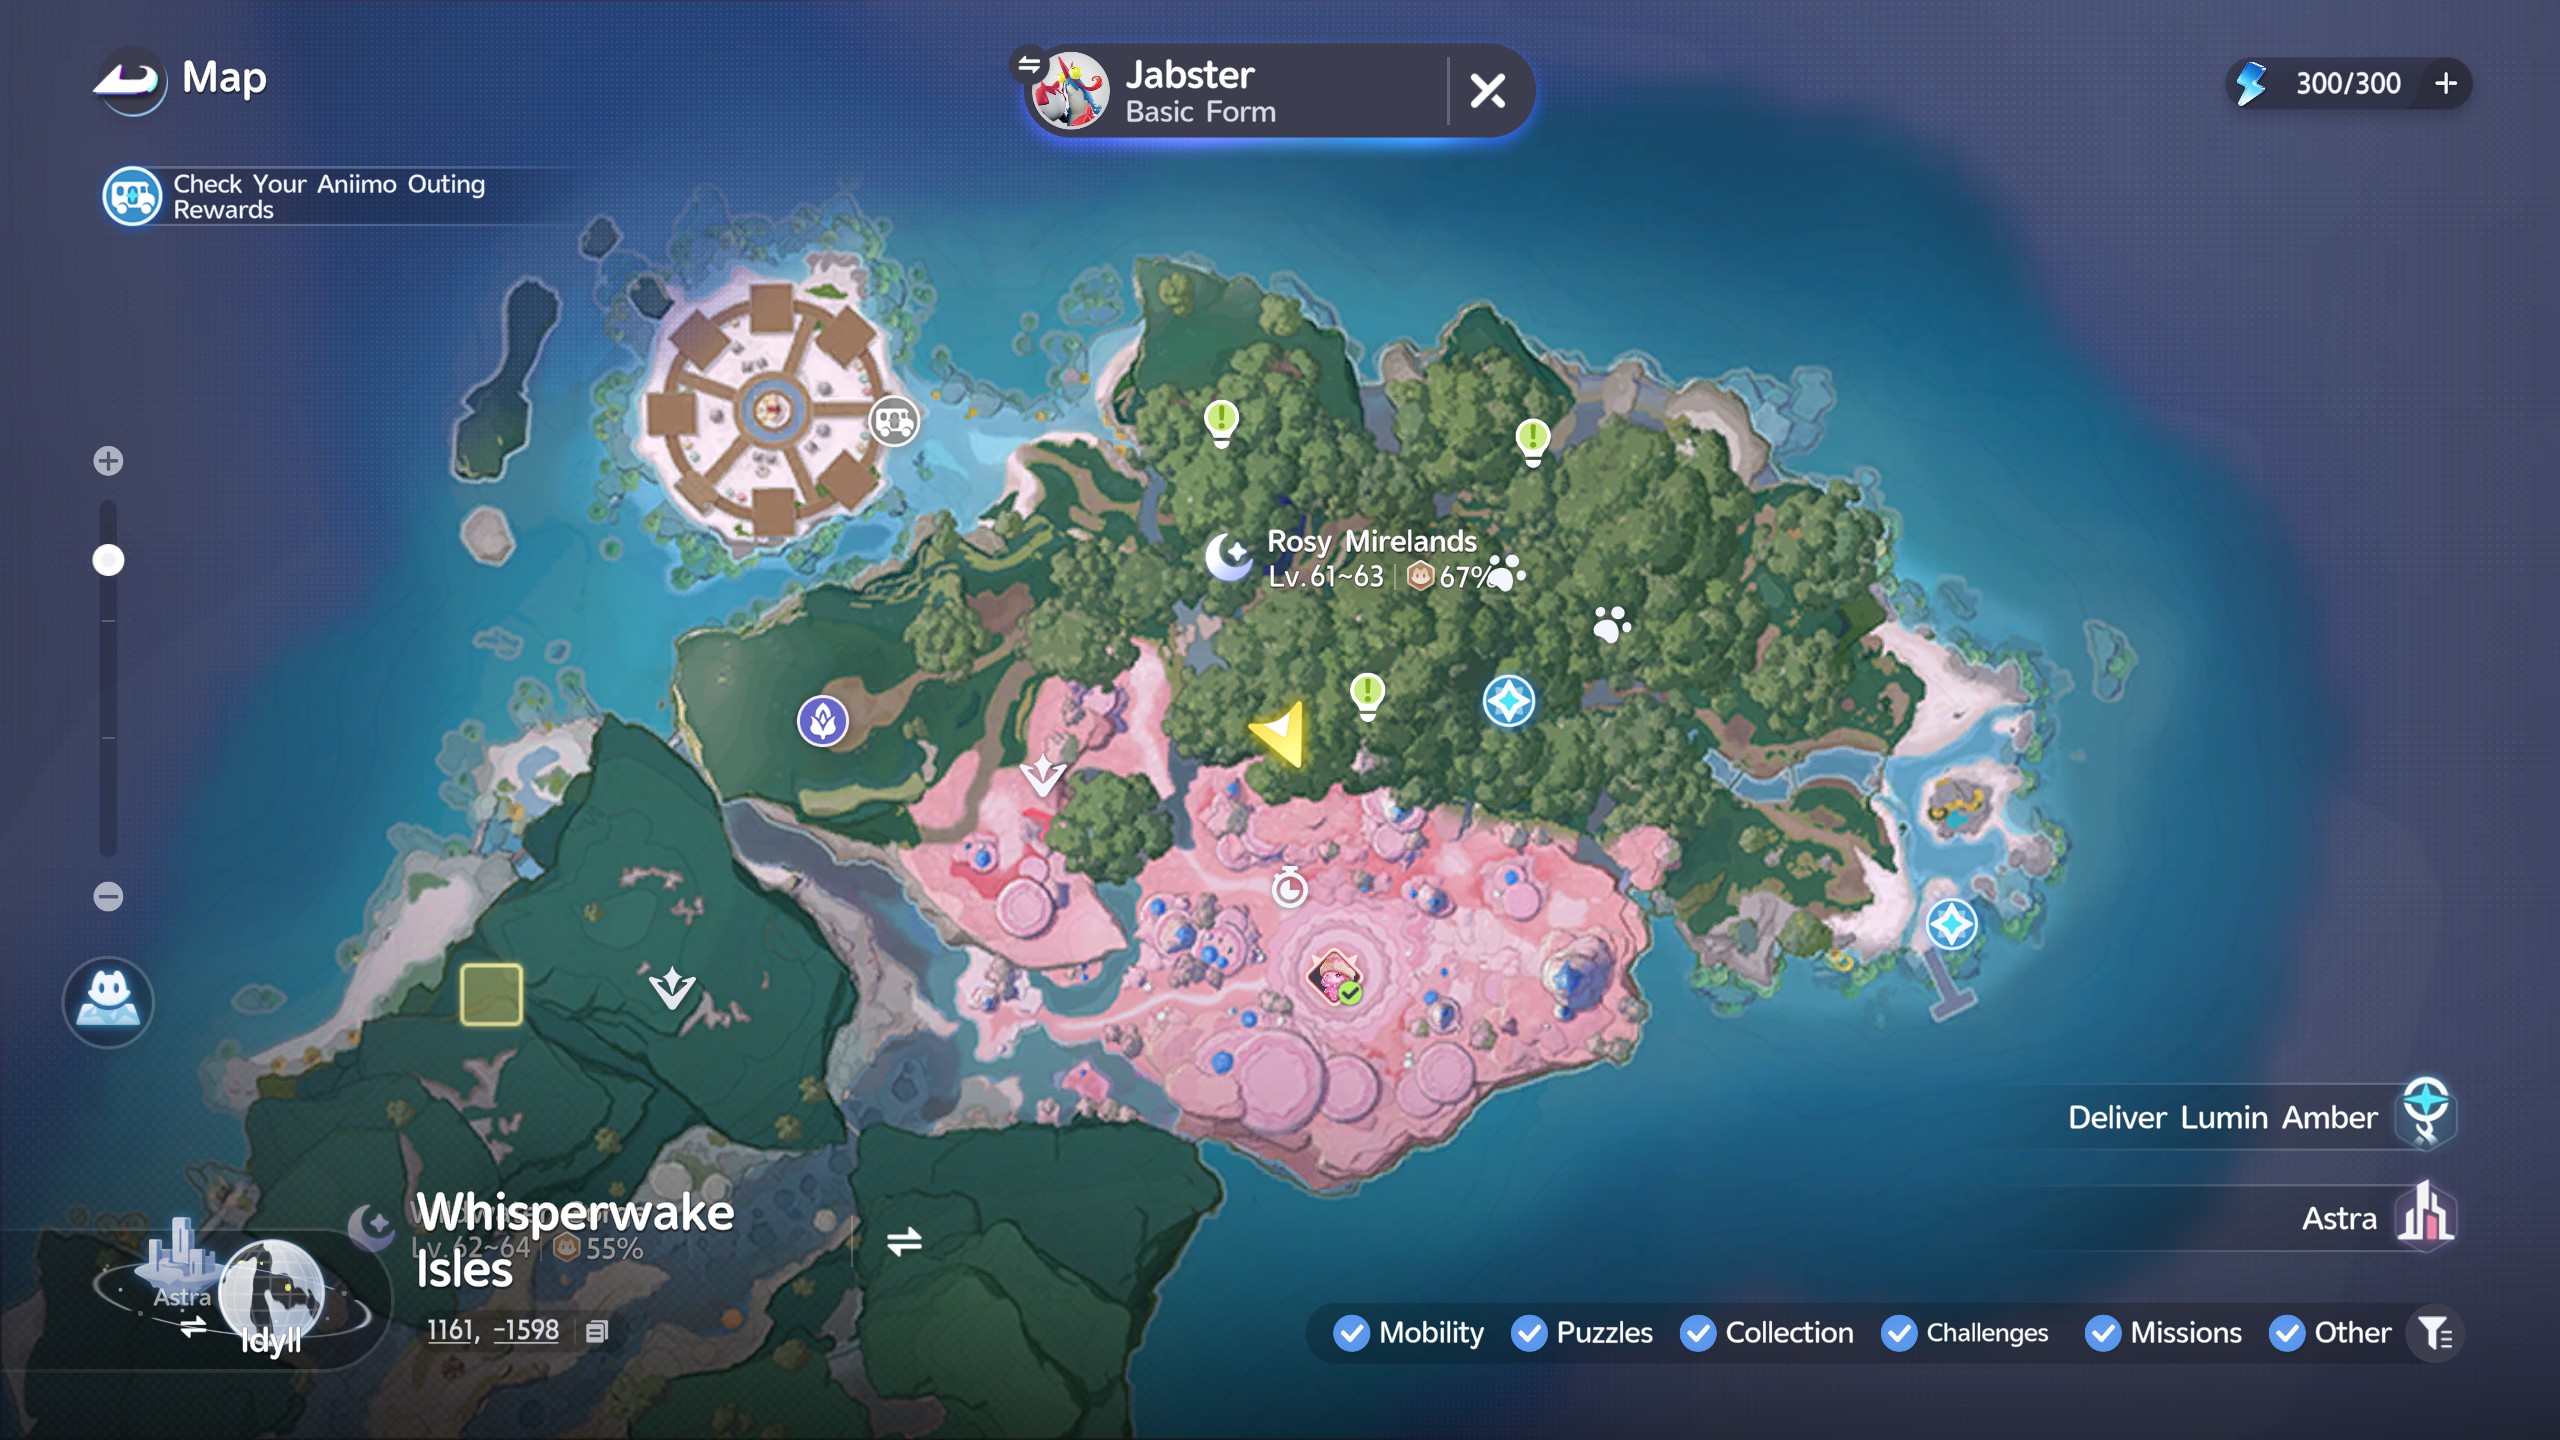
This Amber is hiding inside of a Sugarfish. First, head over to the location marked below on the map. You'll find a large tree with some boulders blocking the entrance.

Once the rocks have been destroyed (needs an Aniimo with BREAK 3 capable skills) you can find the Sugarfish inside. Simply capture it, and the Amber will be released to you.


Blessed Salabask

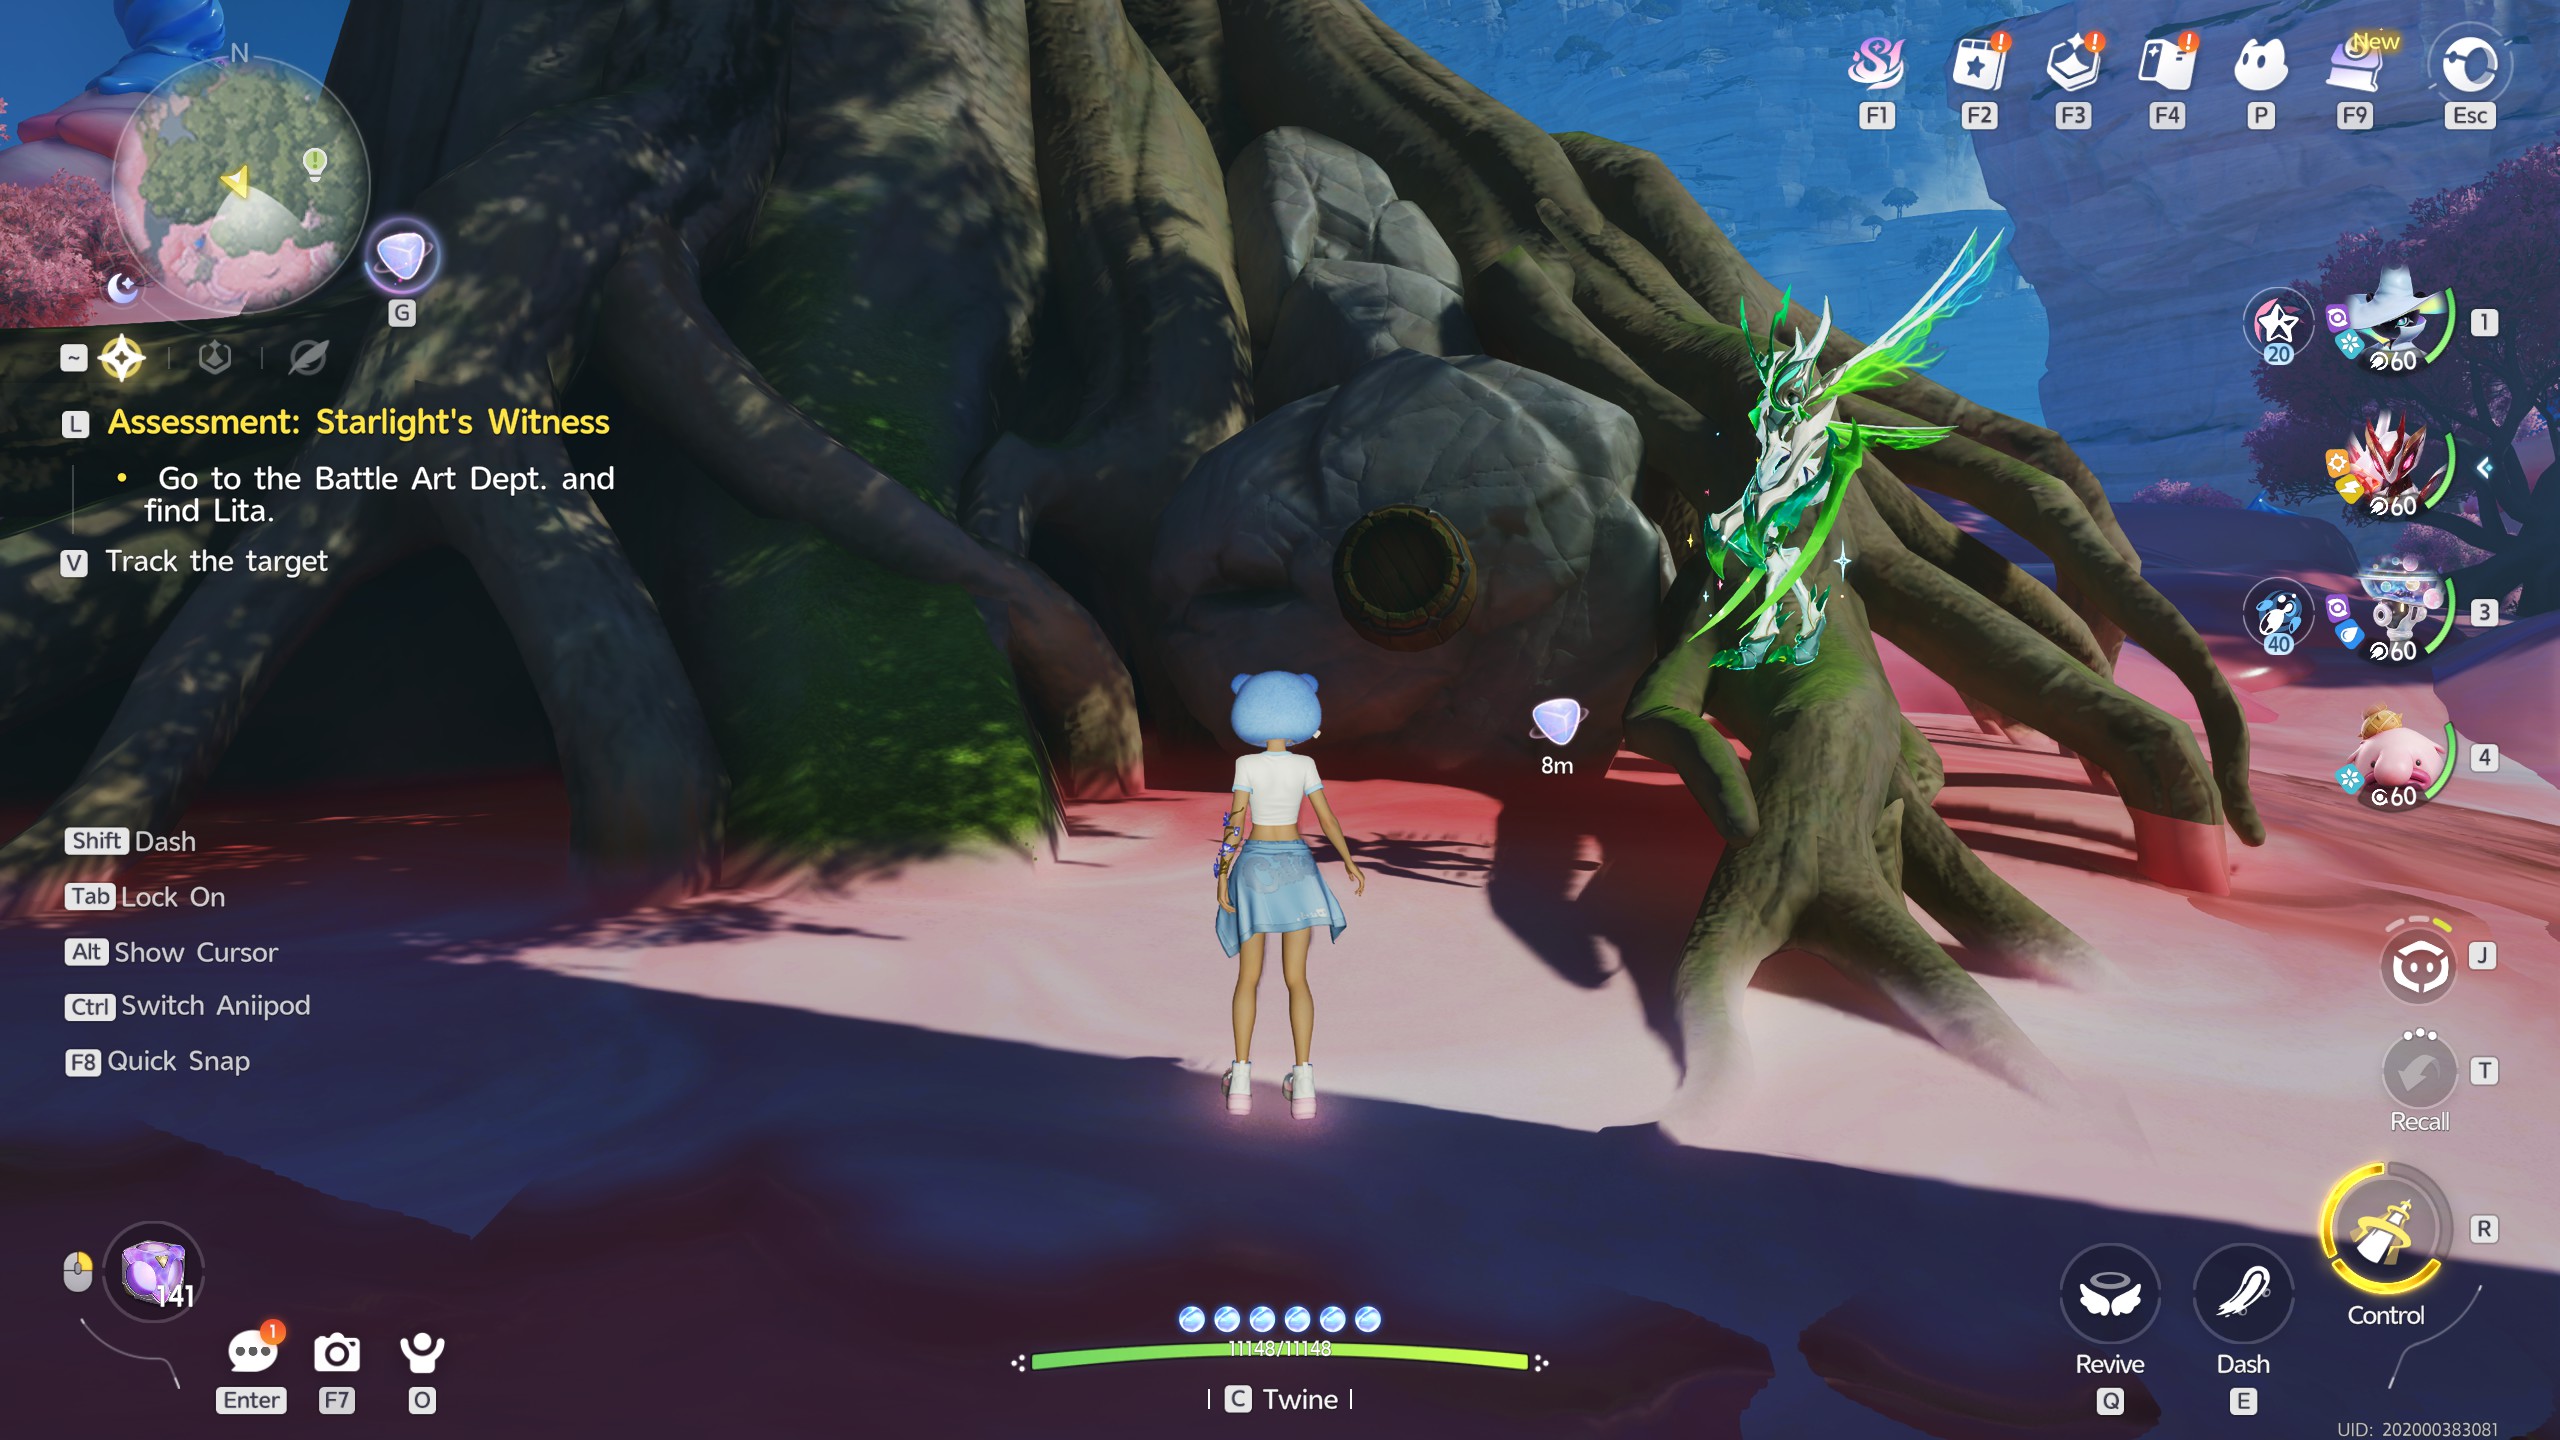
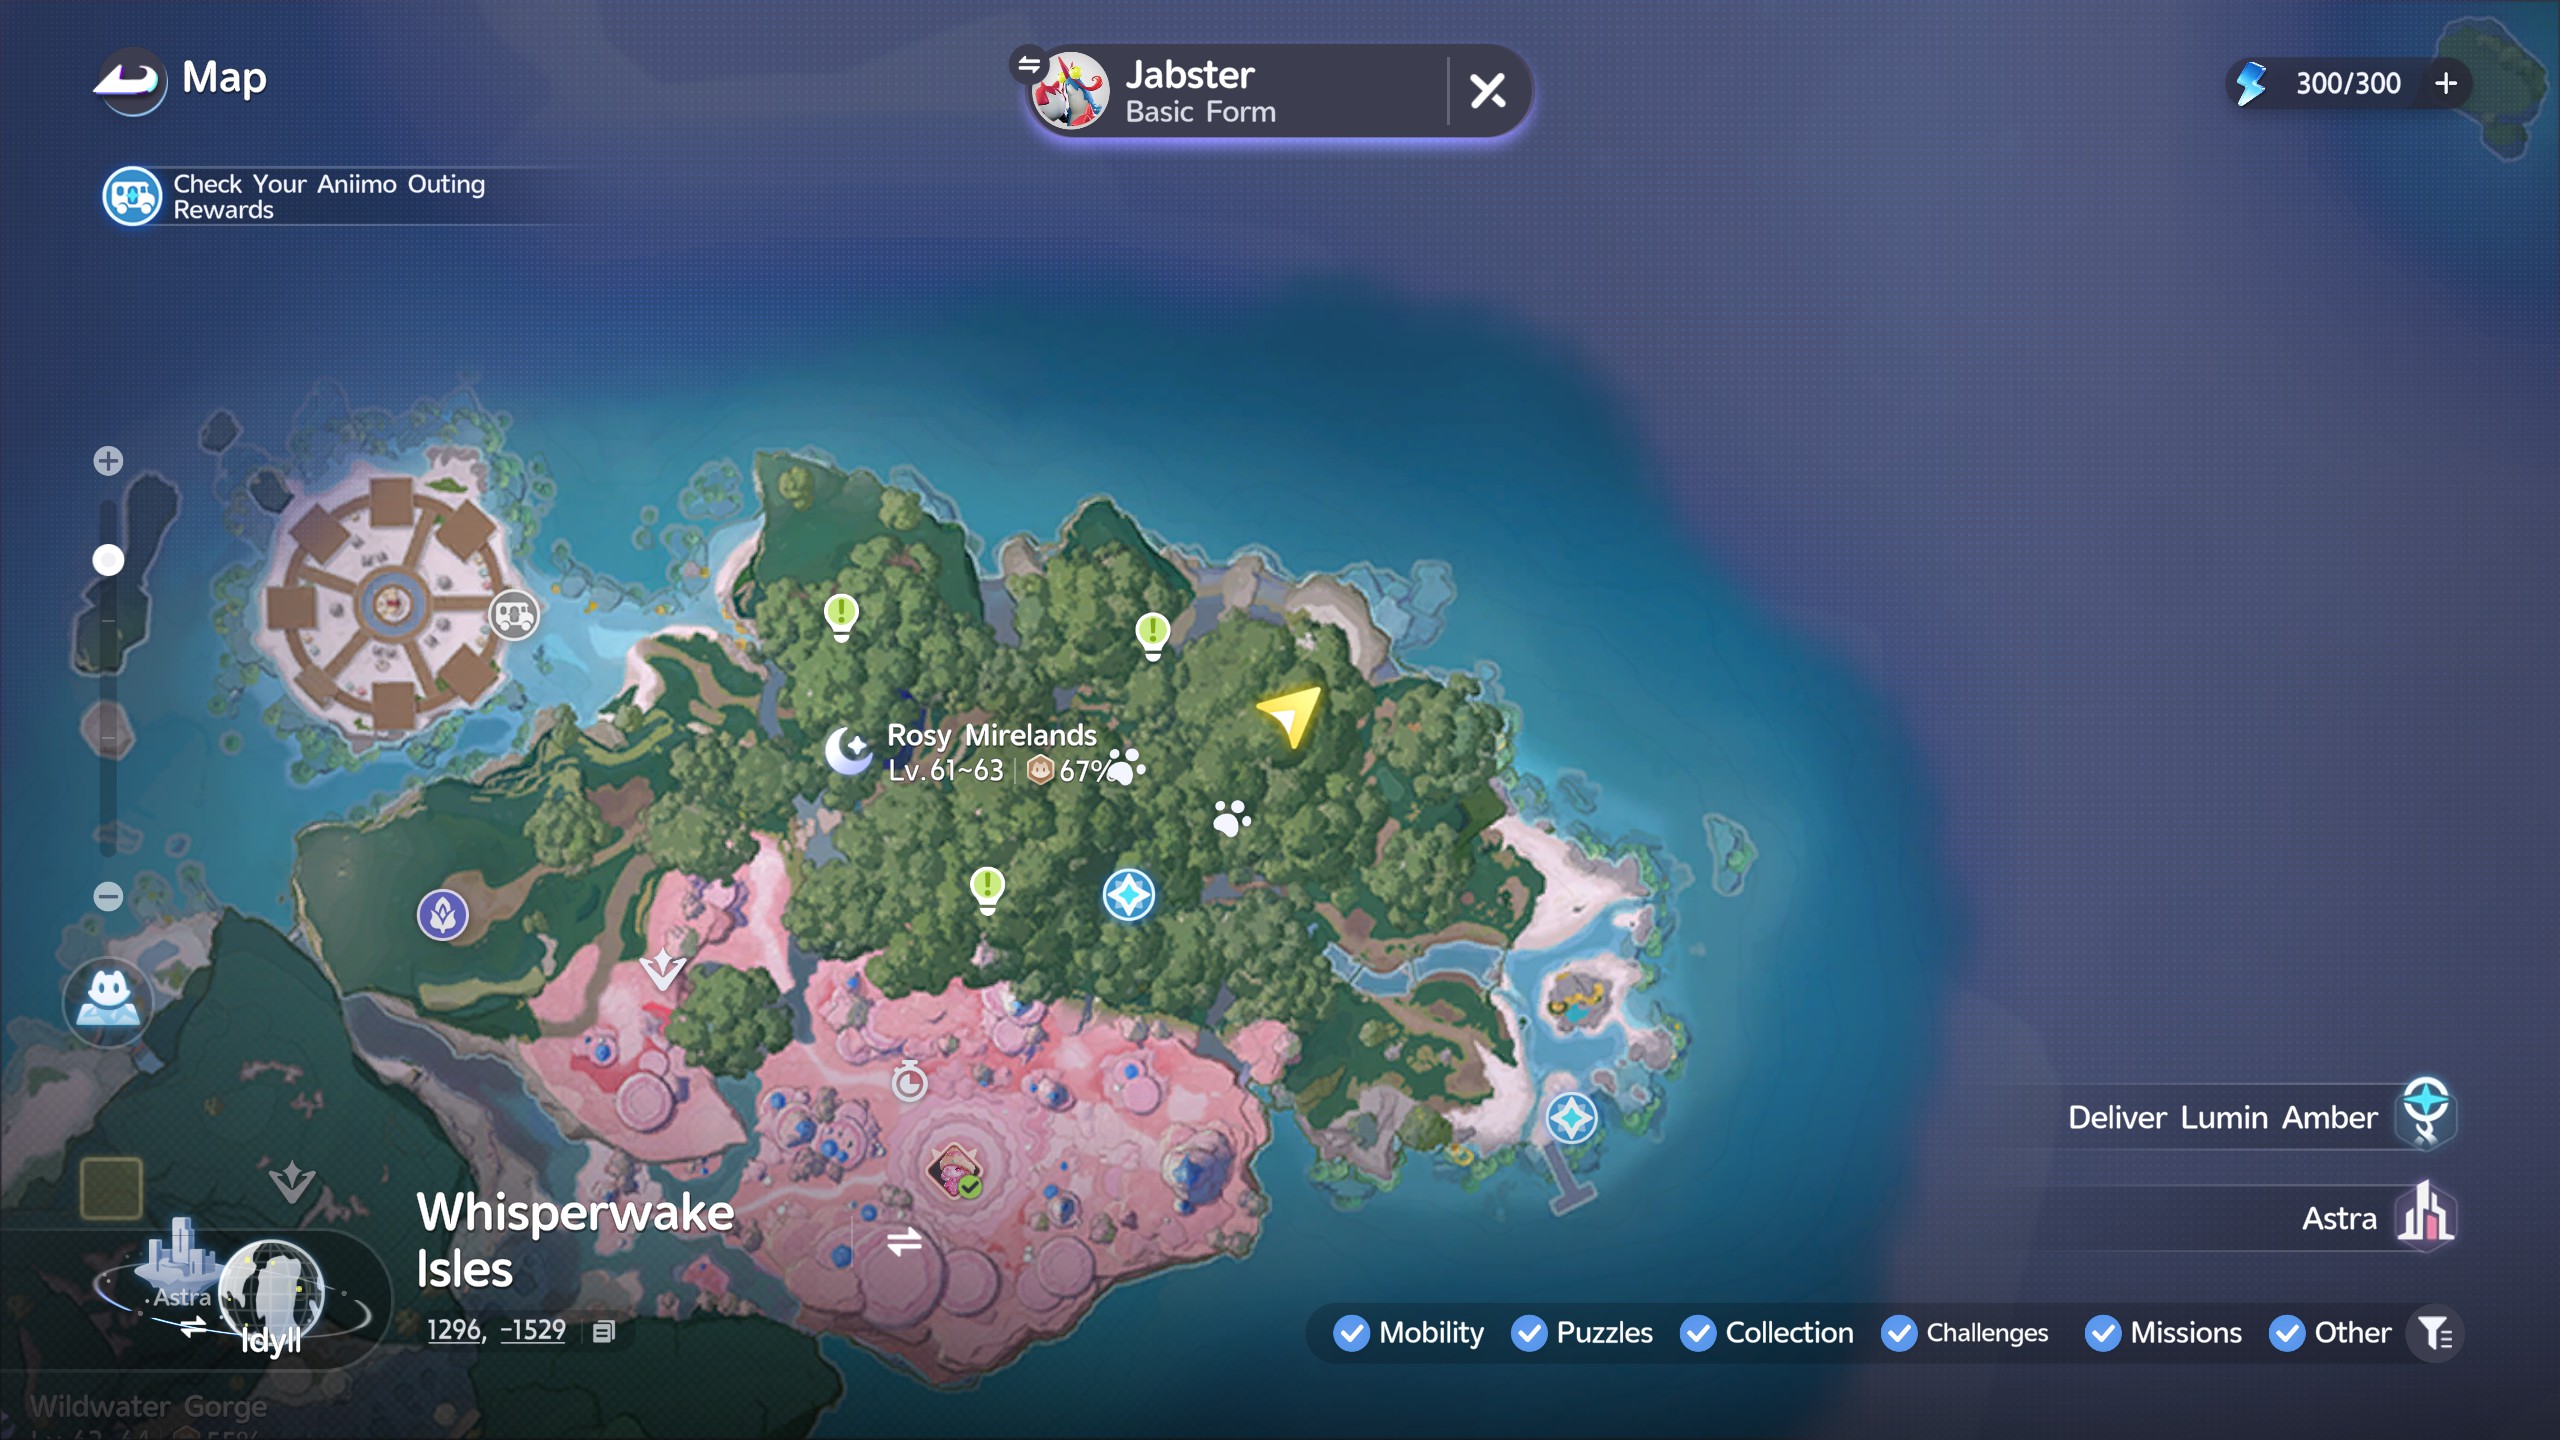
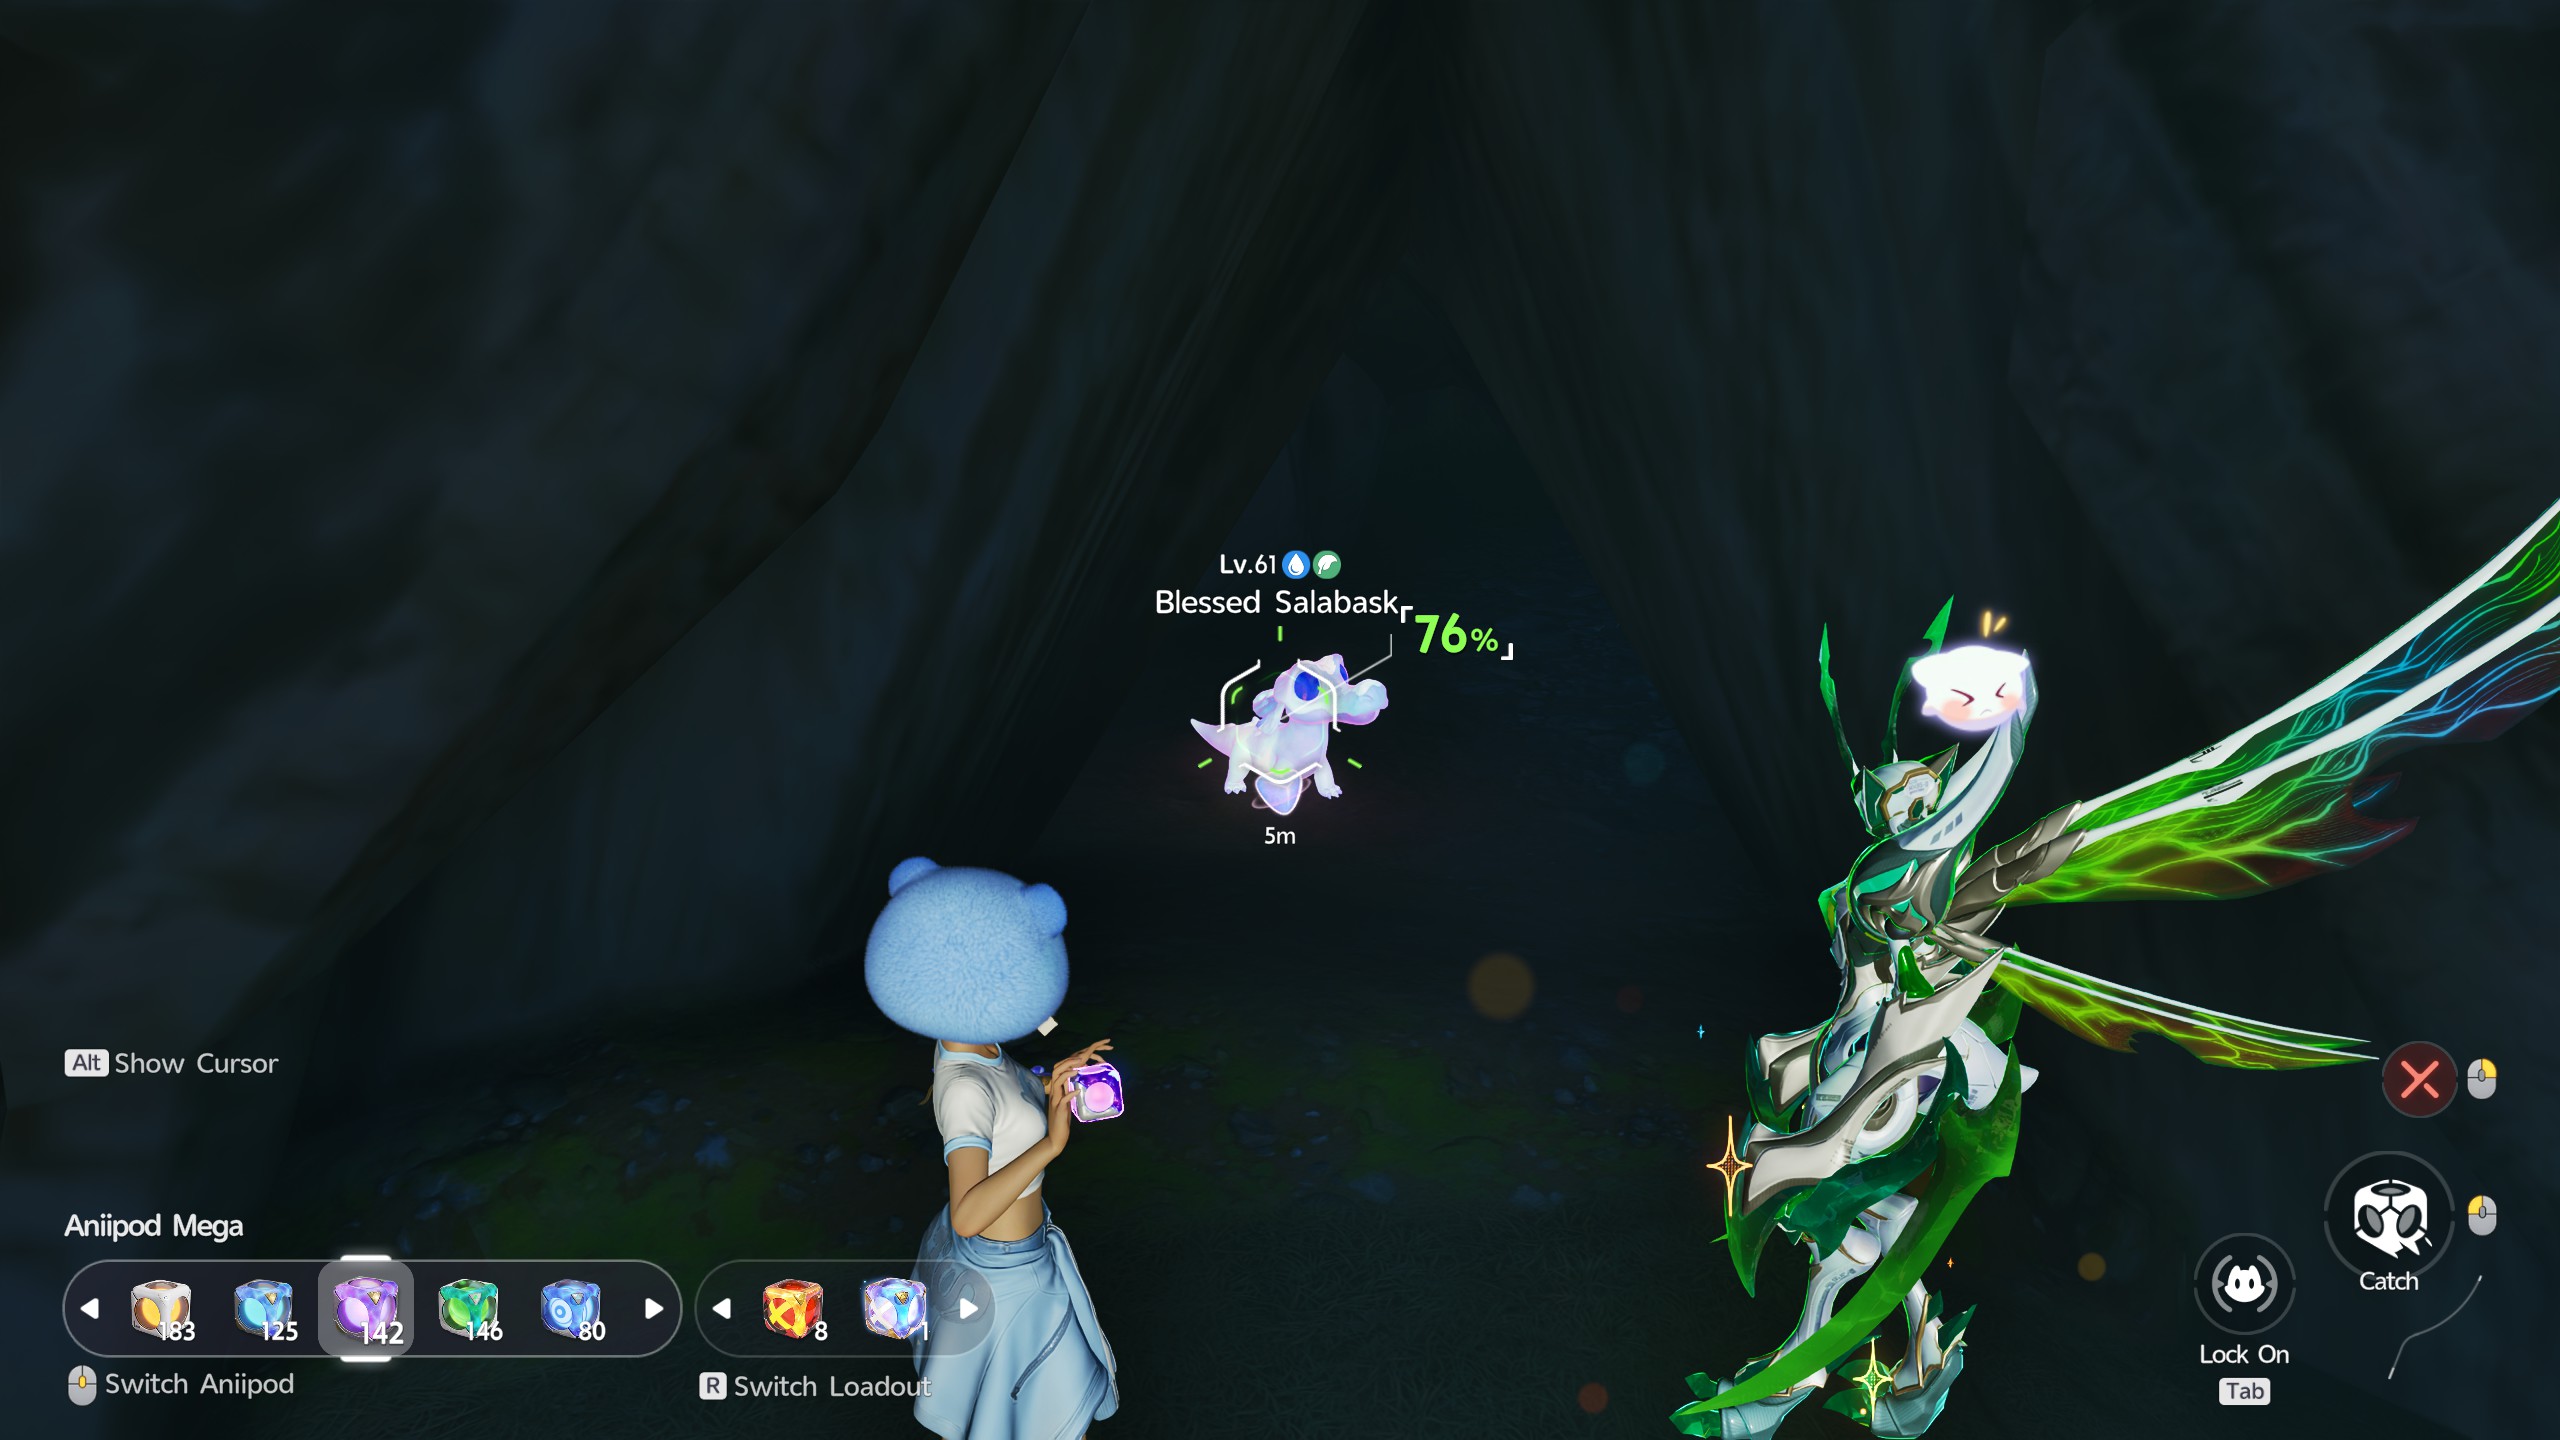
This Amber is hiding inside of a Salabask. First, head over to the location marked below on the map. You'll find a large tree with a boulder blocking the entrance.

Once the rock has been destroyed (needs an Aniimo with BREAK 3 capable skills) you can find the Salabask inside. Simply capture it, and the Amber will be released to you.


Guarded by Salabask

Finally for the Rosy Mirelands, you'll be dealing with one more instance of an Amber being guarded, this time by Salabask

A handy tip to remember is that capturing is often faster than killing, speeding up your time spent here overall.


Sticky Shoals Surfchase

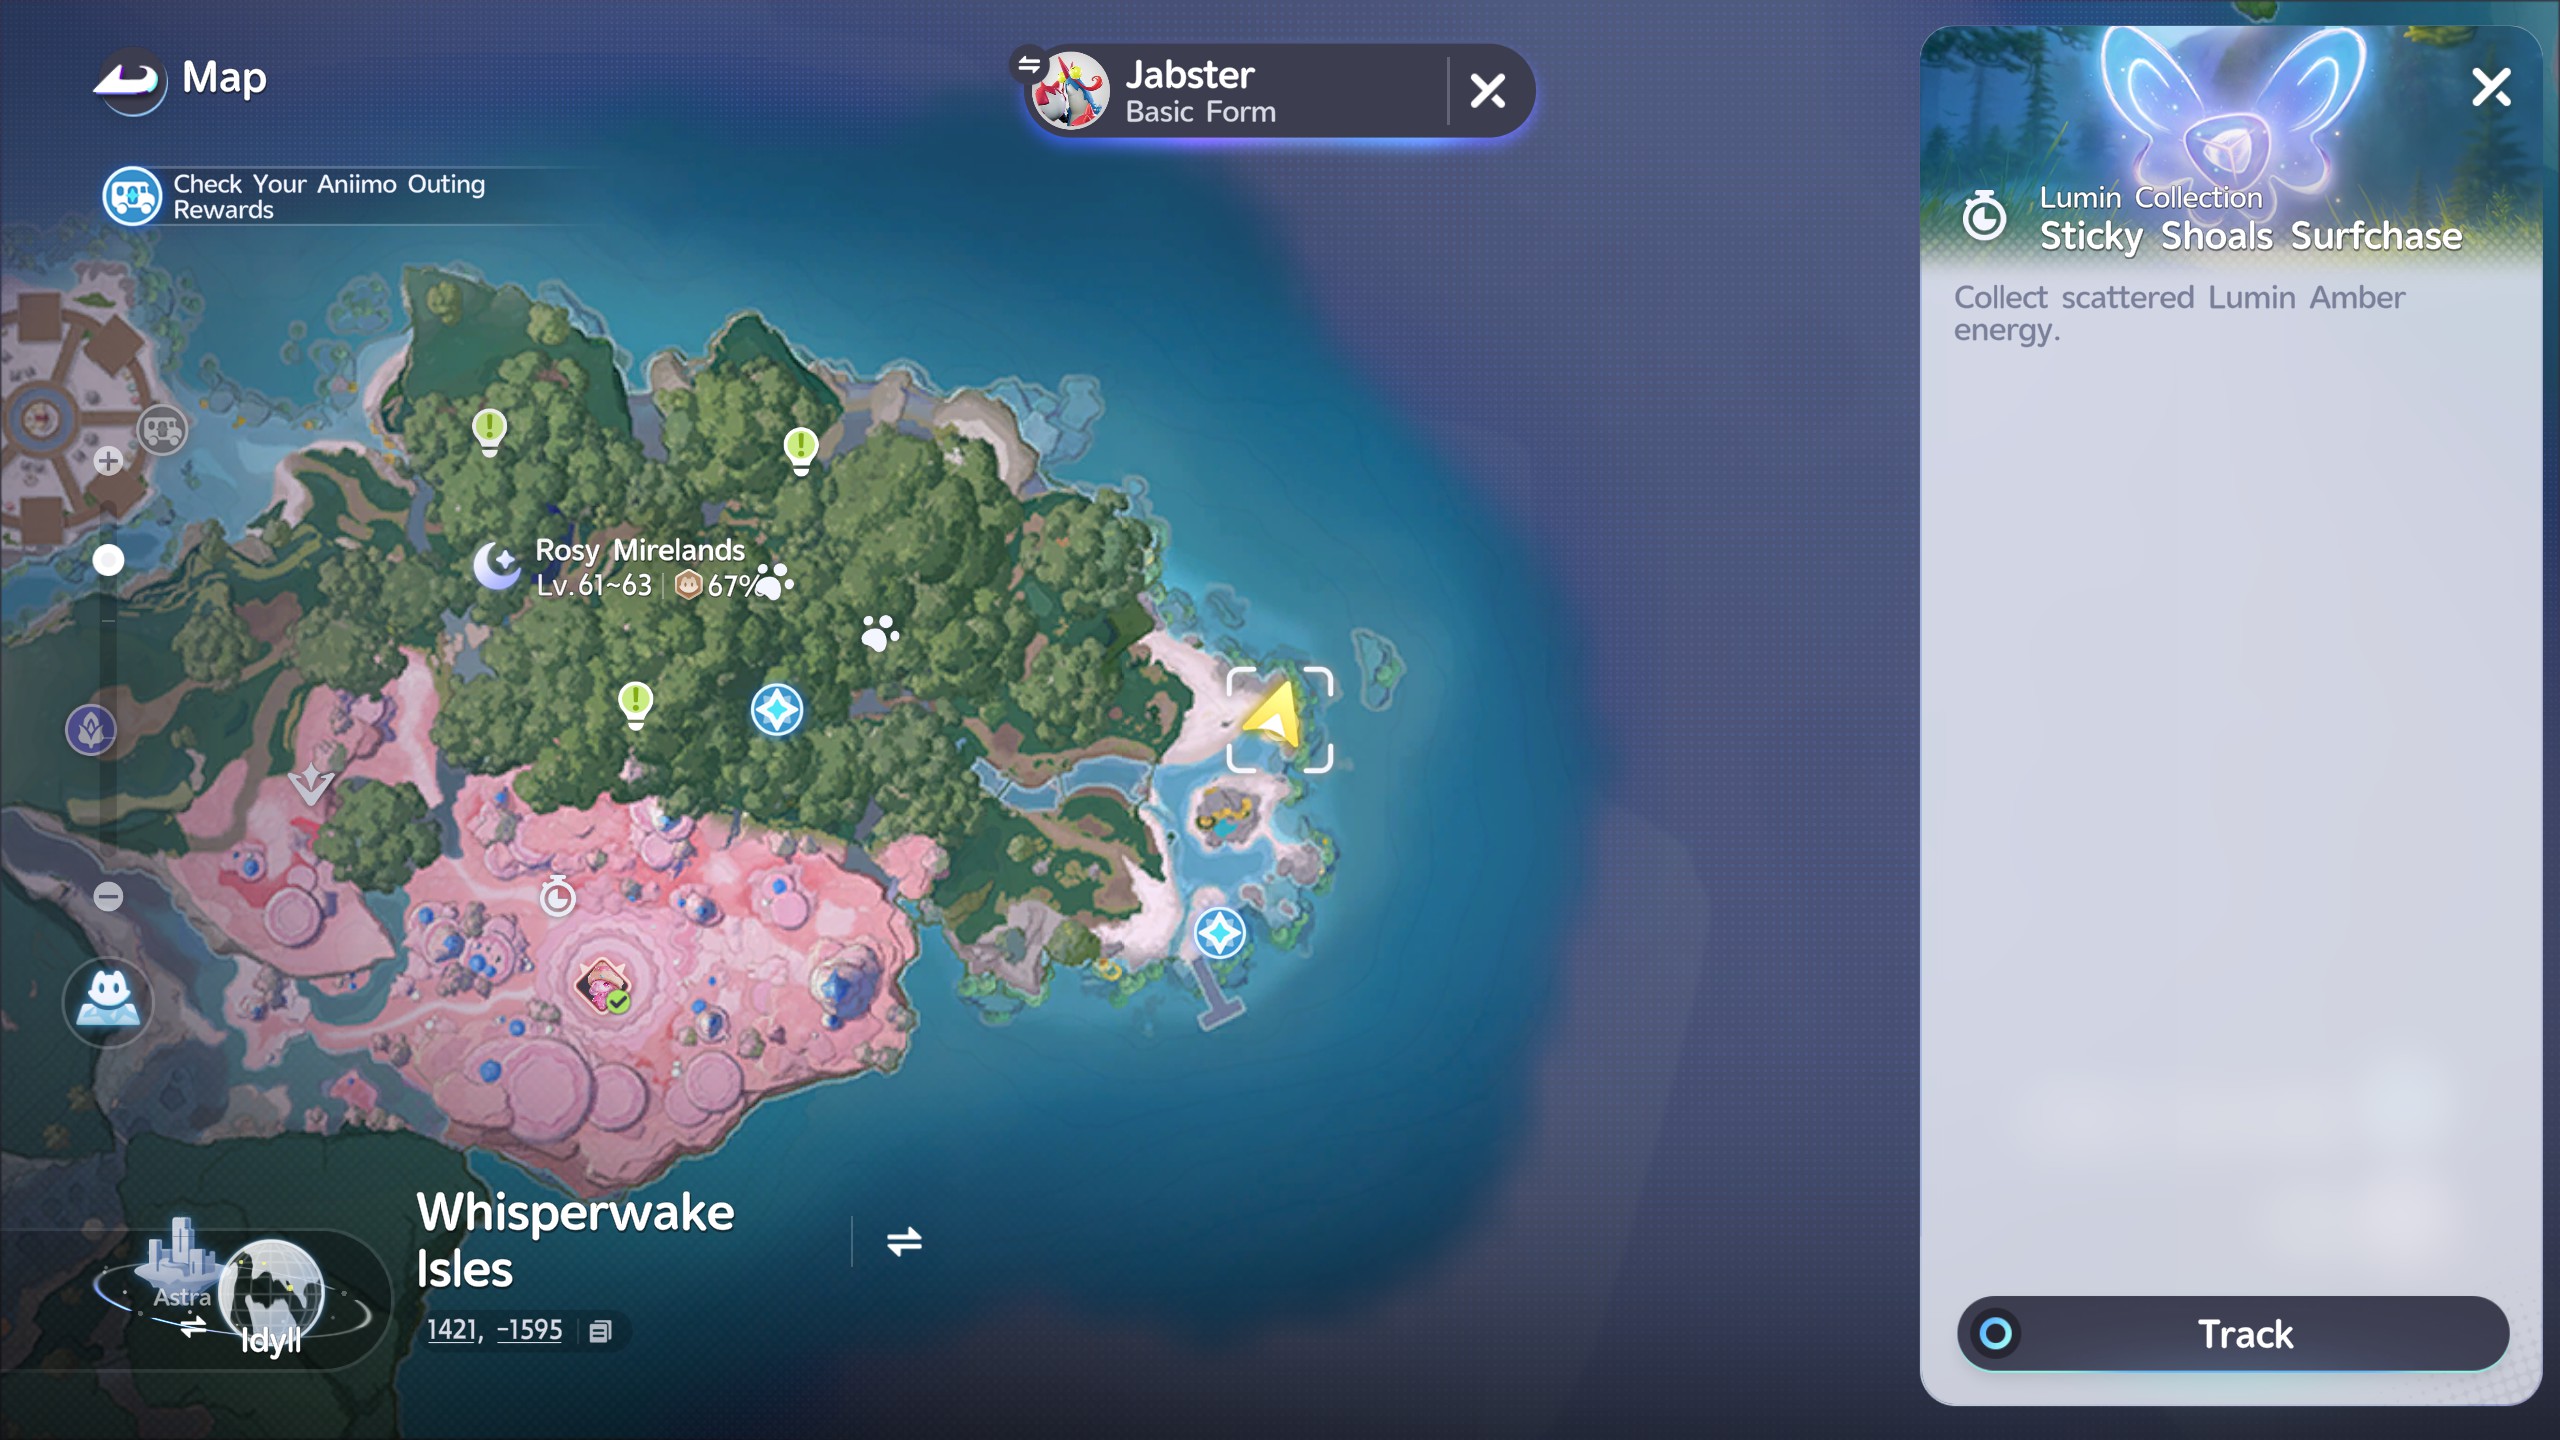
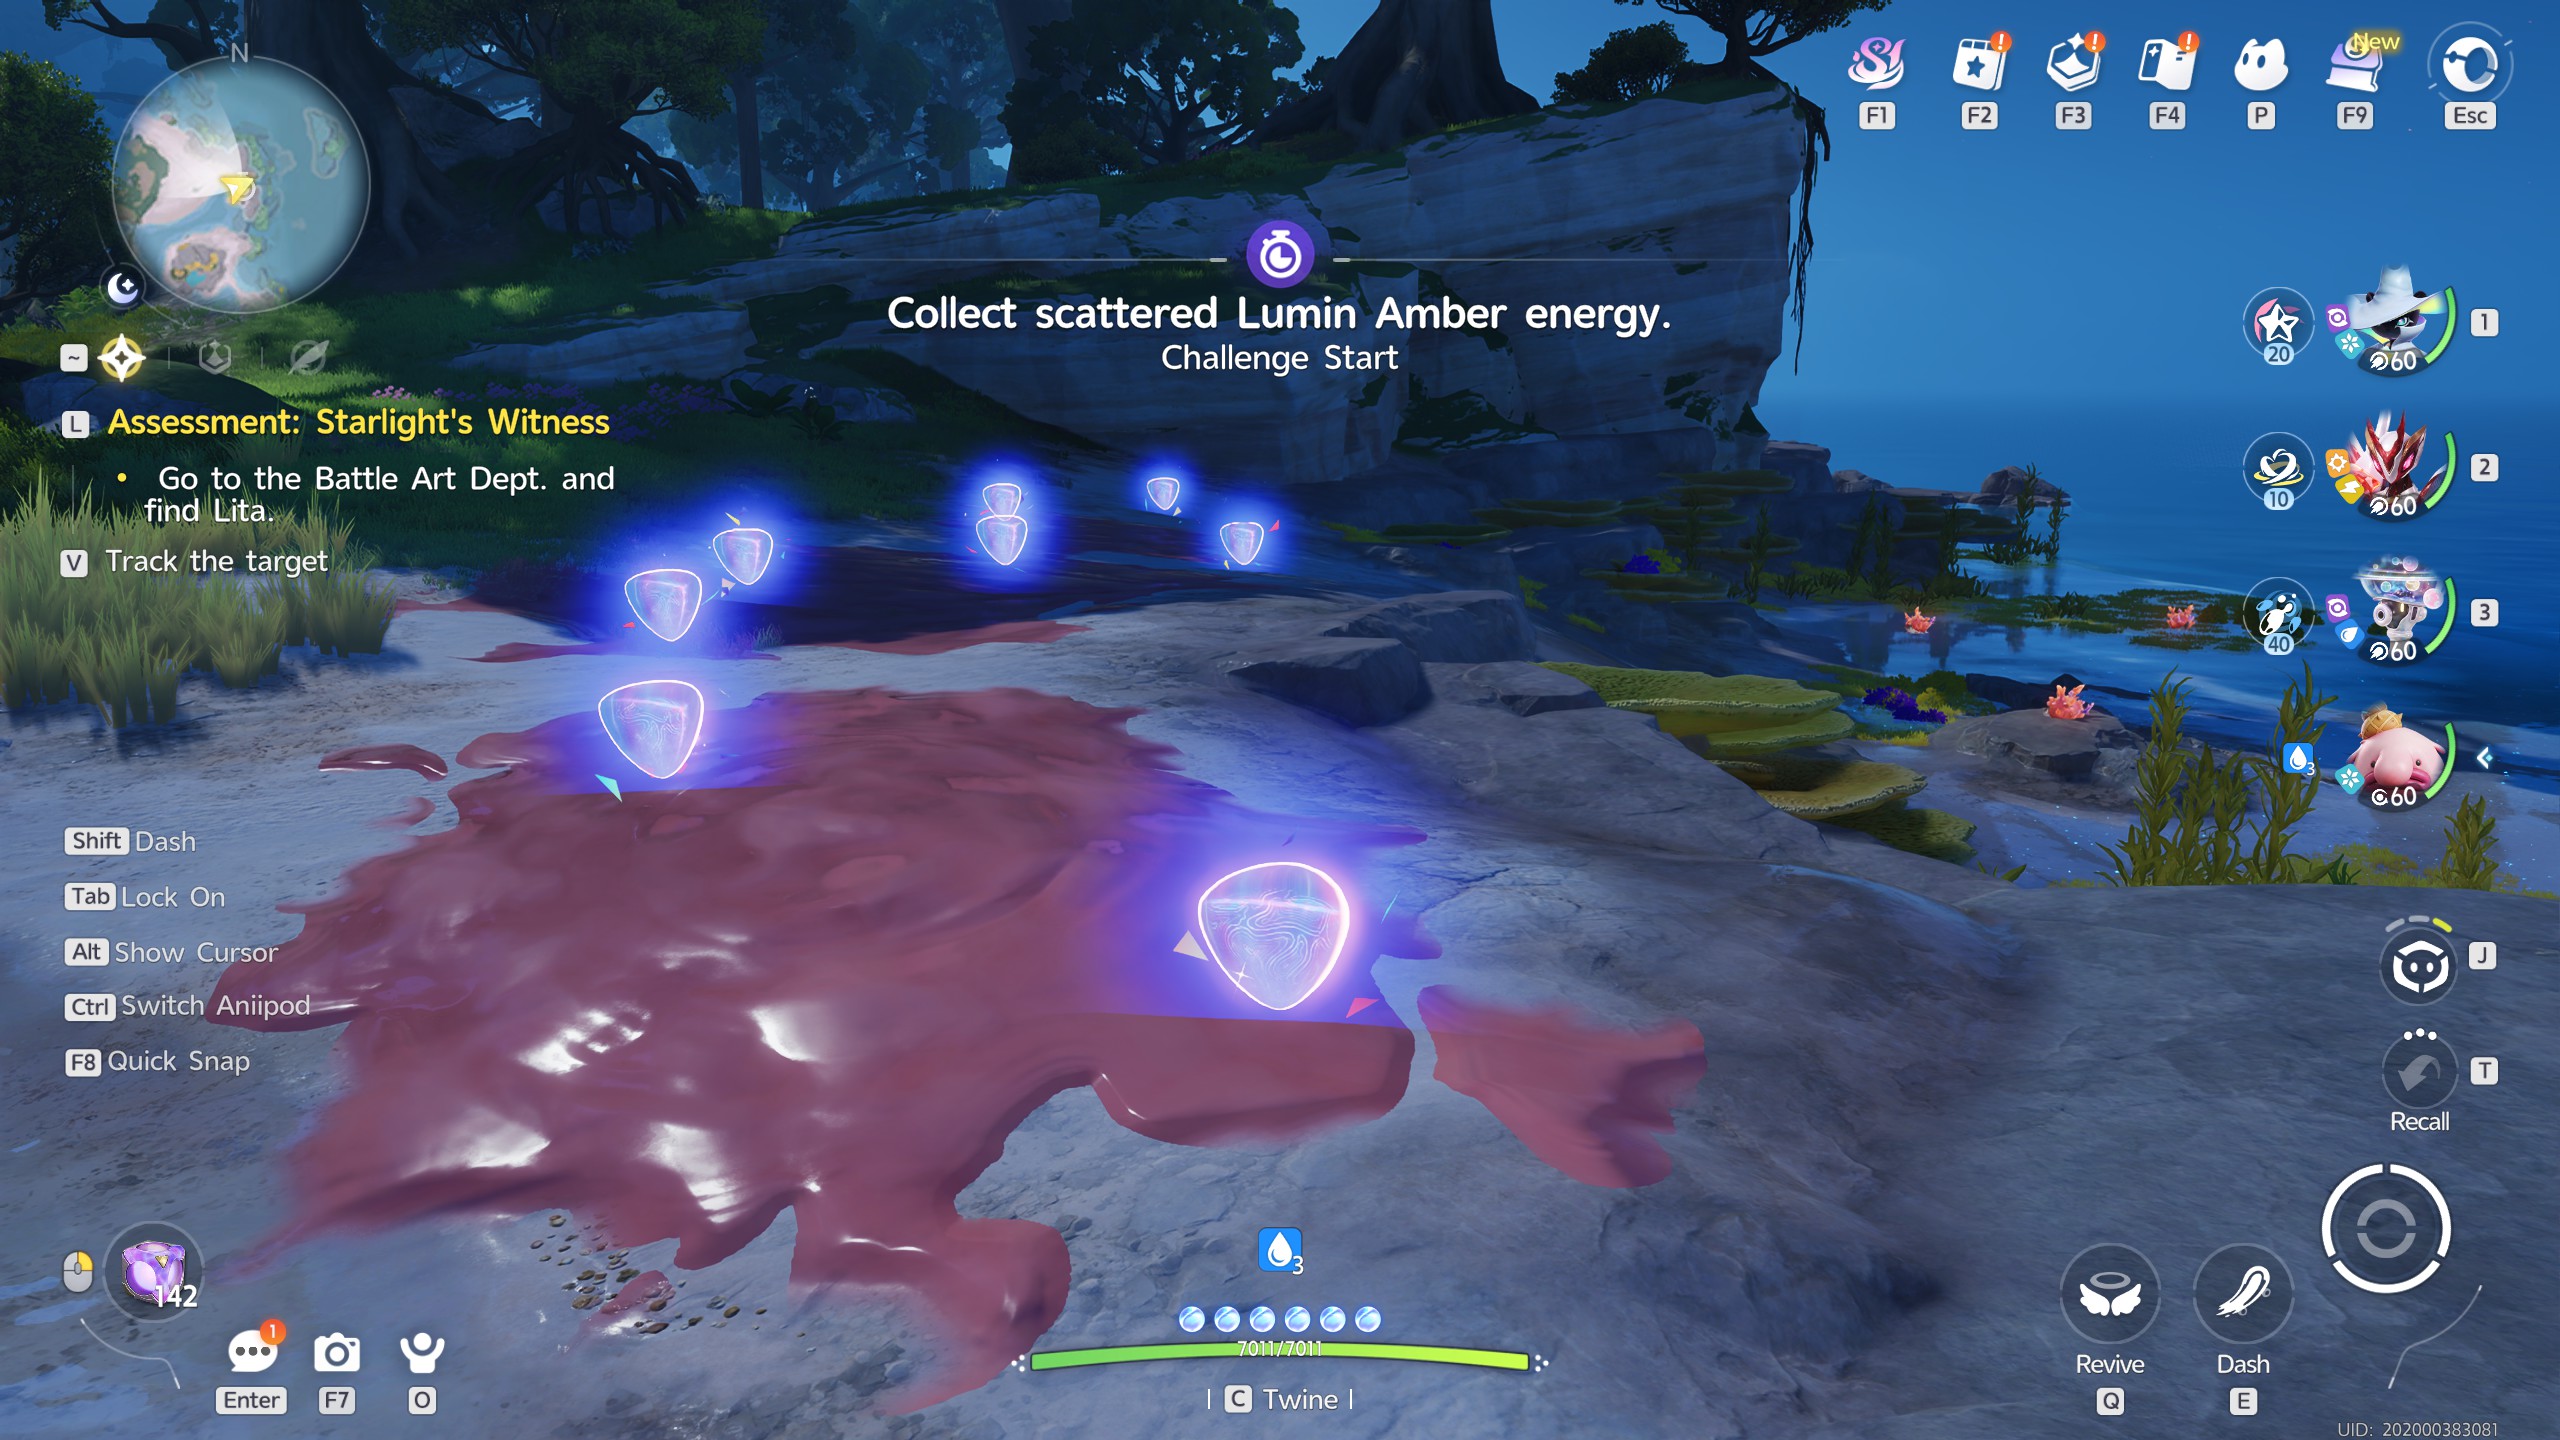
This is another timed Amber chase. This time, you'll need to pick up 8 pieces of Amber, whilst tredging through slime pools. This one isn't too hard at all, so don't worry about missing the time constraint.


Princess Parade

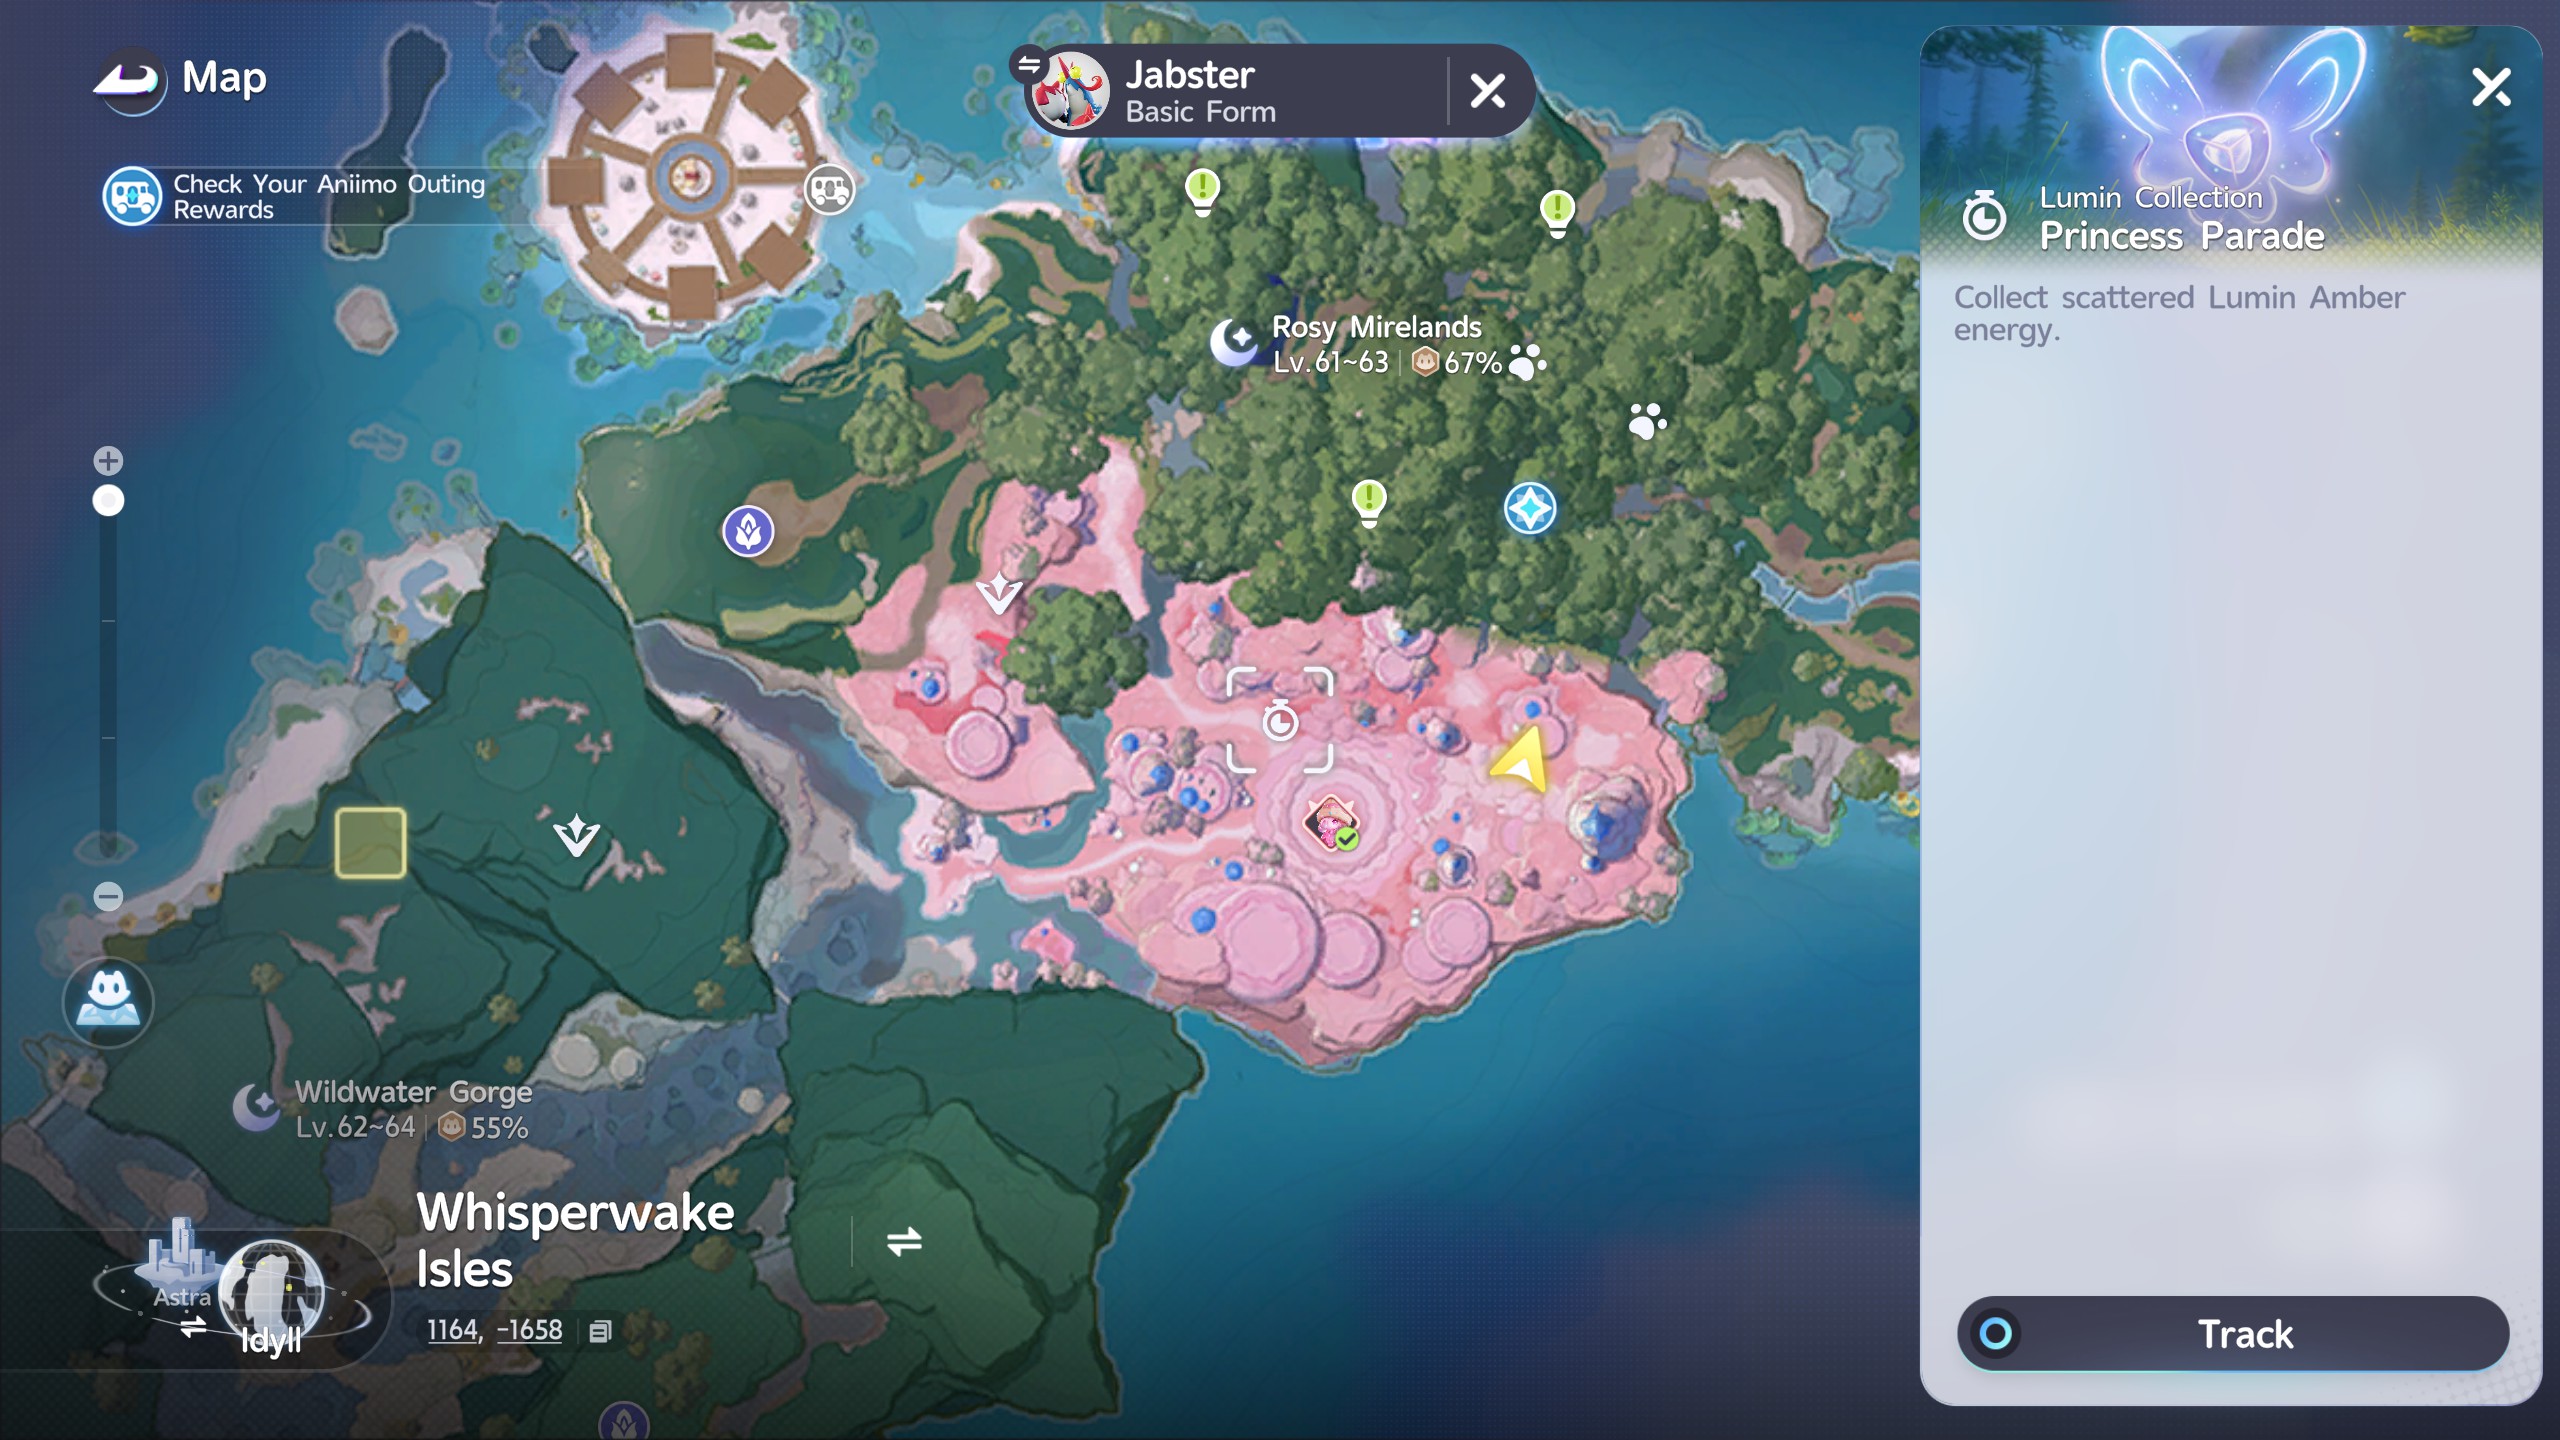
This is a fairly simple time trial Amber. You'll be tasked with collecting 8 Amber in a total of 30 Seconds. It's not at all difficult, if you exclude the potential threat of the nearby Sugarfish


Waterfall Overlook

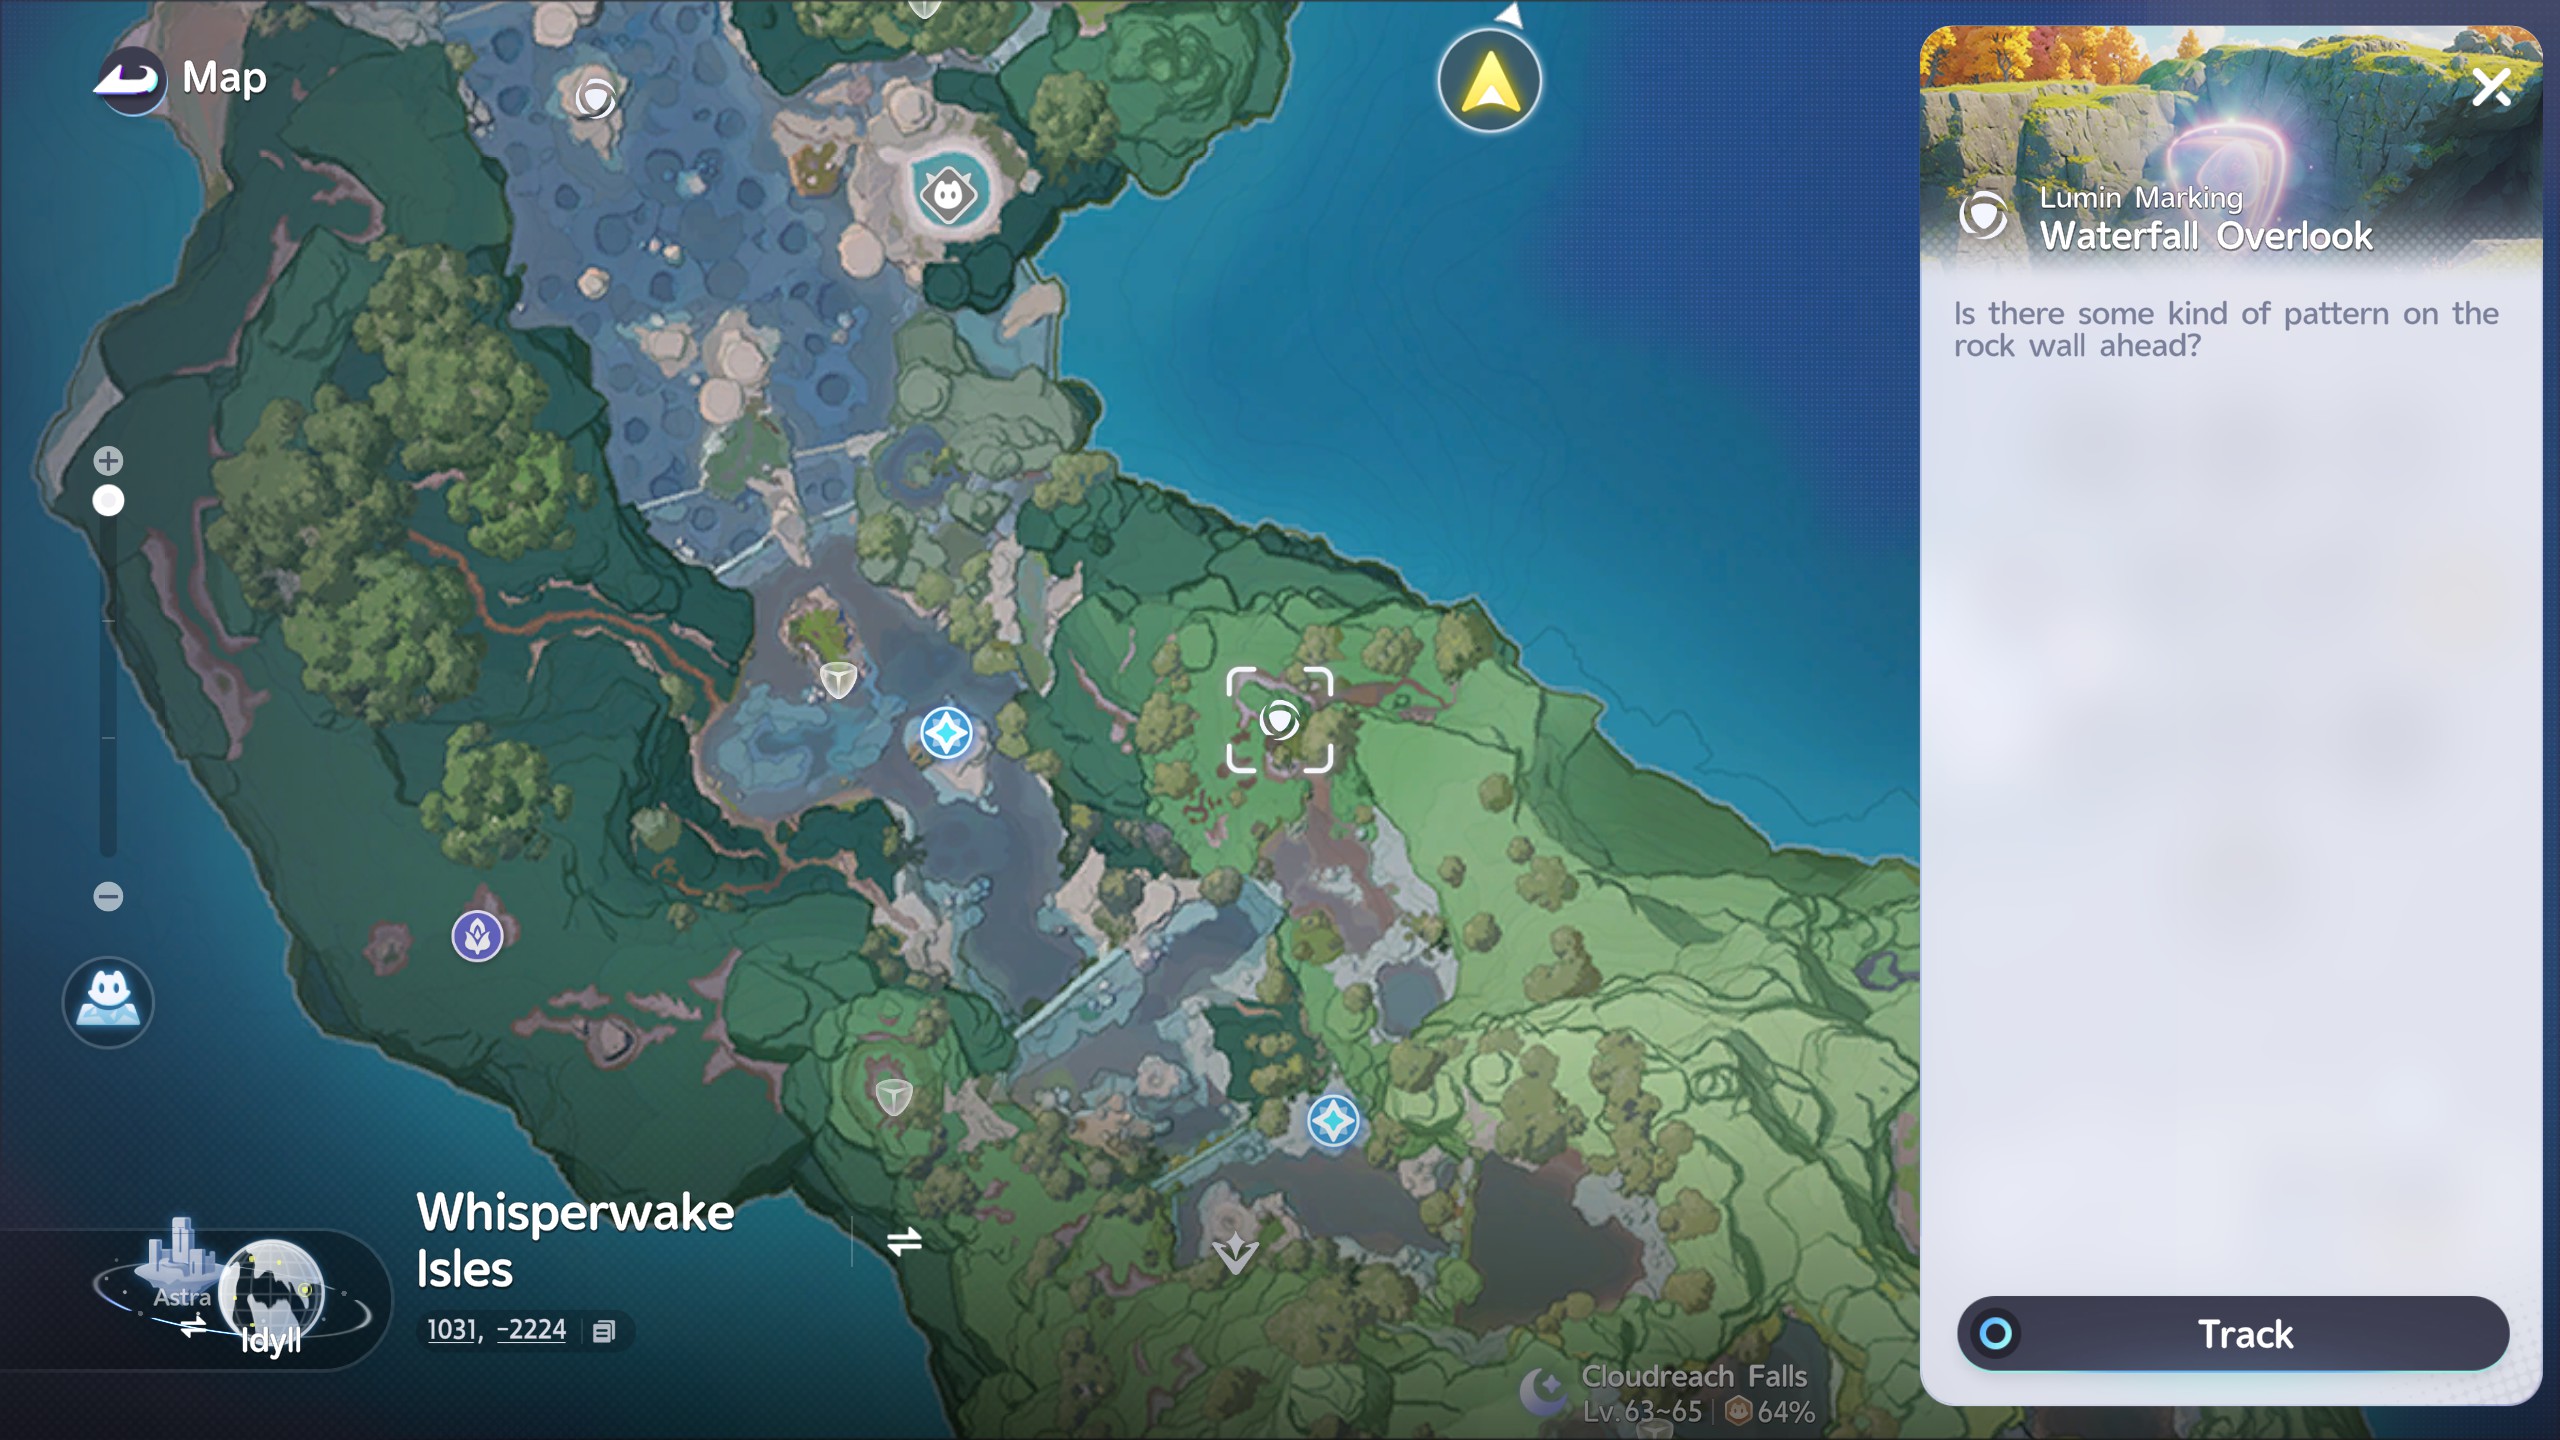
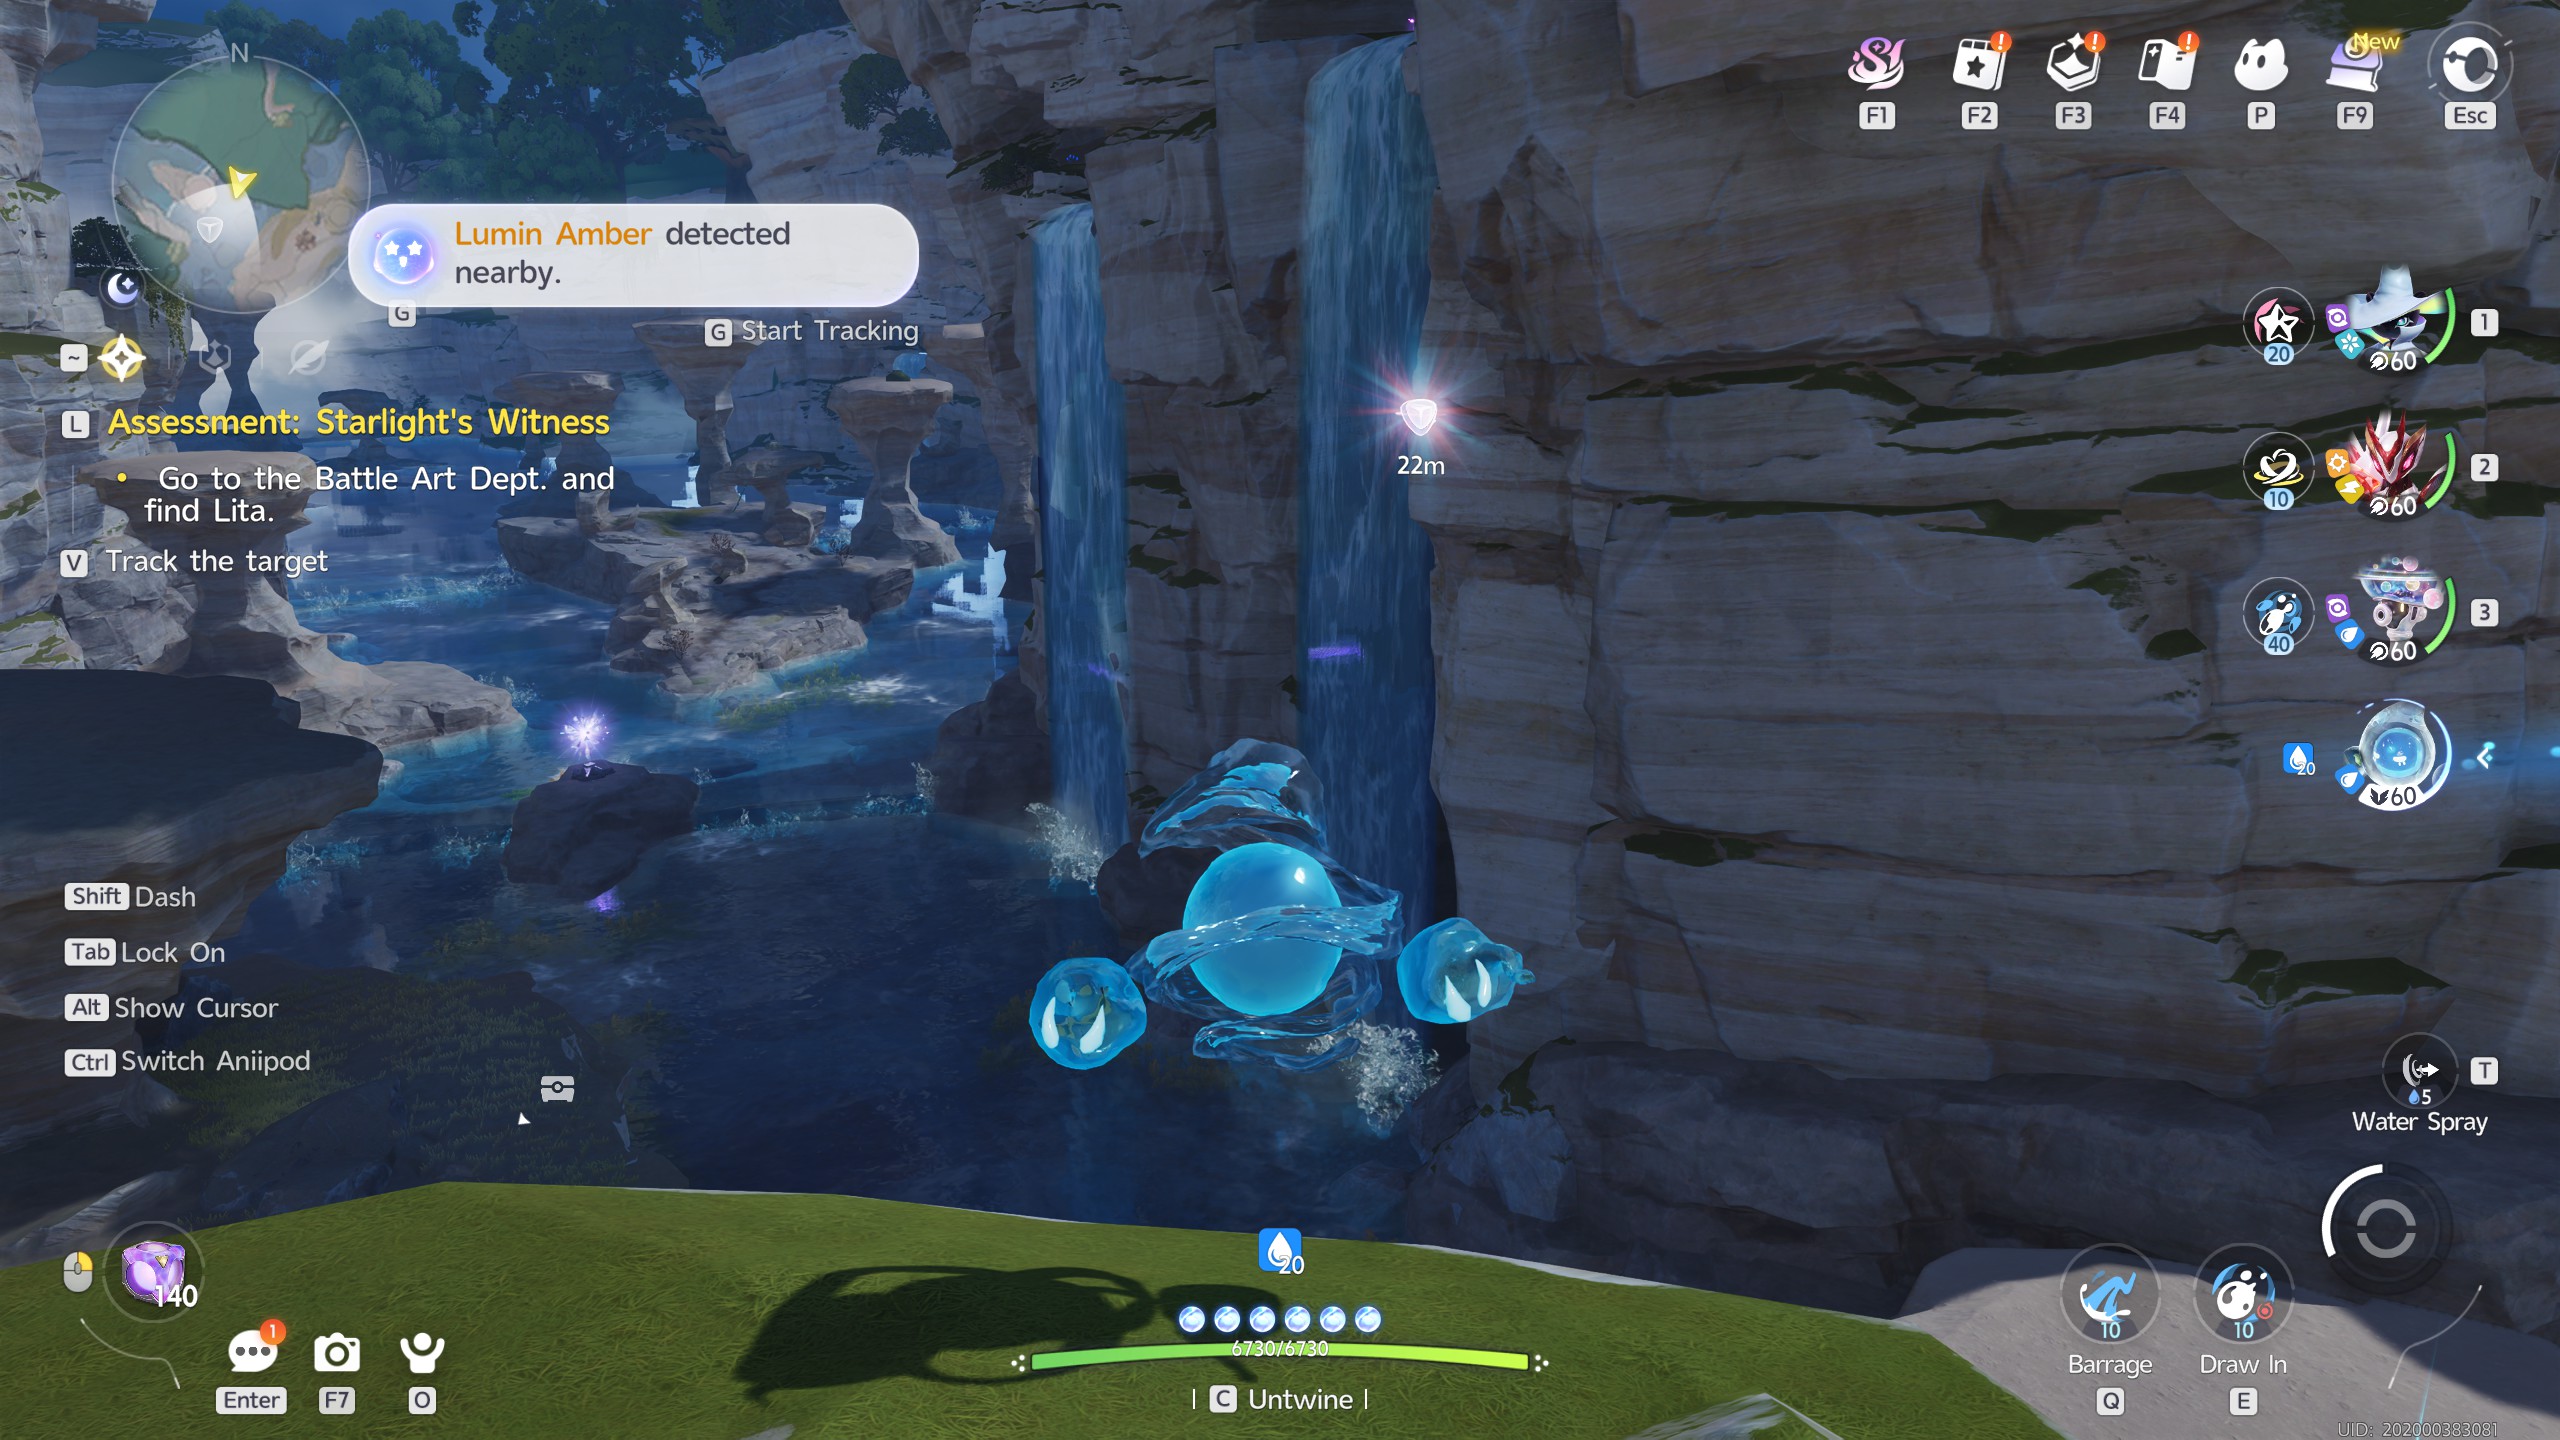
Moving over to the Wildwater Gorge/Cloudreach Falls region, you'll find this Amber hidden behind a marking you'll need to line up atop the waterfall.

Something to note here is that the trees blocking the symbol don't actually disrupt your progress, just line the symbol up as you normally would any other one.

Bottom of the Waterfall

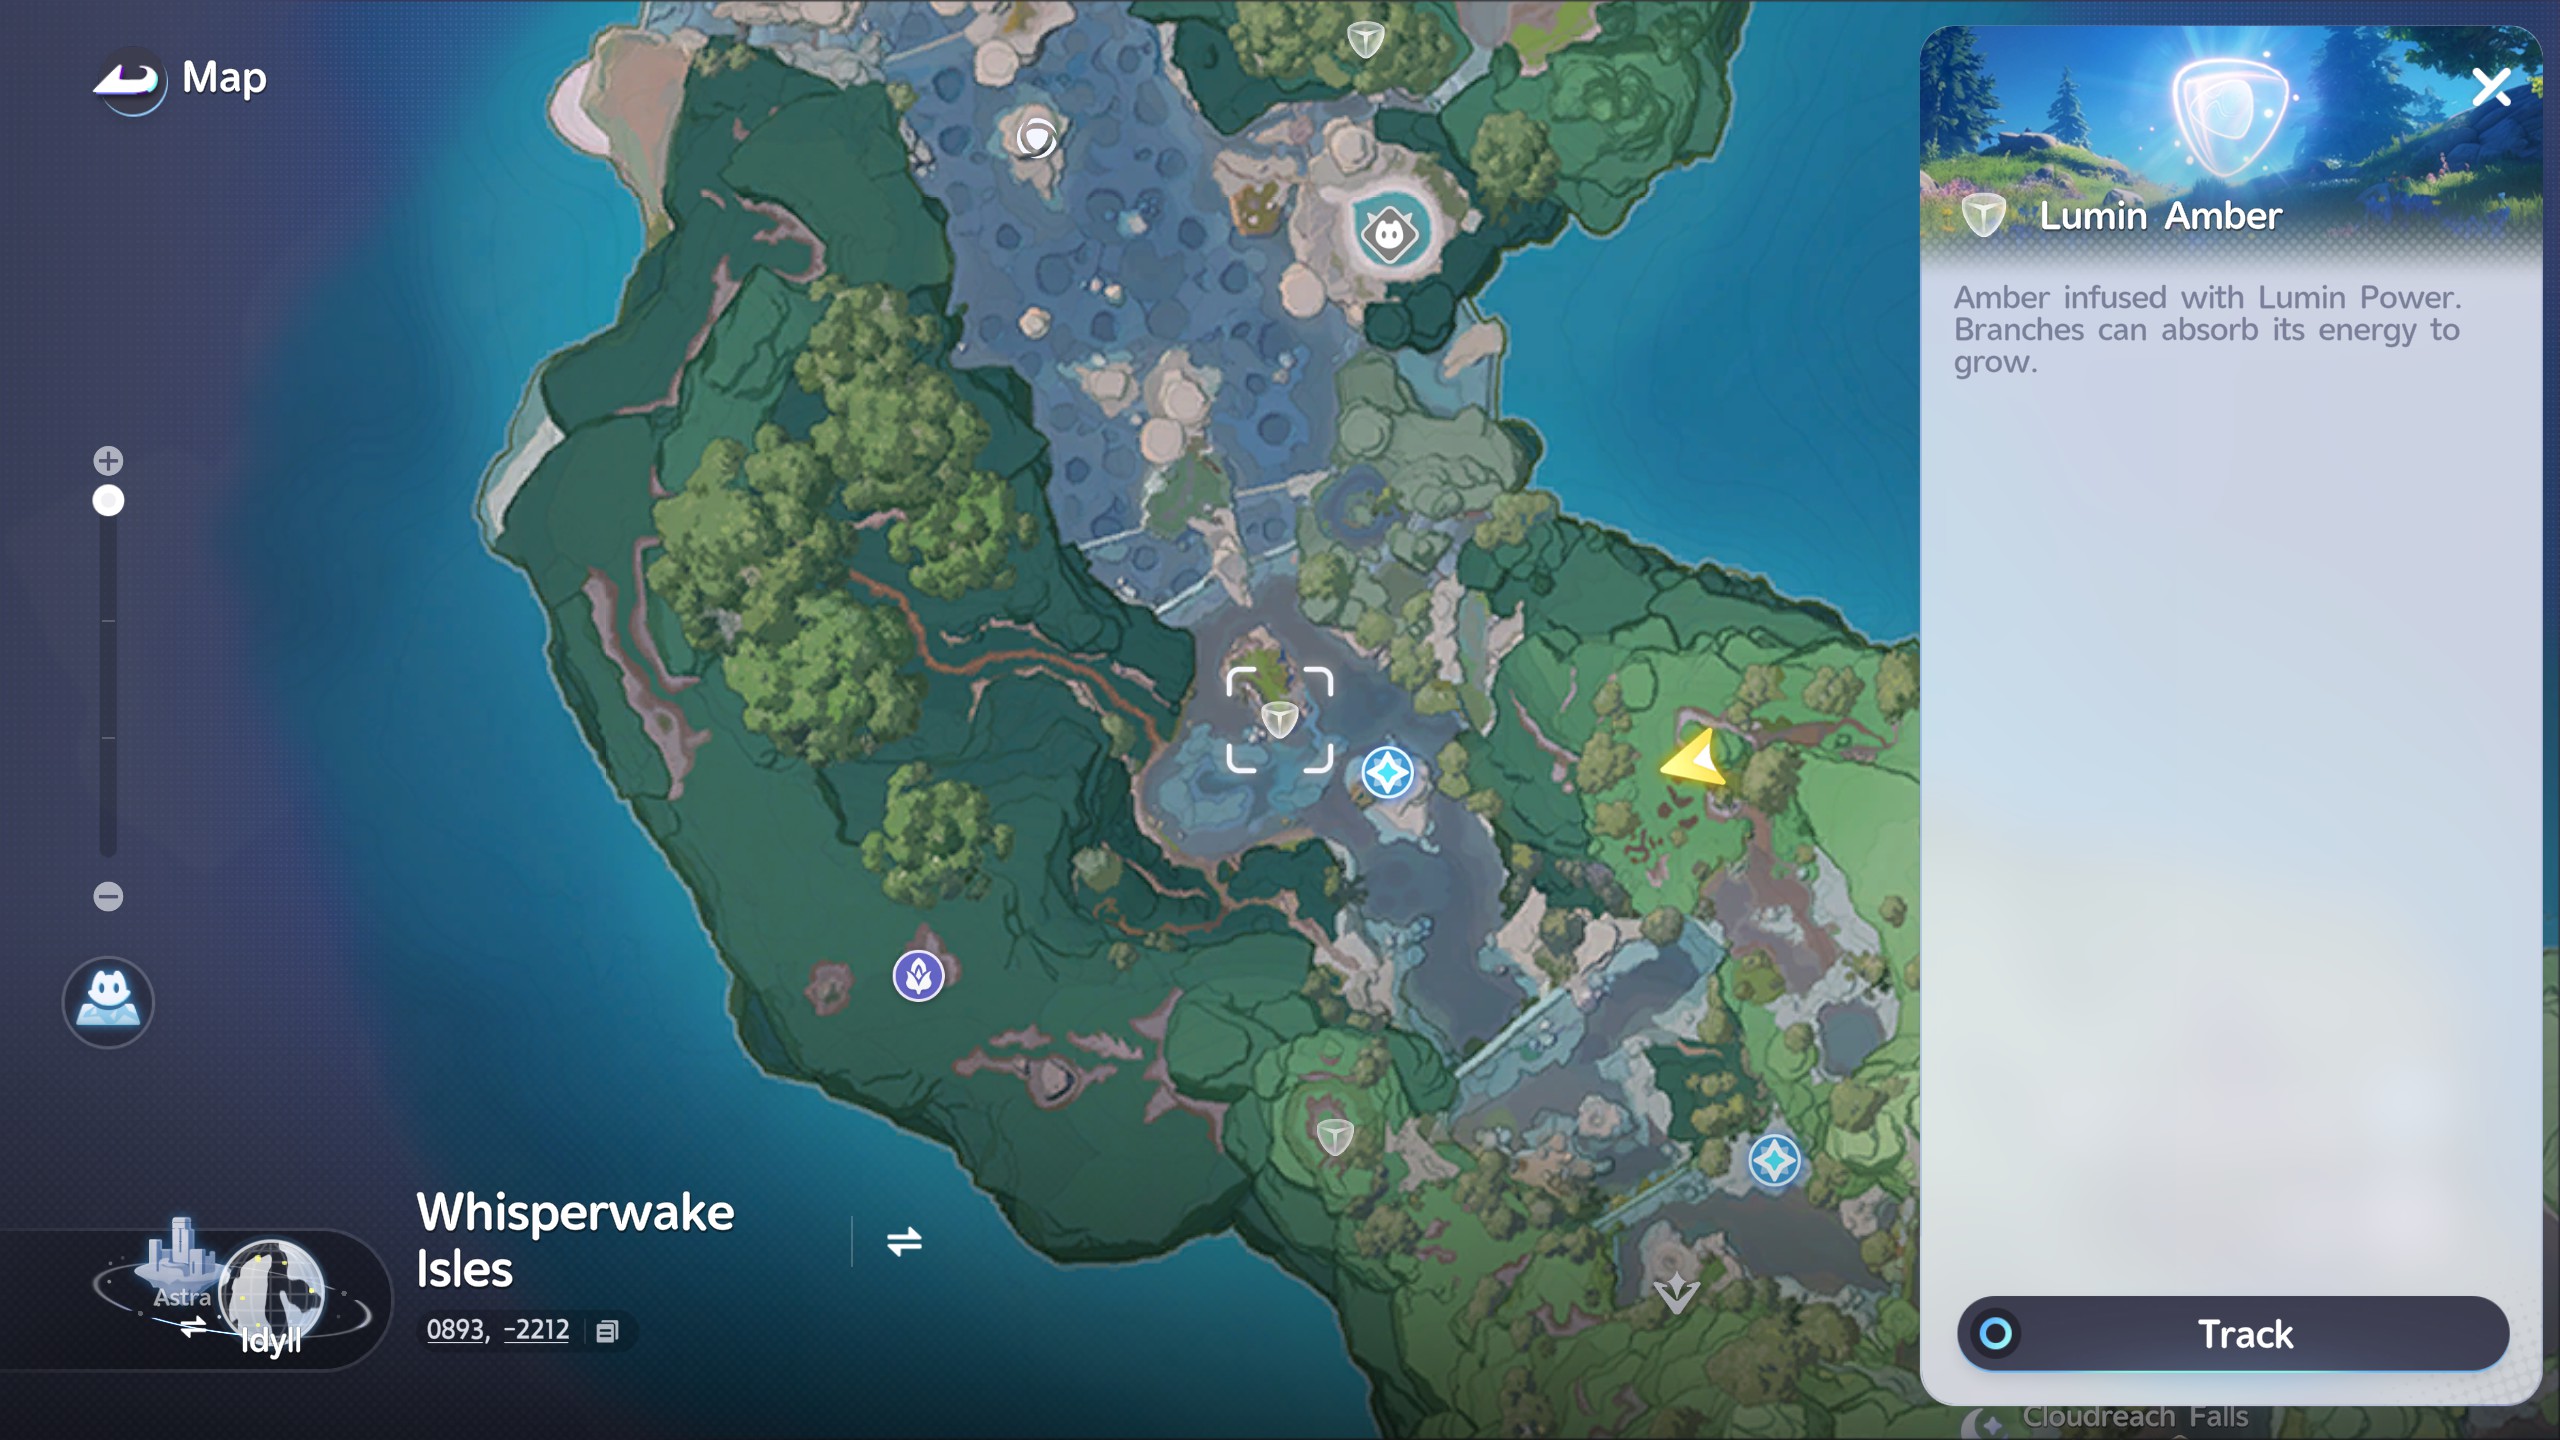
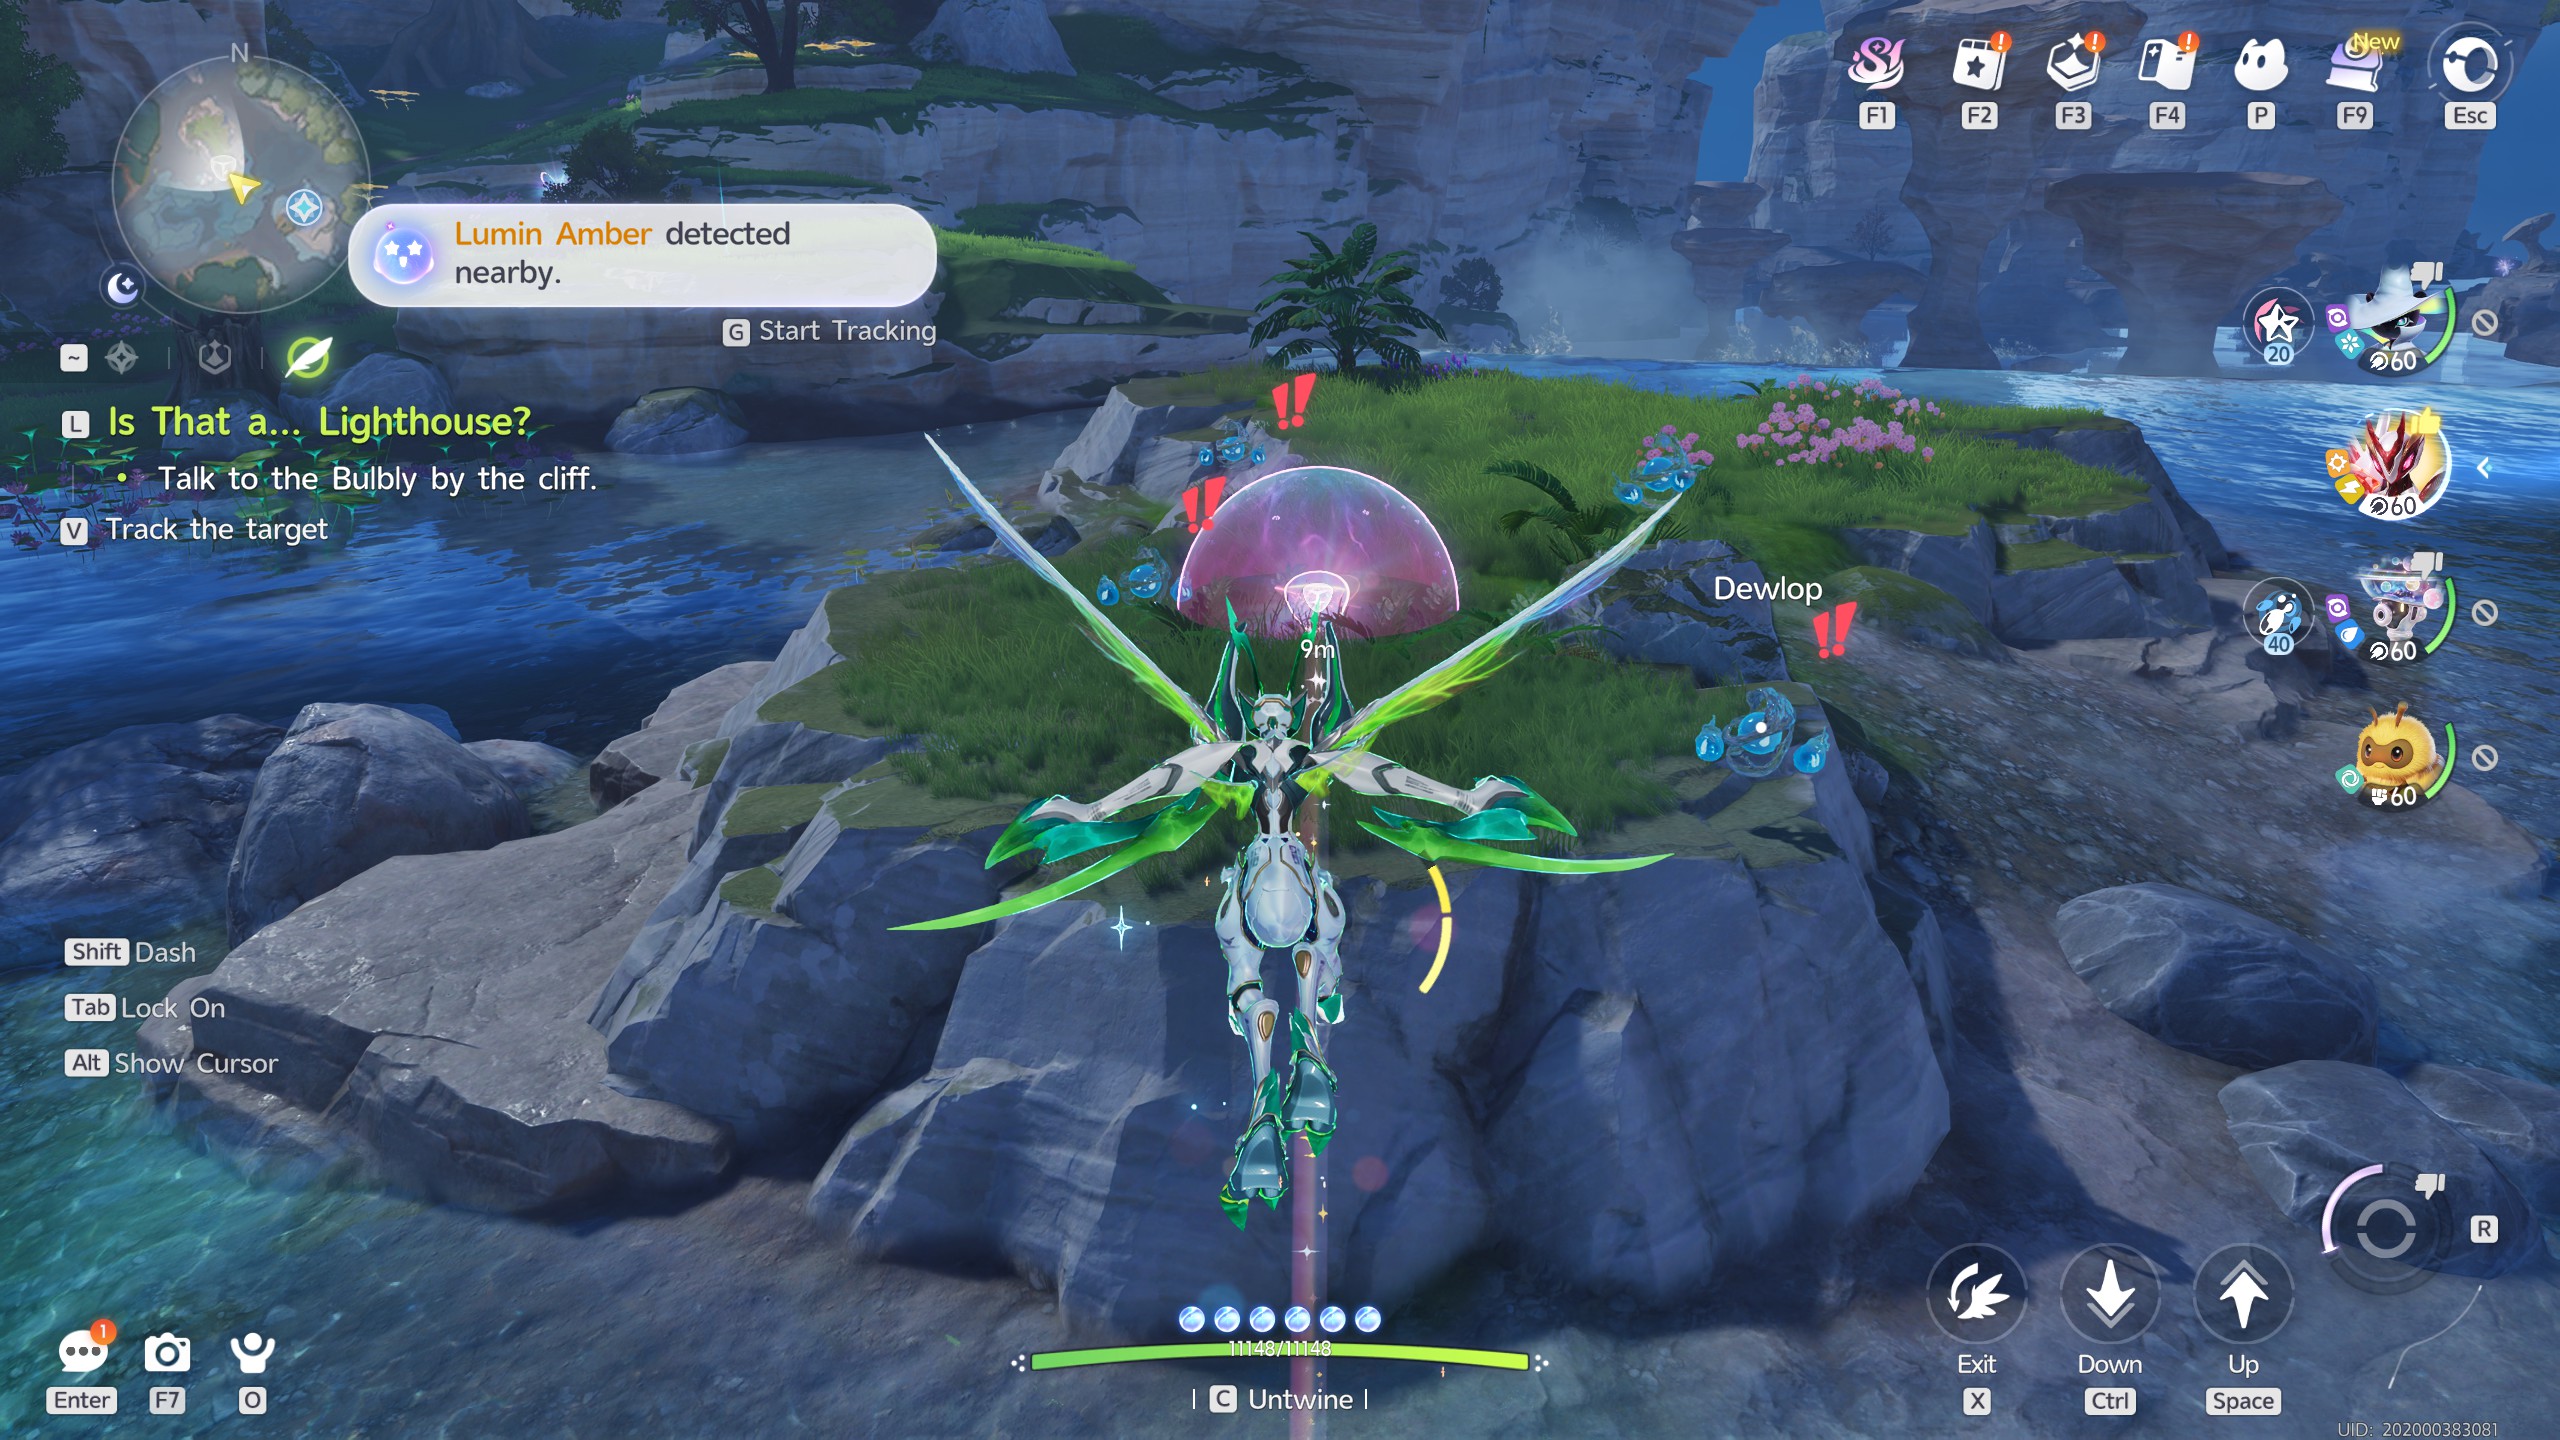
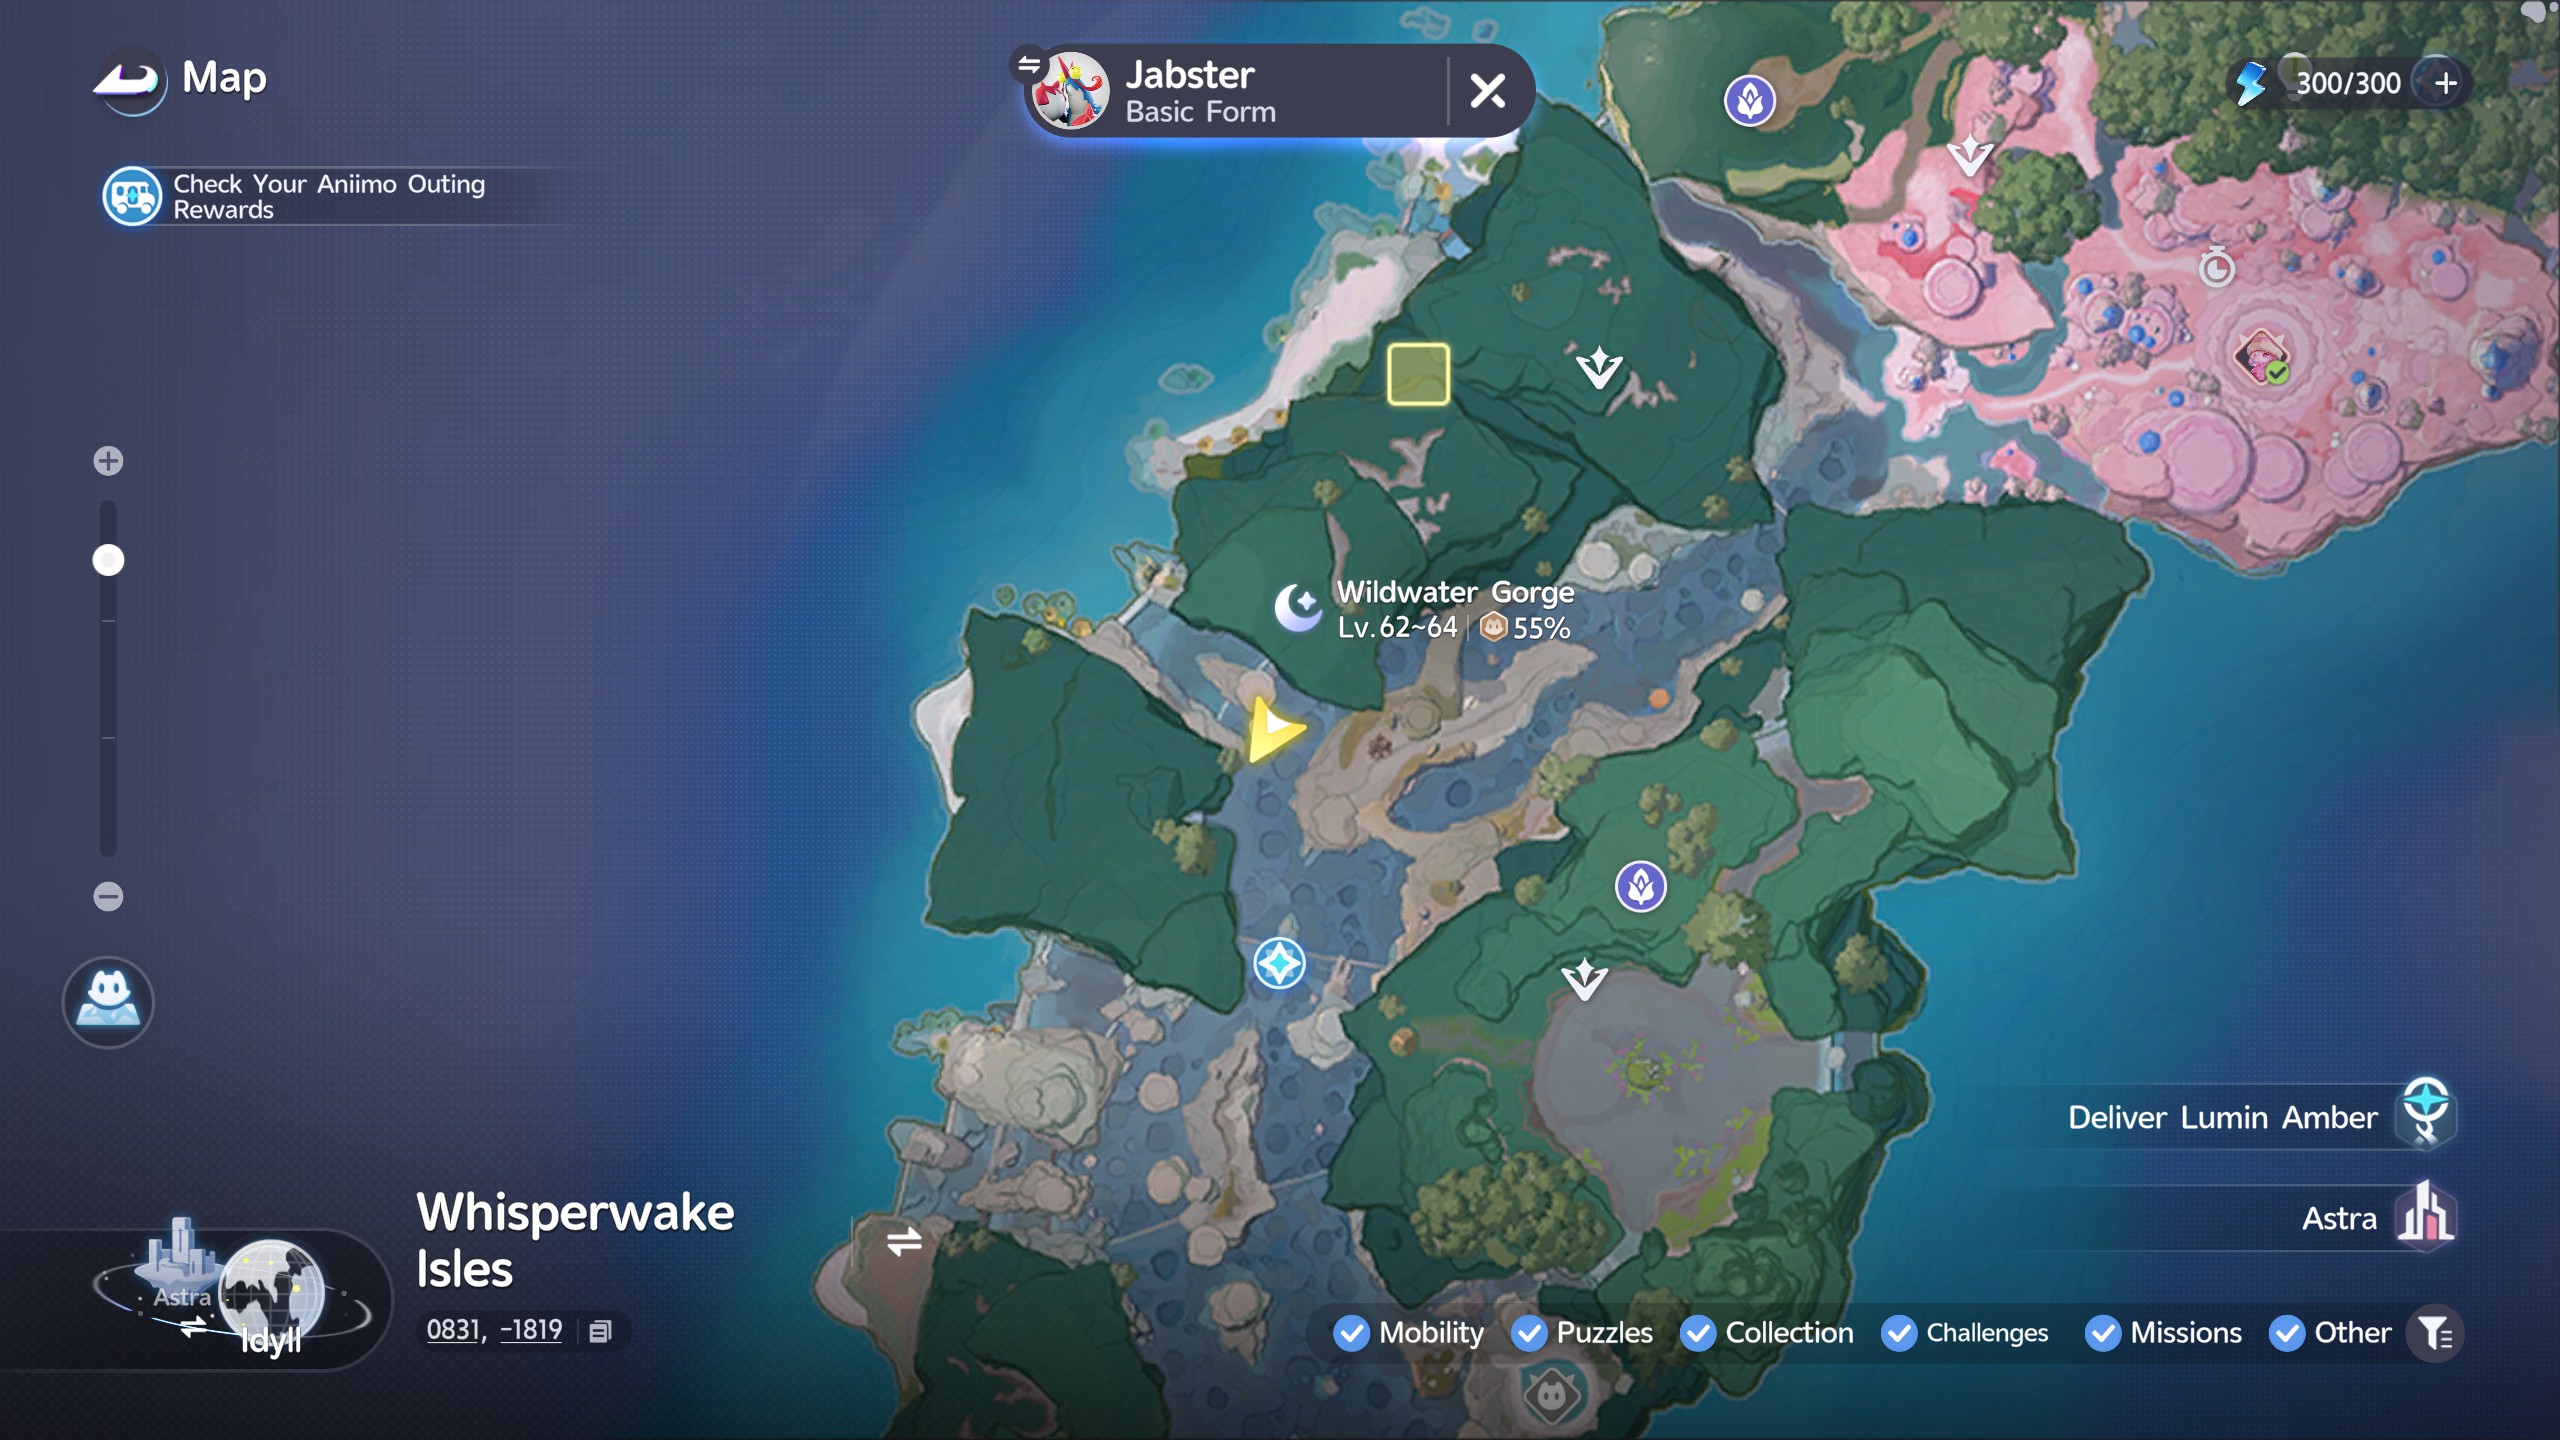
Next up we're heading to the bottom of the waterfall, where an Amber is guarded by a small group of Dewlop. Once again, you'll need to capture or kill them in order to unlock the bubble guarding the Amber.

Guarded by Prawnch & Jabster

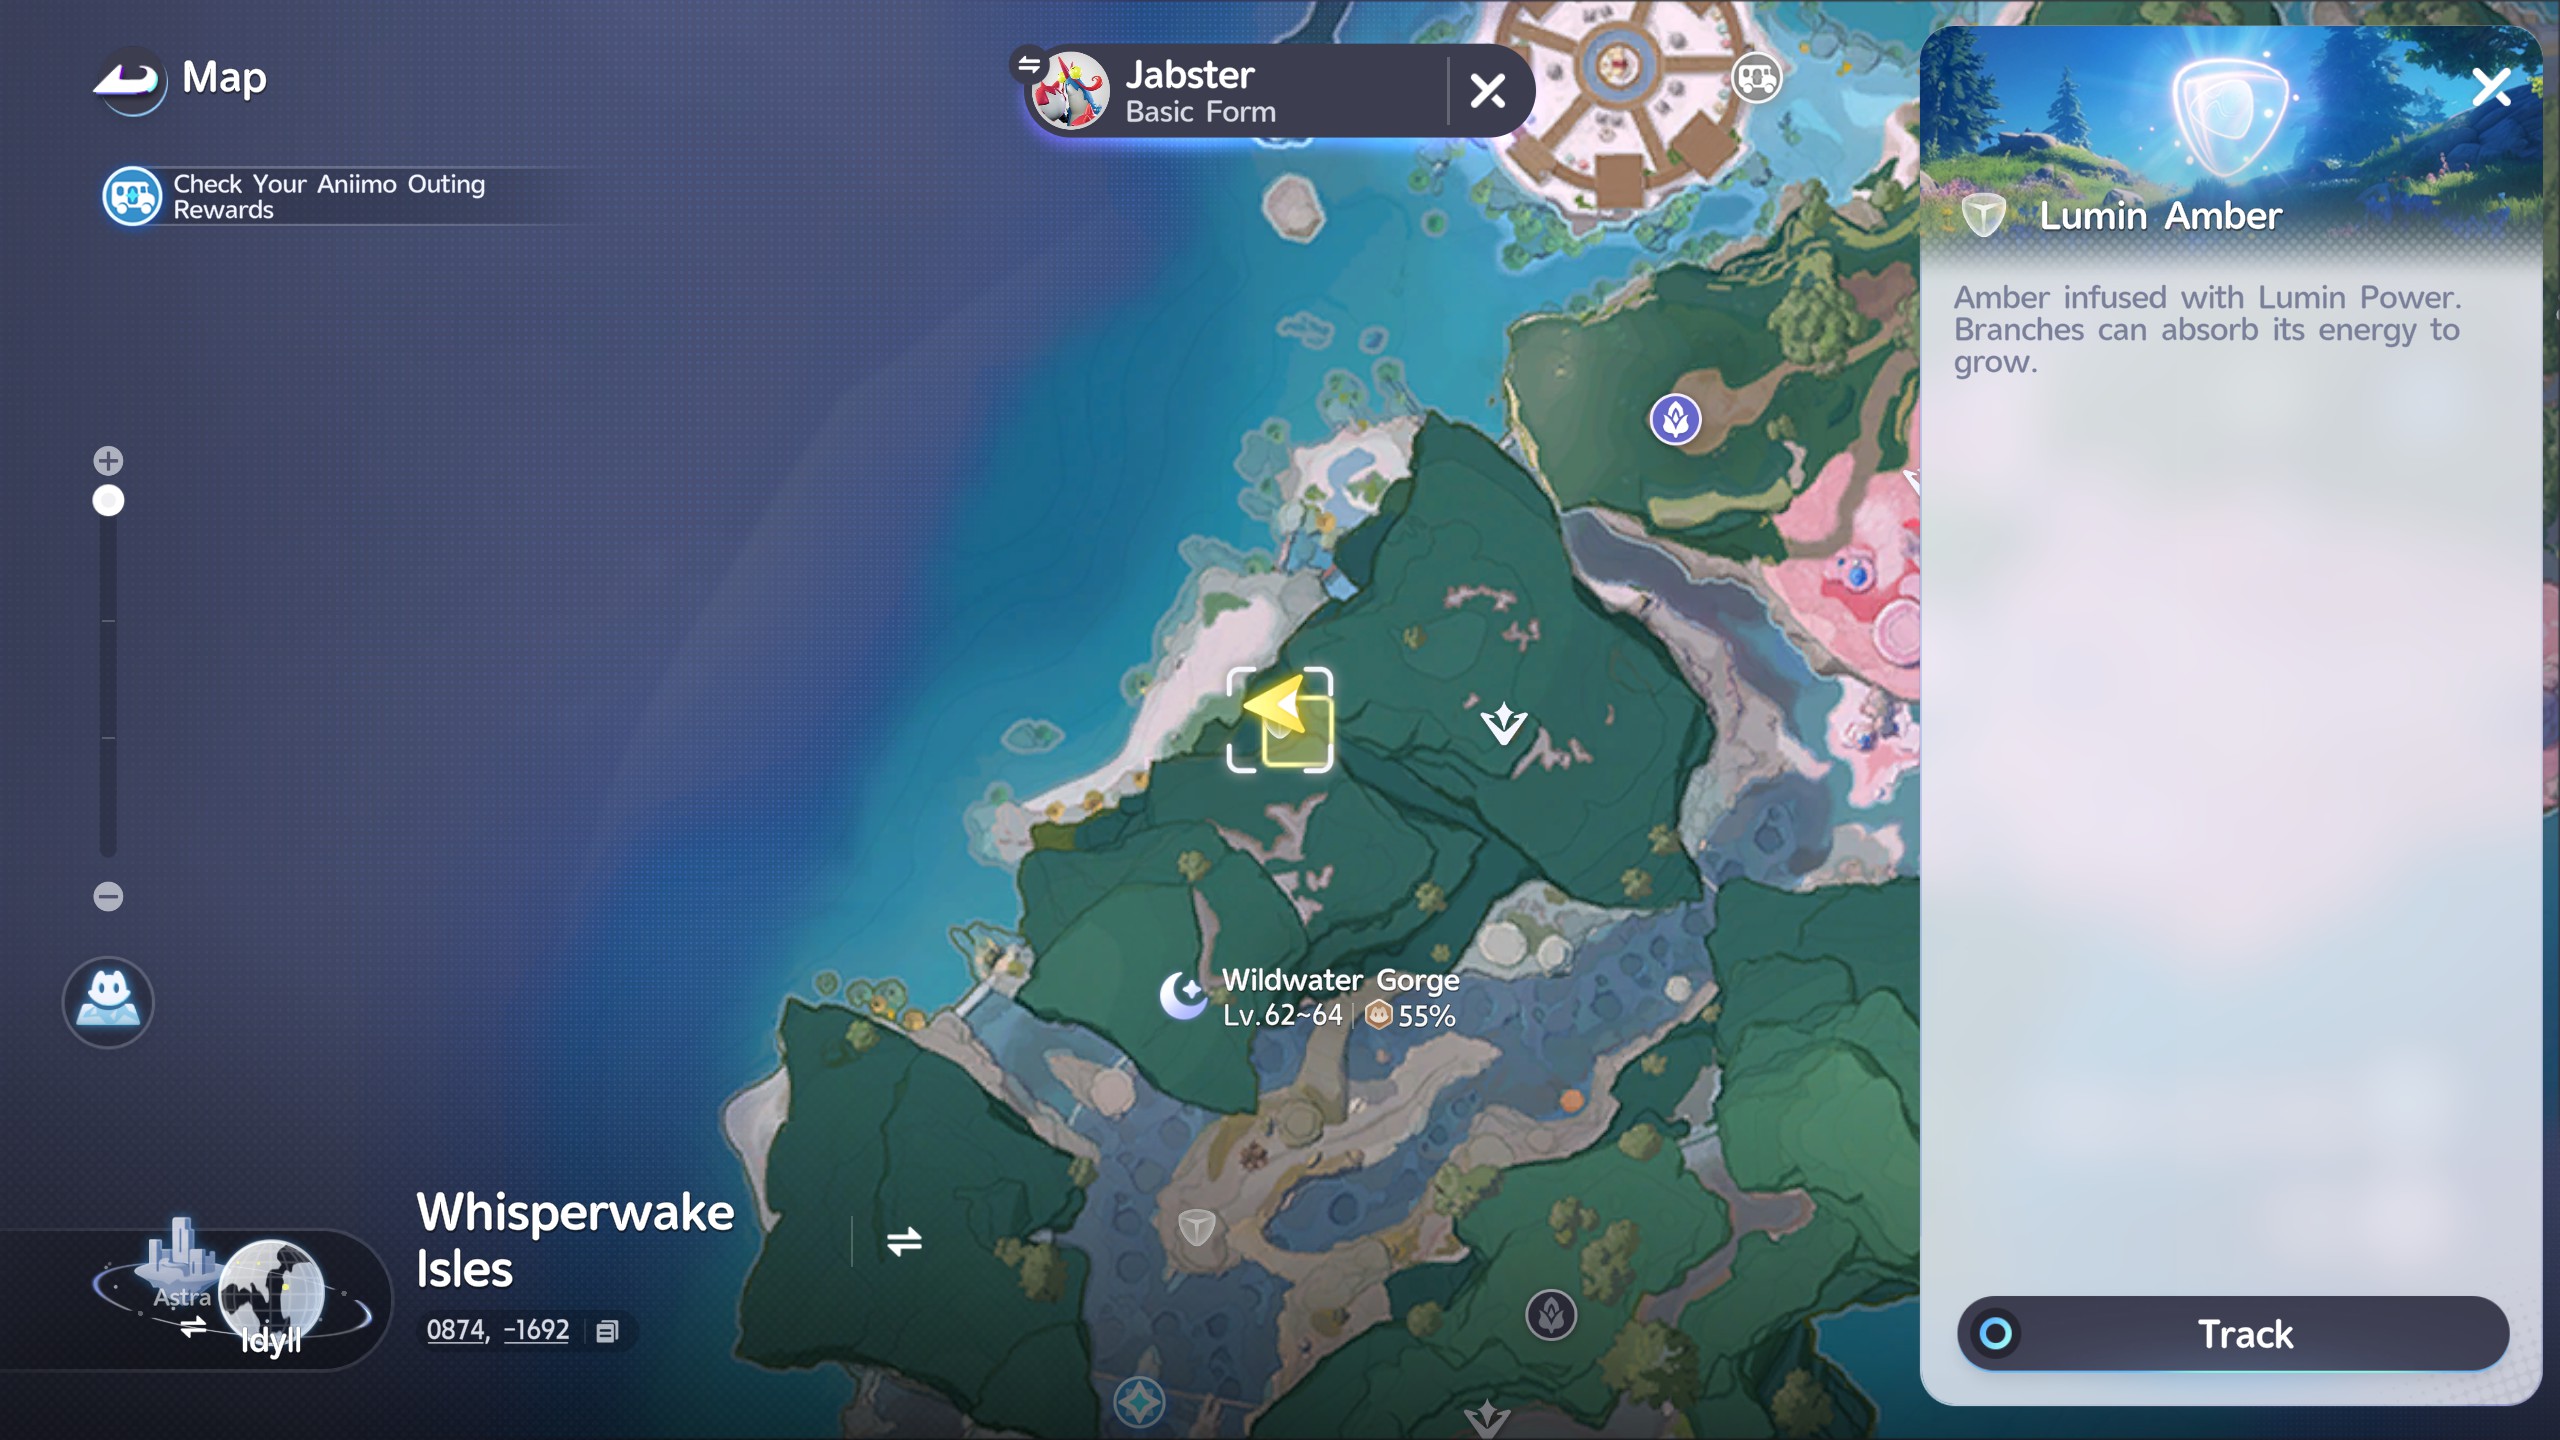
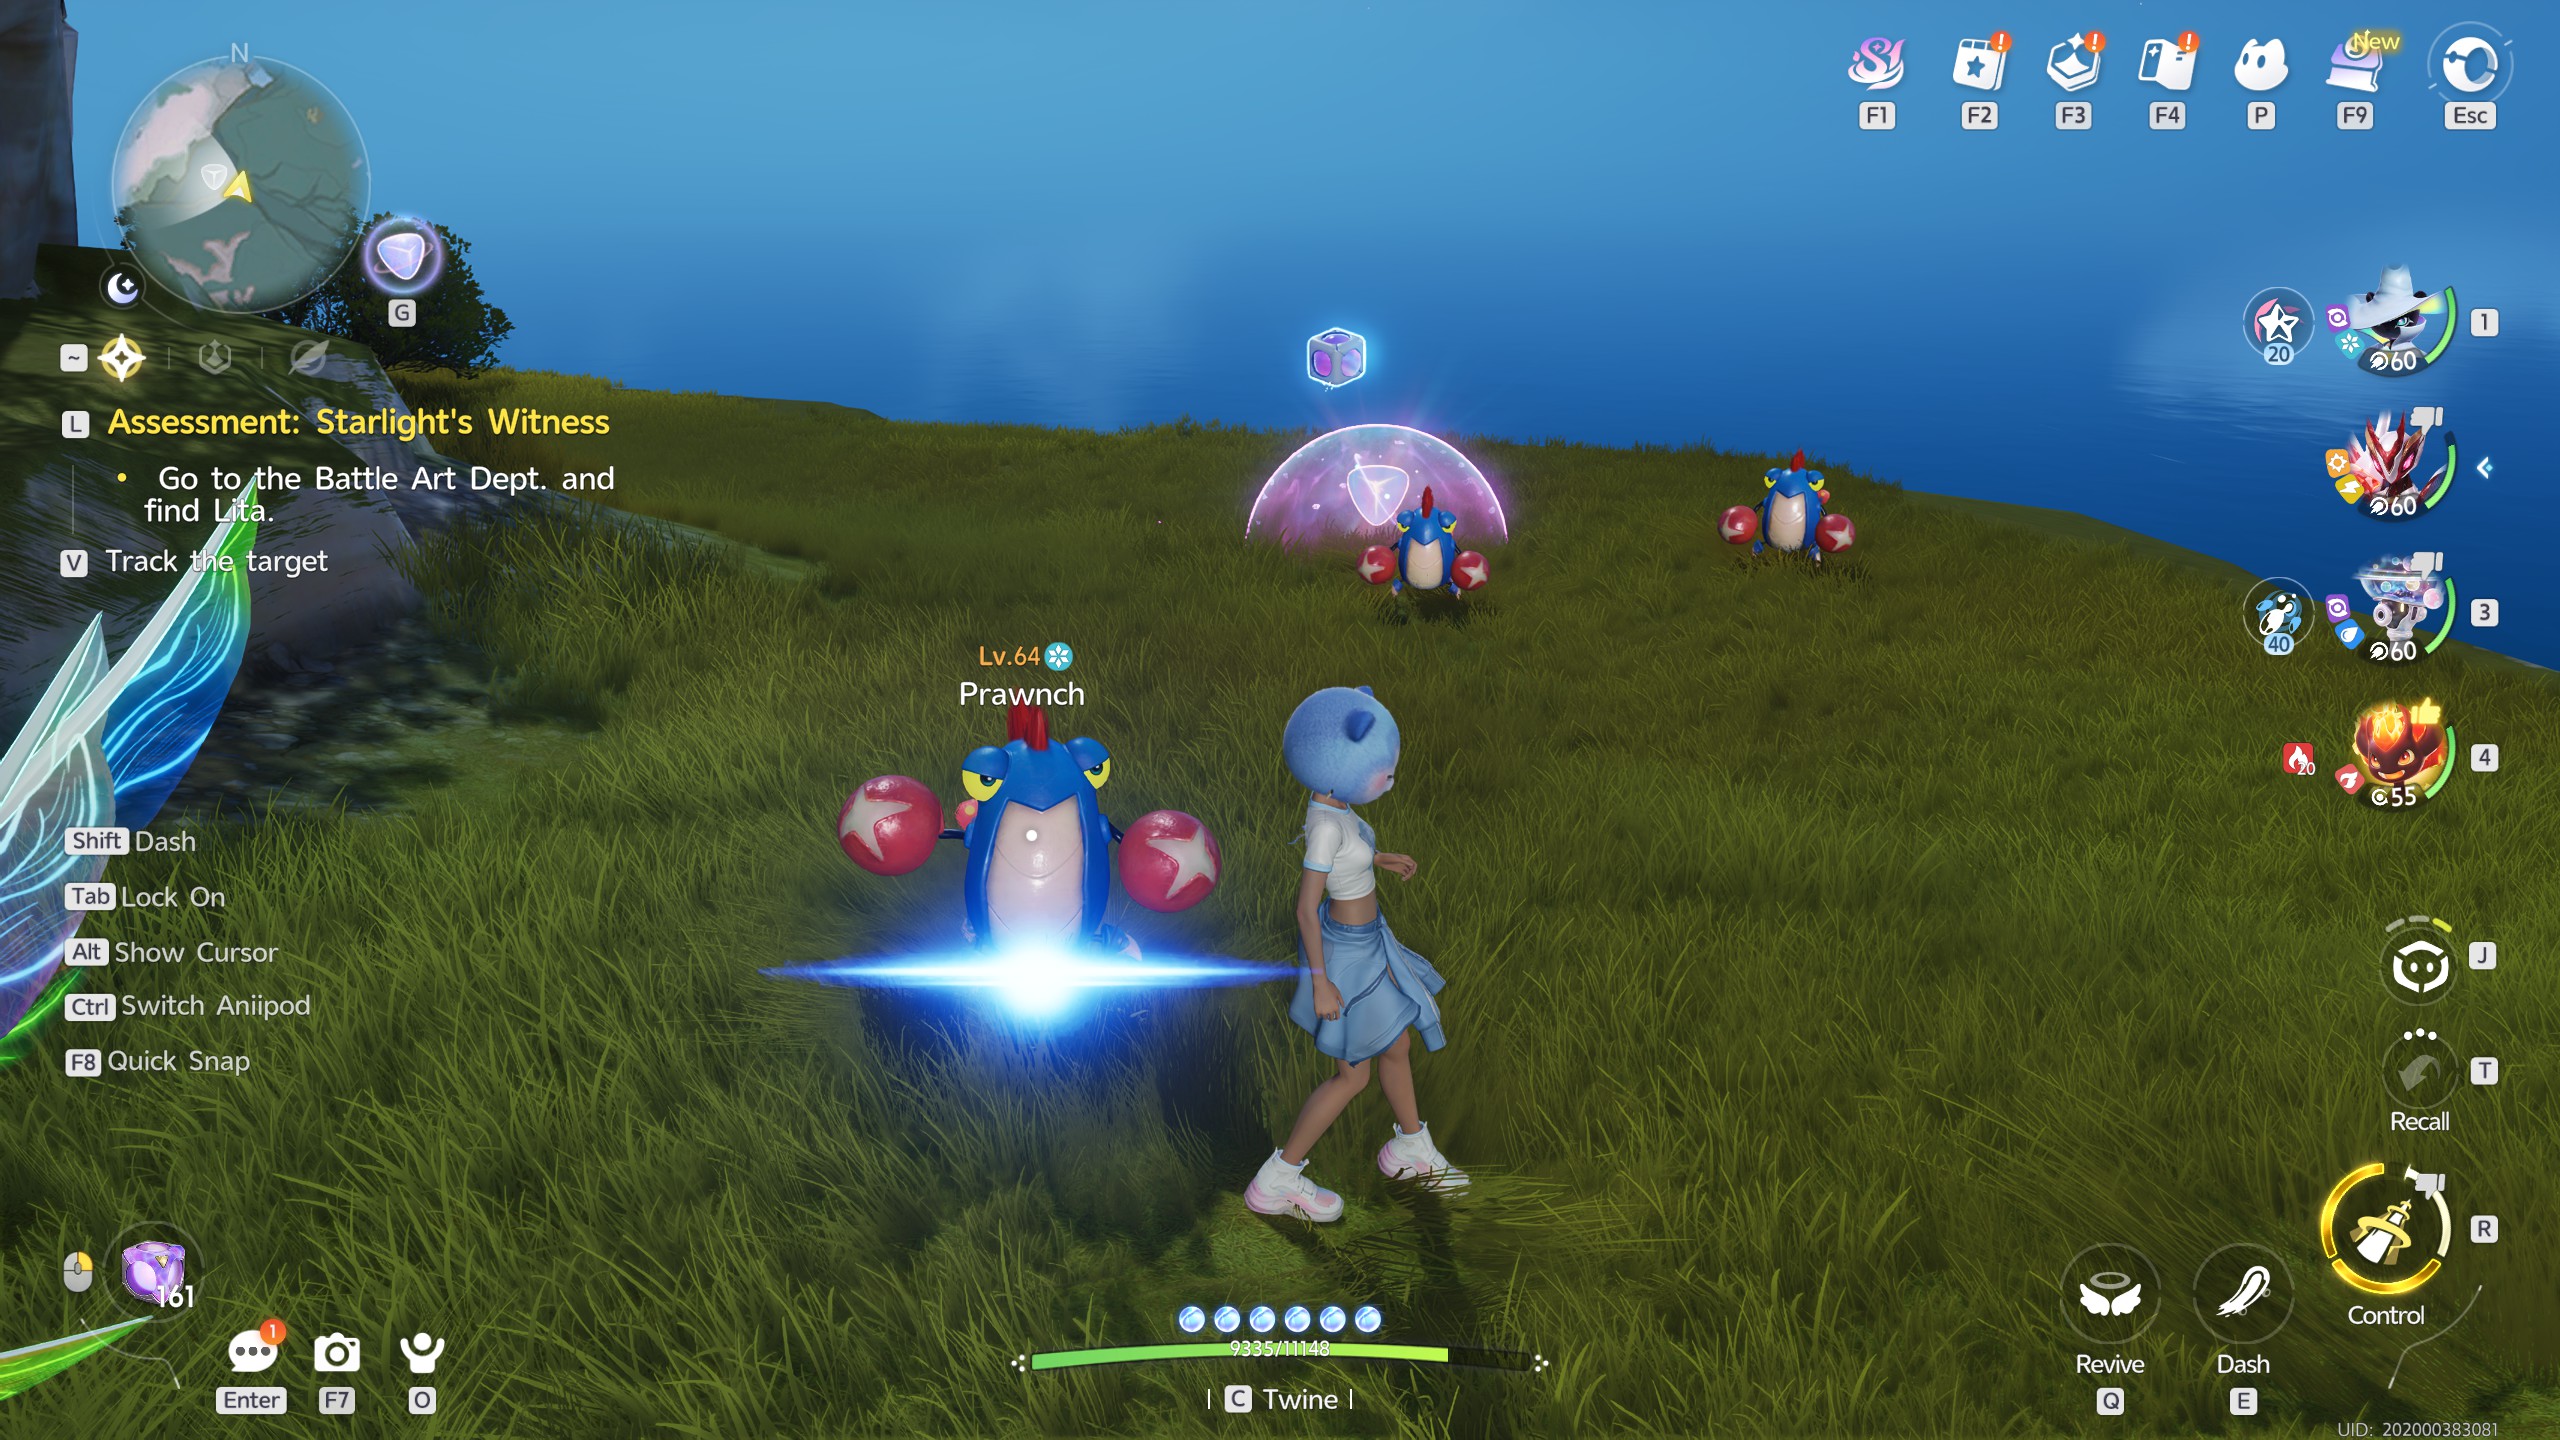
Right where you'll find a Jabster for capturing, you'll also find an Amber being locked down and guarded by some Prawnch. Simply capture or kill them, and the Amber will be released to you.


Elder Jabster's Champion Stone

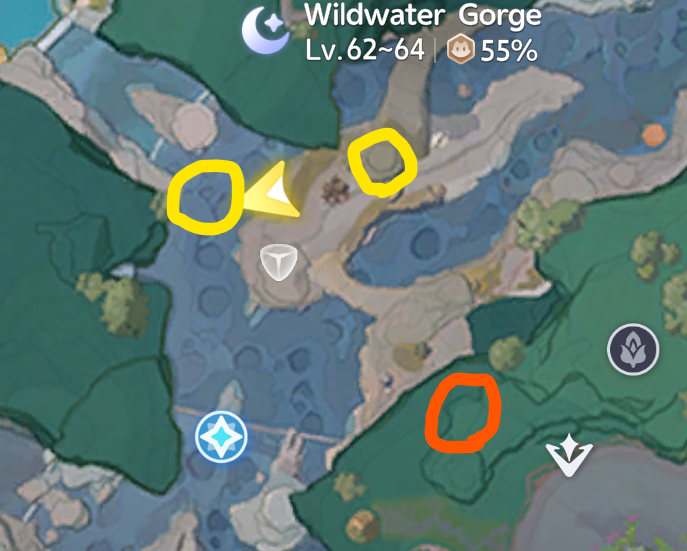
This one can be tricky. You'll need to break 3 stones around the Gorge. You can find the 3 in question marked below. Take note of the right-most one, which will need to be set on fire first, as it's guarded by vines.

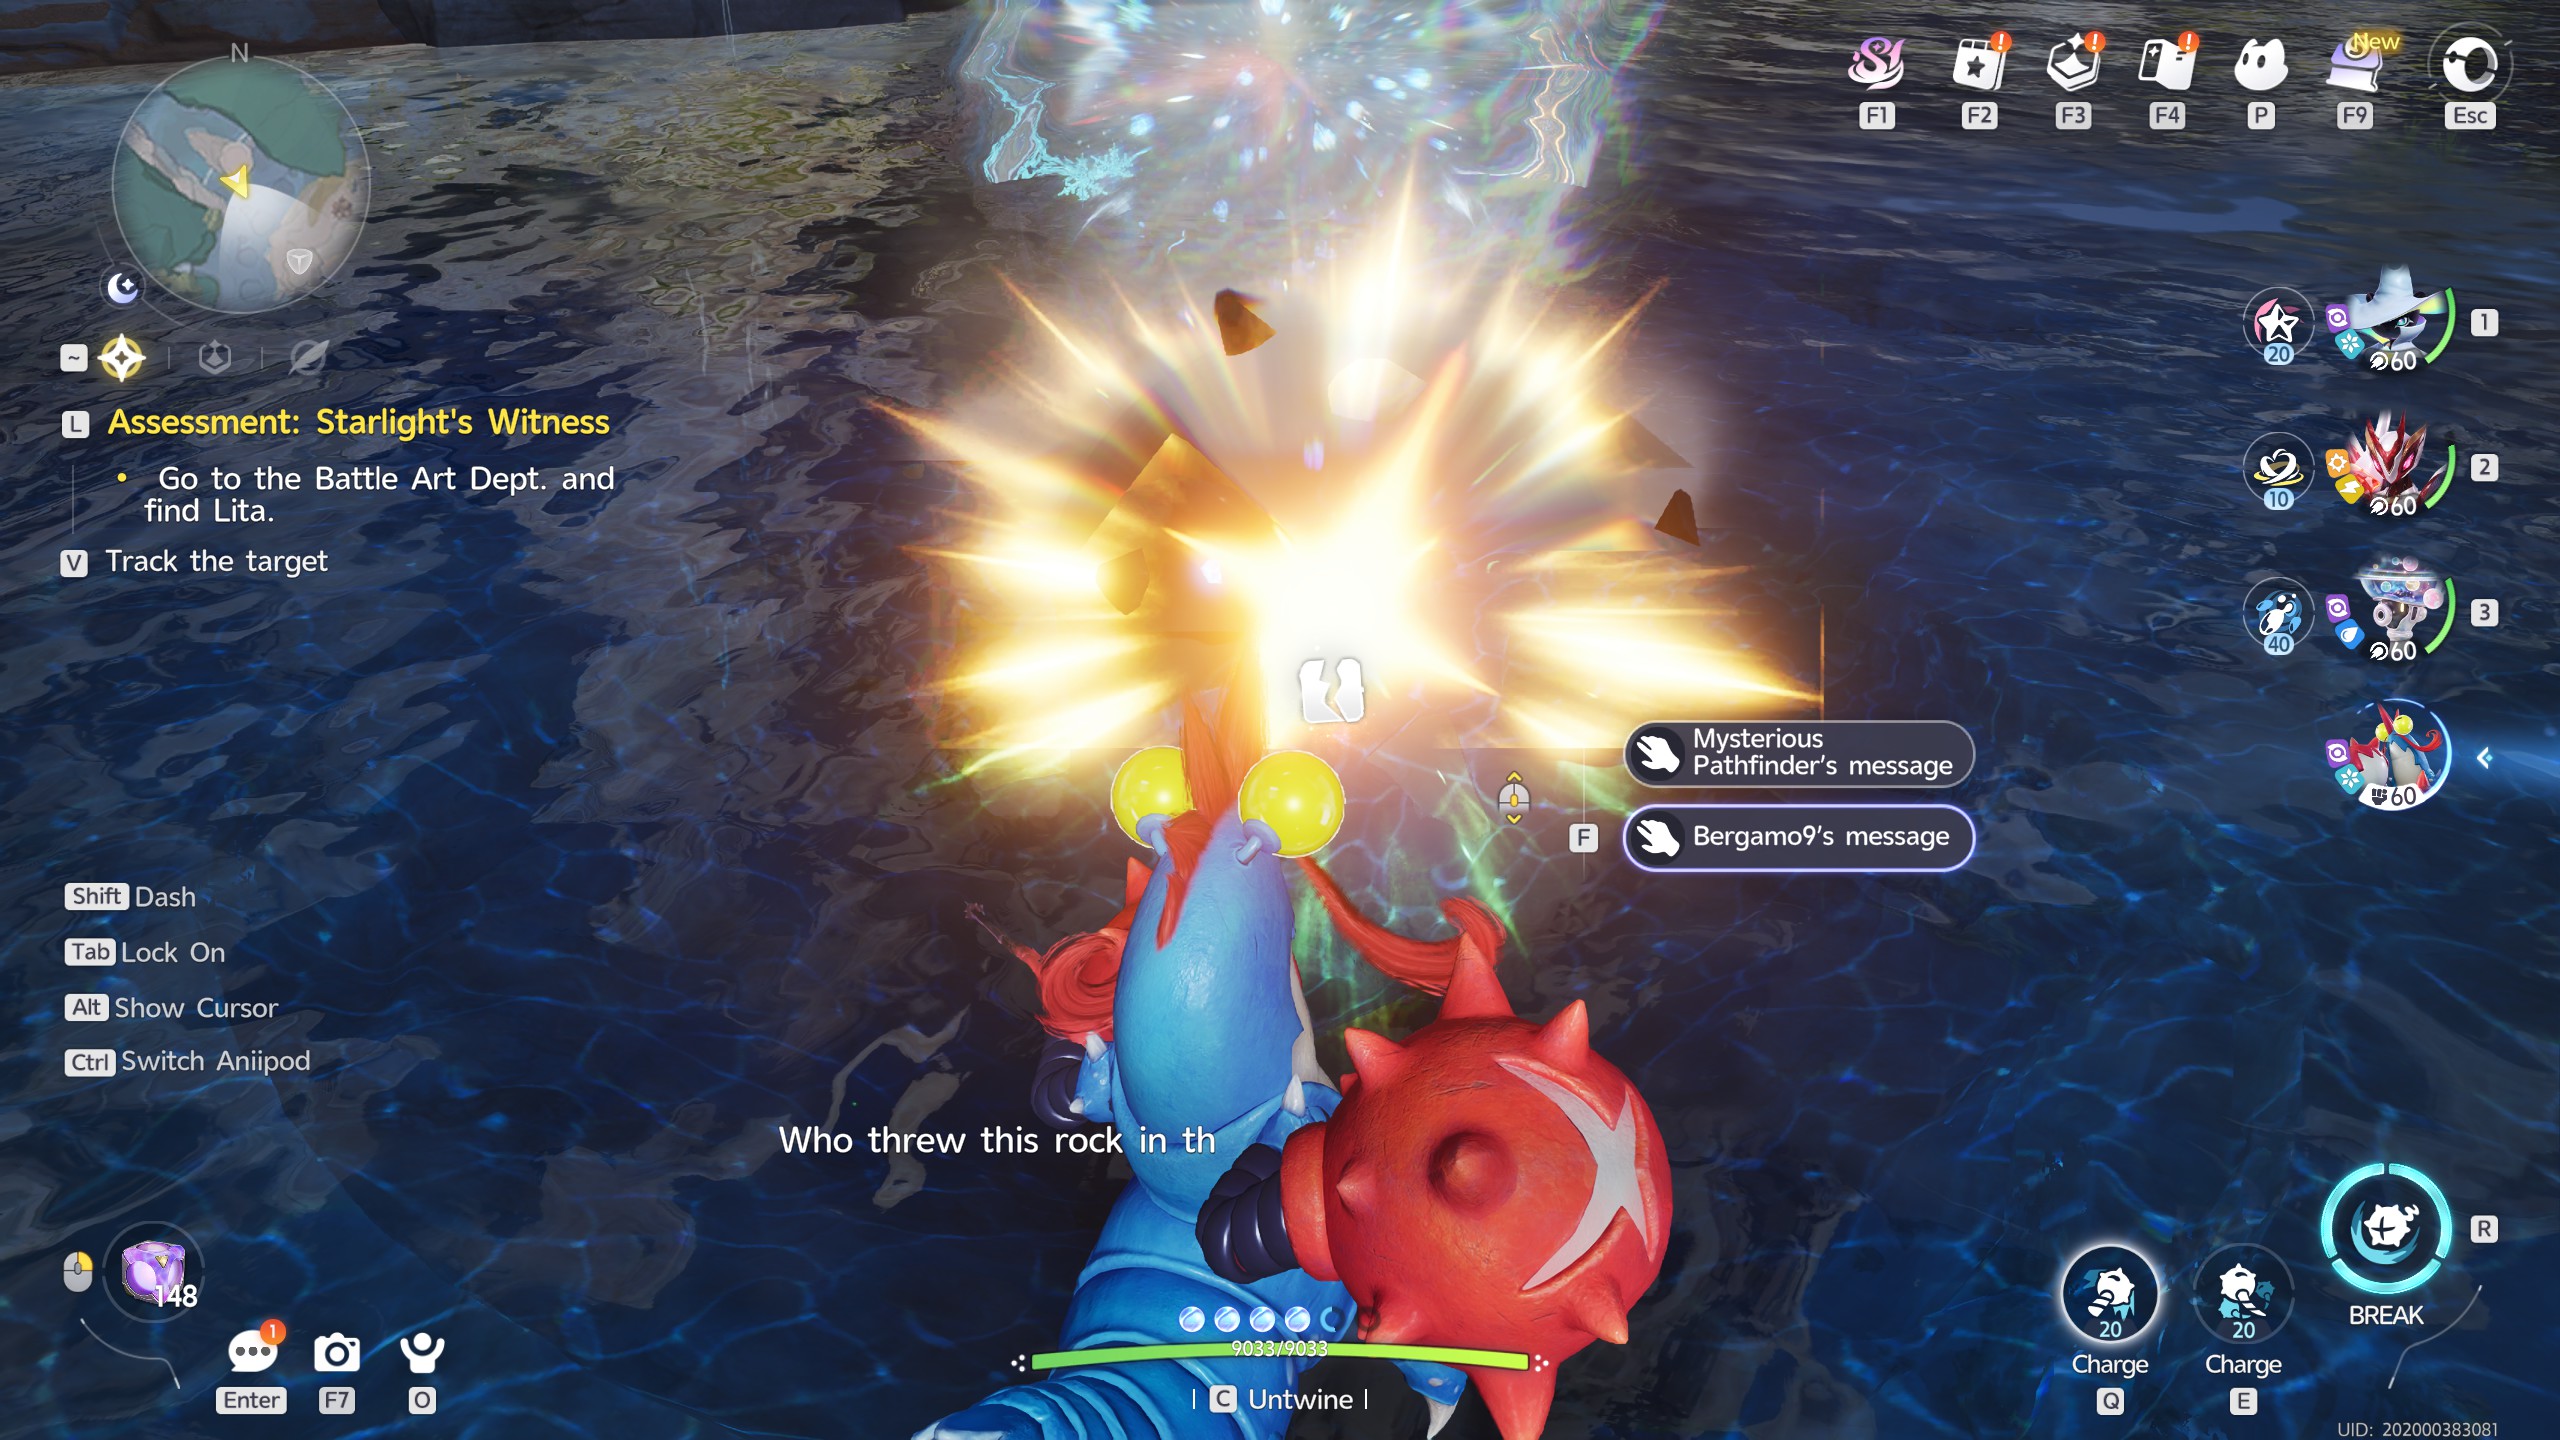
To actually break the stones, twine with a Jabster and use the Charge skill on them. Make sure to charge it up first for maximum break power.

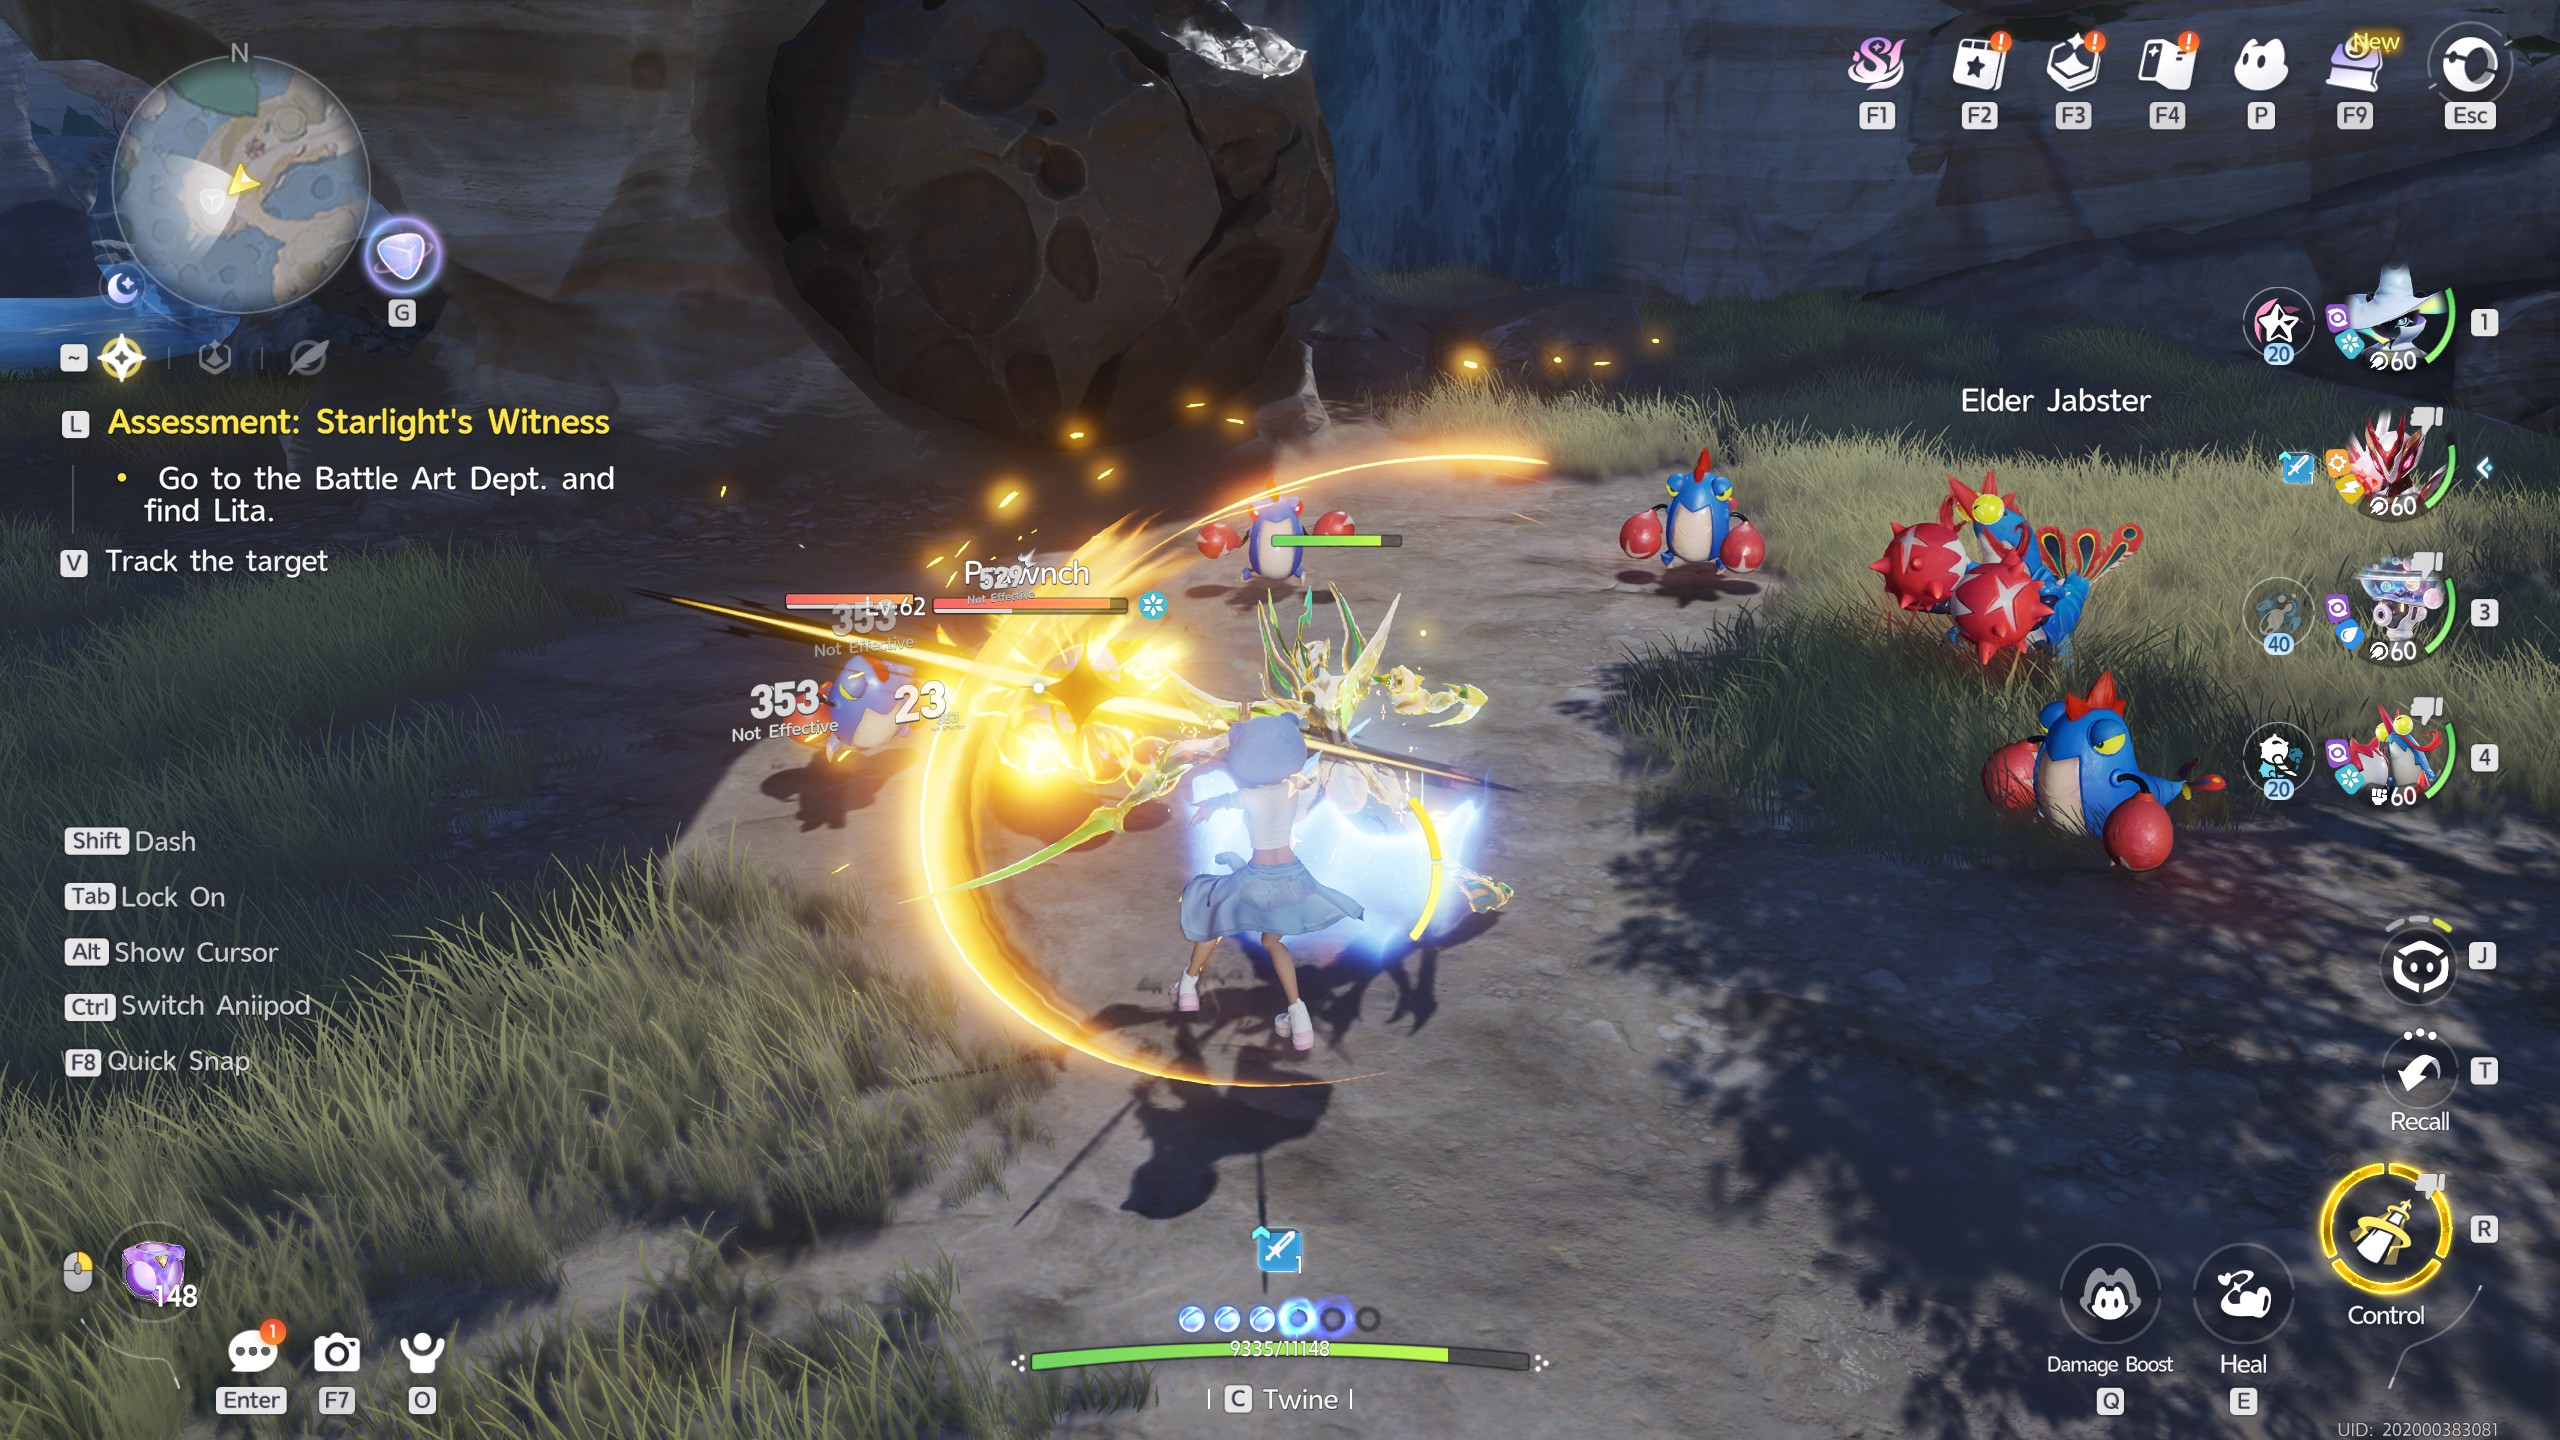
Finally, speak to the Elder Jabster near the Amber. You'll be ambushed by a group of Prawnch, which once defeated will let you smash open the final rock next to them, awarding you with the Amber.

Above the River

This Amber can be found floating above the running river stream encountered next to the Elder Jabster Amber you just collected. Simply fly up and grab it.


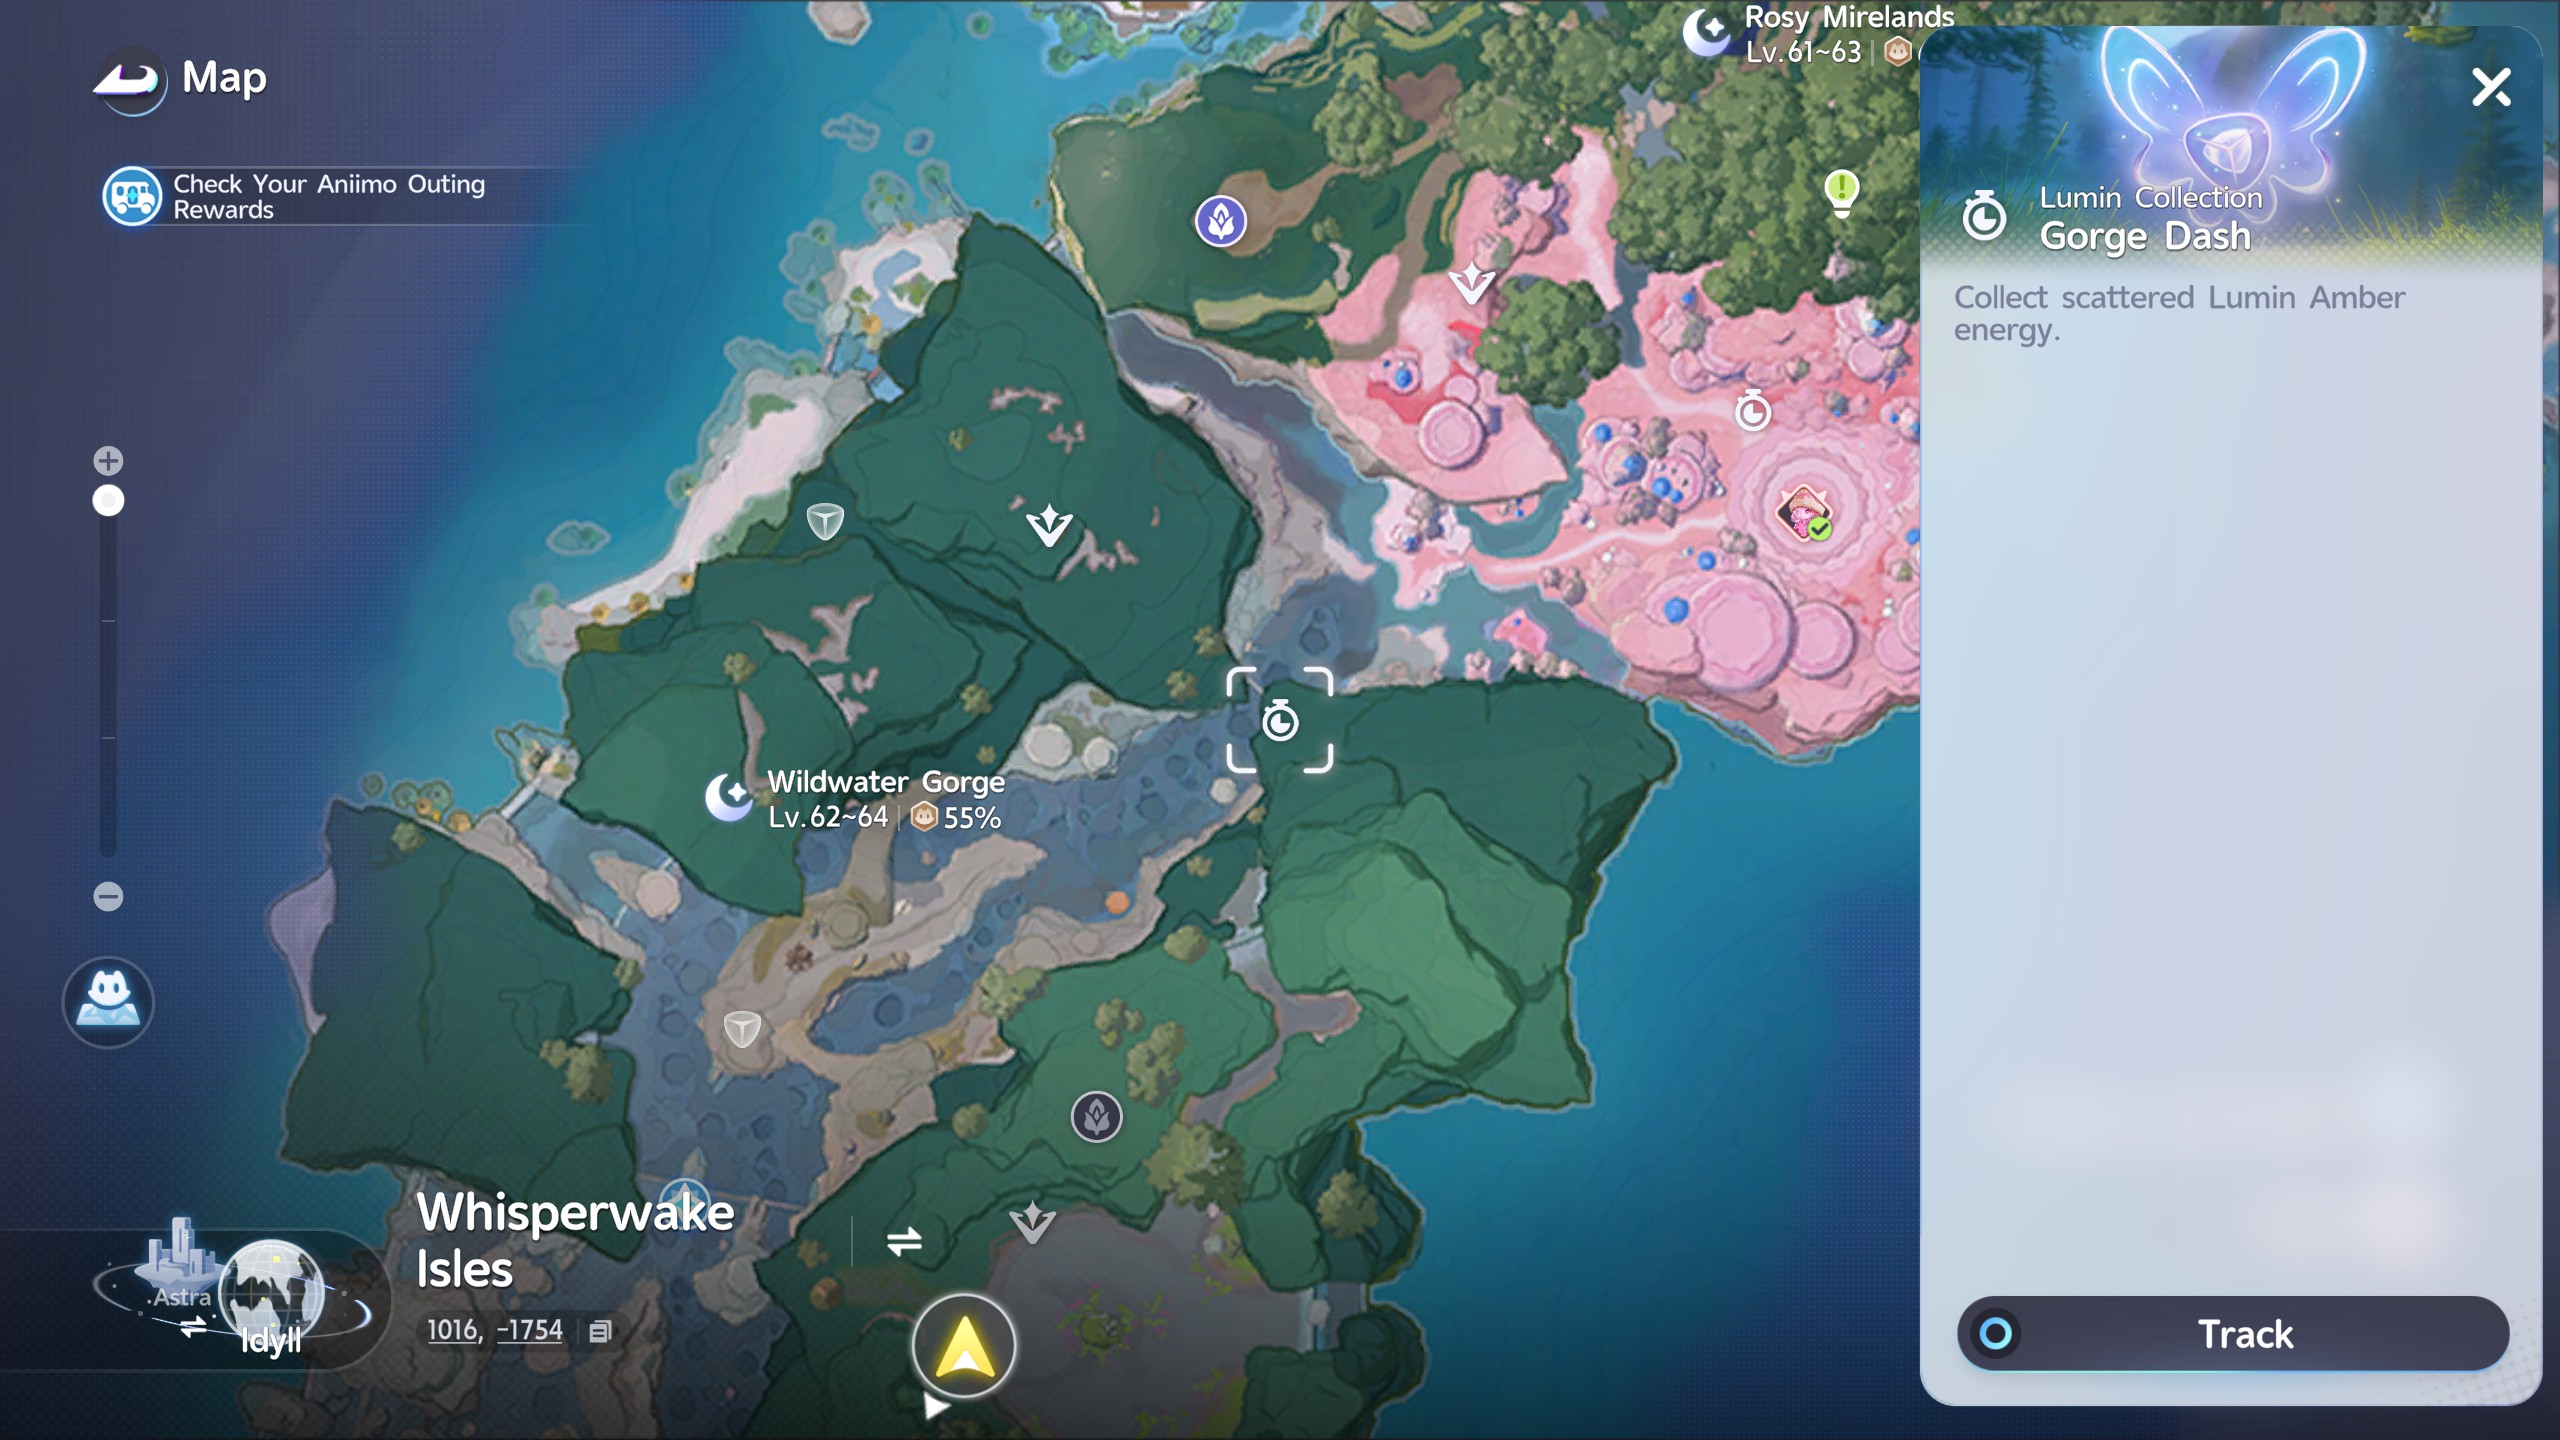
Gorge Dash

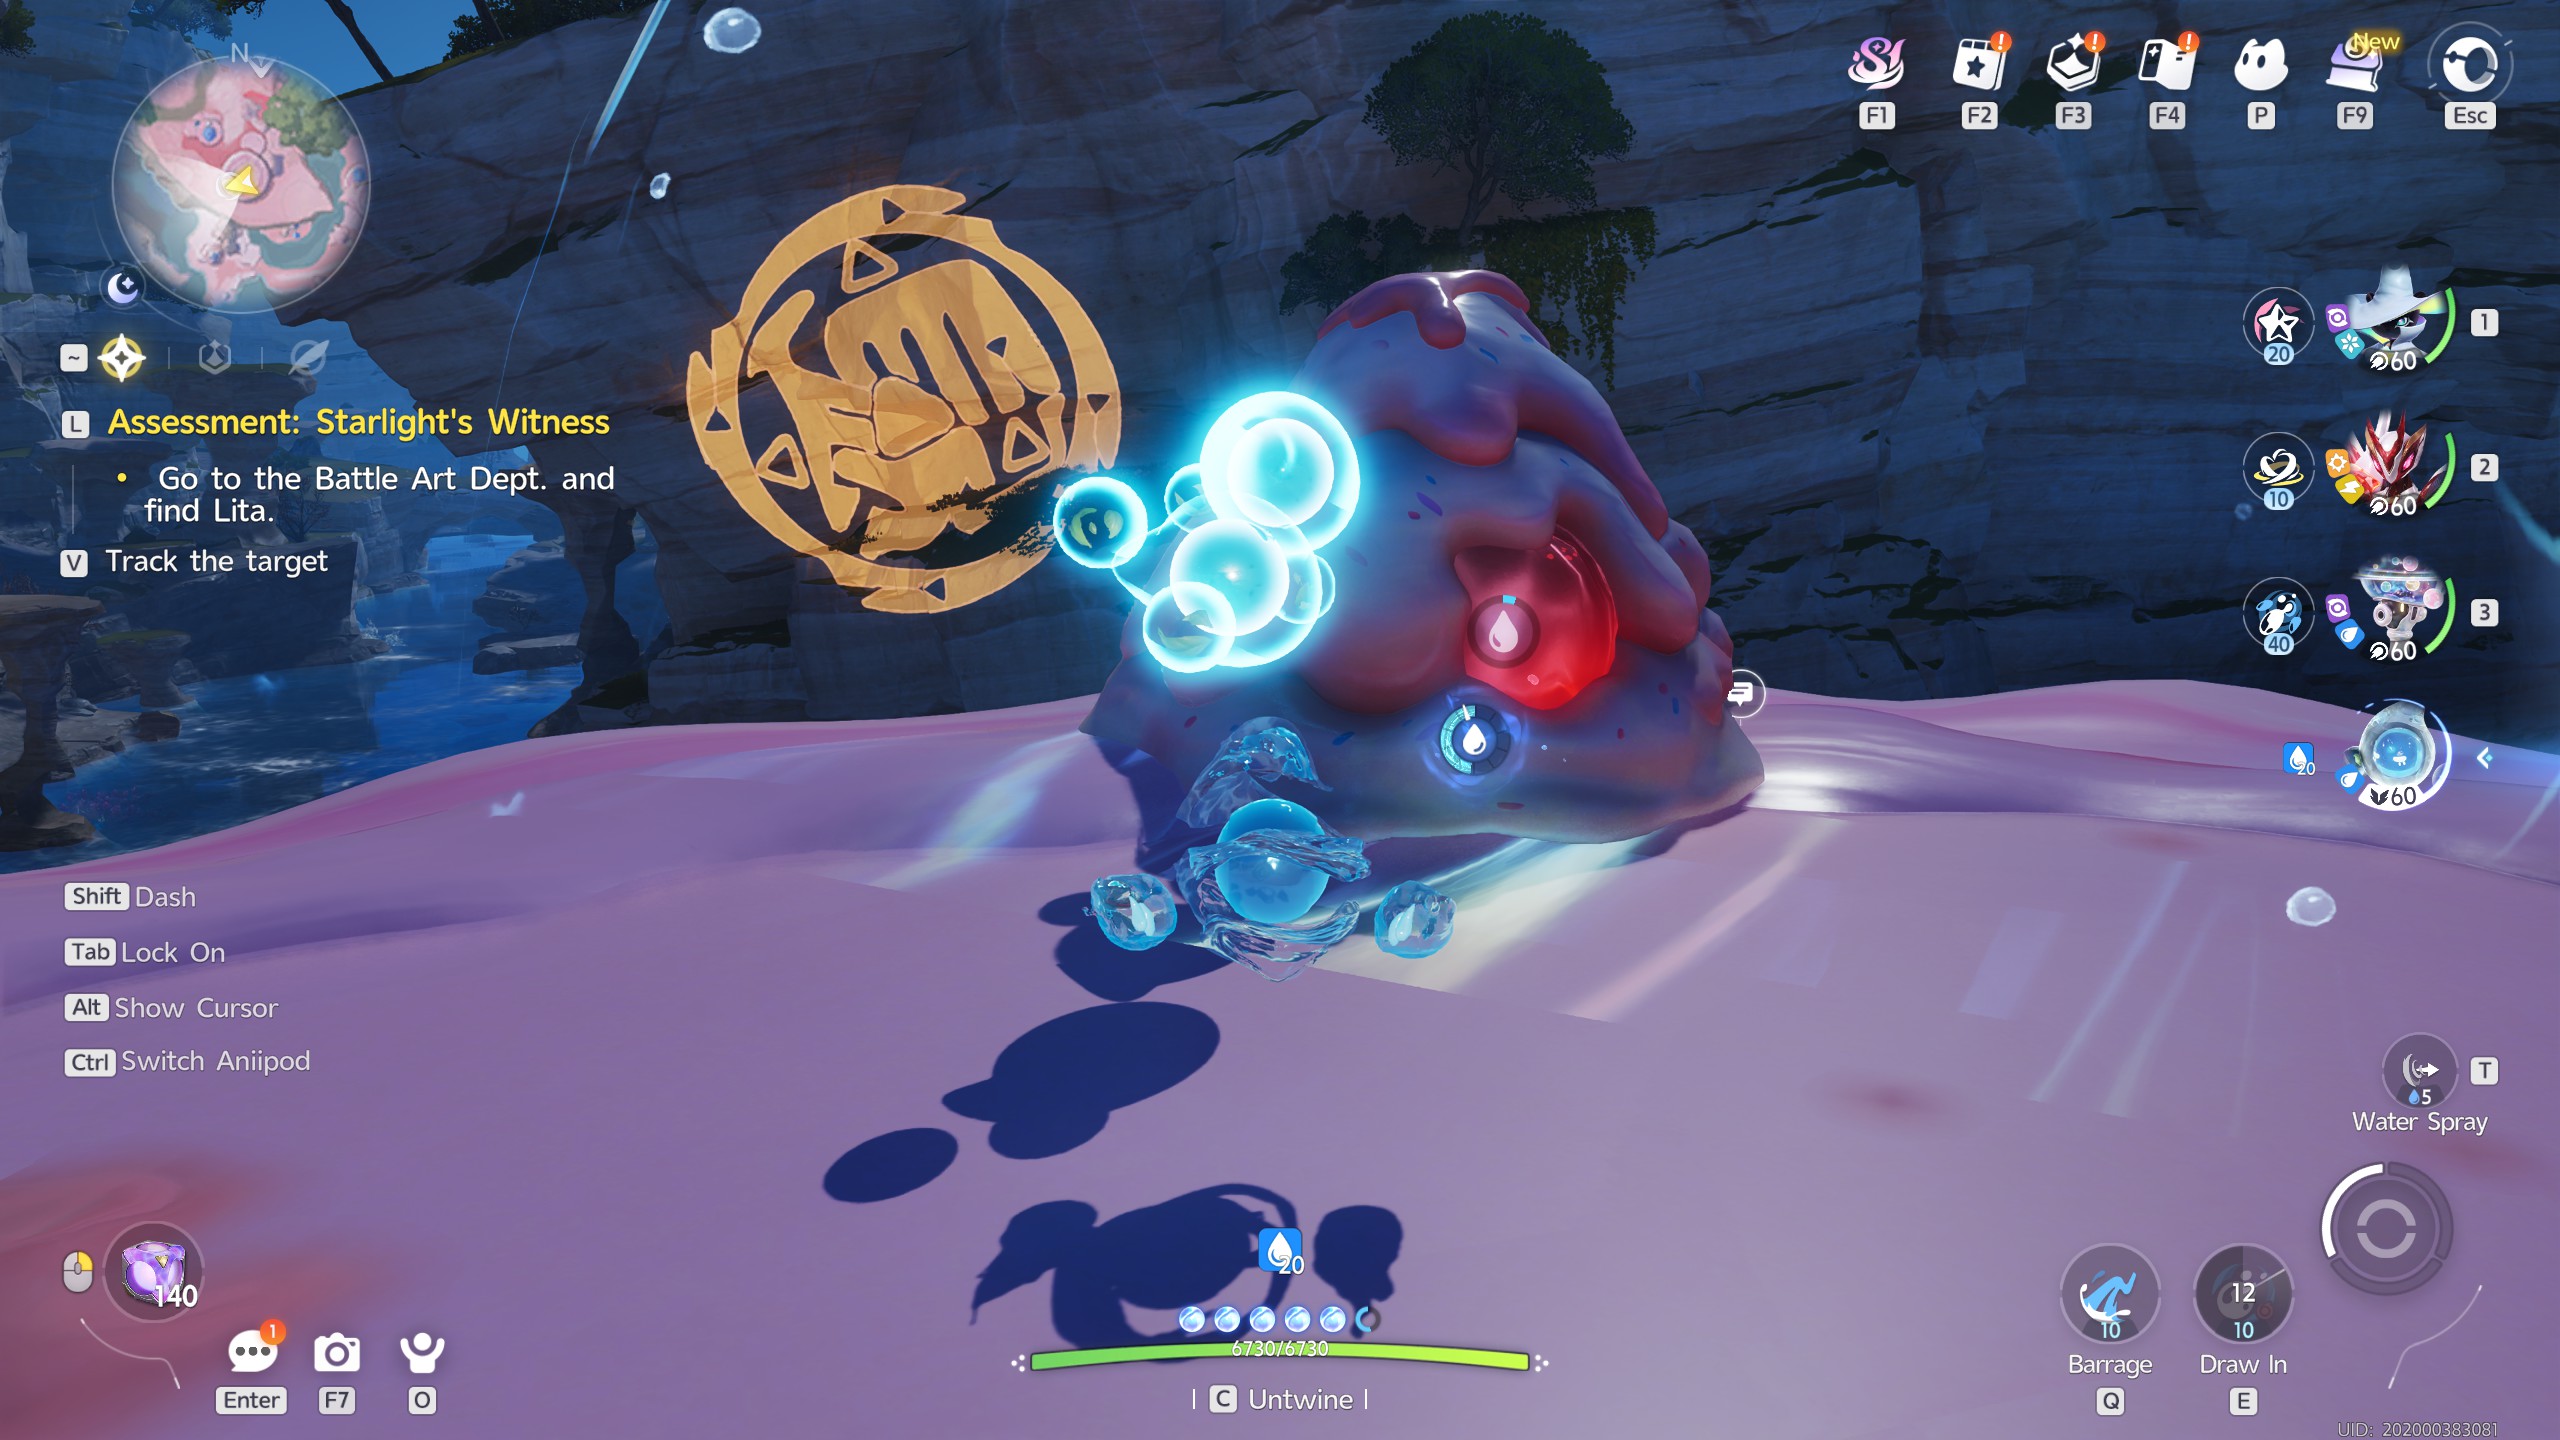
This Amber will require you to collect all 12 of the Lumin Amber within a 1 minute and 40 second window. The tip for this upstream dash is to twine with an Aniimo like Saws, who can use the Ride the Wave ability to aid them.

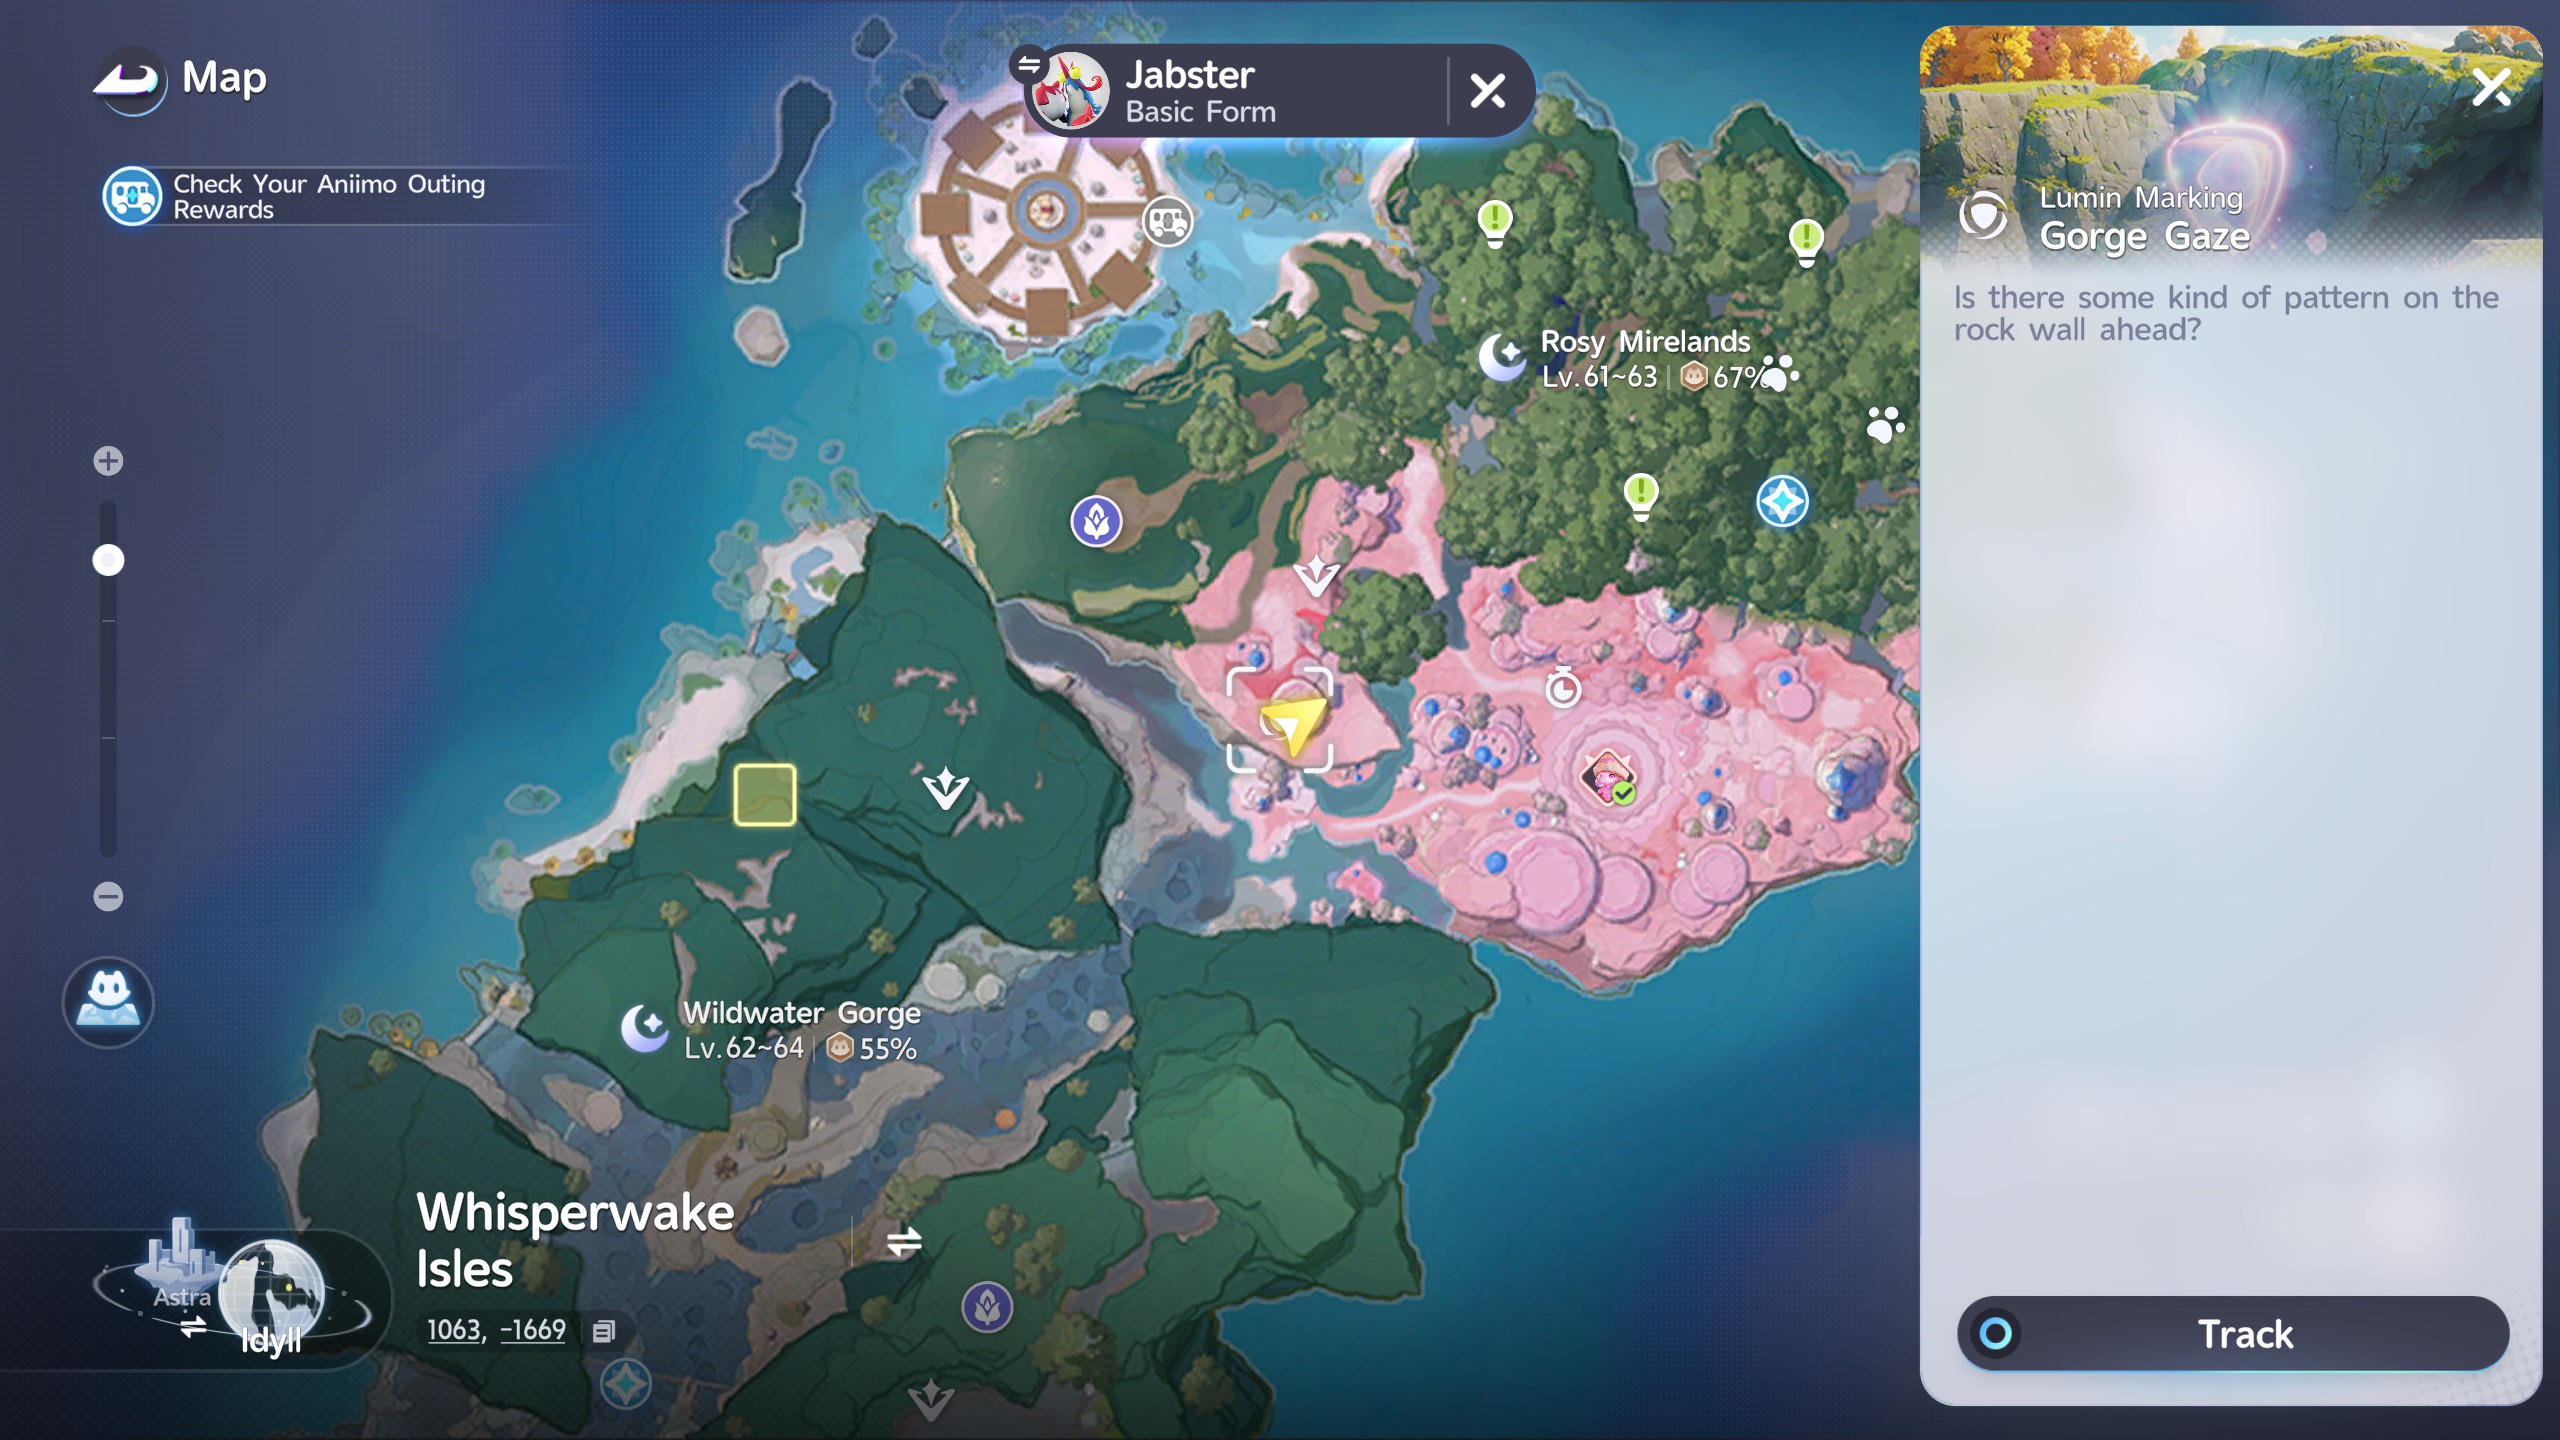
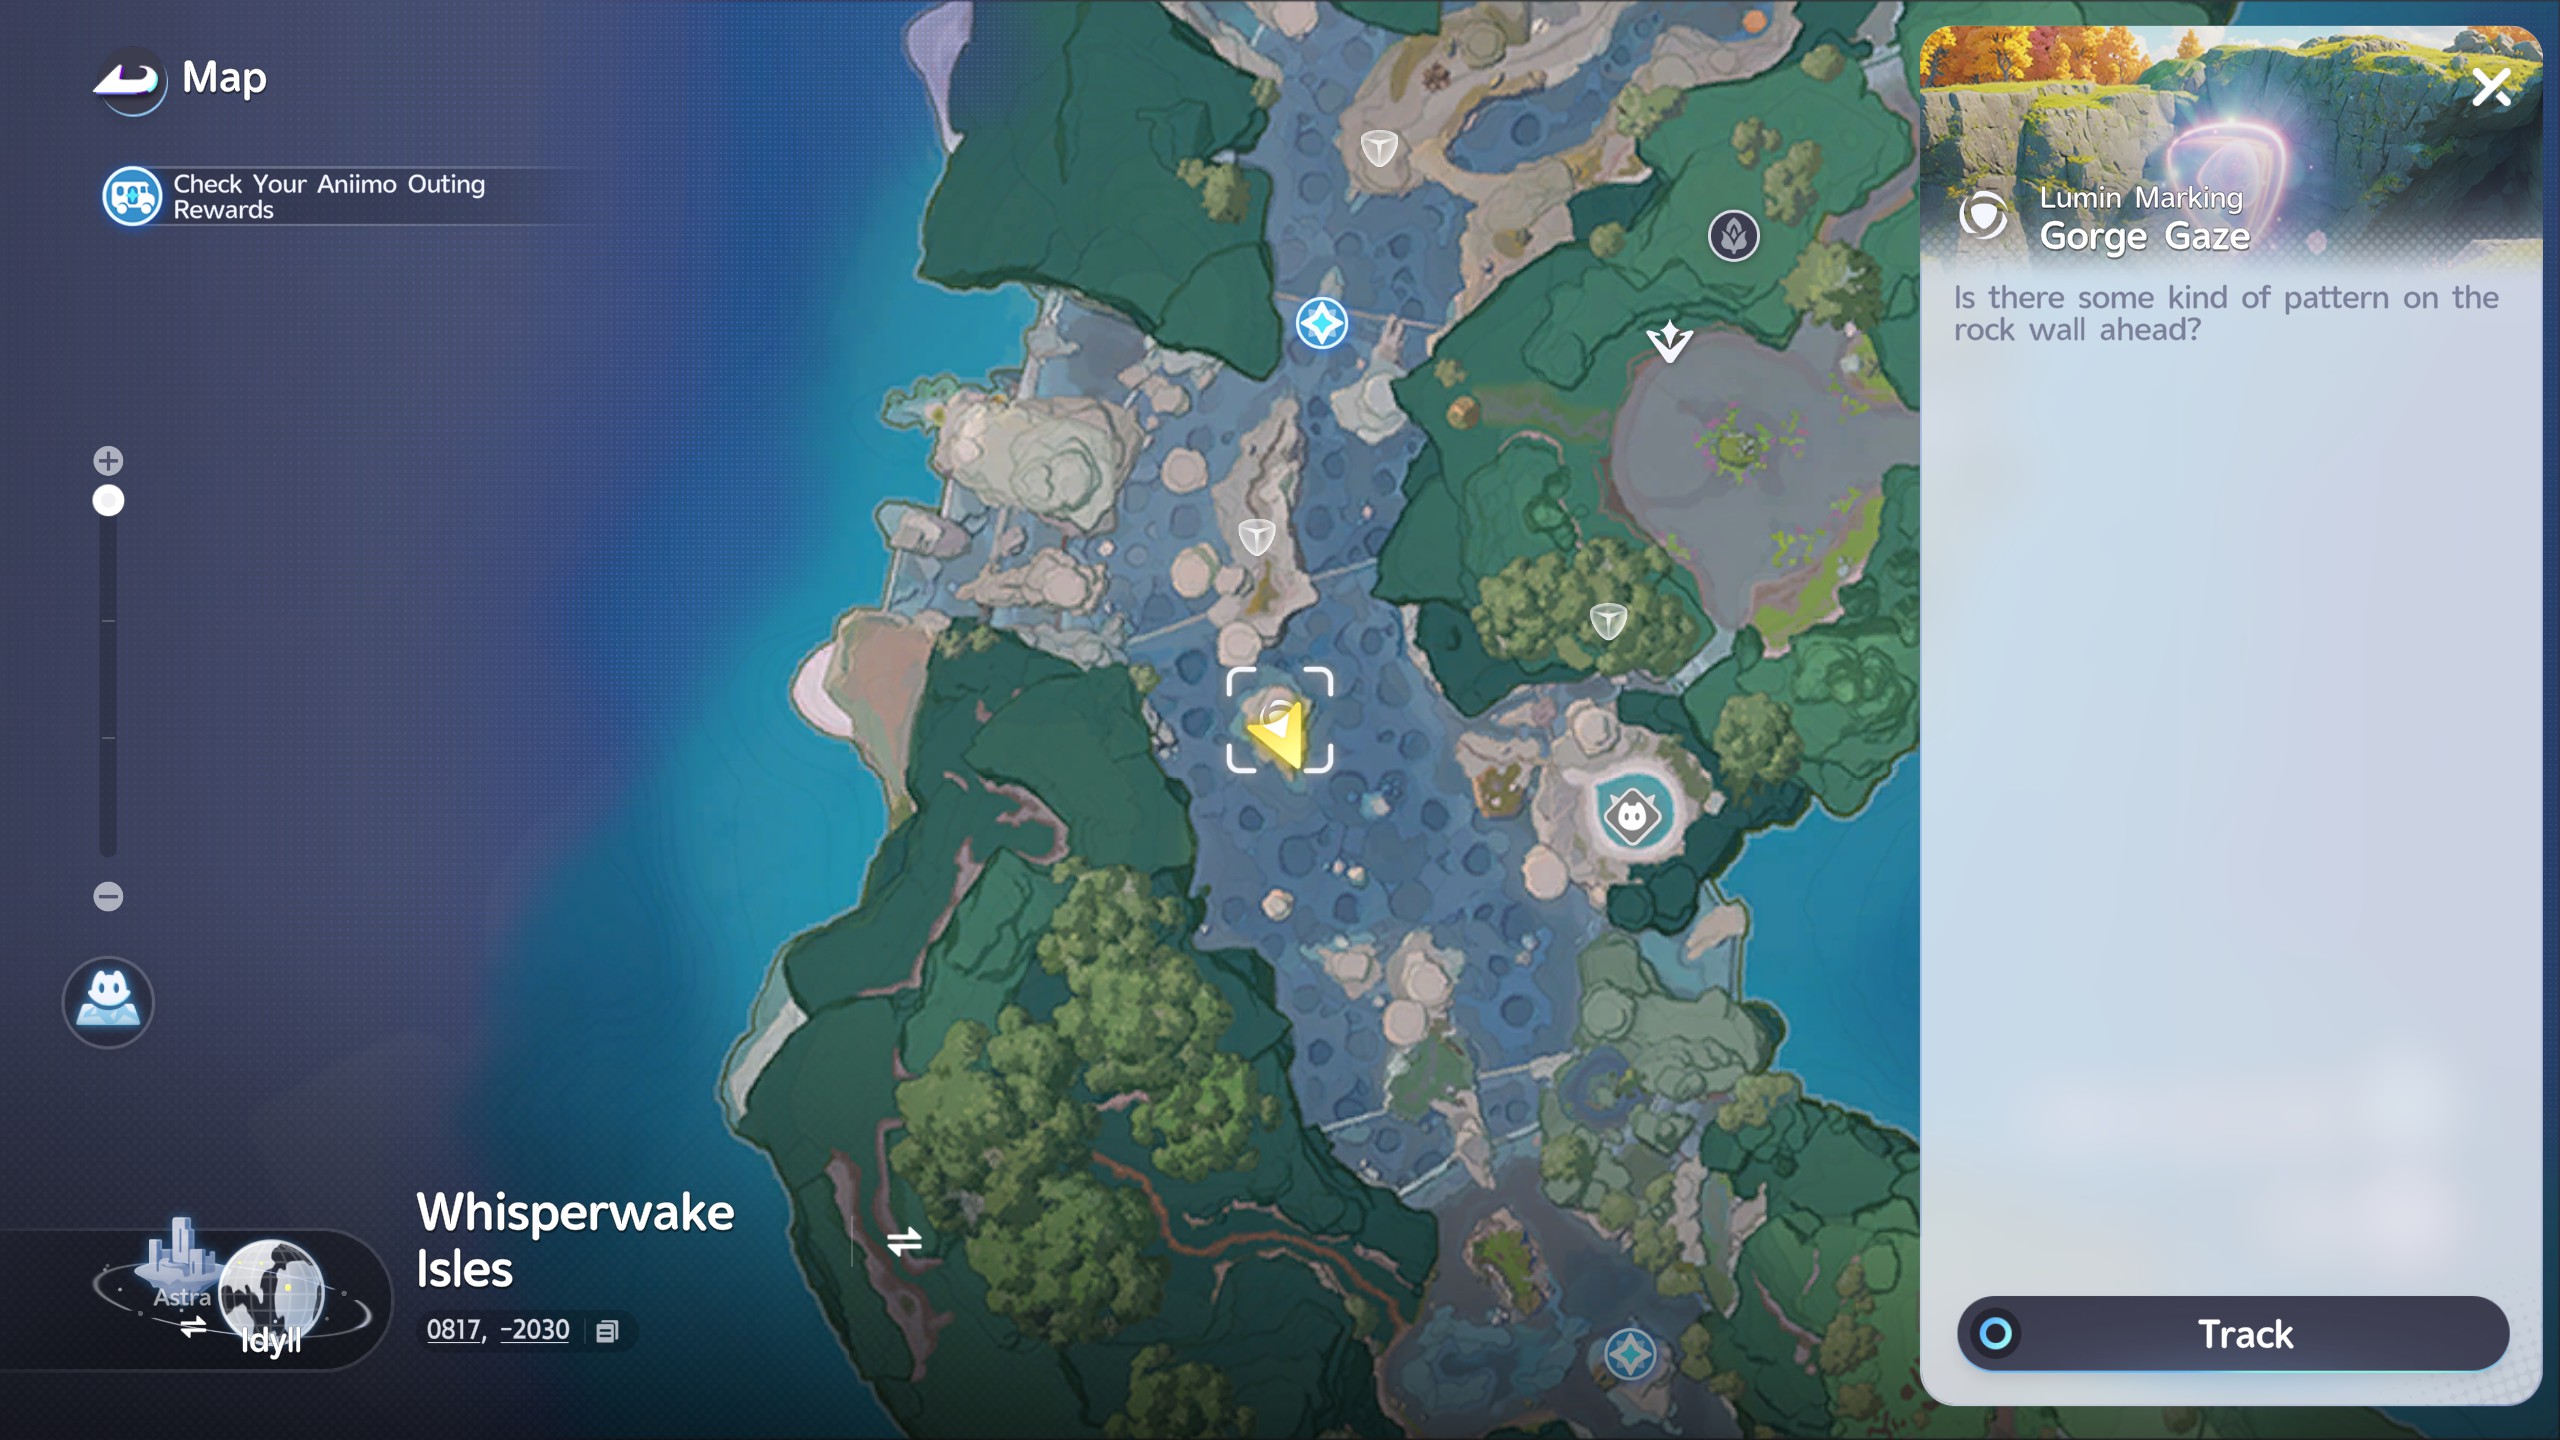
Gorge Gaze 1

This is a perspective puzzle on top of a hill, but you'll need to destroy the goo pile blocking your view. To do this, use an Aniimo such as Dewlop to make things easier. Once cleared, the symbol should be easily revealed.


Gorge Gaze 2

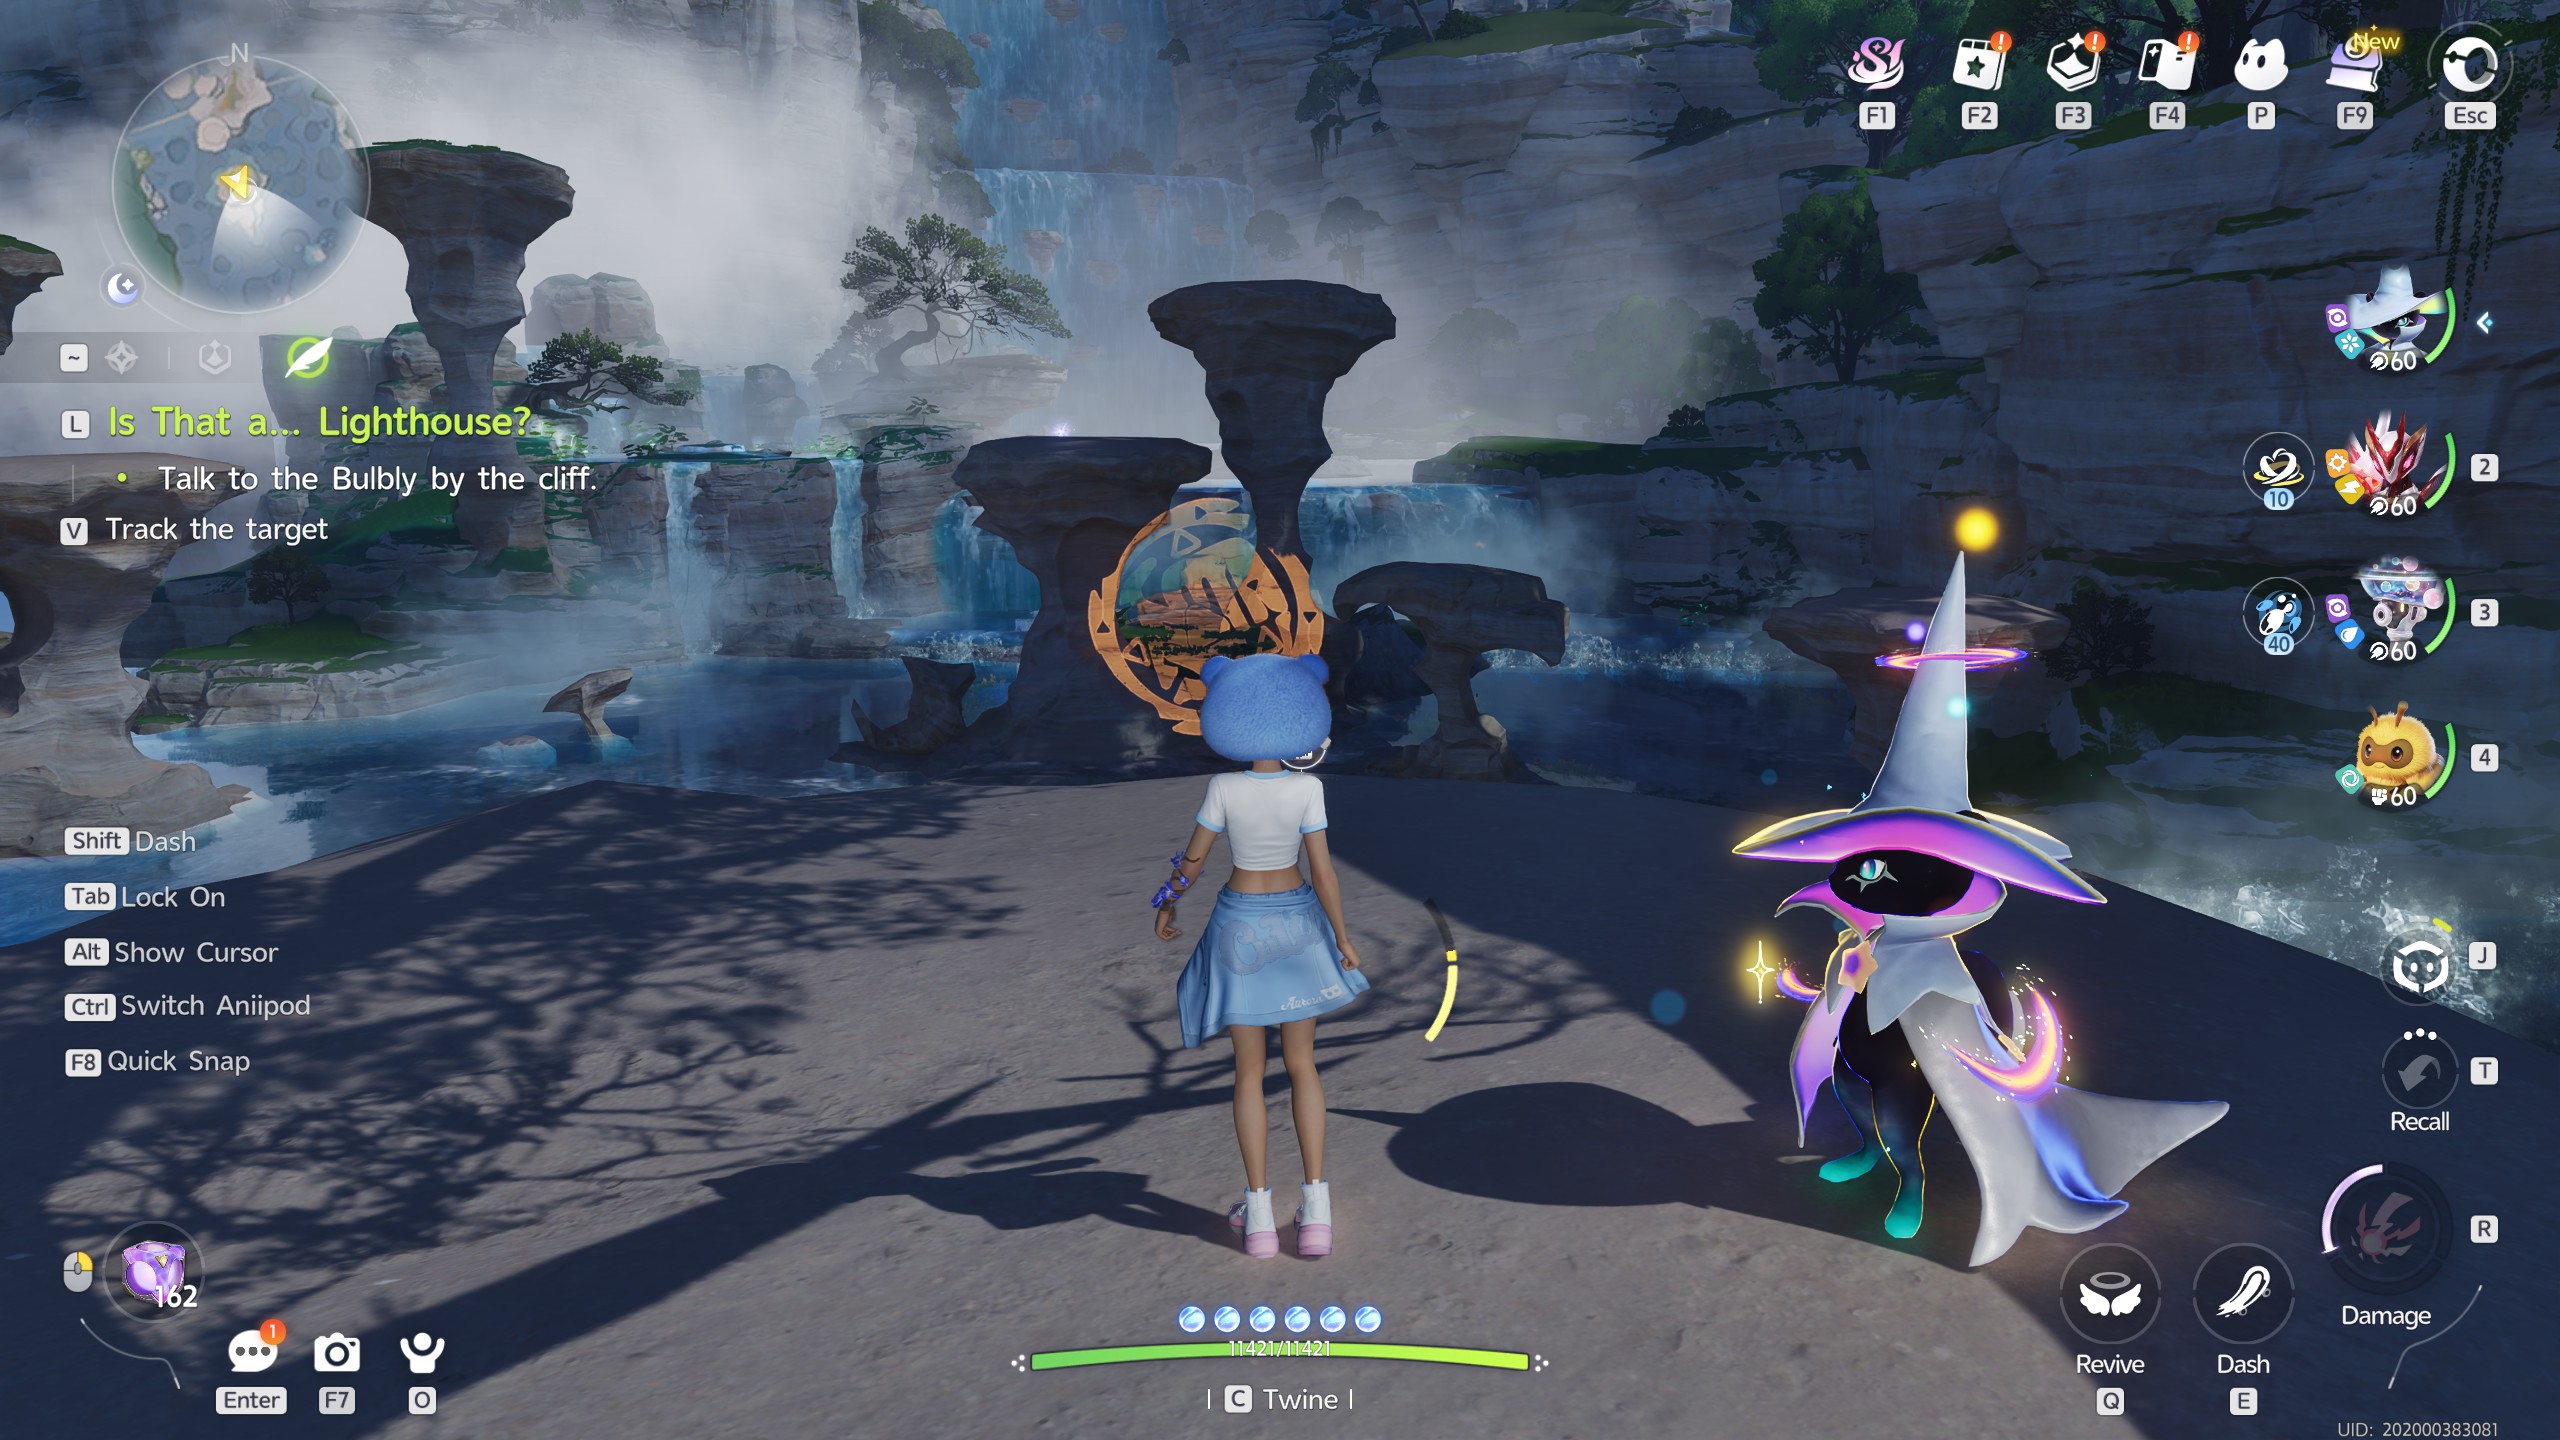
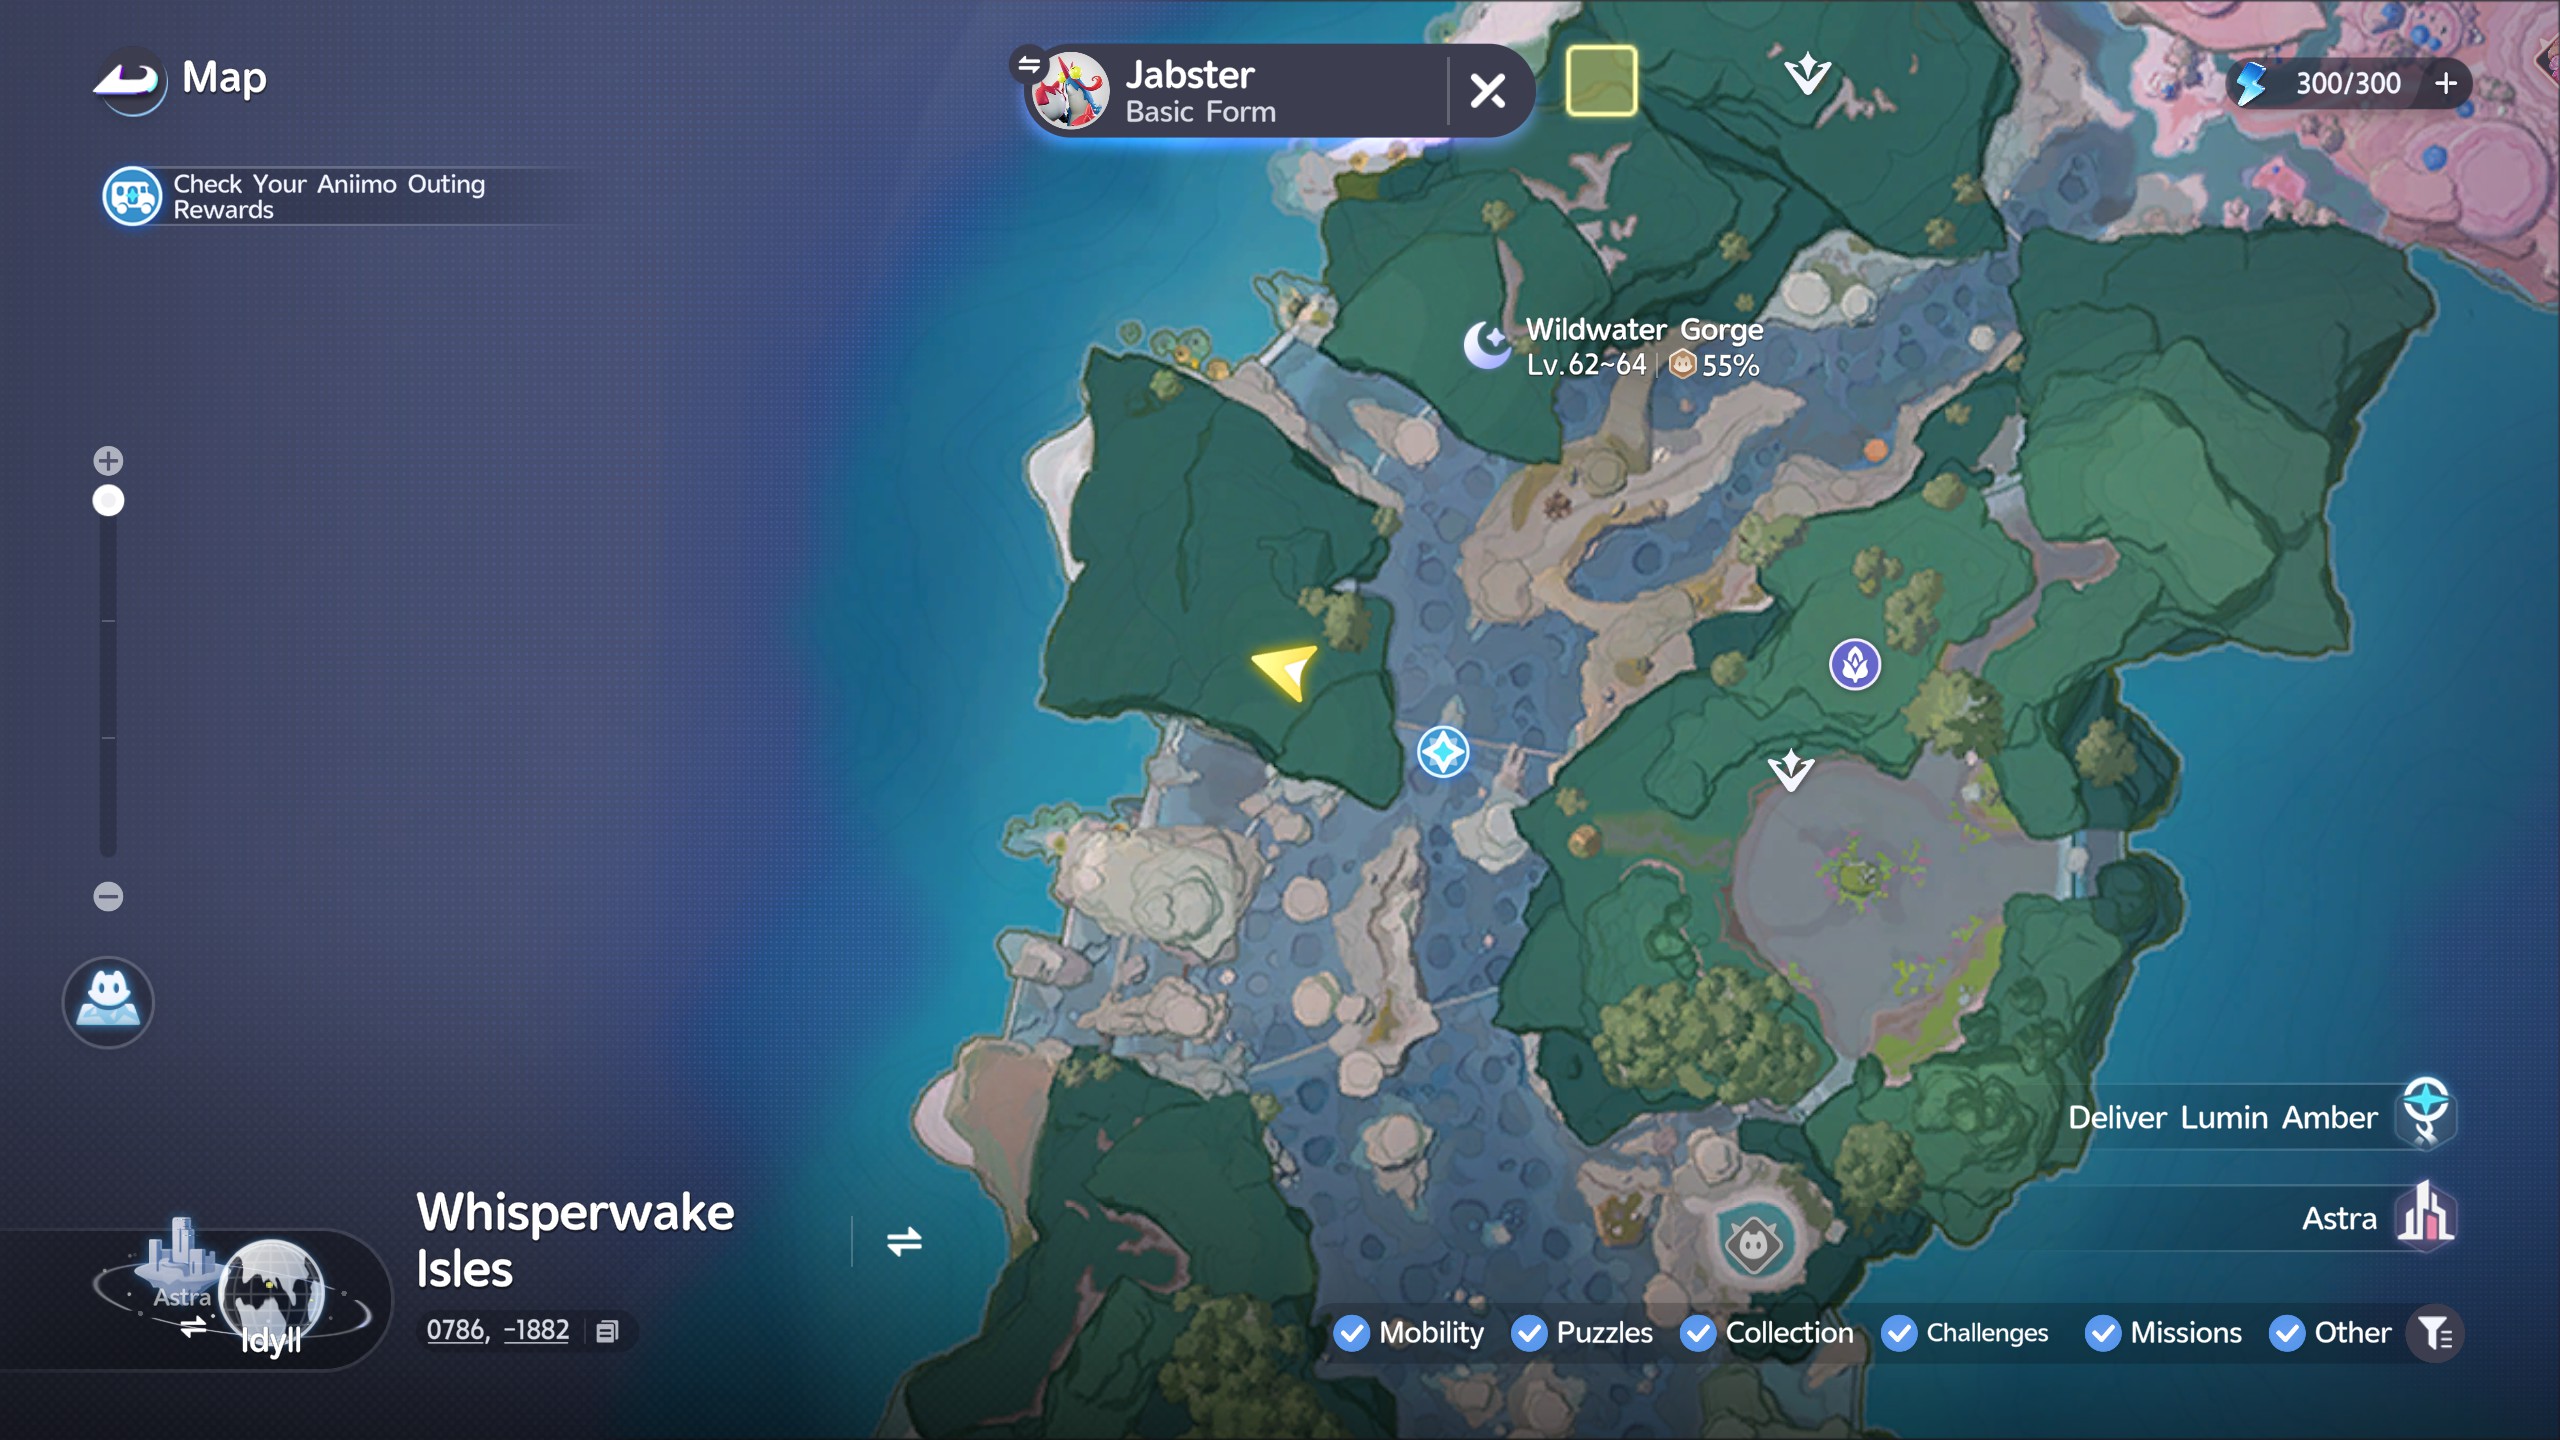
For this one, you'll find the Amber hidden behind a marking you'll need to line up on top of a large rock.

To match this one up quickly, stand at the front center of the rock.

Blessed Prawnch

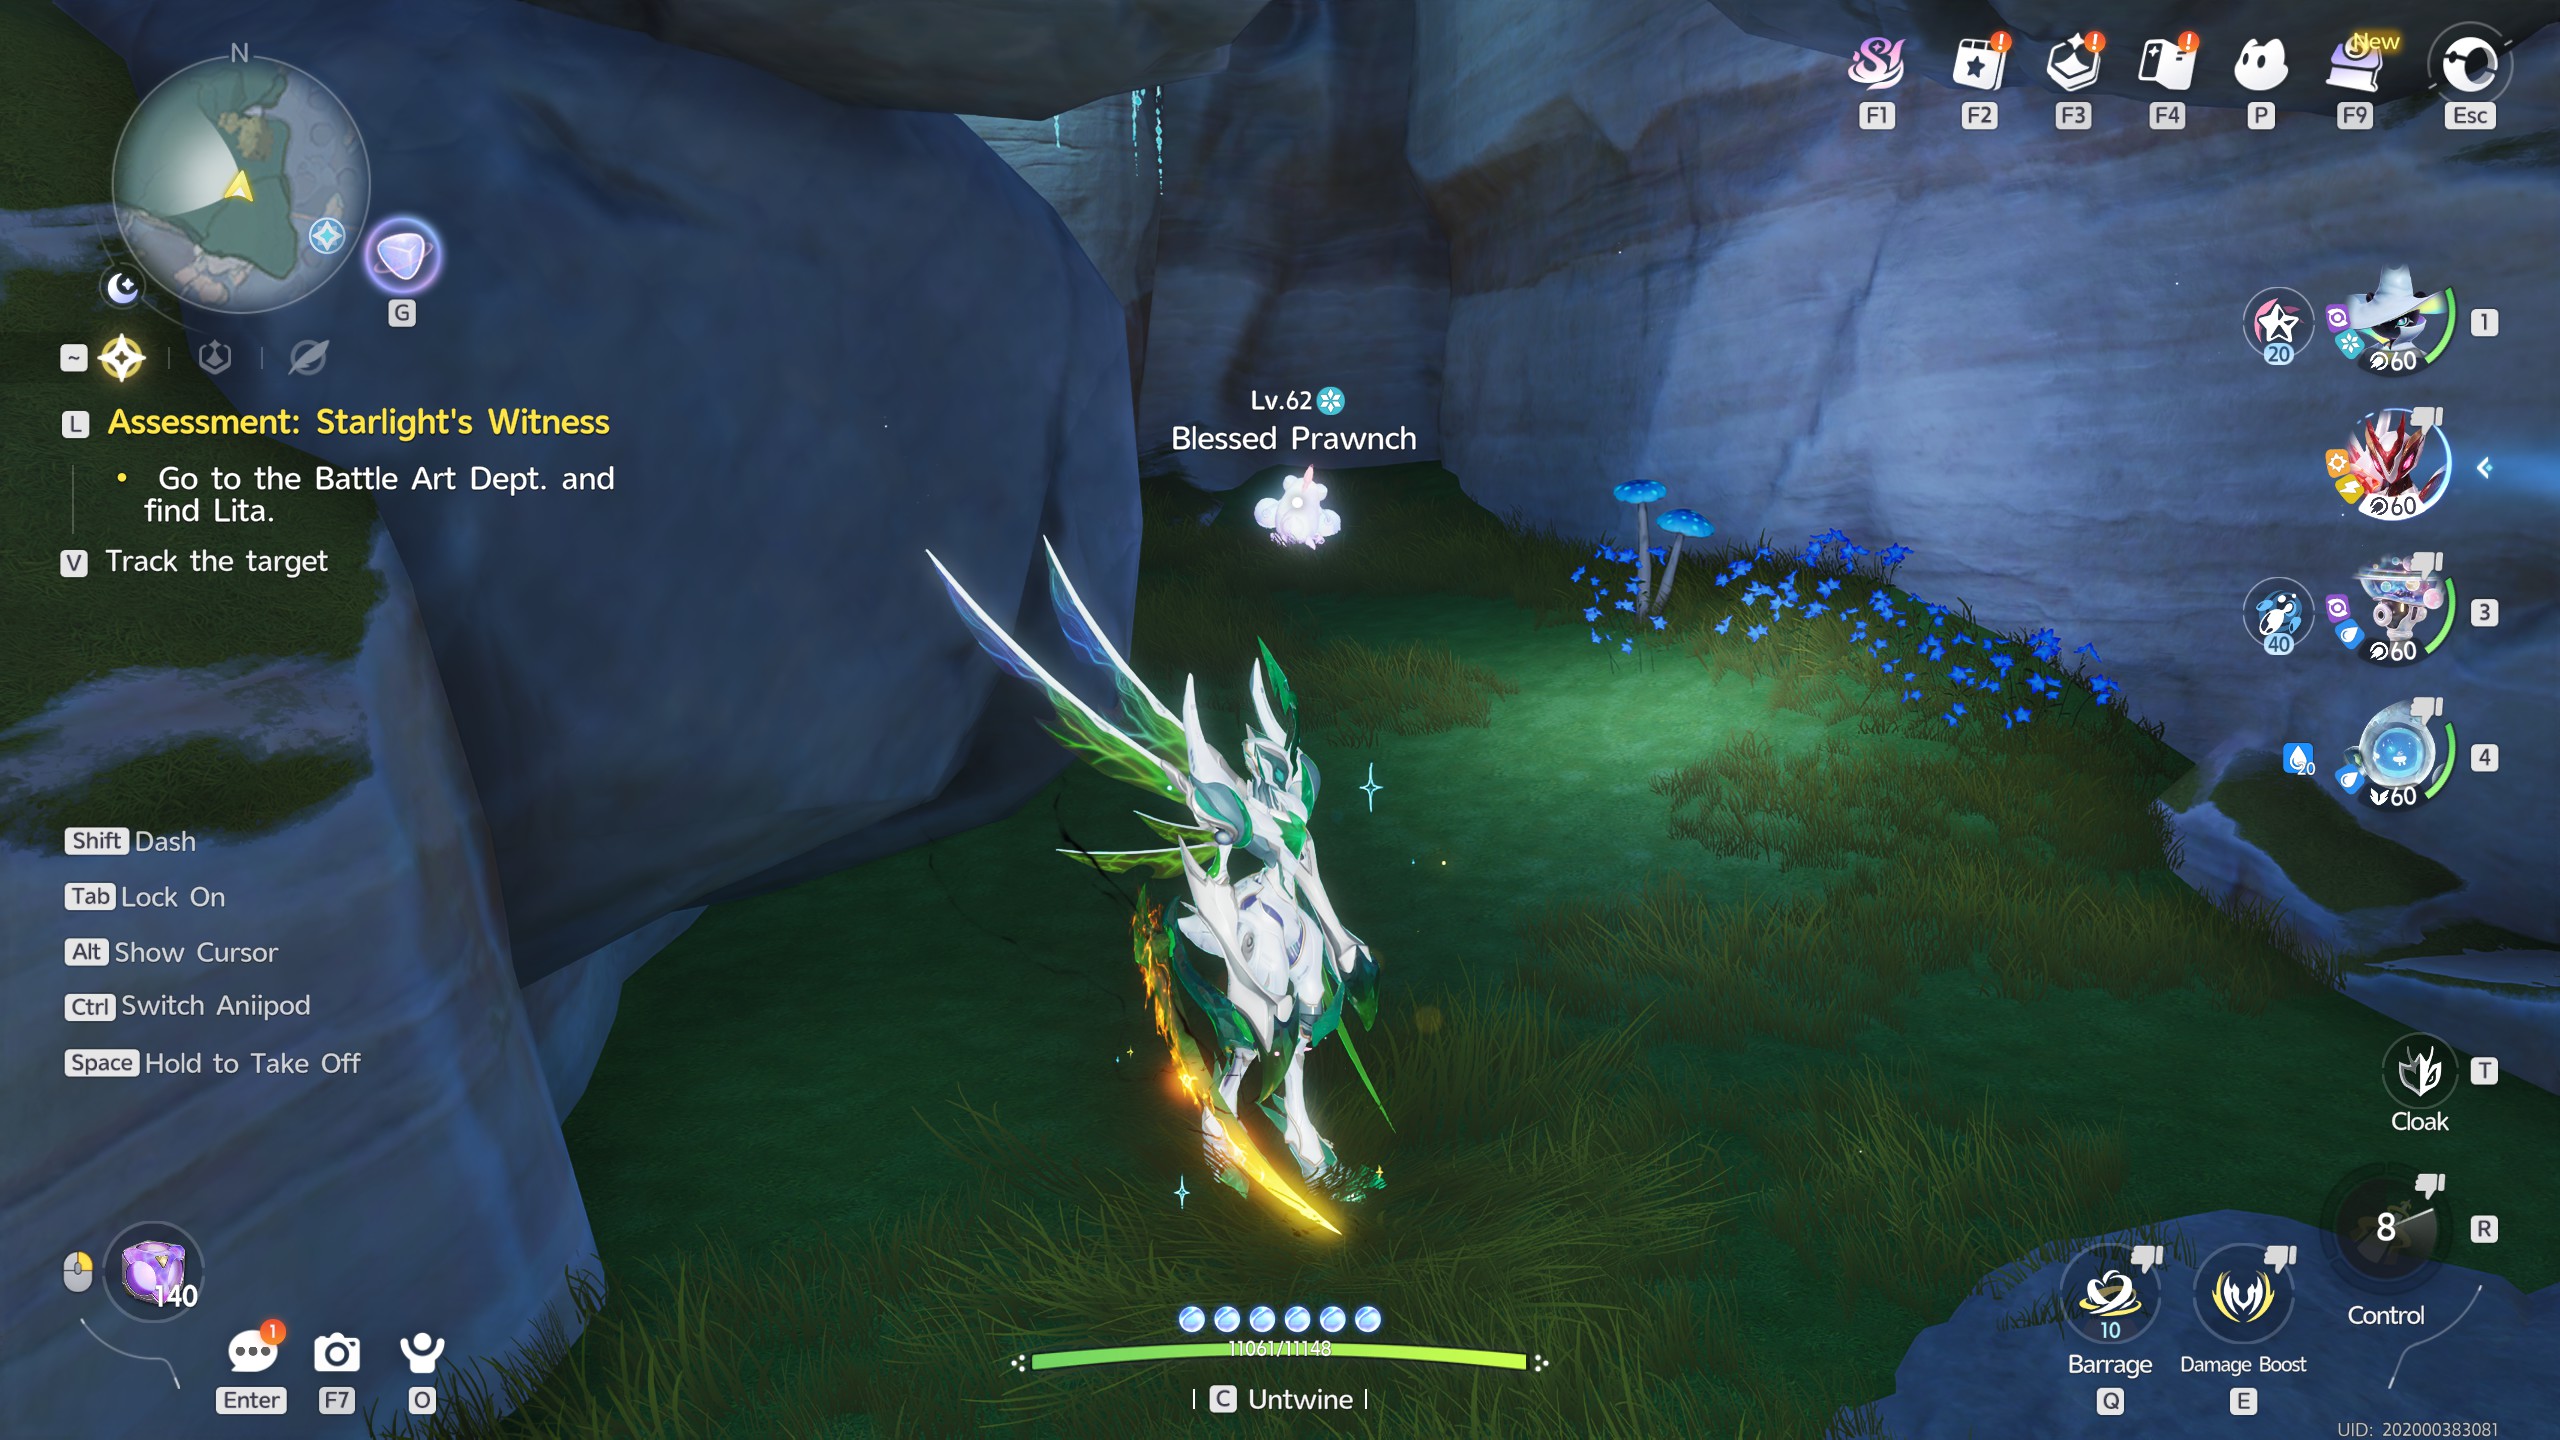
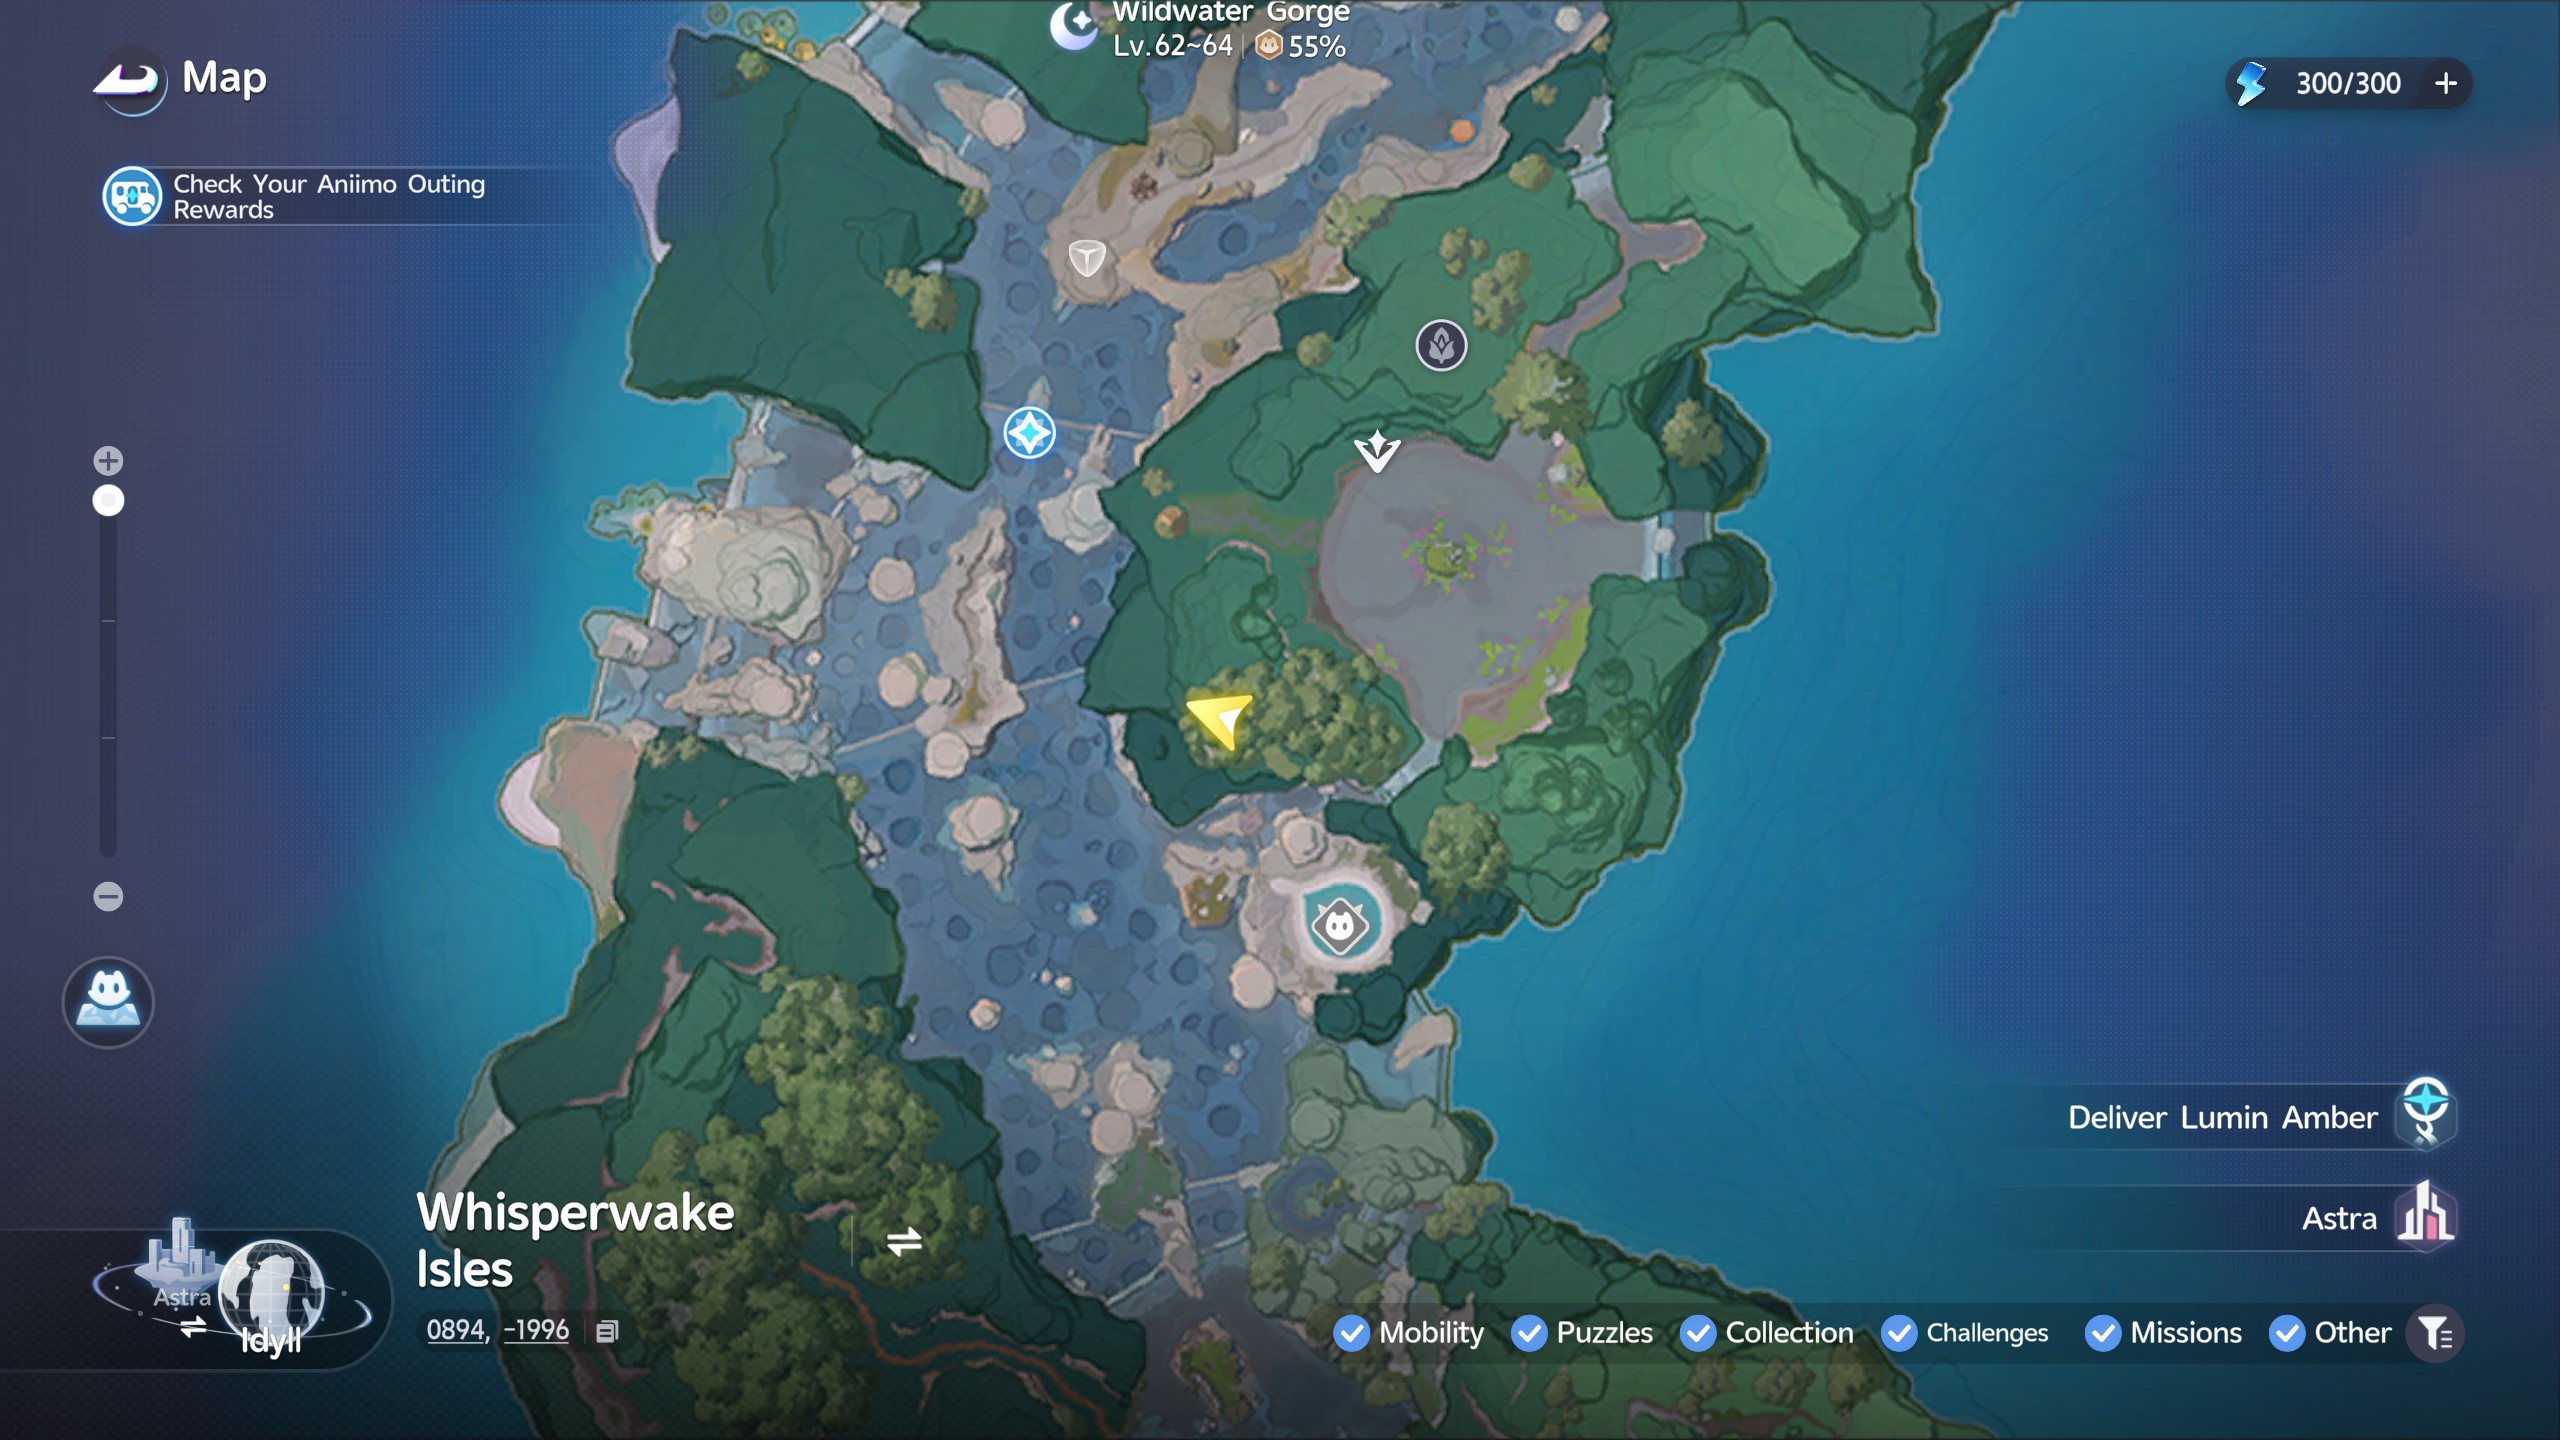
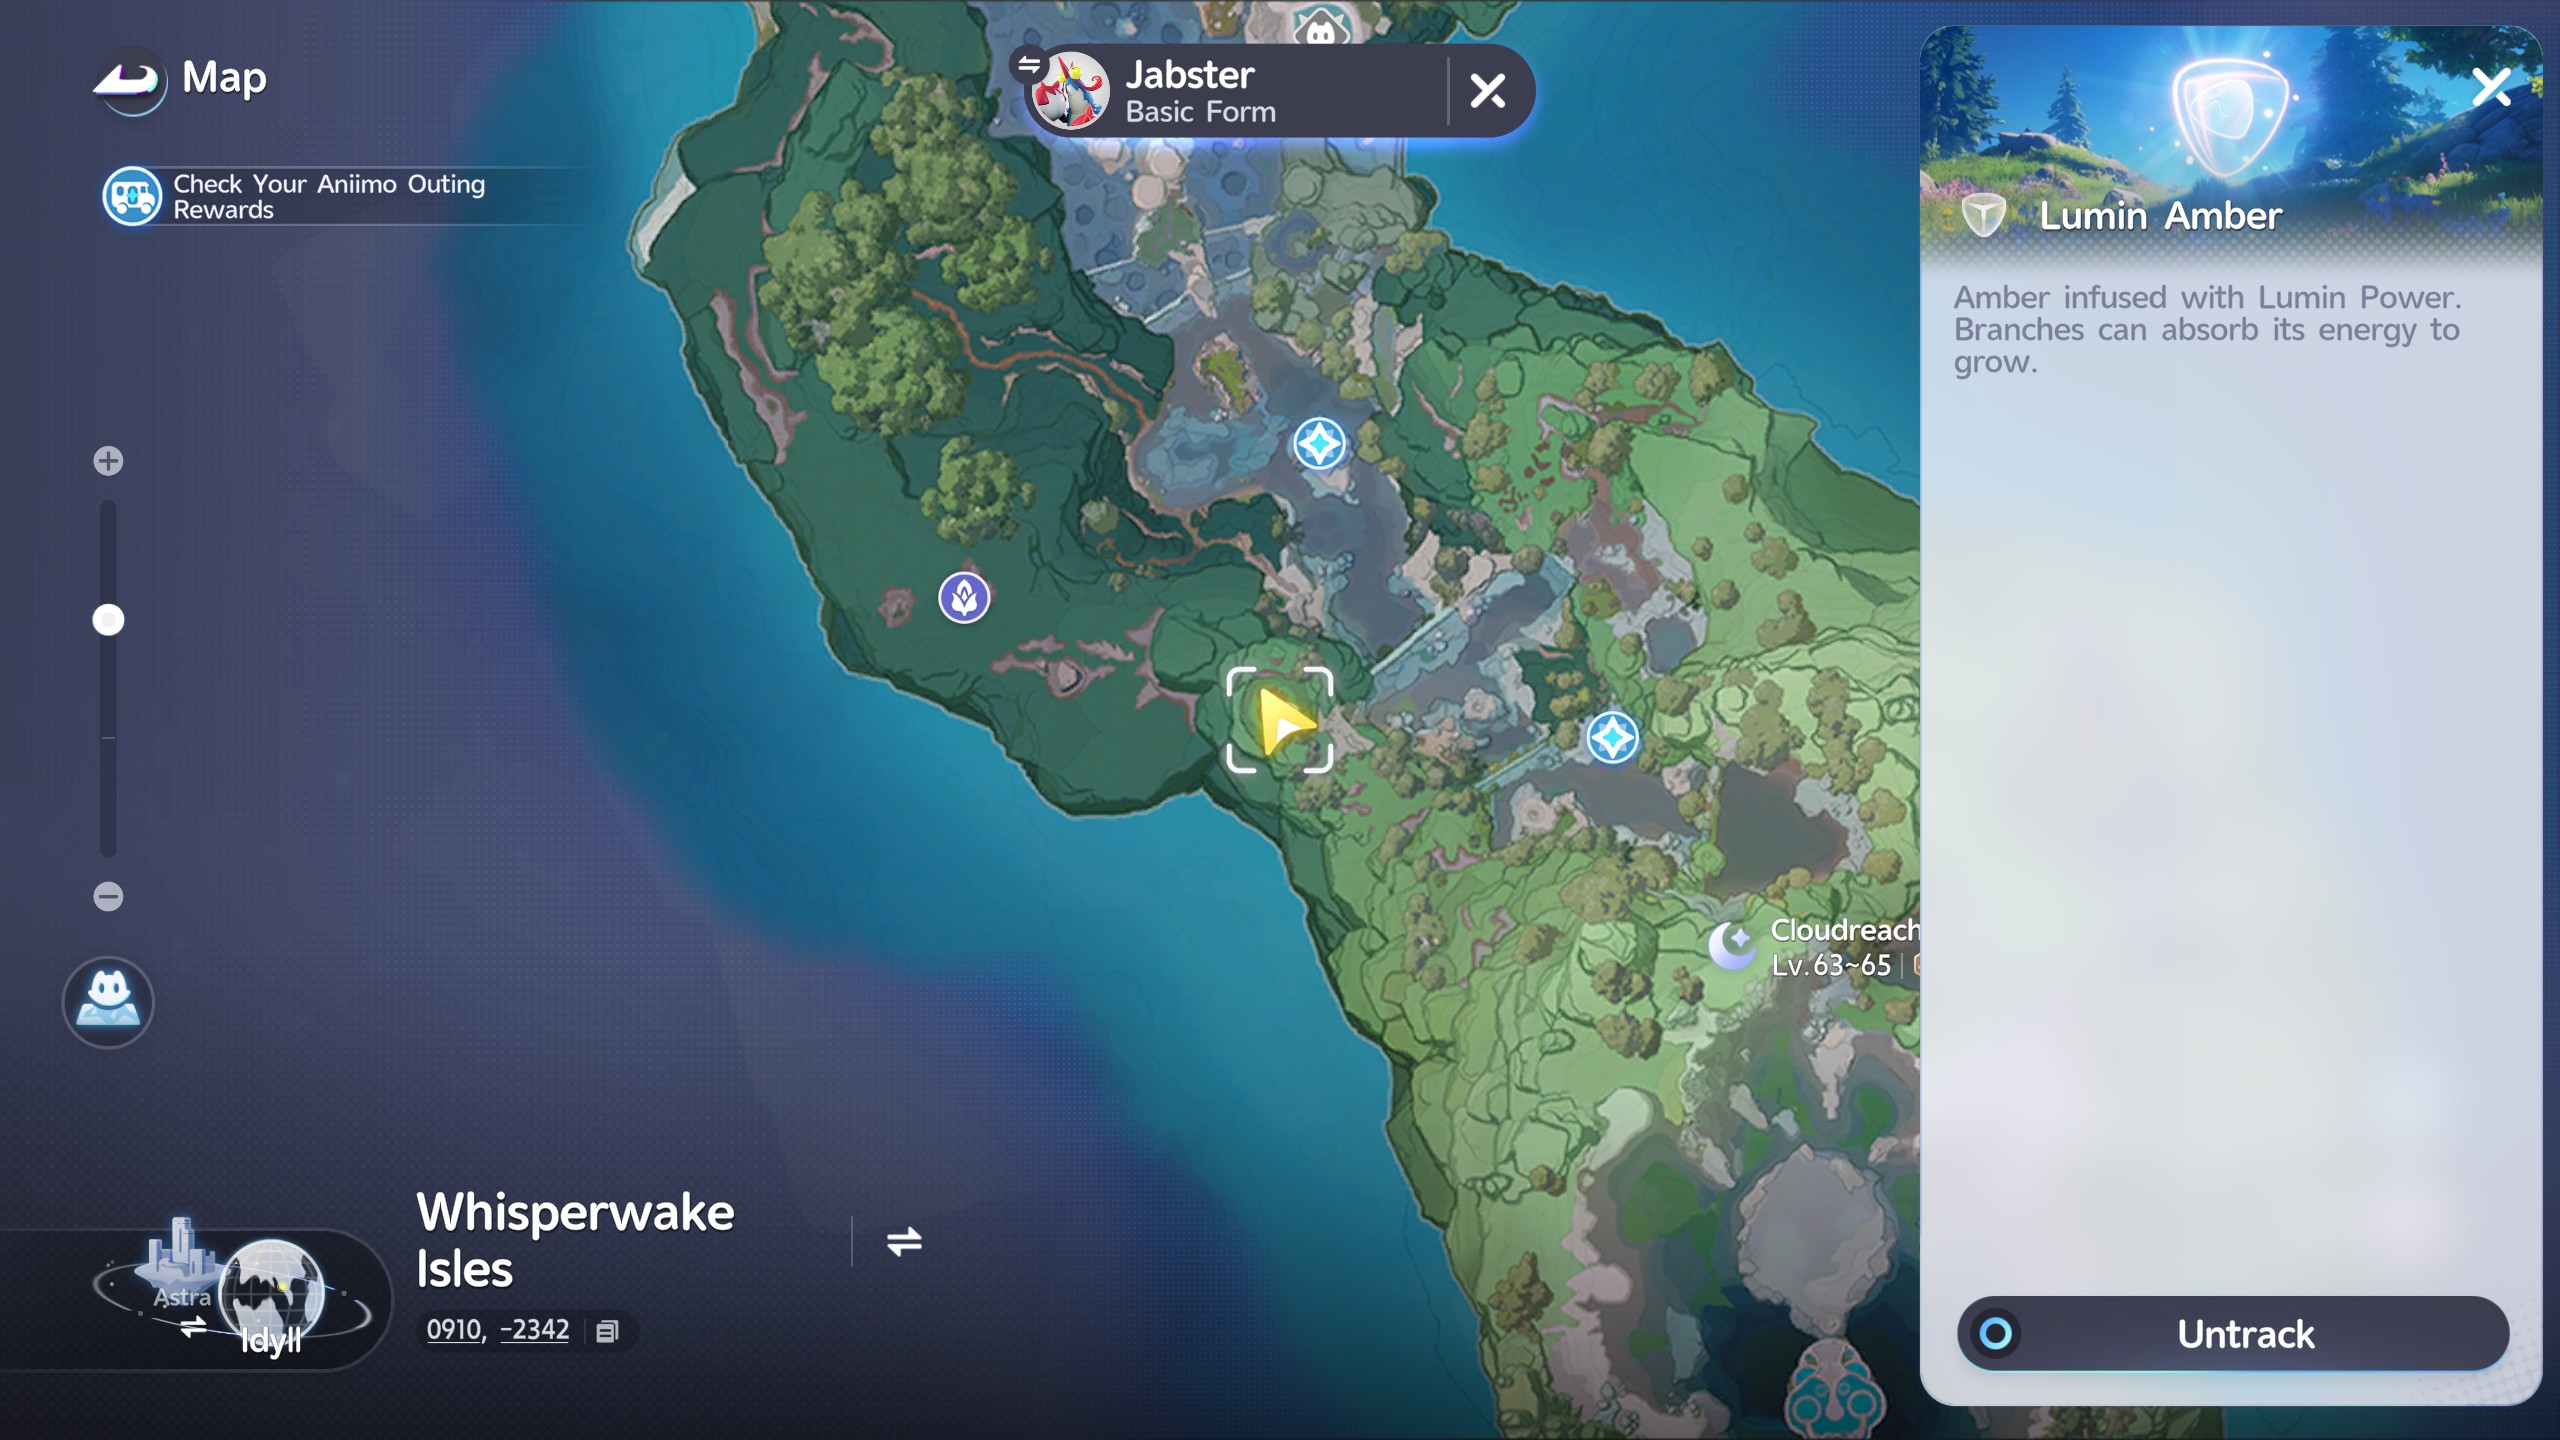
This one can be tricky to find, but if you check below the cliff marked on the map image below, you'll find a cave guarded by some rocks. Breaking the rocks open will reveal a cave with the Blessed Prawnch inside.

Once inside, simply capture the Prawnch with any pod and the Amber will be released so you can collect it.


Prawnch Training

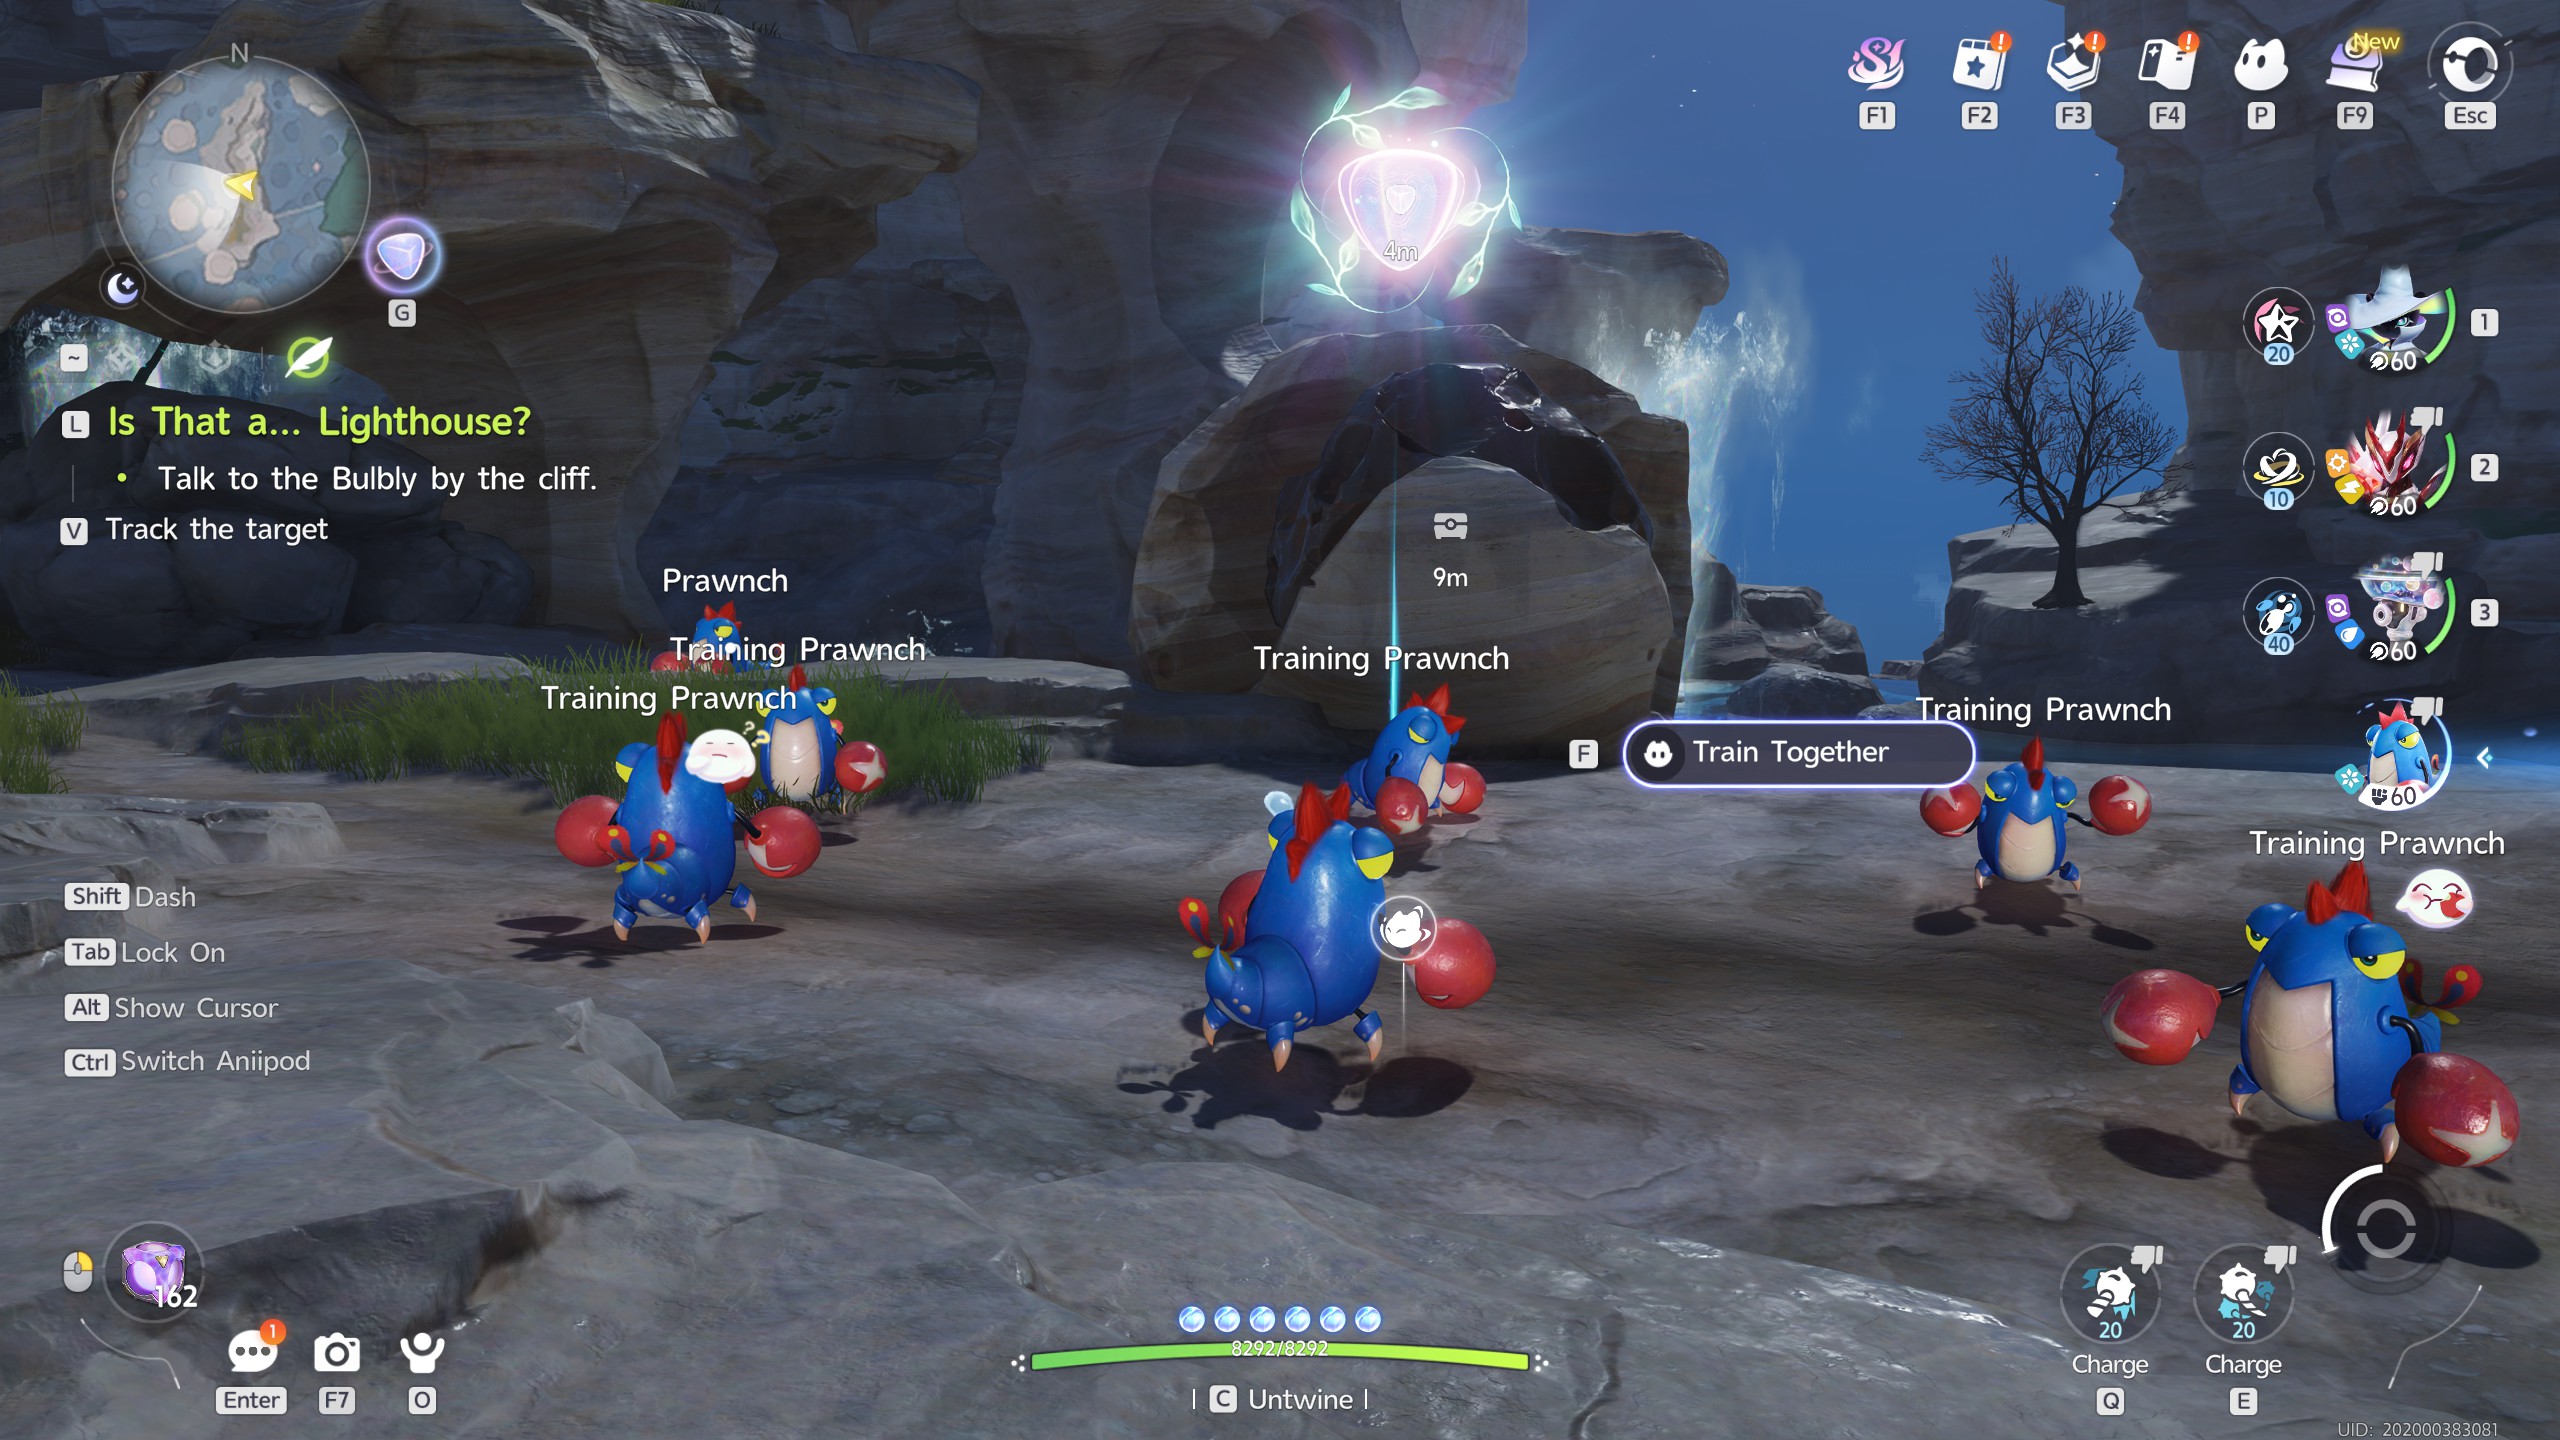
For this Amber, first twine with a Prawnch. You'll need to hit the prompt on screen to train with the existing group, which will reward you with the Amber.


Puffby Nest

This Amber has no actual requirement to collect. All you simply need to do is head up into the nest on the tree. Inside, you'll be able to freely grab the Amber.


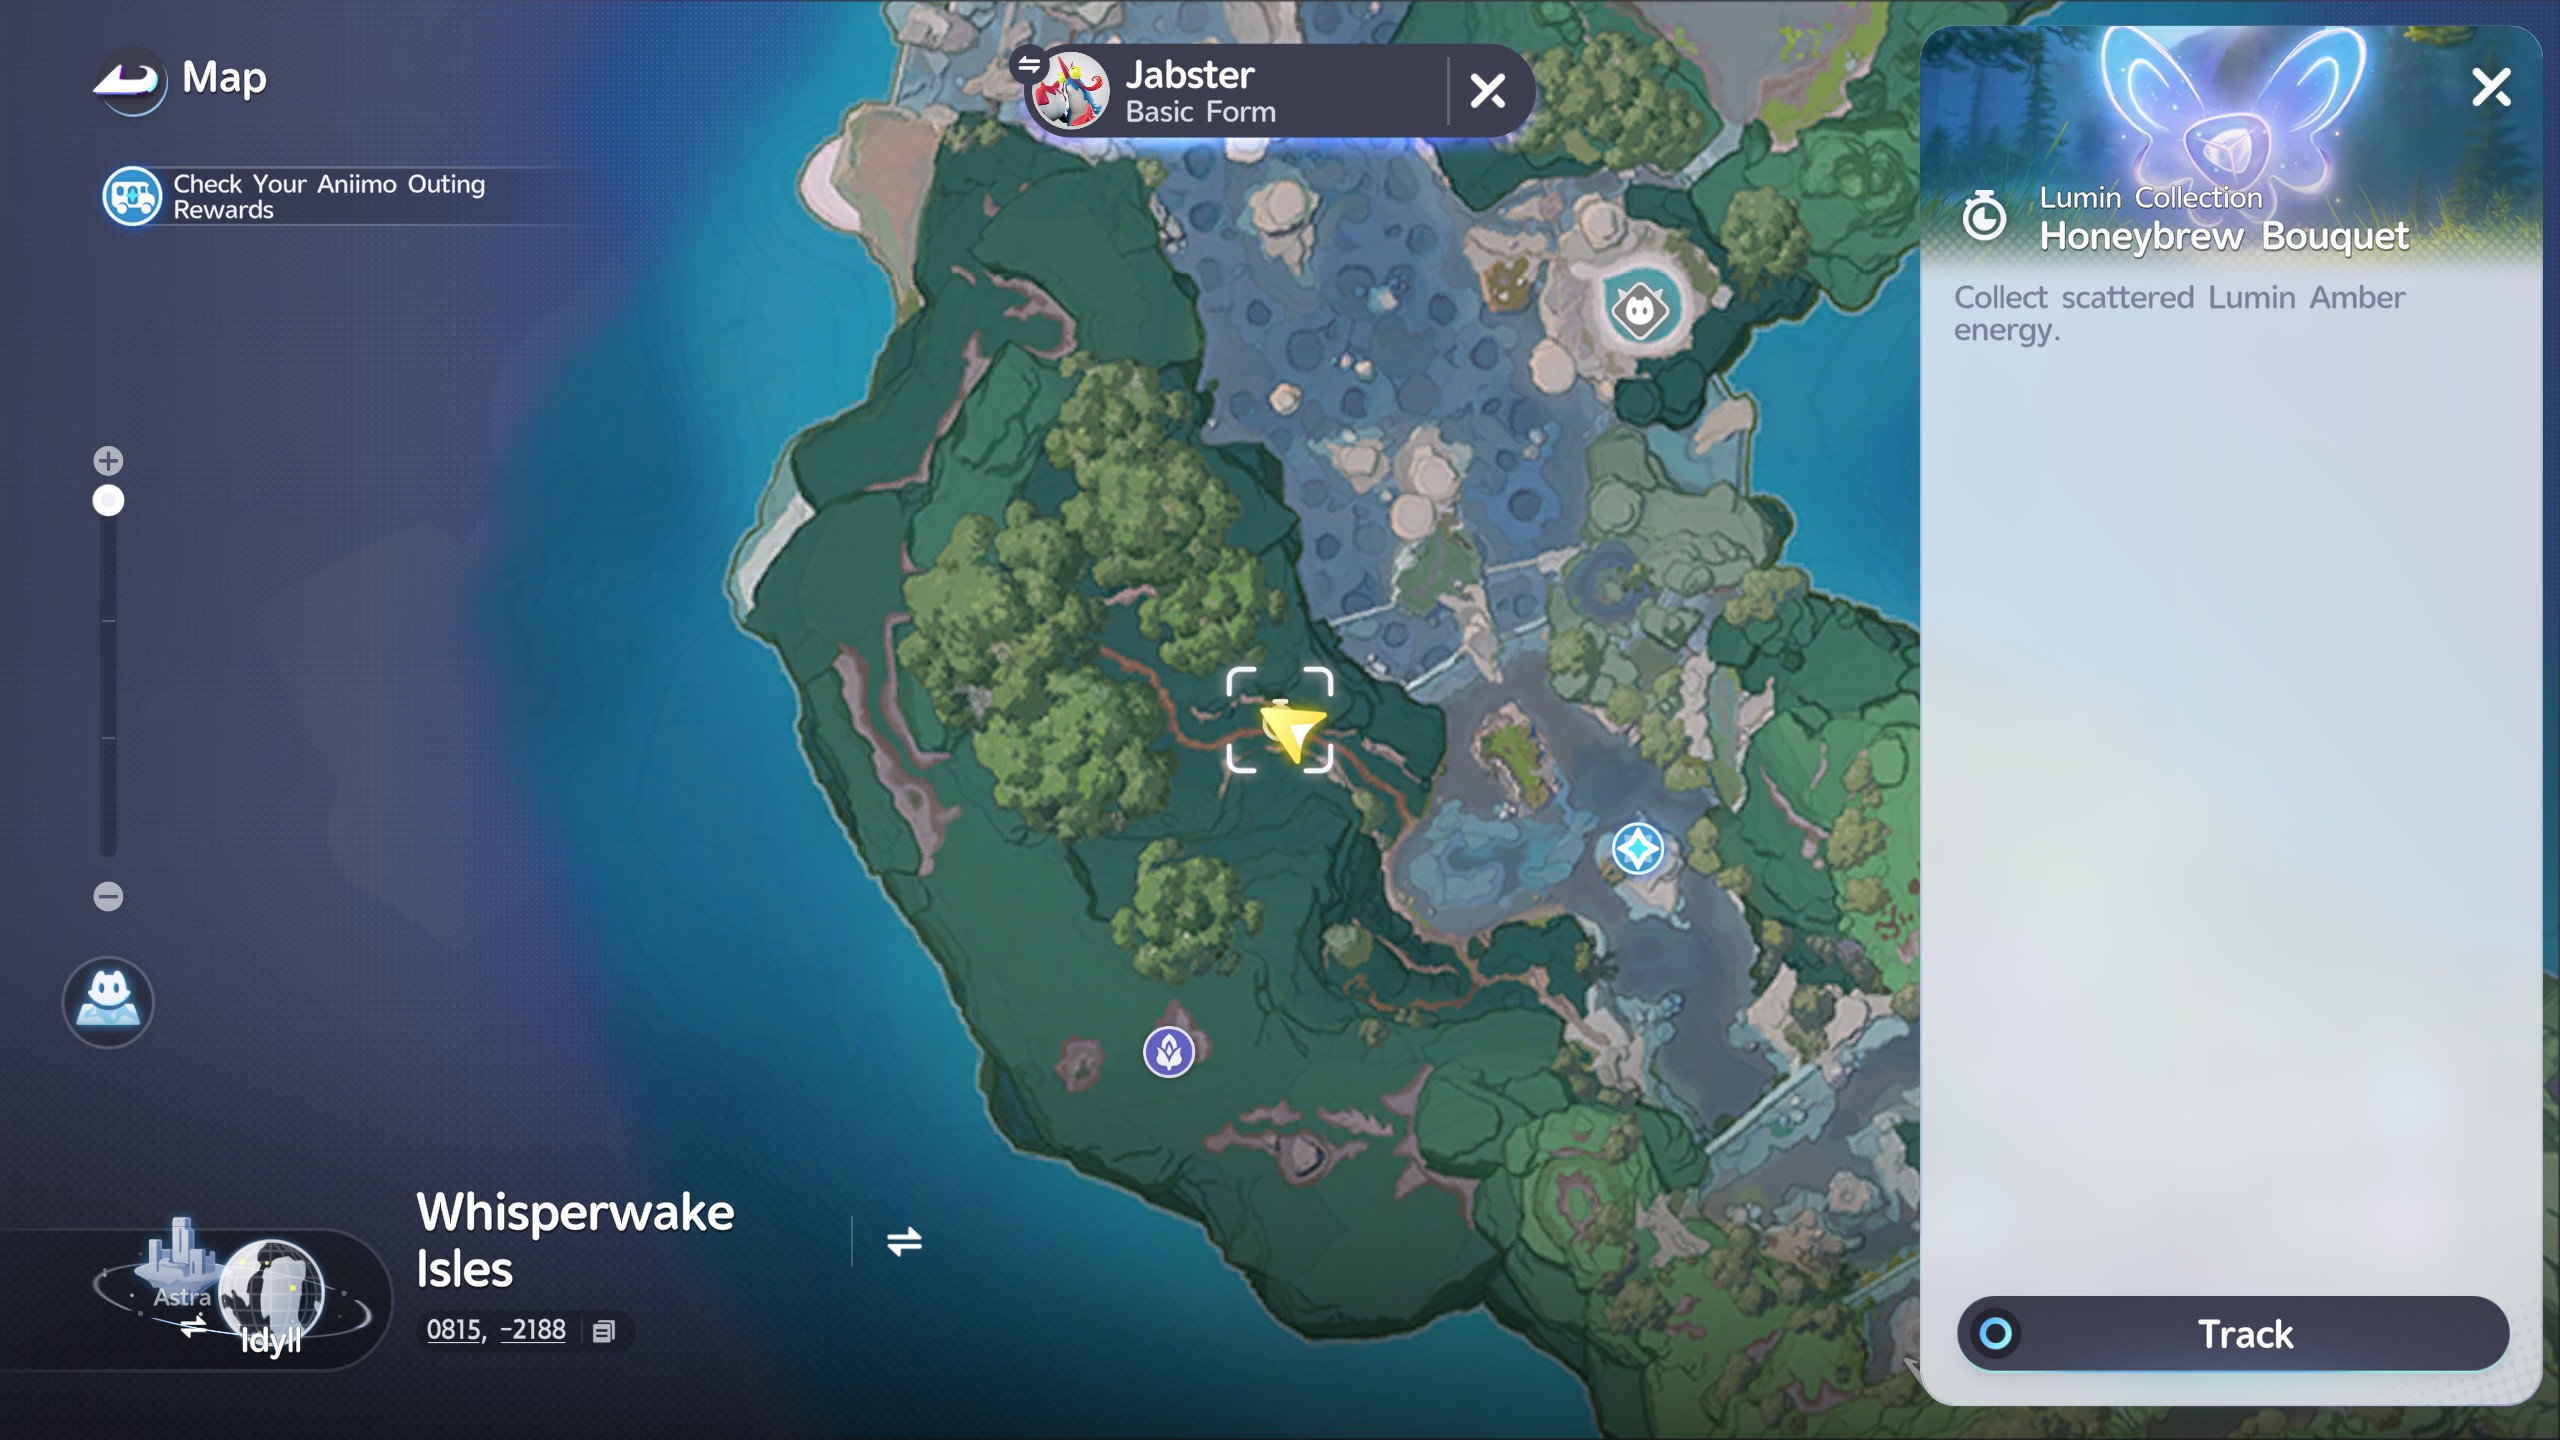
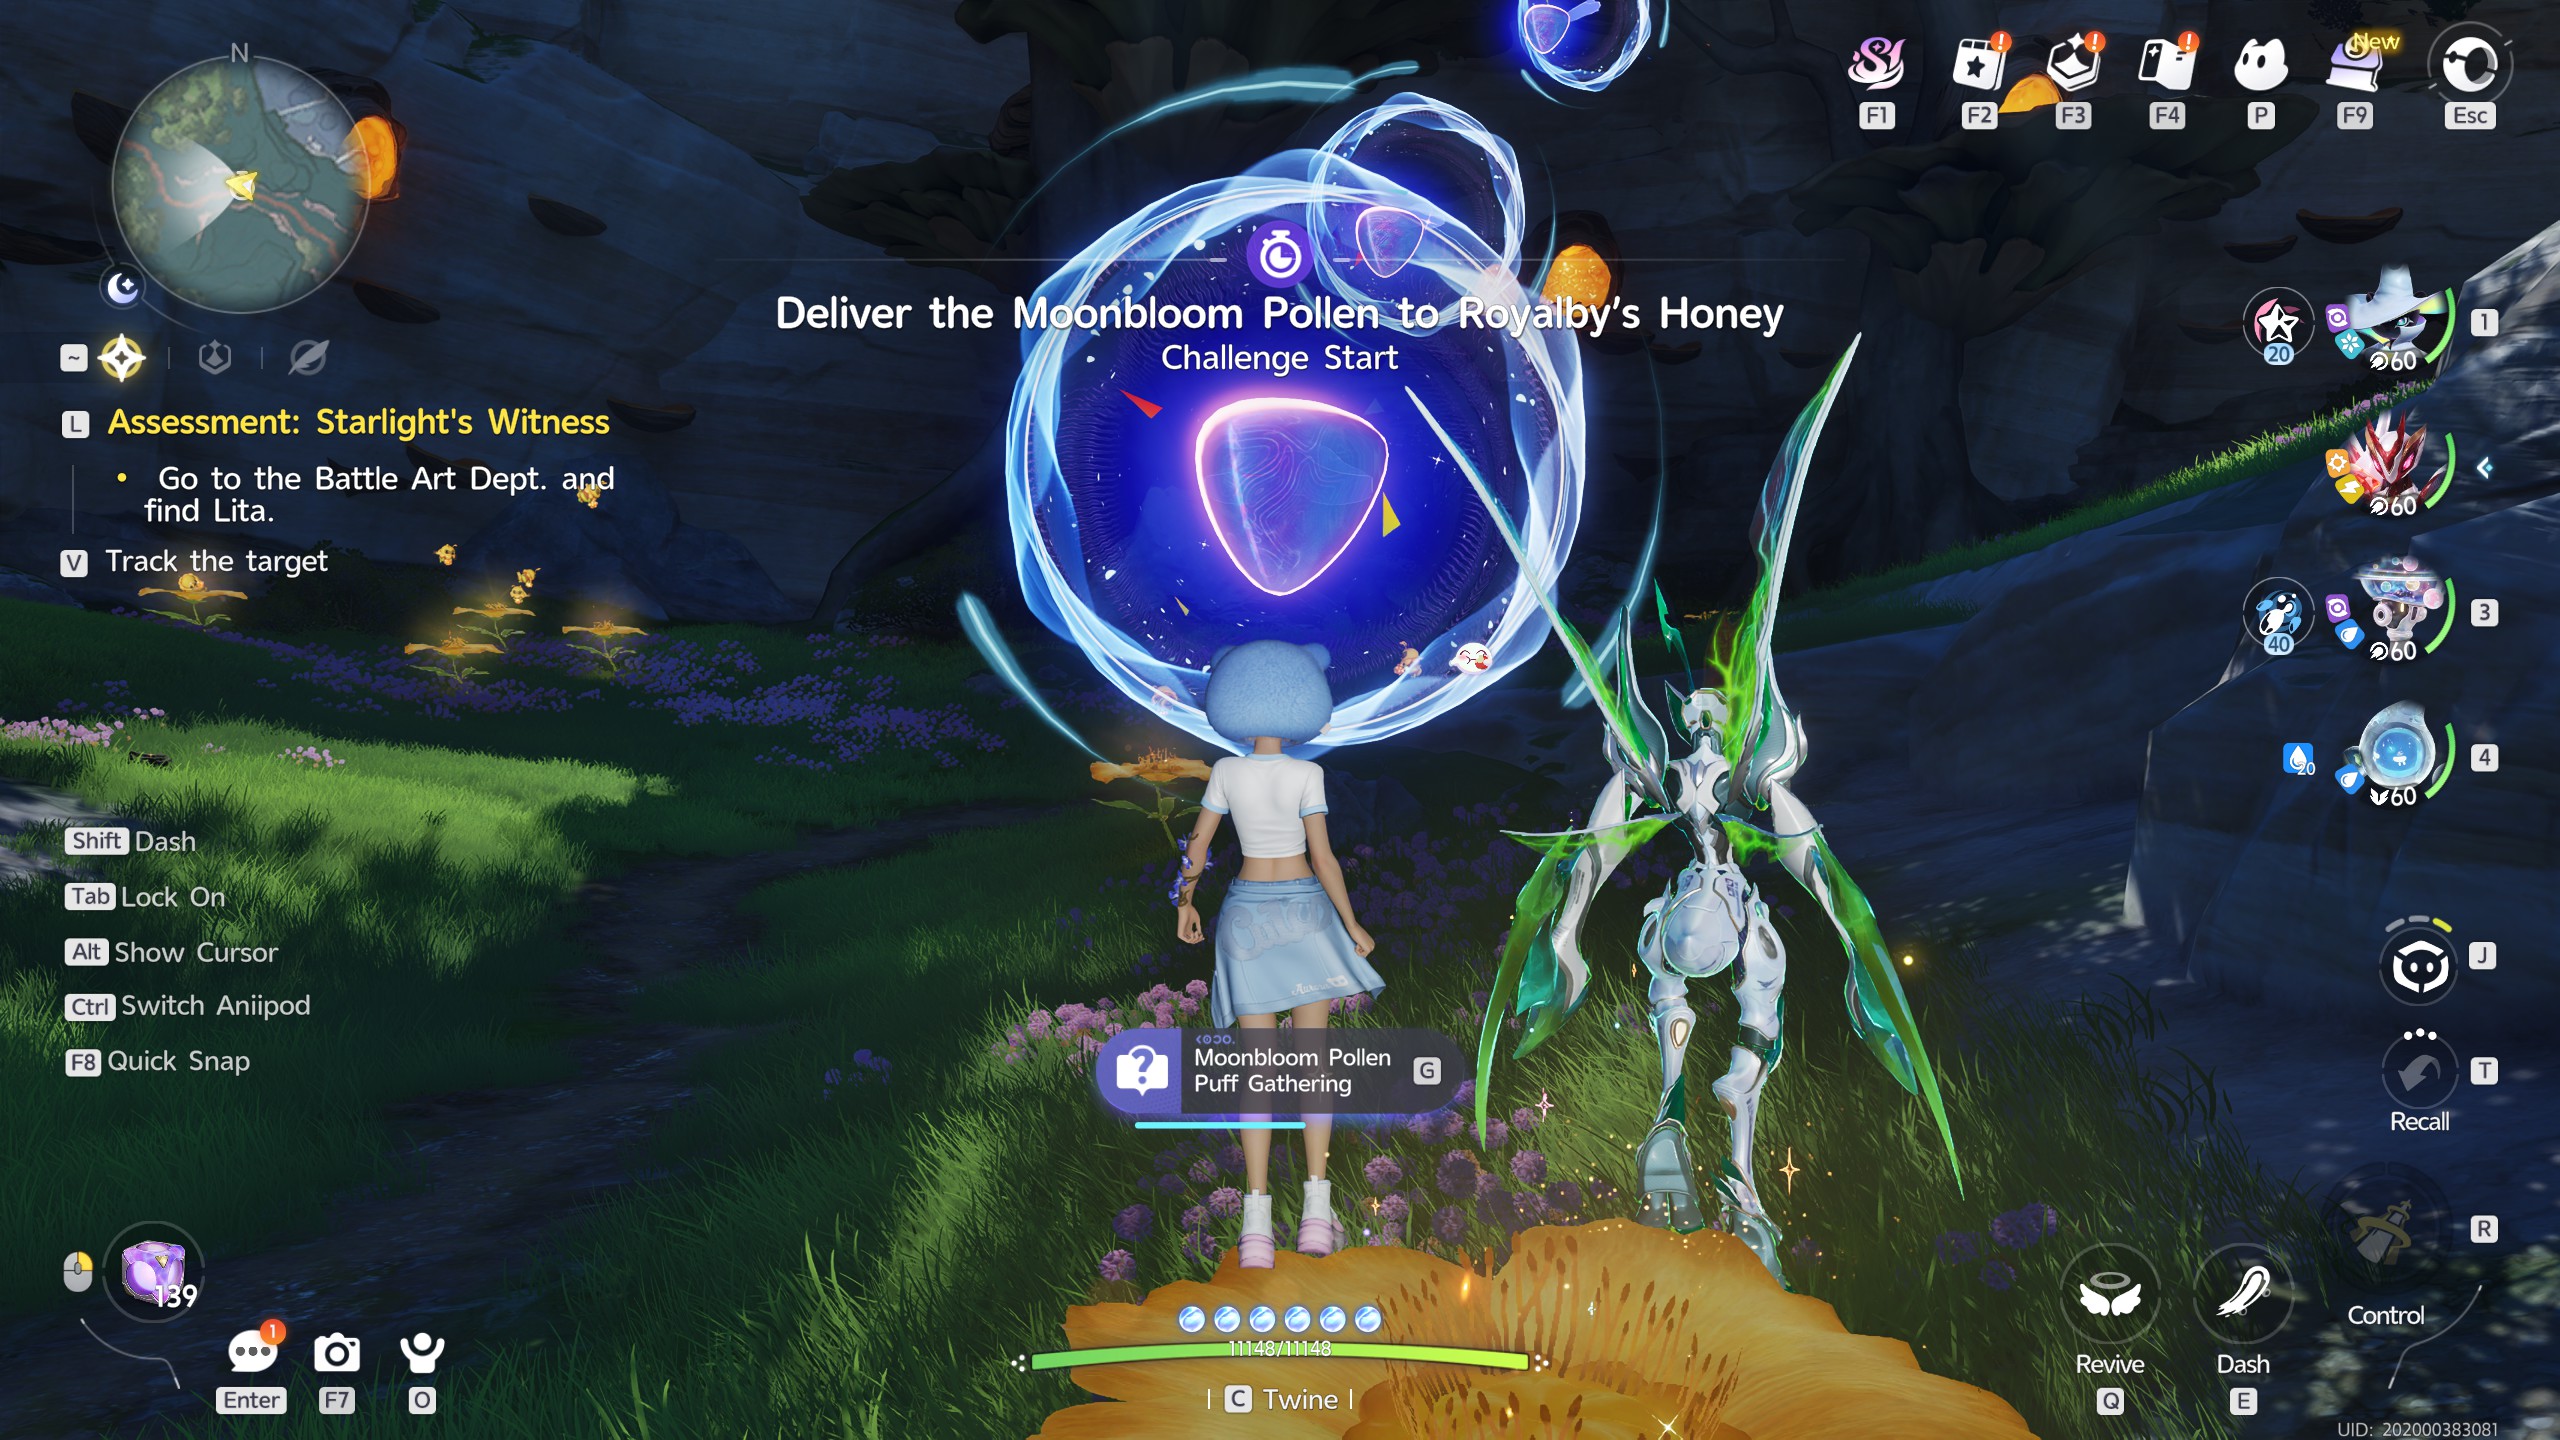
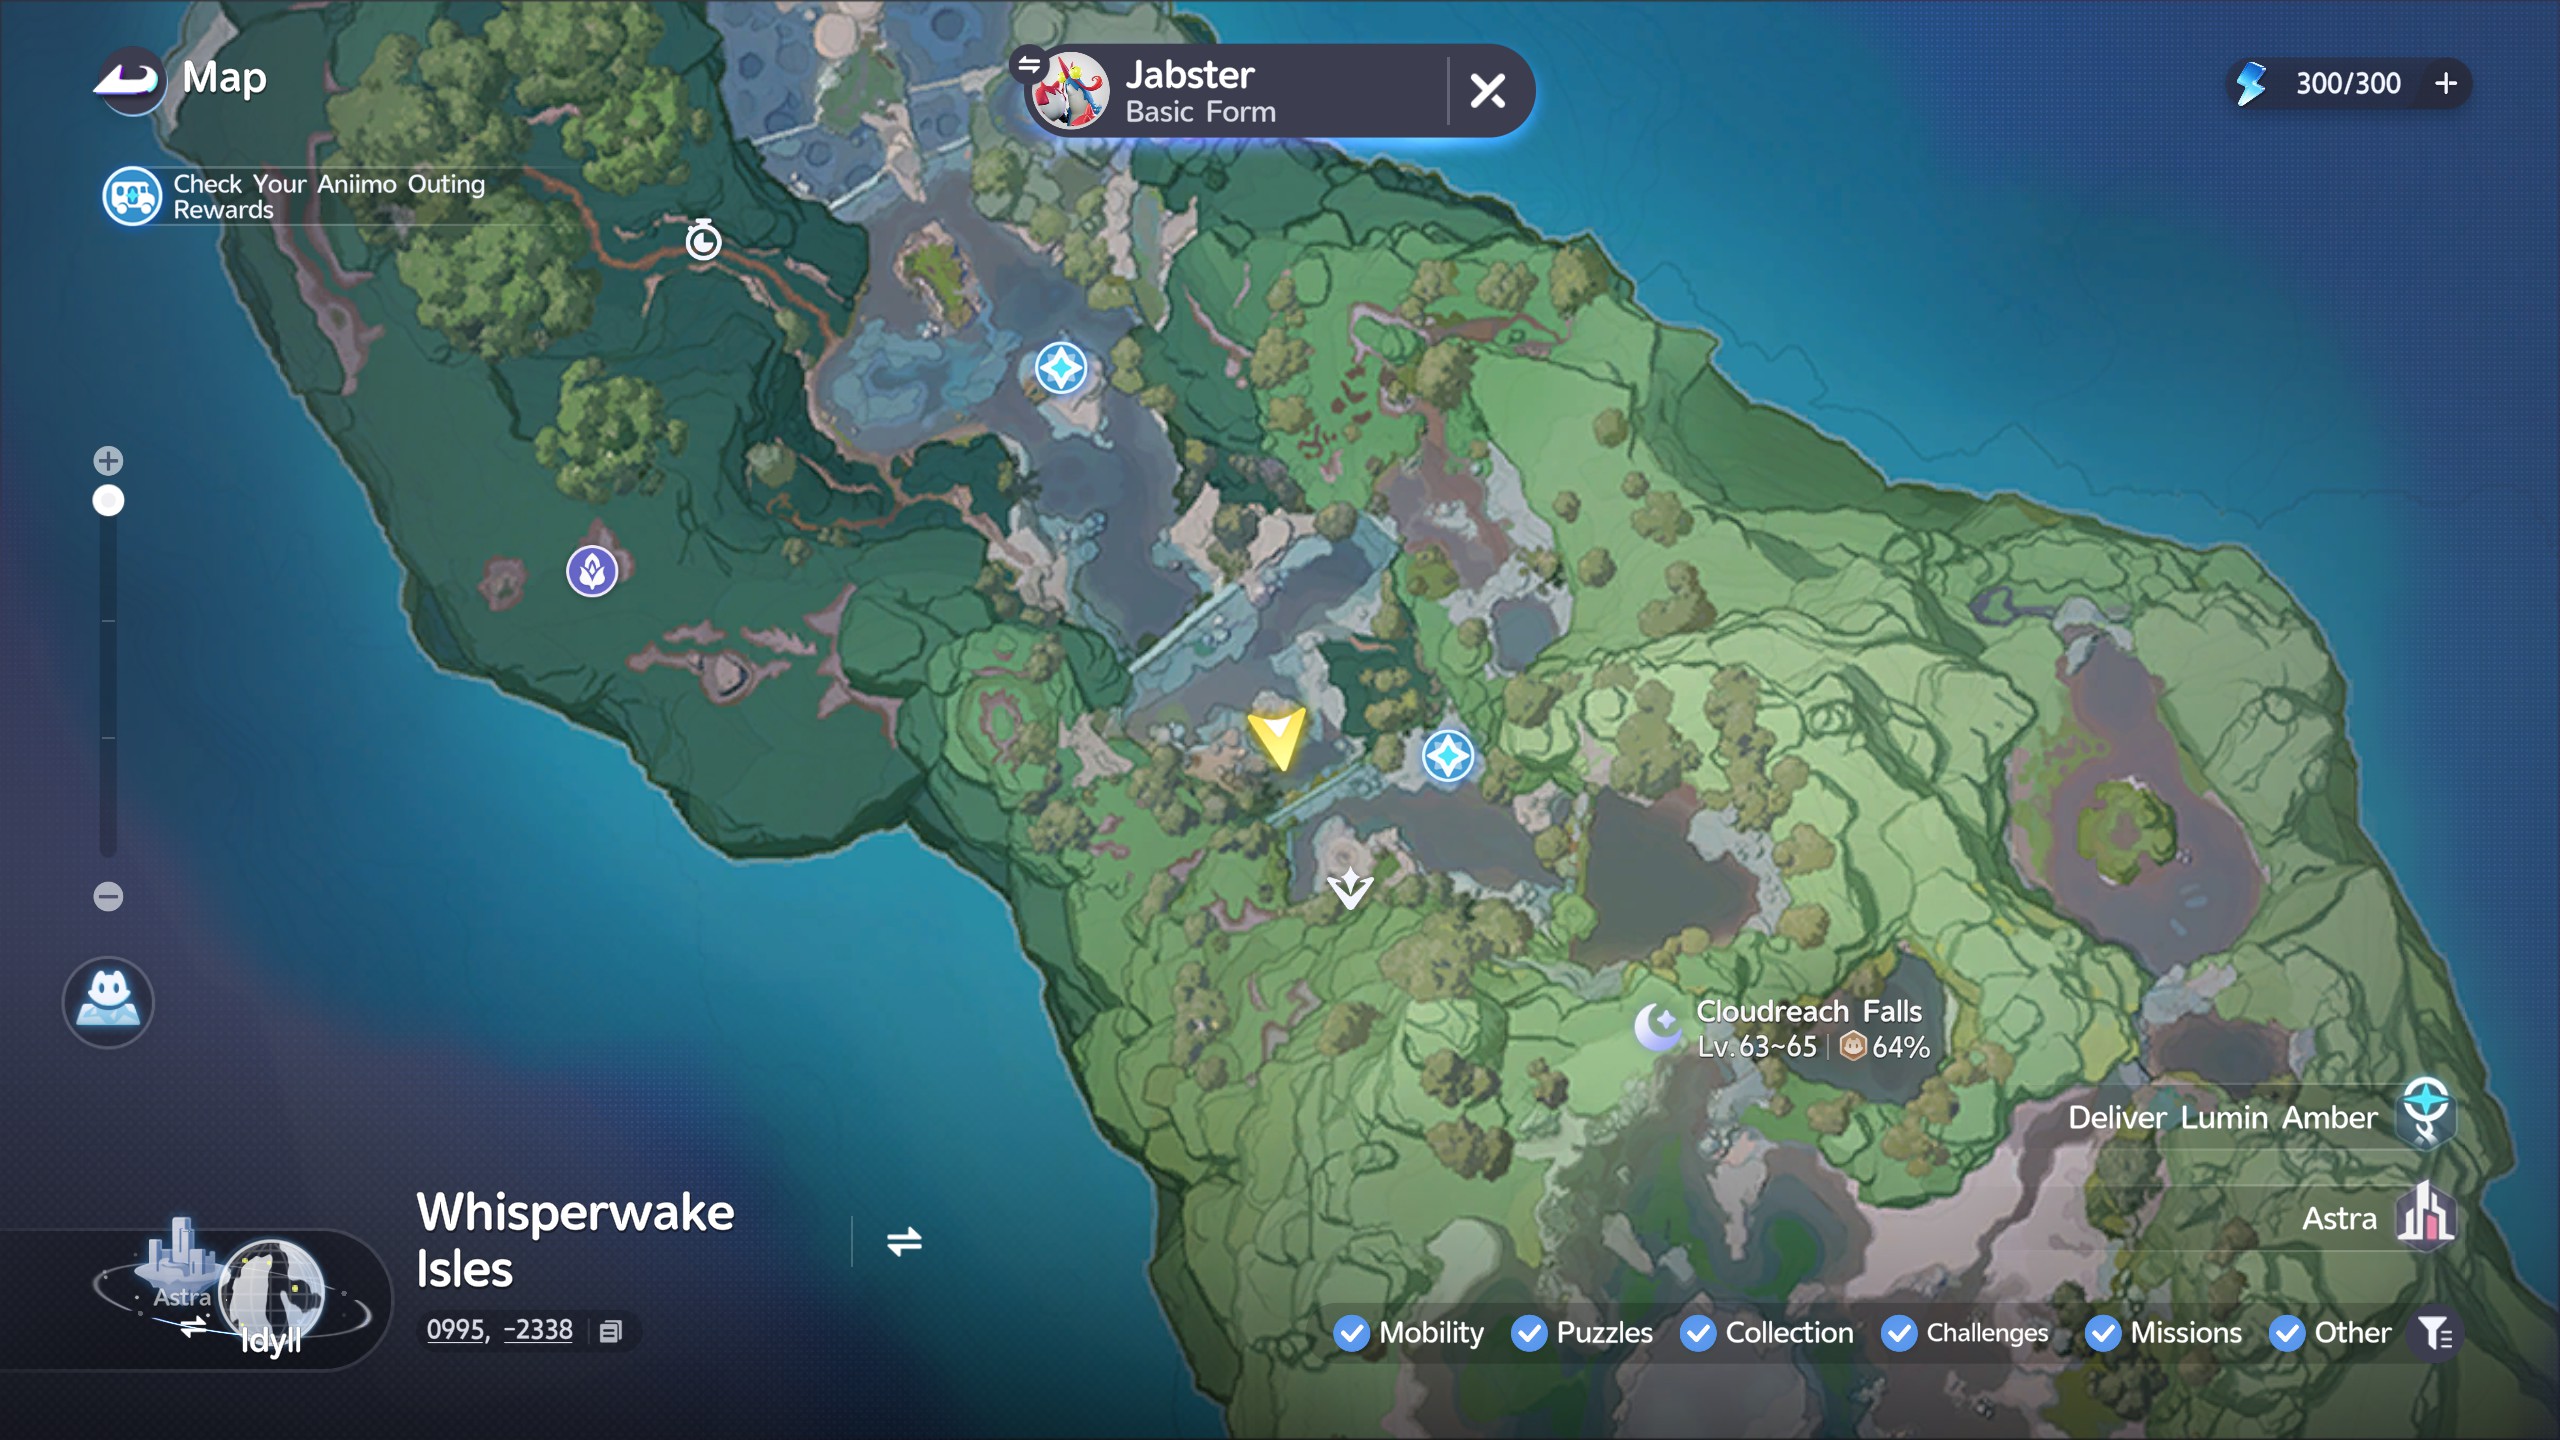
Honeybrew Bouquet

This is another time trial Amber quest. This time, you'll have to get 9 Amber in 45 seconds. This is made easier using a Puffby, but can also be completed with any flying type Aniimo you have in your party. In our case, we used a Fulmintis

Blessed Eko

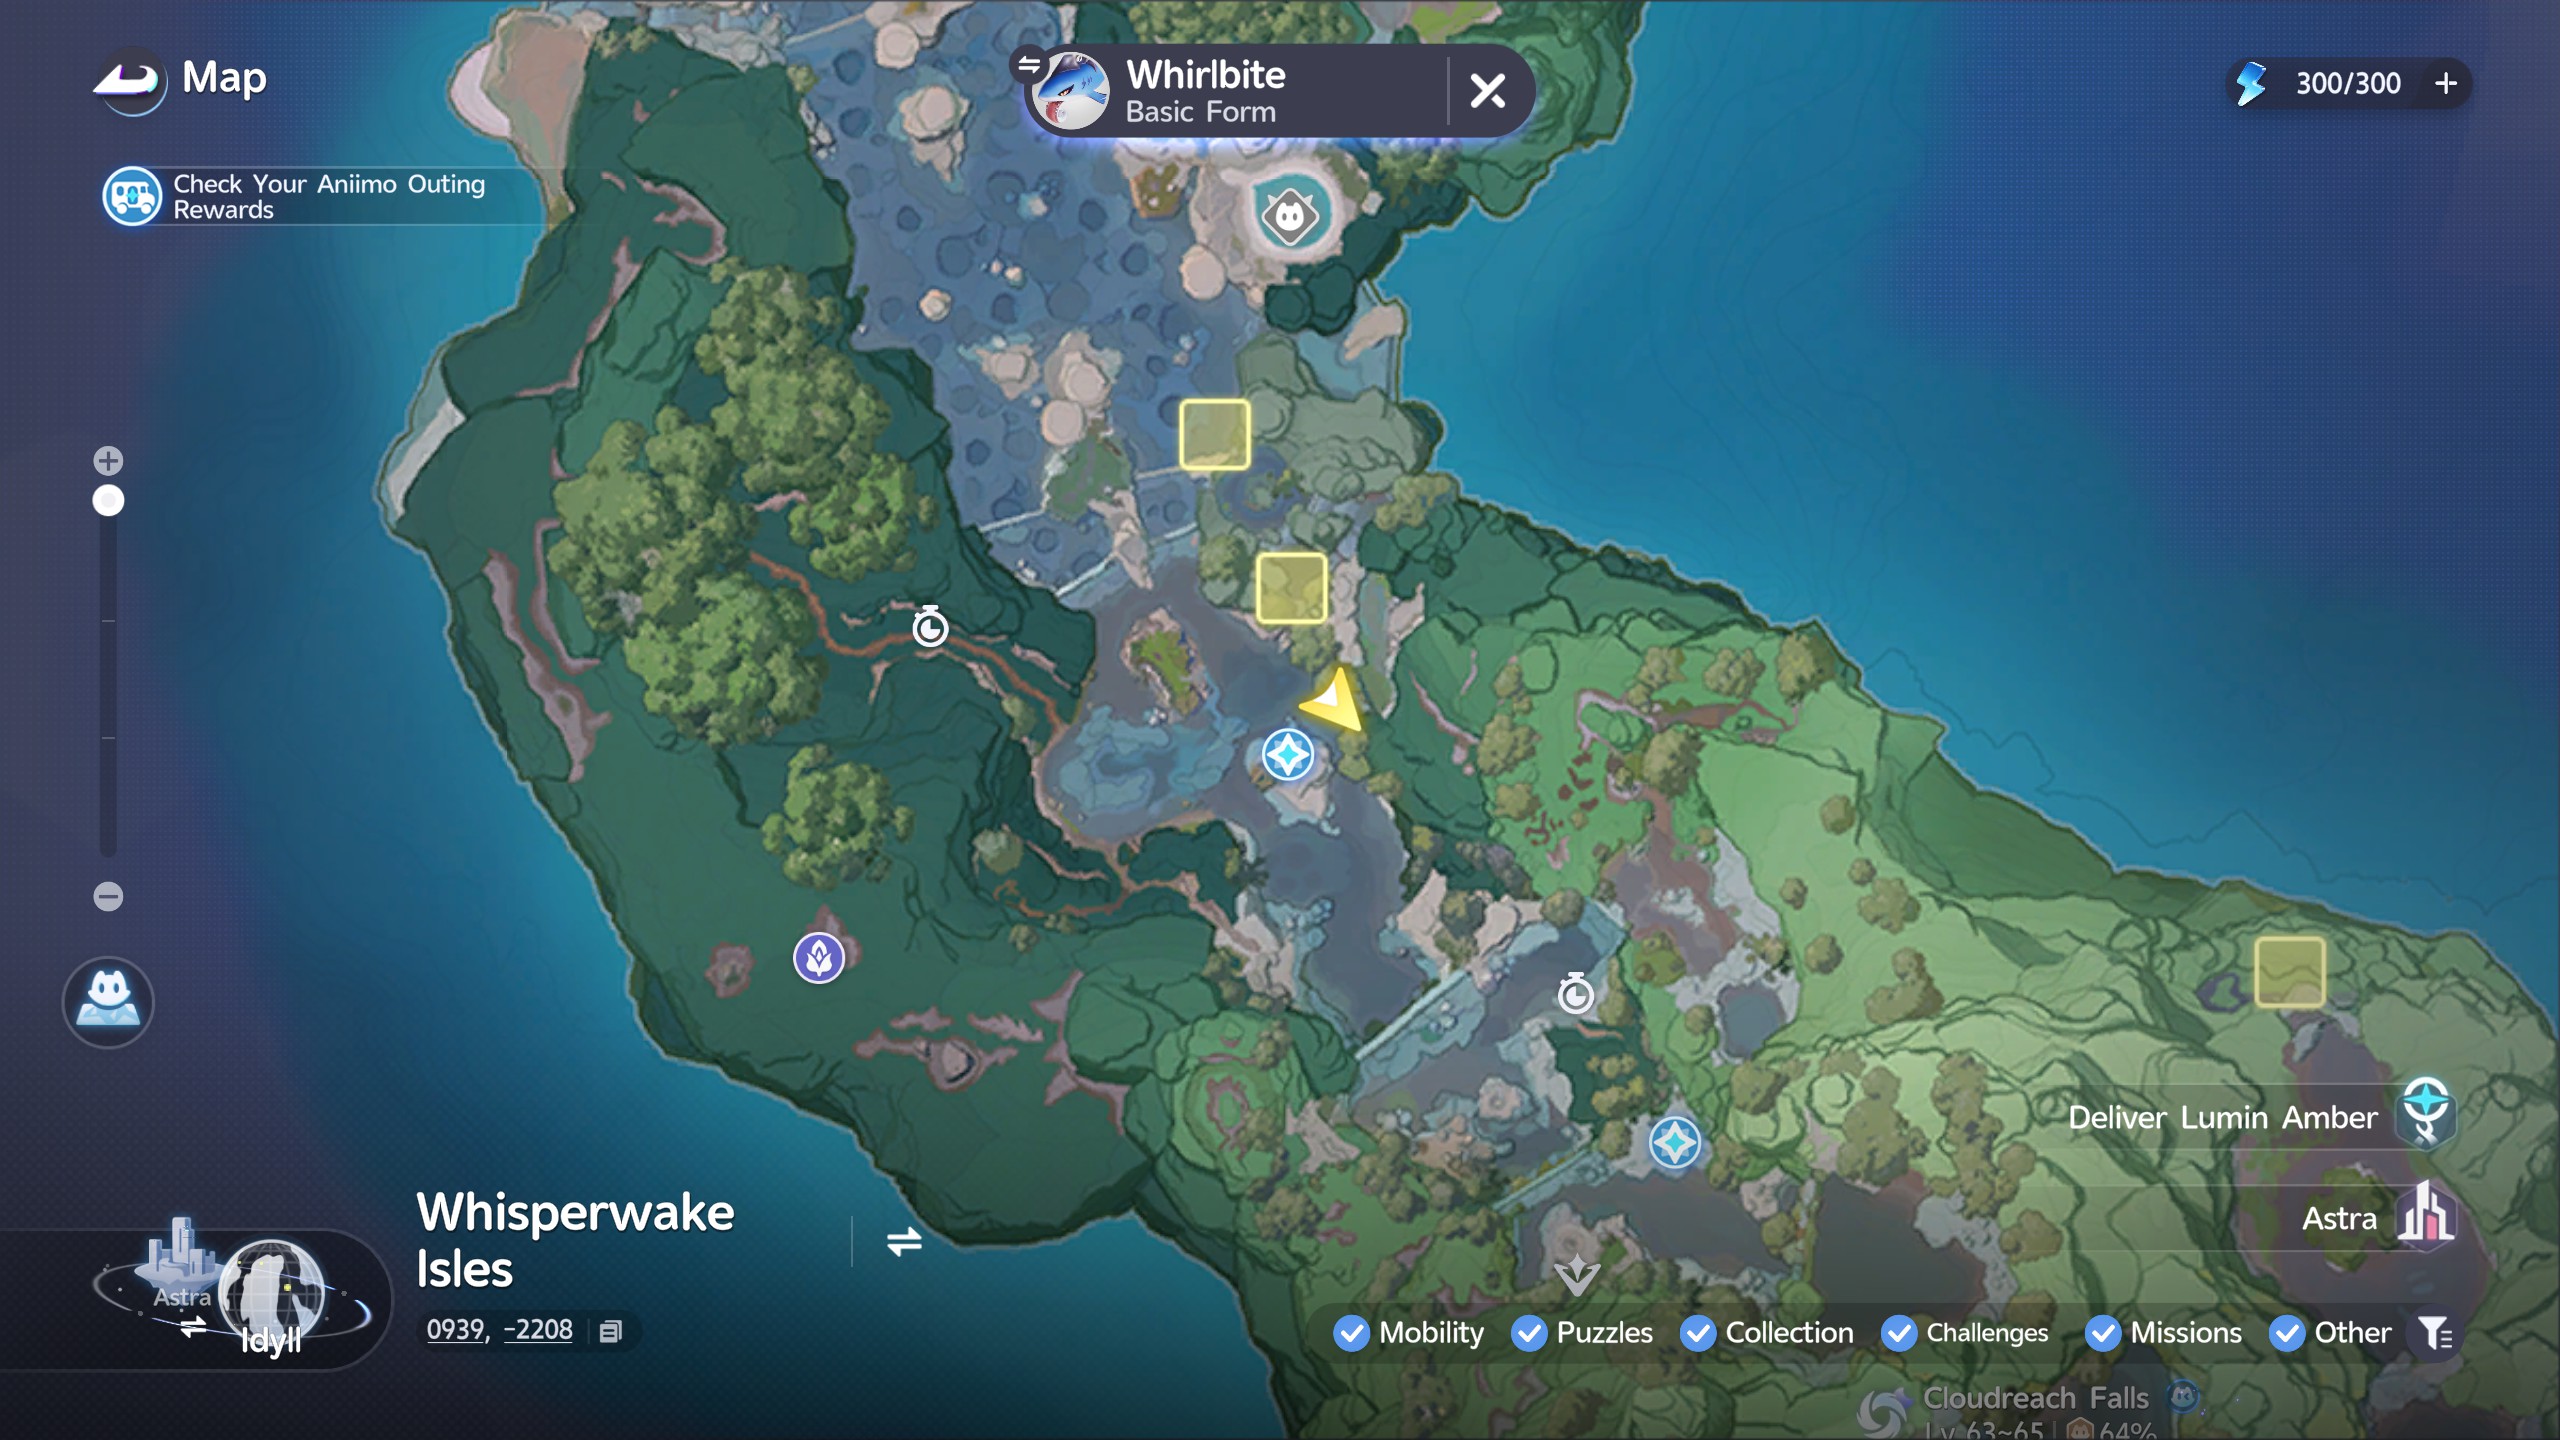
This Amber is hiding inside of an Eko. First, head over to the location marked below on the map. When you arrive, head directly behind the huge waterfall. There is a hidden cave inside.

When you head inside, look up. On the ceiling you'll find the Eko sleeping. All you need to do is capture it, and then use a Flying Aniimo to fly up and grab the dropped Amber.


Waterfall Climb

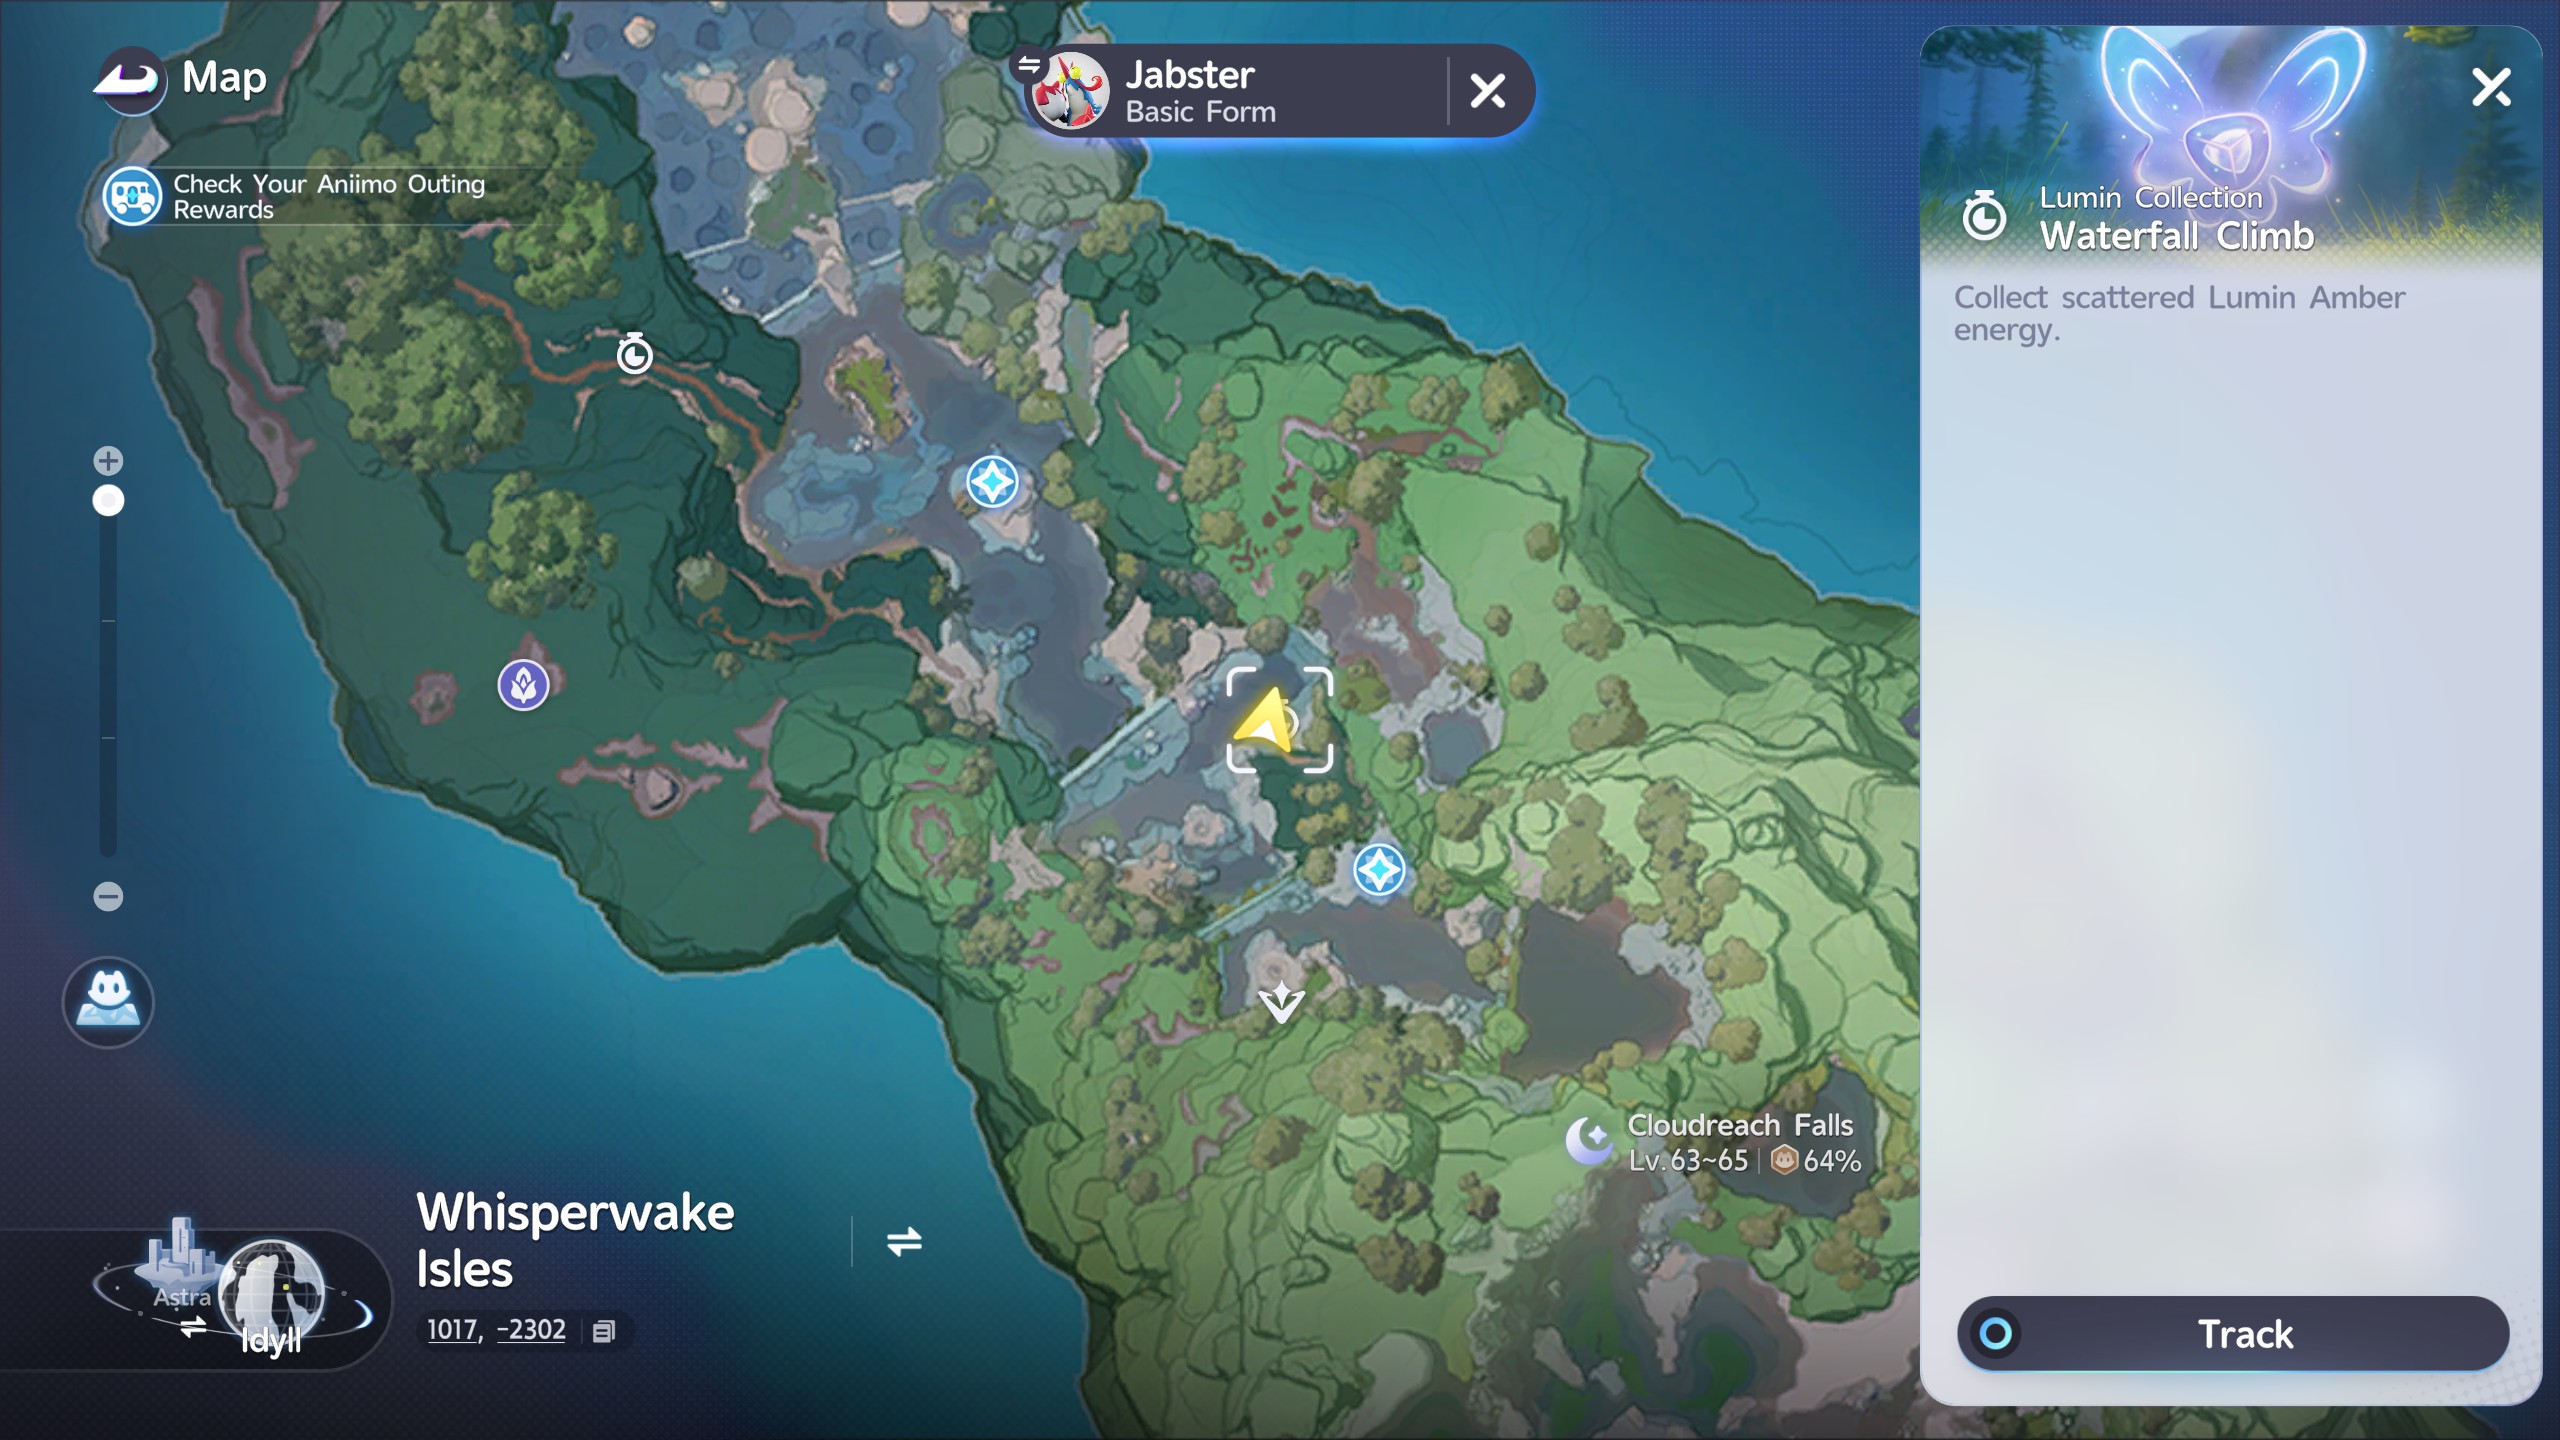
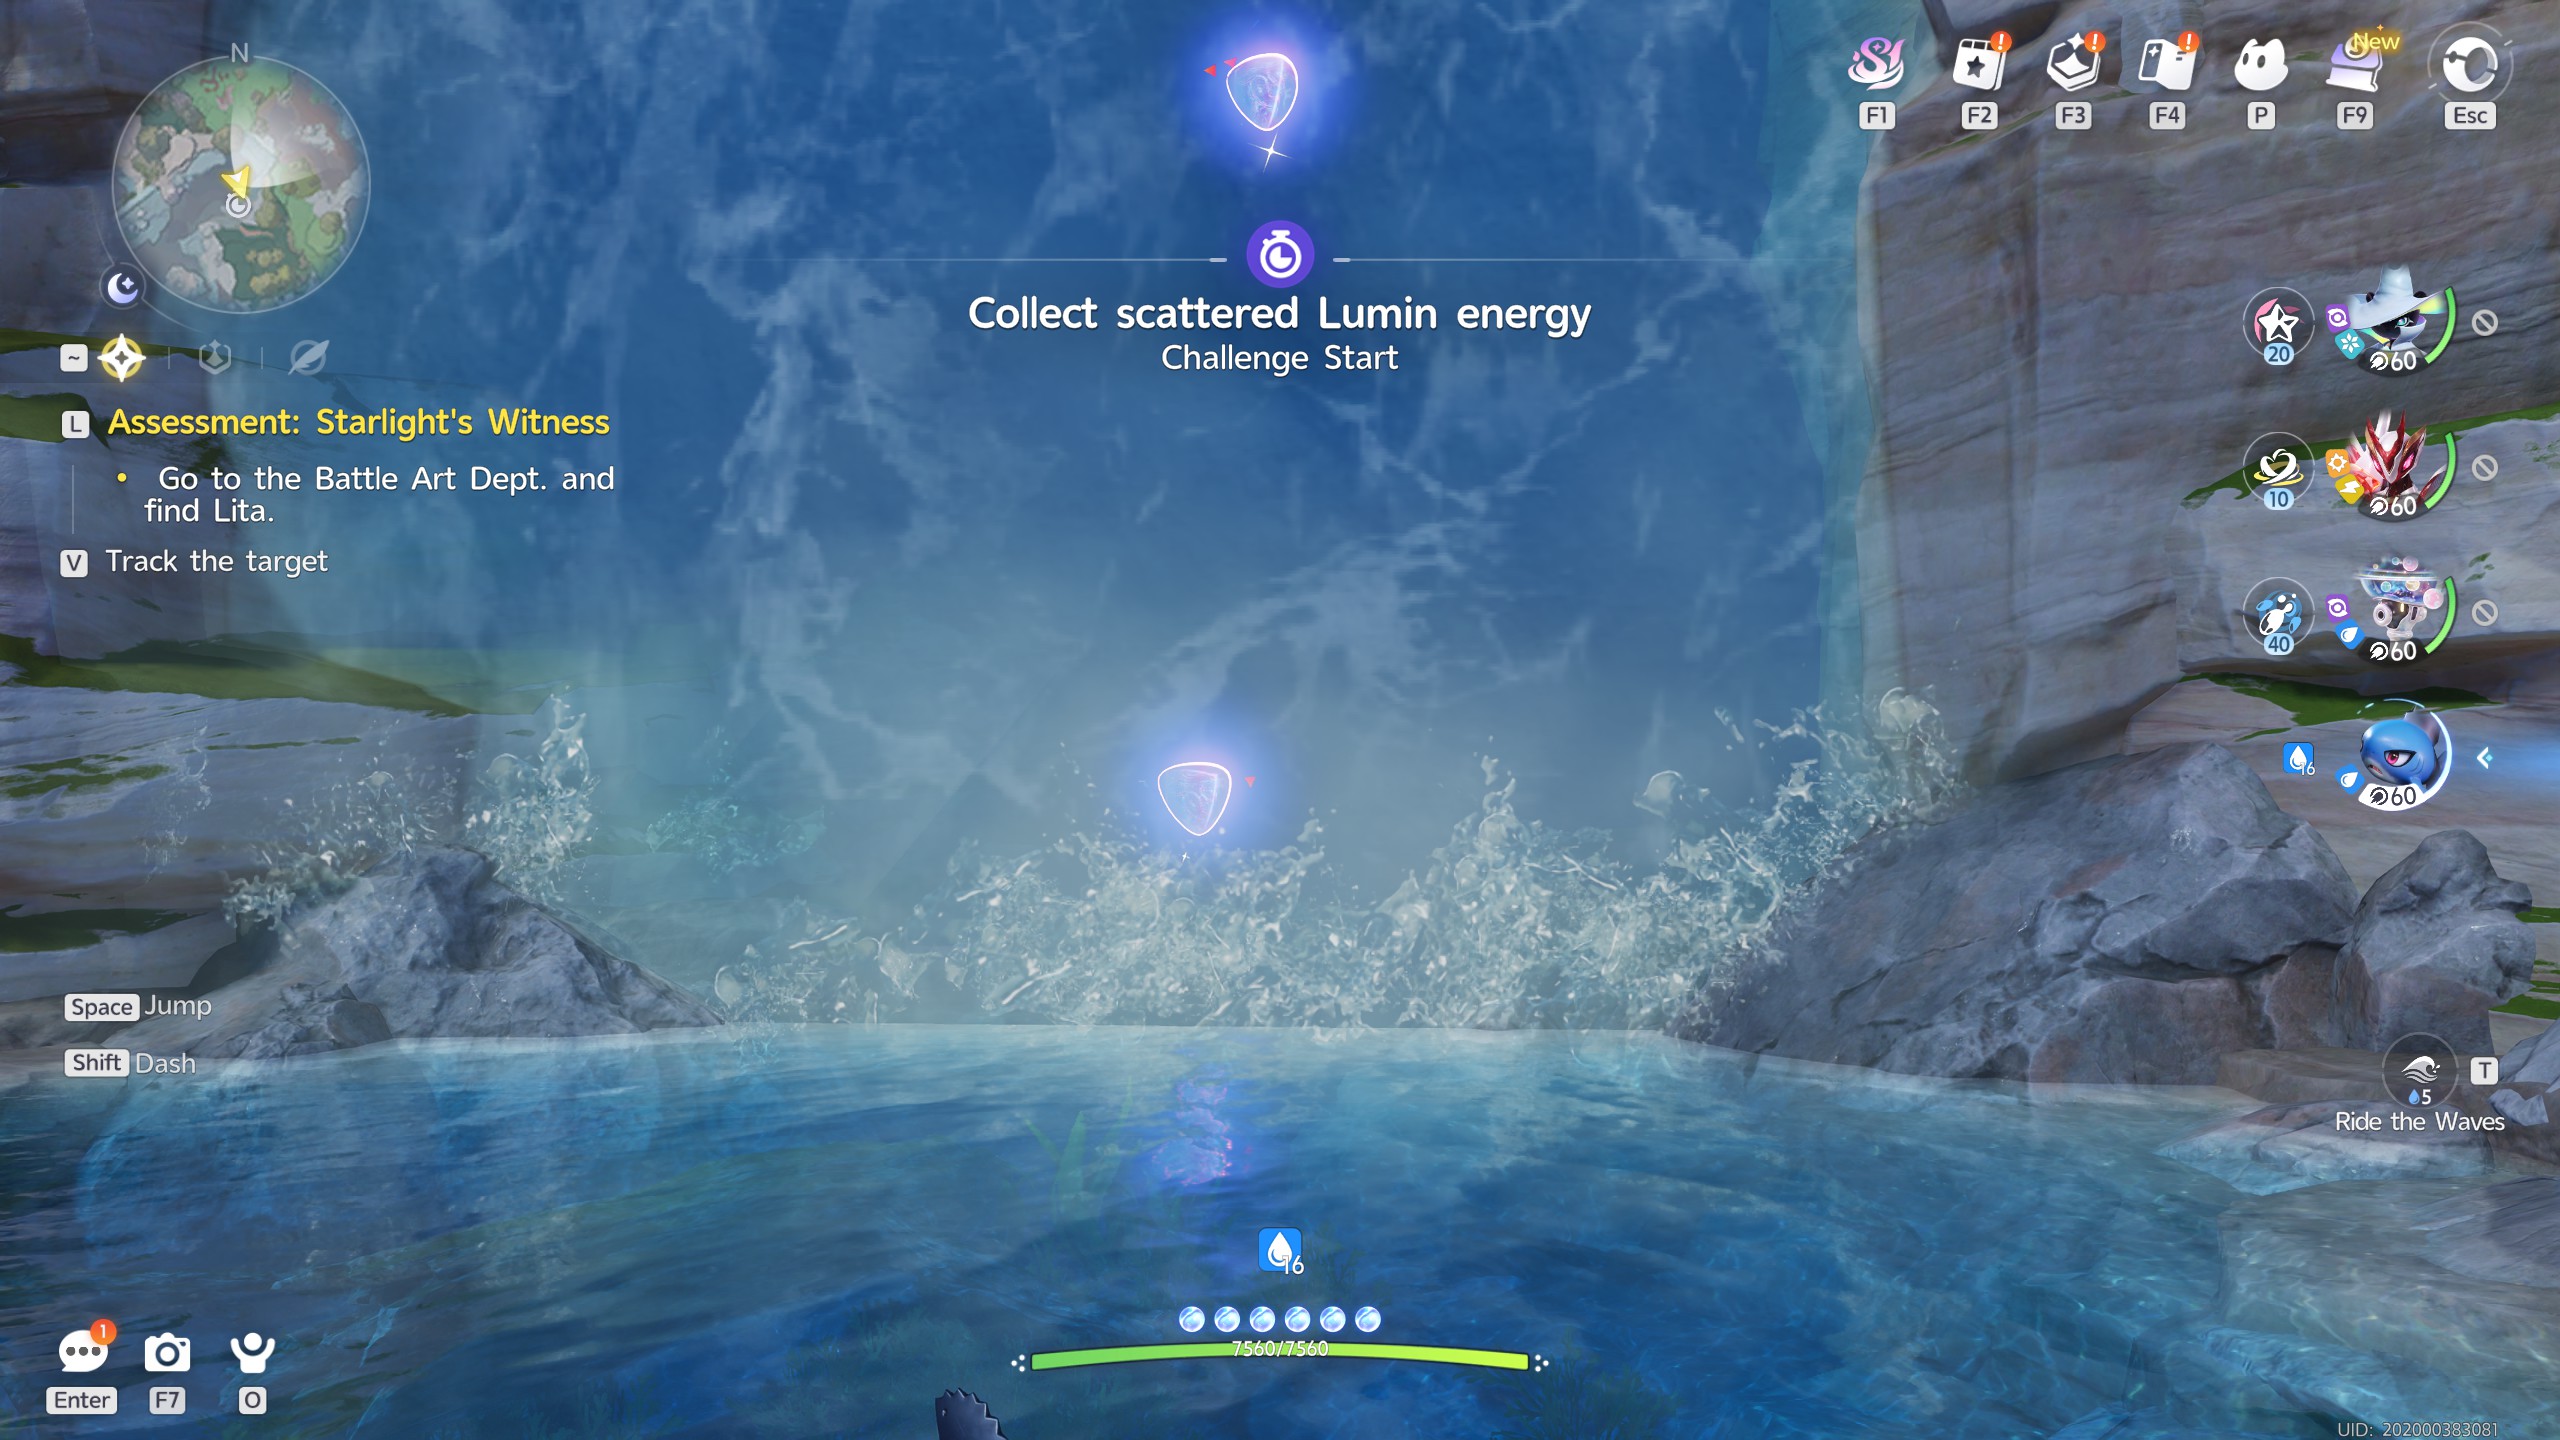
This next time trial can be made easier by utilizing Jeglid, as it can easily climb bodies of water. You'll need to swim up the waterfall and collect 10 Amber in just 30 Seconds.

Blessed Jeglid

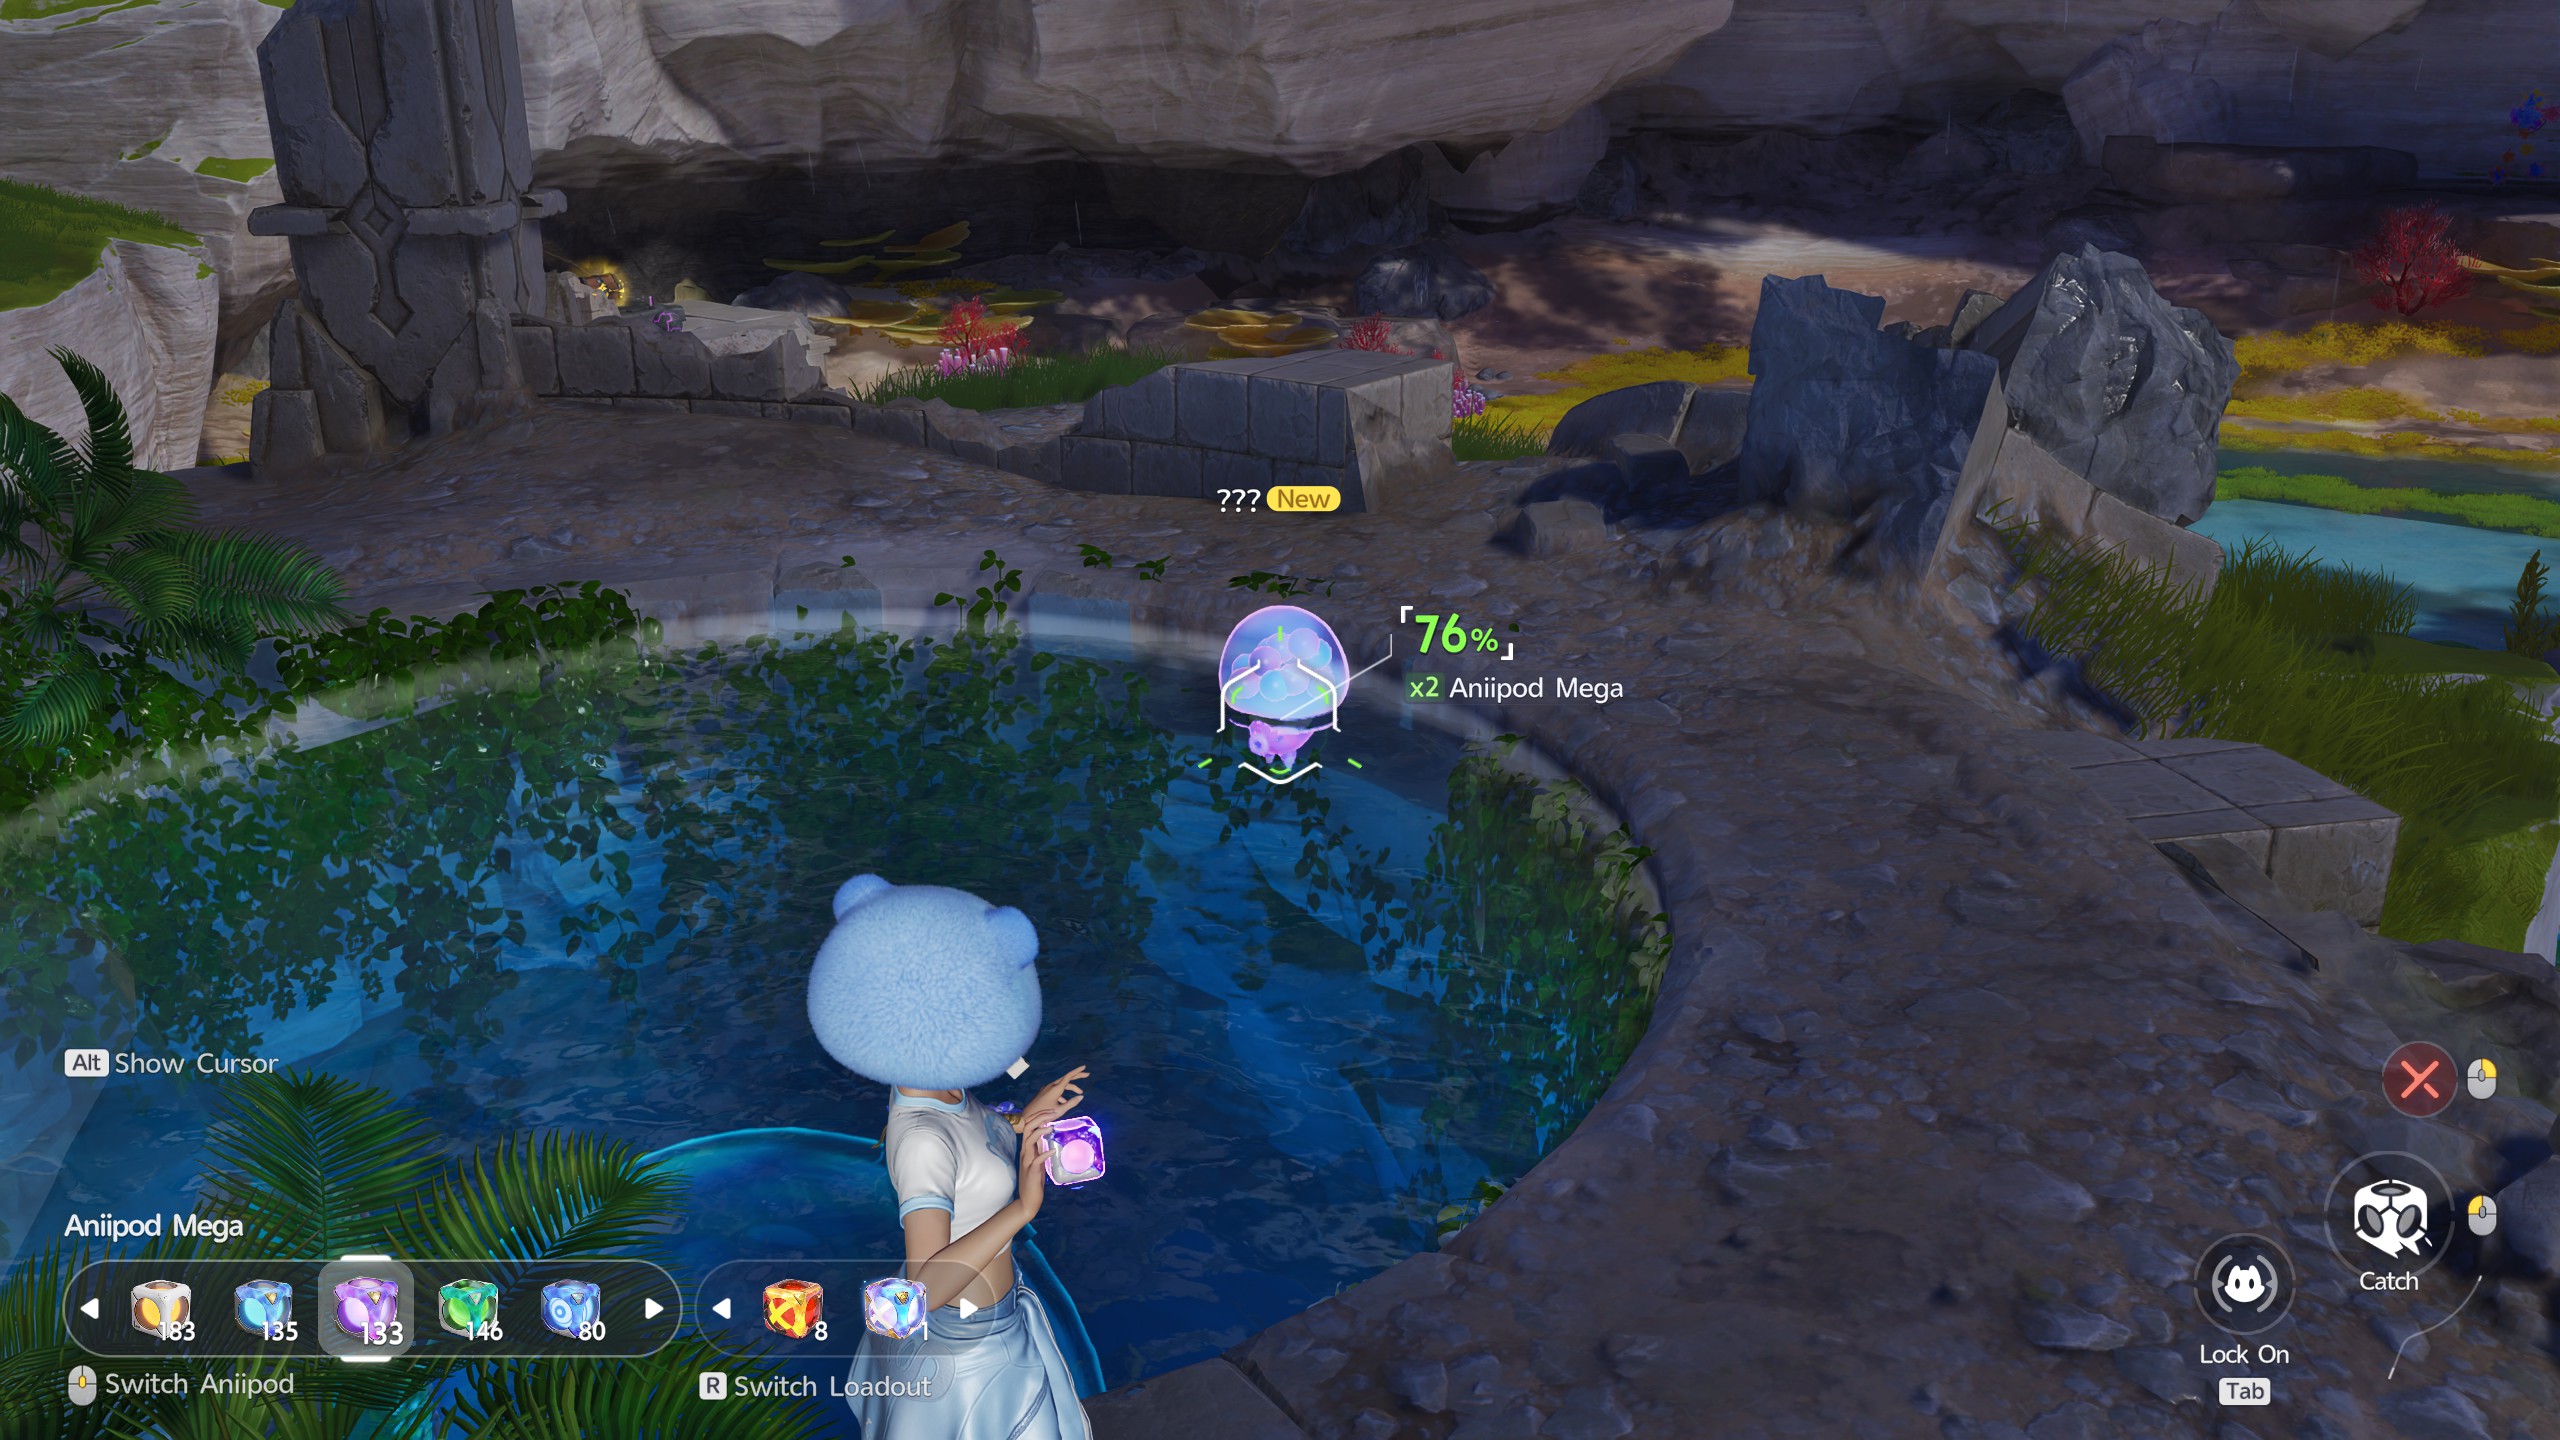
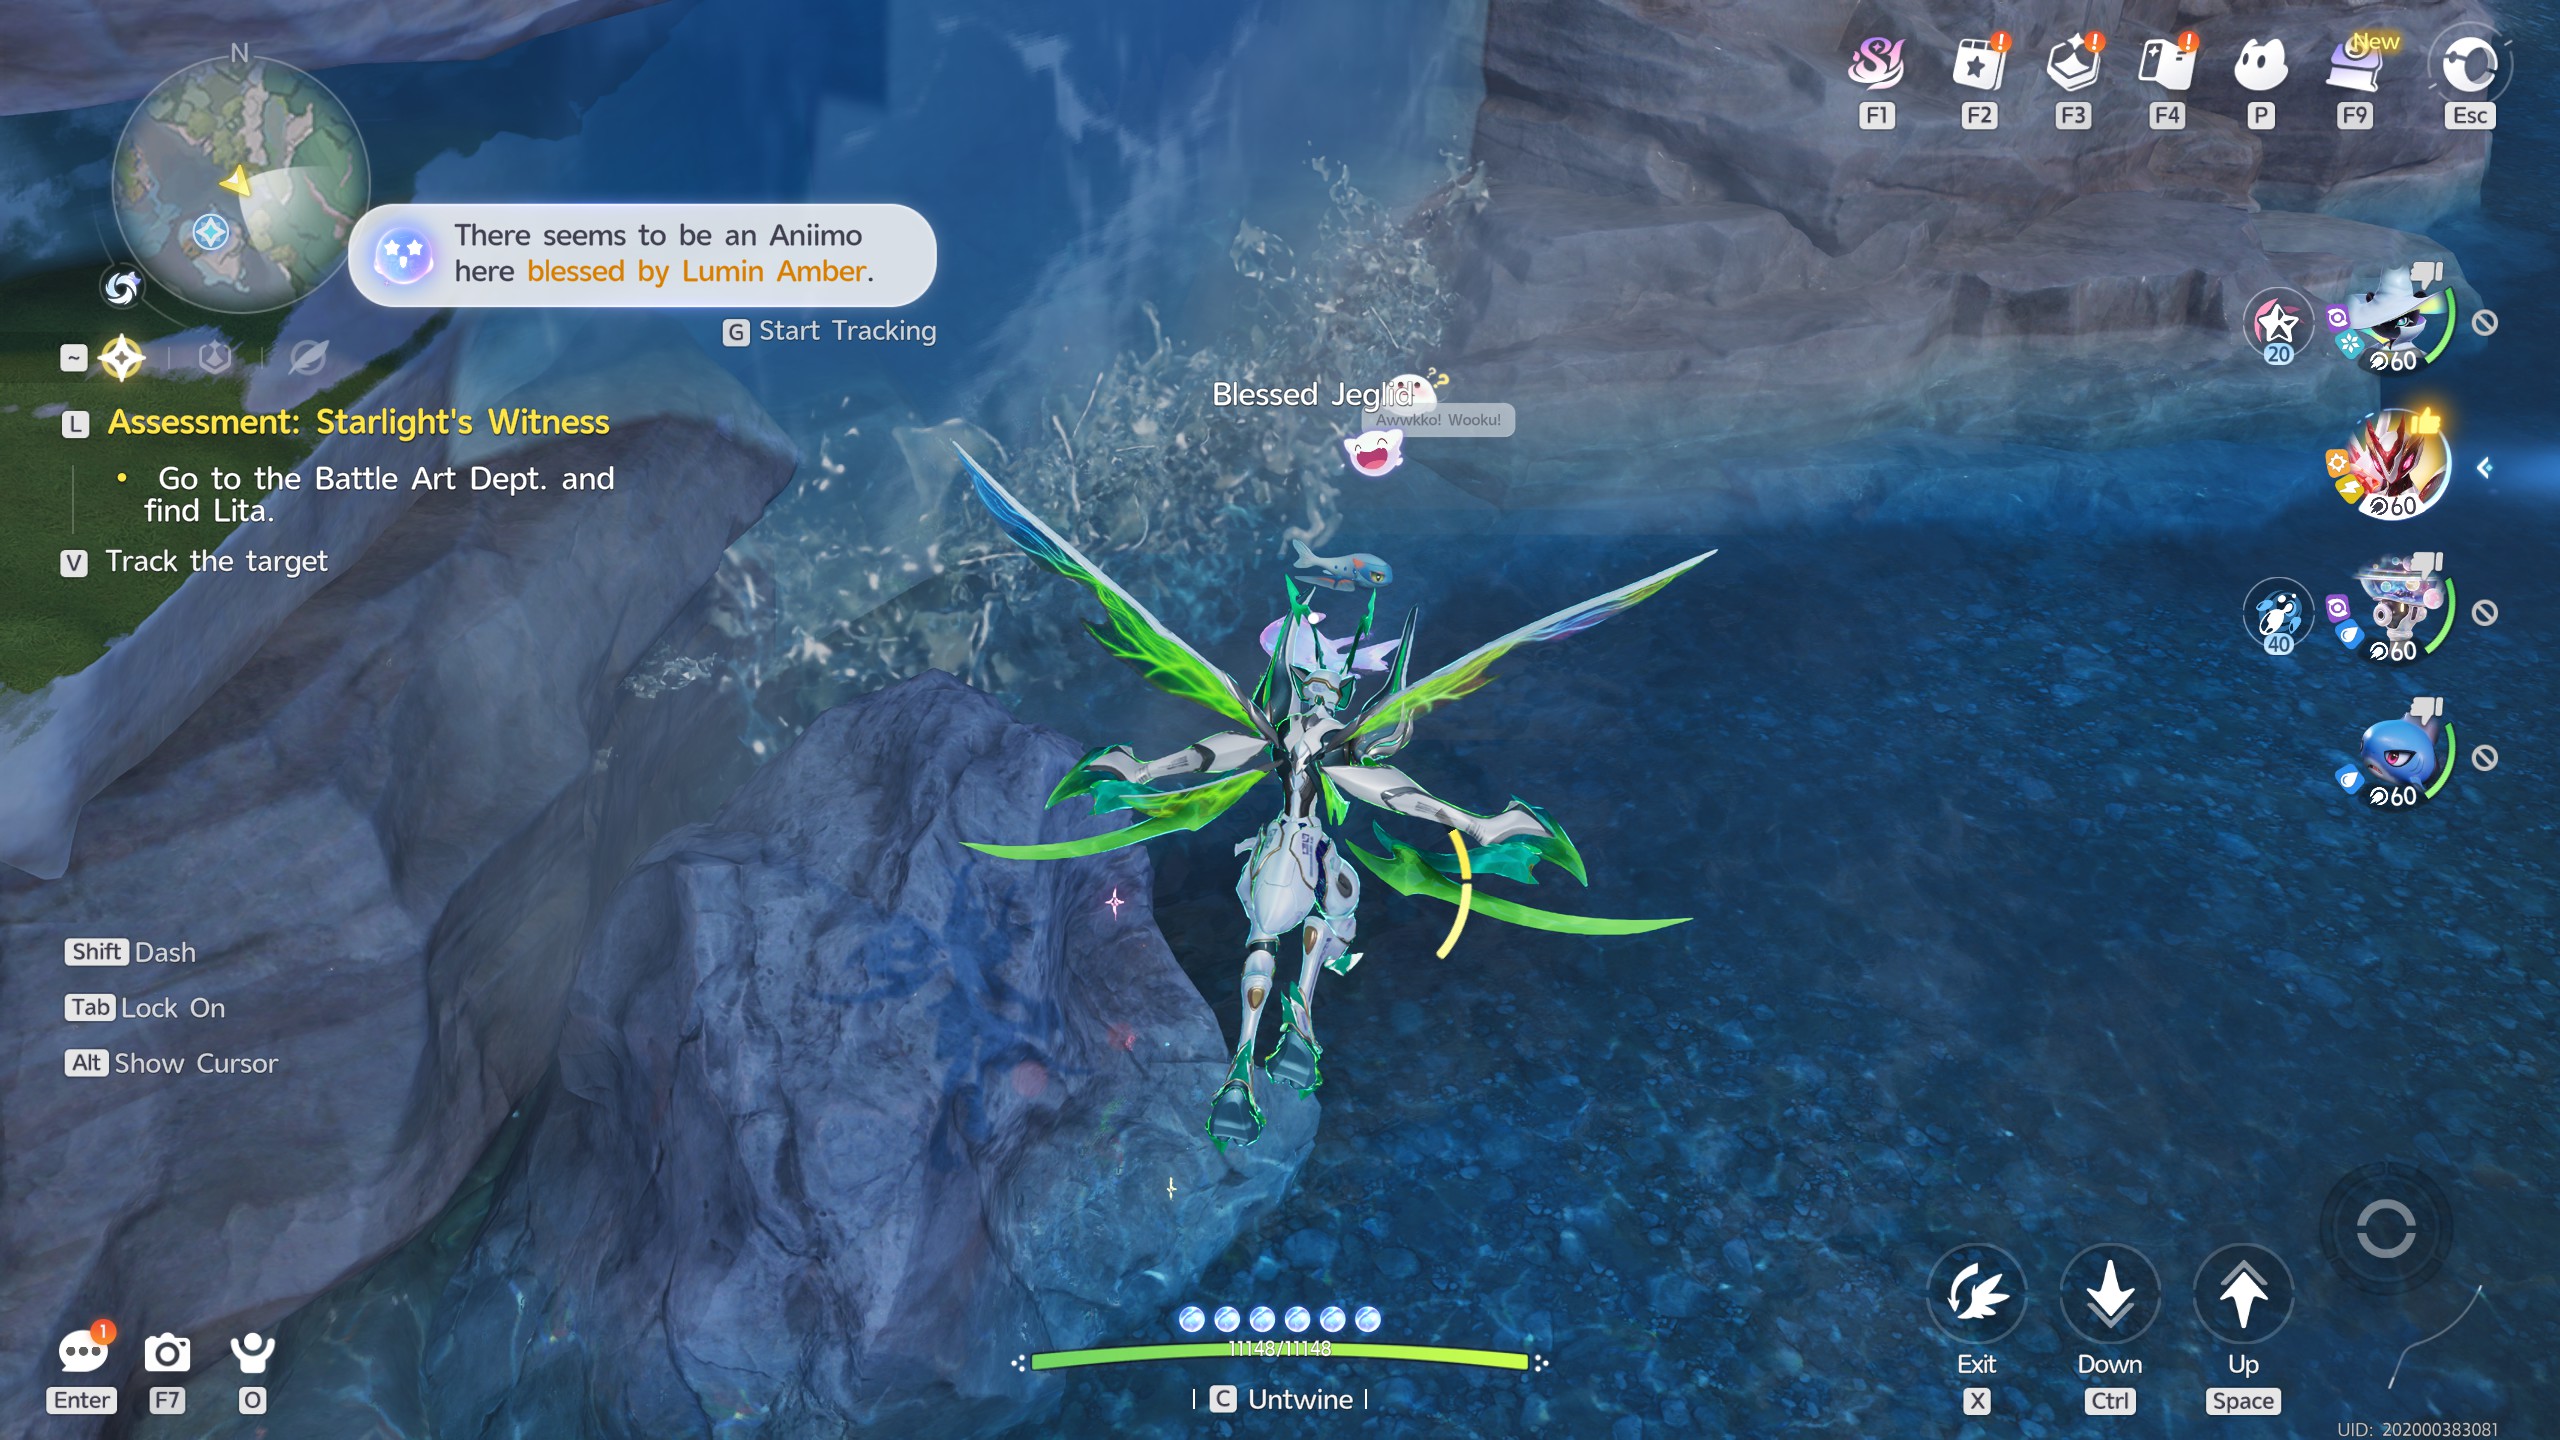
Speaking of Jeglid, you can find a Blessed one swimming just below the prior Amber location. All you need to do is catch it in time with a pod, and then collect the Amber it drops!


Guarded by Eko

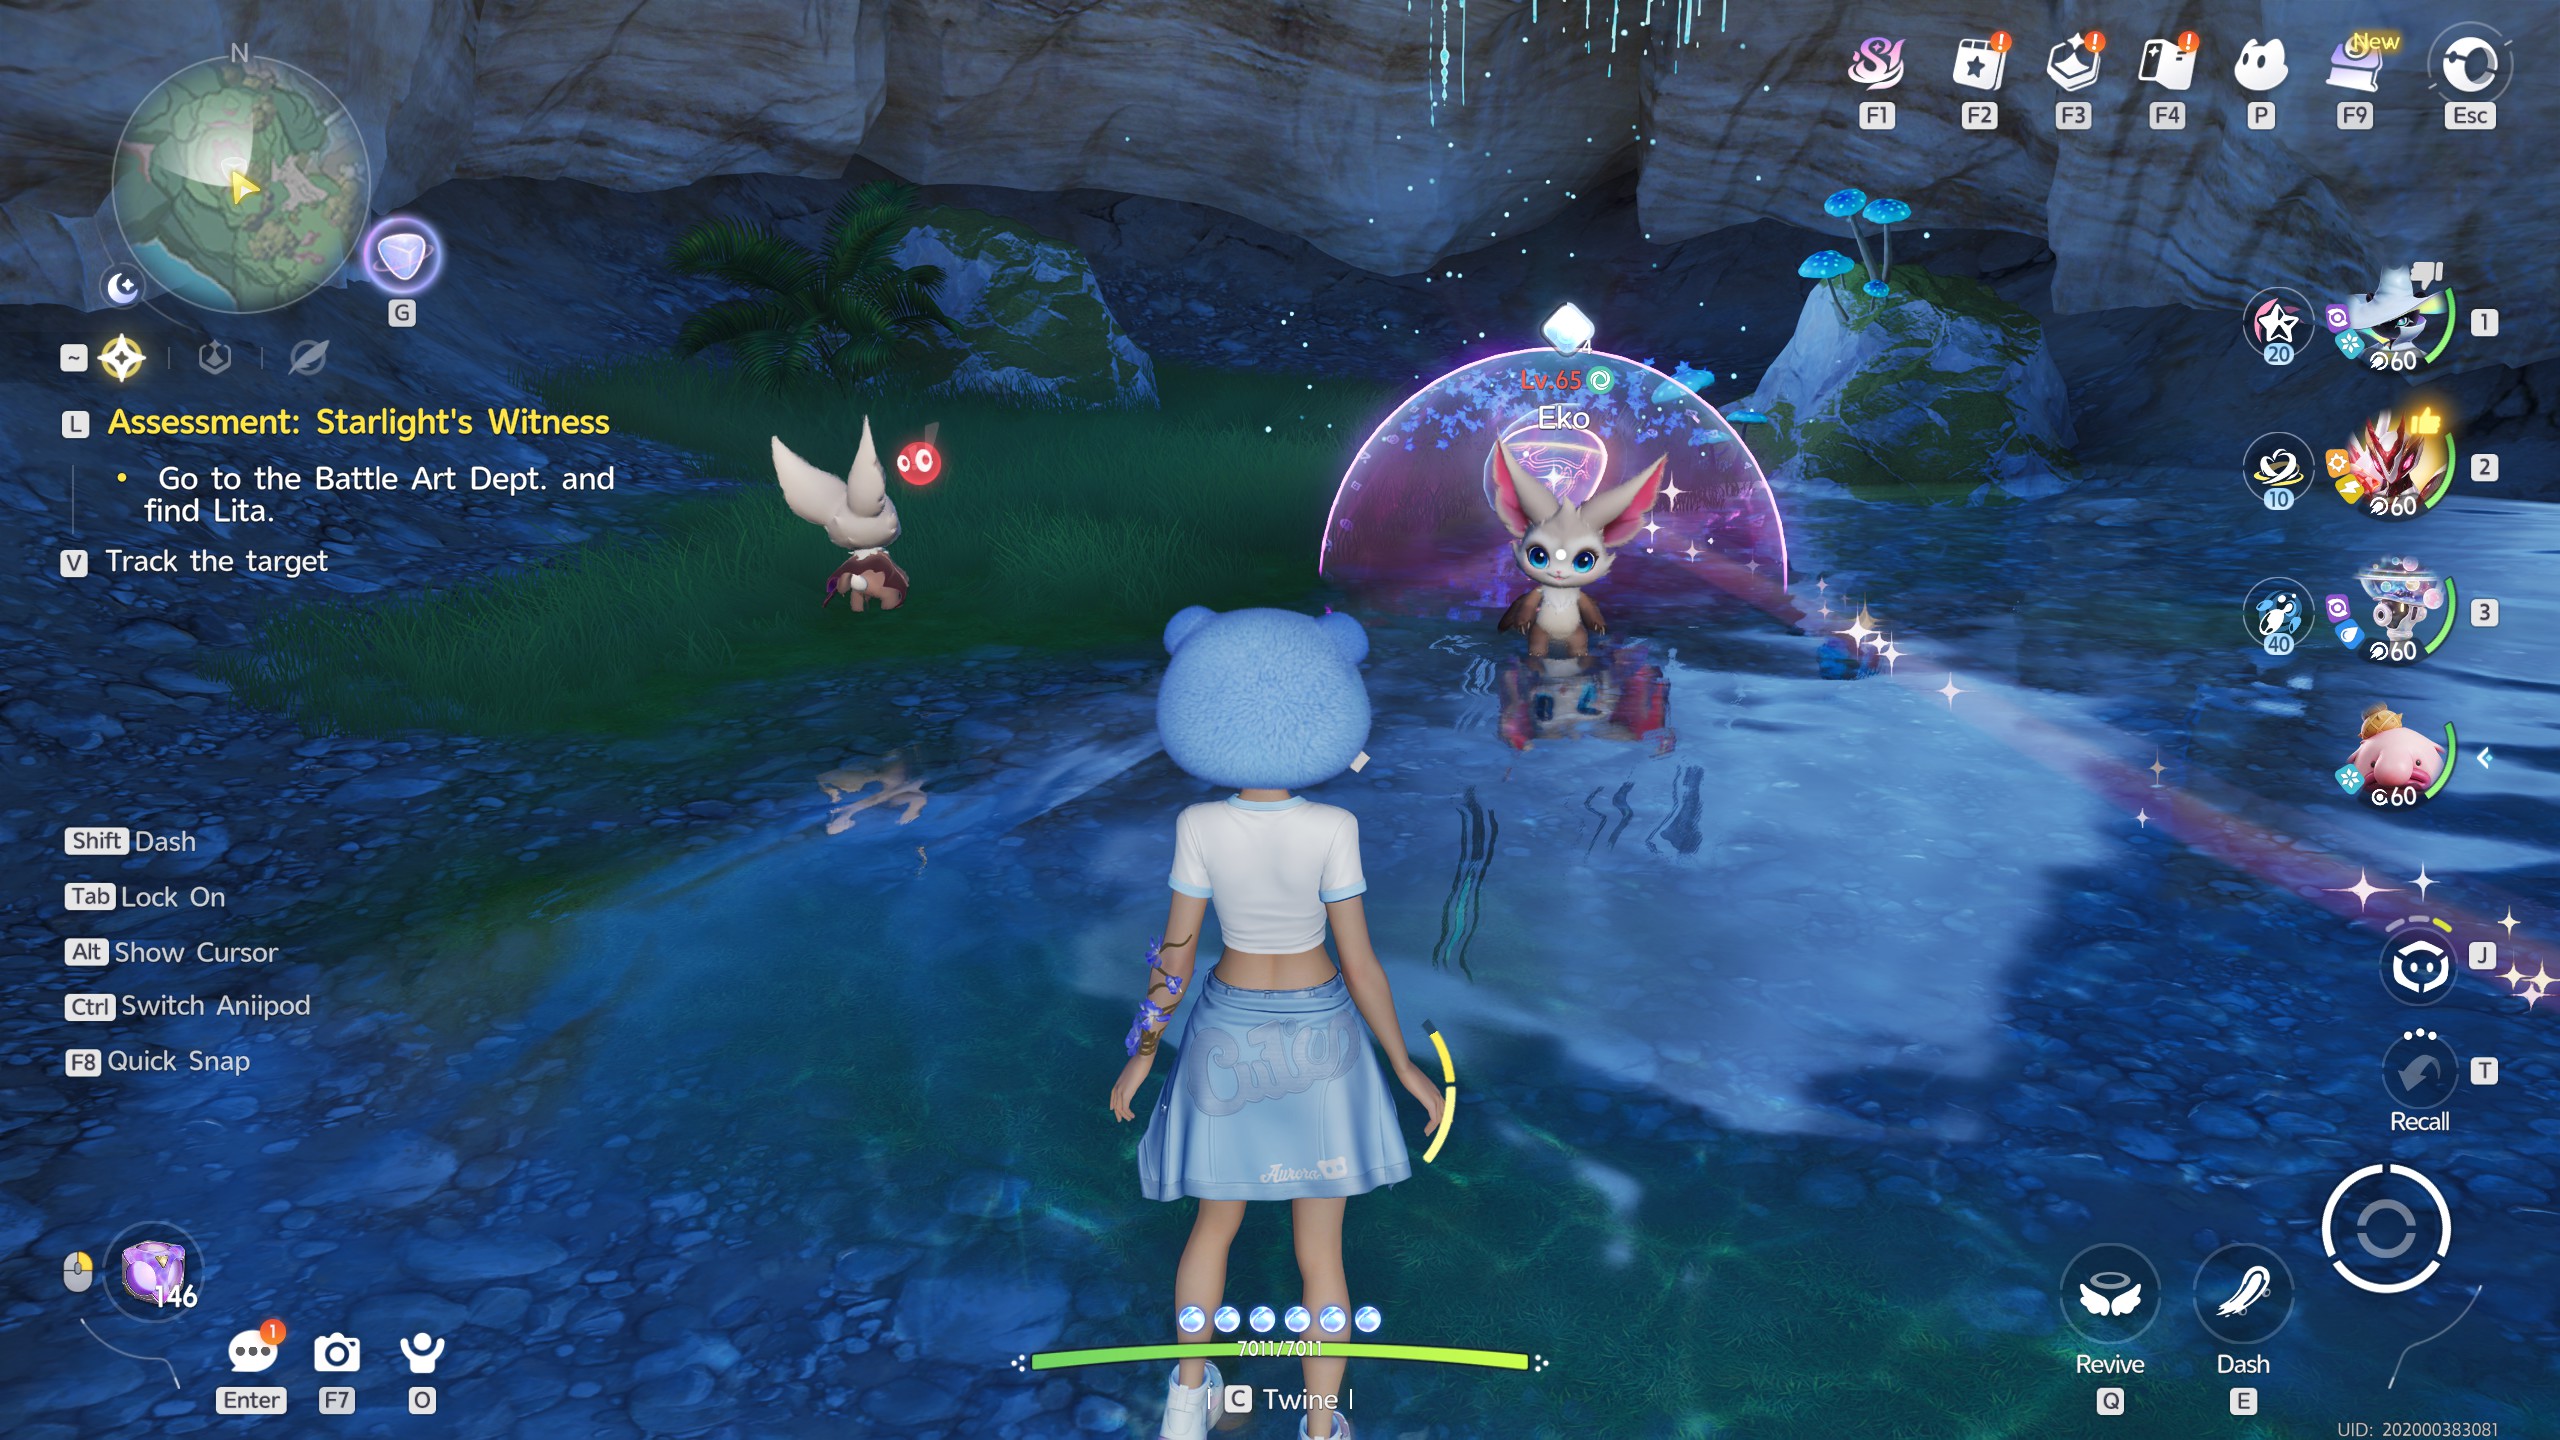
This next location is located inside of a cave below the Eklue spawn location. Inside, you'll find the Amber guarded by a pack of Eko. Capturing or killing them all will unseal the Amber inside, releasing it to you.


Sitting on a Log

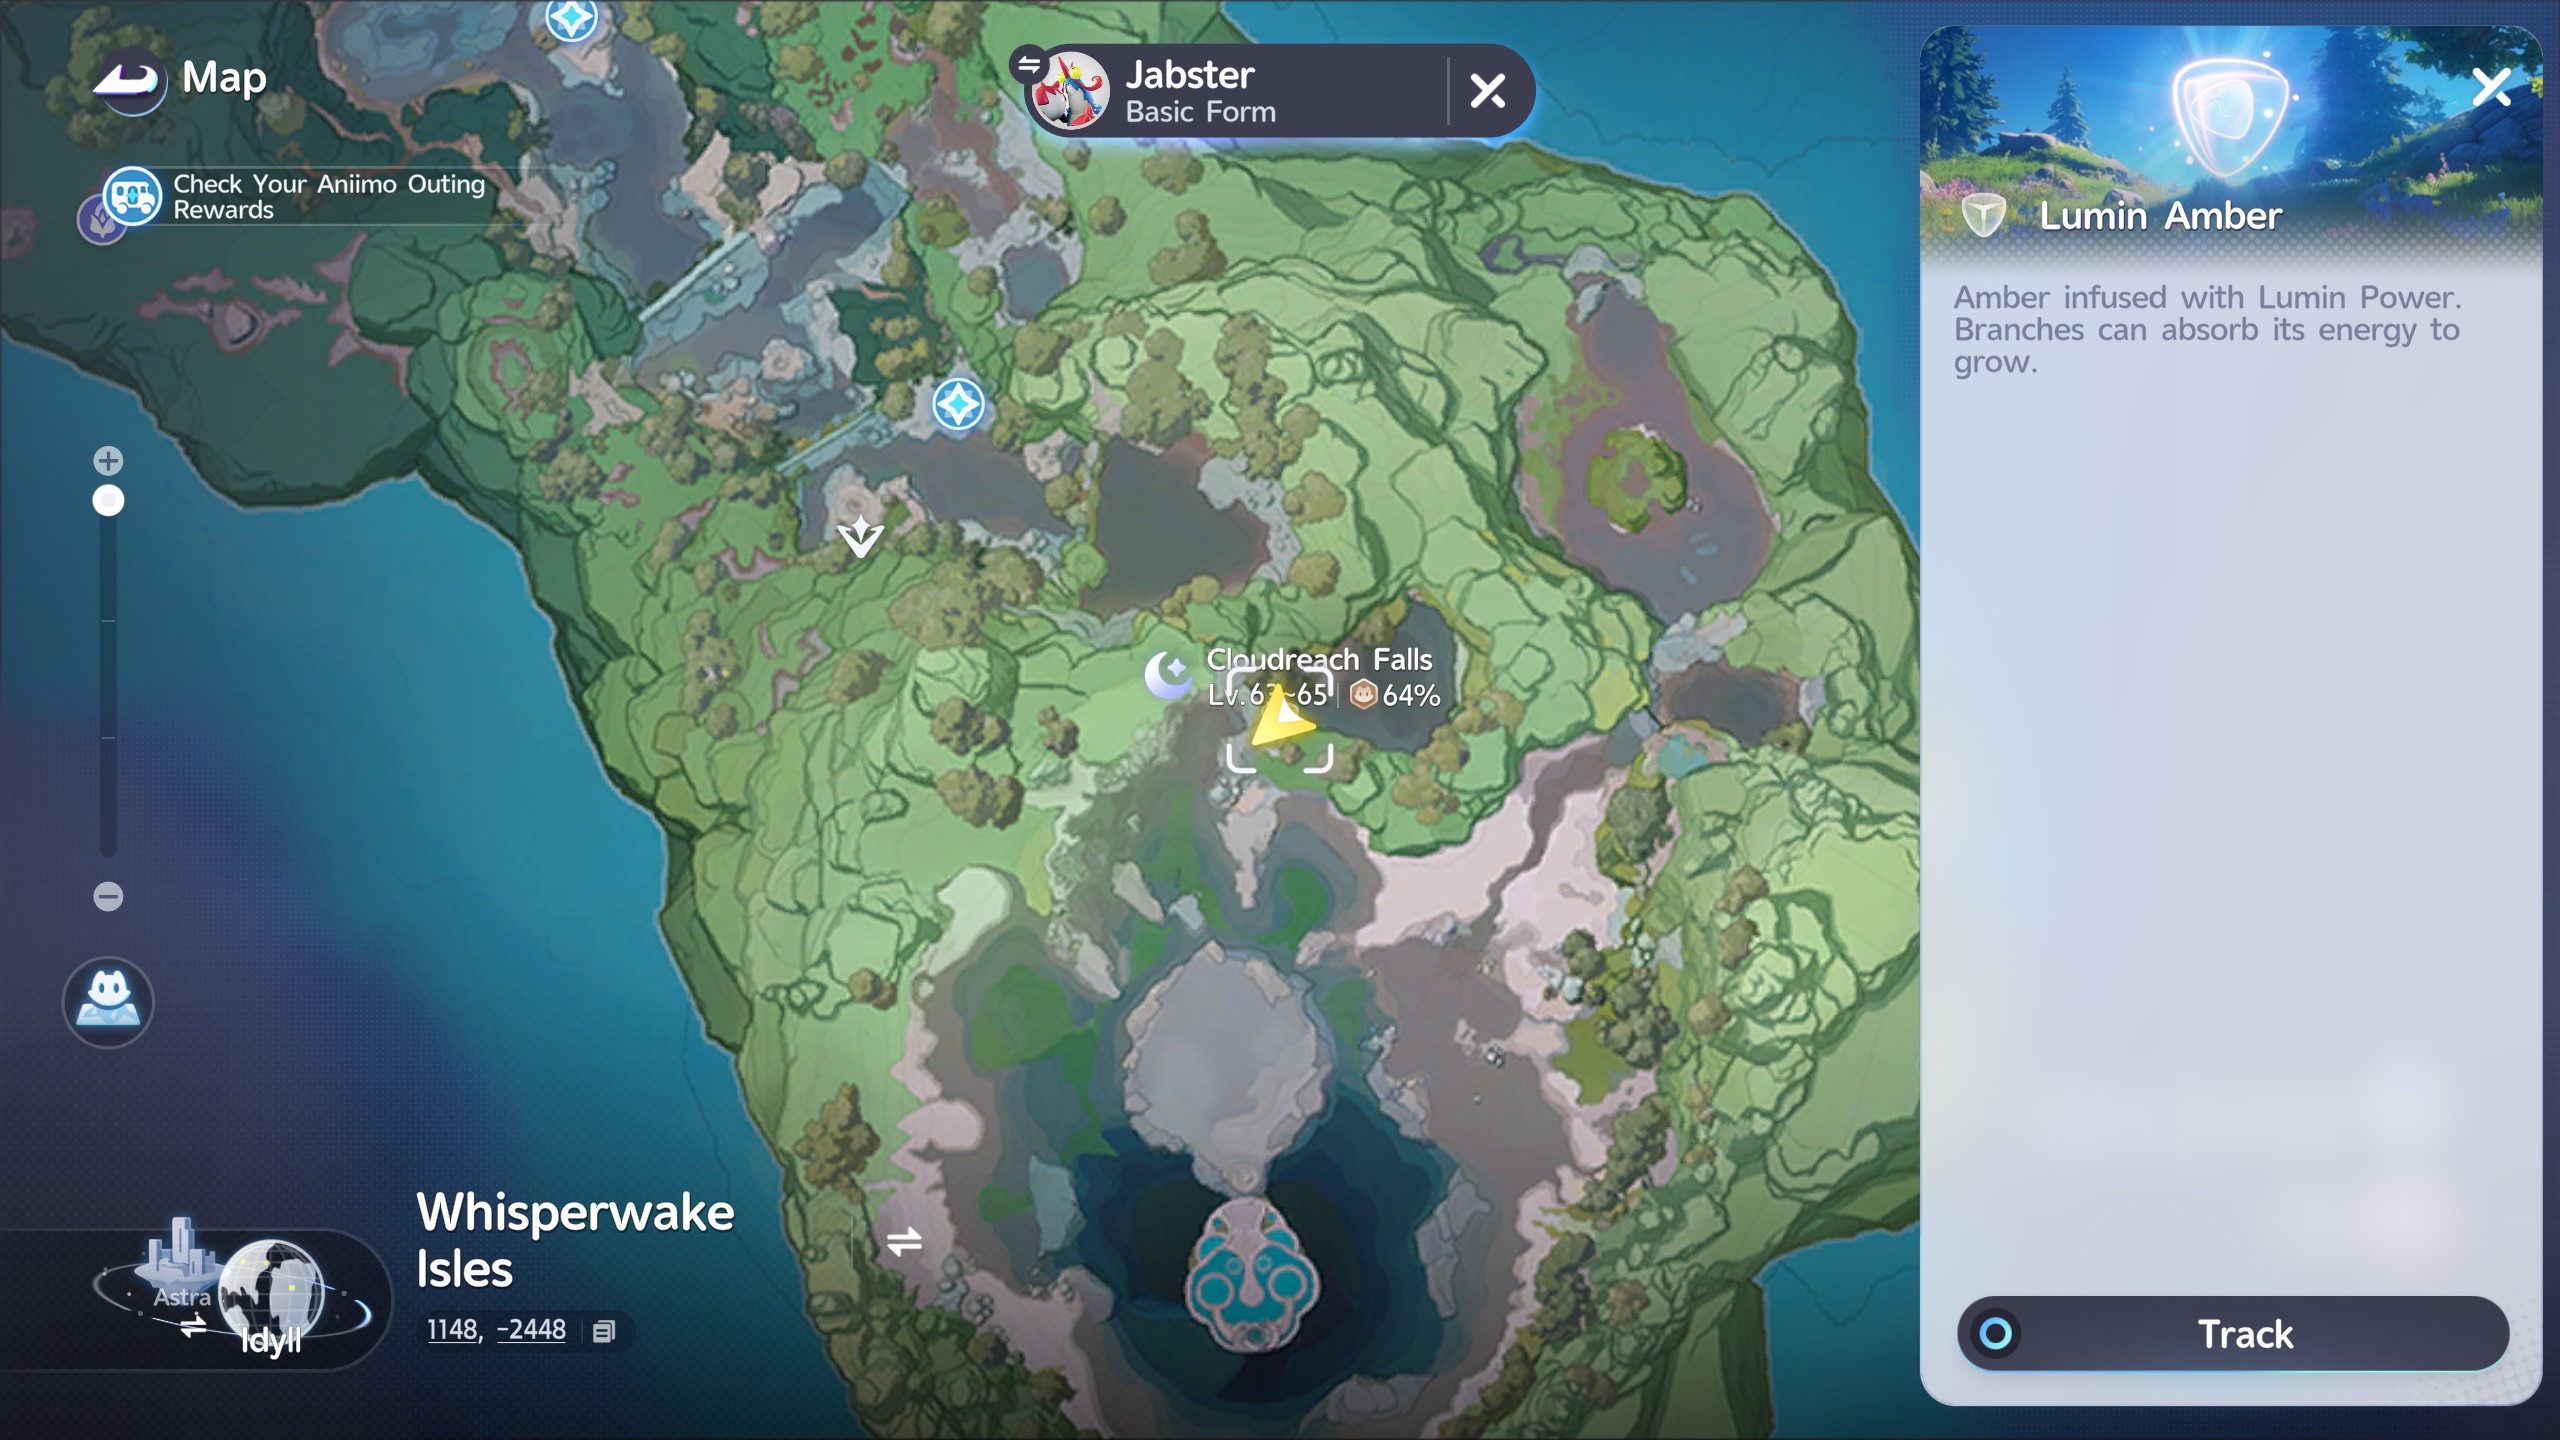
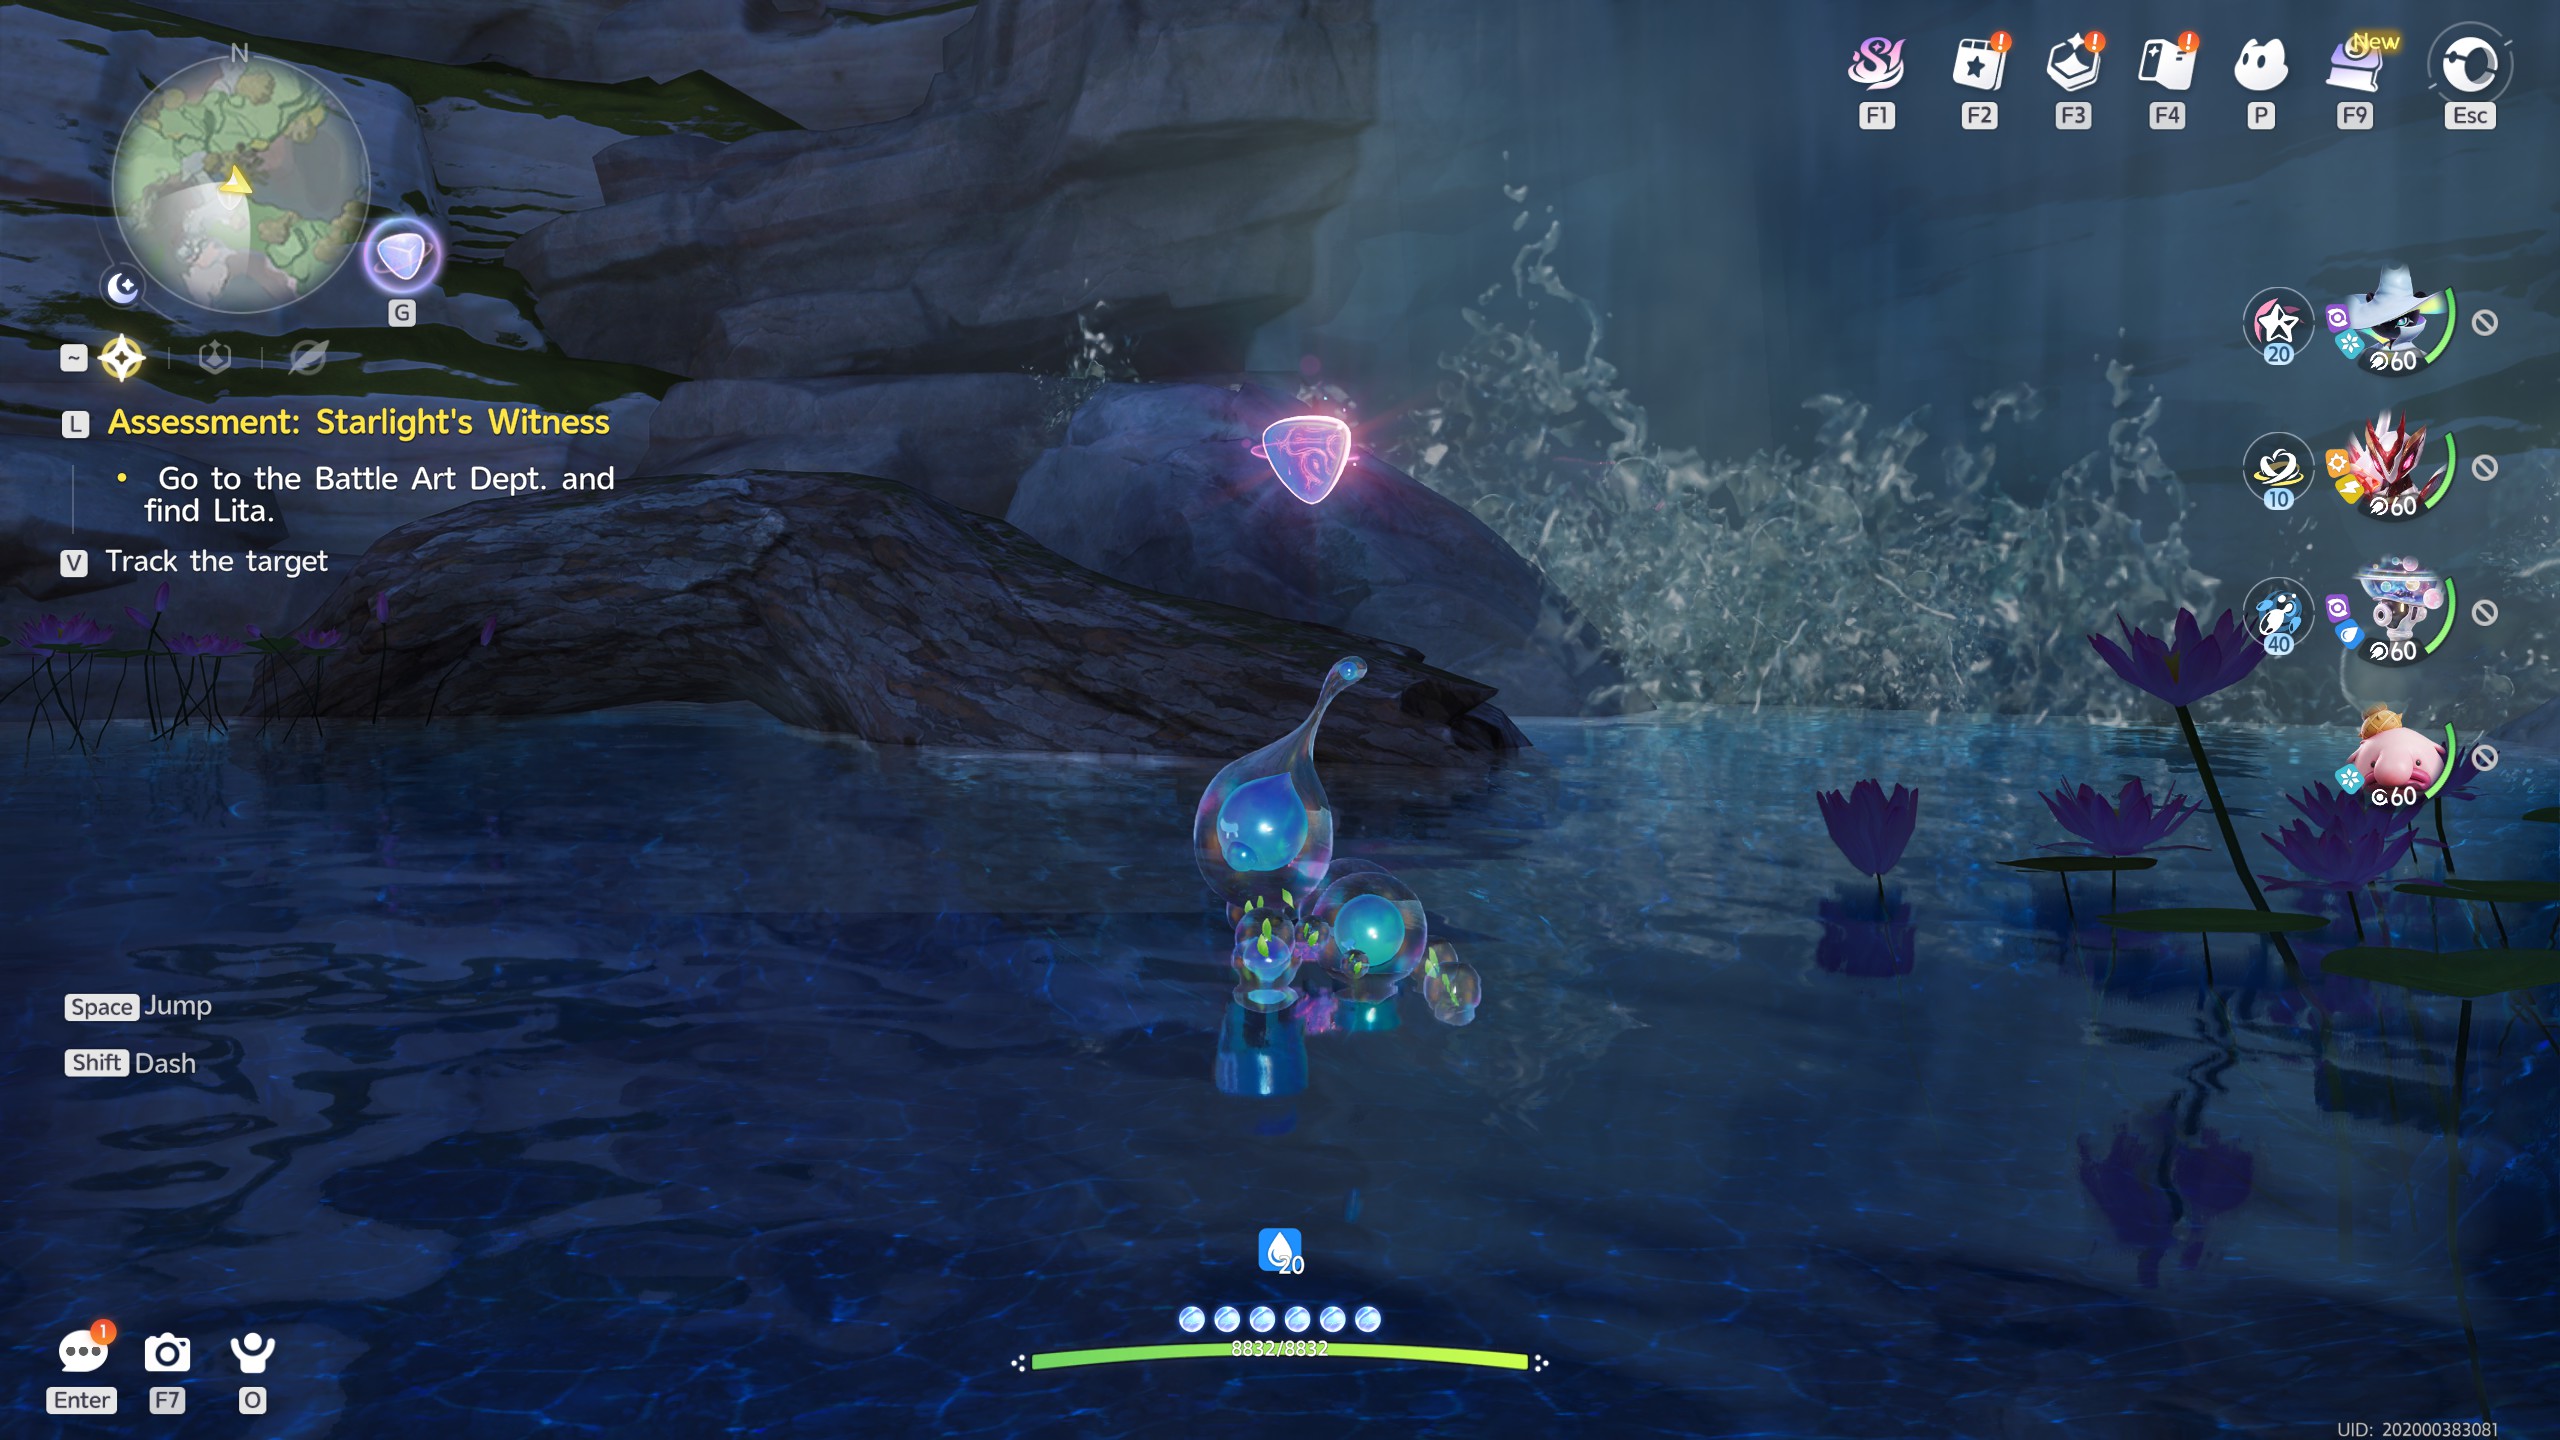
This next Amber can be found at the bottom of a waterfall in Cloudreach Falls on top of a log. It has no special requirement to collect, meaning you simply need to touch it, and the game will reward you with the Amber.


Island Rock

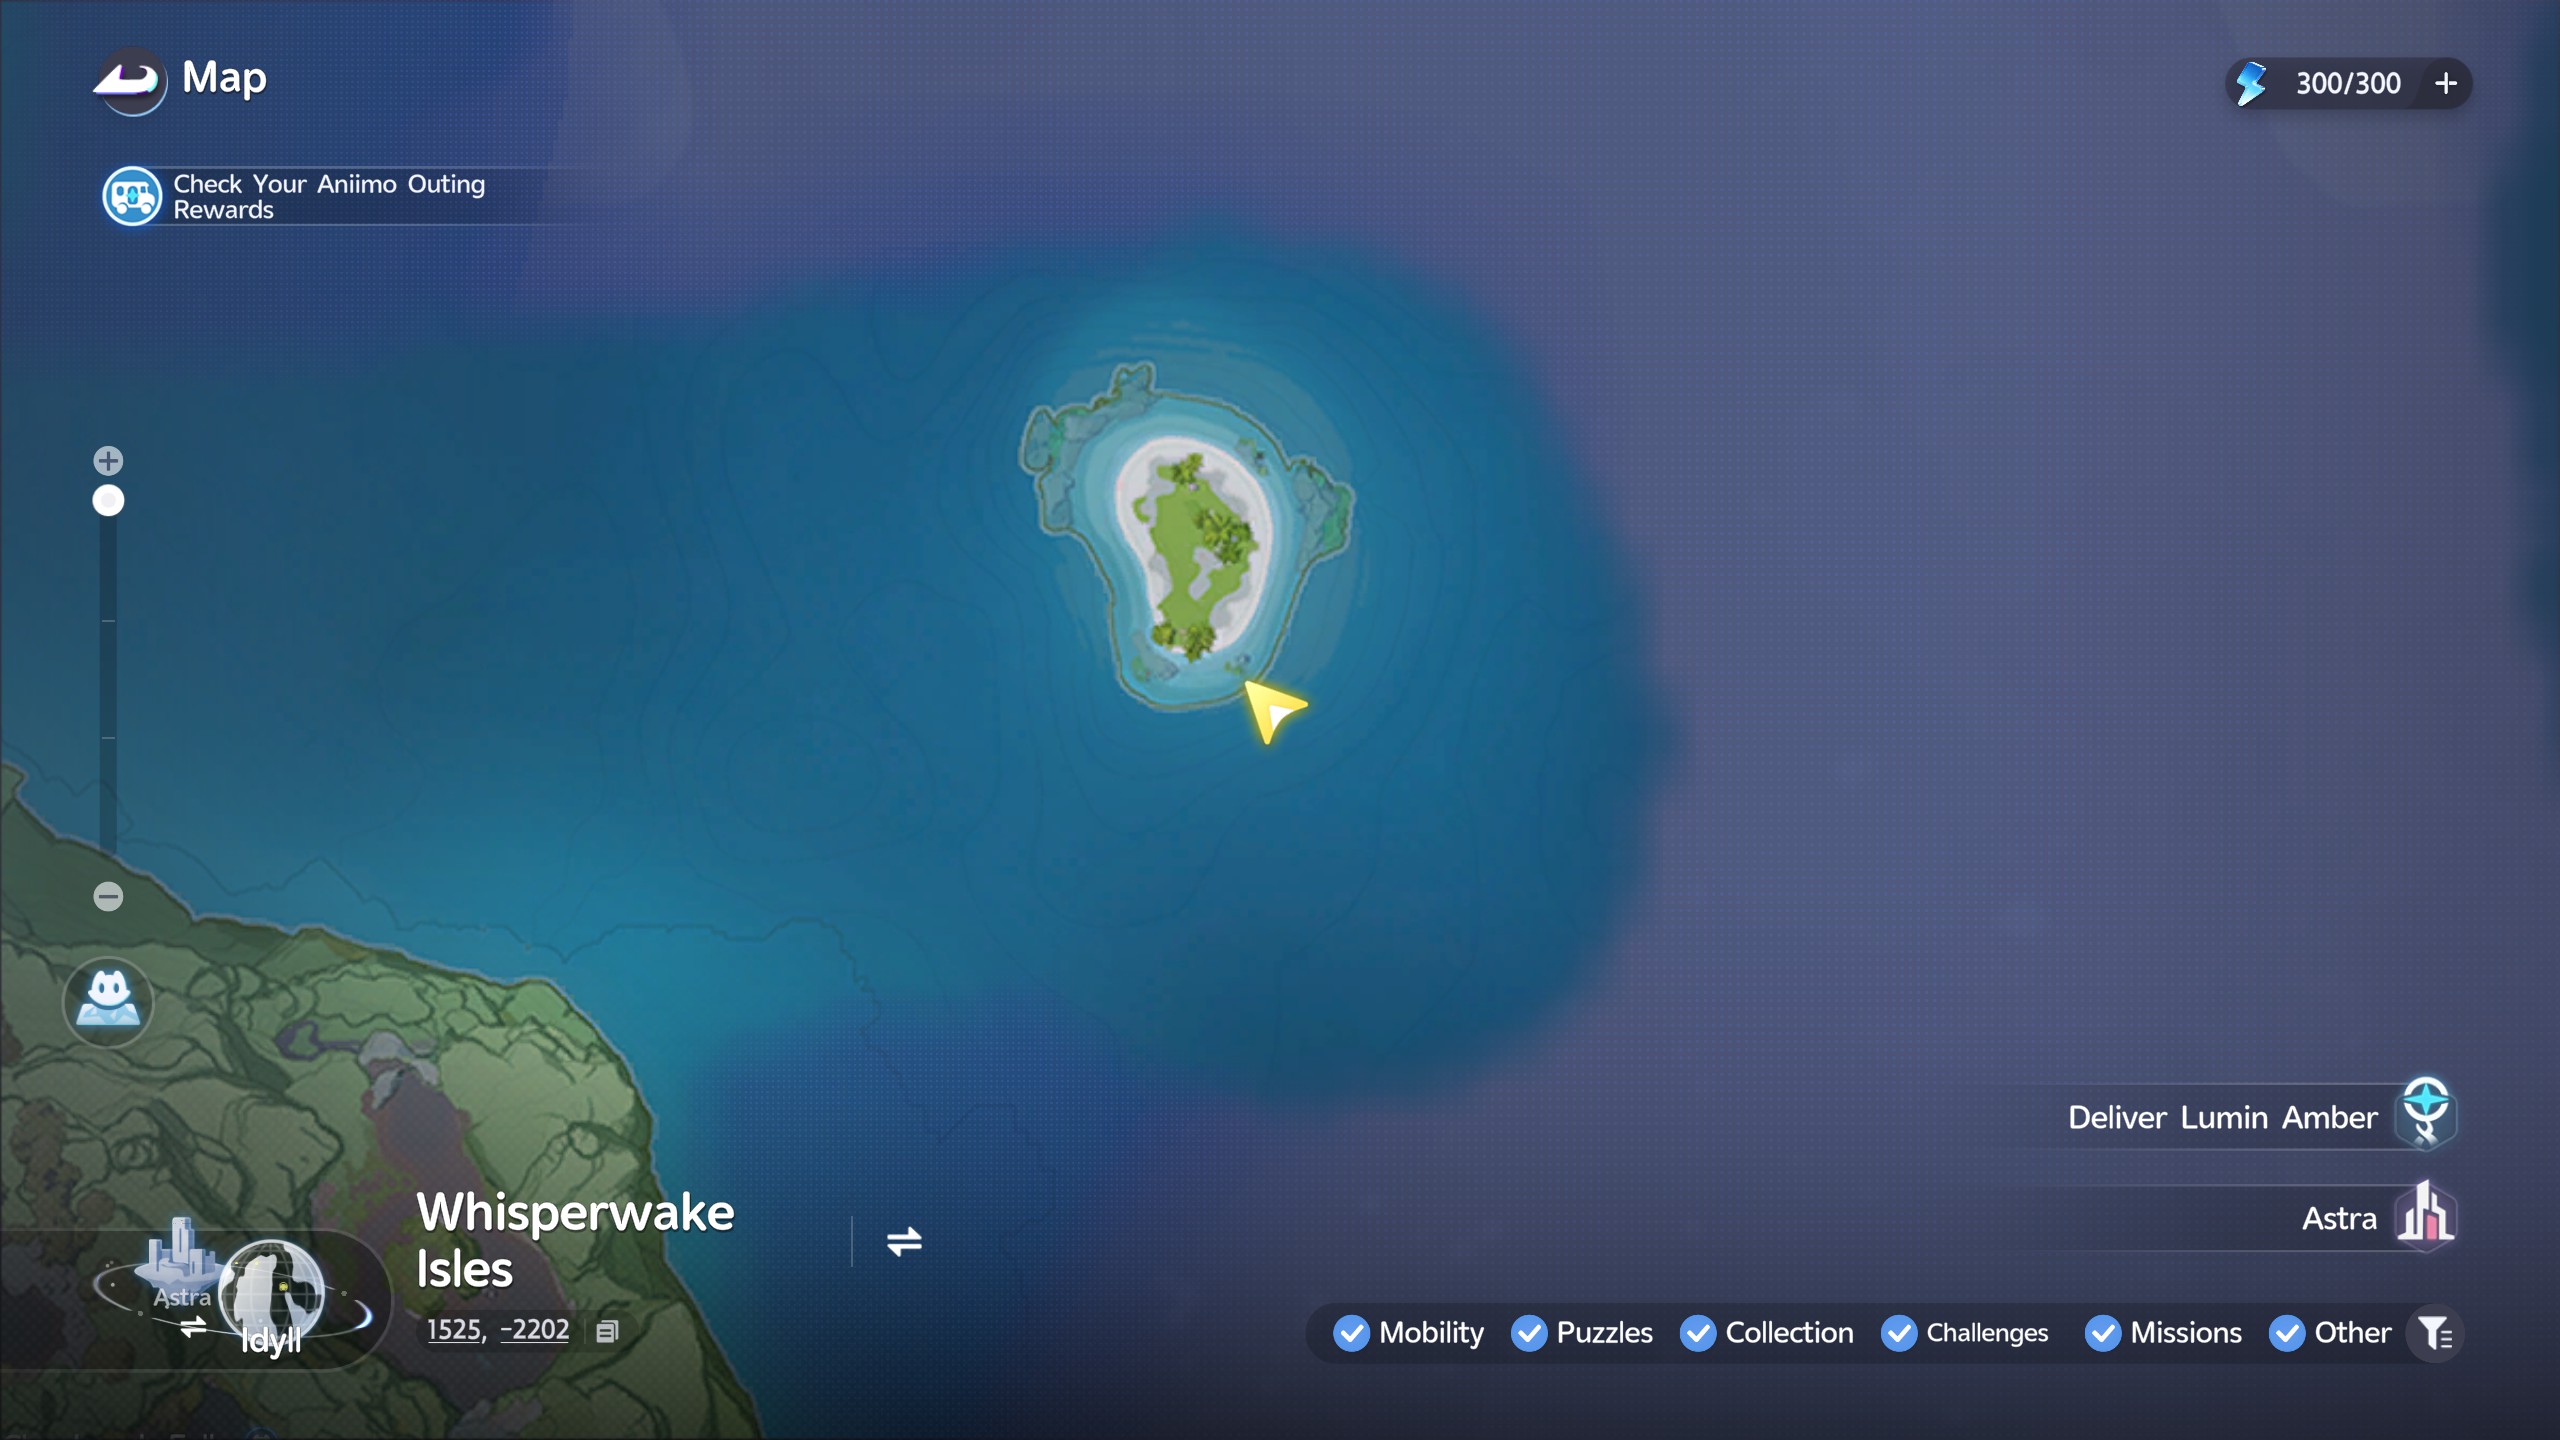
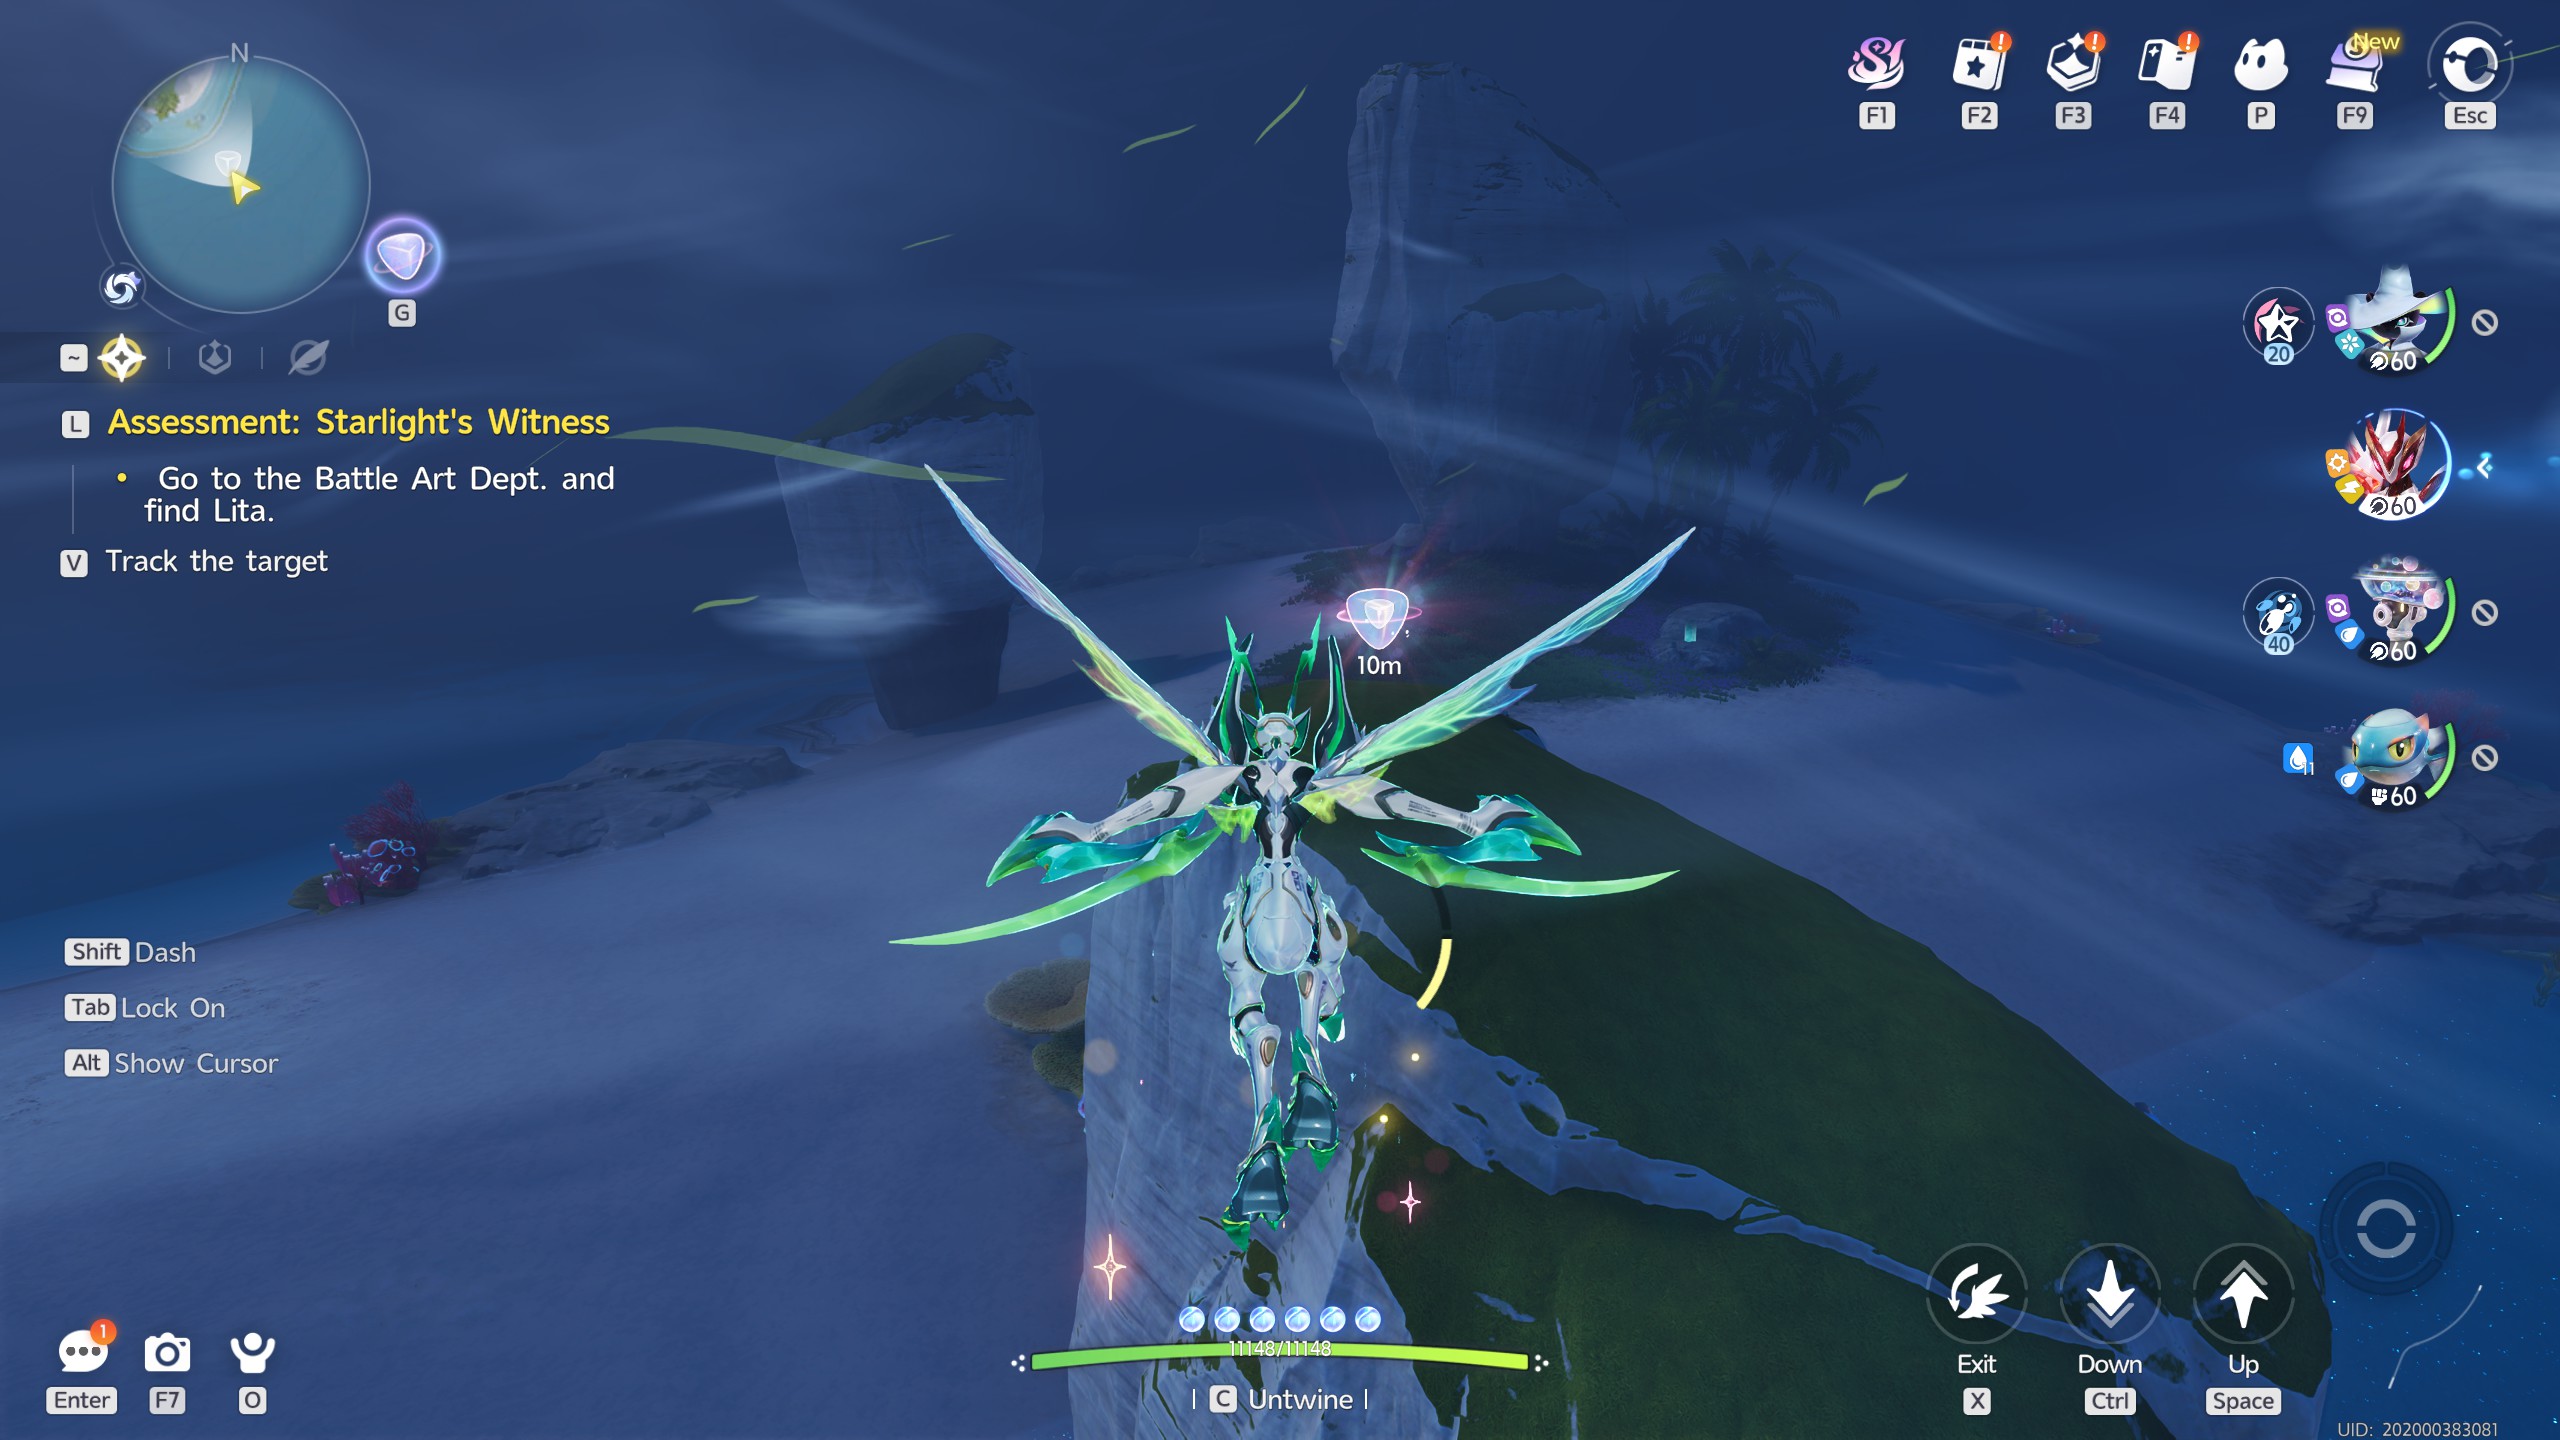
This Amber is sitting out on a lonely lonely island. It's a decent ways away from Cloudreach Falls, but the good news is that on arrival, you can simply fly up on to the rock and grab the Amber!


Comments

0

Table of Contents

See More

All Lumin Amber Locations in Aniimo Season 1: Part 2
Updated on Oct 31, 2026
Scrubbit Capture Guide & All Evolutions - Aniimo Season 1 Part 2
Updated on Oct 30, 2026
Royalby Capture Guide & All Evolutions - Aniimo Season 1 Part 2
Updated on Oct 30, 2026
Buffby Capture Guide & All Evolutions - Aniimo Season 1 Part 2
Updated on Oct 30, 2026
Aniimo Tier List - All Best Aniimo Ranked
Updated on Oct 30, 2026

Like our guides?

Add Mobalytics as a preferred source on Google!