Looking for a fast way to level classes, max out weapons, farm Requisition, and unlock powerful perk combinations? This is all you will need! Let's get into it!

 Use your favourite features in-game with our Desktop App
Looking for a fast way to level classes, max out weapons, farm Requisition, and unlock powerful perk combinations? This is all you will need! Let's get into it!
This Horde Mode farming method lets you stack Challenge Cards to massively increase your rewards while farming XP and Requisition at the same time.
The biggest advantage is that you're not just leveling one character or weapon. You can use this method to quickly build an entire collection of max-level classes and weapons, then start combining their Traits and Perks to create much stronger and more specialized loadouts.
I've used this method to max out multiple classes and weapons, and it's also an excellent way to hunt for the one-star weapon Traits that can be transferred to other weapons.
If you're trying to build a strong account quickly, this should be one of the first Horde Mode farms you learn.
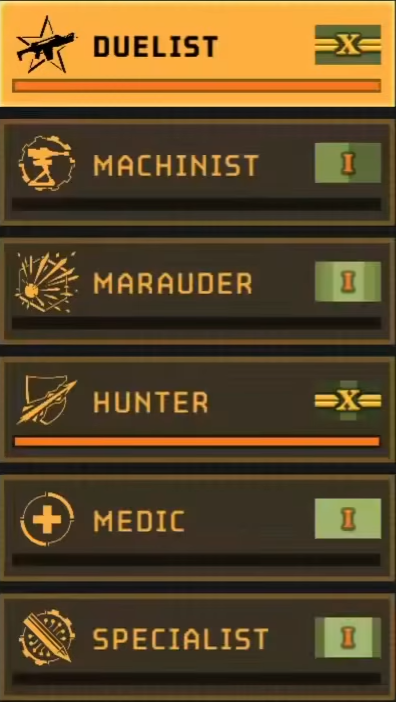
One of the biggest benefits of this farming method is that you shouldn't think of XP as being useful for only the class you're currently playing.
Ideally, you want to max out at least two classes as quickly as possible.
Once you have multiple classes at max level, you can start experimenting with the perk system and create combinations that wouldn't otherwise be available to you.
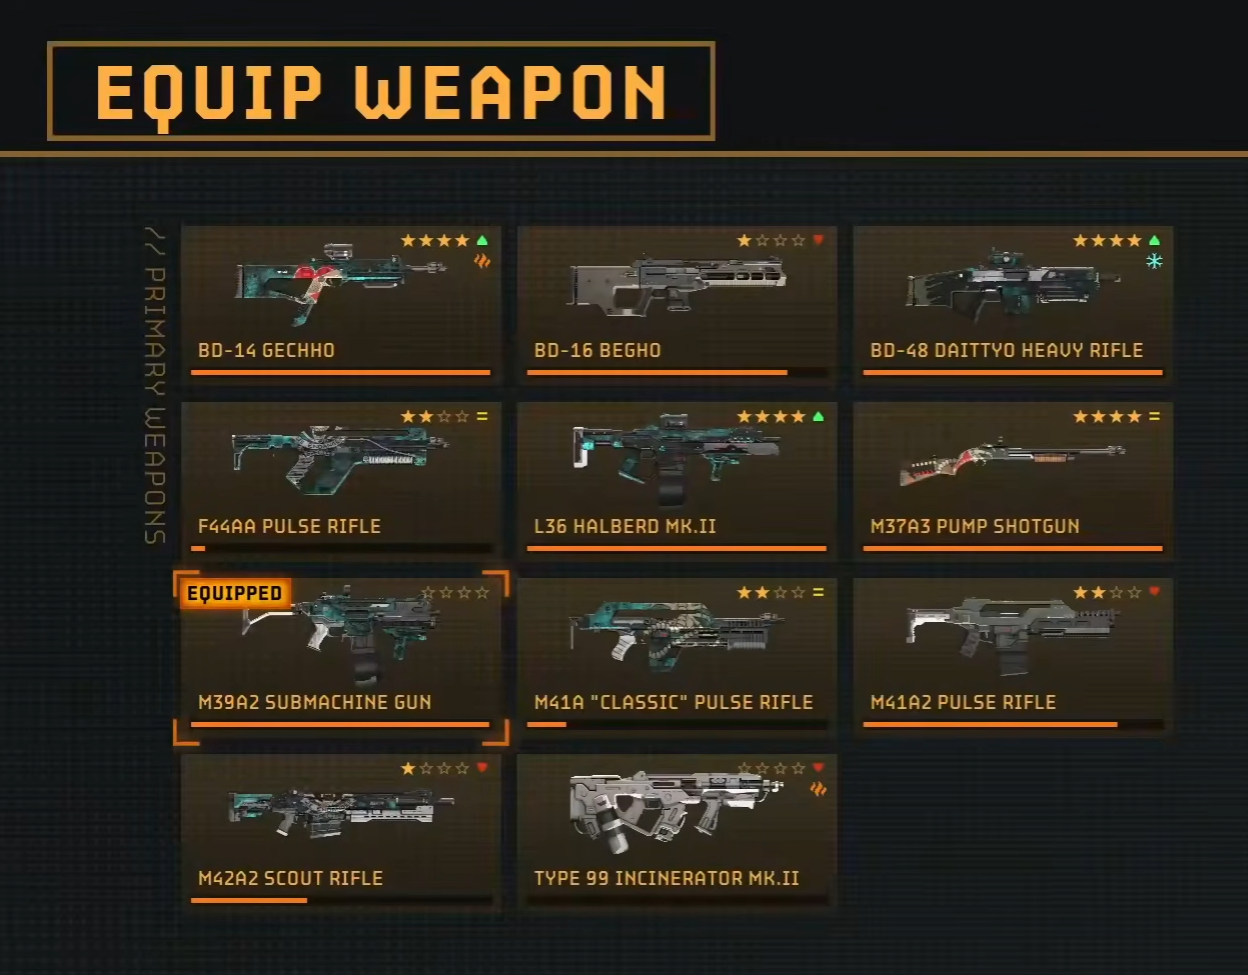
The same principle applies to weapons.
Instead of only leveling your favourite weapon, rotate through as many weapons as possible and work toward unlocking their Traits.
Weapon Traits are one of the most useful reasons to level weapons beyond simply increasing their stats.
A weapon can have a Trait that becomes useful on a completely different weapon.
For example, the Gecko can provide a Trait that gives:
150% increased stopping power on the first shot in the magazine.
That becomes particularly interesting when transferred to the L33 Pike.
The L33 Pike fires a single shot before requiring a reload, meaning that the first-shot Trait effectively applies to every shot you fire.
That's exactly the kind of interaction you should be looking for when building your loadouts.
Don't just level weapons because you want to use them.
Level weapons to unlock their Traits.
Then look at your entire weapon collection and decide which Traits can be combined to create something much stronger.
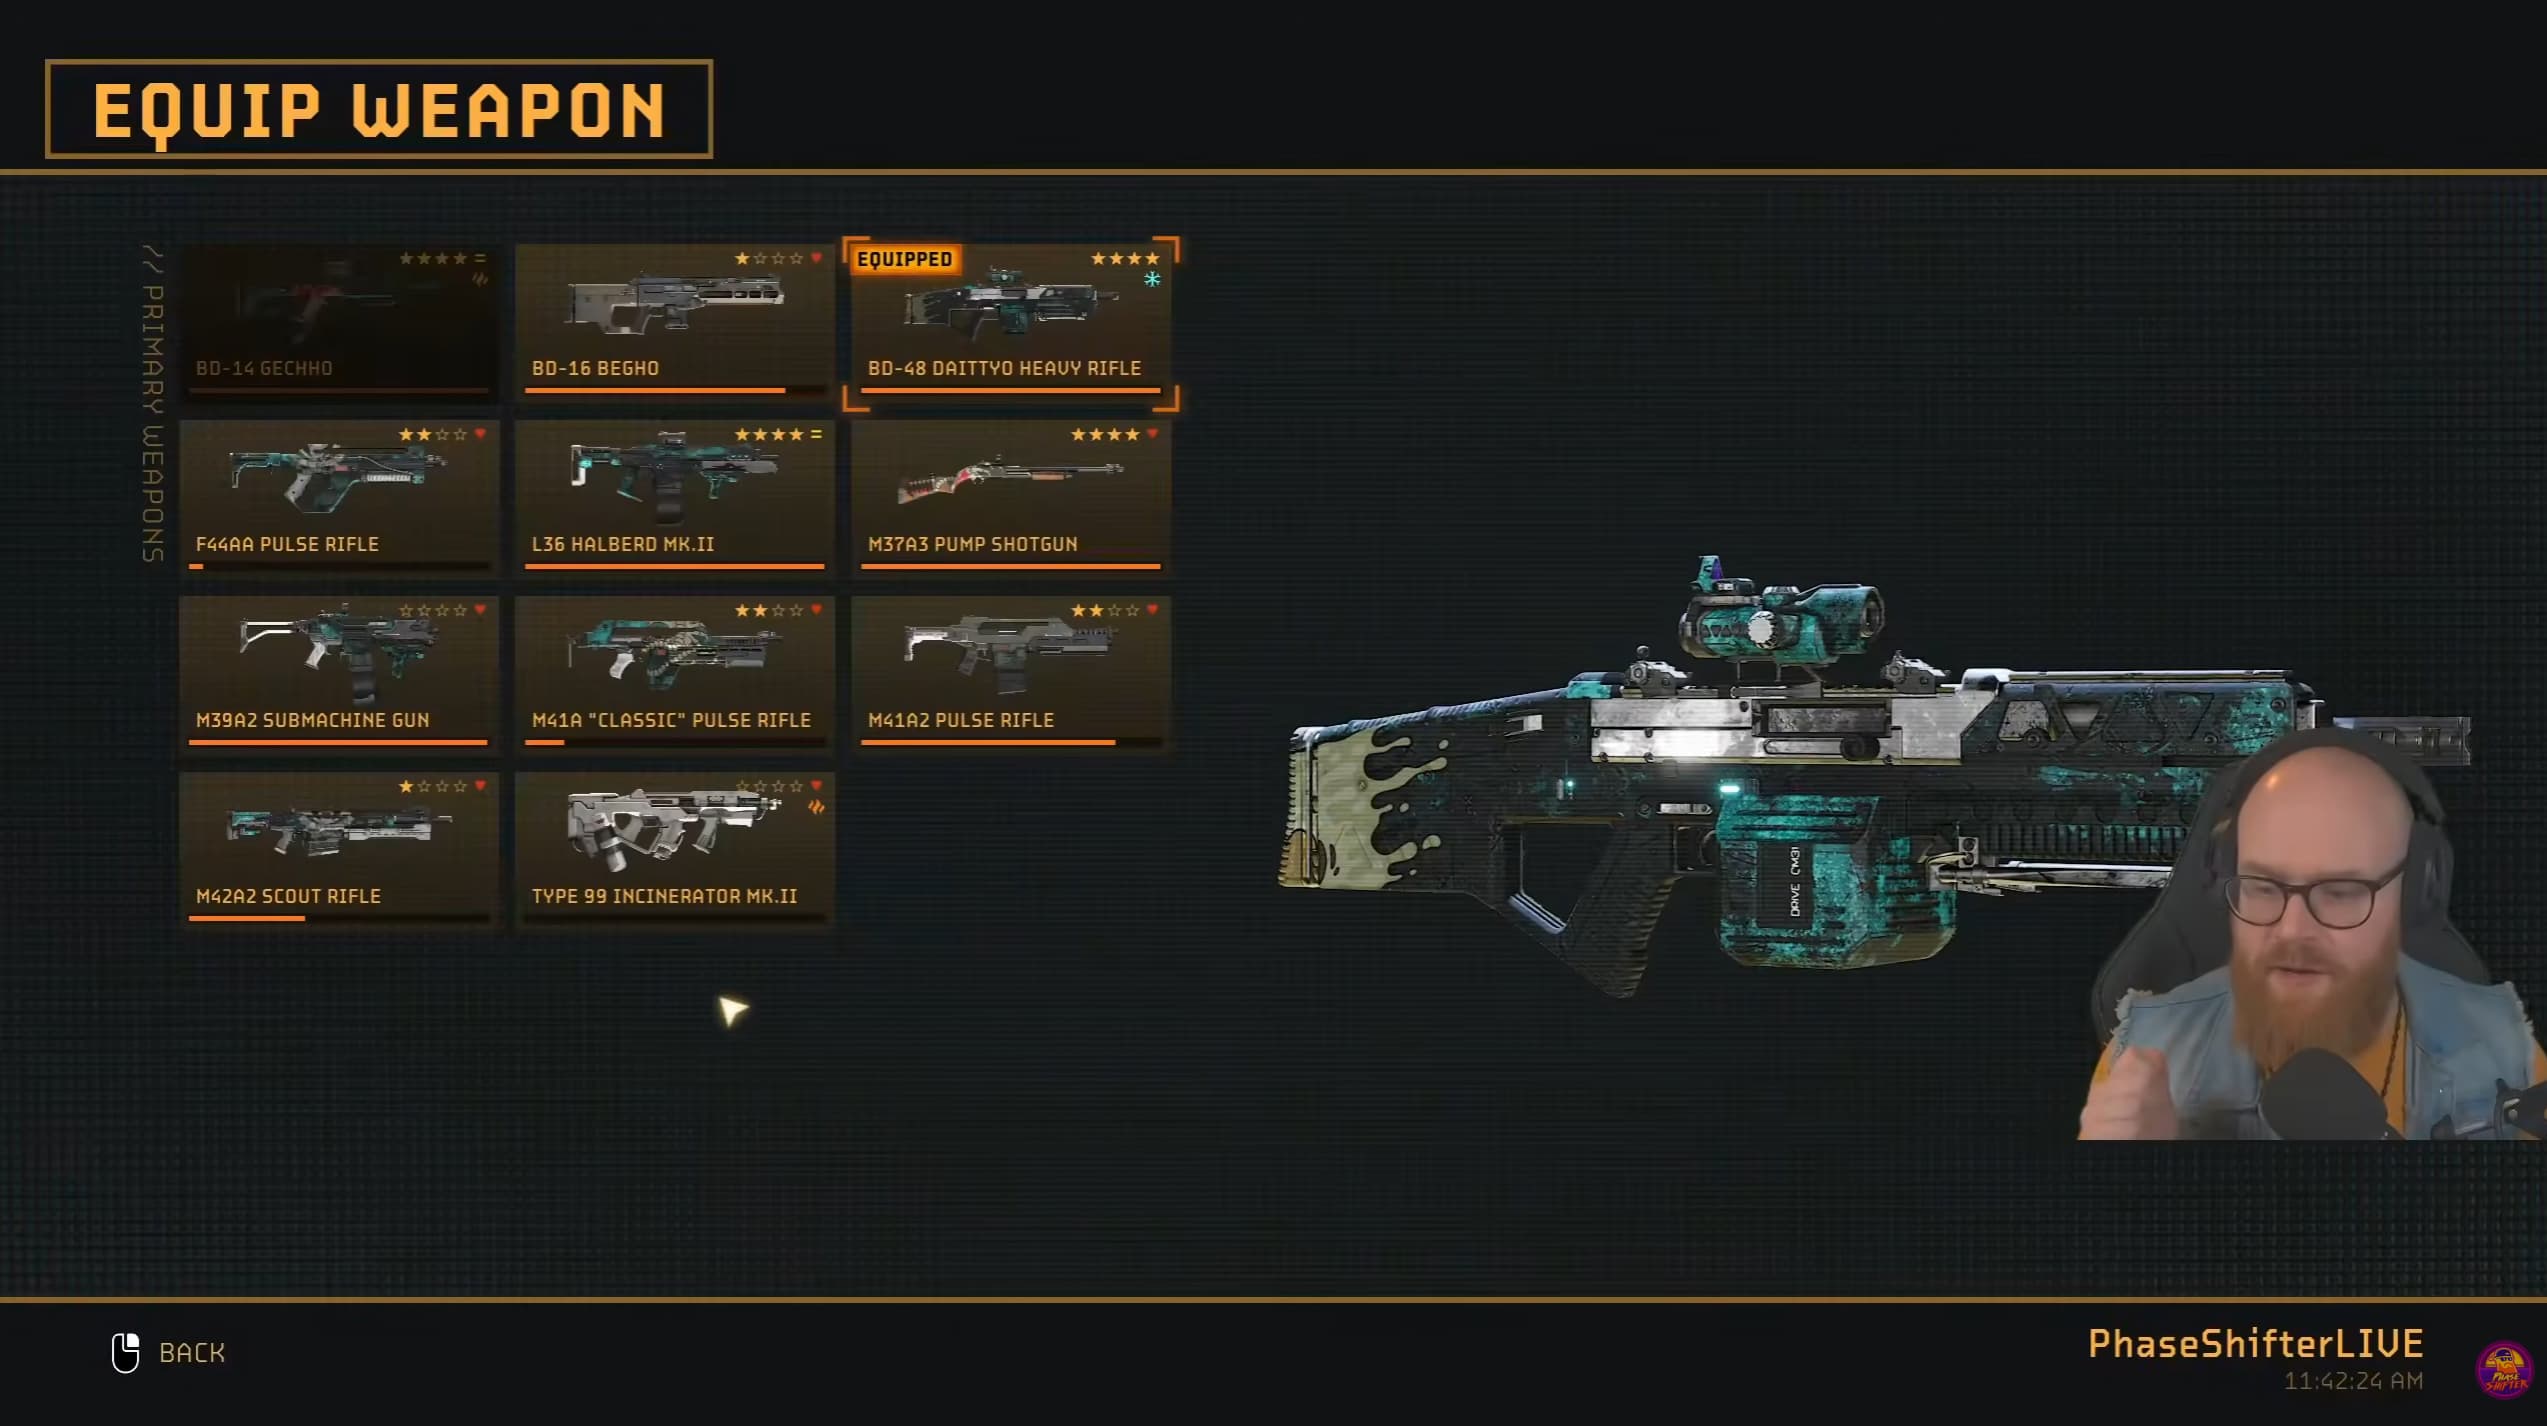
Once a weapon reaches four stars, you can unlock an Augment slot.
This gives you another way to specialize the weapon around your build.
For example, an Unstable Augment can provide Incendiary Ammo, allowing you to further increase your damage output and tailor the weapon toward specific enemy types.
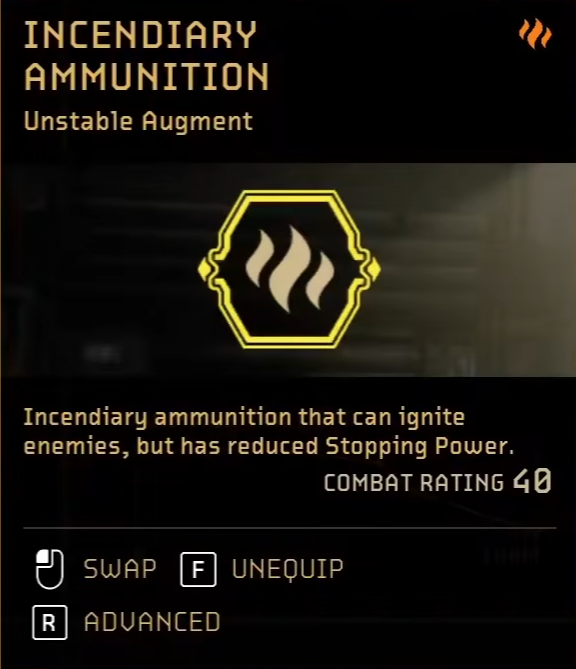
This becomes increasingly important when pushing higher difficulties.
The general progression should therefore be:
Level weapon → unlock Trait → reach four stars → unlock Augment → build around the combination.
Before you can use this farming method, you need access to Horde Mode.
You need to progress far enough through the campaign to unlock the Horde Mode/endgame system.
If you haven't unlocked it yourself yet, you can also join someone who already has access.
Once Horde Mode is available, you're ready to start farming.
For this farming method, use:
Set the difficulty to Standard when you're getting started.
The key to maximizing the rewards isn't simply increasing the difficulty.
Instead, you're going to stack Challenge Cards to increase the reward multiplier.
This is where the farming method really starts to become powerful.

The goal is to use as many Challenge Cards as your group can comfortably handle.
The more reward multipliers you can stack while still completing the run consistently, the better your XP and Requisition gains become.
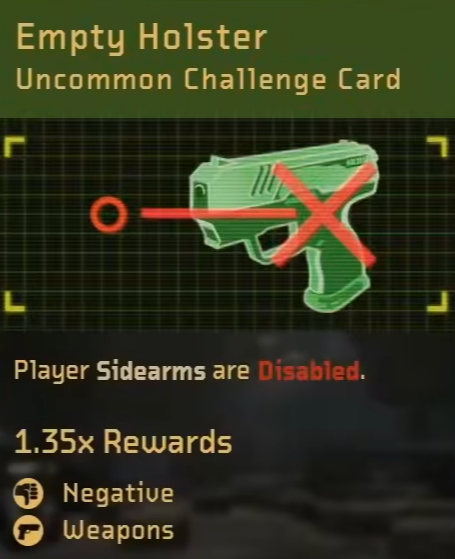
Reward multiplier: 1.35x
The condition is simple:
Don't use your sidearm.
If your group can comfortably play without relying on sidearms, this is an easy reward multiplier to add to the run.
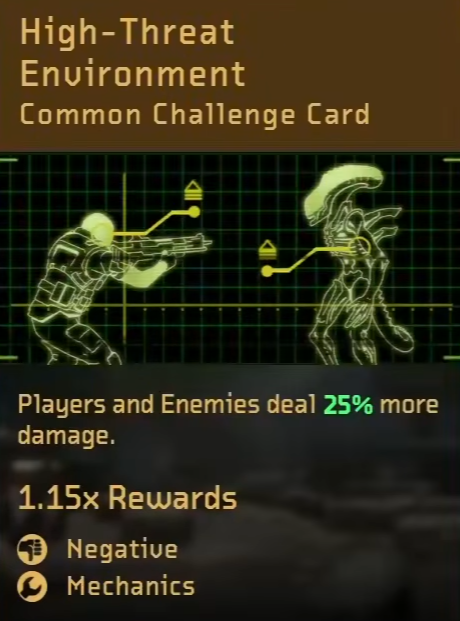
High Threat Environment is another excellent card for increasing your rewards.
You can purchase this card from the shop and upgrade it through successful runs.
Its reward multiplier increases as you level the card.
The progression shown in the video is:
Level | Reward Multiplier |
|---|---|
Base | |
Level 2 | |
Level 3 | |
Level 4 |
At the highest level, players and enemies deal significantly more damage, making the run substantially more dangerous.
The trade-off is the much larger reward multiplier.
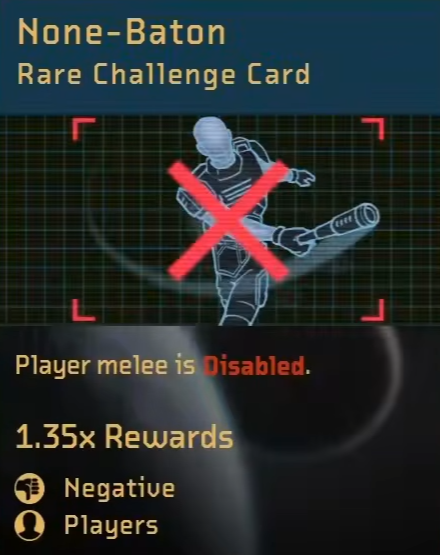
No Baton increases rewards while preventing you from using your melee weapon.
This provides another 1.35x reward multiplier.
If your group is comfortable relying entirely on ranged damage, this is another excellent card to stack.
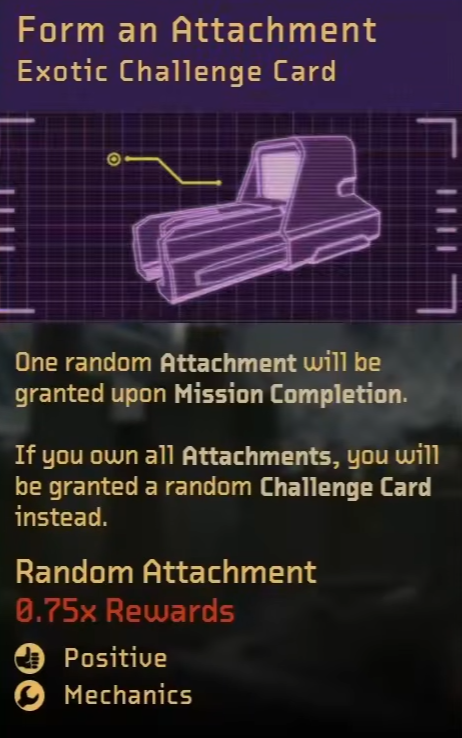
This card grants one random attachment when the mission is completed.
The downside is the reduced reward multiplier of 0.75x.
However, this can still be worthwhile when you're specifically trying to build up your attachment collection.
If you're already stacking several positive reward cards, the reduced multiplier isn't necessarily a deal-breaker.
Use Form and Attachment when:
You don't need to jump straight into Wave 15.
If your classes and weapons aren't powerful enough yet, start small.
The goal is to build your power progressively.
If you're underpowered, start with 5 waves.
This is an extremely manageable run, especially with a group.
That gives you a very efficient early-game XP loop.
Complete the run, spend your rewards, upgrade your gear, and repeat.
Once you're comfortable, push to 10 waves.
This is a good middle ground if Wave 15 is still proving difficult.
Once your group is confident, push through to Wave 15.
This is where the method becomes particularly lucrative.
You're earning substantial XP while also building up the Requisition needed to purchase attachments, Augments, and other upgrades.
Waves | Time | Approx. XP | Best For |
5 | ~10 min | 8–10k | New/underpowered players |
10 | ~18–20 min | 18–20k | Mid-level farming |
15 | ~30 min | 28–30k | Maximum efficient farming |
These numbers will vary depending on your group, Challenge Cards, and how quickly you clear each wave, but they provide a useful target for planning your runs.
While XP is the obvious reward, don't overlook Requisition.
In my experience, Requisition can become one of the biggest bottlenecks when you're trying to fully develop multiple classes and weapons.
The longer you stay in Horde Mode, the more opportunities you have to build your Requisition reserves.
That's another reason Wave 15 becomes attractive once your group is strong enough.
However, don't sacrifice successful runs just to chase the maximum possible Requisition.
If you're still building your account, your priority should be:
Get XP → increase power → push further → increase Requisition income.
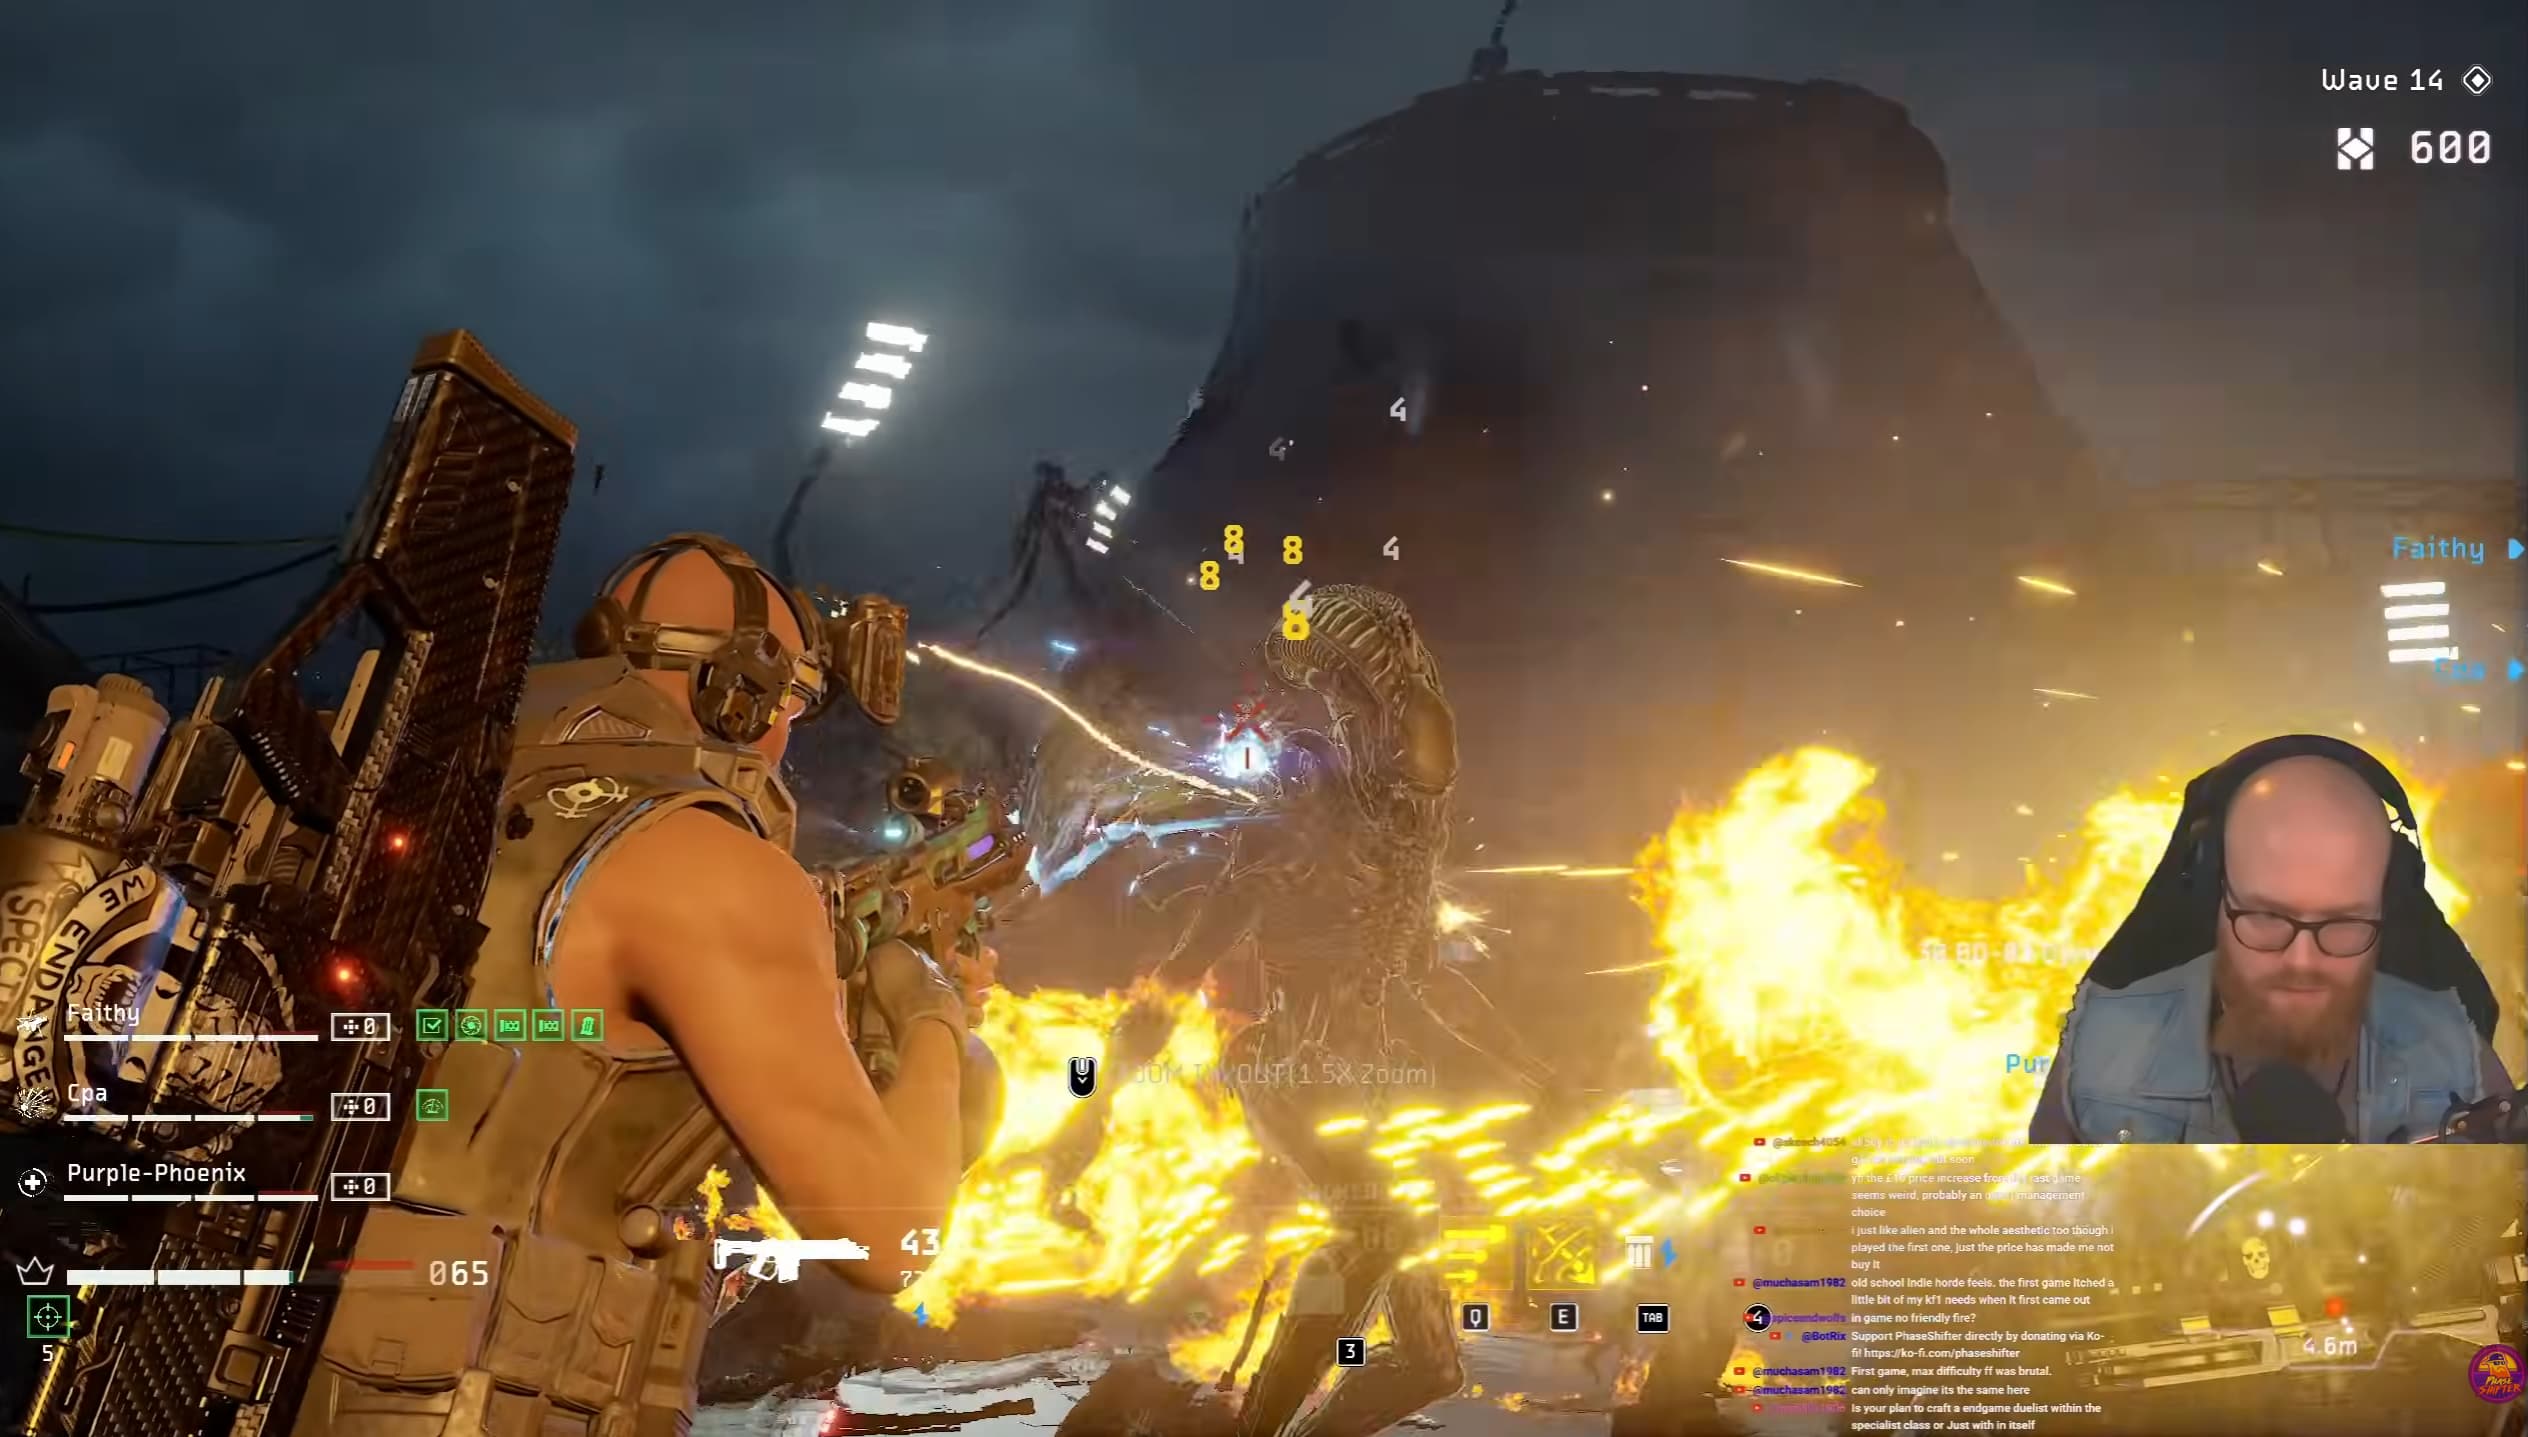
When you're farming XP, don't only bring the weapon you already want to use.
Instead, make a list of the weapons you want to eventually max out and rotate through them.
Your goal is to get each weapon to the point where you unlock its one-star Trait.
Once you have the Trait, you can start looking for combinations that work with your preferred weapons.
This gives you much more flexibility than simply maxing the same weapon repeatedly.
Another important part of Horde Mode preparation is making sure your squad can deal with every major enemy faction.
You don't want your entire team to specialize in one damage type only to discover that the next wave is resistant to it.
Different enemy factions have different vulnerabilities.
Enemy | Vulnerable To | Resistant To |
Xenomorphs | Thermal | Electric |
Synths | Electric | Thermal |
Pathogens | Cryo | Electric |
Armour / Riot Shields | Piercing | — |
This is particularly important in Horde Mode because you don't always know which subfaction you'll be fighting.
Your squad should therefore try to cover as many damage types as possible.
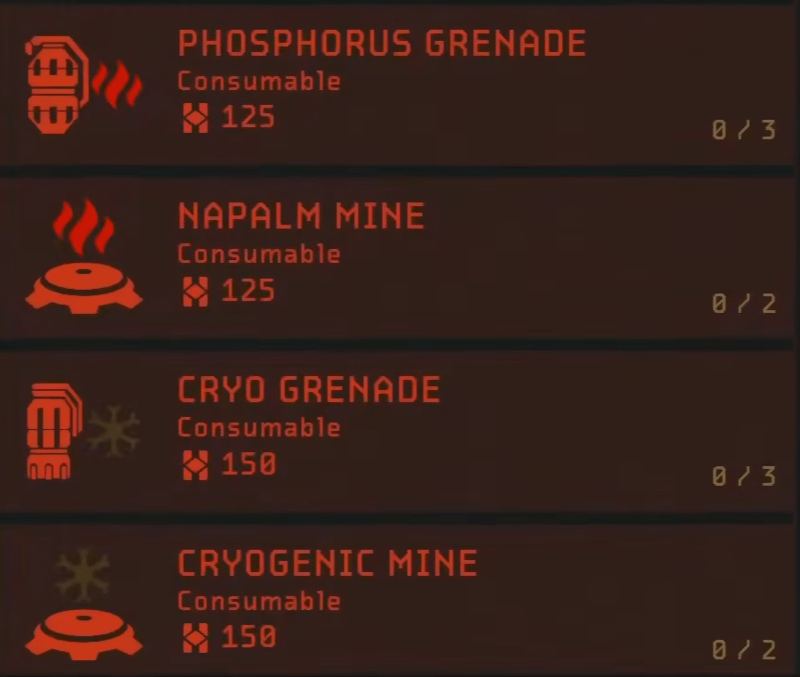
Use Thermal damage.
Good options include:
Use Electric damage.
If you're fighting Synth-heavy waves, make sure your squad has access to electric damage rather than relying entirely on thermal weapons.
Use Cryo damage.
Pathogens are resistant to Electric, so make sure you're not accidentally building your entire setup around the wrong damage type.
Use Piercing damage.
Having access to piercing damage can make armoured enemies substantially easier to deal with.

During Horde Mode, you earn Fabrication Points for completing waves.
It's tempting to spend them immediately.
Don't.
A much better strategy is to save your Fabrication Points for the difficult waves at the end of each cycle.
Horde Mode cycles through five waves at a time, meaning the dangerous waves are:
These are the waves where you should be spending your resources.
The most important rule is:
Buy the counter for the faction you're actually fighting.
Don't blindly purchase the same equipment every round.
For example, if you're fighting Xenomorphs, prioritize Thermal options.
You can use:
The idea is to stack as much of the appropriate damage type as possible during the final wave of a cycle.
Xenomorph wave → Thermal damage
Synth wave → Electric damage
Pathogen wave → Cryo damage
Armoured enemies → Piercing damage
This approach lets your Fabrication Points directly address the threat you're facing.
The Vulnerability Assessment Drone is another excellent Fabrication purchase.
It provides:
This is particularly useful when you're approaching a difficult final wave and need to squeeze as much damage as possible out of your team.
Activate it when you're ready to make your biggest push.
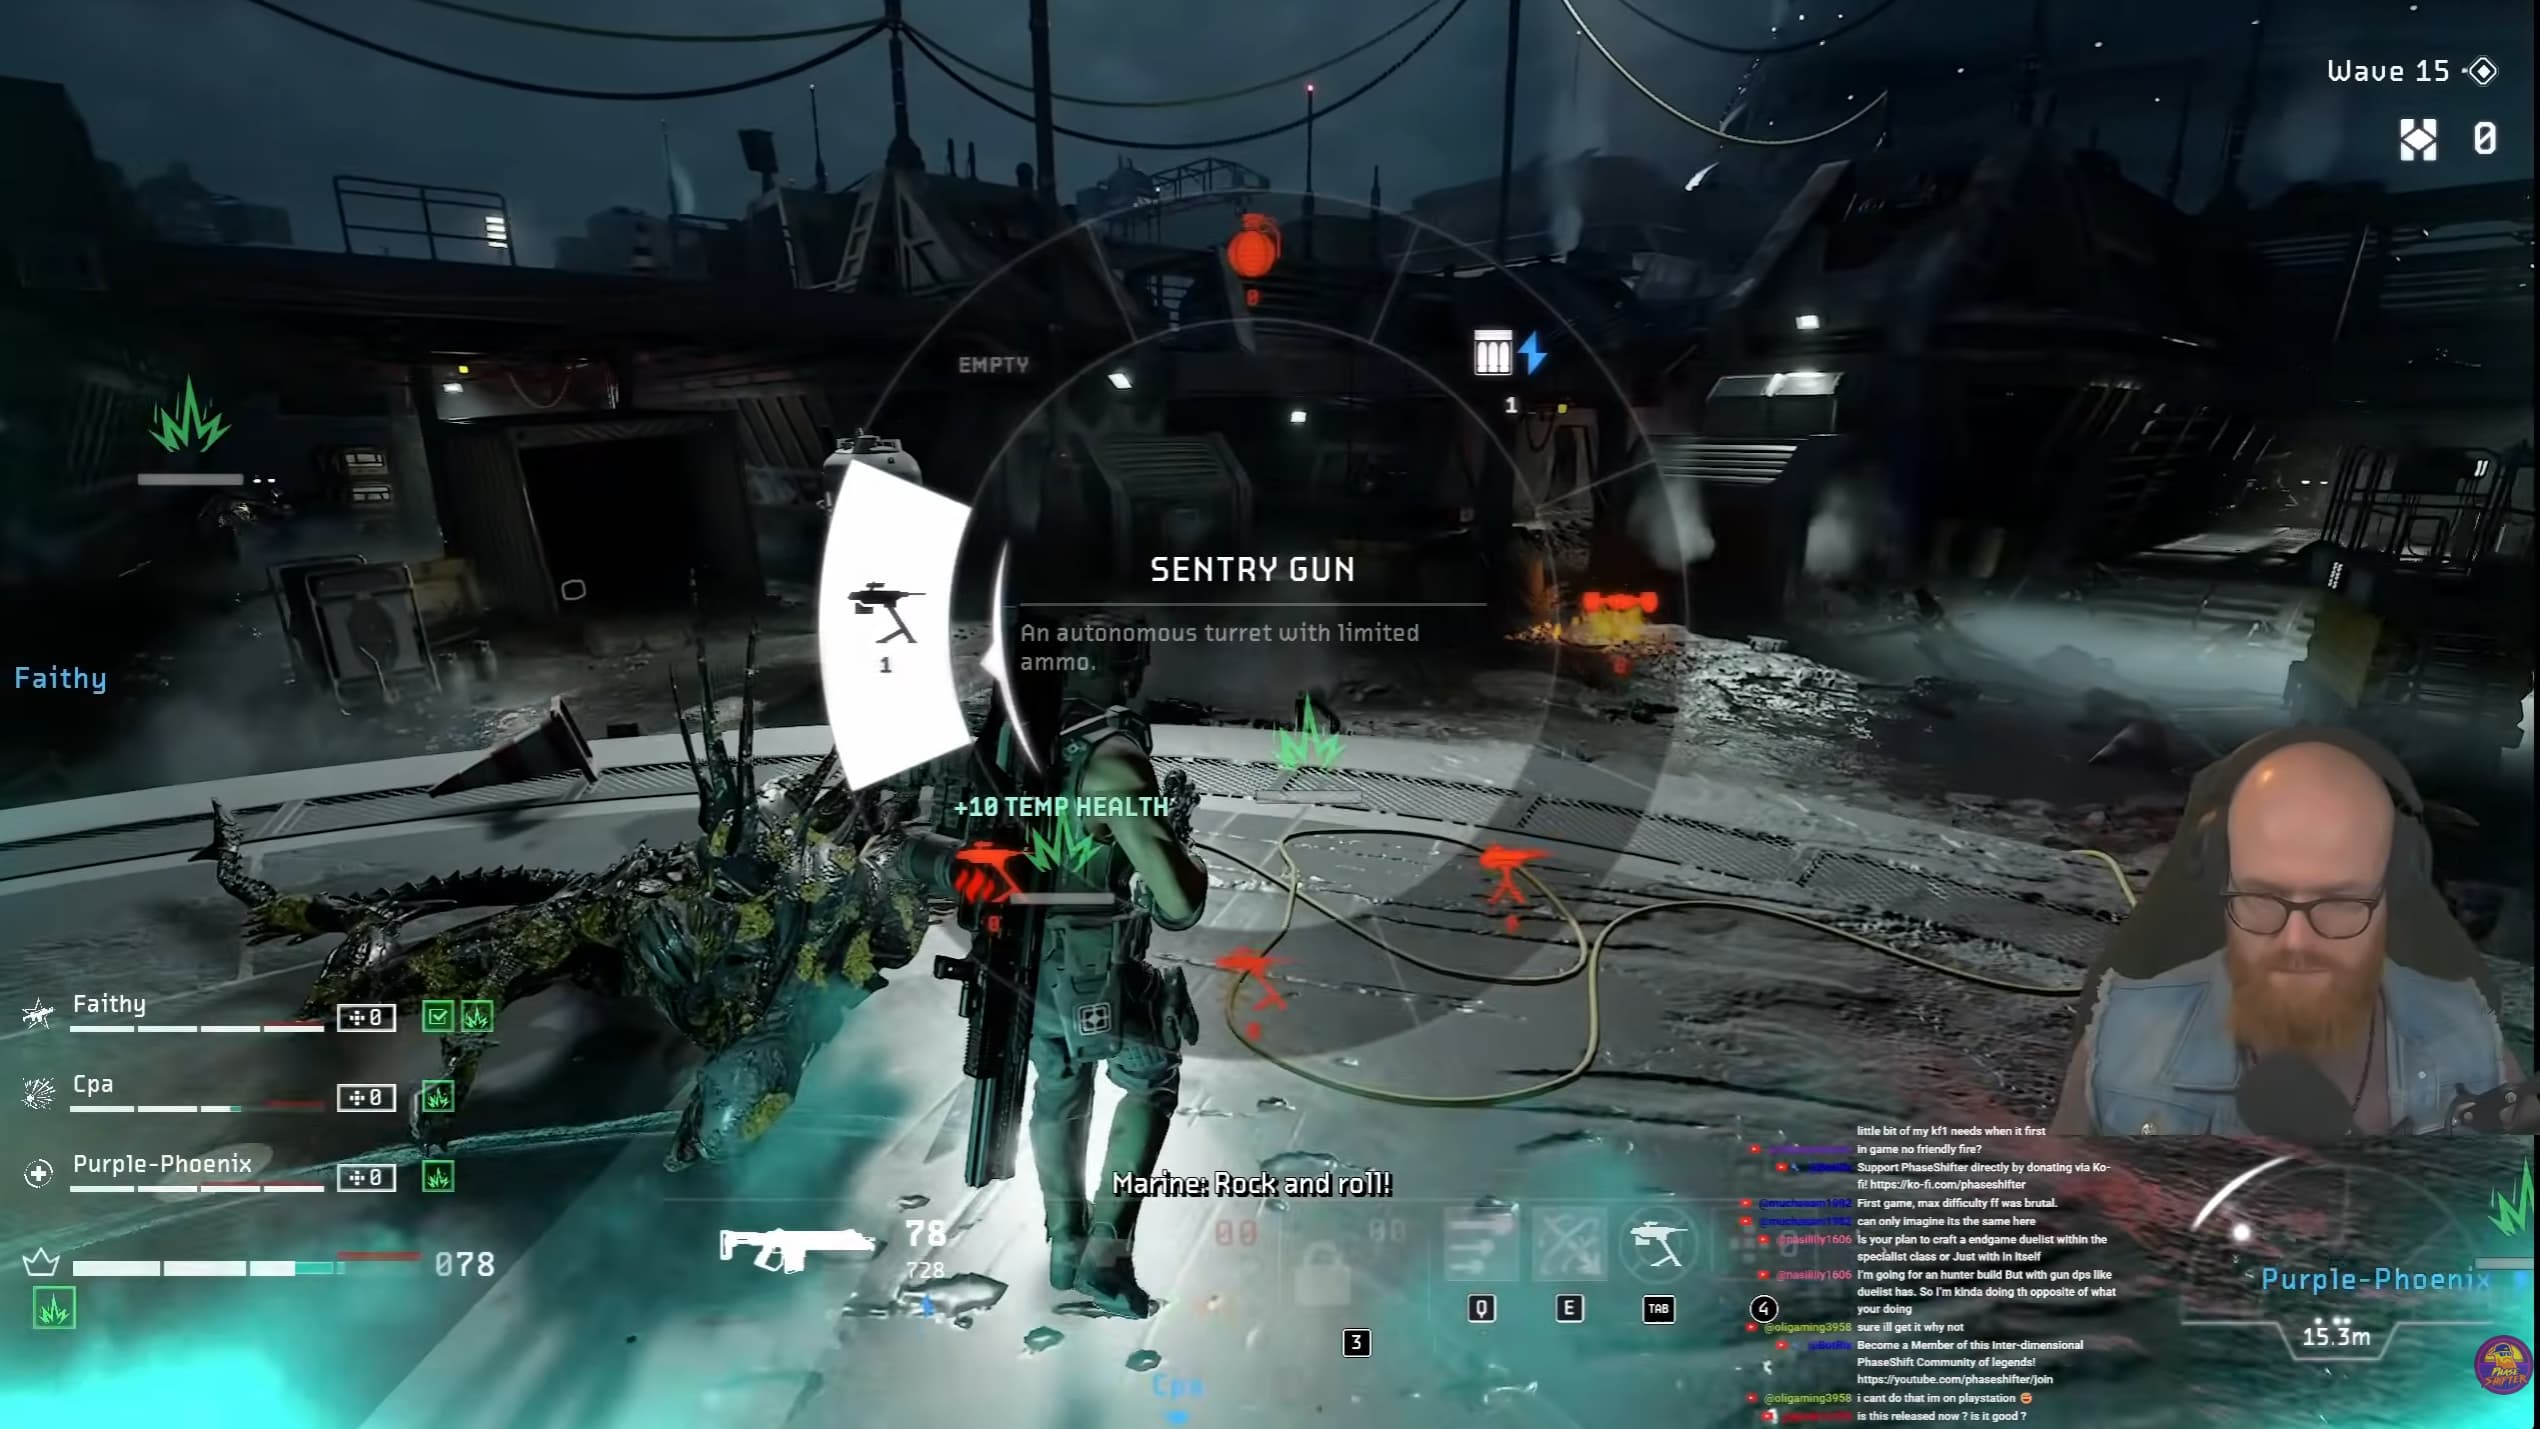
The Automated Sentry Gun is also a useful late-wave investment.
At 500 Fabrication Points, it provides another source of damage that can help your team survive the final waves.
Don't think of Fabrication Points as something that needs to be spent immediately.
Think of them as a bank of emergency resources.
Save them.
Then spend them when the Horde starts becoming dangerous.
Once your squad is properly geared, the general strategy should look like this:
Play conservatively.
Build up Fabrication Points and avoid unnecessary spending.
Start preparing for the first difficult wave.
Use Fabrication Points if necessary.
Spend your resources according to the enemy faction.
Rebuild your Fabrication Point reserves.
Prepare for another difficult wave.
Spend your resources to counter the enemy composition.
Continue rebuilding your resources.
Prepare for the final push.
Dump your Fabrication Points into the appropriate counters and use your strongest abilities and equipment.
This is where the accumulated rewards really start to pay off.

If you've just unlocked a new class and it's significantly weaker than your main class, don't worry.
You don't need to immediately throw it into a full 15-wave run.
Start with:
5 waves → level up → upgrade gear → repeat
Once the class becomes more powerful:
10 waves → level up → upgrade → repeat
Then move into:
15 waves → maximum XP/Requisition farming
This gives you a smooth progression curve rather than forcing an underpowered class into content it isn't ready for.
The real goal isn't simply to level one character.
It's to build a deep collection of max-level classes, weapons, Traits, attachments, and Augments so you can start creating the crazy combinations that make the higher difficulties so much more rewarding.
Once you've got multiple classes maxed and a selection of four-star weapons with strong Traits and Augments, you'll have a much stronger foundation for pushing into the hardest content.

Like our guides?
Add Mobalytics as a preferred source on Google!