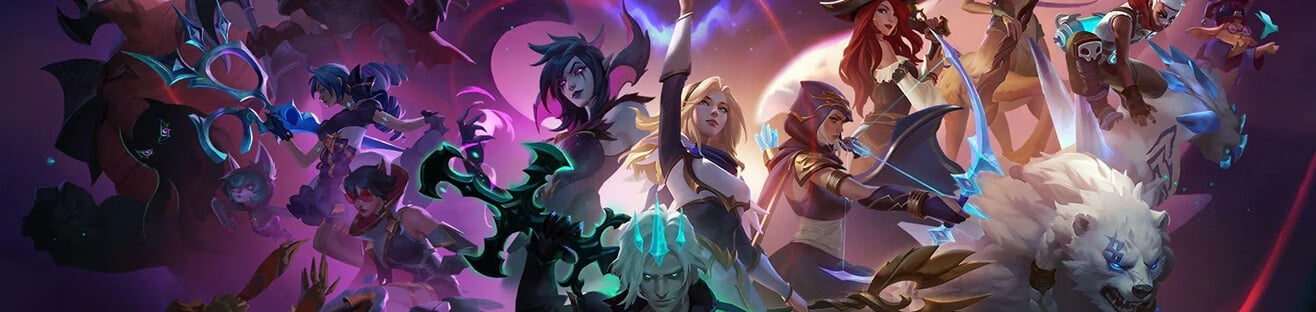
win more in League of Legends
win more in League of Legends
Mobalytics is the all-in-one gaming companion that helps players
of all skill levels improve and climb.
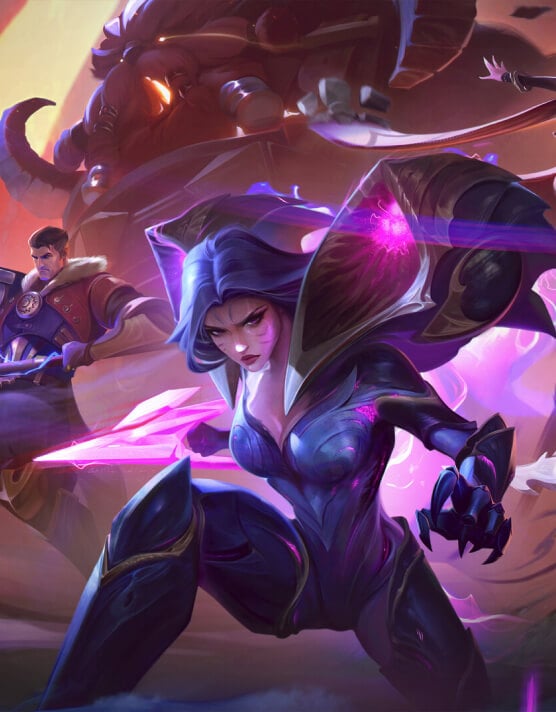
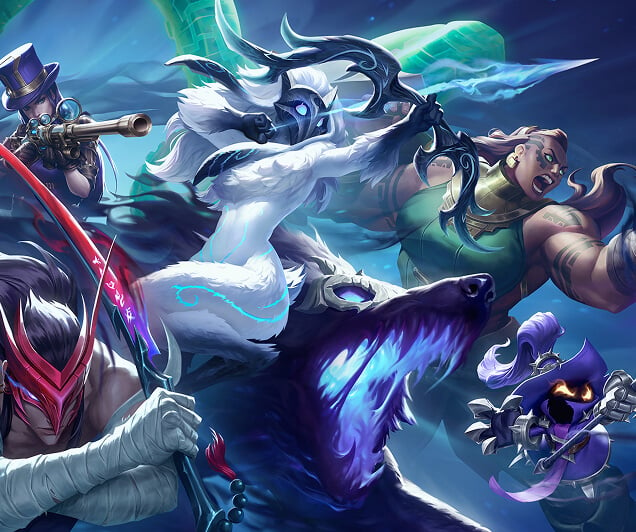
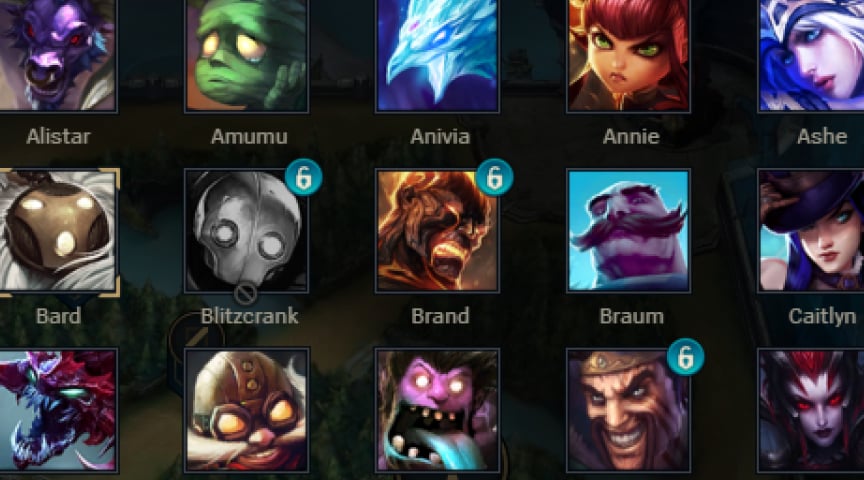
FEATURED Champions
FEATURED Champions
Looking to try out a new champion? Here are some of our favorite recommendations!


League of legends news and guides
League of legends news and guides
Stay up to date with the latest news, meta content, guides, and much more.
How to Choose your Main Role
Learn about the five LoL roles and find the best one for you and your playstyle.
Champion Tier List for Climbing Solo Queue
Ready to climb throughout the Season? Find the right champs for you.
Patch Notes Breakdown
Dive into the latest buffs and nerfs with analysis from our experts.
Terms That Every League of Legends Player Should Know
Learn about all the different acronyms, phrases, and slang that LoL players commmonly use to communicate.

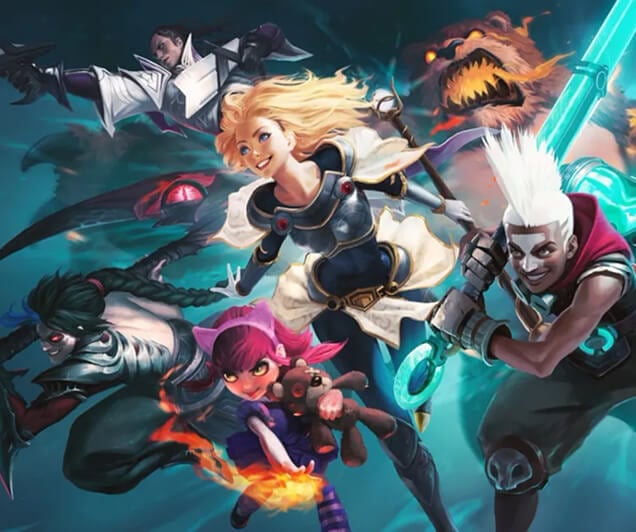
What is league of legends?
What is league of legends?
League of Legends is Riot’s multiplayer online battle arena (MOBA) where two teams of five players wield powerful champions that have unique abilities to achieve victory.
Select a Champion
There are currently over 170 playable champions and new ones are added every few months. Find the best one for you!
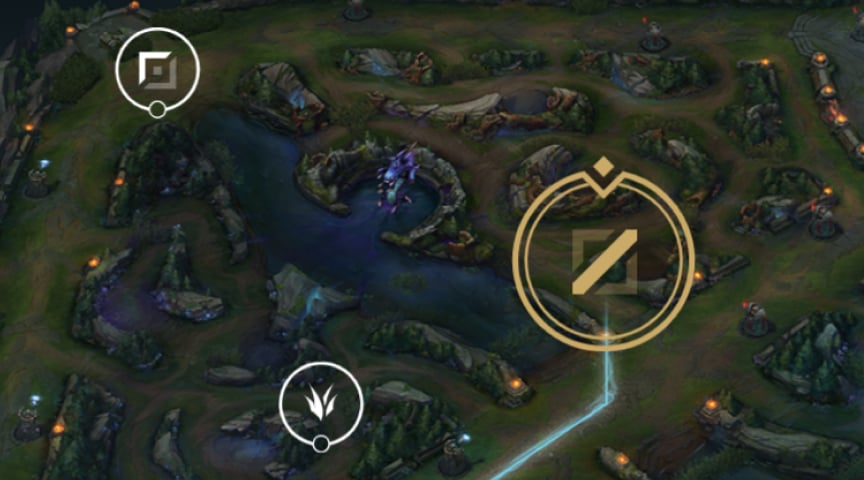
Choose your Role
Each of the five players on a LoL team chooses a specific position on the map that offers its own experience and expectations.
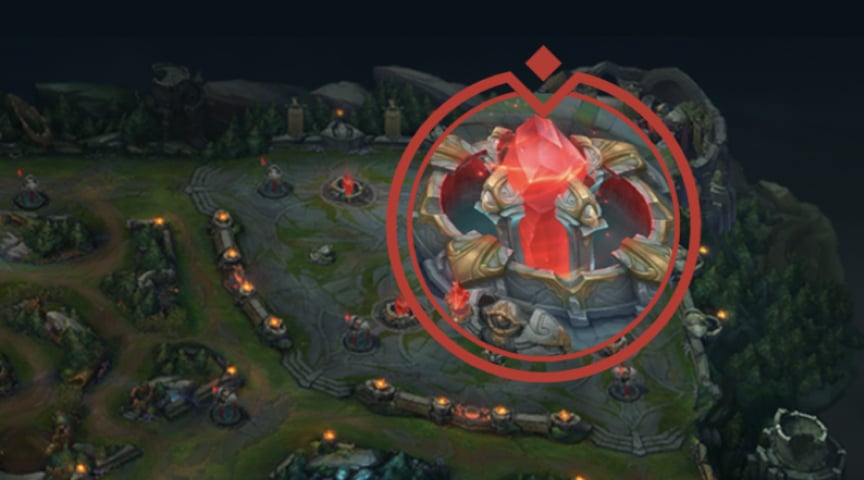
Destroy the Base
Work together with your team to complete your ultimate goal — destroying the enemy Nexus, the heart of their base.
Handcrafted with ![]() by Gamers for Gamers
by Gamers for Gamers