 League of Legends
 Teamfight Tactics
 Valorant
 Lost Ark
 Destiny 2
 Diablo 4
 Download APP
Lost Ark Argos Abyss Raid Guide (Phase 2)
Congratulations, you’ve cleared Argos Phase 1!
If you haven’t yet and ended up here somehow, you can check out our Argos Phase 1 guide here.
Once you’ve beaten Phase 2, don’t miss our Argos Phase 3 guide.
Phase 2 Overview
- Required Gear Score : 1385
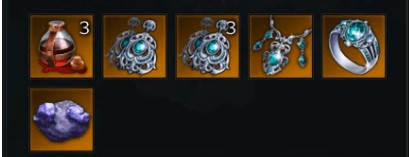
- Required Battle Items
- Party 1
- Healing Potions
- Destruction Bomb
- Party 2
- Healing Potions
- Whirlwind Bomb
- Party 1
- Recommended Card Sets (same as Phase 1)
- We’ll Meet Again & Forest of Giants: Provide universal defense bonuses
Guardian of Chaos & Oreha’s Well: Provide defense specifically vs Abyss raid bosses
- We’ll Meet Again & Forest of Giants: Provide universal defense bonuses
Phase 2 Rewards
Note that the above is in addition to the Phase 1 reward.
Phase 2 Fight Stage Summary
There are wipe mechanics that must be performed correctly through coordination between the two parties that have been split up.
As usual, there are also random mechanics and boss attacks to learn.
Overall, the fight is split into 4 stages:
- Fight Start
- The shortest stage where both parties fight Argos until a specific damage threshold is reached.
- Sun Boss
- Party 1 is teleported to fight the Sun Boss while the Moon Boss deals with Argos
- Moon Boss
- The reverse happens after the sun boss is defeated. Party 1 stays to fight Argos while Party 2 fights the moon boss.
- Final Fight
- The parties combine again to finish off Argos.

Fight Start
A lot of what you learned from P1 will be applicable here, so hopefully, you weren’t carried too hard!
The biggest difference is that in this Phase, Party 1 will ALWAYS have the sun buff and Party 2 will ALWAYS have the moon buff.
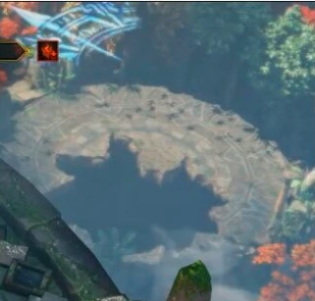
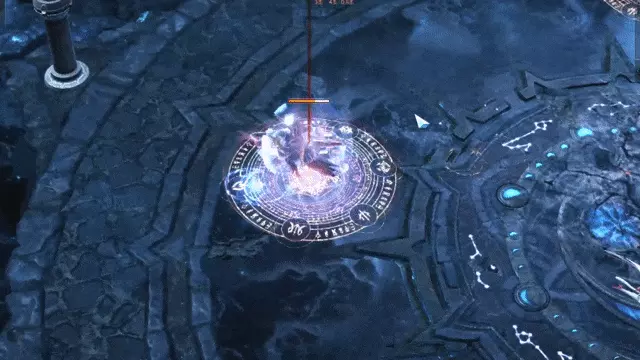
Once the fight starts, Argos will start doing the moveset you are familiar with from phase until a certain damage threshold is reached.
Then, Argos will jump to the middle of the area and Party 1 will be teleported to the sun boss.
If he lands on you, it will cause some damage and “earthquake” debuff that lasts for a few seconds.
For a full breakdown of Argos’s move set jump to the Argos Moveset section at the end of the article.
Sun Boss
The most important thing about the Sun boss is they have some wipe mechanics that may wipe only Party 1 or Party 2.
Party 1 will repeatedly stagger the boss and destroy a weakpoint (tail and horn).
After 3 Staggers, the boss no longer has weak points and will enrage and do a ton more damage and faster/wider moves.
If you miss a weak point break during a Stagger then he will also enrage. That’s why Destruction Bombs are key for Party 1.
The faster you kill this boss, the fewer wipe mechanics you have to deal with. So one strategy for this boss is to put the high damage players in Party 1 to kill the boss before the mechanic starts.
Wipe Mechanic Strategy
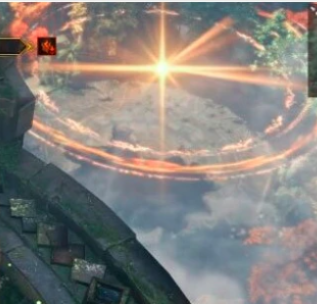
Argos will raise his head to the sky and launch something. This is the indicator that Party 2 should tell Party 1 that the indicator of wipe mechanics started.
One player from Party 1 should go to the edge of the arena (top side of the arena) to see which mechanic is occurring and to call out the safe spot for everyone.
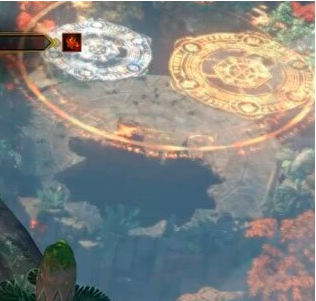
1. The moon party should move in the direction of the arrow to survive – sun party is safe during this.
2. The safe spot for sun party is in the center of the arena – moon party is safe during this.
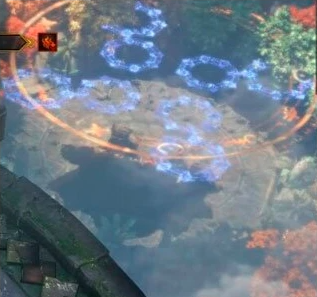
3. Argos will spawn eight moon spheres. To survive, each player shall take only two. If someone takes the third sphere it will cause high damage to them.
If 1 sphere goes out of the map, it will wipe the moon party. So, try to keep Argos in the center of the arena to have some space to acquire the spheres – sun party is safe during this.
4. Four dots will spawn in the four corners of the arena at Argos himself. Each moon party member should step into one circle when it changes from sun to moon to take ten stacks of a buff to survive – sun party is safe during this.
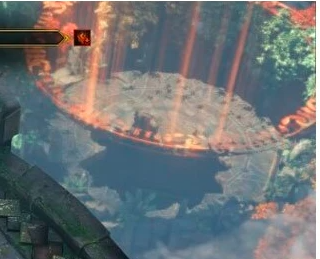
5. The safe spot for moon party is on the edge of the arena when the center explodes – sun party is safe during this.
6. The safe spot for moon party is the center of the arena when the edges will explode – sun party is safe during this.
Sun Boss Moveset
Tail swing
Sun boss holds and swing his tail to damage players at the front. Safe spot is his back.
Head knocking
Sun boss rushes forward two times to the targeted player causing high damage.
Head smash
Sun boss smashes his head to the floor causing a small radius arena damage.
Counter mechanic
Boss turns blue and stands steady before rushing forward knocking any player front of him. This can be stopped by using a counter skill.
If you successfully countered the boss, it’s a window for you and your party to deal some heavy damage and cast your Awakening skills.
Except for Soulfist, it has an eternal cooldown of 30 sec, so if the boss did it again within 30 sec, just run away.
Tail spin
The Sun boss will charge and do a 360-degree spin causing damage to everyone in close range with the boss.
After a while, the boss will get neutralized with a circle showing on his horns or tails
All party members should throw Destruction Bomb and use weak point skills on the boss’s head to delay the berserk mode.
When the sun boss turns into a berserk mode, the previous mechanic will be the same but enhanced with a wider radius.
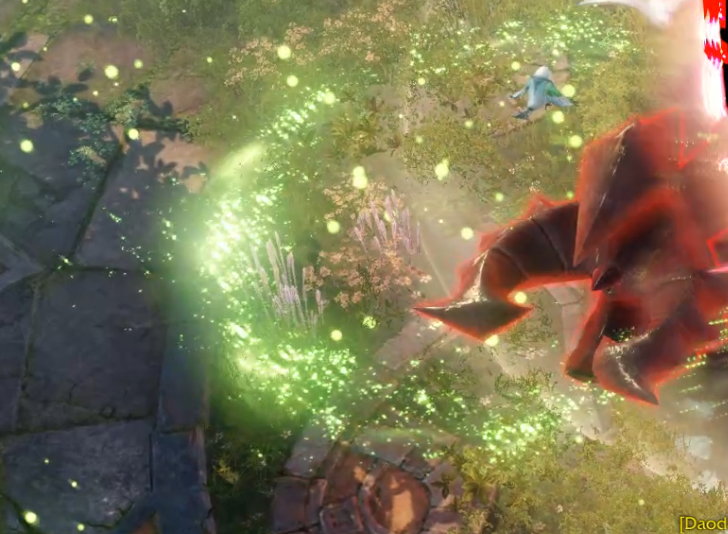
Pay attention to the shiny green circles because it causes a debuff that lasts 15 seconds,
If you have 1 stack of it and you get hit by another, you will get stunned.
Moon Boss
After the defeat of the sun boss and a quick combined assault on Argos, Party 2 will be teleported to the Moon Boss.
Sun party’s mission here is to kill the four yellow towers that appear on their mini-map once the fight has progressed a bit. If they don’t do this, the moon party will have a slow debuff.
The Moon boss is split into three sub fights
- Moon boss
- 1st minion
- 2nd minion
Deal enough damage to the moon boss and then at~60% and ~30%, it will teleport to the center of the arena and spawn a minion.

The minion has a 90% damage reduction buff that can be removed only if you drain their Stagger bar.
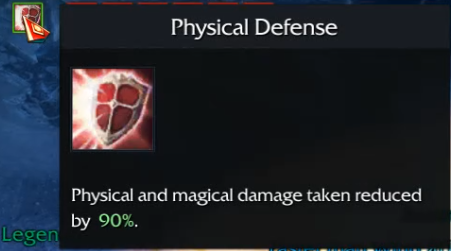
It is advised to throw a Whirlwind Bomb on minions and focus on doing your Stagger skills. Once the bar is drained, the minion will break and you will do your normal damage.
After killing a minion, the moon boss will reappear again in a neutralized state. This is another window to deal heavy damage/Awakening skills (Soulfists rejoice!).
Moon Boss Moveset
Imprison mechanics
Moon boss will raise a hand, summoning two pillars that cause an imprison state to every player standing on the indicator line. Then it will shoot a tornado at a targeted player.
Moon boss shadow
This mechanic happens during minion fights. The moon boss shadow will appear targeting one player then throw a tornado fist toward them.
The indicator of it is clear, you can easily move out of it.
Paralyze circle
A red circle will appear under one player with a tornado inside of it, pulling back whoever steps in it explodes after a few seconds. To get out of it, simply dash out.
Rock fall mechanic
Four circles will appear on the floor and a cylinder-shaped mark will appear on each player’s head followed by a few rocks falling on them.
Players need to set into a safe spot and wait for the rocks to fall on their heads (no damage will be taken during this phase).
If the rocks landed successfully in circles, the mechanic is passed.
If a player failed to do that, their safe spot will explode causing a big AoE damage to everyone around.
Final Fight
After killing the boss, move to the center of the blue circle that will appear to teleport back to Argos and finish the phase.
It should be quick – the hard part is over soldier!
Below is the basic Argos moveset for you to make sure you can finish the job.
Argos Moveset
Jump/AoE
In Phase 1, Argos jumps out of the arena and then targets someone to land on. You can see where he will land by paying attention to the floor because a white circle will appear.
Once he lands, unlike Phase 1, he will do a big AoE that knocks all the players around.
The safe spot is close to the boss or far away.
Ray lines
Argos slams the ground with his left hand causing light rays damaging whoever steps in it.
You can see the indicator of it easily on the floor – the safe spots are always at his back.
Ray circles
Argos spawns two circles that target two players and explode after three seconds causing some big damage. You have enough time to run out of it.
Four direction spheres
Argos does a little jump, smashing the ground and spreading four spheres in four directions which return back to Argos.
It causes damage when it’s moving out and when it’s moving back. Once those spheres get back to the starting point, Argos will do big AoE that knocks the players up and causes damage.
The safe spot is the following:
- Spheres going out from Argos’s head & tail – left and right (cross looking) safe spot is 45 degrees on Argos’s position
- Spheres coming back to Argos at 45 degrees, so move to the previous spot where spheres were going out at 90 degrees.
- Then stay closer to the boss or move really far away to avoid the AoE.
Moon/sun smash 1
Argos smashes the ground causing a paralyzing state to the players around him and also creating four big circles (moon or sun) on the floor that explodes after three sec like Phase 1.
The safe spot is at 45 degrees or you can dash close to the boss after the first smash.
Eight direction spheres
A little bit similar to four direction spheres but without the returning back and the explosions.
Argos rushes forward and knocks eight spheres to spread in each direction.
Rock raining
Argos slams the ground marking all the players with a gray circle under his feet. A cylinder looking shadow on a player’s head that gets smaller and smaller.
Then four rocks will fall on the players head causing high damage. Once you see that, just run away from your party mates to avoid killing yourself and your party members.
Moon/sun smash 2
Argos smashes the ground causing a paralyzing state to the players around him and also creates a big circle (moon or sun) under him along with four smaller circles on the floor that explode after three seconds like Phase 1.
The safe spot is at 45 degrees or dash close to the boss after the first smash.
Need help with the other Argos phases? Check out our Phase 1 guide or Phase 3 guide.