 League of Legends
 Teamfight Tactics
 Valorant
 Lost Ark
 Destiny 2
 Diablo 4
 Download APP
Table of contents
8 Best Stratagems To Get Early Game (That Are Still Good Late Game)
In this guide, we’ll cover the best stratagems to unlock first, covering up to level 10.
Our goal is to help you spend your Requisition Slips currency as efficiently as possible, with stratagems that are not only good early game but still remain relevant through late game.
Even though these are all unlocked during the early game, they are all ranked from S to B on our tier list of all stratagems.
That being said, remember to always prioritize your own strengths and playstyle over following the meta. As long as you’re still doing a good job in liberating planets for Super Earth, play your way!
1. Expendable Anti-Tank (3500 cost) – Level 2
![]()
- Call-in Time: 2 sec
- Uses: Unlimited
- Cooldown Time: 70 sec
- Input: ⇩⇩⇦⇧⇨ = Down, Down, Left, Up, Right
The Expendable Anti-Tank (also known as E.A.T.) offers a ton of value to you and your team due to how spammable it is.
Although you only get one shot per E.A.T., each E.A.T. drop comes with two separate rockets.
With an incredibly low cooldown of 70 sec, you can have them ready for virtually every major fight.
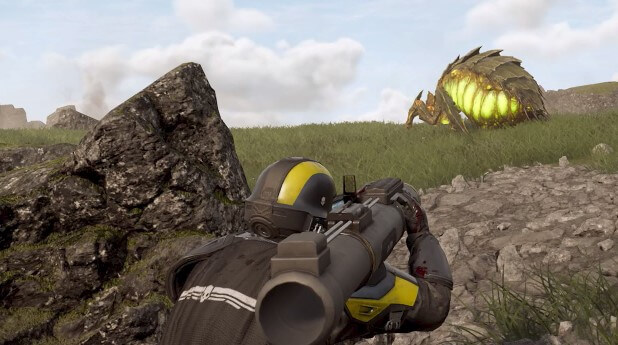
It’s one of your few options in the super early game to take out big threats and can even one-shot automaton dropships if you get a direct hit on the thrusters.
Overall, it’s one of the biggest power spikes of the early game and is still viable through the mid and late game.
2. Supply Pack (4000 cost) – Level 2
![]()
- Call-in Time: 5 sec
- Uses: Unlimited
- Cooldown Time: 480 sec
- Input: ⇩⇦⇩⇧⇧⇩ = Down, Left, Down, Up, Up, Down
The Supply Pack is one of the early backpack stratagems you have access to. If you weren’t aware, you can only have one backpack equipped on your diver at once, so plan and choose wisely.
Each pack provides you with ammo, stims, and grenades, and can be used on yourself as a solo or administered to an ally in need.
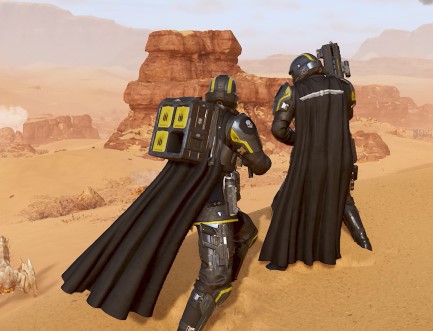
With the Supply Pack, in combination, with the usual Supply Drop, you can spam your weapons more reliably, stay healthier, and take on more objectives.
By getting 5 stars more often, you’ll be able to progress and collect more currency for faster unlocks.
You can feel a lot safer going past timer as the penalty of not being able to access your stratagems isn’t as big of a deal with supplies still on hand.
We know it isn’t the sexiest or most explosive stratagem to take, but you can’t deny how beneficial it is to have in almost every mission type.
3. Eagle Cluster Bomb (4000 cost) – Level 3
![]()
- Call-in Time: 0 sec
- Uses: 4
- Cooldown Time: 15 sec
- Input: ⇧⇨⇩⇩⇨ = Up, Right, Down, Down, Right
Since the Eagle Cluster Bomb drops almost instantly upon casting it, it’s one of the best options to use when you’re about to get overwhelmed by a massive wave of small enemies.
Like the other Eagle stratagems, you’ll eventually have to call for a refill – but with four use charges, you can get a ton of value before having to do so.
One of its main downsides is that it cannot be used to destroy buildings, so make sure that your team has access to stratagems that can (and make the most of your free Hellbombs!)
It also won’t do much against the big armored targets, so lean toward saving them for waves of mass quantity. If you play your cards right, you should get dozens of kills for one cast with relative ease.
4. Grenade Launcher (6000 cost) – Level 5
![]()
- Call-in Time: 3 sec
- Use:s Unlimited
- Cooldown Time: 480 sec
- Input: ⇩⇦⇧⇦⇩ = Down, Left, Up, Left, Down
Whereas the E.A.T. is a great choice for taking down big targets, the Grenade Launcher is an awesome Support Weapon choice for clearing a ton of small targets quickly with splash AoE.
It’s also serviceable at taking down medium-sized targets like automaton walkers and terminid Bile Spewers.
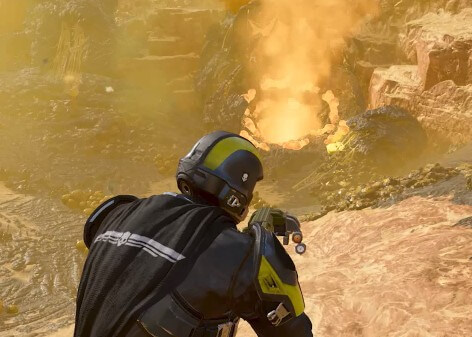 One of its most unique strengths is making your life much easier when taking out objectives like nests, eggs, and factories from afar. It’s a lot safer than having to run up to throw grenades and it helps you save your stratagem cooldowns for better uses.
In addition, it can reload quickly, allowing you to stay on the move while taking out objectives. If you pair it with a Supply Pack, you can move from objective to objective with virtually no downtime.
5. Gatling Sentry (4000 cost) – Level 5
![]()
- Call-in Time: 3 sec
- Uses: Unlimited
- Cooldown Time: 180 sec
- Input: ⇩⇧⇨⇦ = Down, Up, Right, Left
If you really like turret-play, you can consider grabbing the Machine Gun Sentry at level 2 (1500), otherwise we recommend waiting for the Gatling Sentry at level 5. You can use the two in tandem, but the Gatling Sentry outclasses it in every category.
The Gatling Sentry makes defensive missions a breeze but it makes a big impact in protecting your flanks on most other mission types (you probably don’t want turrets for Blitz).
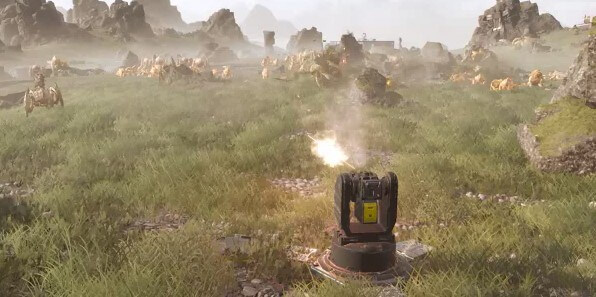
Since Sentries can be destroyed, always try to place it on high ground (be careful with bounces though).
It also has some additional benefits on dark levels since it can help you track where enemies are and even provide some lighting as it fires.
Overall for our list, this is the weakest choice since it isn’t as potent during the late game, but it’s a reliable choice for early and mid-game difficulties.
6. Mortar Sentry (7000 cost) – Level 8
![]()
- Call-in Time: 3 sec
- Uses: Unlimited
- Cooldown Time: 180 sec
- Input: ⇩⇧⇨⇨⇩ = Down, Up, Right, Right, Down
Let’s get it out of the way – the Mortar Sentry has the most potential for unintended friendly fire compared to the other options on this list.
That being, said, if you play around it properly, you can get a ton of passive value that the other ones cannot give you.
In comparison to the other Sentries (besides the EMS Mortar), the Mortar Sentry has the huge benefit of being able to fire from behind cover.
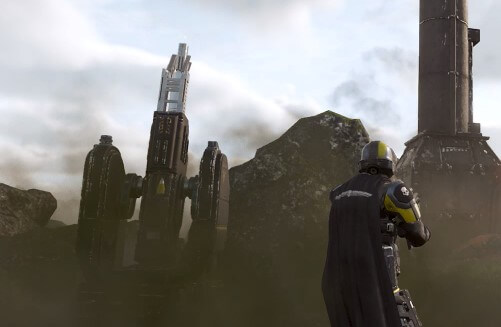
This means that you can place it safely and it’ll start dropping artillery fire on any enemies within its range – and its range is huge.
Drop it outside of strategic locations that you plan to attack, and it’ll clear out most of the enemies in the area.
You can even use it to help you track enemies that you can’t see yet since it doesn’t require line of sight to start firing.
To avoid friendly fire, keep your distance from enemies when it’s active and don’t drop it when you are already getting overwhelmed.
If you’re getting attacked on multiple sides, target the enemies with the most mobility like the jetpack automatons or the mobile terminid Hunters.
7. Autocannon (7000 cost) – Level 10
![]()
- Call-in Time: 3 sec
- Uses: Unlimited
- Cooldown Time: 480 sec
- Input: ⇩⇧⇨⇦⇧ = Down, Up, Right, Up, Left, Up
The Autocannon is the first S-tier stratagem that you can get (and the only S-tier one on our list!).
It provides a ton of AoE firepower, can reliably take down almost every enemy type, and can even be used to take out objectives like nests and eggs.
Its main downside is that it will take up a backpack slot, but otherwise, we recommend taking it until you unlock the Railgun at level 20.

If you have a friend that can help you load with its ammo pack, you can unleash an insane amount of death in a short amount of time.
When loading it on your own, you will be stationary, so be sure to find cover and do so safely.
Overall it is one of the most versatile weapons in the game despite you being able to unlock it during the early game.
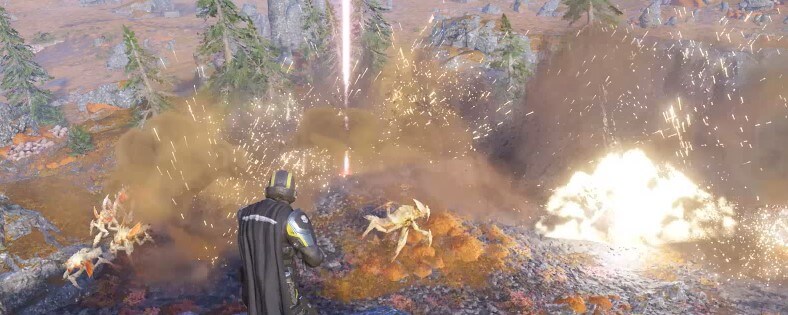
8. “Guard Dog” Rover (7500 cost) – Level 10
![]()
- Call-in Time: 5 sec
- Use: Unlimited
- Cooldown Time: 480 sec
- Input: ⇩⇧⇦⇧⇨⇨ = Down, Up, Left, Up, Right, Right
Last but not least on our list is the “Guard Dog” Rover. This backpack option provides a drone that fires a laser beam on any enemies within a decent radius around you.
Since you do only get one slot, you’ll have to weigh it against taking the Autocannon or Supply Pack, but it does provide its own advantages.
First off, it provides a lot of value in situations where you’re moving from point to point as it will continually kill anything chasing you while you can focus on what’s immediately ahead.
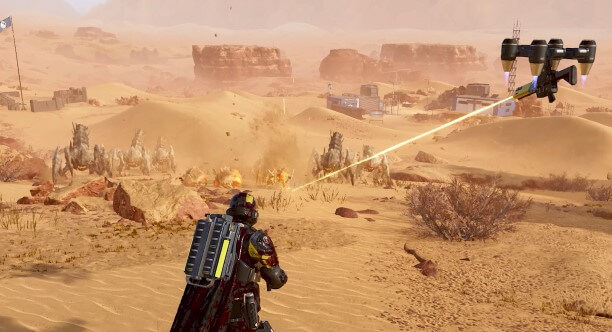
Second, it is an attractive choice for planets that provide low visibility, whether it’s dark, foggy, cloudy, or all of the above. The laser will illuminate these areas and make it less likely that you get blindsided.
When compared to the other Guard Dog, it has much more uptime since it doesn’t need to reload. It does not have the slight knockback that the other Guard Dog offers though.