 League of Legends
 Teamfight Tactics
 Valorant
 Lost Ark
 Destiny 2
 Diablo 4
 Download APP
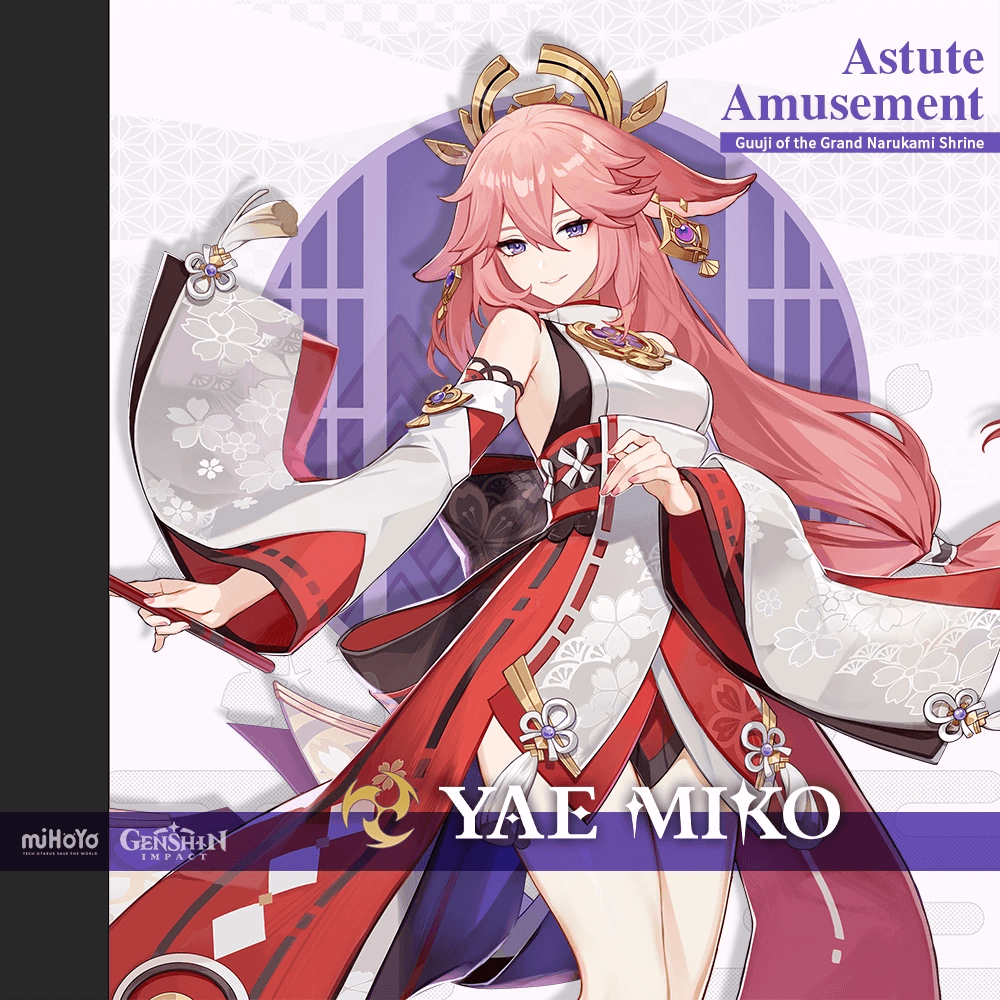
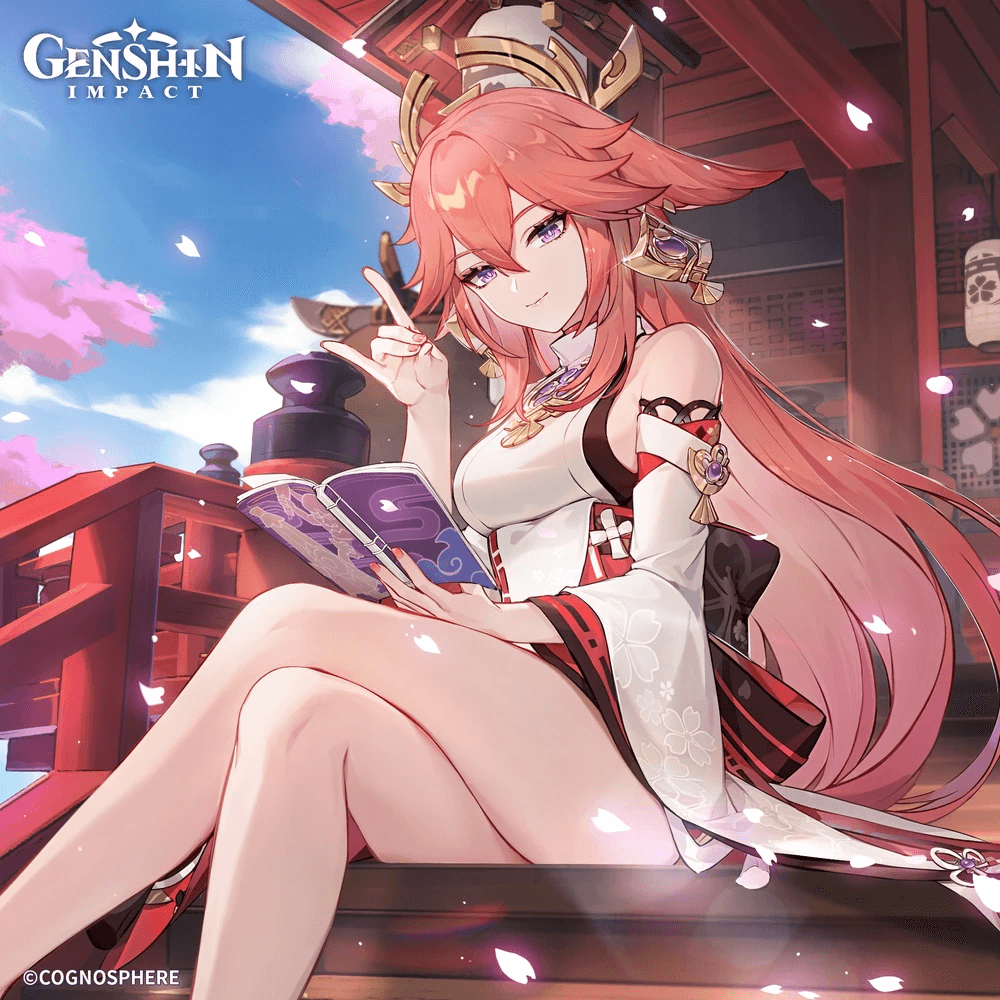
Yae Miko Guide
In this article, I’ll be going over everything you need to know about Yae Miko, including their playstyle, best artifacts, weapons, teams, and more.
Yae Miko is a limited 5 star Electro catalyst that provides solid off-field Electro damage and a simplified playstyle with her Elemental Skill, along with a front loaded burst. Being an Electro character, she is a nice alternative in teams that appreciate off-field Electro application/DMG along with versatility in playstyle and teams.
Active Talents
Normal Attack – Spiritfox Sin-Eater
A 3-hit Normal Attack sequence along with a Charge Attack with unique animations. In combat, this talent contributes very little as a DMG source compared to the rest of her kit and should be leveled last even if she is being played as a pseudo on-field driver.
Elemental Skill – Yakan Evocation: Seshhou Sakura
Yae’s defining talent and her main source of off-field DMG/application. Upon cast, Yae dashes in a direction, leaving a totem behind [Sesshou Sakura]. It can be cast up to 3 times and a maximum of 3 can exist on-field.
Keep in mind, these totems can be destroyed when placed too close together and must be linked in order to increase the DMG level. Due to this, it is recommended to link them in a way that resembles a triangle formation which is fairly consistent to execute.
It doesn’t have to be exact and the main takeaway is to make sure they are linked and are noticeably increasing in DMG level.
Sesshou Sakura:
- Periodically strikes a targeted opponent with Electro DMG
- Standard ICD + cannot snapshot
- Additional Sesshou Sakura present can increase the DMG level with a maximum level of 3 [see talent multipliers]
Elemental Burst – Great Secret Art: Tenko Kenshin
Upon cast, deals an instance of AoE Electro DMG, following additional instances called Tenko Thunderbolt. The number of Tenko Thunderbolts will depend on how many Sesshou Sakura were on the field prior to casting. Ideally you cast this burst with 3 Sesshou Sakura, so you get 3 instances of Tenko Thunderbolt.
Keep in mind, casting this burst will consume your current Sesshou Sakura, meaning that if you want to maintain Sesshou Sakura uptime, you need to recast your skill after. This talent also has no ICD, meaning you are able to apply Electro with every hit including your Tenko Thunderbolt hits.
Character Talent Priority
Here’s a quick talent priority for Yae Miko.
Elemental Skill > Elemental Burst > Normal Attack
Character Best Combos
When maximizing her DMG, ideally you cast Elemental Skill 3 times, followed by her Elemental Burst whenever you decide to incorporate it, then recast her skill immediately after.
Generally with most rotations, you cast her skill in the beginning, perform the rest of your rotation and then burst towards the end followed by recasting her skill for maximum output. Regarding her burst, make sure it is always consuming 3 totems in order to maximize Tenko Thunderbolt DMG.
Passive Talents
Ascension Stat
As you ascend Yae Miko, she will gain Crit Rate.
1st Ascension: The Shrine’s Sacred Shade
When casting your burst, each Sesshou Sakura consumed will reset the cooldown for 1 charge of your Elemental Skill.
A straightforward passive that slightly alleviates the removal mechanic of your totems after casting your burst. You still need to recast them, however it should be fairly easy to get the reset on all 3 totems, provided you execute her totems efficiently within your rotation.
4th Ascension: Enlightened Blessing
Every point of Elemental Mastery Yae Miko possesses will increase Sesshou Sakura DMG by 0.15%.
Simply put, it’s a fine passive making her EM rolls useful and allowing her to take advantage of EM buffs such as Sucrose/ 4 instructors. Especially in Quicken/Aggravate, where EM contributes to her aggravate DMG, it is quite valuable.
However, even with these benefits you still want stats like ATK%/Crit and is by no means an incentive to stack massive amounts of EM on her. At most, this passive makes an EM sands viable in Dendro teams, provided you take stat balancing and external sources of buffs into account.
Utility Passive: Mediations of a Yako
Has a 23% chance to get 1 regional Character Talent Material [base material excluded] when crafting. The rarity is that of the base material.
Constellations

As always for constellations, every 5 star unit is completely functional at c0. Constellations in general and what they offer are far from needed. Yae Miko’s constellations – along with other 5 stars – usually translate to unnecessary increases in damage/ clear time or quality of life aspects.
Do keep in mind constellation value takes into account the value you lose going for another copy of the character rather than a completely different character that could impact your account far more than a constellation would
- C1: Low Impact
- C2: Medium Impact
- C3: Medium Impact
- C4: Low/Medium Impact
- C5: Low Impact
- C6: Medium Impact
Constellation 1 – Yakan Offering
For the most part, a quality of life constellation that can lower her ER requirements. Ideally you activate 3 Tenko Thunderbolts so she can restore up to 24 elemental energy for herself. Overall, it just helps with reaching ER requirements and can be more or less impactful depending on the team she is in.
Constellation 2 – Fox’s Mooncall
A nice constellation with both a DMG increase and a quality of life aspect. Increased attack range for your Elemental Skill totems and an extra DMG level for them while starting at DMG level 2, is quite appreciated.
Constellation 3 – The Seven Glamours
A straightforward talent level increase to her Elemental Skill. Nothing much to be said here. Her skill is her bread and butter, so an increase to that is always nice to have.
Constellation 4 – Sakura Channeling
A nice talent that increases her and her teammates Electro DMG bonus when your totems hit. You are also able to maintain high uptime on this constellation very easily.
Constellation 5 – Mischievous Teasing
Another straightforward talent increase, this time to her Elemental Burst. Simply translates to more DMG.
Constellation 6 – Forbidden Art: Daisesshou
Similar to Raiden’s constellation 2, this one is also a 60% DEF shred to opponents, this time to opponents hit with Yae’s Elemental Skill totem’s only. Overall, A significant DMG increase and also very very straightforward.
Playstyle
Yae Miko is fairly versatile in her own right. She can either be played off-field or as an on-field driver, with the former being much more flexible. Her on-field playstyle can be described as an Electrocharged driver or in Hyperbloom driving off-field Hydro characters like Xingqiu. Her off-field playstyle mostly revolves around her Elemental Skill uptime/DMG and incorporates her burst either every rotation or every other rotation.
Bursting every rotation significantly drives her ER requirements up, especially when played without Raiden. A problem you could also run into is sacrificing offensive stats when attempting to hit an ER threshold.
Bursting every other rotation allows for little ER investment and the ability to go for those offensive stats to maximize her DMG contribution. The drawback being learning when to optimally incorporate her burst within extended rotations.
TLDR; there are benefits to both and it is up to you to decide which playstyle you are more akin to.
Artifacts
4pc Gilded Dreams
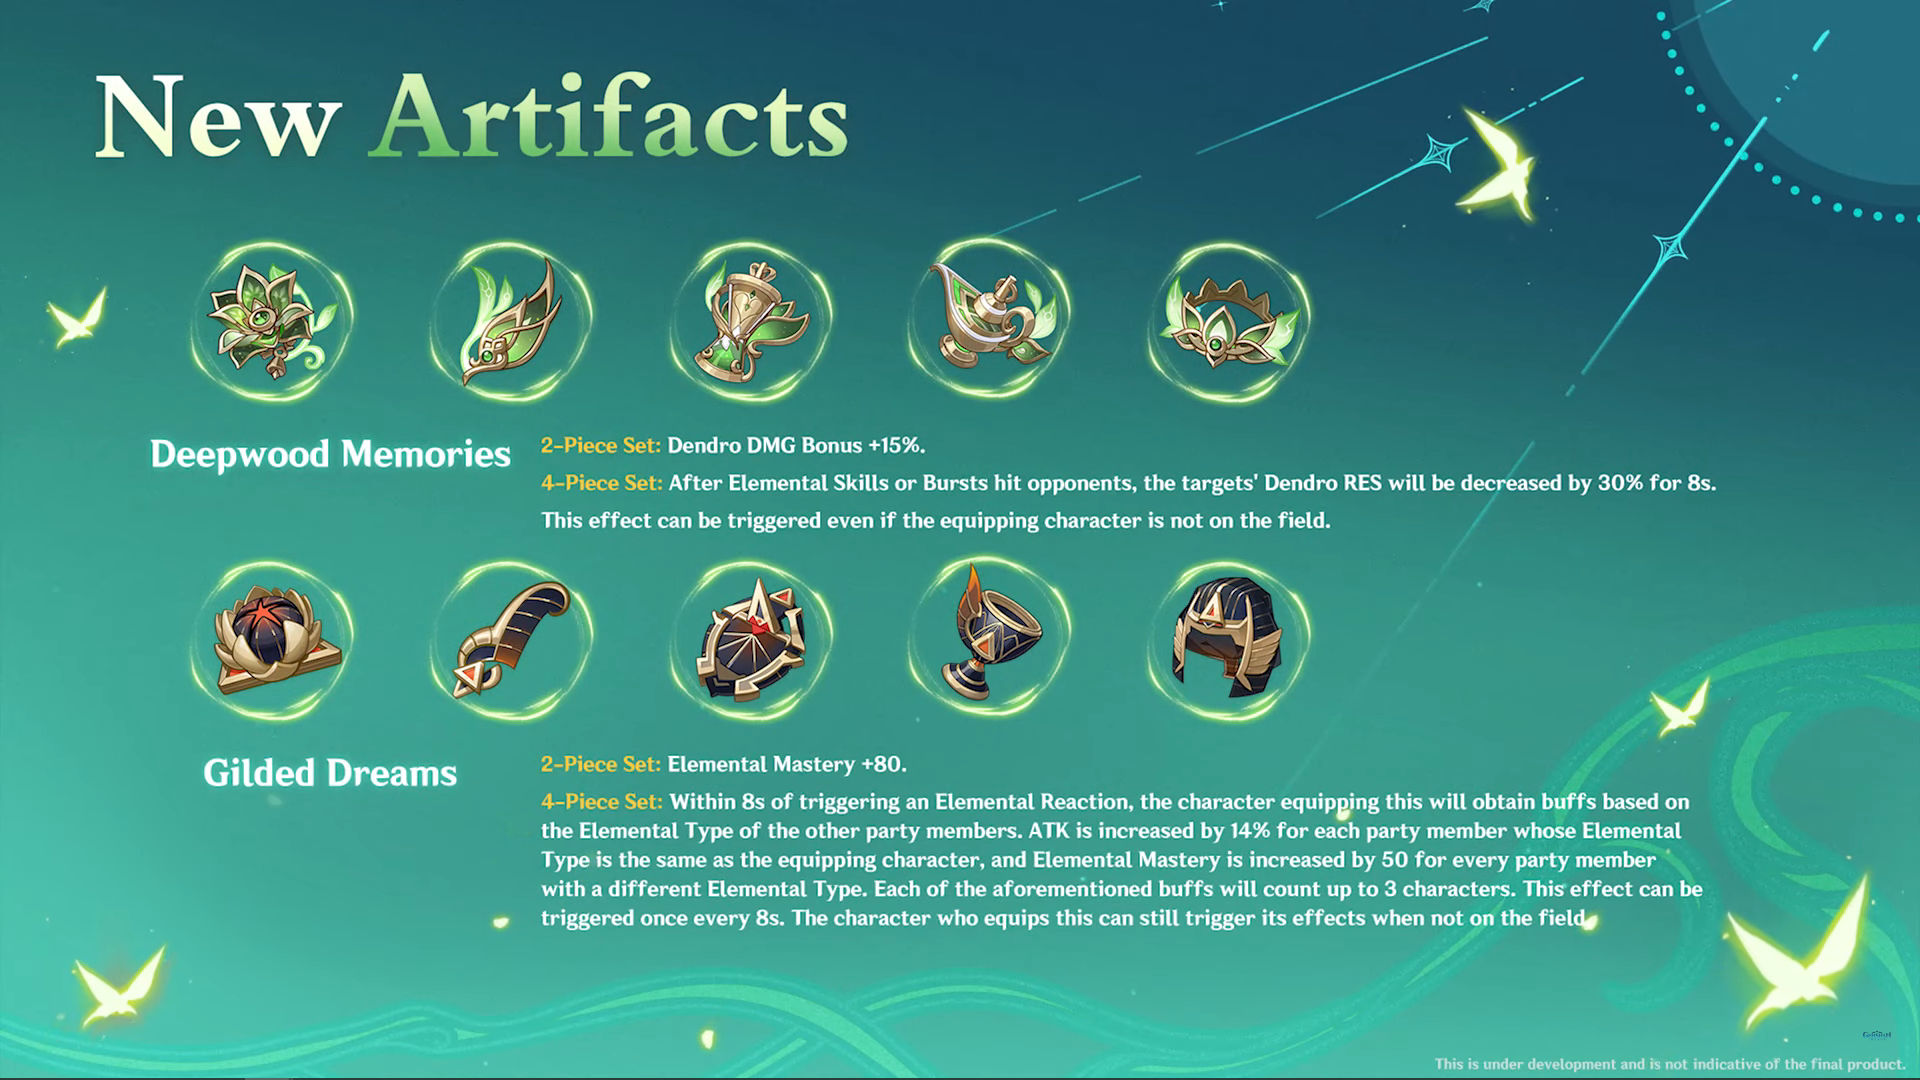
Her best artifact set when played in Quicken/Aggravate teams, provided you maintain the set bonus uptime. While it is better, it isn’t too high of a damage increase from a 2pc + 2pc combination and is worse when you lose uptime.
Keep this in mind when deciding how resin efficient the switch is [for you] from an effective 2pc combination to a 4pc set. Outside of Quicken/Aggravate teams, it generally isn’t worth it, especially since it could be difficult to guarantee a Yae trigger in order to reap the benefits from this set.
2pc + 2pc Combination
A combination of ATK% 2 pieces or even a 2 piece Thundering Fury + ATK% is quite optimal for Yae at the moment. A very strong option overall for a generalist Yae Miko build along with much more versatility in substat optimization.
4pc Thundersoother
A niche but strong option only when assuming the set bonus condition is maintained. Otherwise it is simply just worse than other options. Not recommended to farm specifically for Yae.
4pc Tenacity of the Millileth
While it’s low on the personal DMG end in terms of gear, she is an excellent holder of this set due to her being able to maintain full uptime on the set bonus, which can be invaluable for team DPS and the units she is paired with.
Main Stats
- Circlet: Crit Rate/DMG
- Sands: ATK/EM
- Goblet: Electro DMG
Regarding your Sands, an EM sands is viable in Quicken/Aggravate. Generally it is substat dependent and also dependent on which buffs you have access to within the team she is in. Outside of those teams, an ATK sands is much more preferred.
Sub Stats
Here’s the order of sub stats to prioritize:
- Crit Rate/DMG
- ATK%/Energy Recharge
- Elemental Mastery
Energy Recharge: [see playstyle section for additional info]
- Double Electro [burst every rotation]: 150-160
- Double Electro [burst every other rotation]: 130-140 maximum; can get away with lower
- Solo Electro [burst every rotation]: 200+ [not recommended]
- Solo Electro [burst every other rotation]: Around 160 is comfy give or take
Weapons
5-Star Weapons
Kagura’s Verity
Yae’s signature weapon and for good reason. The passive synergizes perfectly with her kit being easily stackable. This weapon overall gives her everything she needs along with very appreciable stats such as Crit/ DMG%.
Skyward Atlas
Since Yae is unable to snapshot ATK buffs and lose buff uptime at times, the ATK% stat this weapon gives is very valuable overall. Even without the passive active, it is still one of her best weapons outside of her signature.
Lost Prayer to the Sacred Winds
A fine option for Yae and more so of a stat stick if anything. The passive can be utilized in an on-field playstyle but even then, she typically doesn’t stay on-field for long anyways, meaning you won’t be able to maximize the stacks.
4-Star Weapons
The Widsith
One of Yae’s best 4 star options benefitting from the Crit stat that it offers along with the passive. The passive is fairly inconsistent, however depending on the team, she can take advantage of all potential song buffs.
Generally though, she benefits the most from the DMG bonus buff. The ATK% buff is nice and the EM buff is only appreciated in Quicken/Aggravate and is much less valuable than the others outside of that team.
Do keep in mind this weapon is RNG by nature and depending on when the passive is refreshed, she might not be able to gain a buff in your second rotation initially due to CD alignment and her typically being at the start of the rotation.
Solar Pearl
A fine generalist option if you happen to unlock the battle pass. It gives her appreciable Crit Rate along with a solid passive that can buff her Elemental Skill DMG by scoring Normal Attack hits.
Since you can cancel her N1 with an Elemental Skill cast, it’s fairly easy to get value from the passive. Also a good option for an on-field playstyle due to having both passives actively boosting her overall DMG output.
Oathsworn Eye
Yae’s go-to free to play option with a very synergistic passive that significantly reduces Yae’s ER thresholds, along with giving her the ATK% stat. Only drawback to this weapon is that it is event exclusive and is far from easily accessible. A very comparable option regarding 4 stars nonetheless.
Hakushin Ring
Another free to play option and more of a supportive weapon that can give your off-field teammates DMG% with Yae ideally being played on-field and triggering reactions in order to proc the passive. This weapon also gives an appreciable amount of ER, allowing you to meet ER requirements much easier.
Favonius Codex
While it may be on the low end in terms of personal DMG , the passive can be invaluable for teammates with high ER requirements, leading to an overall increase in team DPS. This weapon gets even better when she is played as an on-fielder, giving you ample opportunity to proc the passive.
Teams
Yae Miko Electrocharged [EC]
A strong team in AoE that Yae slots in very well and provides flexibility in playstyle being either completely off-field or functioning as an on-field driver role.
Her teammates also are very flexible with options such as Fischl/ Beidou or role consolidators such as Kuki for your second Electro. Your Hydro units can really be anything with strong options that can be played off-field [Xingqiu/Yelan] or Hydro drivers such as [Ayato/Childe/Kokomi]. For Anemo options, groupers such as Kazuha or Sucrose are your best options with Sucrose also having the ability to be played on-field.
Example Rotation: [Yae/Kazuha/Kokomi/Fischl]: Fischl E > Yae EEE > Kokomi N2E > Kazuha E > Yae Q EEE > Kokomi N2 > Fischl Q > Kazuha Q > Kokomi 4N2C
Quicken/Aggravate

One of Yae’s newer teams that allows her to take advantage of Quicken/Aggravate reactions. The team consists of Yae, another Electro, a Dendro unit, and flex.
Depending on how Yae is played, your other Electro unit can be an on-fielder like Keqing/Cyno or an off-fielder such as Fischl. Nonetheless, a straightforward team where Yae will be able to contribute good DMG due to Aggravate procs from her turrets.
Your Dendro slot can be either Nahida or Dendro Traveler, with your flex slot most likely being Anemo units such as Kazuha or Sucrose for EM buffs/VV. A situational but viable option for your flex slot can be Zhongli if paired with an on-fielder that appreciates some form of sustain.
Yae Miko Raiden Hyper
An example of a Yae Raiden team where she replaces Kujou Sara in Raiden Hyper. In general, Raiden pairs well with Yae in that she reduces her ER requirements and is able to potentially allow Yae to burst every rotation with minimal drawback.
In this team specifically, Yae slightly extends the rotation due to how she is played and requires swapping into her frequently in order to maximize her DMG along with Raiden’s DMG, however this team boasts very solid damage overall and is a team Yae slots well in.
Rotation: Yae EEE > Raiden E > Kazuha E > Bennett EQ > Yae Q EEE > Kazuha Q > Raiden Q 3N3C N1C
Hyperbloom

A team that Yae functions in as either a Hyperbloom trigger or an Electro applicator in order for an Anemo unit like Sucrose to trigger. Regarding Yae’s Dendro core targeting priority, her Sesshou Sakura prioritizes them as equally as other targets, meaning she is able to own the majority of Hyperblooms in the right team.
As far as units go, your Hydro options are very versatile, being able to utilize mostly all of them with some being better or worse depending on field time allocation.
Your Dendro units are also easily accessible being Dendro Traveler or Nahida if you happen to have her. Lastly, your Anemo slot can be filled by Kazuha or Sucrose with both being beneficial contextual to their role and providing VV shred/grouping. Sucrose can be more of an on-fielder swirling Electro in order to own the majority of Hyperblooms, while Kazuha is mainly there for strong grouping and infusing his burst with Hydro in order to increase Dendro Core generation with Blooms.
Summary
Yae Miko has proven herself to be quite the balanced unit but solid nonetheless when played optimally. Off-field damage dealers like herself are valuable in many teams and Yae Miko in particular is a fine alternative in multiple scenarios, along with the sustained DPS to back it up.
As always, If you find her playstyle enjoyable and her design to be appealing, that should be good enough for you. From a meta standpoint she is neither broken nor bad and is quite balanced overall. Just keep in mind that rolling for meta is very roster dependent, and will require you to assess which units you already have access to and how valuable her pull will be for your account/teams.