 League of Legends
 Teamfight Tactics
 Valorant
 Lost Ark
 Destiny 2
 Diablo 4
 Download APP
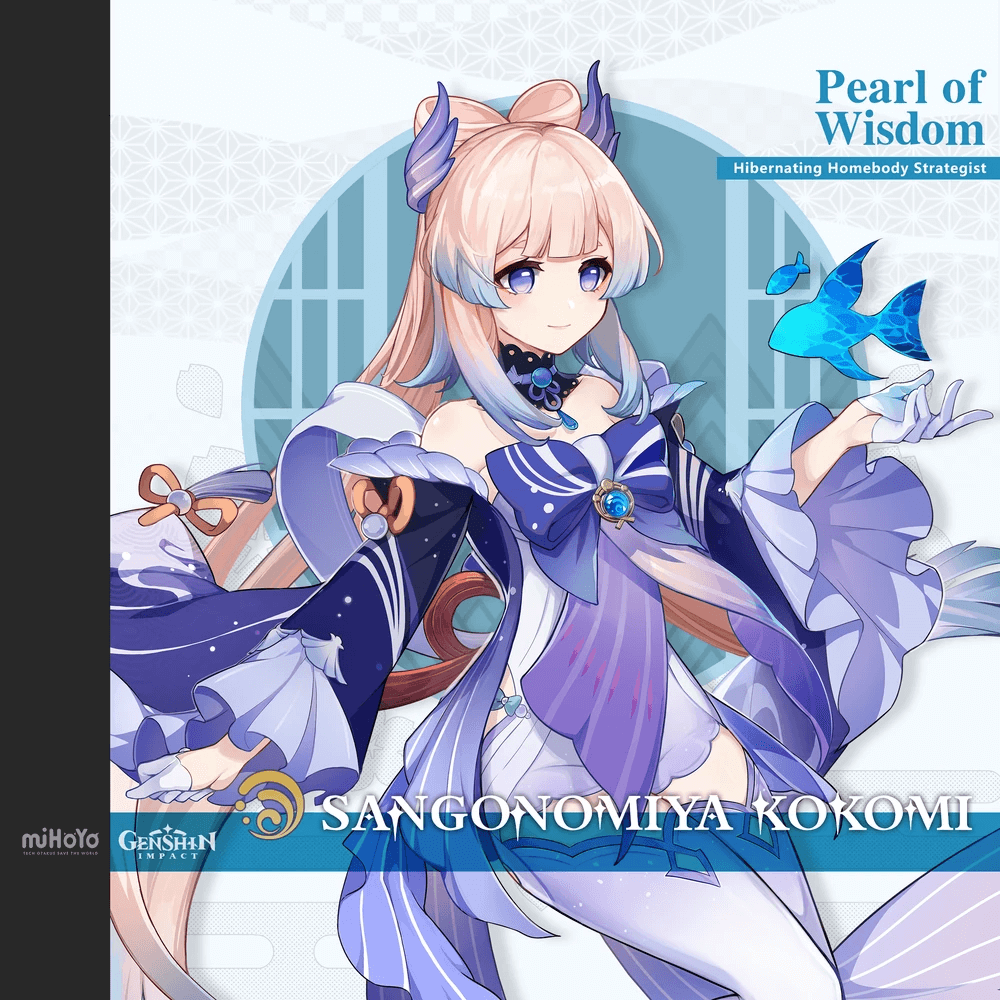
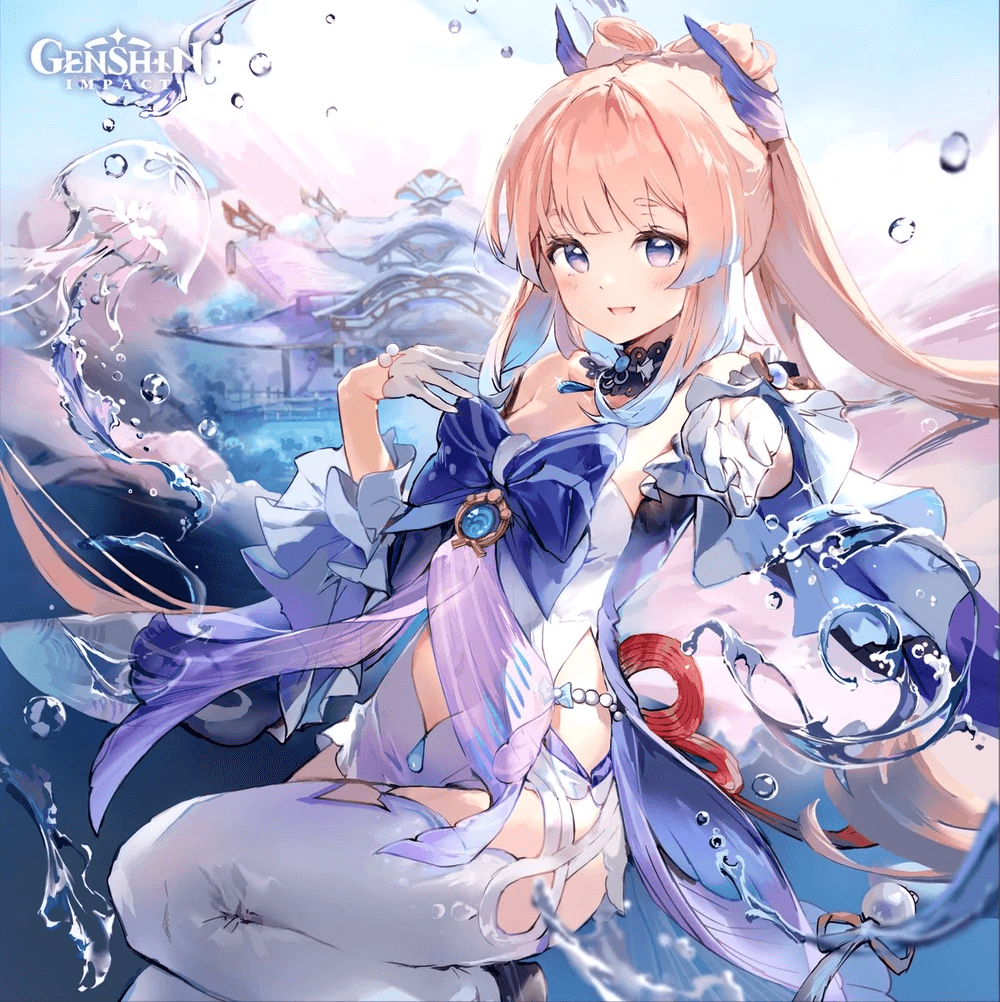
Sangonomiya Kokomi Guide
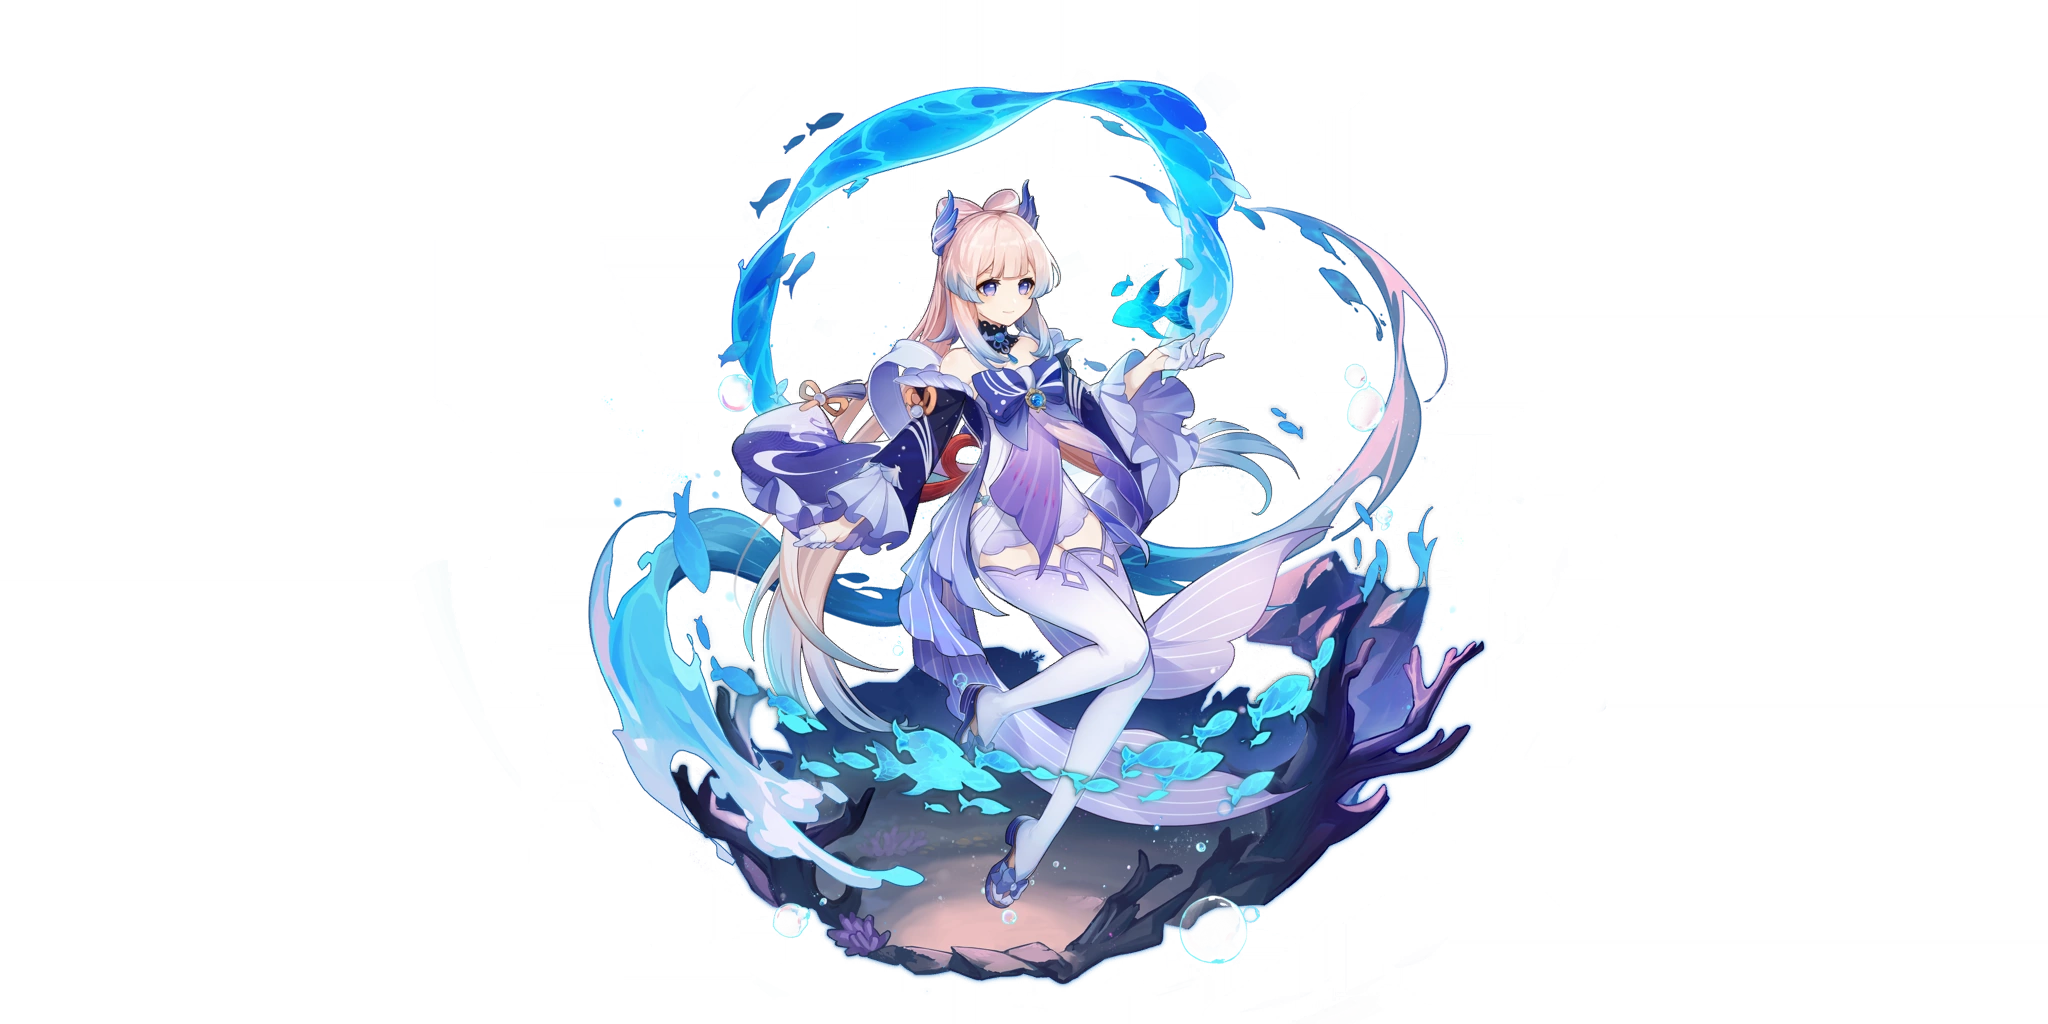
Kokomi is a Hydro Catalyst user, boasting supporting utility in the form of sustained AoE off-field Hydro application, and very strong healing. Being a Hydro character, she opens up quite a few teams, as well as variations for existing teams.
In this article, I’ll be going over everything you need to know about Sangonomiya Kokomi, including her playstyle, best artifacts, weapons, teams, and more.
Active Talents
Normal Attack – The Shape of Water
Performs 3 consecutive attacks that deal Hydro DMG. Kokomi’s normal attacks are only relevant in teams where she is an on- field DMG dealer/driver. Her charge attack also has a separate ICD from her normal attack string, which is something to keep in mind when executing her combos.
Elemental Skill – Kurage’s Oath
Summons a “Bake-Kurage” created from water that can heal her allies. Using this skill applies the “wet” status to Sangonomiya Kokomi. Has a 12 second duration along with a 20 second cooldown.
This ability is the most useful tool in her kit utility-wise as well as being the main source of her comfort. It does Hydro DMG, applies Hydro in an AOE and heals the on-field character based on her max HP. This makes her excel mainly as an option for off-field Hydro.
Elemental Burst – Nereid’s Ascension
Summons the might of Watatsumi, dealing Hydro DMG to surrounding opponents, before robing Kokomi in a Ceremonial Garment made from the flowing waters of Sangonomiya.
Ceremonial Garment
- Kokomi’s Normal Attack, Charged Attack, and Bake-Kurage DMG are increased based on her Max HP.
- When her Normal and Charged Attacks hit opponents, Kokomi will restore HP for all nearby party members, and the amount restored is based on her Max HP.
- Increases Sangonomiya Kokomi’s resistance to interruption and allows her to walk on the water’s surface
These effects will be cleared once she leaves the field.
This is the most important talent in her kit when playing Kokomi on field or as a driver in Electrocharged comps. Note that it does have a 70 energy cost, requiring you to build a substantial amount of Energy Recharge.
Character Talent Priority
Here’s a quick talent priority for Kokomi.
Elemental Burst = Elemental Skill > Normal Attack
For off field Kokomi, you only really need to level her skill, however if she is being played on field, you can focus her burst but I’d recommend having all of your talents leveled evenly.
Character Best Combos
Kokomi doesn’t really have any game changing combos, however she does have her options. I mostly recommend N2 Dash/N3 Dash for most scenarios. (N= normal attack)
Regarding her charged attack, it is worth mentioning that it costs 50 stamina, which makes it hard to recommend.
That being said, her charge attack has its own internal cooldown for Hydro application so it CAN be useful for things such as breaking a Pyro shield. Within more complex rotations it’s mostly just used as a gap filler combined with her Normals.
Passive Talents
Ascension Stat
As you ascend Kokomi, she will gain Hydro DMG Bonus.
1st Ascension
Tamanooya’s Casket: If Sangonomiya Kokomi’s own Bake-Kurage are on the field when she uses Nereid’s Ascension, the Bake-Kurage’s duration will be refreshed.
Refreshes your elemental skill duration after casting her burst when a Bake-Kurage is already on the field. In teams that only value her skill uptime, I recommend keeping an internal clock of around 10 seconds before you refresh the skill to maximize her Hydro application. Note that it can vary, especially when trying to fit it in with very tight rotations.
4th Ascension
Song of Pearls: While donning the Ceremonial Garment created by Nereid’s Ascension, the Normal and Charged Attack DMG Bonus Sangonomiya Kokomi gains based on her Max HP will receive a further increase based on 15% of her Healing Bonus.
A nice addition to her damage output as well as synergizing with her healing capabilities. Basically making the Healing Bonus stat much more valuable to her.
Utility Passive
Princess of Watatsumi: Decreases swimming Stamina consumption for your own party members by 20%. Not stackable with Passive Talents that provide the exact same effects.
Additional Passive
Flawless Strategy: Sangonomiya Kokomi has a 25% Healing Bonus, but a 100% decrease in CRIT Rate.
While quite an unfortunate passive, this does not devalue her support capabilities whatsoever. Still, it’s very smoge.
Constellations
As always, constellations are never necessary for a unit to be completely functional and this statement couldn’t be more true for Kokomi. Her constellations don’t provide much other than quality of life changes and slight increases in her personal DMG.
That being said, here I’ll be explaining her constellations and their relevance so you can decide for yourself how valuable they are for you.
- C1: Medium Impact
- C2: Low impact
- C3: Low impact
- C4: Low/ Medium impact
- C5: Low impact
- C6: Medium impact
Constellation 1: At Water’s Edge
While donning the ceremonial Garment created by Nereid’s Ascension, the final Normal Attack in Kokomi’s combo will unleash a swimming fish to deal 30% of her Max HP as Hydro DMG. This DMG is not considered Normal Attack DMG.
Gives her another instance of Hydro application on top of a decent damage increase while in her burst state. However it does require you to N3 to proc it or else the constellation is useless. This constellation’s value is quite nuanced depending on the role she is playing in a team so keep that in mind.
Constellation 2: The Clouds Like Waves Rippling
Kokomi gains the following Healing Bonuses with regard to characters with 50% or less HP via the following methods:
Kurage’s Oath Bake-Kurage: 4.5% of Kokomi’s Max HP.
Nereid’s Ascension Normal and Charged attacks: 0.6 of Kokomi’s Max HP.
A very bad constellation due to the requirements being anti synergistic in which Kokomi already heals so much so that your team is rarely under 50% or less HP.
Constellation 3: The Moon, A ship O’er the Seas
Increases the Level of Nereid’s Ascension by 3. Maximum upgrade level is 15
Nothing much to be said here. Just a talent increase.
Constellation 4: The Moon Overlooks the Waters
While in her burst state, Kokomi’s Normal Attack SPD is increased by 10%, and Normal Attacks that hit opponents will restore 0.8 Energy for her. This effect can occur once every 0.2s.
Quite the beneficial constellation, effectively lowering her Energy requirements while granting her Attack speed that she appreciates when played on-field. A quality of life for the most part.
Constellation 5: All Streams Flow to the Sea
Increases the Level of Kurage’s Oath by 3. Maximum upgrade level is 15.
Once again, nothing much to be said here. Just a talent increase.
Constellation 6: Sango Isshin
While donning the Ceremonial Garment created by Nereid’s Ascension, Sangonomiya Kokomi gains a 40% Hydro DMG Bonus for 4s when her Normal and Charged Attacks heal, or would heal, any party member with 80% or more HP.
While a 40% Elemental DMG bonus is very relevant, It’s best to ignore this constellation when playing Kokomi off field. Should only be considered by how much you value Kokomi’s personal DMG.
That being said, you shouldn’t have a problem having uptime for this constellation due to her potent healing. Very straightforward constellation as it just gives you more damage.
Compared to other units, Kokomi’s constellations are low impact in general and she is exceptional at c0 already.
Playstyle
Kokomi can be played as either an off-field hydro applicator or on-field damage dealer in reaction teams. Minimal differences between the two in terms of investment/builds.
Off-Field Hydro
Mainly used by Freeze teams to apply Hydro off field as well as having access to Tenacity of the Millileth and Thrilling Tales of Dragon Slayer, giving Freeze teams much needed ATK buffs. Arguably the premier Hydro applicator for Freeze teams.
On-Field
A relevant Hydro option for Electrocharged teams functioning as a driver. The overall damage of a Kokomi centric EC (Electrocharged) comp is comparable to Ayato EC and slightly behind Xingqiu EC, making Kokomi a solid option that you can’t go wrong with.
Artifacts
4-Piece Ocean Hued Clam
Tailor-made artifact set for Kokomi/healers in general. In Kokomi’s case, it is her best set when focusing on her damage.
4-Piece Tenacity of the Millileth
Best artifact set for general support and freeze teams. Regarding her teams in which she is supporting, the 4 piece effect is very relevant due to Freeze teams generally lacking ATK and Kokomi’s ability in having near 100% uptime with her skill; making her supporting capabilities quite potent.
2-Piece Mix
- Ocean Hued Clam/Maiden’s Beloved
- Heart of Depth/Tenacity of the Millileth
Not recommended but if you simply just can’t/don’t want to farm 4 piece sets and if you have spare pieces of the aforementioned sets, then it’s usable. Keep in mind “usable” does not mean good whatsoever.
Main Stats
- Circlet: Healing Bonus
- Sands: HP%
- Goblet: Hydro DMG/ HP%
Sub Stats
Here’s the order of sub stats to prioritize:
- HP
- Energy Recharge
Try to avoid Crit as it is a dead stat on Kokomi. Prayge
Energy Recharge:
Roughly 160-170% MINIMUM with optimal play but the more the better.
Weapons
5-Star Weapons
Everlasting Moonglow
Kokomi’s signature weapon. However it is useful for ONLY her, making it not worth rolling in most situations so keep that in mind. Also Thrilling Tales of Dragon Slayer exists, a 3 star weapon. That being said, she appreciates everything this weapon has to offer, mostly as an on fielder. Healing bonus increase, HP stat, Normal Attack DMG increase and energy restoration mechanic. PogChamp
4-Star Weapons
Hakushin Ring
One of Kokomi’s best F2P options, mainly for Electrocharged teams. It gives her the desired Energy Recharge stat as well as a good passive that boosts Elemental DMG of elements involved in an Electro elemental reaction, which is greatly appreciated by off-field units within your team. (Fischl, Beidou) Refinements are welcome as well.
Prototype Amber
Another solid F2P option for her. HP stat as well as an energy regen mechanic, effectively lowering her ER requirements slightly. Refinements are also appreciated.
3-Star Weapons
Thrilling Tales of Dragon Slayers
Arguably her strongest support weapon. Extremely beneficial passive for team damage, an HP stat that she appreciates, and easy access to refinements.
Teams
Kokomi Freeze Teams
A great Hydro support for Freeze teams. Nothing much more to it than that. Refreshing your skill increases Freeze uptime as well but it’s mostly optional.
Kokomi Electrocharged Driver
A relevant Hydro option for taser teams. As previously stated before, her damage contributions to Electrocharged teams are comparable to the likes of Ayato and are slightly behind Xingqiu.
Using her also frees up Xingqiu for your other teams, which is appreciated.
You want to pair her with two Electro units and an Anemo support and you’re good to go. Just make sure you swirl both Electro and Hydro and enjoy the many damage numbers!
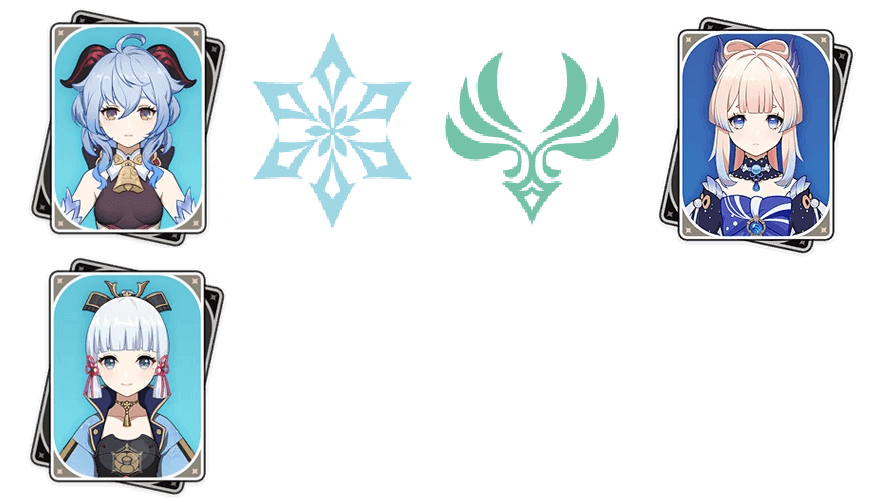
Sukokomon (Kokomi + Sucrose + Fischl + Xiangling)
A well theory crafted team created by Terraflop and one Kokomi’s strongest team options where she shines.
DISCLAIMER: This team is quite hard to play and can get complicated past the initial rotation. But if you enjoy the challenge the satisfaction is worth it. Note that the units on this team are all IRREPLACEABLE due to unique mechanics such as Guoba swirl and Kokomi being the only option for sustained off-field AoE Hydro application in this instance. This team has surprisingly solid single target damage and exceptional AOE damage that allows you to trigger multiple chain reactions, making it very effective overall.
In regards to how to play this team, it can get quite convoluted and there are plenty of rotation guides on the internet but I will provide a breakdown after simplifying the rotation.
Initial Rotation
Fischl skill > Kokomi skill > Xiangling skill > Sucrose N1, skill to swirl guoba, N2, skill, N1 > Xiangling burst > Kokomi burst N2C, N2D, N2C > Fischl burst > Xiangling skill > Sucrose N1, skill swirl Guoba, N1, burst > Sucrose N3D x5 > repeat
Notation:
N: Normal Attack
C: Charged attack
D: Dash
Assumptions:
Thrilling Tales on Kokomi
Sacrificial Fragments on Sucrose
Rotation Breakdown
Cast Fischl skill, then Kokomi skill to trigger Electrocharged. Then, swapping to Xiangling will give her the Thrilling Tales buff as you use her skill to summon Guoba. Swap to Sucrose and perform Guoba swirl/normal attacks to swirl the three elements, shredding the resistances of Electro, Hydro, and Pyro, assuming you have the Viridescent Venerer equipped. From there, you swap to Xiangling and cast your burst to snapshot the Thrilling Tales buff that she gained earlier. After that, switching to your Kokomi, casting burst, and executing N2C, N2D, N2C will allow you to apply Hydro for your Xiangling to vaporize.
Note that this attack sequence involves Kokomi charge attacking, which was mentioned earlier in the guide to have its own separate ICD for hydro application, allowing you to provide more hydro for Xiangling to vaporize with.
Once you’re done normal attacking on Kokomi, swap to Fischl and burst to keep skill uptime. Then swap to Xiangling and cast her skill so you can then swap to sucrose and swirl Guoba once again while dropping her burst shortly after. After that, you just normal attack with sucrose to basically gap fill/swirl while you wait for Oz to disappear. From here you just repeat (yeah you need ER btw). Wow that was a lot.
Kokomi Dendro Related Teams
As of the making of this guide, dendro teams in general are quite balanced and certainly open up new compositions for many characters, although of course, further testing is required.
However, Kokomi seems to be a solid Hydro option for Bloom-related teams in general. AoE Hydro application with near full uptime combined with sustained Dendro application allows you to consistently create Bloom seeds to interact with.
Being a healer can be considered a bonus due to the self damage coming from Rupture/Burgeon. So as a role consolidator, she is reliable. I’d say she is in a comfy spot in the meta and has a place in new Dendro compositions such as Burgeon/Hyperbloom teams.
Summary
Overall, Sangonomiya Kokomi is a great addition to the Hydro character roster, boasting supporting capabilities in the form of Hydro application, and a wide array of tools at her disposal to provide valuable utility to a team. If you like her and you have the primogems, just roll for her.
From a pull value standpoint there is a bit of nuance to that so TLDR; it is account dependent. If you already have a plethora of strong hydro units she won’t open up too many new teams for you; however, that can change in the future due to Dendro.