 League of Legends
 Teamfight Tactics
 Valorant
 Lost Ark
 Destiny 2
 Diablo 4
 Download APP
 Collapse
How to Beat Crota’s End (Mechanics, Loadouts, and Tips)
A new reprised raid is coming out on 9/1/23 and it is highly speculated to be Crota’s End, the second raid from Destiny 1.
This guide will give a refresher on the mechanics of the raid from Destiny 1 and speculate the best loadouts to use in the reprised version.
We’ll be covering its four encounters, including their mechanics and recommended loadouts.
In Destiny 2’s newest update, The Final Shape, a Prismatic Subclass changes the meta. Check out our Prismatic builds for Hunters, Warlocks, and Titans to keep you ahead of the curve.
Encounter 1 – The Abyss (Lanterns)
Encounter Overview
The entrance encounter is The Abyss. The goal of this encounter is to follow the path to the next encounter and survive. There is no boss that needs to be killed, but at the end two Ogres, Wizards, and Thrall spawn as the team needs to stand on a plate to form a bridge to the next encounter.
Mechanics
When running along the path you will gain a debuff, Weight of Darkness, which can build up to 10 stacks. This debuff makes you move slower. There are 15 Lanterns along the path which will rid the Weight of Darkness debuff stacks when near them.
Along the path Thrall, Cursed Thrall, and Knights will spawn and swarm your team. At the final Lantern there is a plate which must be stood on for 1 minute to form a bridge to the next encounter. During this section two Ogres spawn which are high priority enemies.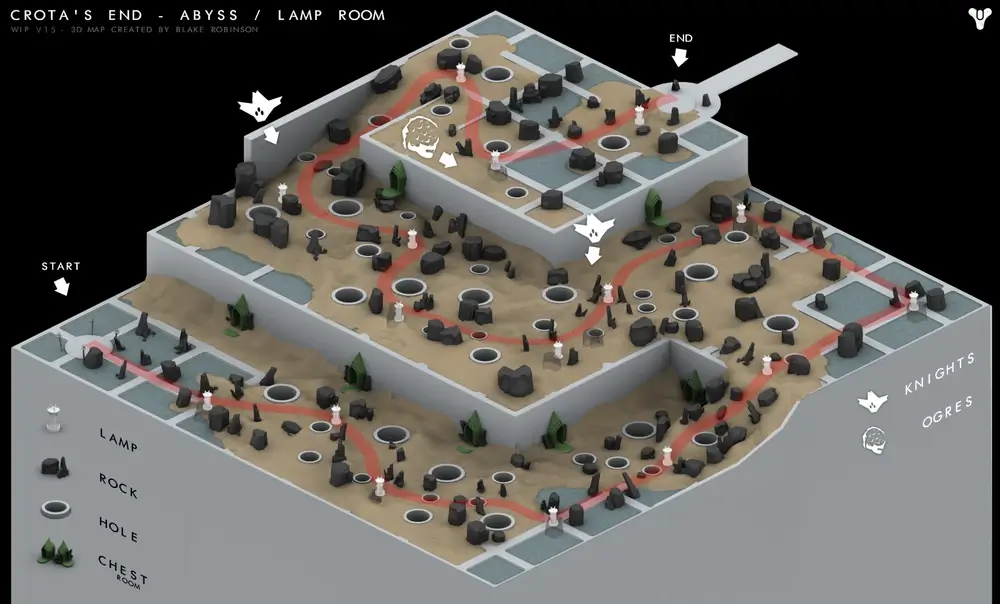
Image credit: Blake Robinson
Potential D2 Mechanics
Due to the movement options available in D2 there is a good chance that this encounter changes a good bit. The big concern is the movement with Well or Shatter Skating to get around big portions of the encounter. The debuff may give increased gravity to weigh you down or be less open in general. One potential aspect to make it more difficult and prevent walking very far around the intended path is killing the player if they reach 10 stacks of Weight of Darkness.
At the end of the encounter when creating the bridge there may be more nuance to this, and there will definitely be an increase in enemy density and difficulty.
Good D2 Loadouts
Ad-clear weapons such as wave-frame grenade launchers and primaries with Incandescent or Voltshot will be great for this encounter to clear out all of the Thrall. Any heavy weapon that can work at long distance such as a Rocket Launcher or Linear Fusion Rifle will be good for the final portion of the encounter when killing the Ogres from long range.
Solar subclasses with healing grenades and arc subclasses that can spread Jolt will be good here. Void hunter is also good for going invisible to circumvent enemies as well as tethering massive groups of thrall.
Encounter 2 – Cross The Bridge
Encounter Overview
This area has two areas on each side of a gorge. The goal of the encounter is to have the entire team cross the bridge that connects the two areas over the gorge. The only way in which a player can cross this bridge is if they are holding a sword relic.
Mechanics
On the entry side of the gorge there is a large plate and two hive totems. Standing on the central plate will form the bridge to be crossed, but it also lights up the hive totems. If the hive totems are left unattended, the team will wipe, so at least one player needs to be on each totem. Stay on the plate until the bridge is completely formed and have players on the totems to prevent a wipe.
Periodically a Swordbearer Knight will spawn. Killing this enemy will spawn a sword relic. This relic must be held to cross the fully formed bridge. Any player on the entry side of the gorge should take this sword and cross the bridge once it is formed. On the far side of the bridge there is a Gatekeeper Knight that spawns and can only be killed with the sword relic. The sword relic only lasts 30 seconds, so it is important to cross and kill the Gatekeeper quickly otherwise the Gatekeeper will remain unless the next player is able to kill multiple Gatekeepers with the sword relic.
The far side of the bridge has the same layout with the central plate and hive totems. The team sequentially brings players over and once half of the team is on the far side of the gorge, the players on the far side will form the bridge and prevent the hive totems from wiping the team. Once everyone is on the far side, Ogres and Wizards will spawn that the team has to kill and the encounter is over.
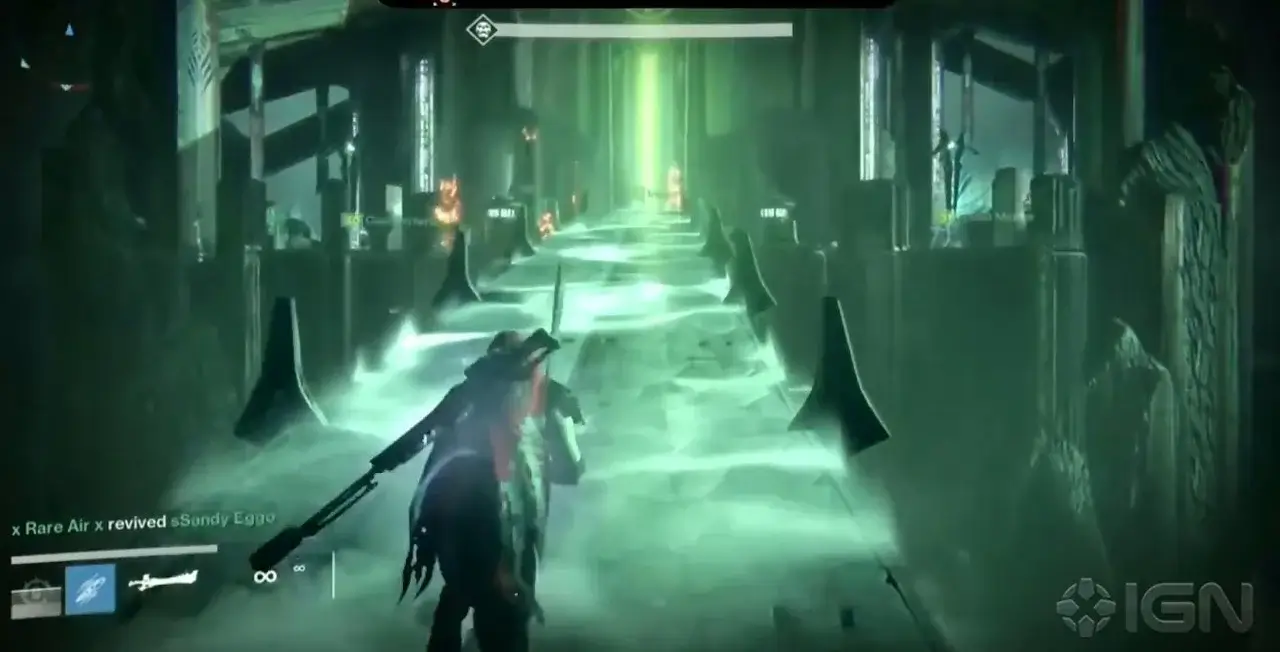
Image credit: IGN
Potential D2 Mechanics
Starting off there needs to be a barrier over the gorge that blocks or insta-kills someone crossing without the sword. There were so many ways to get around the mechanic in Destiny 1, and in Destiny 2 people will be able to easily clear the gap if there is nothing like this.
Aside from increases in enemy difficulty in the end section of the encounter, the encounter can potentially add some type of stack mechanic for a player on the plate or totem which forces them to switch with a teammate for building the bridge or preventing the totem from wiping the team.
D2 Loadouts
Same as The Abyss encounter, using mostly add clear weapons will be the play here. Quick burst damage heavy weapons will also be best to kill the Swordbearer and the high priority enemies that spawn on the far side of the gorge that need to be taken out quickly. Rocket Launchers and Swords will be good for quickly taking out these enemies, and no, using a sword in your loadout will not let you cross the bridge.
Well of Radiance and Ward of Dawn will be good supers to be able to remain on the plate or totem safely while getting swarmed by enemies.
Encounter 3 – Ir Yut
Encounter Overview
This encounter is a speed run in which 2 Wizards, 2 Shriekers, and Ir Yut must be killed within two and a half minutes. The encounter takes place in the final boss room in which your team spawns at the bottom of.
Mechanics
There aren’t any real mechanics for this encounter, it is just a matter of killing the 5 enemies. In the room above the spawn is where Ir Yut, the boss, is. Each side will have a Wizard, and killing that side’s Wizard will spawn a Shrieker. Once the Shriekers are killed, the barriers surrounding Ir Yut will drop, allowing you to fight her and end the encounter.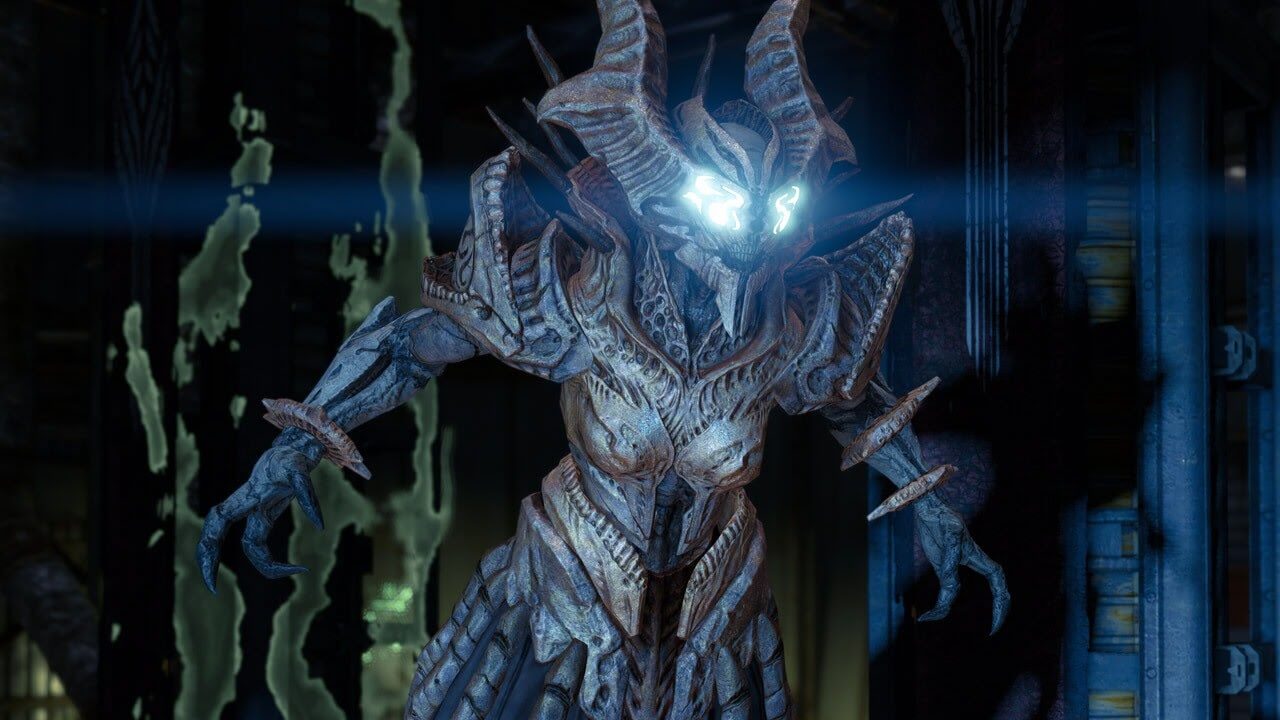
Potential D2 Mechanics
This encounter will have to change drastically to be up to Destiny 2 difficulty standards. If it remains as is, it can be done solo easily. It wouldn’t be too surprising if this encounter is completely remade.
D2 Loadouts
DPS loadouts will be good here. Loadouts don’t need to lean 100% into damage, and should prioritize some survivability. Bonk Throwing Hammer Titan will be able to take care of this encounter with ease due to being able to deal close range damage and stay alive while doing so.
Encounter 4 – Crota
Encounter Overview
This is the final encounter of the raid, and the only true boss damage encounter. There is once again a sword relic, and only the player with the sword is able to damage Crota once he is vulnerable.
Mechanics
In the bottom center of the arena a Swordbearer Knight will spawn. Killing this enemy will drop a sword relic. In this same area will spawn the Chalice of Light relic. This encounter prevents standard health regeneration, and only the player holding this relic is able to regenerate health.
The Sword relic is the only way to damage Crota. He also has a shield which makes him vulnerable to sword relic damage. Once the player holding the relic is in position, the rest of the fireteam must destroy Crota’s shield with any damage. Once the shield is destroyed Crota will be vulnerable and kneel in place. The player with the sword relic will now deal as much damage as possible. Crota’s shield will then regenerate, but the team can take down his shield multiple times in a damage phase. The damage phase ends once the sword disappears.
After the damage phase, multiple Ogres will spawn in the pit area and the encounter will repeat. The other major mechanic is the Oversoul. If a player dies on the team, an Oversoul will be summoned. The fireteam must destroy the Oversoul which is a massive green ball in the sky behind Crota. If the Oversoul is not destroyed the team will be wiped.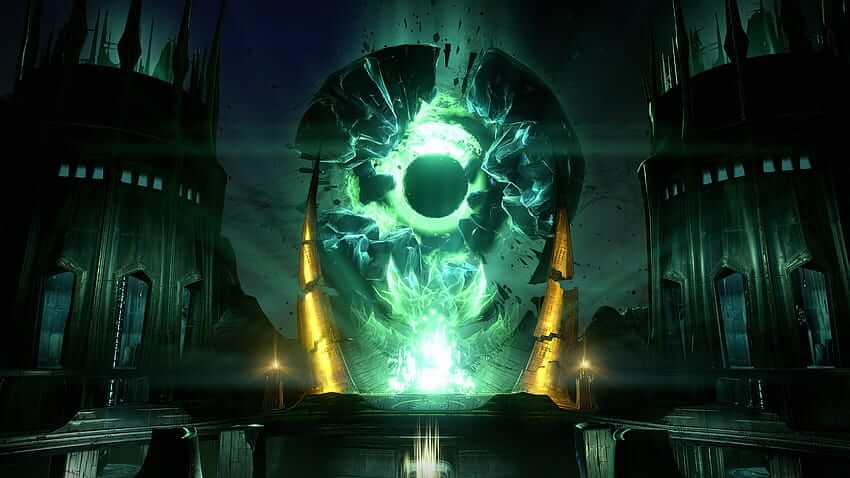
Potential D2 Mechanics
This is the most mechanic heavy encounter in the raid, but by Destiny 2 standards this would be similar to a dungeon boss. A timeout mechanic on the previous player who used the sword relic can be a way to force a team to pass around the sword so only one player lives the hero moment of dealing damage with the sword.
Otherwise there may be some type of mechanic or puzzle to open up the damage phase for Crota’s shield to be damageable. In the original version there isn’t much that needs to be done to get to the damage phase, and having some type of mechanic beforehand can increase the difficulty and duration of the encounter.
D2 Loadouts
“Must have Gjallarhorn”… Only one person will need it in Destiny 2, but Gjallarhorn and Rocket Launchers will most likely be the best option to quickly down Crota’s shield. Snipers are good to have to take out the Knights that spawn in the side towers and target the sword bearer. The player who will be using the sword relic should be using a shotgun or sword to quickly kill the Swordbearer. The player running the sword relic could greatly benefit from being a Well of Radiance Warlock and dropping a well near Crota before getting the relic to tank hits from the aforementioned Knights and other enemies.
Closing
Good luck to anyone running the raid the first weekend it is out with contest mode. The raid will be out on September 1st, so lookout for a full guide shortly after the raid is released (even if the speculation is wrong and a different raid comes back during Season 22).