How to Clear Ghosts of the Deep (Destiny 2)
This guide will go over the 3 main encounters of the newest dungeon, Ghosts of the Deep.
Each section will review the mechanics of the encounter and recommended loadouts.
Welcome to the Deep!
The 3 encounters are:
The Final Shape has launched in Destiny 2, bringing a game-changing Prismatic Subclass. Get an edge in the meta with our top Prismatic builds for Hunters, Warlocks, and Titans.
Break the Ritual
There is no boss in this encounter, and serves to introduce the primary mechanics of the dungeon. At first go to the back central area of the space you spawn in at. In this area you’ll find Hive statues and spikes surrounding a torch, which is a Hive Ritual Site.
Nearby a Soulfire Orge will spawn, and killing this Ogre will reveal the way forward. A path is created which is a smoggy yellowish-green trail. This trail will take you to a group of Hive and Soulfire Binders.
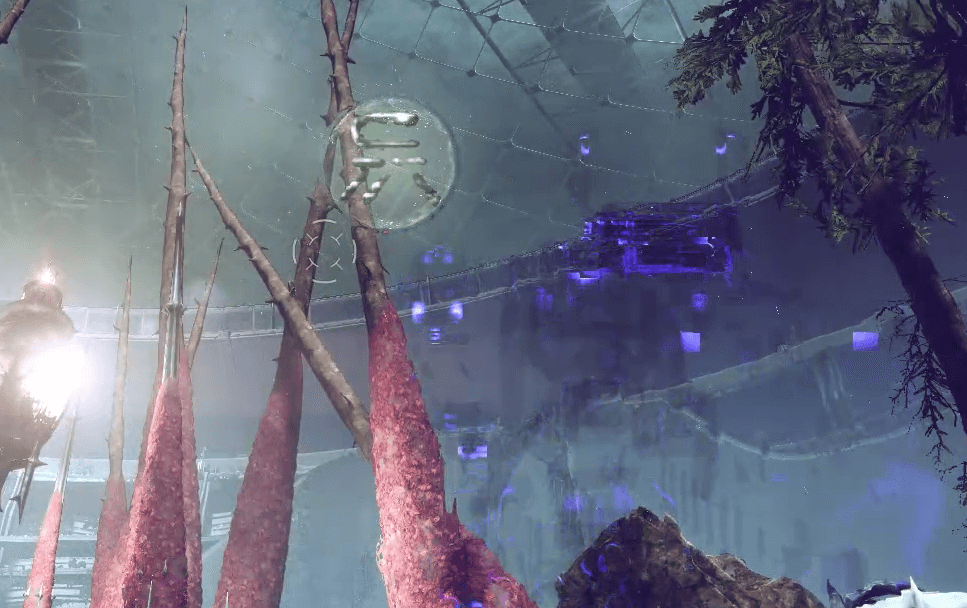
From there a new portion of the trail will be revealed. You can use your sparrow in this area to move faster in this area. Continue killing multiple groups of these Hive until the final group has a Lightbearer Hive. After killing this Lightbearer, finish its ghost to acquire a buff, Vestige of Light.
This buff lasts for 1 minute and 20 seconds, and if it runs out you will die and have to restart the process. Take note of the Symbol above the Lightbearer as this needs to correlate with the next step.

Return to the Hive Ritual Site and there will be a cluster of enemies and a Veilweaver Wizard. Killing this Wizard will spawn a Deepsight Orb. Acquire Deepsight from this Orb to see the Symbols on the various statues around the Ritual Site.
The player who has the Vestige of Light buff will then deposit the buff into the statue with the matching Symbol that was above the Lightbearer. This will then progress the encounter, and the entire process must be repeated for a total of 4 times.
Summary:
- Kill the Soulfire Ogre
- Follow each step of the trail killing Soulfire Binders along the way
- Kill the Lightbearer Hive and note the Hive Symbol above them
- Finish the Ghost to receive the Vestige of Light buff
- Return to the Hive Ritual Site and kill all enemies and the Veilweaver Wizard
- Activate the Deepsight Orb to reveal the symbols on the statues
- The player with Vestige of Light will deposit the buff into the statue with the corresponding Hive Symbol from step 3
- Repeat 3 more times to deposit into 4 statues total
Loadouts:
In general this is a pretty straightforward encounter that doesn’t call for any specific loadout. Just be certain to have some survivability so you do not die with the Vestige of Light buff.
Nightstalker with Moebius Quiver is a good class to have as they can go invisible to stay alive with the buff if in danger, and Tethering the group of Hive along the trail will give back a lot of super energy.
Ecthar, the Shield of Savathûn
The first boss of the dungeon is Ecthar. This encounter involves the same Symbols as the Ritual and utilizes the underwater pressure mechanics introduced in Season of the Deep. There are two areas of this encounter, the main room with the rally banner which will be referred to as The Mausoleum and the underwater area which will be referred to as The Deep.
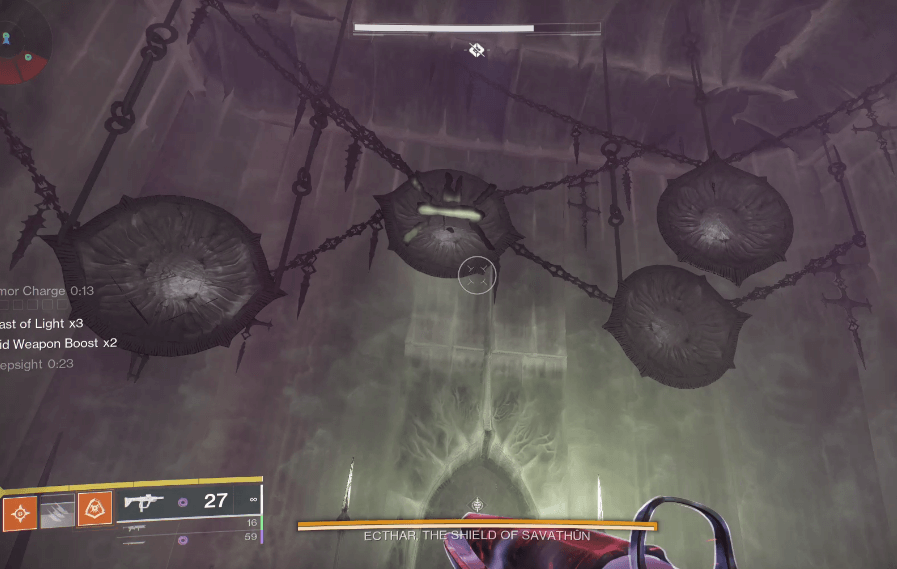
Start off with killing the 3 Blistered Knights that spawn in the upper portion of The Mausoleum. This will spawn in an Ogre, the Keeper of the Deep at the top of the stairs. Killing this Ogre will spawn in a Deepsight Orb at the center of the room near the Rally Banner spawn. With Deepsight, you will be able to read the Hive Symbols on the walls along the sides of The Mausoleum. There will be 3 Symbols that will be highlighted.
Memorize these Symbols as you will then have to go into The Deep and find these symbols on Runes underwater. There are various holes in the floor to go into The Deep. The central hole is an exit as it has a lift to bring you out of the water, but it can be used as an entry when going in along the sides.
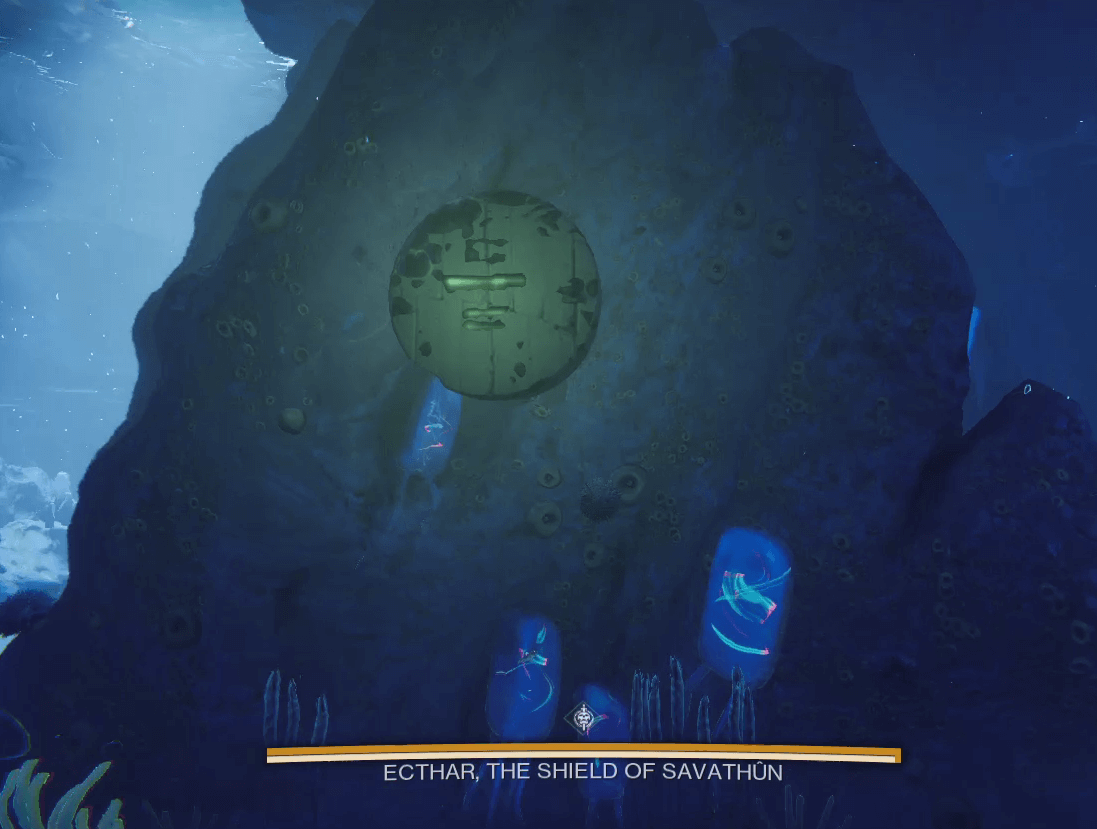
In The Deep there are various symbols on rocks and walls that can be collected. Collect the 3 Symbols that were revealed earlier. Interacting with an incorrect symbol will result in a death. Utilize the bubbles to extend the Pressure Resistance timer, to be able to search for the symbols for longer. Ecthar is also roaming around in The Deep, avoid him as his attack will heavily deplete your Pressure Resistance timer.
Activating a Symbol will spawn in a Lightbearer Hive in The Mausoleum. After collecting the 3 Symbols, return to The Mausoleum.
Kill the 3 Lightbearer Hive that spawn in The Mausoleum and use a finisher on their ghosts to collect the Vestige of Light buff. Any player can collect these buffs, and as one teammate collects the Runes another player can deal with the Lightbearers as they spawn in.
All 3 members of the team can also collect the runes and then kill the Lightbearers together. Deposit the Vestige of Light buff into one of the statues at the top of the stairs in The Mausoleum. There are 3 statues, one for each Lightbearer that spawns.

After depositing into the 3 statues, at the bottom of The Mausoleum near the Rally Flag will spawn a Wellkeeper Knight. Kill this Knight to spawn a pool that grants the Piercing Light buff when standing in the pool. This buff allows you to damage Ecthar’s shield.
Once the shield is depleted you can damage Ecthar himself. Be sure to get rid of the shield quickly as this counts towards the time window for the damage phase. Once the damage phase is over, the encounter will repeat until Ecthar is defeated.
Once Ecthar is defeated he spawns a ghost. Use a finisher on the ghost to complete the encounter.
Summary:
- Kill the Blistered Knights in The Mausoleum
- Kill the Keeper of the Deep Ogre in The Mausoleum
- Activate the Deepsight Orb and read the 3 Symbols on the wall
- Go into The Deep and collect the 3 Symbols
- Kill the Lightbearer Hive for each symbol collected, and finish its ghost for the Vestige of Light buff
- Deposit the Vestige of Light buffs from each of the 3 Lightbearers into the Statues in The Mausoleum
- Defeat the Wellkeeper Knight at the bottom of The Mausoleum
- Collect the Piercing Light buff created from defeating the Wellkeeper Knight
- Destroy Ecthar’s shield using the Piercing Light buff
- Damage Ecthar’s health once the shield is destroyed
- Repeat and Finish Ecthar’s ghost once he is defeated
Loadouts:
There are a lot of enemies in The Mausoleum, so wave clearing weapons are necessary. This is a boss encounter that requires damaging a boss, so DPS weapons are required as well.
Ecthar is aggressive during damage and will get into melee range. Because of Ecthar getting in melee range having a Well of Radiance and/or Ward of Dawn is great for a damage boost and protection.
Good damage weapons are swords such as Falling Guillotine and Lament as well as Slug Shotguns and Legend of Acrius. A Ward of Dawn with No Backup Plans and a Legend of Acrius deals massive damage to Ecthar. Single target damage supers such as Thundercrash, Blade Barrage, or Gathering Storm are also good to have for damage.
Šimmumah ur-Nokru, Lucent Necromancer
The final encounter is another boss. There is one central room with the remains of Oryx and 3 side rooms that are accessed by walking through a wall of water, and traversing underwater for a very short distance. Start the encounter by performing a finisher on the ghost in the center of the room.
Once the encounter starts a Deepsight Orb will spawn in the center of the room alongside a plethora of enemies. Activating this Orb will highlight 3 of Oryx’s 6 body parts throughout the room in bright green. When standing near any of the body parts, there will be a green ring that lights up around the body part and gives the Ritual Conductor buff.
In the room there is an enemy Vorlog, Risen in Heresy who is visiting from the Court of Oryx in Destiny 1. When standing near the body part with the Ritual Conductor buff, kill Vorlog to reveal a Ring between the body part and center of the room. Only you need to be near the body part, not Vorlog, he can be anywhere in the room when you kill him.
Look through the Ring at the Taken King Icon that is projected at the other side of the room to reveal a Hive Symbol above the body part. This needs to be done for all 3 body parts that were highlighted via Deepsight.
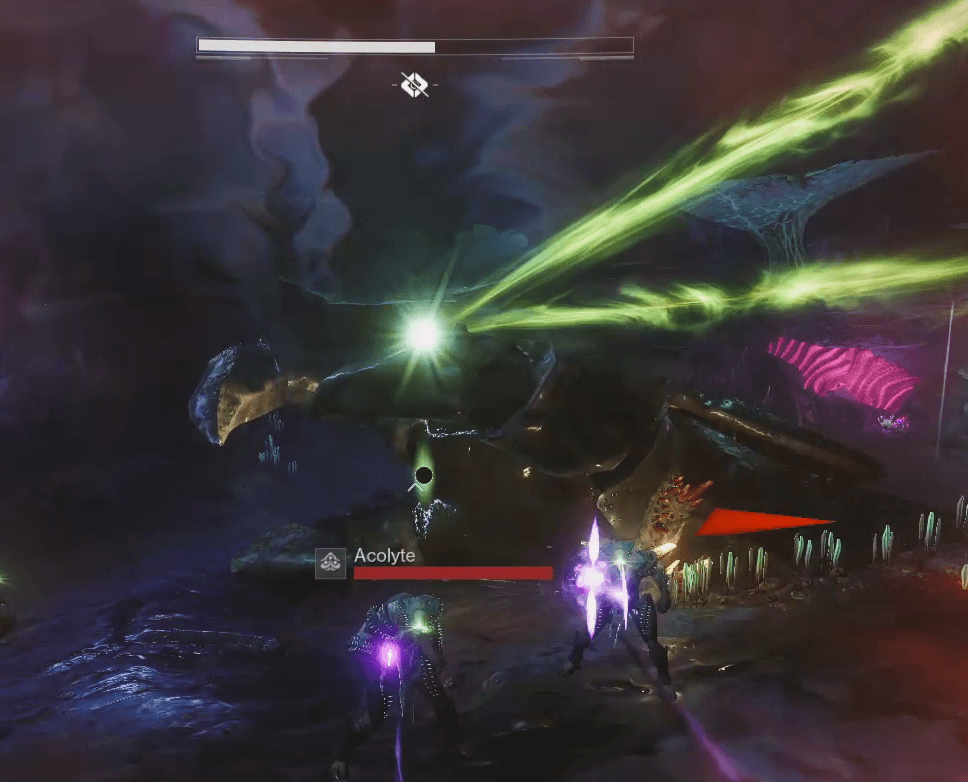
Now the 3 side rooms behind the water walls come into play. In each room is a Lightbearer Hive and a Symbol that corresponds to a Symbol above one of Oryx’s highlighted body parts. Kill the Lightbearer Hive and crush its ghost for a Vestige buff. After crushing the ghost the Symbol in the room will disappear, so be sure to take note of it before finishing the ghost.
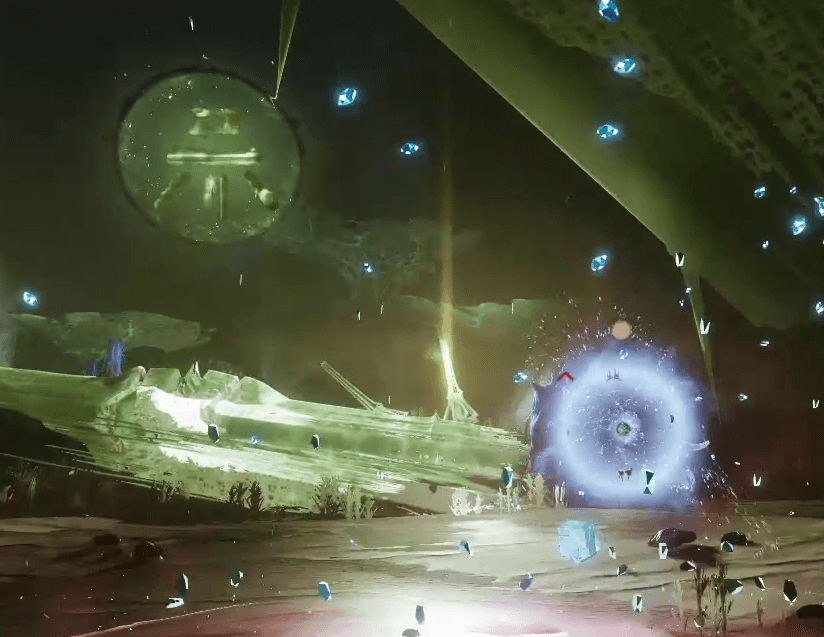
With the buff and Deepsight, deposit the Vestige into the body part of Oryx with the matching symbol. You cannot deposit the buff if you do not have Deepsight, so be sure to acquire it. You have a minute and 20 seconds with the Vestige buff, so you can take your time. Running out of time or depositing the Vestige into the wrong body part will instantly kill you.
Once all 3 Vestiges are deposited into the correct body parts, a Pool will appear at each of the body parts. Stand in this Pool to get the Piercing Light buff to destroy Šimmumah’s shield. Once the shield is destroyed, damage Šimmumah. This can be done anywhere in the room.
This entire process is repeated until Šimmumah is defeated. Once defeated, be sure to use a finisher on Šimmumah’s ghost to end the encounter.
Summary:
- Activate Deepsight to reveal the 3 body parts of interest
- Kill Vorlog when standing near one of the body parts with the Ritual Conductor buff which will reveal a Ring and Taken King Icon
- Look at the Taken King Icon through the Ring which will reveal a Hive Symbol above the body part
- Repeat steps 2 and 3 for the other body parts
- For each of the 3 side rooms, go into them, take note of the Symbol and kill the Lightbearer
- Use a finisher on the ghost to receive the Vestige buff and return back to the central room
- Acquire Deepsight and deposit the Vestige buff in the body part with the corresponding Hive Symbol
- Once this is performed for all 3 body parts, Pools are created at the body parts; stand in the Pool for the Piercing Light buff to destroy Šimmumah’s shield
- Damage Šimmumah
- Repeat the process until Šimmumah is defeated, and finish Šimmumah’s ghost
Loadouts:
Šimmumah is tough to hit and is usually at range, so weapons with range and generous hitboxes are best. Linear Fusion Rifles, Snipers, Rockets are good for damage, but they are hard to land shots on, so use them to your own discretion.
Leviathan’s Breath, Sleeper Simulant, and Xenophage are good options because of them having good range and are much easier to land shots with. Well of Radiance is very good to have as there are a lot of enemies while dealing damage.
Ranged, single target damage supers are good to have to supplement damage or destroy the shield. Golden Gun, Blade Barrage, Gathering Storm, and Chaos Reach are good options for this purpose.
Wrap Up
Good luck in the deep! The weapons of this dungeon are fantastic, and best in class because of their archetypes and available perks.
Be sure to check out the best perk combinations and rolls for the new dungeon weapons as well as the builds they are utilized in.
 Download APP
 Collapse