Everything You Need to Know About Destiny 2’s Onslaught
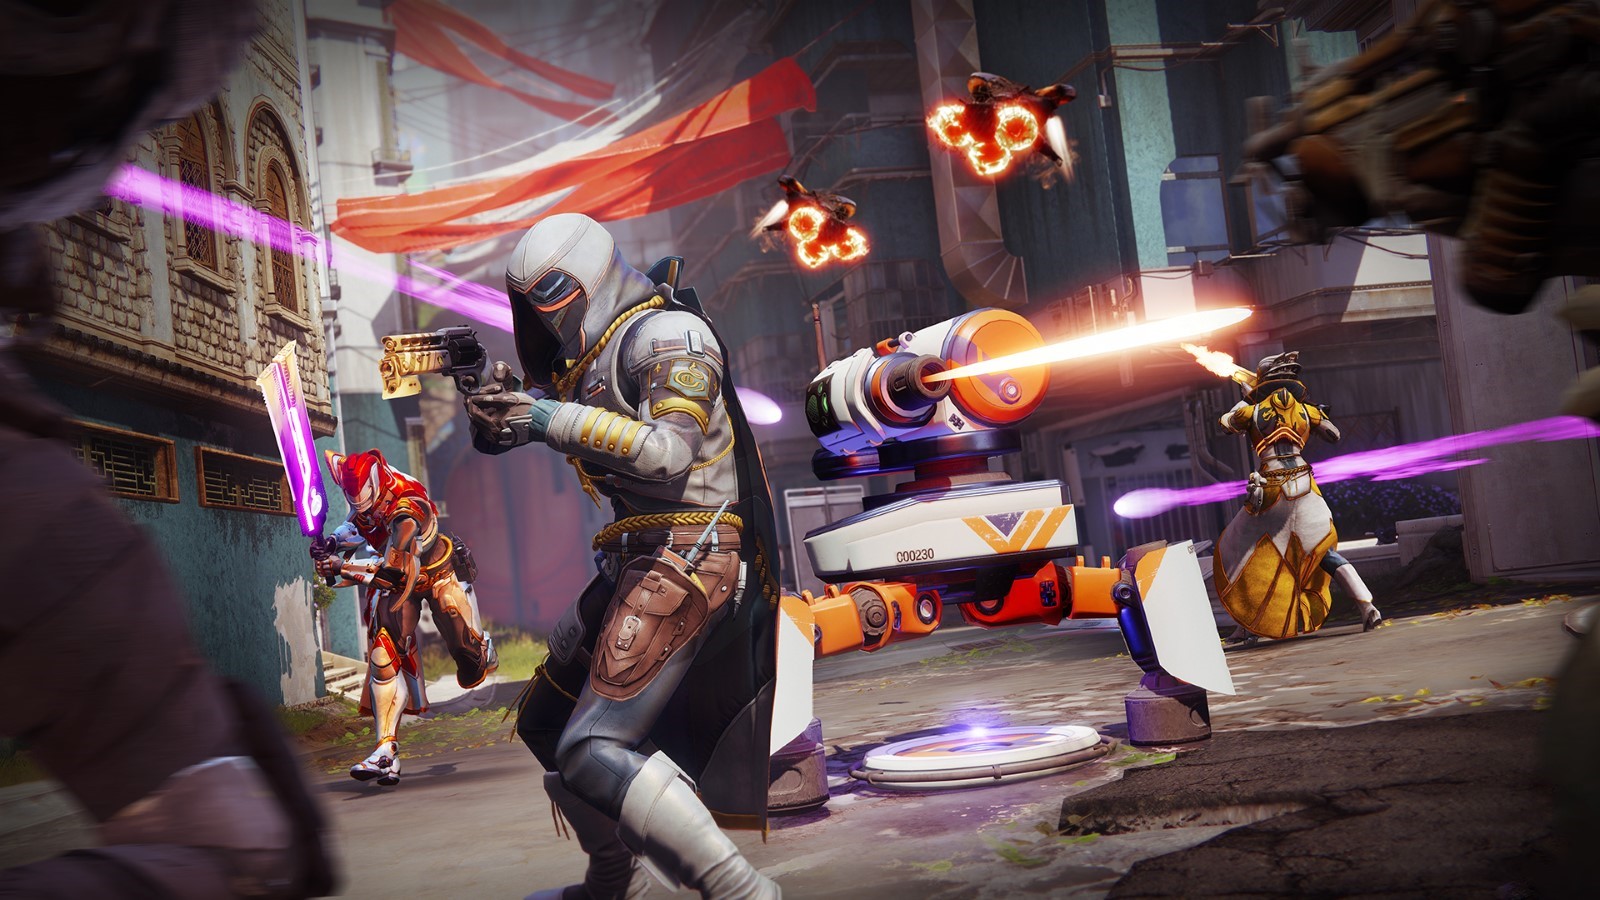
With Into the Light comes a brand-new game mode in Onslaught. Onslaught is a hectic, team-oriented game mode where players must protect a single objective, the ADU (Automated Defense Unit), from wave after wave of attackers.
Well-devised team compositions and quick thinking are key to staying alive and achieving victory.
This Destiny 2 Onslaught guide will offer detailed advice on effective loadouts, using scrap wisely, and dealing with enemy waves as efficiently as possible!
Guardians, get ready! The Final Shape has arrived in Destiny 2, introducing an exciting new Prismatic Subclass. Explore our comprehensive Prismatic Hunter builds, Prismatic Warlock builds, and Prismatic Titan builds at our D2 site.
Onslaught Summed Up
Onslaught is, in essence, tower defence in the world of Destiny. The ADU is to be protected at all costs. If the ADU is destroyed, that’s a wrap on the whole run. Each wave brings different enemies and different objectives. Some enemies drop batteries that can heal the ADU and provide the mode’s currency, scrap, to the team. Various boss waves will occur throughout the run, making defending the ADU even more difficult.
The fireteam also has three defences that can be purchased and upgraded with scrap to help you along the way. Every so often, you will be tasked with completing an optional objective. These are usually quick and provide a Heavy ammo crate to the team once you finish.
Every five rounds, a portal to the interior of a pyramid ship will appear. Jumping through the first portal per ten waves will see you tasked with defeating three Yellow-Bar enemies and running a Spark to a Rift. On every round ending in zero, another portal will appear, taking you to a boss fight.
A single chest containing a Brave weapon will appear after every boss is defeated, or two if you’re playing on Legend difficulty. Once you defeat the wave 50 boss, congratulations, you have completed the run!
Battery Management
A key element in Onslaught is the efficient management of batteries. These are primarily dropped by Saboteur enemies and other special enemies. They are marked when dropped and have a 25-second timer. Batteries are crucial as they quickly expire, sometimes even while carried, making swift retrieval and use essential.
Batteries lock onto the ADU but can often miss if thrown from a distance. It’s advisable to throw batteries high if you aren’t close to the ADU to maximise your chance of hitting the ADU. Players must throw these batteries into the ADU to repair it and generate scrap, which is vital for building and upgrading defences.
Additionally, batteries can now be used to heal turrets and decoys, so using them occasionally to keep these defences operational is also important. This added utility makes managing your battery supply even more critical, as you’ll need to balance the health of the ADU with the upkeep of your defensive structures.
Building Effective Defenses
Strategic placement and choice of defences can significantly impact your team’s success.
Turrets
Turrets are highly effective due to their autonomous operation, 360-degree coverage, and immediate response to enemies. They are best placed in positions where they can oversee multiple pathways or enemy spawn points. Generally, turrets are where your scrap should go!
Tripwires
While useful for halting enemies that breach primary defences, tripwires require a strategic placement to be effective. They are placed along predictable enemy paths but can be costly as they need to be replenished and can’t be upgraded until refilled. Unless your team has saved up a healthy amount of scrap, I’d advise avoiding these. The exception is if the defence spawns are lacking!
Decoys
Decoys serve as a strategic tool to distract enemies and create artificial choke points. Although not as cost-effective as turrets, in the long run, they can be invaluable when your defences are overwhelmed. Decoys are particularly effective against Tormentors, as these enemies, once lured to a decoy, will focus on attacking it, giving your team precious time to deal damage without being targeted. Making sure you have at least one decoy per ADU is crucial! A Tormentor spawn can end a run very quickly!
Handling Tougher Enemies
Tormentors
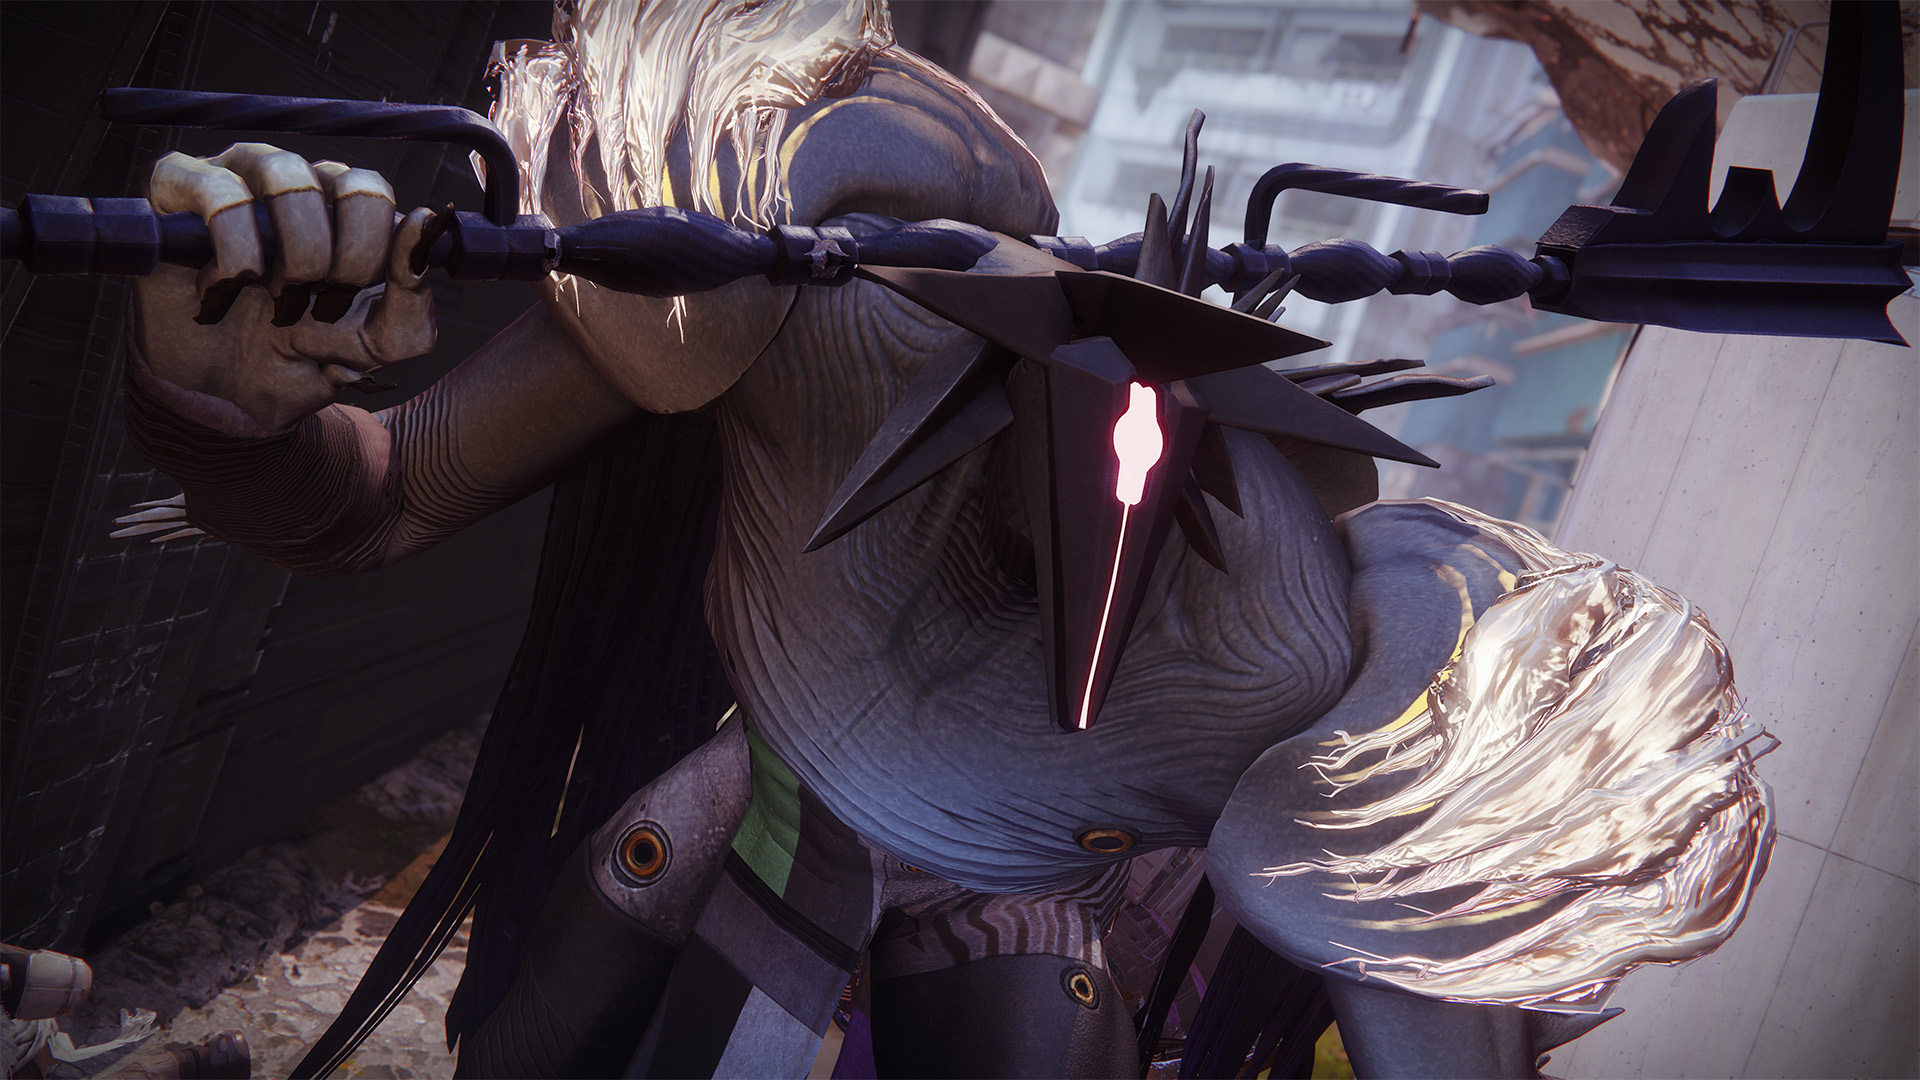
These bosses are immune to status effects and become highly aggressive once their shoulders are damaged. Draw Tormentors away from the ADU by using decoys to minimise the risk to the unit. Maintain distance and target their weak spot with Linears or MGs while they are distracted by the decoy.
Skybombers / Shielded Skybombers
Any sort of Skybomber will send a massive beam down onto the ADU if left unattended, and it does a good bit of damage to it. When you are faced with a regular Skybomber wave, three yellow-bar Skybombers will spawn across the map. They aren’t very tough to dispatch, but they will damage the ADU quite a bit if not dealt with quickly.
I recommend leaving one Guardian near the ADU to defend it while the other two go hunt down the Skybombers. As for the Shielded Skybombers, they spawn alone and will require a buff to break their shield. They are just very large Brigs or Ogres, but they have a decent health pool. Any burst damage super and/or heavy grenade launcher will get rid of them quickly. Typically, you will only need one person to handle a Shielded Skybomber.
Demolitionists / Shielded Demolitionists
Demolitionists can be quite intimidating. When they spawn, you know it very quickly. You will have two very large Knights or Captains spawn on opposite sides of the ADU. There is good news regarding these big guys though: They’re not as tough as they look. Some coordinated fires from heavy weapons usually make quick work of them.
As for the Shielded Demolitionists, they are like the Shielded Skybombers and require you to have a buff to break their shields. Stand in the Darkness Rift and give them the business. They essentially get deleted by special weapons!
Be aware that a Champion will spawn at the end of almost every round. It can be either of the three, so make sure your fire team is prepared for all of them!
Recommended Loadouts
I will now break down the recommended loadouts.
Void Hunter
Orpheus Rig is the preferred exotic. It enhances the effectiveness of Tether and essentially gives you your Super back immediately, which is incredibly handy in Onslaught. The Stylish Executioner Aspect ensures you become invisible after every other kill with the right setup, enhancing survivability.
Buried Bloodline, especially with the Catalyst, synergises well with this setup, allowing you to proc and maintain Devour very easily and weaken everything in sight! This build is perfect for the occasion and a personal favourite of mine.
Strand Titan
To no one’s surprise, this had to be recommended. Banner of War is essential for survival and effectiveness in almost all PvE scenarios, especially in Onslaught. Combine this with Thread of Warding and the Into The Fray Aspect to utilise Woven Mail for increased resilience.
Exotics like Synthoceps and Wormgod’s Caress maximise your melee damage potential. Add in a One-Two Punch Shotgun, and even the strongest Yellow-Bar enemies can be immediately defeated. Here’s a great example of a loadout that will make Onslaught as easy as possible.
Solar Warlock (Phoenix Protocol)
Well of Radiance, coupled with Phoenix Protocol, allows for rapid regeneration of your Super, thanks to the high density of enemies. Ember of Combustion and a Solar weapon can turn your gameplay into a continuous explosion of light and flame, igniting everything you shoot.
Side Note – If you run Phoenix Protocol with a Void Hunter on the team, you will usually get your Well of Radiance back before the first one ends! Just coordinate Well timing with Tether timing! This is a solid Phoenix build for Onslaught. Just swap Ember of Singeing for Ember of Combustion, and use whatever Solar weapons you’d like to.
Arc Warlock
Opt for Stormcaller for excellent ad-clearing capabilities. Arc Souls can be lifesavers in tight situations, ridding you of pesky ads that can appear in droves. Vesper of Radius is a solid choice here, as it is great for holding down choke points, while Geomag Stabilizers enhance the effectiveness of Chaos Reach, potentially clearing the map when used correctly. Running Geomags with a Voltshot weapon is a personal favourite of mine for Onslaught.
Weapons
One of your best options here would be heavy grenade launchers. With the release of the new Edge Transit, a new damage meta has been born. Gjallarhorn is also a good pick, as three people having Wolfpack rounds makes deleting waves of enemies very easy! Lastly, I would say Dragon’s Breath is also a great choice, as it can essentially clear a whole lane by itself!
Optional Objectives
Additional objectives may occasionally appear at the onset of a round. Completing these objectives results in a heavy ammo cache adjacent to the ADU. These tasks are typically simple, yet they divert attention away from the ADU.
Some typical examples include neutralising mines at a designated Brig spawn location, finishing the round within the specified time limit, gathering twenty Darkness Fragments that enemies drop, or eliminating three floating fragments of Darkness.
Engaging in optional objectives should generally be limited to situations where the main objective is not at risk, though receiving Heavy ammo on completion is quite the reward.
It’s wise to assign just one team member to handle optional objectives unless you are facing particularly tough challenges. Always keep at least one defender near the ADU to prevent surprise attacks. However, don’t stand in the immediate area of the ADU. If you are in the radius of the ADU and enemies rush you, they can attack you while simultaneously damaging the ADU. Don’t ask why; it just happens!
Picking The Correct Map
Onslaught offers three distinct maps: Vostok, Mothyards, and Midtown. Each map presents challenges and advantages that can dramatically change gameplay. Understanding how each map plays can help players choose the most suitable one based on their game plans and team compositions.
Mothyards
Description: Mothyards is known for its large, open spaces, which can make it challenging to manage enemy waves effectively.
Community Feedback: It is generally considered the least preferable map for Onslaught mode due to its size and difficulty controlling enemy approaches.
Strategy Tip: If choosing Mothyards, it’s crucial to utilise long-range weapons and have a solid strategy for crowd control.
Midtown
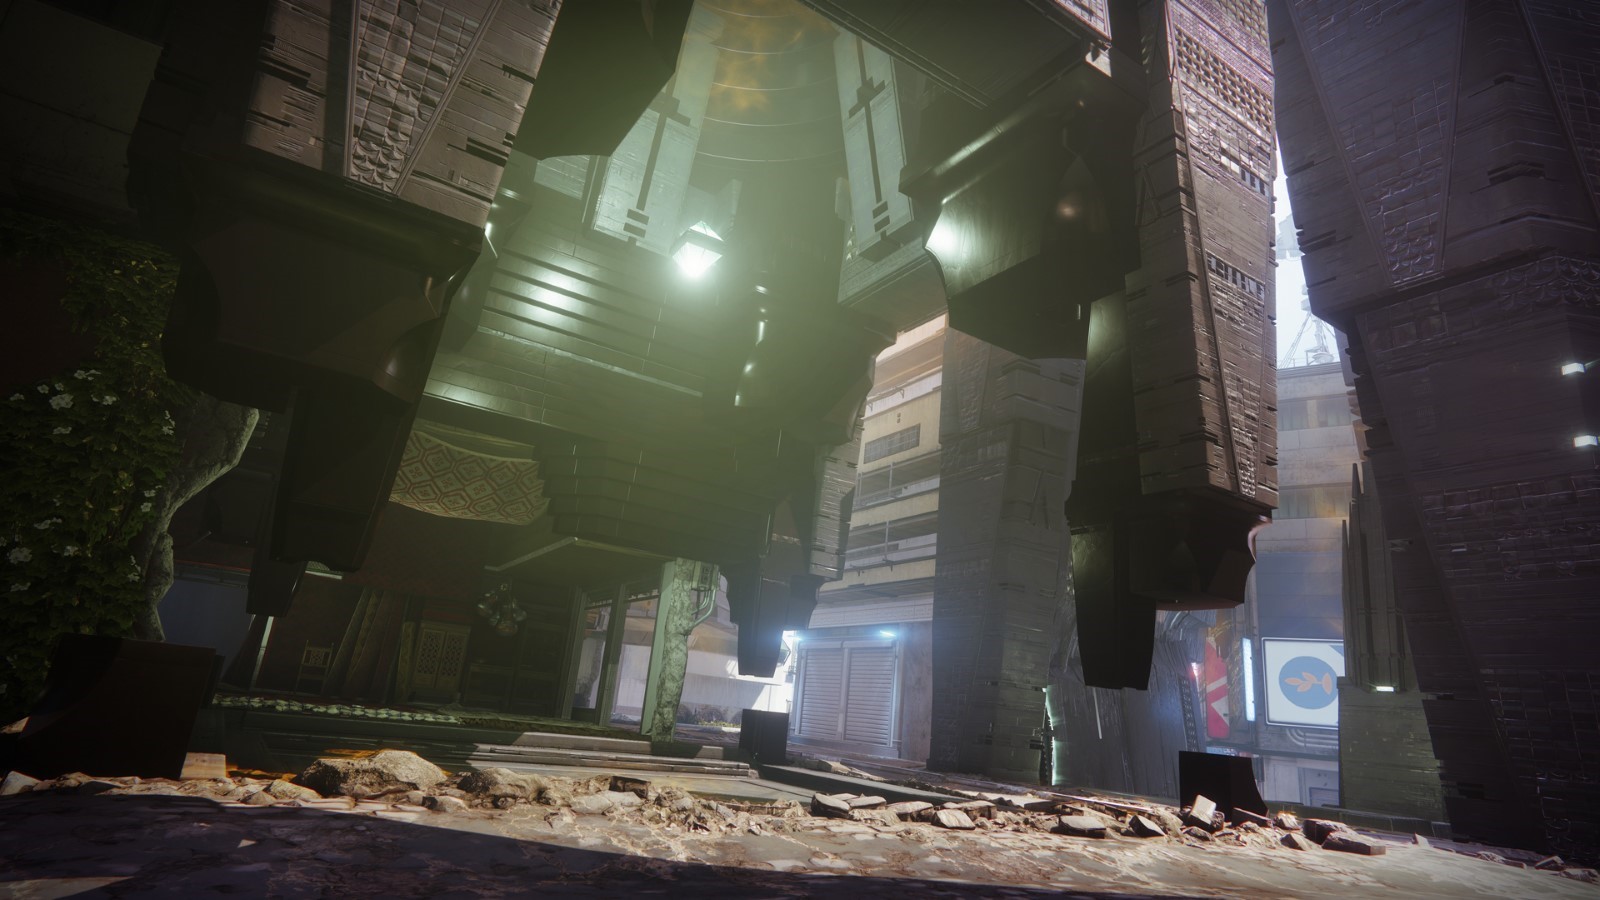
Description: Midtown is known for its tight lanes and urban settings, providing natural choke points that can be used to funnel and manage enemies more effectively.
Community Feedback: This map is often favoured for its structure, which aids in controlling enemy flow and making defensive setups more manageable.
Strategy Tip: Midtown is ideal for teams that can capitalise on narrow passages with area-of-effect attacks and traps. It’s particularly effective for reaching higher wave counts like 50 waves due to these tactical choke points.
Vostok
Description: Vostok features balanced defence spawn locations and a size that is neither too large nor too small, making it a versatile choice for various playstyles.
Community Feedback: The community is divided between Vostok and Midtown, but both are generally more favoured than Mothyards. Vostok’s balance makes it a strong candidate for a middle ground in map size and structure.
Strategy Tip: Utilise the strategic spawn locations to establish a layered defence, allowing for fallback positions and re-engagement opportunities.
In conclusion, while Mothyards presents considerable challenges due to its size and openness, Midtown and Vostok offer more strategic advantages that can be exploited for successful defence in Onslaught mode. With its tight lanes and effective choke points, Midtown is recommended for teams aiming to reach high wave counts.
Pyramid Rounds
Any round ending in 6 will involve going into a Pyramid ship. It requires you to defeat several enemies to charge a Spark Charge. Once charged, you must escort it along a lengthy corridor to a well-defended location. This gameplay element is reminiscent of the Rift mechanic. However, an invincible mini-boss guards the delivery point, making it crucial for your carrier to deliver the Spark Charge swiftly to eliminate all adversaries simultaneously.
Utilising a Void Hunter is the play here, given you can dodge, go invisible, and just run straight to the Rift and get rid of all the enemies. Also, note the mini-boss can and will not hesitate to freeze you!
You’ll face a boss battle inside the Pyramid ship every ten rounds. You always get a Rally Flag before you enter the boss room, so swapping to high DPS loadouts is recommended at that point. Ideally, you’ll want a Well of Radiance for added survivability and some extra damage.
Generally, it is advisable to position yourselves near the entrance and concentrate your firepower to quickly defeat the boss, which in turn will cause all of the other enemies to vanish. After collecting your chest rewards, you’ll reposition to a new ADU location. Be mindful of the fact that defence spawns are different from run to run. Upon clearing Wave 50’s boss, you can collect your rewards and return to the Hall of Champions to turn in those Trophies of Bravery for that sweet new loot!
 Download APP
 Collapse


