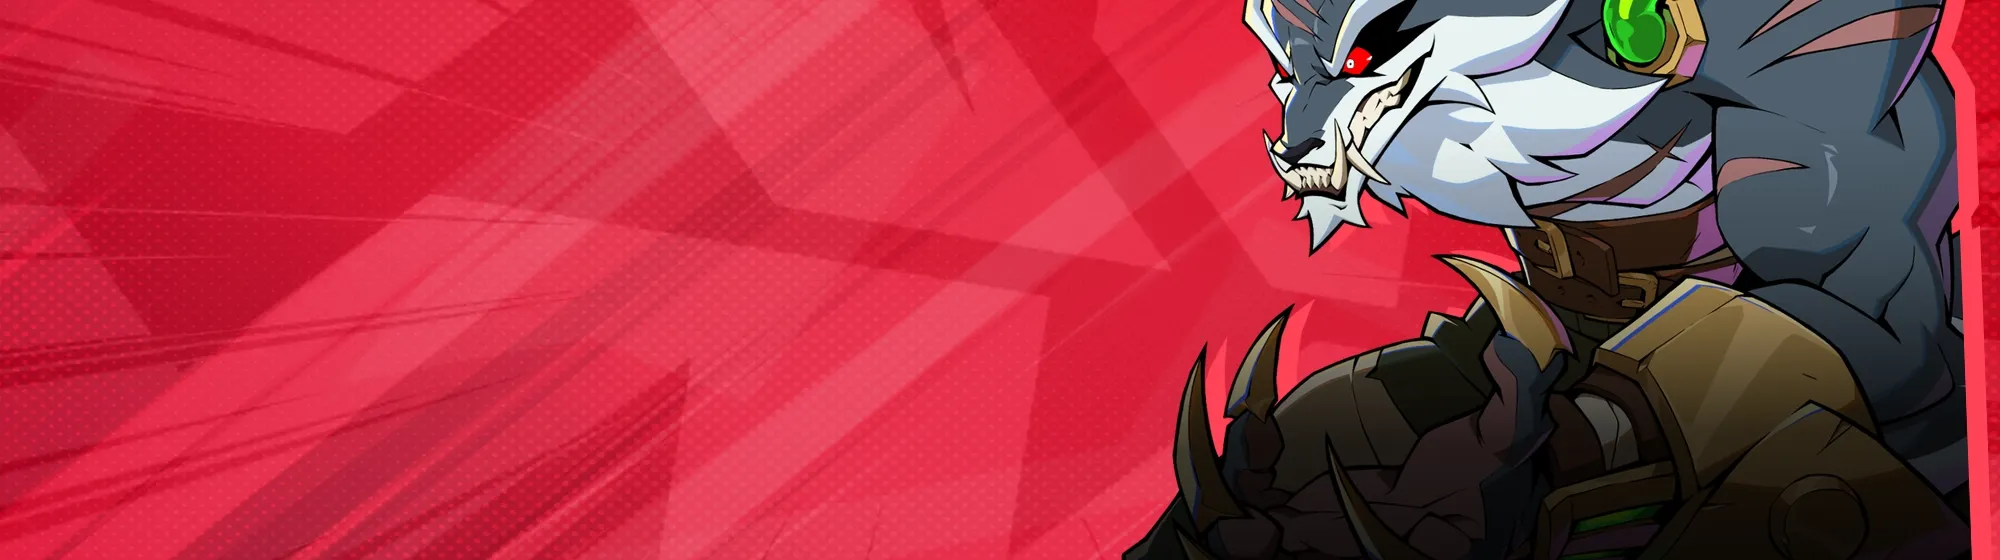
The Unforgiven - All-Rounder
2XKO Yasuo Guide - Moves, Combos, and Overview
Overview
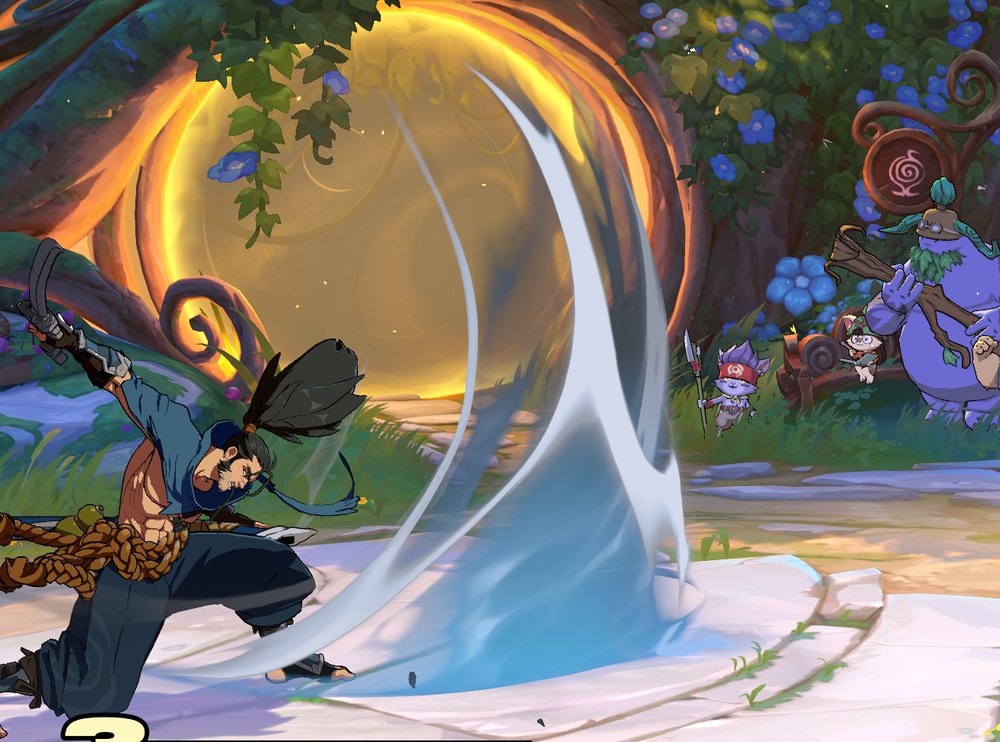
 Yasuo is a samurai-style hero who wields a deadly sword. While he is one of the most challenging heroes to play, the depth of his combos and tech makes mastering his kit feel rewarding.
Players who like the challenge of high execution and enjoy flashy combos often gravitate towards Yasuo.
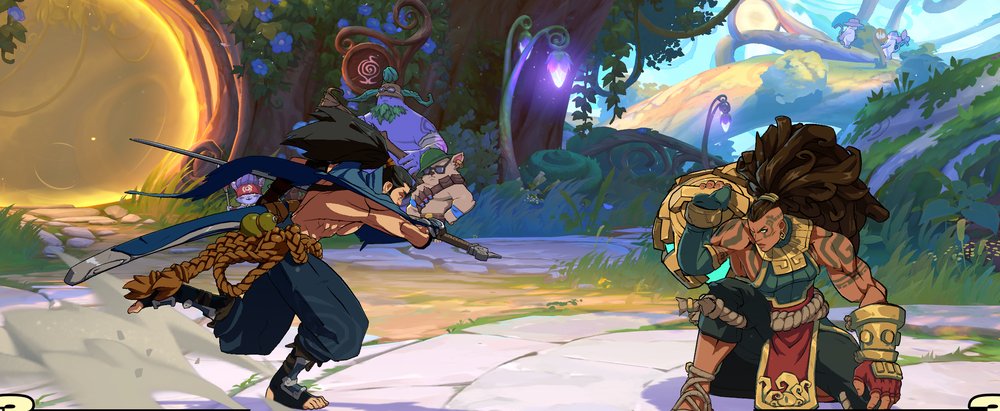
As an all-rounder champion, he truly feels like he can do everything you'd want a character to do. Against projectiles, he has excellent counterplay; the long reach of his specials enables him to excel at mid-range. At close-range, he also has a quick jab and good mix-ups.
From the fundamentals of his neutral game to bread-and-butter combos for every scenario, this guide will cover everything you need to know to dominate the ranked ladder with the Unforgiven Samurai.
Strengths And Weaknesses
- Able to zone and rushdown
- Strong anti-zoning tools
- Deep arsenal of mix-ups
- His medium attacks have long recovery when missed, leaving him open to be coutnerattacked
- High execution floor and ceiling
- Weaker on Assist
Unique Mechanics
Stance
 Down
Down S1 Special puts Yasuo in his Calm stance. From there, he gains access to an additional set of unique attacks.
Stance has 6 Moves, plus a forward/backward dash, and the option to exit Stance.
Stance Cancels
Just as important as the actual moves is Yasuo's ability to Cancel all Stance attacks into back into Stance, as long as the attack made contact with a player or deployable.
To Stance Cancel, input DownS1 Special right after the first attack hits.
Mastering Stance Cancels is crucial if you want to execute his advanced Combos, and make his stance attacks safer on block.
Kara Stance
Additionally, Yasuo can Kara cancel Tailwind/Headwind dash into any of the other Stance moves.
- "Kara" is a common fighting game term that refers to tech where you use the start-up animation of an attack to move your character, then cancel it into different attack.
More advanced combos will require you to forward dash kara cancel.
- A common combo starter using stance cancels and kara cancel is:
 M Attack >
  H Attack > S1 Special > stance cancel >
  Forward (kara cancel) M Attack > multiple combo routes from there.

Backwards kara cancel with Stance -> H Attack can be used to bait an attack and whiff punish.
Floaty Air 2H
Most champions in 2XKO have a crossup with  Air DownH Attack. Yasuo does as well, but his Air DownH Attack bounces him up a bit, causing him to float in the air.
This mechanic can be exploited to create crossup mix-ups, and to chain into AirS1 Special Hold.
Hold.
If you attempt to crossup, the fall depth needs to be lower than average because of this mechanic as well. Players often whiff the air attack accidentally due to the floatiness.
From Short to Long Range
Up close, Yasuo has a fast jab, crossups, high/low mix, and good buttons. At longer ranges, he's deceptively good at zoning because of Windwall > S1 Special and Stance > H Attack.
Players can choose their optimal range based on playstyle preference. A privilege that most champs do not possess.
How to Play Neutral
Safest Options
5M
Yasuo's best neutral tool is standing M Attack. The attack comes out in only 10 frames, can be used to poke, whiff punish, and anti-air. It's also his best combo starter.
At point-blank range, M Attack is not safe on block, so make sure to cancel into S1 Special or cover with an Assist.
One important downside to using M Attack in neutral is that it has a very long recovery. If you just barely miss your opponent, they have time to react and counterhit Yasuo.
S1
S1 Special is deceptively quick, has good range, and can be both stance canceled and Super canceled.
S1 Special has a lot of pushback and block stun; as long as you stance cancel, the move can't be reliably punished on block.
Also, the attack hits twice, making it a natural counter against enemy moves with armor such as  Braums Ice Shield and
  Blitzcrank's empowered steam grab.
5L
Yasuo has a 6-frame jab, which is tied for the fastest move in 2XKO. The range is very short, but in point-blank situations, this is your best tool for interrupting the opponent's attack.
In scrambles, mashing jab is a viable strategy because it will either beat or trade with an opponent who is also mashing.
 L Attack will also beat tick-throws and block strings that leave a 6 frame window, such as
  Vi's crossup Sway.
- Be careful of moves with invincibility such as lvl 3 Ultimates that will punish you for mashing.
2L
DownL Attack must be blocked low, and reaches farther than standing L Attack. At only a 7-frame startup, this is one of Yasuo's best footsie tools.
Catch a whiff punish with DownL Attack and you can combo into M Attack and go into any combo you'd like.
Wind Wall
Against projectile champs like  Jinx, Wind Wall is your best ability. Only beams can pierce it (ex: Jinx
  S2 Special Super), but it destroys all other projectiles.
When facing a team that has a Point or Assist champ looking to use projectiles, throw up a Wind Wall to shut down their pressure.
Using Wind Wall to condition your opponent is also very effective. If you keep S1 Special or S2 Special into it, opponents will likely attempt to jump over to counter. Wait and anti-air them to pull a reverse counter.
Anti-airs
2H
DownH Attack is the anti-air Yasuo should use most of the time. It has a huge hitbox compared to other anti-airs.
Even though the animation surrounds Yasuo, this will not hit crossups.
DownH Attack is NOT safe on block if the opponent has a quick aerial, or is standing on the ground.
S1> 2H
Sever Cloud reaches across more than half of the screen and wall bounces, making it Yasuo's most deadly anti-air.
Against opponents like  Teemo you often jumps and spams projectiles, Yasuo can catch them out of the air with this attack.
Compared to DownH Attack, the start-up is significantly longer since you need to stance, then H Attack. When you need to reactively anti-air, the universal launcher is the better option.
How to Approach
Yasuo's walk is extremely slow. This forces him into a high-commitment approach game.
- His dashes are super fast, however, so you can mix-up
 Back Dash and
  Dash to confuse and bait your opponent.
 - Forward jump also goes farther than other champs, meaning Yasuo can jump over attacks that many other champs cannot.
- Cover your Jump in with an Assist. You can create crossup situations, or just get on top of the opponent to put them in your block pressure.
- Stance > S1 Special can also be used to approach and to crossup enemies.
- Wind Wall and Whirlwind are effective in covering your approach against projectiles.
Primarily, you need to use your big sword attacks like 5M, and Stance > H Attack to condition your opponent into blocking, which then creates openings for you to approach.
As Assist Champ
When to Forward Assist
Yasuo's Forward Tag naturally crosses opponents, making it great to setting up an easy sandwich with or without
  Freestyle.
The attack itself comes out slower than most Assists, so you'll need to cover him during the startup by putting the opponent in block stun.
ForwardTag Assist is ok for combos, but doesn't juggle as good as many other Assists. Most of the time you'll either use it to cover your Point champs air approach or for block string mix pressure.
When to Back Assist
Windwall as an Assist can be useful against projectile zoners like Jinx and Teemo. Yasuo can also be tagged in immediately after Back Assist, then use S1 Special / S2 Special into the Windwall as usual for an immediate big hit.
- Important spacing note: Unless your opponent is already backed into the corner, they can easily run away from your approach and you'll have to leave Windwall behind you.
When the opponent is already in the corner, Yasuo's Back Assist is great for protection and to threaten the Tag > S1 Special
Block Pressure
Block Strings
Generally, you'll want to end Block strings with S1 for the reason listed above. It has great push back, making it nearly impossible to punish with a L, and it can be stance cancelled for a mix-up.
Block String with Assist
The common block string enders to cover with an assist are: 6S1 > S1 > S1 and 6S1 -> S2.
You can input the initial 6S1, Handshake Tag, then input in the follow up Special to make Yasuo finish the string while your new champ starts their block pressure.
Lockdown Tools
S1 hits twice, can be Stance cancelled, and is Yasuo's primary lockdown tool.
Hit a blocking Opponent with S1 while calling Assist, then Stance into Dash or S1 passthrough to create a sandwich left-right mix-up.
Windwall > S2 (Whirlwind) hits multiple times, can be set up to hit meaty with good Oki, and buys you time to set up a sandwich with your Assist.
Tick Throws
When opponents have been blocking your offensive pressure, use L Attack > (brief pause) > throw to punish them for blocking.
M Attack can also be used as a tick throw, but the recovery is longer, making it more risky if you don't have the read.
Another great throw mix-up is to: Stance > S2 Special > (do nothing) land and immediately throw.
The Same conditioning applies. First, confirm that your opponent blocks your Stance > S2 Special high/low mix-ups, then punish them for blocking with a throw.
- When you do land the throw, it's good have practiced connecting his S2 Special Super.
- As shown in the clip, the Dash is very brief. Just barely late, and the Super will not hit.
Additionally, when an opponent is empty jumping, or keeps jump back blocking, hit them with an Air Throw combo:
Tip: Buffer the Stace input (DownS1 Special) as you're falling and immediately L Attack. The Stomp needs to happen quickly. No need to dash.
Mix-Up Game
Yasuo's go-to methods for mixing your opponent and land successful hits
S1 HOLD
The easiest ground crossup is ForwardS1 SpecialHold.
A common block string is: L Attack > M Attack > H Attack> ForwardS1 SpecialHold.
- Players become very conditioned to his attack due to its dominance in lower-rank play. As you climb, opponents will be parrying this string.
A more effective approach is to combine ForwardS1 SpecialHold with an Assist or other crossup pressure, so the move is not telegraphed.
The long 27-frame start-up means a prepared opponent has time to parry reactively on sight.
Stance > S1
Less committal and cannot be parried, but can be punished if the opponent waited and gets the read.
However, its great for mixing your opponent solo and with Assists. When solo, if an opponent started parrying your ForwardS1 SpecialHold. , Stance > S1 Special will bait the parry and allow you to punish.
Solo or with assist, you get the cross, then can high/low or strike/throw to start your combo.
High/Low
Yasuo has no standard overhead as most champs do. Instead he has Stance > S2 Special > ( L Attack / H Attack / S1 Special Hold
Below is a list of different Updraft mix-ups you can implement into your arsenal:
- H Attack to hit them high and in front
- (at point blank) wait, cross, and AirL Attackto hit them high and cross.
- AirDown > H Attack can hit in front or behind if you crossup.
- When attempting to crossup, make sure you wait for Yasuo to fall a bit or the attack will whiff against crouching opponents.
- When attempting to crossup, make sure you wait for
- S1 Special Hold: Depending on the distance, you'll hit the opponent in front or back.
- Fall to ground, then 2L for the low mix
- Closer to the opponent, you can fall behind them and put them in a low + crossup mix.
- AirDownH Attack > S1 SpecialHold, can be used to double-cross a blocking opponent. On block, this has a ton of recovery lag, so be sure to cover with an assist if you go for this tech.
Combo Examples
The following combo examples are not intended to be fully optimized or maximum-damage routes. Instead, they focus on consistent, bread-and-butter combos that are new player friendly with representation of all three Supers.
Ultimate Finisher
This should be the first combo route you master. Here it is shown in the corner, but this combo connects mid-screen as well.
- Super finisher options also include: Stance > L Attack > S1 Special Super; or, S2 Special Super without chaining into Ult.
S1 Super Finisher: Max-range
Mid-Screen Max-range hit confirm. (meaning you have time to react with Super after visually confirming you landed a successful hit).
Very good for poking, playing footsies, and whiff punishing. Also safe on block if you don't Super.
Mid-screen: S2 Super Finisher
The first extended combo you should learn if you want to start getting into Yasuo's more advanced combos. Introduces you to AirS1 SpecialHold, and wall bounces.
Super finisher options also include: Cancel into lvl 3 Ult HoldS2 Special as the Super finishes.
- Yasuo cannot end this combo with - Stance > L Attack - due to hitstun scaling.
Fuse Strategy
Double Down
Yasuo doesn't have good natural synergy with  Double Down Fuse. Playing Double Down is very depend and on your second champ's synergy with it.
Most of the time when running Double Down with Yasuo, it is more optimal to start with your other champ as the Double Down combo initiator. Yasuo deals high damage as the 2nd to come in, so it can be a very deadly Fuse.
2x Assist
The best use for  2X Assist with Yasuo is to create double crossup pressure with his Forward Tag. Both hits will cross the opponent and you can take advantage of this mechanic to force the opponent into sandwich and sideswiping mixes when combined with HandshakeTag.
Freestyle
Technically Freestyle is the Fuse with the highest potential for Yasuo. However, it also requires the most amount of time dedicated to learning and creating Freestyle HSTag block strings and mix-ups.
When using Freestyle you can use HoldH Attack to pressure the blocking opponent while during a HSTag.
ForwardS1 Special > S1 Special > S1 Special and ForwardS2 Special will keep the opponent locked in block stun and give your other champ plenty of time to set up the mix.
Experiment with your duo to discover mix-ups that work for you!
Juggernaut and Sidekick
Yasuo is one of the best champs for  Juggernaut and
  Sidekick because he is such a strong Point champ, and his Assist game is a bit weaker.
Also, considering the challenge of learning the more difficult Yasuo tech and combos, these solo champ Fuses can relieve the burden of learning two champs at once.
Champ Synergy
The following team suggestions are just examples that highlight champions who pair well with Yasuo and an explanation of the synergies that make them an effective team.
Many other viable pairings exist, as every champion in the game can be combined with one another to create winning game plans and powerful combos.
Ekko
The primary strength of this duo is their ability to put opponents in mixes easily. Freestyle is by far the best Fuse for this team because, together, they create simultaneous left/right & high/low mixes whenever they can set up a sandwich situation.
Because Yasuo's Forward Assist crosses the opponent, they can force these sandwich mixes off of just about any blocked attack, such as  Ekko's Timewinder.
When Yasuo is Point, a common tech is to jump and whiff an AirS1 Special, then use Ekko's Forward Assist, then Handshake Tag. Yasuo then falls behind the opponent, and you can HSTag back to him for another forced sandwich mix if they blocked the Assist.
Warwick
Starting off, the go-to use for  Warwick / Yasuo is their ability to synergize with Double Down.
During the "S2 Super Finisher" combo, ForwardTag in Yasuo while mashing the final S2 Specials. You can then Double Down Tag Yasuo in during Warwick's S2 Special Super, and Yasuo can Stance > H Attack repeatedly to add damage without knocking the opponent out of Warwick's Super.
Both Champs can OTG off the other's knockdown moves, and Taglauncher into each other extremely well.
Warwick is also one of the only Champs who can Double Down Super out of Yasuo's S2 Special Super. Most other champs' Supers will not connect after Yasuo's tornado launches them into the air, but Warwick'S S1 Special Super can always catch them.
Near the end of Yasuo's combo, he can Stance > DownH Attack, and as the opponent falls to the floor, raw Tag to Warwick who can then use ForwardS2 Special to OTG and continue to combo.
- Holding Tag doesn't use the Assist Cooldown and allows Yasuo to Double Down Tag during WW S2 Super.
Teemo

For this duo, the best Fuse is Double Down. The most deadly strength of this team is when Teemo is Point, and you block string into S1 Special Super, Double Down HandshakeTag during the Super, and Yasuo goes for any of his many mix-ups. This is so hard to defend against it's almost free damage.
Once any combo has started, the damage gets crazy no matter which champ is on Point. Both can HS Tag, quick Tag, or Double Down Super into the other mid-combo,
Teemo is also really good at extending Yasuo's combos because Teemo's  Down ForwardH Attack and S2 Special Super hit on the ground opponents.
An easy extension to any of Yasuo's combos is to Stance > DownH Attack > TagHold to swap to Teemo, then Down ForwardH Attack to pop them up and continue the combo.
How to Beat Yasuo
General Strategy
Yasuo is very versatile, but is particularly good at employing a hybrid zoner strategy. He often looks to back dash or Stance > back dash then bait you into gettin hit with Stance > H/2H.
If your champs has a quick mid-ranged move, you can punish his dashing as as you can't block mid dash.
When he Windwalls, some projectiles, like Teemo's Slingshot can lob over it, or moves like  Illaoi's 2S2 HOLD ignore the Windwall and will still hit Yasuo.
Yasuo wants to bait and punish, so you'll need outsmart him and reverse bait him. If he's using Windwall > S1 Special, you can jump over and punish. If he WIndwalls > wait, Stance > 2H then you can either neutral jump block, and use your Assist to punish, or you fake the jump, then dash straigth forward to punish.
What to Parry
- S1 SpecialHold (Sweeping Blade) crossup
- Stance > H Attack is common for Yasuo's to feel safe to block pressure and chip you with. If you are looking you can Parry. Be mindful Yasuo can bait this with 2H isntead.
- Parrying Yasuo's Stance > S2 Special hop mixes is very dangerous because he has so many follow up options. A better defensive option would be your 2H to anti-air, or jump if he's been empty jumping.
Fake Pressure
Fake pressure refers to the strings of Attacks are not a true block string, resulting in a gap where you can perform an action. The size of the gap (number of frames) determines what types of actions you can take. Standard Throws and most L Attack come out in 6 frames and are your fastest options.
- Stance > S1 Special pass through Dash, can be jabbed or thrown on reaction if his Assist isn't locking you down.
- Stance > S2 Special short hop can be Anti-Aired when done during a block string.
- Blocked Air DownH Attack can be punished before he recovers.
Dealing with Yasuo Mix-ups
Yasuo's Mix-ups are explained in detail under "Block Pressure" (above).
A powerful mix-up tool he has is Stance > S2 Special either on your wakeup or during a block string.
One sneaky way to deal with his Stance > S2 Special high/low mix-ups is to jump back as soon as you see him hop. This prevents his Air S1 and Air 2H from crossing you, and takes away his option to empty jump, DownL Attack for a low mix.
If he still goes for air 2H or air S1 HOLD, you get a whiff punish.
Table of Contents
1. Overview2. Strengths And Weaknesses3. Unique Mechanics Stance Floaty Air 2H From Short to Long Range4. How to Play Neutral Safest Options Wind Wall Anti-airs How to Approach5. As Assist Champ When to Forward Assist When to Back Assist6. Block Pressure Block Strings Tick Throws Mix-Up Game7. Combo Examples Ultimate Finisher S1 Super Finisher: Max-range Mid-screen: S2 Super Finisher8. Fuse Strategy Double Down 2x Assist Freestyle Juggernaut and Sidekick9. Champ Synergy Ekko Warwick Teemo10. How to Beat Yasuo General Strategy What to Parry Fake Pressure