The Uncaged Wrath of Zaun - Rushdown
2XKO Warwick Guide - Moves, Combos, and Overview
Overview
 Warwick relentlessly tears his way into 2XKO as one of the game’s most unpredictable Rushdown champs. His kit and playstyle are defined by relentless pressure, explosive mobility, and an install powerup that rewards him with an even greater advantage after a couple of big combos.
This guide breaks down everything you need to unleash the beast. We'll cover his best neutral tools, Assist strategies, and the combos you'll need to start winning sets right away.
You'll also find a breakdown of why certain champs make for great duos with Warwick, and which Fuses will work best for you.
Equally important, this guide covers how to beat Warwick. Whether he's giving you trouble, or you want to know what your opponents will be trying to do to counter you, definitely do not skip over this section.
If you want to unleash Warwick’s full potential – or learn how to shut him down – you'll find everything you need below.
Strengths And Weaknesses
- Rewarded for playing super aggressively, and can snowball with his empowered Bloodlust form.
- Lots of attack options to overwhelm and mix-up opponents
- Long-reaching normal attacks that convert into combos
- Has some slower startup animations that give opponents time to react
- Lacks projectiles and can't really play defensively
- Grounded attacks that get blocked leave him vulnerable
Unique Mechanics
Bloodlust
Bloodlust is Warwick's install mechanic that empowers his Special moves.  Forward
 S1 Special becomes a super fast slash hit that is projectile invulnerable and will crossup the opponent at close range.
Wrath of the Beast will also wall bounce on hit. But Warwick needs to be careful or cover with an Assist because it's -14 on block.
Primal Leap
Primal Leap is Warwick's Demon Flip. If you've ever played against Akuma in the Street Fighter series the move and mix-ups are going to look very familiar.
Warwick can quick press  DownS1 Special for a fast hop, or HOLD it for a longer leap that hits on the way up.
Ideally, Warwick wants his opponent to be right under him and blocking during the Leap so he can switch between the three possible follow up attack to trick his opponent.
Projectile Invulnerable Run
When the opponent is spammers projectiles, Warwick has two variations of running on all fours that enable him to pass through all projectiles, including projectile Supers such as  Jinx's
  S2 Special Super, Zaaaapp!
Neutral
Safest Option
In neutral, Warwick's best poke tool is his standing M Attack. This punch has great range for a M Attack, and good hit box / hurt box data that enables it to beat many other champs standard attacks when trading and poking.
When you and the opponent are dashing in and out trying to bait each other, M Attack should be your go-to initiating attack.
High/Low Block Strings
M Attack >  H Attack > (S1 Special /
  Down ForwardH Attack) is your go-to highl/low mix-up.
- The Down ForwardH Attack true block strings, but the > S1 Special leaves a gap the opponent can react to with a punish. However, in the heat of a battle, this move is very difficult to react to.
Both options can be made safe on block if you time an Assist to hit:
- right before S1 Special (Warwick is negative here, but almost nothing can punish him.)
- right after the Down ForwardH Attack
Primal Leap Mix-Ups

Primal Leap can be used in neutral and during block strings to mix-up your opponent.
Here's a simplified breakdown of Leap follow-ups:
 L Attack: Use to hit in front of the opponent, or just passed to set up a sandwich with your Assist champ.
- Also useful to hit opponents who jump-in and attempt to avoid the H Attack grab.
- Also useful to hit opponents who jump-in and attempt to avoid the
- M Attack: Use to crossup and hit behind the opponent. The start-up is long, but even on block, Warwick recovers first and can keep attacking.
- H Attack: Used to strike/throw mix, and grab opponents who keep blocking.
As an added bonus. Primal Leap > H Attack Command Grab > combos into S2 Special Super and Ultimate.
Using Assist Coverage
Against projectile zoners, Warwick's best approach option is to  Hold S1 Special or ForwardS1 Special while also using
  Tag to call an Assist.
As long as your Assist champ has far reaching attack, this combo is basically a neutral skip. Warwick can't be hit by projectiles during the run and his forcing the opponent to block the Assist attack will buy time to close the distance.
- If the Assist hits, Warwick can combo off of both hit confirms.
- Opponents can counter this strategy if they are expecting it, but then you are in mind-game territory where you are taking away defensive options.
Additionally, you'll need to cover attacks that leave Warwick negative on block such as his S1 Special and Down ForwardH Attack.
- Time the Tag so that the Assist hits just after Warwick's move hits.
Combo Examples
The following combo examples are not intended to be fully optimized or maximum-damage routes. Instead, they focus on consistent, bread-and-butter combos that are new player friendly with representation of all three Supers.
S1 Super Finisher
Anytime Warwick hits ForwardS2 Special, he can follow it with Down S2 Special. Anytime he hits Down S2 Special, he can combo into S1 Special Super.
For this combo you'll be using S1 SpecialHold > M Attack to floor bounce and extend his standard BnB.
S2 Super Finisher
This combo should be the first combo you learn. It's extremely consistent, works everywhere, and is the foundation for all his extended combos.
- The S2 Special catching after Feral Bite needs to happen very quickly or the opponent will fall.
Ultimate Finisher
A corner specific combo that incorporates Warwick's wall jump mechanic. What's great about learning this combo is that he double side swaps to keep the opponent in the corner.
Whereas if you were to use either of his previous combos, you'd throw the opponent out of the corner.
As Assist Champ
When to Forward Assist
Warwick's ForwardTag has him lunge almost full screen to headbutt the opponent. On hit, it causes a tumble knockdown, which allows your Point champ to combo if they have the mobility and a move that hits on the ground.
Otherwise, Warwick can always HST on hit and combo himself with ForwardS2 Special.
On block, HSTag leaves Warwick very positive, so he can continue with attacks into block string pressure.
When to Back Assist
 BackTag can be used as an anti-air to cover your point champ.
It's also very good for juggling and extending combos, especially when paired with  2X Assist.
Fuse Strategy
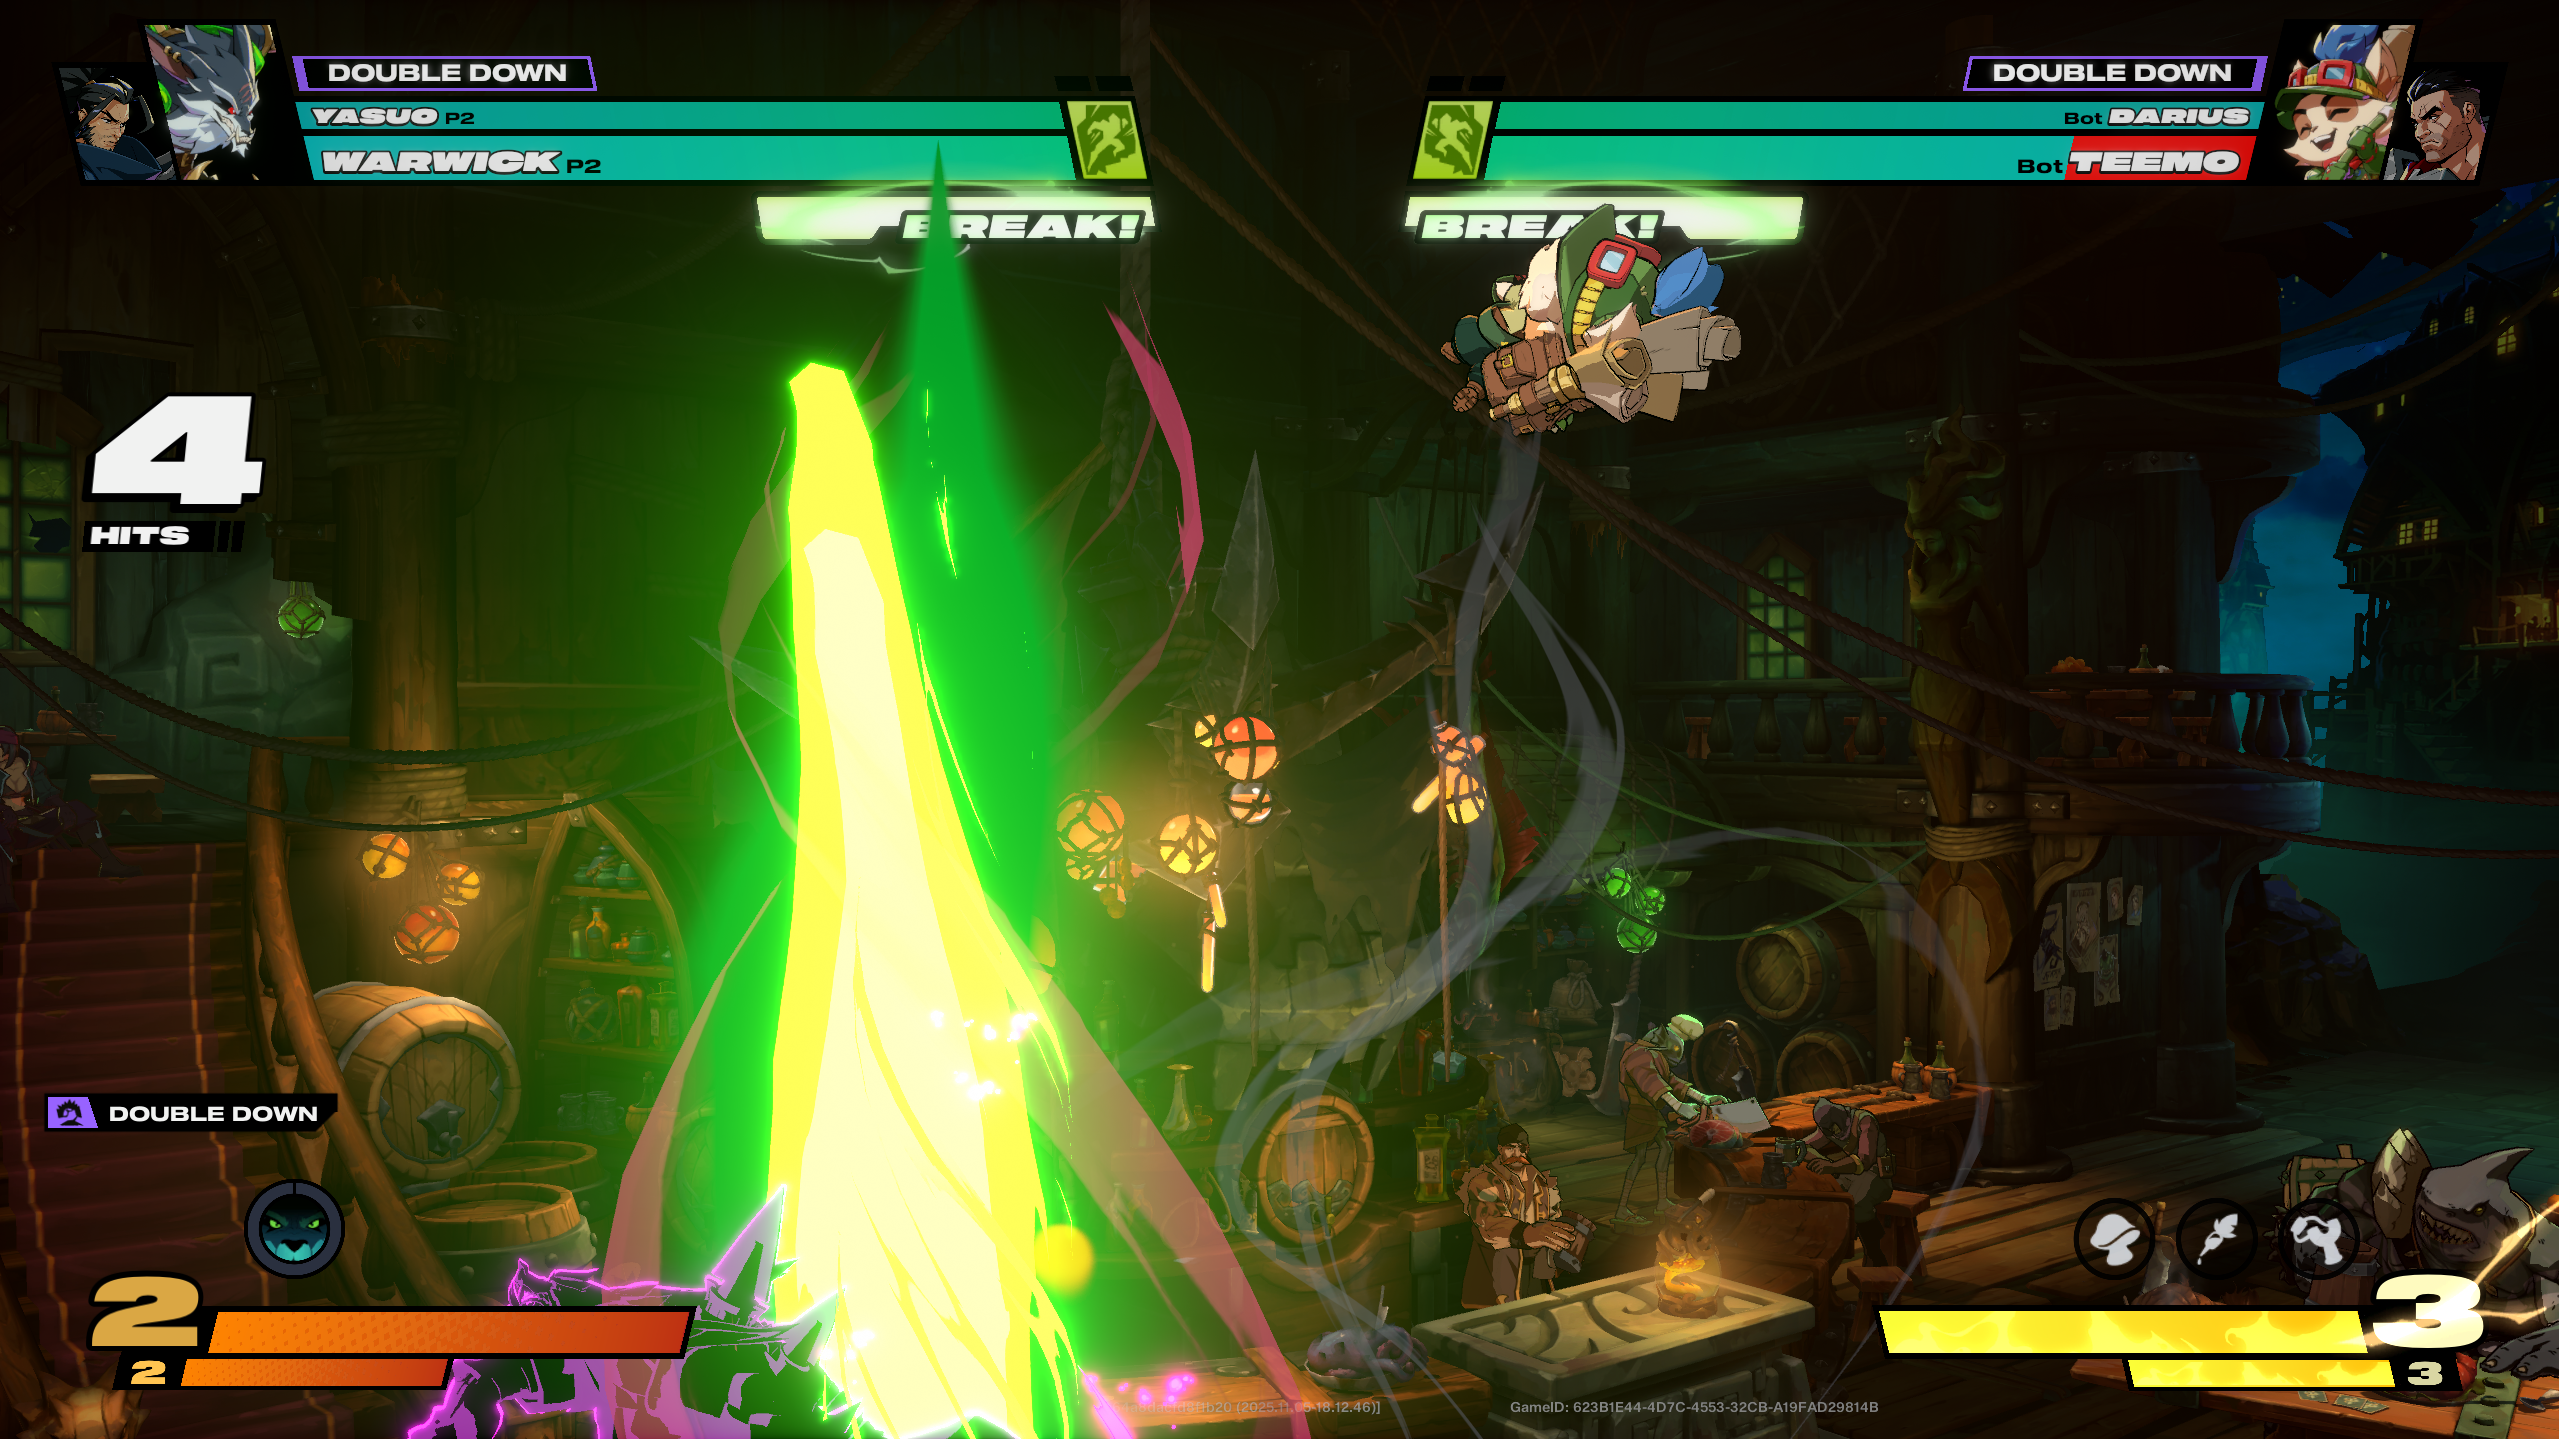
Double Down
Warwick does well with  Double Down because either his S1 Special or S2 Special Super will connect off of just about every other Champ's Super in the game.
Moreover, opponents can be freely hit by his Assist champ during his S2 Special Super. All you have to do is make sure the Assist champ is on the screen before activating the S2 Special Super, then unleash a flurry of attacks while they are trapped in the claws of Warwick.
2x Assist
Using2X Assist with Warwick depends more on his Assist champ's synergy with 2X Assist. For example,  Illaoi is really strong with 2X Assist and Warwick's BackTag works great to keep opponents airborne while being juggles by her Tentacles.
Anytime Warwick's ForwardTag hits, he can use HandshakeTag to confirm, then use ForwardS2 Special to grab the knocked-down opponent. Look to punish your opponent's attempt at counterattacking after blocking the first ForwardTag with the 2nd one.
Freestyle
Because Warwick has so many mix-up tools,  Freestyle is another great Fuse for him to use. Even if your Assist Champ has a hard time crossing the opponent for sandwiches, Warwick can easily side swap for left/right mixes.
Thanks to his ForwardS2 Special OTG, he's also good for using Freestyle to extend combos.
Primarily the idea with Freestyle is to get the opponent blocking so you can put them in Primal Leap left/right mix and strike/throw mix.
Juggernaut and Sidekick
Warwick can deal high damage off of just about any hit, making  Juggernaut feasible if you don't mind learning how to Fury cancel for block pressure and combo extensions.
However, since he has no Assist, you'll likely have an extremely hard time against zoner teams.
 Sidekick is the better solo Fuse option since you still have access to your Assist. Start by trying out
  Blitzcrank, Illaoi, or Jinx because their Assists are great for covering Warwick during his offensive approach.
Champ Synergy
The following team suggestions are just examples that highlight champions who pair well withWarwick and an explanation of the synergies that make them an effective team.
Many other viable pairings exist, as every champion in the game can be combined with one another to create winning game plans and powerful combos.
Jinx
Jinx's BackTag is excellent for covering Warwick approach. Player will most often need to block the rocket, which allows Warwick to set up his mix-up games.
After a combo, her ForwardTag can be used for wakeup pressure. For example, a well placed Chomper can force the opponent to either wake up and block, or use getup attack. This enables Warwick to Primal Leap during the wake up and get them with a strike/throw mix, or do nothing to bait out the getup attack.
One extra unique feature for this team is that Warwick can proc Bloodlust by attacking his ally Jinx's gadgets.
- The most viable method for getting free Bloodlust from this, is to use Jinx's ForwardTag, then hit the Chompers with Warwick's DownS2 Special and immediately HandshakeTag before Jinx leaves the screen.
- This will cover Warwick if he his move whiffed, and launch the Chomper forwards towards the opponent to help Jinx start her zoning pressure.
- This will cover
They also have good synergy for combo extensions, and can combo off of each other's grabs since they both have a good move for hitting on the ground opponents.
- During Jinx's S1 Special Super, you can Quick Tag to Warwick and catch the opponent with his S1 Special Super, even without Double Down!
All Fuses can work similarly well with this duo, so try them all and see which fits your playstyle best.
Yasuo
Starting off, the go-to use for Warwick /  Yasuo is their ability to synergize with Double Down.
During the "S2 Super Finisher" combo, ForwardTag in Yasuo while mashing the final S2 Specials. You can then Double Down Tag Yasuo in during Warwick's S2 Special Super, and Yasuo can Stance > H Attack repeatedly to add damage without knocking the opponent out of Warwick's Super.
Both Champs can OTG off the other's knockdown moves, and Taglauncher into each other extremely well.
Warwick is also one of the only Champs who can Double Down Super out of Yasuo's S2 Special Super. Most other champs' Supers will not connect after Yasuo's tornado launches them into the air, but Warwick'S S1 Special Super can always catch them.
Near the end of Yasuo's combo, he can Stance > DownH Attack, and as the opponent falls to the floor, raw Tag to Warwick who can then use ForwardS2 Special to OTG and continue to combo.
- Holding Tag doesn't use the Assist Cooldown and allows Yasuo to Double Down Tag during WW S2 Super.
Braum

 Braum with Double Down is the best choice if you want to focus on extremely high damage combos. Warwick has the horizontal speed needed to Double Down Tag combo during Braum's S1 Special Super.
Braum can do the same during Warwick's S2 Special Super. Try landing either S1 Special or Hold S2 Special (Unbreakable) to wall bounce and set up longer combos.
Warwick can use S2 Special to OTG off of Braum's  AirS2 Special enders, and both champs and good routes for Tag Lauchner into the other.
The only draw back to pairing with Braum is that his Tag is does not reach as far as Illaoi or Jinx, which makes covering Warwick less consistent.
How to Beat Warwick
Beating His Overhead
Mash DownH Attack during block strings if you expect Warwick will use his S1 Special overhead. If he goes for Down ForwardH Attack instead, you will keep blocking because that is a true overhead.
If he goes for the overhead, the gap will allow you to counter and launch him up for a combo.
- Warwick can cover with an Assist, or attempt to bait by doing nothing after his H Attack.
- However, his H Attack is -8 on block, so either he just gave up the advantage, or a fast mid-range attack can punish.

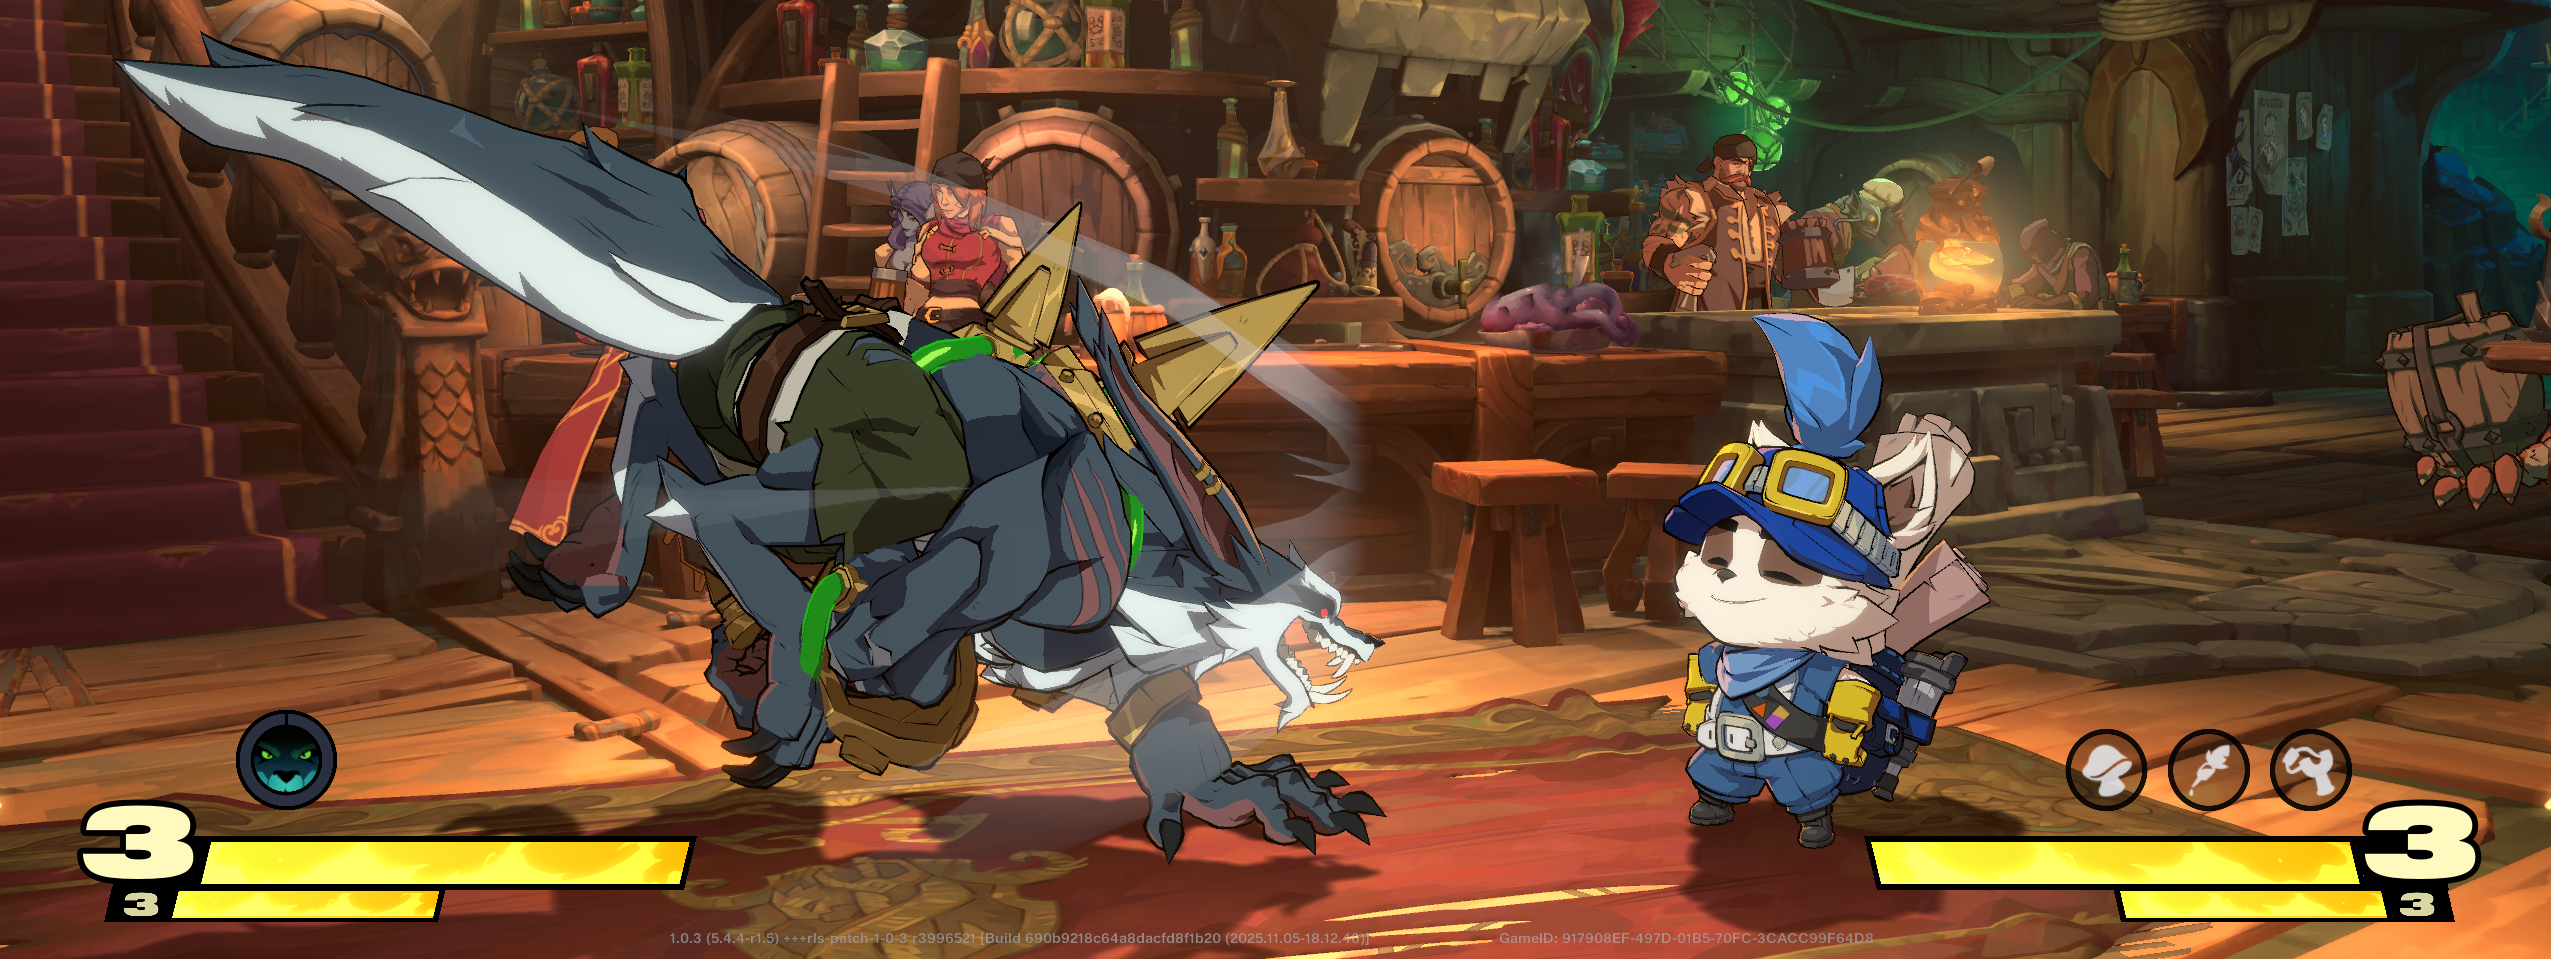
In this image, you can see how late  Teemo was with his DownH Attack. Warwick is already through his little body, and Teemo has just started rubbing his hands to make the fire.
However, because all universal launchers (DownH Attack) have invulnerability to air attacks, Teemo still wins this exchange without getting hit.
Punish His Sweep
If Warwick every uses Down ForwardH Attack without an Assist attack chaining right after, he's super negative. The move leaves him -11 on block, meaning every champ has a move with enough speed and range to punish.
Dealing with Primal Leap
From full or near full screen, Warwick players sometimes use Leap > L Attack to dive bomb across the stage. If he dives right at you, all DownH Attack are air invulnerable and will counter this.
However, Warwick can alter his timing or Use M Attack to bait a whiff and punish with his Assist champ. Watch for his positioning and only launcher if the angle is right.
Leap > M Attack will cross, so you have to block forward. If you block, Warwick is very positive so you'll need to keep blocking.
The best counter to Leap mix-ups is to Air attack, jump block, or Air Throw. Warwick doesn't have any direct counterplay to these options. Try each out to become familiar with the optimal spacing and scenarios to them.
Out of a block string, all Leap mixes (including Blood Lust) can be countered with an air throw.
H Attack follow-up is a command grab. The only way to counter this is to dash out of range in time, or by predictively jumping. The recovery is long enough for you to get a huge jump in combo.
Push Block
If you Push Block his H Attack and Warwick still goes for either follow up attack, you'll space out the move and cause him to whiff. Giving your the opportunity to punish.
Bloodlust
ForwardS1 Special during Bloodlust becomes Wrath of the Beast. The dash slash comes out super fast, is projectile invulnerable, will crossup at close range, and wall bounces on hit.
However, if you block it, you get a punish as it leaves Warwick -14 on block.
If he's close or block string pressuring you, you'll need to block forward (or Parry). If he does it in neutral to catch you, more often just hold back.
Table of Contents
1. Overview2. Strengths And Weaknesses3. Unique Mechanics Bloodlust Primal Leap Projectile Invulnerable Run4. Neutral Safest Option High/Low Block Strings Primal Leap Mix-Ups Using Assist Coverage5. Combo Examples S1 Super Finisher S2 Super Finisher Ultimate Finisher6. As Assist Champ When to Forward Assist When to Back Assist7. Fuse Strategy Double Down 2x Assist Freestyle Juggernaut and Sidekick8. Champ Synergy Jinx Yasuo Braum9. How to Beat Warwick Beating His Overhead Punish His Sweep Dealing with Primal Leap Push Block Bloodlust