The Loose Cannon - Zoner
2XKO Jinx Guide - Moves, Combos, and Overview
Overview
 Jinx is 2XKO's trap character who excels at long-range control of the fight. With fast projectiles, persisting deployables, and terrifying combo conversions with Assists, she thrives in keeping the match in neutral and chipping away at the opponent's health before they ever have a chance to attack her.
This guide covers everything you need to pick up Jinx in 2XKO. You'll learn the fundamentals of her neutral and zoning game, best team and Fuse synergies, and practical BnB combos.
You’ll discover how to fight against Jinx, with detailed strategies that break down how to counter her barrage of zoning tools.
Strengths And Weaknesses
- Oppressive zoning that can cover the ground and air simultaneously
- Full screen projectile Assist
- Easy to understand gameplan, but also has complexity in combos
- No cross-up, and weak high/low mix-up options make it hard to open up opponents
- Normal attacks feel slow and clunky
- Struggles against champs that have tools designed to beat projectiles
Unique Mechanics
Deployables
Jinx has two different deployables to go along with her projectiles:
 Forward
 S2 Special Chompers, &
  Down
Down S1 Special Clappy
Both of these are powerful zoning tools in neutral and great for pressure on the opponent's wakeup.
They can also be powered up by electrocuting them with her  M Attack or with
  BackS2 Special Zap!
Electric Stun
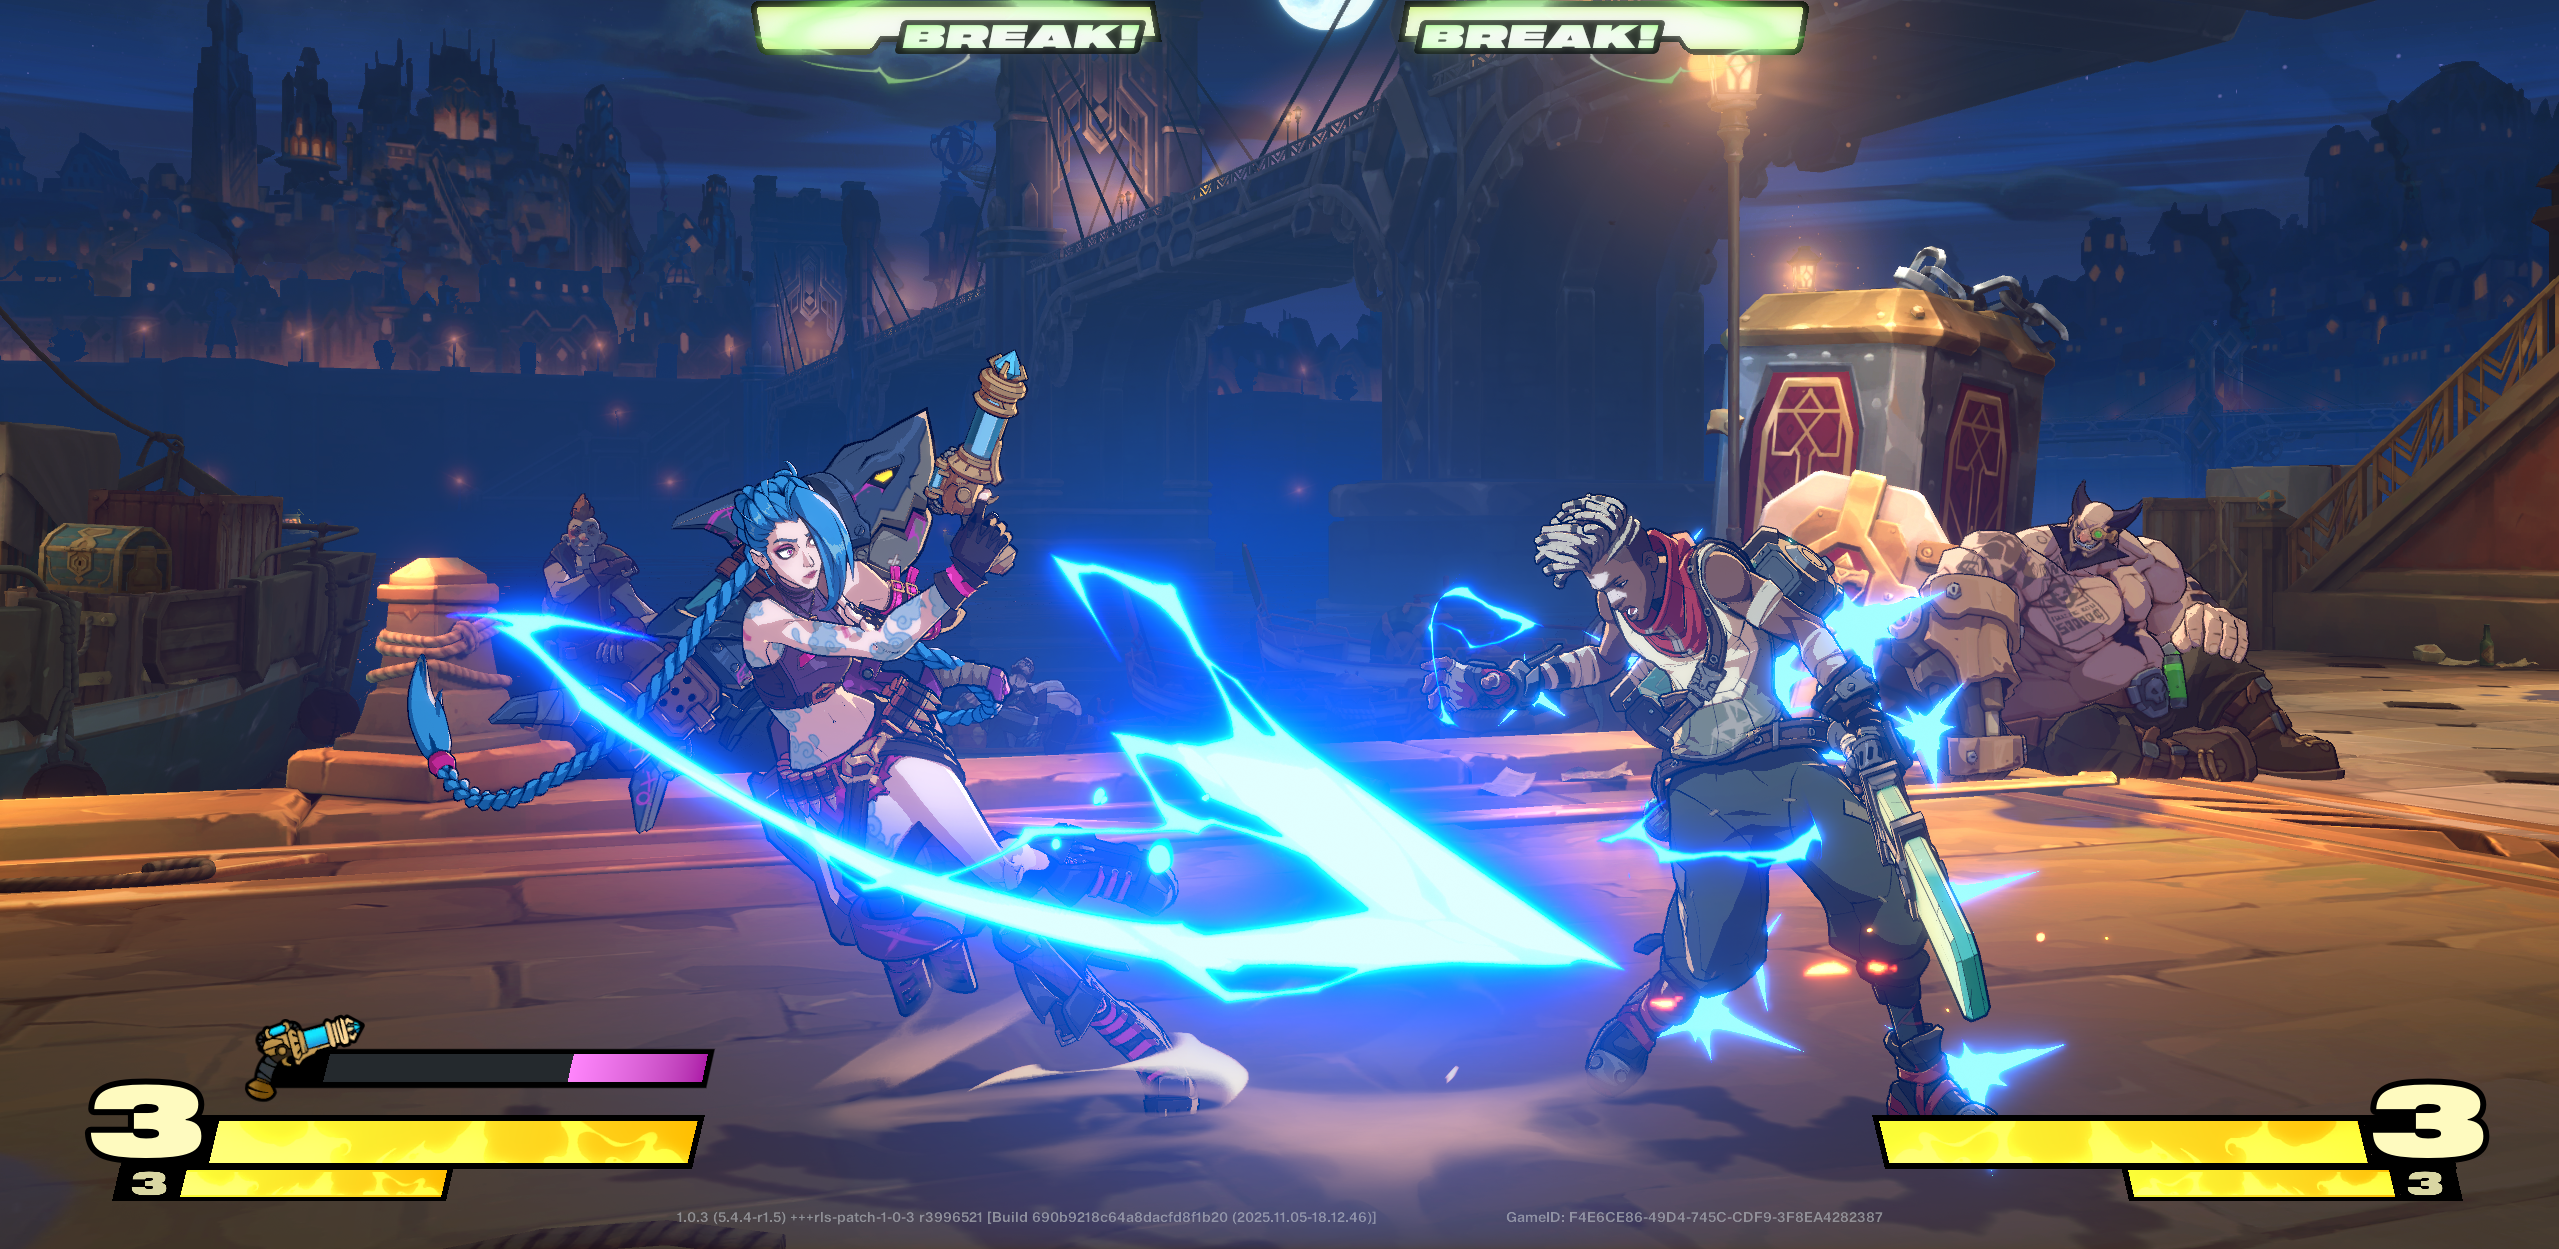
Above Jinx's super meter, you'll see her zapper meter when it's fully charged, she can shoot an electric projectile that stuns opponents on hit.
As a single-shot resource, it's important to try to not waste Zap. It can be used in neutral to punish the opponents'  Dashes and jumps, during a combo, or after an Assist attack for an easy combo extender.
Sliding Attacks
ForwardM Attack during a Dash causes Jinx to slide and attack low.
 Down Forward
 L Attack is a literal slide across the ground. This move can be used to catch the opponent's Retreating Guard, or hit low at a range where opponents normally feel they only need to block high.
- If you attempt to use slide kick in a block string to counter Retreating Guard, make sure you cancel it into another attack or you leave yourself open to a punish on block.
It can also low-profile attacks that have high hitboxes such as  Darius's M Attack.
Neutral
In neutral, Jinx's primary gameplan is to keep distance between her and her opponent. She has the advantage at range against everyone (other than  Teemo).
To do this, use a combination of machine gun, rocket, and both deployables.
Also remember to mix in both grounded and jumping versions of both S1 Special and S2 Special to cover ground and air approaches from the opponent.
- Important skill: Be ready to hit confirm S2 Special Super off of rockets and machine gun.
- Also, anytime you hit with Pow-Pow you can combo into Zaaaapp!
Hit confirm means that you visually confirm that the first move (machine gun) successfully hit the opponent before performing the next move (S2 Special Super).
Covering Assist
Jinx is one of the best enablers in 2XKO.
S2 Special rocket can be used just before an Assist, and if it hits, the assist can juggle > Handshake Tag to convert into a full combo.
You can also call Assist first, then fire the rocket right after to make your Assist champ safe on block. From here, you can HSTag to continue the block pressure.
- Forward-moving assists like
 Vi and
  Ekko are best for this particular strategy.
Mix-Ups
Block Strings
Jinx's go-to block string is:
M Attack > H Attack > S1 Special
- Also can be started with Dash>ForwardM Attack
- The S1 Special is often canceled into S2 Special
Common block strings end with either S1 Special machine gun or S2 Special rocket. Even out a H Attack, neither one can true block string.
Mix-up
Jinx doesn't have particularly strong mix on block, most of her mix comes from assists, projectiles and deployables.
Although most champs have at least an  Air DownH Attack crossup, Jinx does not. She also lacks a good crossup.
- Technically, you can use DownS2 Special to hop over the opponent, hit Tag mid hop, and the Assist attack will hit the opponent from behind since you made them turn to face Jinx.
She has a decent overhead with Down ForwardH Attack. You should only go for this mix-up if you can cover with an Assist that will hit right after the hammer.
If you go for the overhead without an Assist and the opponent blocks, you will get punished.
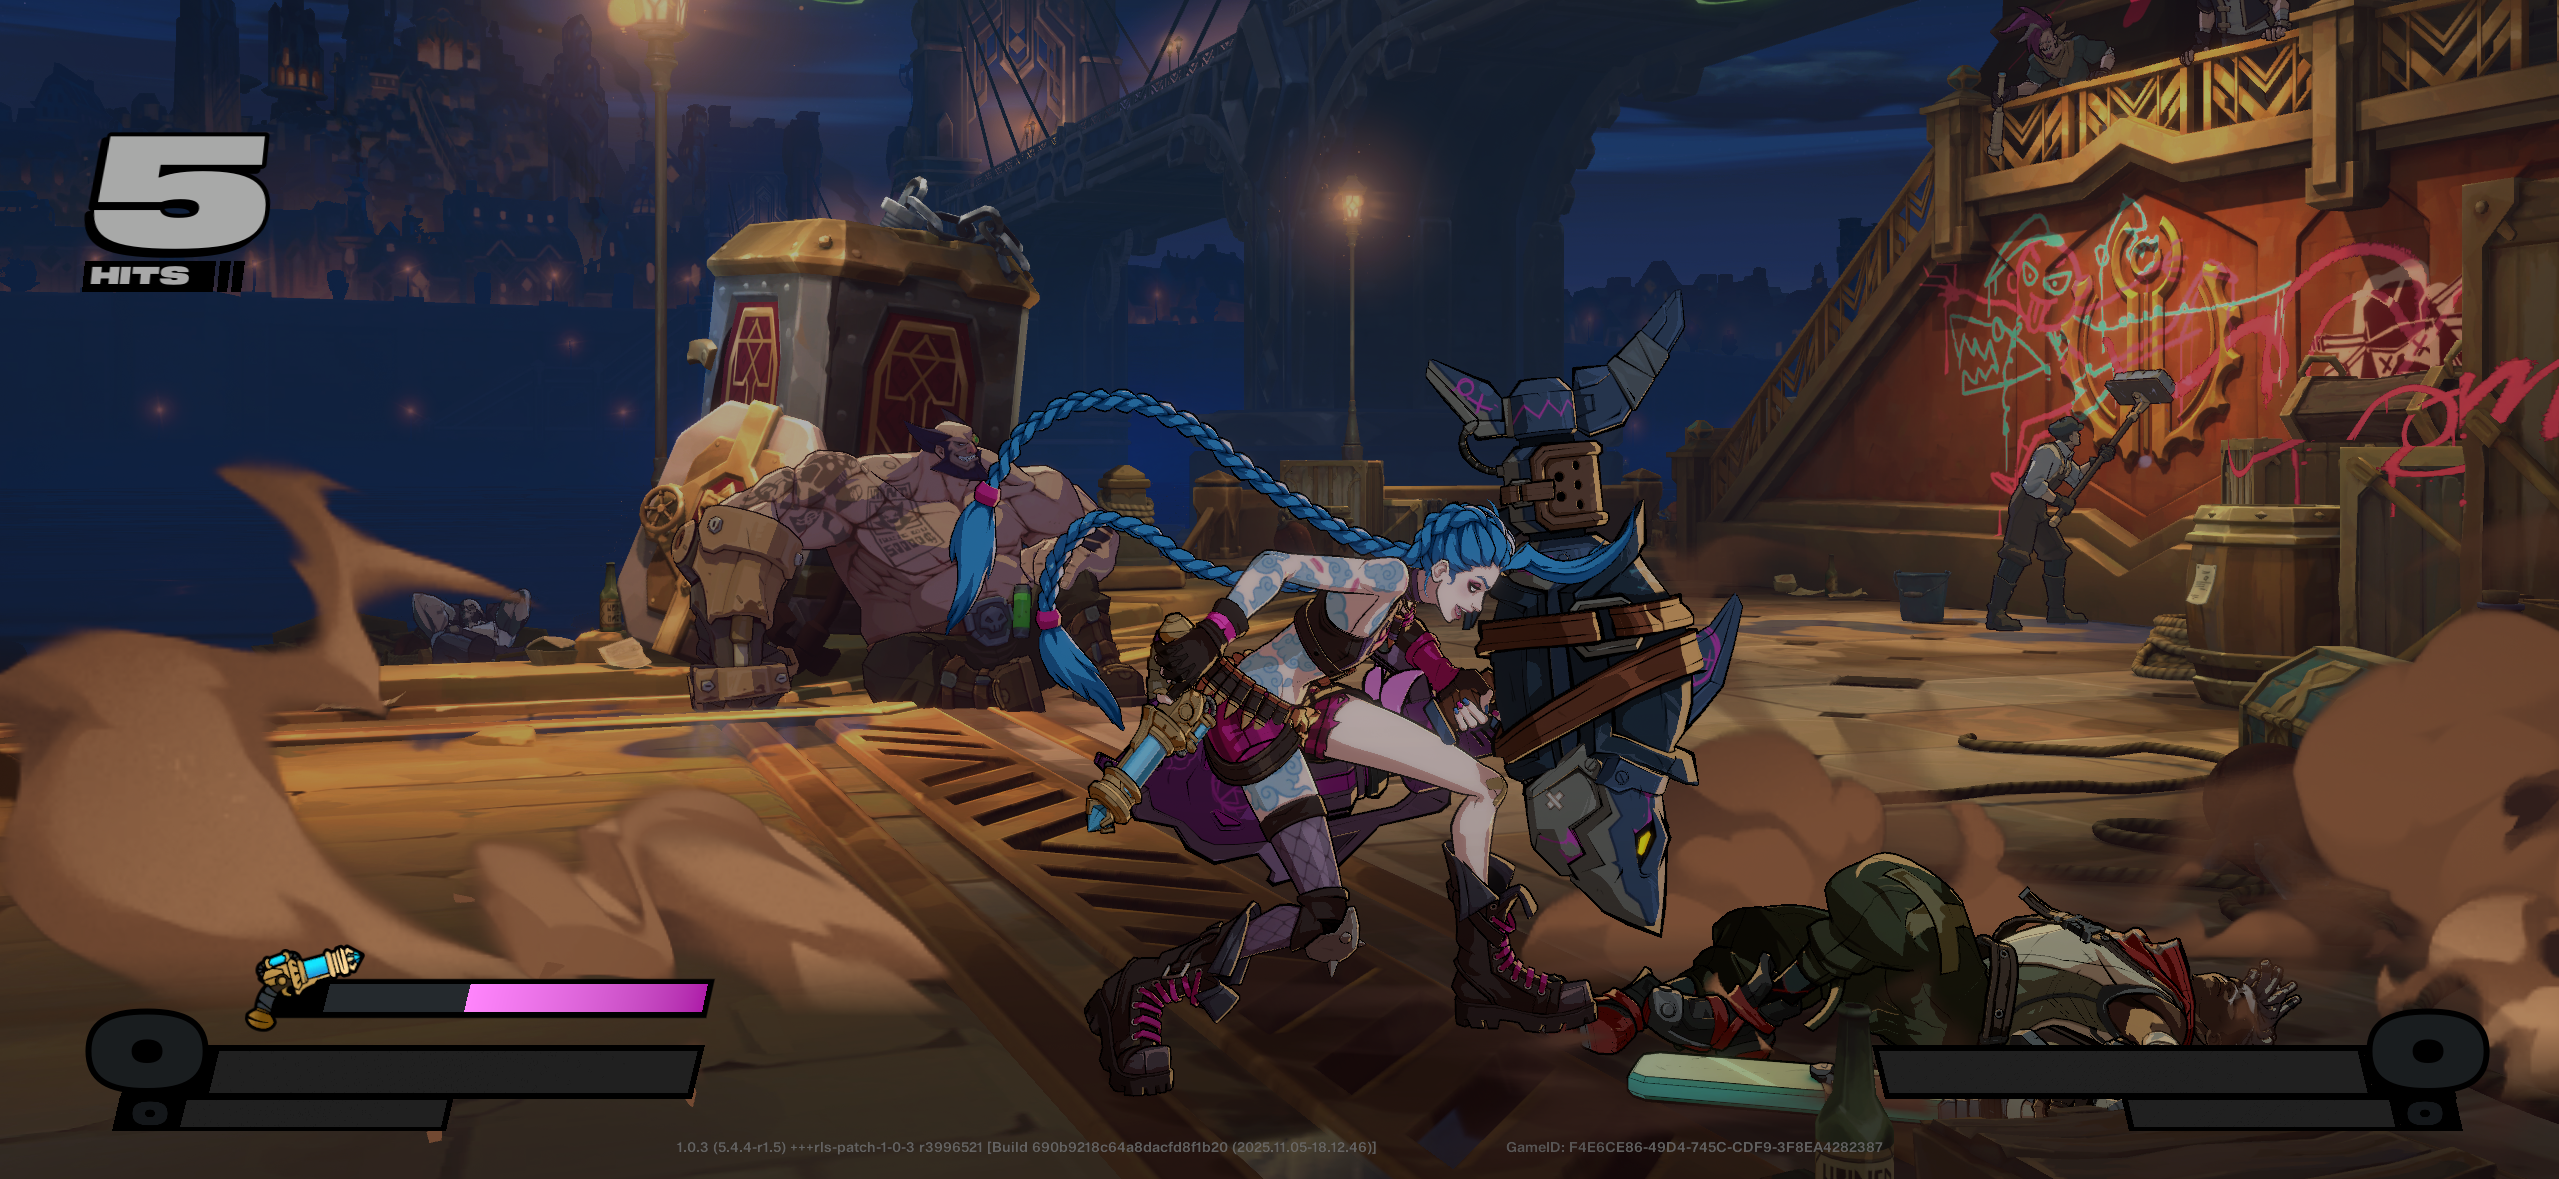
Tick Throws
All of Jinx's L Attack variations can be used to create strike/throw mix-ups
An example would be: Down ForwardL Attack > DownL Attack > Throw
Depending on spacing, you may need to Dash before the Throw. Either way, this is very fast, and difficult to react to. Next, you'll see just why tick throws are so important for Jinx
Throw Combos
Jinx can combo off of her own throws with DownS2 Special
The easiest route is:
- Throw > Dash > DownS2 Special > AirS1 Special > S2 Special Super
This makes her strike/throw mix-ups very scary for the opponent.
Expect opponent to jump-in while holding block as they attempt to get through your projectiles. When you see this happening, counter them with an air-to-air throw.
- AirThrow > Dash > DownS2 Special > AirS1 Special > S2 Special
Combo Examples
The following combo examples are not intended to be fully optimized or maximum-damage routes. Instead, they focus on consistent, bread-and-butter combos that are new player friendly with representation of all three Supers.
S1 Super Finisher
An extended combo that works at mid-screen and in the corner. Also introduces you to Jinx's juggle mechanic using AirDown.
S2 Super Finisher
- The longer you wait while holding S1 Special before you press
 Up, the more bullets Jinx will shoot, so waiting a second increases damage (waiting too long ends the attack)
The best part about this combo is that is builds off of Jinx's BnB block string described in the "Mix-Ups" section above.
If the opponent is blocking, you can end at the S1 Special without holding up.
Ultimate Finisher
A deadly corner combo that utilizes DownS2 Special ability to hit on the ground opponents to extend the combo into an Ult finisher.
As Assist Champ
When to Forward Assist
ForwardTag is primarily used after knockdowns for wake-up pressure or to create an obstacle if your point champ is also a zoner.
Most of the time, you'll be using her other Assist.
When to Back Assist
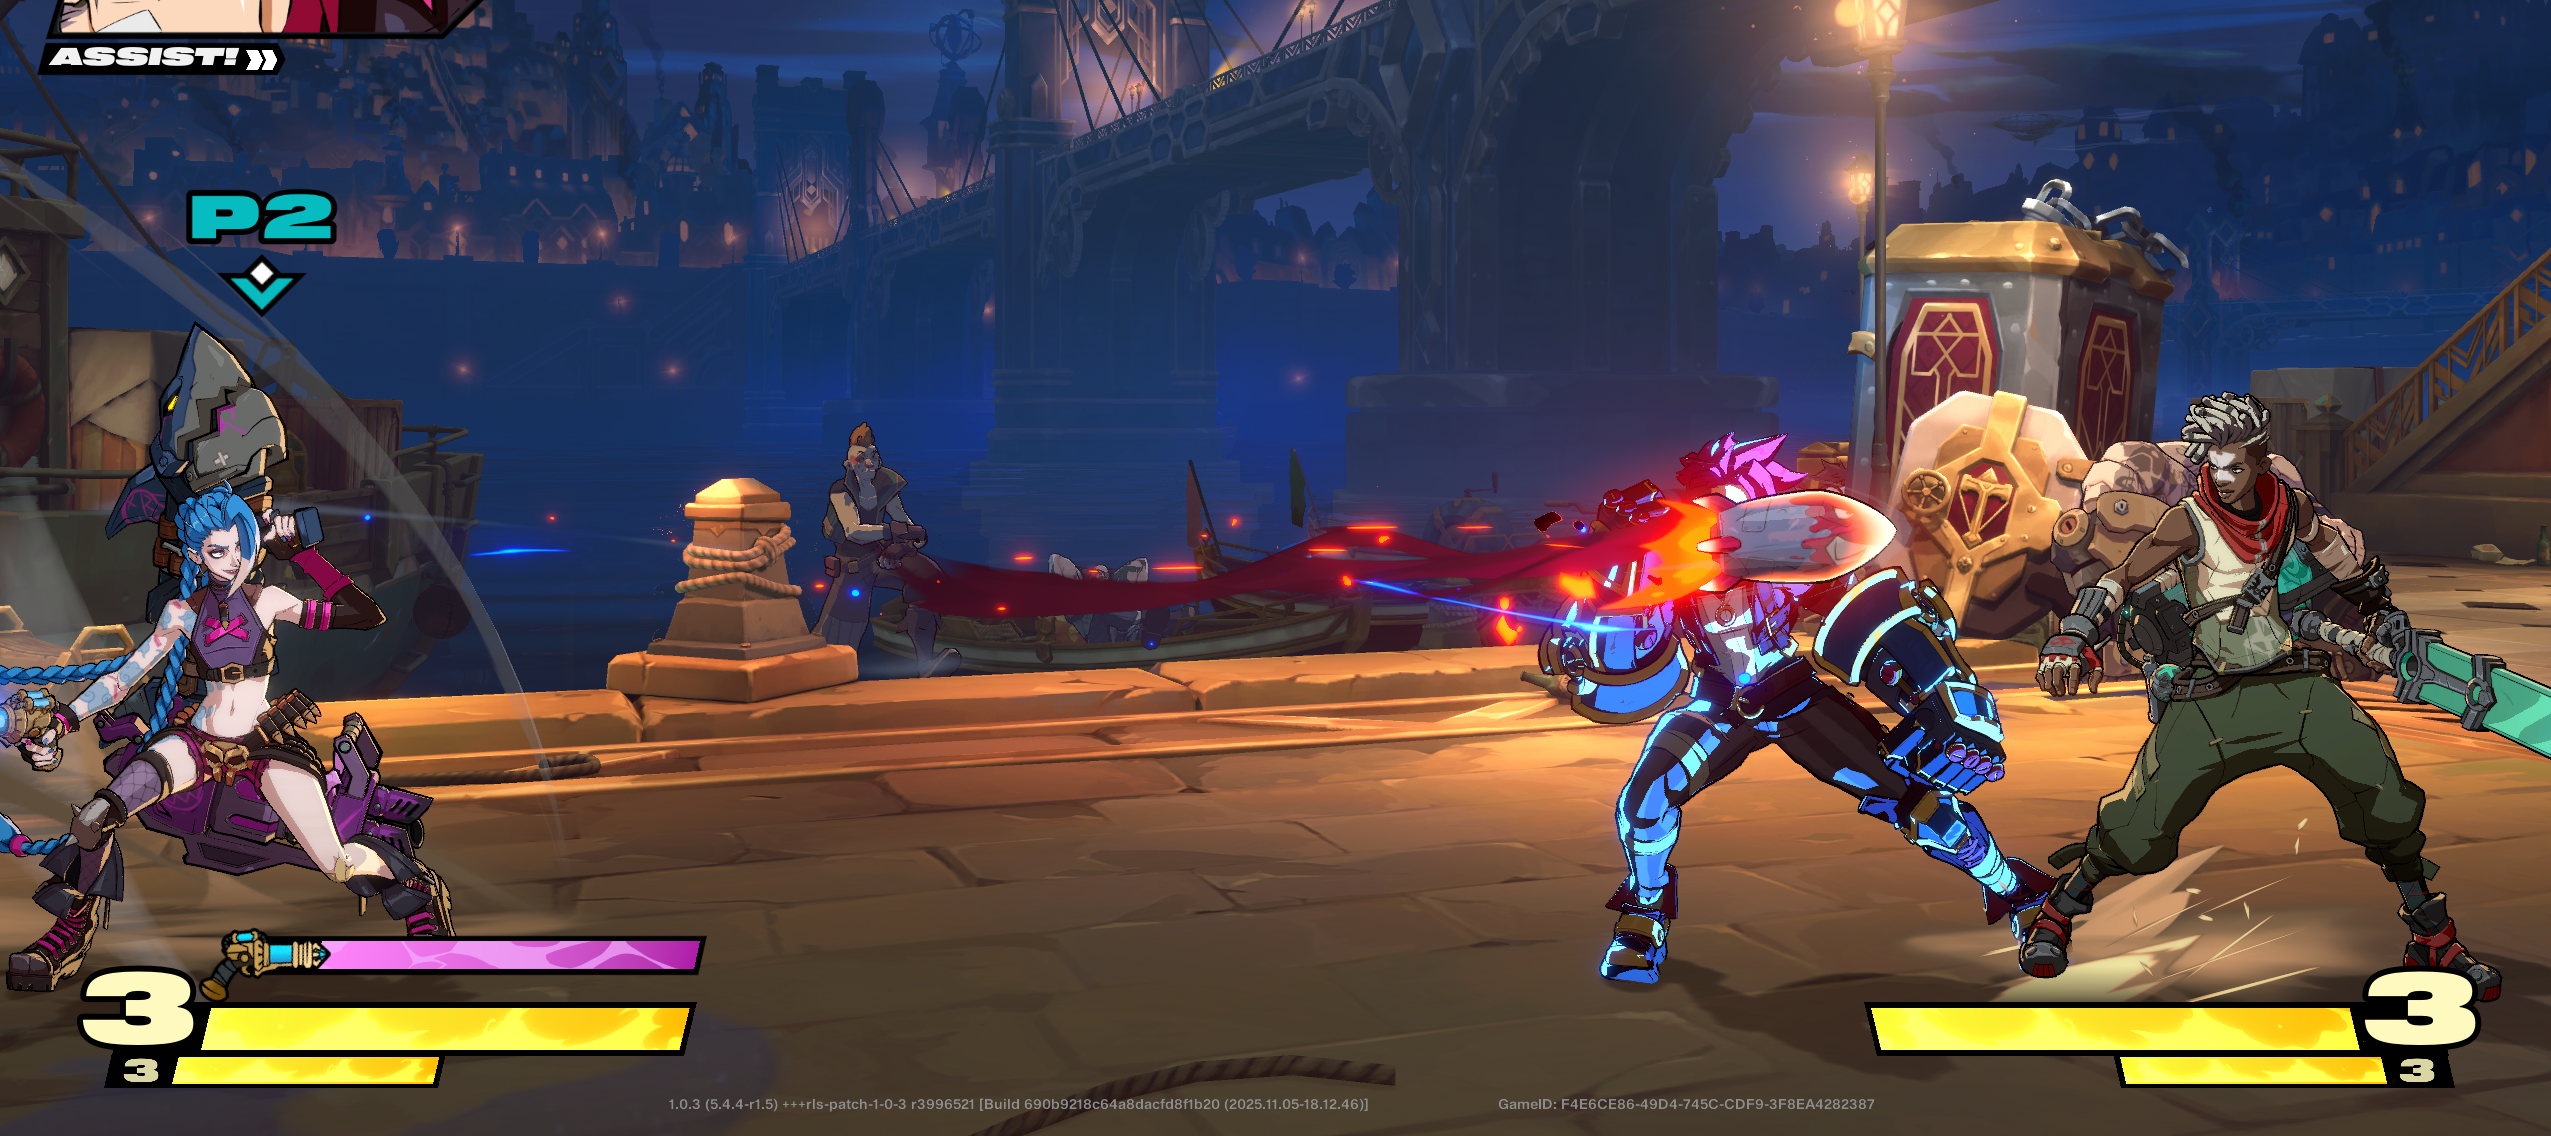
BackTag is literally one of the best Assists in the game. It's also the only full-screen projectile Assist.
From across the screen, it's difficult for most opponents to punish Jinx for coming out.
It's also really good for covering your point champ during their block strings and mix-ups.
Moreover, you can hit confirm off of successful rockets and convert into full combos with your point champ.
Fuse Strategy
Double Down
 Double Down is very good for Jinx because you can Tag during her S2 Special Super to allow your other champ to start attacking and continue the combo.
She's also good at both Double Down Super combos and Super Tag combos as the Assist champ.
2x Assist
Jinx gets two rocket Assists, or time to shoot a rocket, then throw out Chompers. Primarily you should be using double rocket, but both of these make  2X Assist another great fuse for Jinx.
In teams where both champs have strong Assists, or the other champ needs extra help with block pressure, 2X Assist will find a lot of value.
Freestyle
Because Jinx doesn't have cross-ups, and her high/low mix is pretty weak, she's not the best  Freestyle user. However, being able to double HandshakeTag is never a bad thing, so if you like the Fuse or your other champ synergizes well with it, you can definitely make it work well.
One notable bonus is that it is very easy to make her overhead hammer safe when combined with HSTag
Juggernaut and Sidekick
Jinx is going to have a hard time zoning and converting combos without an Assist. Therefore,  Juggernaut is not a very good Fuse for her.
 Sidekick negates this weakness, and would be the better solo champ Fuse to run. Try taking someone like
  Illaoi or
  Blitzcrank who have hard hitting Assists that can be used to extend your combos.
Champ Synergy
The following team suggestions are just examples that highlight champions who pair well with Jinx and an explanation of the synergies that make them an effective team.
Many other viable pairings exist, as every champion in the game can be combined with one another to create winning game plans and powerful combos.
Vi

Jinx machine gun > HSTag and the bullets will continue to fire and keep the opponent in block stun, giving Vi time to approach, cross or mix-up the opponent however she feels.
If Vi sways through the opponent before Jinx's rocket Assist hits, the opponent gets turned around and is forced to block the rocket backwards
Tag launcher into Jinx is another common strategy when you get the corner so she can set up Chompy pressure on wakeup.
While Jinx's overhead hammer is big and slow, it's amazing for catching blocking opponents during block strings with Vi. The mental stack of tracking Vi's attacks frees up Jinx to sneak in the overhead, then convert to a big combo.
Even if Vi's ForwardTag misses, Jinx's rockets and machine gun will cover her, and you can HSTag to Vi for further protection and pressure.
Teemo

The ultimate keep away team comes with the secret strength of tilting many opponents.
Either champ can be point, and spam projectiles and Assists. Anytime you end up landing a counter hit with Slingshot or mushrooms, Jinx's rocket Assist can juggle and allow her to convert into a full combo.
Even though Teemo's BackTag keeps him positioned back, if you HSTag during Jinx's machine gun, he still has time to run up and convert into a combo. Most of the optimal routes end with a Tag Launcher back to Jinx, which she can finish off with Super or Double Down combo.
The downside is that both champs share similar weaknesses, and can struggle to open up players with good defense and anti-zoning abilities. In these scenarios, mix-up your projectile and trap usage, and go for Teemo's S1 Special Super > Double DownTag > in neutral to let Jinx run up and try get land a successful mix-up.
Warwick

Jinx's BackTag is excellent for covering  Warwick approach. Player will most often need to block the rocket, which allows Warwick to set up his mix-up games.
After a combo, her ForwardTag can be used for wakeup pressure. For example, a well placed Chomper can force the opponent to either wake up and block, or use getup attack. This enables Warwick to Primal Leap during the wake up and get them with a strike/throw mix, or do nothing to bait out the getup attack.
One extra unique feature for this team is that Warwick can proc Bloodlust by attacking his ally Jinx's gadgets.
- The most viable method for getting free Bloodlust from this, is to use Jinx's ForwardTag, then hit the Chompers with Warwick's DownS2 Special and immediately HandshakeTag before Jinx leaves the screen.
- This will cover Warwick if he his move whiffed, and launch the Chomper forwards towards the opponent to help Jinx start her zoning pressure.
- This will cover
They also have good synergy for combo extensions, and can combo off of each other's grabs since they both have a good move for hitting on the ground opponents.
- During Jinx's S1 Special Super, you can Quick Tag to Warwick and catch the opponent with his S1 Special Super, even without Double Down!
All Fuses can work similarly well with this duo, so try them all and see which fits your playstyle best.
How to Beat Jinx
Dealing with Her Block Strings
Jinx's most common block strings end with either S1 Special machine gun or S2 Special rocket. Even out a H Attack, neither one can true block string.
Anytime you see her going for something like M Attack >H Attack > S1 Special, you have two great options that give you a nice advantage.
- If you're ready for it, parrying the entire machine gun will give you about 1.5 bars of Super meter.
- Champs with a long reaching fast attack can get a punish here. (Ex:
 Yasuo's S1 Special Super).
- Champs with a long reaching fast attack can get a punish here. (Ex:
- If you want to wait until after she starts shooting, you can Retreating Guard instead. You'll still gain about 1/4 bar of Super meter.
Getting Passed Rockets
Only one S2 Special rocket can be on screen at a time. This means that if you are fairly close to Jinx and blocking rockets, she can spam them much faster than if she is shooting rockets that miss, go all the way across the screen, then waits for cooldown to end before she can shoot a second rocket.
Parrying also increases the time between rockets compared to hits and blocks. If you parry a rocket, there is a longer gap before her next rocket, so you can Dash or jump-in without the threat of another rocket.
Chompers and Clappy
Chompers! The flopping deployable, can be destroyed by melee attacks. If you have a projectile, try to find an opening to shoot it. Otherwise, you can space it out, jump over it, or wait it out.
Clappy, the flying monkey, can also be destroyed by normal attacks, so you can destroy it just before it gets in range.
- If Jinx uses where are these moves in neutral at Mid to close range without an Assist covering her you can Dash up and punish her, because the animation is very long.
Moves with big hitboxes like Ekko's M Attack can destroy both in one swoop.
Countering Zap!
First off, make sure to take a mental note of when Jinx's Zap! meter is full.
When she does have it, players will often try to frame trap you by cancelling either S1 Special machine gun or S2 Special rocket into Zap!
To beat this, simply wait a moment before trying to attack or Dash after blocking either of these to see if she's going to shoot Zap! If she shoots it and you block it that's a big win for you.
Raw S2 Super
Since Jinx players know her S2 Special Super goes all the way across the stage and as a beam, pierces through everything, they like to try and catch you with sneaky punishes. Try to bait her S2 Special Super, and parry the entire thing. You'll gain about two bars of Super meter, and most champs can punish Jinx at near full screen distance on a parry.
Raw Ultimate
When Jinx goes for a raw Ult you have a few options depending on the situation.
At mid-screen in neutral, you can mash Dash during the start up cutscene, and you'll make it out of the blast zone. In this scenario you can also punish her.
If she does Ult as an Invincible wake up attack, then you can block the first few hits and mash throw to get an easy punish. As long as you are not at like 1HP, you'll survive and take very little chip damage before the first gap that allows you to throw.
- You can't be hit during a successful throw, and the Ult will end before your throw does.
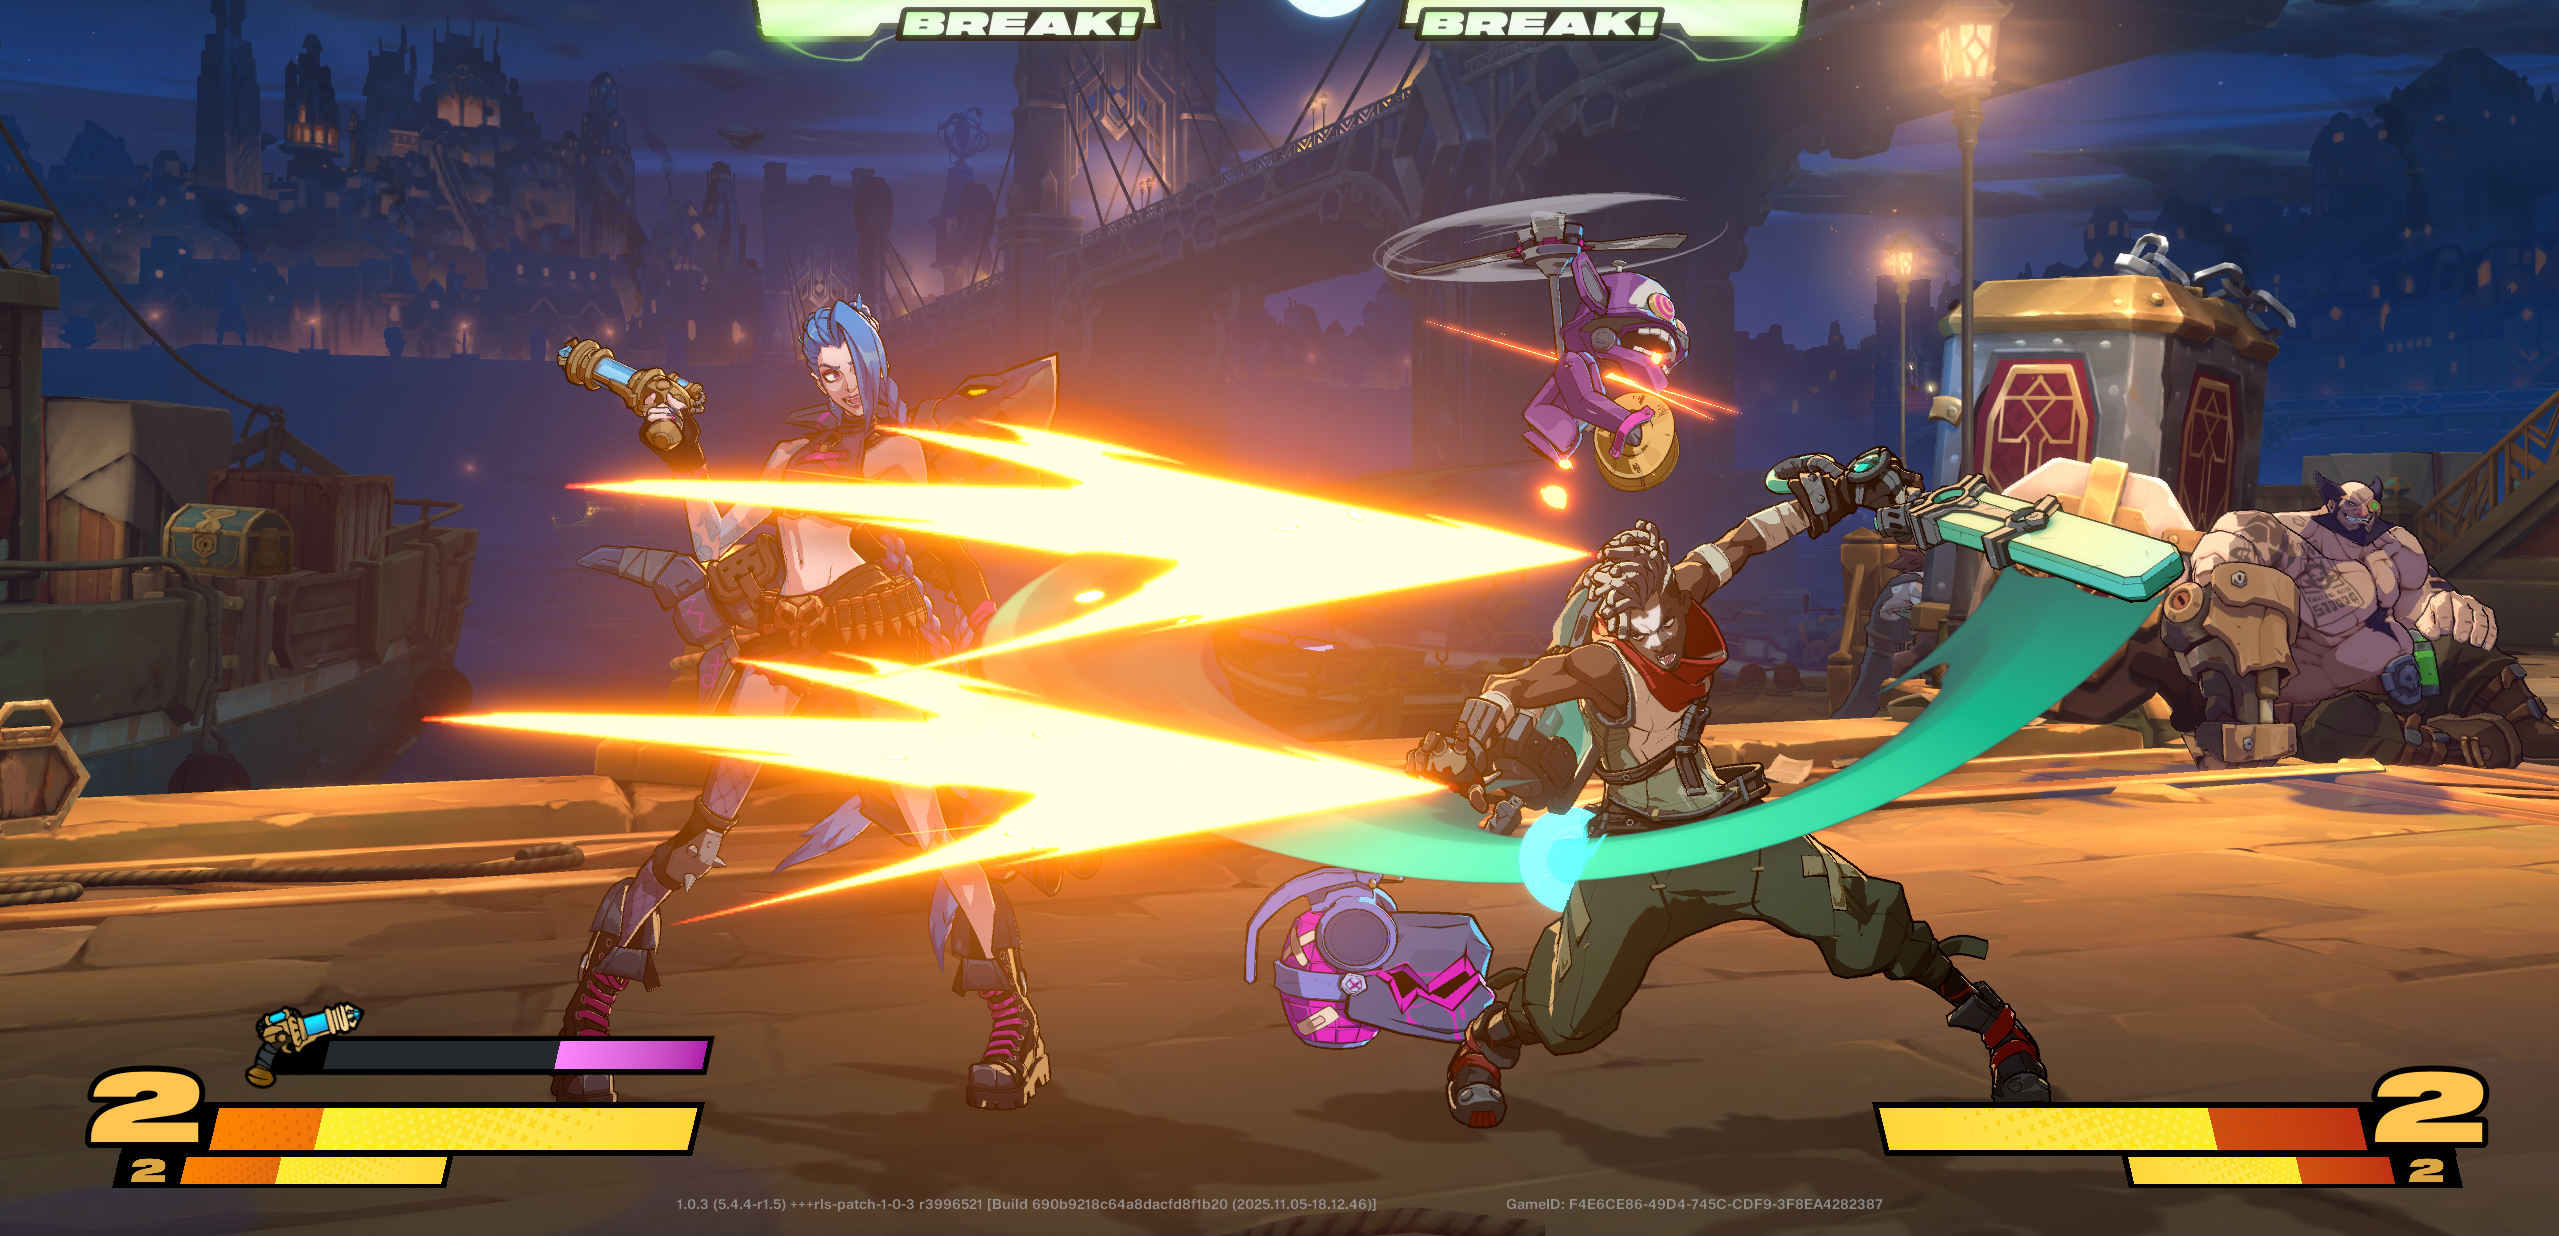
Dive Kick
Jinx players will knowledge check you with dive kick block pressure. The most common sequence being:
AirDownH Attack > AirH Attack
If Jinx is catching you with this or something similar, you have a free punish. After blocking the AirDownH Attack dive kick, you can mash DownH Attack to use the universal launcher.
Even if it's a little late, DownH Attack always has invulnerability to aerial attacks so it will always beat the AirH Attack follow up.
Table of Contents
1. Overview2. Strengths And Weaknesses3. Unique Mechanics Deployables Electric Stun Sliding Attacks4. Neutral Covering Assist5. Mix-Ups Block Strings Mix-up Tick Throws Throw Combos6. Combo Examples S1 Super Finisher S2 Super Finisher Ultimate Finisher7. As Assist Champ When to Forward Assist When to Back Assist8. Fuse Strategy Double Down 2x Assist Freestyle Juggernaut and Sidekick9. Champ Synergy Vi Teemo Warwick10. How to Beat Jinx Dealing with Her Block Strings Getting Passed Rockets Chompers and Clappy Countering Zap! Raw S2 Super Raw Ultimate Dive Kick