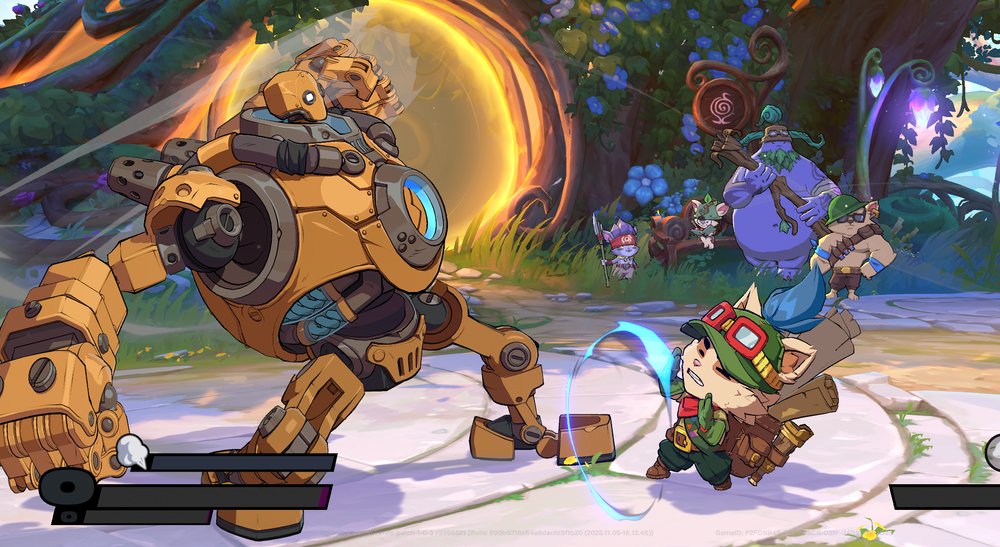
The Great Steam Golem - Grappler
2XKO Blitzcrank Guide — Moves, Combos, and Overview
Overview
If you enjoy grapplers from any other fighting game,  Blitzcrank is going to be the perfect fit for you in 2XKO.
Players who enjoy a simpler approach to video games and don't want to have to pour endless hours into training mode should also give Blitzcrank a try.
The core of his gameplay is forcing the opponent to guess between his command grab and a regular attack. Guess wrong, and it's GG. Landing one clean combo or throw can instantly turn the tides of a round into Blitzcrank's favor and often snowballs into a win.
This guide covers everything you need to master Blitzcrank in 2XKO, from how to execute his game plan to his best character and Fuse synergies.
If you’re struggling against Blitz, you'll also learn how to beat him by understanding key counterplay strategies that will help you cool off his Steam.
Strengths And Weaknesses
- One combo or throw can easily snowball into another until the opponent is Ko'd.
- Strong supporting Champ. Great Assist and Tag Launcher combos.
- Low execution floor. High damage for low effort.
- Extremely slow movement and slower than average attack speed.
- Struggles against zoners and runaway playstyles.
- Slowest normal attacks make it hard for him to interrupt the enemy's chain of attacks.
Unique Mechanics
Steam
When Blitzcrank Steam meter is full, his  S1 Special moves and command throw become empowered.
His long-range hit grabs will electrocute and stun the opponent which allows for unique combo routes.
Garbage Collection command throw absorbs one hit with armor at full steam.
How to build Steam
- S1 Special
 Hold causes Blitzcrank to spin his arm and builds Steam over time.
 - His command throw used on its own builds Steam
- S1 Special Super automatically gives Blitzcrank one bar of Steam on activation, plus a second on hit.
Command Throw
Blitzcrank has the best command throw in the game. It can be buffed with steam armor and he has multiple ways of setting up 50/50 strike/throw mixups.
Command throws cannot be Throw tech'd which makes them extremely threatening. They have to be either jumped or interrupted before the grab comes out.
- As an added bonus, he can also command grab in the air.
Kara throw
Kara grab is a fighting game term that refers to a mechanic where you use the forward movement of one move to extend the range of your grab by animation canceling into the grab.
Blitzcrank can perform a kara throw by first inputting:  Forward
 S2 Special >
  DownS2 Special.
The purpose of this tech is to catch opponents off guard. They'll think they are outside your throw range, and therefore won't be ready to defend or jump against it.
With the increased range, Blitzcrank can land the command throw and start his gameplay loop of strike/throw on their wakeup.
Pull
One of Blitzcrank's most valuable mechanics is his ability pull the opponent to him.
He can do so on both block and on hit, and as the Point champ or with his  Tag Assists.
The ability to pull pairs perfectly with his command grab and is also very good for extending his point champs combos because it puts opponents into a standing position mid-combo.
Neutral
Normals
Although Blitzcrank's normal attacks are slower than average, his  M Attack is still a good button to press while in neutral.
At close range you can convert into:
- M Attack >
 H Attack > DownH Attack > any combo you prefer.
At max range, you can always go for:
- M Attack > H Attack > S2 Special > S1 Special > strike/throw mix.
Specials
S1 Special, DownS1 Special , and S2 Special should be used at medium to long range. Because Blitzcrank grab is so scary, many opponents will try to run away and zone him out.
S2 Special goes through projectiles. Time it to hit just as the opponent shoot their projectile and you'll get a counter hit. Then cancel into S1 Special to pull them in close.
DownS1 Special is good for catching opponents who keep jumping back. You'll pull them close to you where you can get the advantage.

Take the skies
Blitzcrank has a surprisingly good air game because he has an air command grab (big range and cannot be teched), and big crossup from  AirDownH Attack.
- Never let an opponent get away with air-techs towards you. If they reset in the air, jump up and grab them.
- Likewise if they keep jump blocking, go air-to-air and grab them!
Moreover, every time you jump you should be threatening an empty jump into command grab.
If the opponent keep blocking your jump in, them jump while holding block, and the moment you hit the ground, command grab!
Combo Examples
The following combo examples are not intended to be fully optimized or maximum-damage routes. Instead, they focus on consistent, bread-and-butter combos that are new player friendly with representation of all three Supers.
S1 Super Finisher
A simple combo to execute in the corner. Doesn't require any special tech and mostly consists of M Attack and H Attack.
- The best part of this corner combo is that it sets you up with Steam and the opponent has to defend against your mix.
S2 Super Finisher
A high damage mid-screen combo you can use everywhere.
- Can also be ended in S1 Special Super
- Generally you'll only want to end with S2 Special Super for double down combos.
Ult Finisher
In almost all scenarios it's optimal to go for either of the above combos and use only one bar of Super for similar damage. However, if you want to meter dump you need to remember than any move that knocks up or knocks down the opponent will cause Blitzcrank's Ultimate to miss.
- Trash Compactor Ultimate is command grab. Therefore the best use is to use it raw as a grab and not in a combo. It has an invincible start up and can only be avoided by jumping before the start-up flash.
- ForwardS2 Special can also be Kara cancelled into Ultimate to extend it's range.
As Assist Champ
When to Forward Assist
Most of the time you'll want to save Blitzcrank's Assist for block pressure and combos.
On block, it will pull the opponent back into your point champ so they can keep trying to open up the opponent.
You can also HandshakeTag to Blitzcrank during his Rocket Grab Assist and you'll have the opponent in his standard strike/throw mixup.
When to Back Assist
When your Point champ is in the middle of a combo, both back and forward Tag are good for extending combos because it puts the opponent into a standing position which allows follow-up attacks.
 BackTag can also catch opponents who are jumping, and will pull them into your Point champ. Great for pesky zoners and runaway opponents.
Fuse Strategy
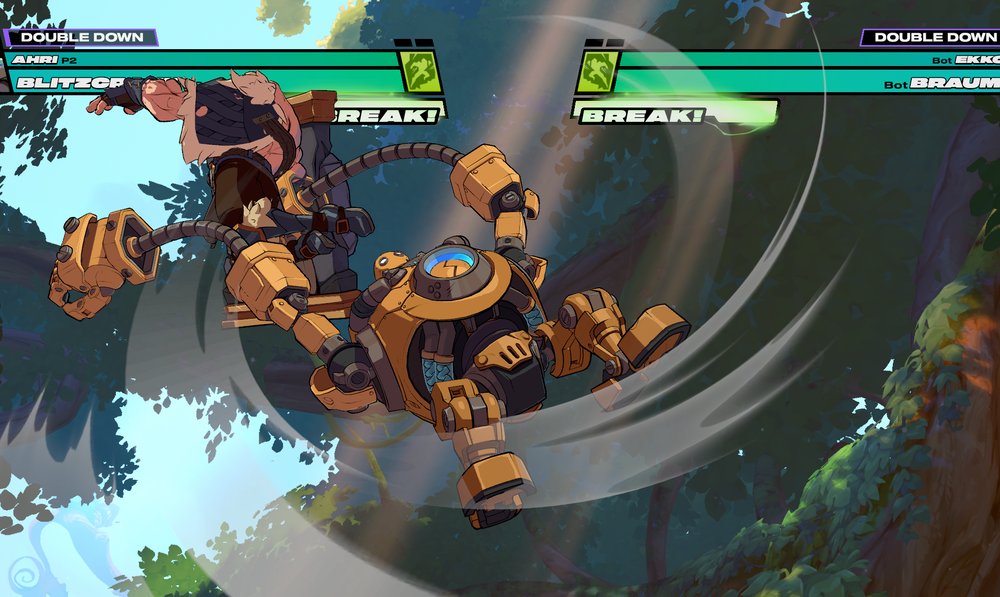
Double Down
 Double Down is Blitzcrank's go-to Fuse. He'll only be paired with the other Fuses if his teammate has a particularly strong synergy with the different Fuse.
The best way to use Double Down is when starting combos with his teammate, then using Double Down Super combo to bring him in with S1 Special Super. This gives him Steam and the wake up mix pressure.
2x Assist
 2X Assist with Blitzcrank can help him with pressure and approach when he is on Point. The extra coverage makes it easier for him to get close, and stay close to the opponent.
When he is on Assist, most champs have combo routes that can use both of his Assist to double pull the opponent for long and high damage combos.
If block pressure mixups is the specialty of the other champ, then being able to pull the opponent twice gives your Point champ a generous amount of time to catch the opponent with a left/right or high/low mixup.
Freestyle
Blitzcrank doesn't utilize  Freestyle that well because of his slow movement speed and lack of crossup capabilities. Only use Freestyle by personal preference or if your other champ thrives on HandshakeTag mixups.
Juggernaut and Sidekick
Unfortunately, Blitzcrank is one of the worst solo champs because of his large body and slow speed. It's common for him to be put as the Assist champ with  Sidekick teams, but you're going to have a hard time with him as Point.
One saving grace for  Juggernaut Fuse Blitzcrank is that he can touch-of-death off of single hits if you are willing to learn his extended Fury combos.
Champ Synergy
The following team suggestions are just examples that highlight champions who pair well withBlitzcrank and an explanation of the synergies that make them an effective team.
Many other viable pairings exist, as every champion in the game can be combined with one another to create winning game plans and powerful combos.
Braum

If you like grapplers, why not play two? Blitzcrank's mix up game has a similar flow to  Braum, which makes a lot of tech transferable between the two. Learning how to read opponent wakeup options, their block patterns and using strike/throw mix ups are all important skills to learn for both champs.
Blitzcrank's BackTag is amazing for helping Braum to deal with aerial opponents. His ForwardTag is equally good for its range, anti-projectile properties, and pull mechanic.
You should have no trouble keeping your opponents under pressure with this duo.
- 2X Assist and Double Down are the best fuses for this duo.
Ahri

 Ahri also has good combo routes into Tag launcher, and Blitzcrank can always do his high damage follow up even very late in combos. His grab Assists works great in tandem with Ahri's tricky movement, crossup and high/low mixes.
When Blitzcrank is on point, Ahri's Assists are exactly what he needs for cover as he slowly approaches the enemy with his huge body. Even Ahri being able to Down S1 Special before HSTag to Blitzcrank is very handy for buying him some instant pressure.
Ahri's S1 Special Super also hits on the ground opponents so she if she's on the screen already, you can command grab with Blitzcrank, and tag to Ahri to convert into a combo for more damage.
Double Down, 2X Assist and Freestyle have been used pretty interchangeably with this team.
Illaoi
Since  Illaoi wants to stay close to her opponents, and opponents often try to zone her out, having an Assist champ you can pull opponents right to Illaoi is really strong.
Blitzcrank's main use is his ForwardTag to start or extend Illaoi's block pressure. When he is on Point, Illaoi's huge Assist moves are good for covering Blitzcrank while he tries to get in.
The only downside to this team is that they share similar weaknesses, and will have to work extra hard to overcome keep away opponents.
The paoff is that regardless of which is on Point, they'll both have crazy high damage combos when using each other's Assist to extend, and finish off with Tag launchers.
How to Beat Blitzcrank
Dealing with Blitz's Wakeup Pressure
You should almost never forward quick rise after being hit by his S1 Special Super or command grab. If the Blitzcrank player even remotely suspects you will do so, they can wait a second and react to the roll.
- When you get up roll, you cannot jump the command grab, so it's free damage for Blitzcrank unless you have an invulnerable attack like Ultimate available.
In the corner, literally never quick rise backwards, because he can just stand there and grab you over and over again.
- Most of the time your best option is to hold down, and do a normal get up.
You can also getup attack, but this carries the risk of being blocked.
Once you've conditioned the Blitzcrank to walk forward to pressure your regular getup, only then should you consider rolling out behind them.
Pushblock and Retreating Guard
Both of these defensive options are particularly strong against Blitzcrank since his entire gameplan is trying to get into throw range.
Push him away, or retreat away every chance you get.
Rocket Grab
The move is slow enough that you can parry it on reaction.
- Good Blitzcrank players will see you parry one, then they will start trying to bait out your parry by doing the vertical Rocket Grab.
- If you start falling for this, it's better to block the move and deal with the block mix.
- Waiting and blocking will also cause the diagonal Rocket Punch to mix, and give you time to counter hit.
You can also jump it on reaction for a nasty punish. The horizontal Rocket Grab does not hit aerial opponents. Even if you are a bit late, as long as you go airborne before his fist reaches you, his fist will go straight through you.
Dealing with the mix ups on block
Jump back is your safest and most consistent counter. Jumping causes his grab to miss, and will block his attack if he waits or uses a slower attack.
- A perfectly timed
 L Attack will hit you during the jump animation even if you are holding back.
Technically, you are in a 50/50, which means:
- If you neutral jump:
- Blitz grabs > you get huge punish
- Blitz attacks > you eat a combo
- If you block:
- Blitz grabs > you eat the grab
- Blitz attacks > you don't take damage and have the chance to retreating guard or Pushblock, and reset neutral.
- 3rd option, go for parry
- Blitz attacks > you guess correct high/low > you get a punish
- Blitz attacks > you guess wrong high/low > you eat a combo + lose a bar of Super meter
- Blitz grabs > you eat the grab + lose a bar of Super meter
Some champs, such as Ahri and  Vi, have an air attack with enough speed and range to punish a whiffed throw from jump back. Experiment with your team to see if you have a move that can do the same.
Rocket Grab Assist
Retreating Guard his Tag Rocket Grab, and he will not pull you in to his teammate.
Table of Contents
1. Overview2. Strengths And Weaknesses3. Unique Mechanics Steam Command Throw Pull4. Neutral Normals Specials Take the skies5. Combo Examples S1 Super Finisher S2 Super Finisher Ult Finisher6. As Assist Champ When to Forward Assist When to Back Assist7. Fuse Strategy Double Down 2x Assist Freestyle Juggernaut and Sidekick8. Champ Synergy Braum Ahri Illaoi9. How to Beat Blitzcrank Dealing with Blitz's Wakeup Pressure Pushblock and Retreating Guard Rocket Grab Rocket Grab Assist