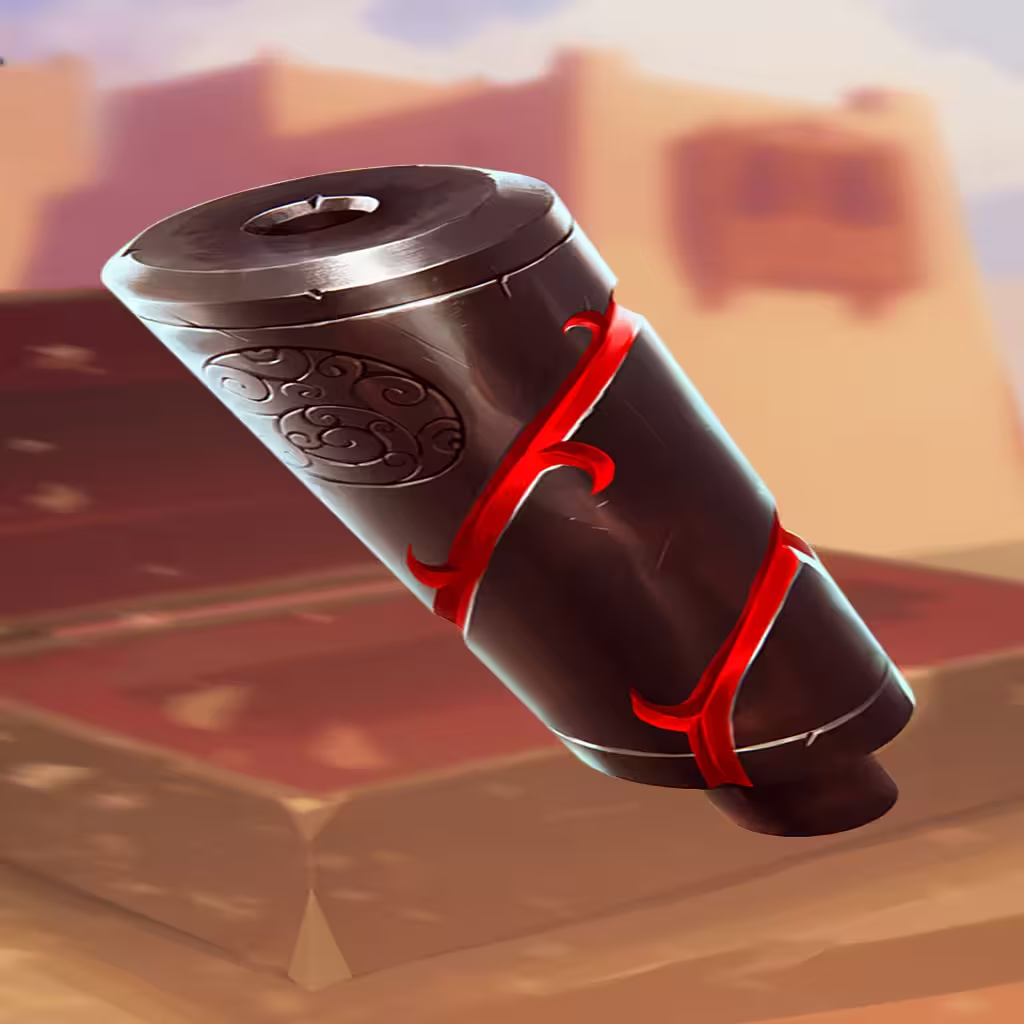
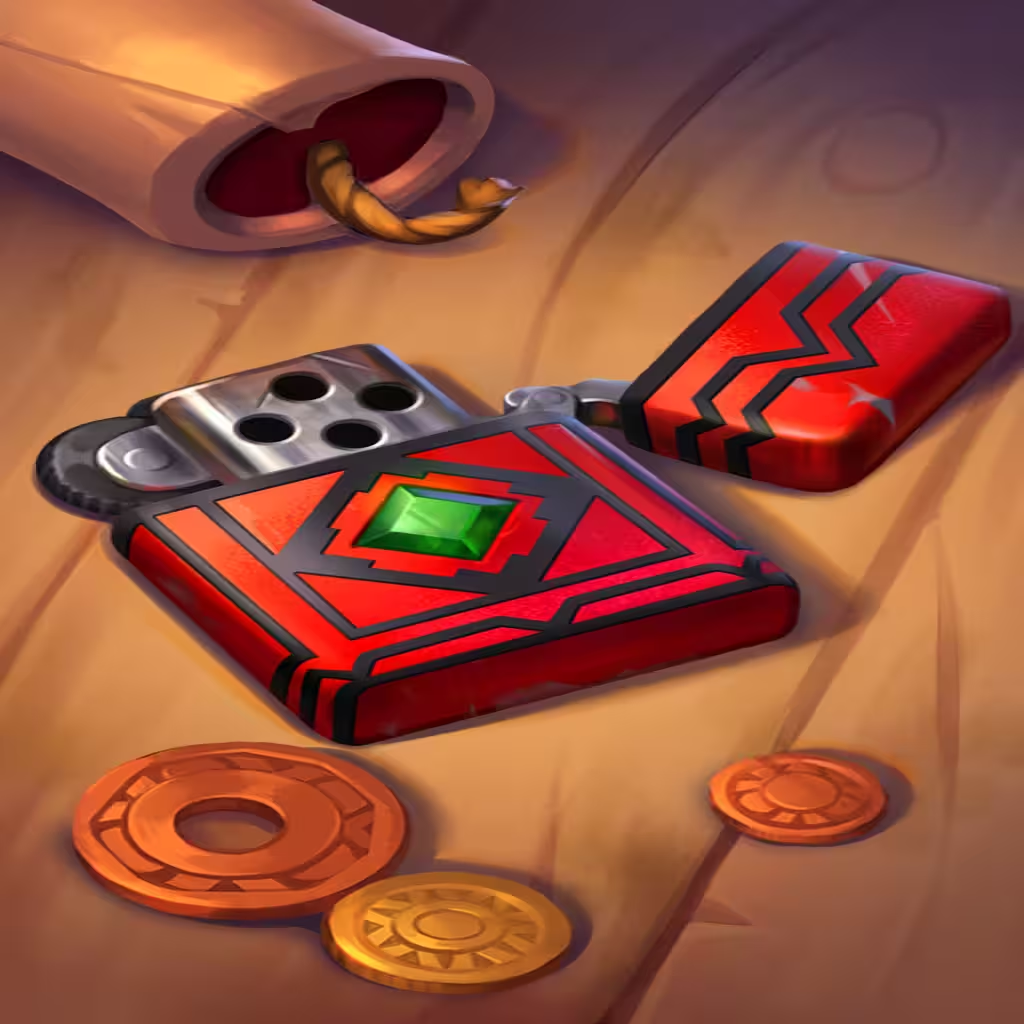
Powder Keg
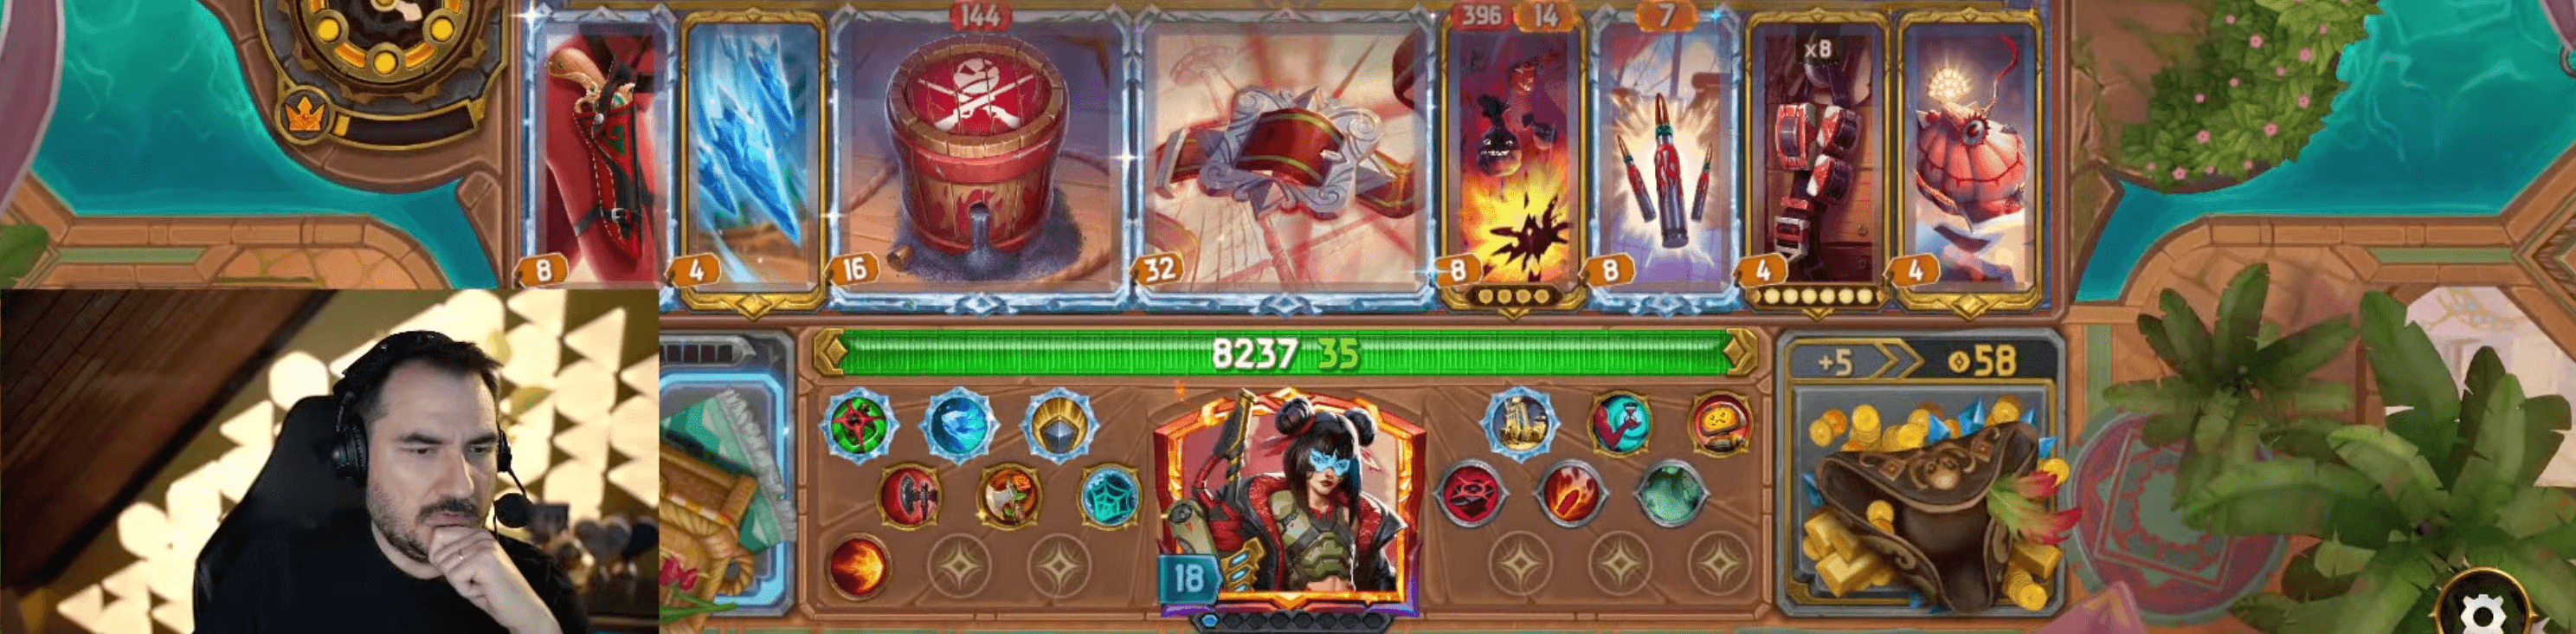
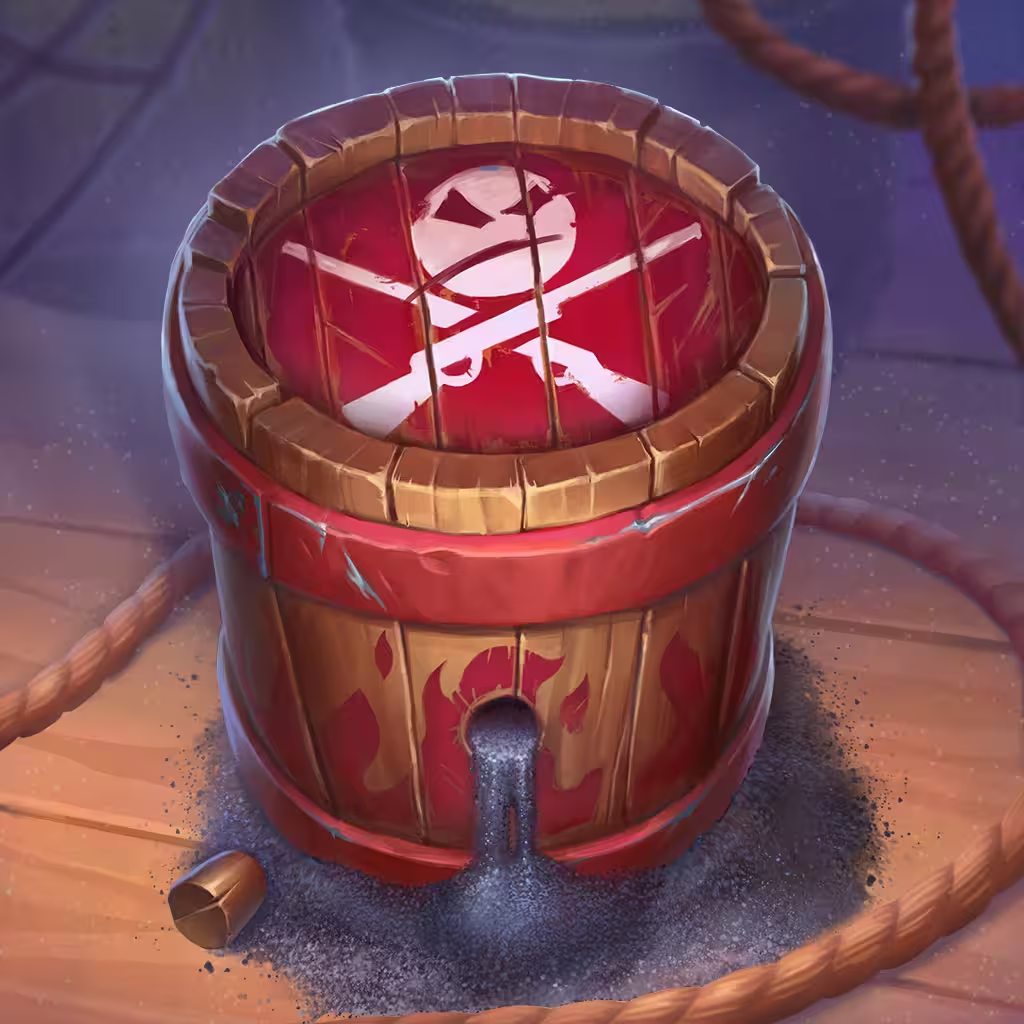 Powder Keg is an item with an incredibly high ceiling but equally low floor. At Diamond tier with 100% Crit Chance you're guaranteed to one-shot the opponent if it goes off, barring Shield or Revives. However, Silver tier without Crit only deals 30%, which isn't enough to justify its long Cooldown.
As an item with a 20 second Cooldown, it requires you to assemble a very specialized build in order to make it work. Oftentimes this begins as a Burn setup, as it's common enough to piece together and Burn is quite strong in the early game.
While it may sound appealing to initially include it alongside the Burn build, it generally falls short. After all, Heroes don't have that much Health at the start, so dealing Damage that scales to Max Health is far less relevant.
However, once you get into mid game, this is the time to look for supporting pieces so that you can eventually transition into a full Powder Keg setup. While there are a variety of Keg arrangements, they all heavily prioritize a very important skill...
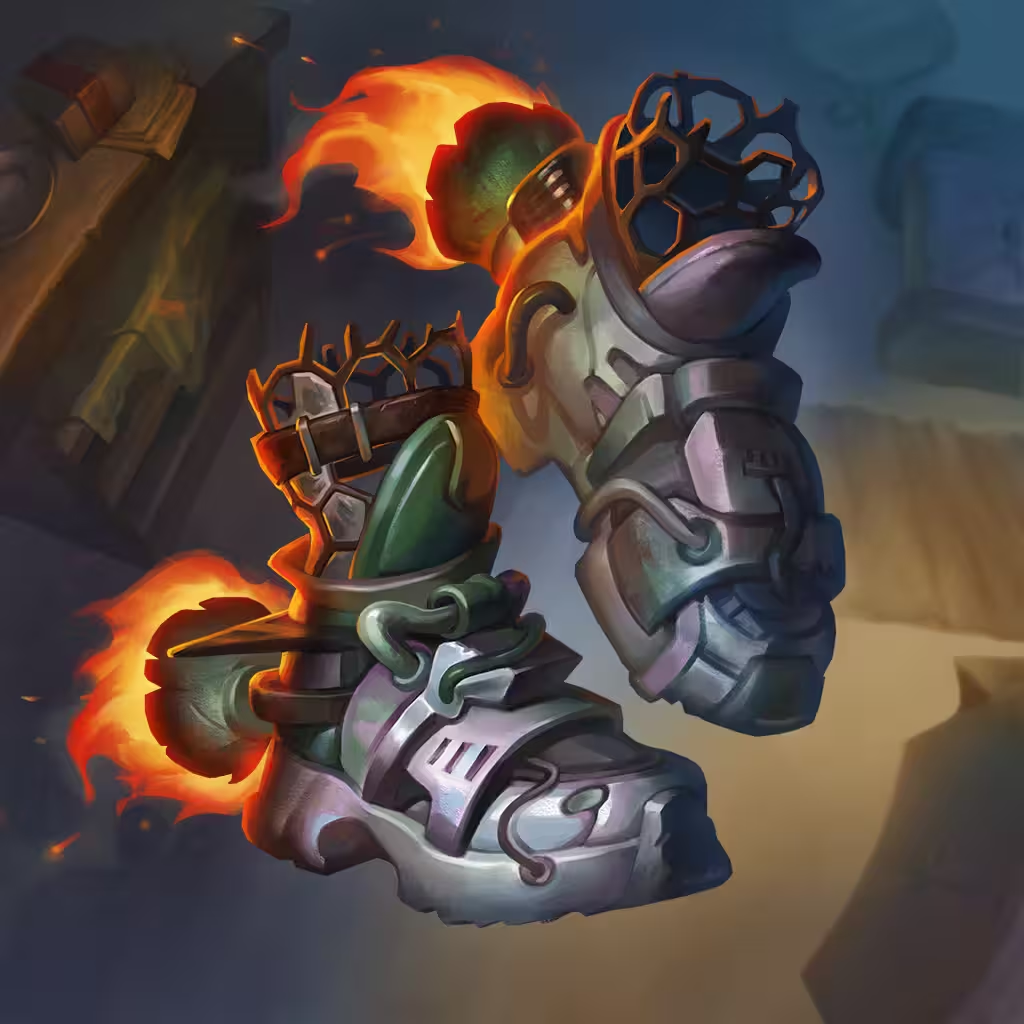
Heated Shells
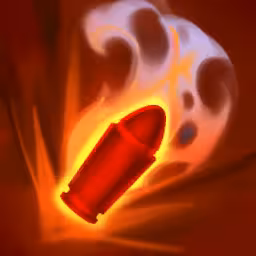 Heated Shells is the backbone of the build, allowing you to create significantly more Burn triggers than the items can provide on their own. With this one skill, every Ammo item can enable Powder Keg. Prioritize the fastest Small items that are available in order to get the most out of your board.
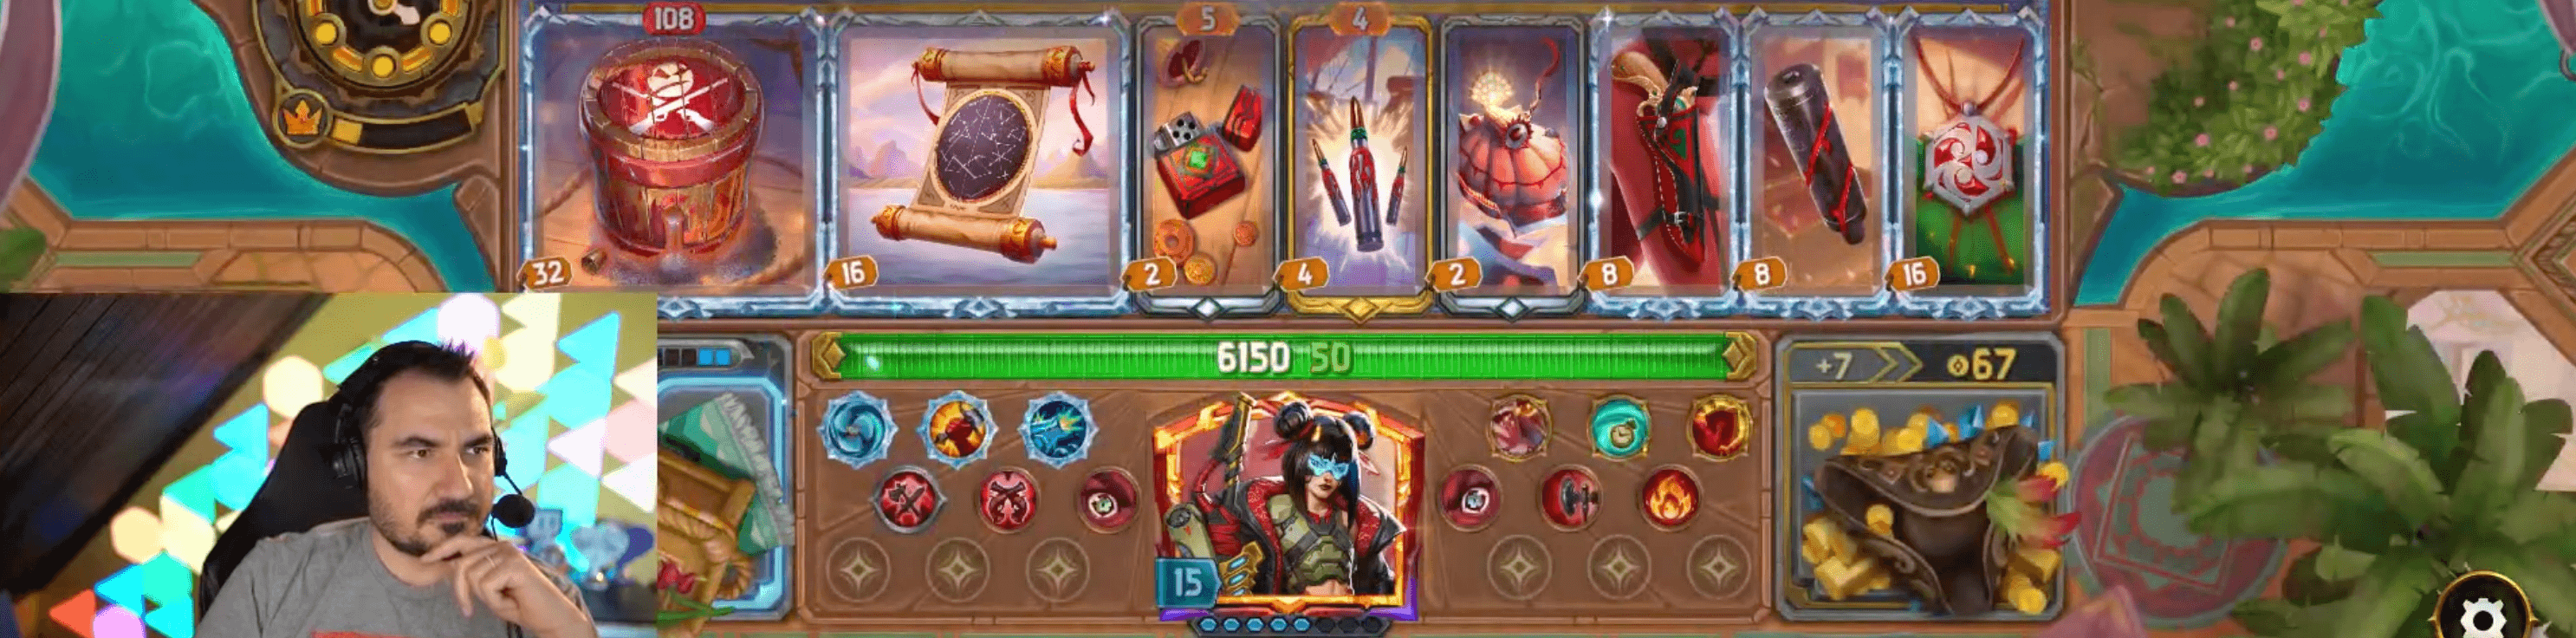
Since Heated Shells doesn't care about having actual Burn items, you can eventually forgo the Burn strategy and move fully towards the OHKO. However, there's a few things you need to prepare in order to make it happen.
- Upgrade Powder Keg as soon as possible. Silver tier really won't cut it, as even Gold will require extra support to get the job done. To ensure the 100-0, you'll need to get a Diamond Keg for maximum output.
- Get 100% Crit Chance. Powder Keg needs to Crit in order to hit the 100% threshold, and you really don't want to rely on chance. A Shiny/Obsidian Keg is one exception as it directly doubles the Damage, or you can also utilize Radiant to explode the Keg multiple times.
- Set up a fast board state. You can go full fast Ammo spam and activate the Powder Keg in seconds, or lean into
 Dive Weights' Multicast alongside some supportive utility options (slightly slower, but more well-rounded).
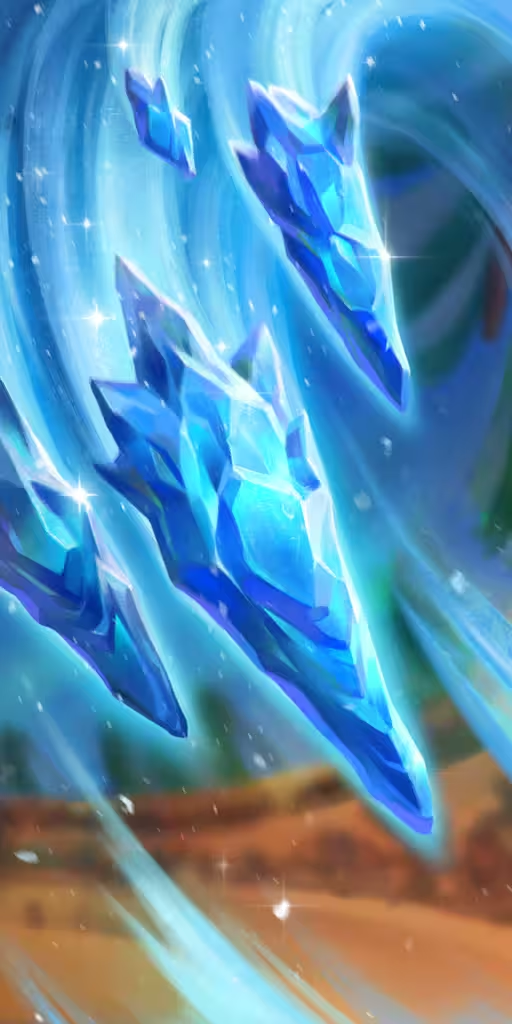
Incendiary Rounds
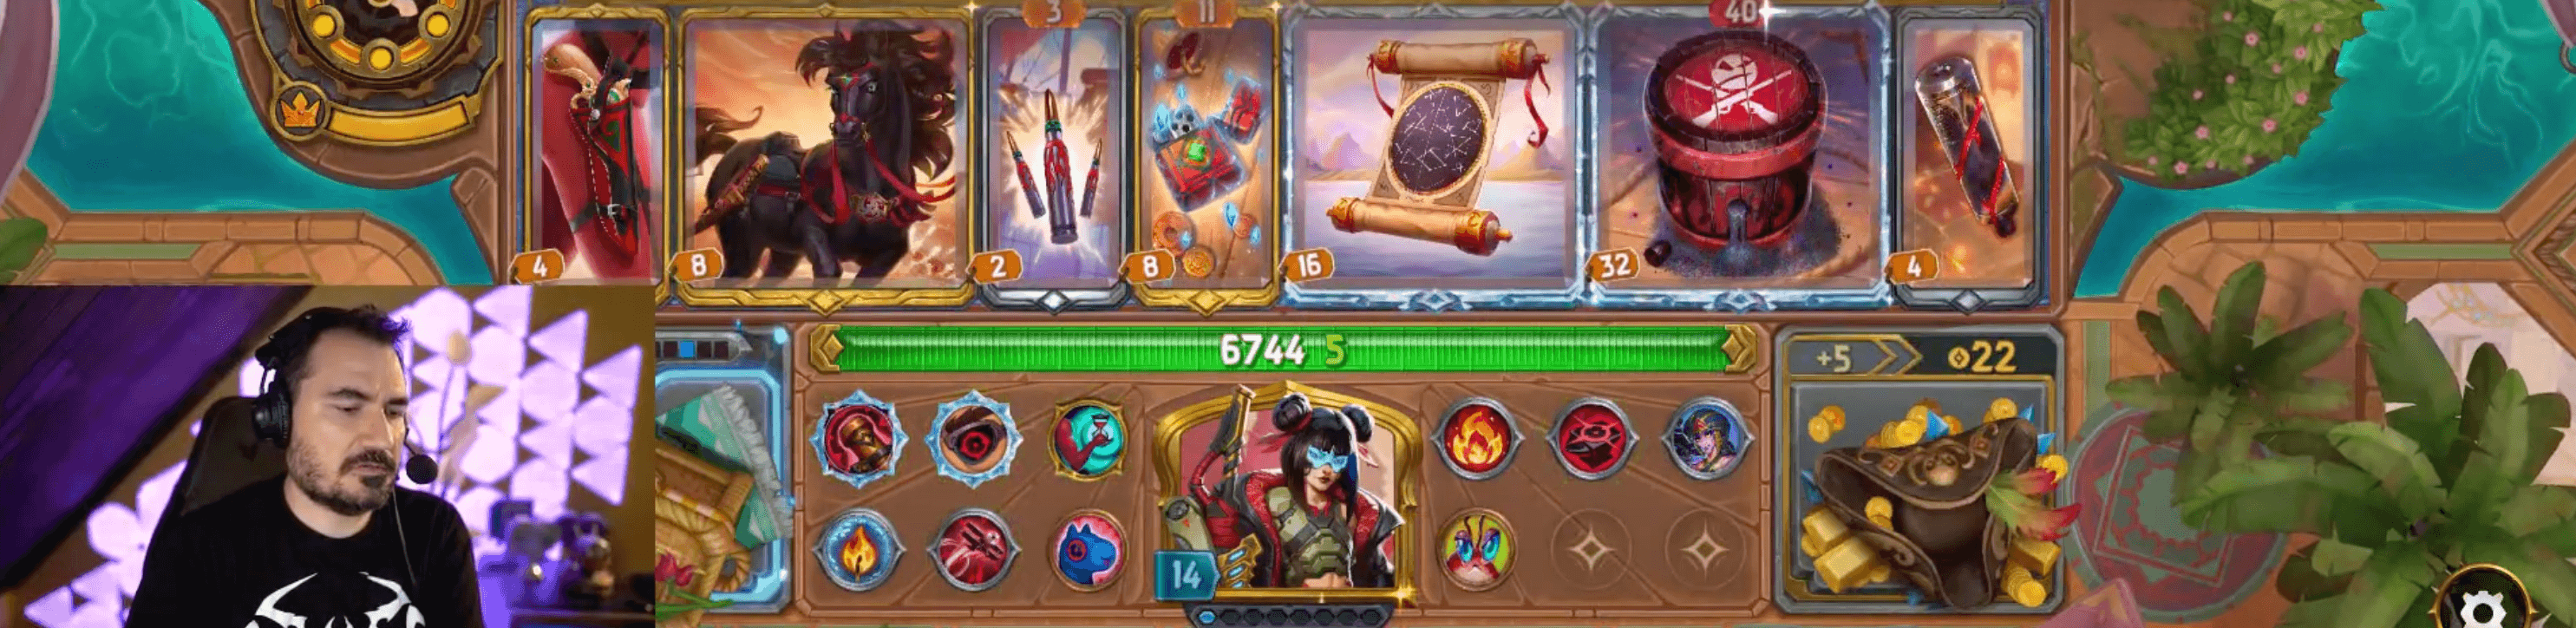
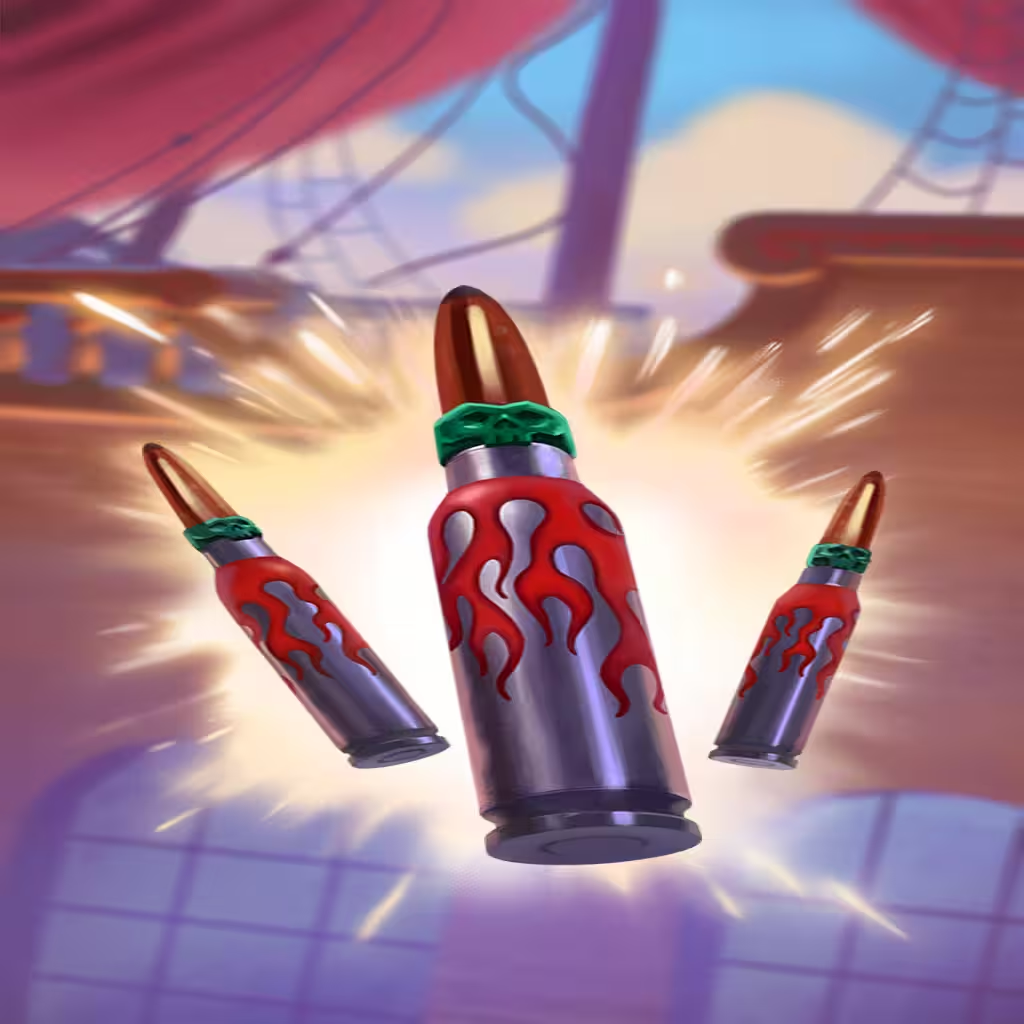 Incendiary Rounds is an incredibly important piece as it provides at least two Burn triggers for its one Small slot. If effectively matches the speed of your fastest items, and when paired alongside Multicast it becomes a busted enabler. If you're not using a full Ammo setup, Incendiary Rounds is essential.
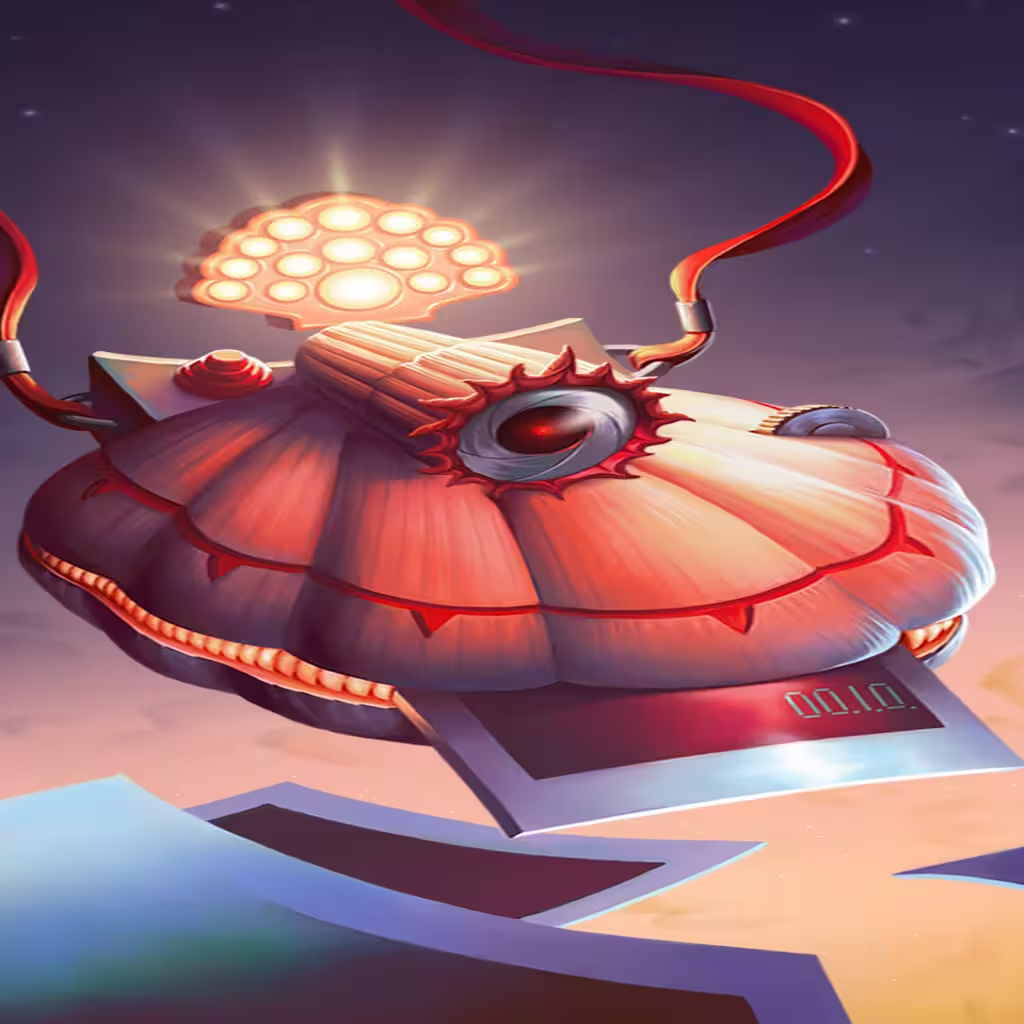
Dive Weights
Dive Weights is the best way to take advantage of Incendiary Rounds. When paired together alongside Heated Shells it can basically Charge the Keg on its own, allowing a lot more flexibility across the rest of your board.
When you can, take advantage of 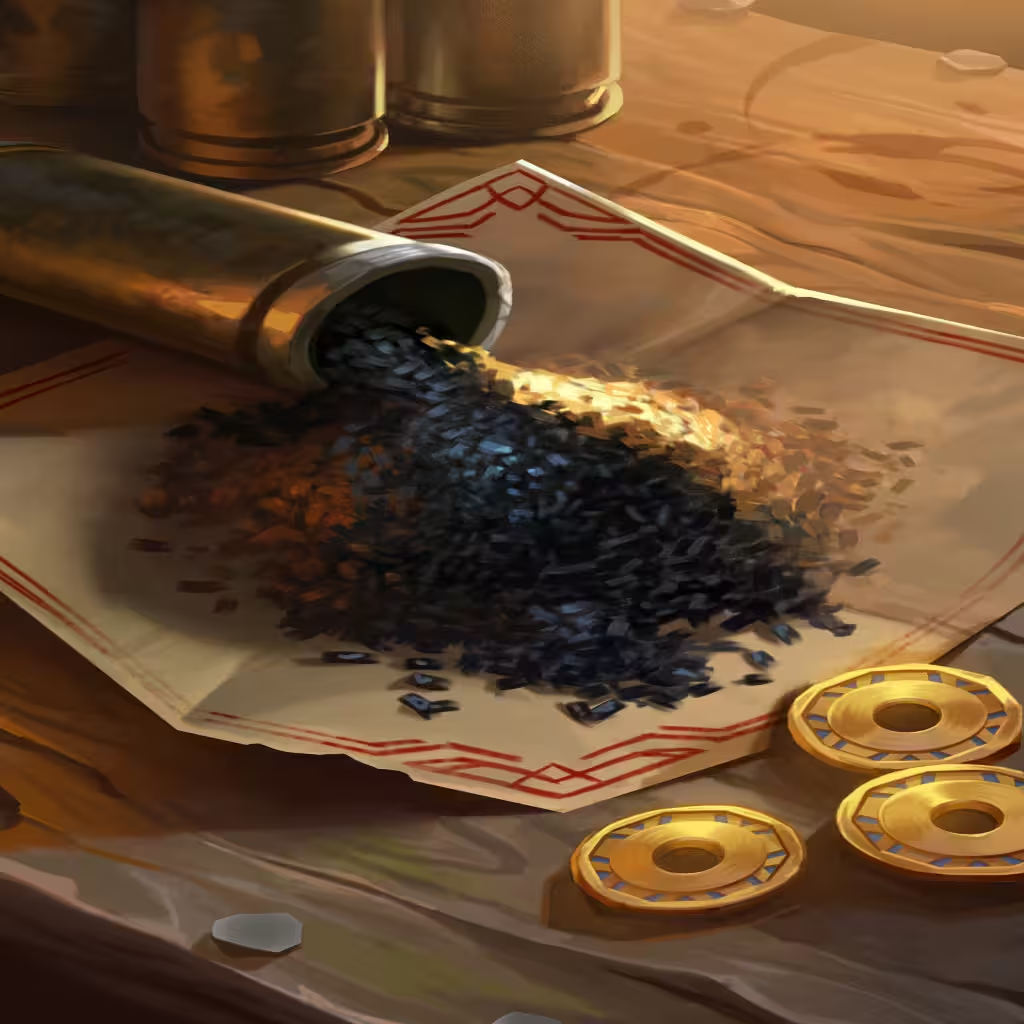 Gunpowder and/or Ammo skills to up its capacity and Multicast.
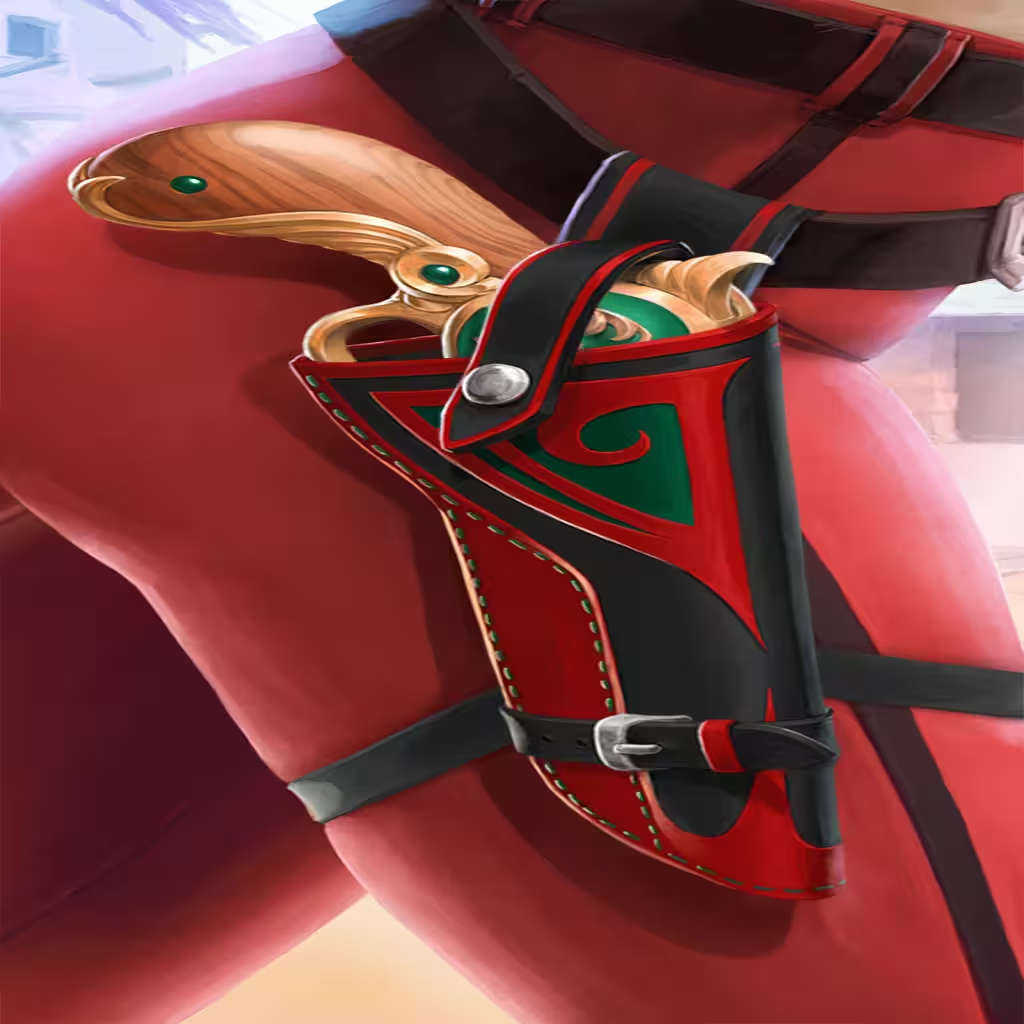
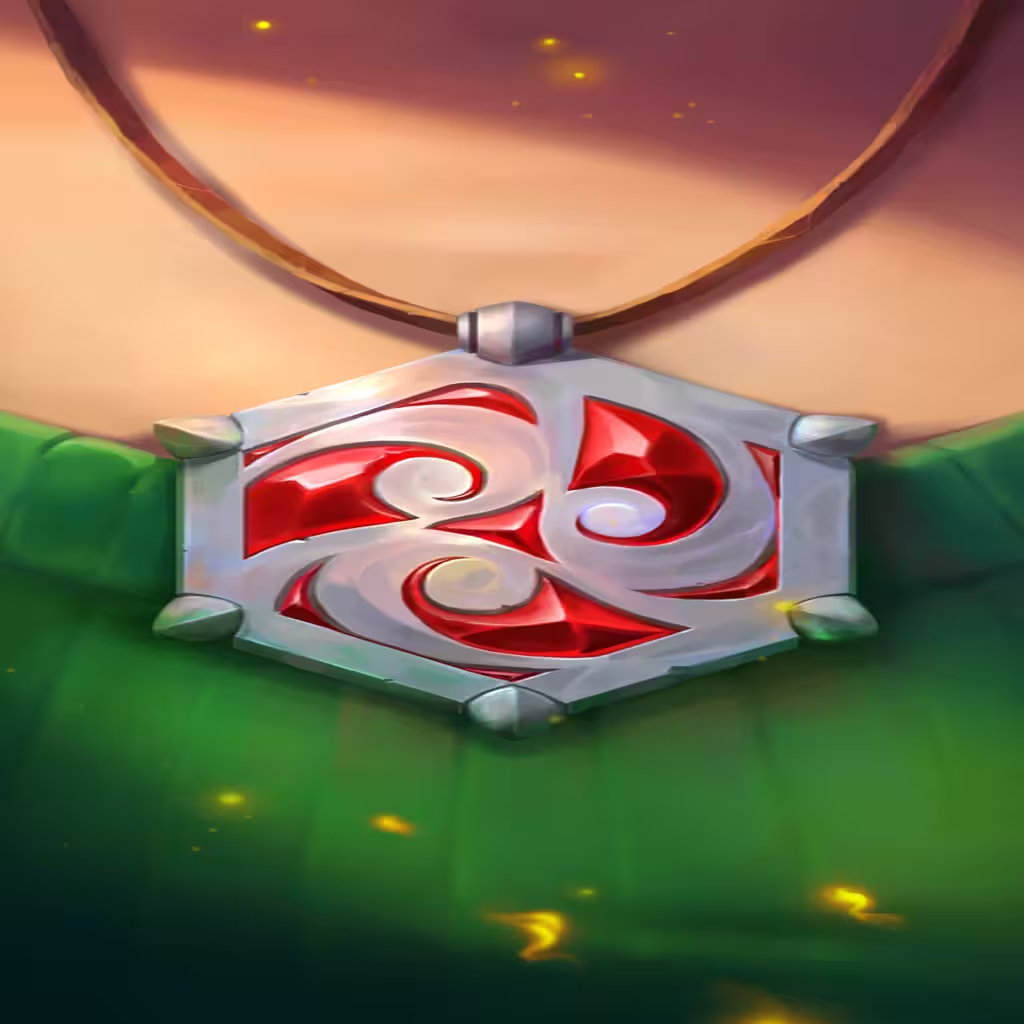
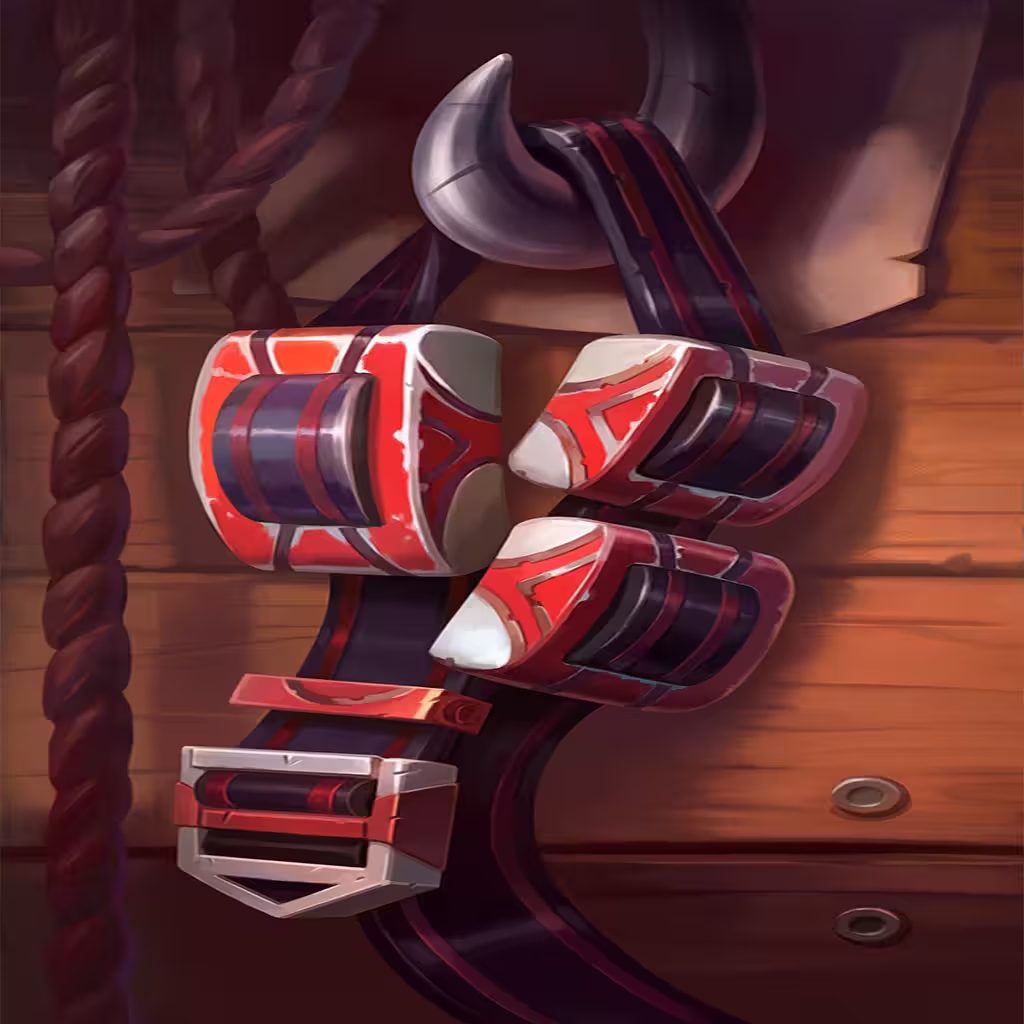
Swash Buckle
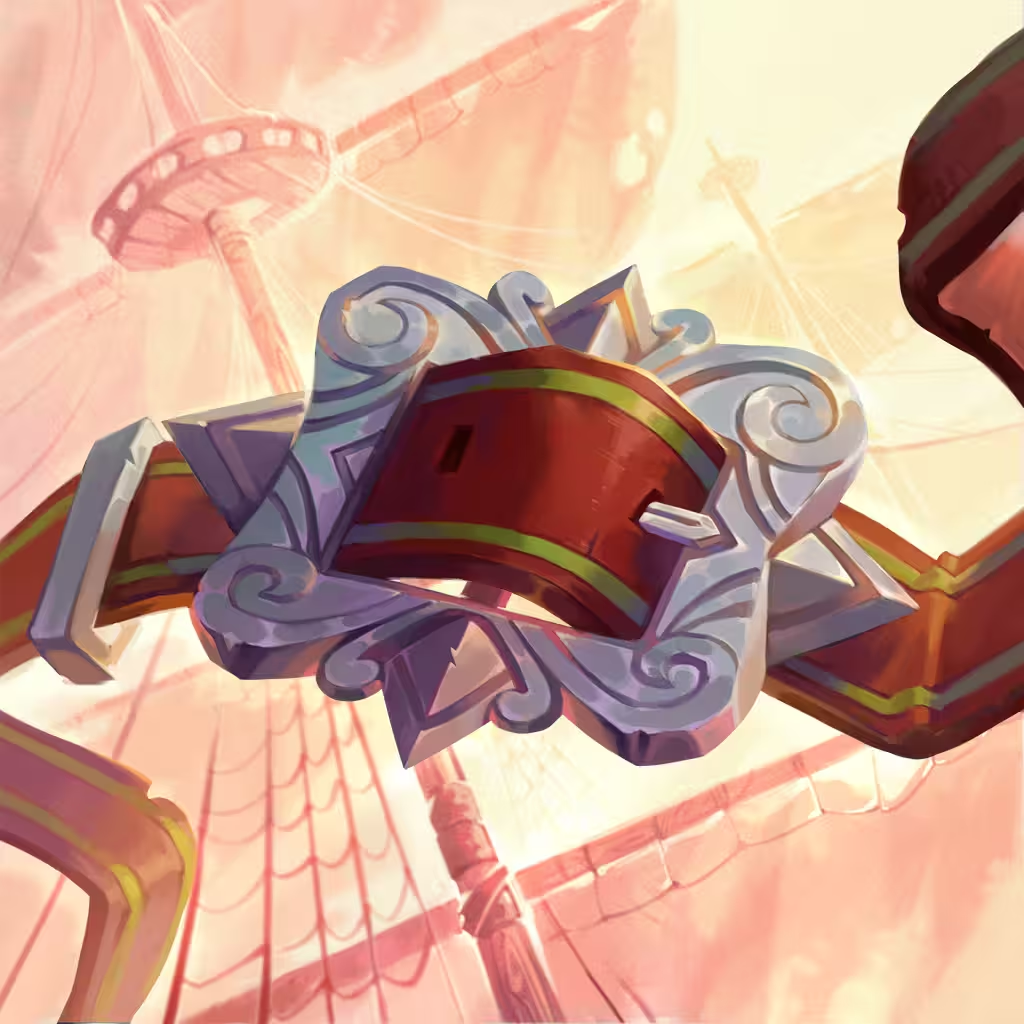 Swash Buckle is an excellent source of Crit Chance that also provides a bit of additional bonus Damage. While it may not always be relevant, it can help in scenarios where you need to punch through a bit of Shield. Ultimately, as long as you have a reliable source of Crit, this slot is flexible.
Kripp had a Deadly Swash Buckle which doubles its Crit, guaranteeing the 100%.