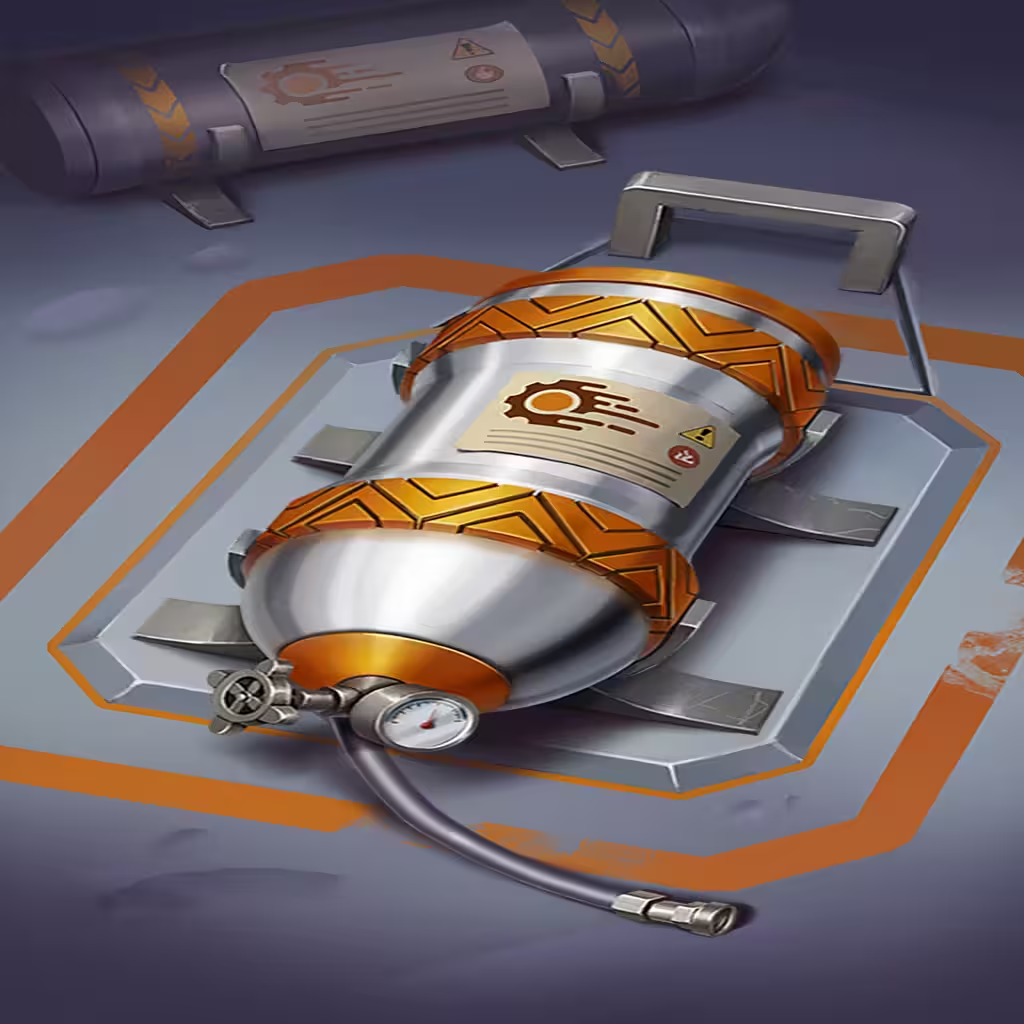
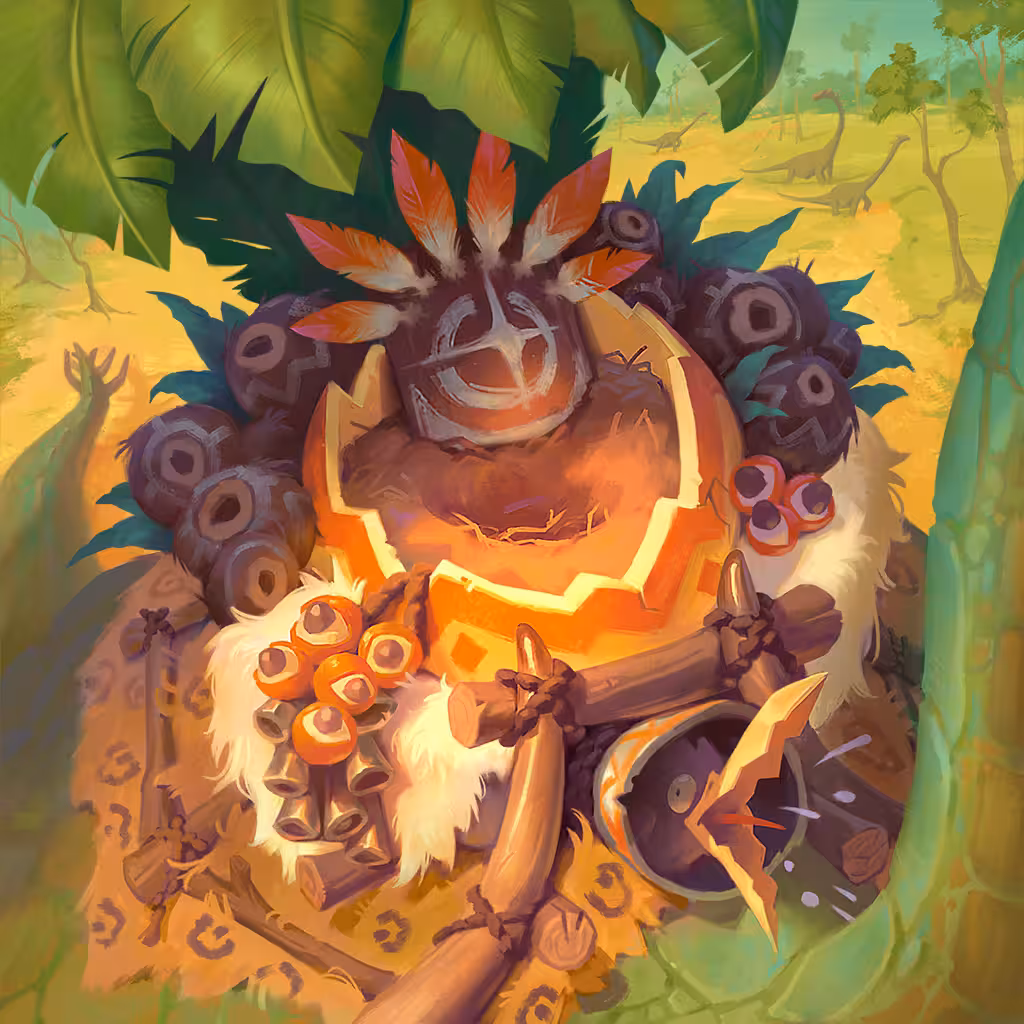
Cryosphere
 Cryosphere is an incredible supporting win condition for
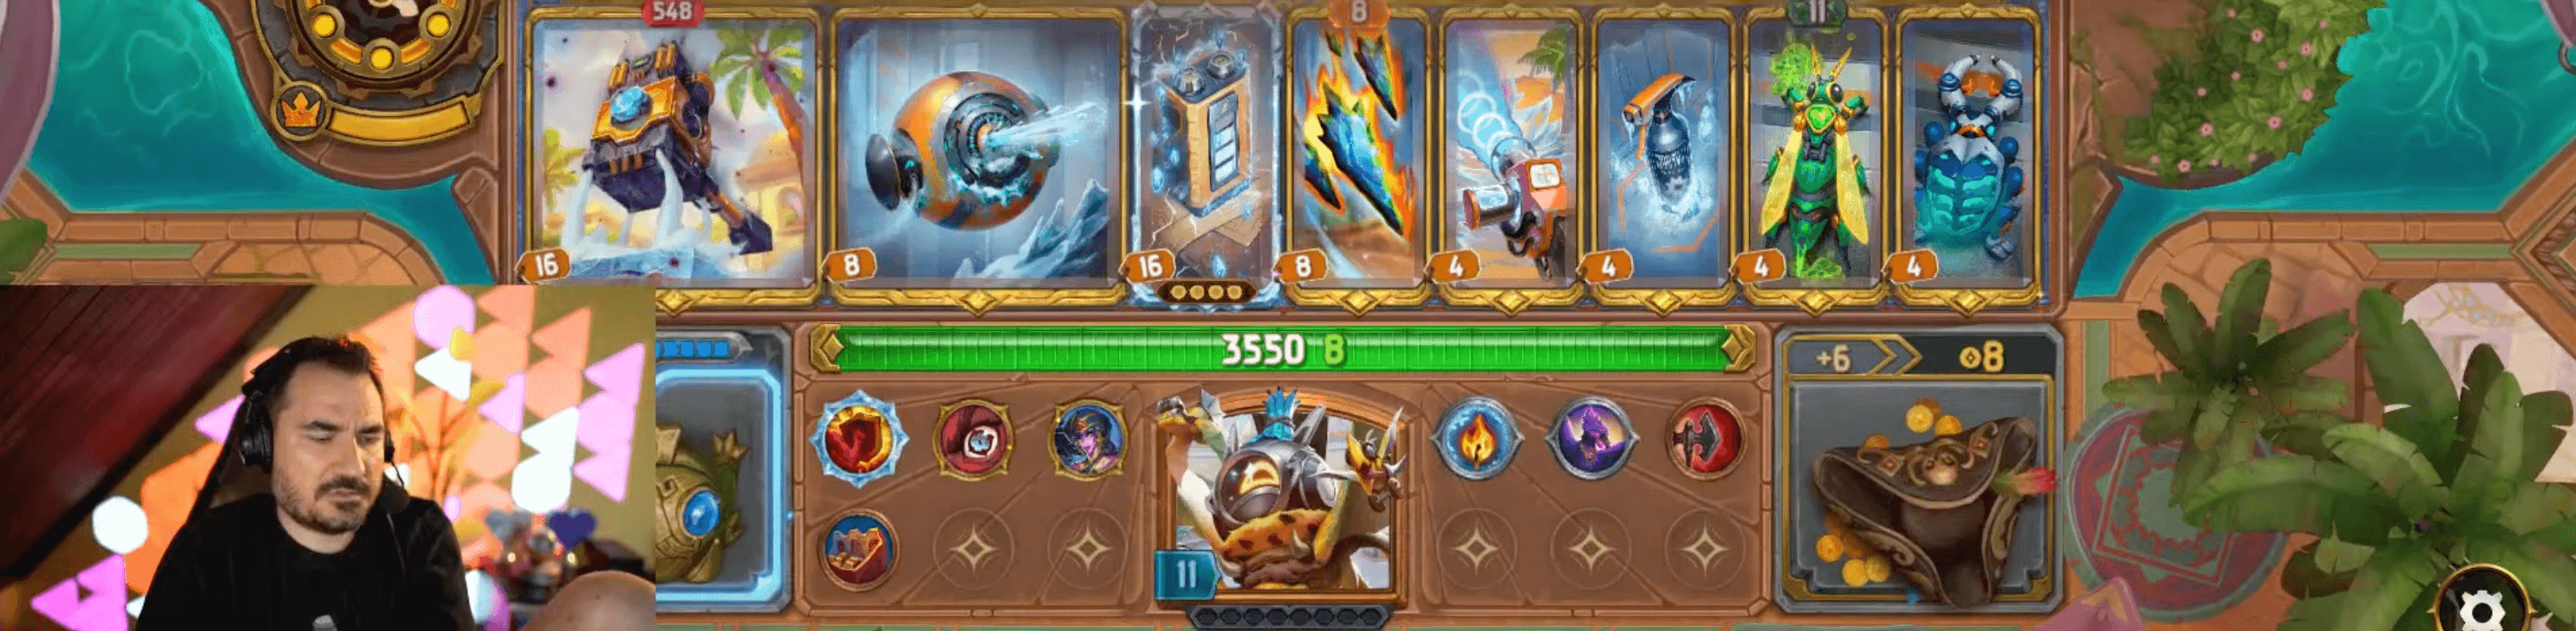
 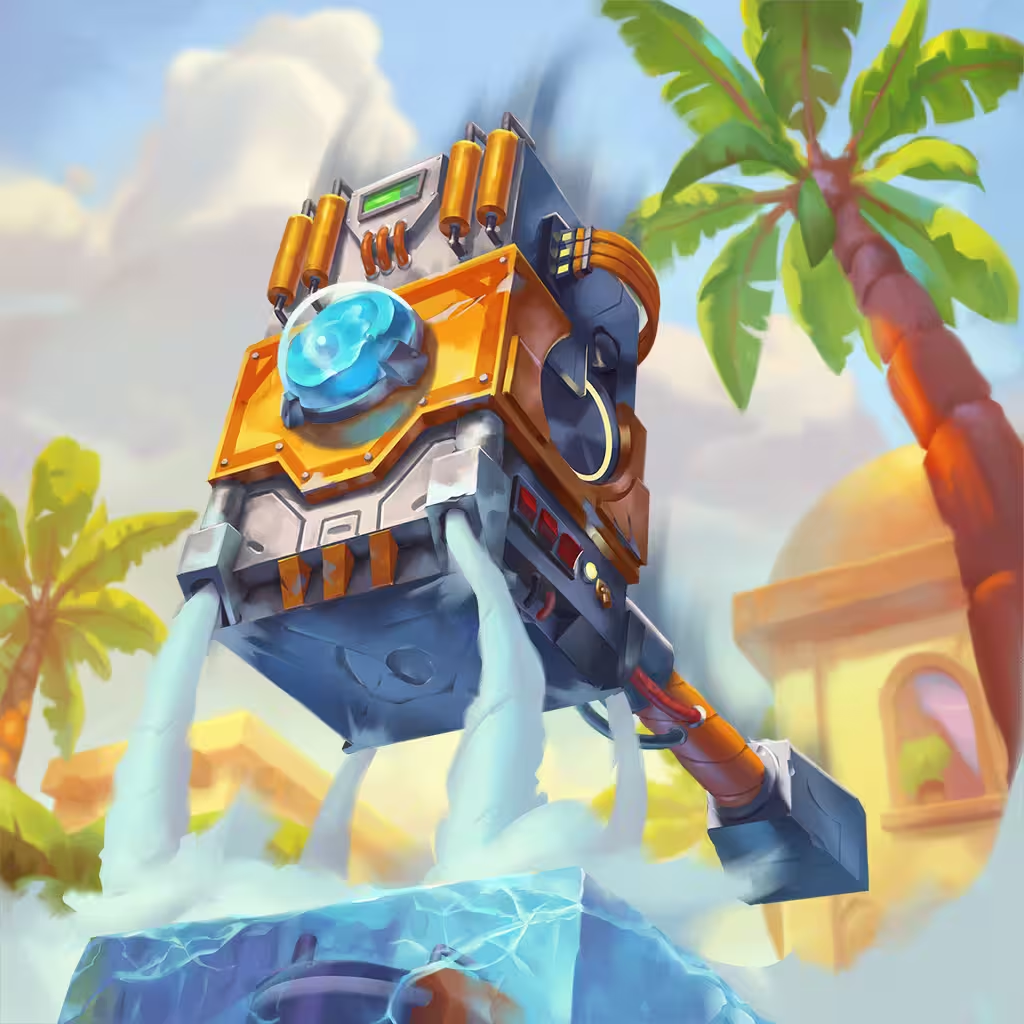 Nitrogen Hammer builds. While it's certainly not required, it alone represents and insane amount of Charges, which can be really useful if you're lacking Freeze quantity across the board.
It's essentially Dooley's version of 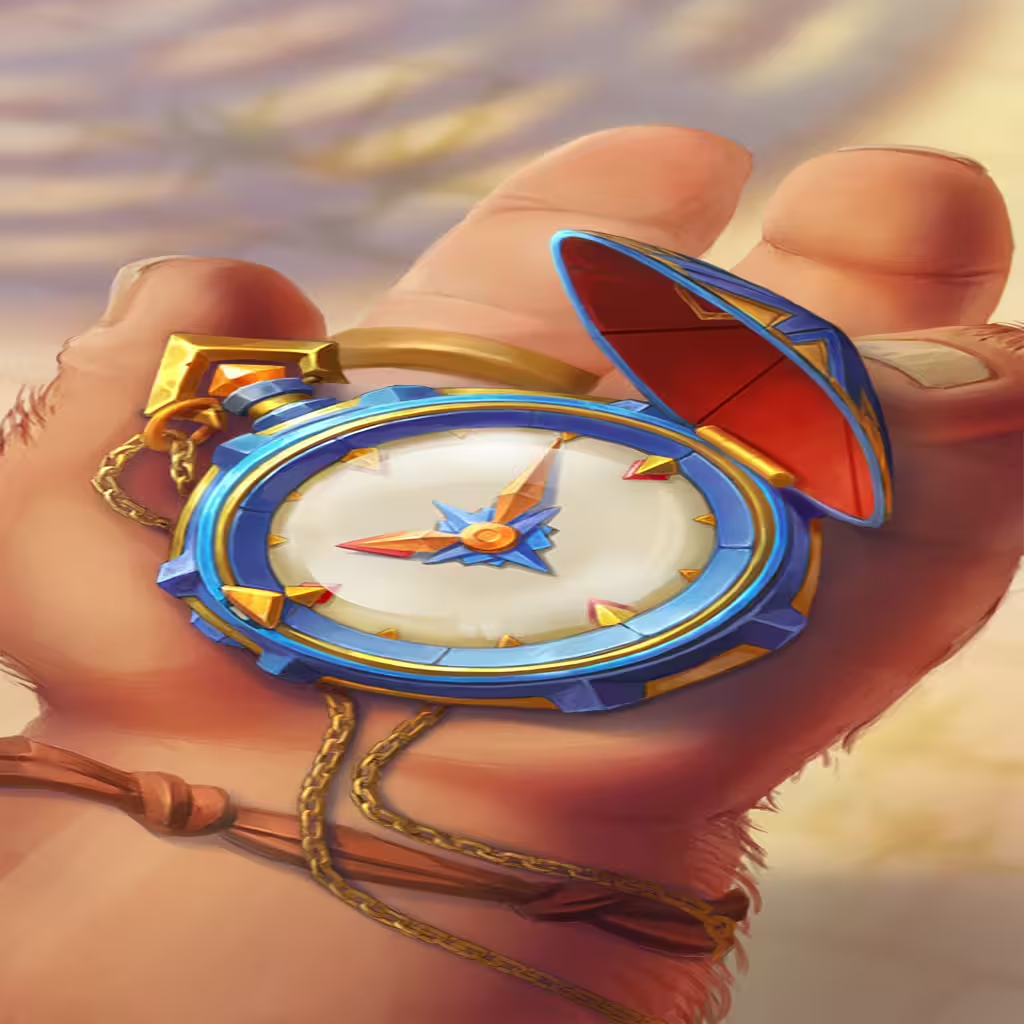 Stopwatch (which is even better if you find it), and works best alongside as many Small items as possible (for more triggers). Place a
 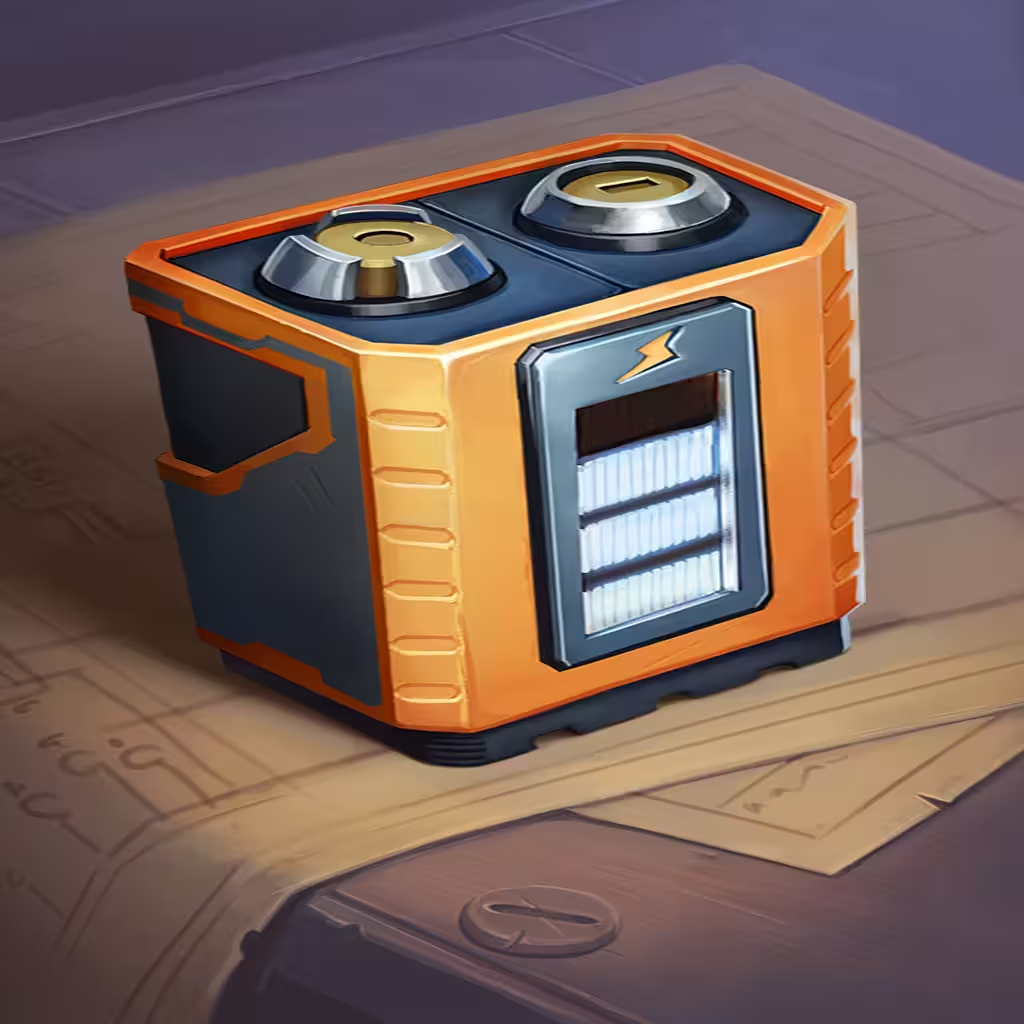 Battery next to it and watch the magic happen.
Unlike everything else that demands upgrades, Cryosphere is actually the opposite. If you obtain it at Gold, keep it that way. The extra duration is more of a hinderance than a benefit, as the Freeze triggers are what matter.
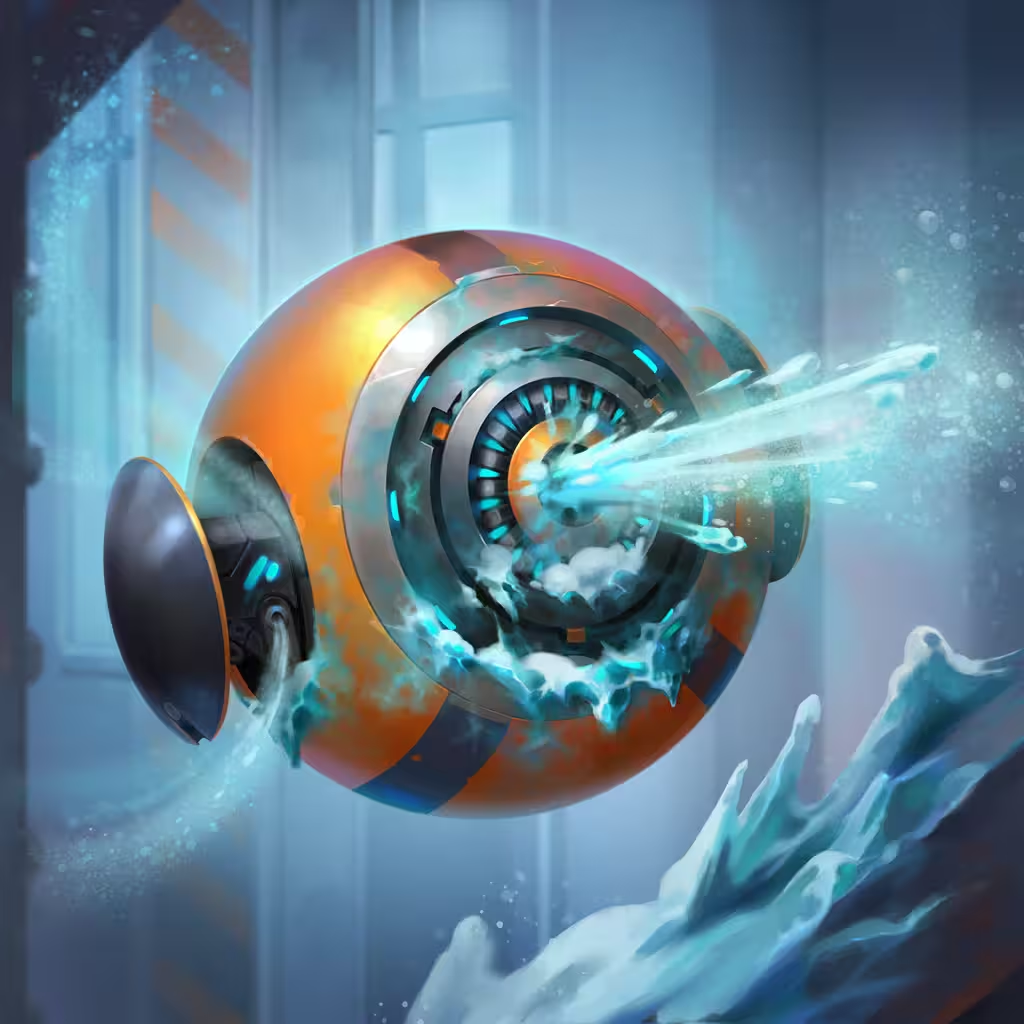
Icicle + GRN-W4SP
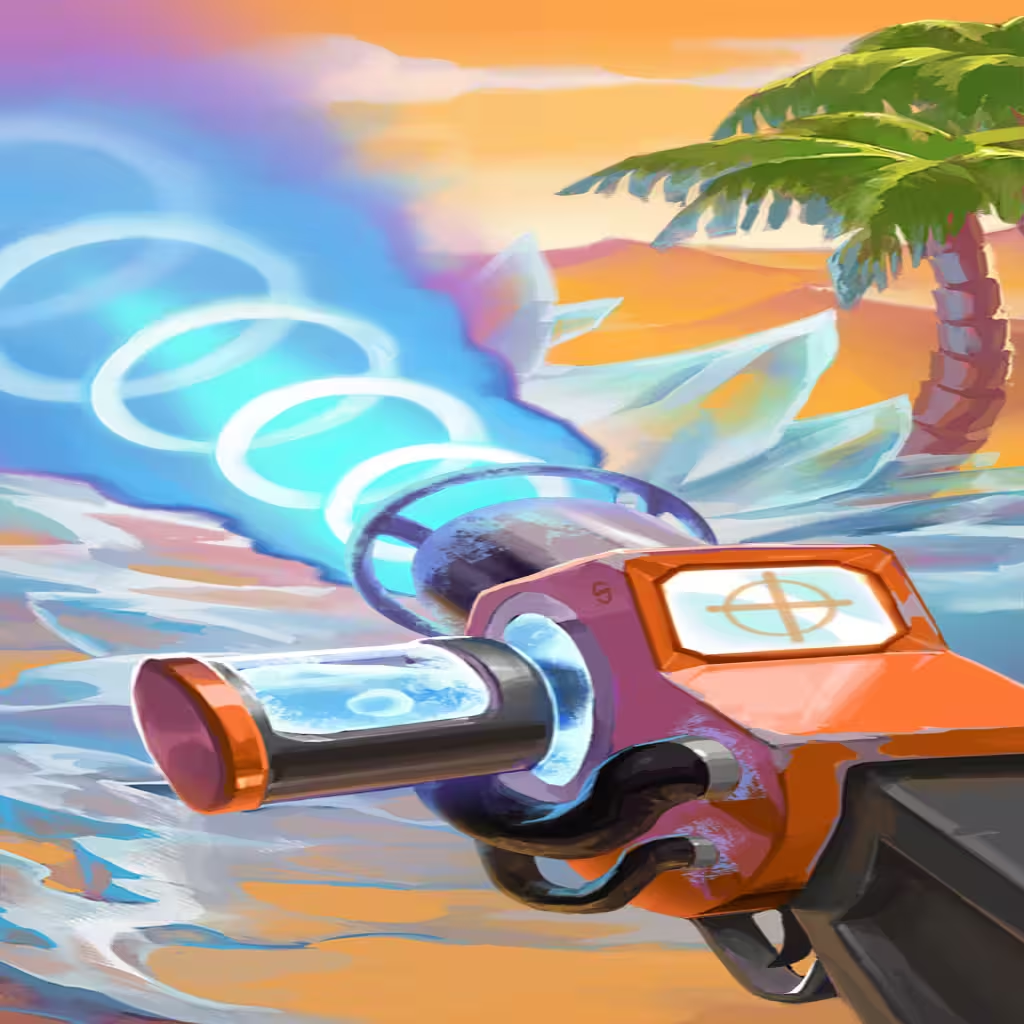
 Icicle is a great flex item for its powerful on-start Freeze. Kripp's Fiery Icicle got even more value as it also immediately triggered
  Frostfire for even more lockdown potential. While not mandatory, it's a good example of how you can take advantage of on-start enchant/skill combos.
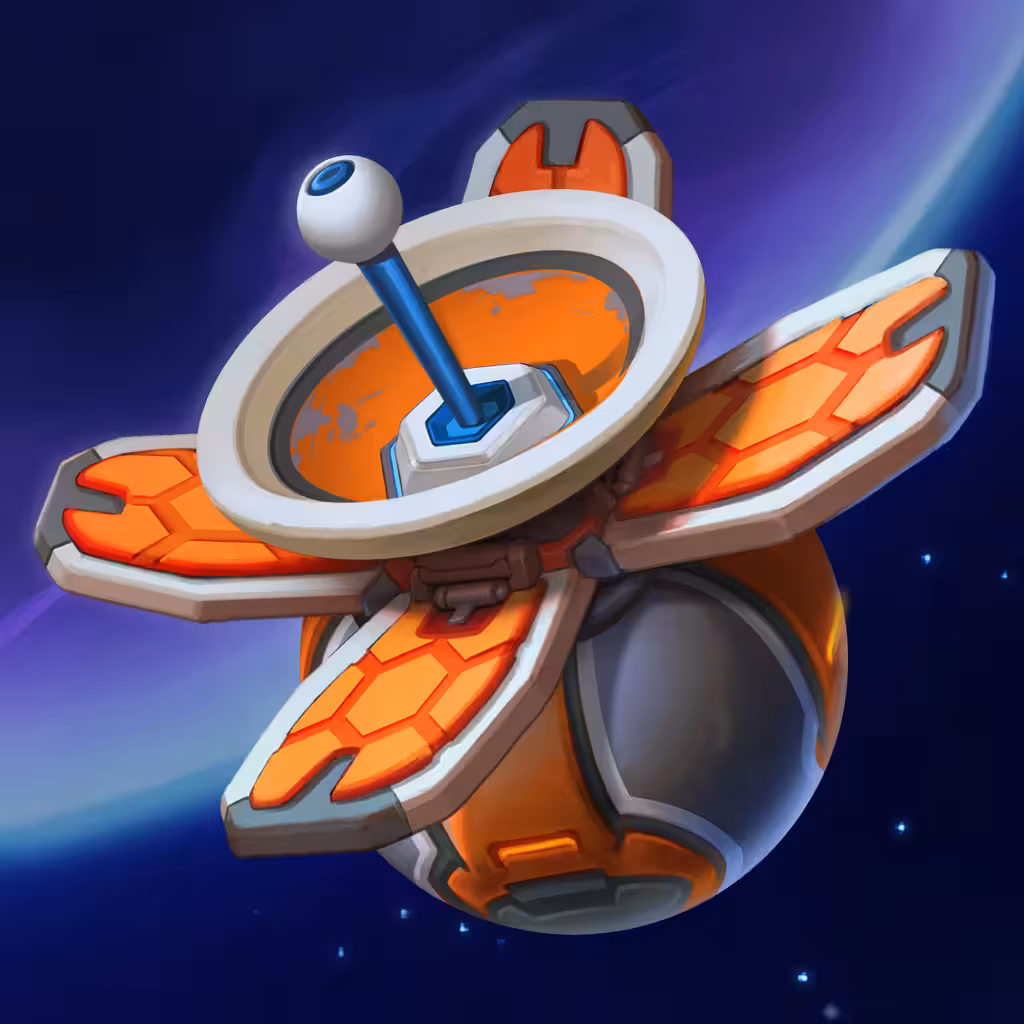
 GRN-W4SP fills the gap by helping Charge
 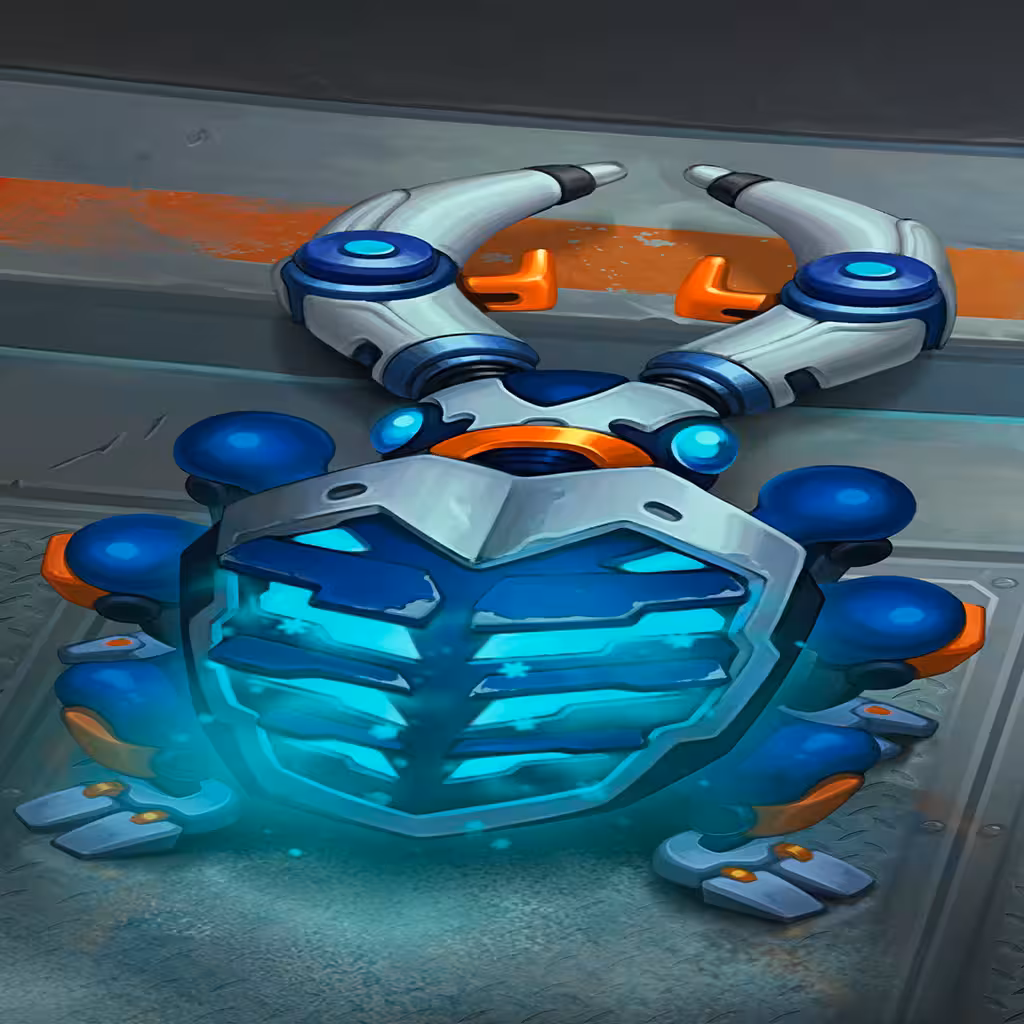 BLU-B33TL3 faster. Since it's the quantity of Freezes that matters most, it's a reasonable slot between
 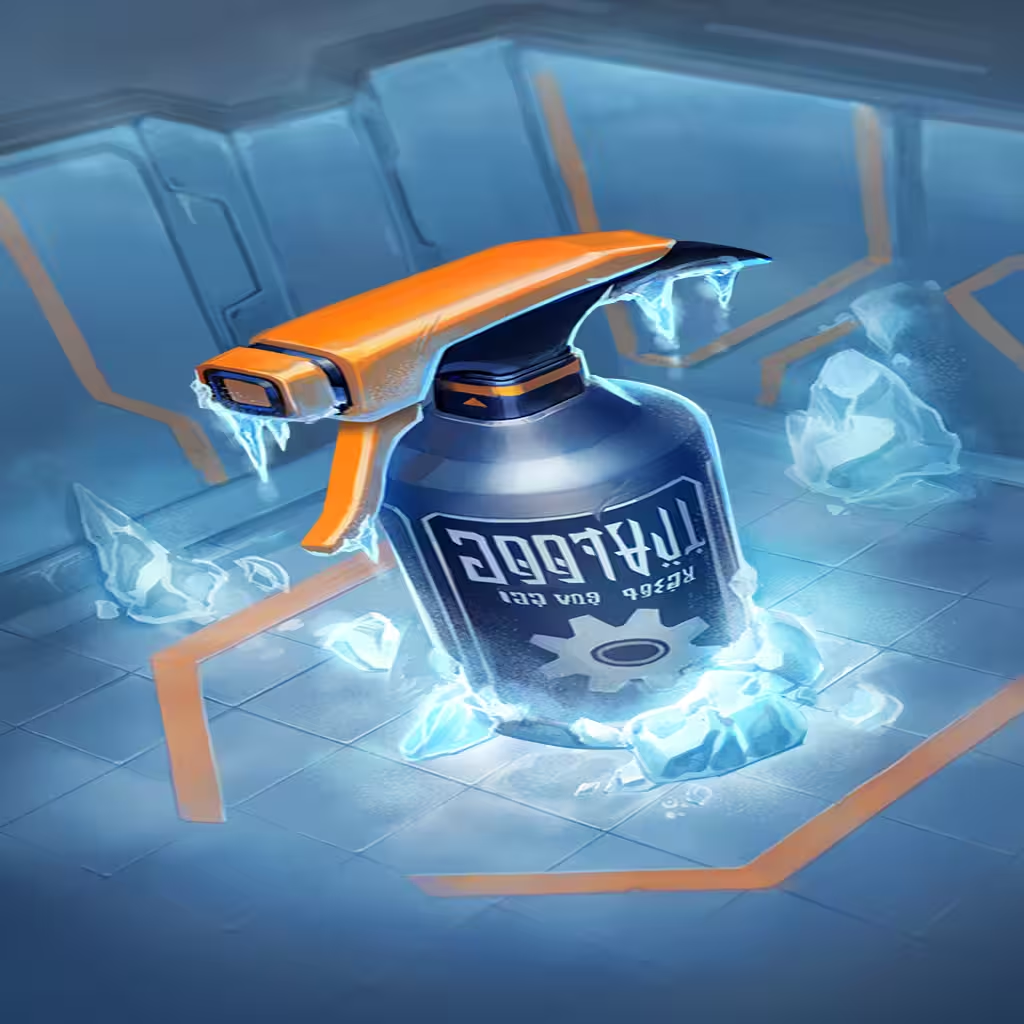 Coolant and BLU-B33TL3 to help get more out of your best items.
Dino Saddle + Thrusters
 Dino Saddle +
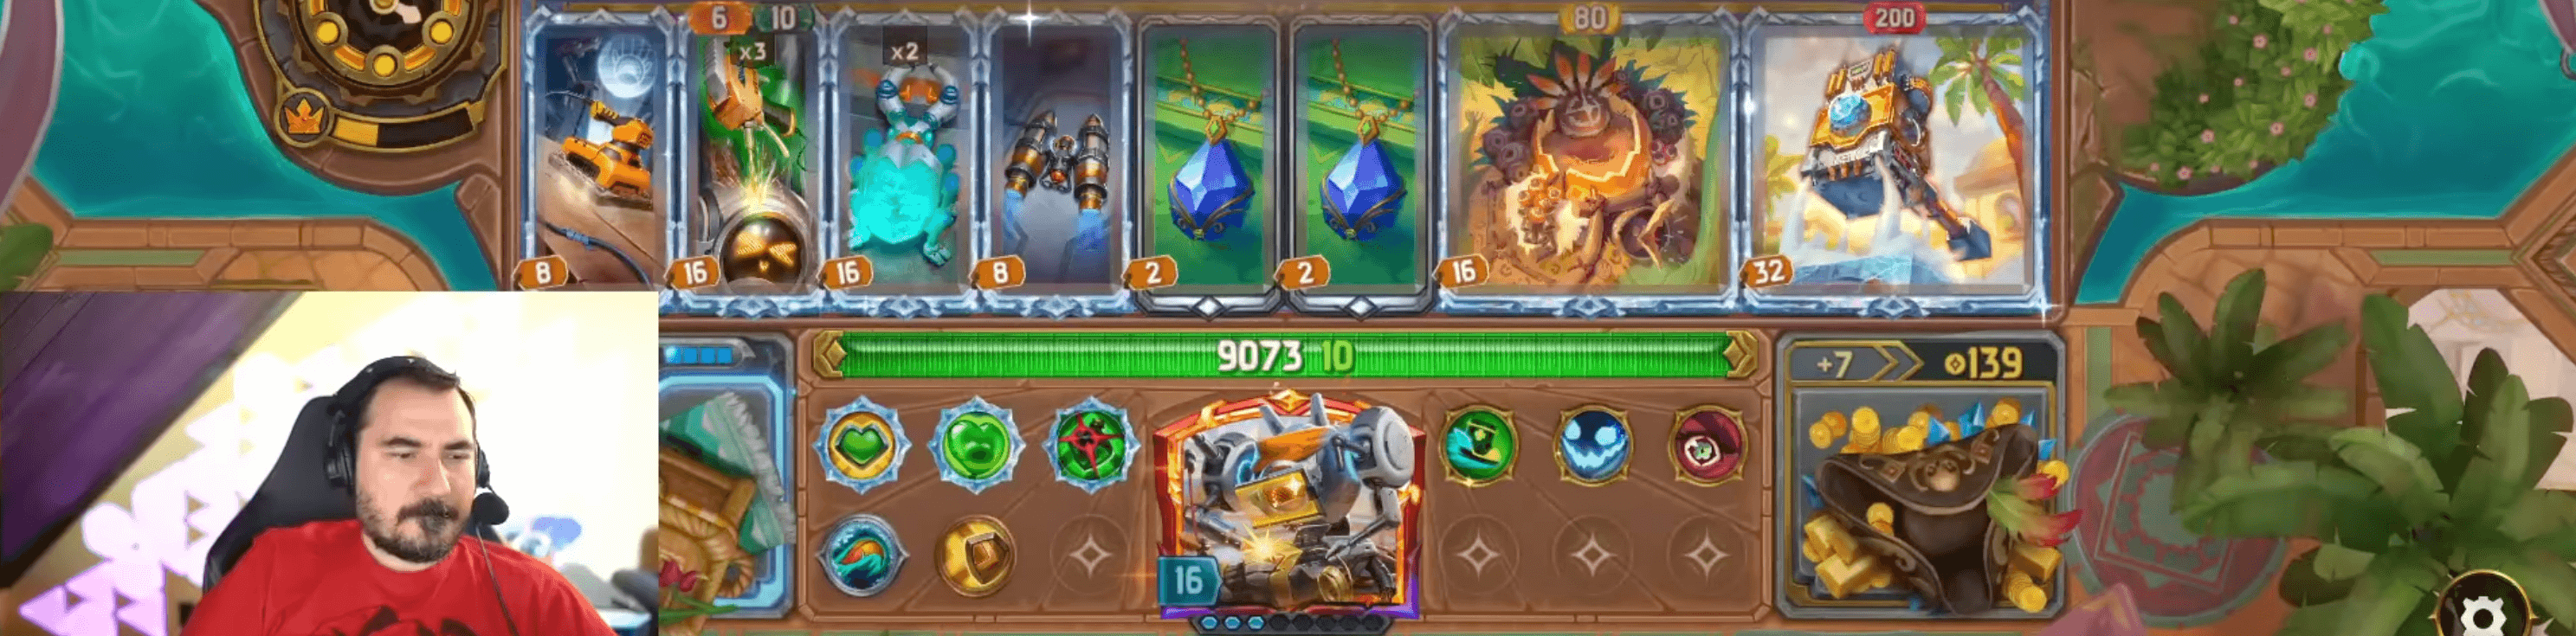
 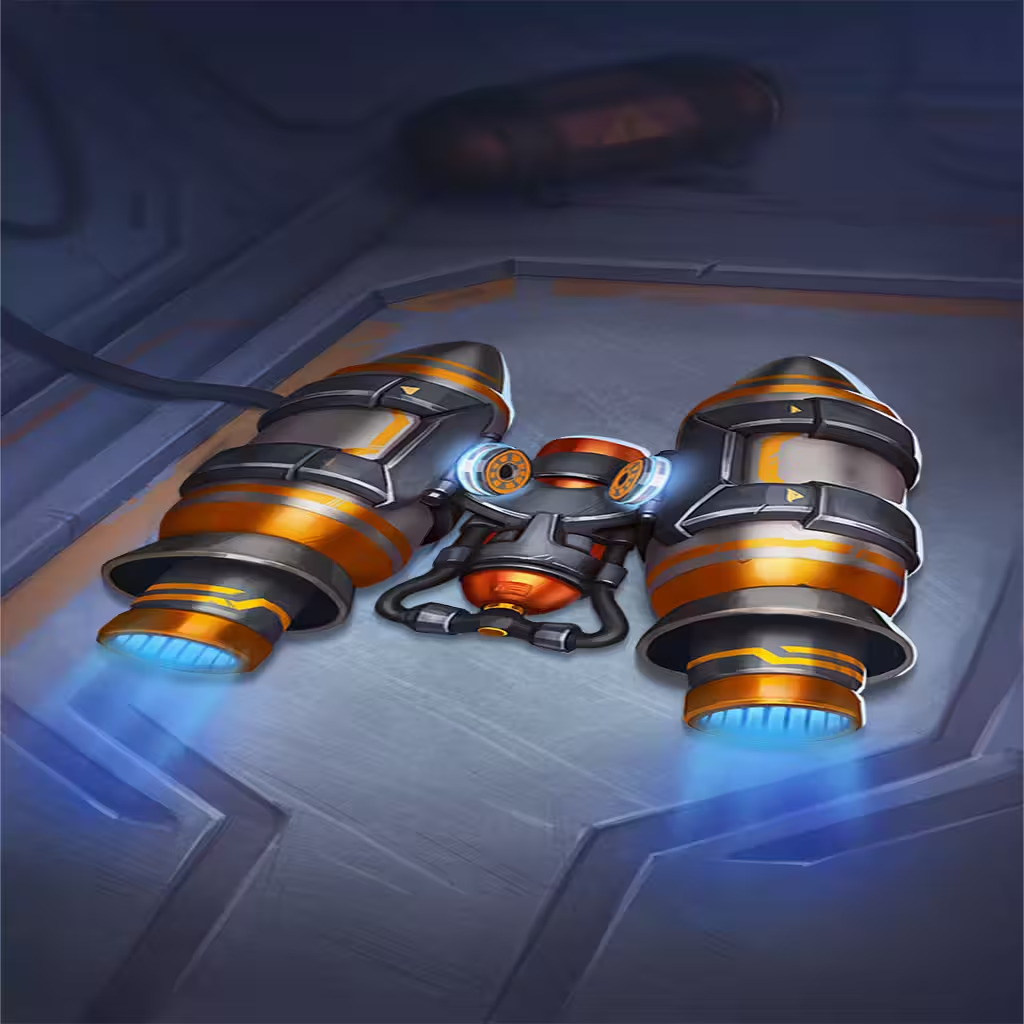 Thrusters has become a popular combo to effectively build-your-own Multicast item. When setup alongside BLU-B33TL3 it creates six separate Freeze triggers per activation, greatly Charging and scaling the Nitrogen Hammer.
You do trade a lot of board space and utility for this pair, so make sure you have an item that's worth supporting if you use it. If you don't have a Diamond-tier BLU-B33TL3 or Coolant, it may not be worth it.
Soldering Gun + Power Sander
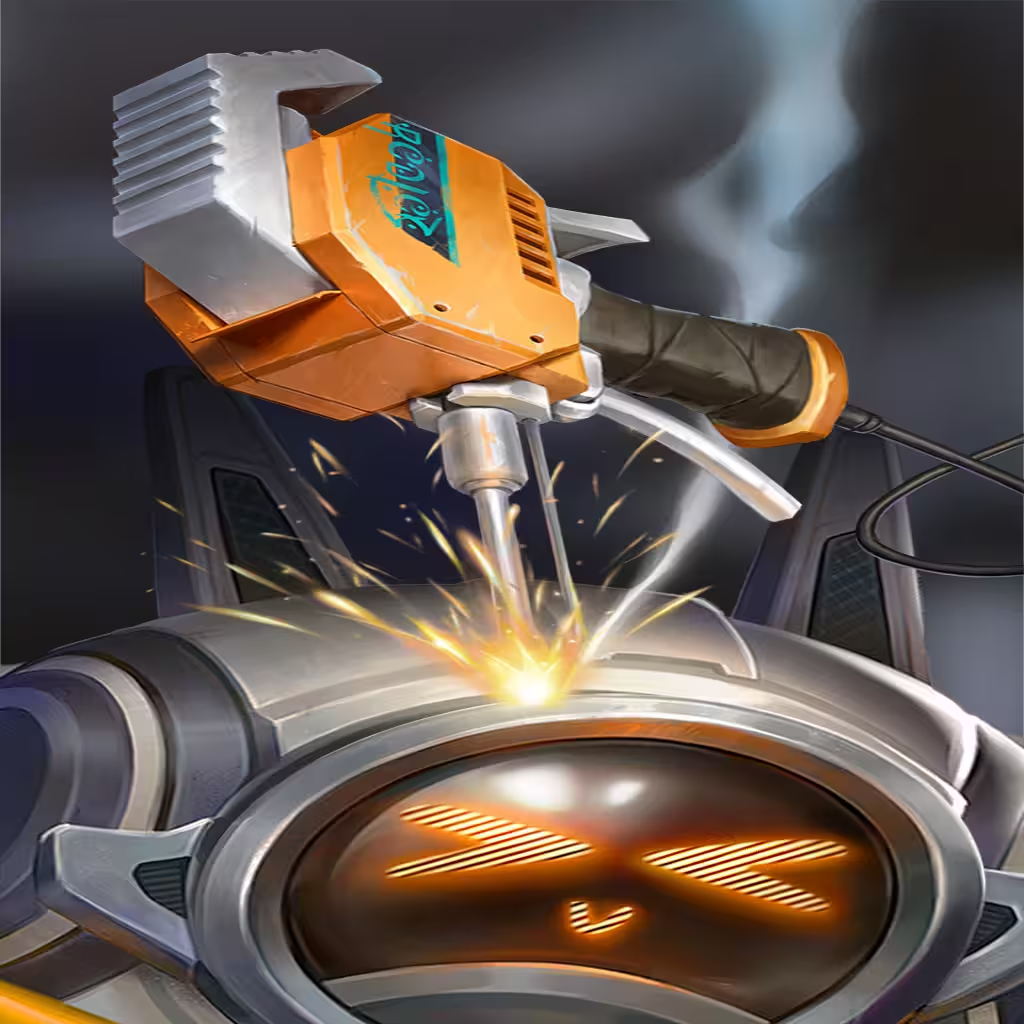 Soldering Gun +
 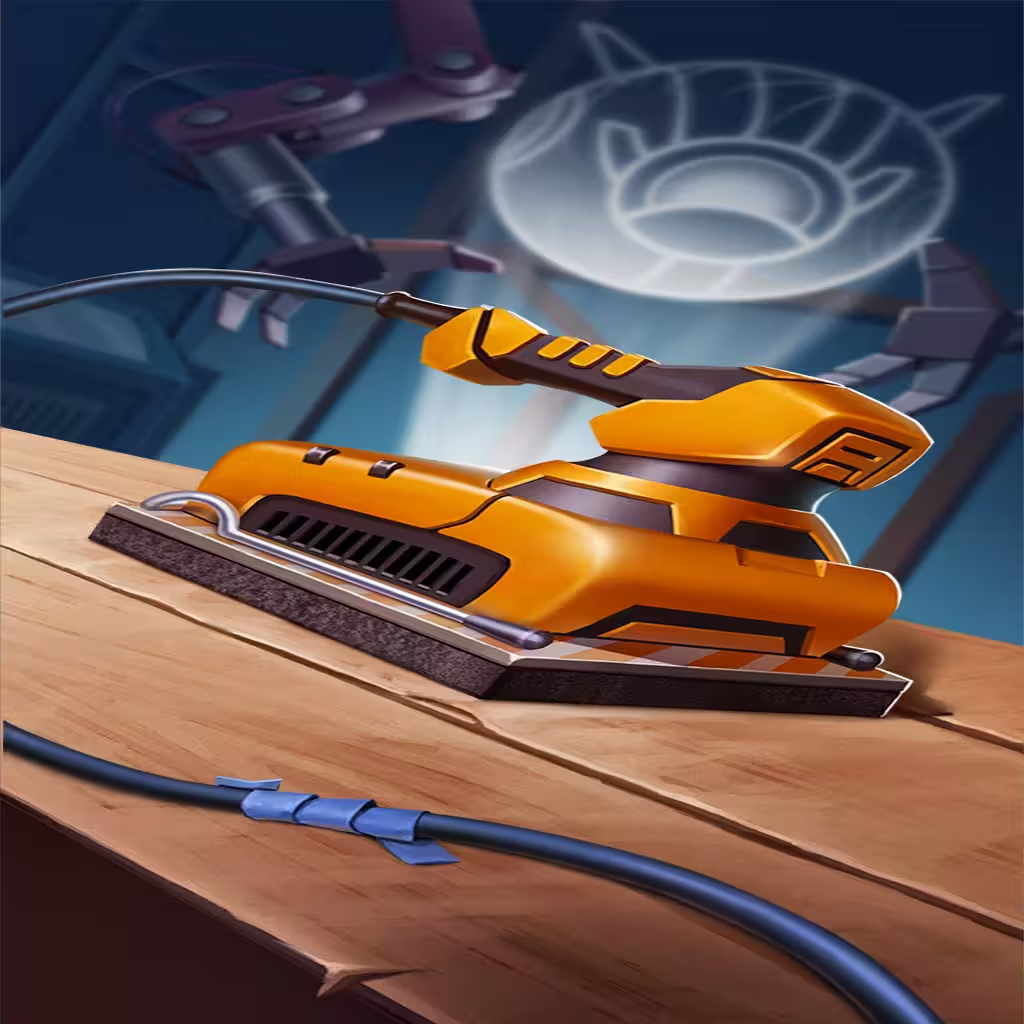 Power Sander was specifically used as a way to turbo Charge the Multicasting BLU-B33TL3. Kripp had a Toxic Soldering Gun which enabled this combo, but otherwise this would not be a useful pair. However, it is a good reminder that a Toxic enchant can enable a more potent BLU-B33TL3.
Sapphire
 Sapphire has always been one of the best Freeze items in the game, and even post-nerfs it's still very good. This obviously isn't a common find for Dooley, but definitely be on the lookout in case you come across it. It's definitely a priority pickup at Pearl's.
Healthy Heart
 Healthy Heart is a very helpful defense mechanism, particularly during full Cryosphere lockdown states. While Coolant definitely helps against Burn, both Burn and Poison can still become an issue when frozen for 2-3 seconds. Having a built-in Cleanse and Heal is really handy.
Defense Grid
 Defense Grid is useful for similar reasons as Healthy Heart, but ultimately just acts as an extra buffer before the scaling and Freeze takes over. It's not fun getting one-shot before your build comes online.
Freeze Skills
Any Freeze skills that your build can support are always a welcome addition. Freeze as an ability works wonders in multiples, so being able to lock out an item near the start then stack more Freeze on top of it can be game breaking.
If you're lucky enough to get  Petrifying Gaze, it'll act as a pseudo one-sided Cryosphere effect, scaling and Charging Nitrogen Hammer the moment your Health drops low enough.
 Magnus' Femur, except Freeze instead of Slow.