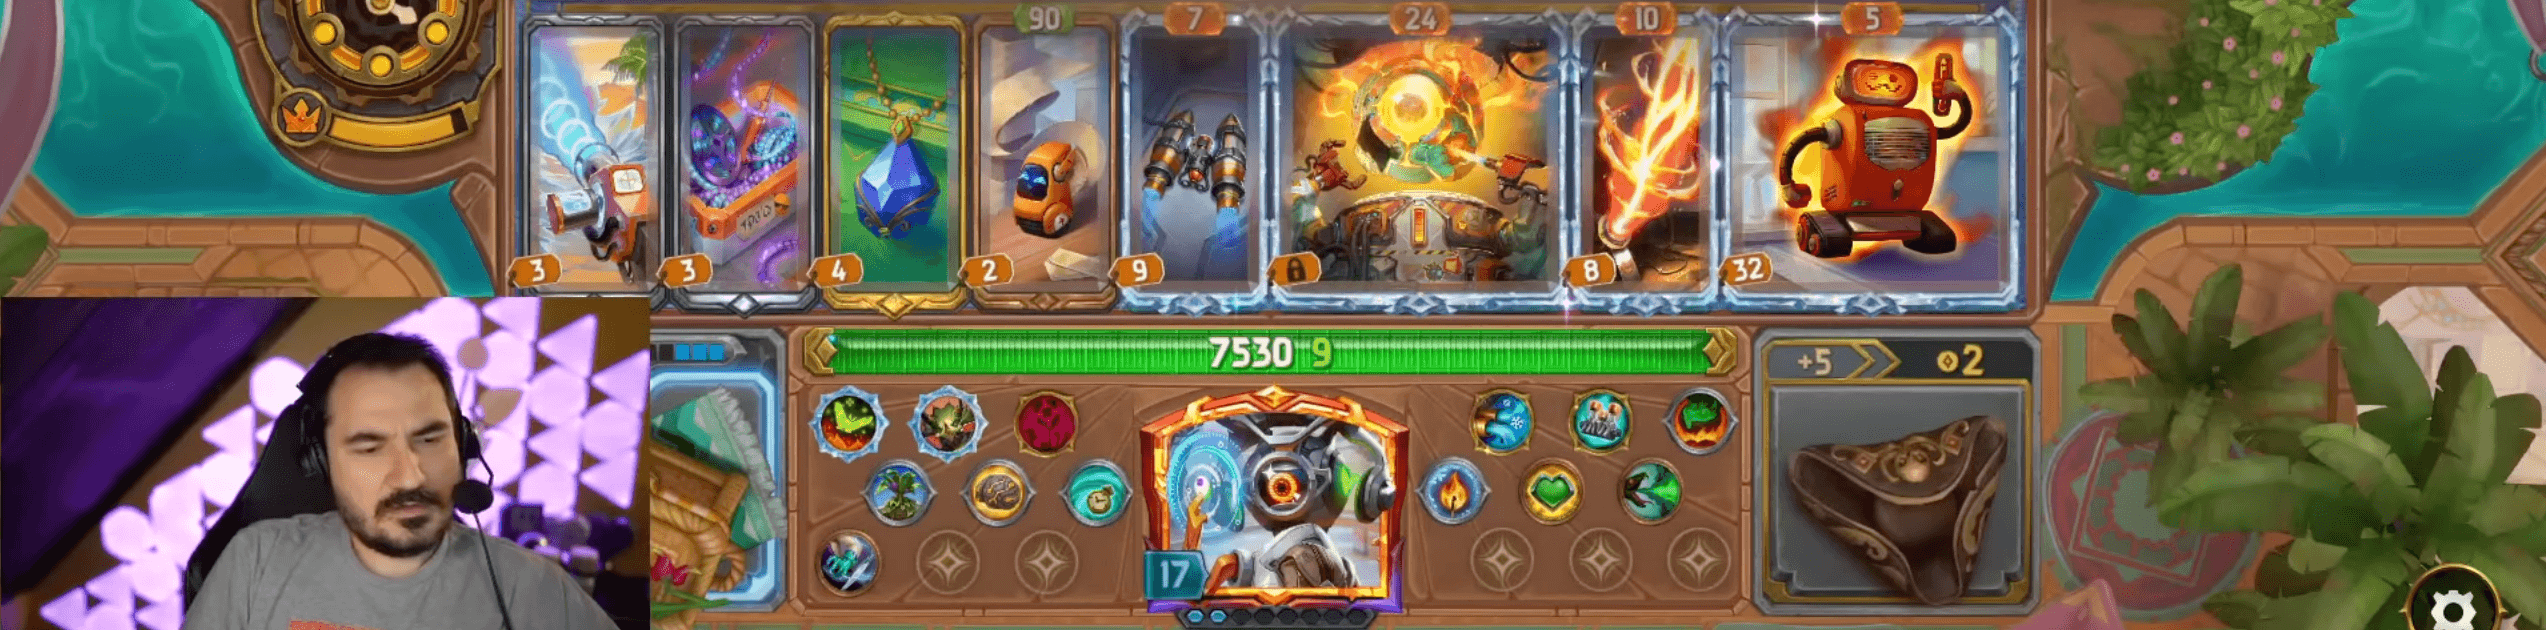
Fire and Ice
What makes this strategy work is that it pairs early game strength with late game disruption. The Burn setup helps win early PvP fights which can often lead to a much smoother run. After all, the longer a run goes, the more difficult the fights get.
Freeze helps play a major role in its late game viability. Having a strong form of disruption can prevent the opponent from scaling their defenses out of reach, and/or delay them from being able to fight back.
The removal of the Rapid Thaw skill (reduces Freeze duration) leaves very little ways for the average build to contest against Freeze, making this even more potent than usual. With the exception of  Giant Ice Club, many competitors are in for a rough time.
Ignition Core
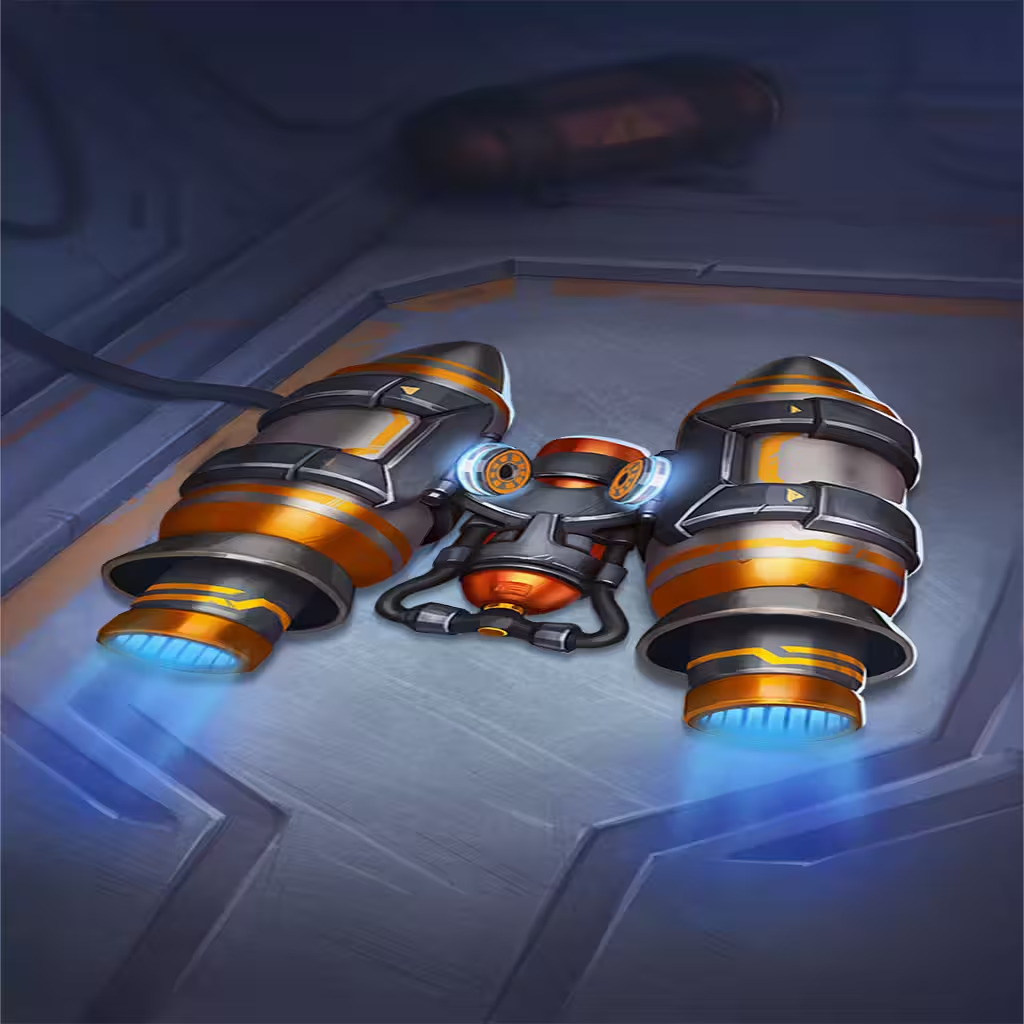
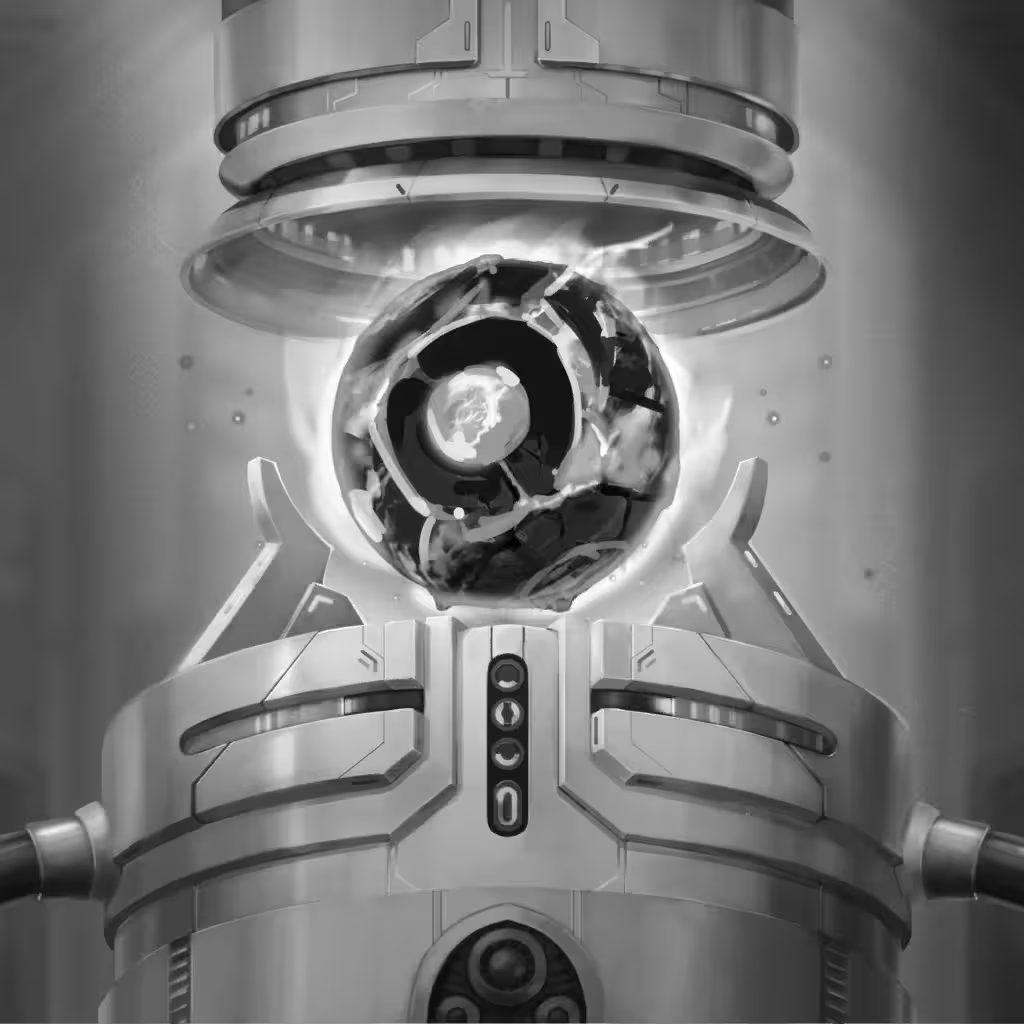 Ignition Core is positioned for scaling in this setup, but will ulimately depend on what you find. Without the
 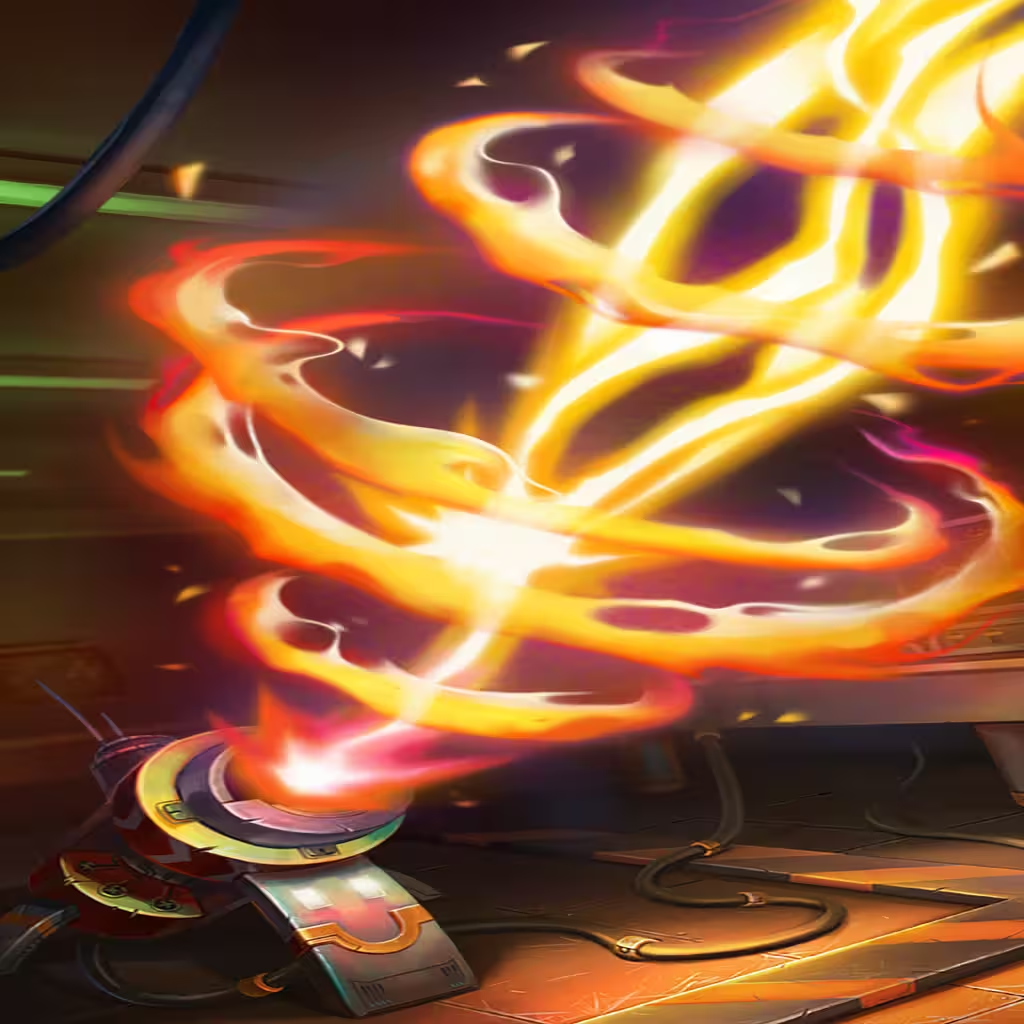 Omega Ray you may opt for a more rightmost Core setting to allow it to be Charged faster.
Upgrading the Core becomes more or less important depending on its placement. If you plan to scale other Burn items, make upgrading it a priority to have the highest scaling possible.
Kripp found a Turbo enchant for the Ignition Core, allowing it to become a reliable Haste support for the entire build. This is an excellent enchant if you manage to find it. Faster items make a big difference when trying to stack Freeze against the enemy.
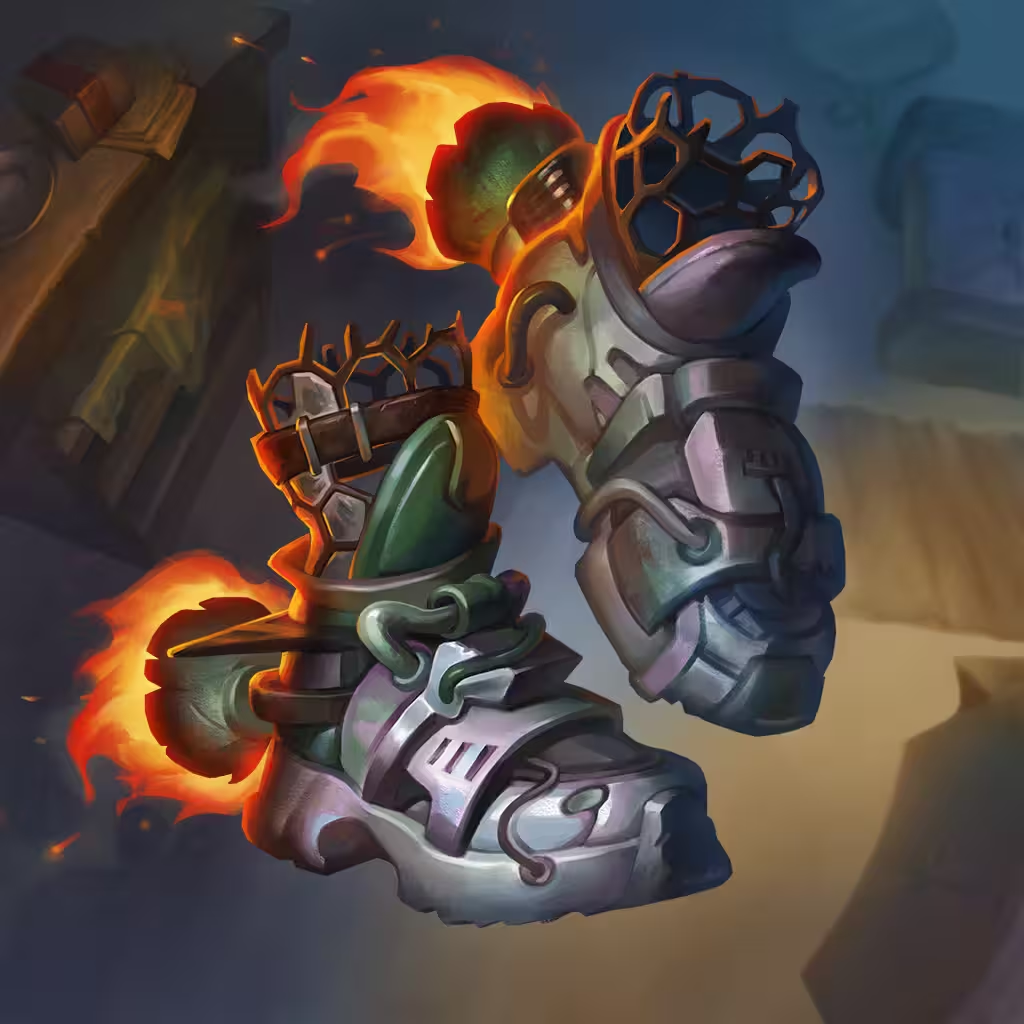
Pierre Conditioner
 Pierre Conditioner is the premium Freeze support for the build, but it does require a bit extra to be truly effective. A one second Freeze on its own can be a bit underwhelming, so it's important to find a way to extend this duration.
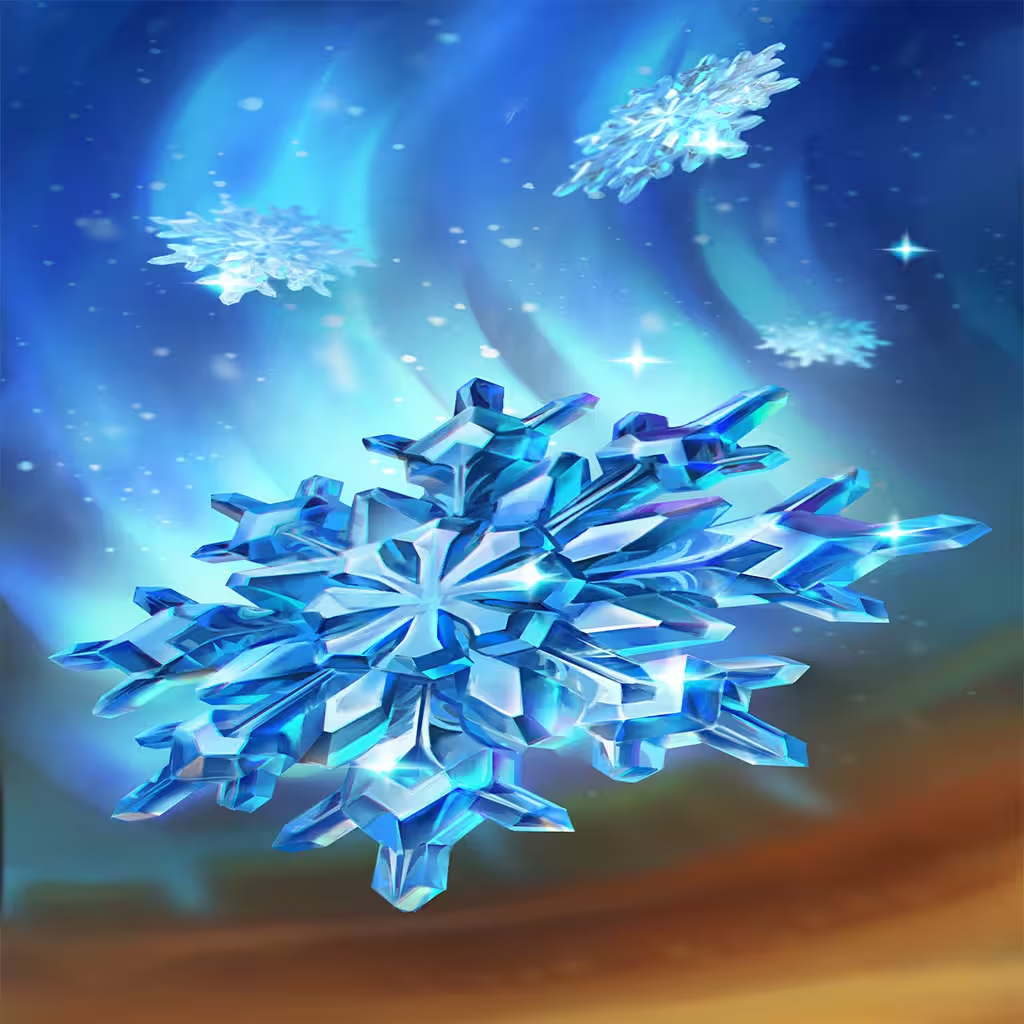 Snowflake is incredible if you're lucky enough to find it, but if not
 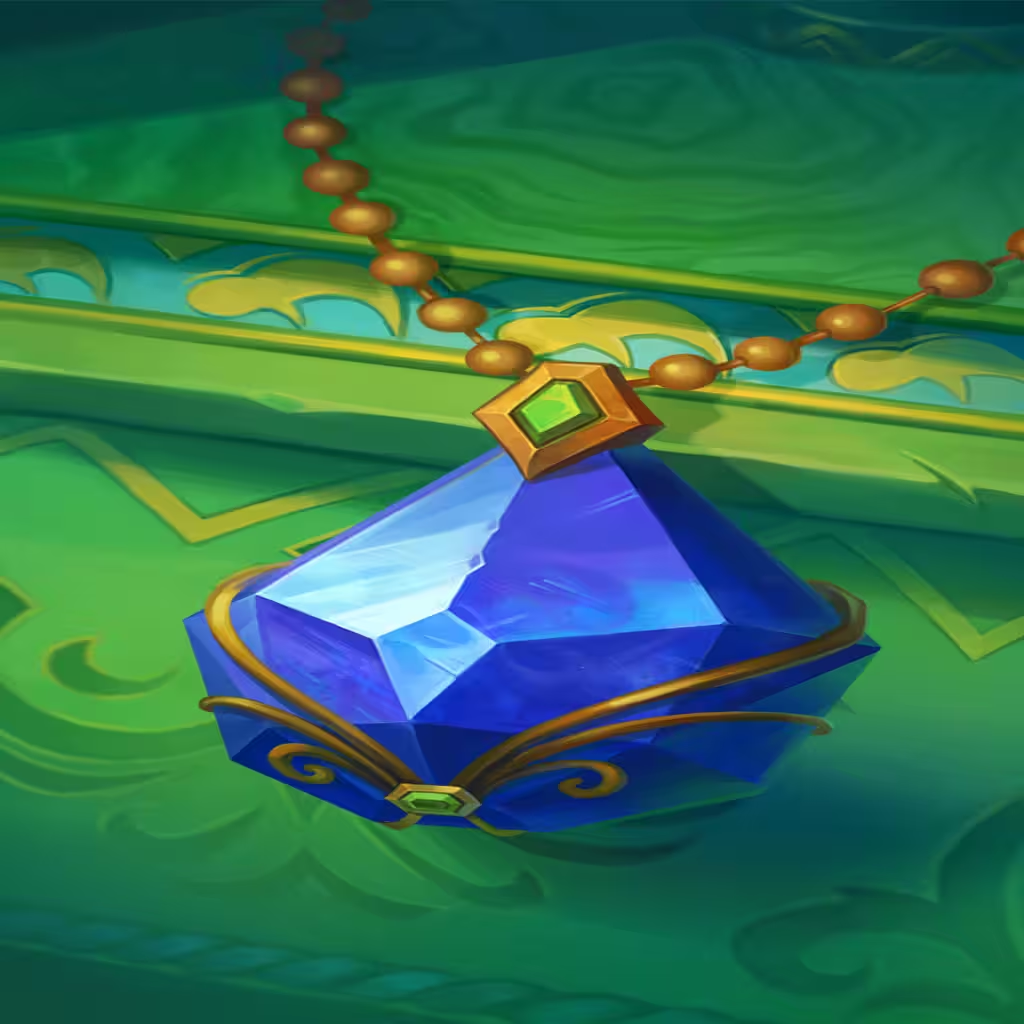 Sapphire will fulfill a similar role.
The Fiery enchant greatly improved the build's Burn output since Pierre Conditioner turns into a fast scalable Burn item. Positioning obviously changes without this enchantment.
Enhancers
Omega Ray and Sapphire are both key components that enable the "Frostfire" Core. The former greatly improves your ability to scale during longer fights while the Sapphire makes Pierre Conditioner exponentially better.
These are both essential as they provide a huge power spike to the build. Without them, you'll need to find other ways to scale your Burn and Freeze durations, or else considering pivoting to more accessible options.