How to Play Opportunistically
If there's one thing that Kripp excels at, it's playing opportunistically. Every run of The Bazaar is different, and it's up to you to figure out the best path among the trails you're given. This isn't an easy feat as luck won't always be on your side, but there are some things to keep in mind to help you better navigate your adventure.
The restructuring of the level-up system has created realistic opportunities that can drastically improve your build. This all comes from having much earlier access to a guaranteed enchantment. In past systems, this was usually given at level 16, whereas now it's level 10.
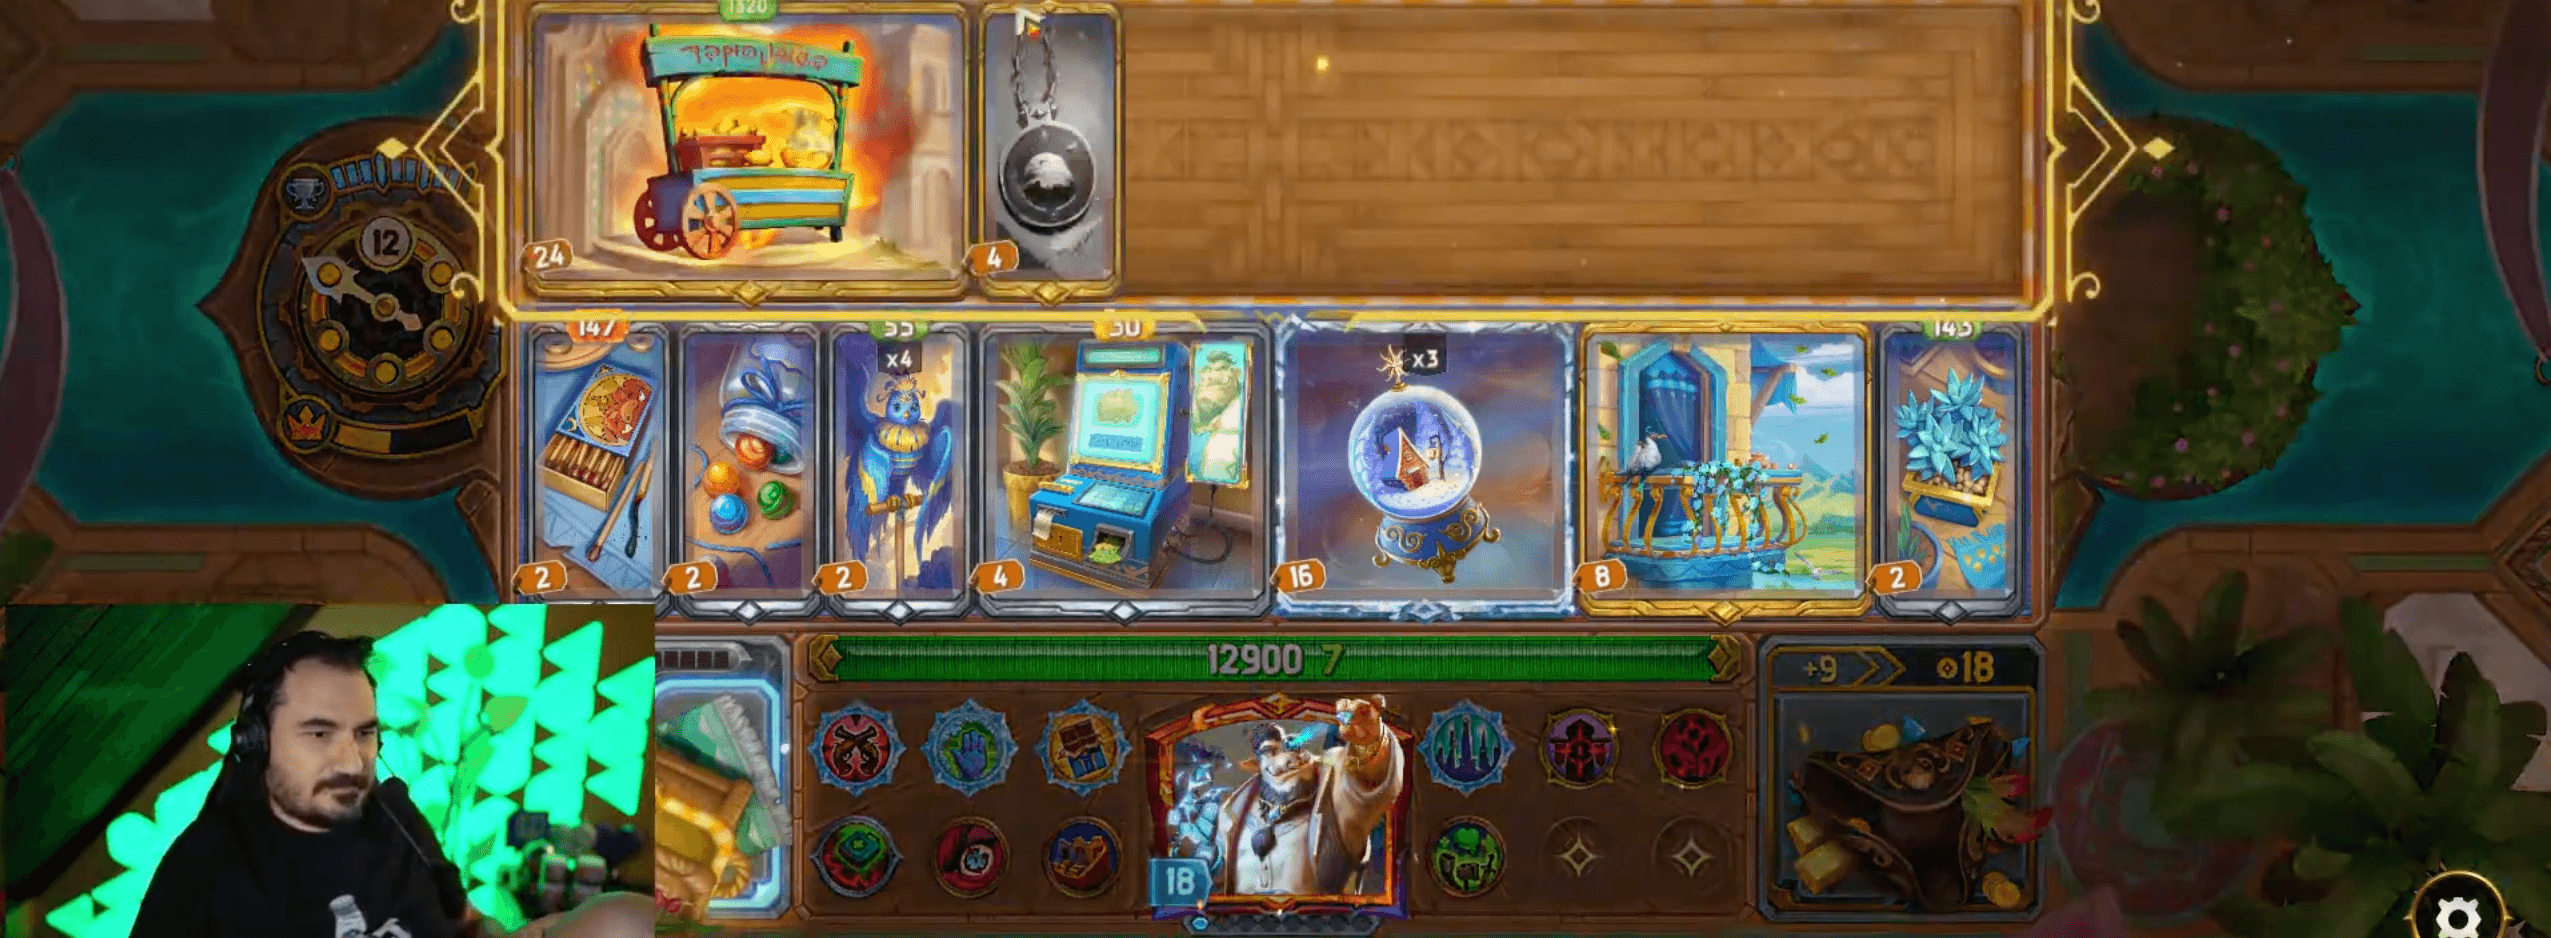
Having the right item enchantment combo can completely warp your build and redefine what's possible. In fact, it's strong enough to the point where it's worth hoarding items just for the chance of that insane power spike. The item in this case, is 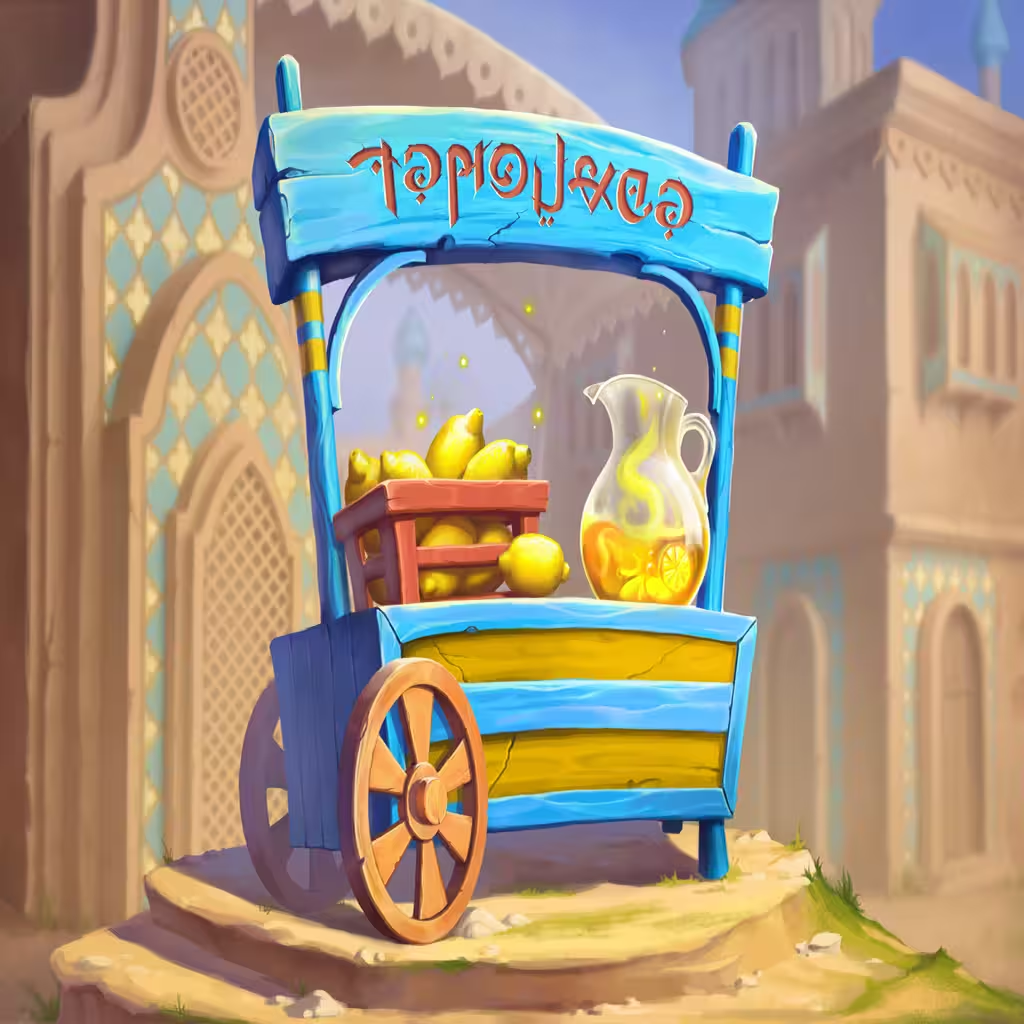 Lemonade Stand.
If you're able to enchant the Lemonade Stand stand with Fiery, you now have access to endless amounts of Burn scaling. A Fiery Lemonade Stand effectively turns every single Small item into  Cinders. Combine this effect with a
 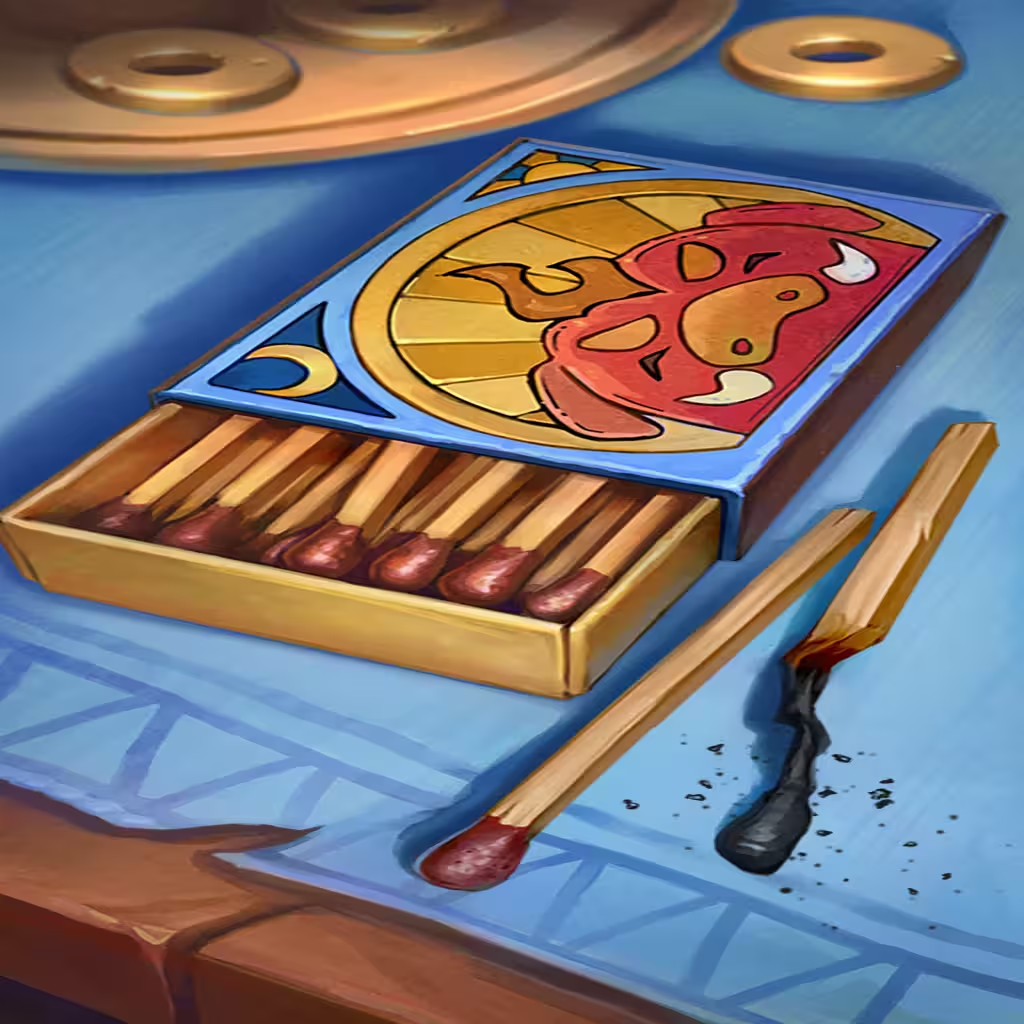 Matchbox and you'll create the strongest Burn item in the game. It makes other Burn items look laughable in comparison.
It's moments like this that can really level up your overall gameplay. Spare a bit of gold and pick up the odd item, because you never know when you may be given the perfect opportunity to pivot. This is only one example, and yes it's definitely a good one, but there are plenty of others out there if you keep your eyes open.
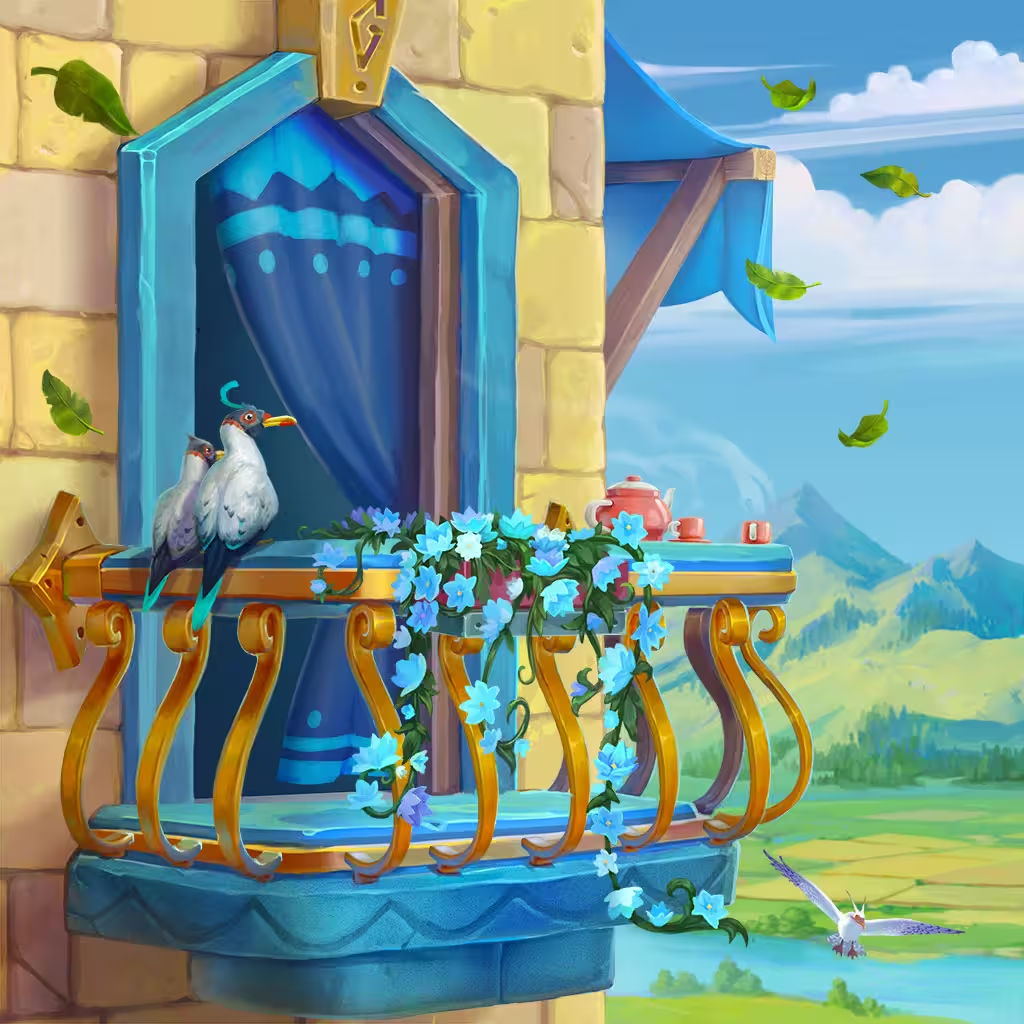
Matchbox
Matchbox may have had its ridiculous Charge abilities nerfed (like most everything else), but on the flip side, it actually received buffs to its base Burn value. Even at Bronze tier it deals "Burn 4", whereas every tier previously was capped at "Burn 3".
Regardless, now the true purpose of Matchbox is to be the best host for the Fiery Lemonade Stand. Once the enchant is acquired, take every opportunity within your budget to scale that Burn.
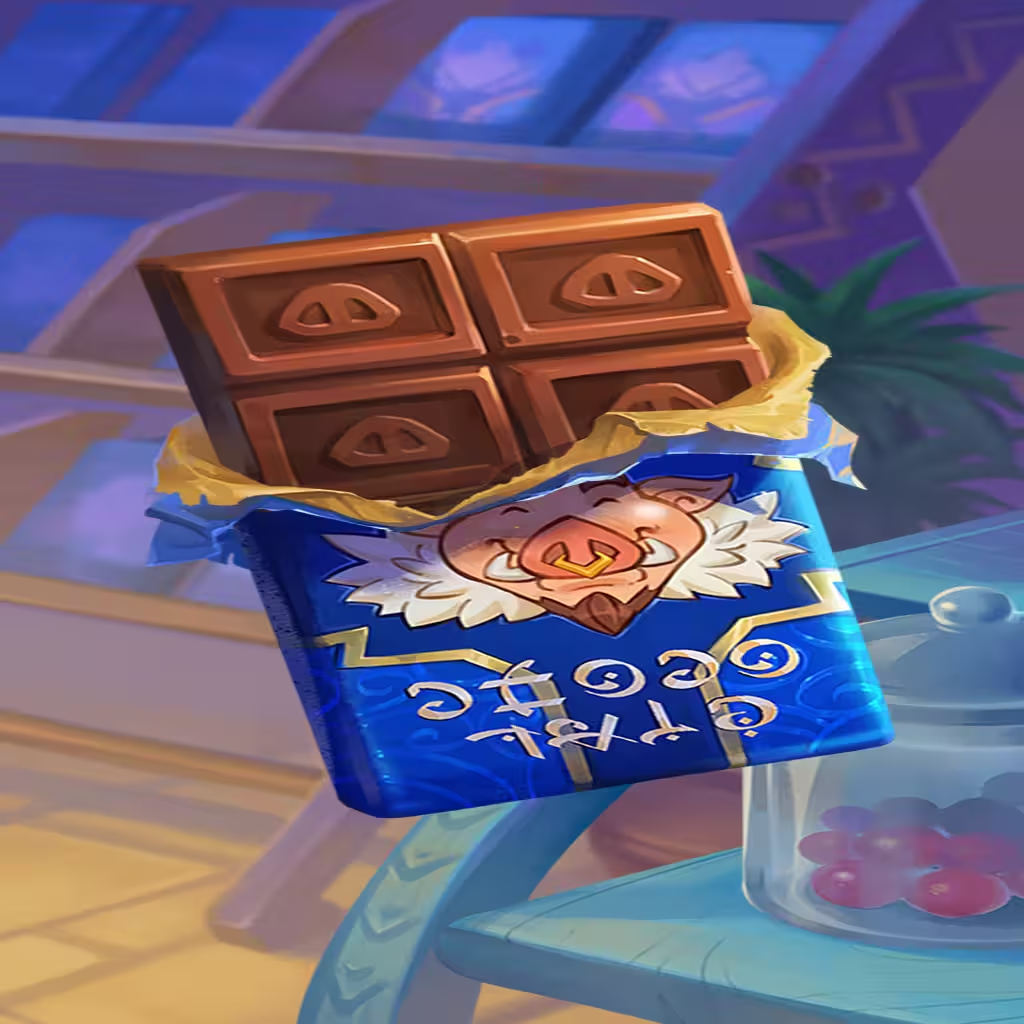 Chocolate Bars and Gumballs are amazing for this as a cheap (or free!) way to gain a ton of Burn at once. Small item vendors are pretty good too, but you should probably avoid some of the Gold or Diamond items as they can get quite expensive. You're better off keeping a decent reserve of gold, as this lets you fund more Gumball events in the future.
Snow Globe
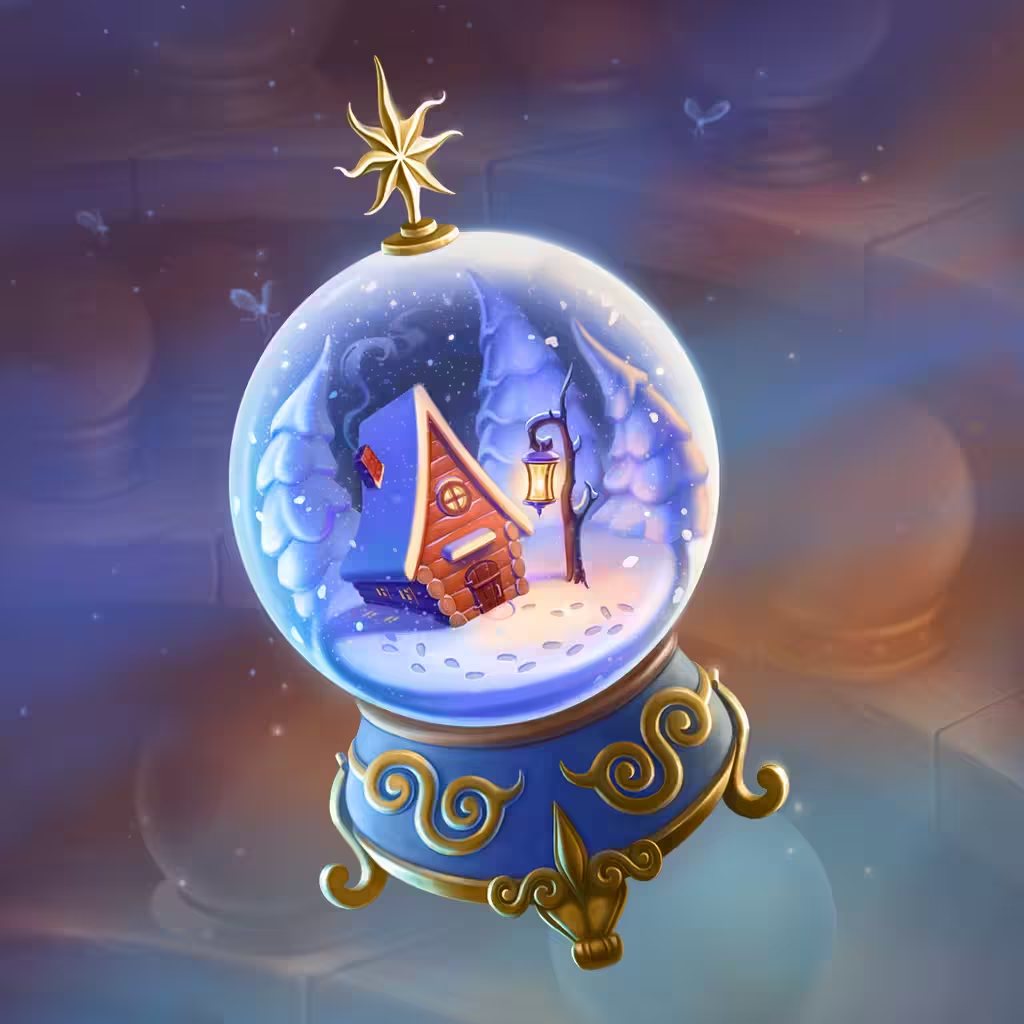 Snow Globe is a great fit for the build with its Multicast Freeze capabilities. The Multicast is important as it counts as three separate non-Weapon Charges for Matchbox, while the Freeze helps buy enough time for the Burn to scorch the opponent.
This fire and ice combo is an excellent match, as the Matchbox's insanely high Burn needs very little time to get the job done. Plus, with  Rapid Thaw removed from the game (temporarily?), Freeze is even more premium than usual.
Uwashiwali Bird
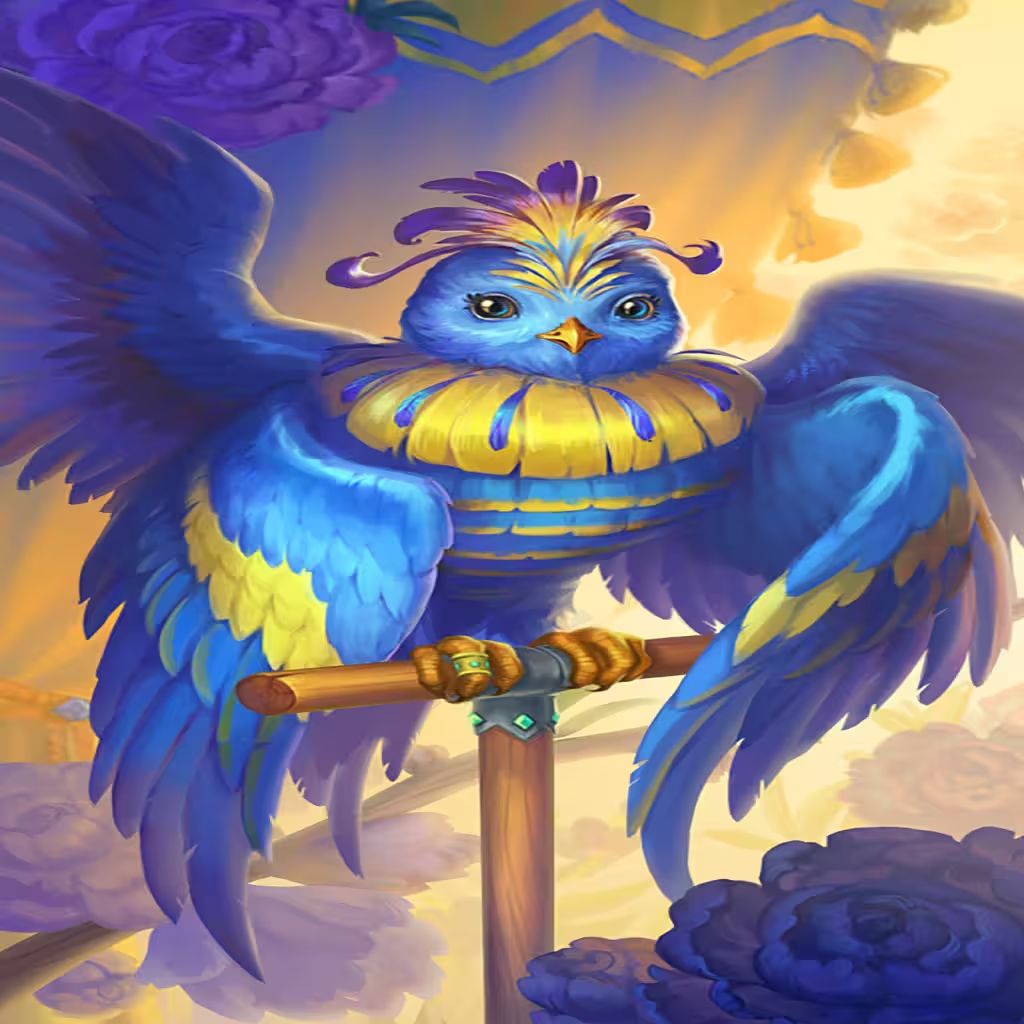 Uwashiwali Bird goes hand in hand with Snow Globe and finds itself performing even faster with help from additional Properties (see below). It's been a while since Uwashiwali Bird's had more than 2-3 Multicast, as most Properties tend to be on the Large size.
With an excellent 4x Multicast, Uwashiwali Bird keeps the Matchbox Burning as much as possible. Additionally, despite not playing a Healing build, it can become a great source of Healing with the right skills.