The Bazaar Build
Kripp's Dual Core Dooley Build
Kripparrian
Dooley
Overview
With the meta cooling off from all the Charge-spamming infinites, we're finally returning to a more balanced state (relatively speaking).
This works out favorably for Dooley, as Charge effects were a big part of Dooley's identity long before Pyg and Vanessa gained their share.
Under this more controlled environment, Dooley's once again able to flourish. The classic Dual Core archetype is back and ready to heat things up!
Kripparrian's Video Guide
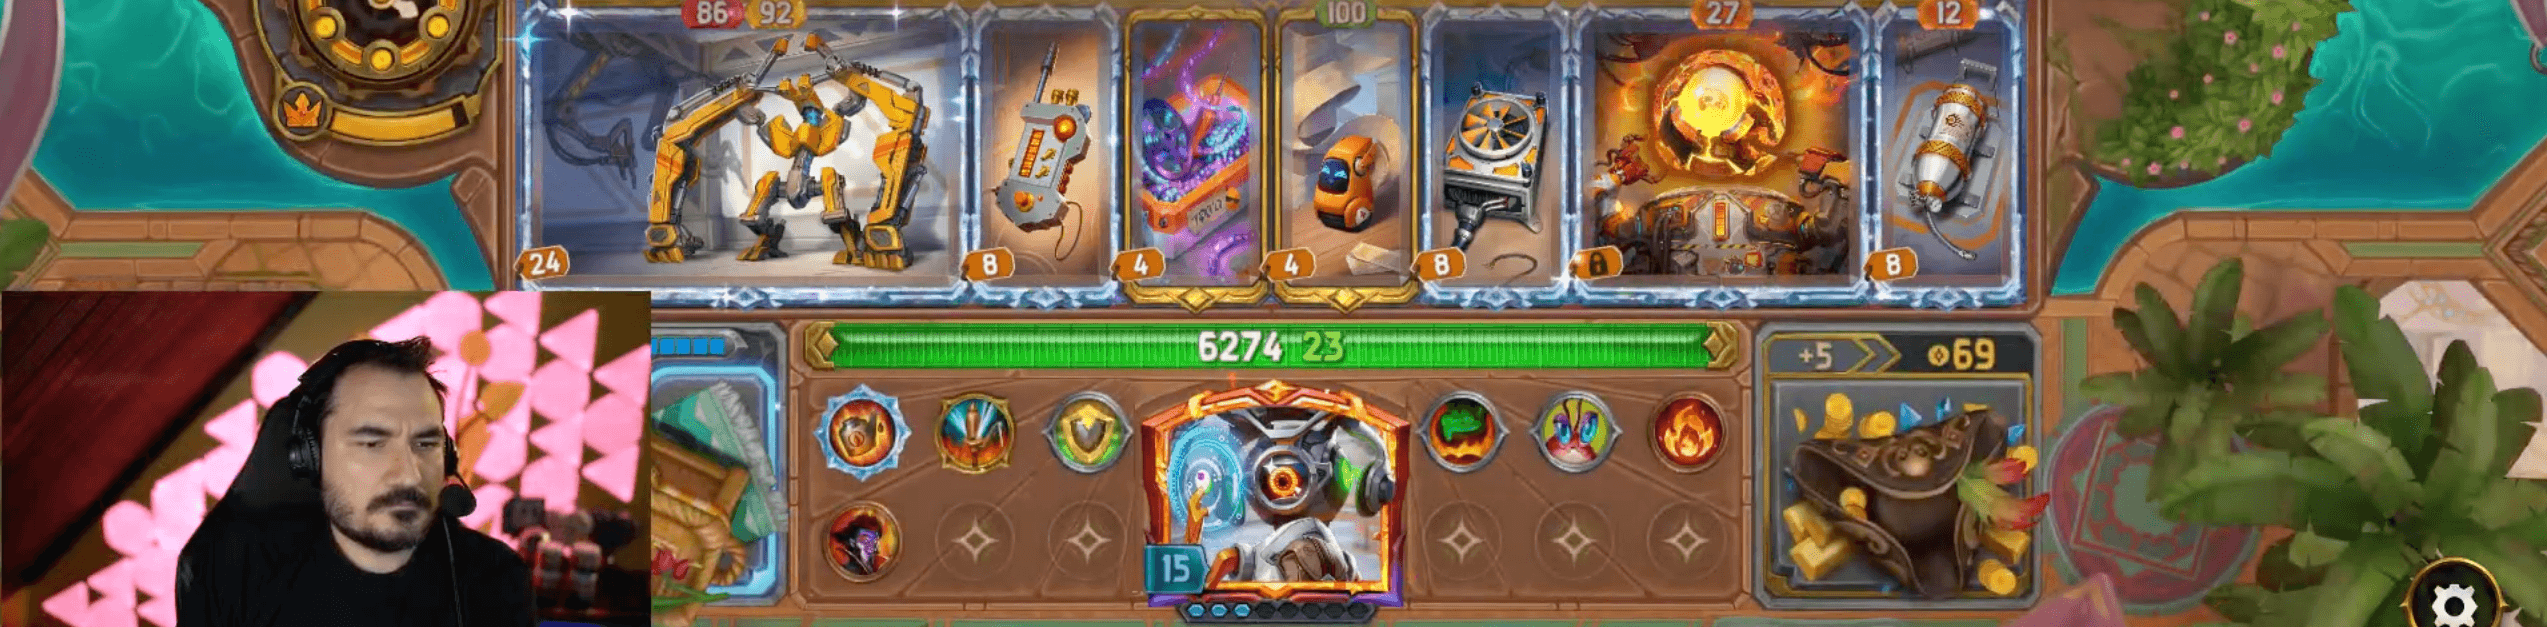
Example 10 Win Board
Core Combos and Synergies
The Dual Core Engine
The advantage of playing two Cores (Starting Core + 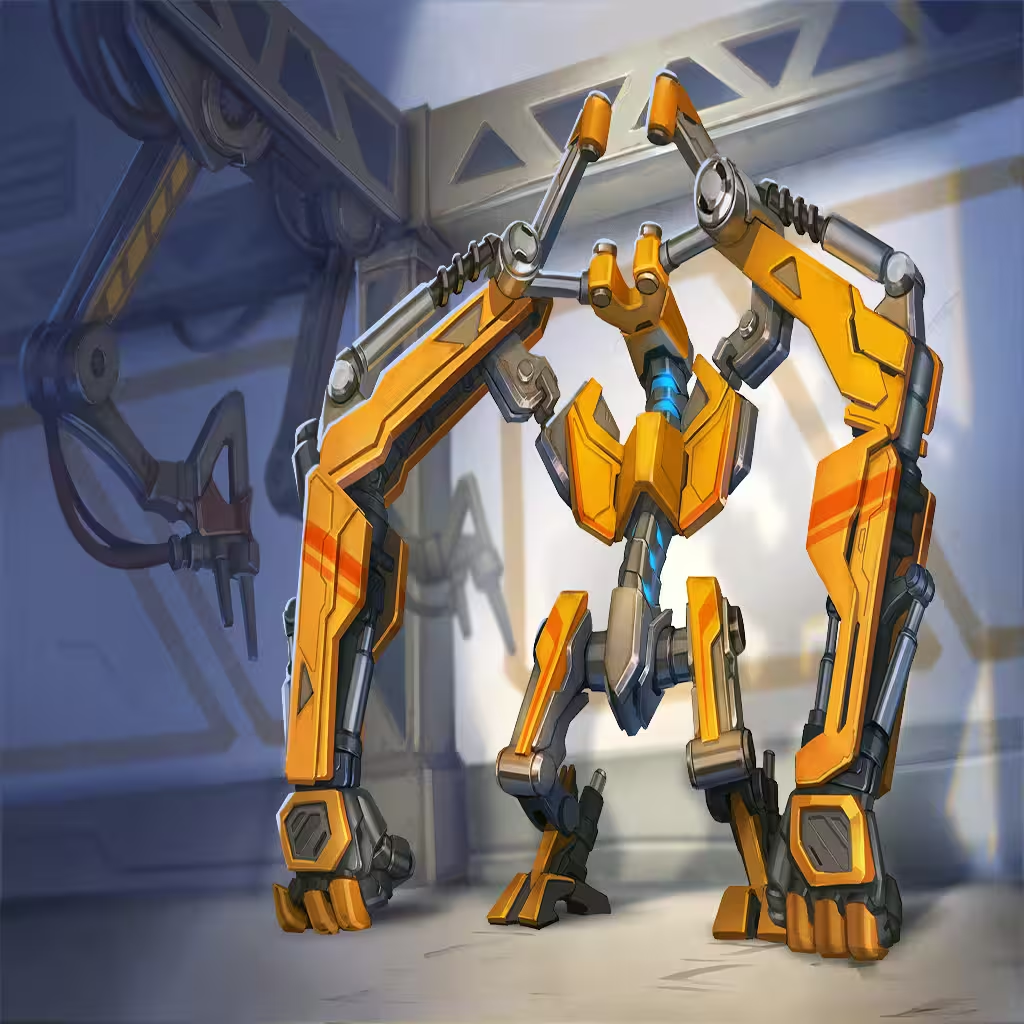 Combat Core) is the ability to double up your effects. Dooley has a number of items that apply to "The Core", so by having two at once, both gain the benefits simultaneously.
Additionally, there are items that Charge whenever you use a Core, along with others that Charge whenever you use a Tech. All Cores are also considered Tech items, meaning either of the two requirements can be fulfilled.
One of Dooley's greatest strengths is that many items are interchangeable. This makes it a lot easier to have a cohesive build early on, as you're free to mix and match whatever you find during your adventure. Then as you progress and find better parts, you can replace them as you see fit.
Finally, always be on the lookout for 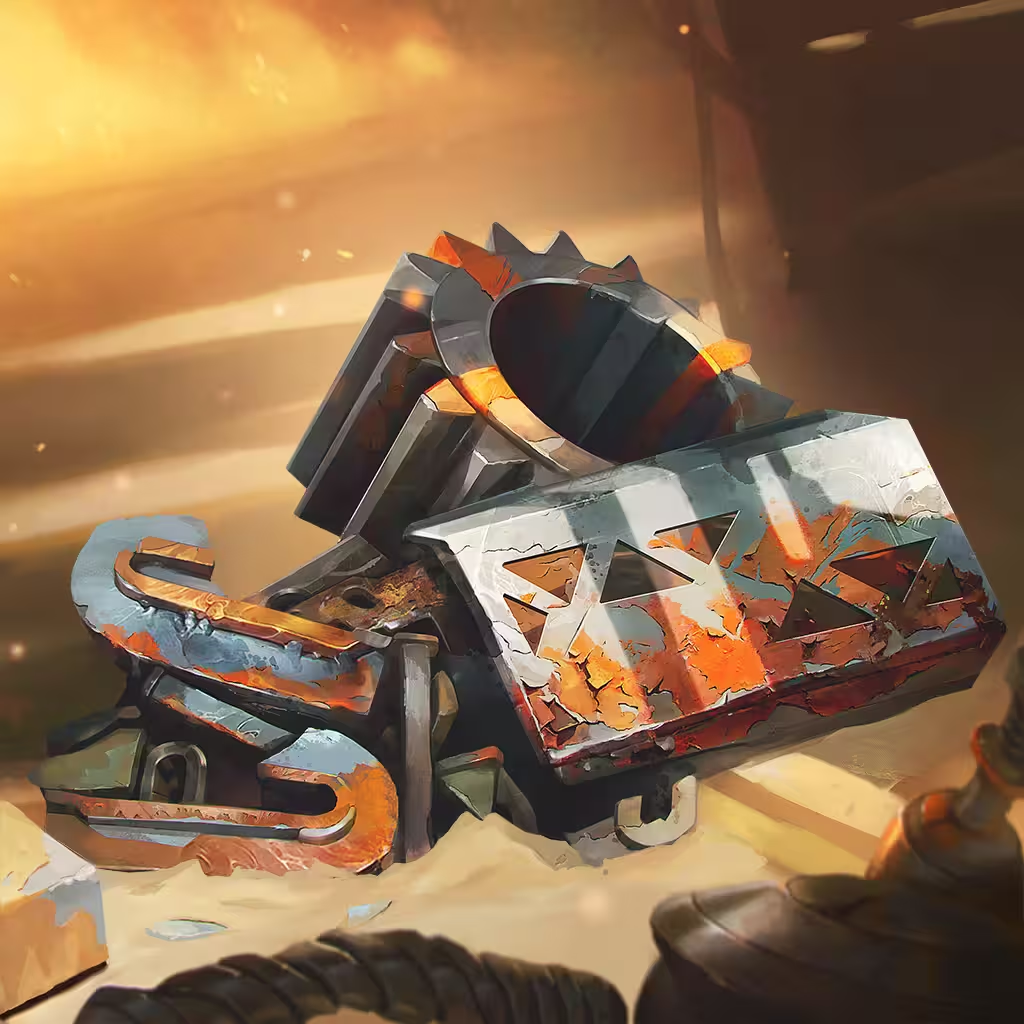 Scrap Metal. This item upgrades The Core when sold, and in the case of two Cores, it will upgrade both of them at once. However, that's not all... if you happen to find a Gold tier Scrap Metal, be patient and hold onto it until you can upgrade it to Diamond.
Selling a Diamond tier Scrap Metal will reduce the Cooldown of both Cores by a flat one second. This is a huge power spike. The Starting Core will have a base Cooldown of five seconds, while the Combat Core goes as low as three seconds!
The most reliable way to upgrade it is through level-up rewards, ideally at level 13 or 16. Keep that in mind so you can search for a Scrap Metal before then.
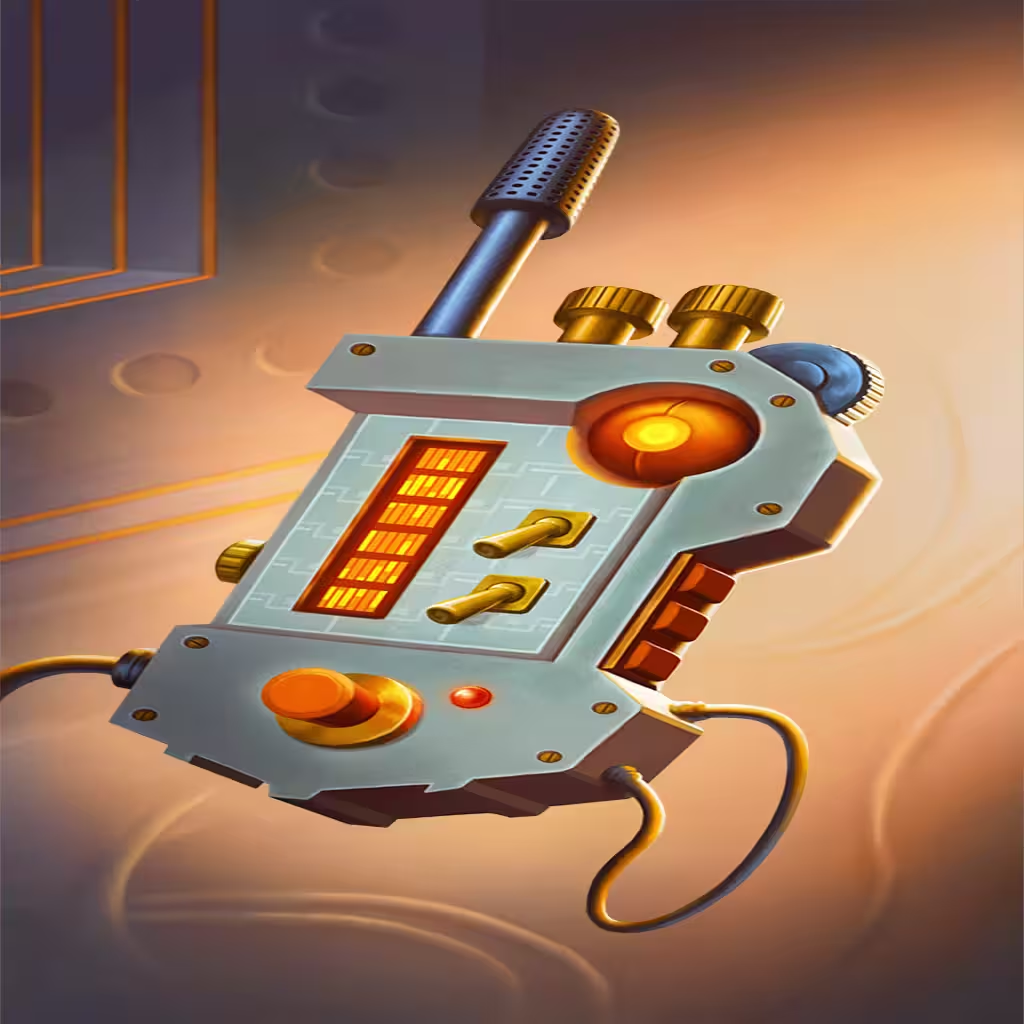
Ignition Core
 Ignition Core is the Starting Core of choice. Burn as a mechanic scales very well, making it a very reliable Core from the early game till the end. You can get a lot of early power just by putting Burn items to its right. Then later on it's easy enough to shift gears towards a more optimized setup with the Combat Core.
Unlike the more Burn-heavy builds, the Ignition Core takes on most of the work itself. It moves fast enough to scale and output a respectable amount while allowing the rest of the build to take on a more defensive role.
Kripp applied a Heavy enchant to his Ignition Core which gave the build some extra disruption. This is a nice bonus but not mandatory for the build to work.
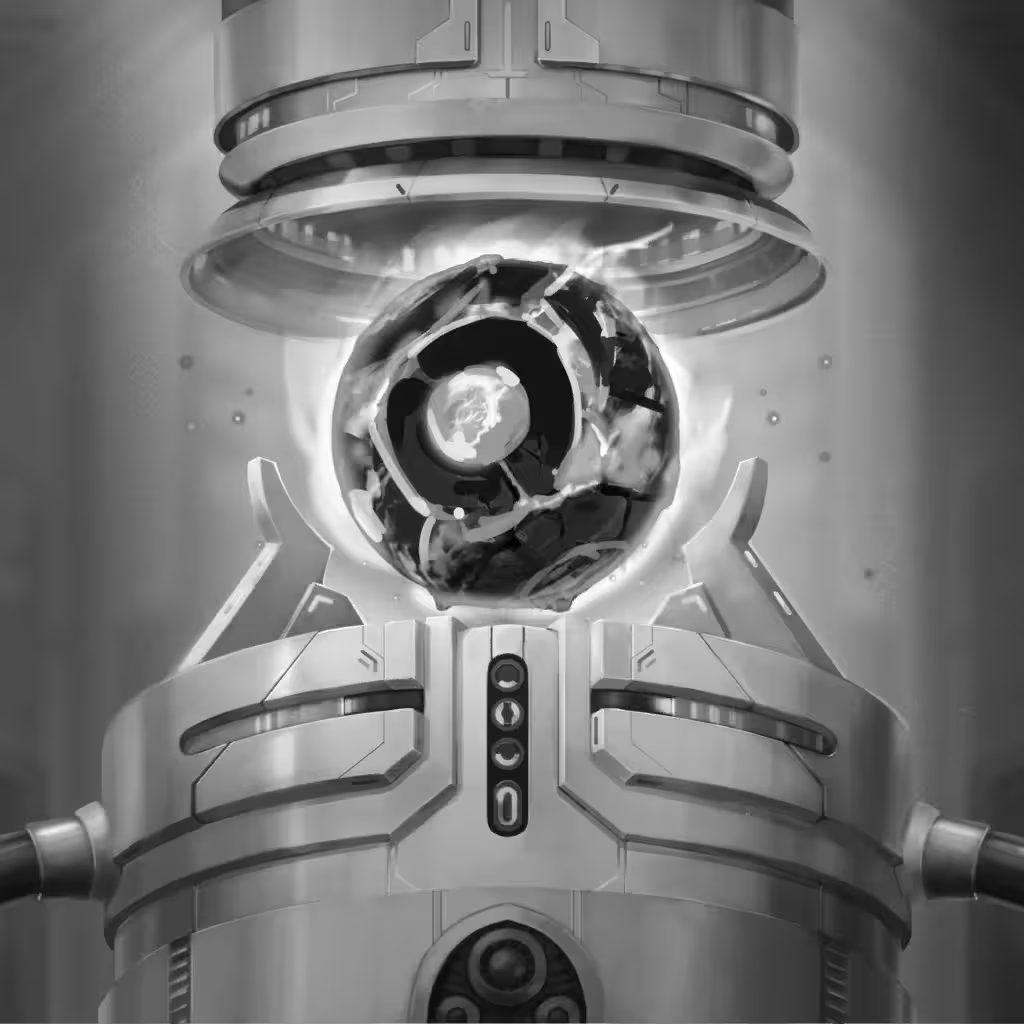
Combat Core
Combat Core is positioned as the leftmost item to become a dependable scaling meat Shield. While it's generally used for its offensive power alongside the 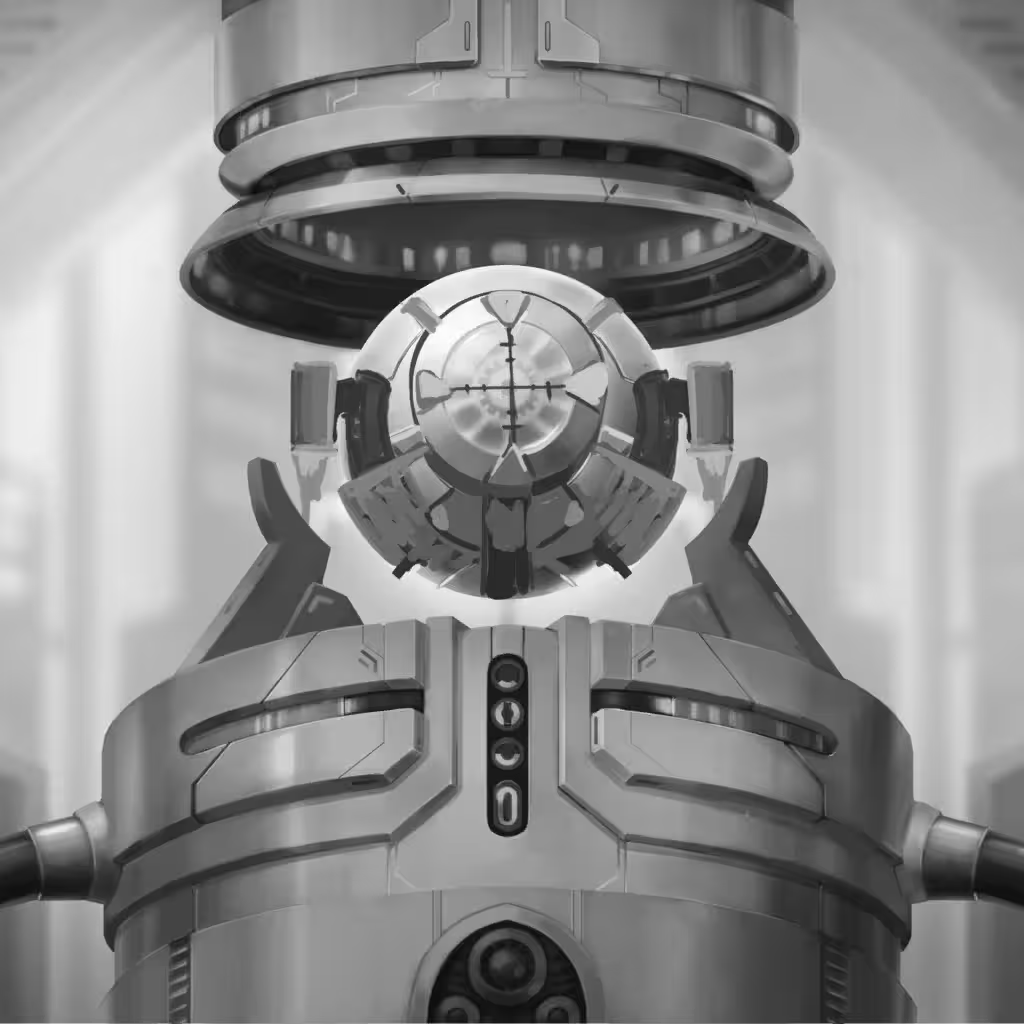 Critical Core (or other Damage-based Cores), it's focus here is entirely on defense.
With the Ignition Core on offense and Combat Core on defense, this creates a pretty well-rounded build without obvious exploitable weaknesses. Poison may be one outlier, but at worst it comes down to a race, and Burn is a much faster clock overall.
Remote Control
 Remote Control is a simple Small item that really levels up this build. Its text "Use the Core" applies to both Cores at once, but what's even better is it doesn't reset their Cooldowns. This means the Cores will often trigger twice in a row (depending on timing).
The only downside is its inherently long Cooldown. You must upgrade the Remote Control to make it worth using, as the initial Cooldown begins at 10 seconds long at Silver tier. A Gold upgrade brings it to a more usable 8 seconds, while Diamond lowers it to 6.
Since the Scrap Metal can help with Core upgrades, it's often worth using targeted upgrades on the Remote Control instead.
Cooling Fan
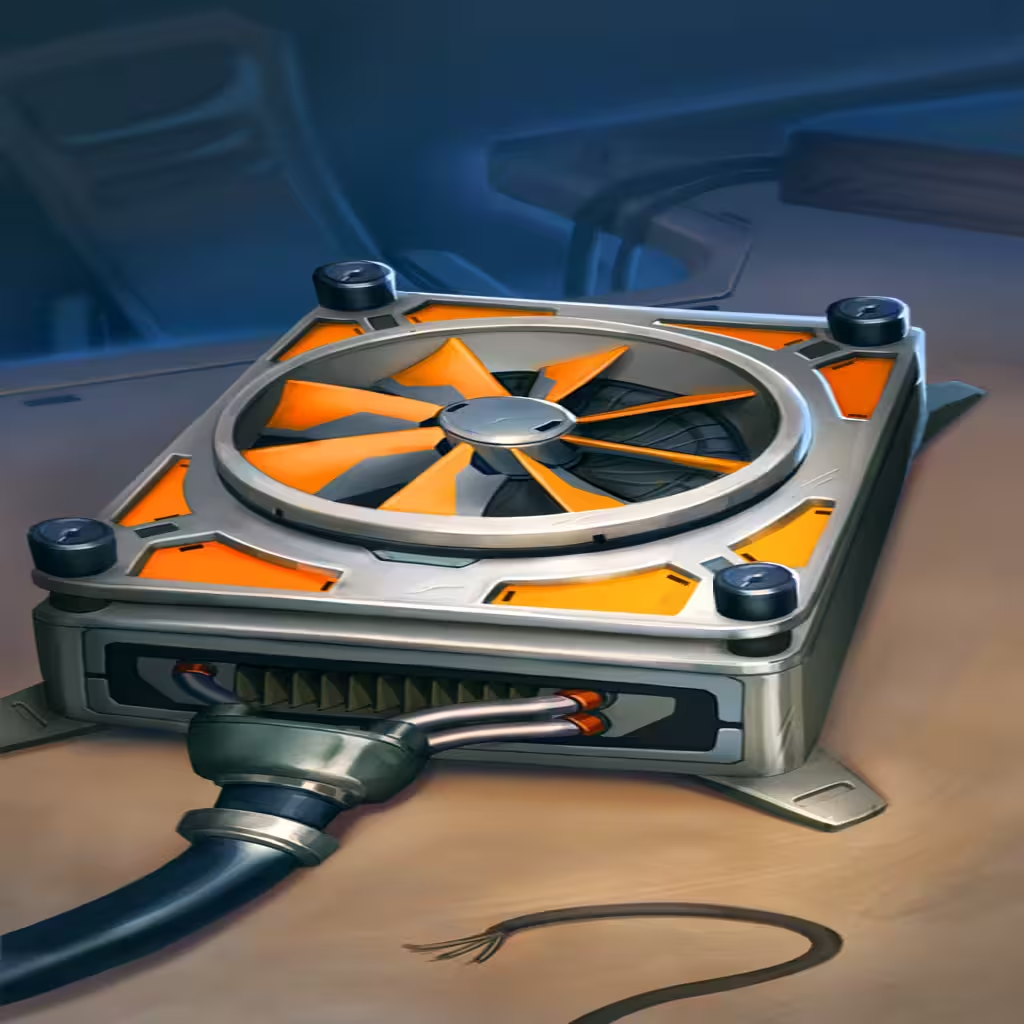 Cooling Fan is an excellent form of Crit Chance scaling, especially for item standards. Generally the best Crit Chance comes from Medium or Large passive items, or from the best skills. Cooling Fan can do a lot for its size.
Since Burn should always be active, Cooling Fan's Cooldown is realistically only 2.5 seconds, making it one of the fastest items in the game. That alone makes it worth using, even at a lower tier with less Crit scaling.
Ignition CoreDooley
Combat CoreDooley
Remote ControlDooley
Cooling FanDooley
Supportive Items and Skills
Cool LEDs
 Cool LEDs fits perfectly with a Dual Core setup, allowing it to be Charged quickly, apply multiple Slows, and fuel both of the Cores. It's a fantastic utility item and this build's only true means of disruption outside of skills and/or enchants.
While usable at lower tiers, item upgrades do make quite a big difference by improving its Slow duration. The difference between one and two seconds of Slow is very noticeable. So if you find yourself stuck at Bronze, you may be better off selling it to have the chance of getting a higher tier Cool LEDs later.
Nitro
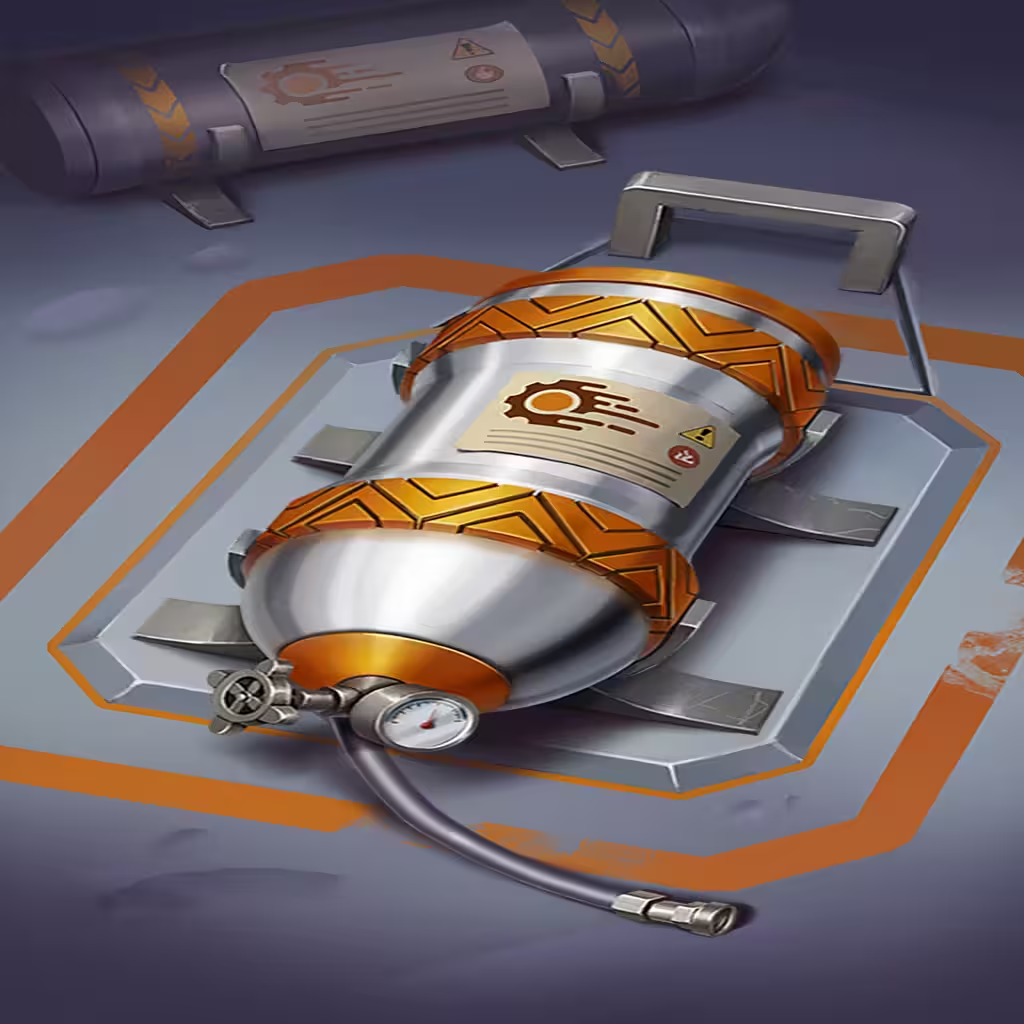 Nitro is the only other Burn item of the build and sits to the right of the Ignition Core. This gives at least one item that can be scaled by the Ignition Core, albeit a bit of a double-edged sword.
While it may end up stacking a lot of Burn on yourself, the benefit is it's a low Cooldown item that also Charges your other items. This benefit should not be underestimated, as it improves the overall speed of the build.
Don't worry too much about the self Burn. After all, you'll be stacking endless amounts of Shield, so it won't hurt you nearly as badly as it hurts them. Hopefully.
First Aiden
 First Aiden is a welcome inclusion to any Dooley build. Haste is even more important than ever since the patch nerfed pretty much every repeatable Haste skill (barring Monster skills).
Just like Cool LEDs and its Slow, the difference between one and two seconds of Haste is also very relevant. At the very least you'll want First Aiden at Silver tier, or alternatively scale it with 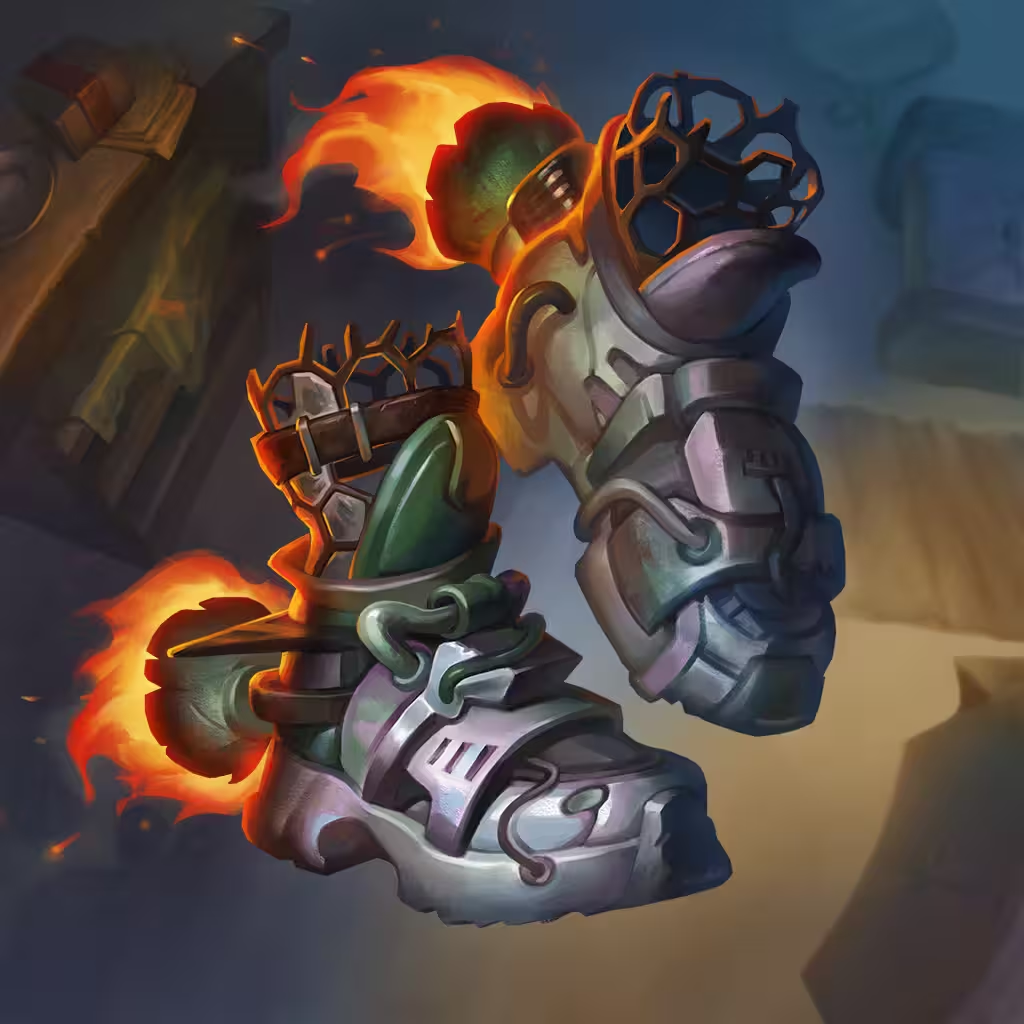 Rocket Boots.
Well-Oiled Machine
![]() Well-Oiled Machine is a powerful Dooley exclusive skill. With a single Core it's good, but with two Cores it's insane. Stacking Cooldown reduction during the fight can take the build to a whole new level.
Well-Oiled Machine is a powerful Dooley exclusive skill. With a single Core it's good, but with two Cores it's insane. Stacking Cooldown reduction during the fight can take the build to a whole new level.
While the build's primary offense is limited to just two Burn items, lowering the Cooldown will effectively improve how fast you can scale. This means even if you're losing the fight initially, surviving long enough may just let you tip the scales. ![]() Well-Oiled Machine is definitely a skill worth prioritizing!
Well-Oiled Machine is definitely a skill worth prioritizing!
Letting Off Steam
![]() Letting Off Steam may not last forever anymore, but one aspect of it was actually improved; the Haste duration. Even at Gold tier it Hastes two seconds each trigger, which means a good amount of Haste will be applied from the get-go.
Letting Off Steam may not last forever anymore, but one aspect of it was actually improved; the Haste duration. Even at Gold tier it Hastes two seconds each trigger, which means a good amount of Haste will be applied from the get-go.
Getting a good head start is often the most important thing, especially since scaling is a big part of the strategy. At least by the point the Haste wears off your items will be at a much stronger baseline.
Hardened Shield
![]() Hardened Shield adds more Shield scaling against any fast Weapon builds. This is helpful against full Weapon aggressive builds and particularly strong against spammy Weapons like
Hardened Shield adds more Shield scaling against any fast Weapon builds. This is helpful against full Weapon aggressive builds and particularly strong against spammy Weapons like  Yo-Yo.
Given how fast Combat Core already scales, it's a lesser priority if there are better options. However, if you happen to be running 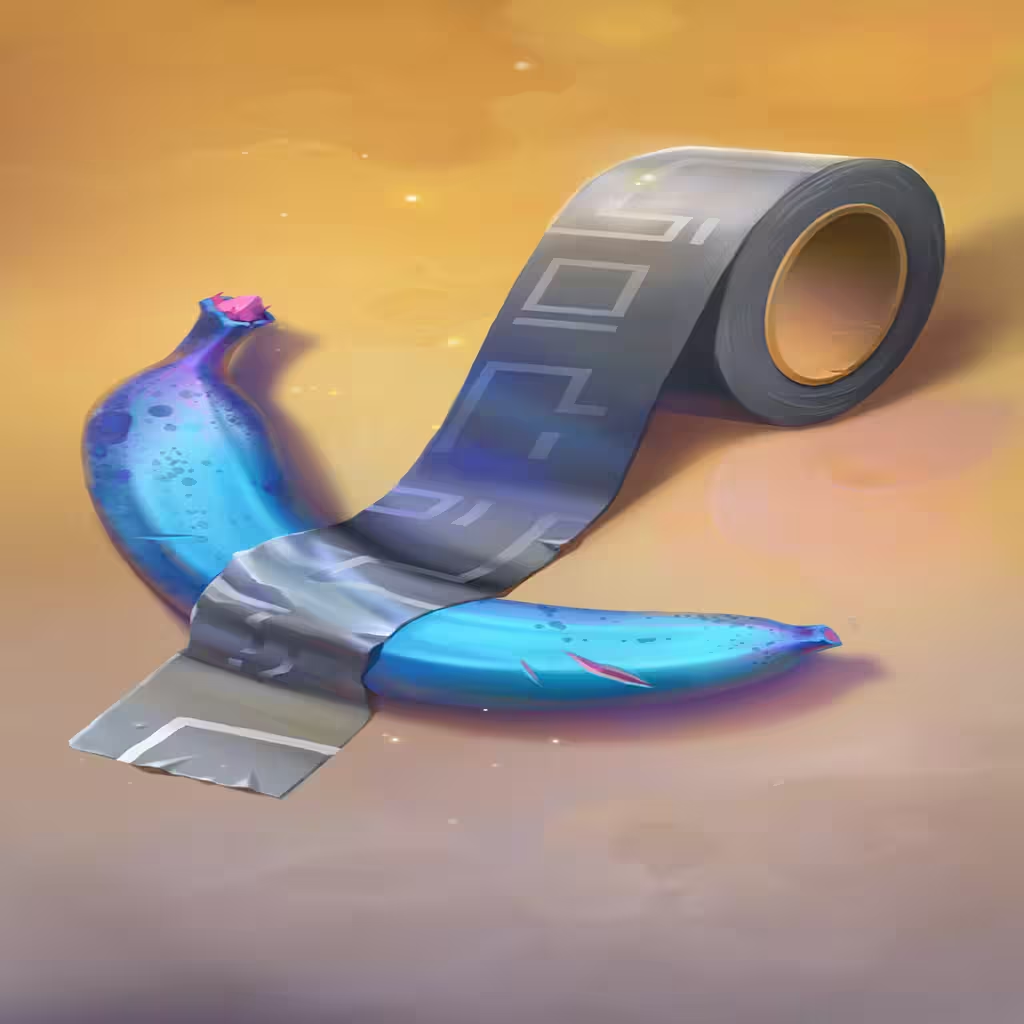 Duct Tape in your build this skill gets significantly better.
Cool LEDsDooley
NitroDooley
First AidenDooley
Well-Oiled MachineDooley
Letting Off SteamDooley
Hardened ShieldDooley, Stelle, Pygmalien
Rocket BootsCommon
Duct TapeDooley