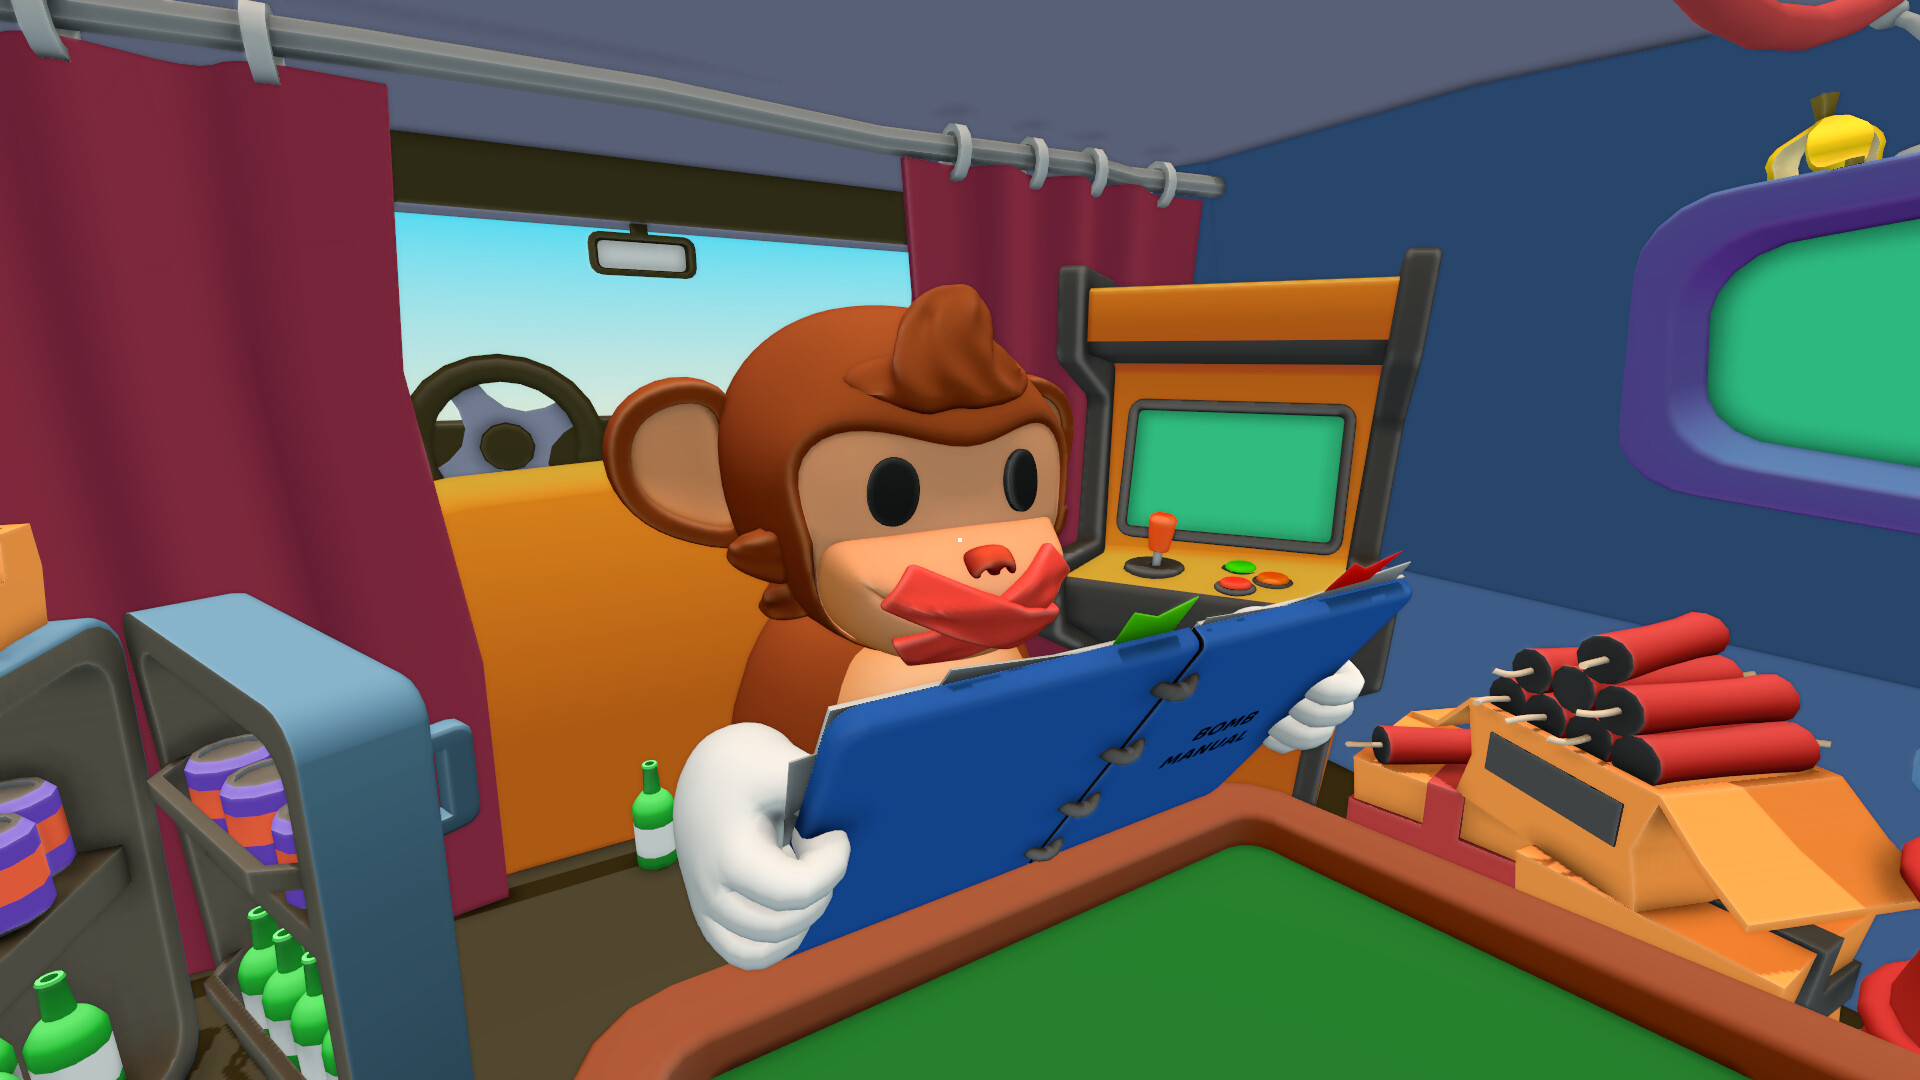
BOMBANANA! is a three-player co-op bomb-defusal game from Lefto Studio, and defusing the bomb is the easy part. Talking about it is what blows you up. The puzzles themselves aren't cruel, but getting what one monkey can see across to the monkey with their hands on the wires, through a teammate who can't hear, is where runs fall apart.
Fortunately, we can help! This guide isn't an answer key - that would ruin the fun - we're going to give you some tips on how to read each module and call it out cleanly, so your team stops failing on communication rather than logic.
Before we get into individual modules, learn this one structure and use it every single time: Module name, then position, then the details that module needs, then the manual answer, then a repeat-back, then a confirm, and only then the input.
Saying the module name and its position first is the part beginners skip, and it's the most important bit. The Mute Monkey can't find the right manual page if they don't know which module you're on, and several pages involve colours and lights, so "green, blue, red" on its own is useless. A good defusal team sounds boring and robotic!
Agree These Before You Start
A few rules set up front will save you more time than they cost. Settle a gesture dictionary so the Mute Monkey has a clear sign for yes, no, wait, repeat, go-back, and the numbers zero to nine. Lock in that left and right always mean the Blind Monkey's left and right, since that's the one perspective that matters once hands are on the bomb. Decide to always tackle the simplest module first to take the timer pressure off. And make it a hard rule that nobody cuts, presses, types or flips until the instruction has been repeated back once.
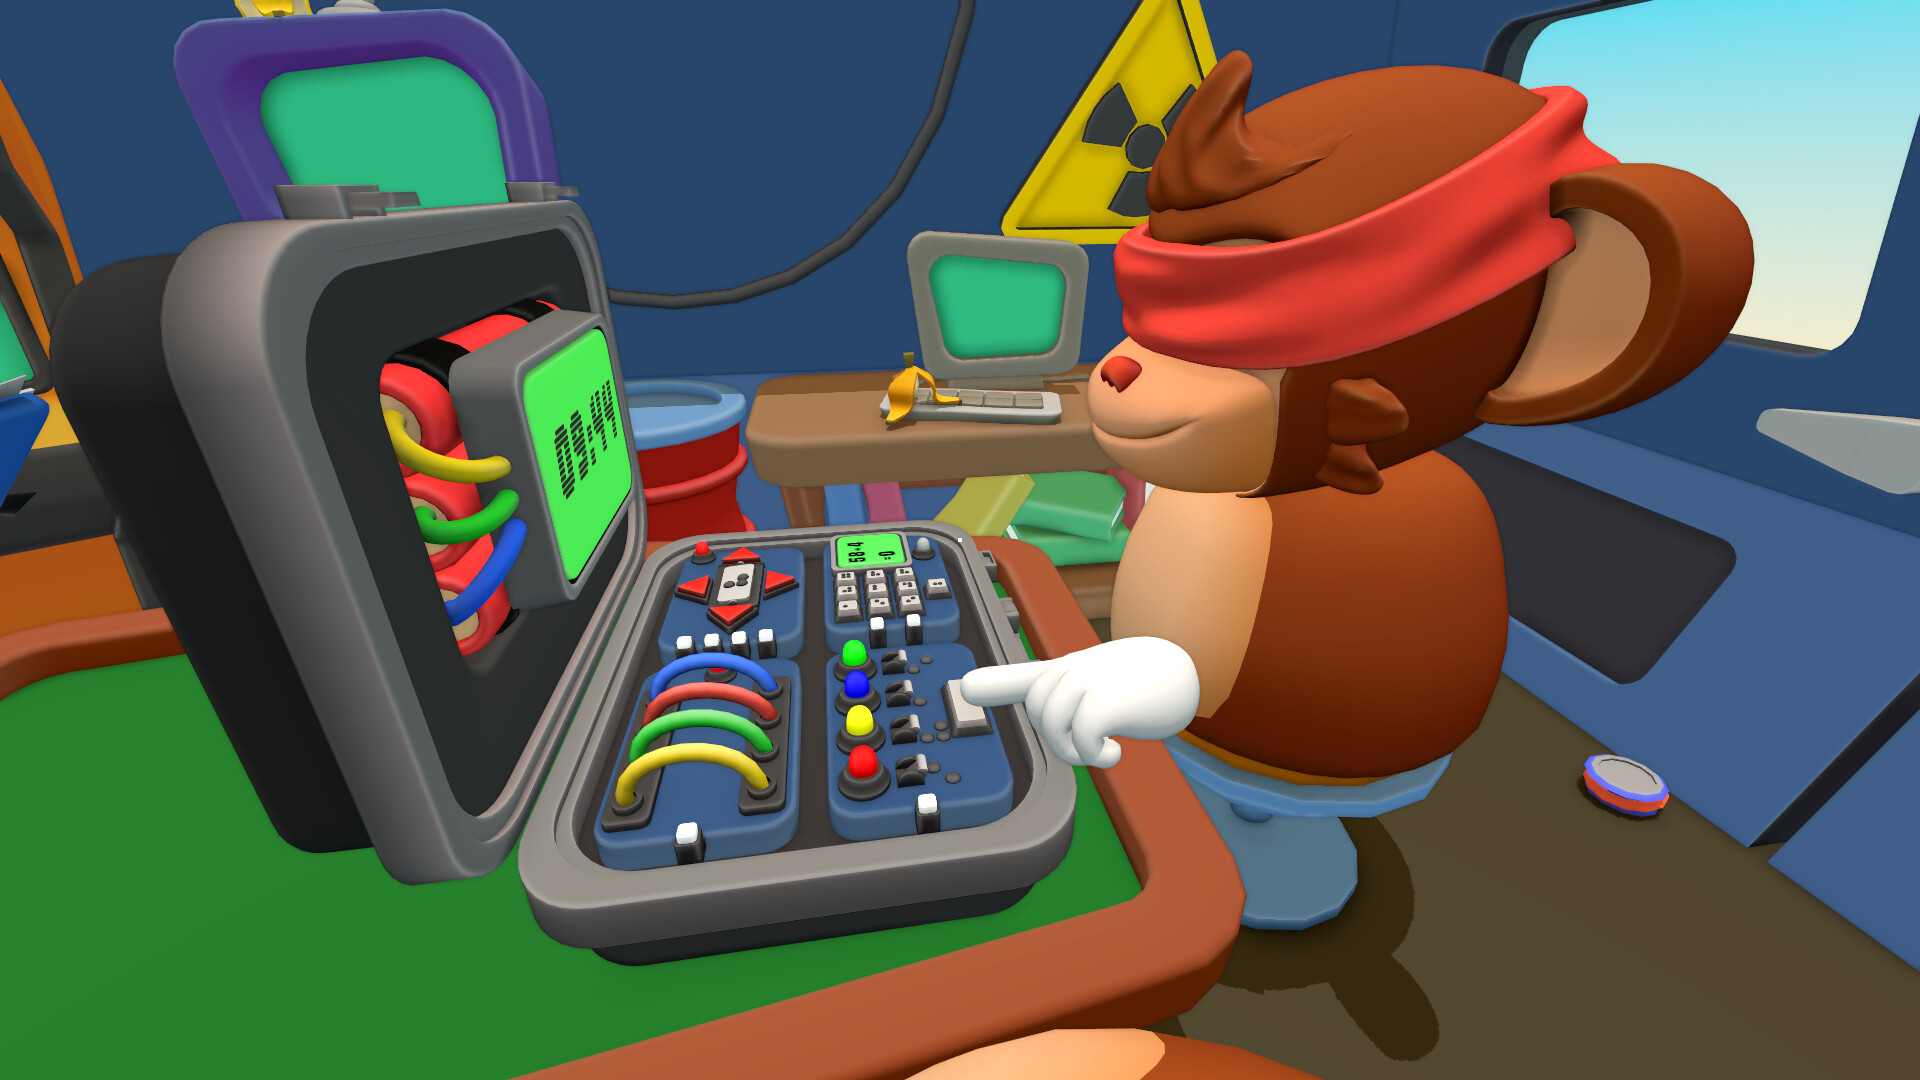
Wires
The classic, and usually your first module. The Deaf Monkey calls the number of wires, then the colours from left to right, then the LED colour on the module. The Mute Monkey matches that to the manual and signals which wire to cut. The Blind Monkey repeats the target back, gets a confirm, and cuts one wire.
The trap here is assuming every wire module has the same number of wires. Three wires and four wires can use completely different rules, so always lead with the count. A clean wire callout sounds like: "Wires, top right. Four wires. Left to right: green, blue, red, yellow. Red LED. Waiting for the cut."
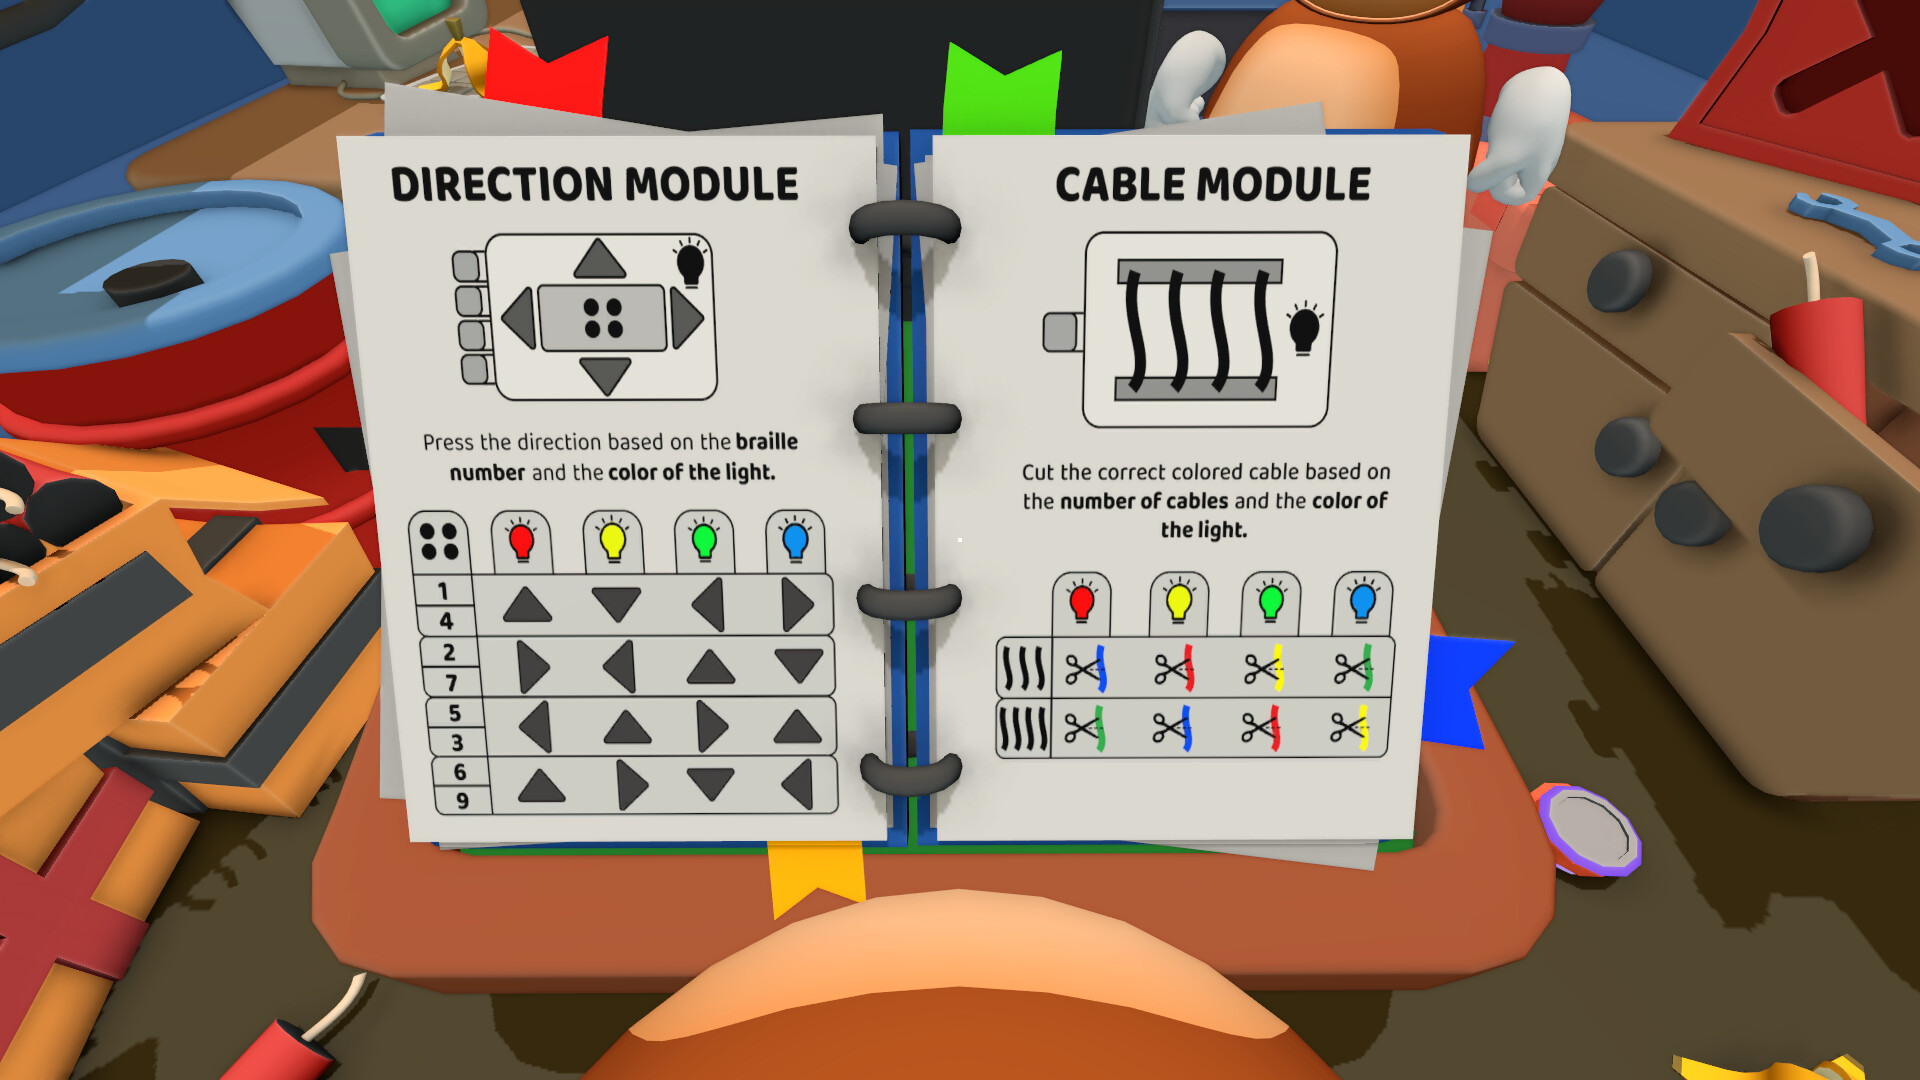
The D-pad
The directional pad looks simple and punishes sloppy direction calls. The Deaf Monkey calls the active LED colour and the centre value (a number, or a Braille value the Blind Monkey reads by feel), then waits on the manual for a direction. If you input wrong and the module changes, call the new state fresh rather than reusing the old one.
The Numpad / Maths Module
This is the nasty one, and where most teams haemorrhage time. The Deaf Monkey reads the full maths expression and solves it out loud, then flags whether the result is odd or even and, where it matters, whether it's greater than or less than a threshold. They call the LED colour. Then the Mute Monkey uses the manual to pick the actual target number.
Two things catch people out. First, the answer to the sum isn't always the number you press - treat the maths as one step and wait for the manual's final instruction. Second, the keypad is jumbled, so you press the number itself wherever it appears, not the position it would sit in on a normal keypad.
There's also the priority trap. A result can be both odd and greater than five at the same time, and the Blind Monkey should never pick which condition wins on instinct. The Mute Monkey, holding the manual and the LED colour, decides the branch. The handler only reports the full state and waits. Something like: "Result is 67, odd, greater than five, yellow LED. Waiting for the final number."
Switch Panels
Switches are more dangerous than wires because you usually need several states correct before a single enter press locks them in. The Deaf Monkey calls the light-colour order across the top and the full digit string, then you resolve each switch up or down in turn, repeating each state as you go. Confirm every switch before anyone touches enter - the most common switch-panel death is hitting enter with one uncertain 50/50 still unresolved. This is exactly why you agreed a go-back signal in setup: if an earlier switch is wrong, use it and revisit that exact switch instead of mashing enter.
After Any Mistake
When an input goes wrong, stop. Don't rush to make up for it - panic inputs stack mistakes faster than calm retries. Call your full stop, then re-read the entire module from scratch, because a wrong input can change the LED, the number, or the stage you're on. The answer that was right ten seconds ago may not be any more.
A Note on the Demo
One honest caveat. The BOMBANANA! demo's in-game manual still has blank pages the full release will fill in, so this guide deliberately doesn't hand you exact answer tables - which wire to cut for which LED, and so on. Those aren't fully verified yet and could change at launch, and a confidently wrong answer key would get people blown up. What holds steady is the process: gather the right information, call it in the right order, confirm, then act. [DAN: once the full game's out, verify the module list and behaviour against the live build before adding any specific solutions.]
Quick Tips
Lead every callout with the module name and position.
Wires: count first, then colours left to right, then the LED.
D-pad: agree whose left and right you mean, every time.
Numpad: the maths answer isn't always the key you press, and the pad is jumbled.
On a numpad clash, the manual holder picks the branch, not the handler.
Switches: confirm every state before you press enter.
After any mistake, full stop and re-read the whole module.
Nail the callouts and BOMBANANA! transforms from screaming chaos into something that almost looks competent. Almost. Need a refresher on the roles and how a round flows? Our beginner's guide has you covered [link]. Good luck, and keep it boring.