Battle-Hardened Domovoy Sculptor
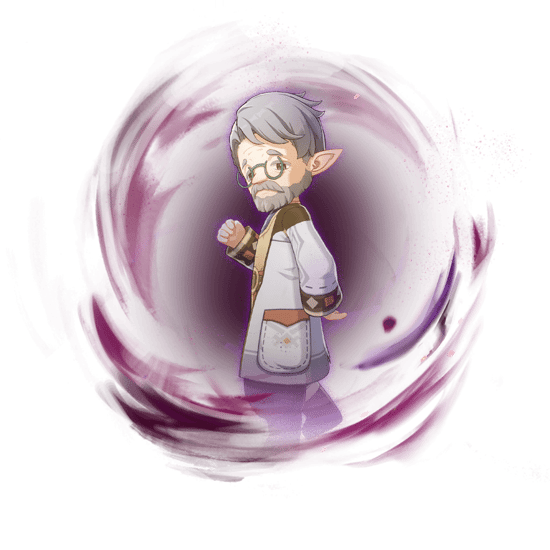
A local legend released in 7.0, making his debut in Stygian Onslaught for the first time. The Domovoy Sculptor, aka Churin, is quite easy on Fearless difficulty but arguably the toughest boss to date in Dire difficulty. He significantly favors Stellar Glimmer characters, with the ability to trigger either Stellar-Conduct or Stellar Swirl (consistently or intervals) being generally required for most teams to be able to clear this boss. Stellar Swirl is further favored compared to Stellar-Conduct.
Domovoy Sculptor Mechanics TL;DR:
- Churin has a high health pool of 13.5 Million HP on Fearless and a significantly higher pool of 32.4 Million HP on Dire.
- When the fight starts, Churin will gain 80% additional RES to all elements, for a total of 90% RES.
- Every few seconds, Churin will cast large AoE attacks that deal Cryo damage. These attacks will apply Cryo aura to your characters if it isn't removed, causing slowdown to Normal Attacks, movement, and various abilities.
- A few seconds after the battle starts, Churin will spawn 2 Price Ice Sculptures to his sides.
- If the team is unable to trigger Radiance: Stellar Glimmer or does not have it active while the Sculptures are active, they will transform into Jack Frosts that deal incredibly high and nearly impossible to dodge damage. The boss is not clearable at this stage.
- If the team is able to trigger Radiance: Stellar Glimmer and maintains it during this time, the Sculptures will instead explode and deal a flat 499999 damage to the boss. This is the damage it takes in both Fearless and Dire.
- Additionally, every time the boss takes damage from such an explosion, it will have its RES reduced by 20% for 30 seconds. This effect stacks up to 3 times and will refresh every time a new stack is applied. His Anemo RES will go down by a further 5% RES per stack.
Secret Source Automaton: Overseer Device
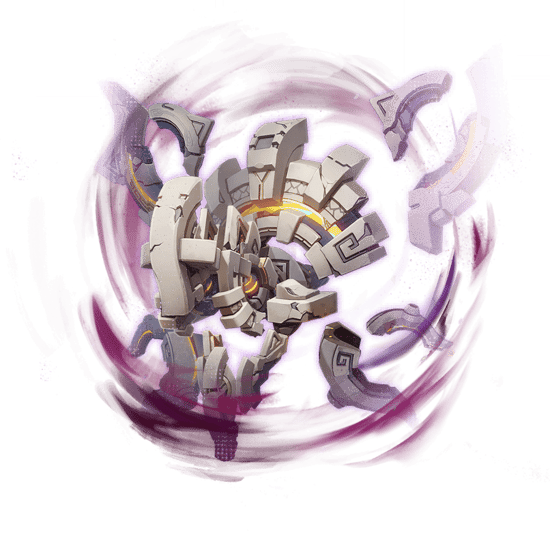
The infamous SSAOD that can at this point be considered Skirk's signature Boss, only appearing in the Stygian Onslaught lineup whenever Skirk is on banner. This boss mandates Cryo teams to be cleared, or at least consistent and high Cryo application. This used to be much harder than it is now due to a lack of strong Cryo characters. With the release of several strong Cryo characters and the buffs of several older ones, it should be easier to tackle.
Overseer Device Mechanics TL;DR
- The Overseer Device has 7.6 Million HP on Fearless and 14.9 Million HP on Dire.
- It will spawn in its Enhanced State, during which it has 270% RES against all Elements.
- SSAOD has a gauge that will constantly go up during this Enhanced State.
- The higher the gauge, the higher its damage. It also attacks faster.
- Every time you apply Cryo, the gauge will go down by a certain amount. With enough Cryo application that is done quickly enough, you can force its gauge to stay below a certain threshold. This can be done by applying Cryo at a frequency of at least once every 0.6 seconds, but the more and faster the better.
- After forced into the latter part of the state, its Cryo RES will be reduced to -30% while its RES to all other Elements will be reduced to 30%. It will also stop attacking, and upon entering this state for the first time during an Enhanced State duration, generate 36 Energy for all party members.
- If you have a character in Nightsoul's Blessing for a certain amount of time during this Enhanced State, it will instead switch to a moded that has 110% RES and launch a tracking beam attack that deals exceptionally high damage. Applying Cryo enough times during this state will eventually force it into the same reduced RES state.
- After a while, the boss will exit this Enhanced State, and a few seconds later, enter it again.
Guardian Blade of Drifting Snow
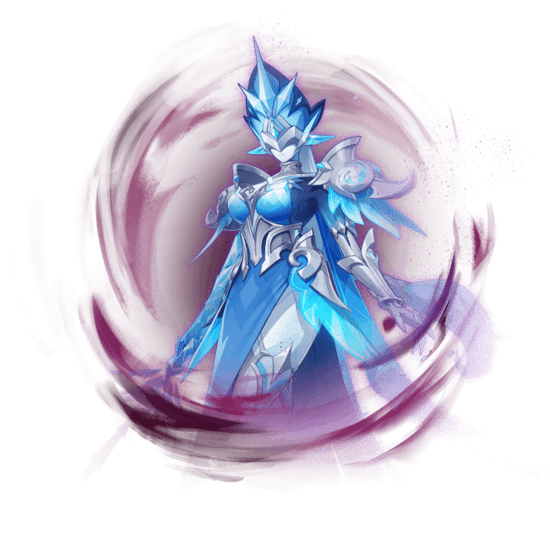
The Guardian Blade is a Boss enemy introduced in 7.0, and also a newcomer to Stygian Onslaught. She is meant to favor Stellar Glimmer and Pyro teams, but there are many other teams that aren't dedicated to either that are able to tackle it. Overall the most lenient of the lineup in Fearless difficulty.
- The Overworld Boss enemy has 50% Cryo RES; the Stygian version instead has the baseline 10%.
- The Guardian Blade will not do much besides attack at the start of the fight. Her attacks apply Cryo if they hit you, applying the regular Cryo slowdown.
- After she reaches 80% HP for the first time, she will increase her RES to all Elements by 210% and after a bit of time, deploy a Cryo Shield.
- The Cryo Shield has a gauge of 42 Units. This means 21 Pyro Applications of 1 Unit are required at a minimum in order to break it with Pyro.
- If you have Radiance: Stellar-Conduct or Radiance: Stellar Swirl active, this will turn into a White Shield that requires damage instead of Elemental Application. The required damage is equal to 15% of the Boss's health.
- If the Cryo Shield is broken, the Guardian Blade will lose 10% of her max HP. If the White Shield is broken, it will lose 10% of her max HP and 60% of the damage she took during the Shield. This is capped at 20% of her max HP.
- 40 seconds after the first shield is broken, she will deploy a second shield that works the same way. She cannot deploy a shield a third time.



