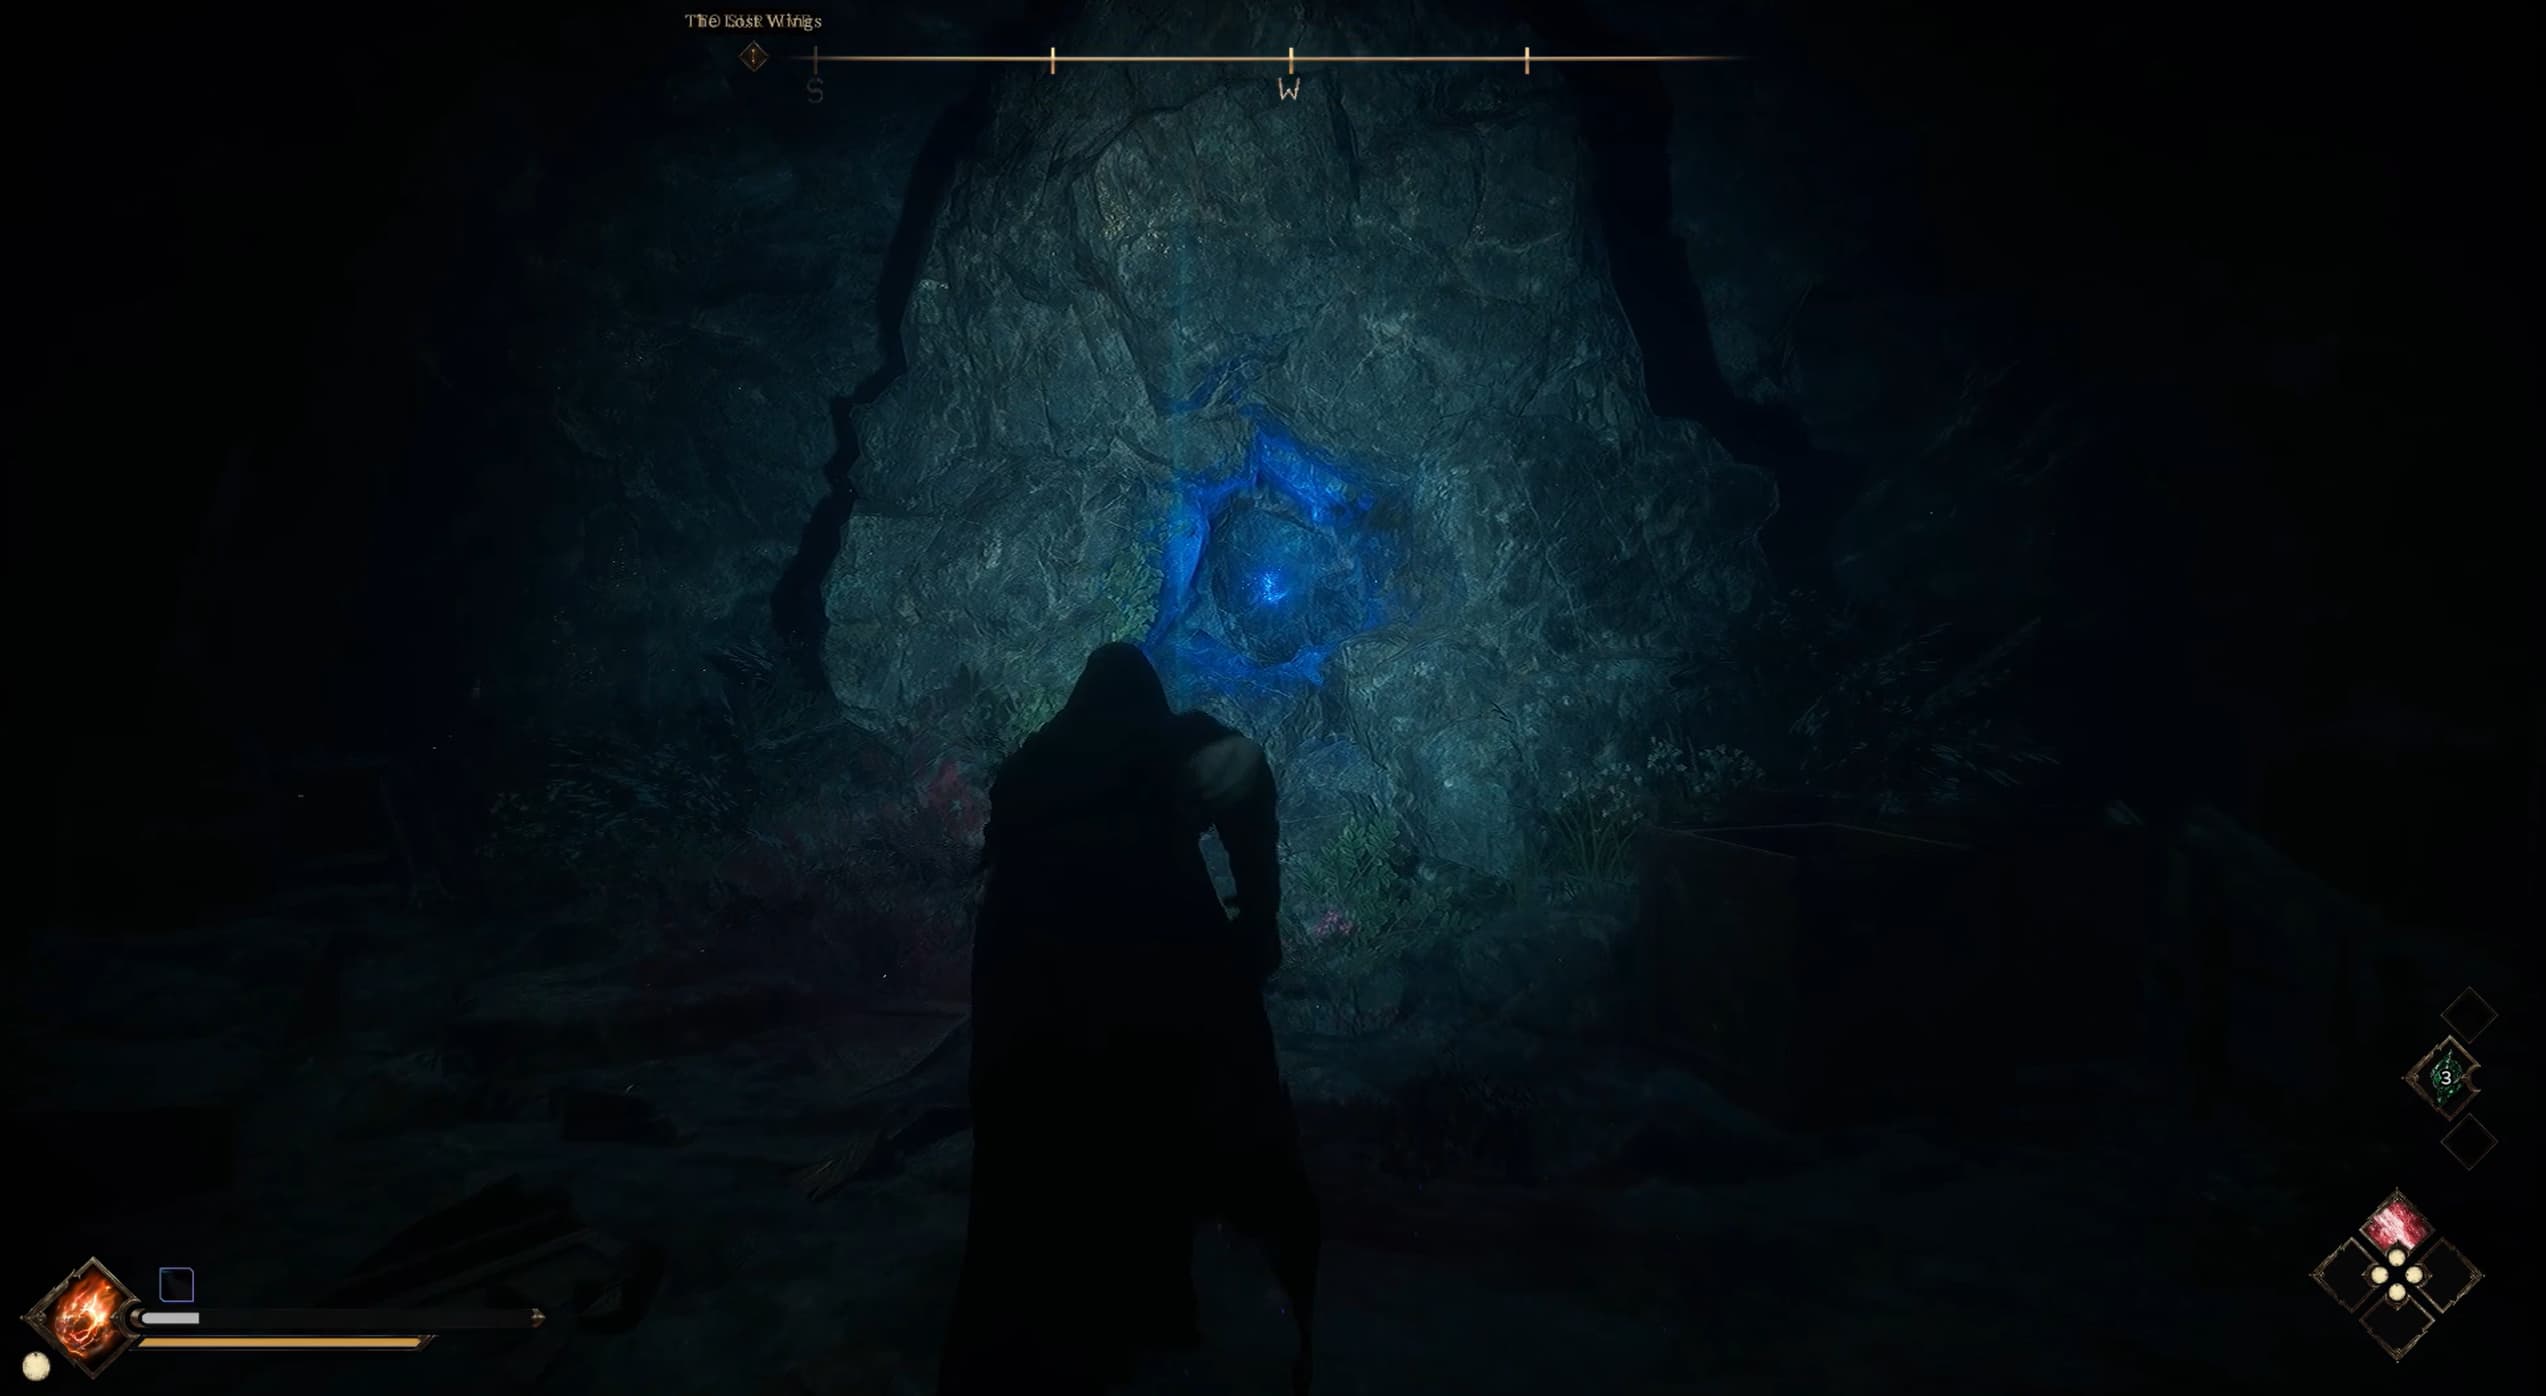
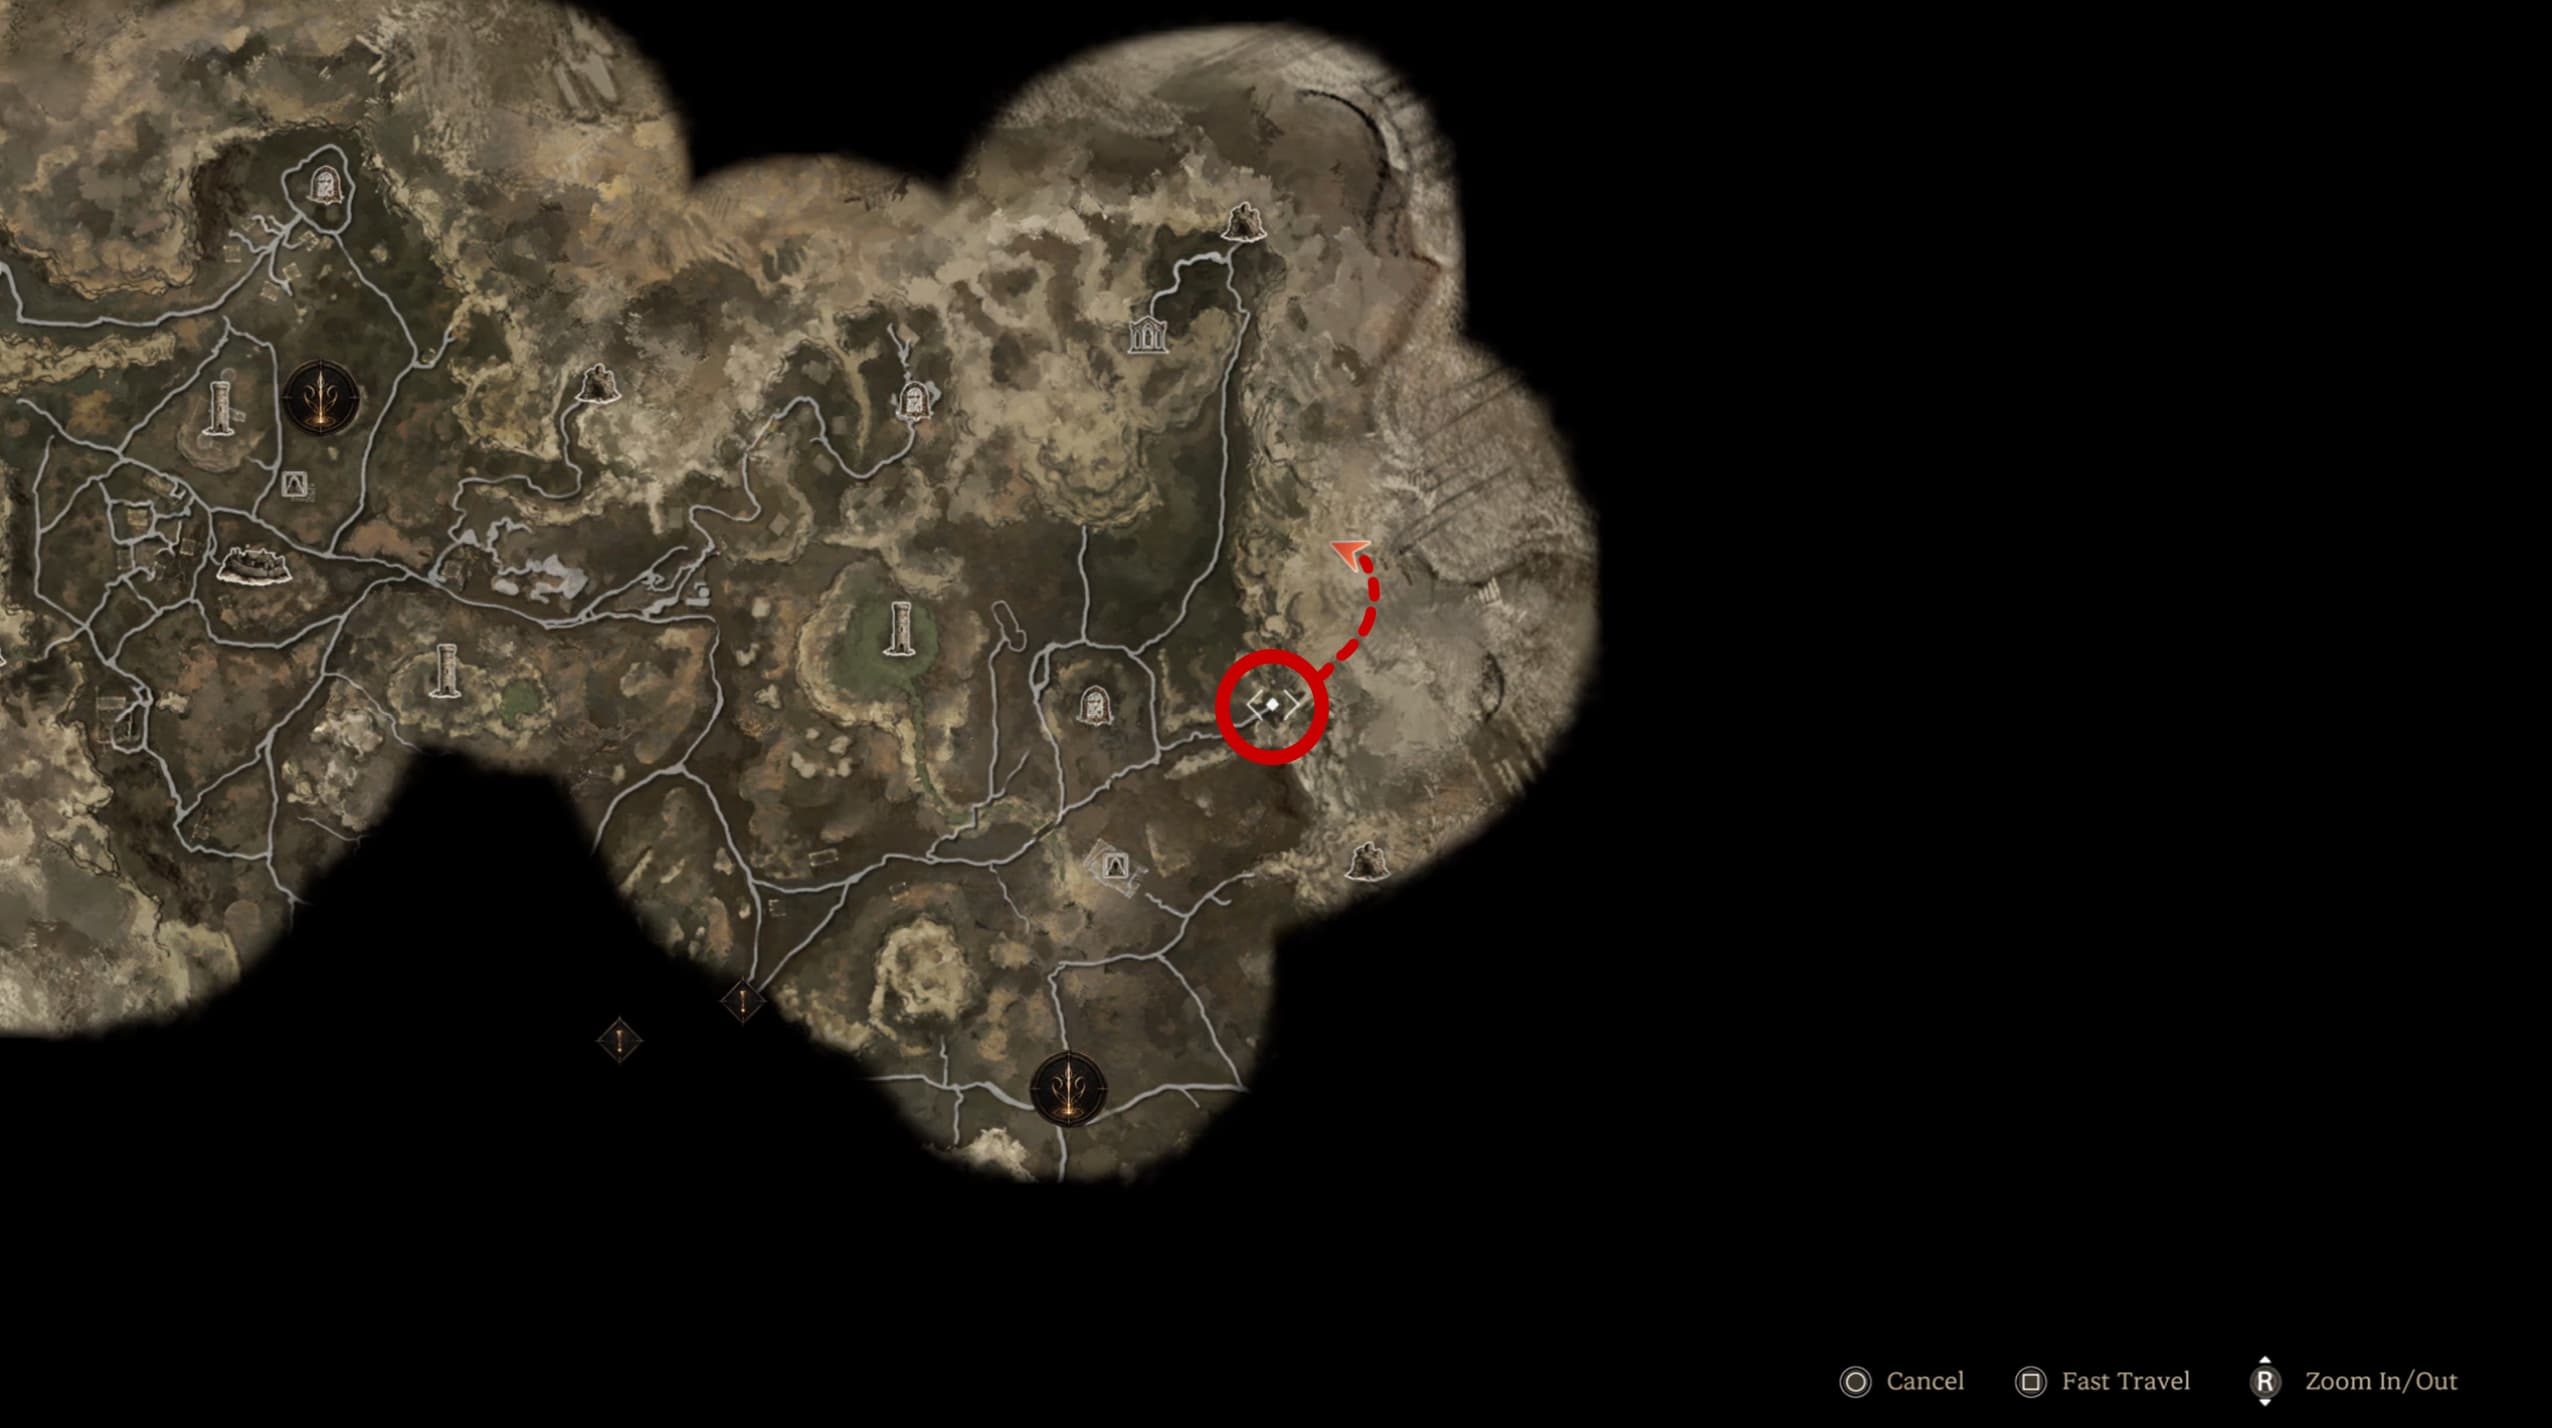
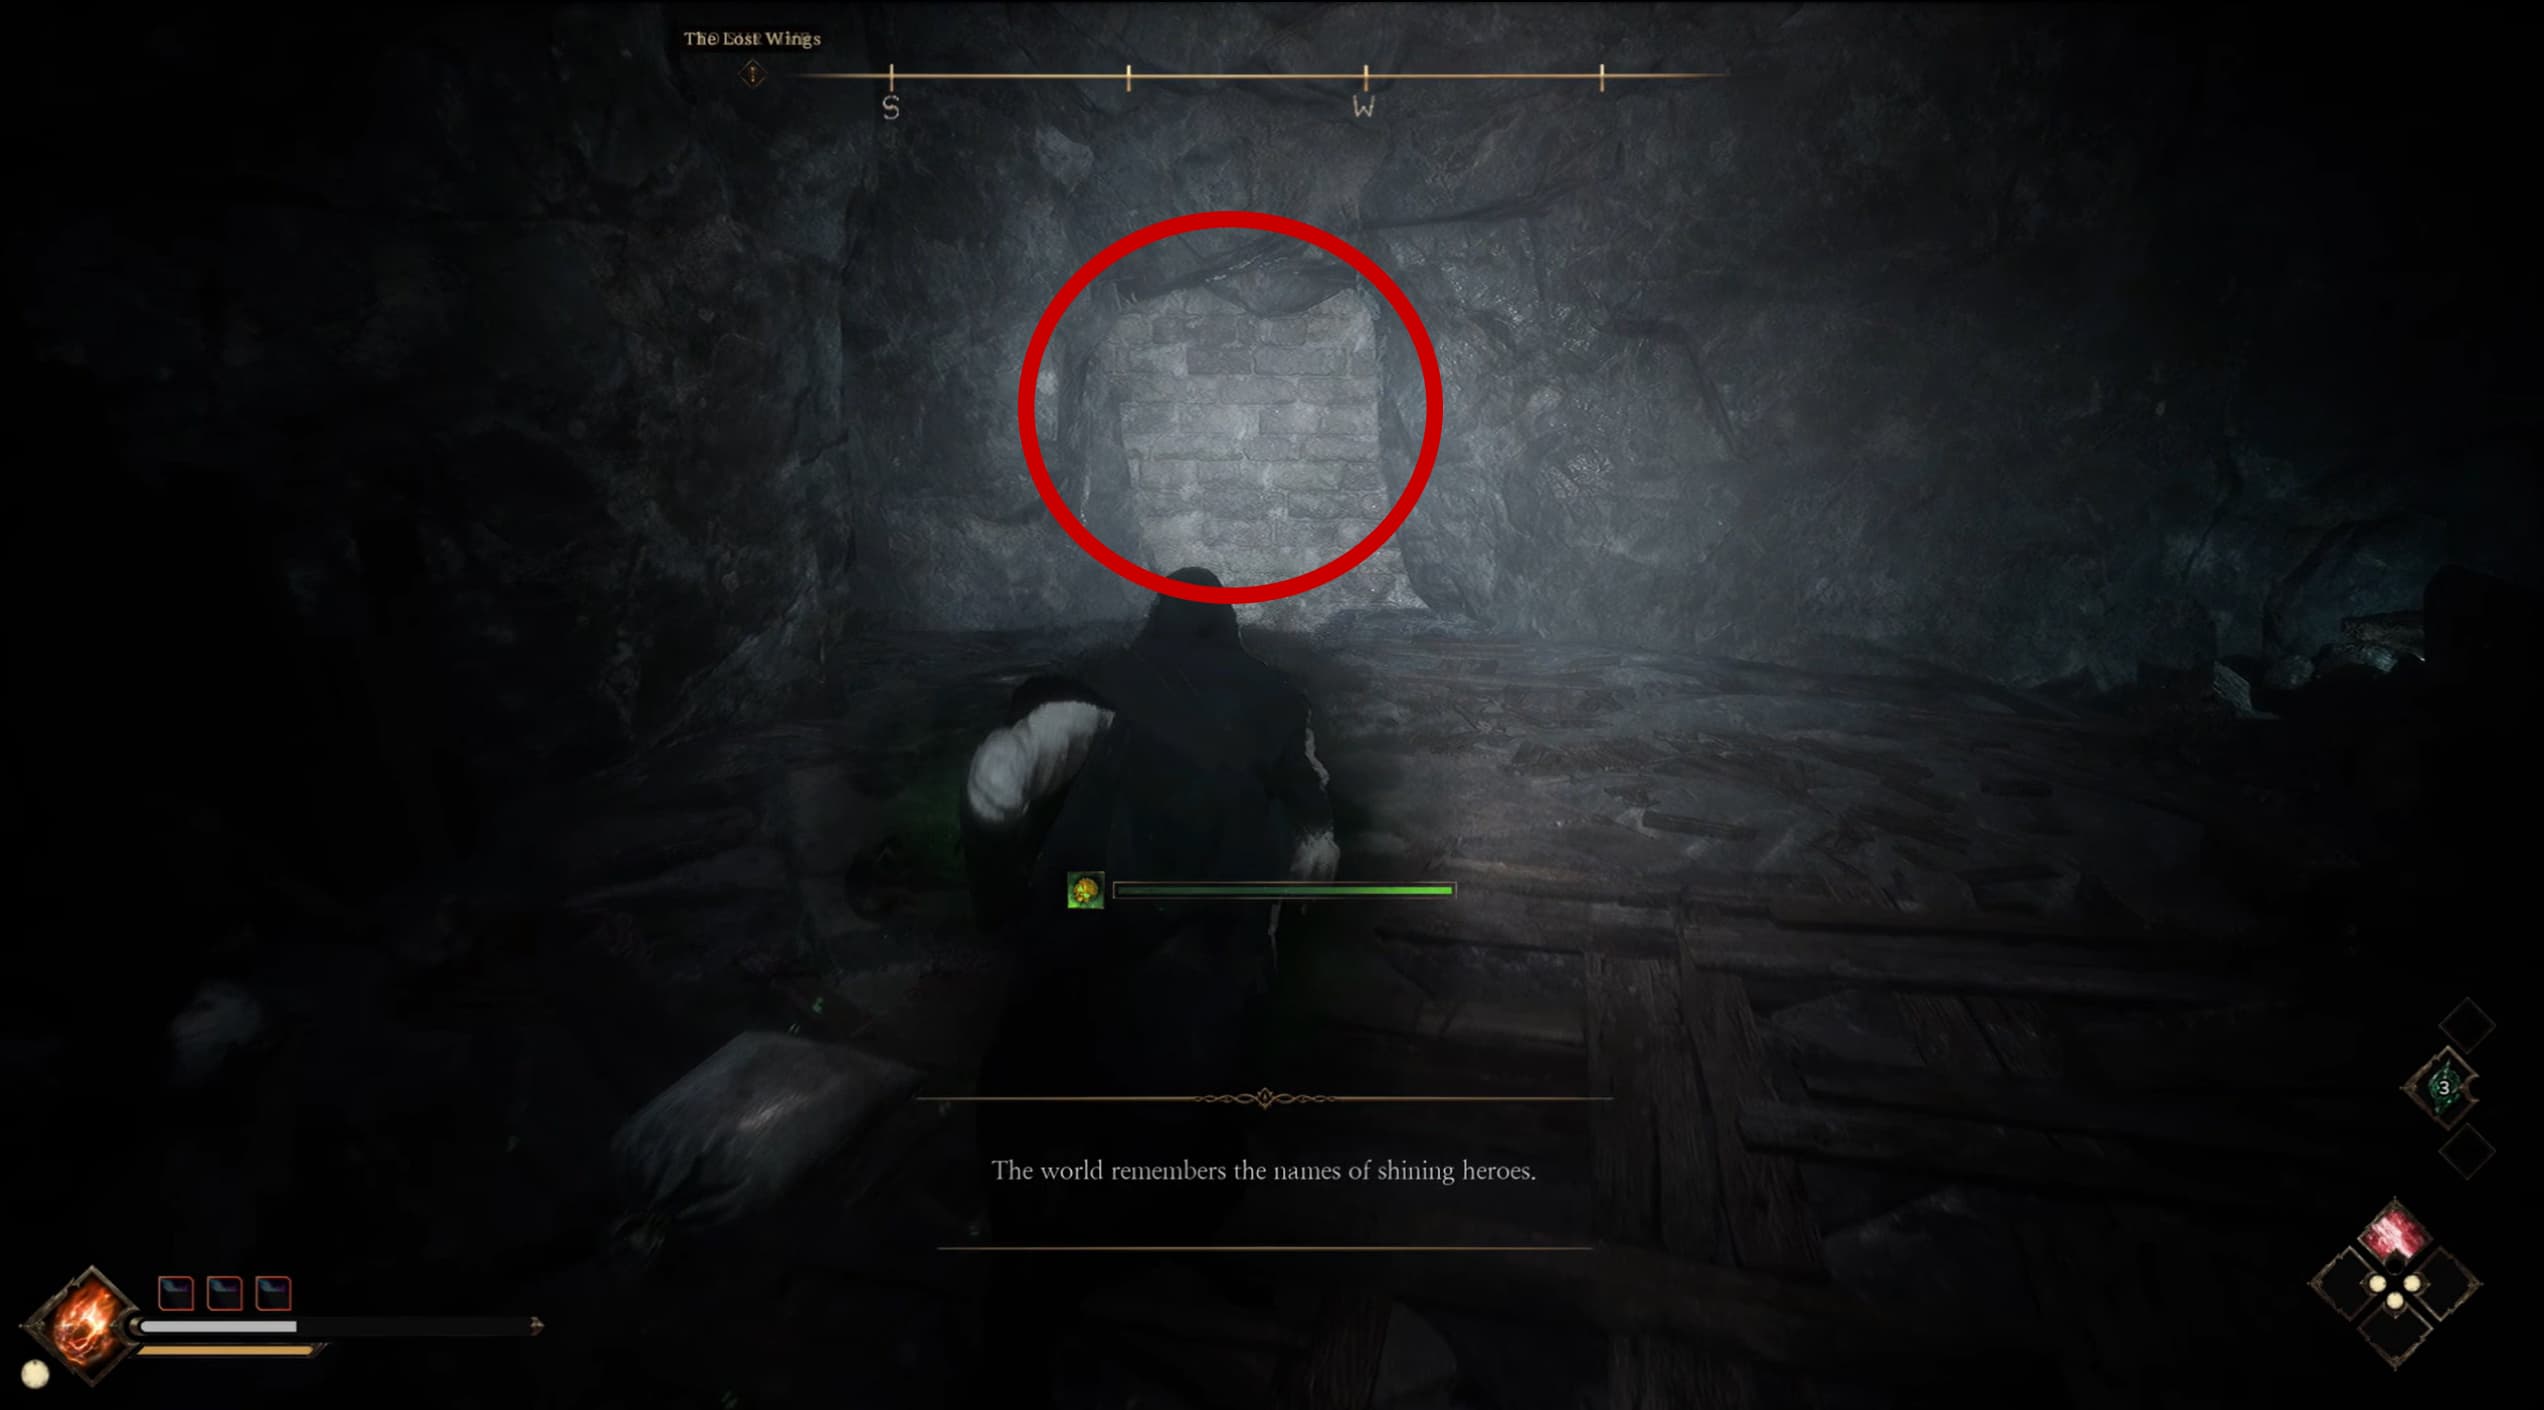
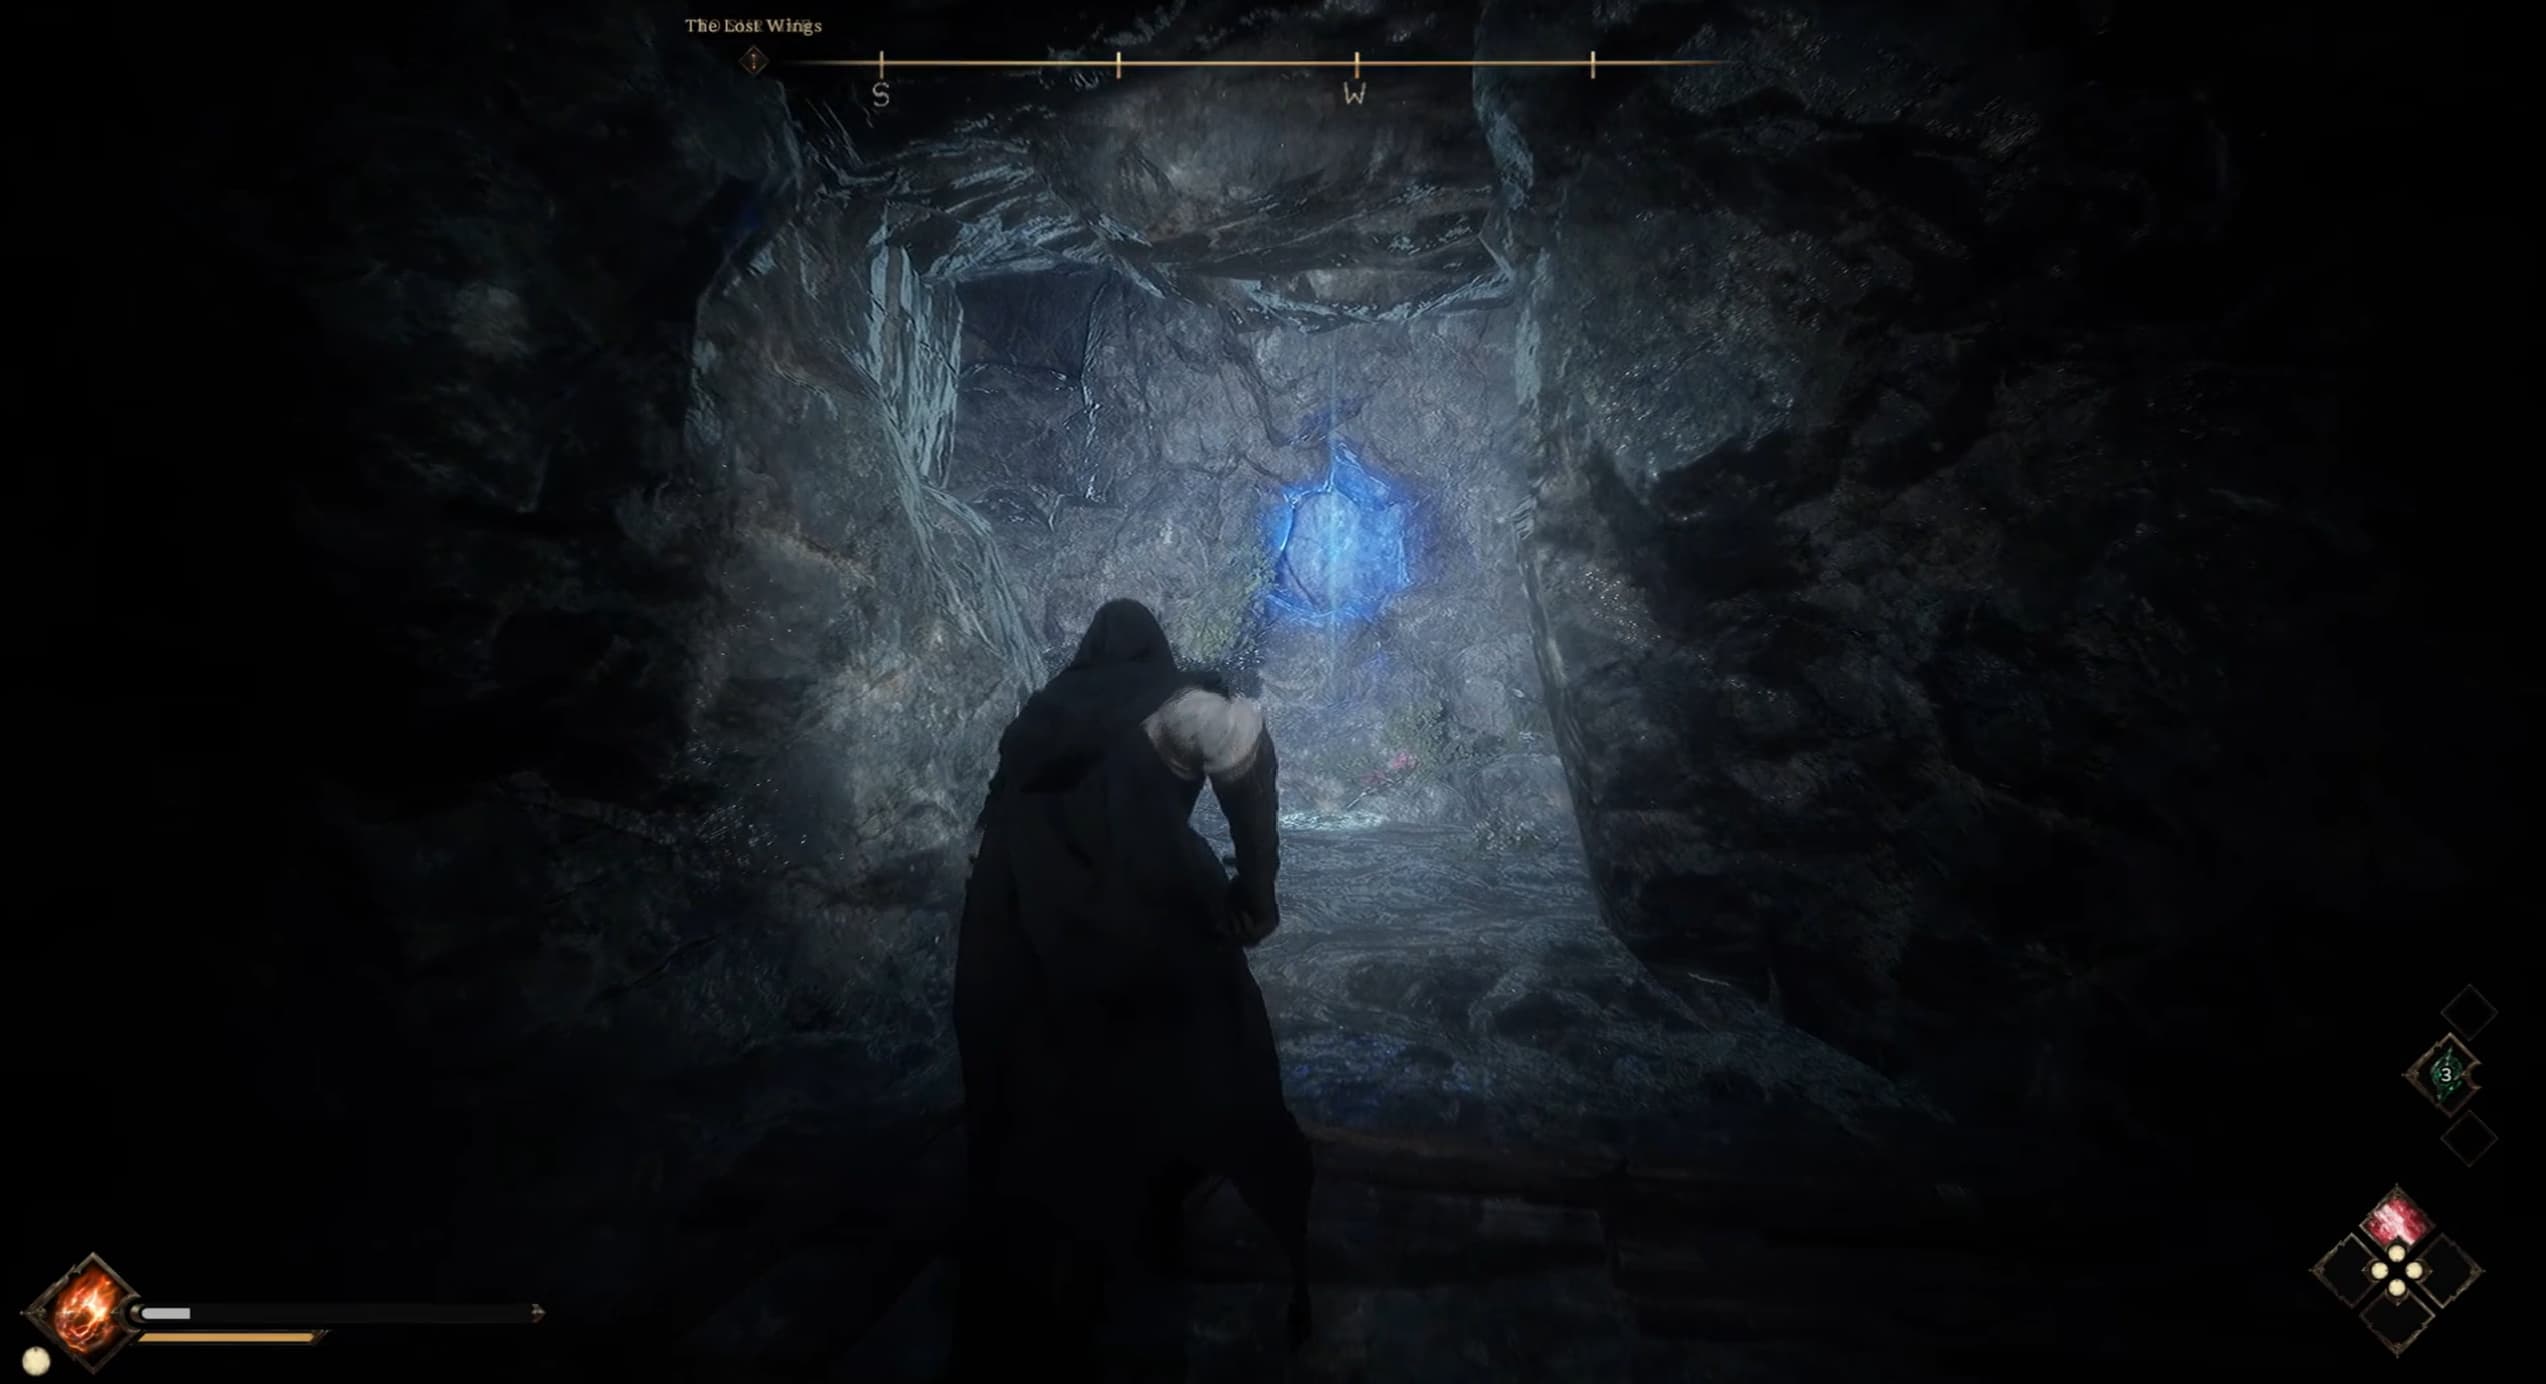
This guide is a work in progress, please check back frequently for updates on more Relic Power / Points Locations.
The locations might seem a little inefficient by their order, this is simply the order in which I found them in, please do collect the Points in whichever order you see the most efficient for your gameplay.
This guide will break down all of the locations where you can obtain Ancient Relic Energy Points to spend on unlocking abilities in your skill tree. It is recommended to gather as many of these points as early into the game as possible, to make combat and progression much smoother.
Power Locations
Faded Mist Forest Locations
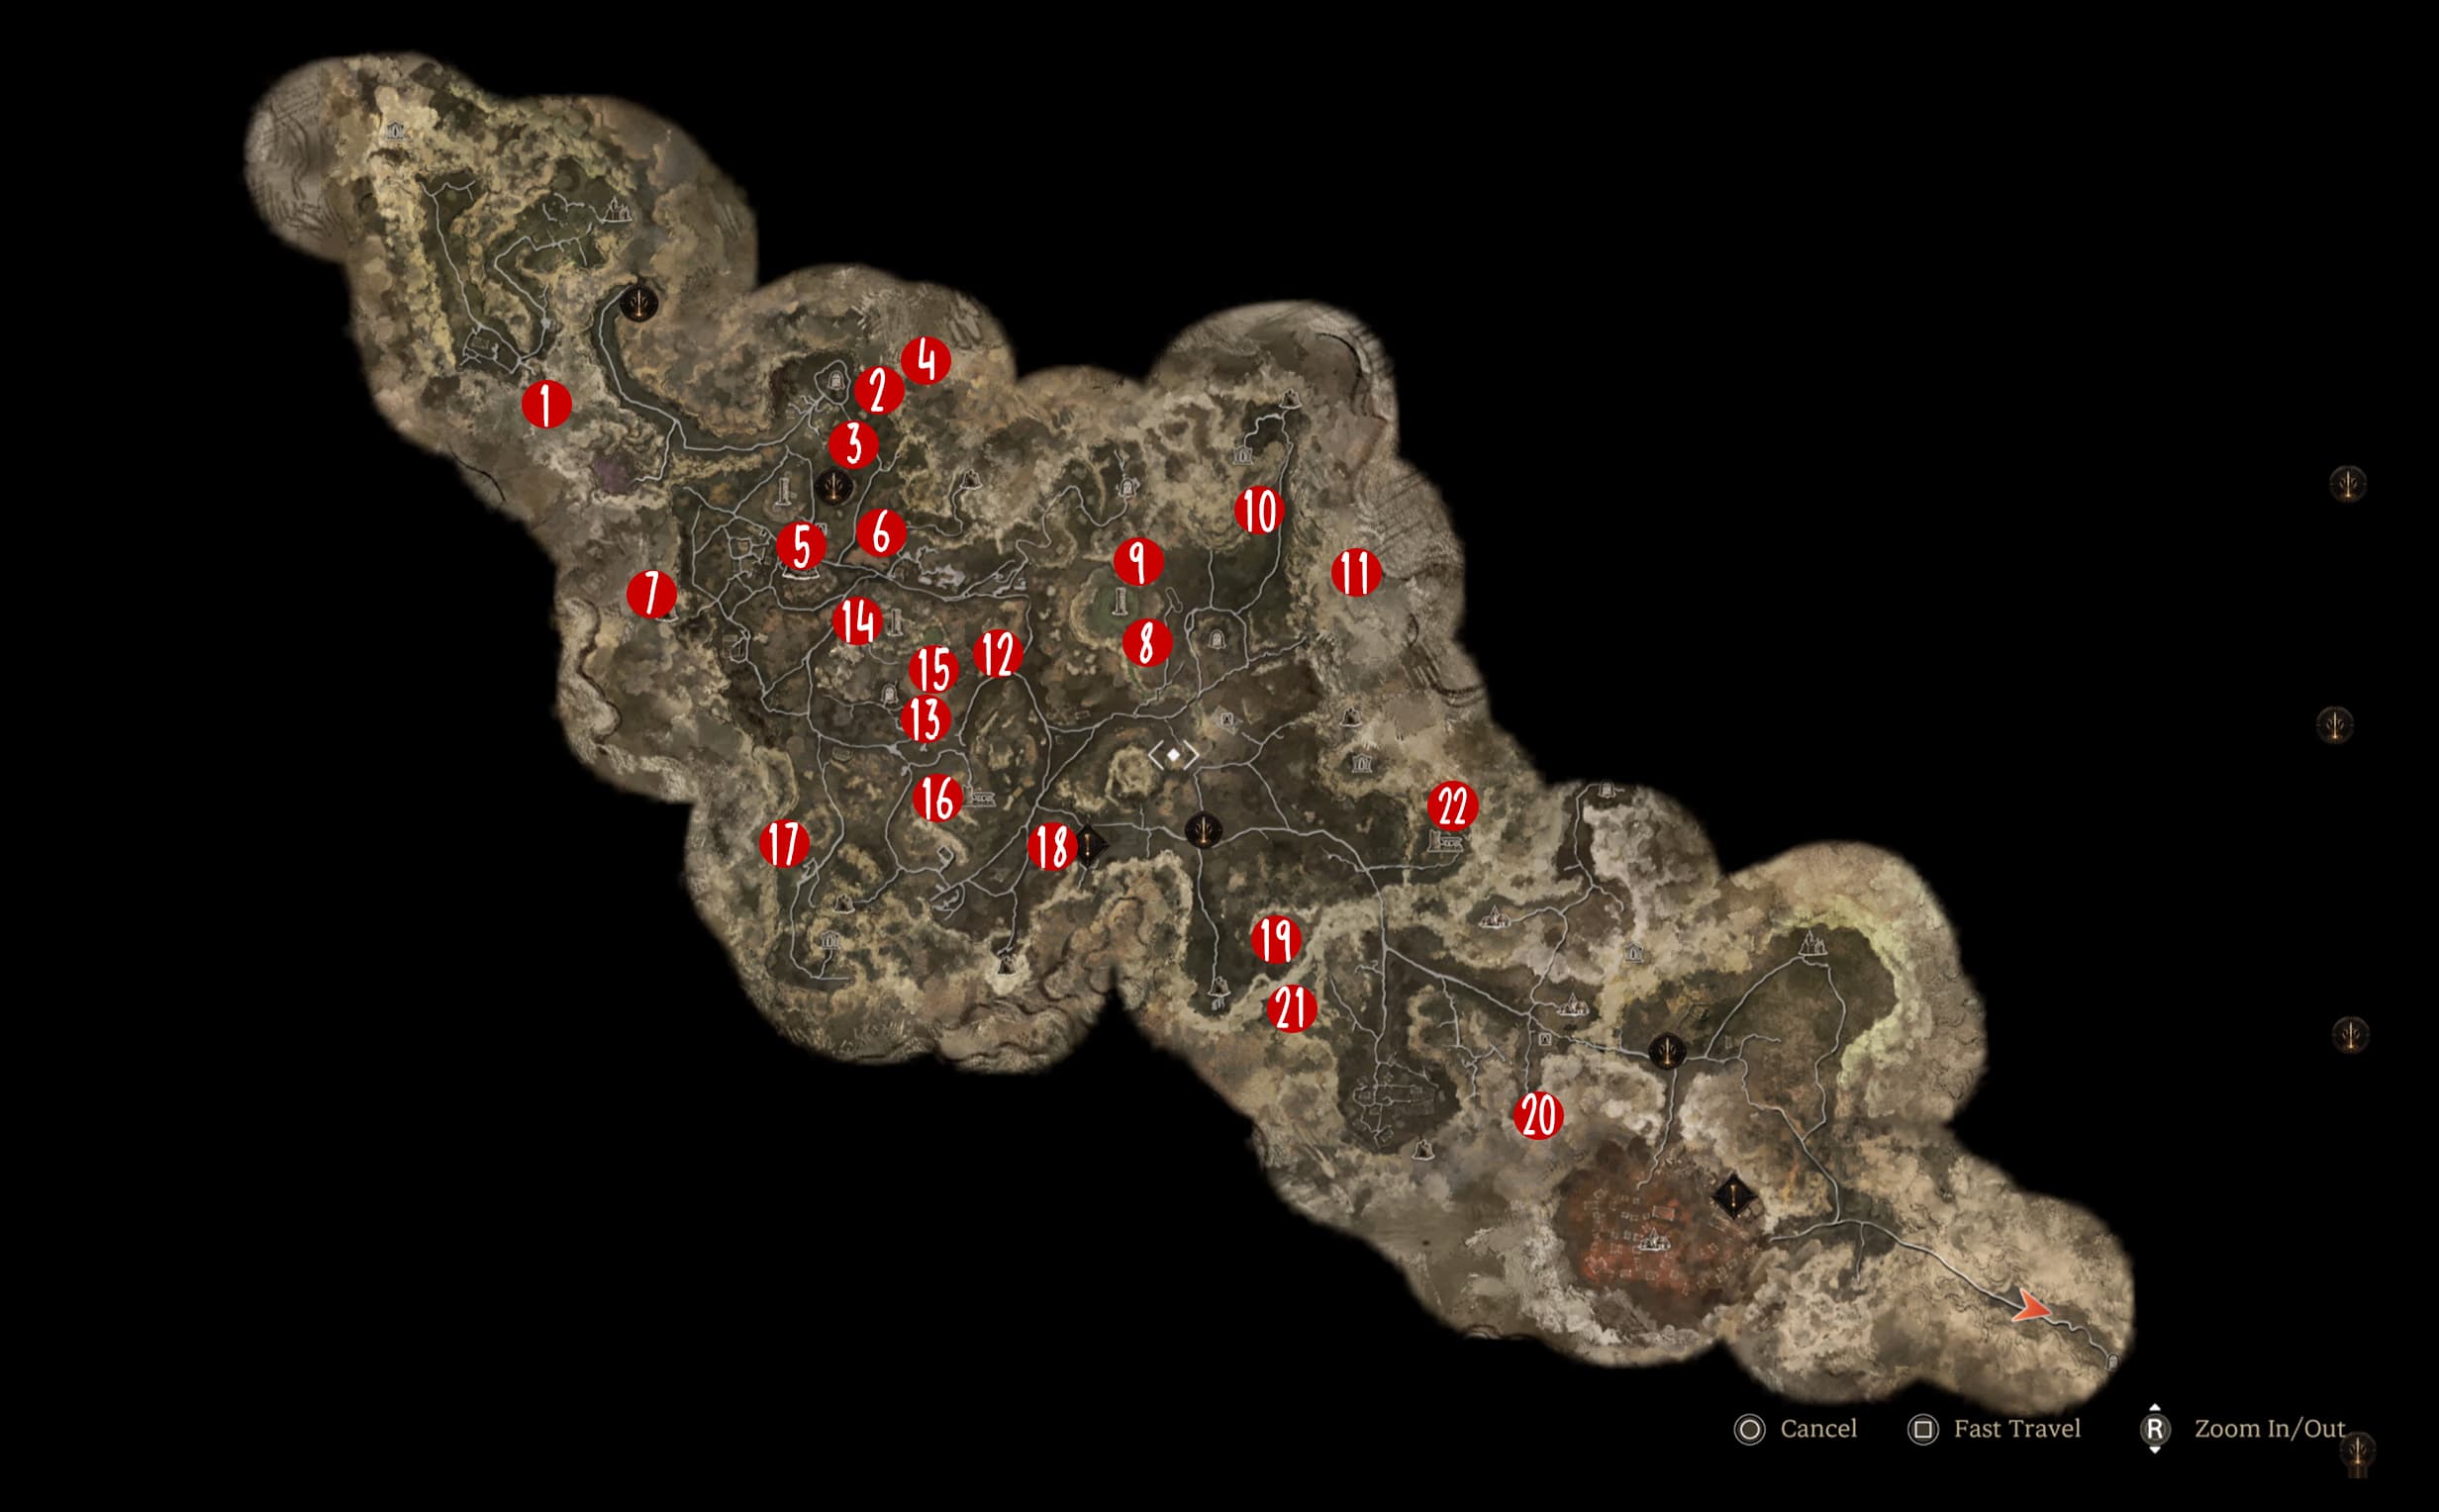
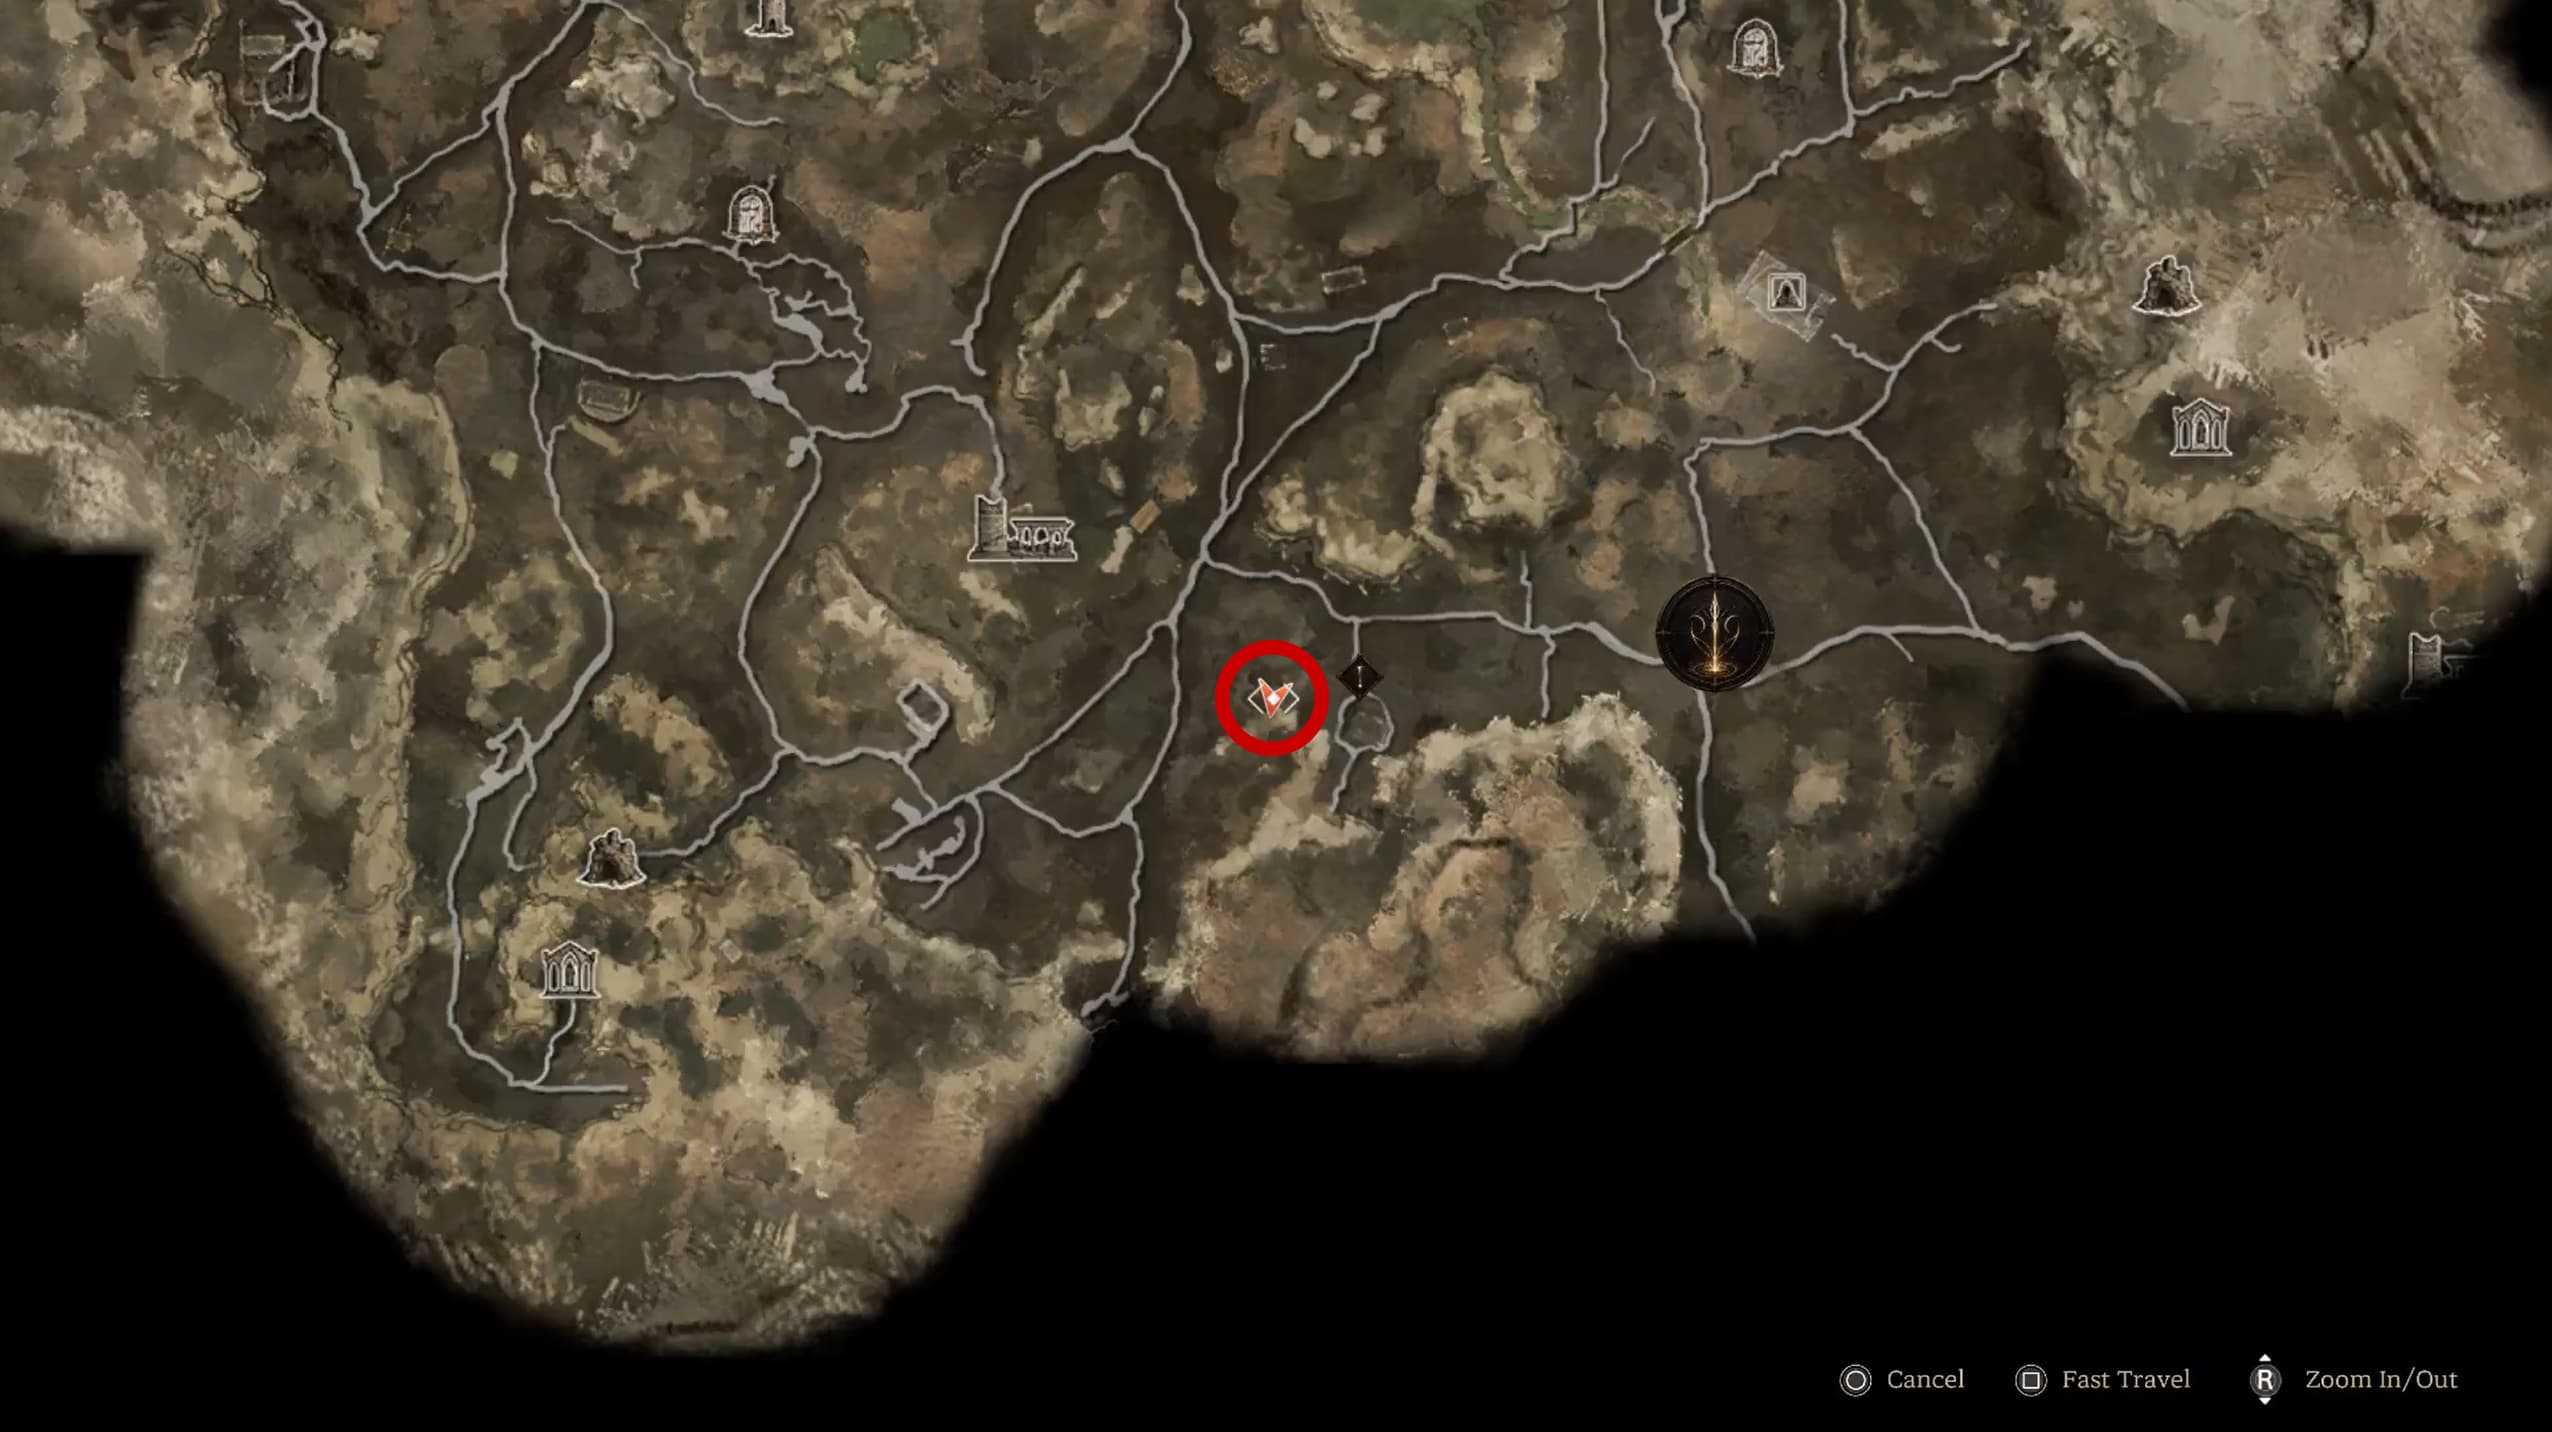
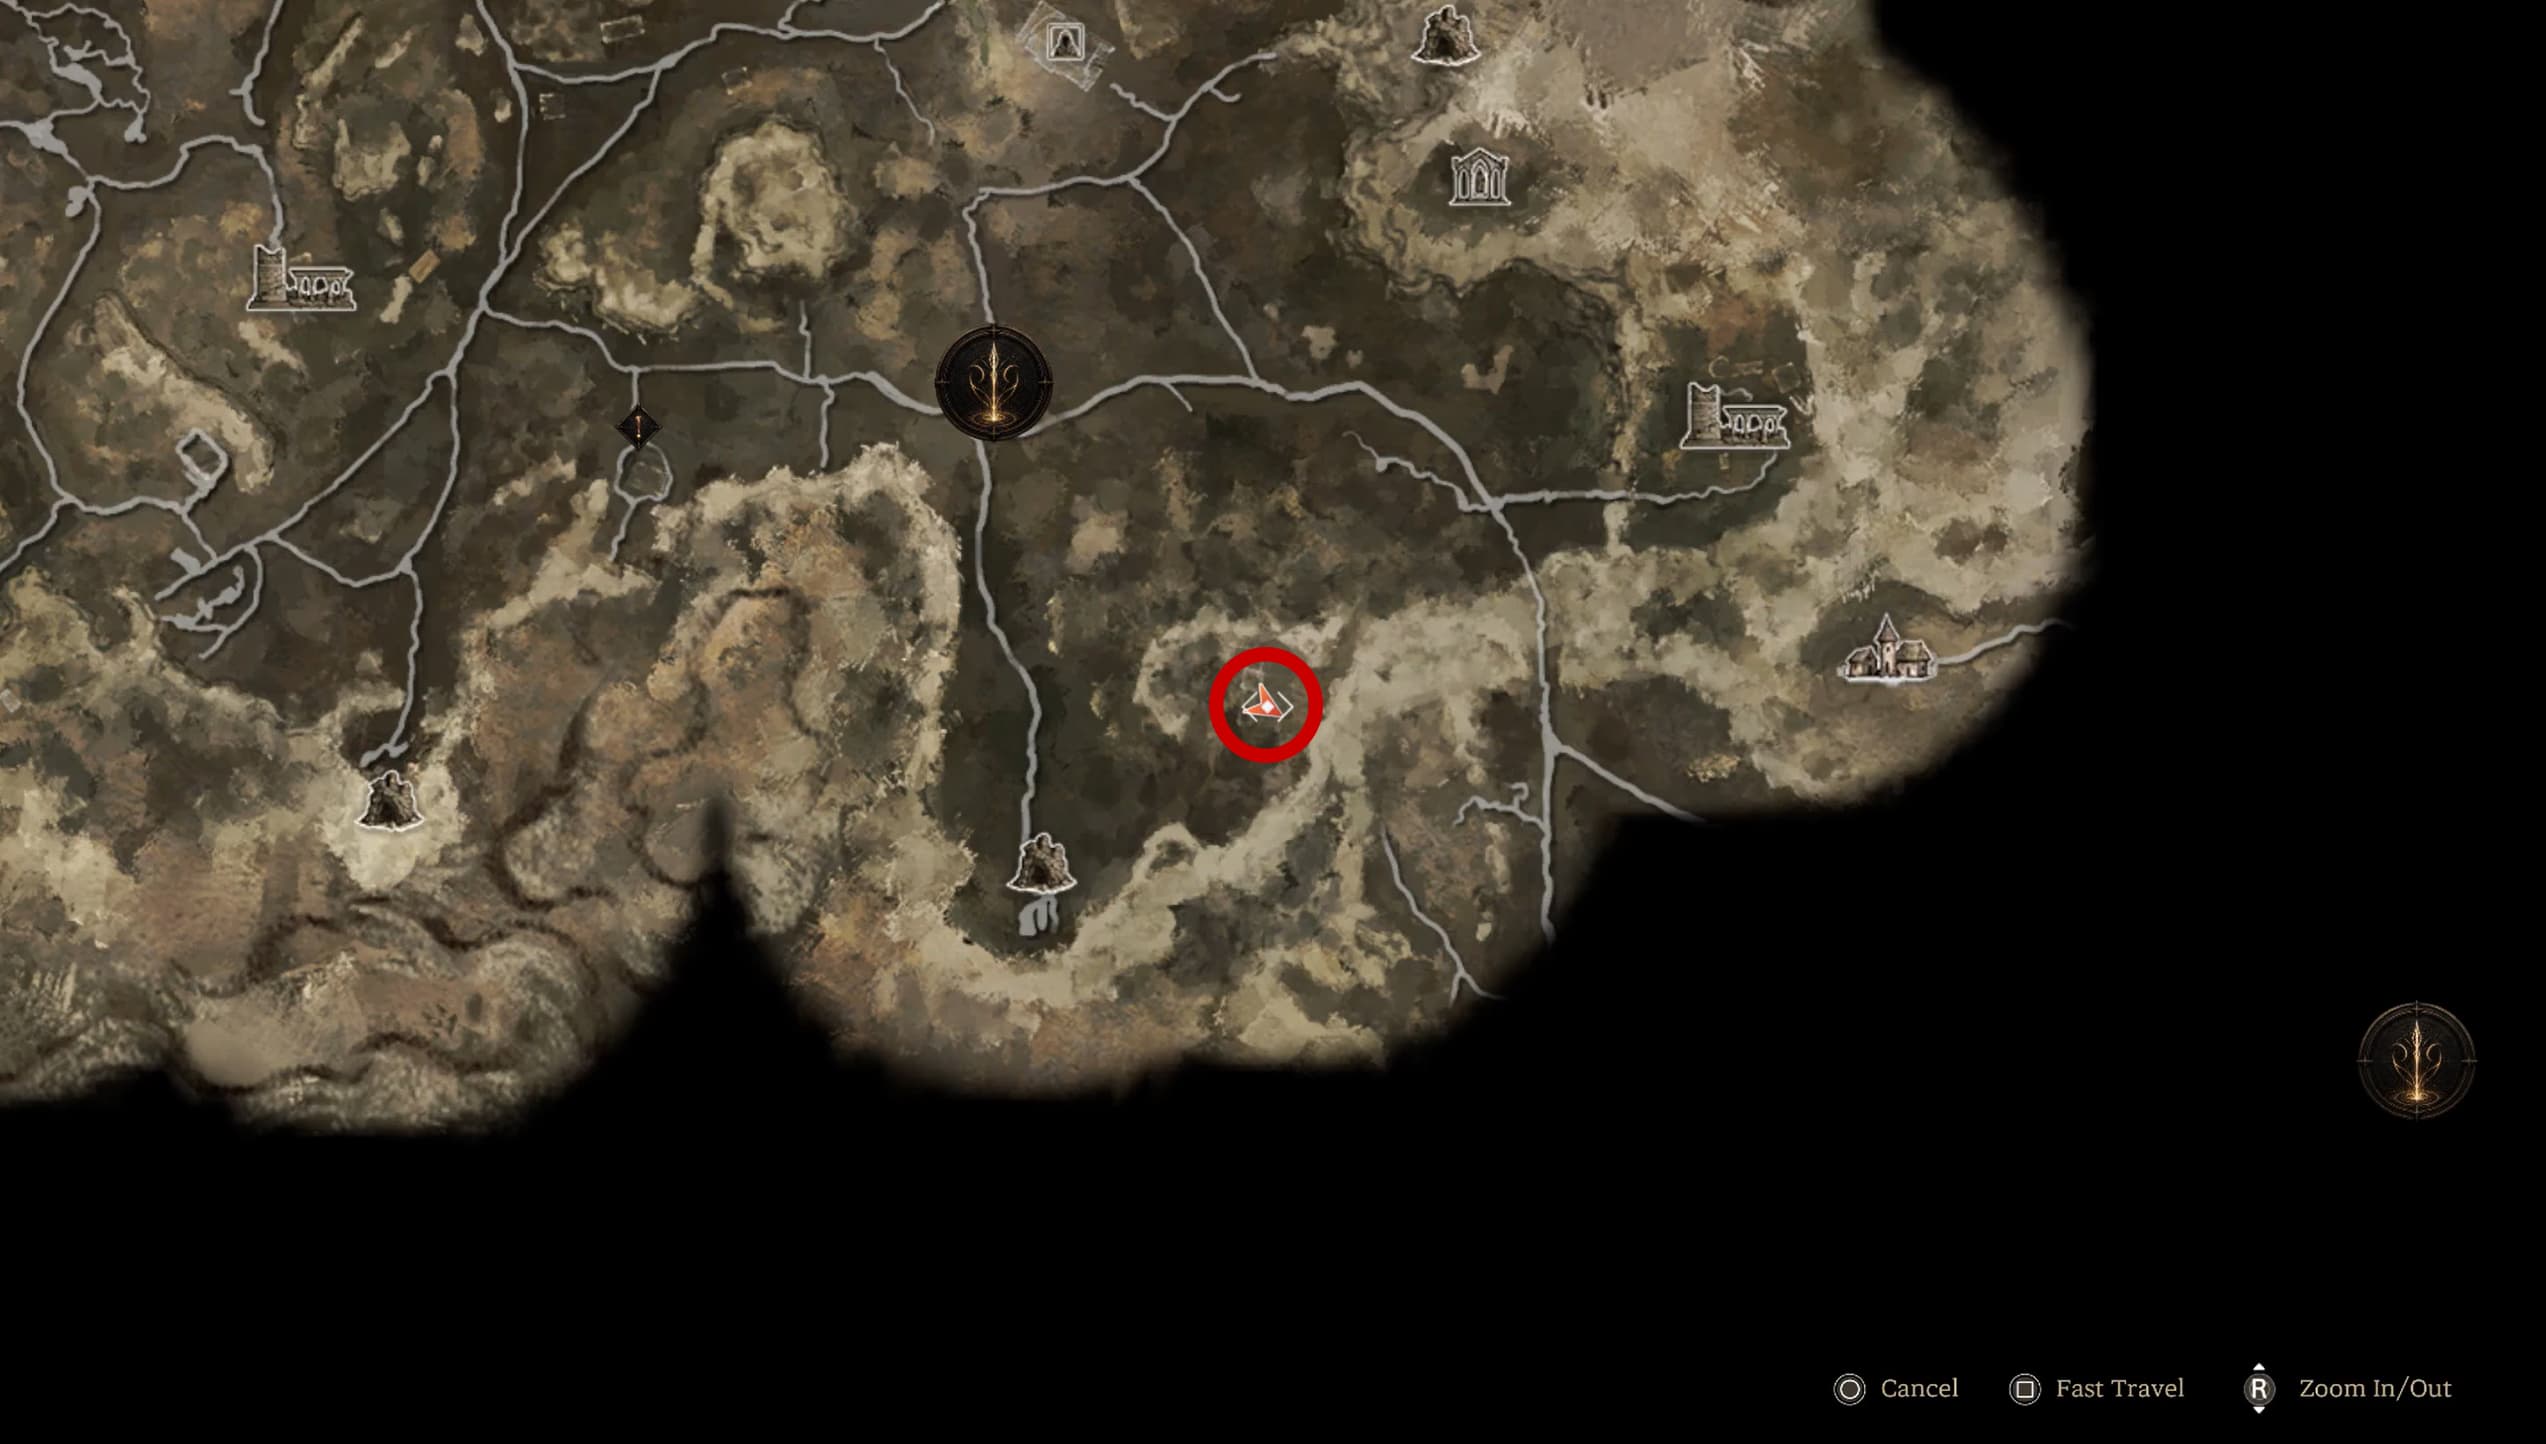
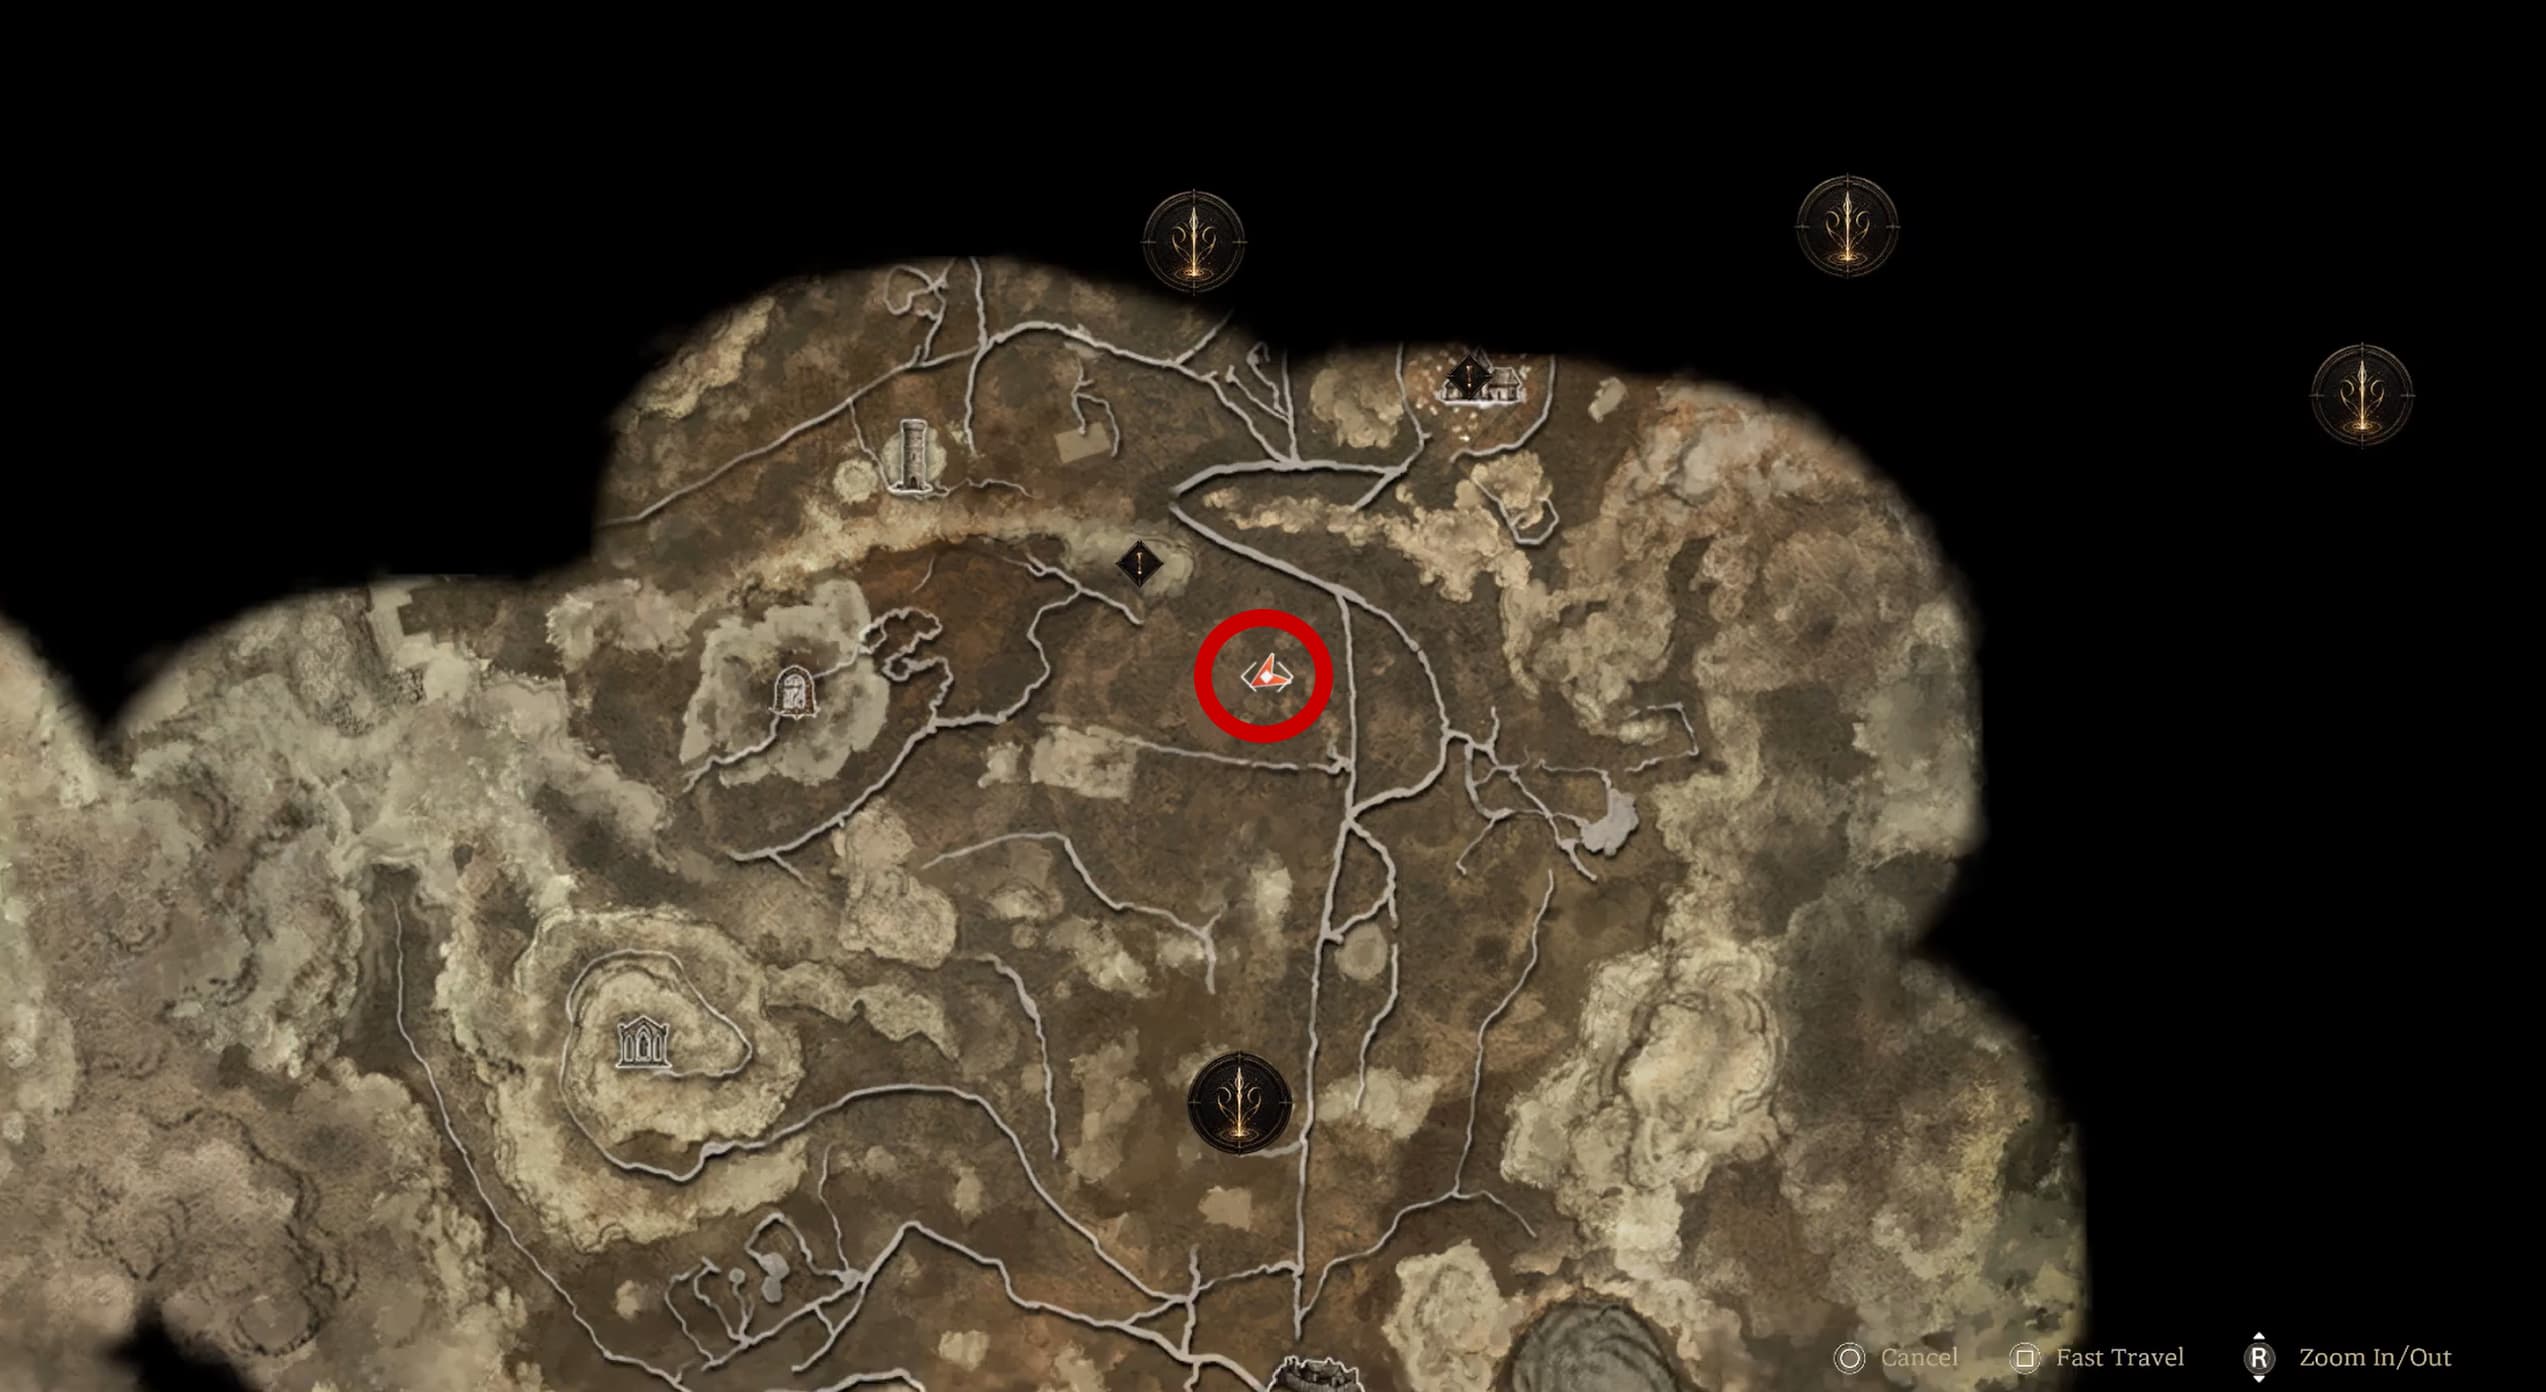
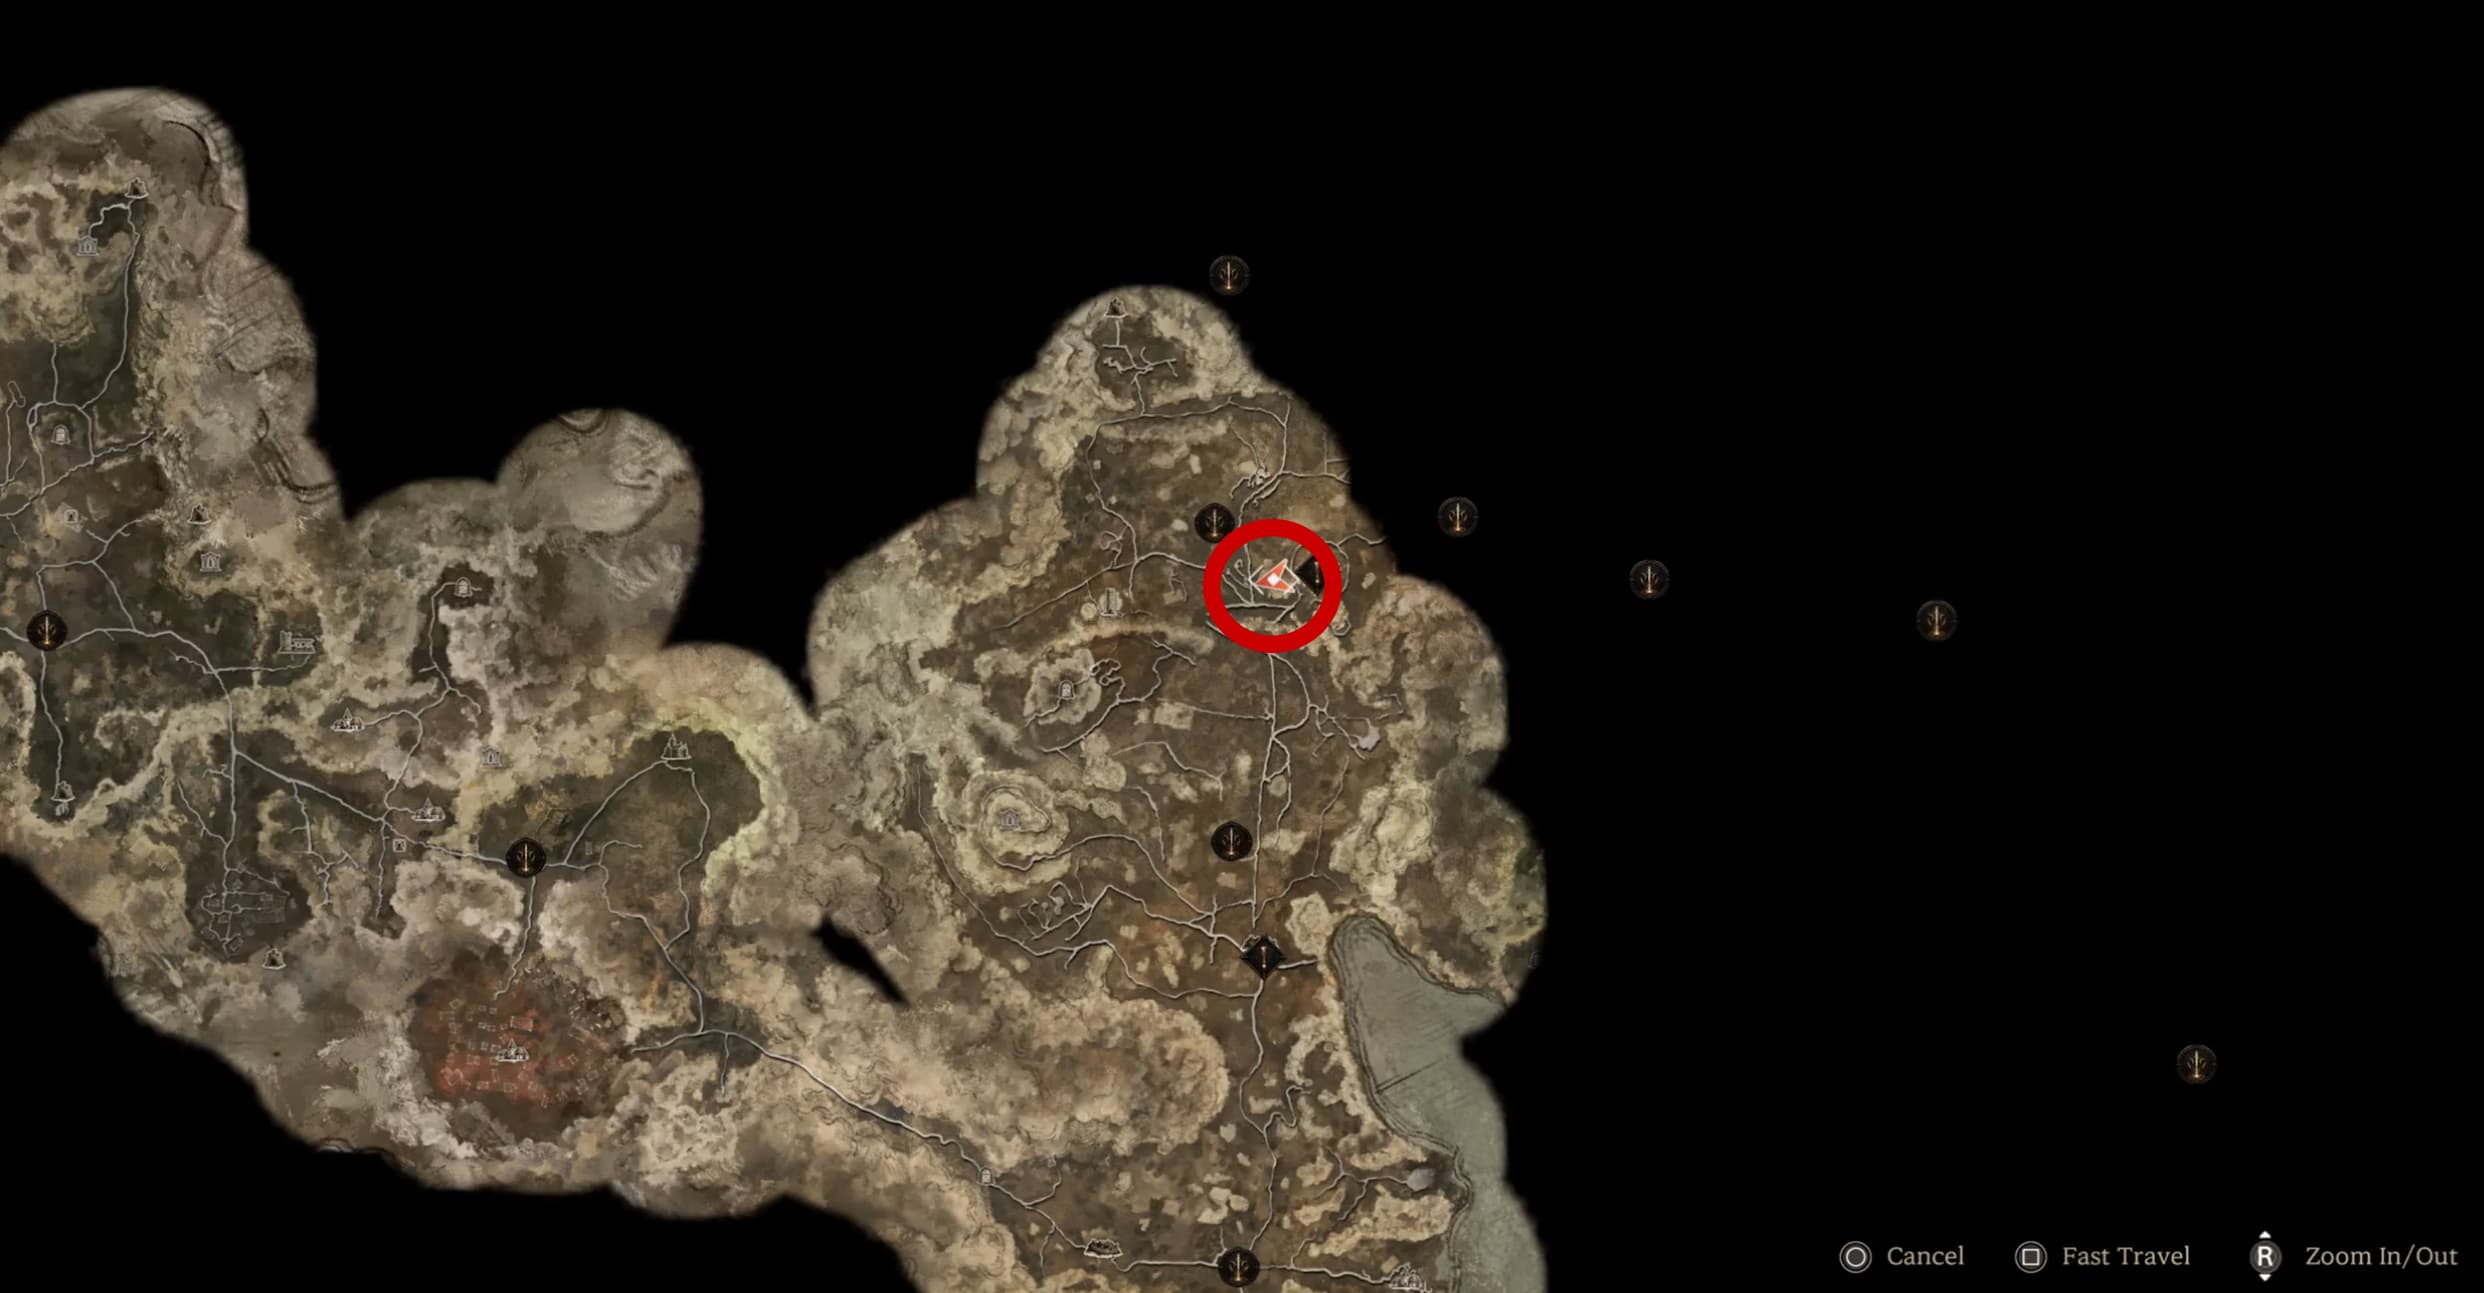
The map below indicates where all of the Ancient Relic Energy points are located in the Faded Mist Forest, beneath is a more detailed view of each location and more specifically how to reach each point.
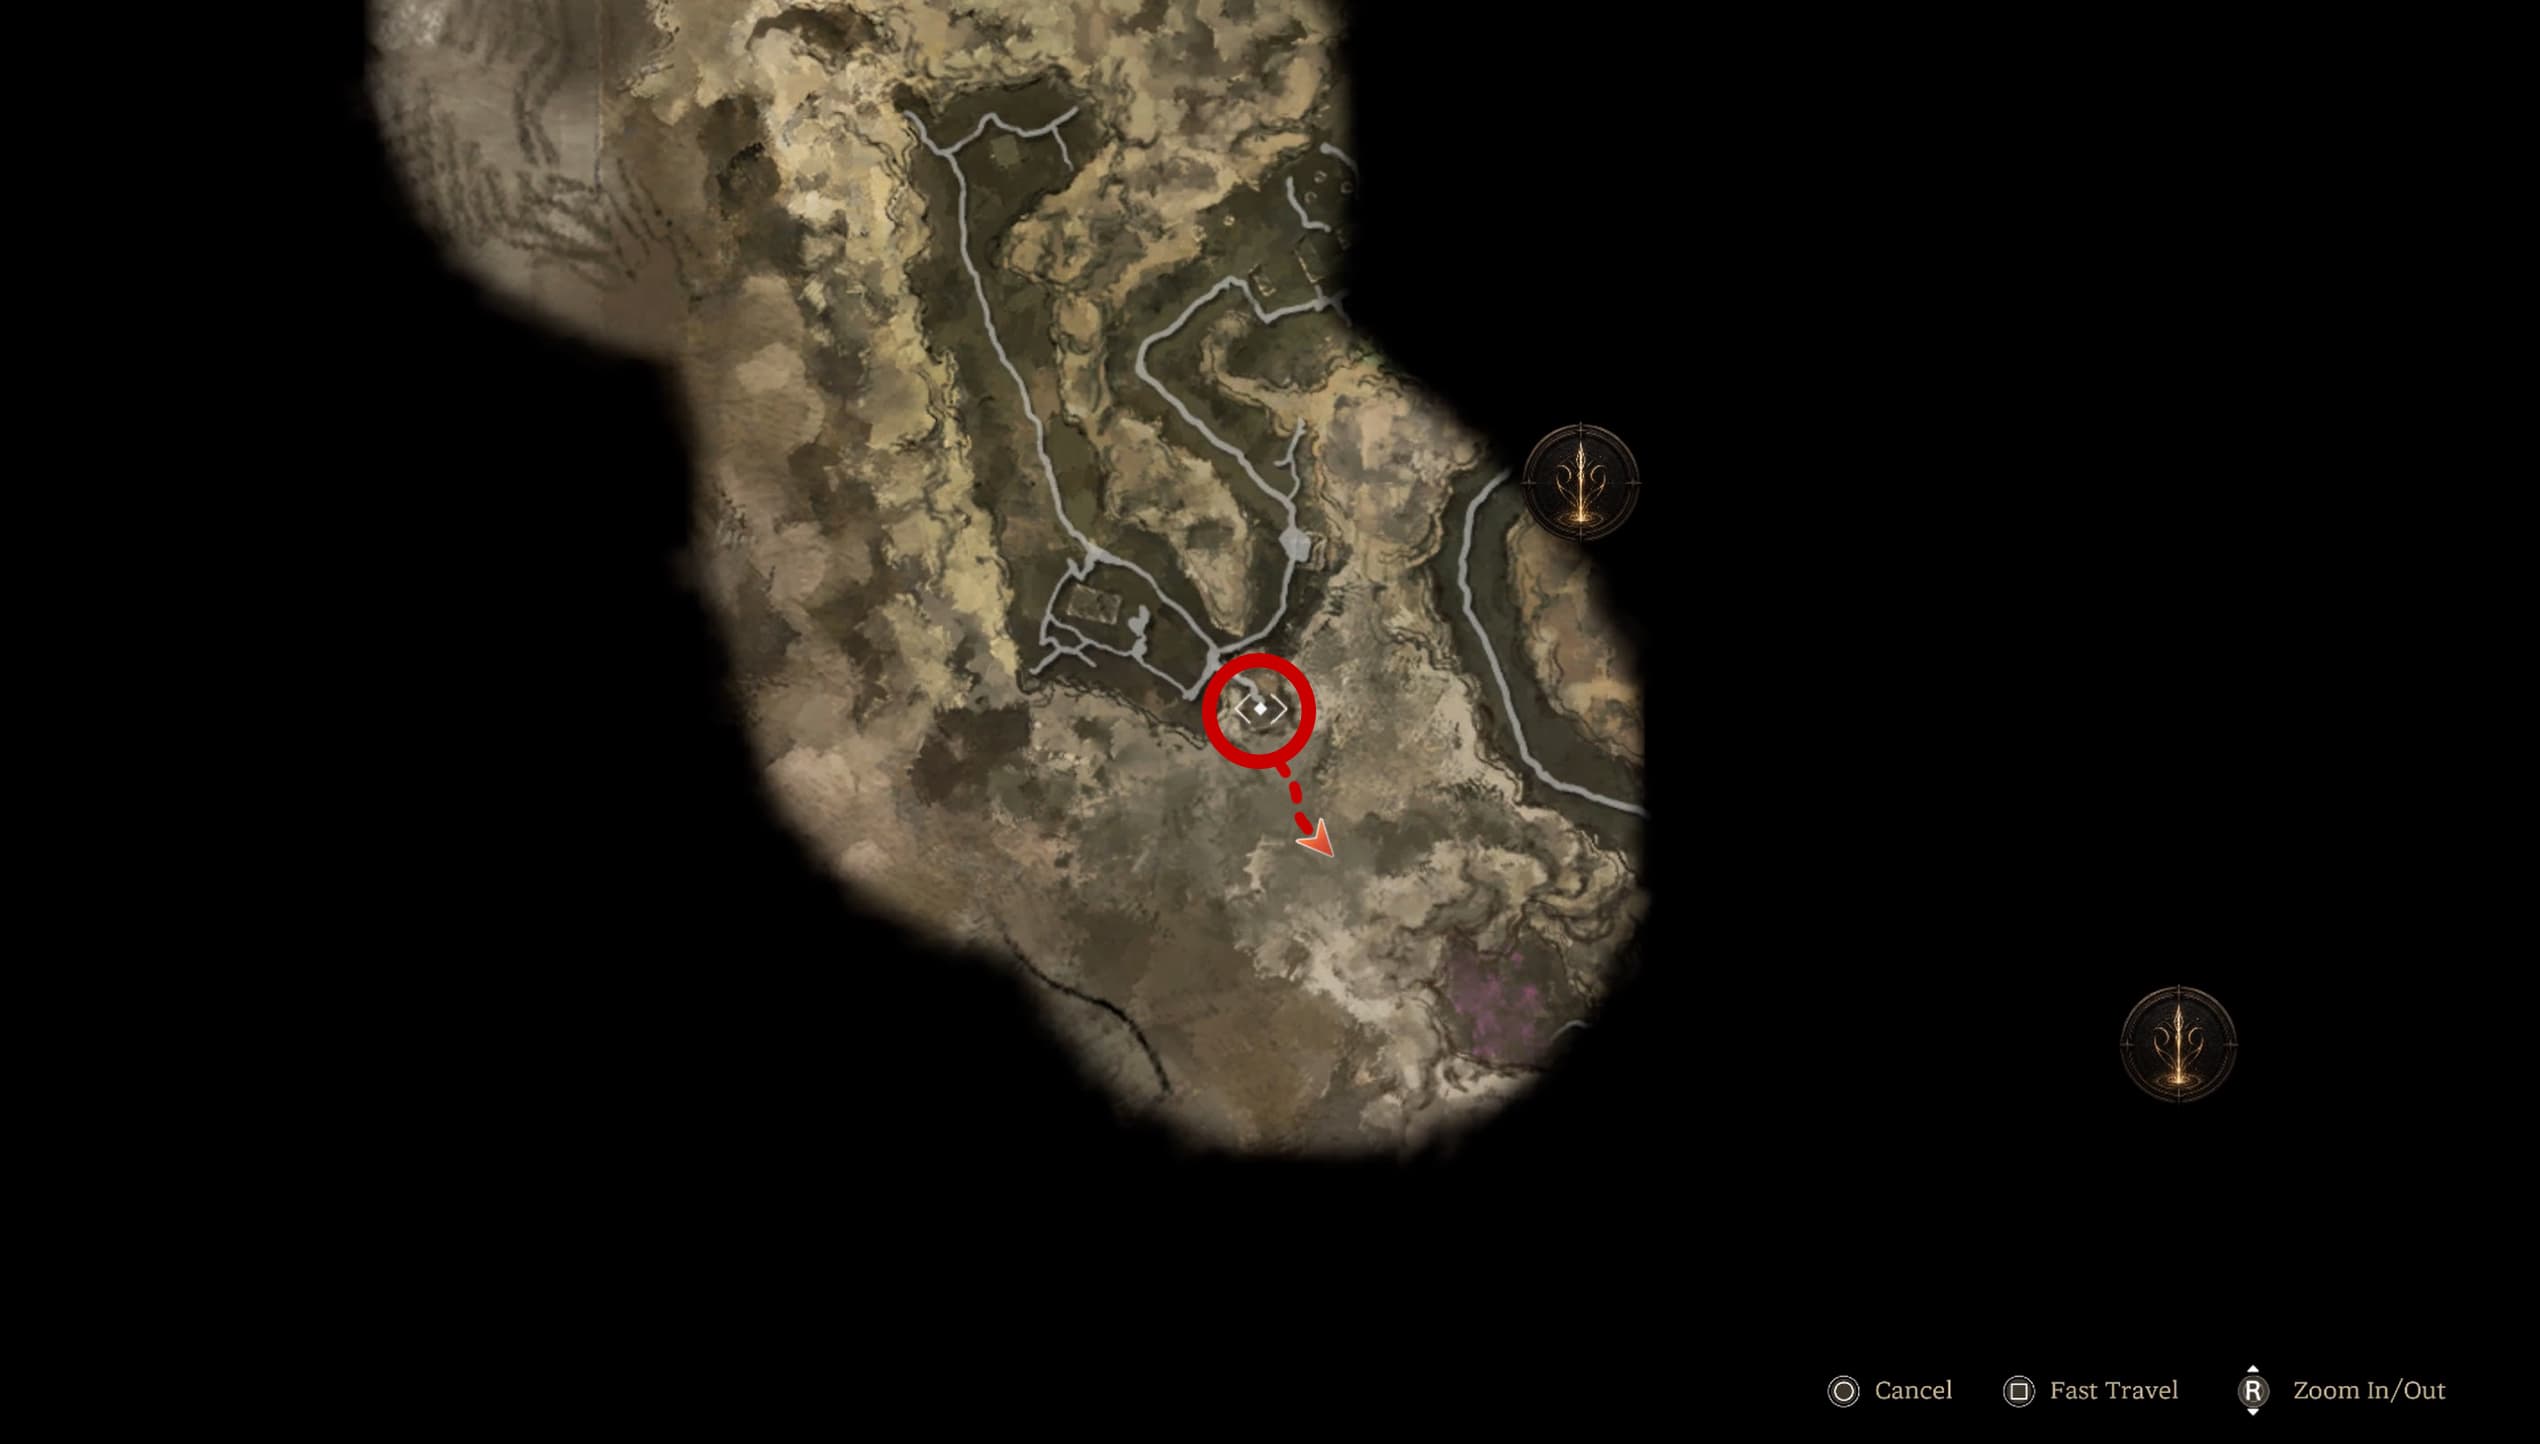
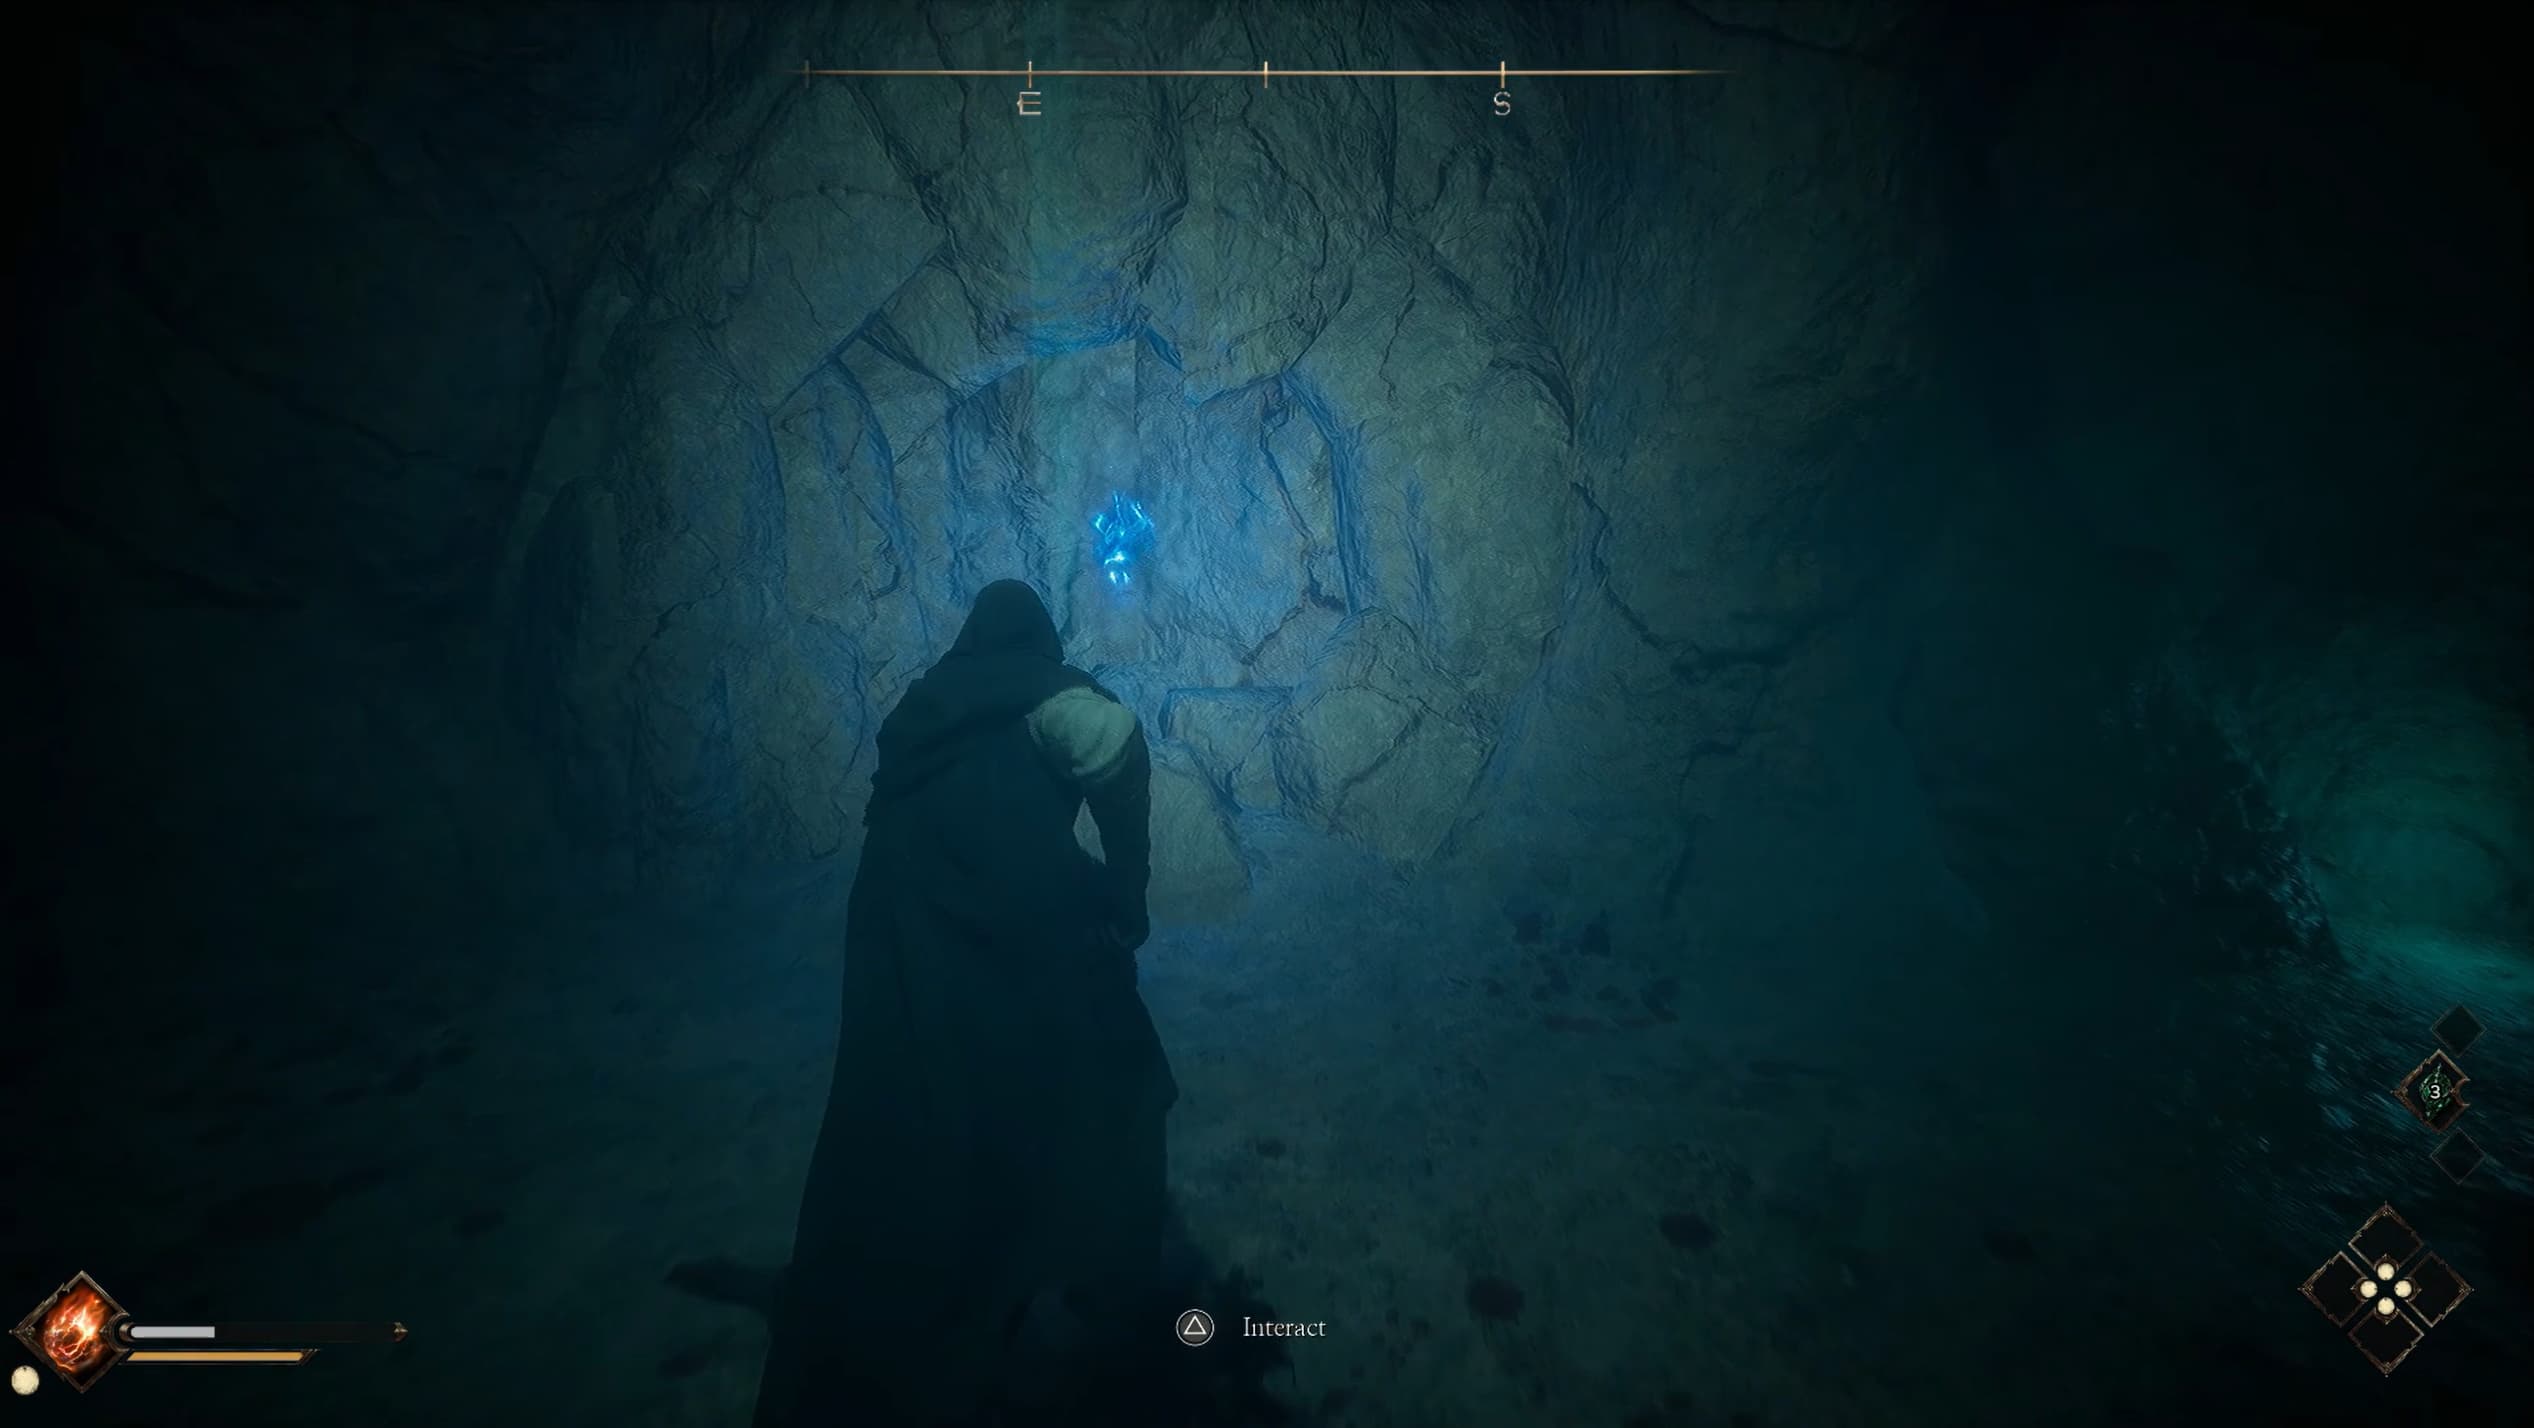
Location #1 is hard to miss with the introduction to the game. Enter into the cave marked on the map below and explore inside. Here you will find your first Ancient Relic Energy location and you will be rewarded with a nice 1000 Relic Power to kickstart your journey.
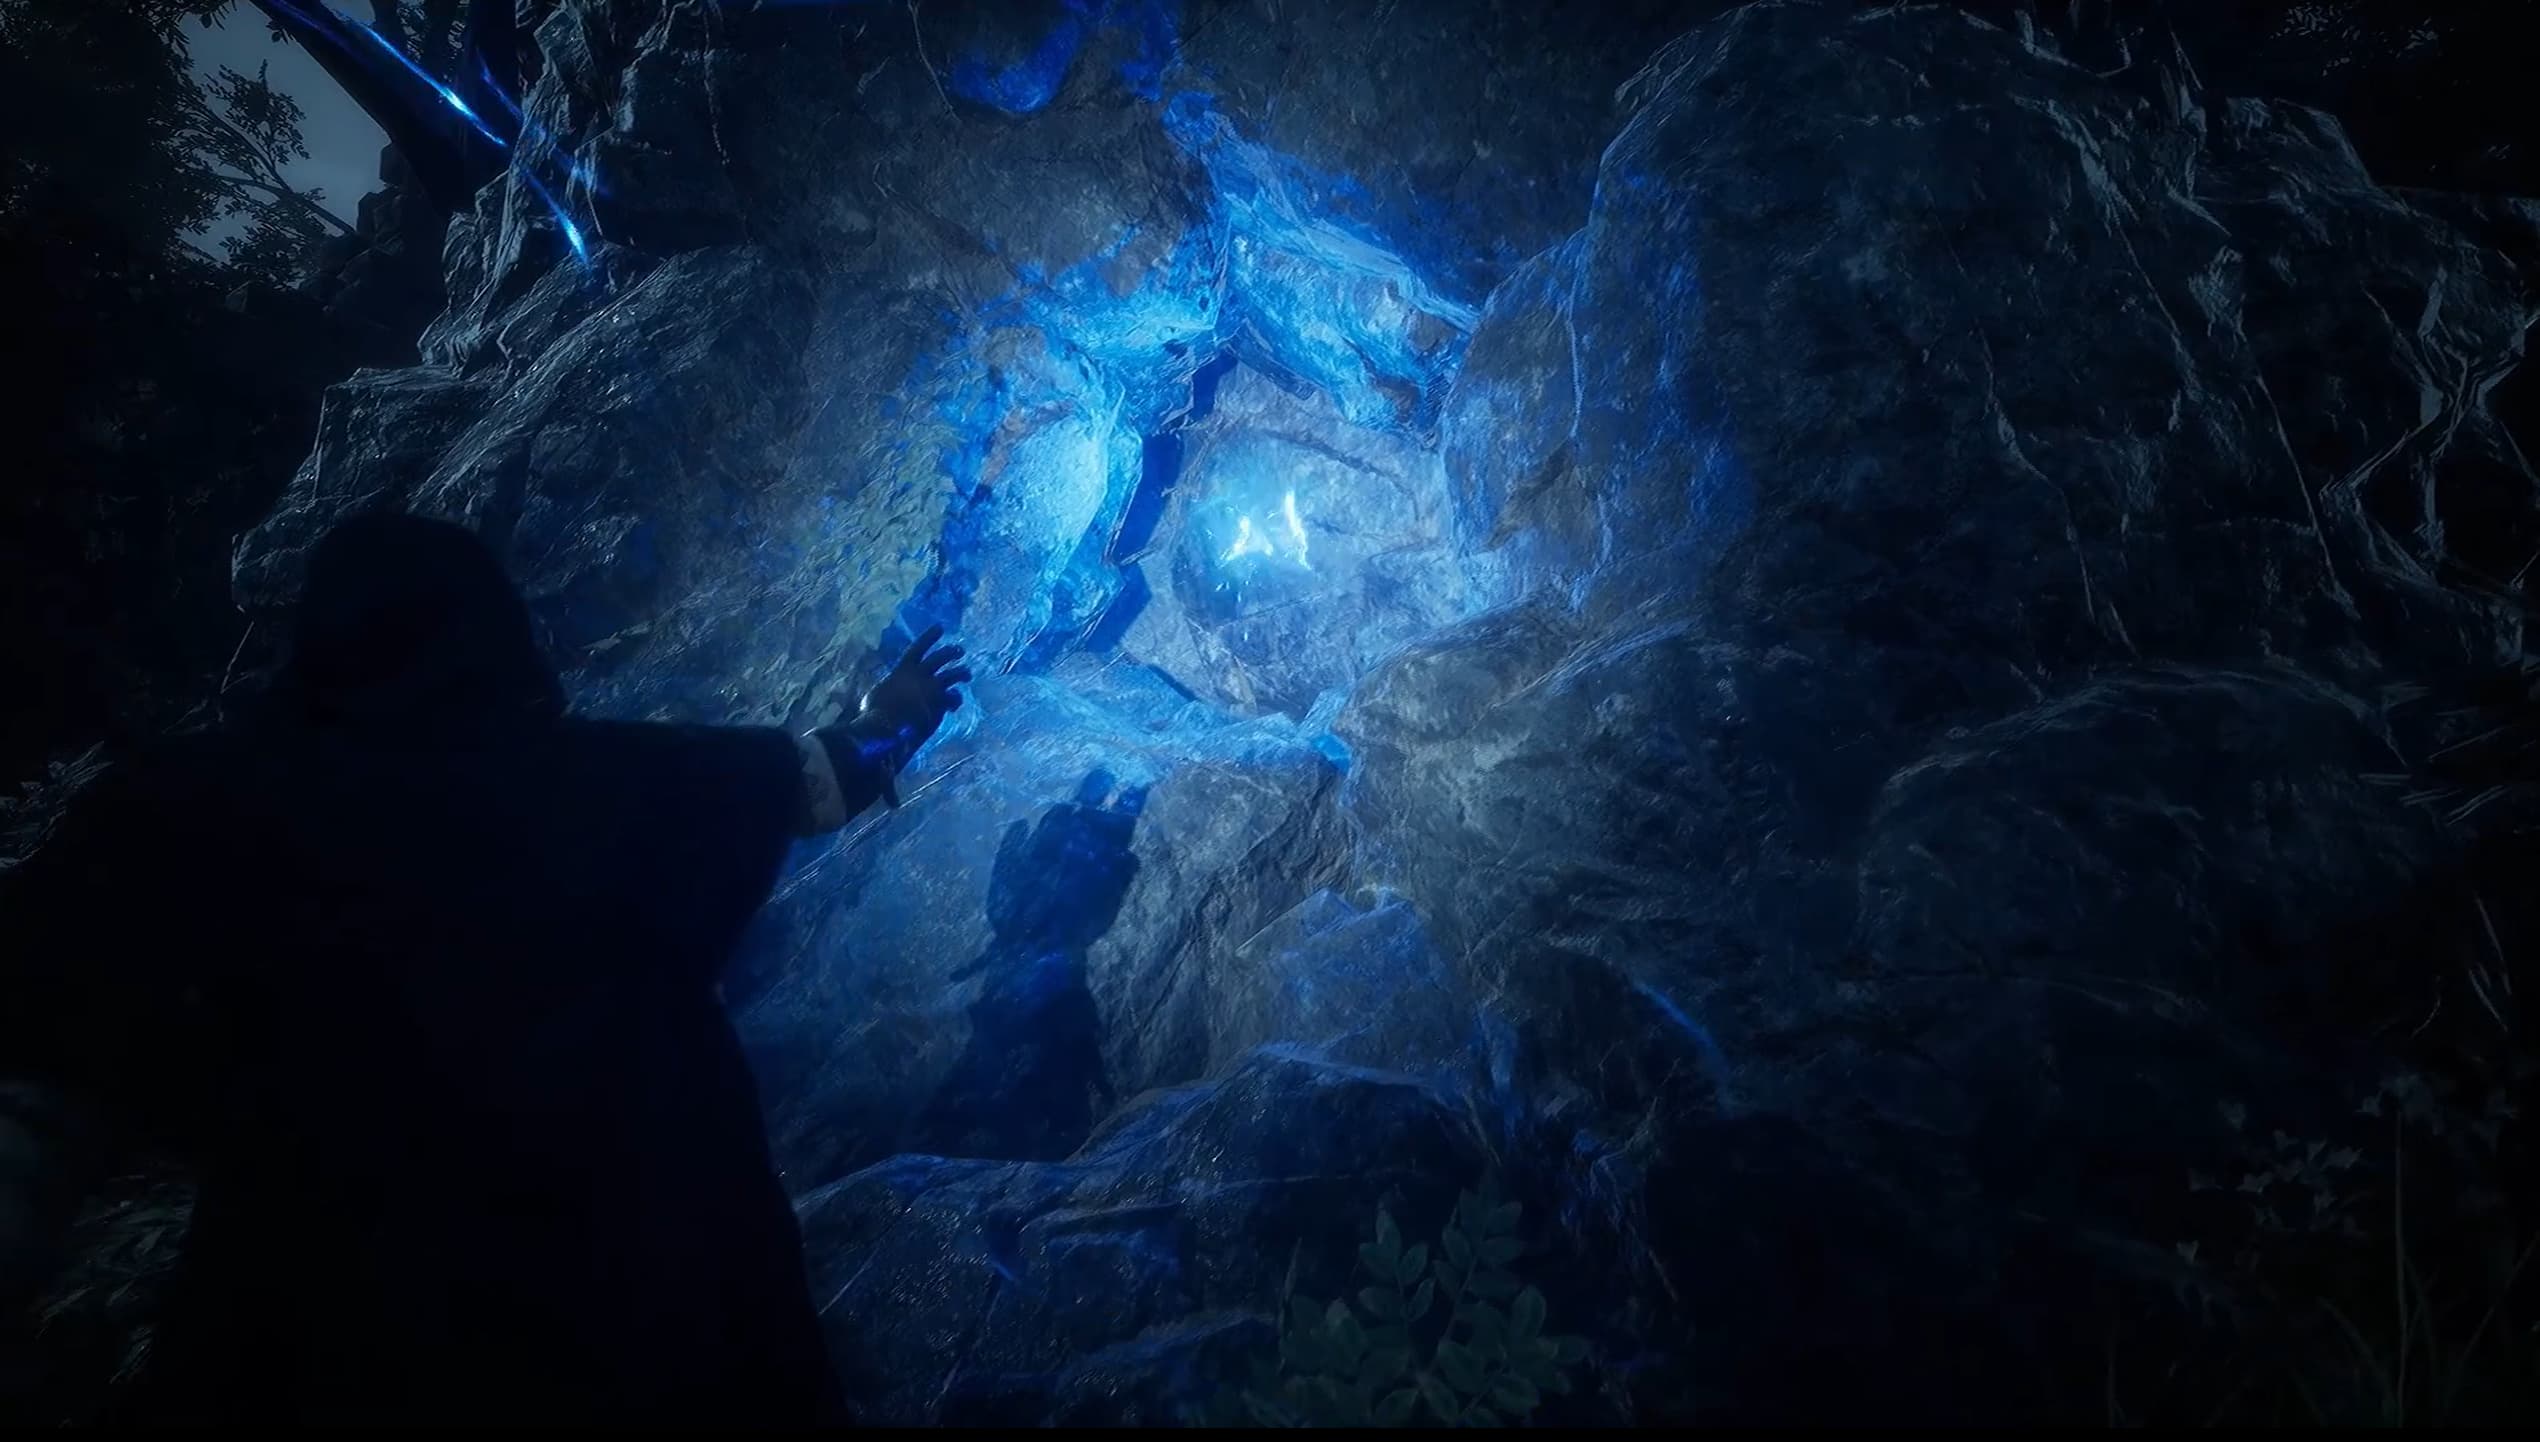
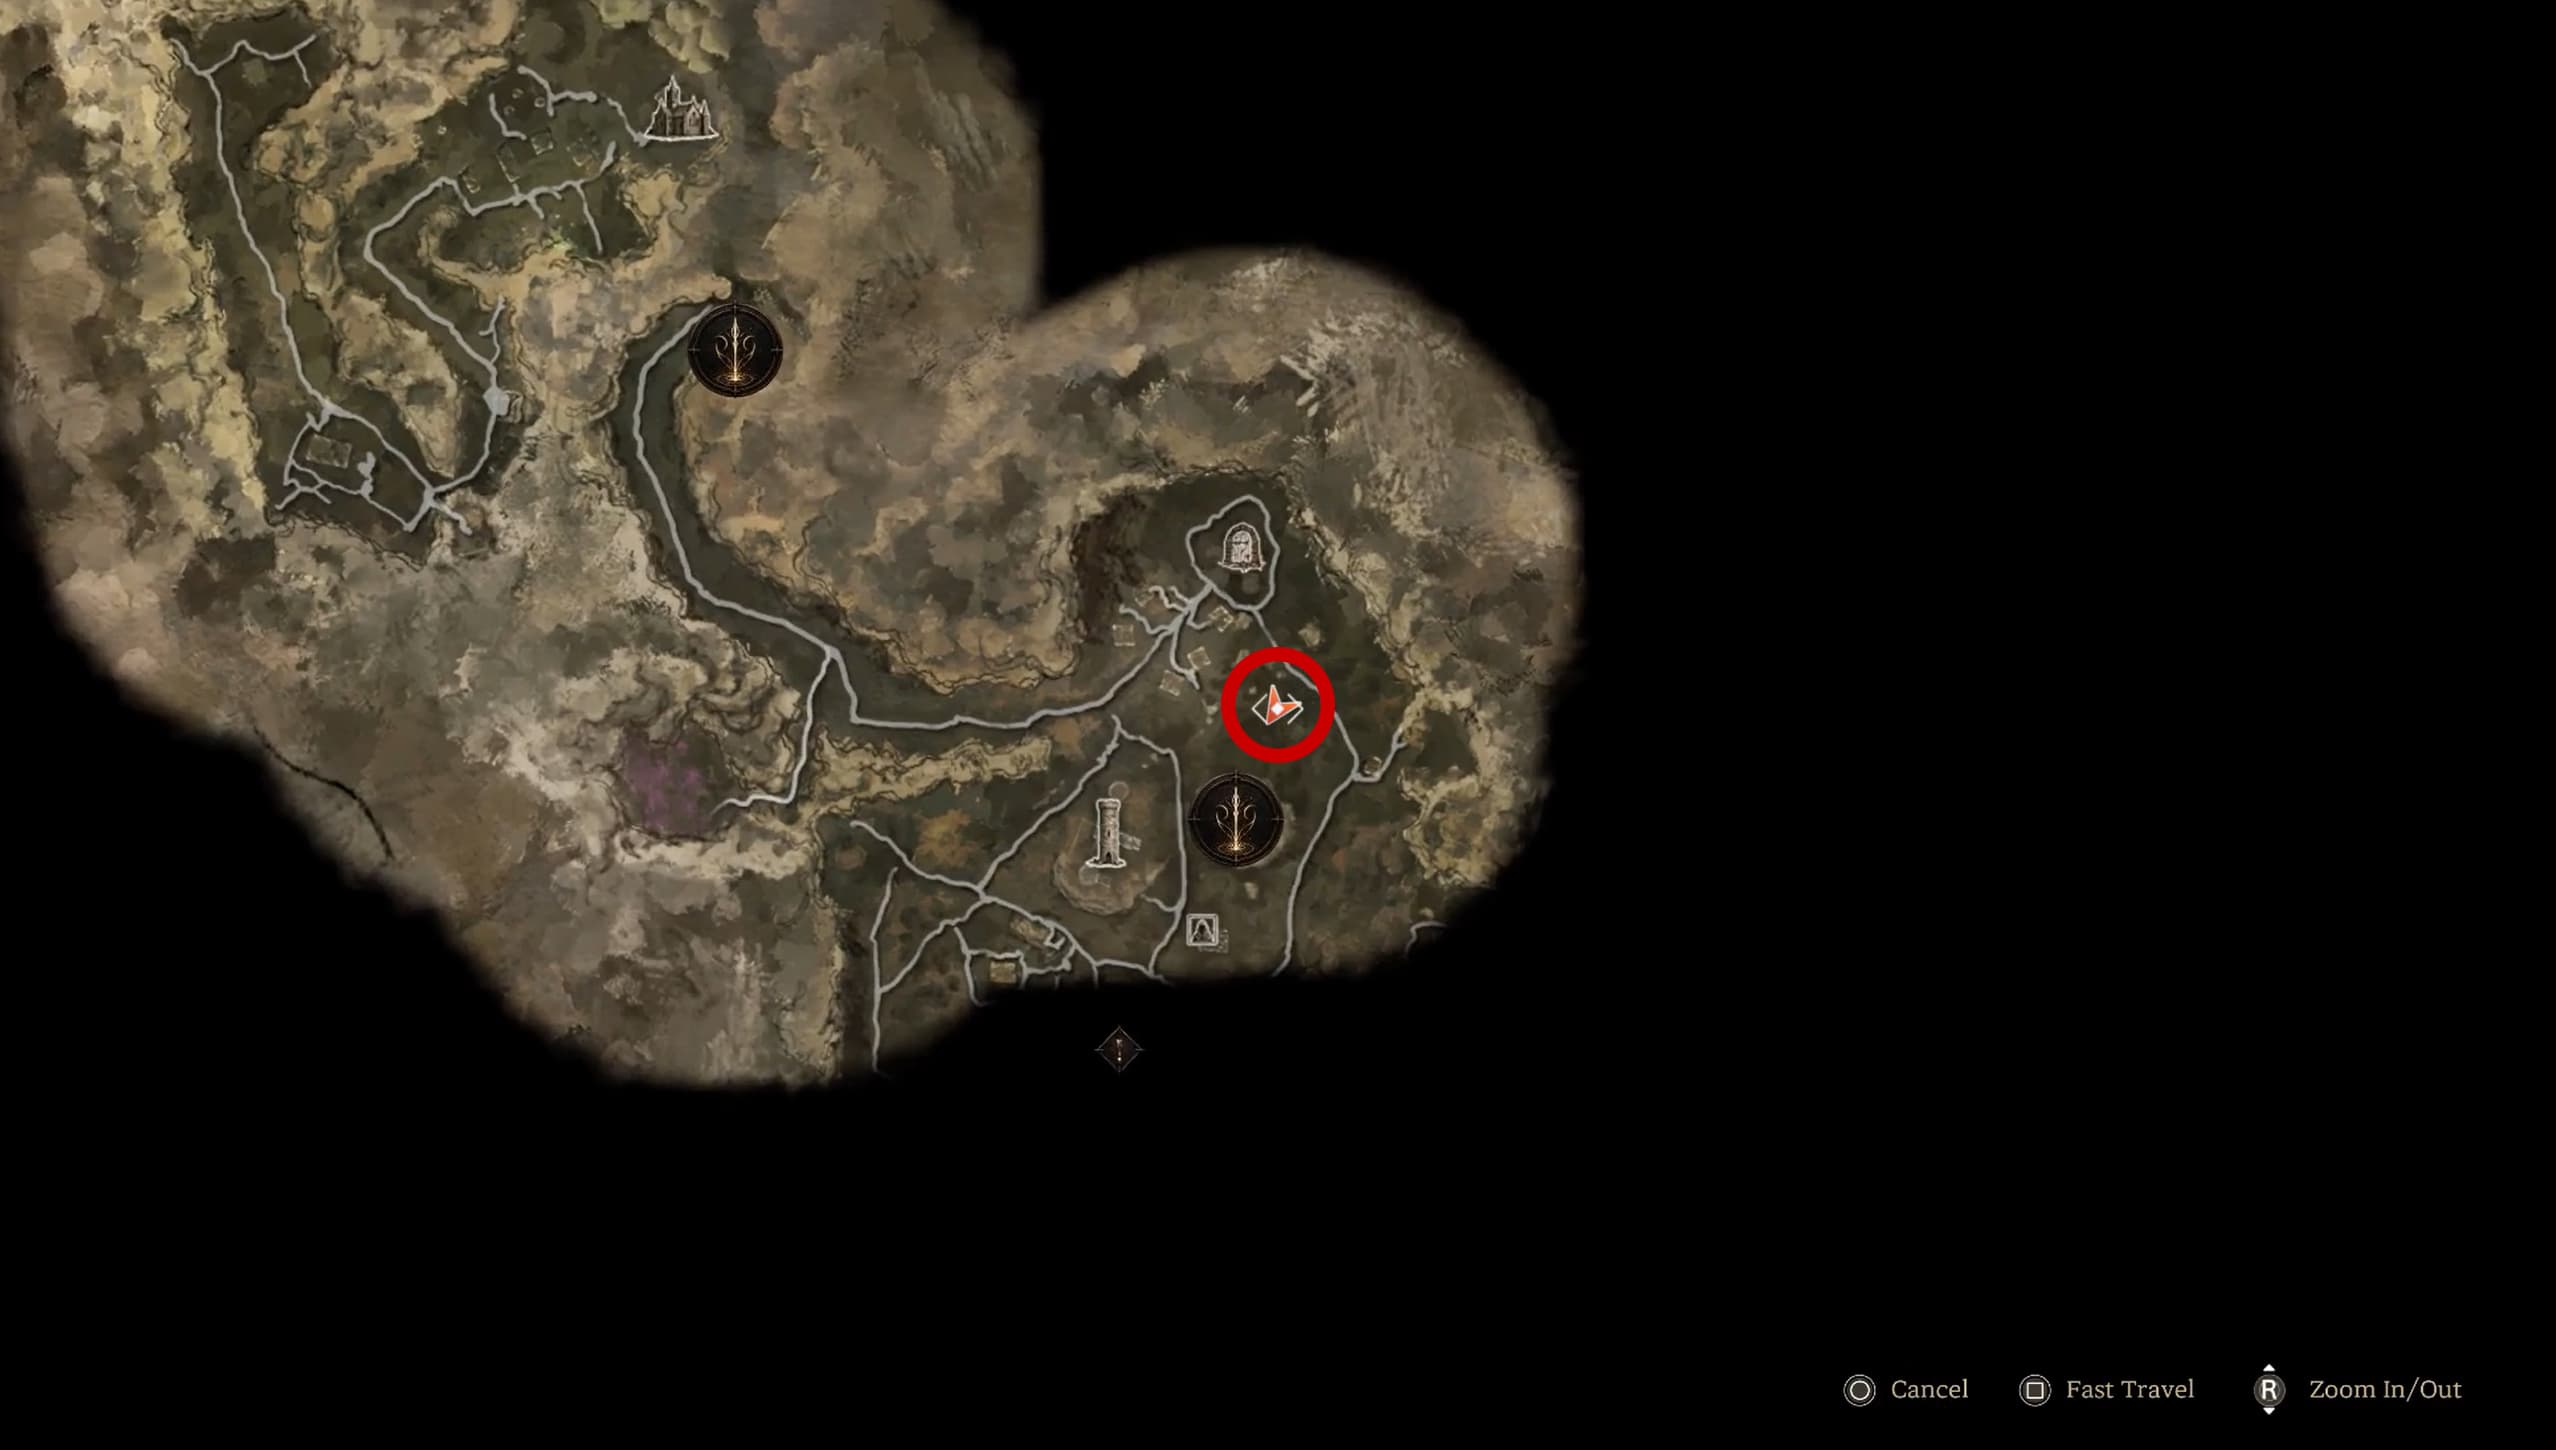
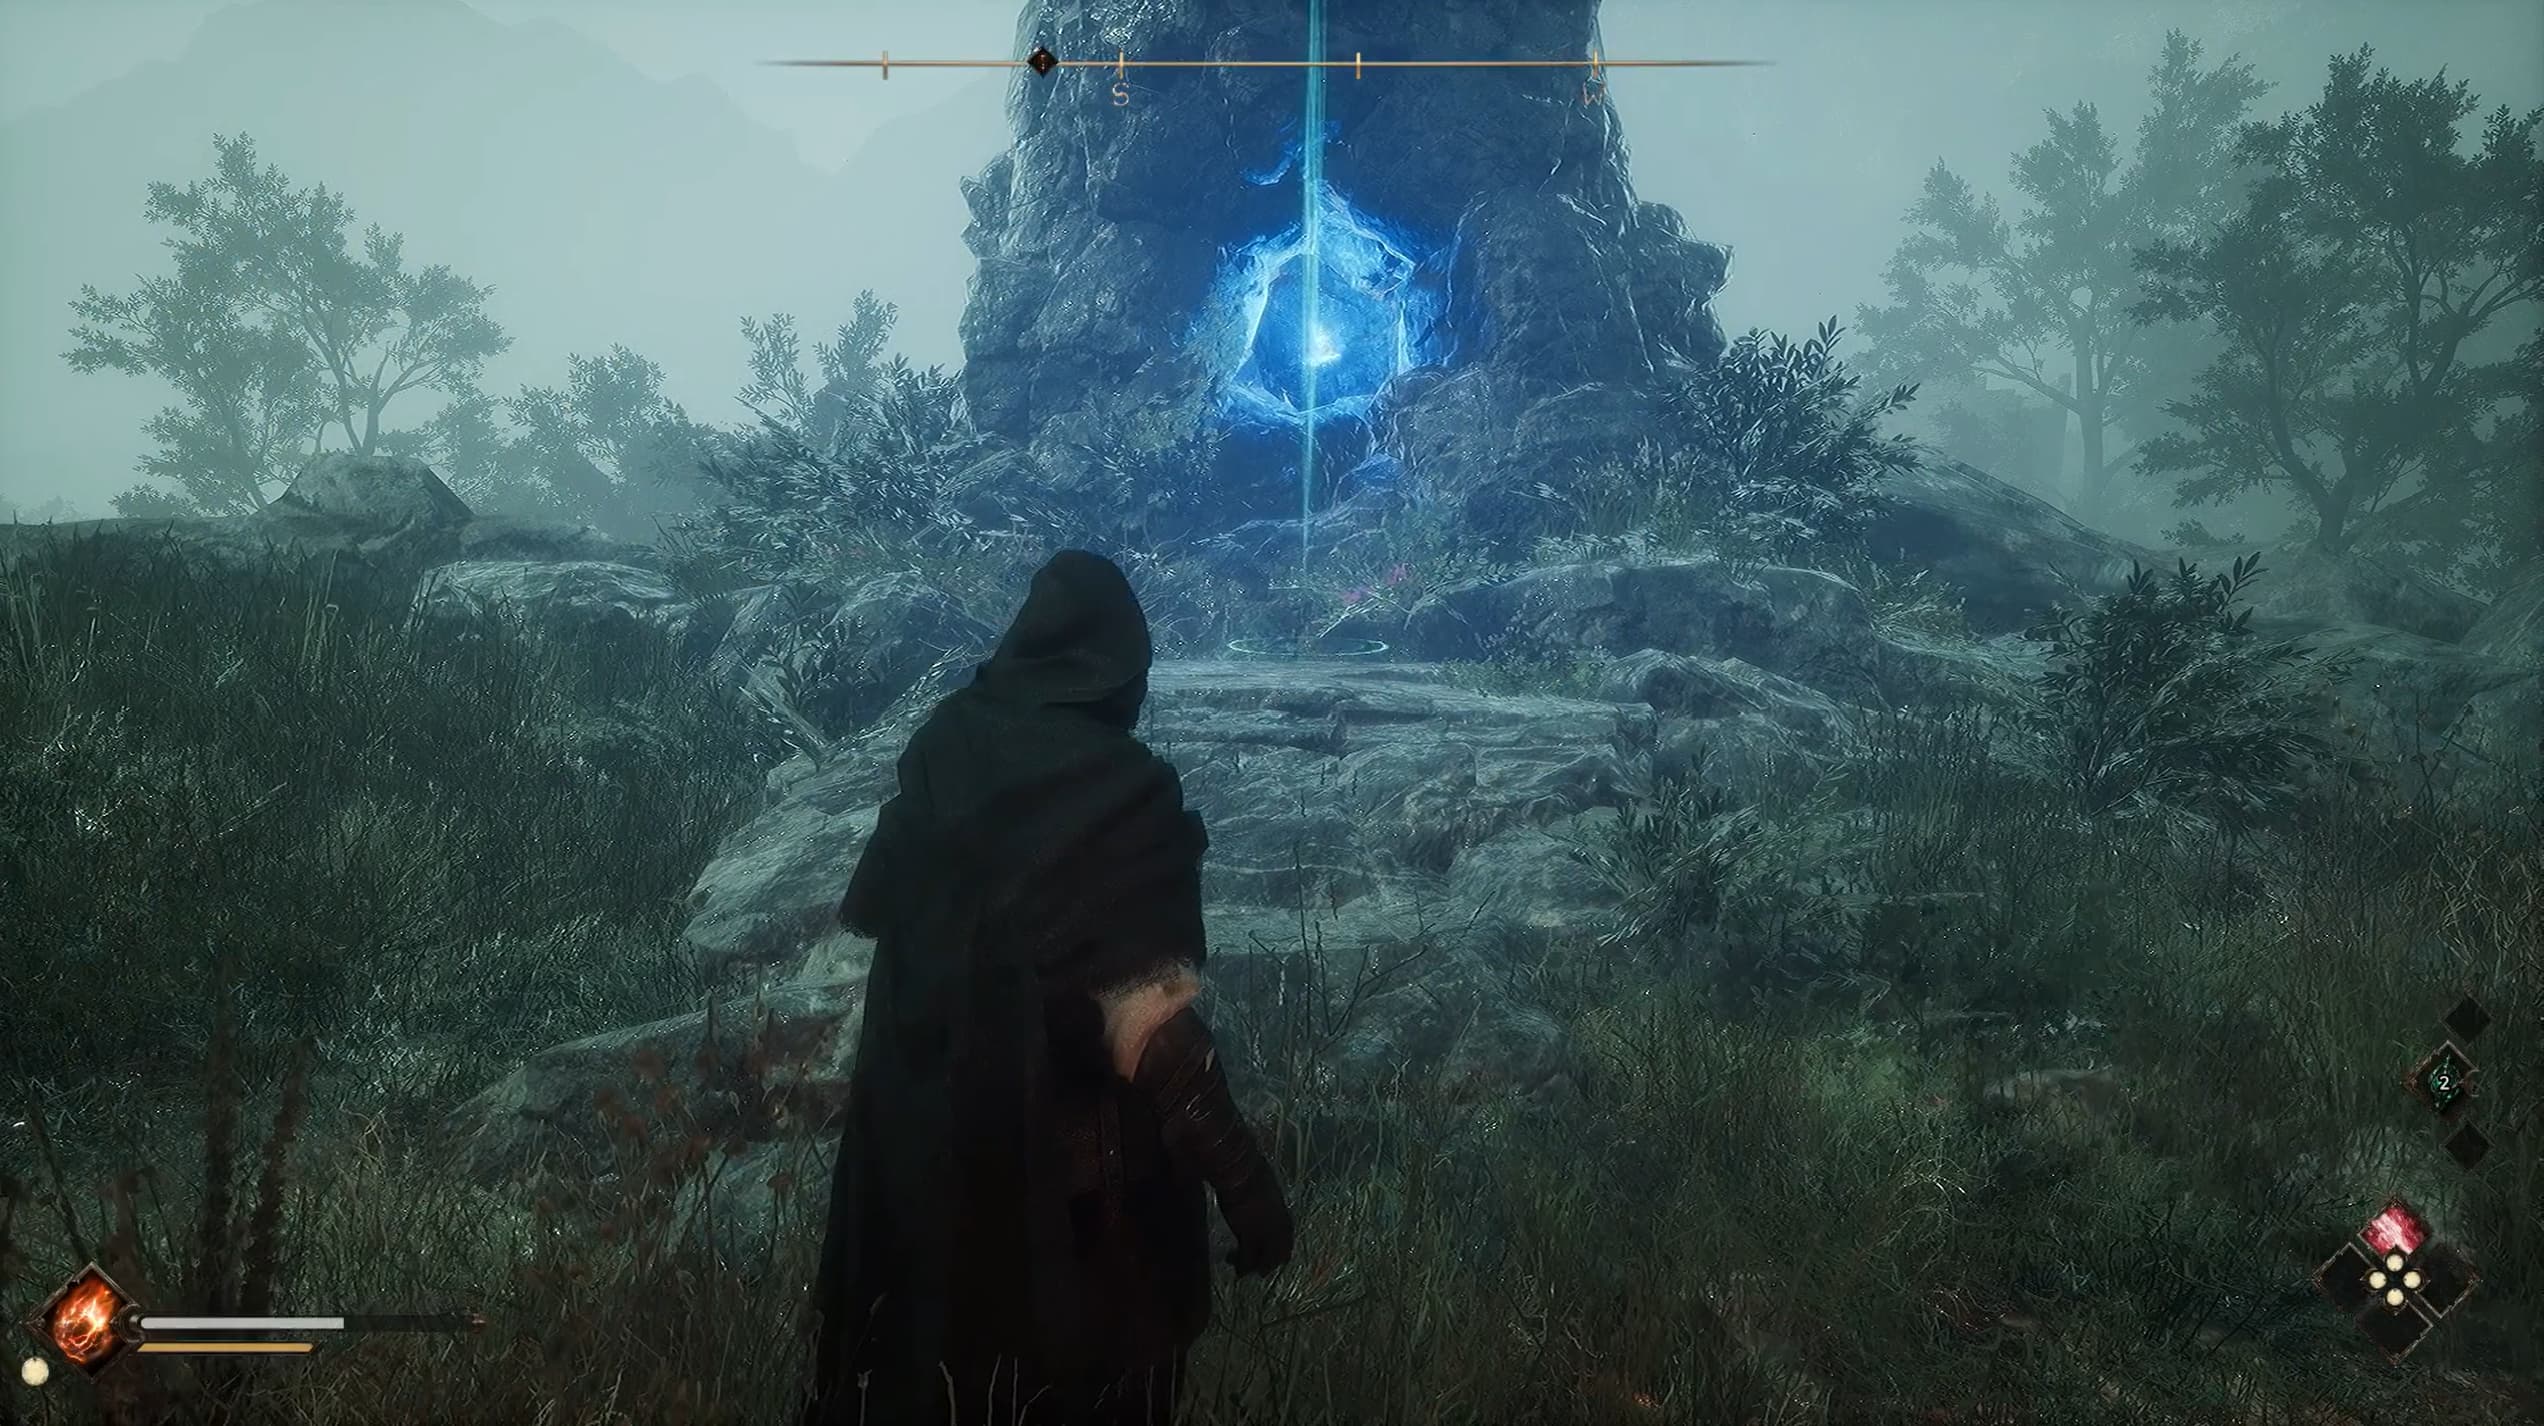
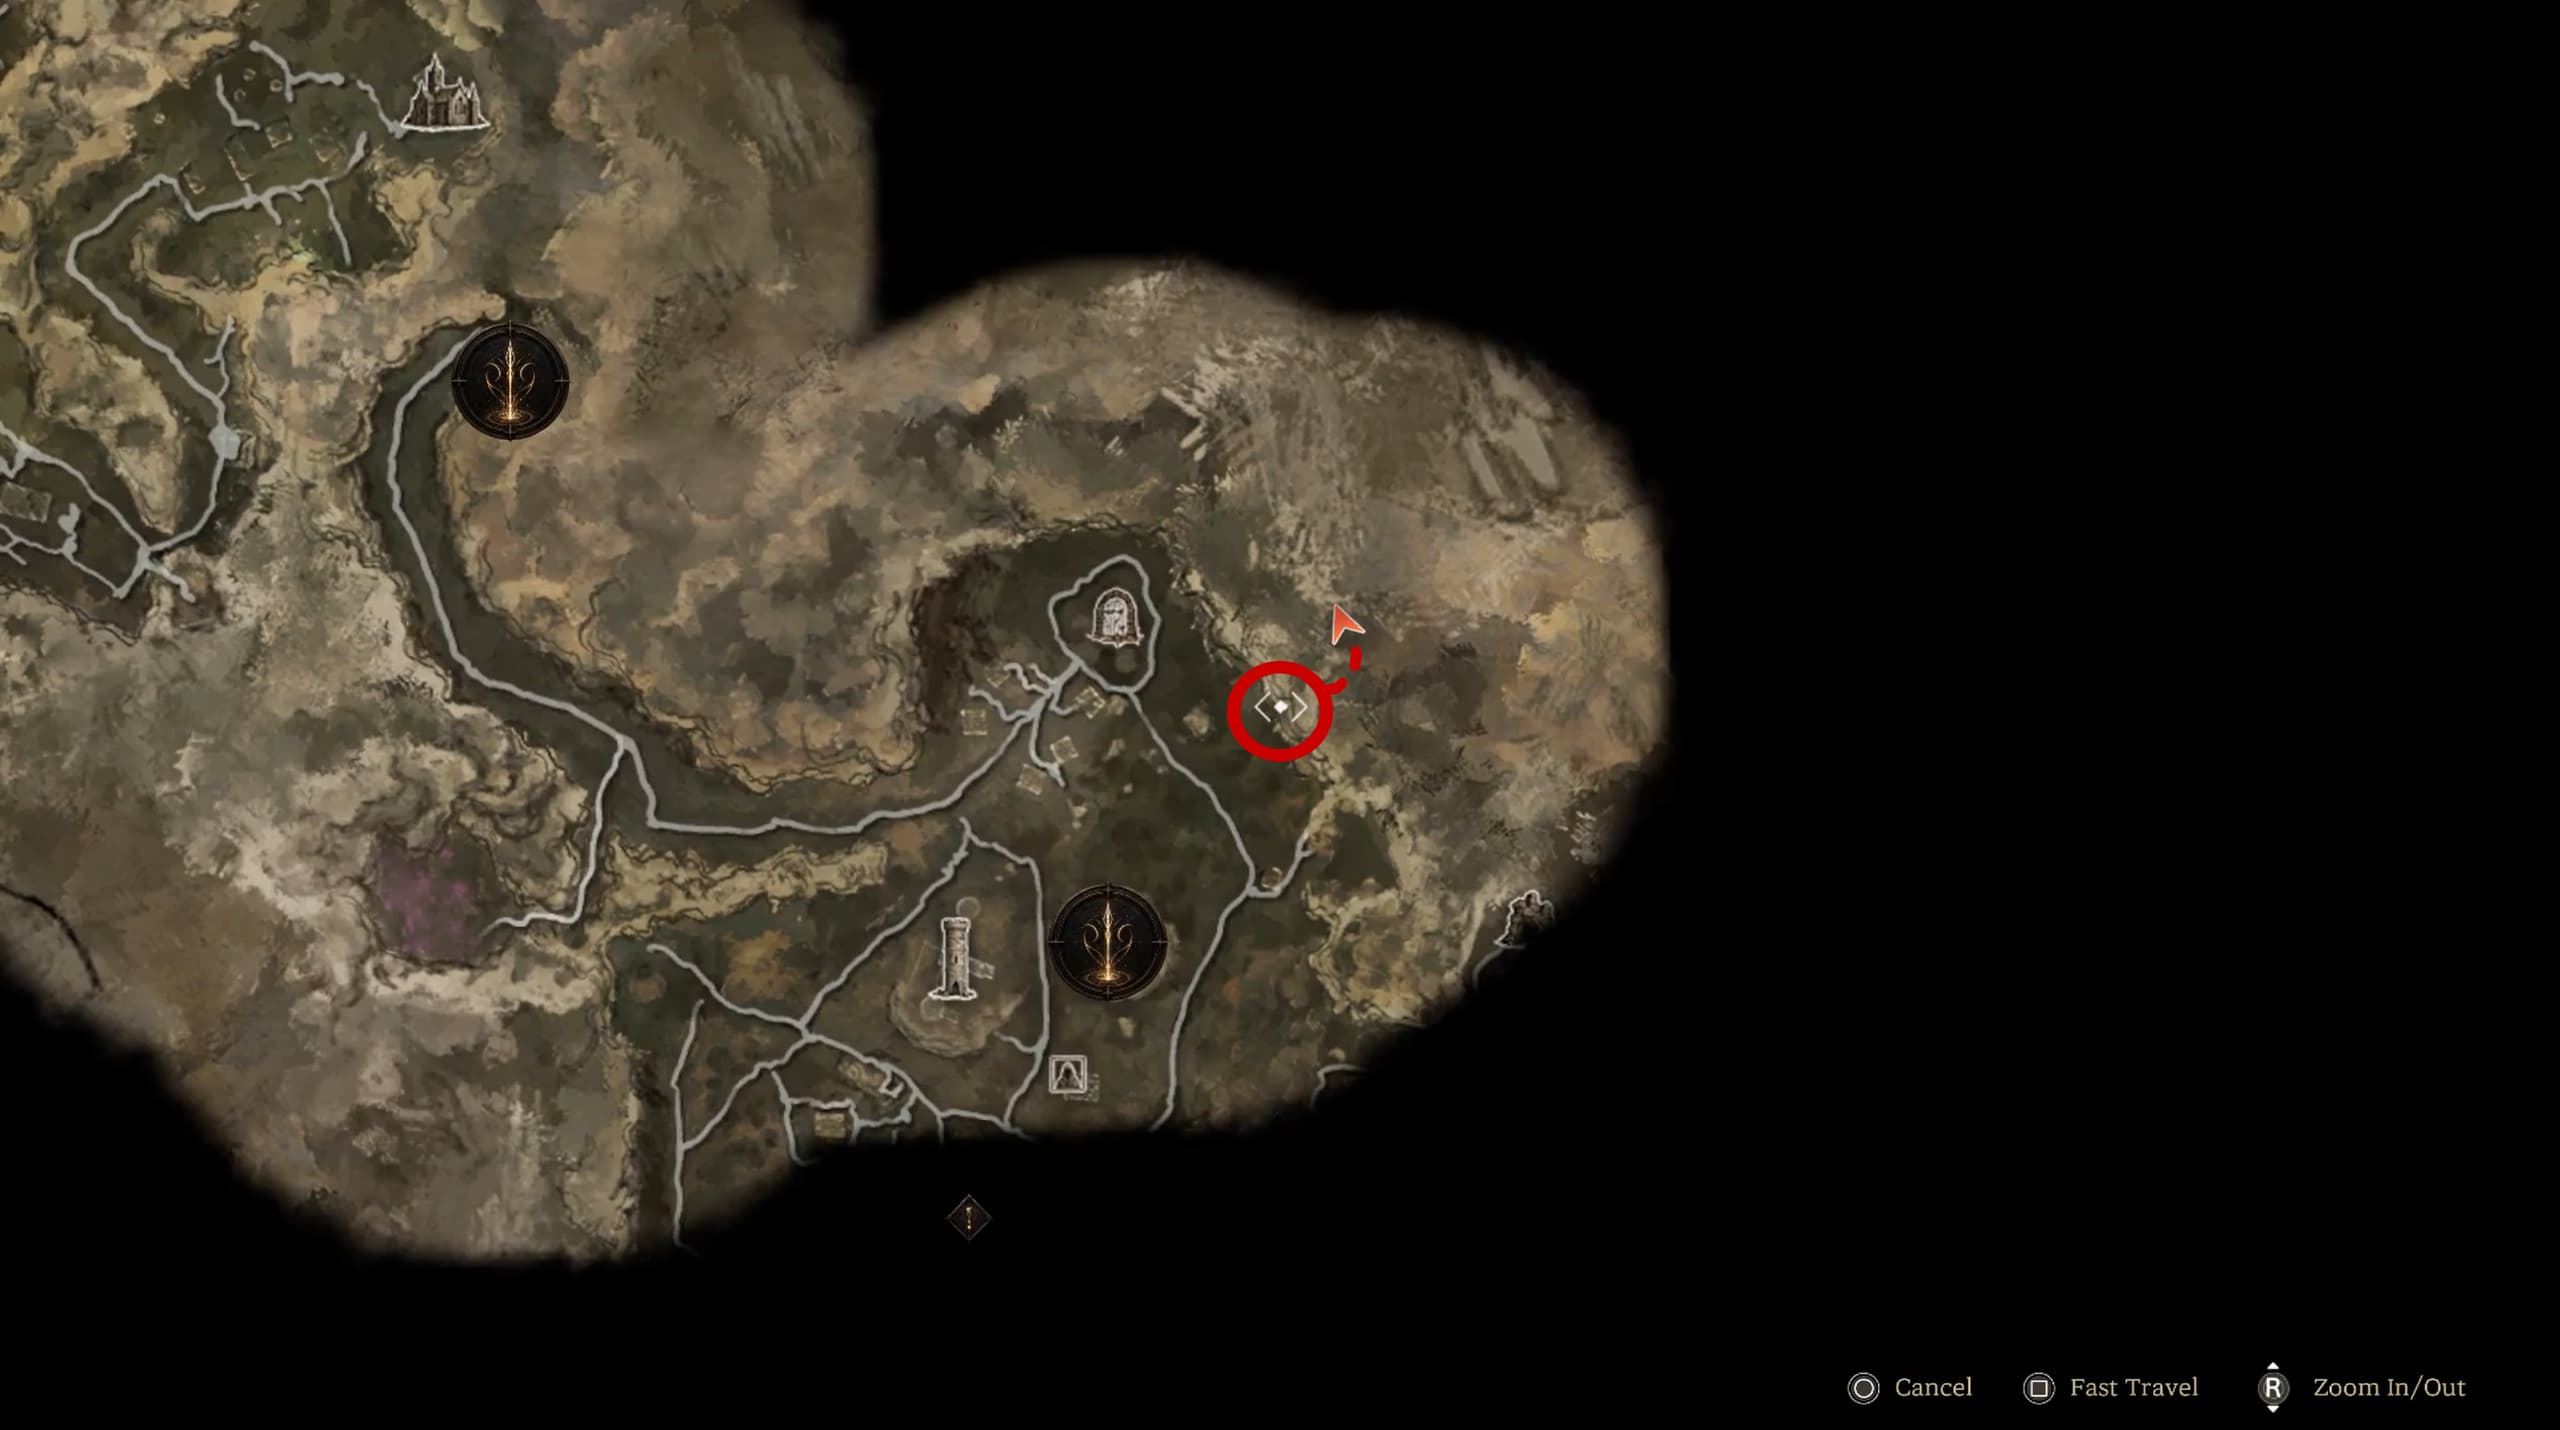
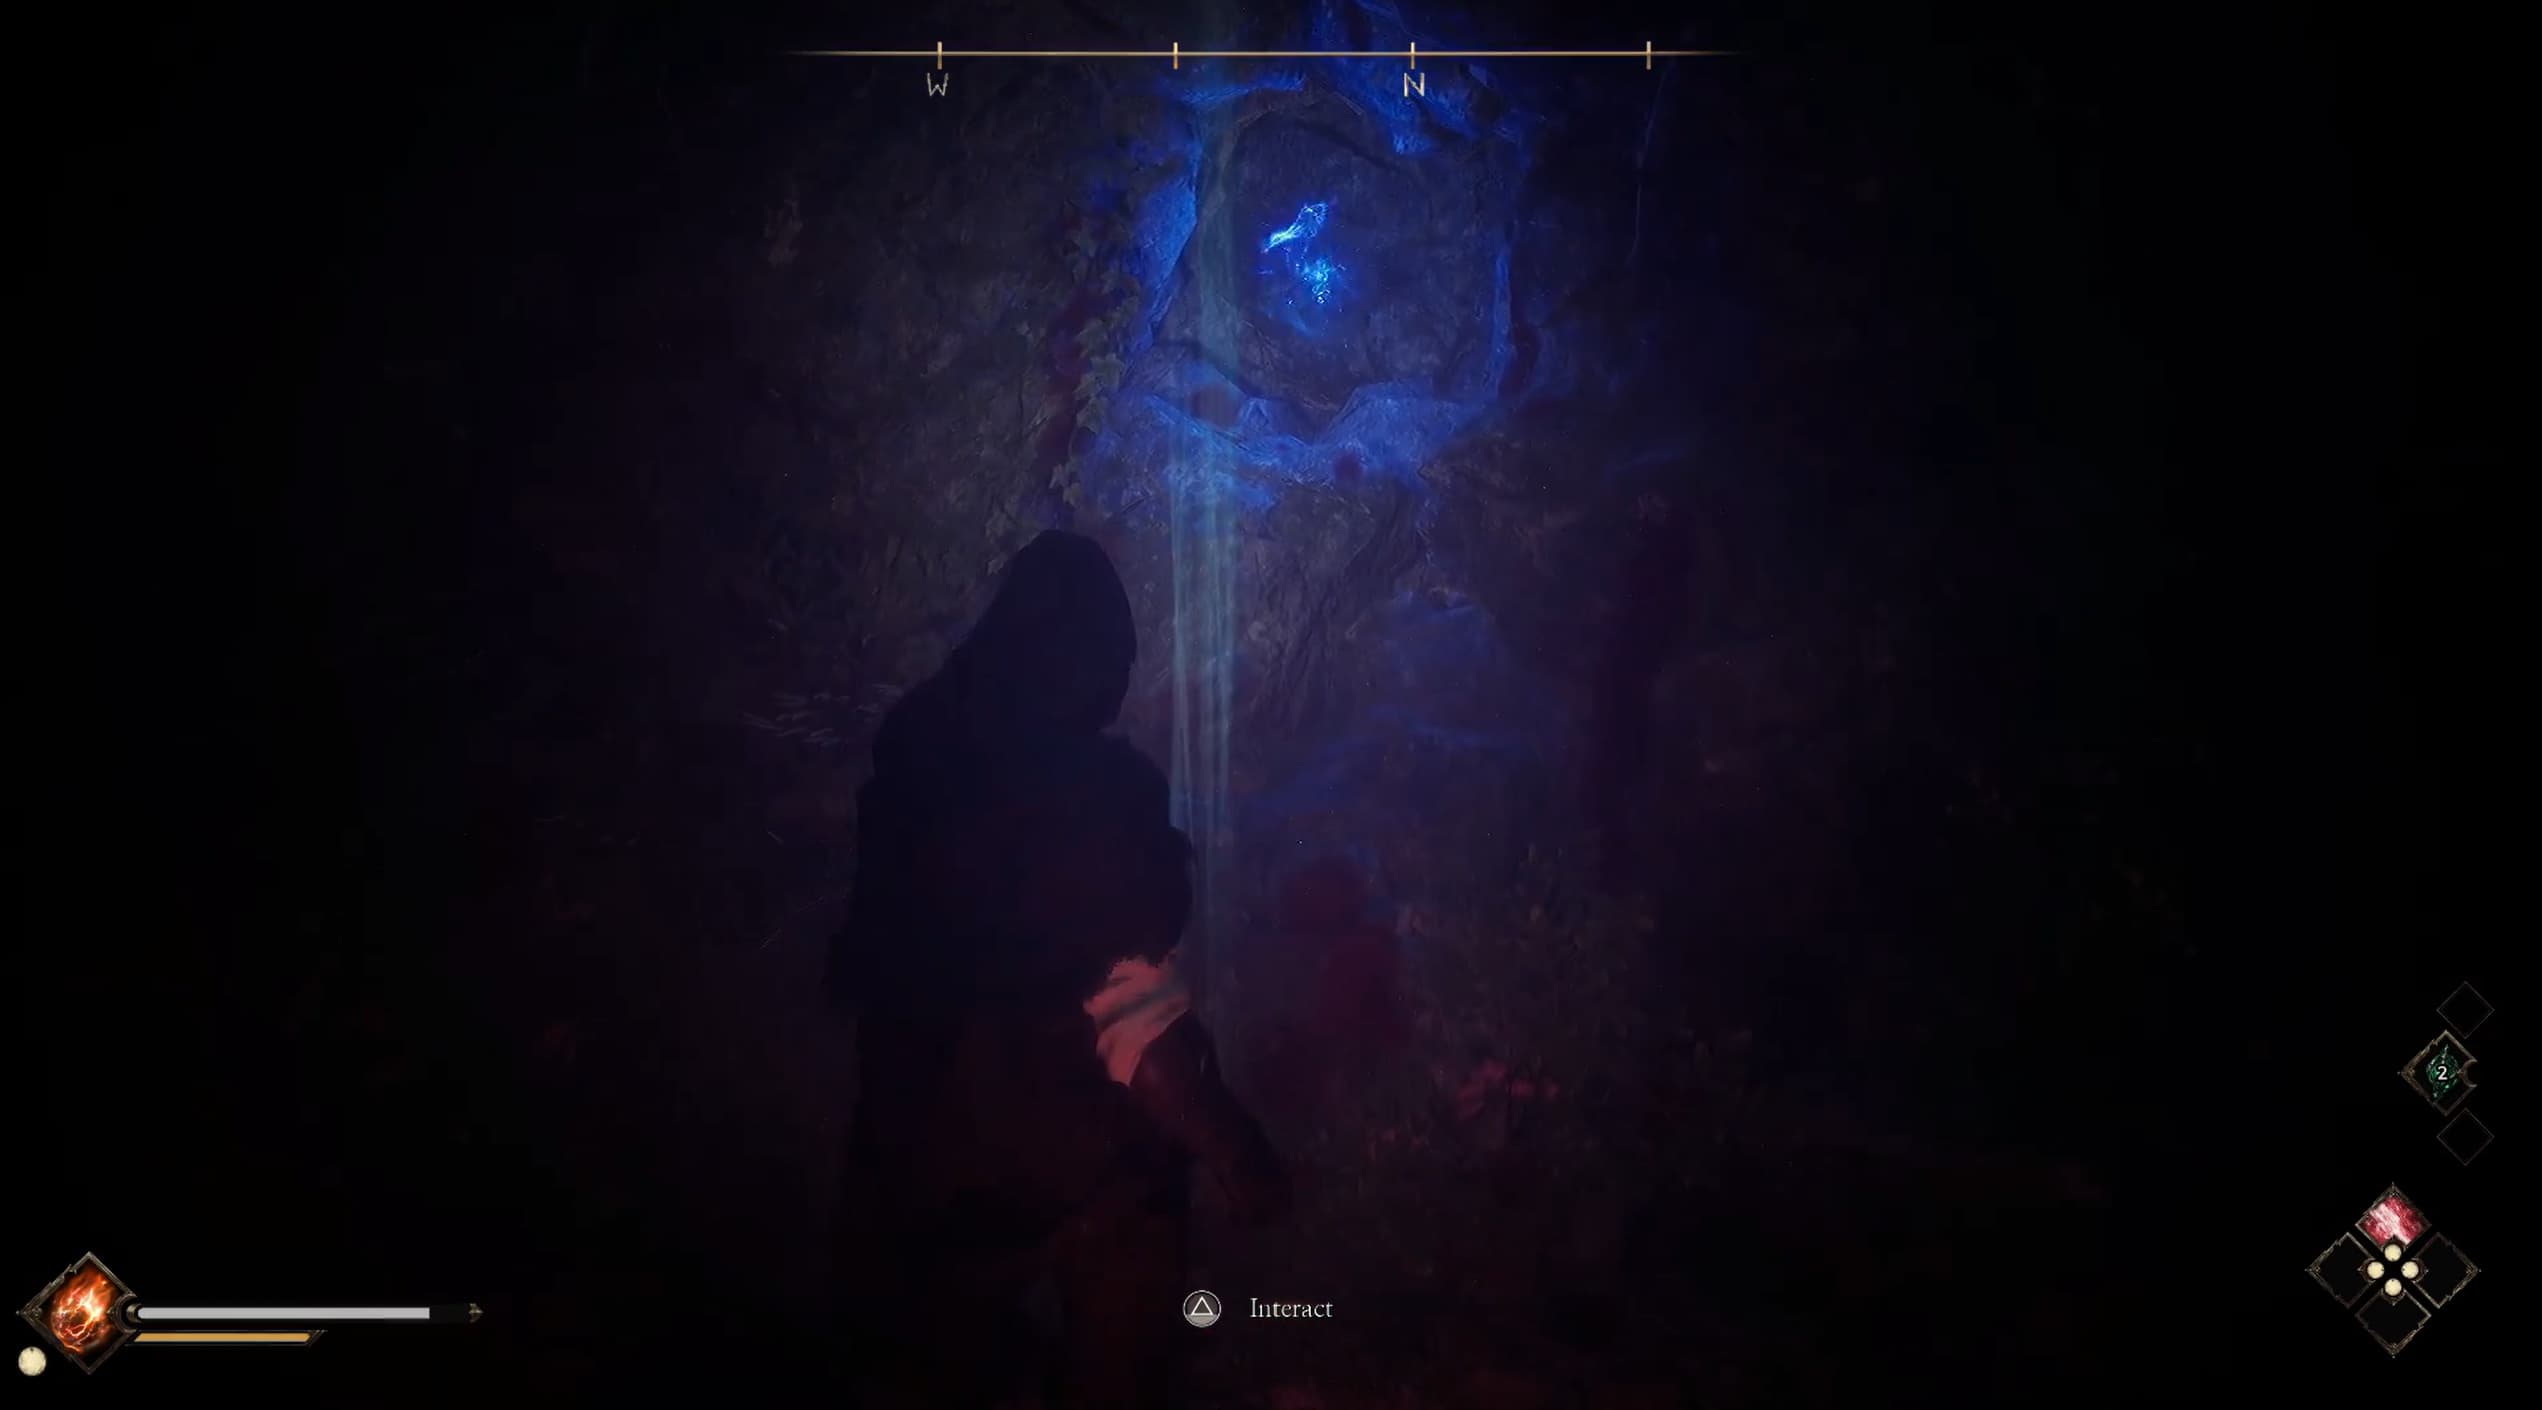
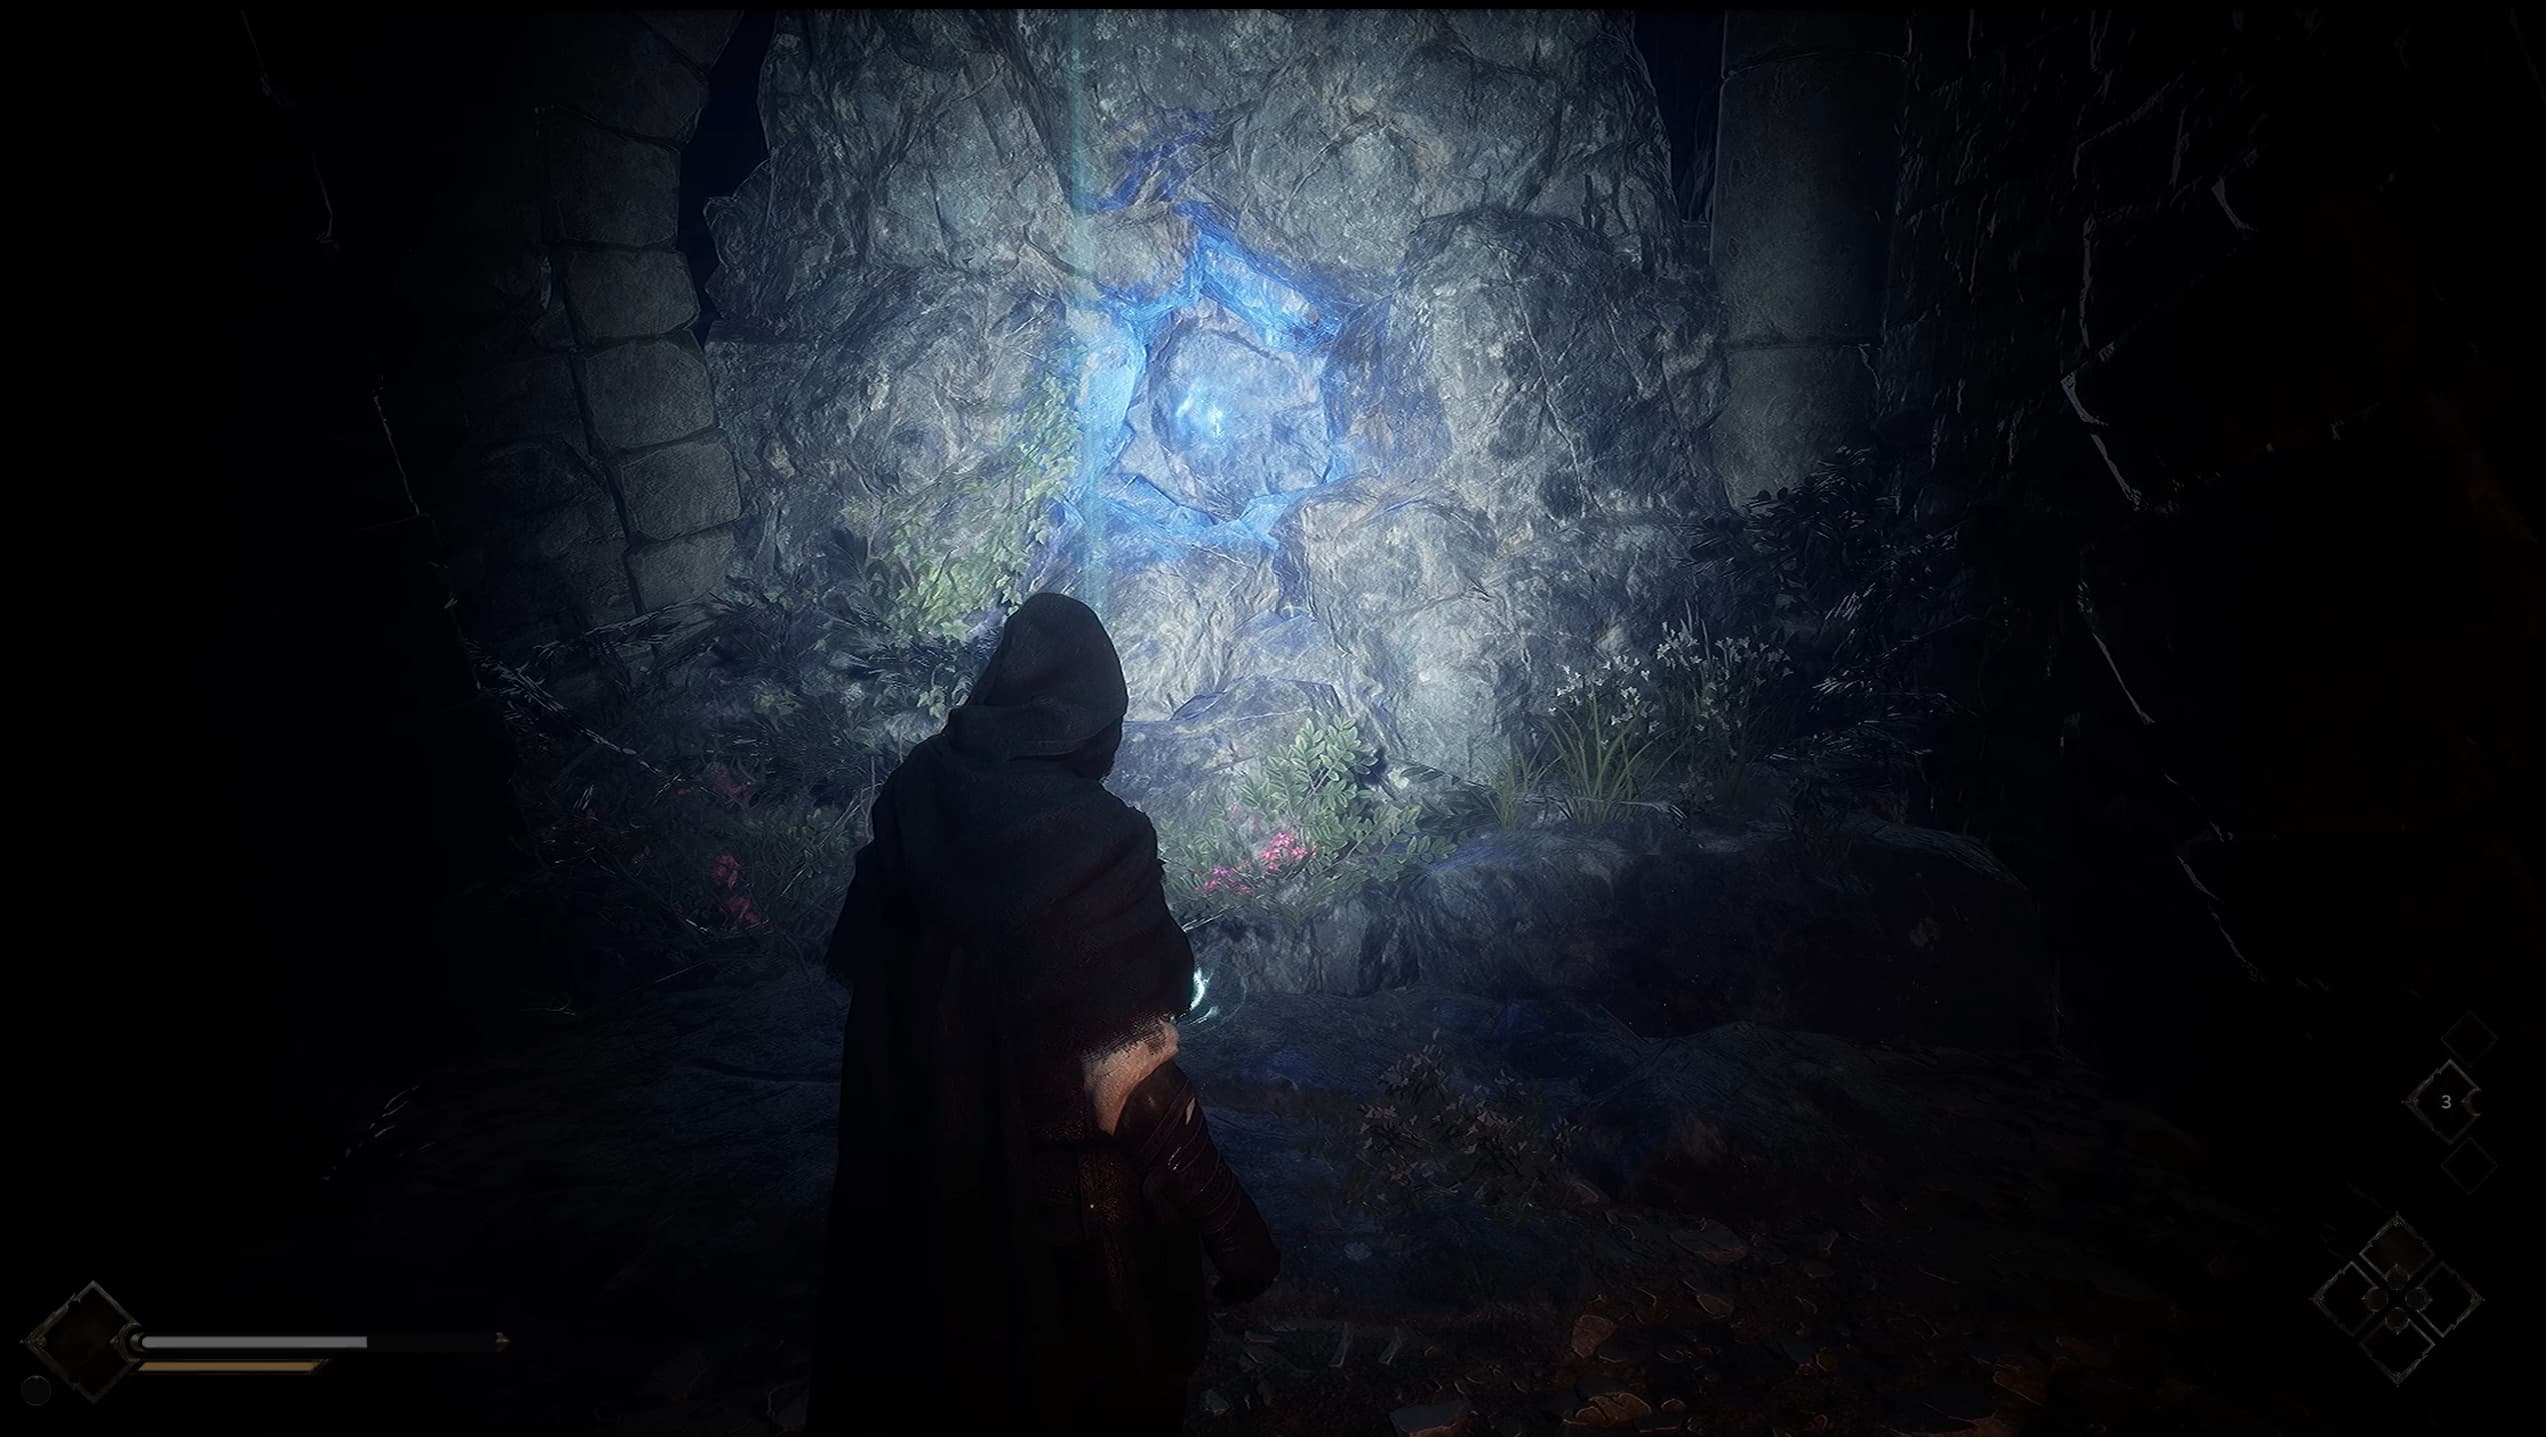
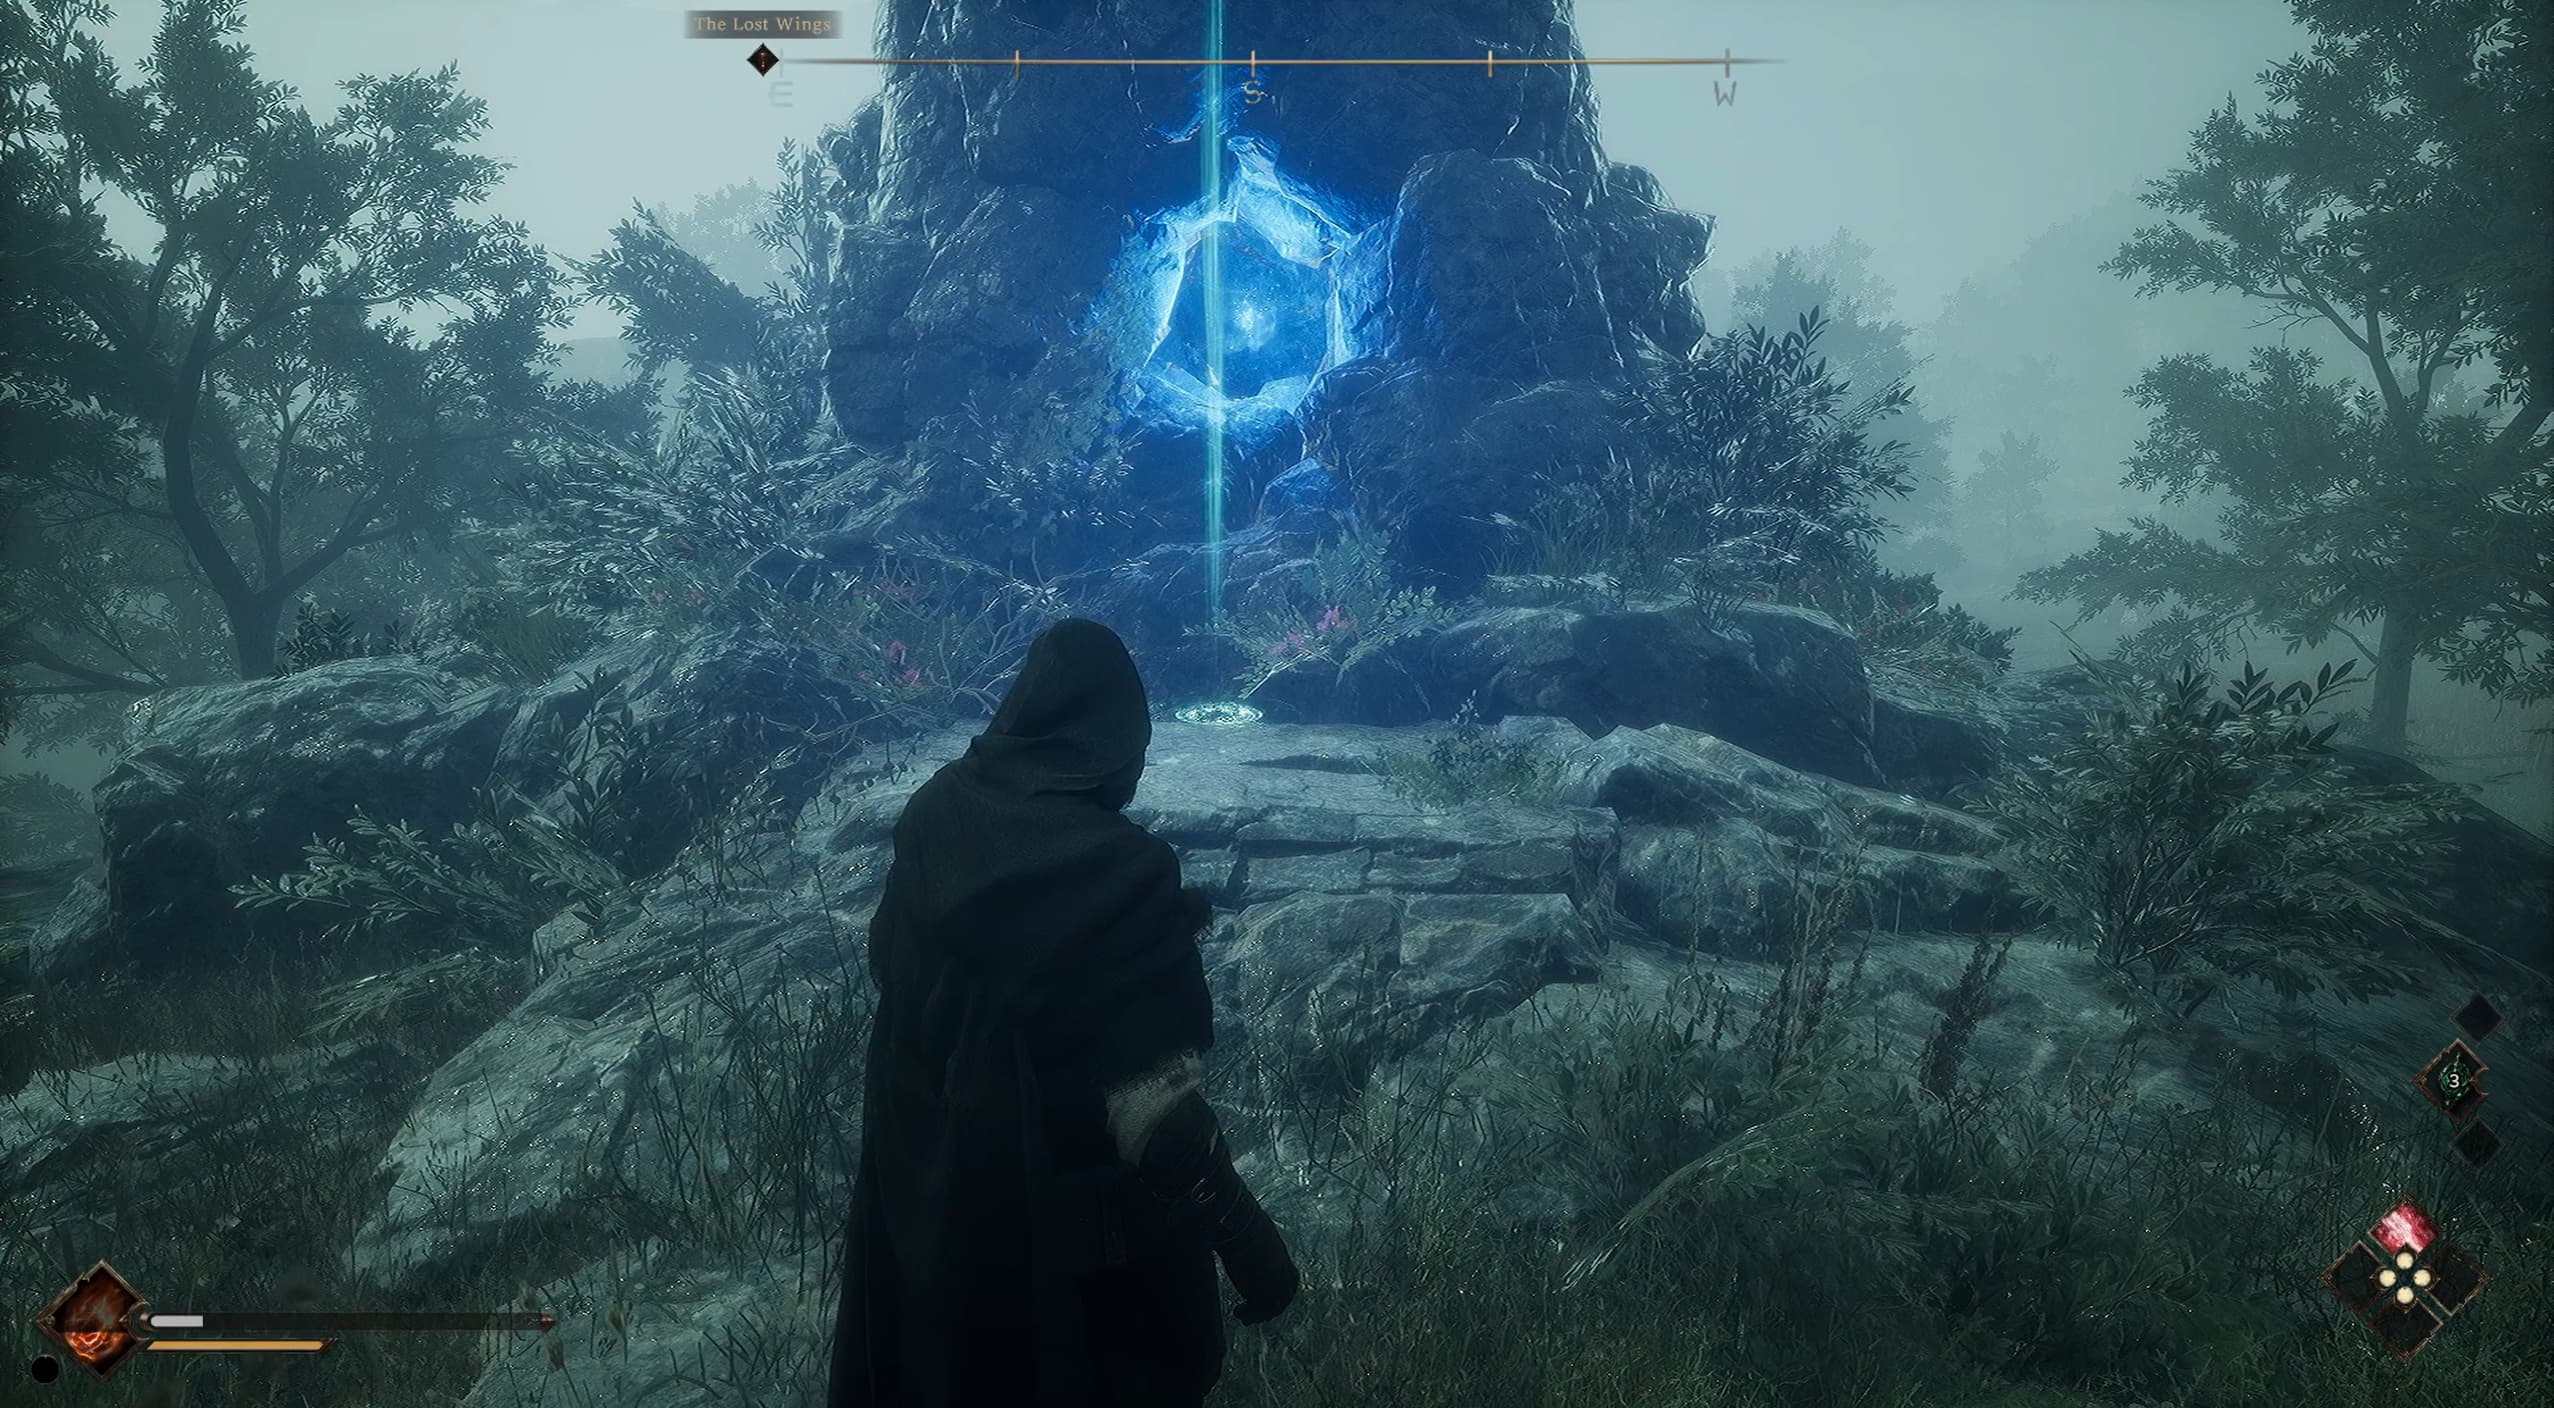
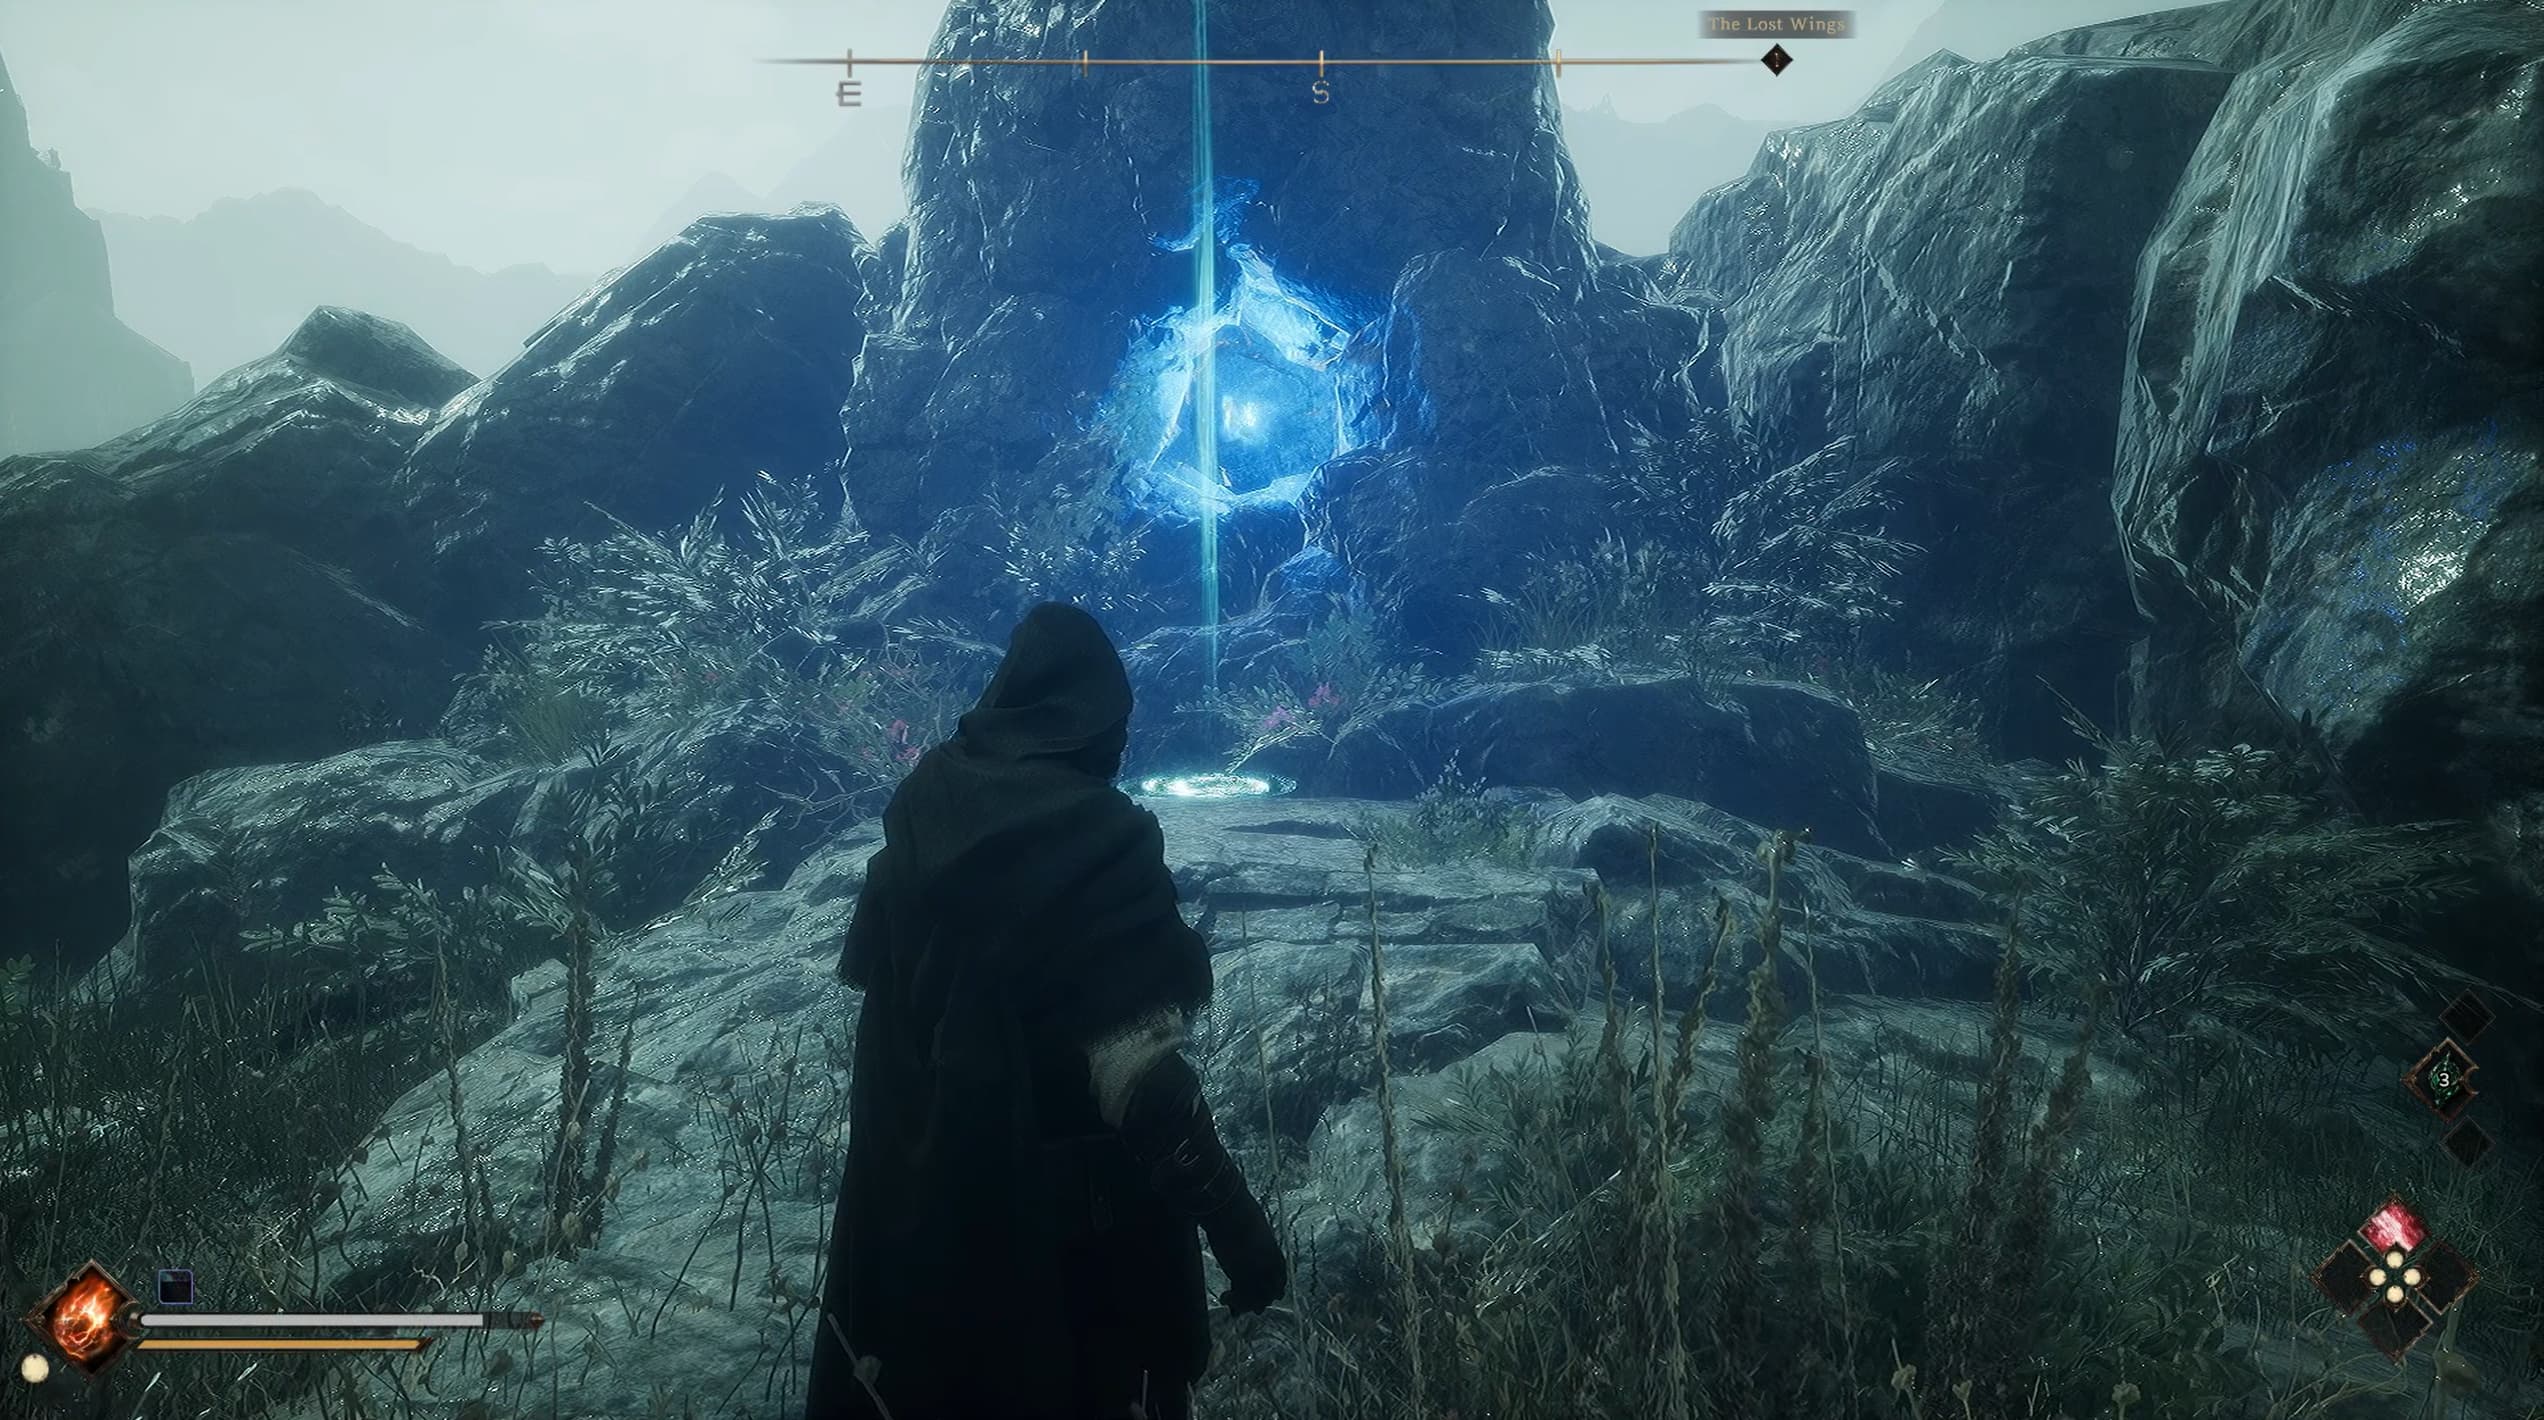
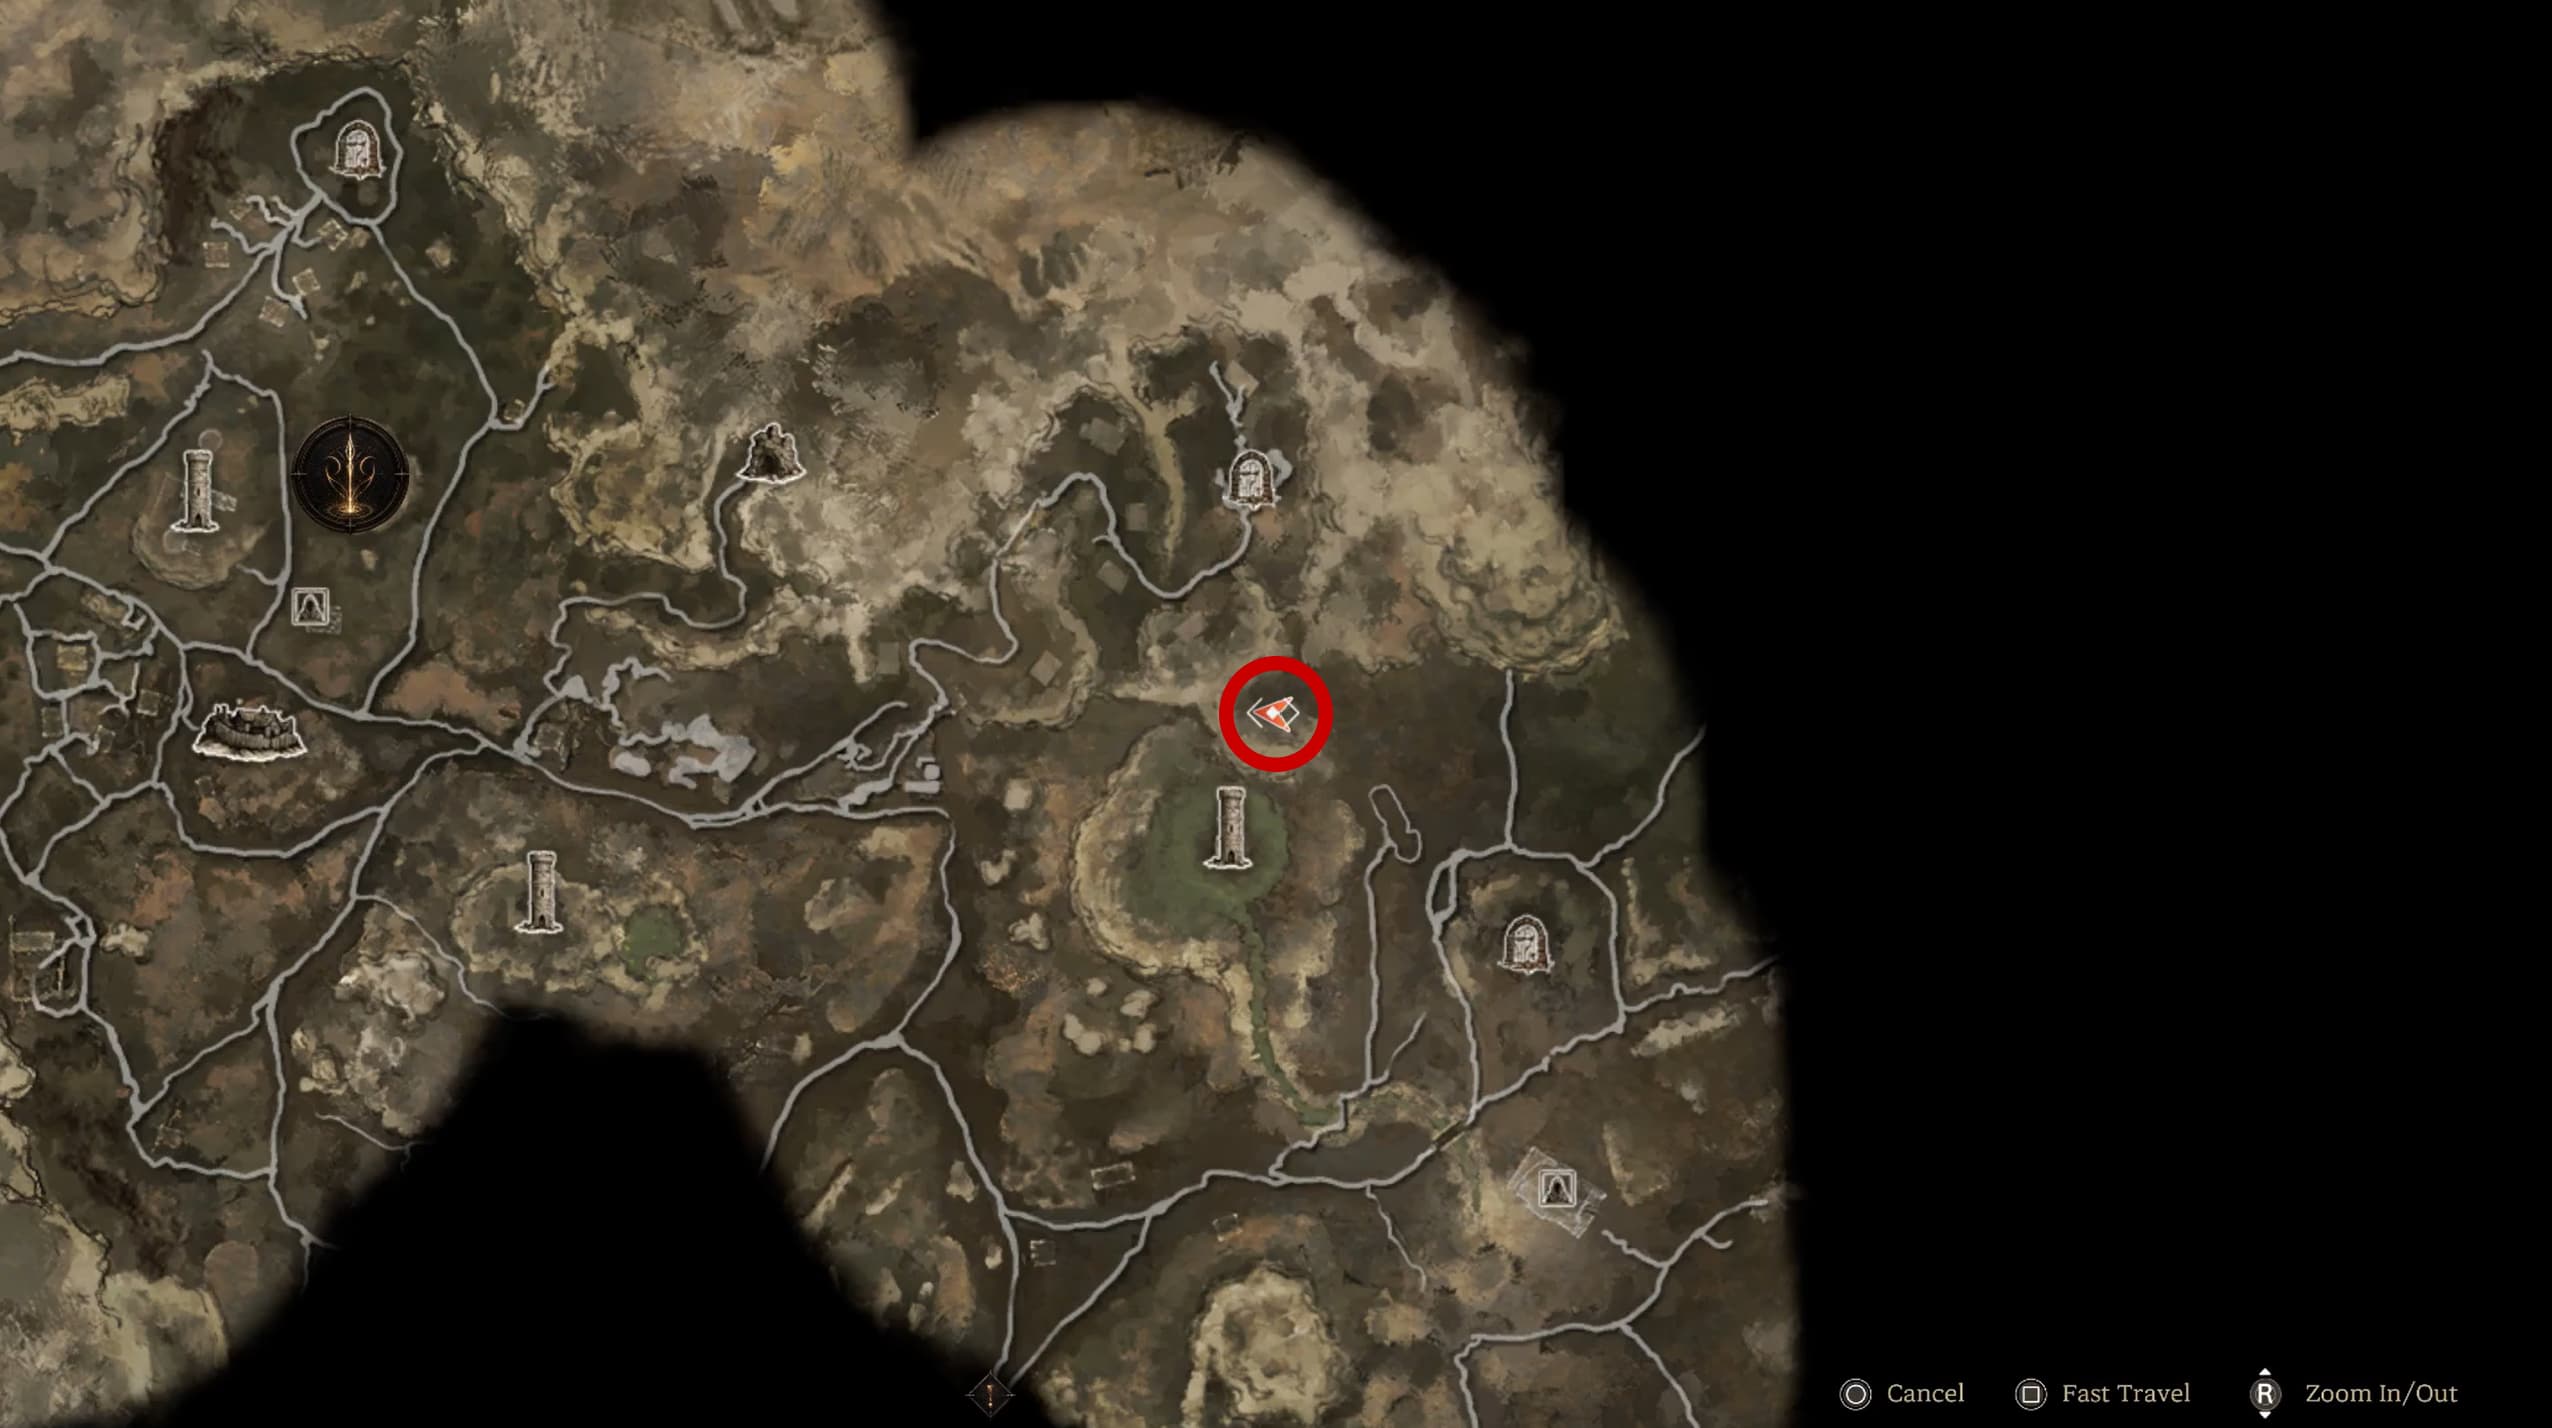
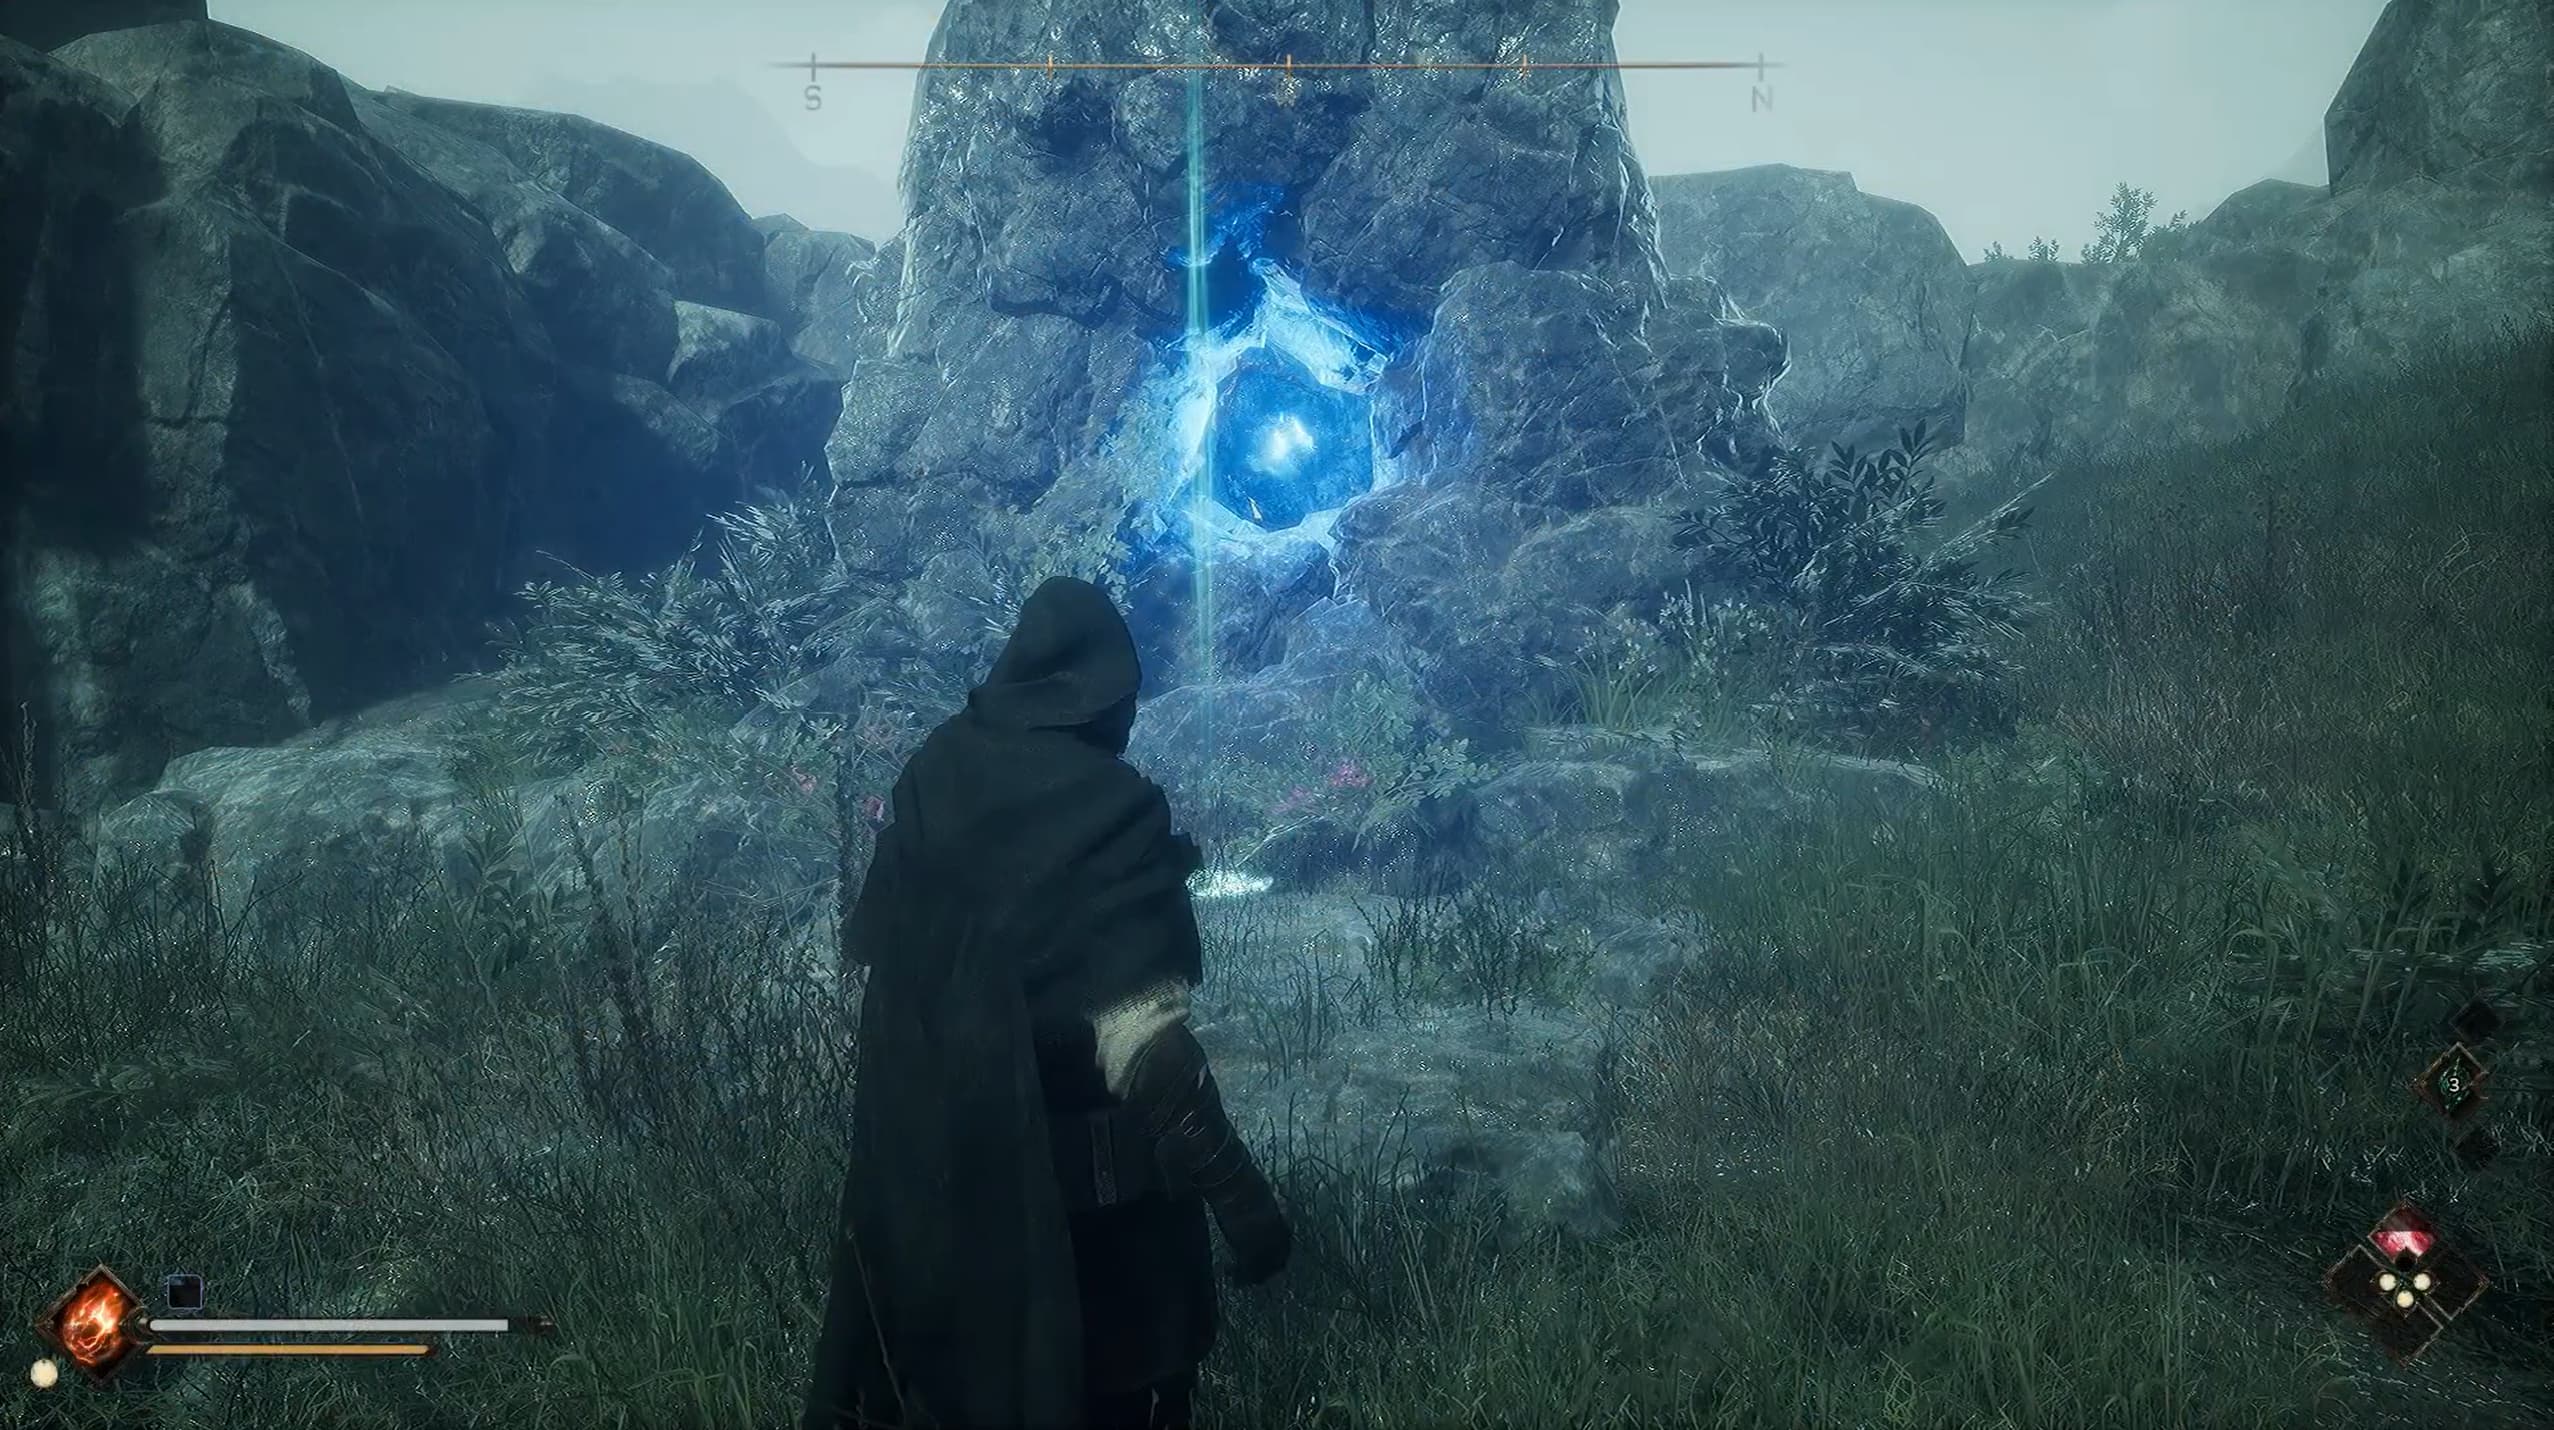
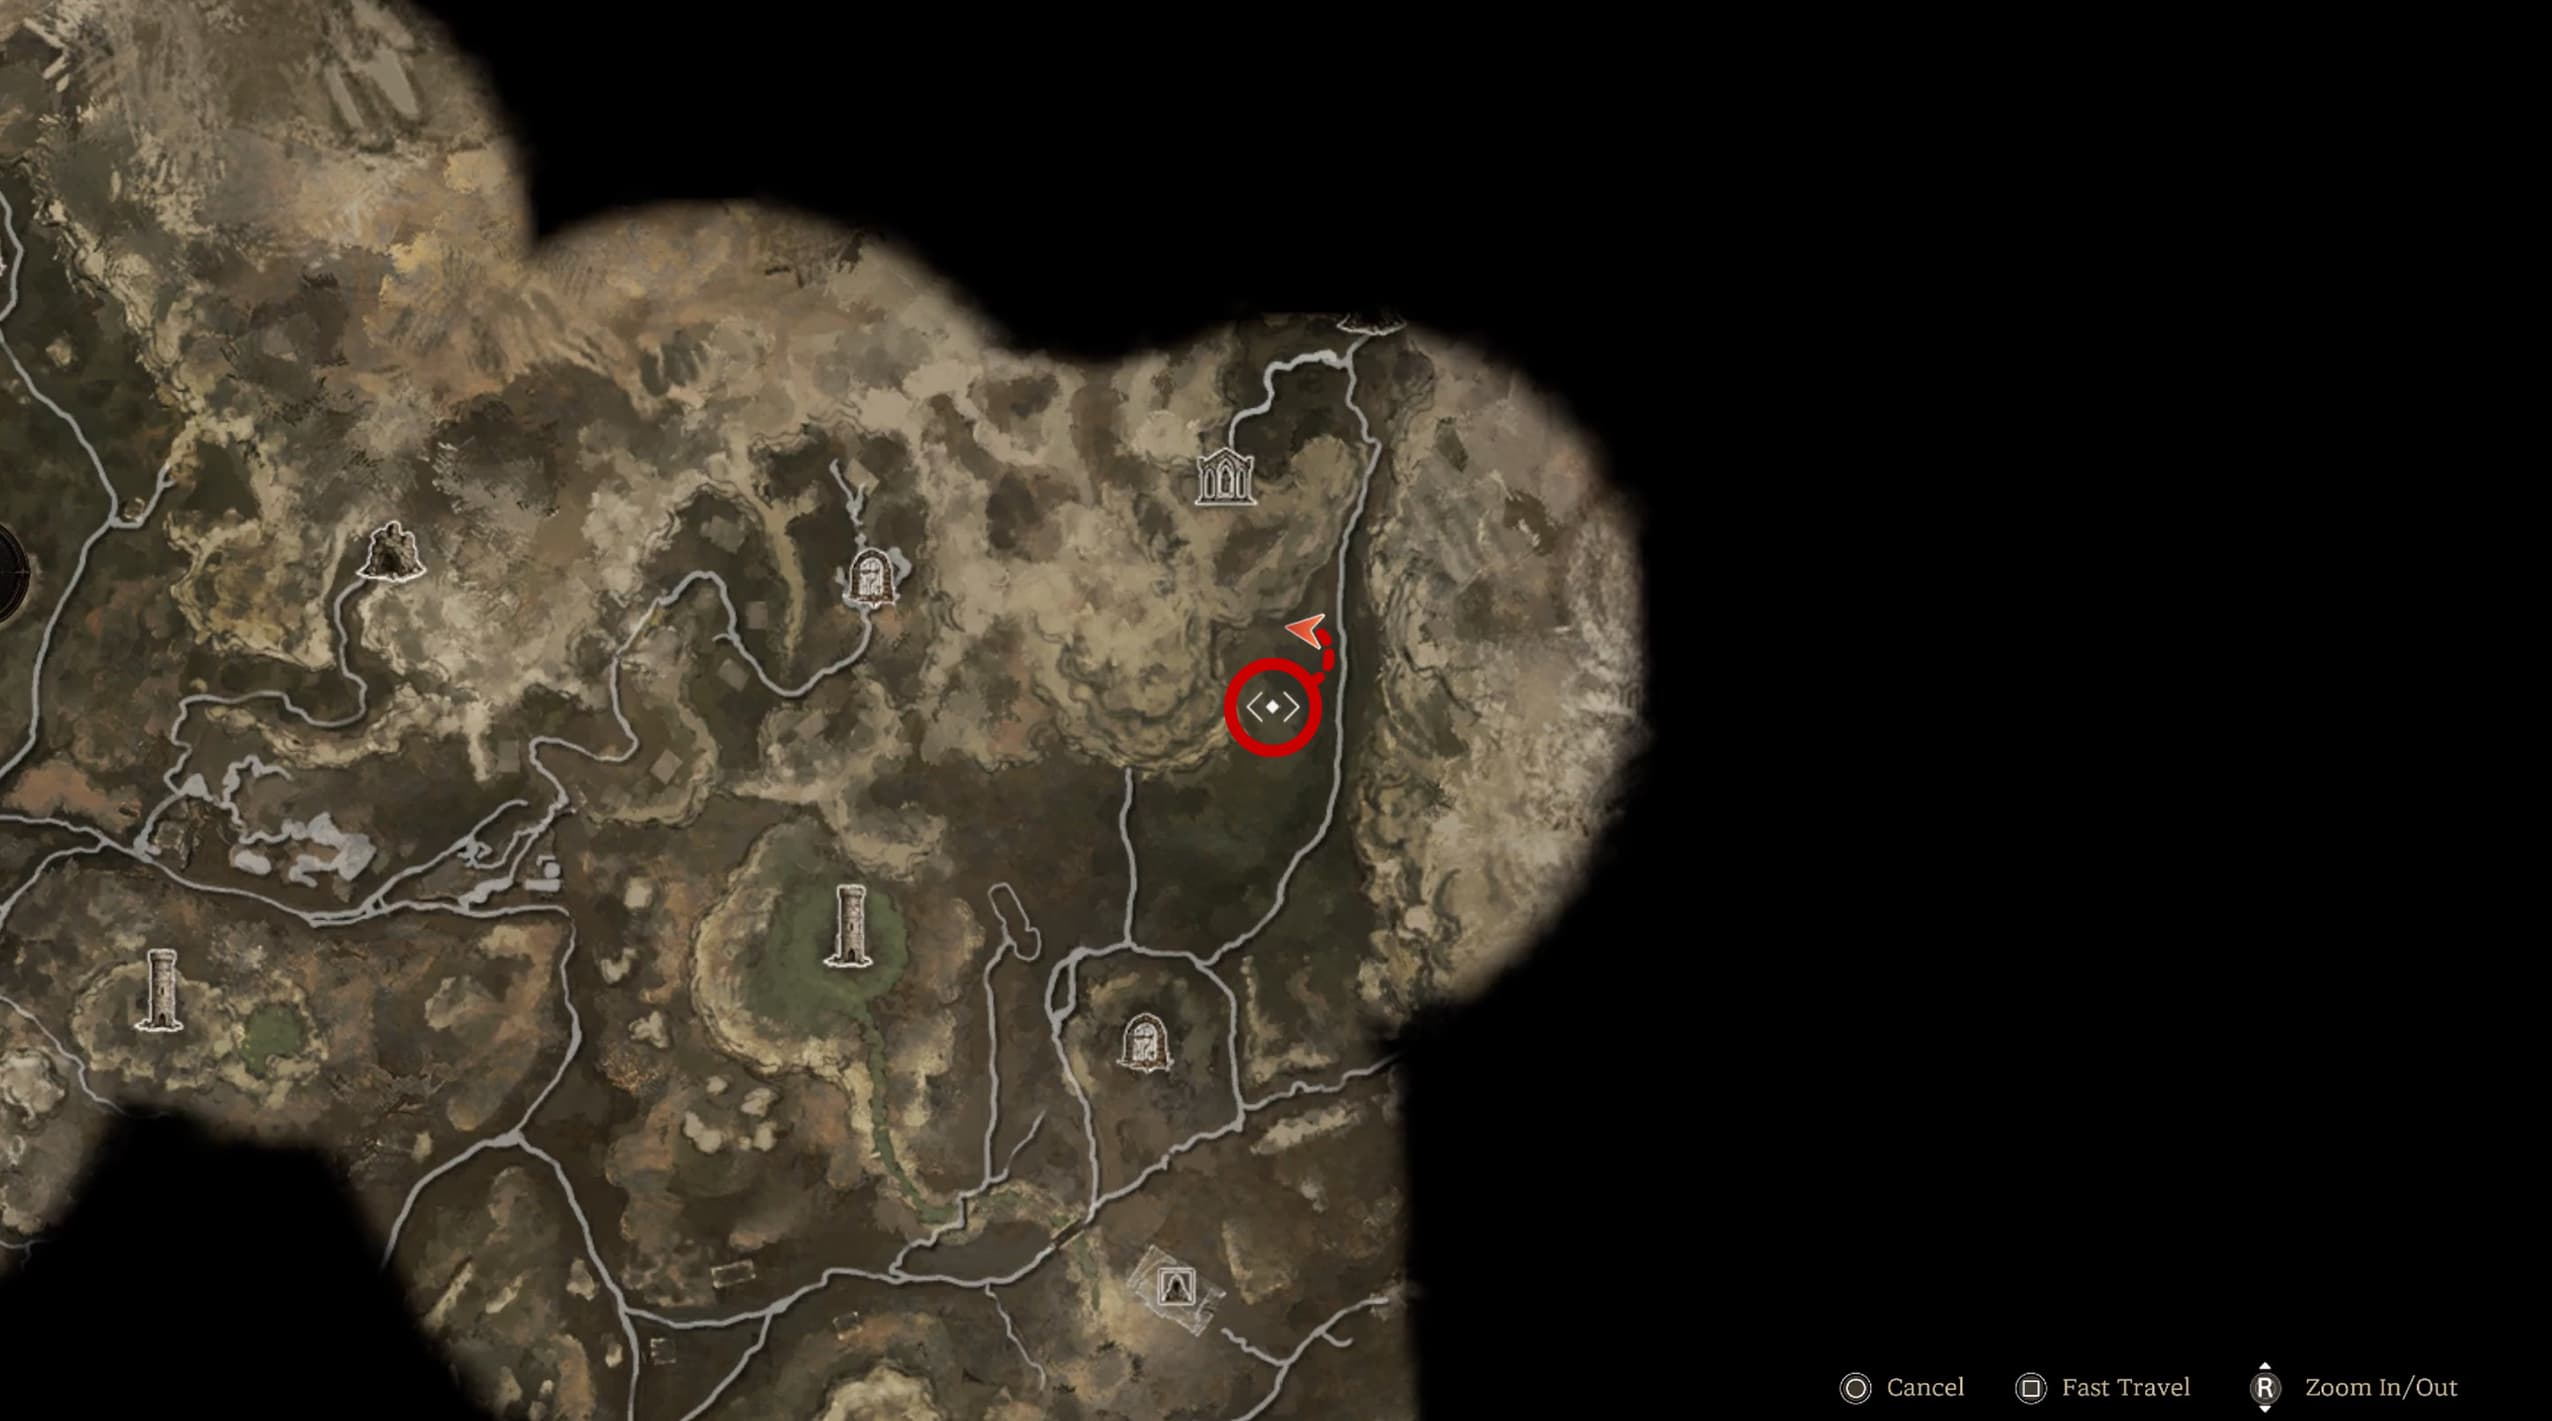
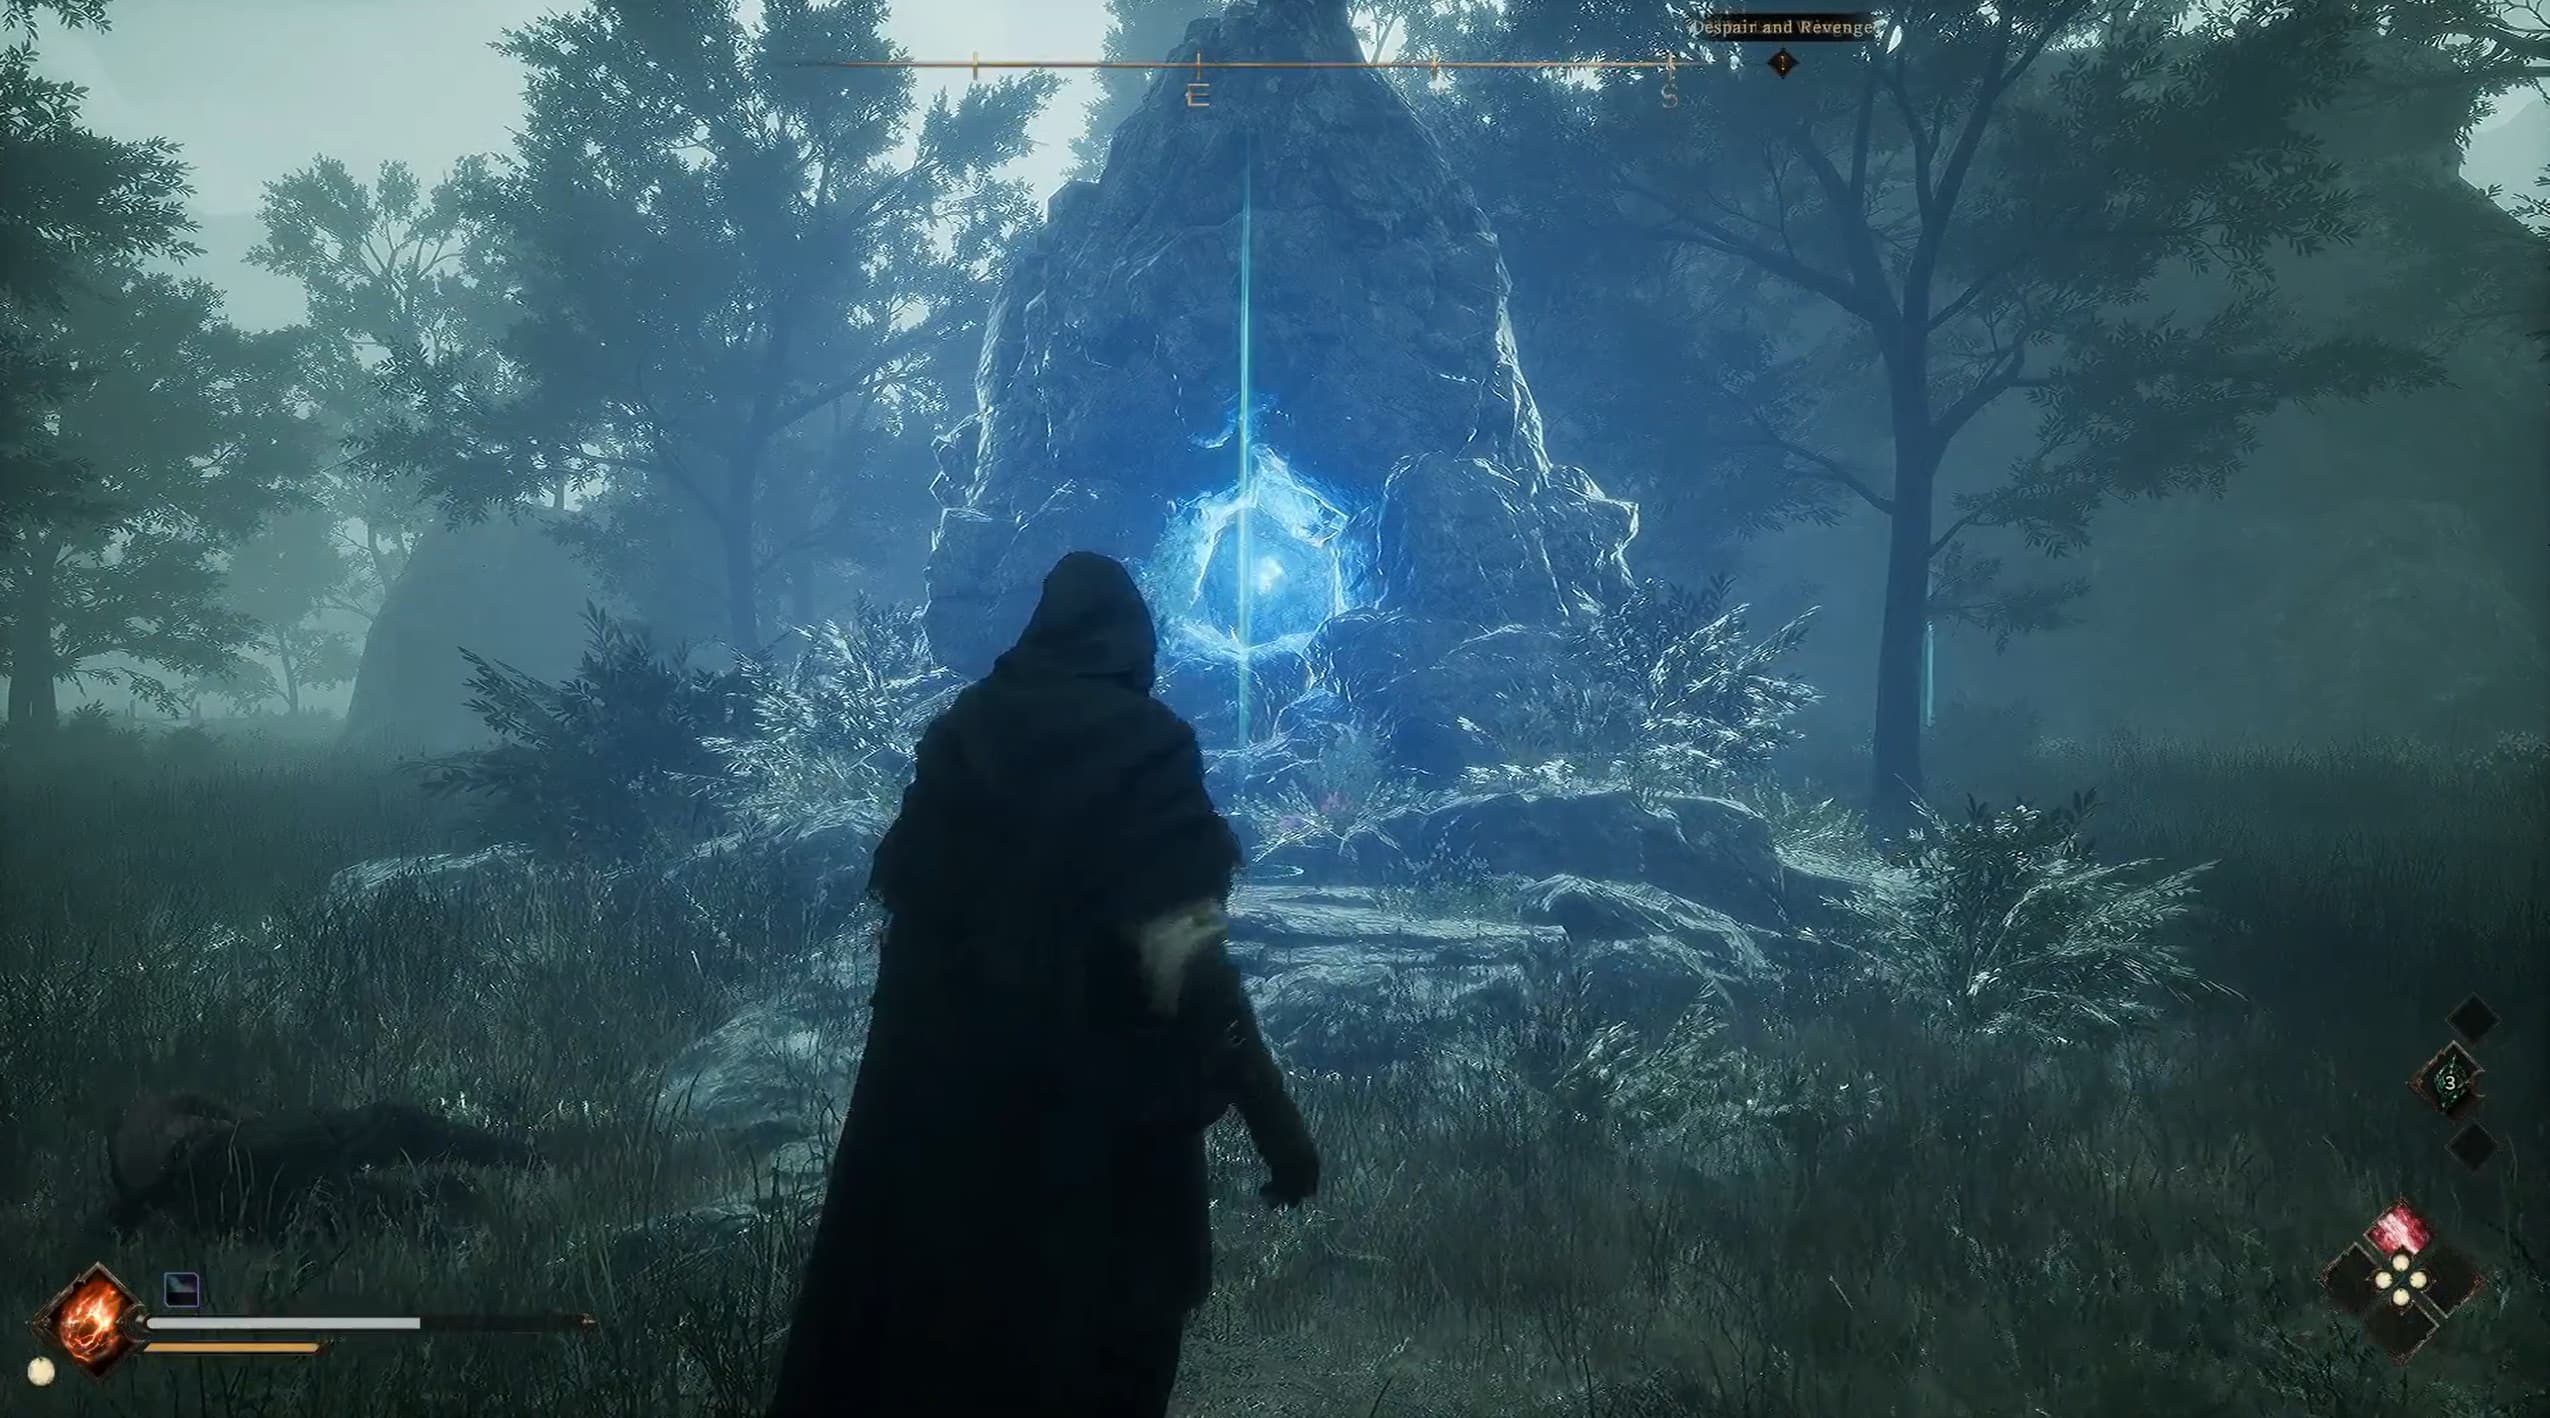
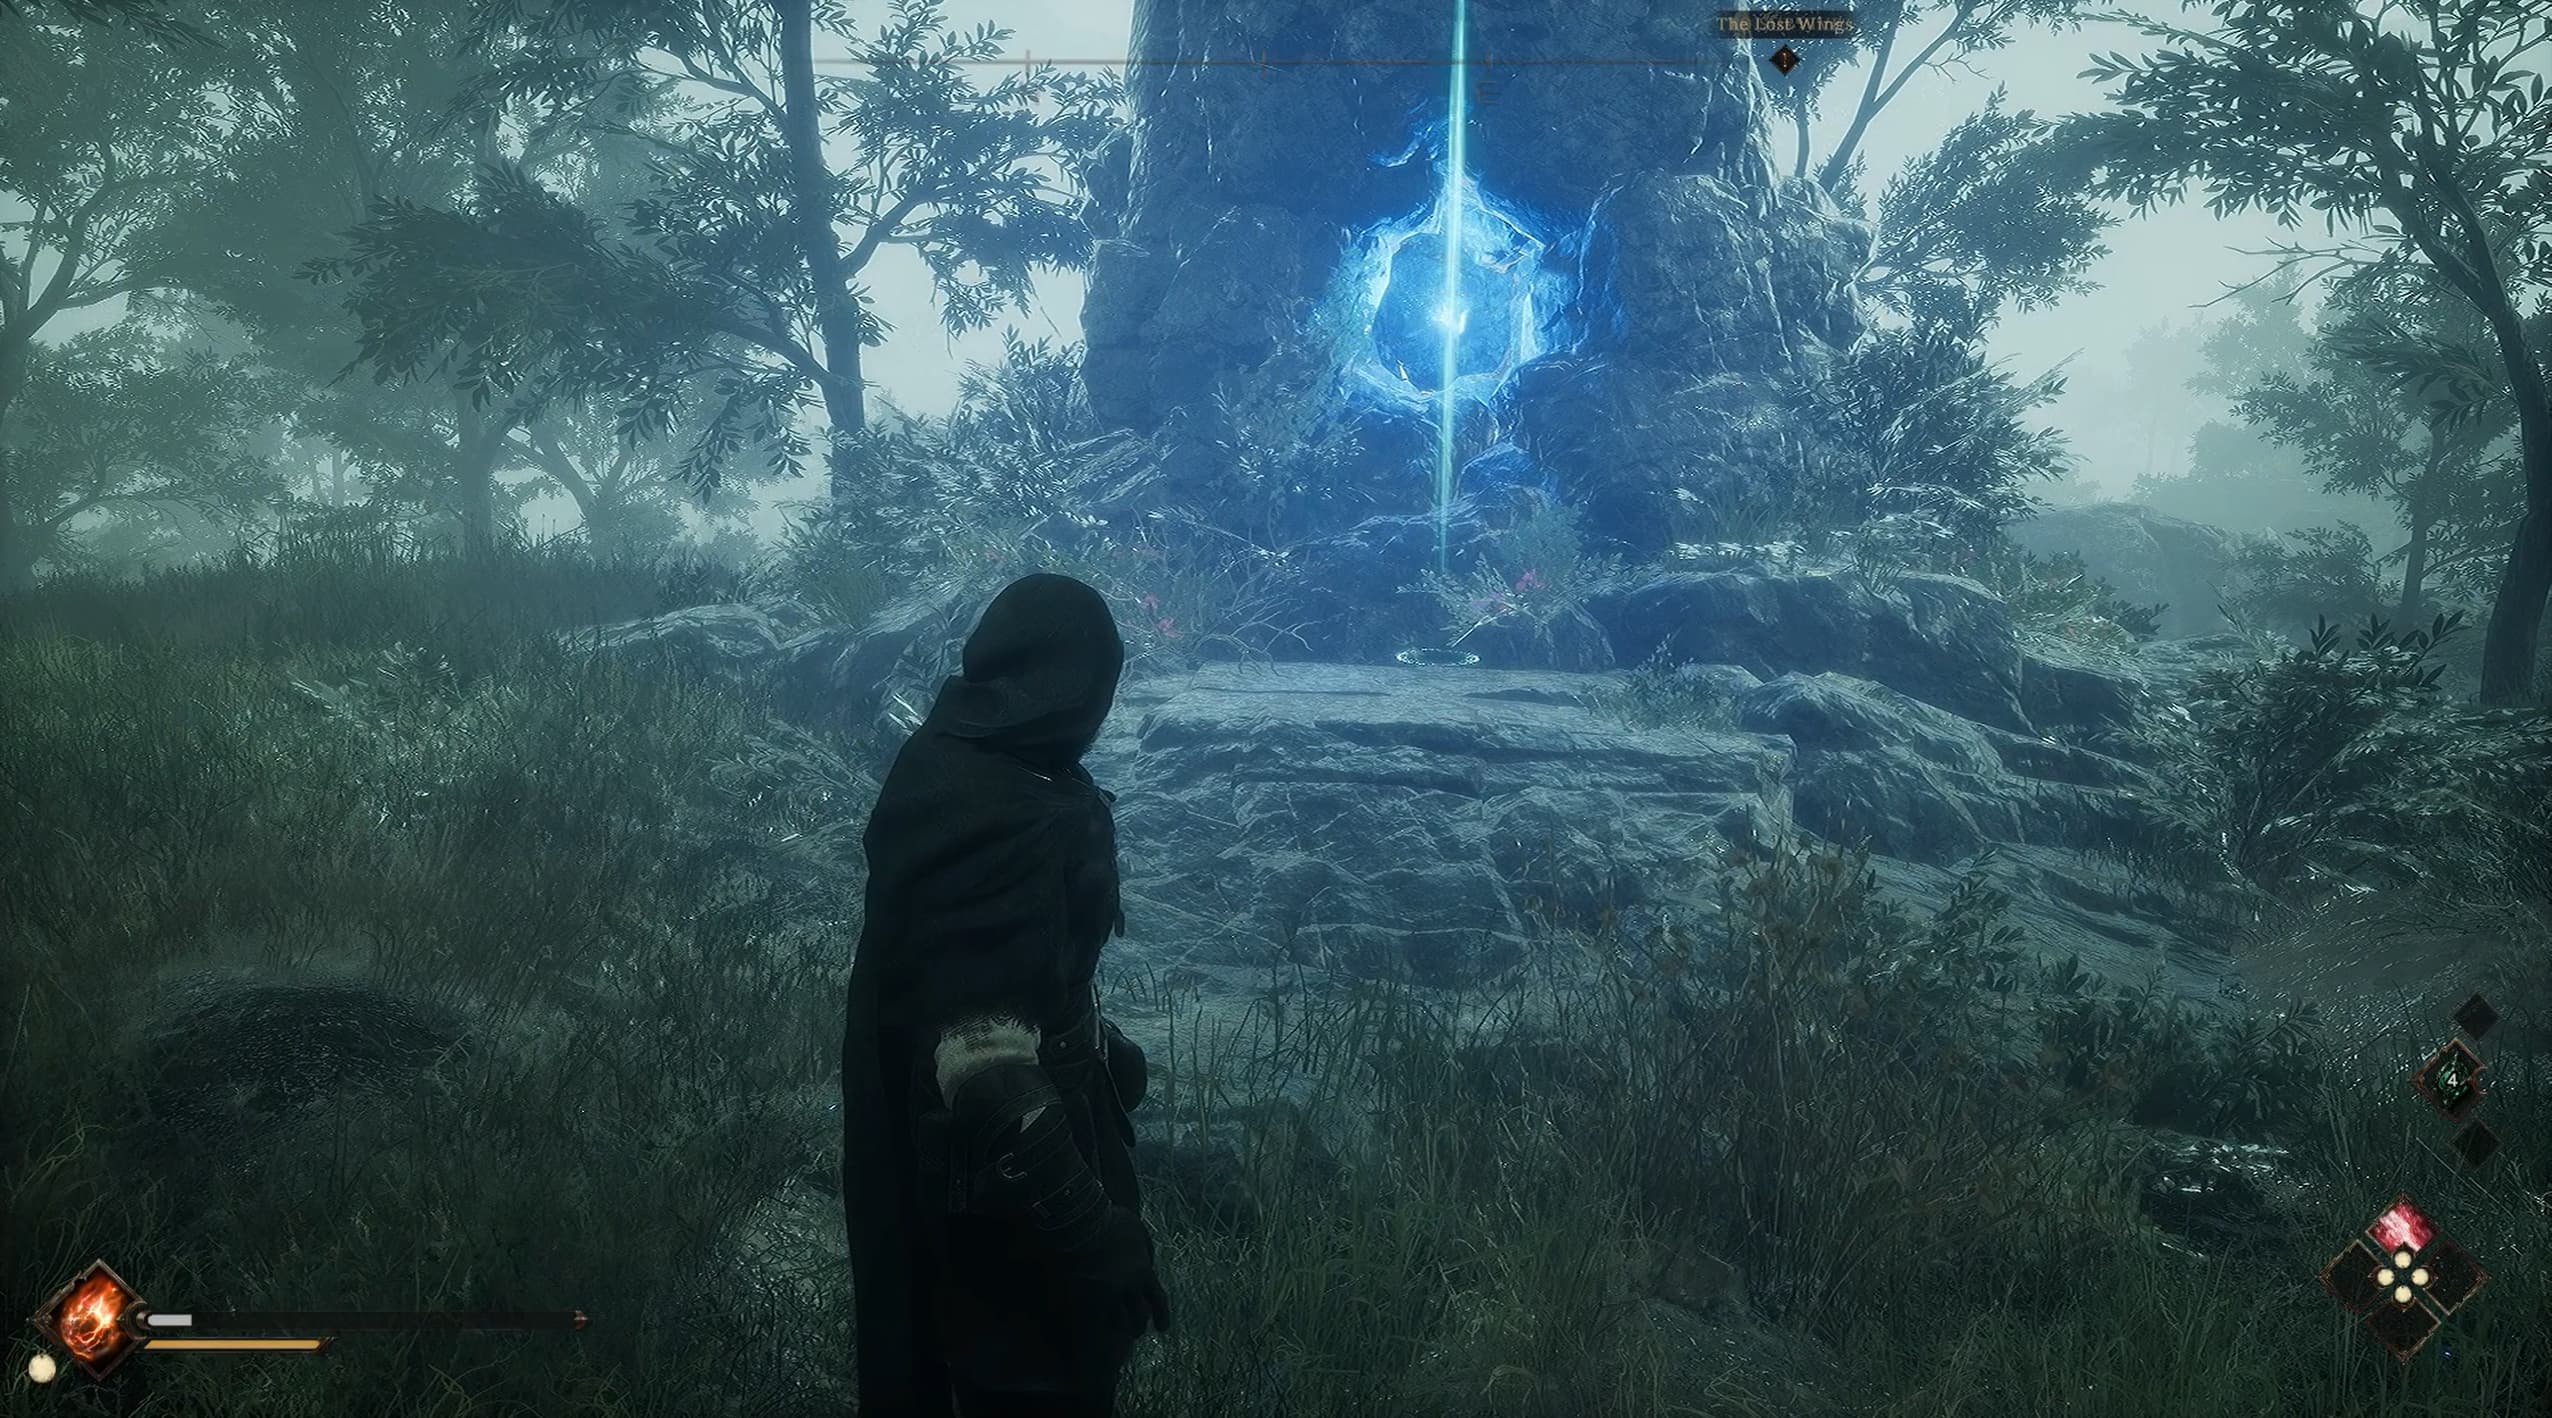
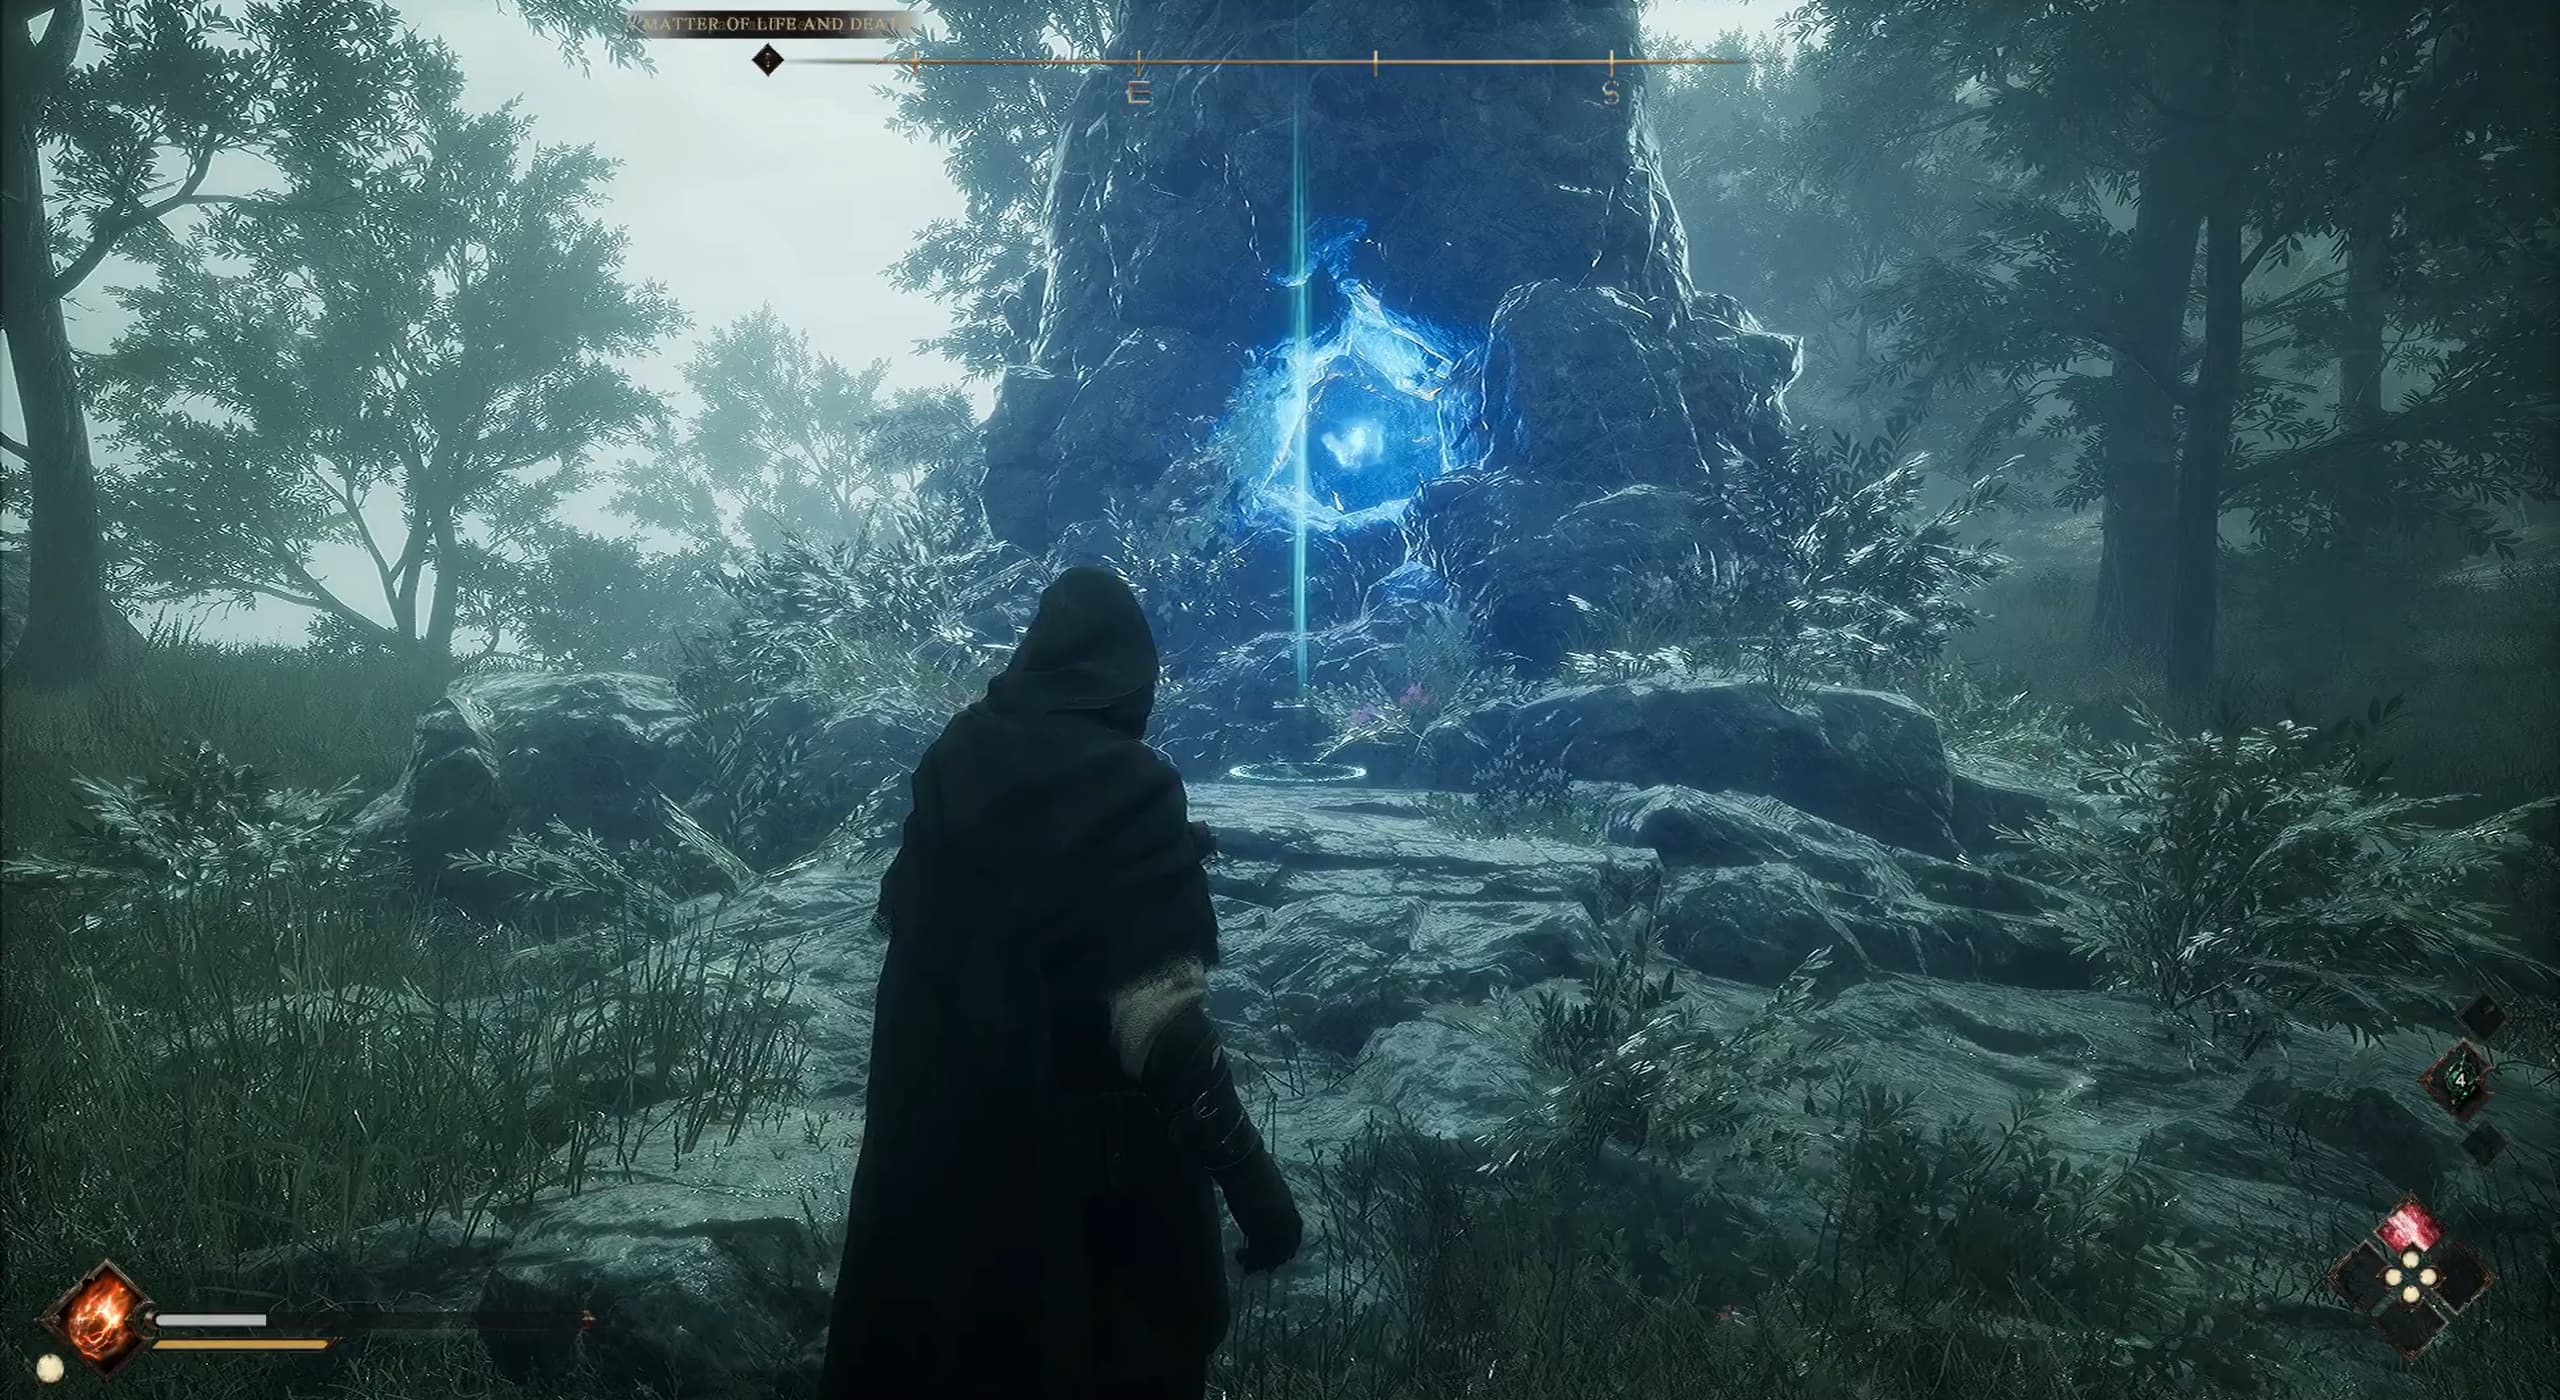
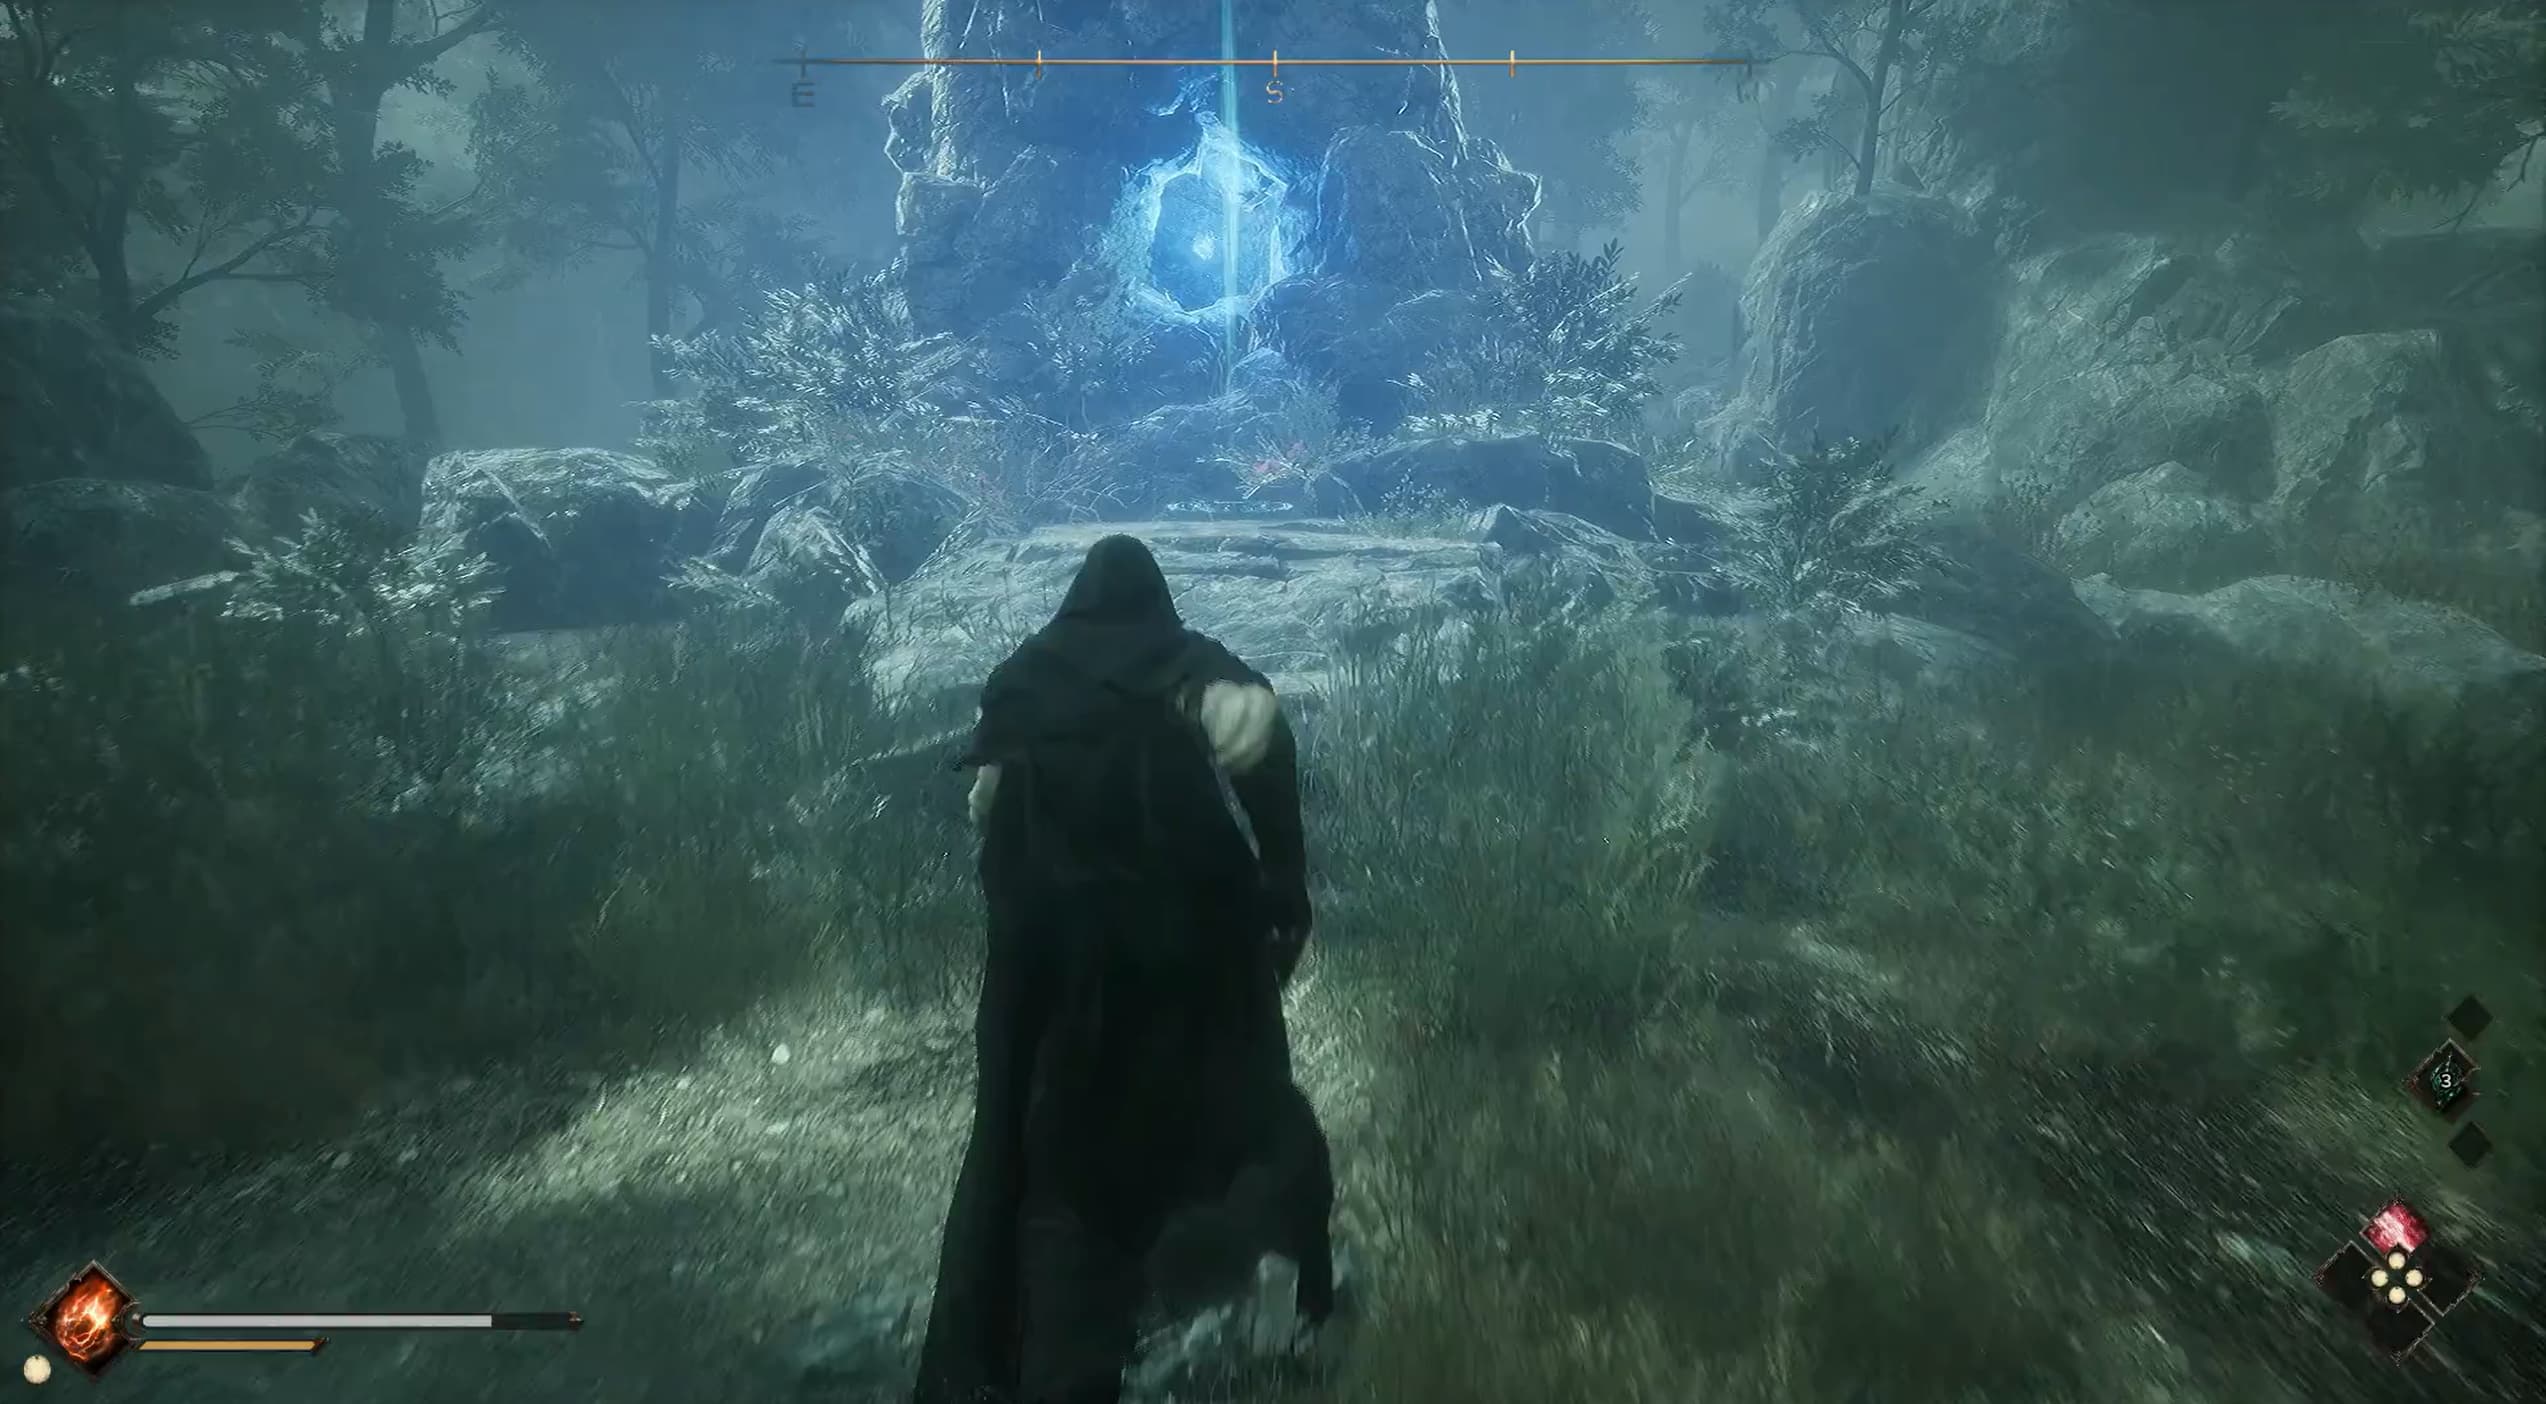
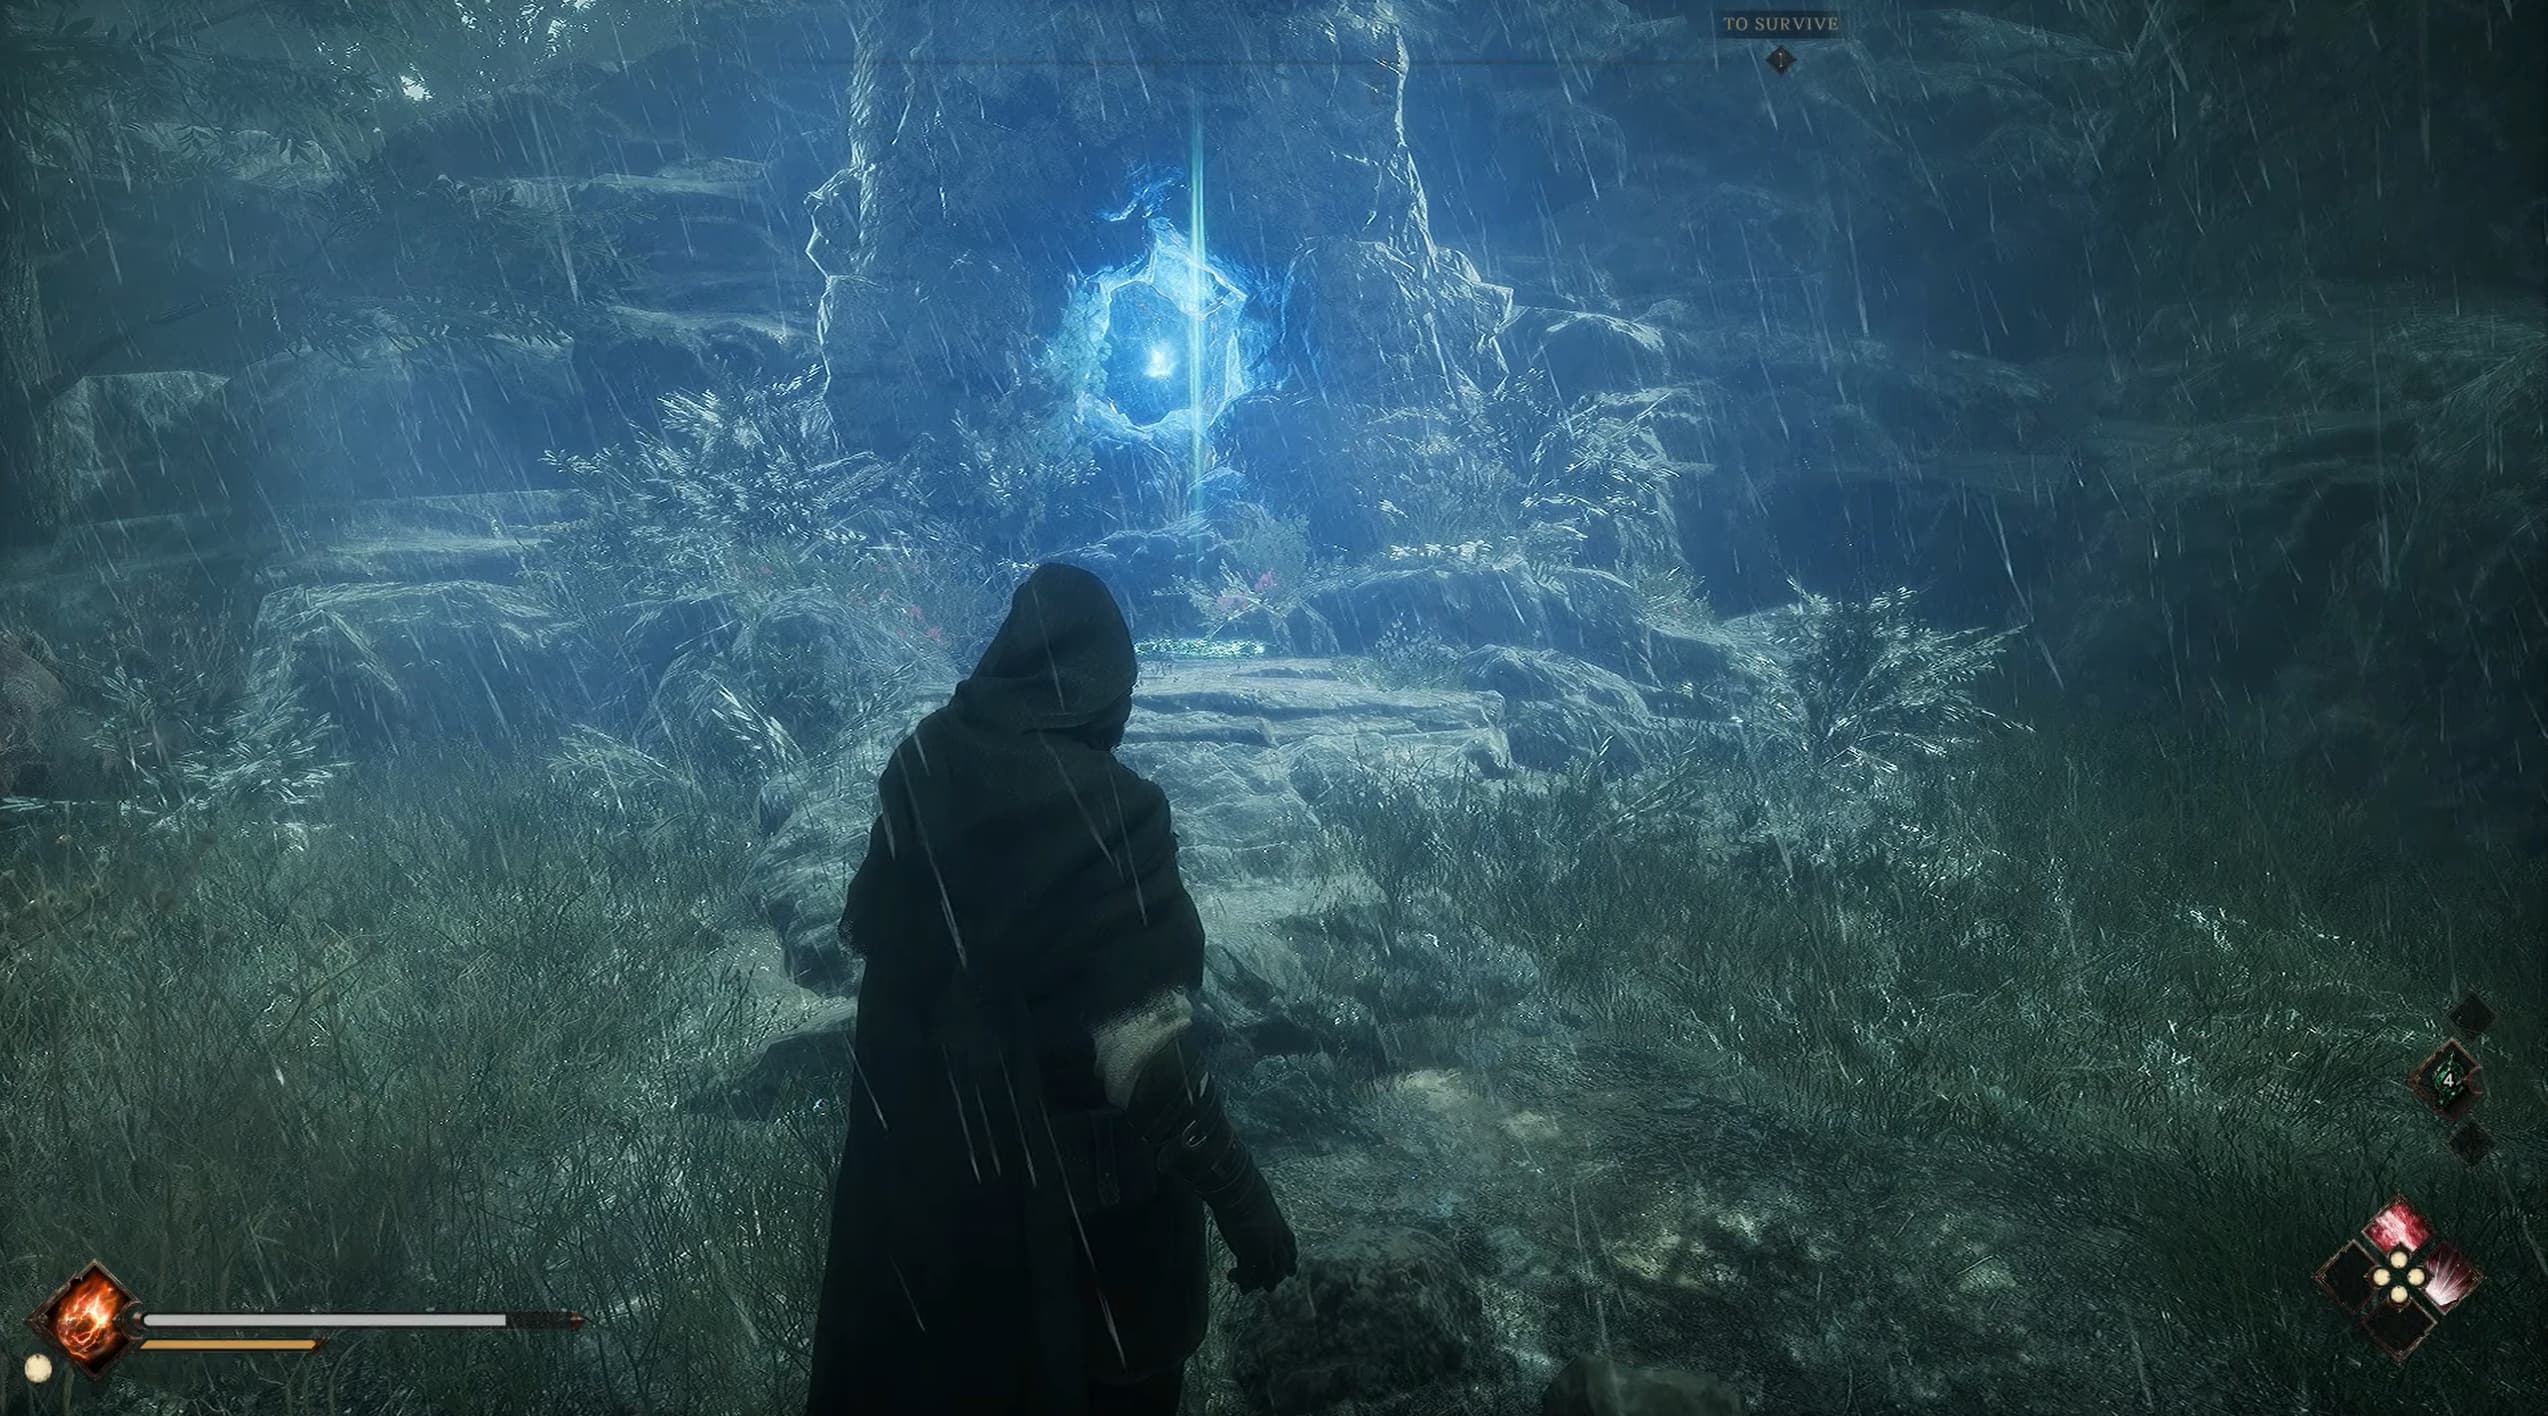
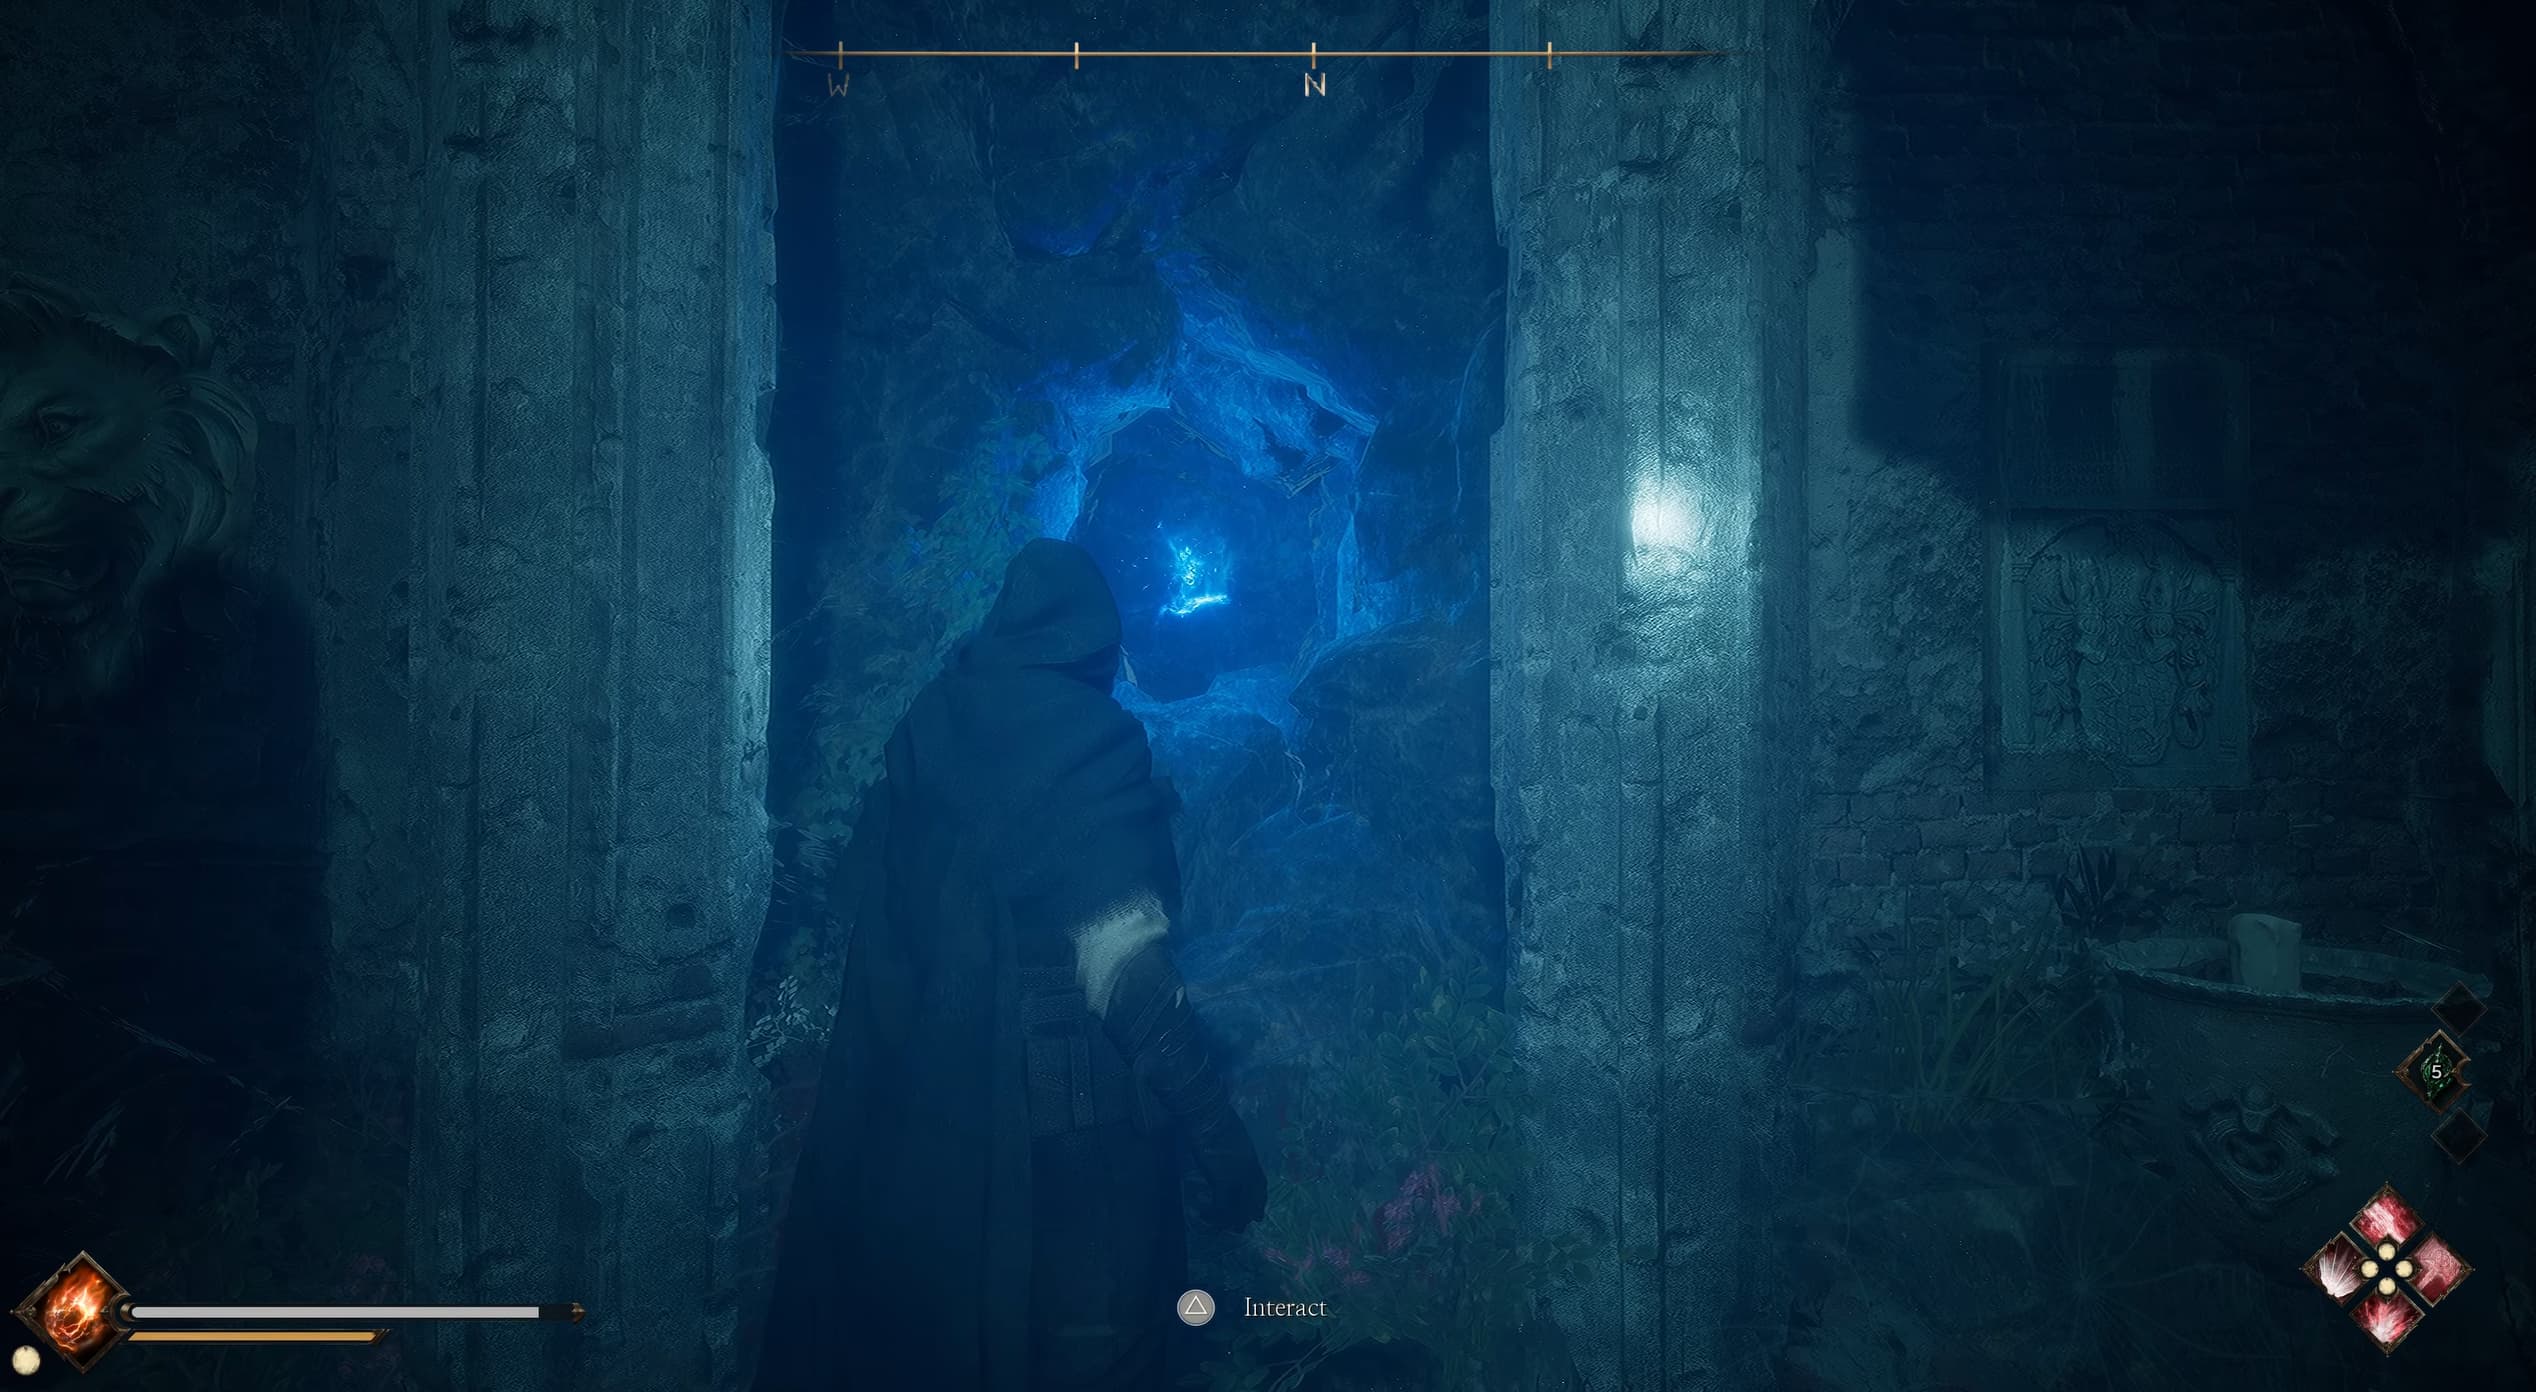
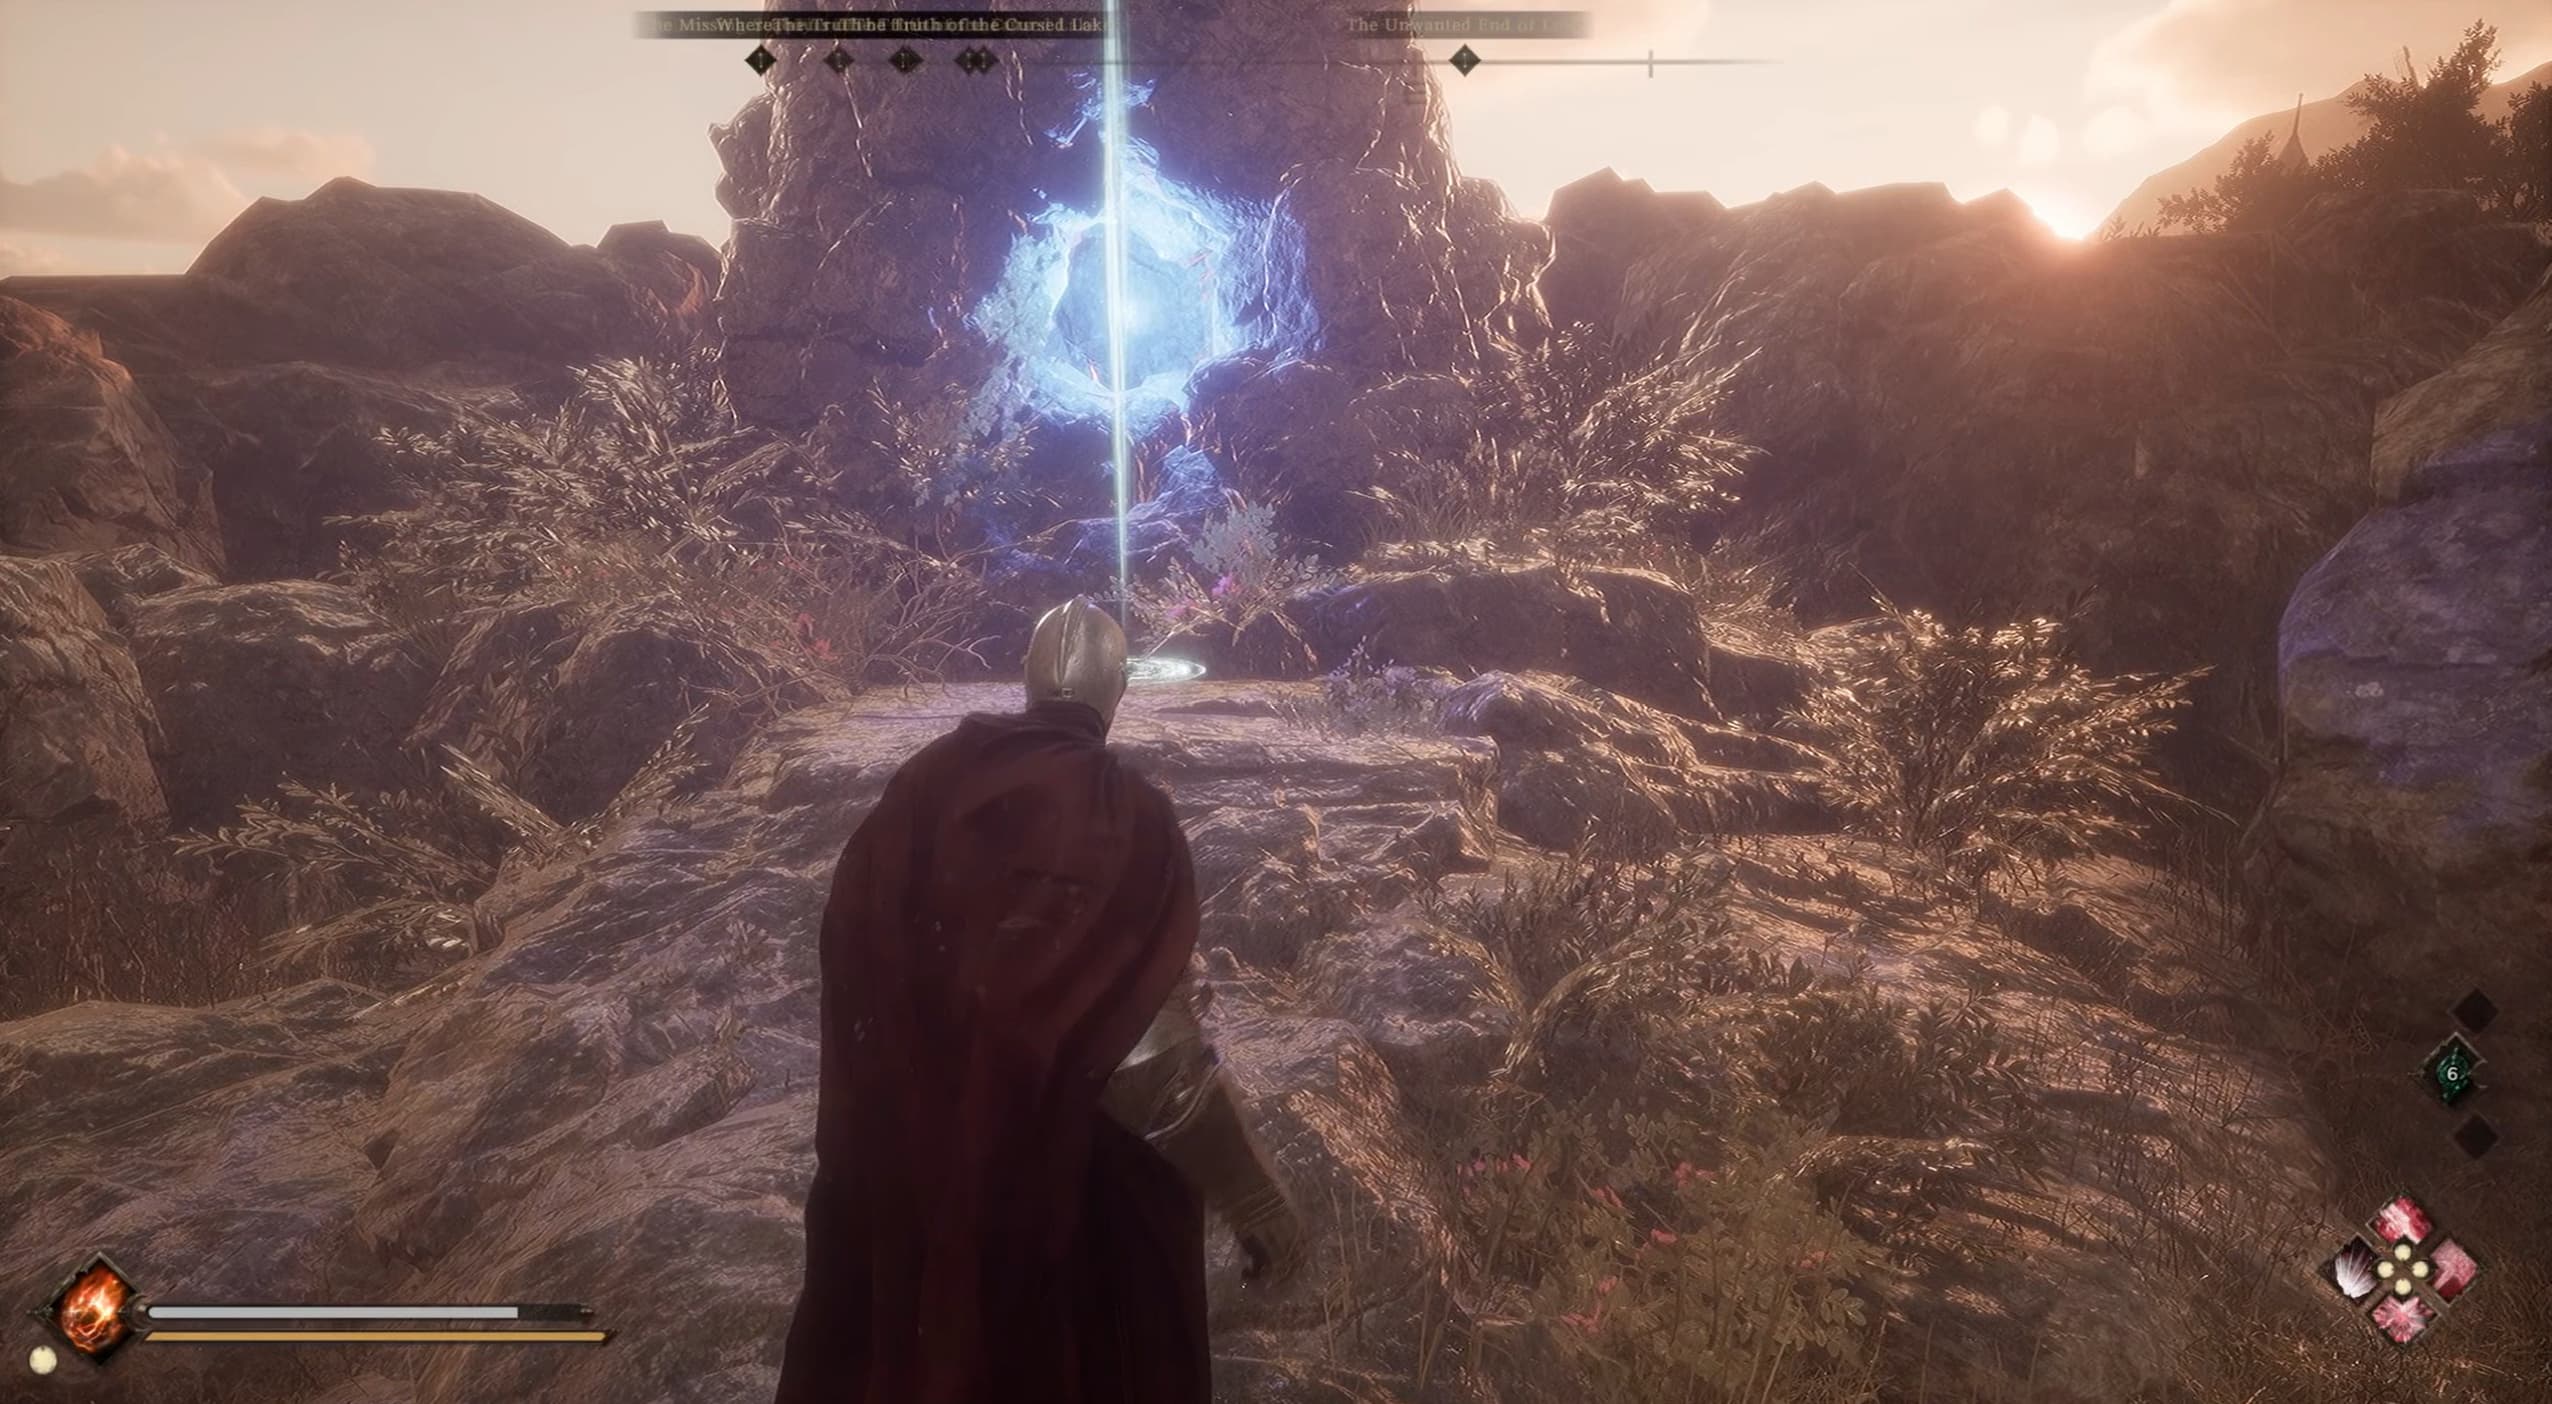
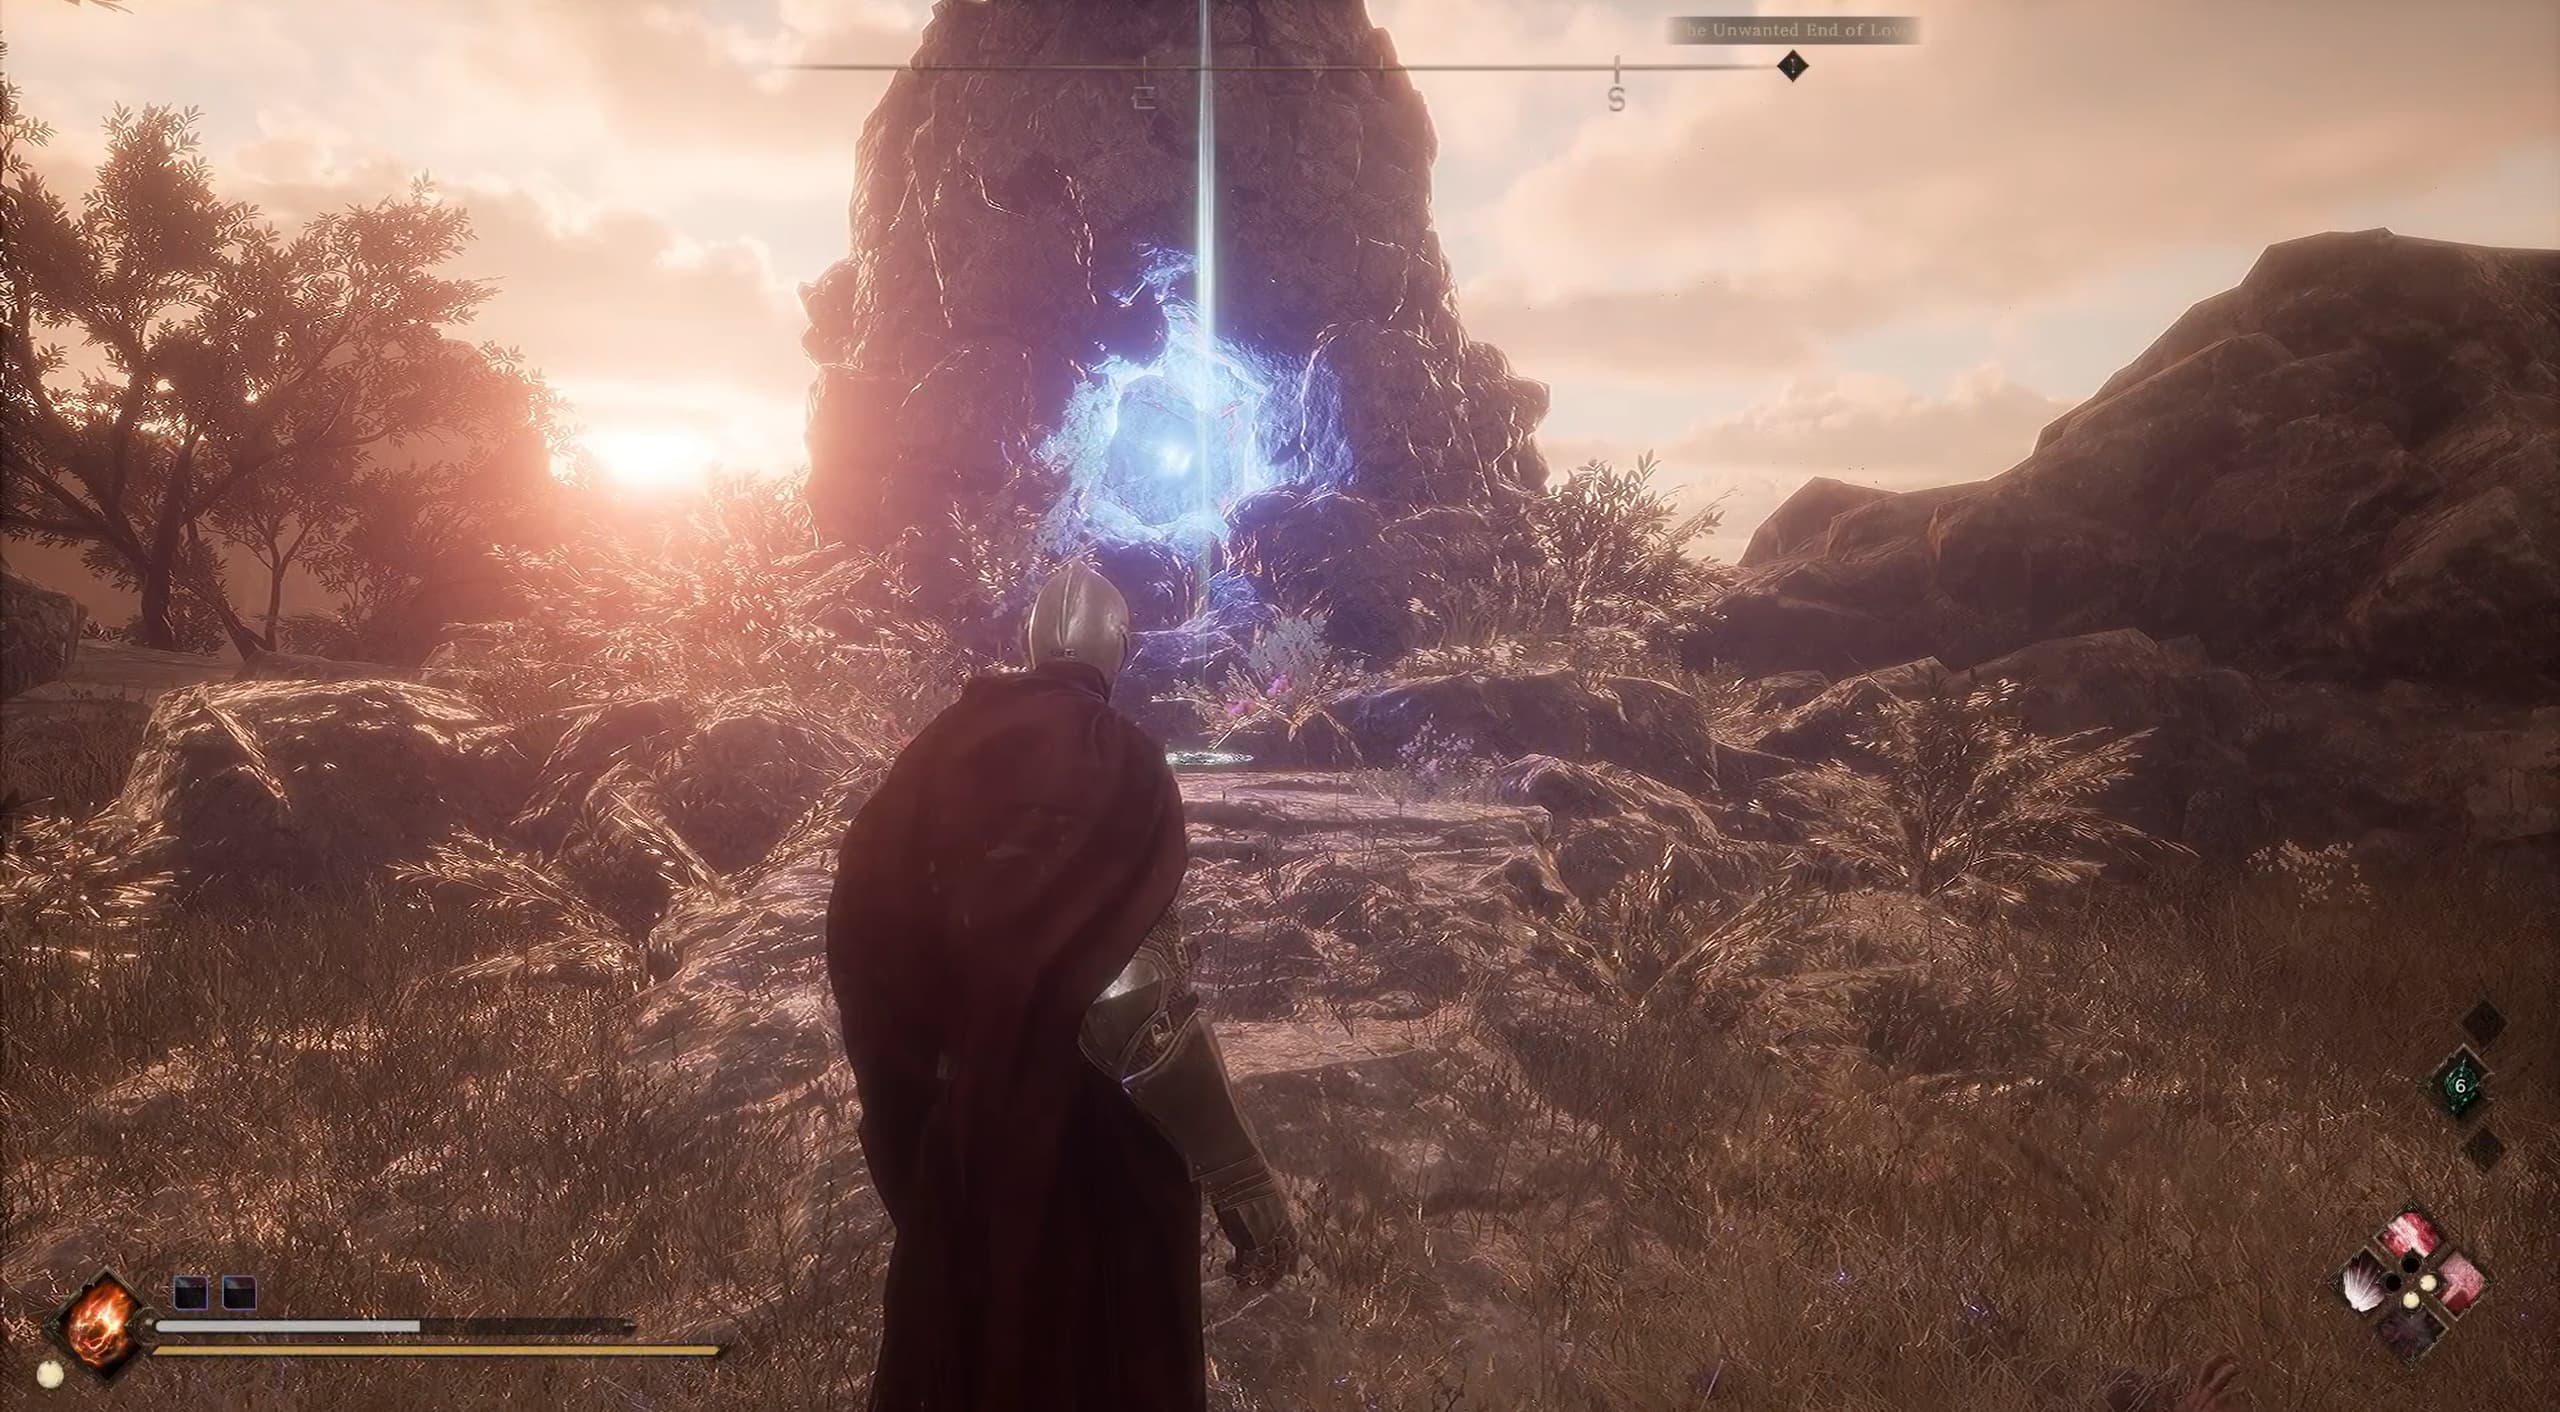
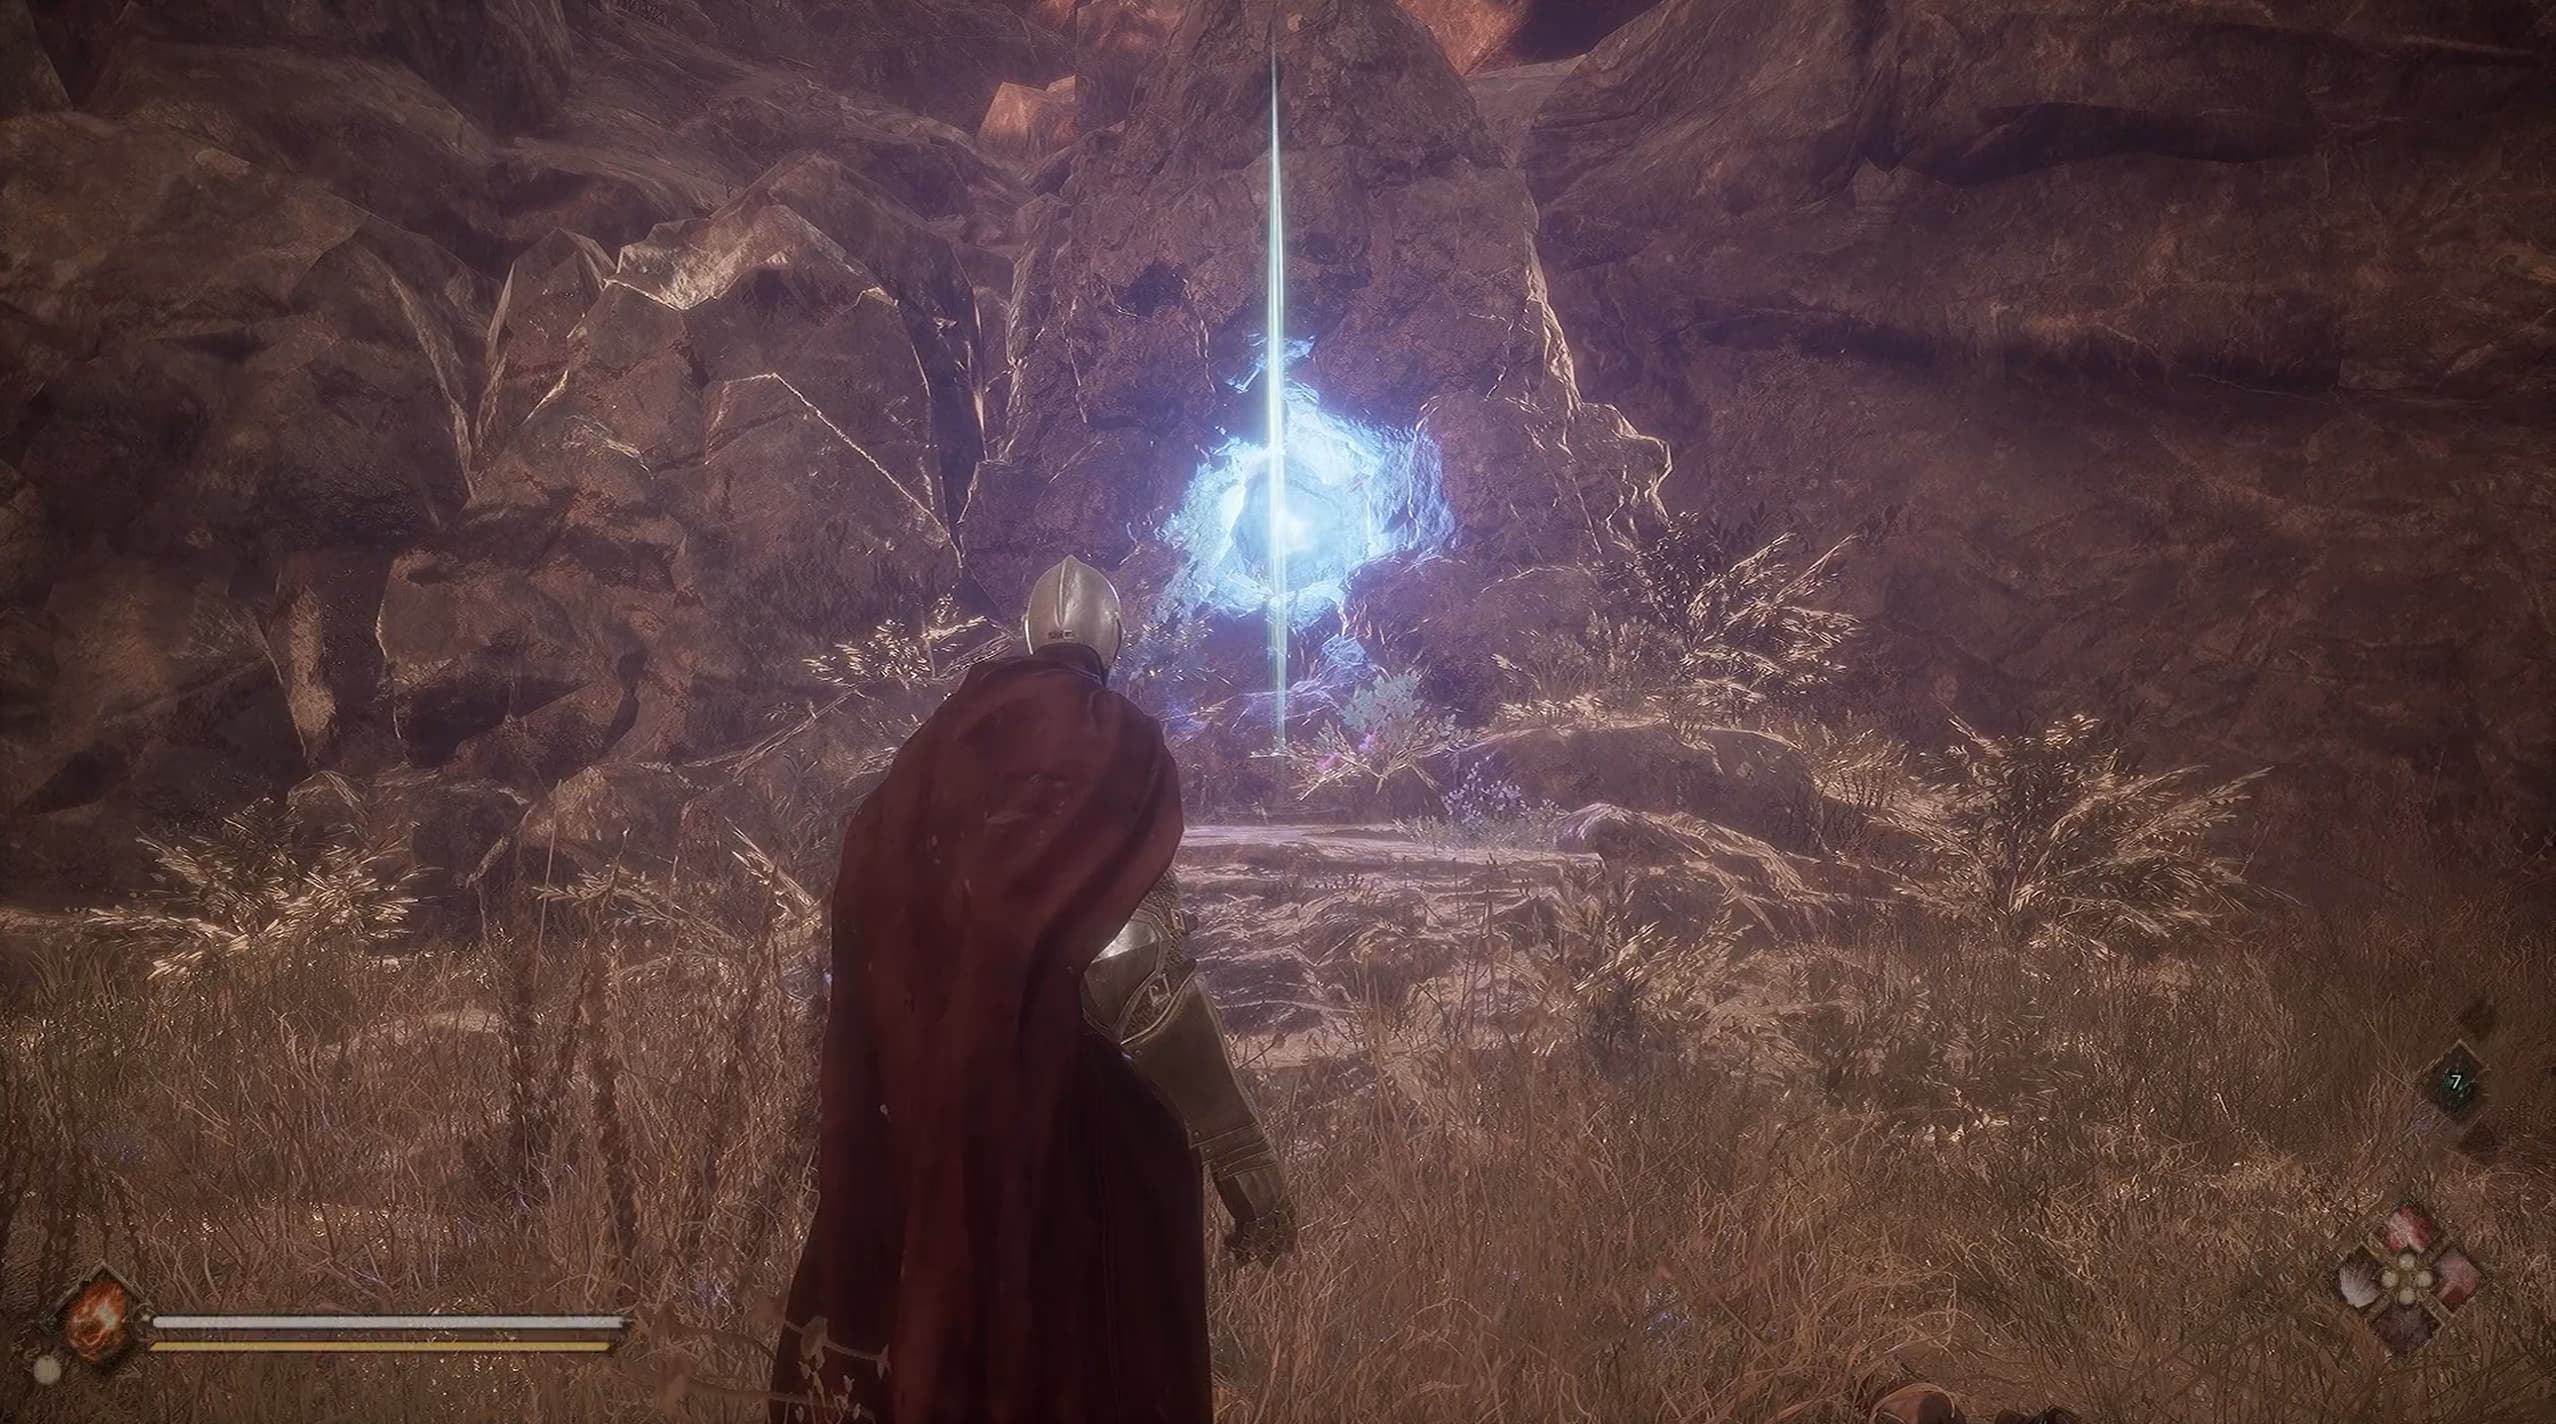
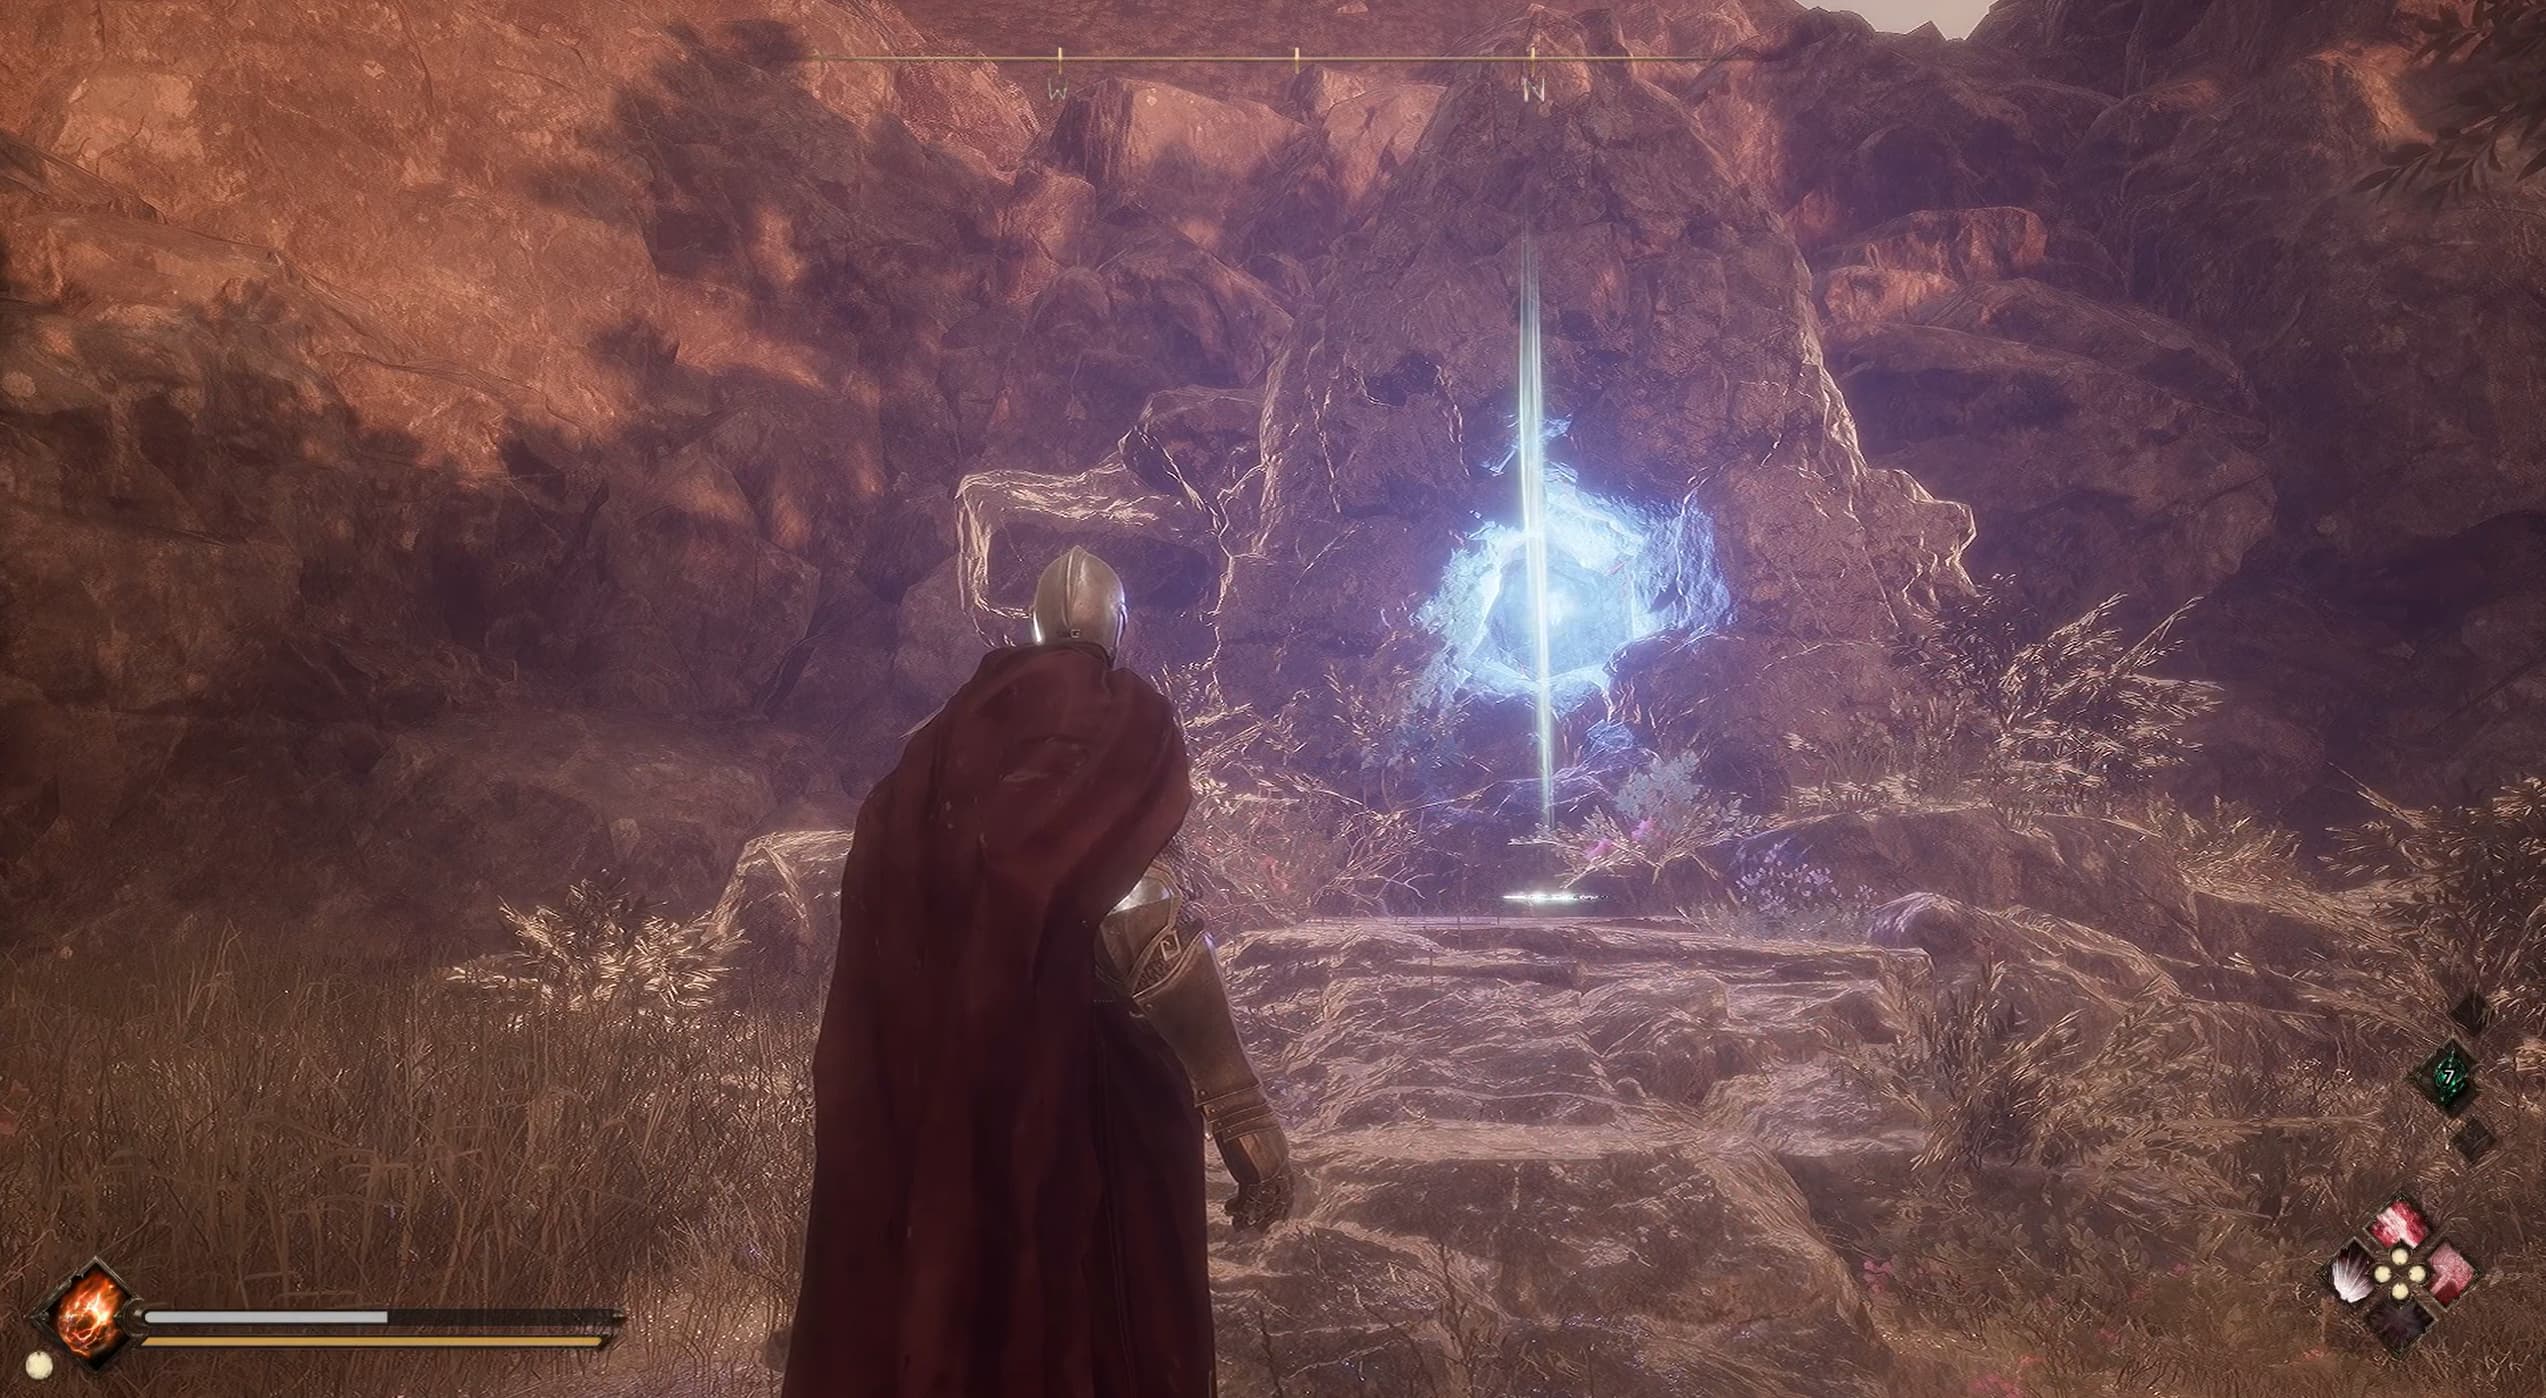
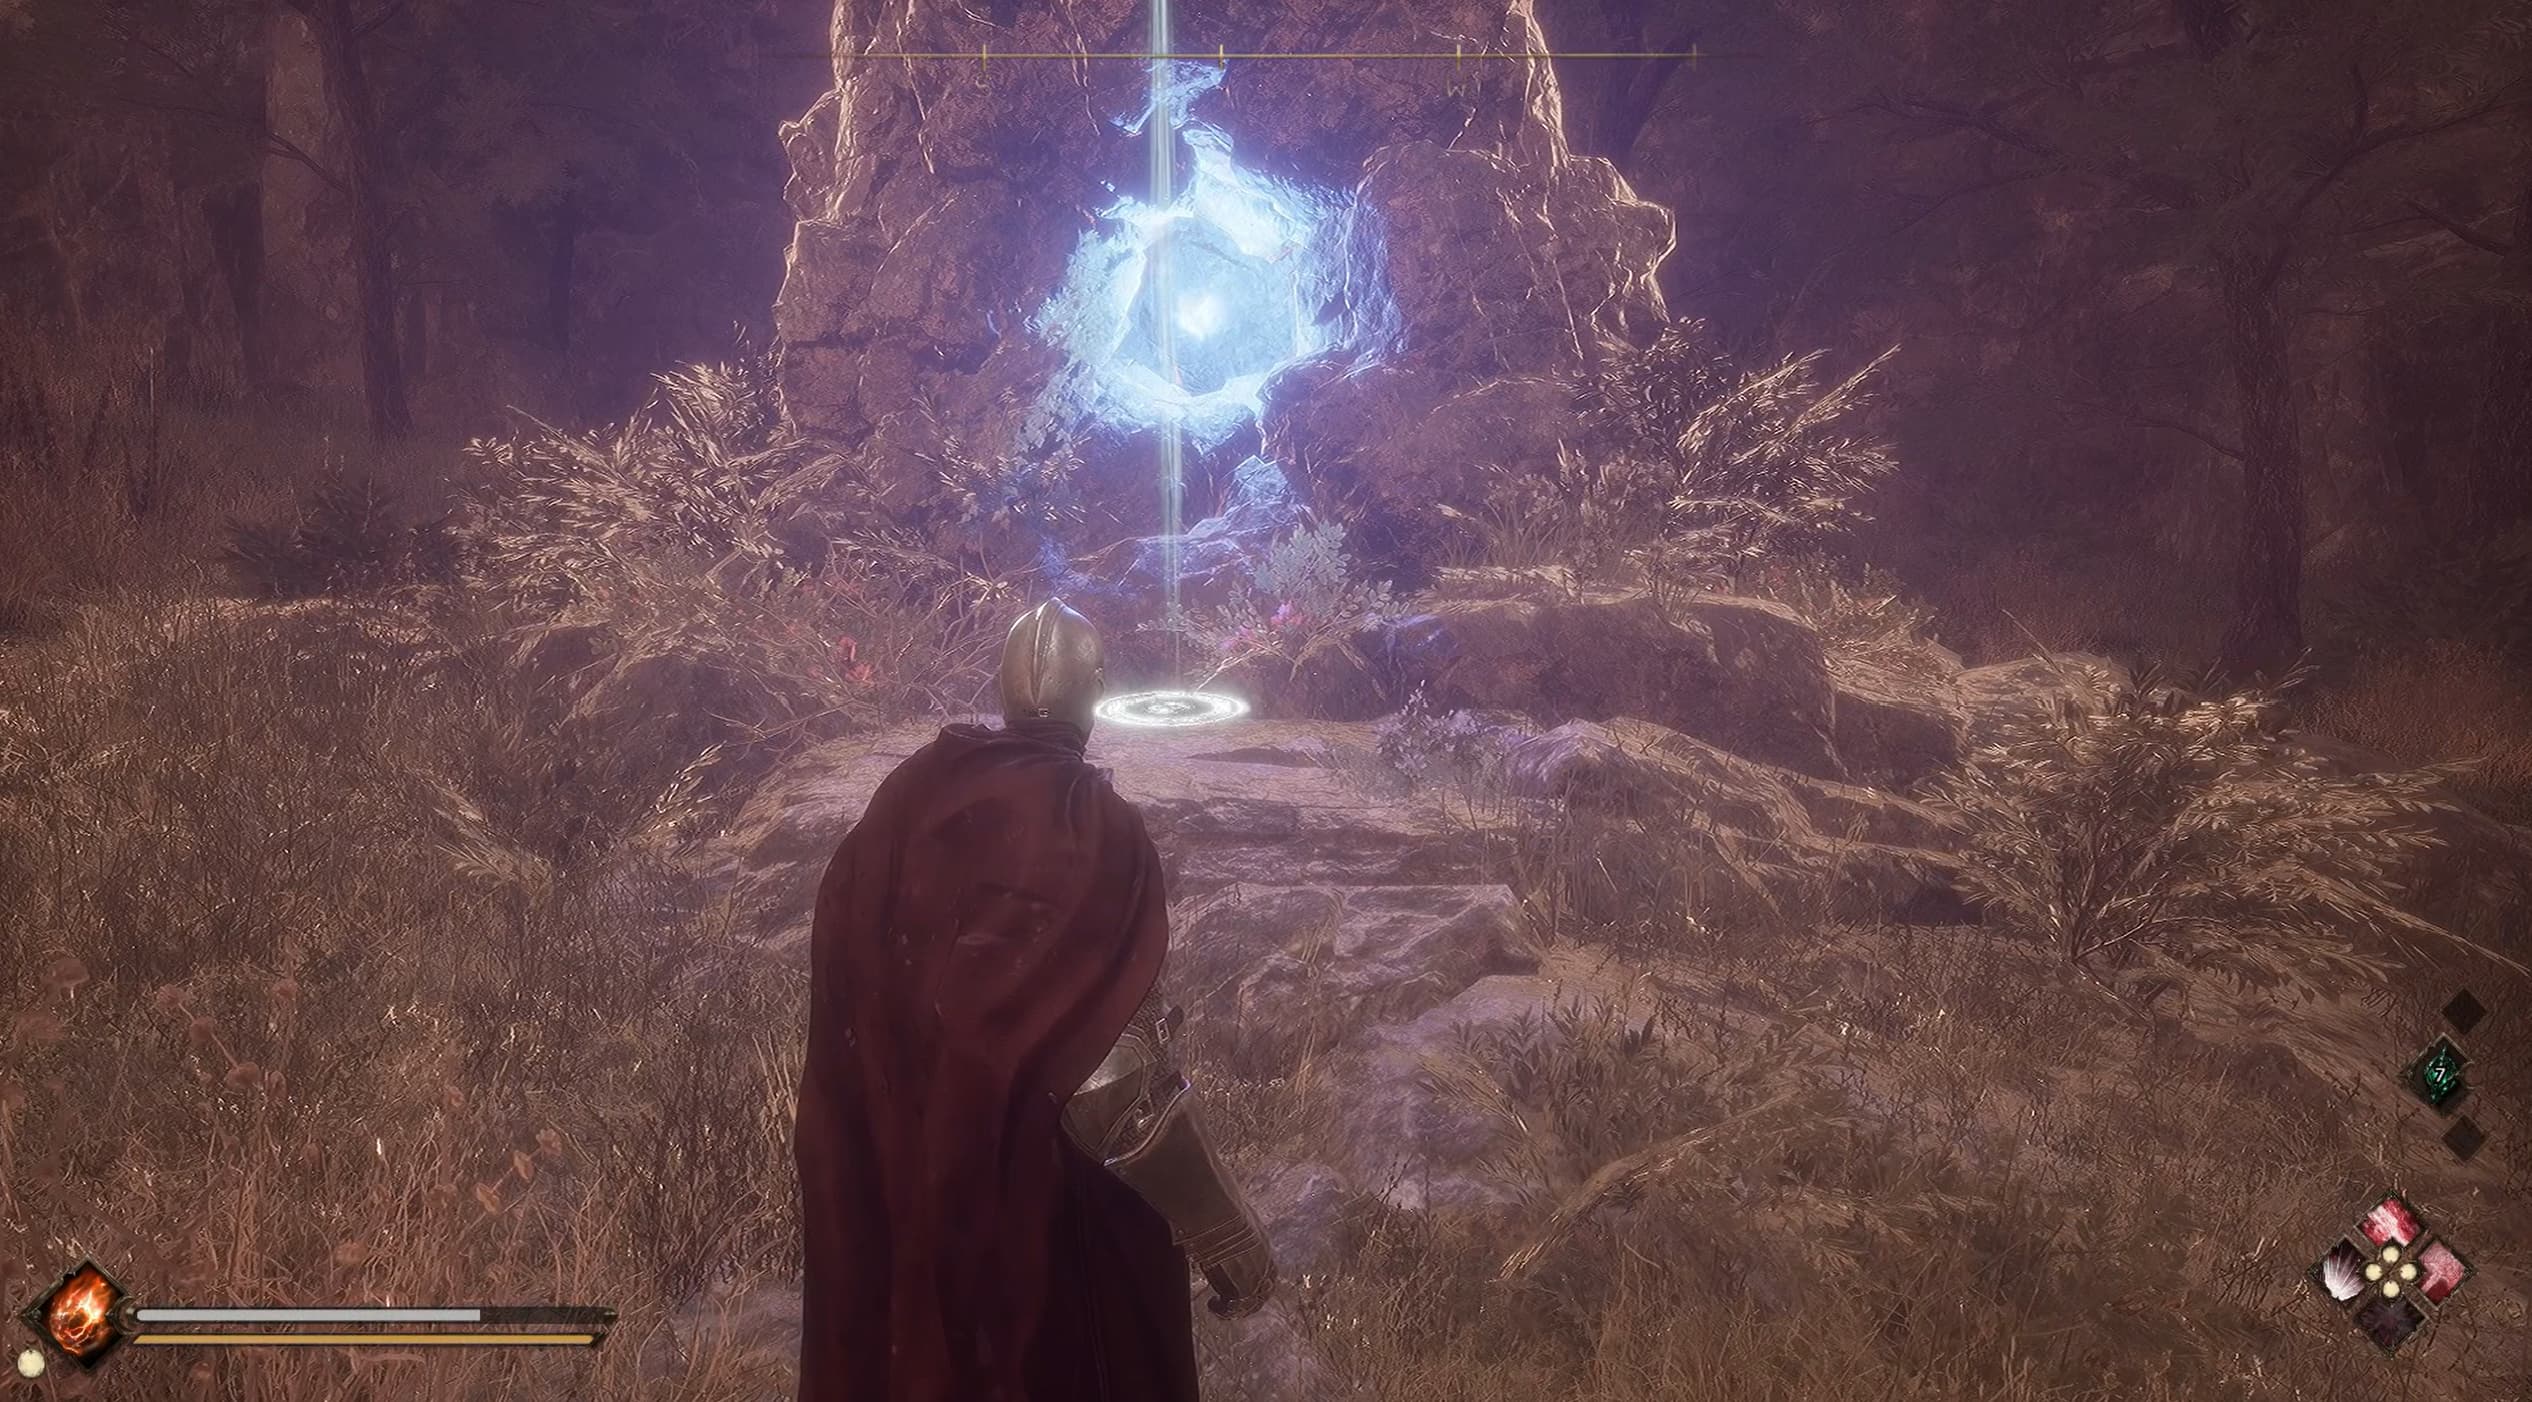
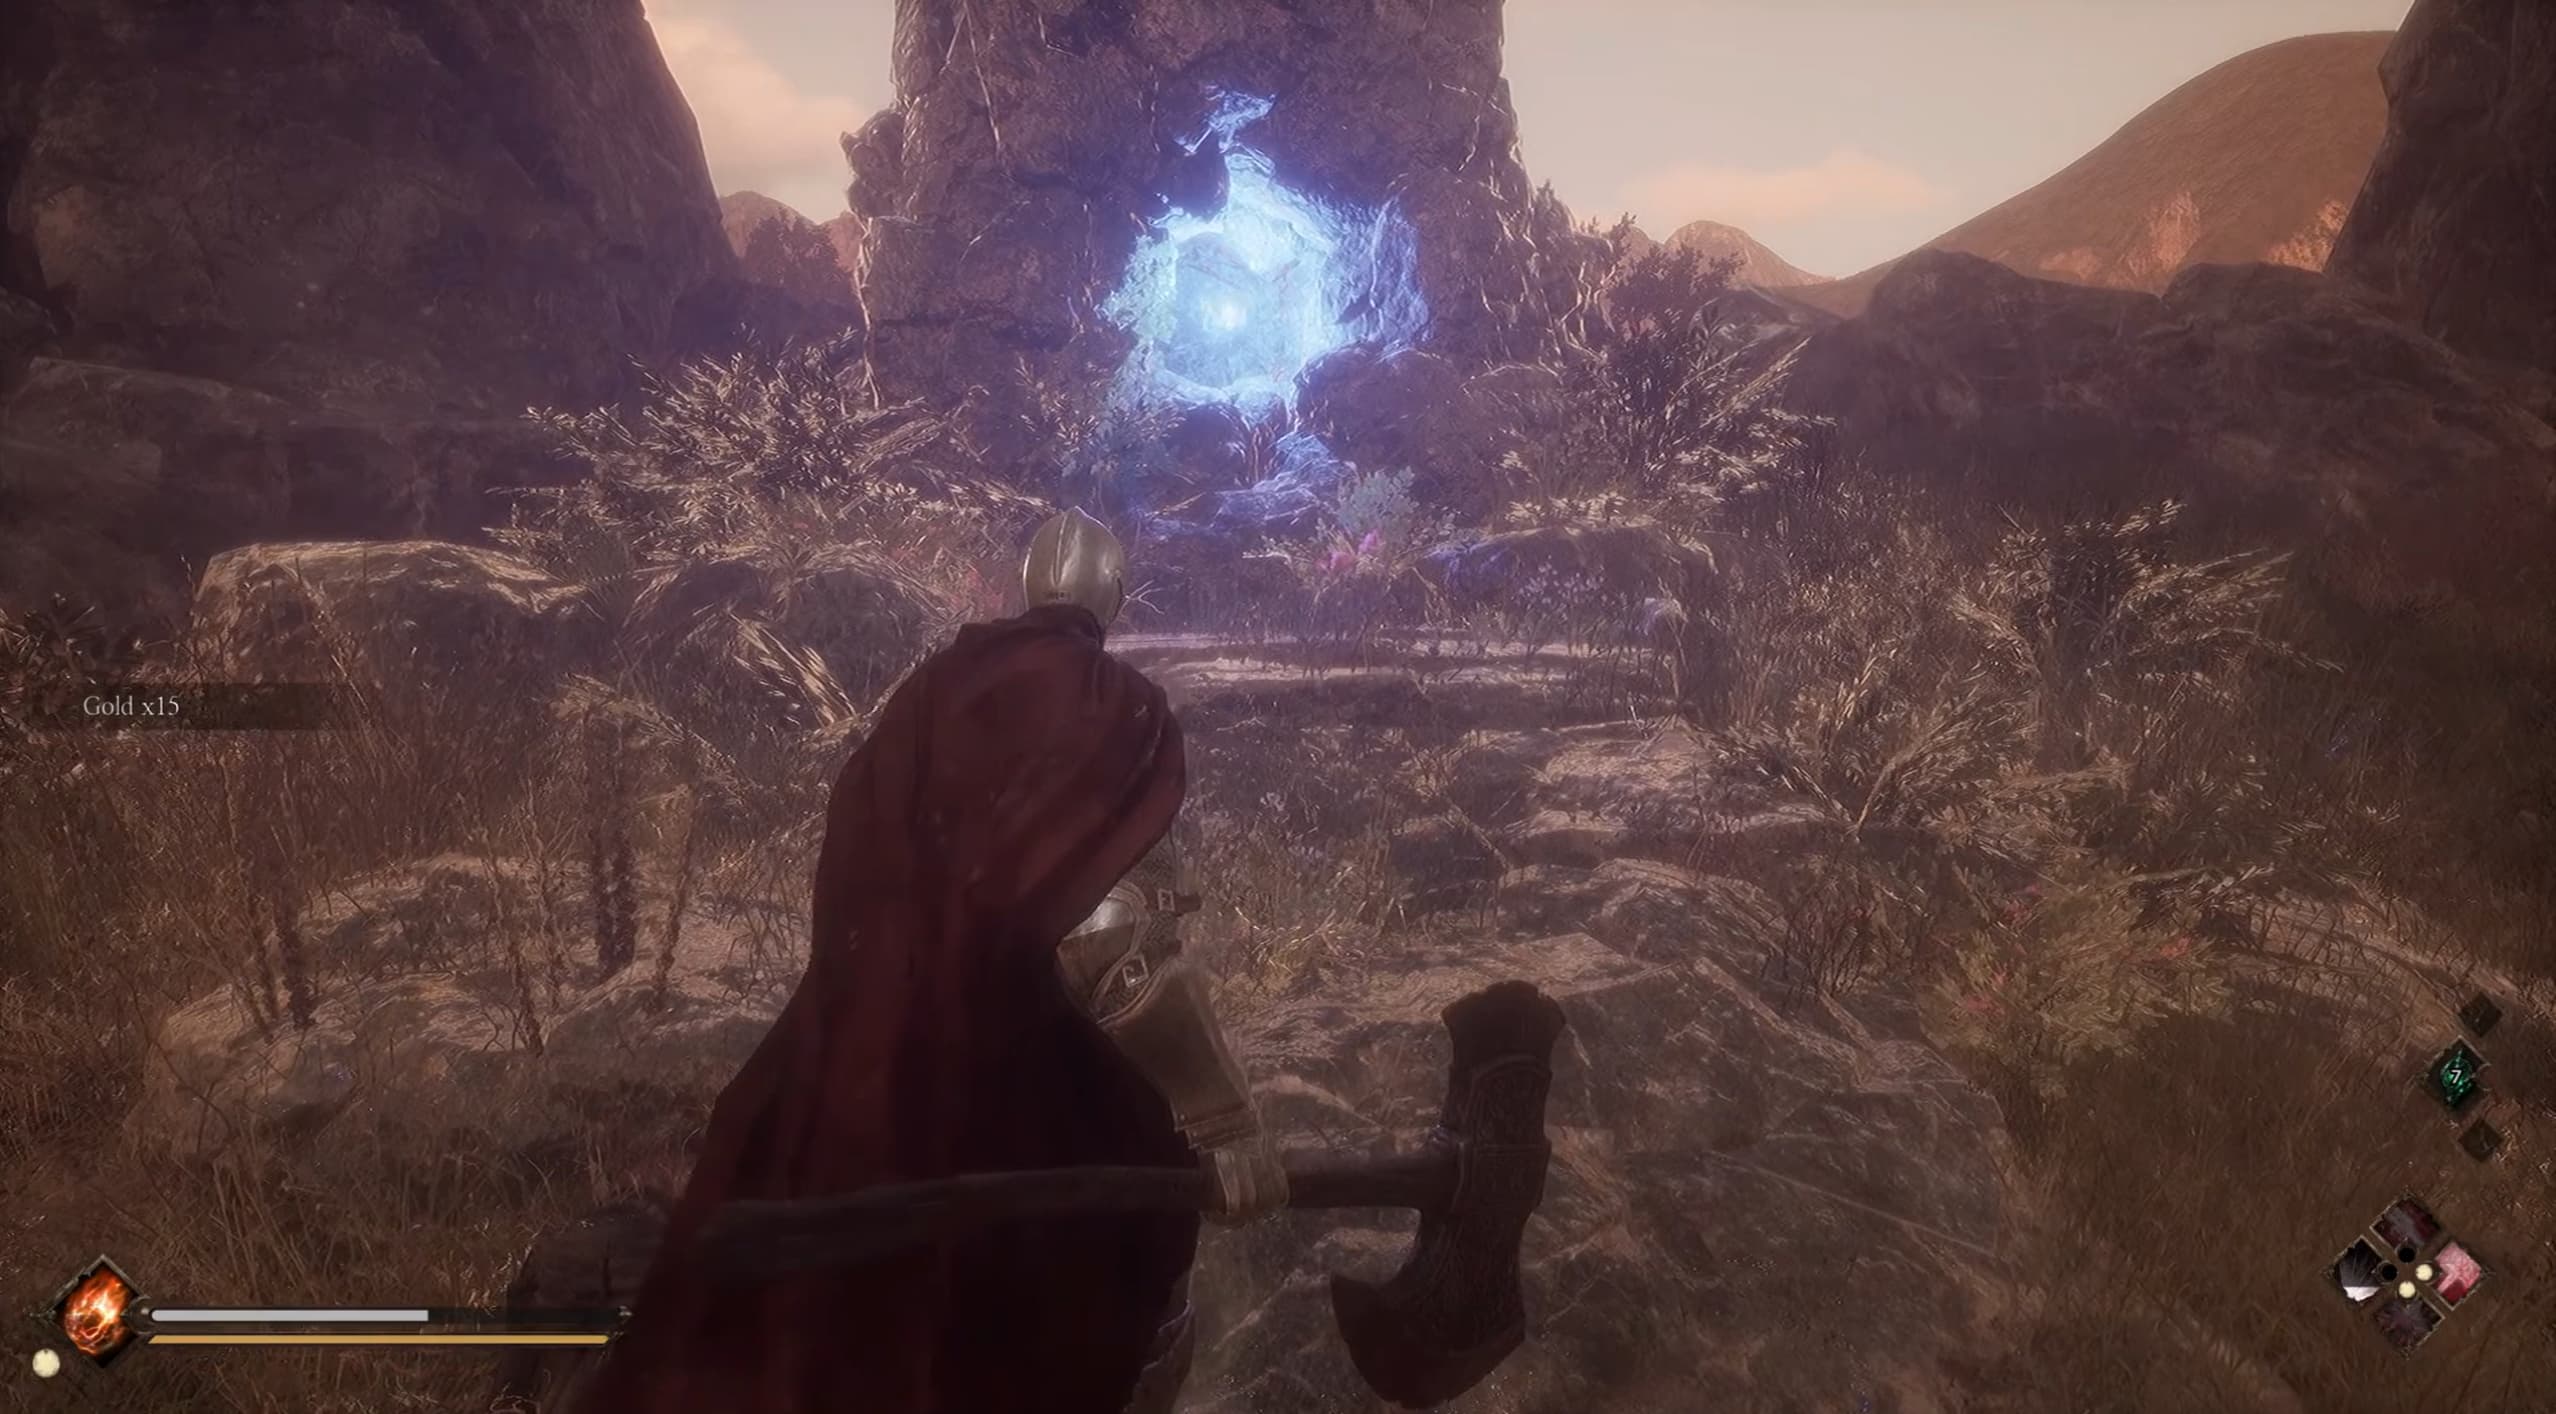
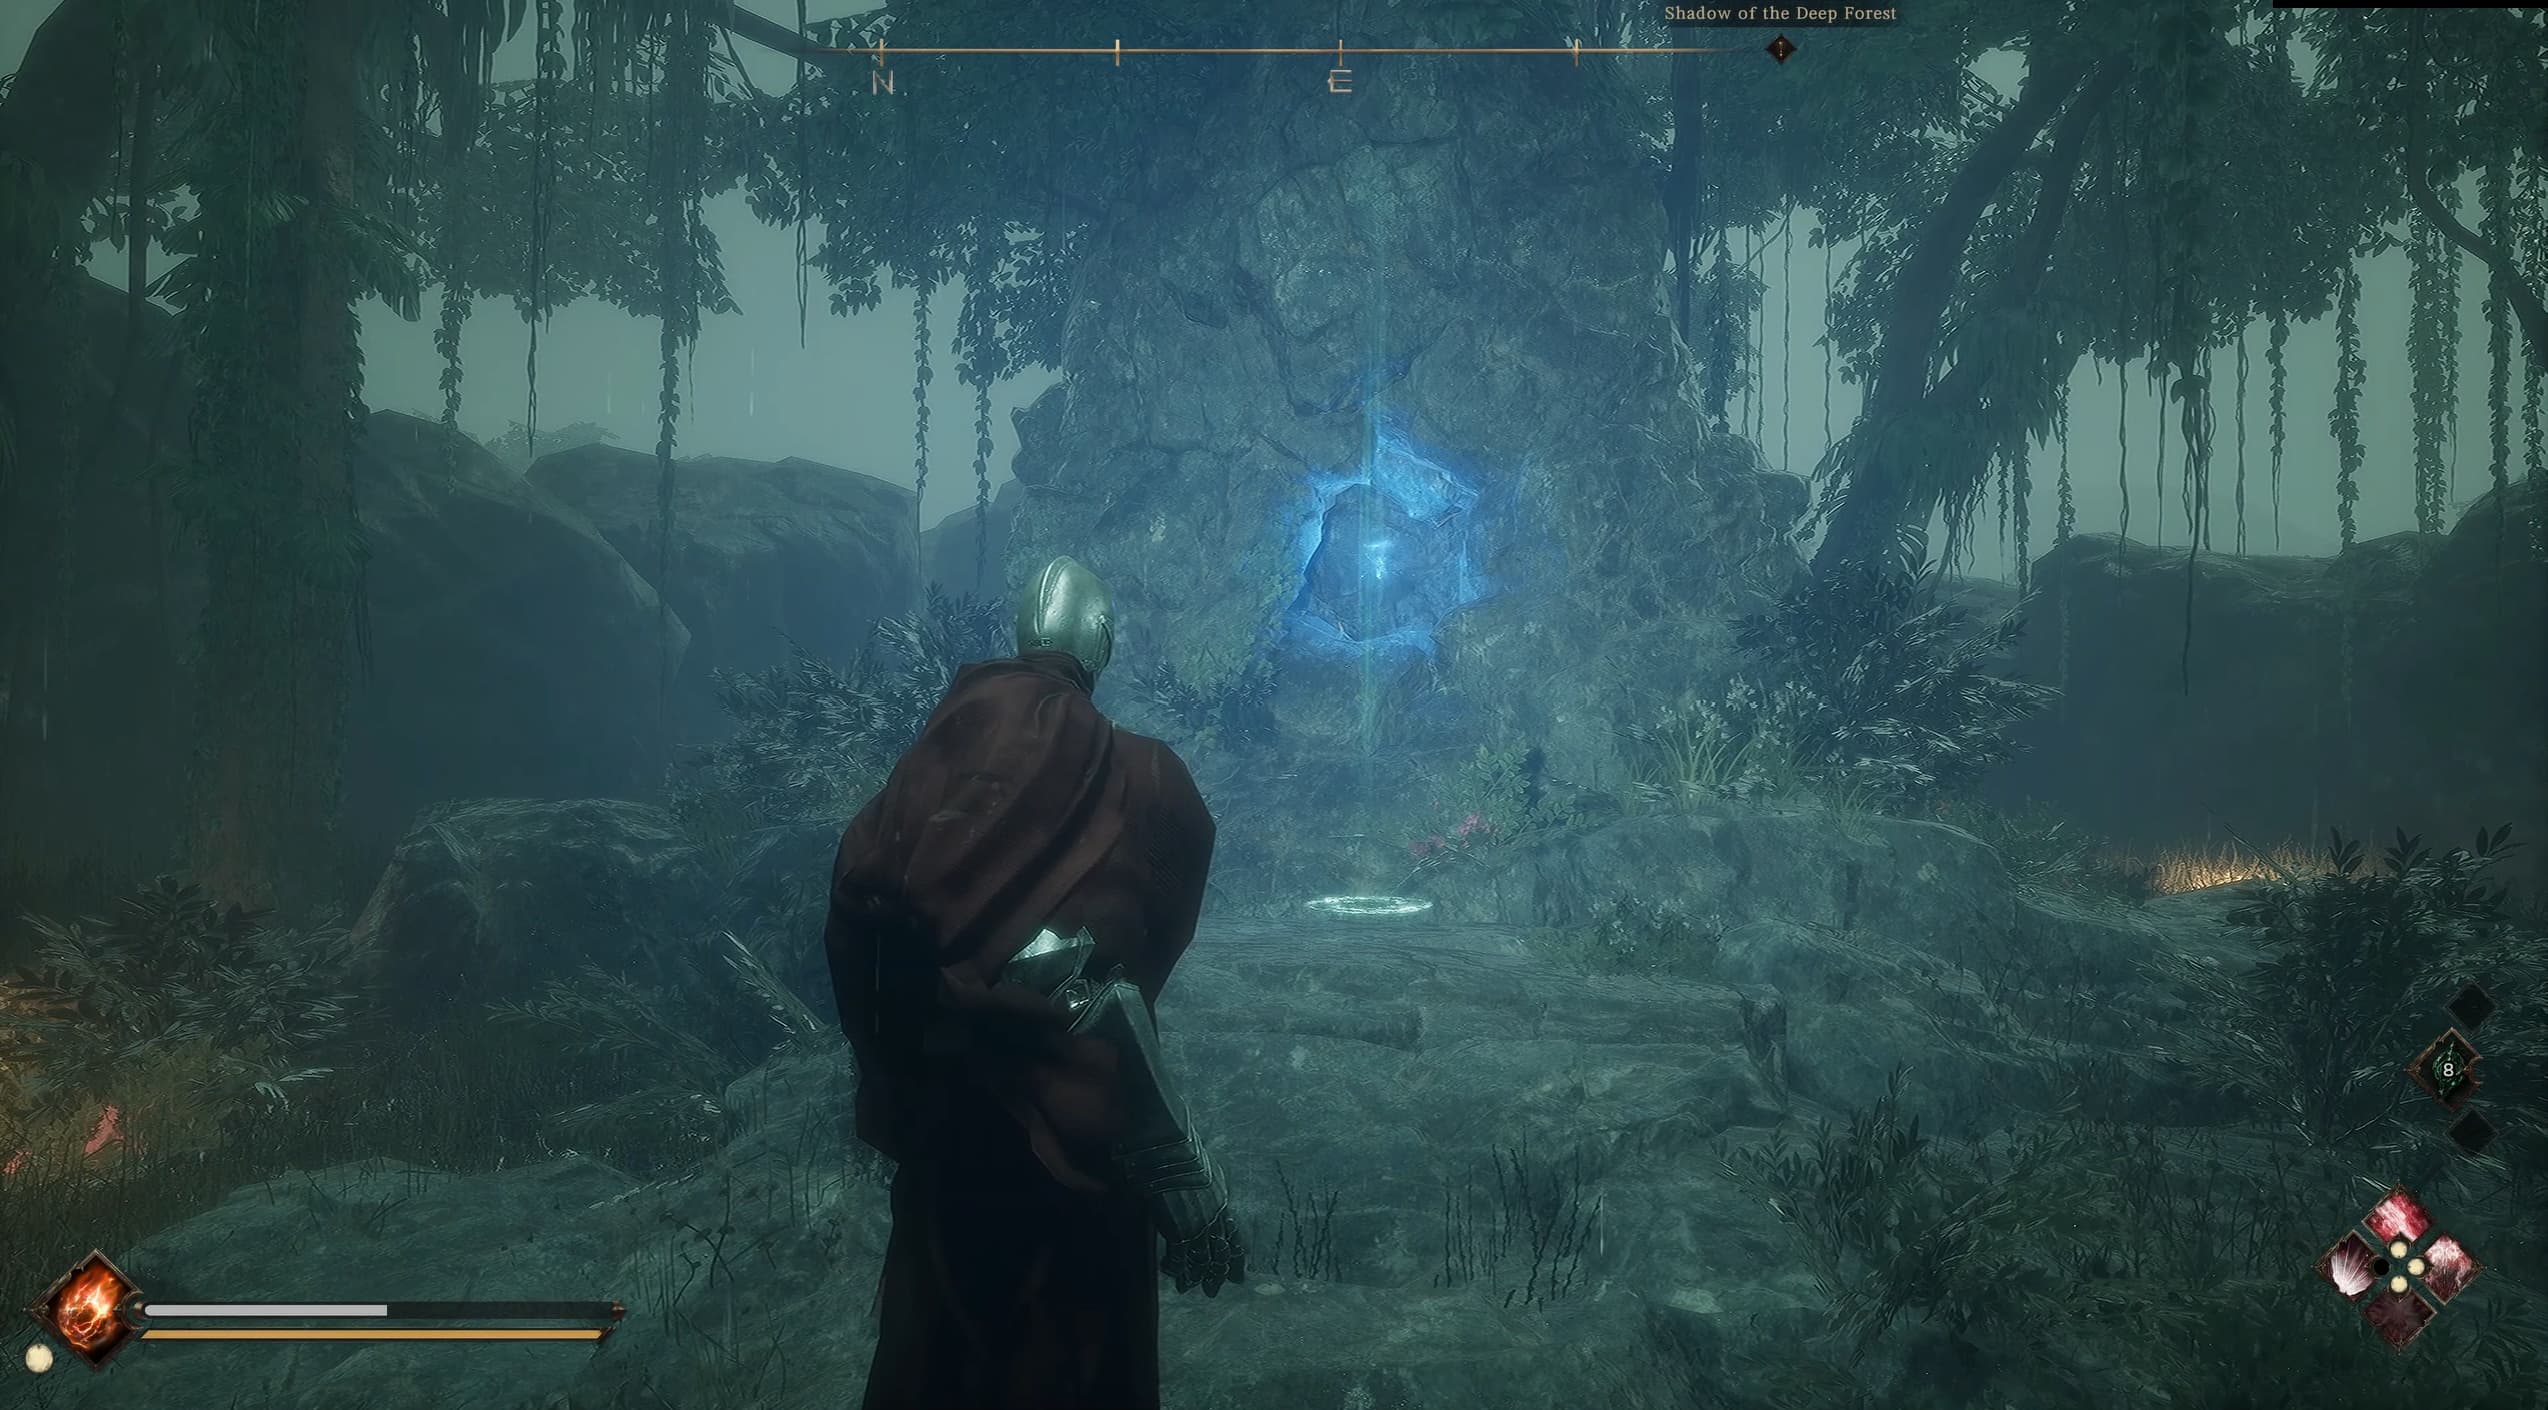
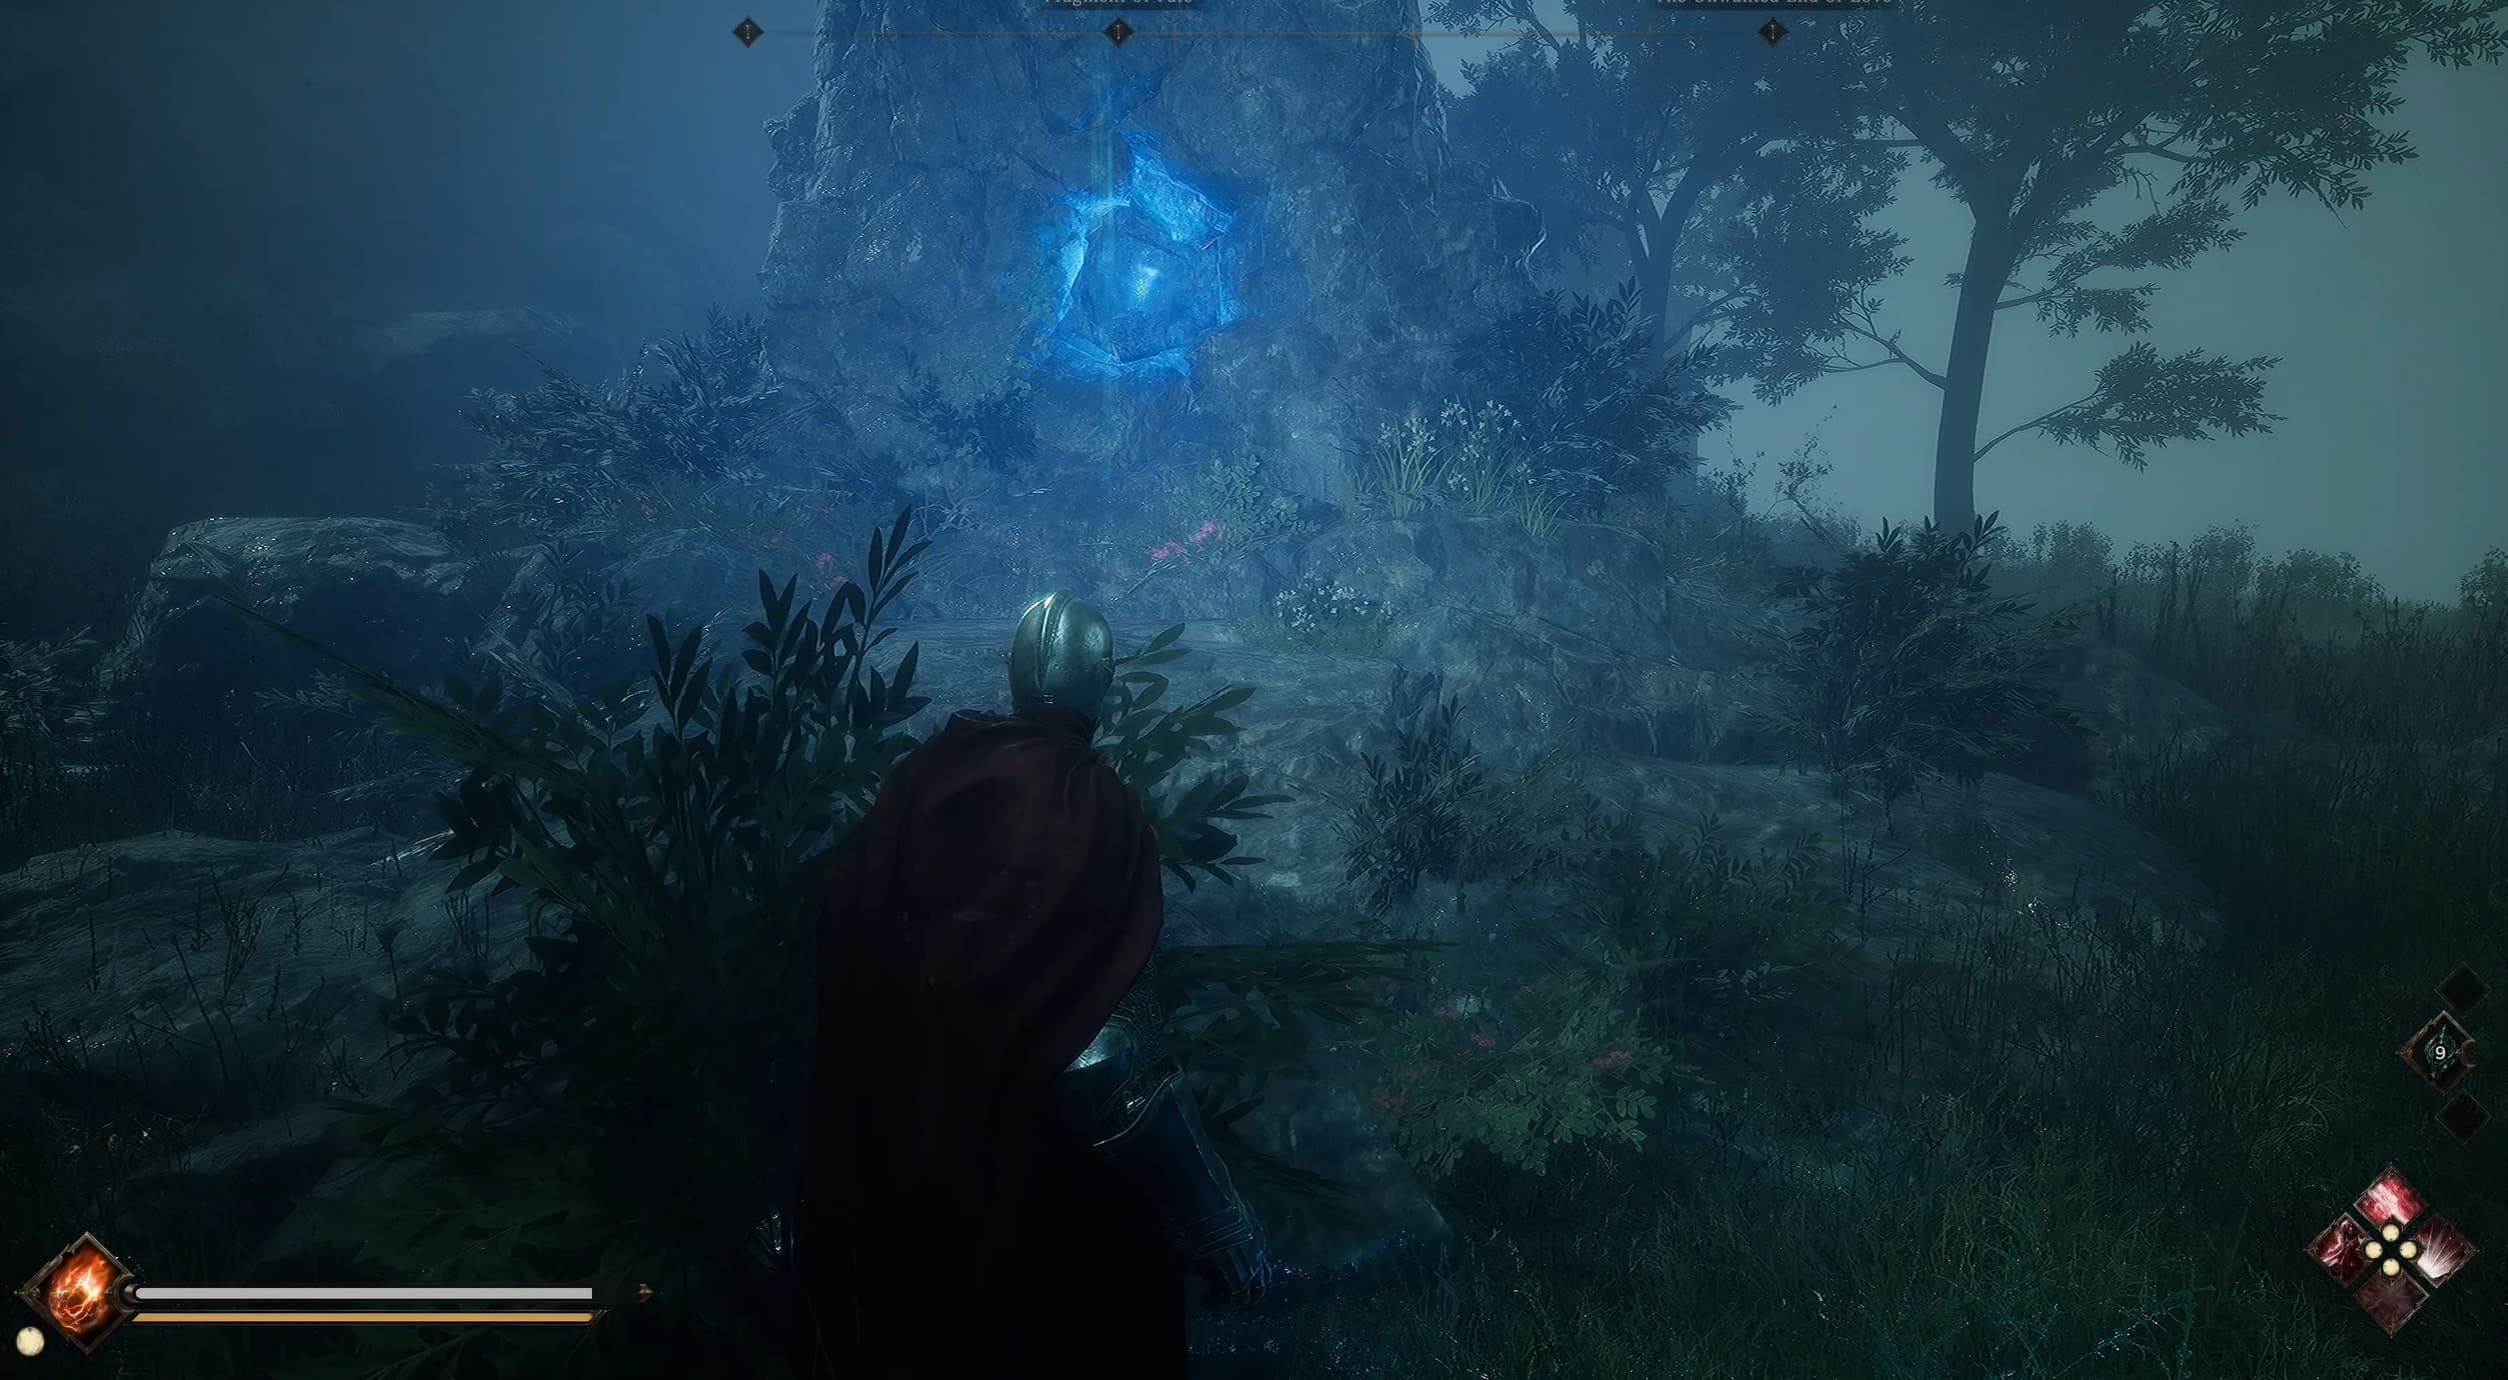
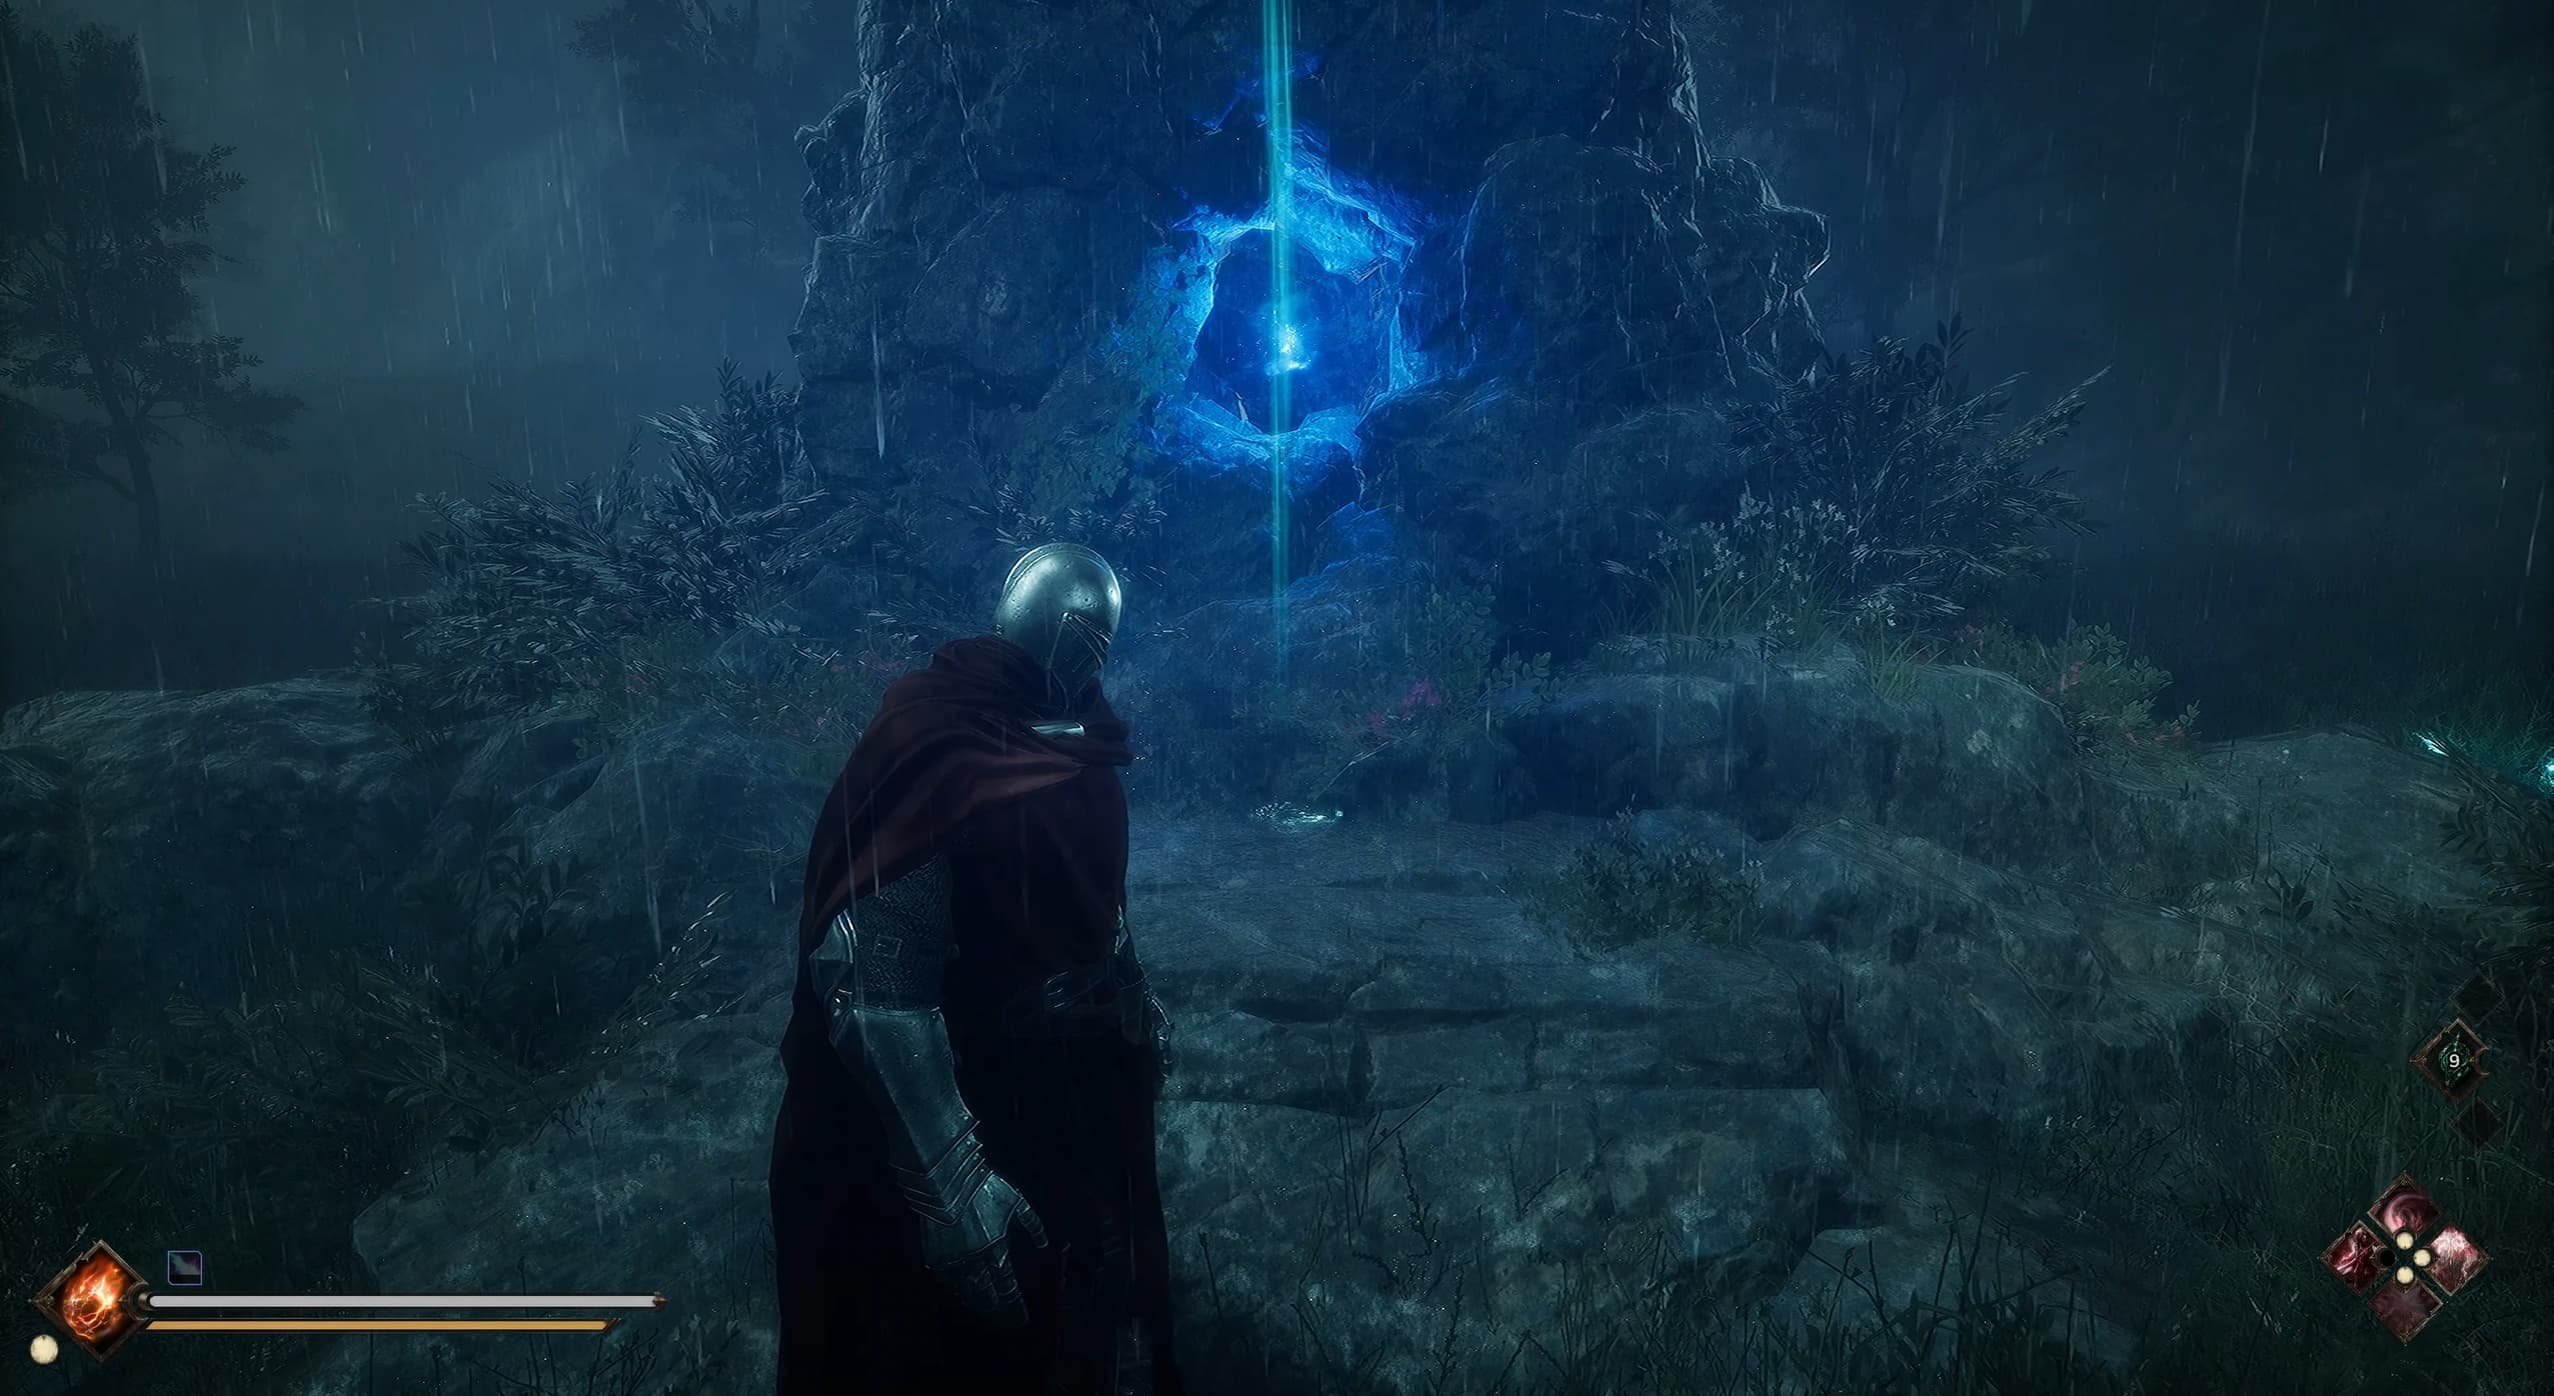
Location #2 is quite easy to find, head to the east following the main path along, explore a little off of the main path and the blue glow from the rocks should illuminate greatly enough for you to spot from a short distance.
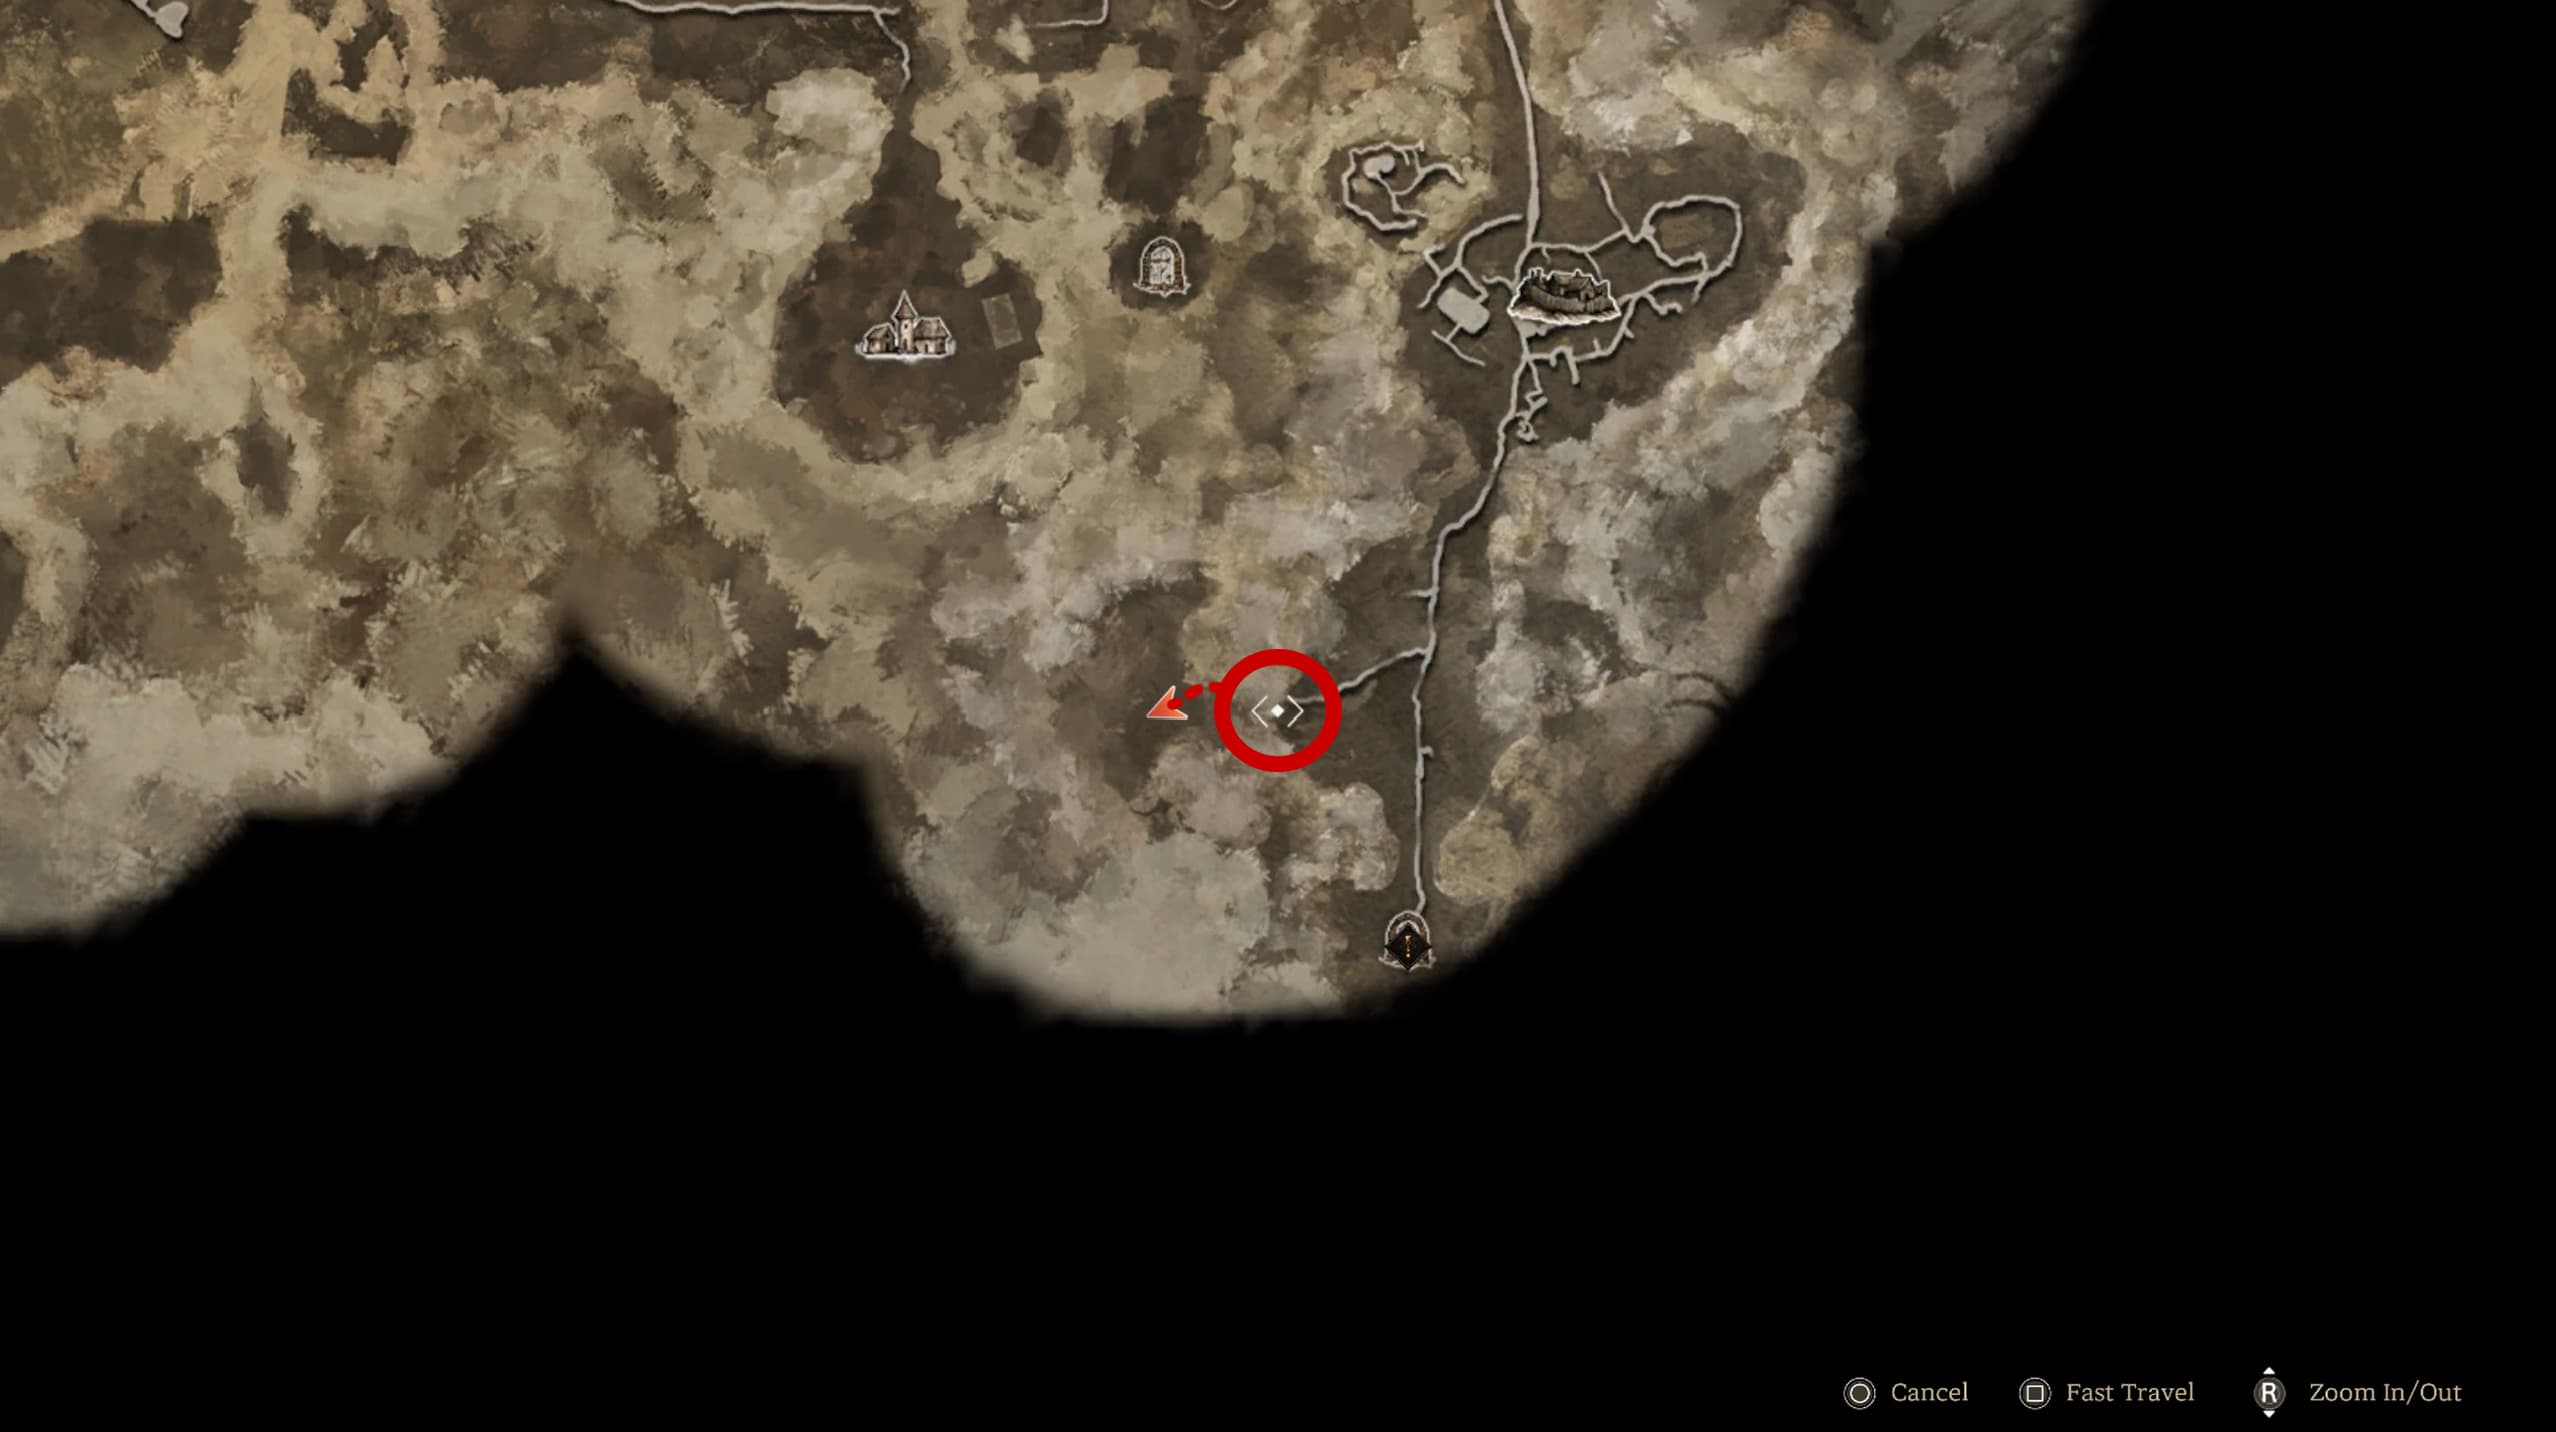
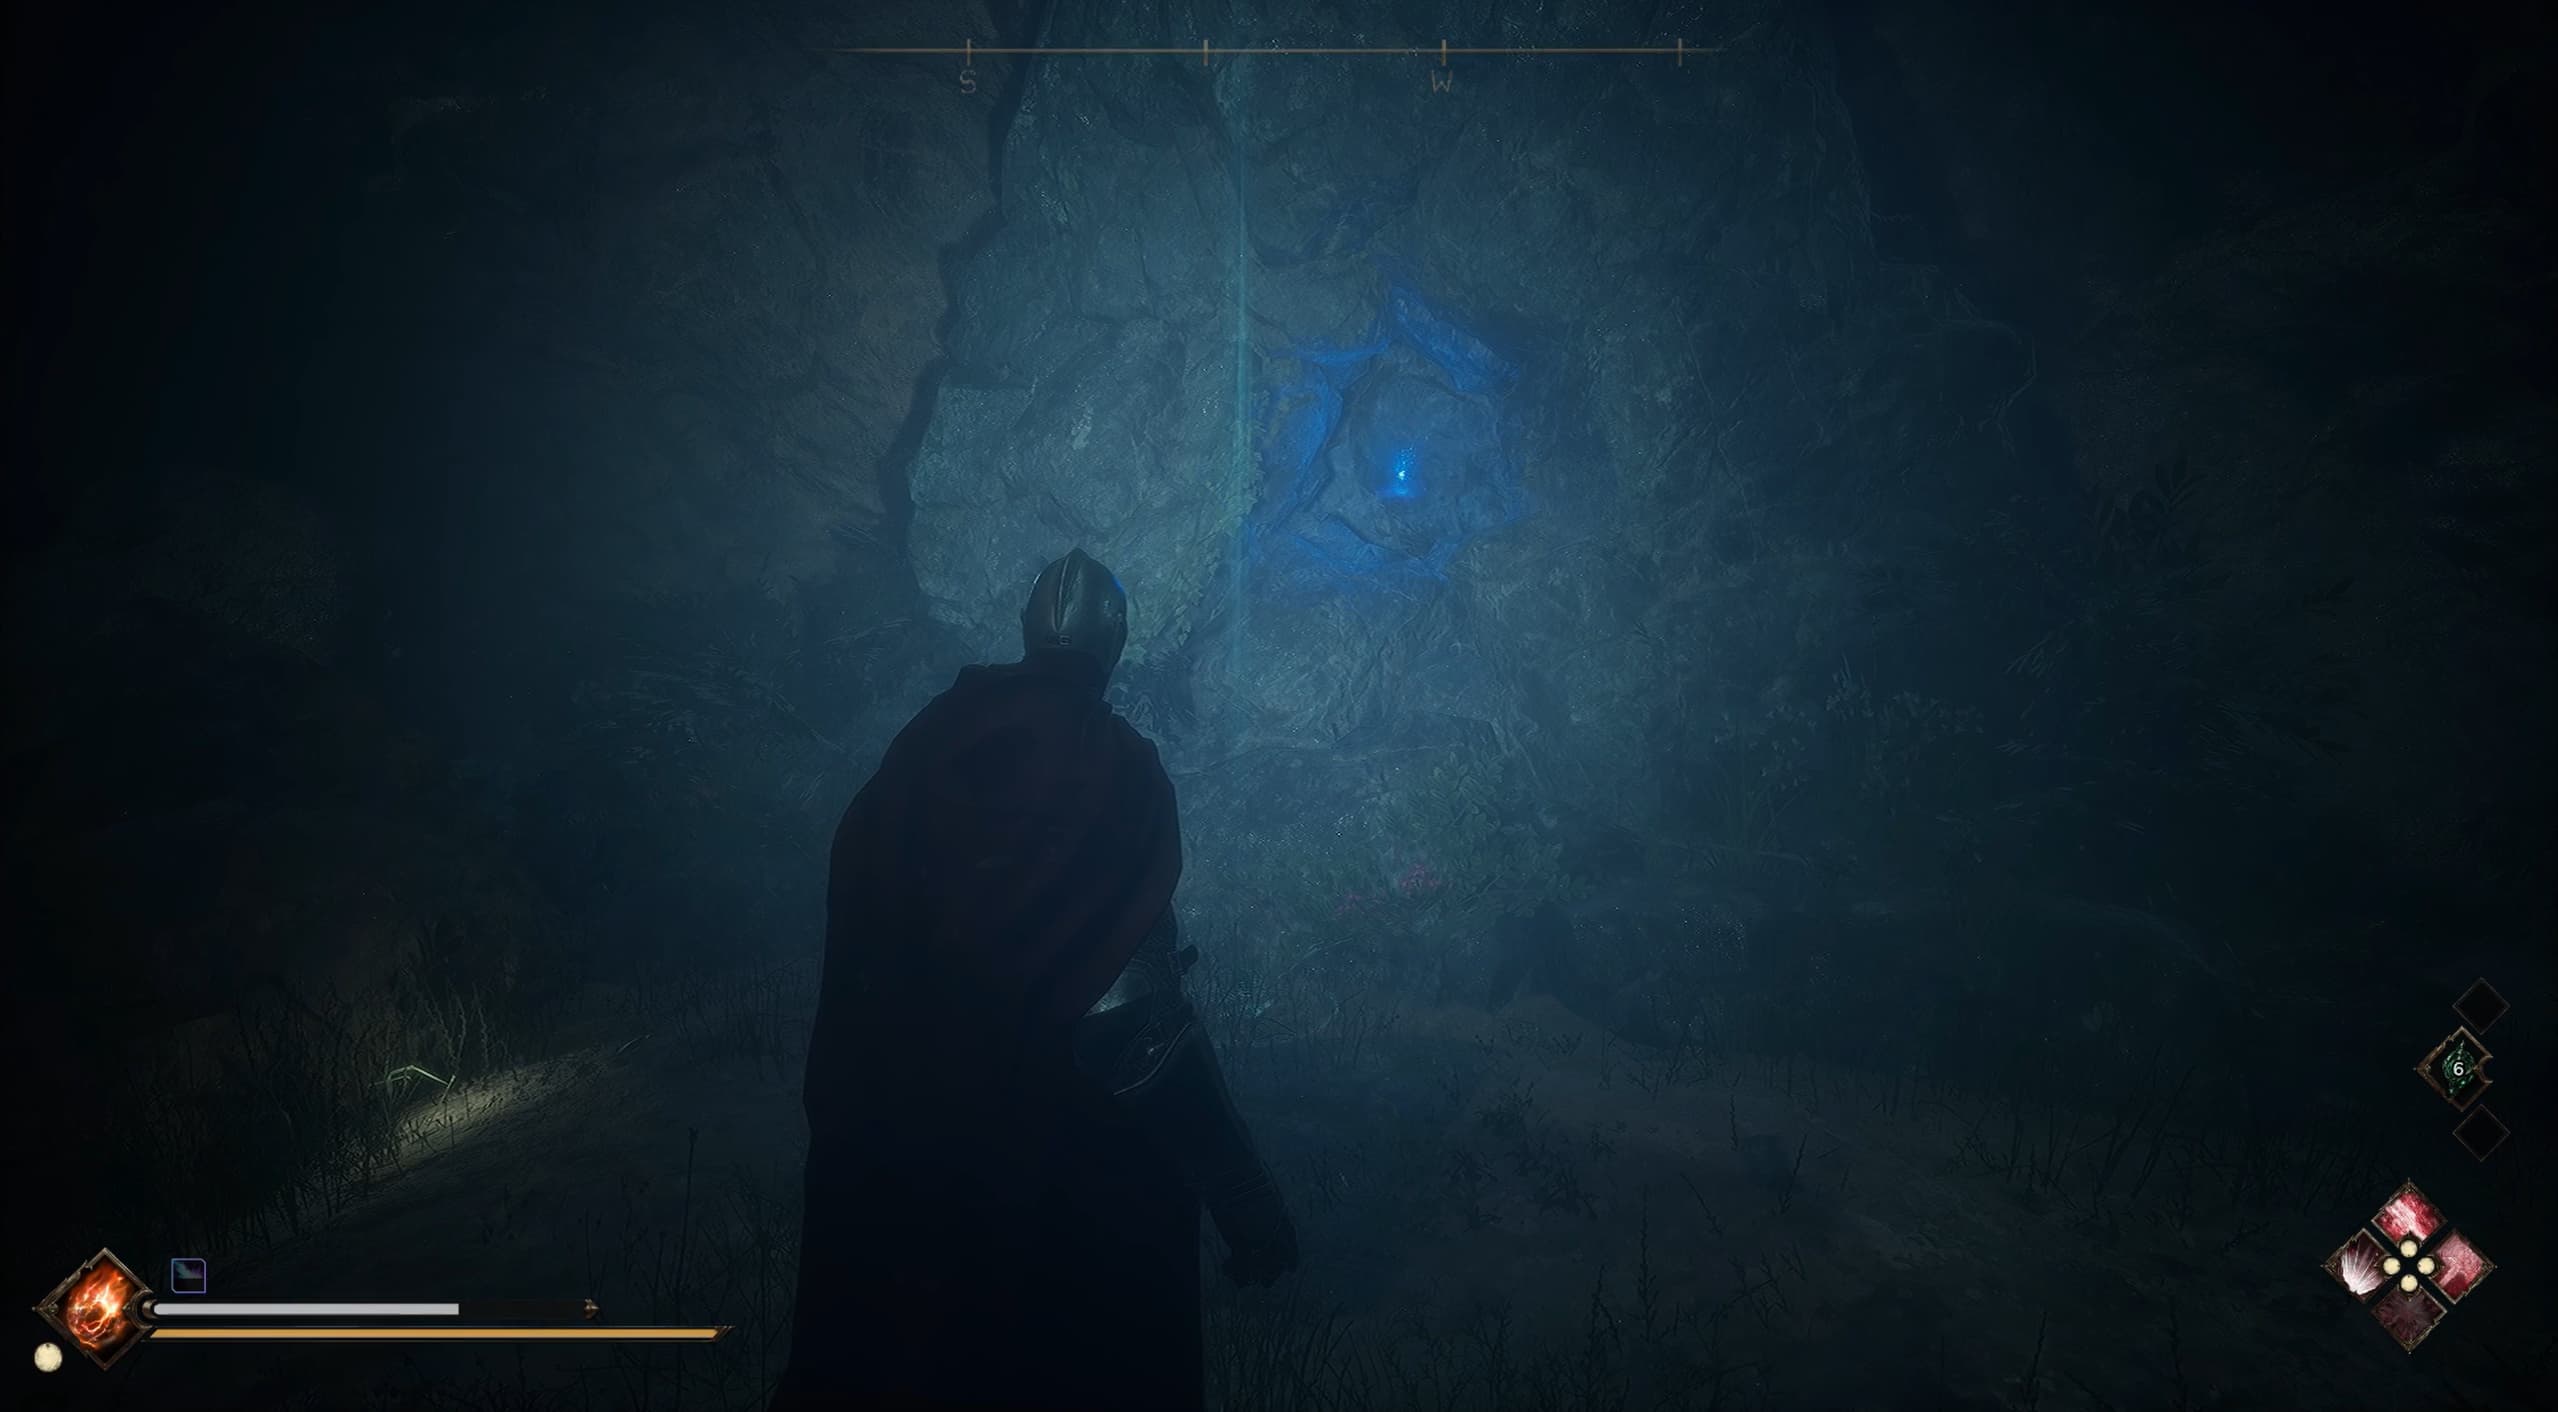
Location #3 is just a little south from the previous location, once again, the blue glow from the rocks should be easy to spot.
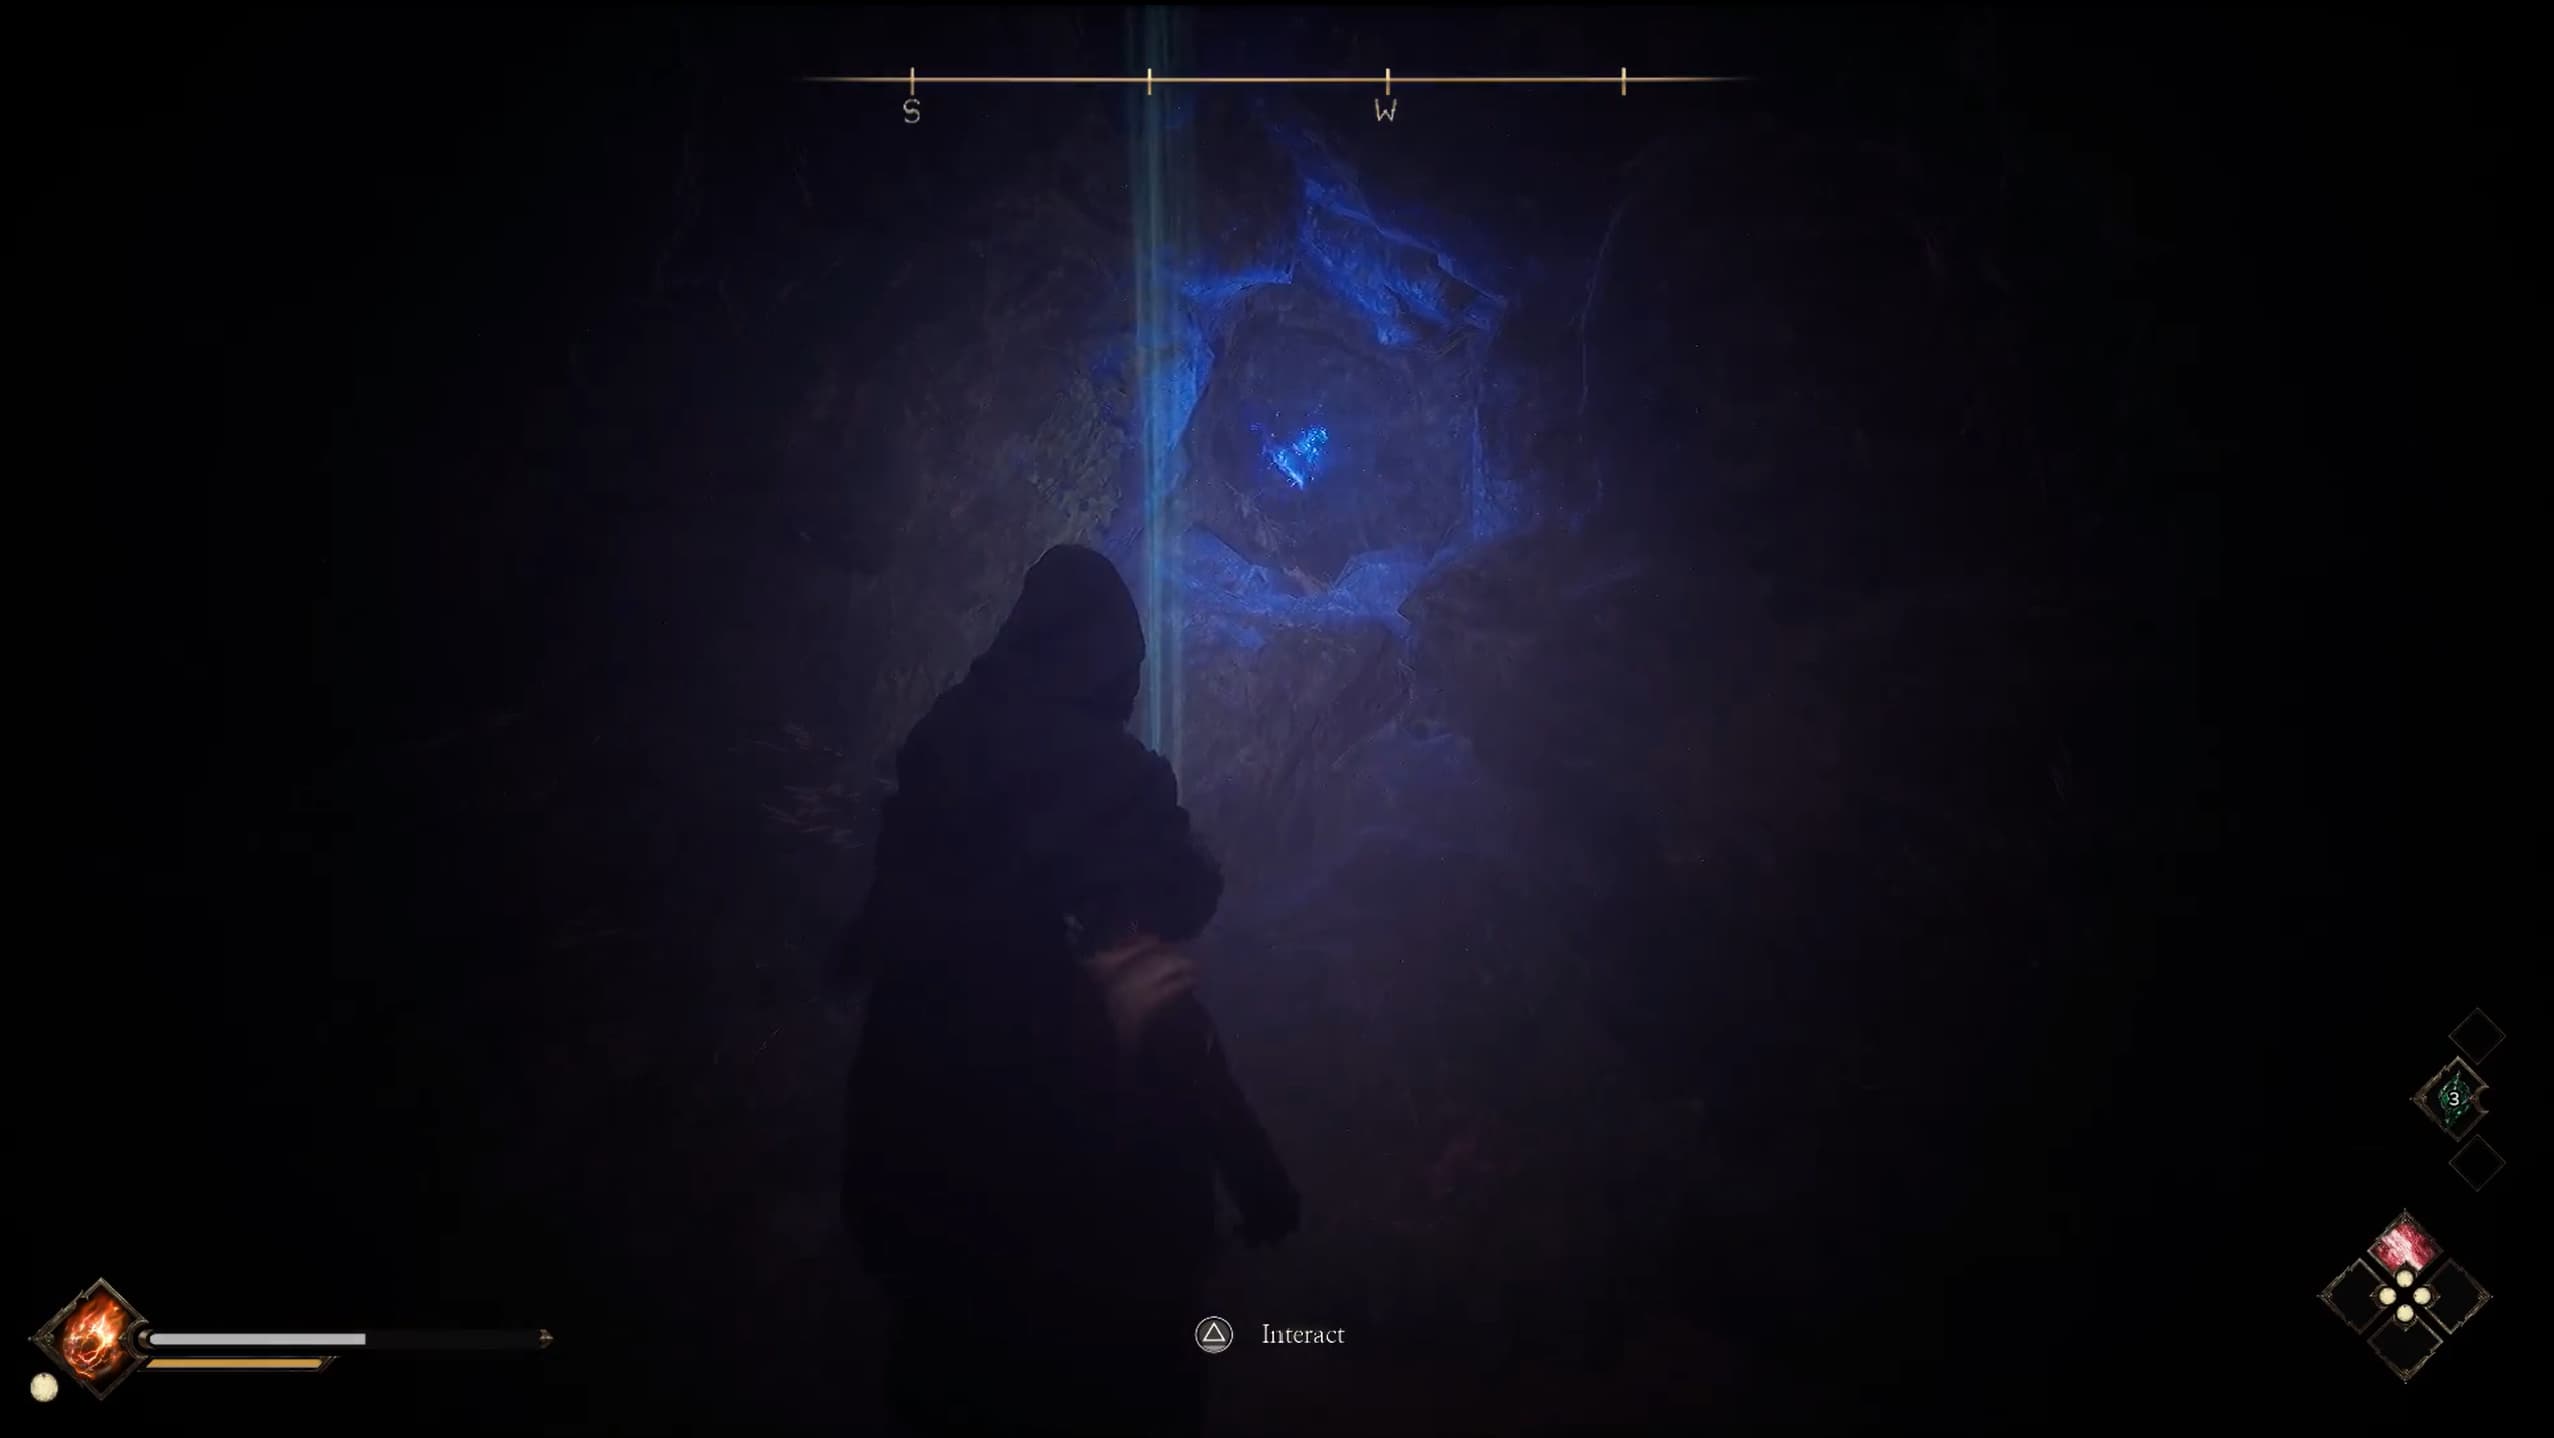
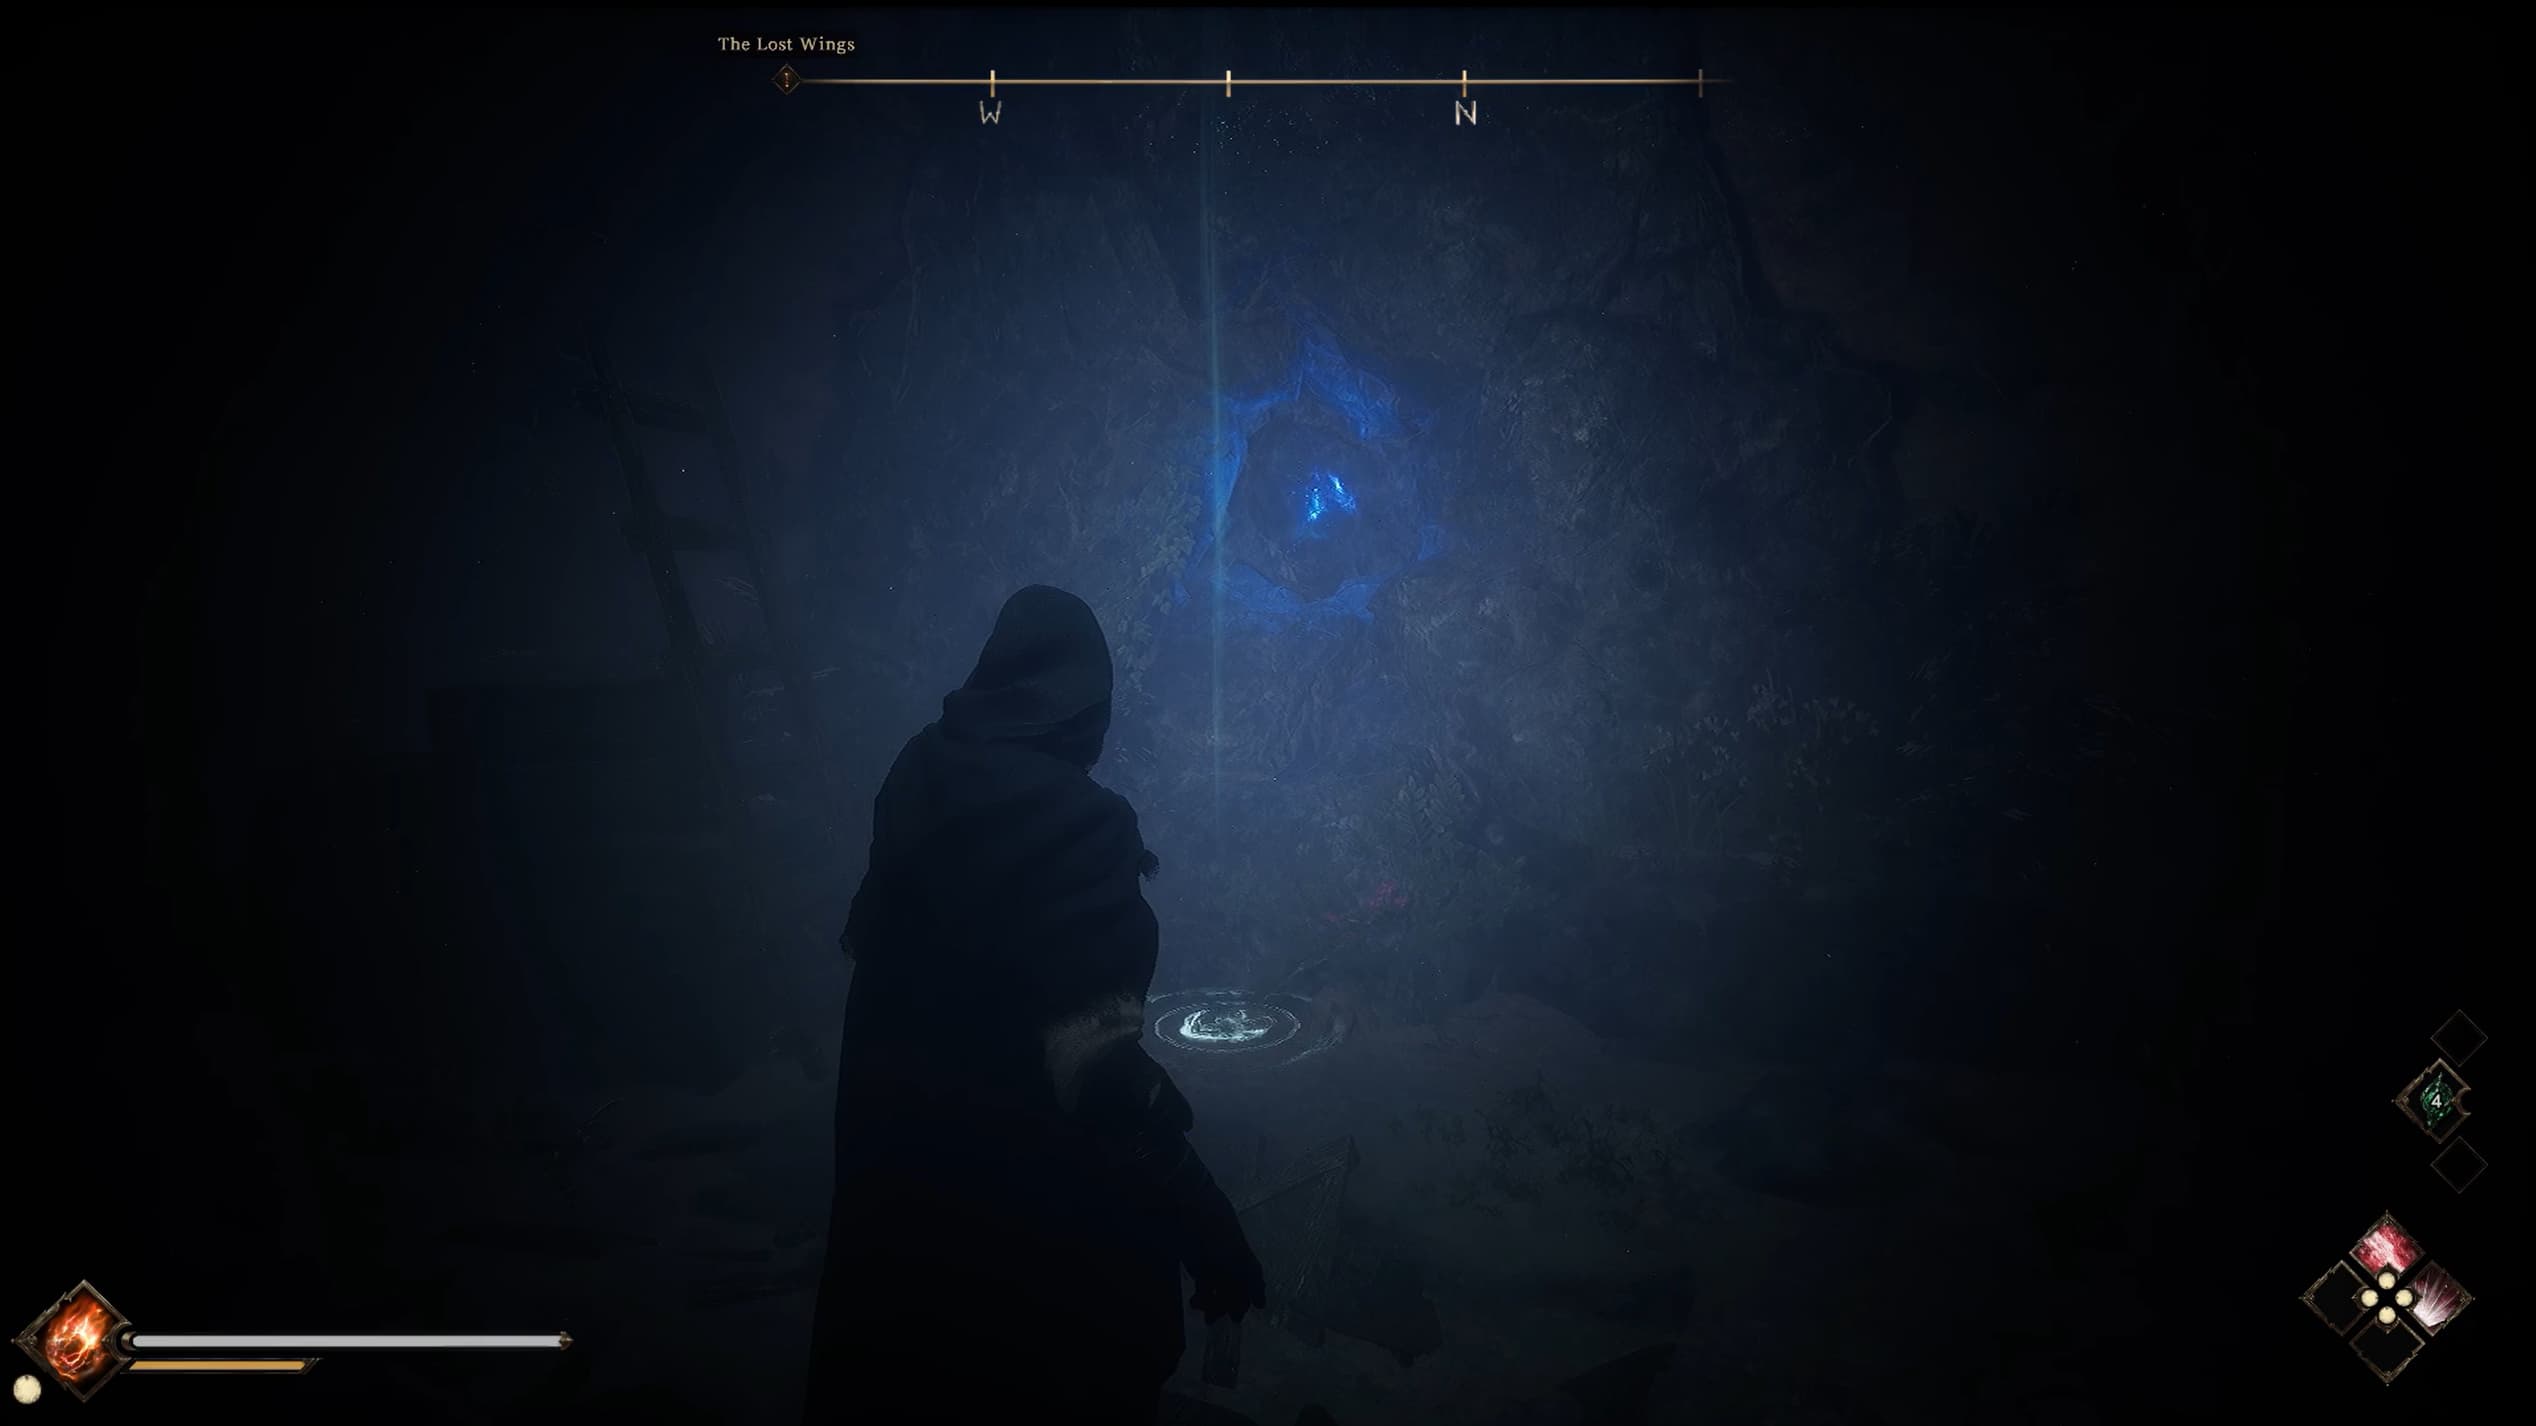
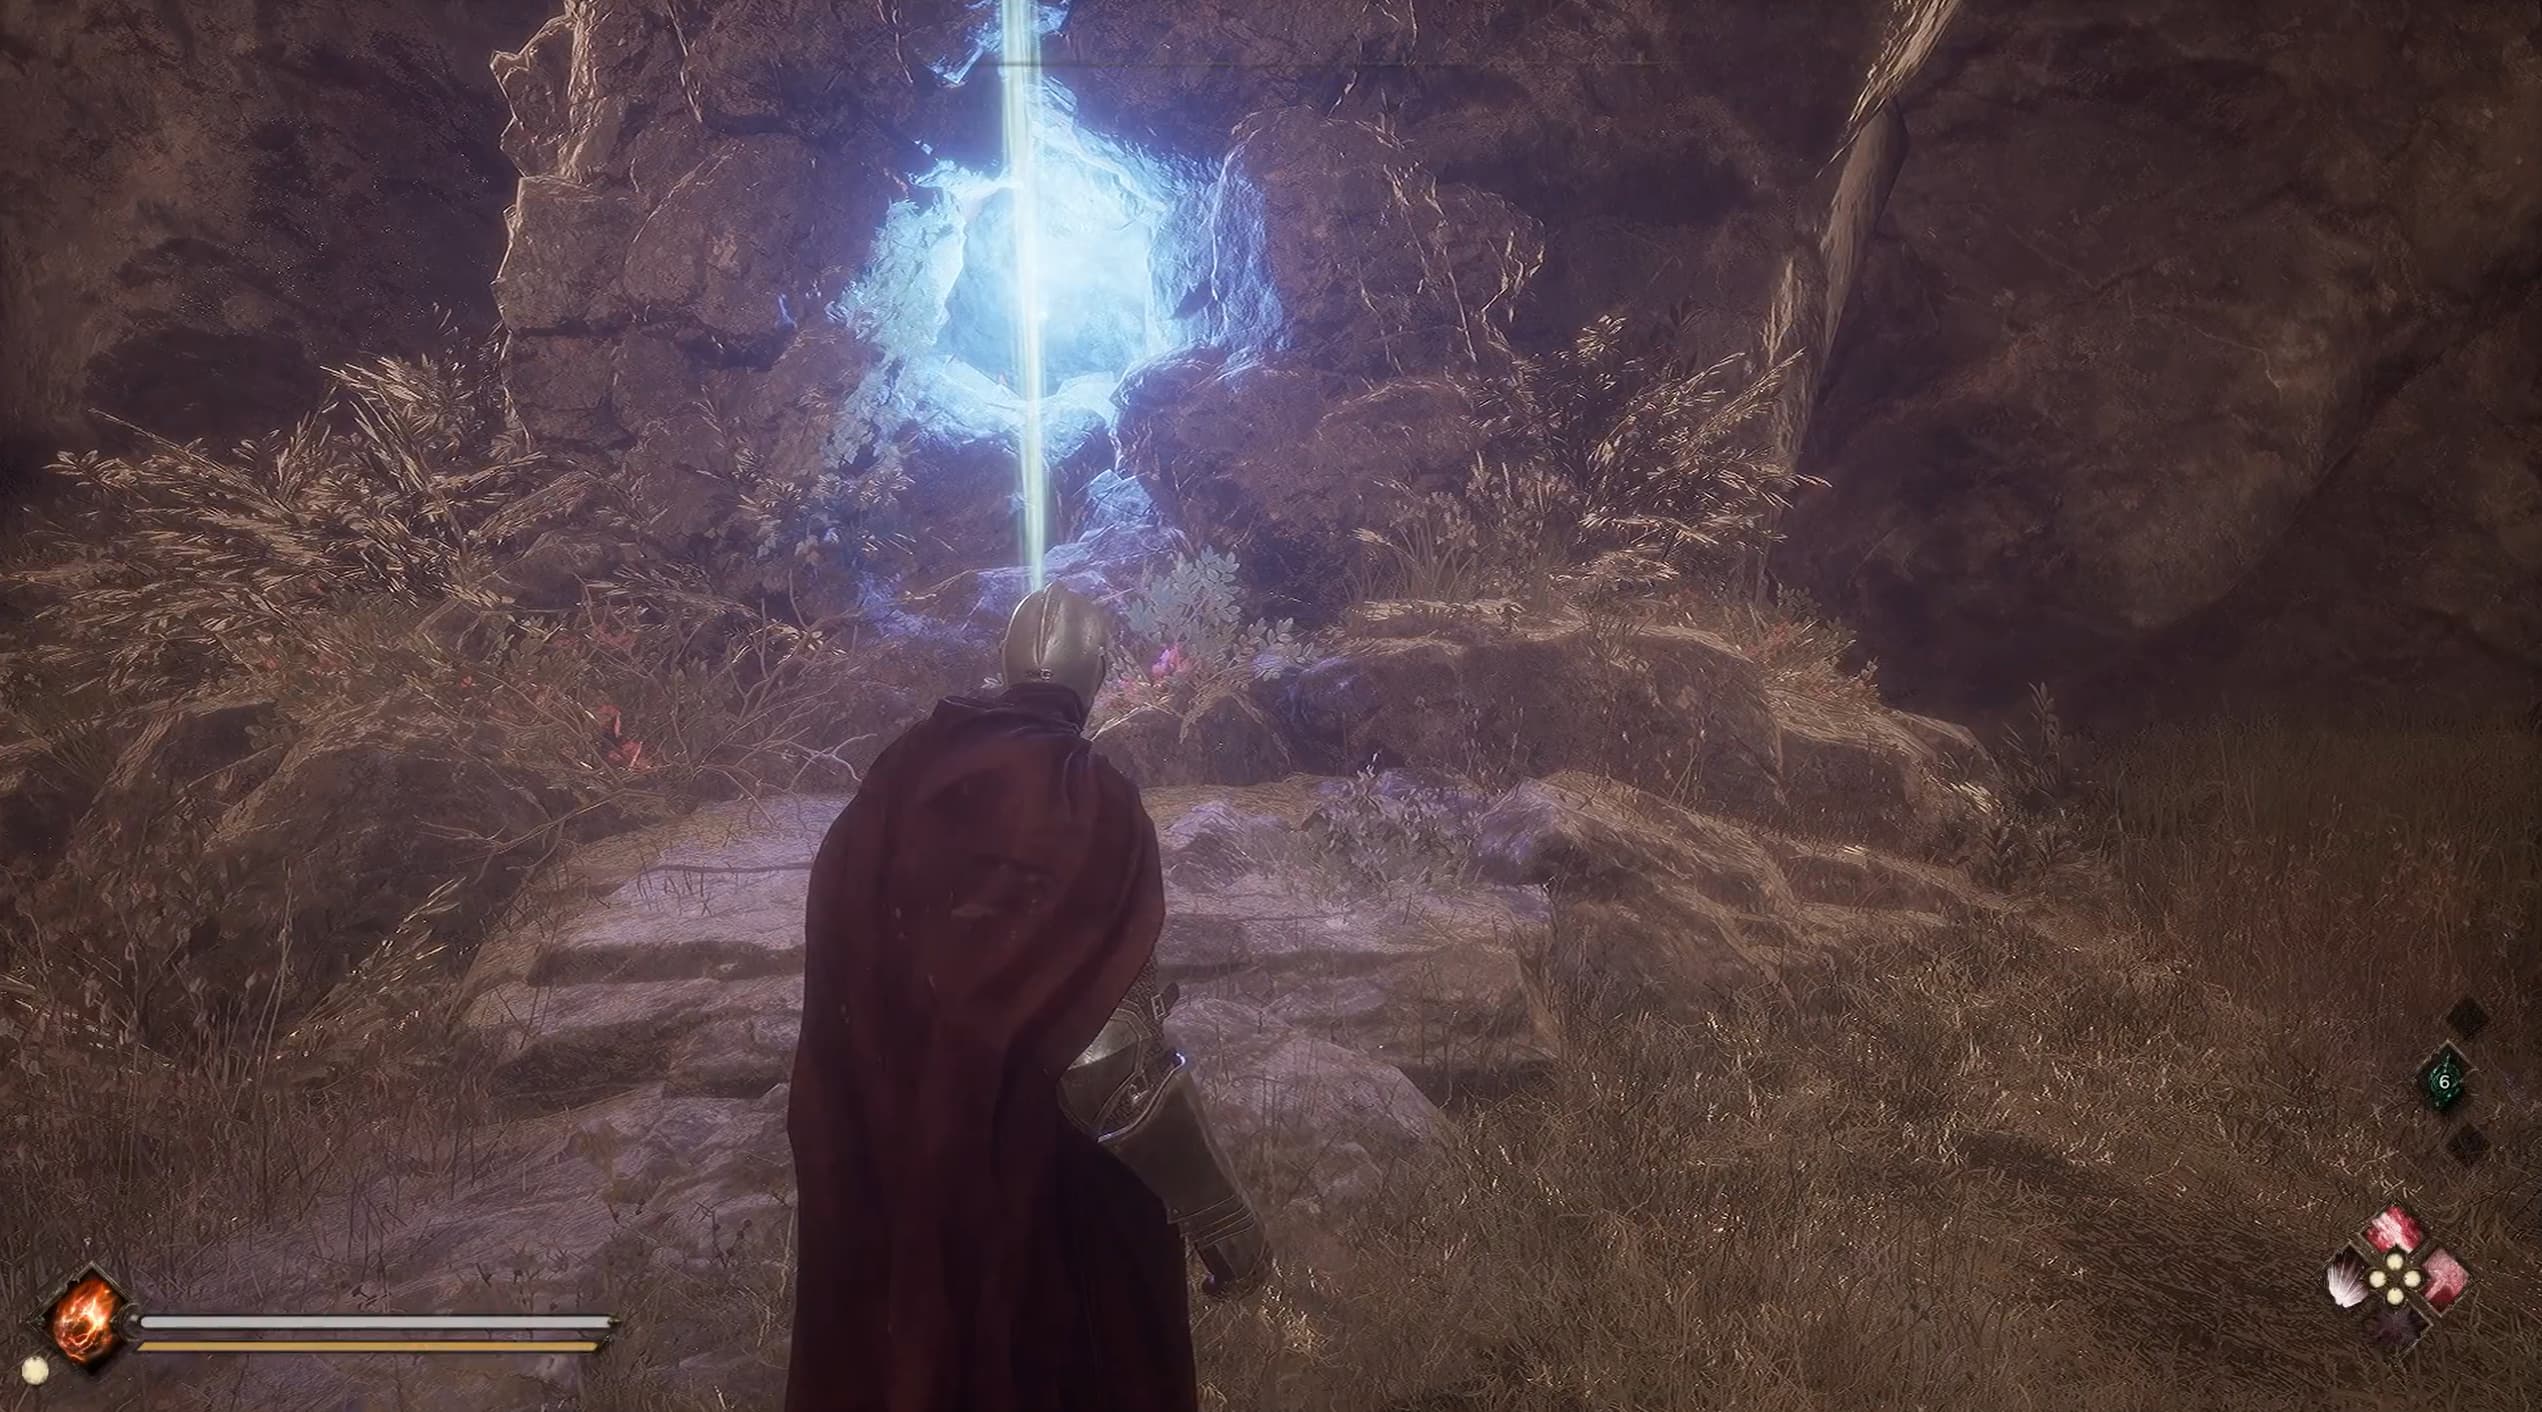
Location #4 is just a little north of where you just were, however you will need to locate the cave entrance as marked on the map below, and then explore into the cave to find the Relic Power inside.
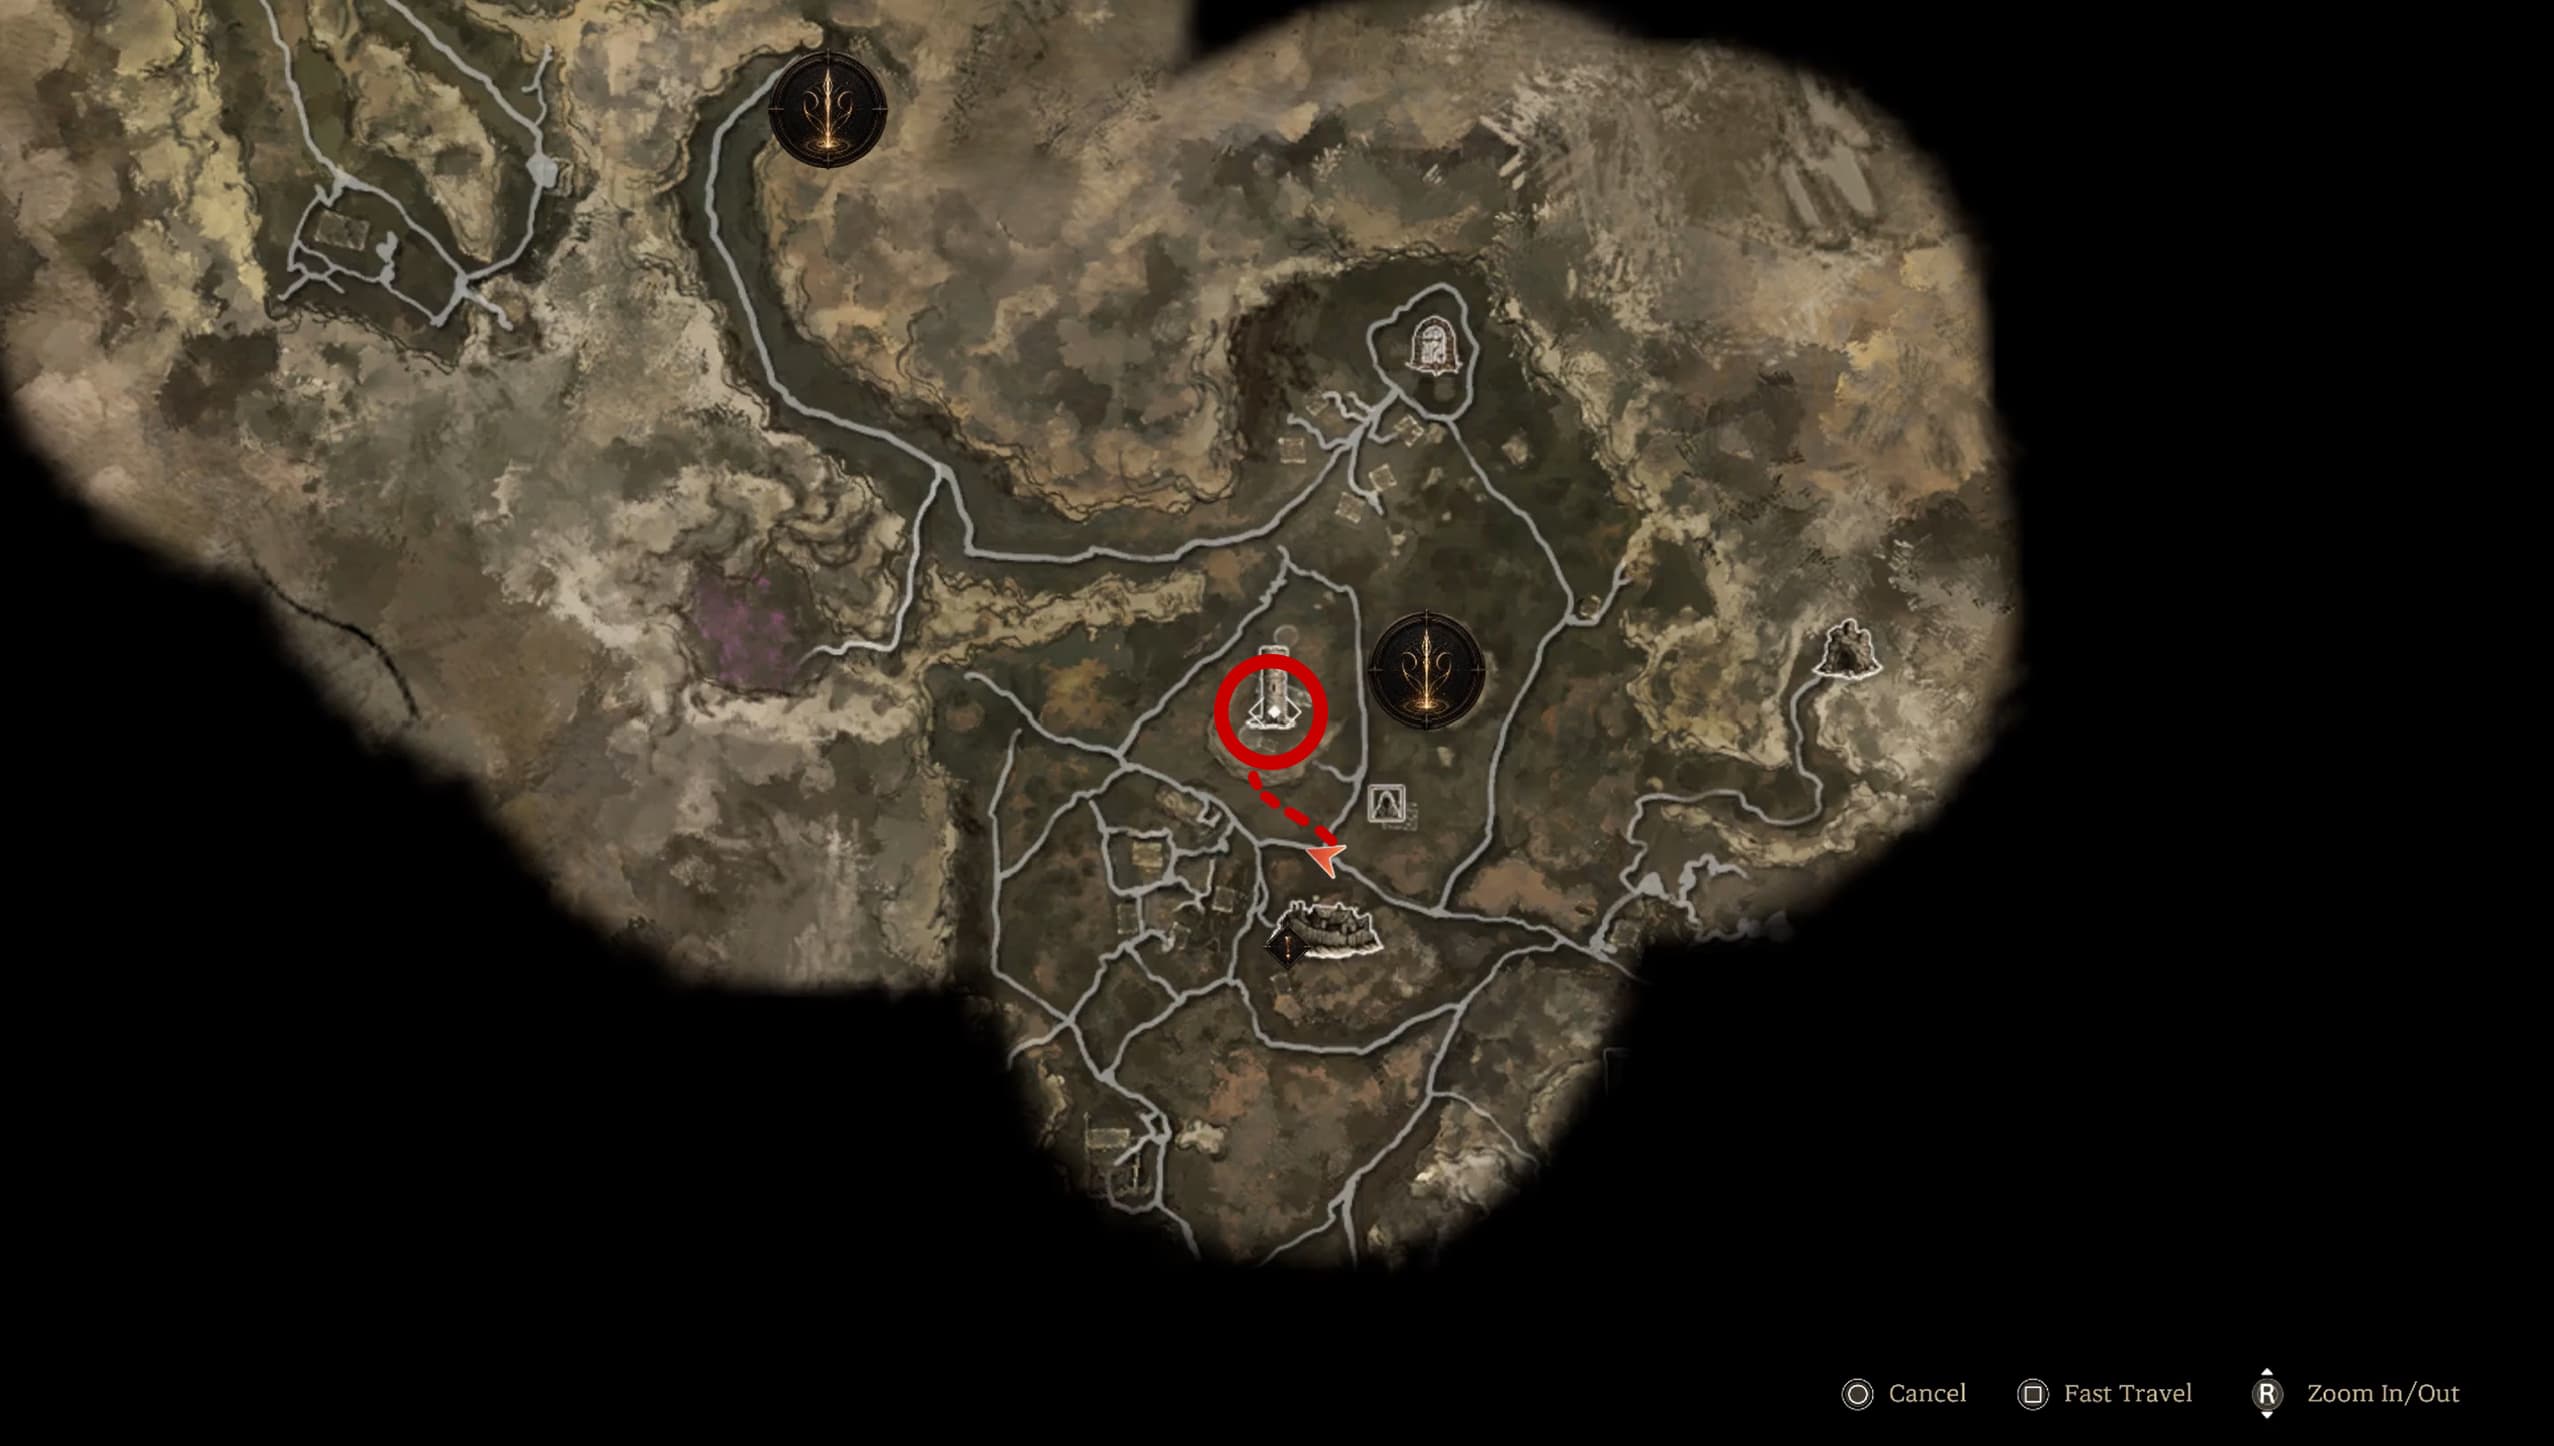
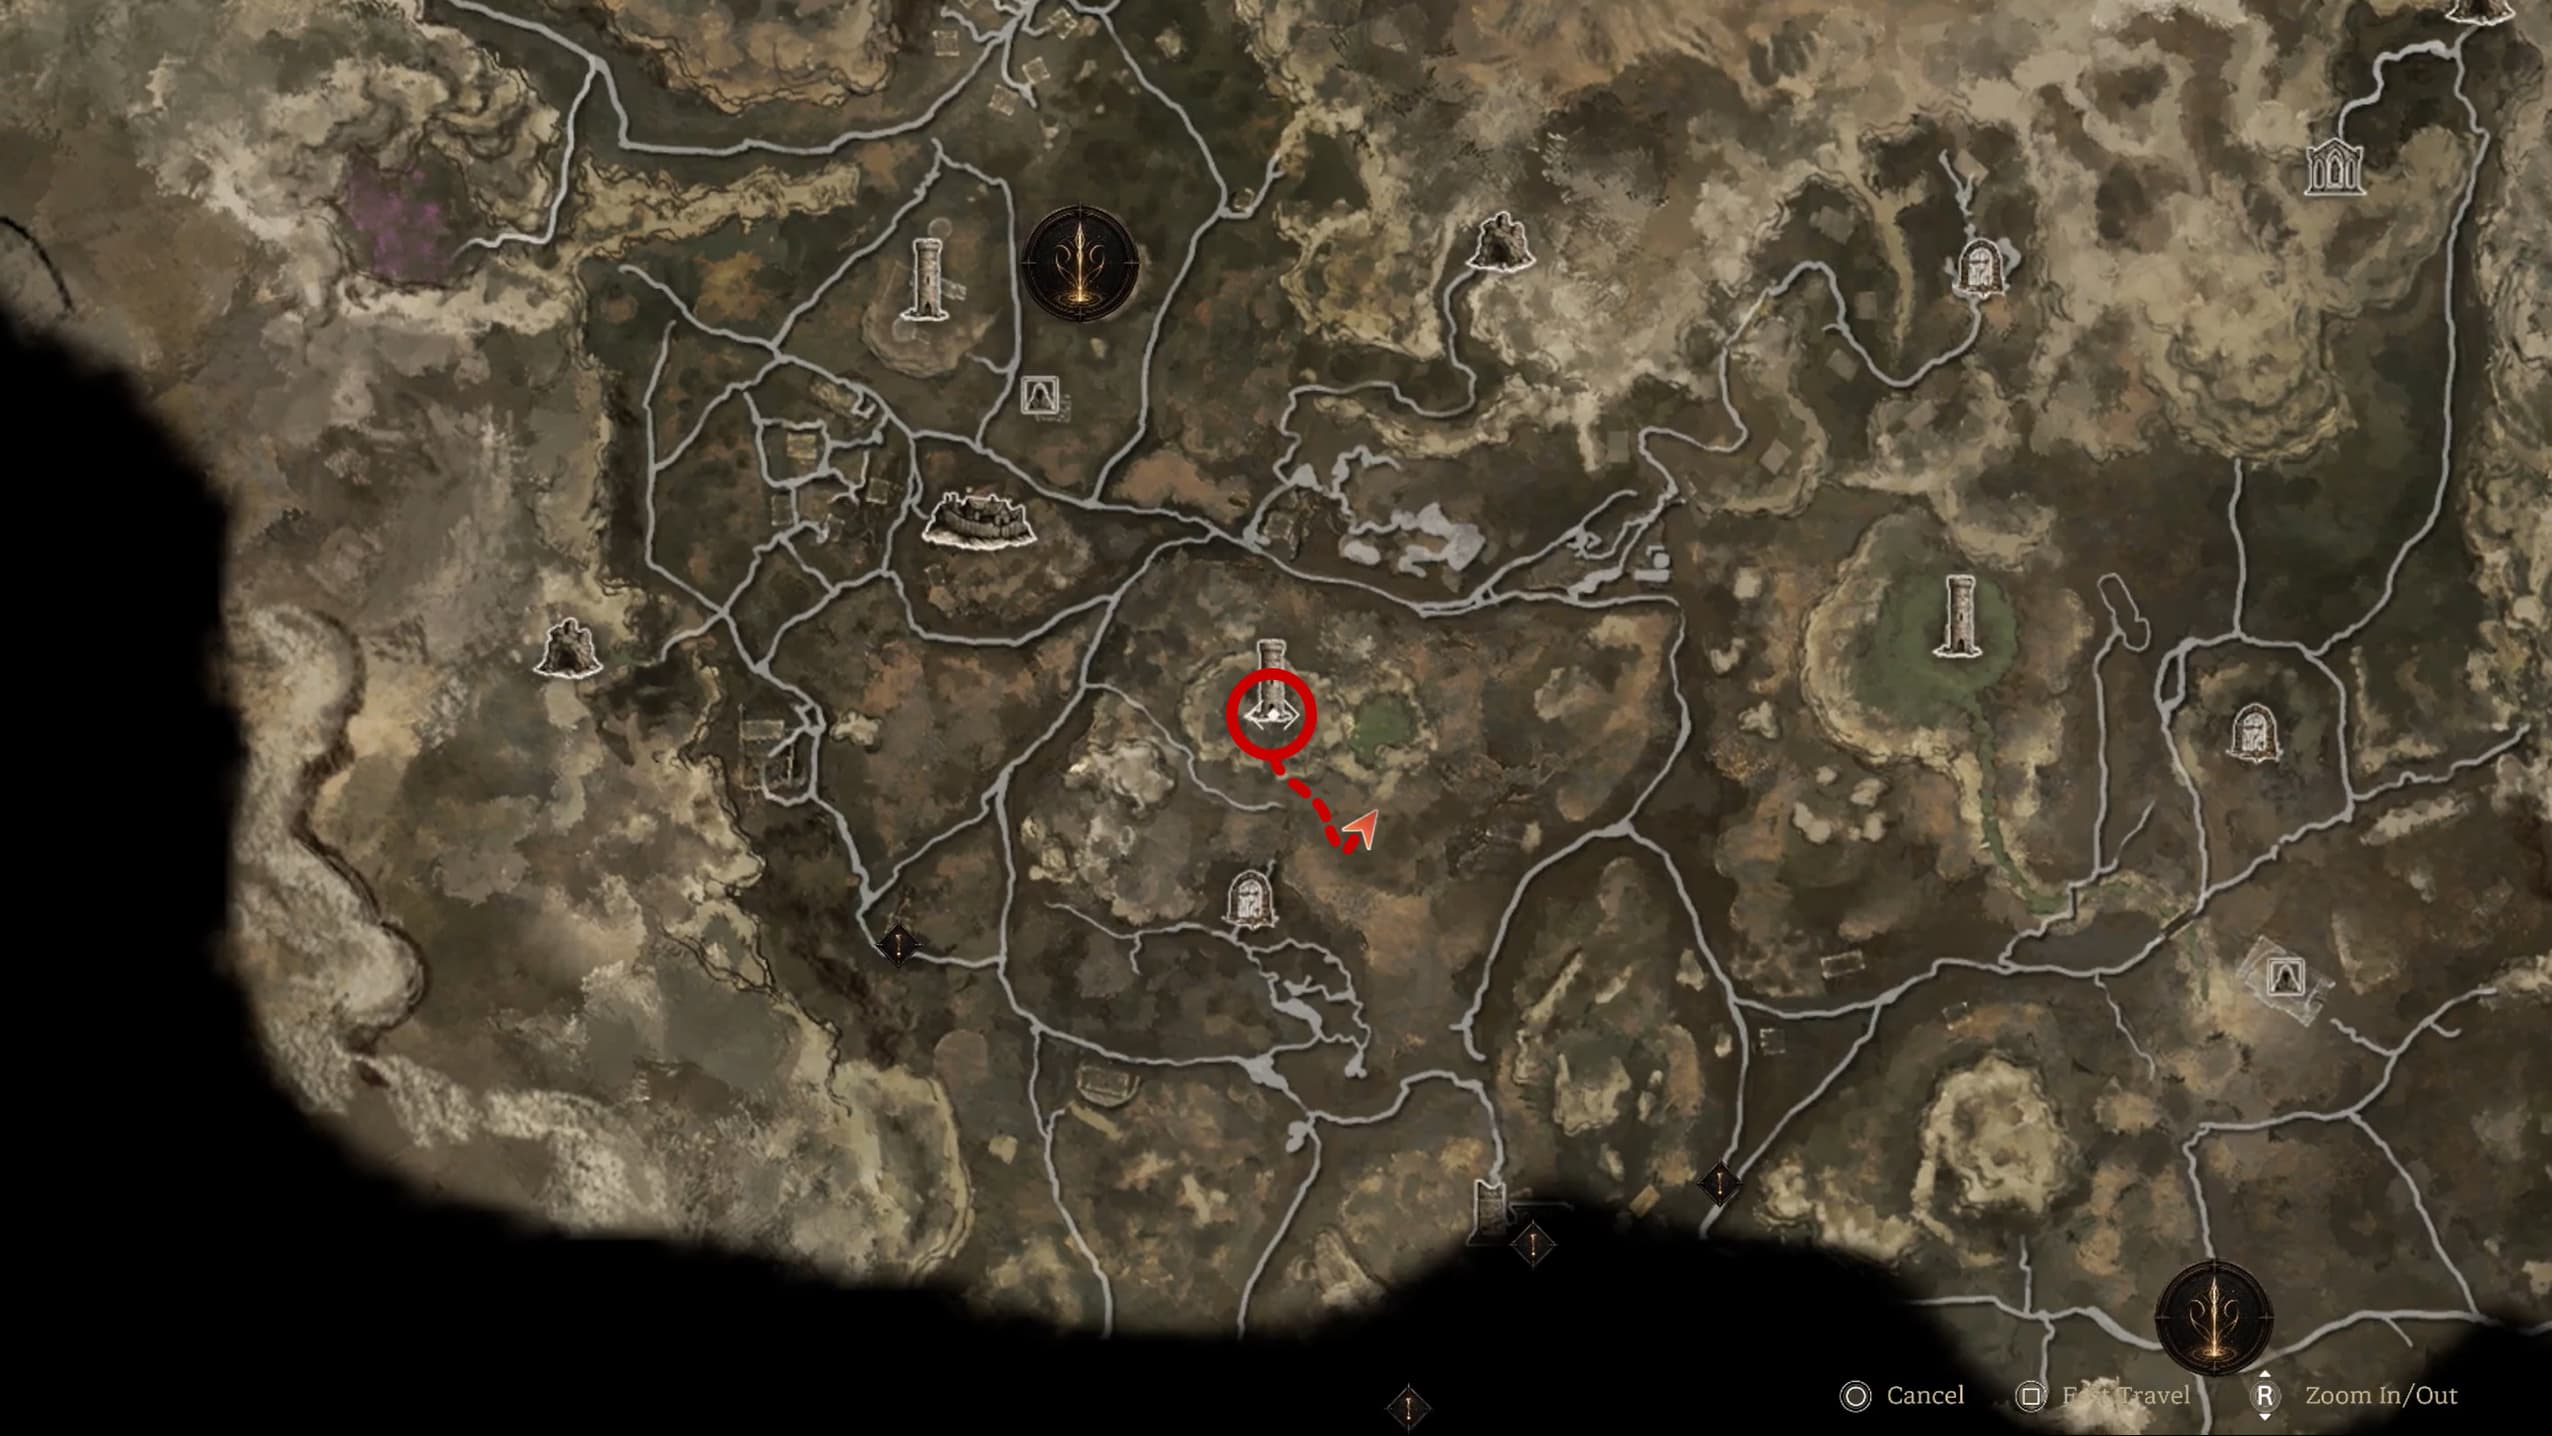
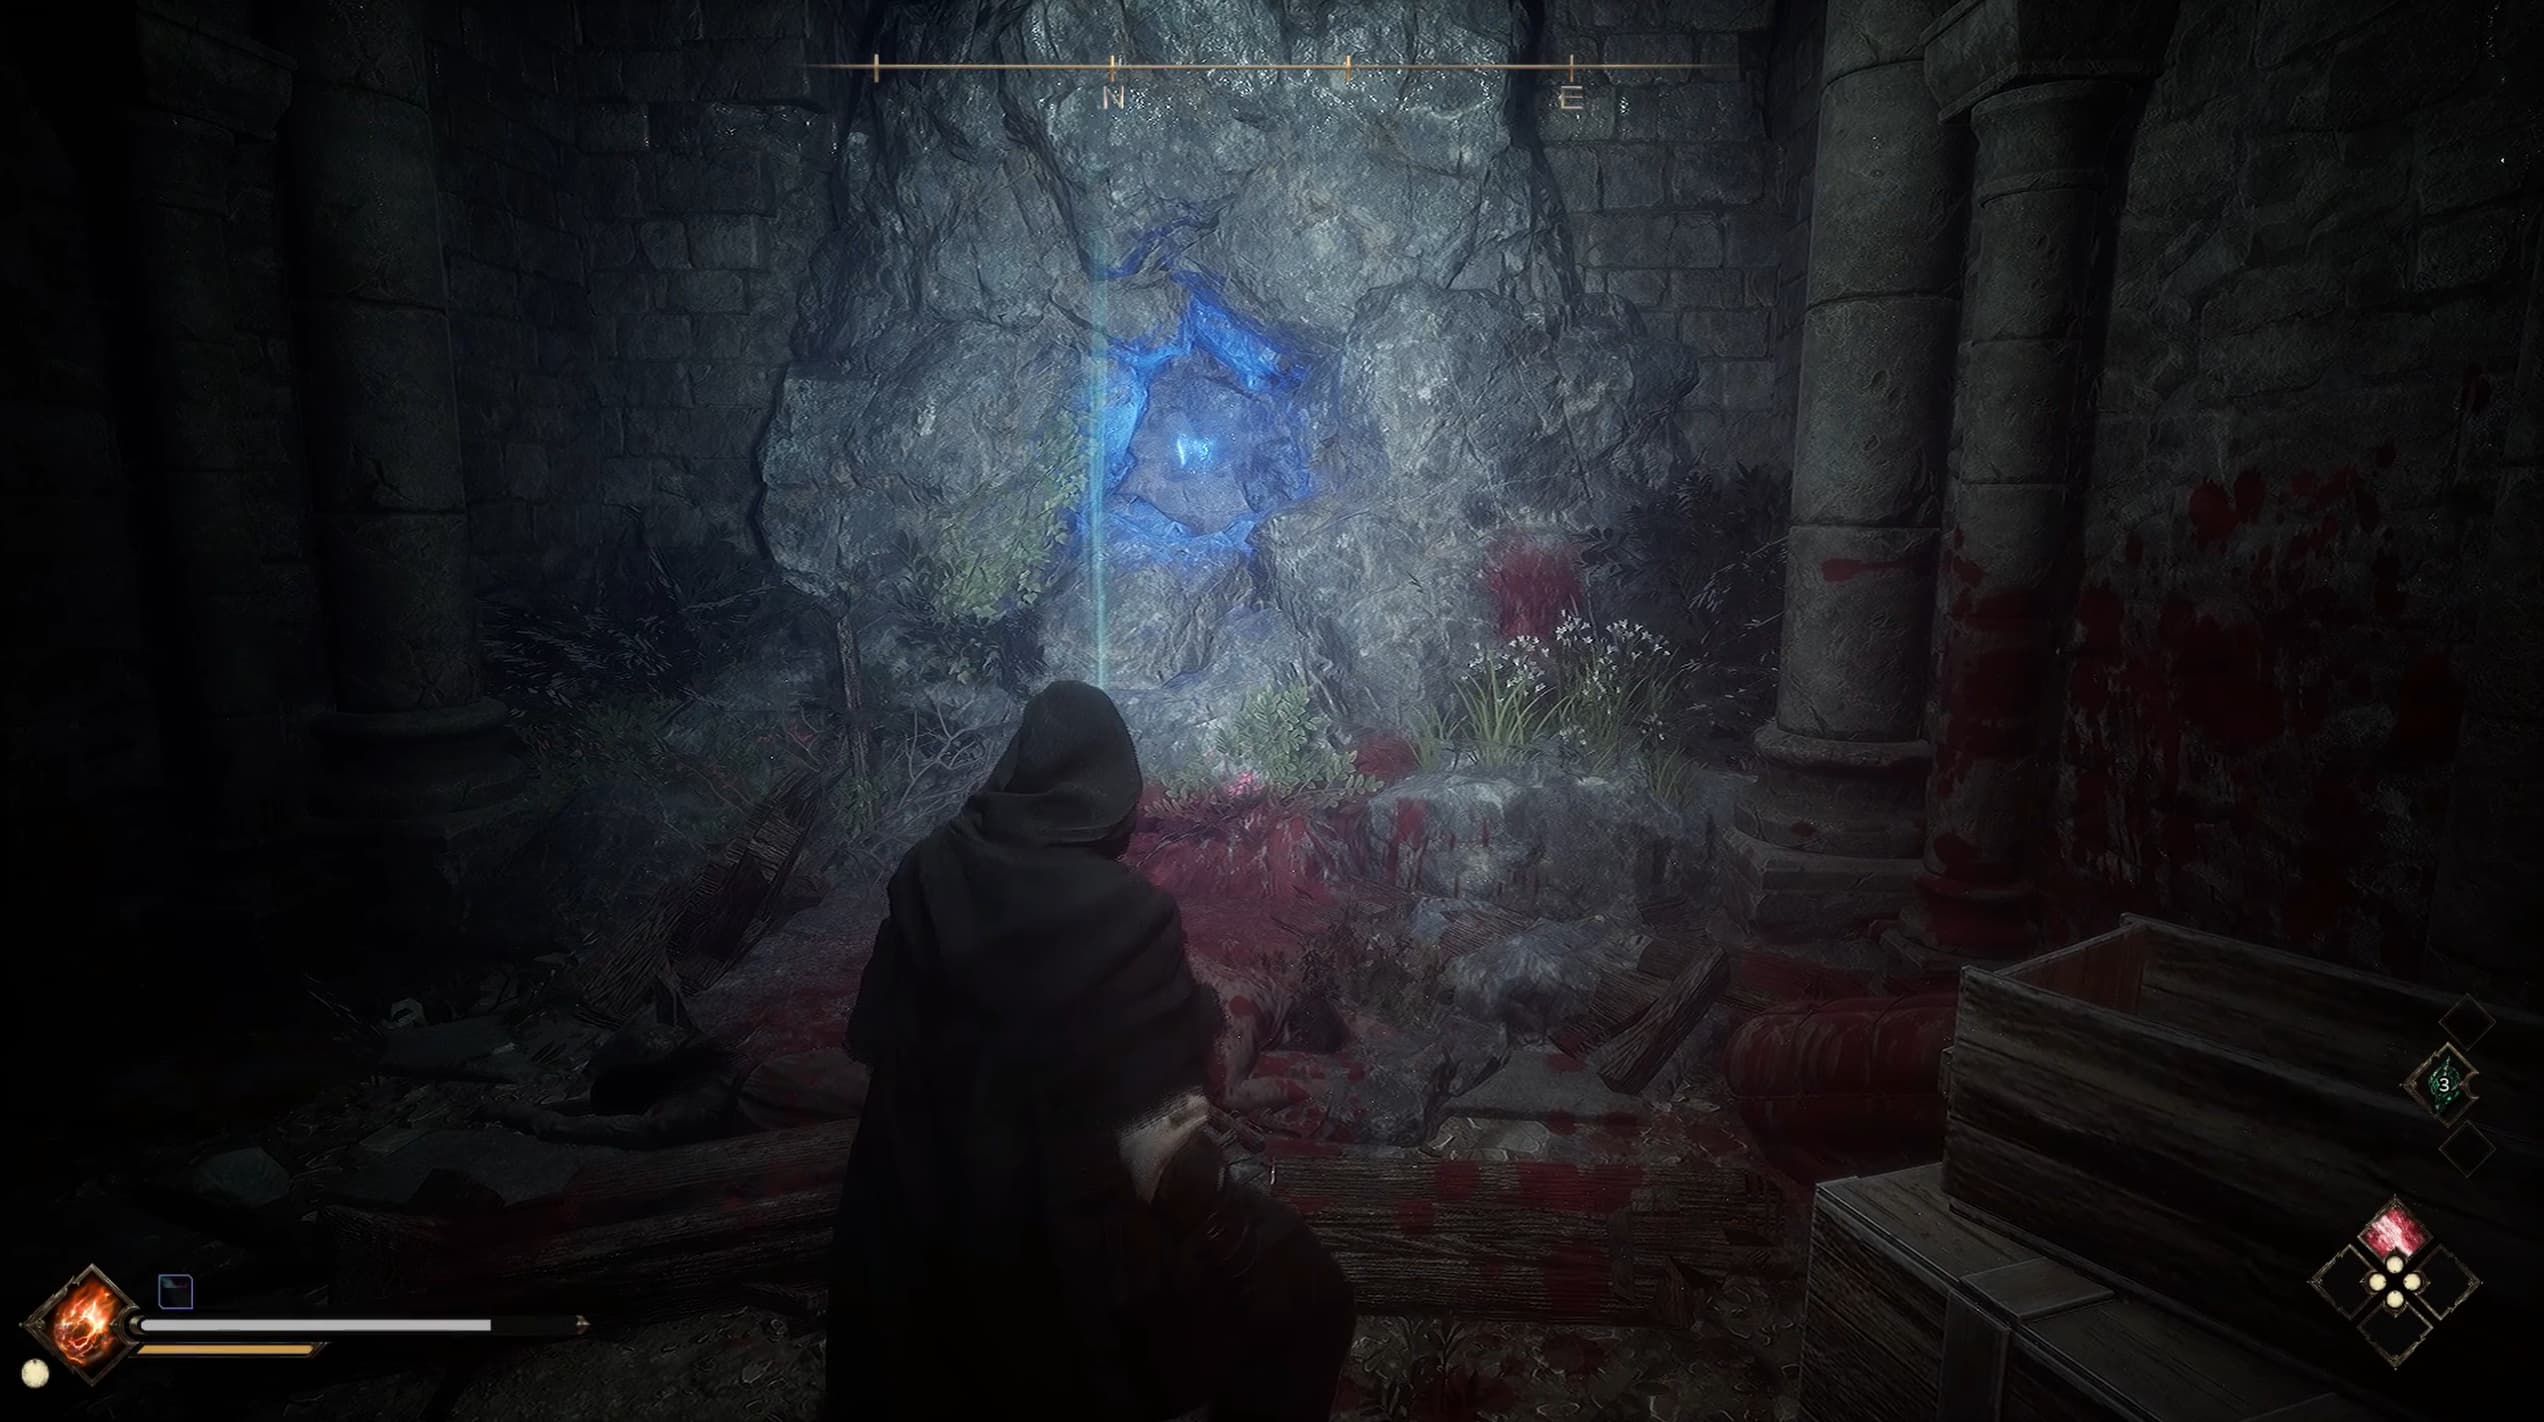
Location #5 is found by entering down into the tower marked on the map below, explore through these caves to find the Relic Power inside, there will be a number of enemies to defeat here so be ready for this before entering.
Location #6 is quite easy to find out in the open, no cave exploration needed for this one!
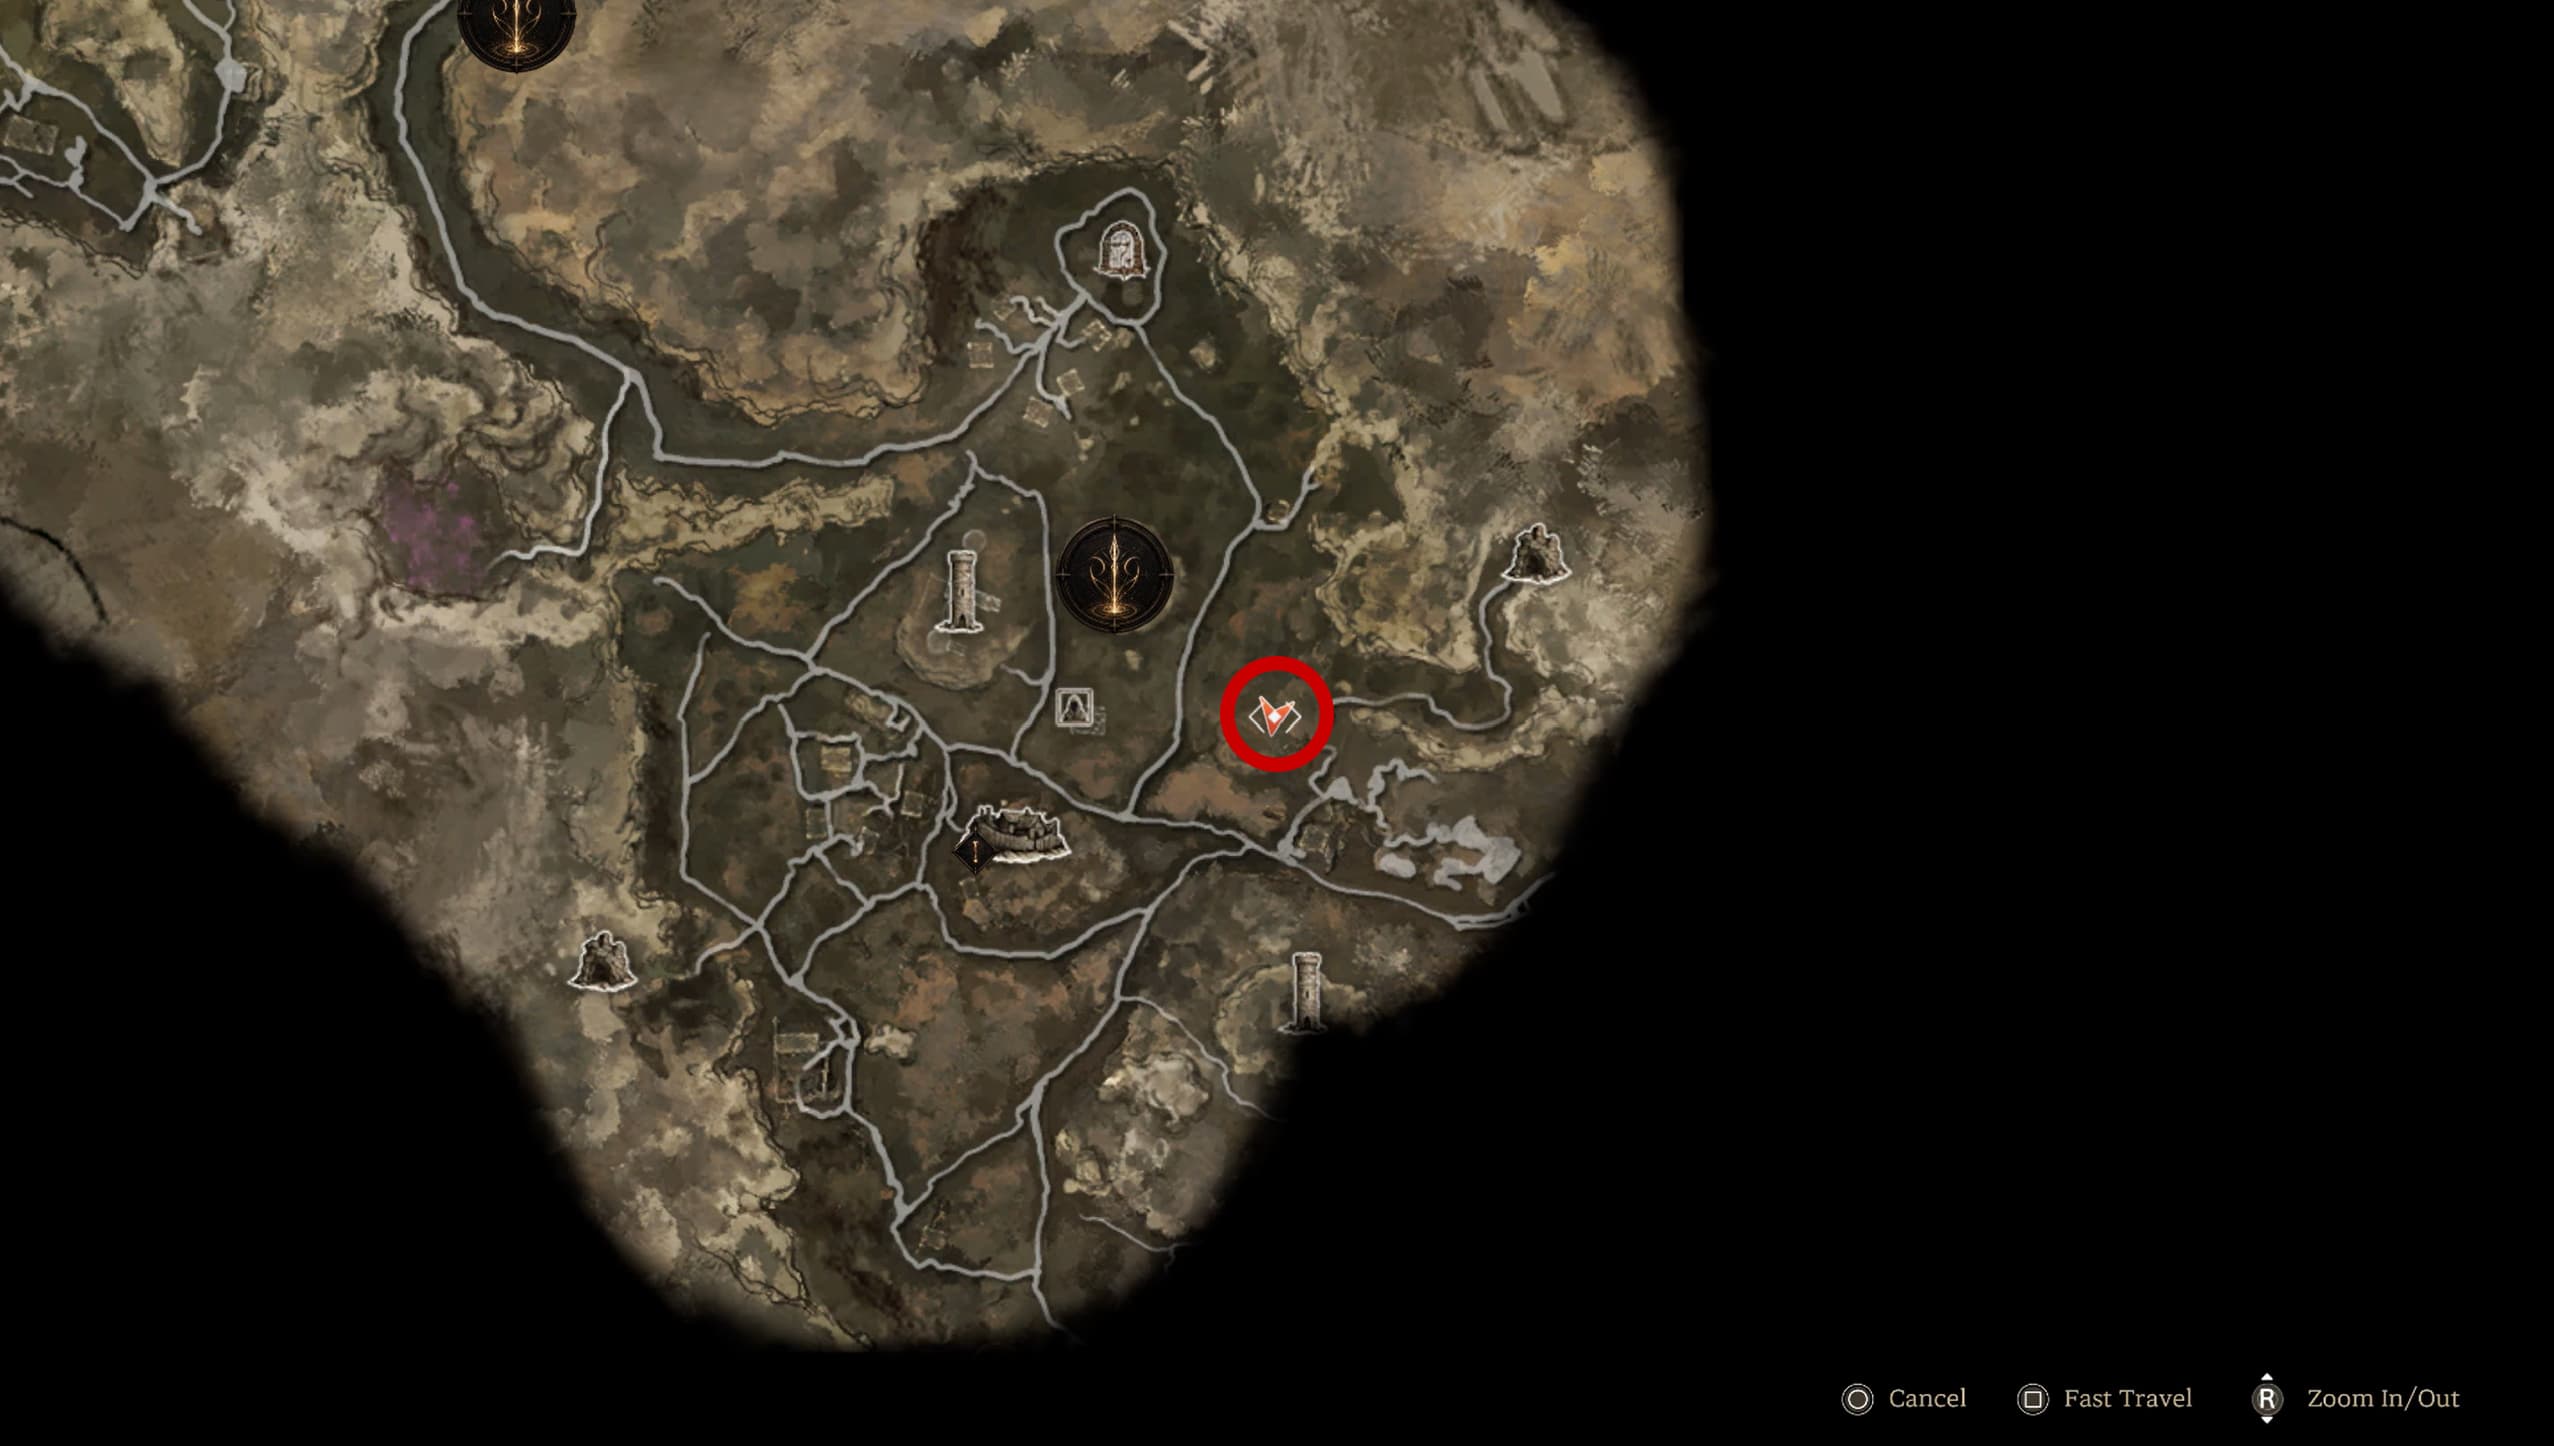
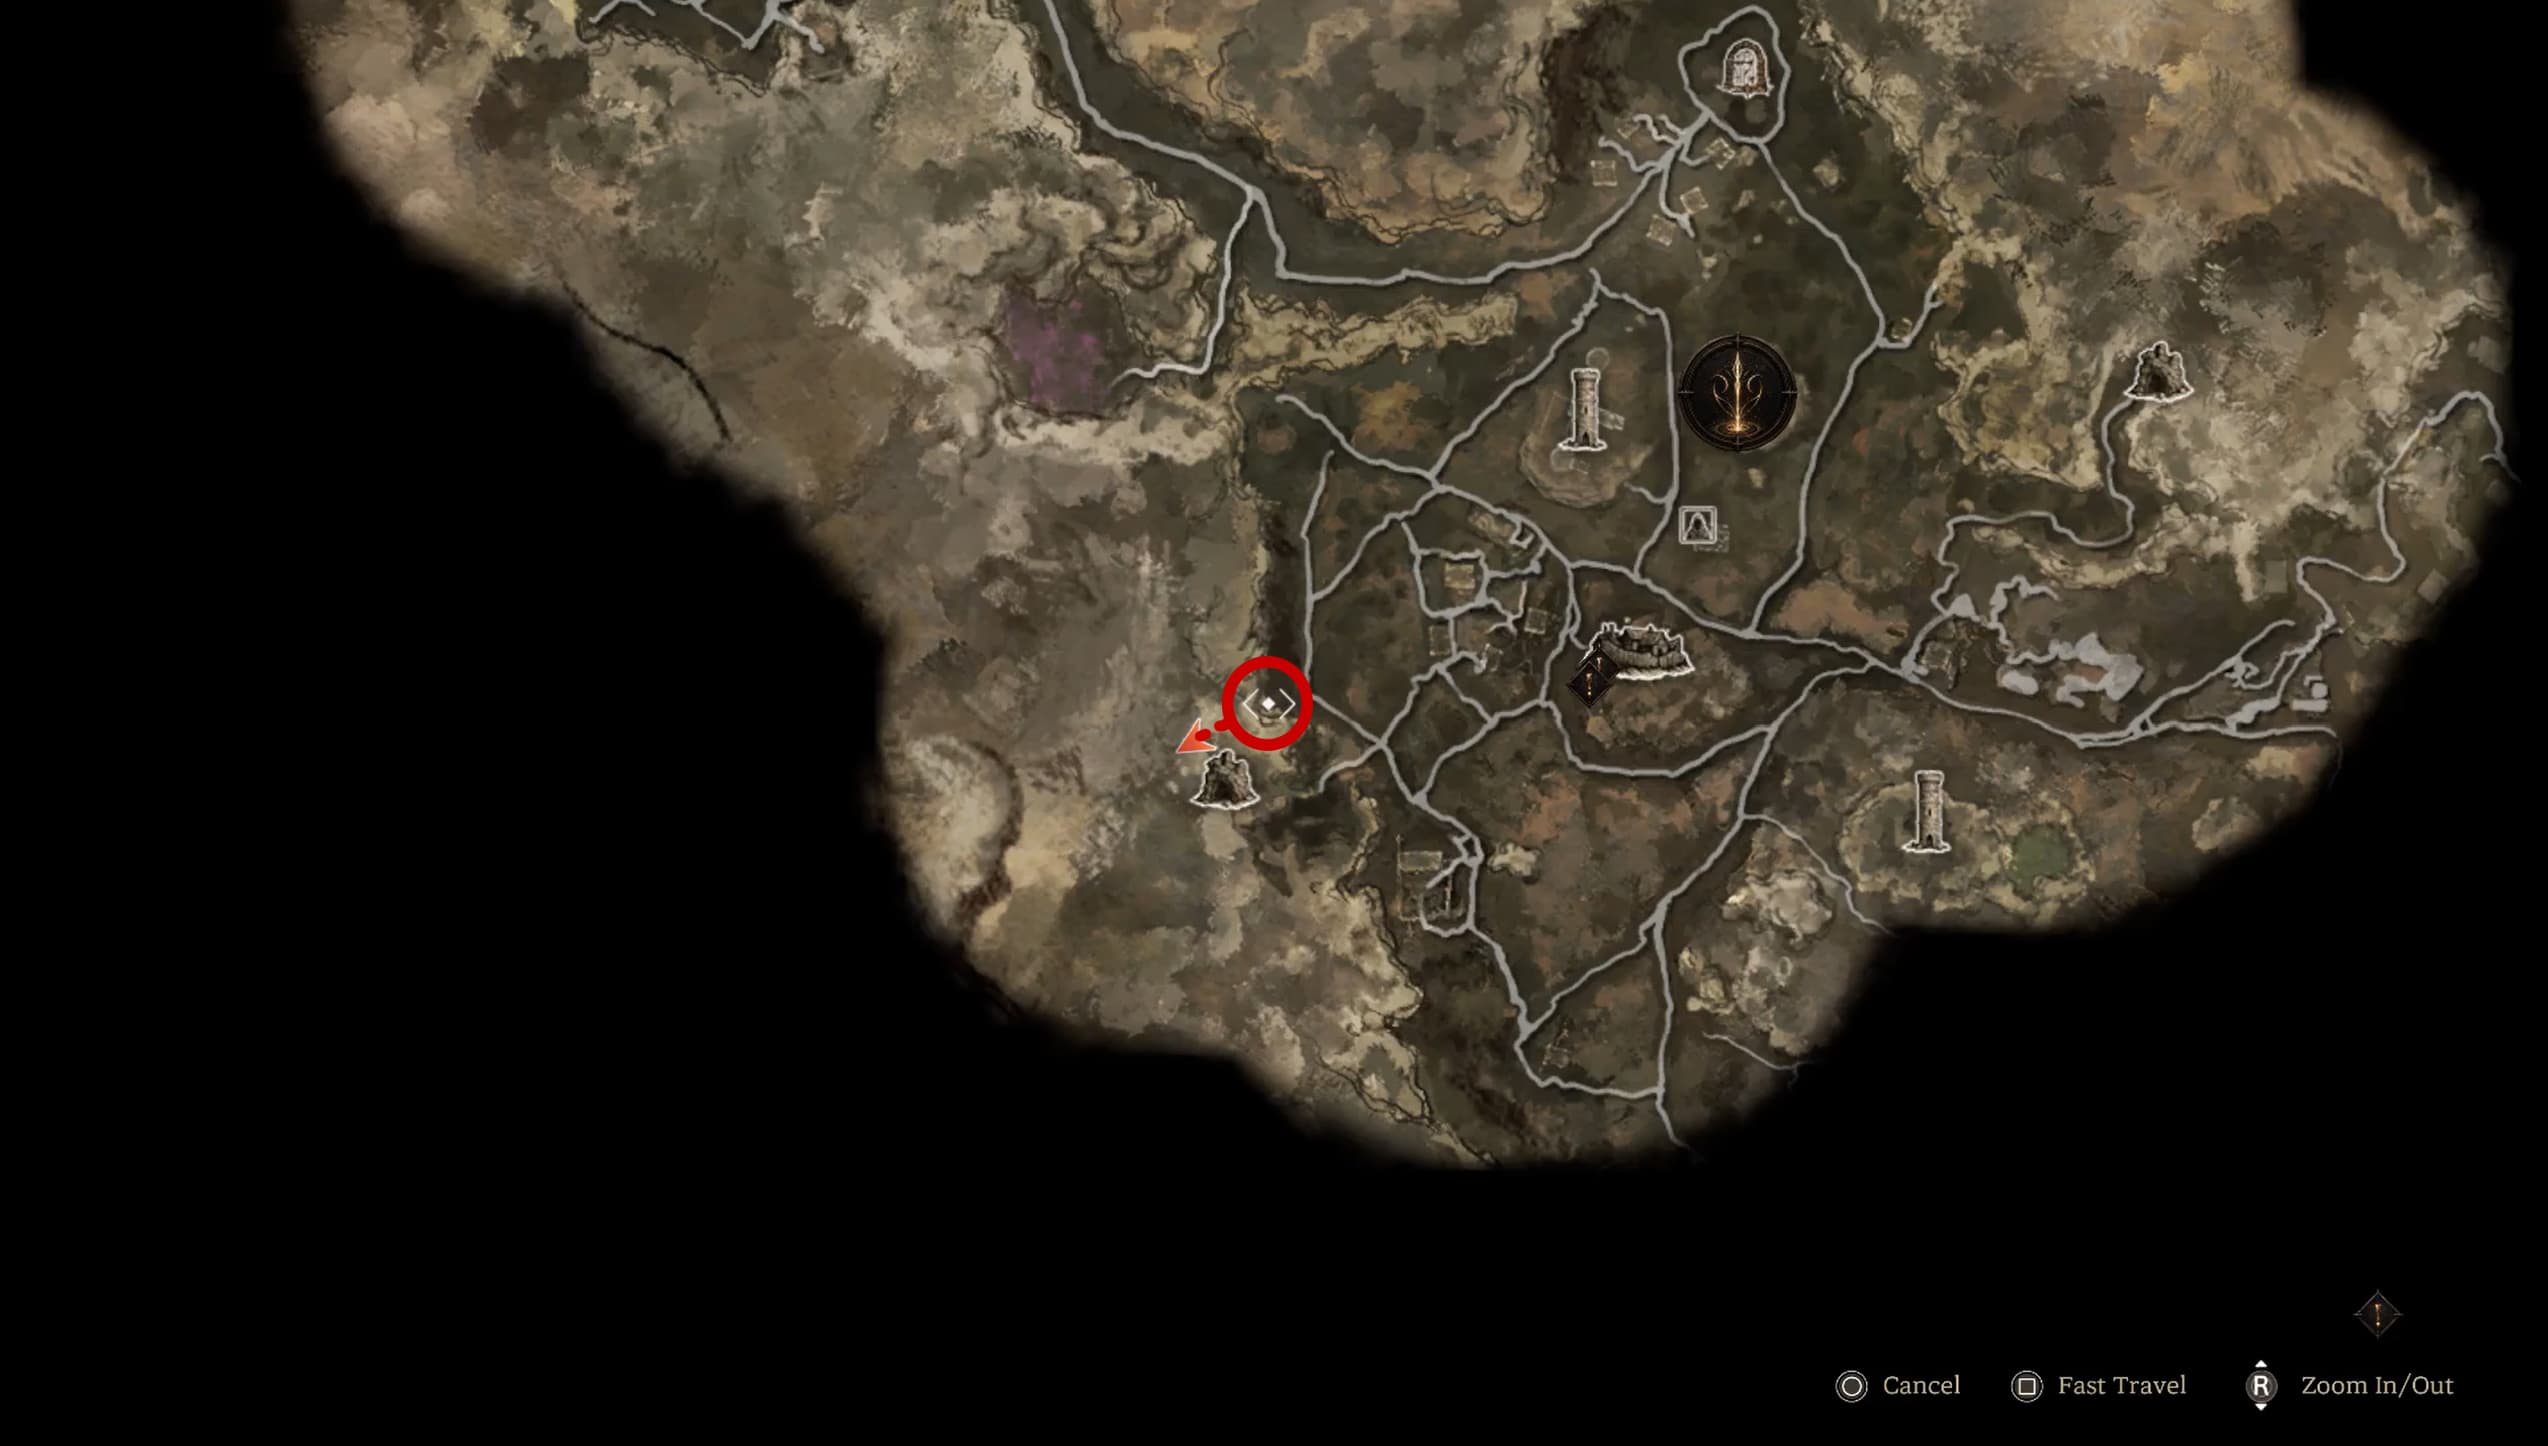
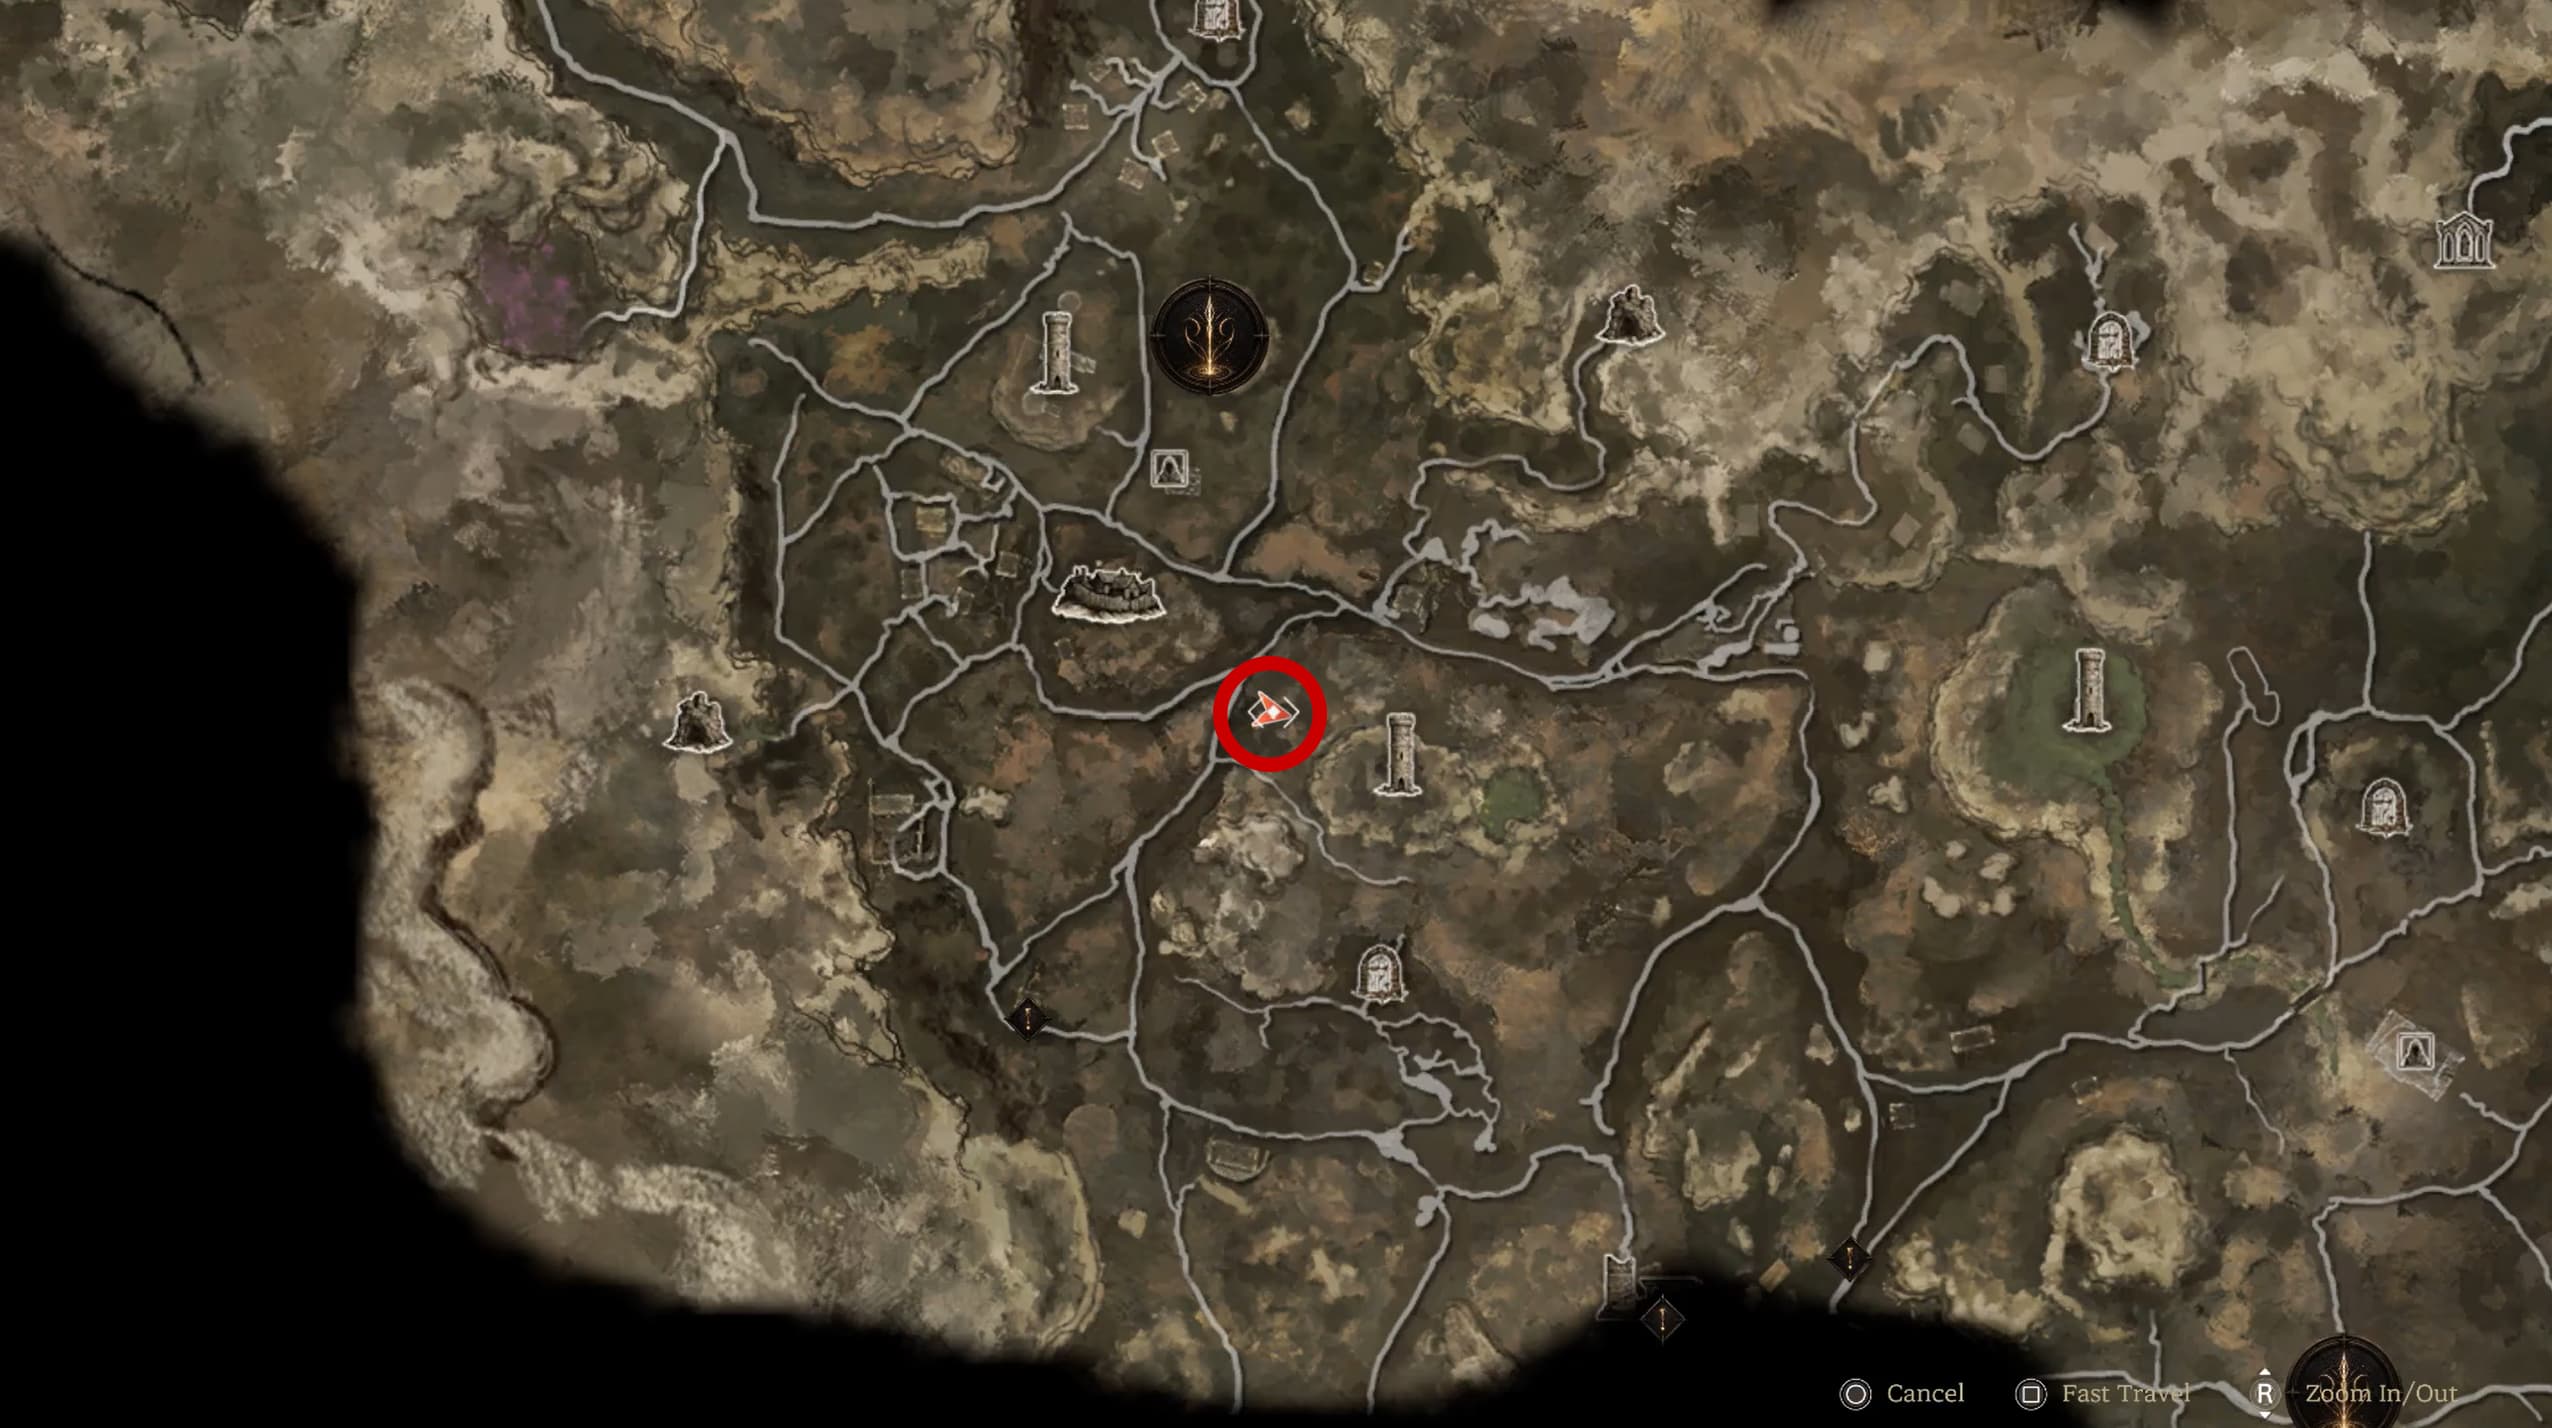
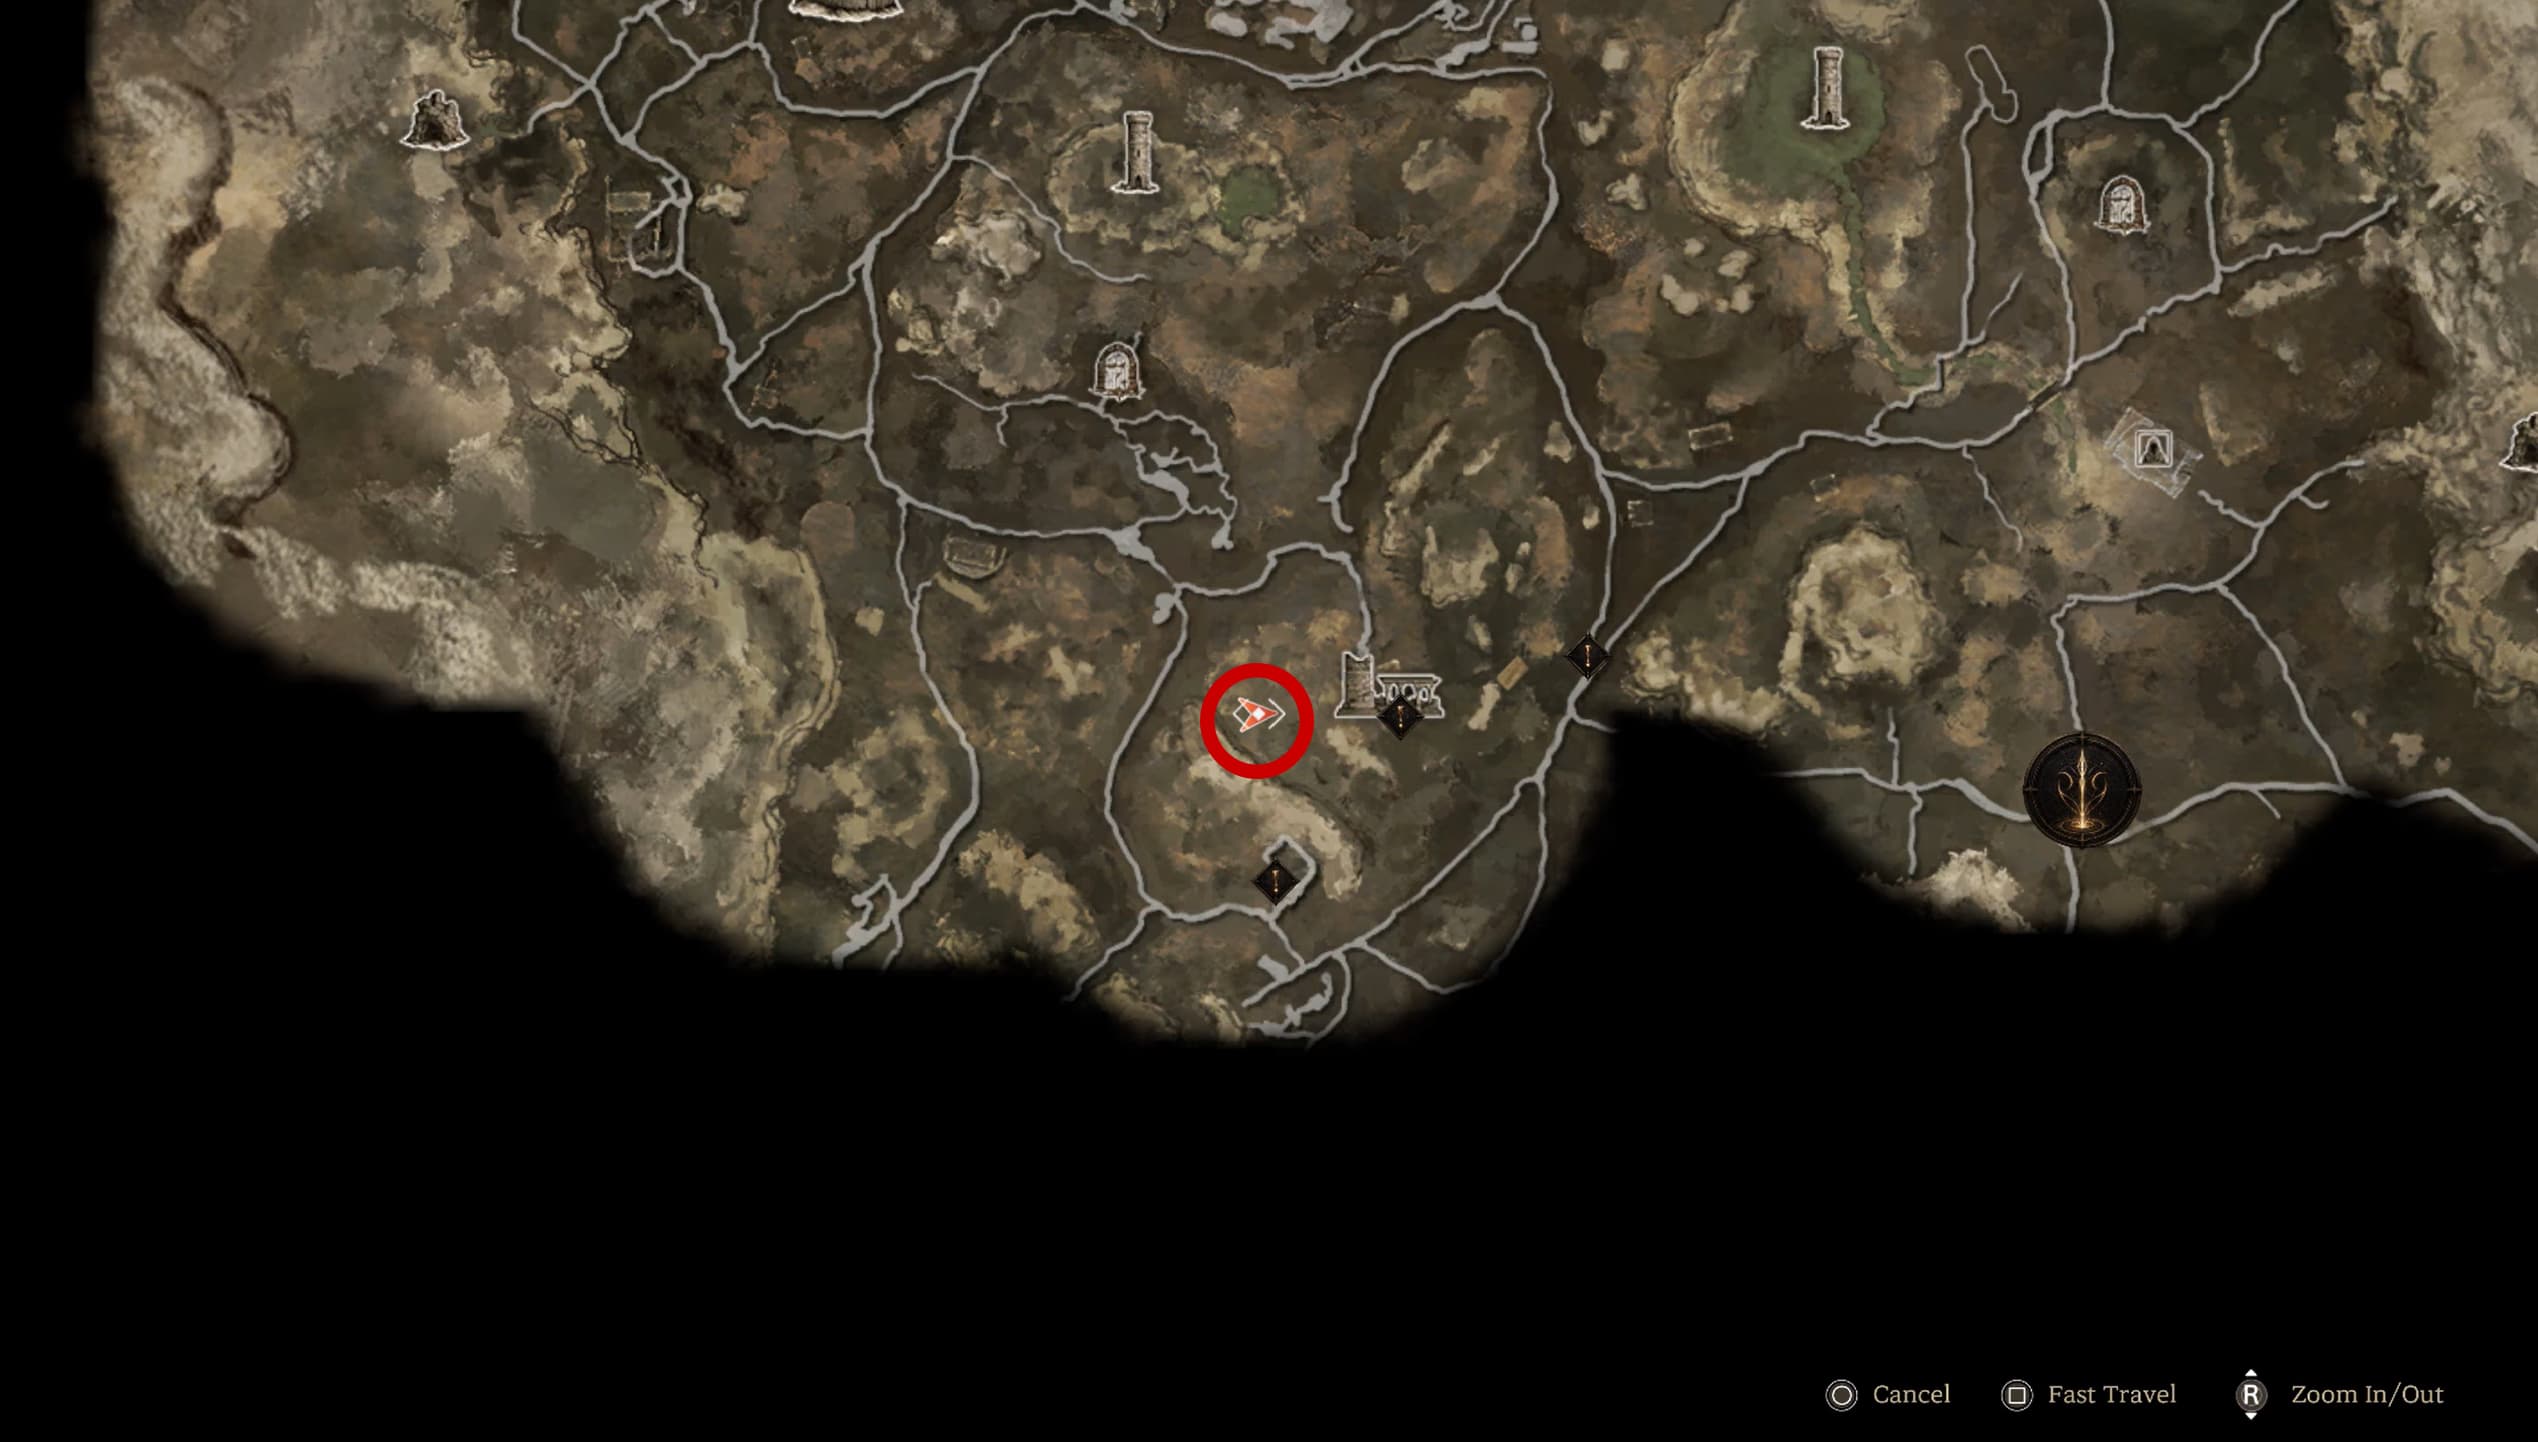
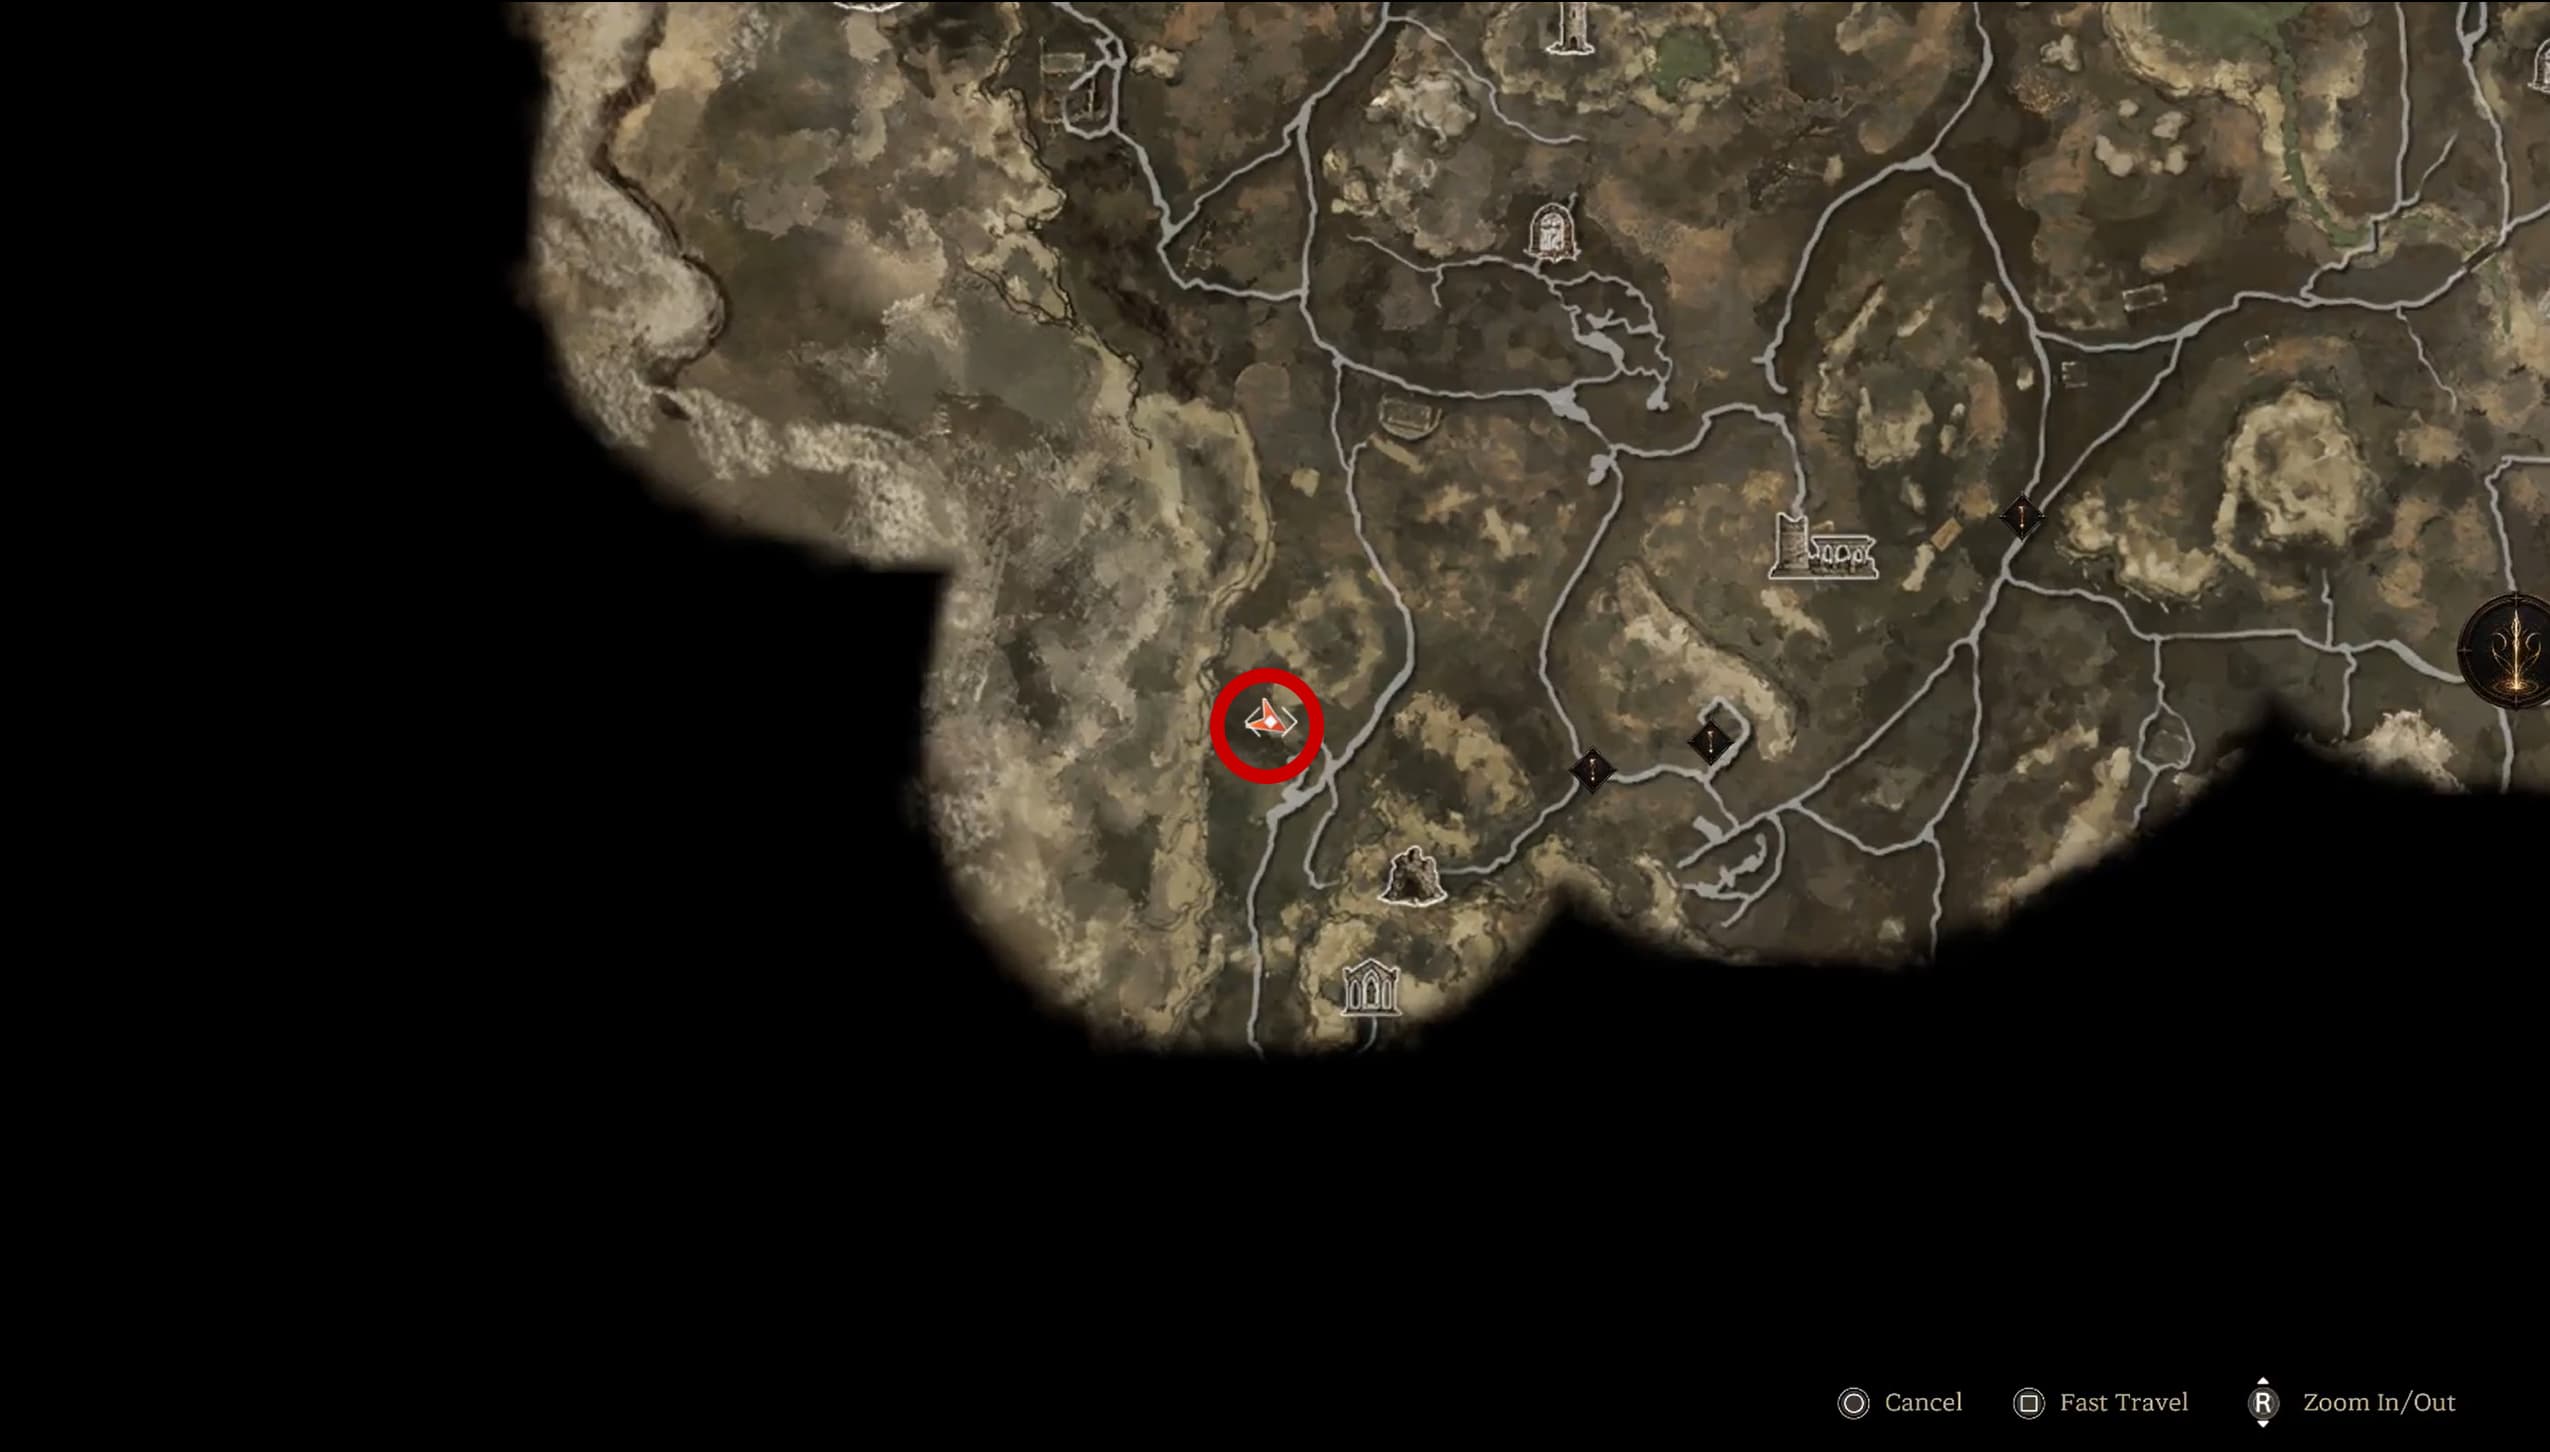
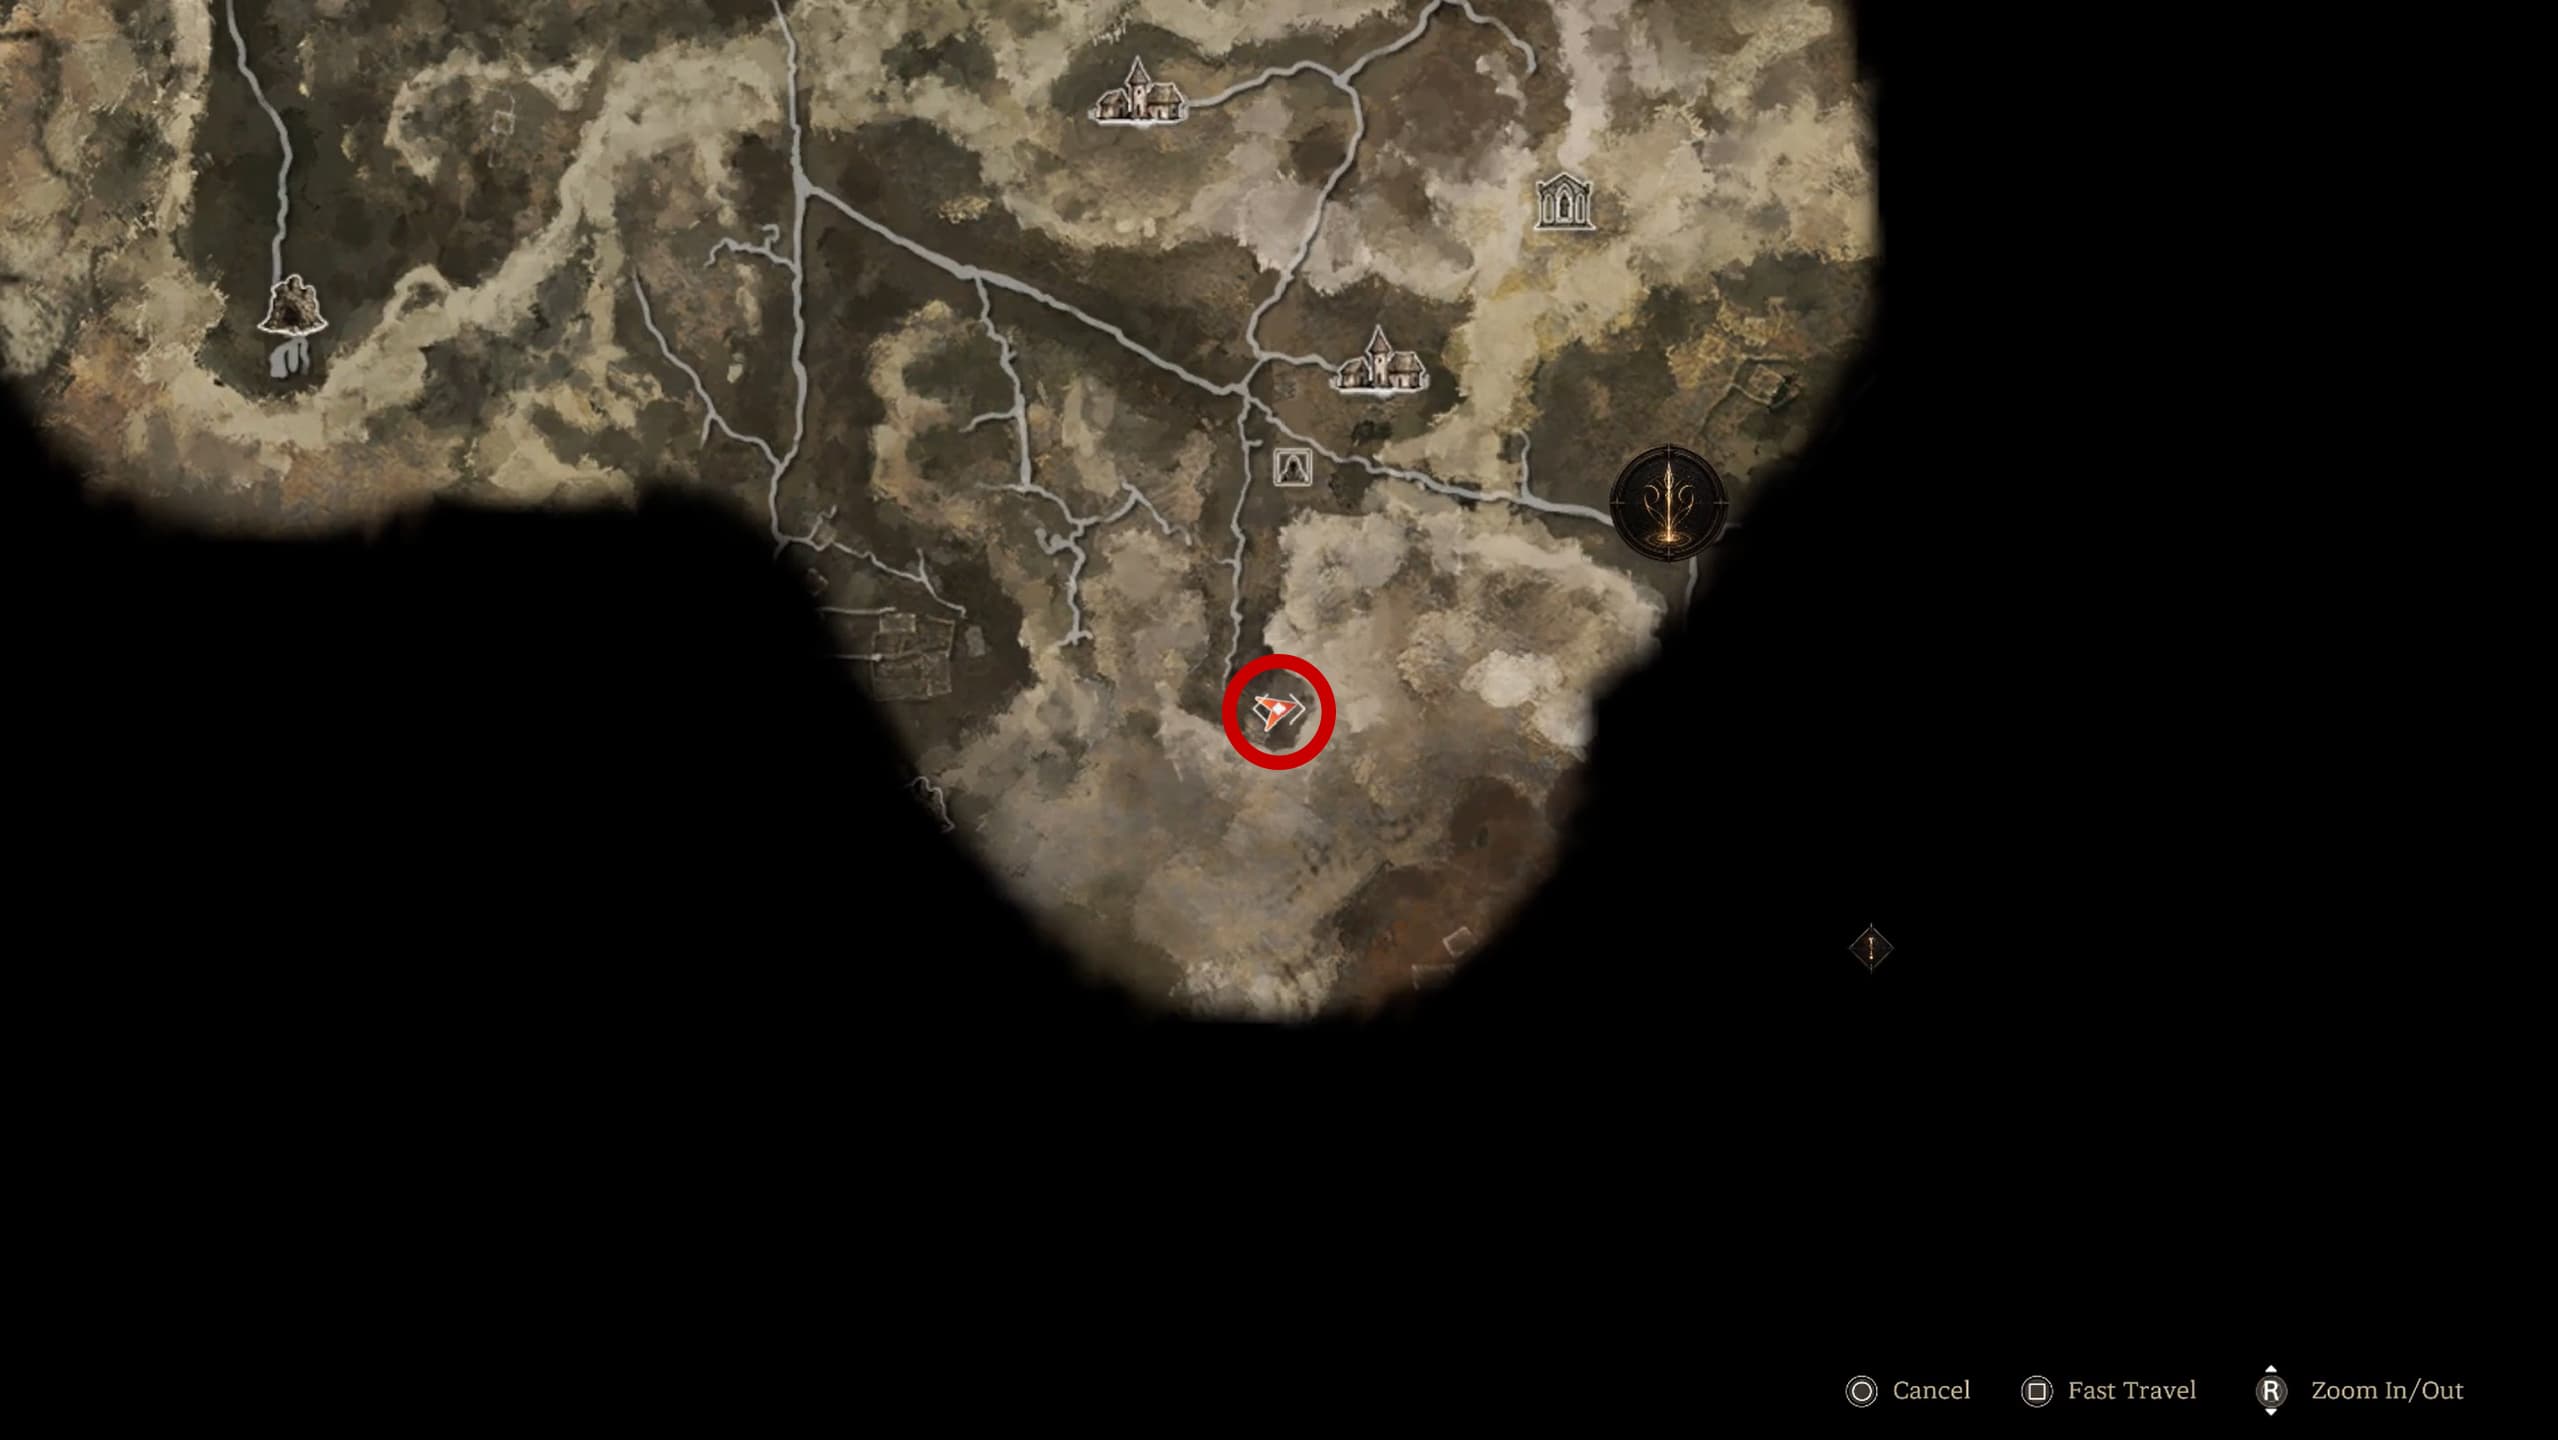
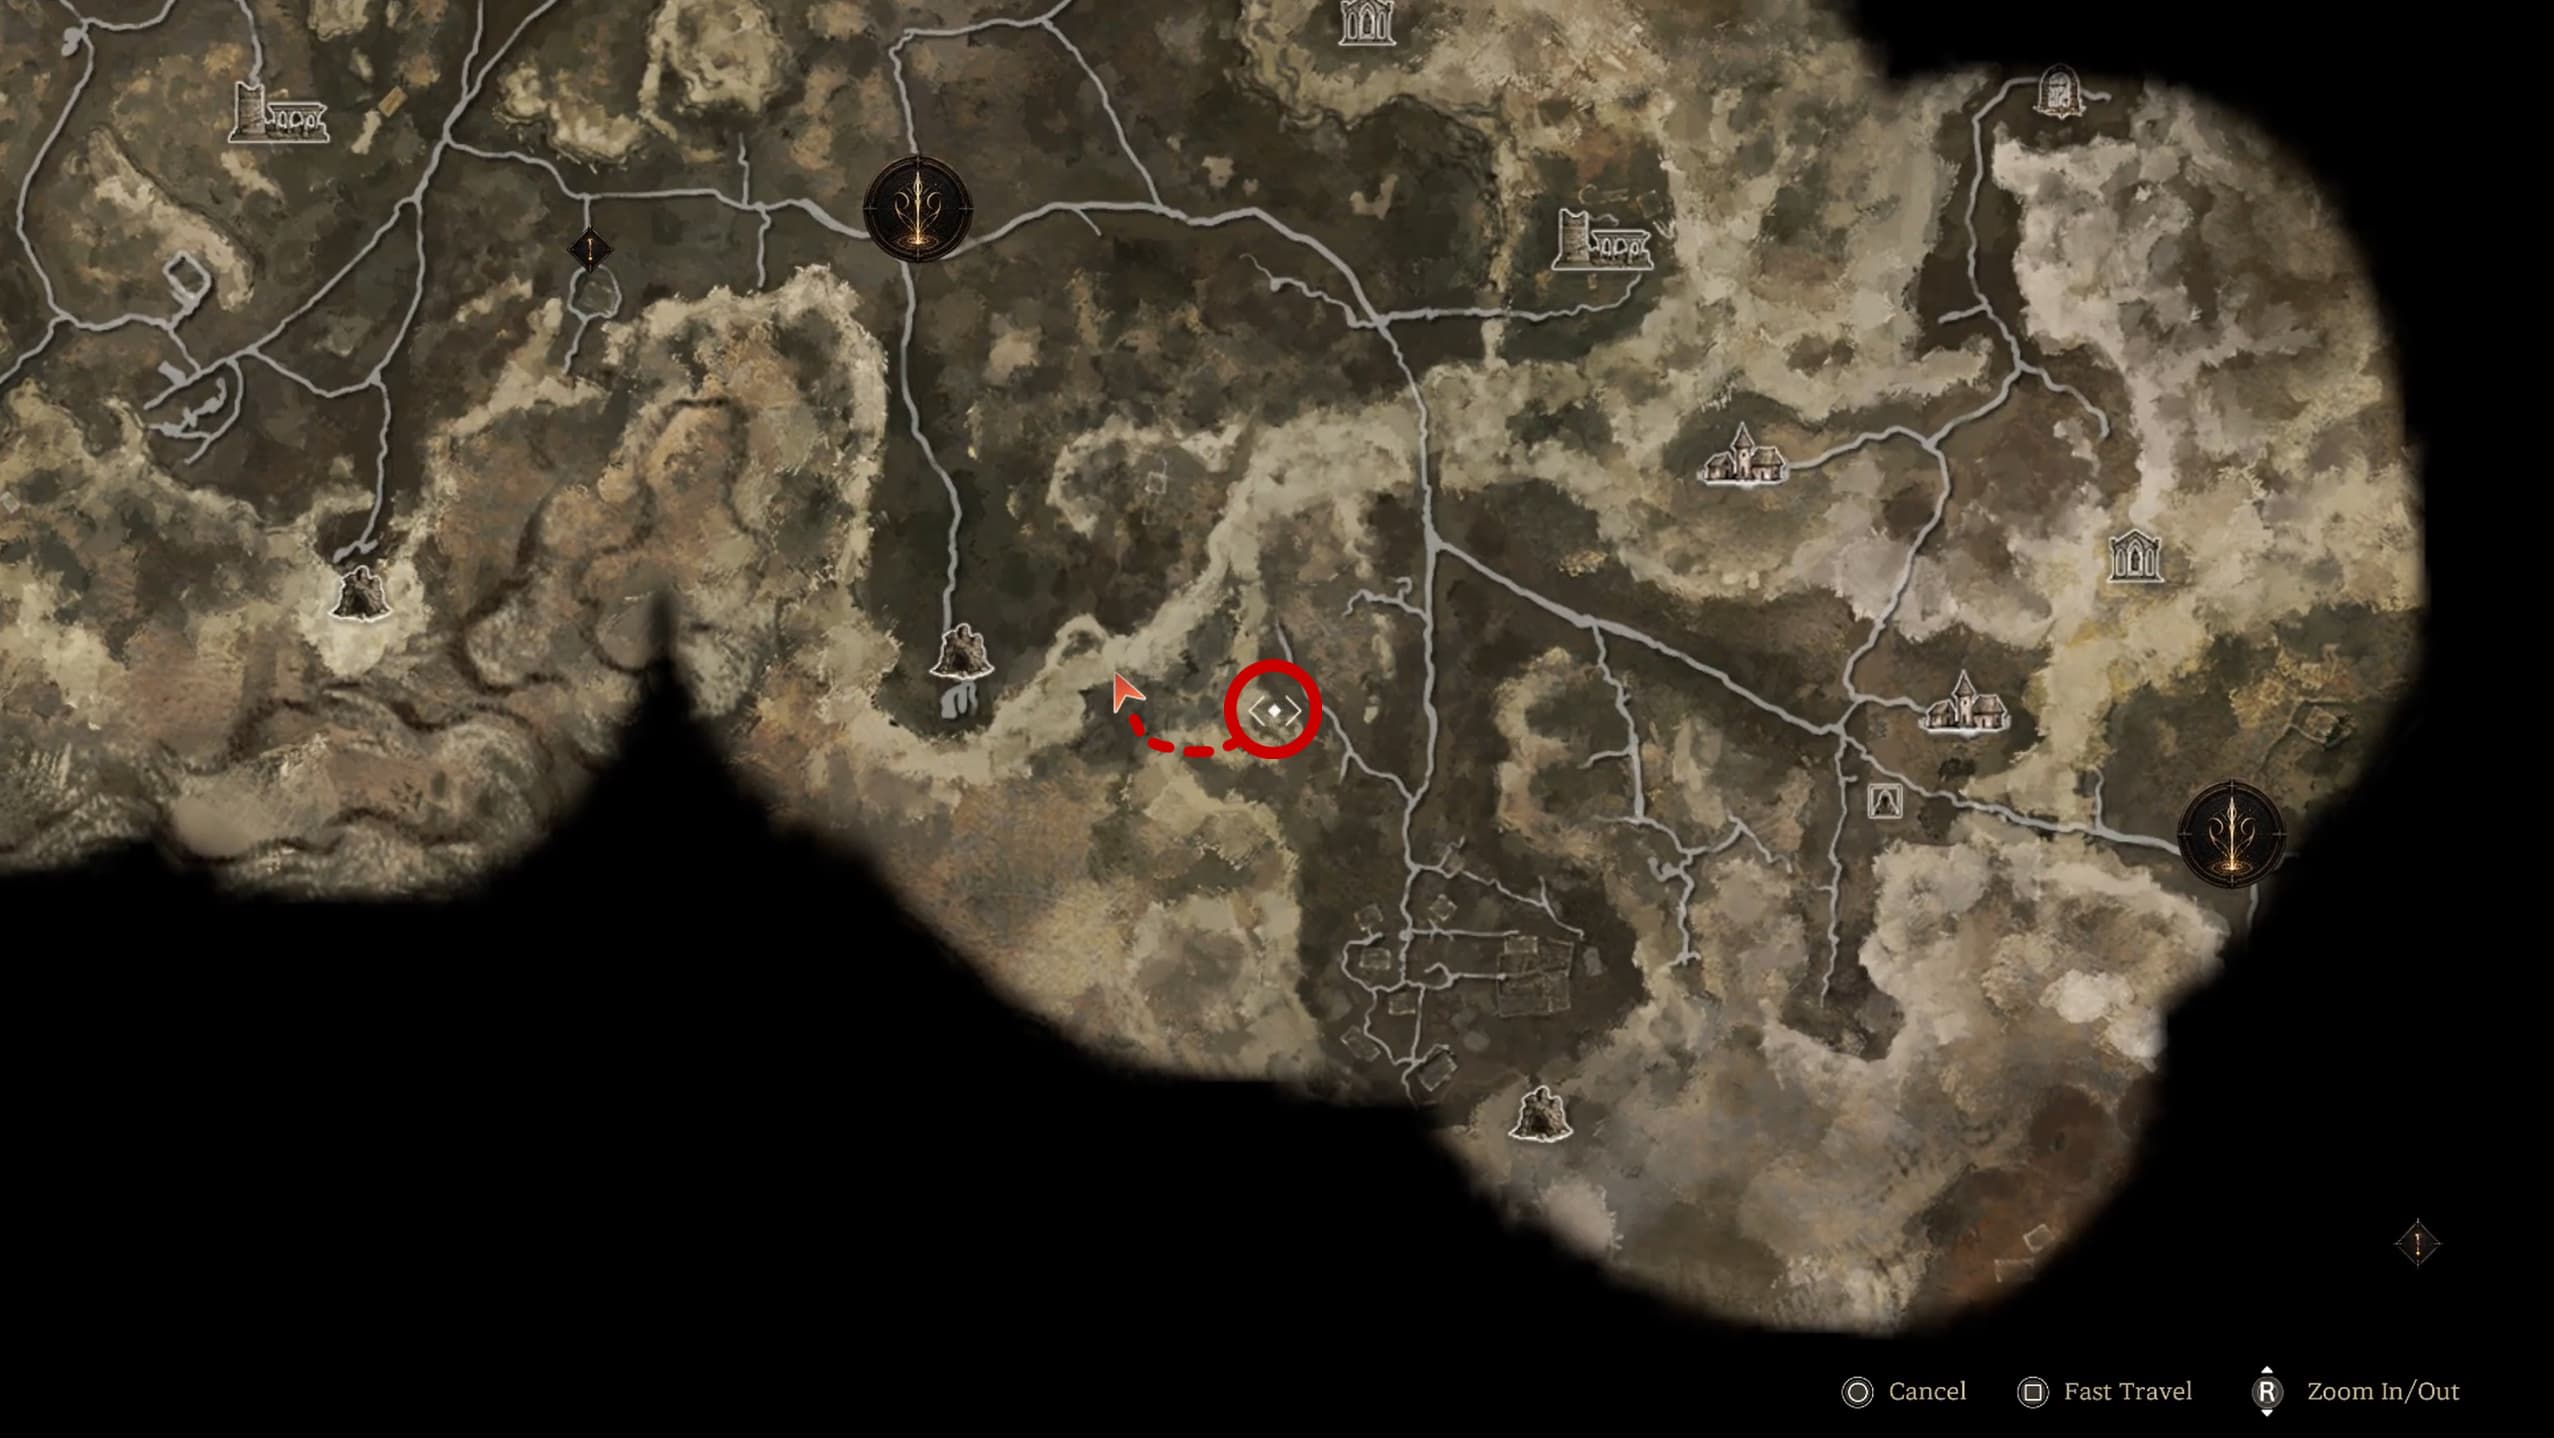
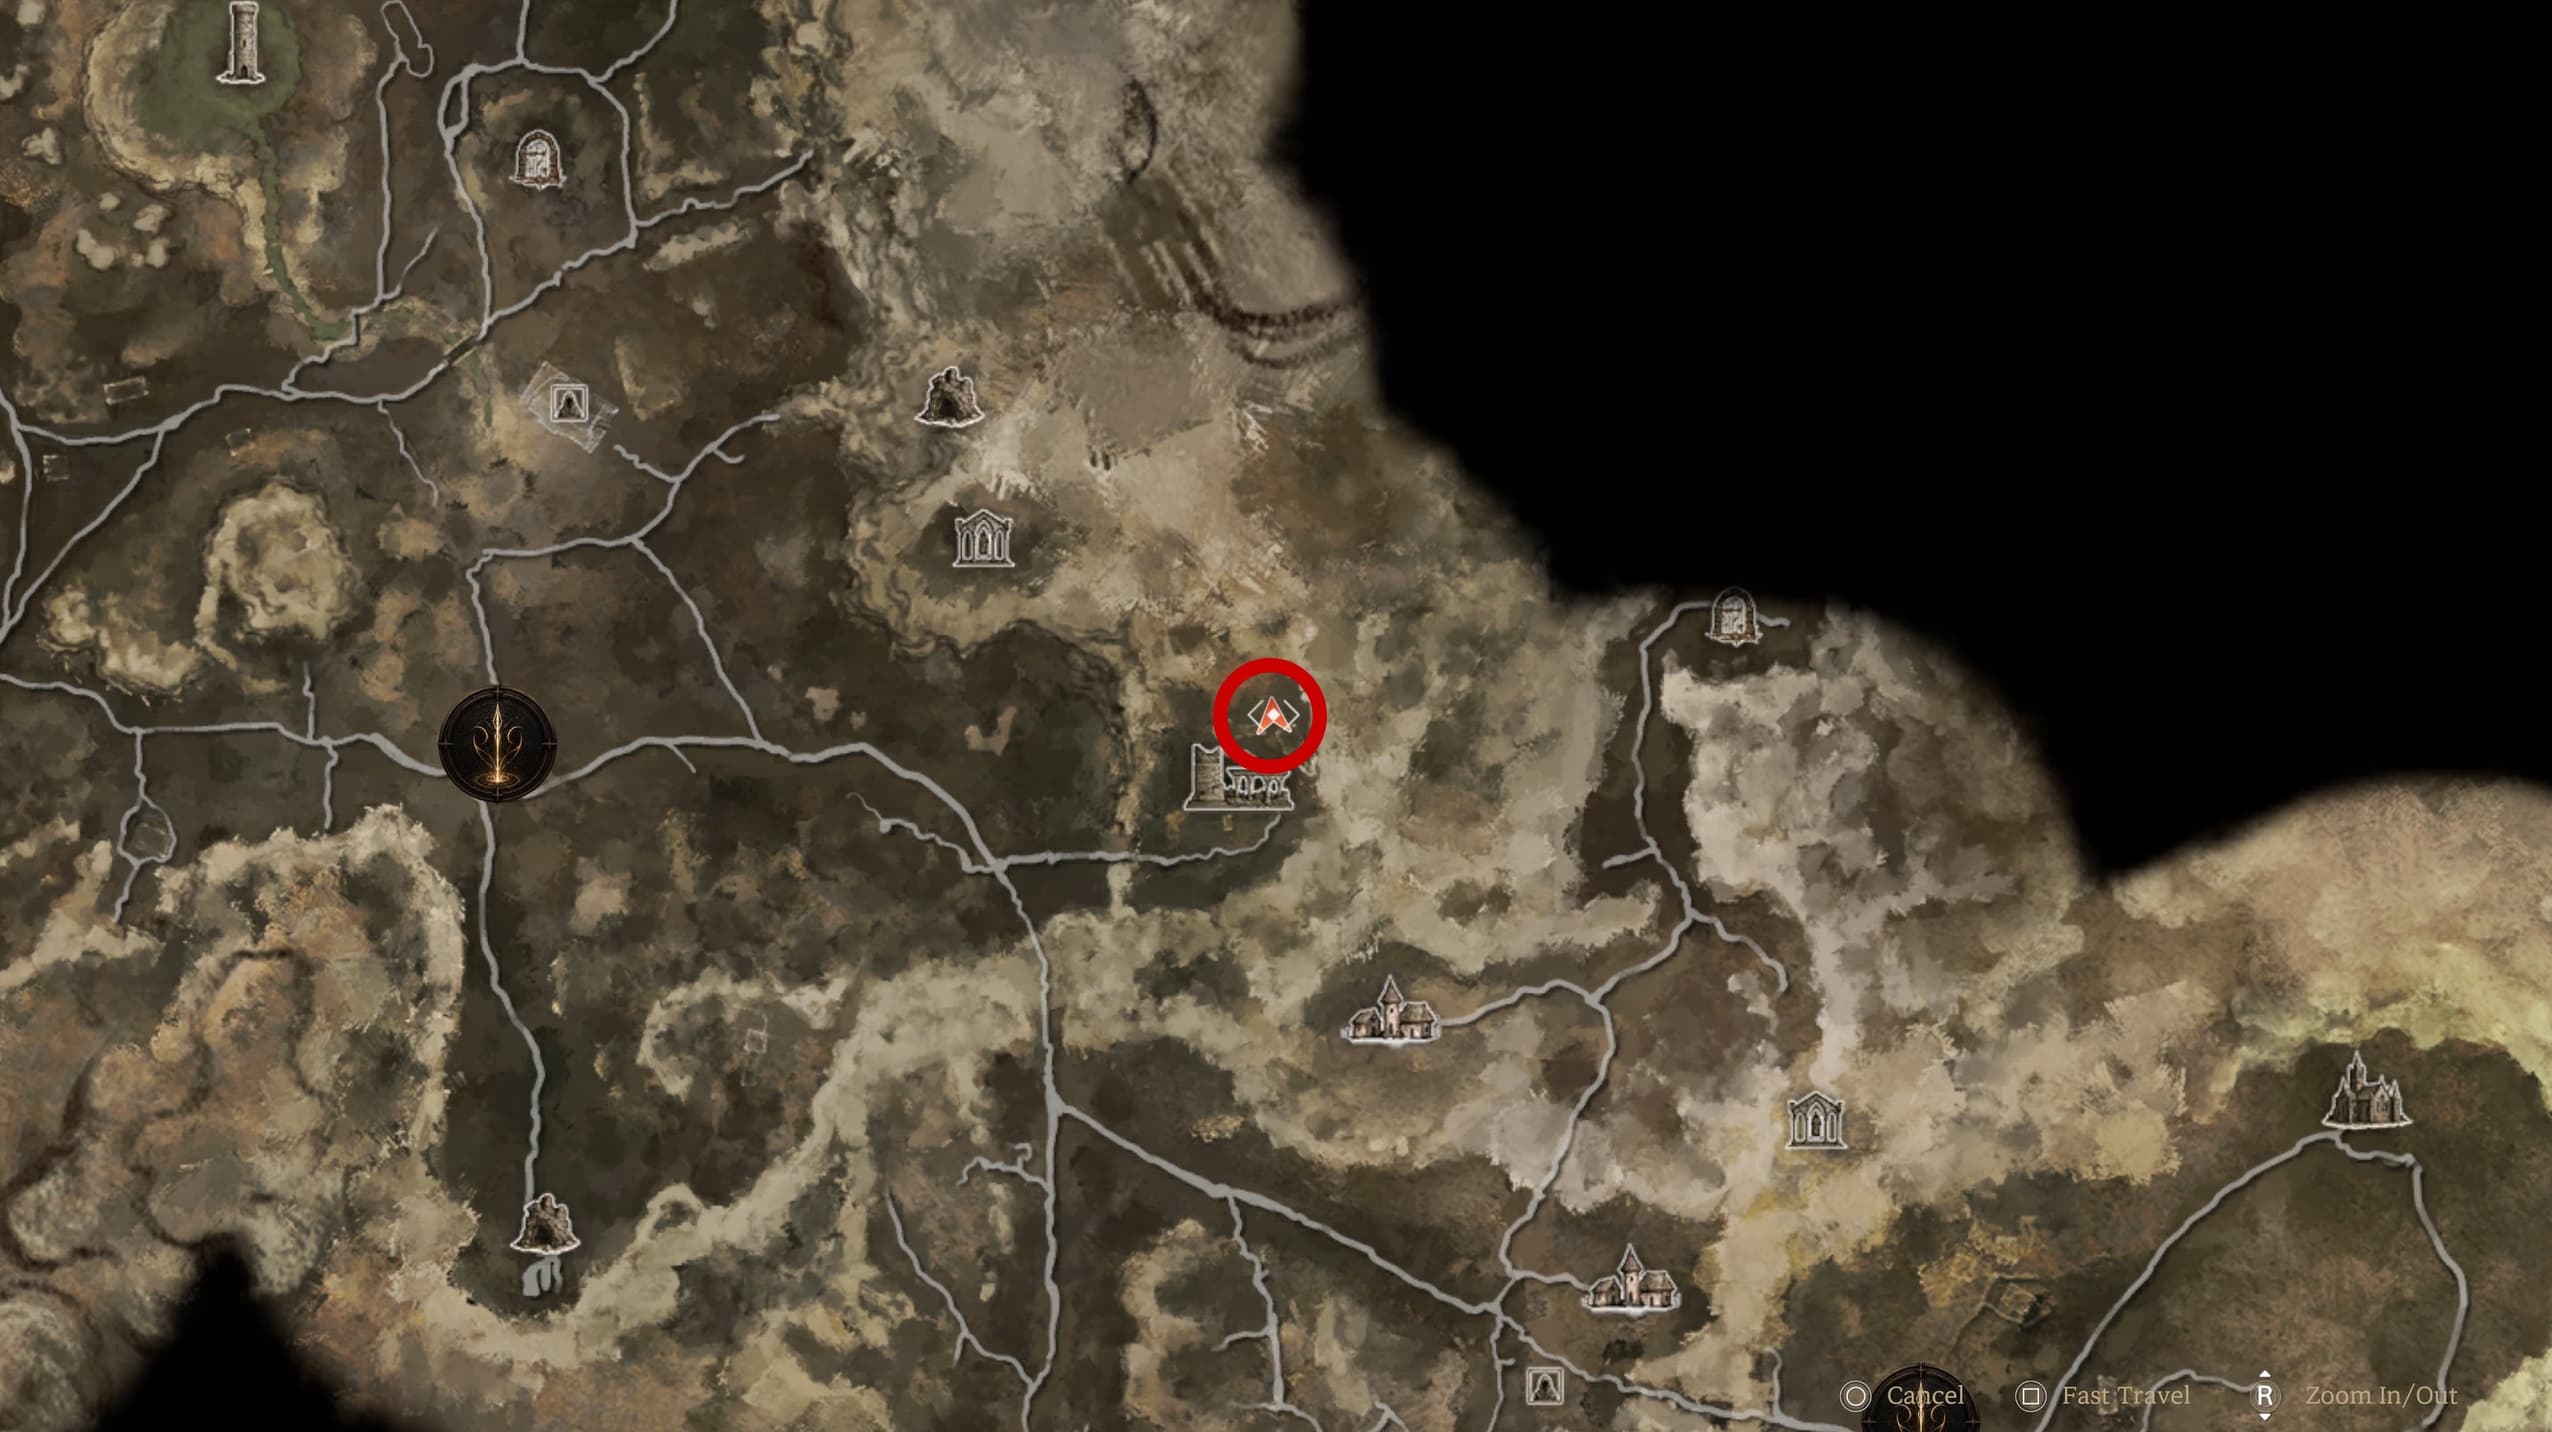
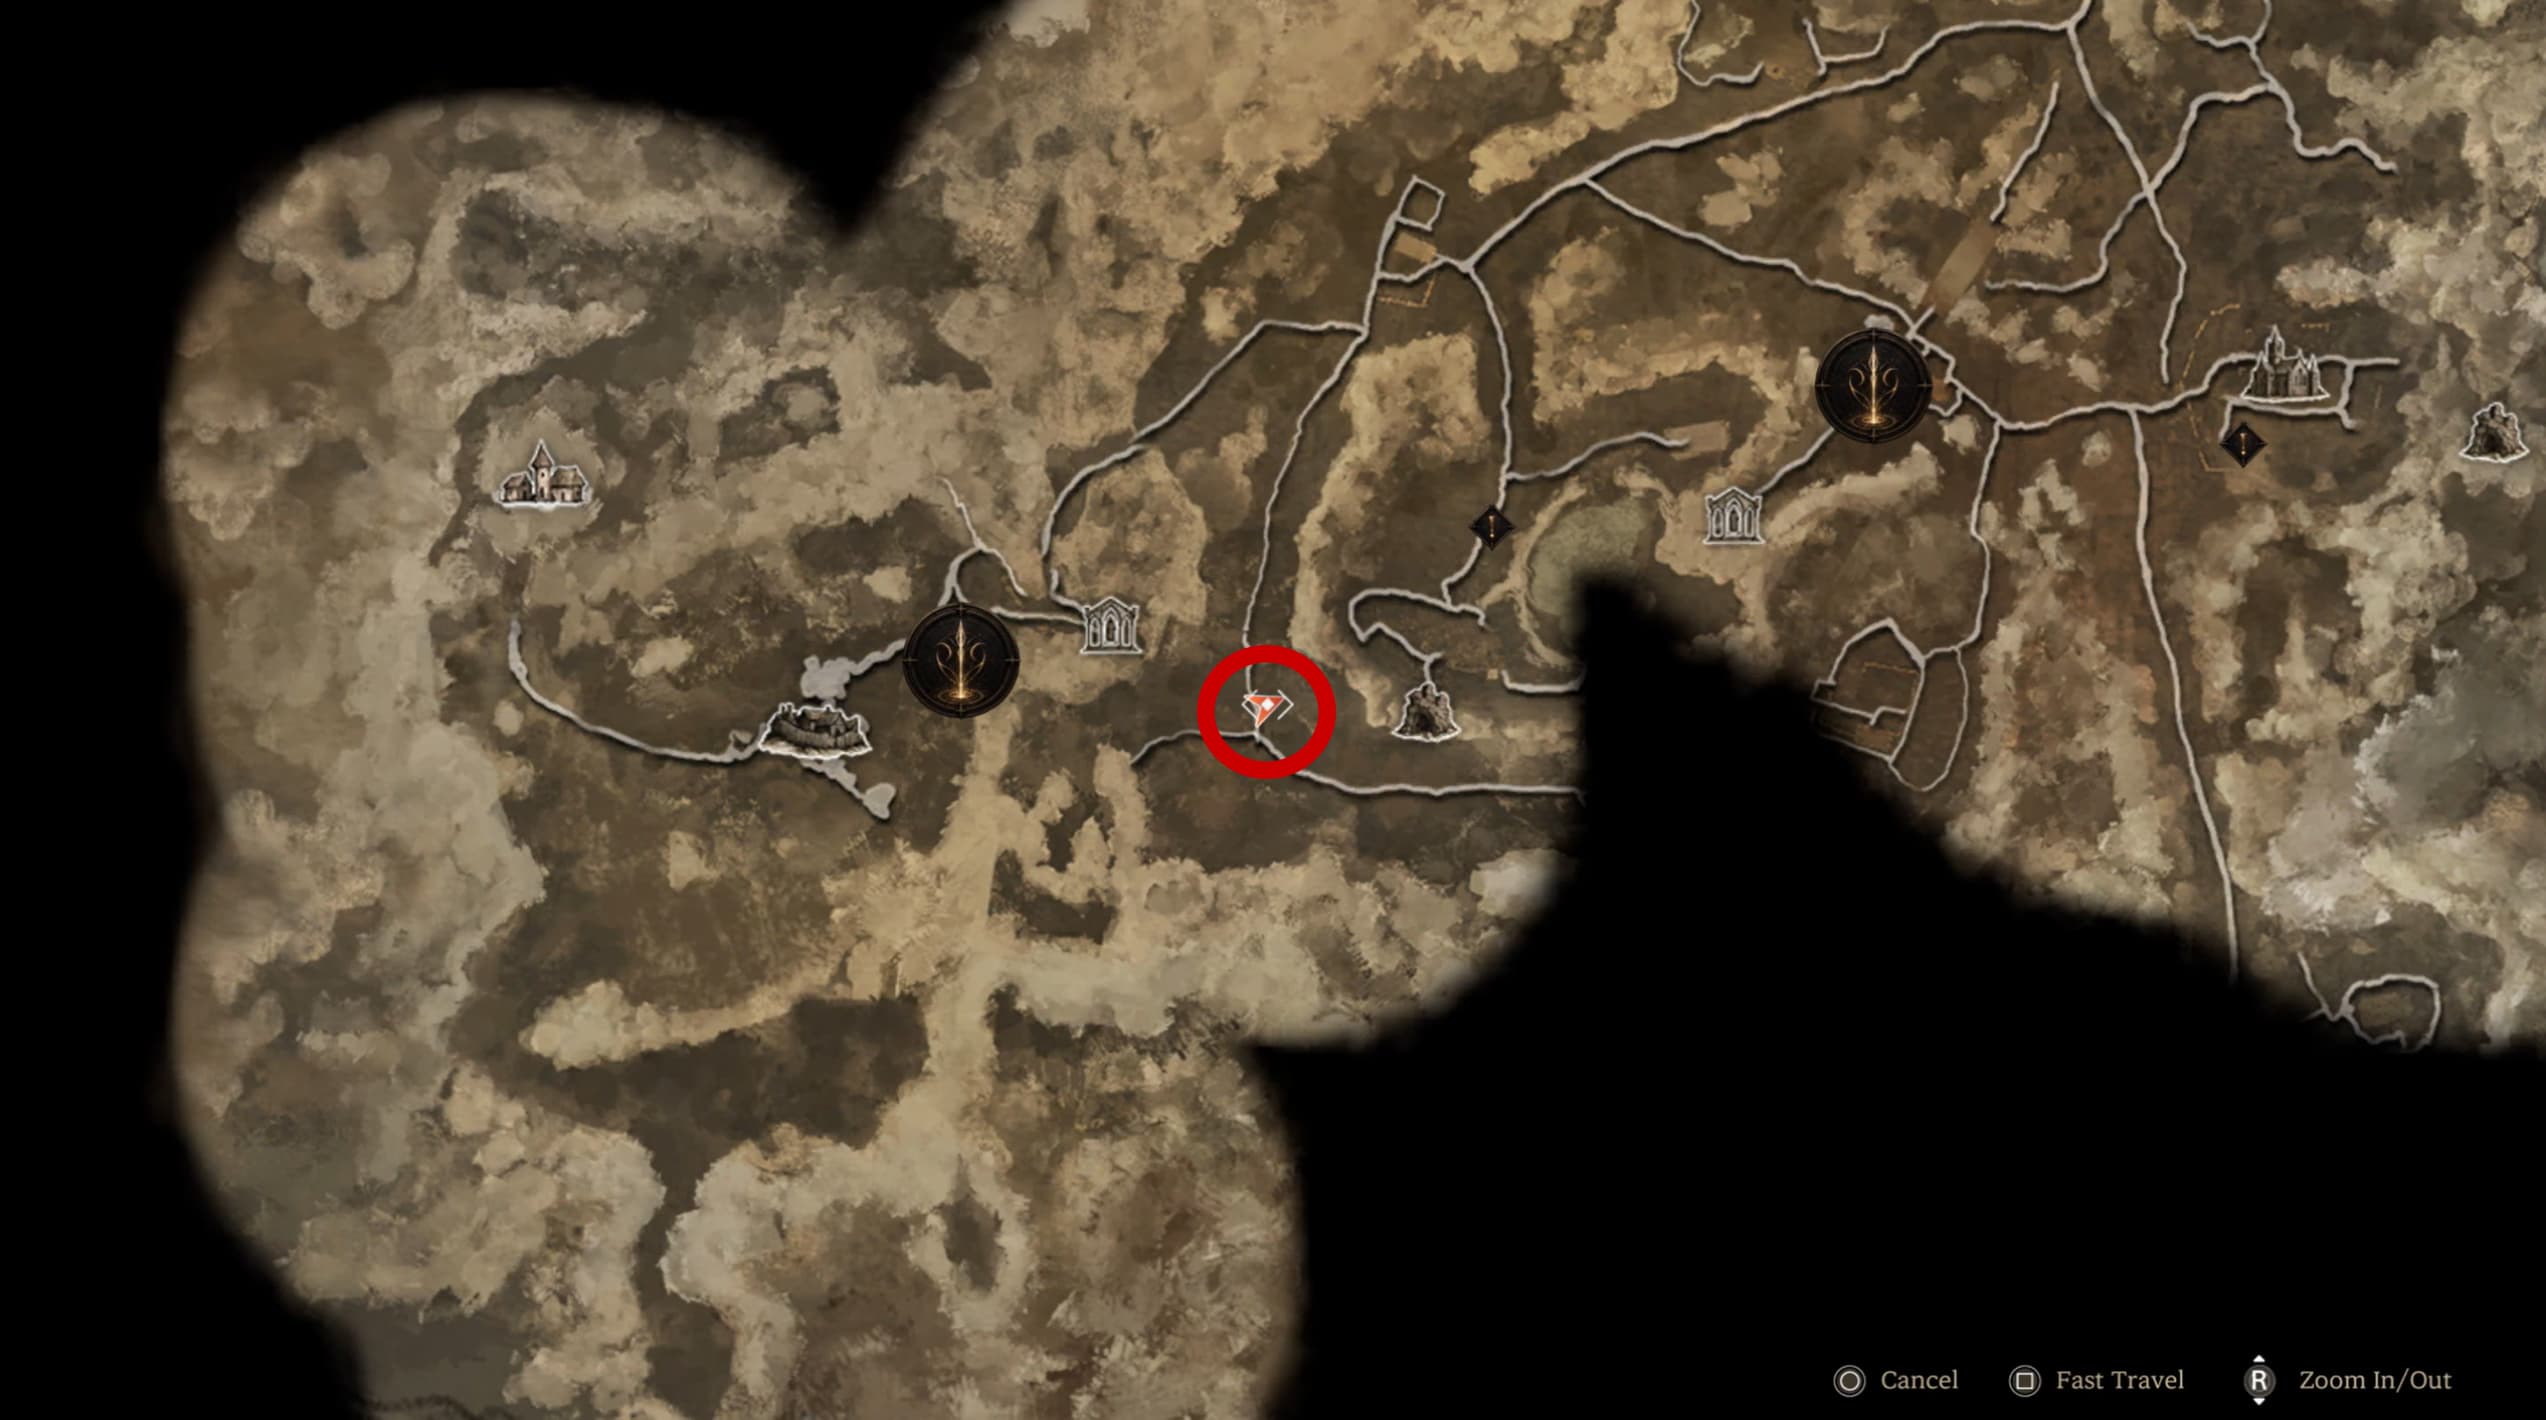
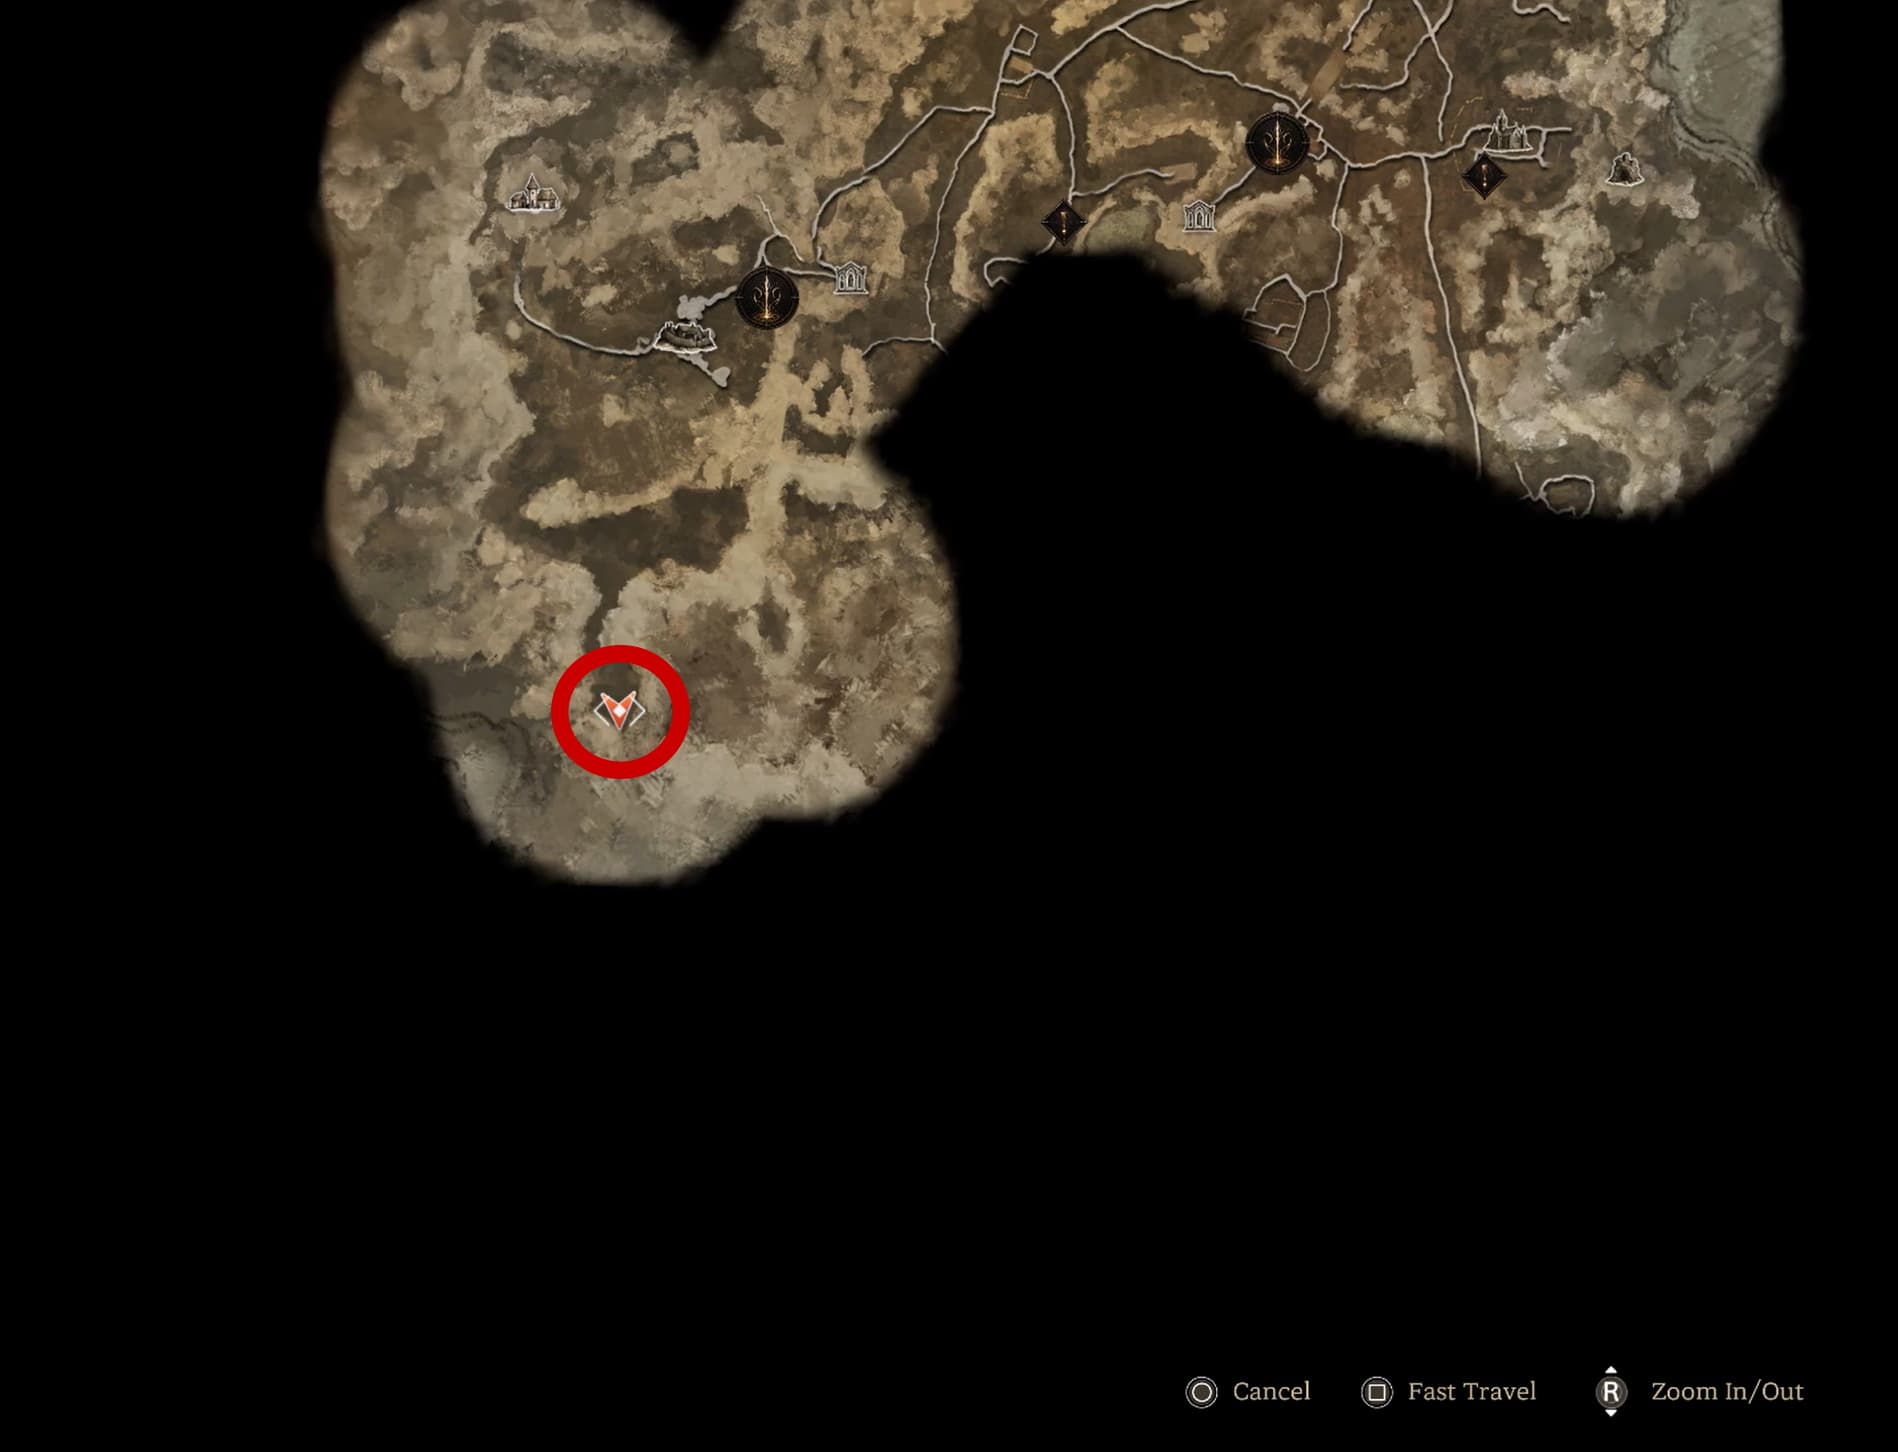
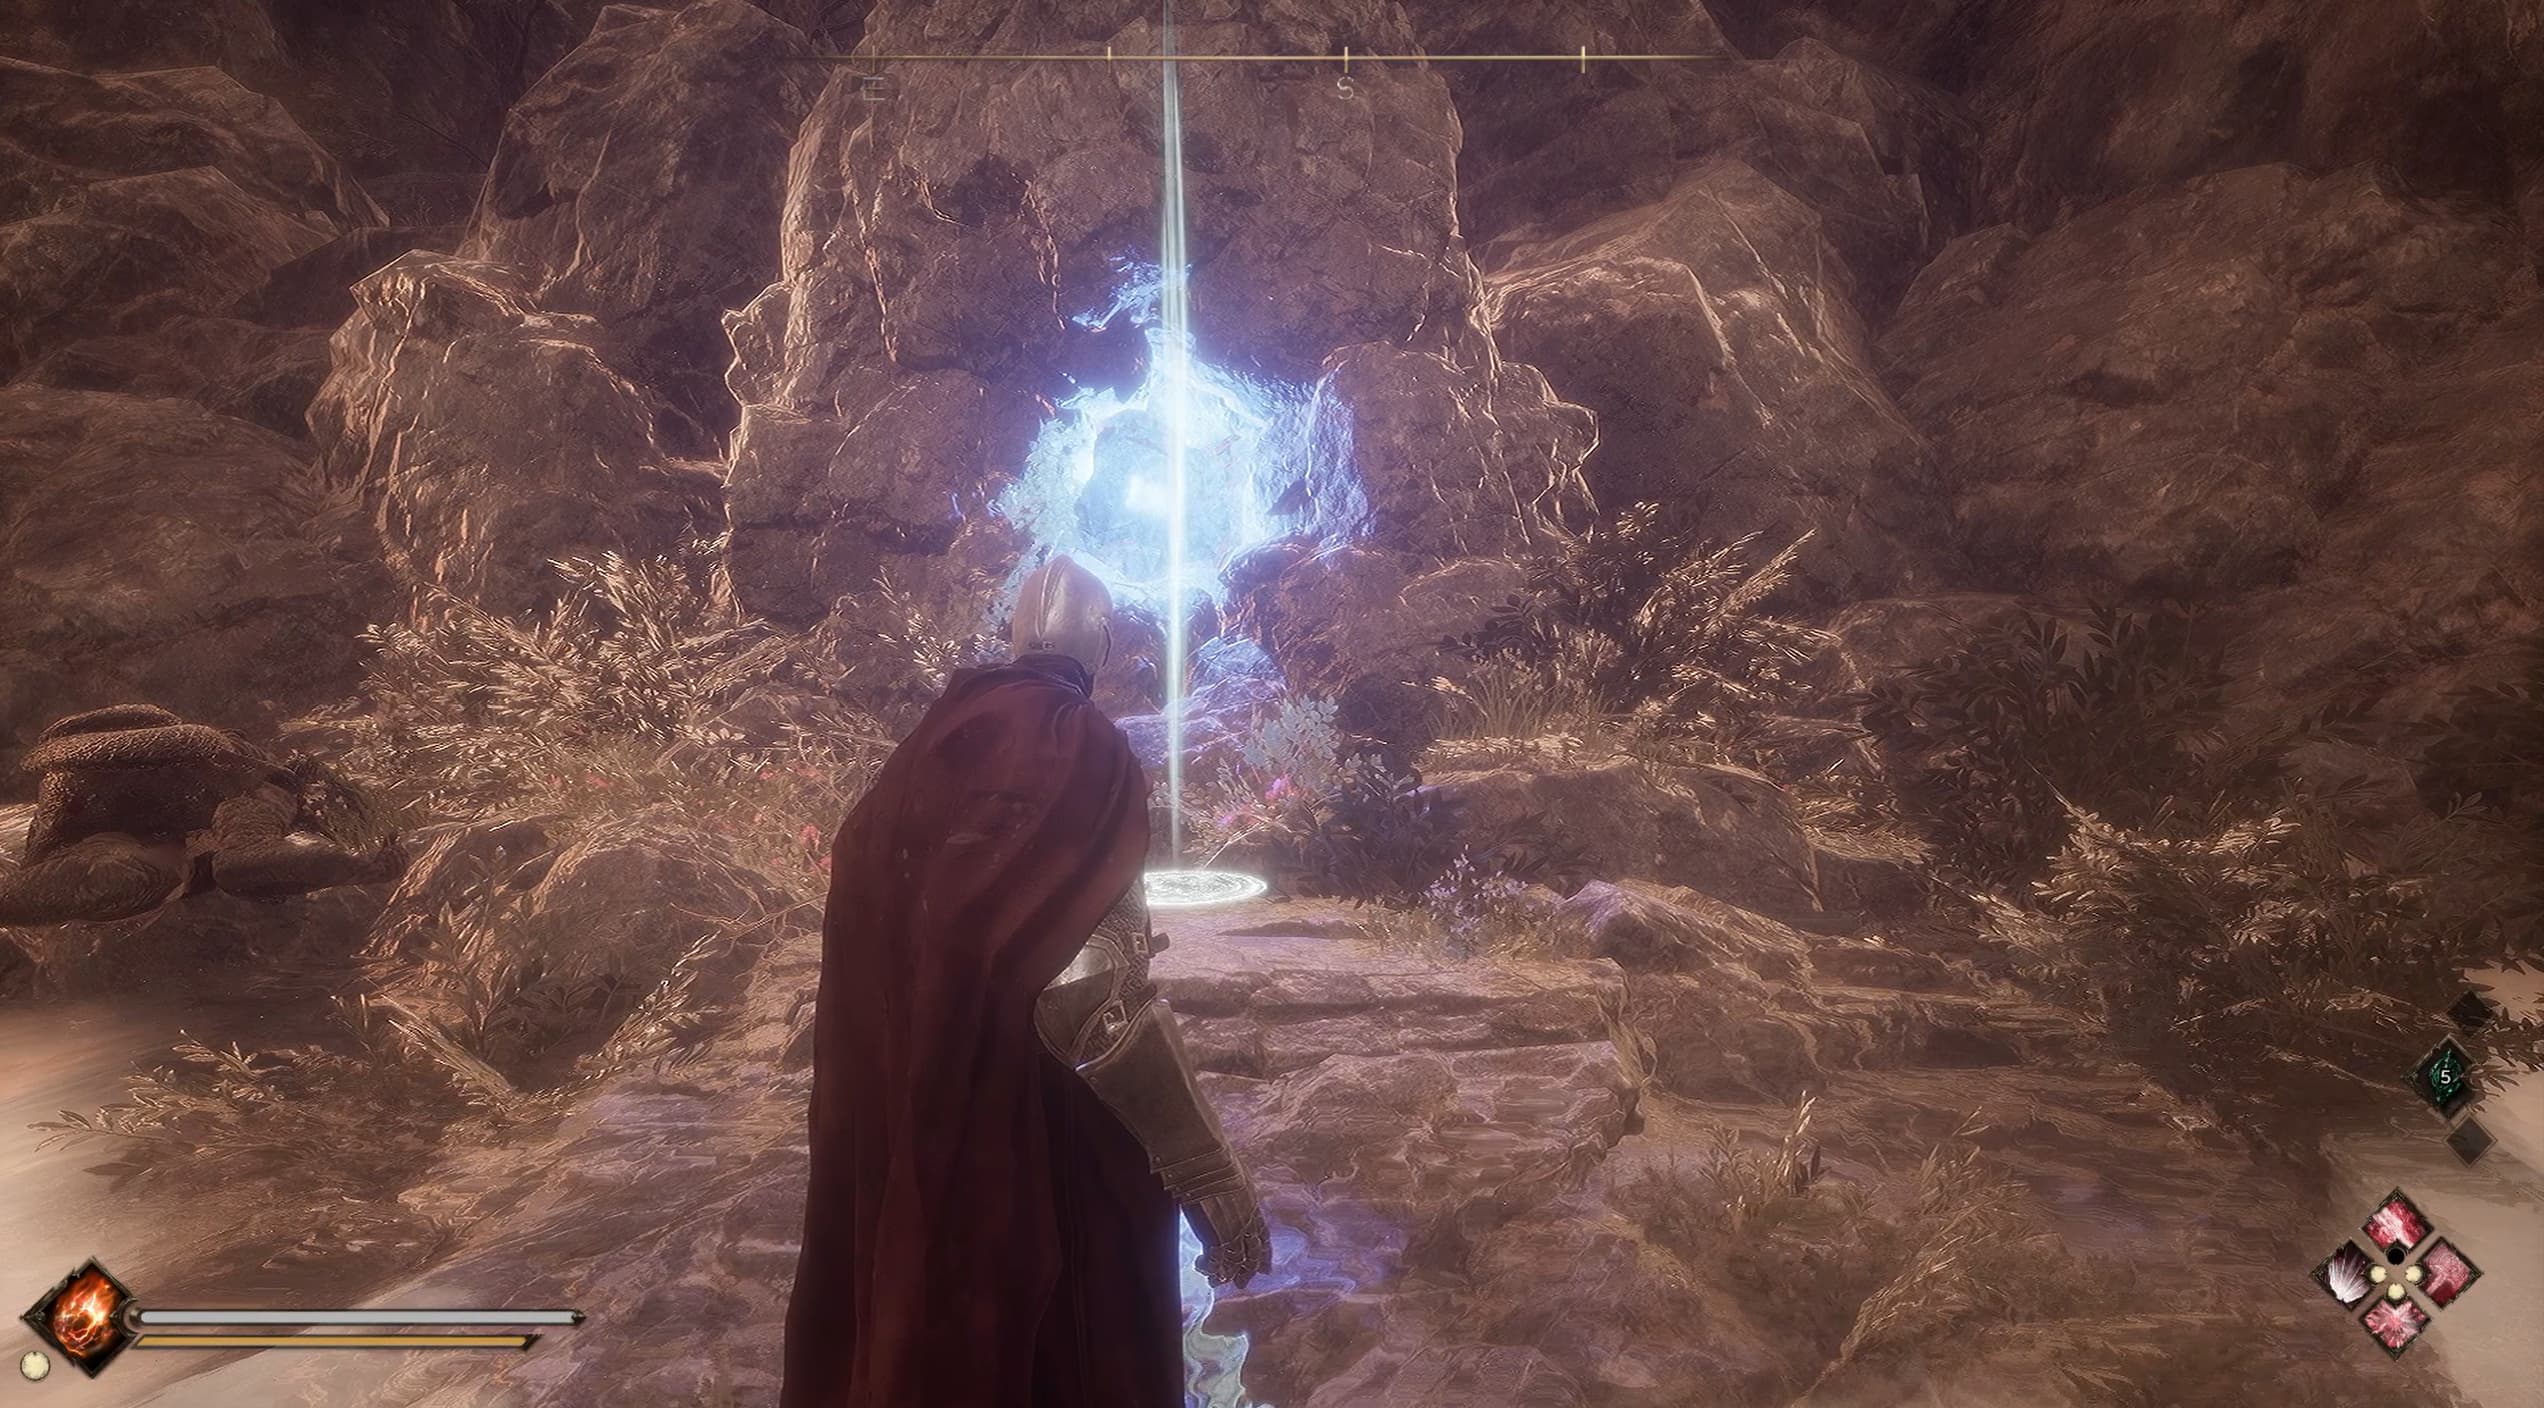
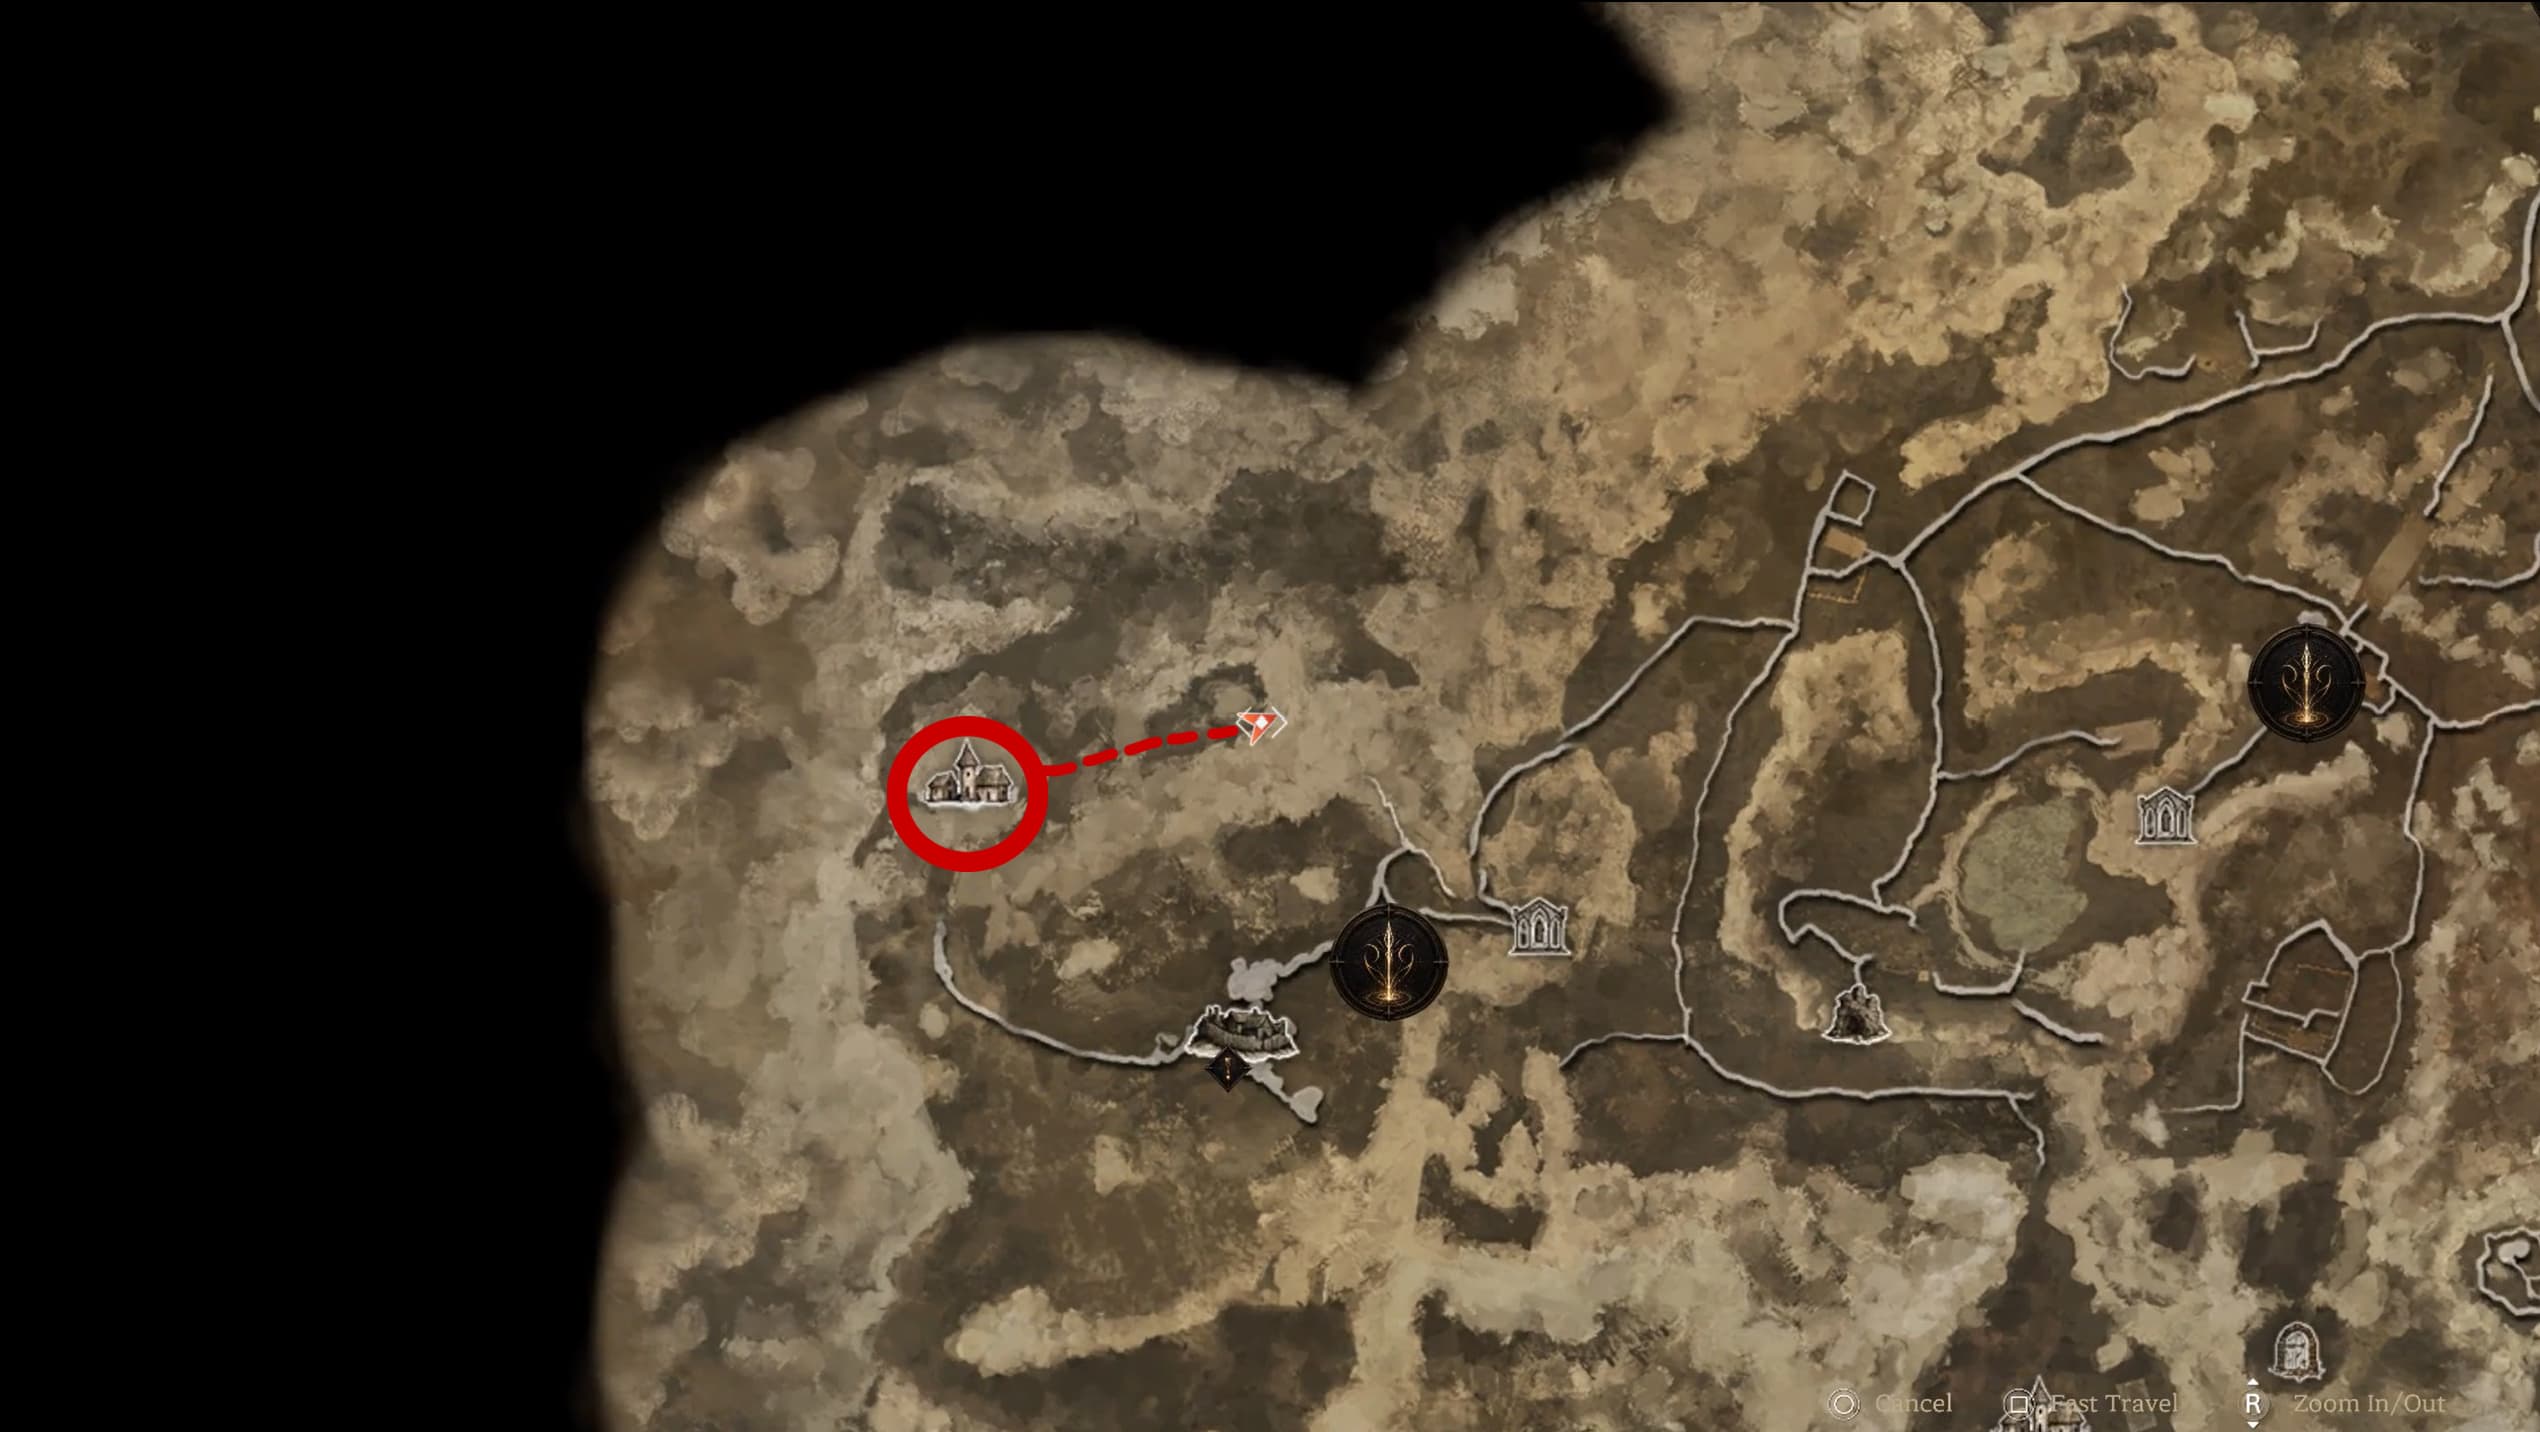
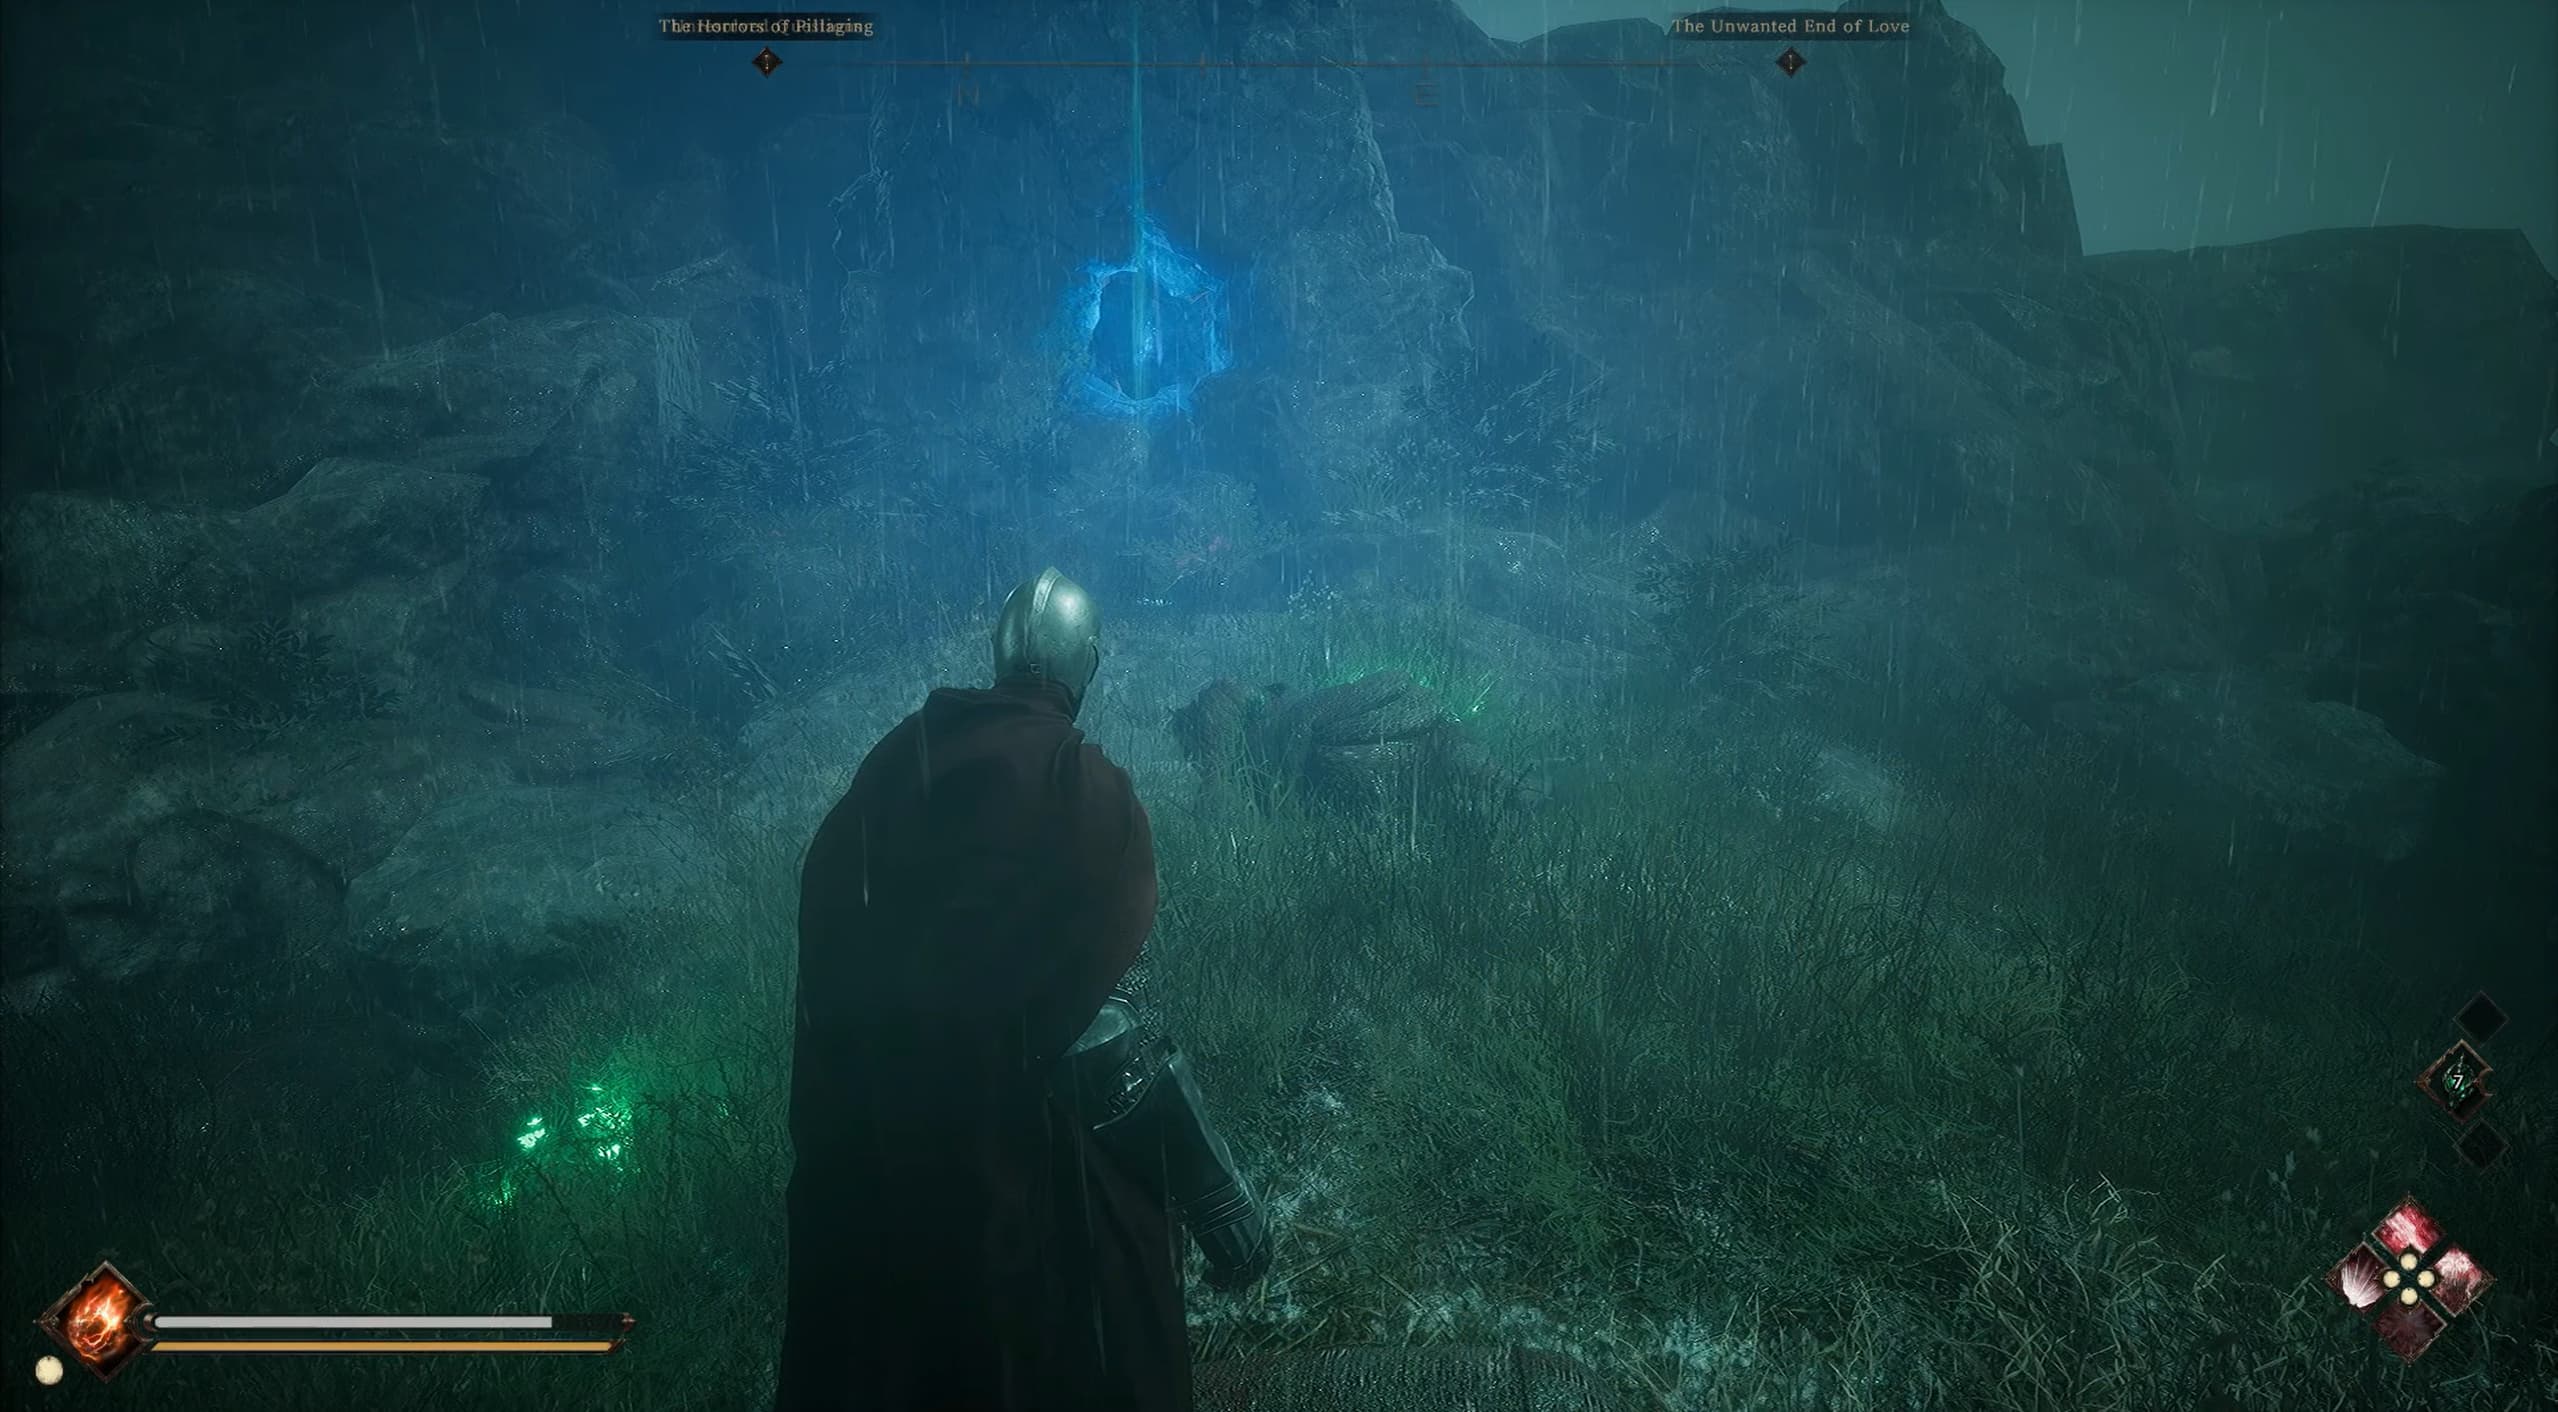
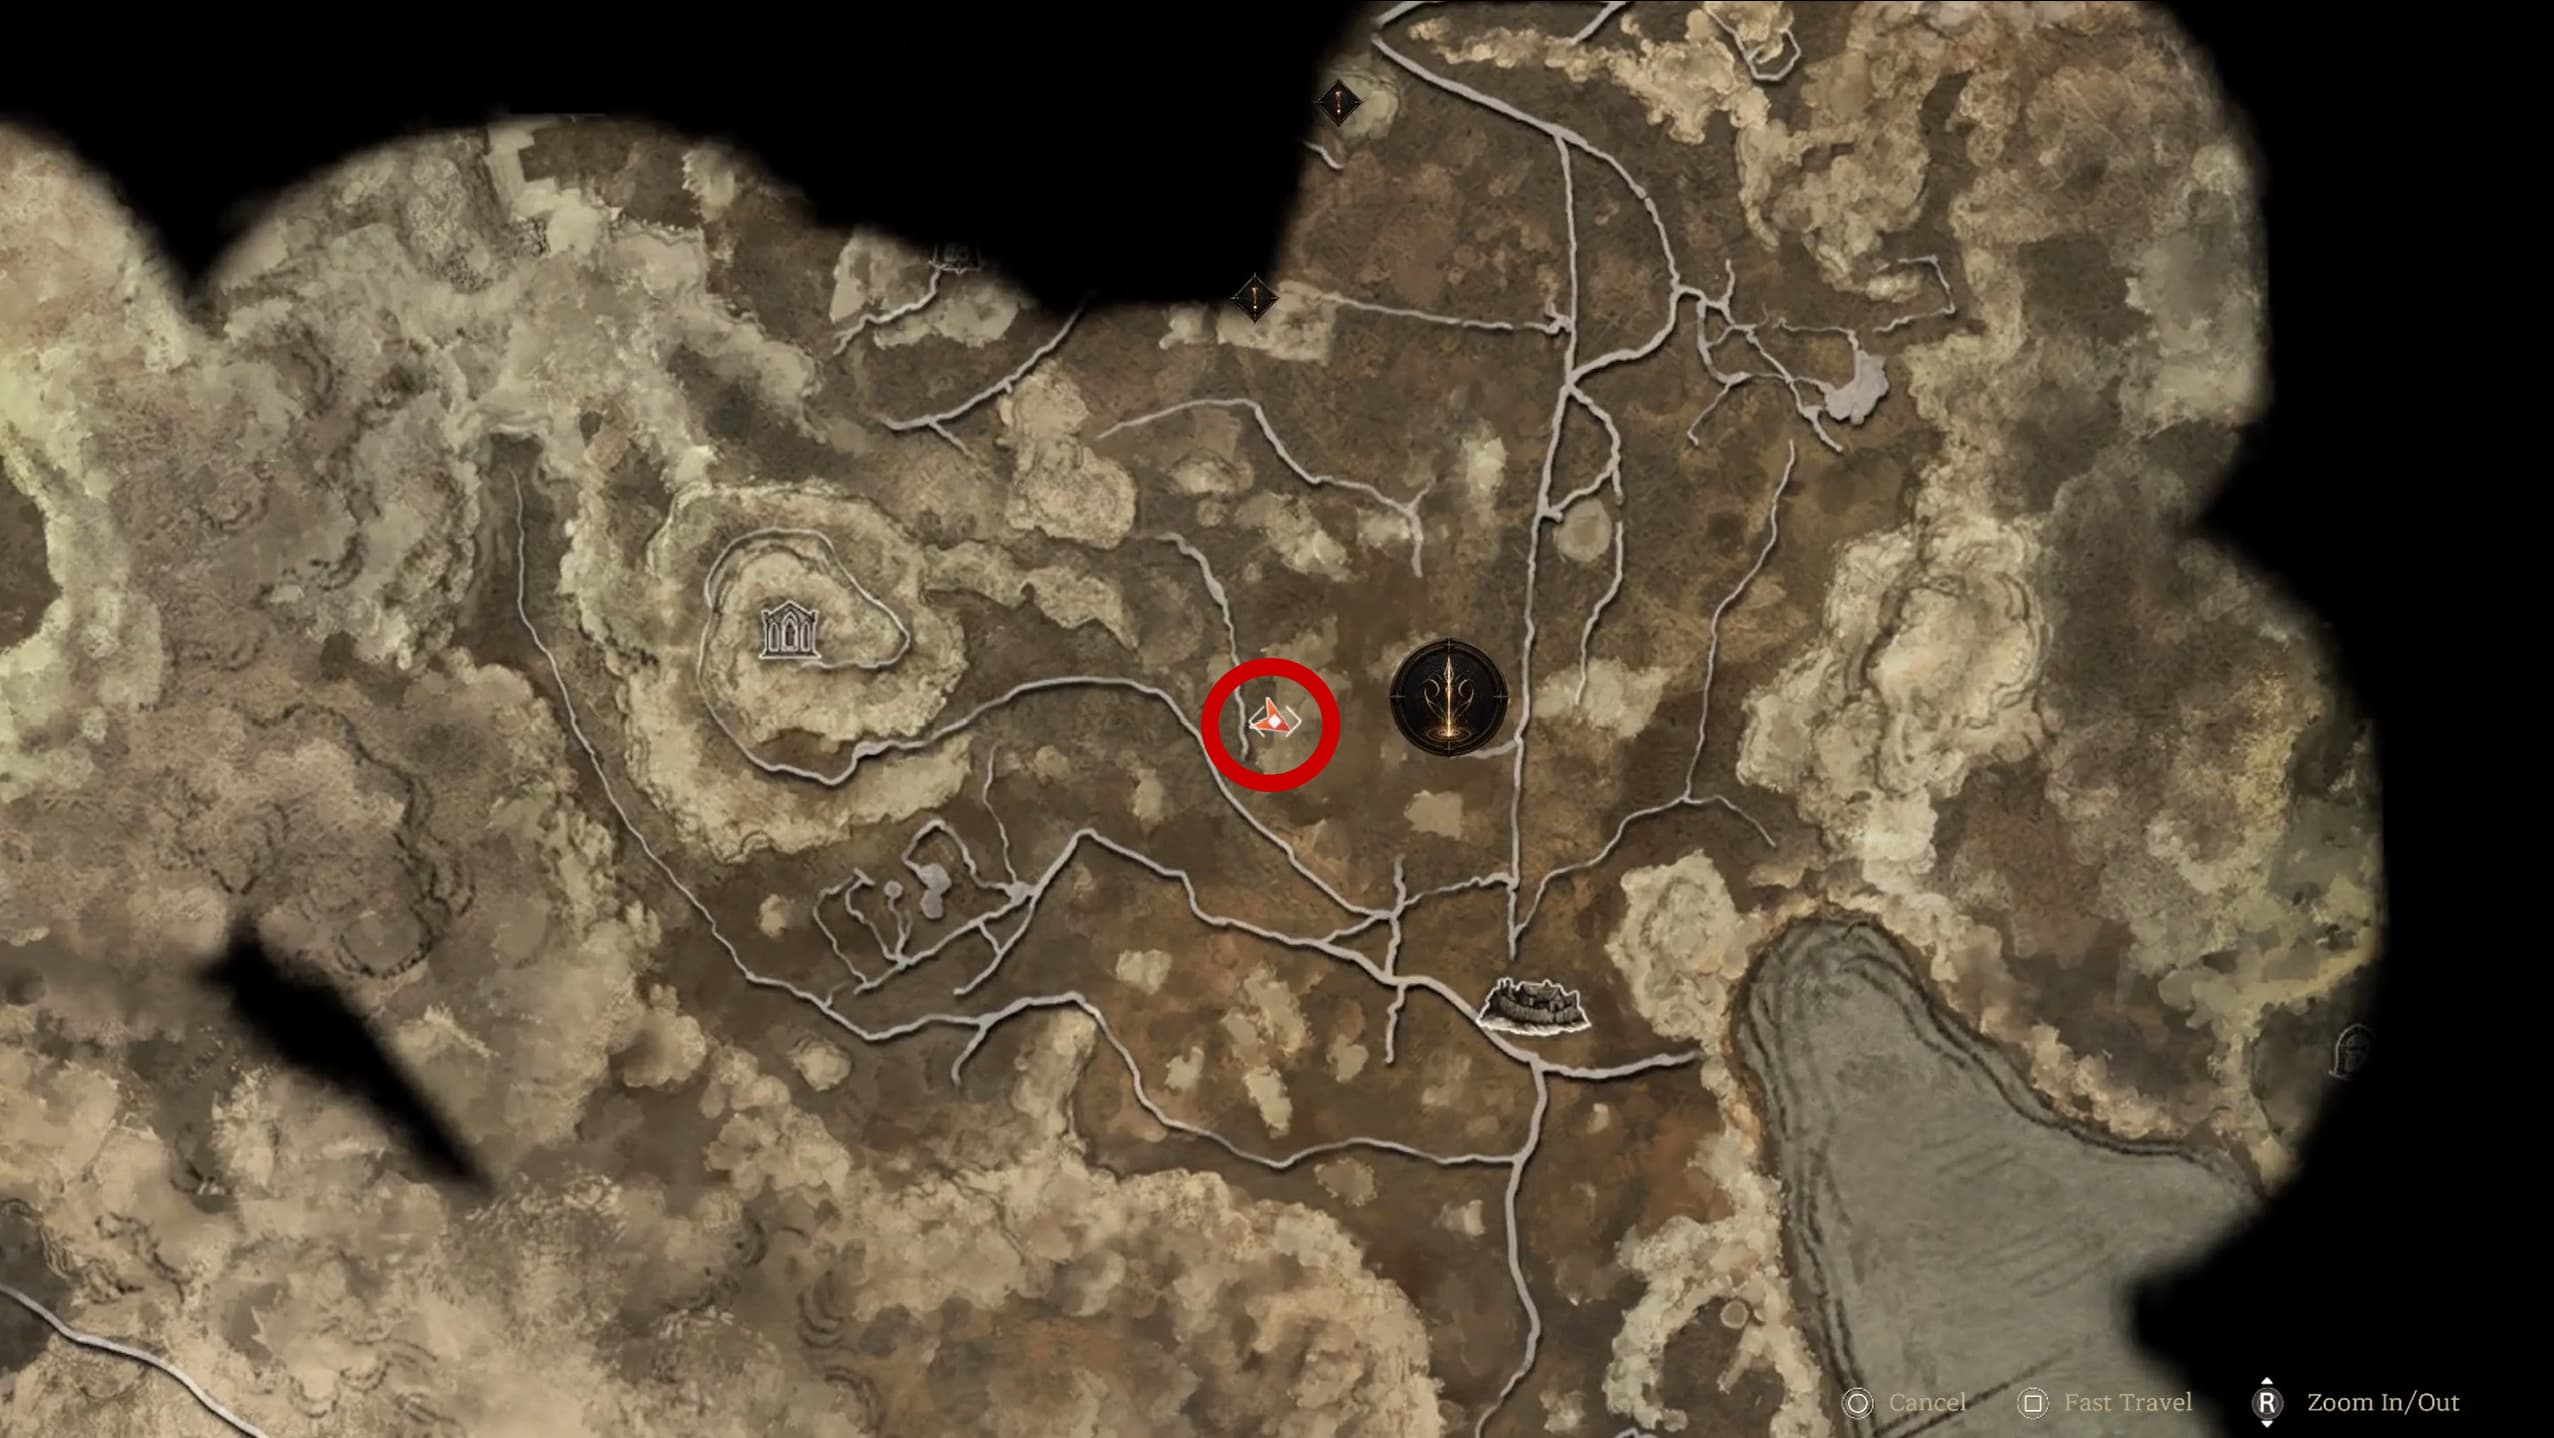
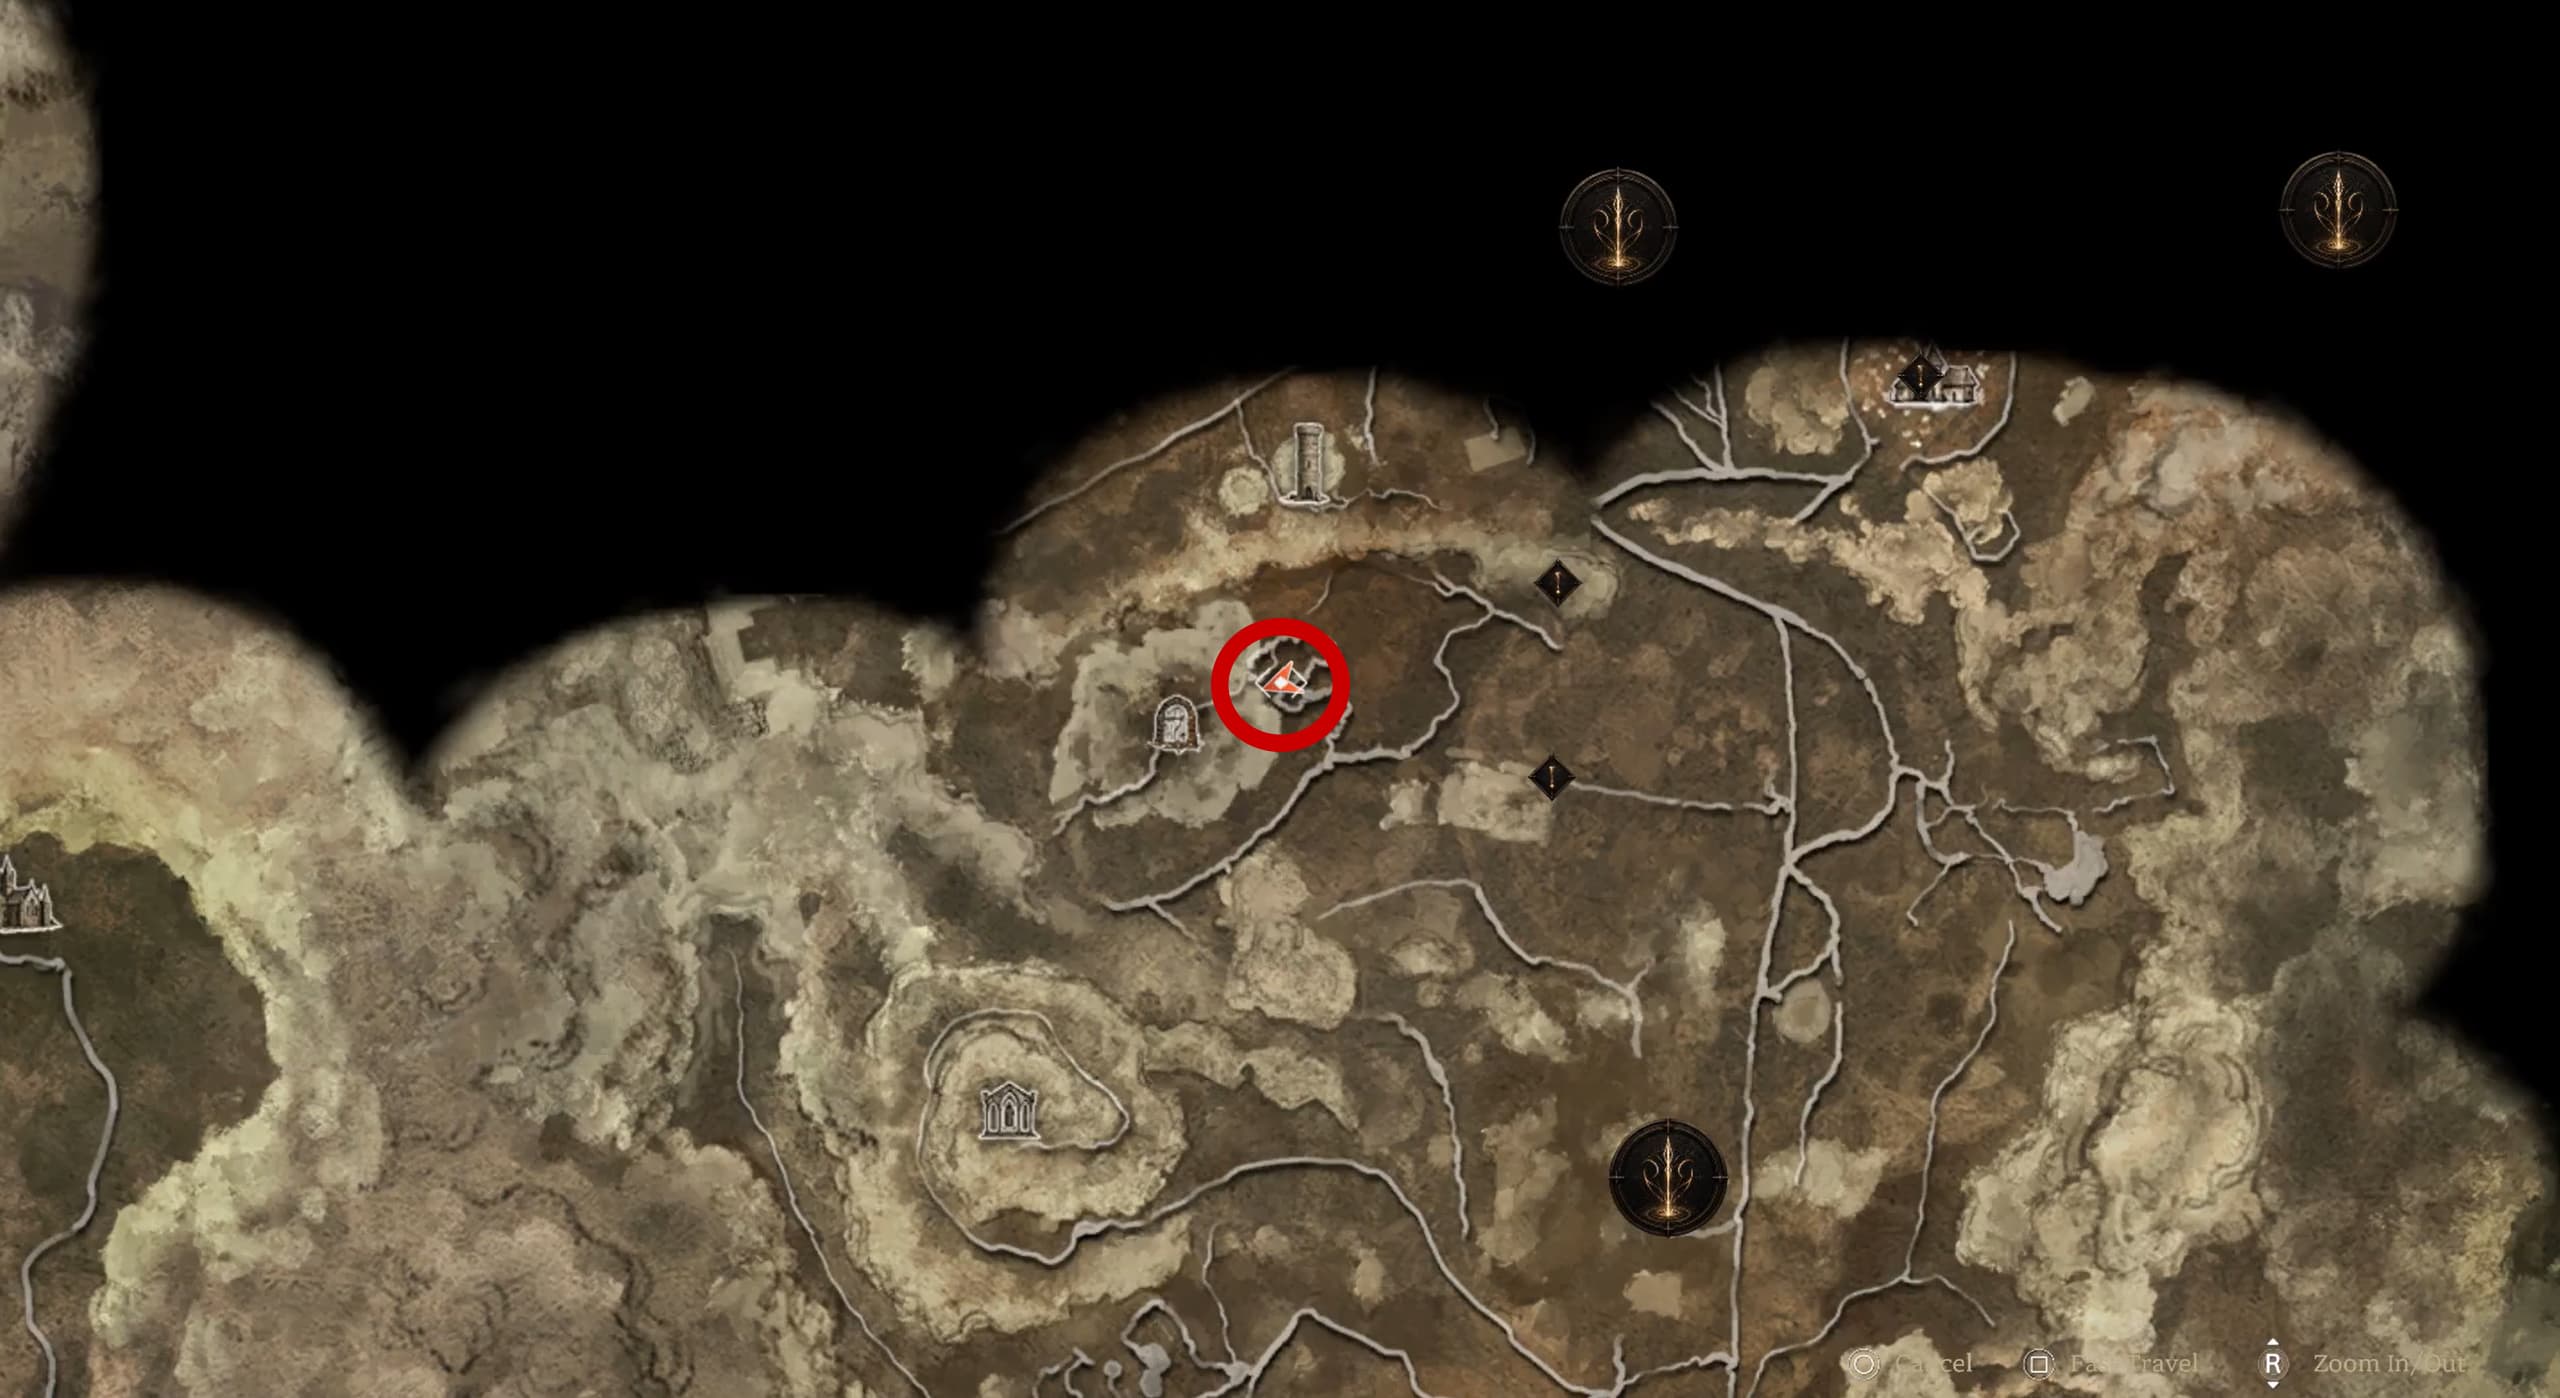
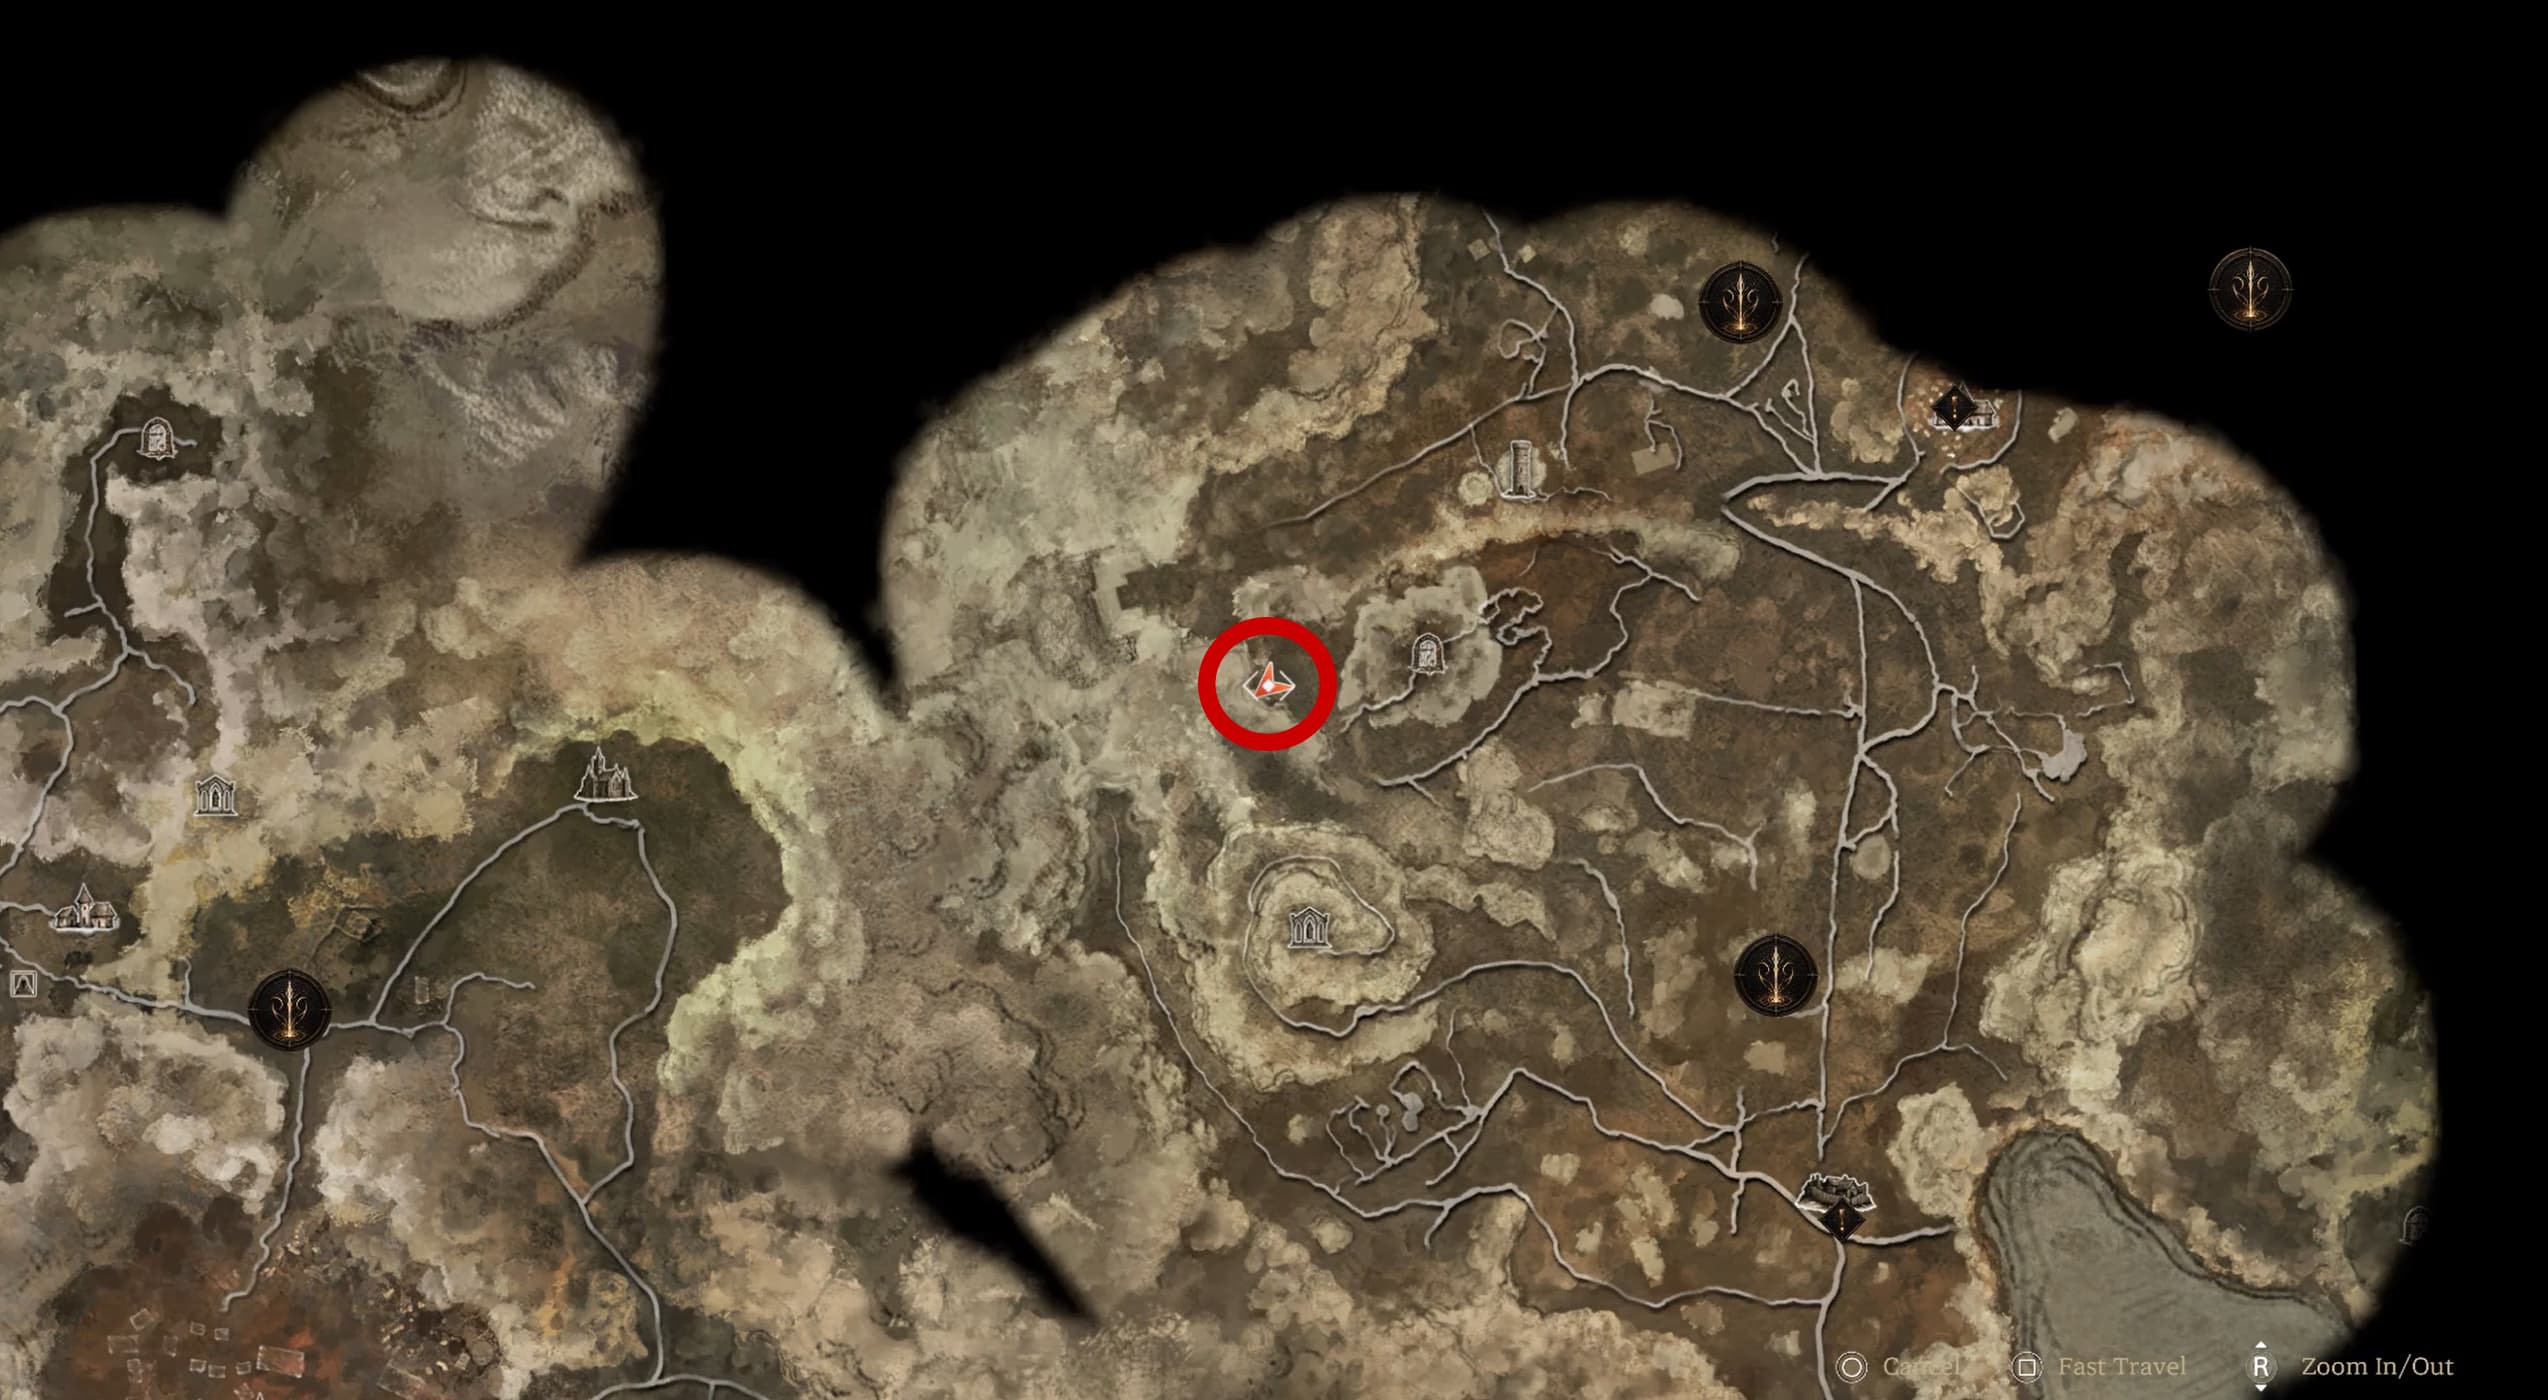
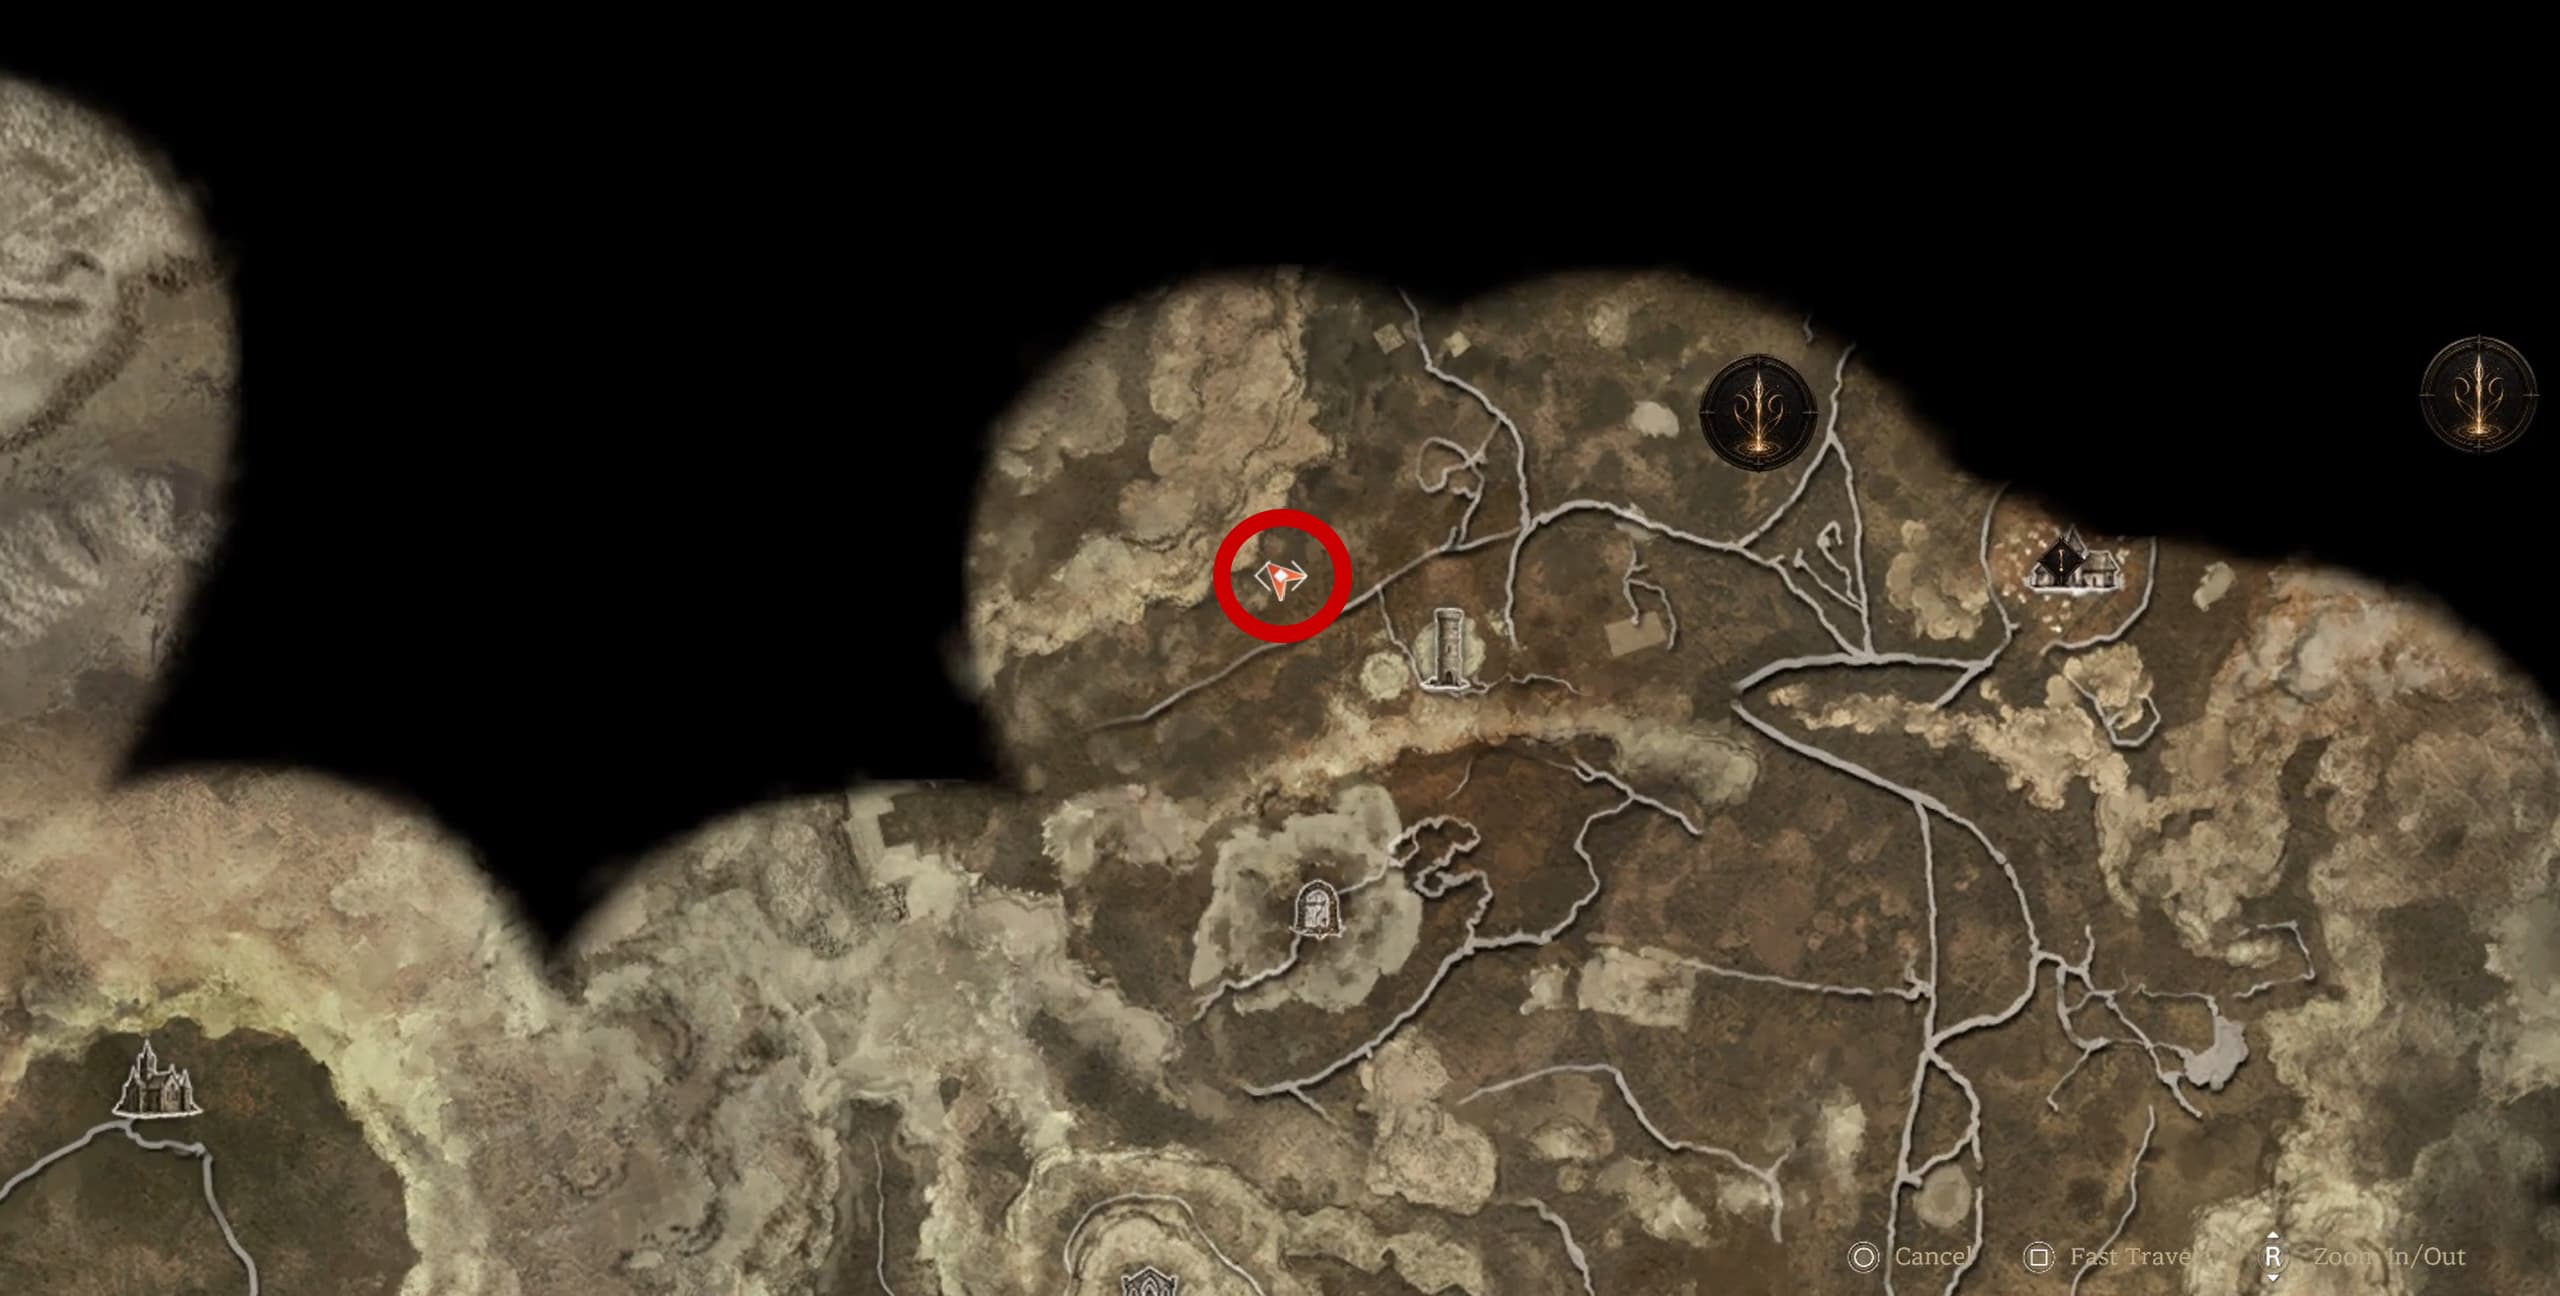
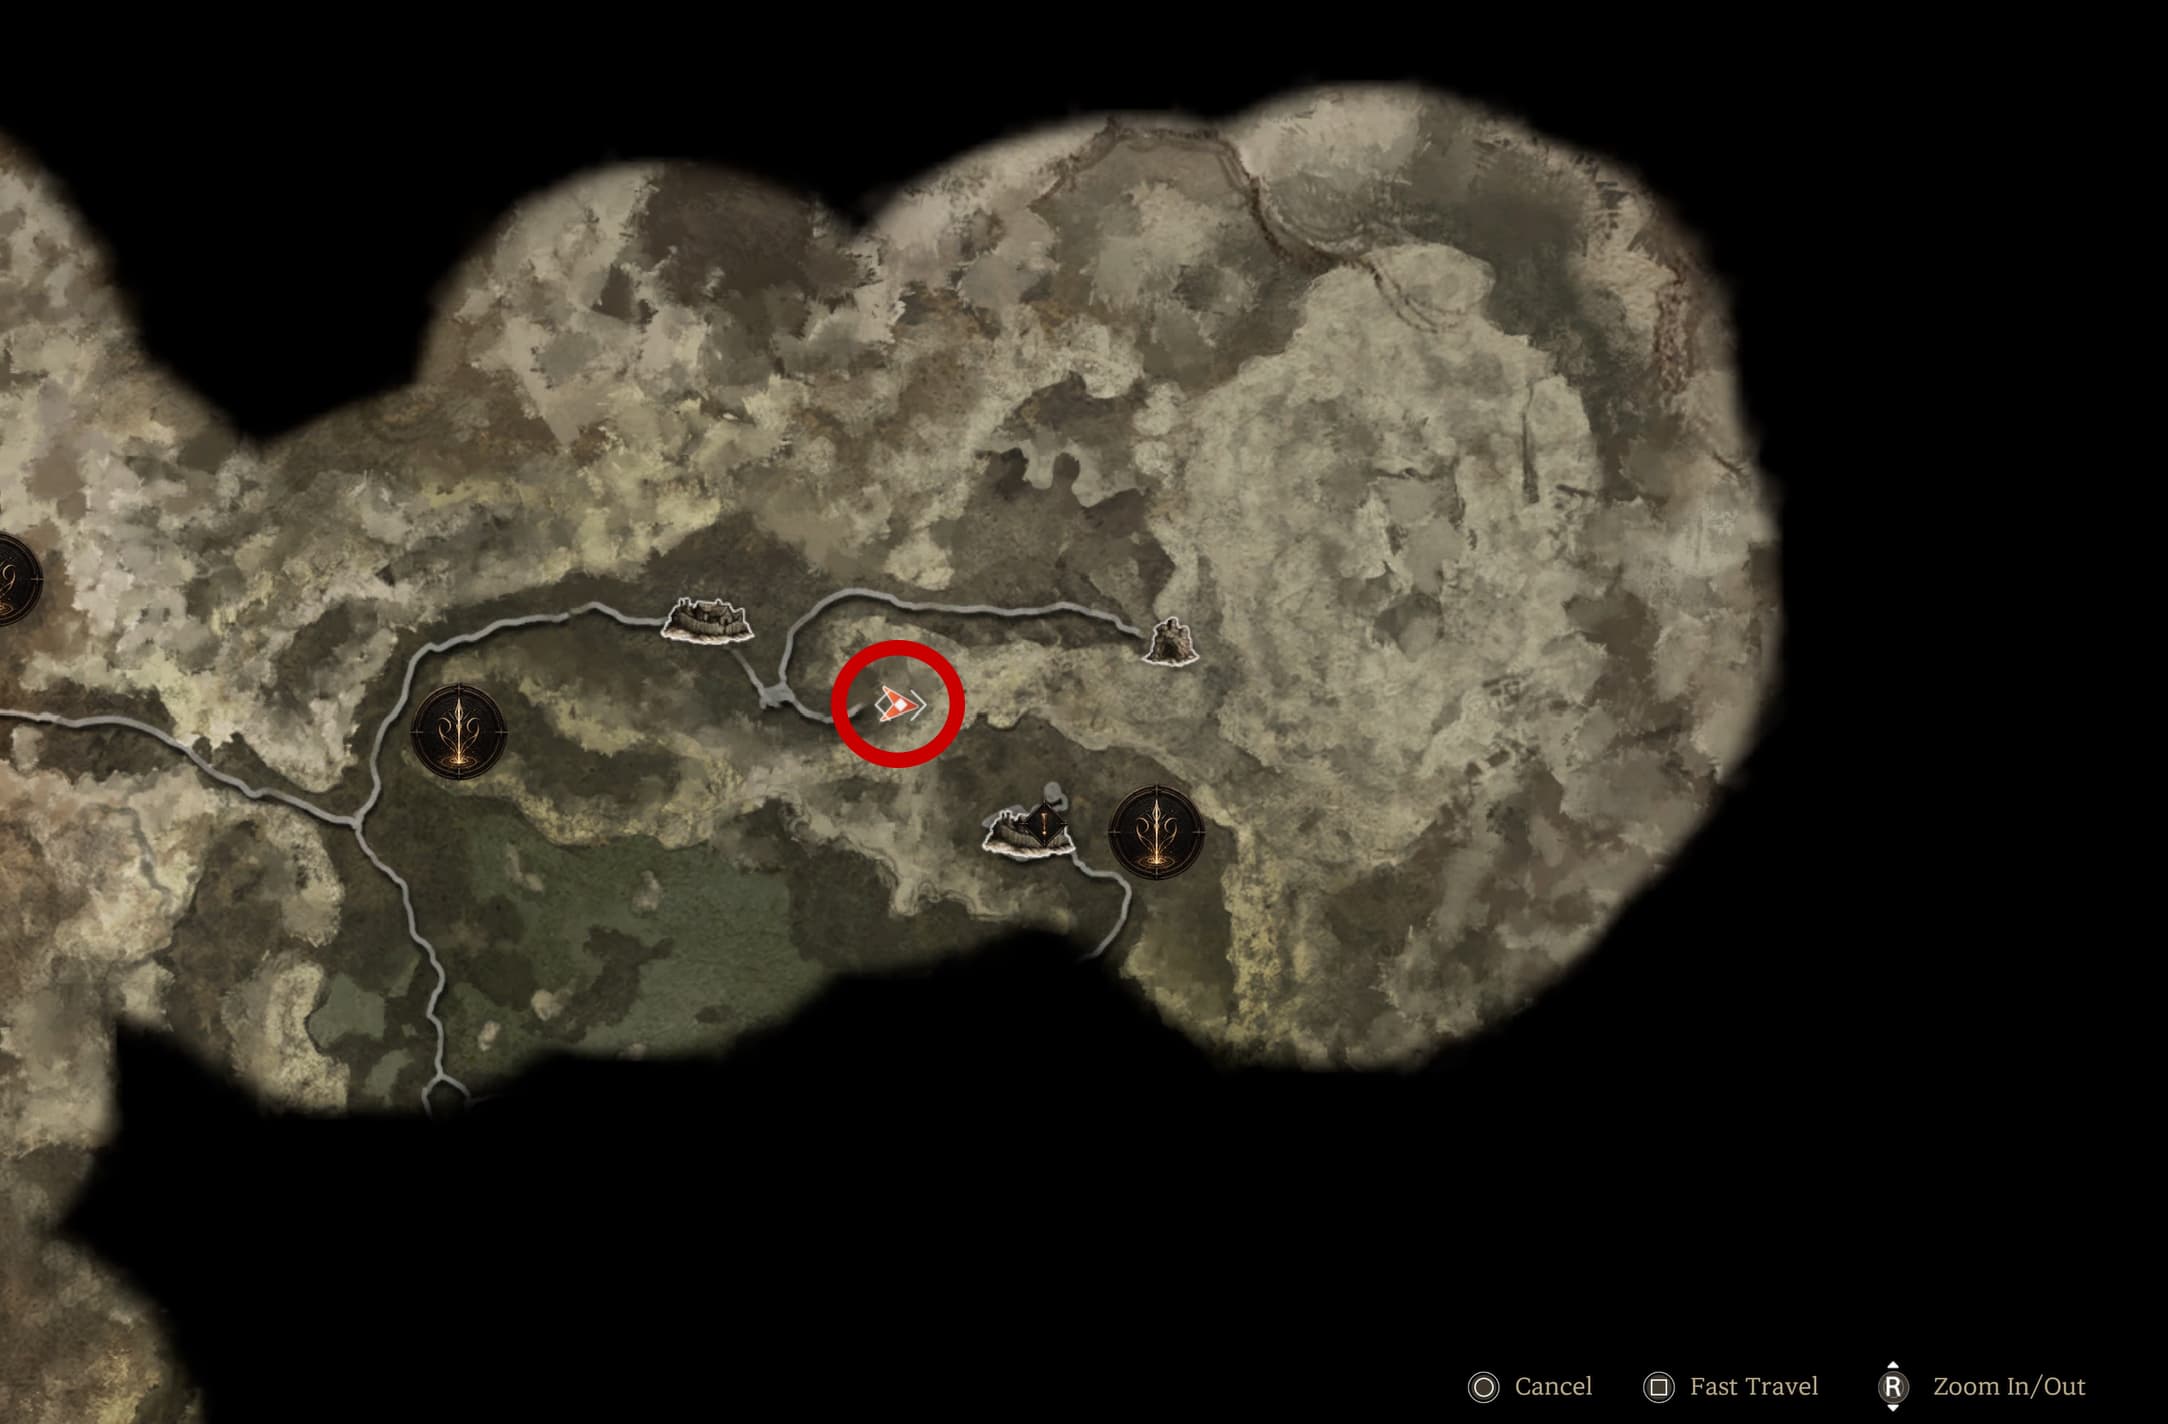
Location #7 is more cave exploration, make your way over to the west side of the map as shown below, the cave entrance is a sneaky one, on the corner of the path as the red circle below indicates, not the cave image that the map shows, explore into the cave to find the Relic Power.
Location #8 is another nice easy outdoor rock to find, once again, the blue glow from the rock should indicate from a distance the location of this Relic Power.
Location #9 just a little north and west from the previous location, another nice and easy one to spot.
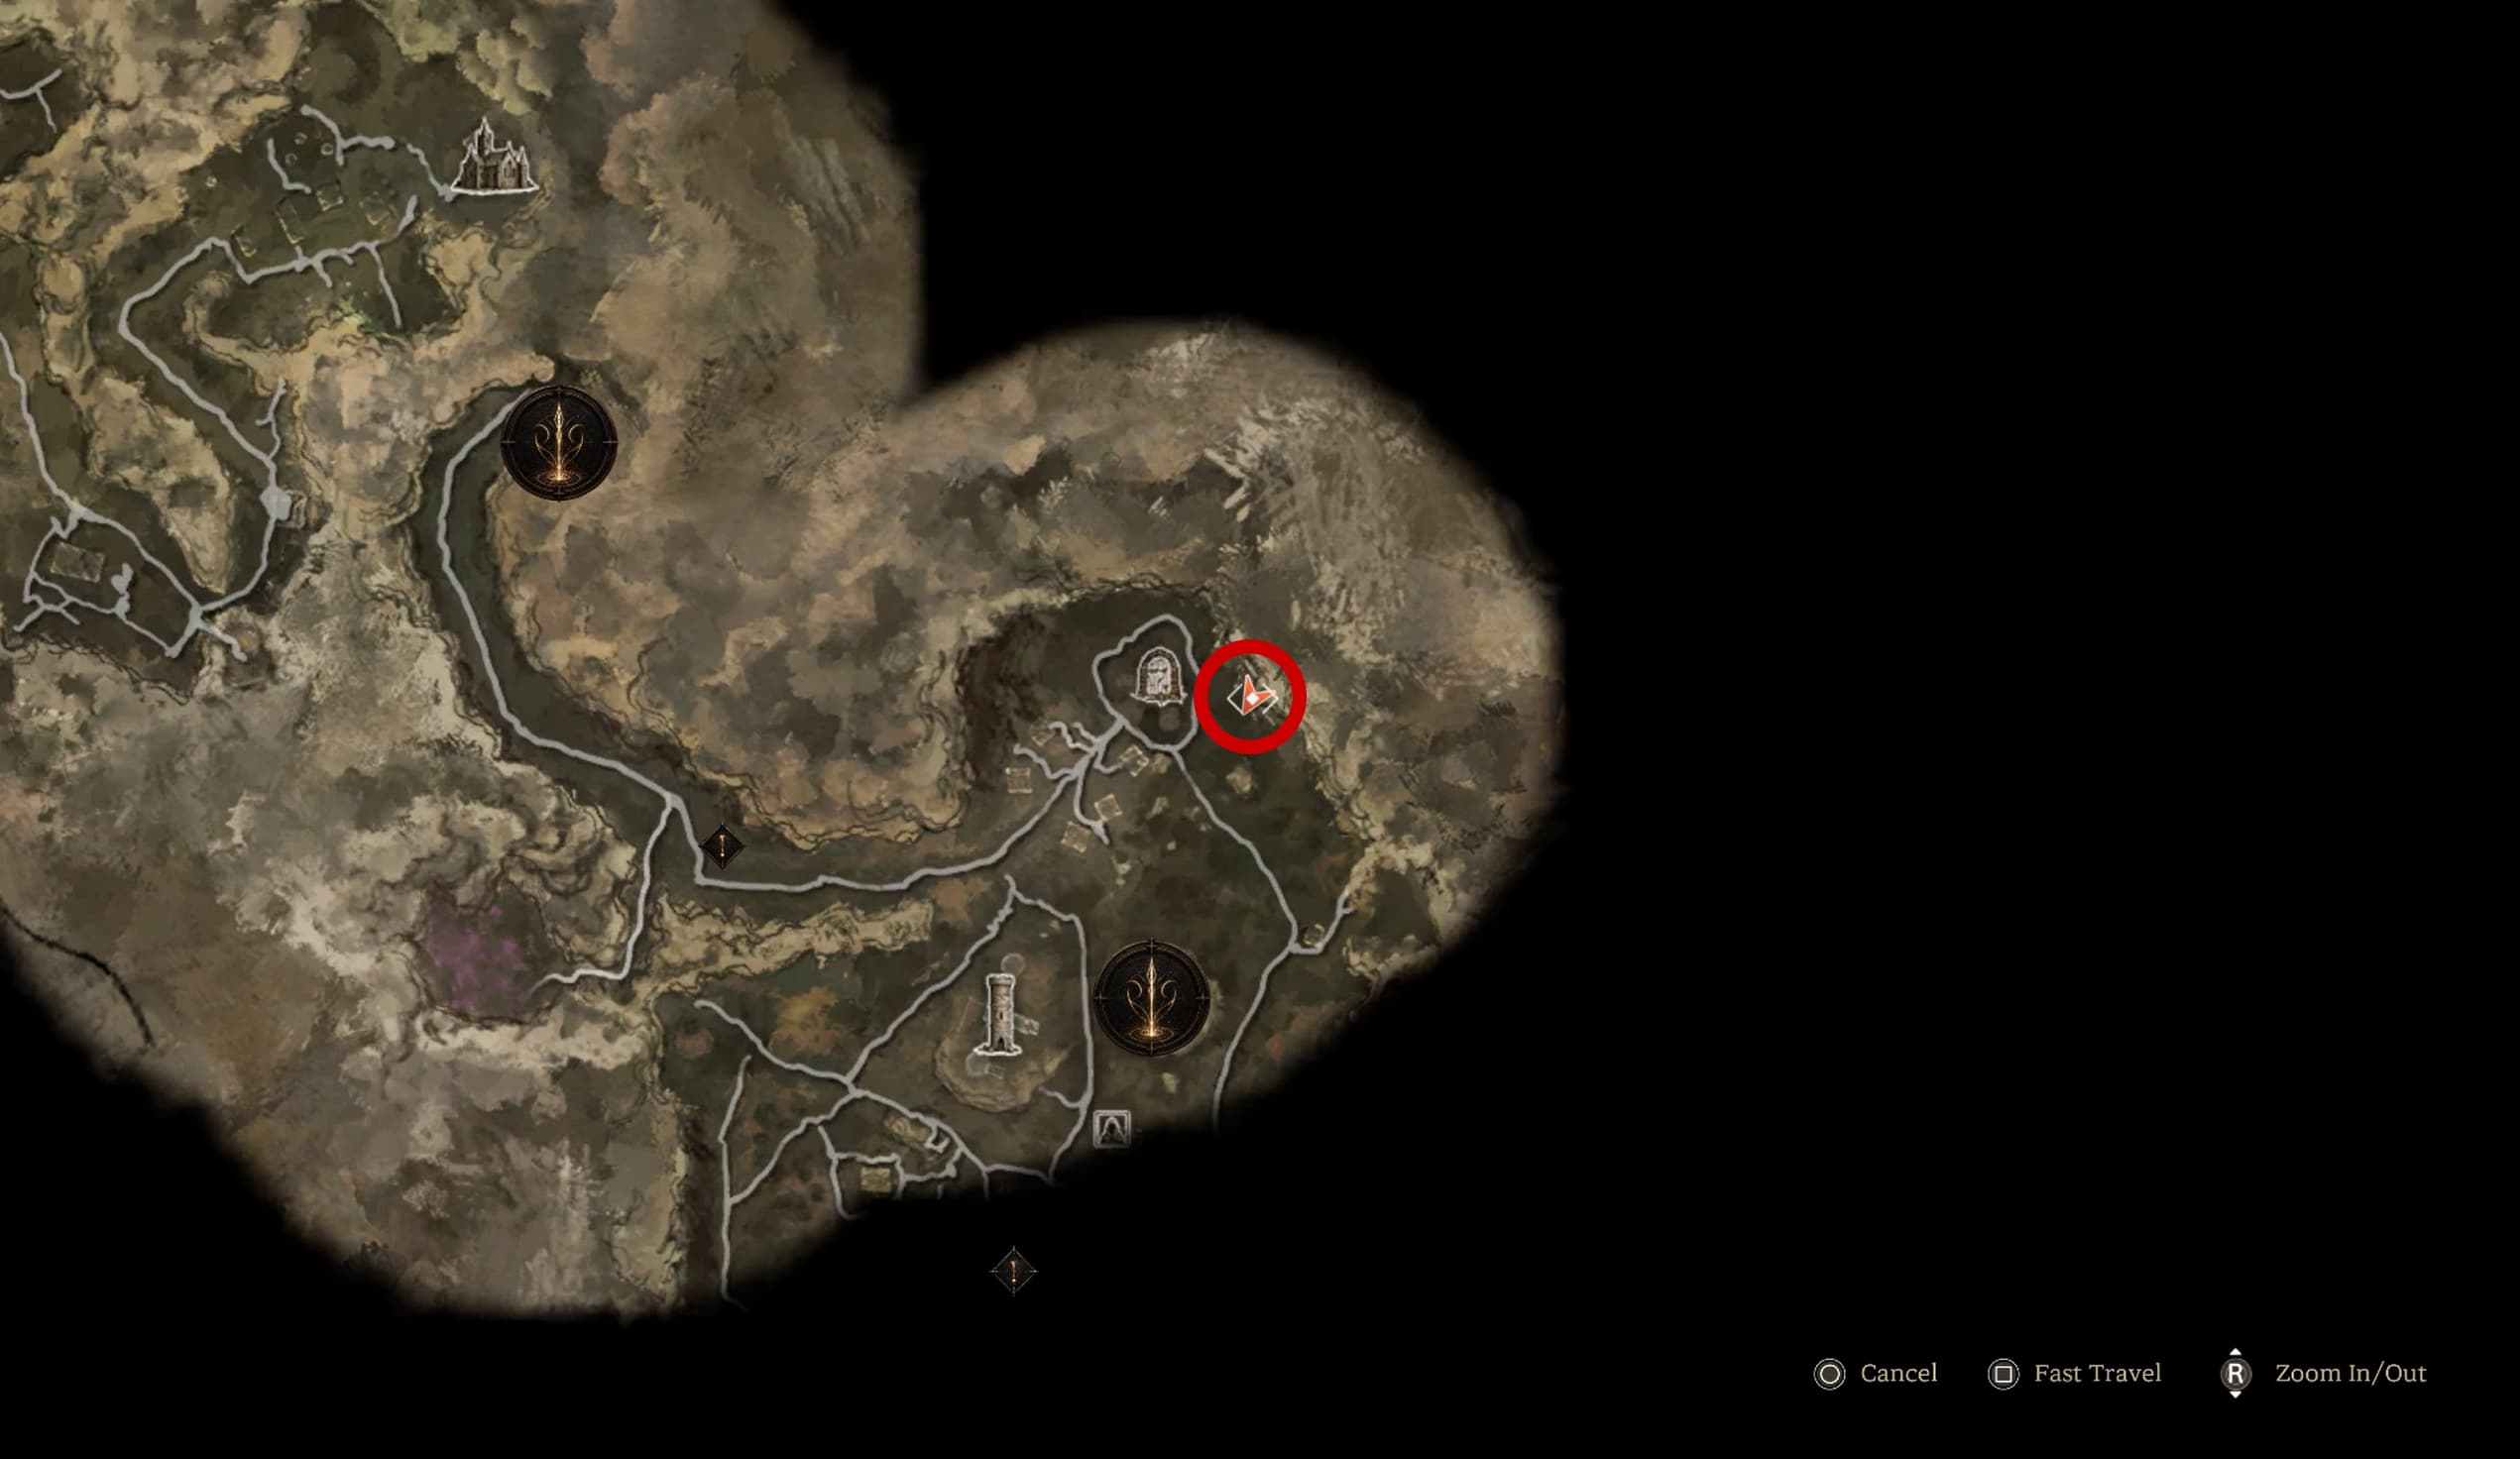
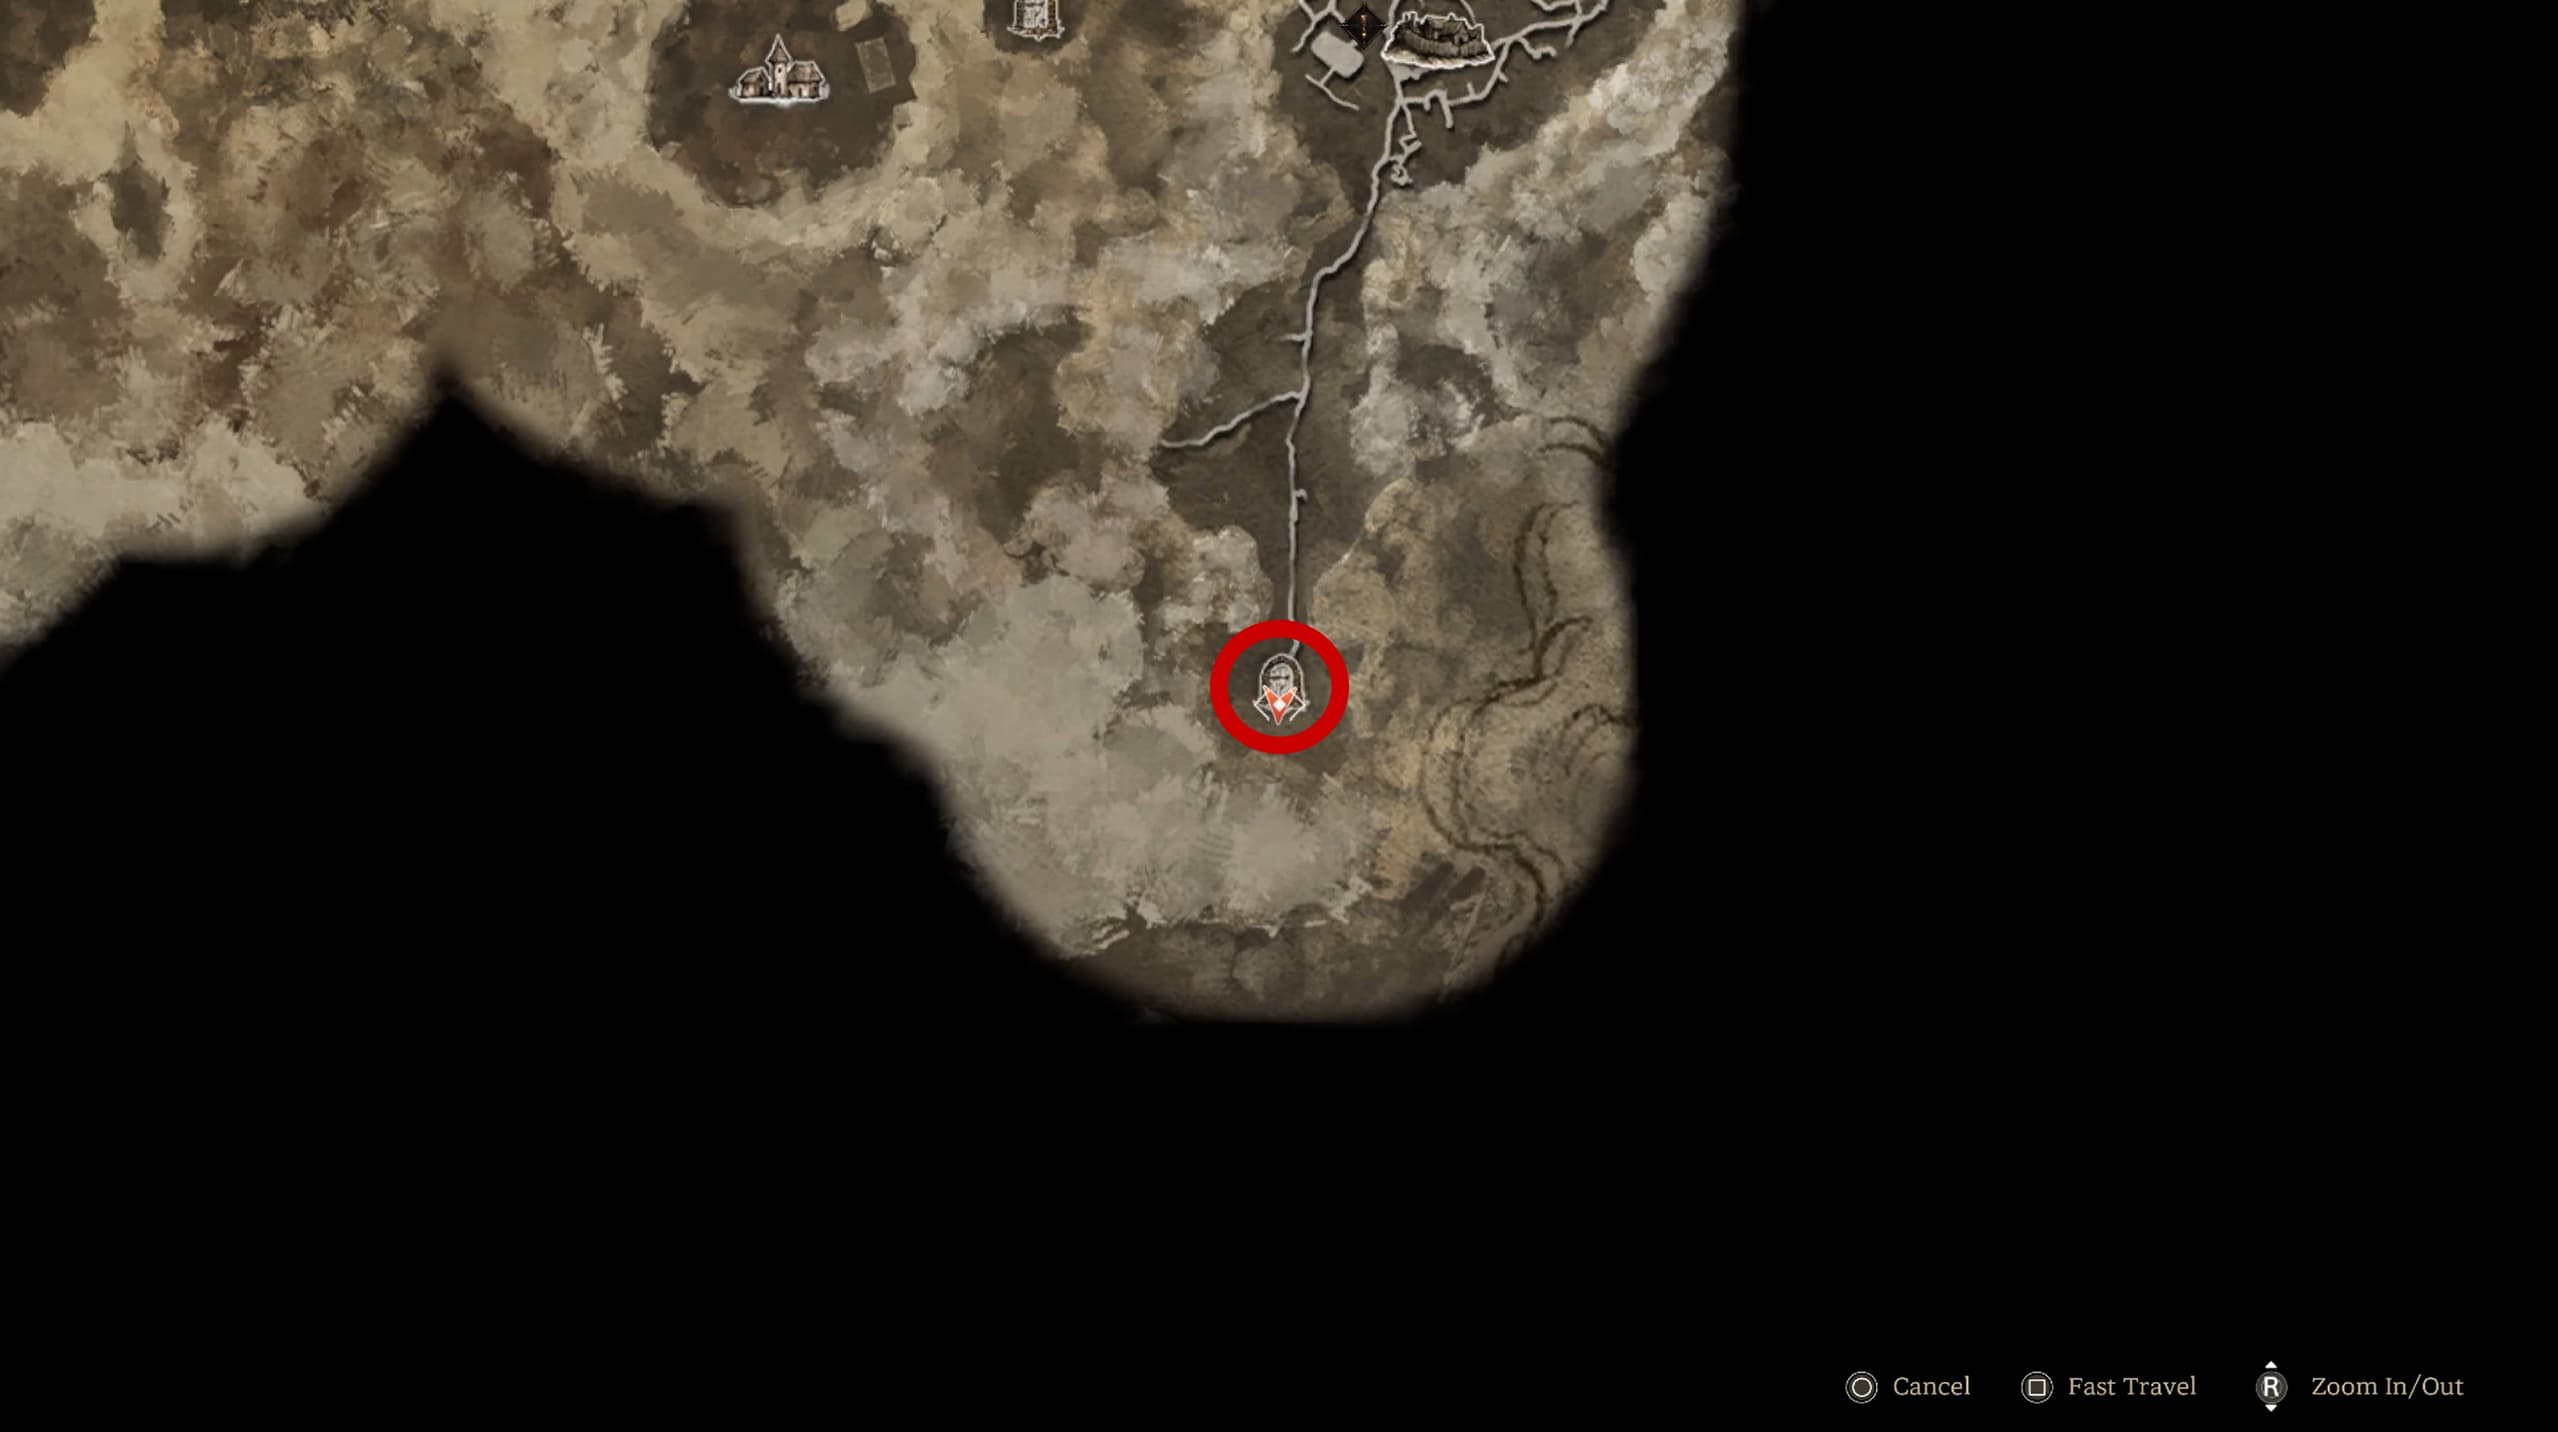
Location #10 this cave entrance can be a little tricky to find, in and around the area with the red circle below, make your way through the cave once finding the entrance, to find the Relic Power inside.
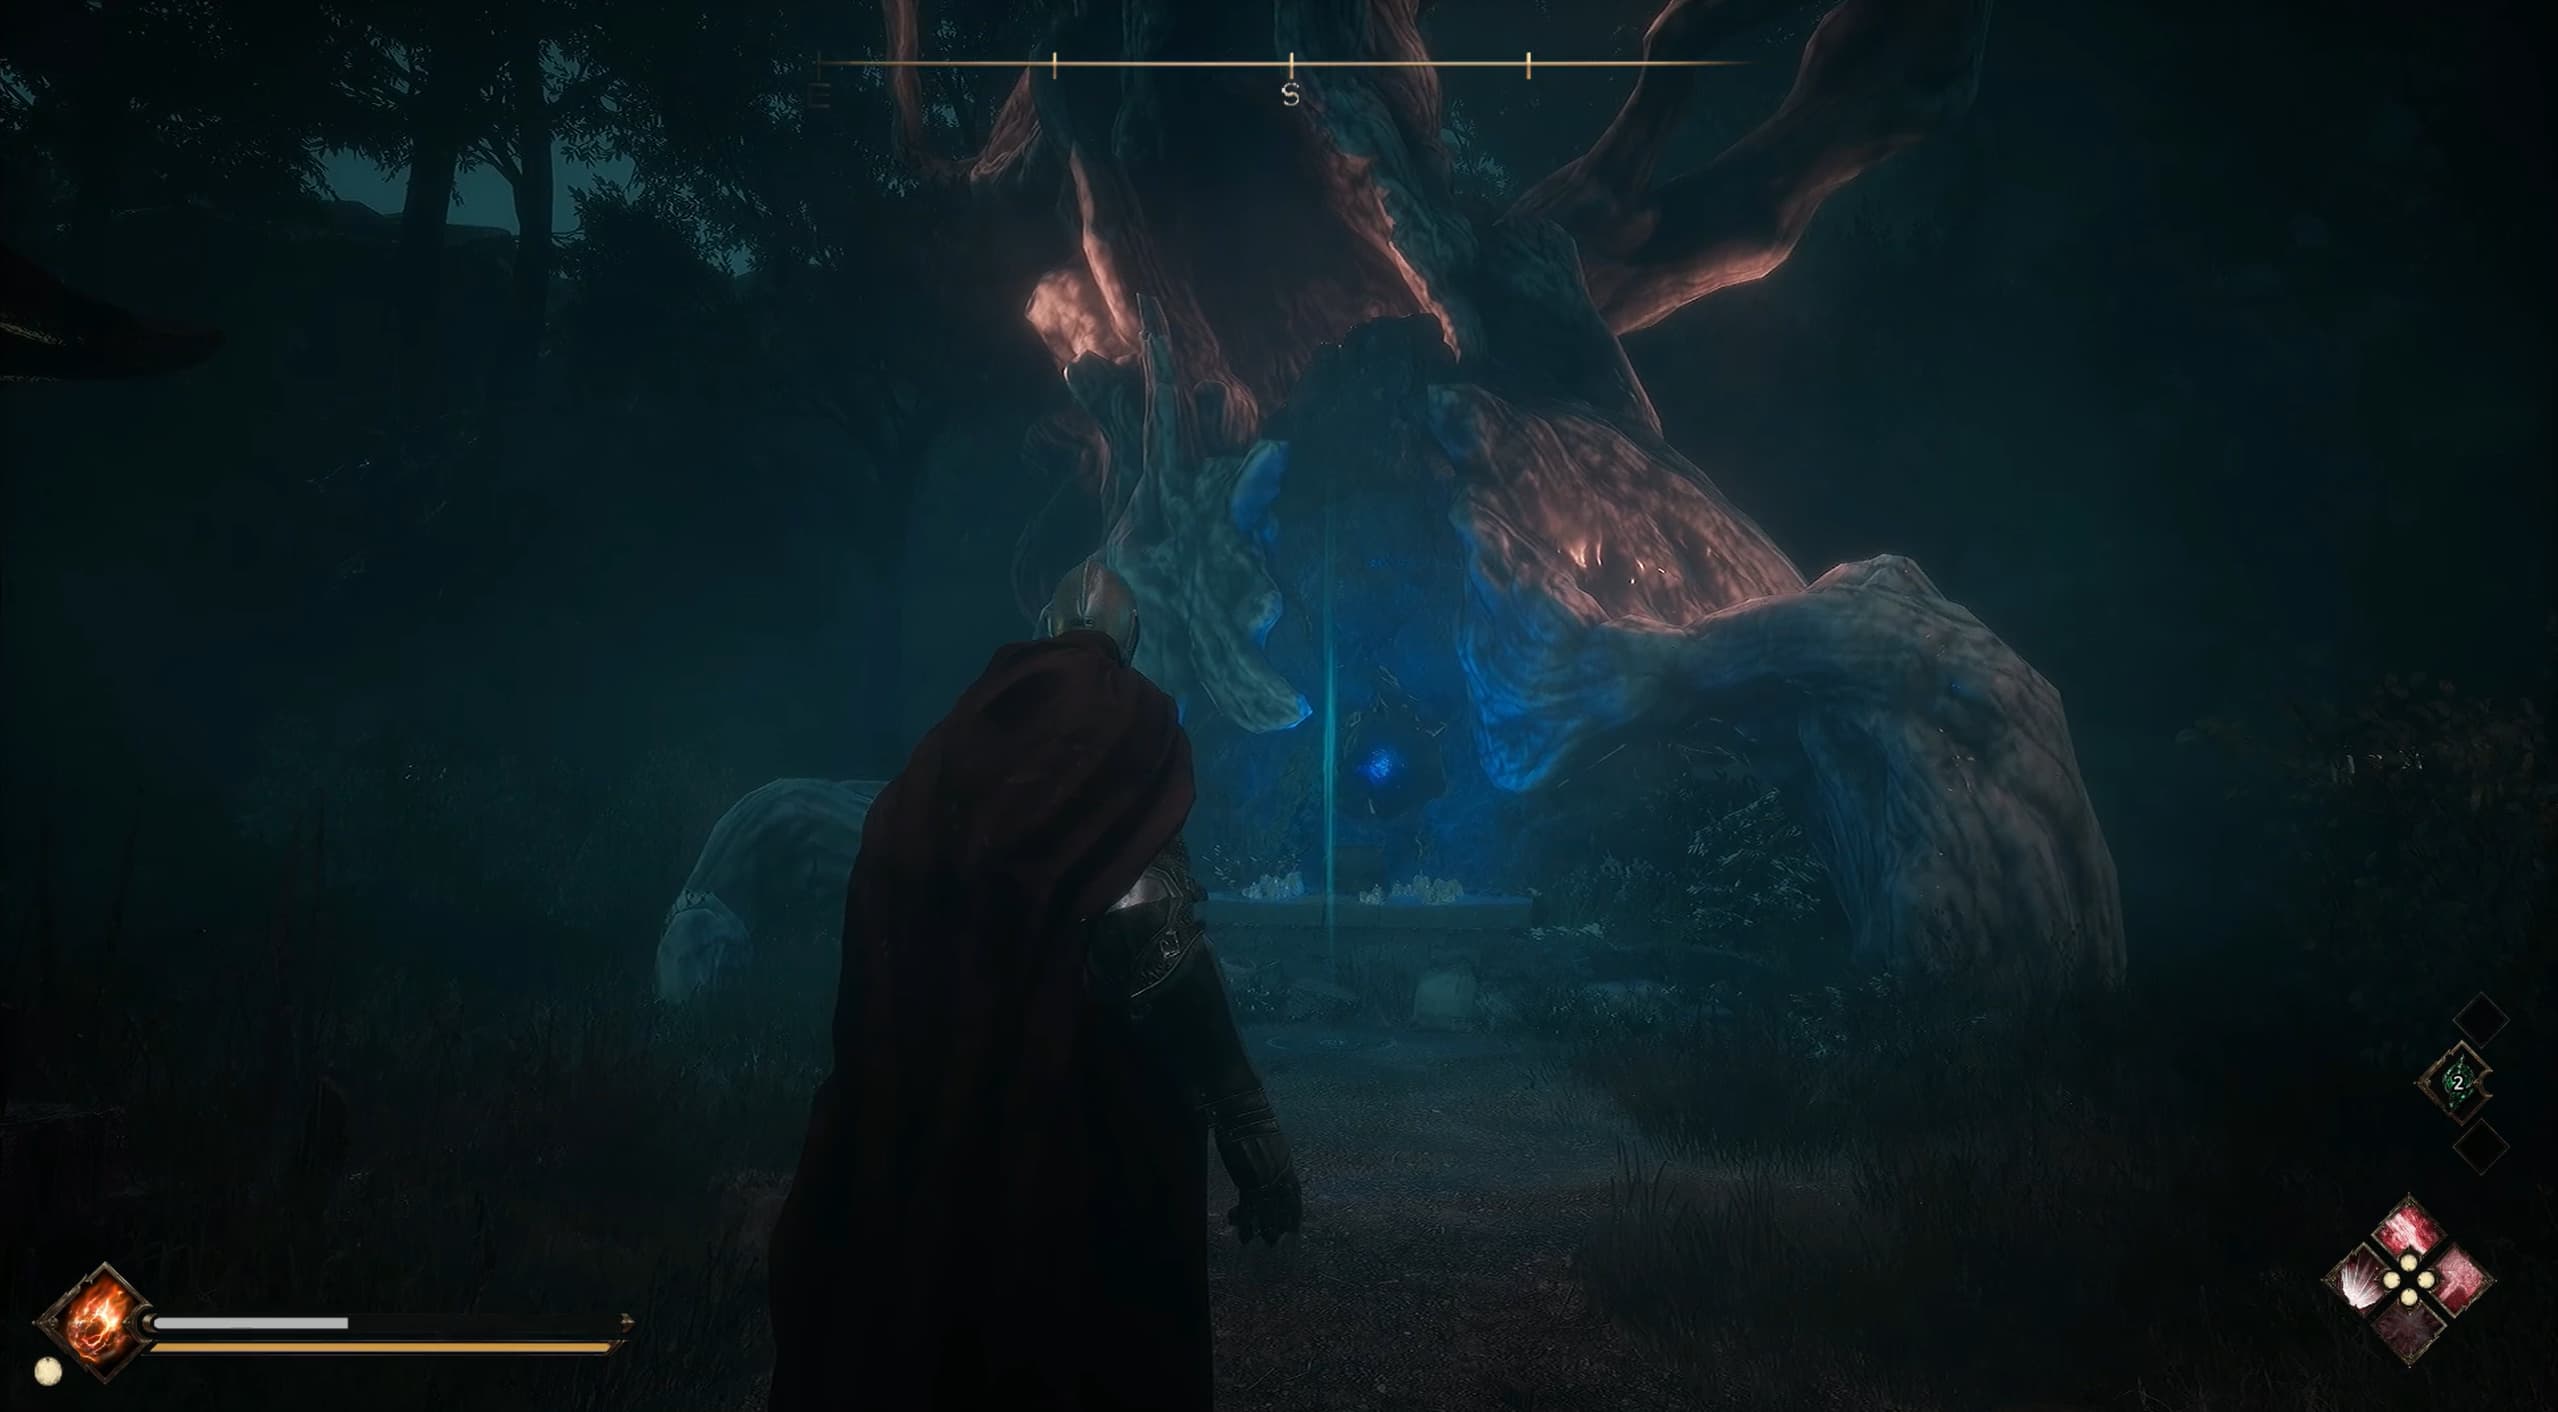
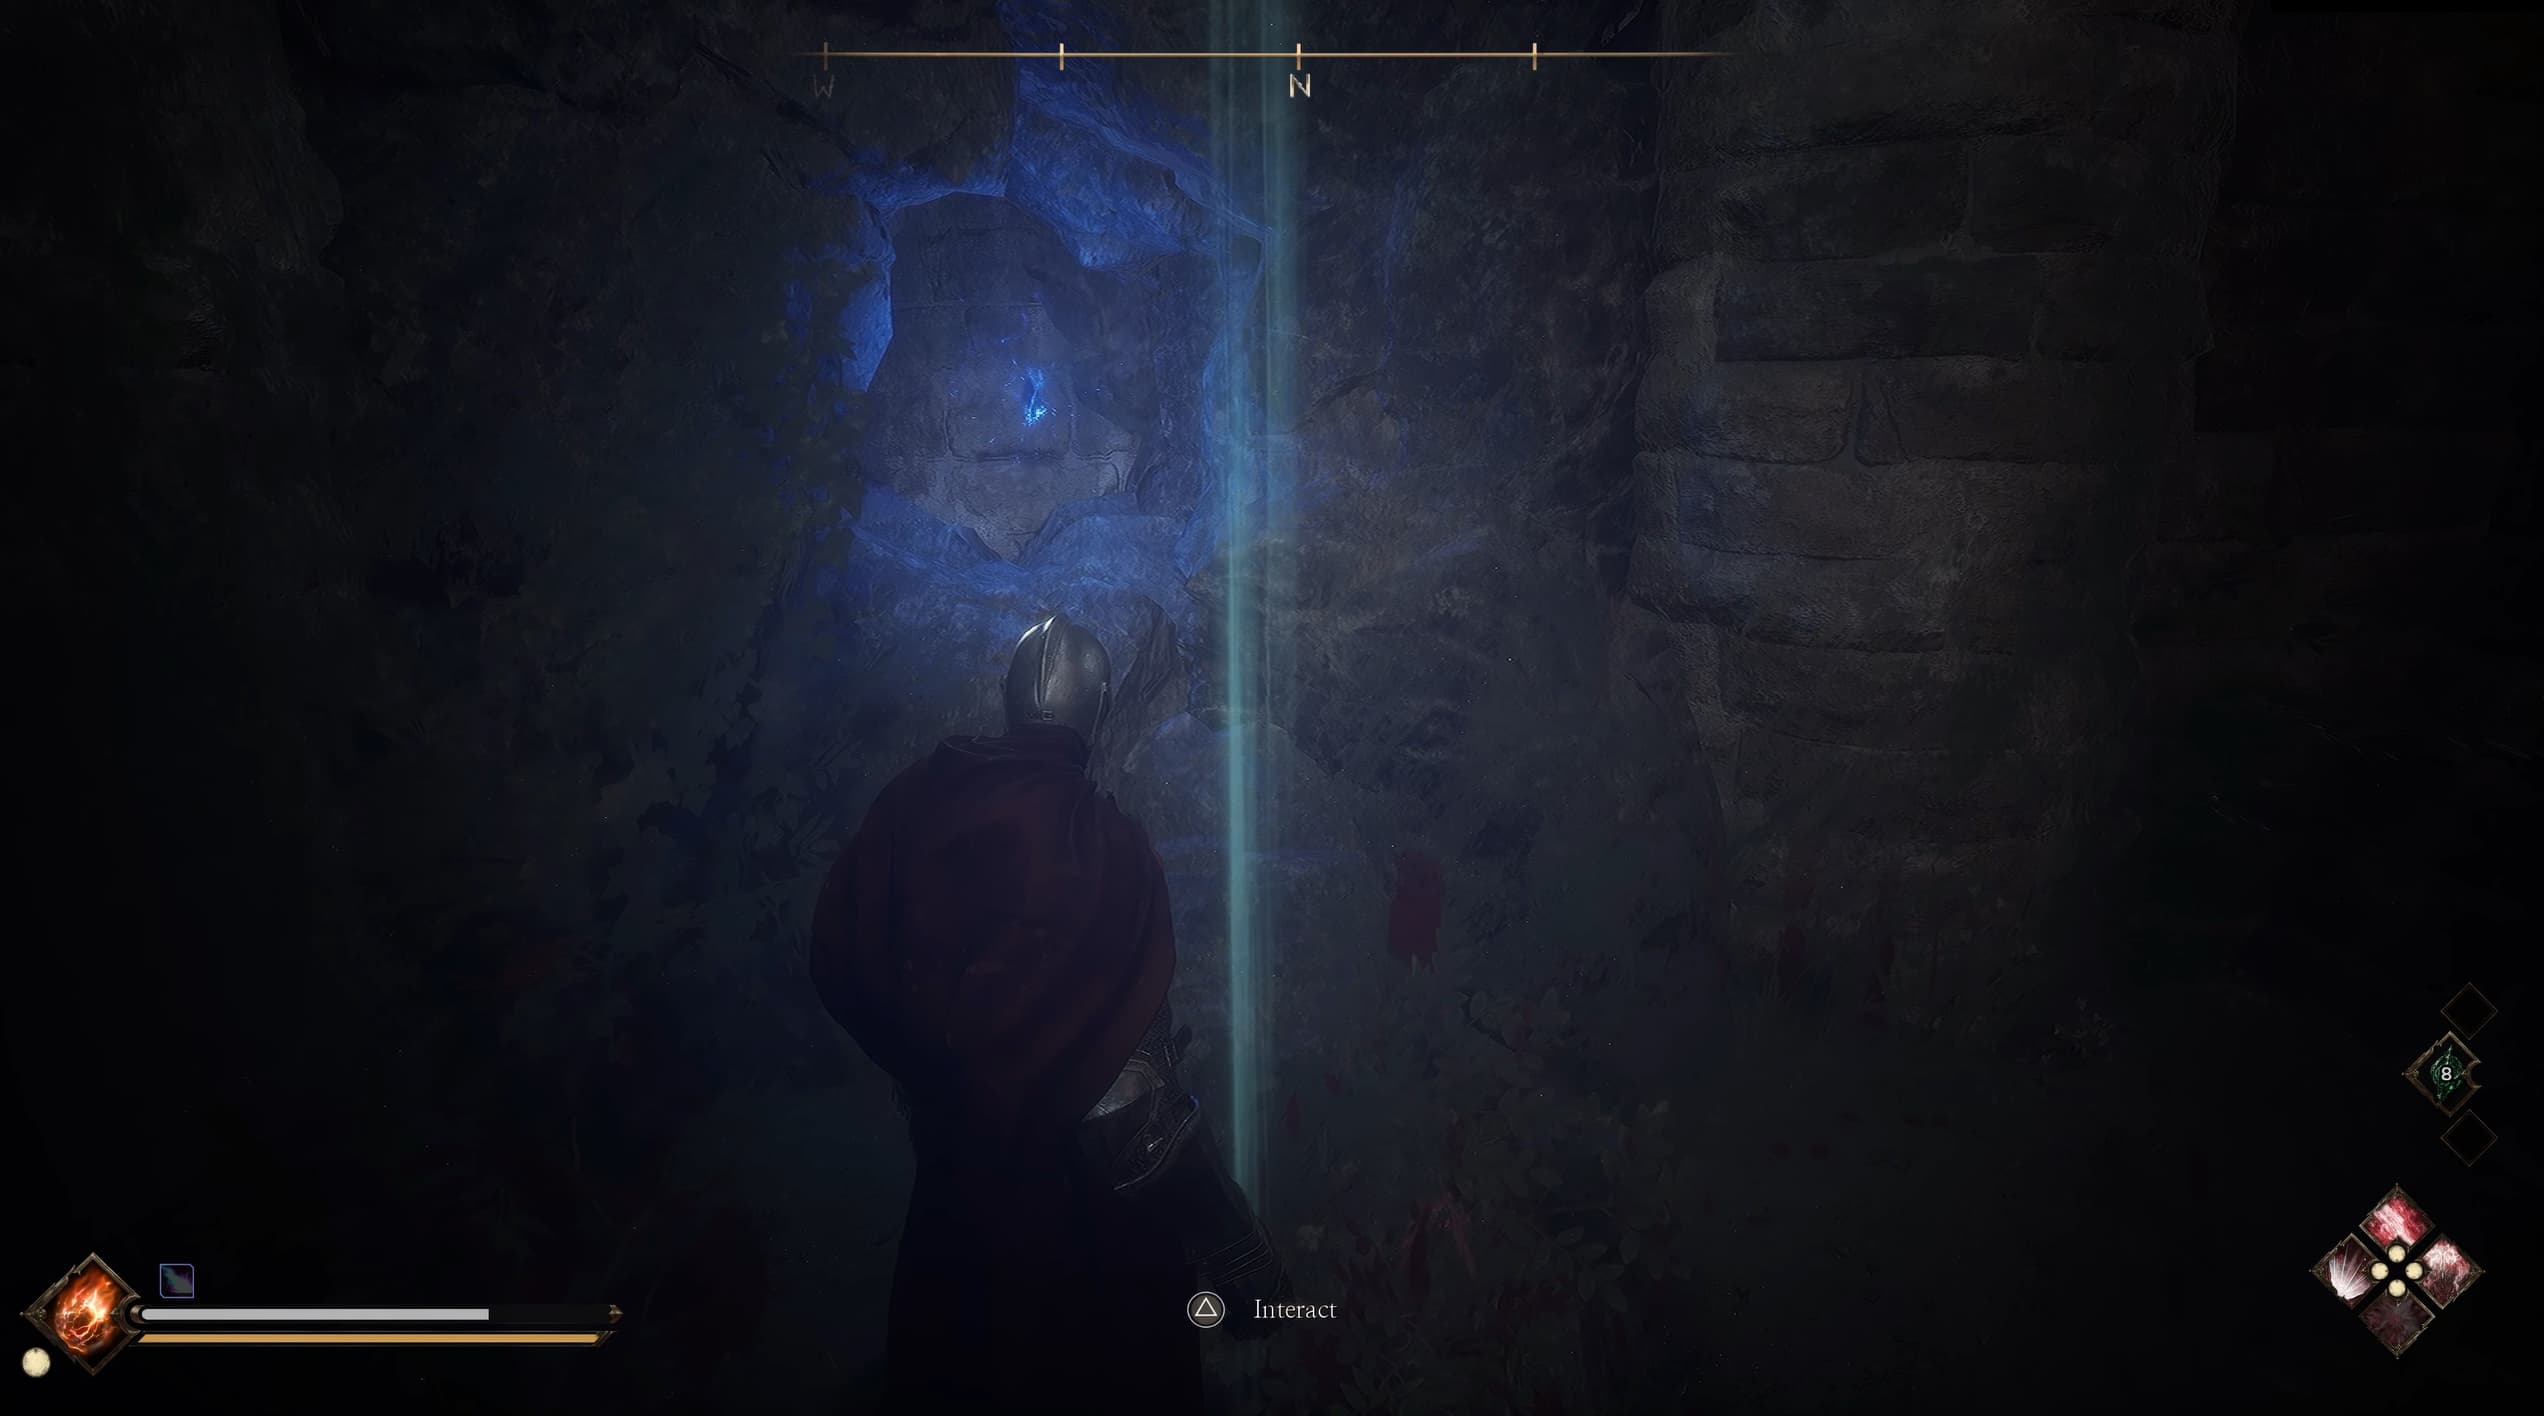
Location #11 is another sneaky one, once you find the cave entrance, you will feel like you've hit a dead end, when you notice an oddly placed wall within the rock formations. Simply run straight through the wall to find the Relic Power on the other side.
Location #12 making your way west across the map, this is another nice easy outdoor location to find.
Location #13 is just a little south from the previous location, another easy outdoor rock to find.
Location #14 is just a little north and west from the previous location, follow the main path upwards and you will come across the next Relic Power on your right.
Location #15 similarly to the last tower cave entrance, descend down into the caves below entering via the tower as indicated on the map, make your way through the caves to find the Relic Power inside. Like before, there will be enemies to have to take on here, so be ready for this before heading into the tower and cave.
Location #16 back out after the cave, make your way south a little for the next Relic Power, another easy outdoor one to spot.
Location #17 making your way pretty much directly west from the previous location, this one is also outdoors and easy to spot with the blue glow.
Location #18 making your way now directly east to find the next outdoor Relic Power.
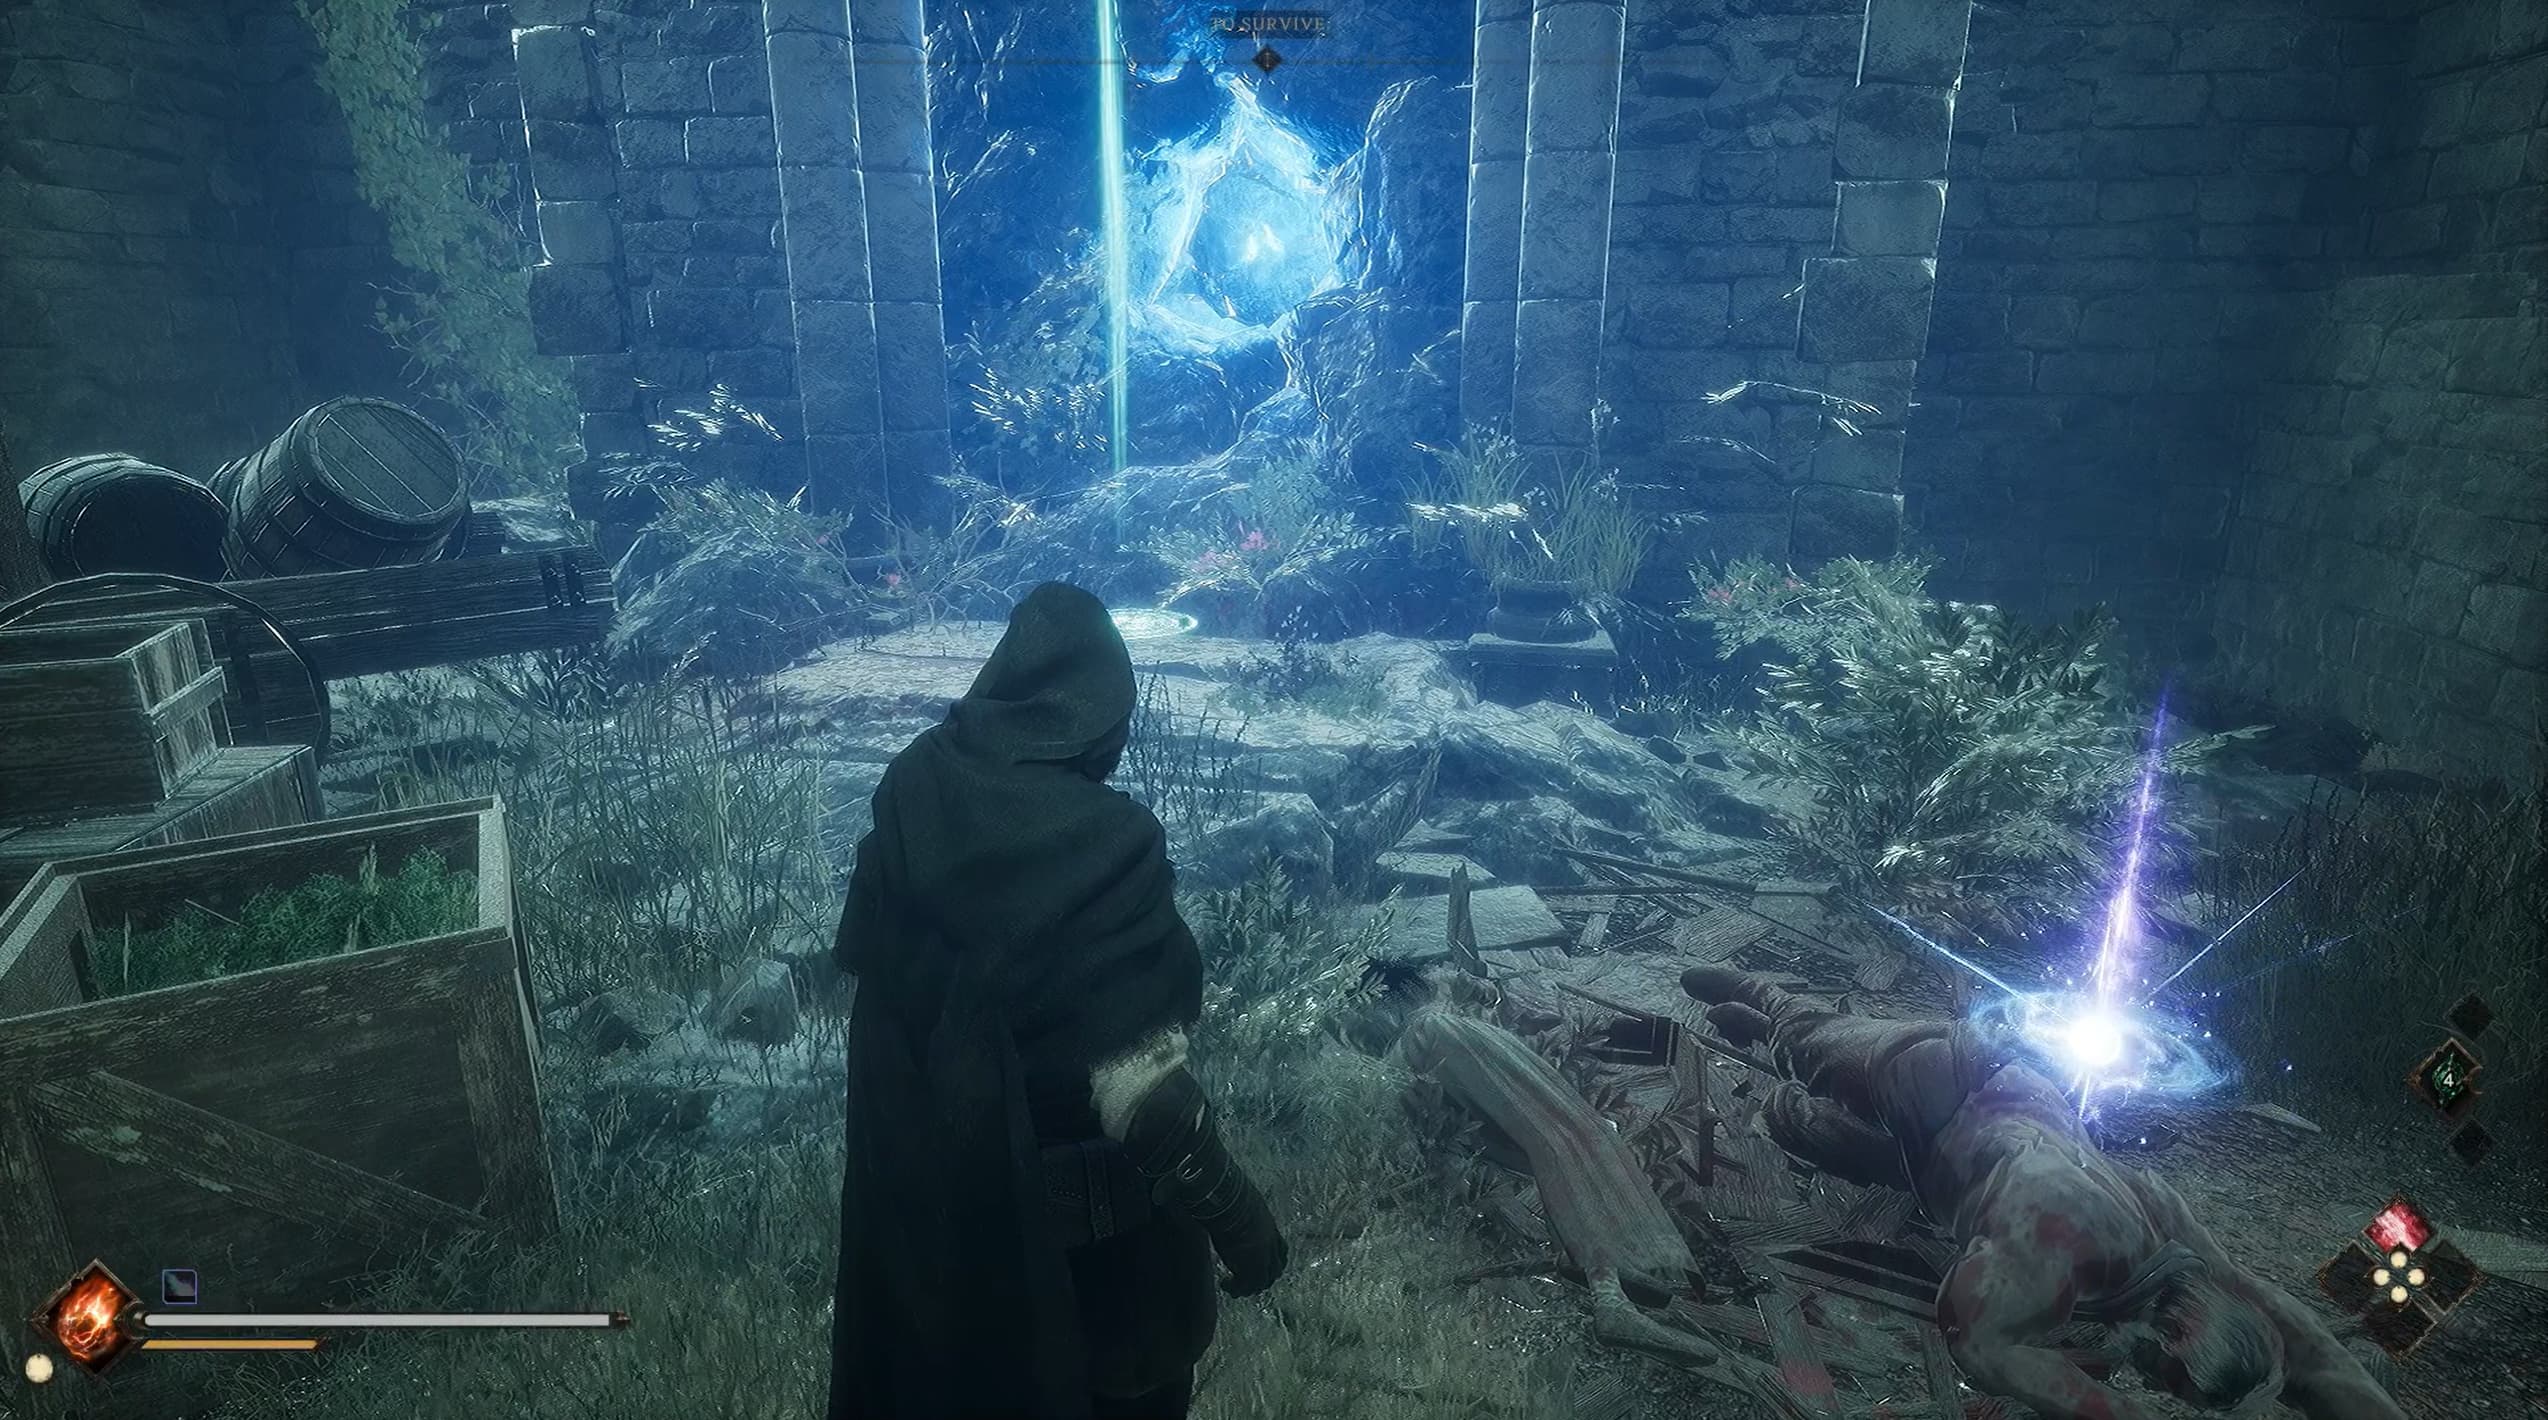
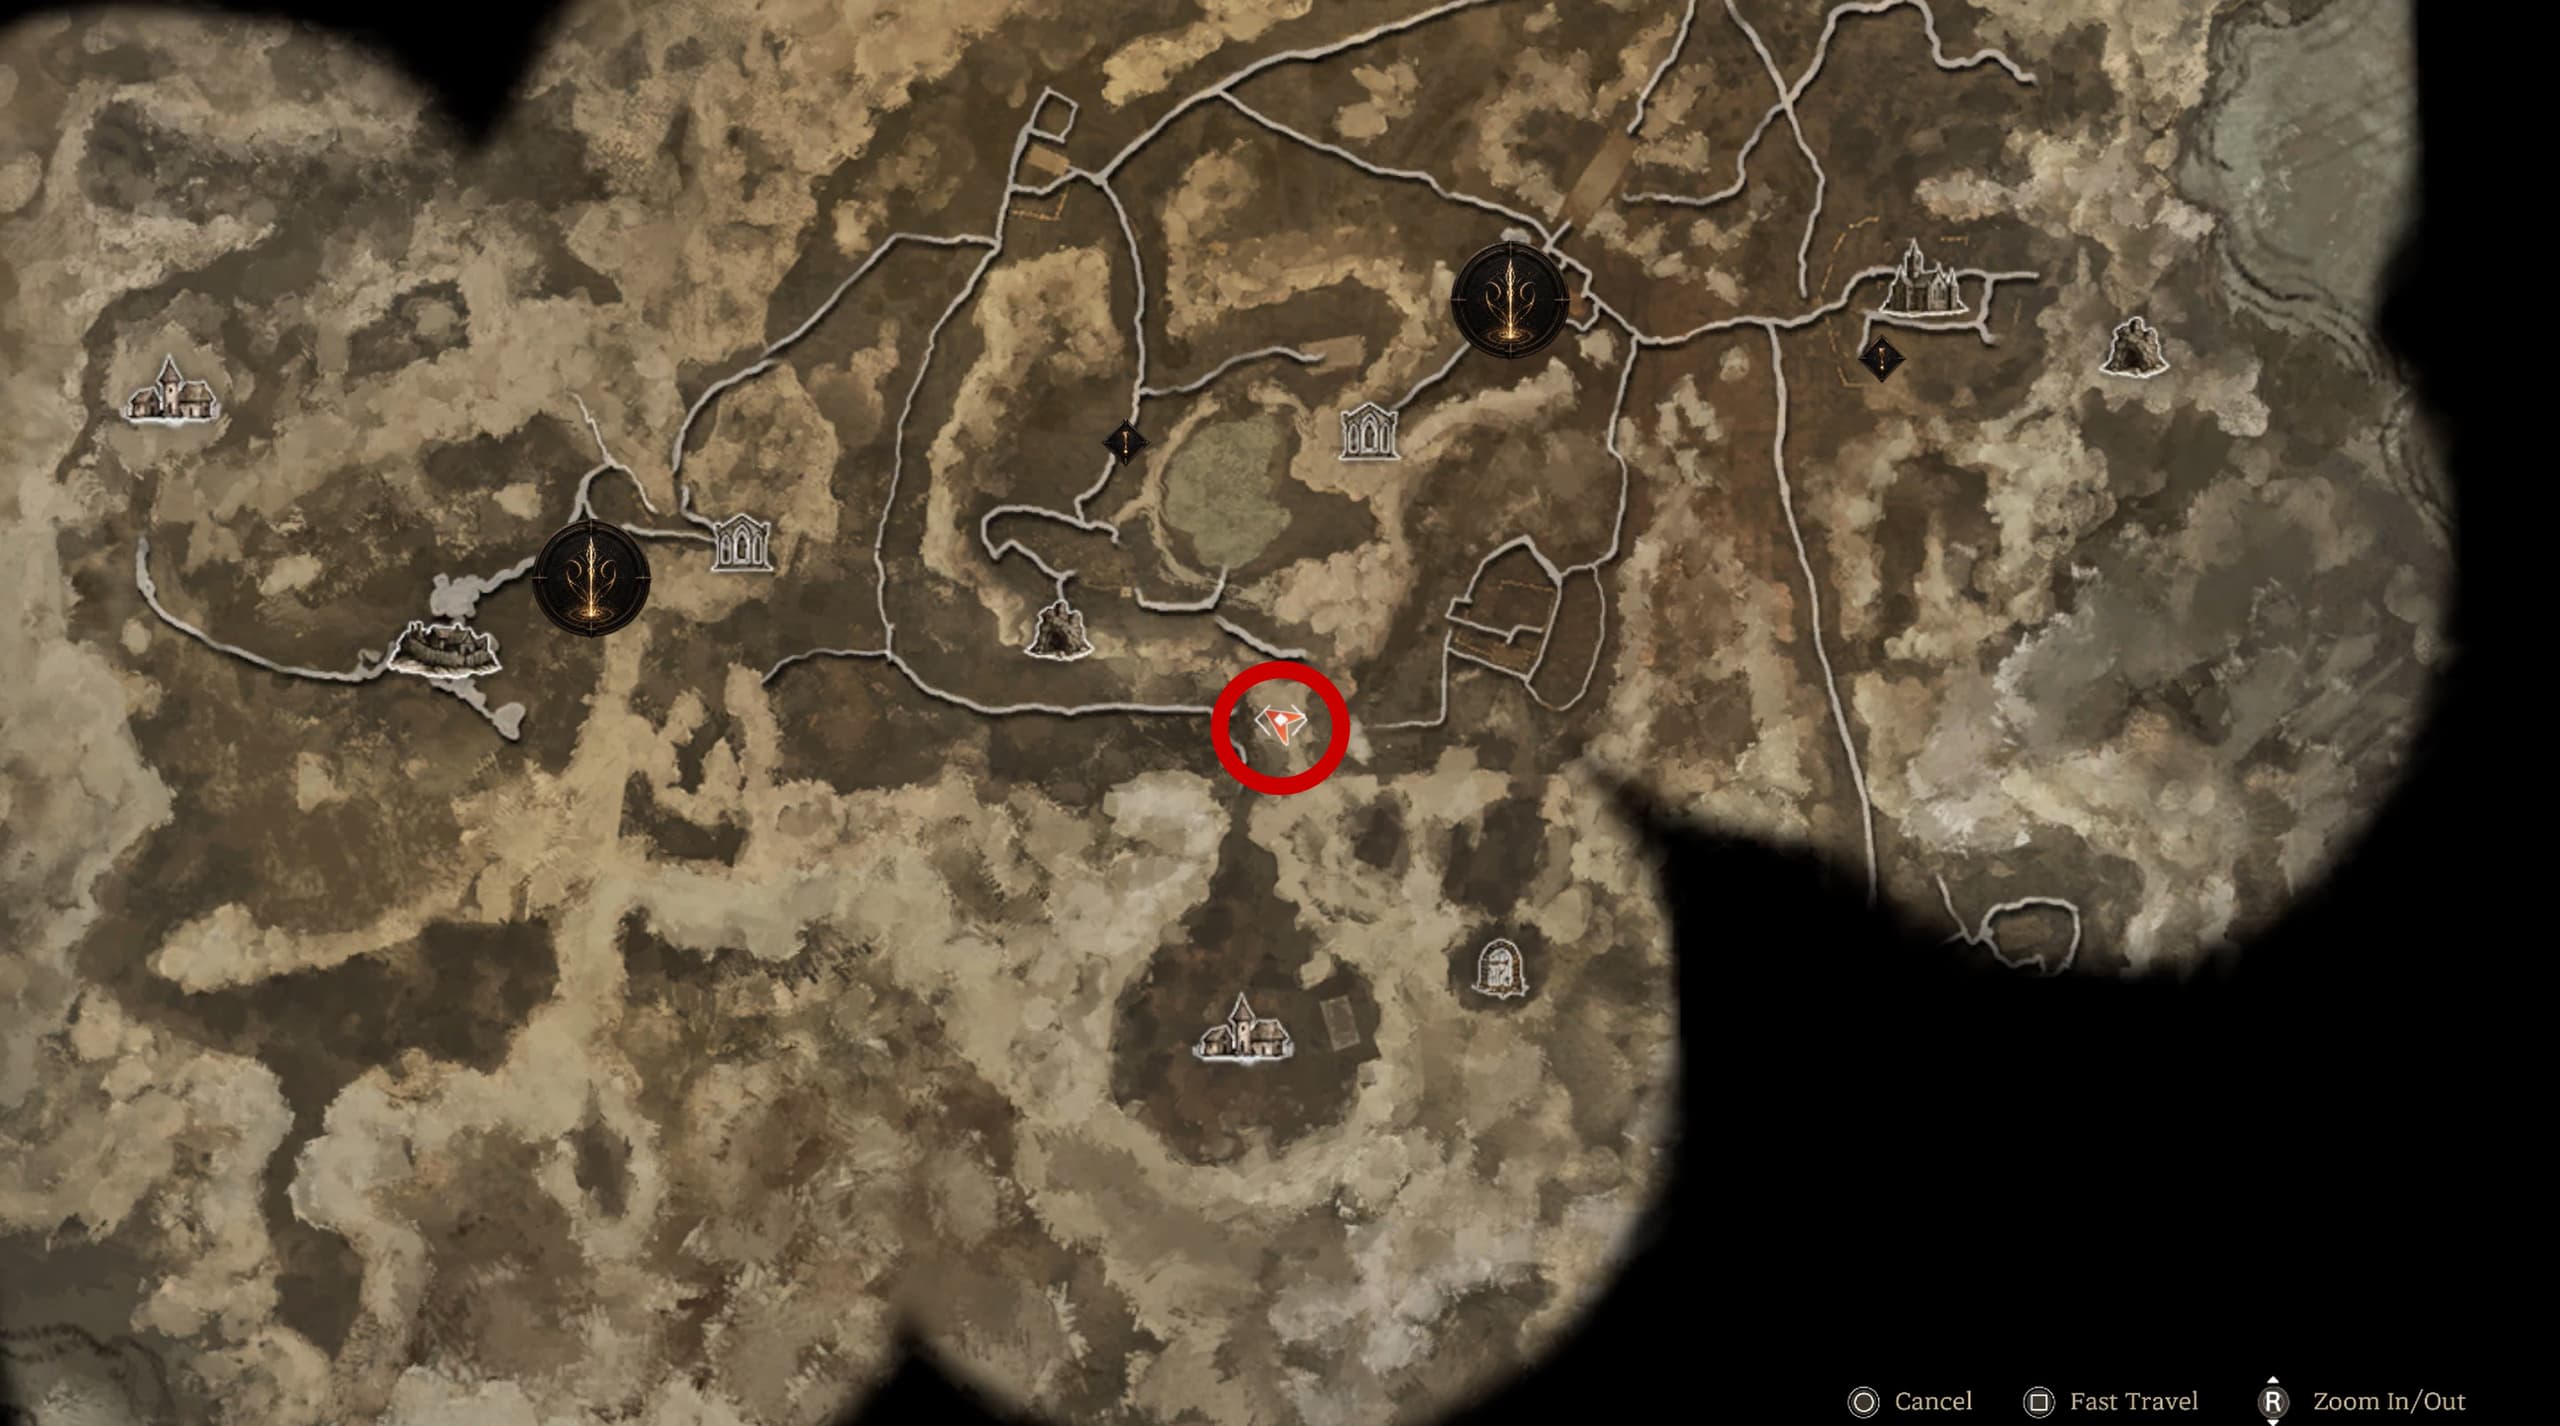
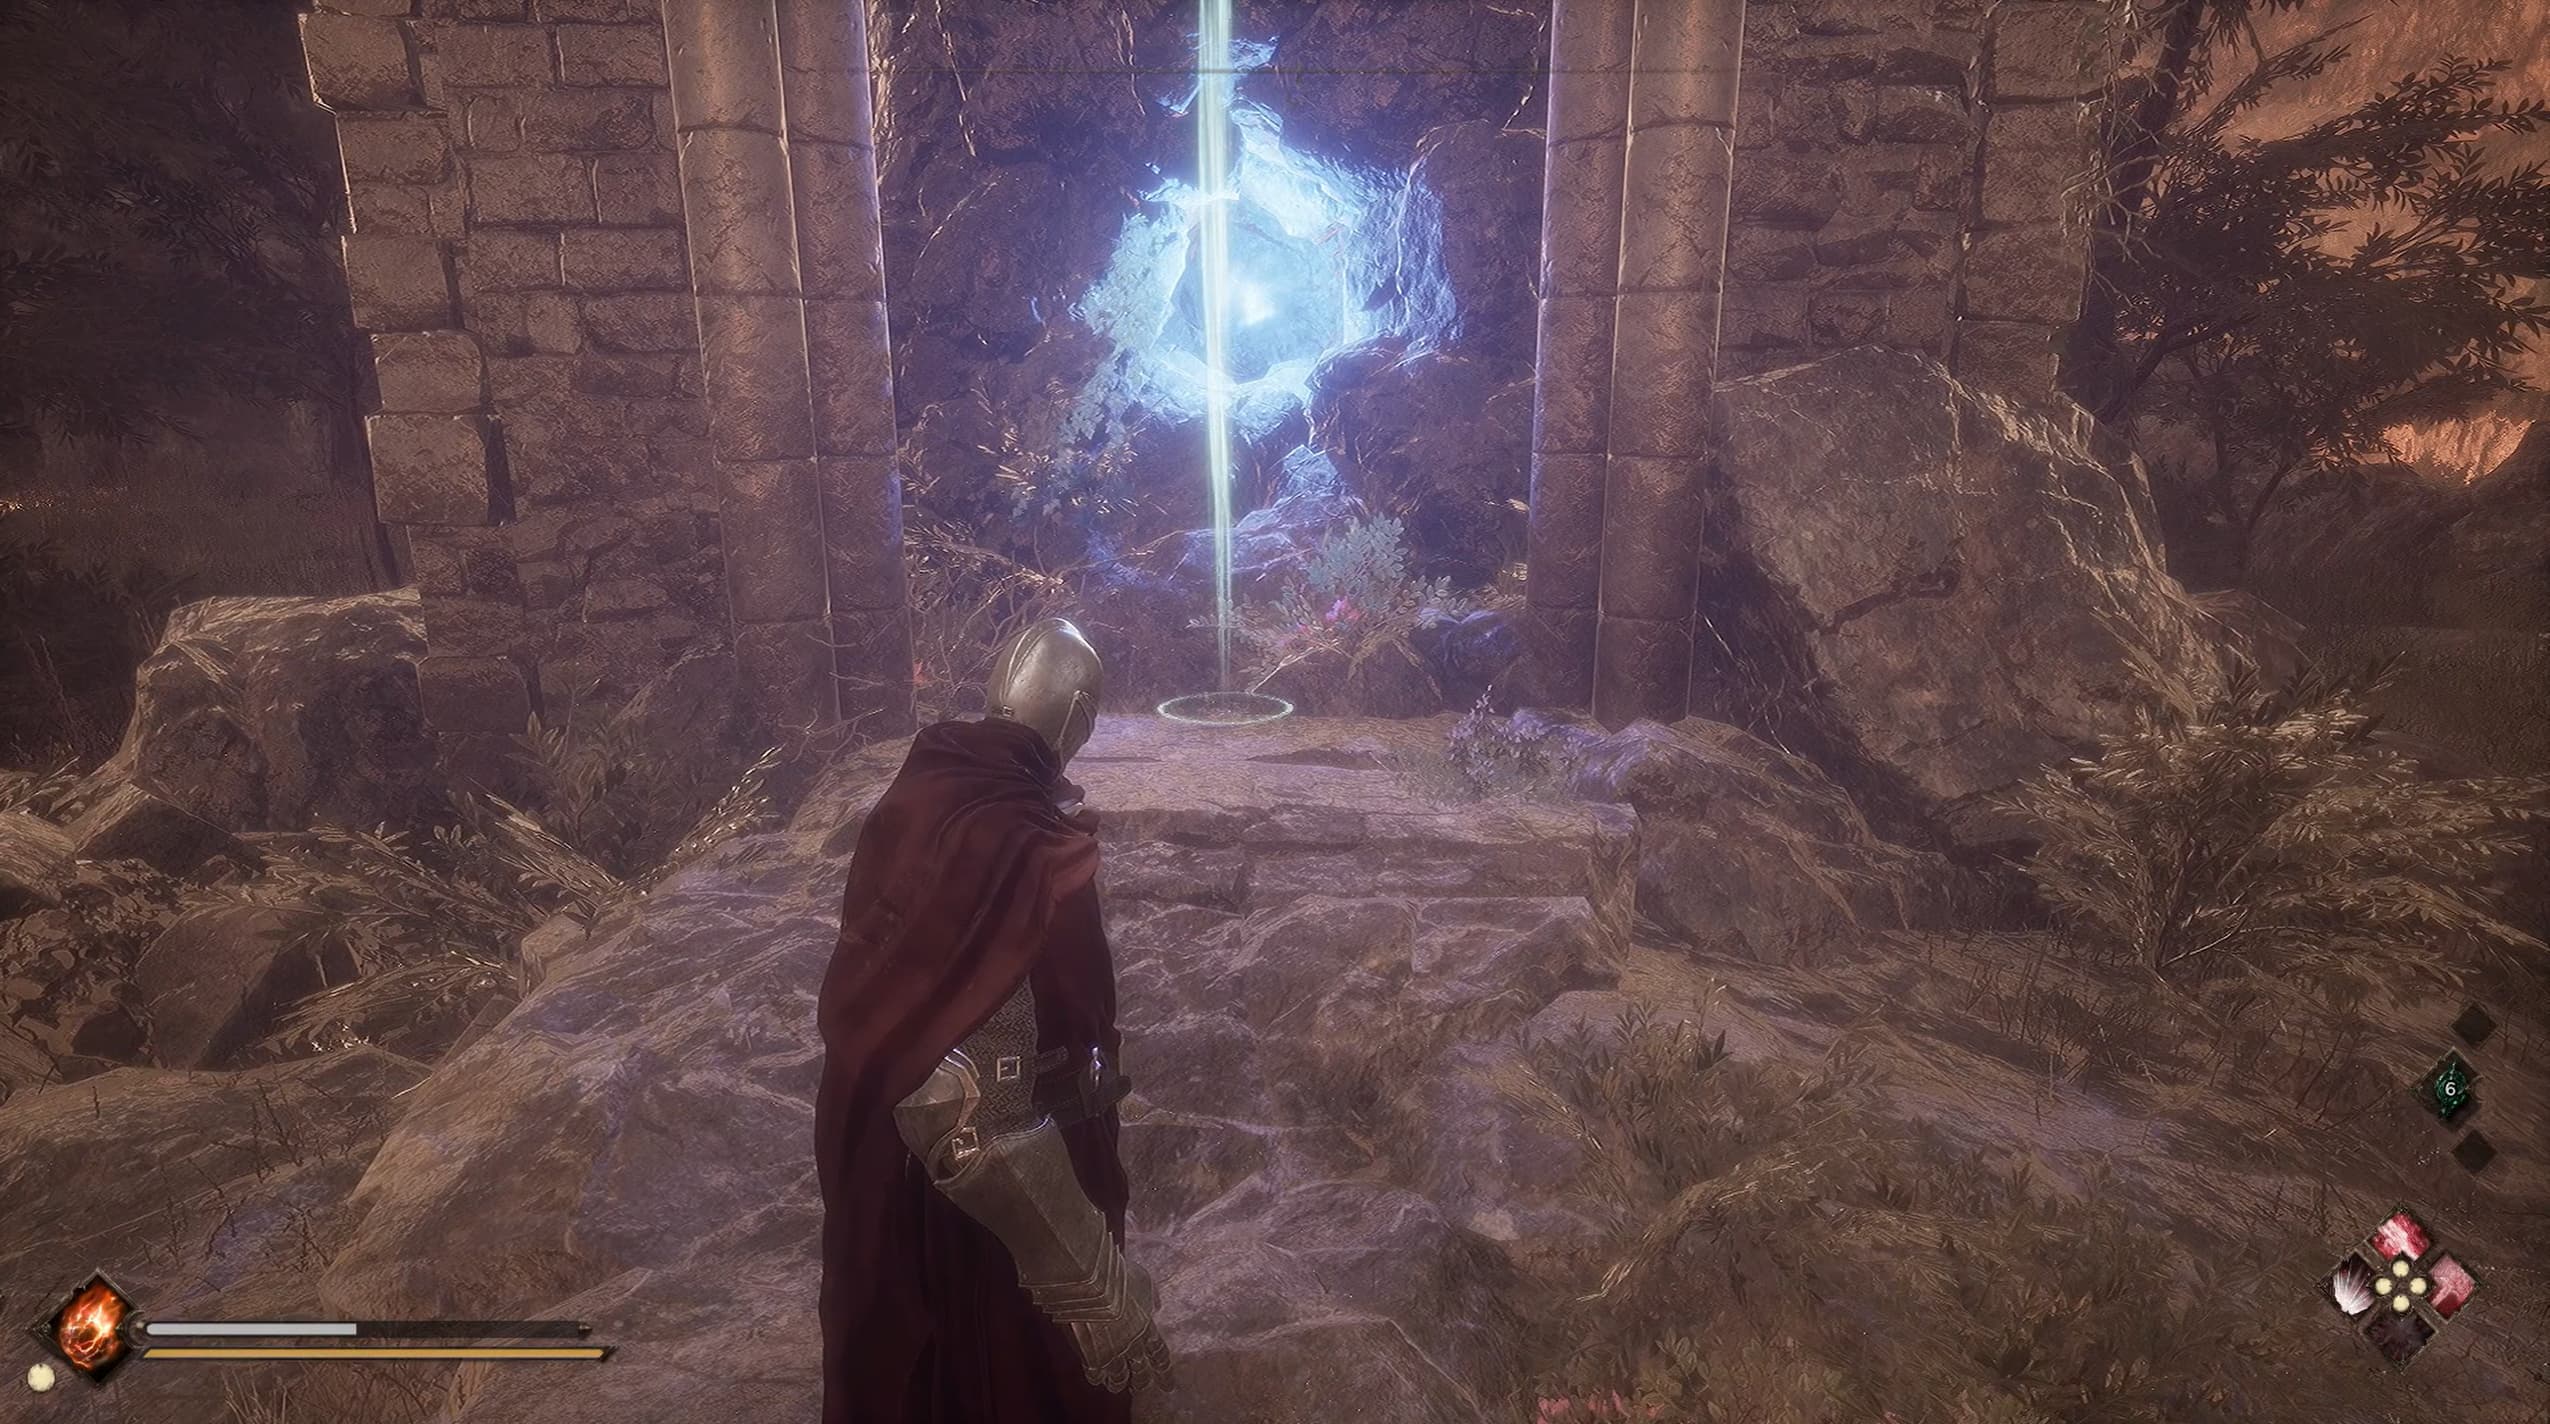
Location #19 keep making your way east and a little south, heading off of the main path to find the next Relic Power amongst the ruins as shown below.
Location #20 keep heading east and south to find this little nook down the trail from the main path, to find the Relic Power at the end of the trail.
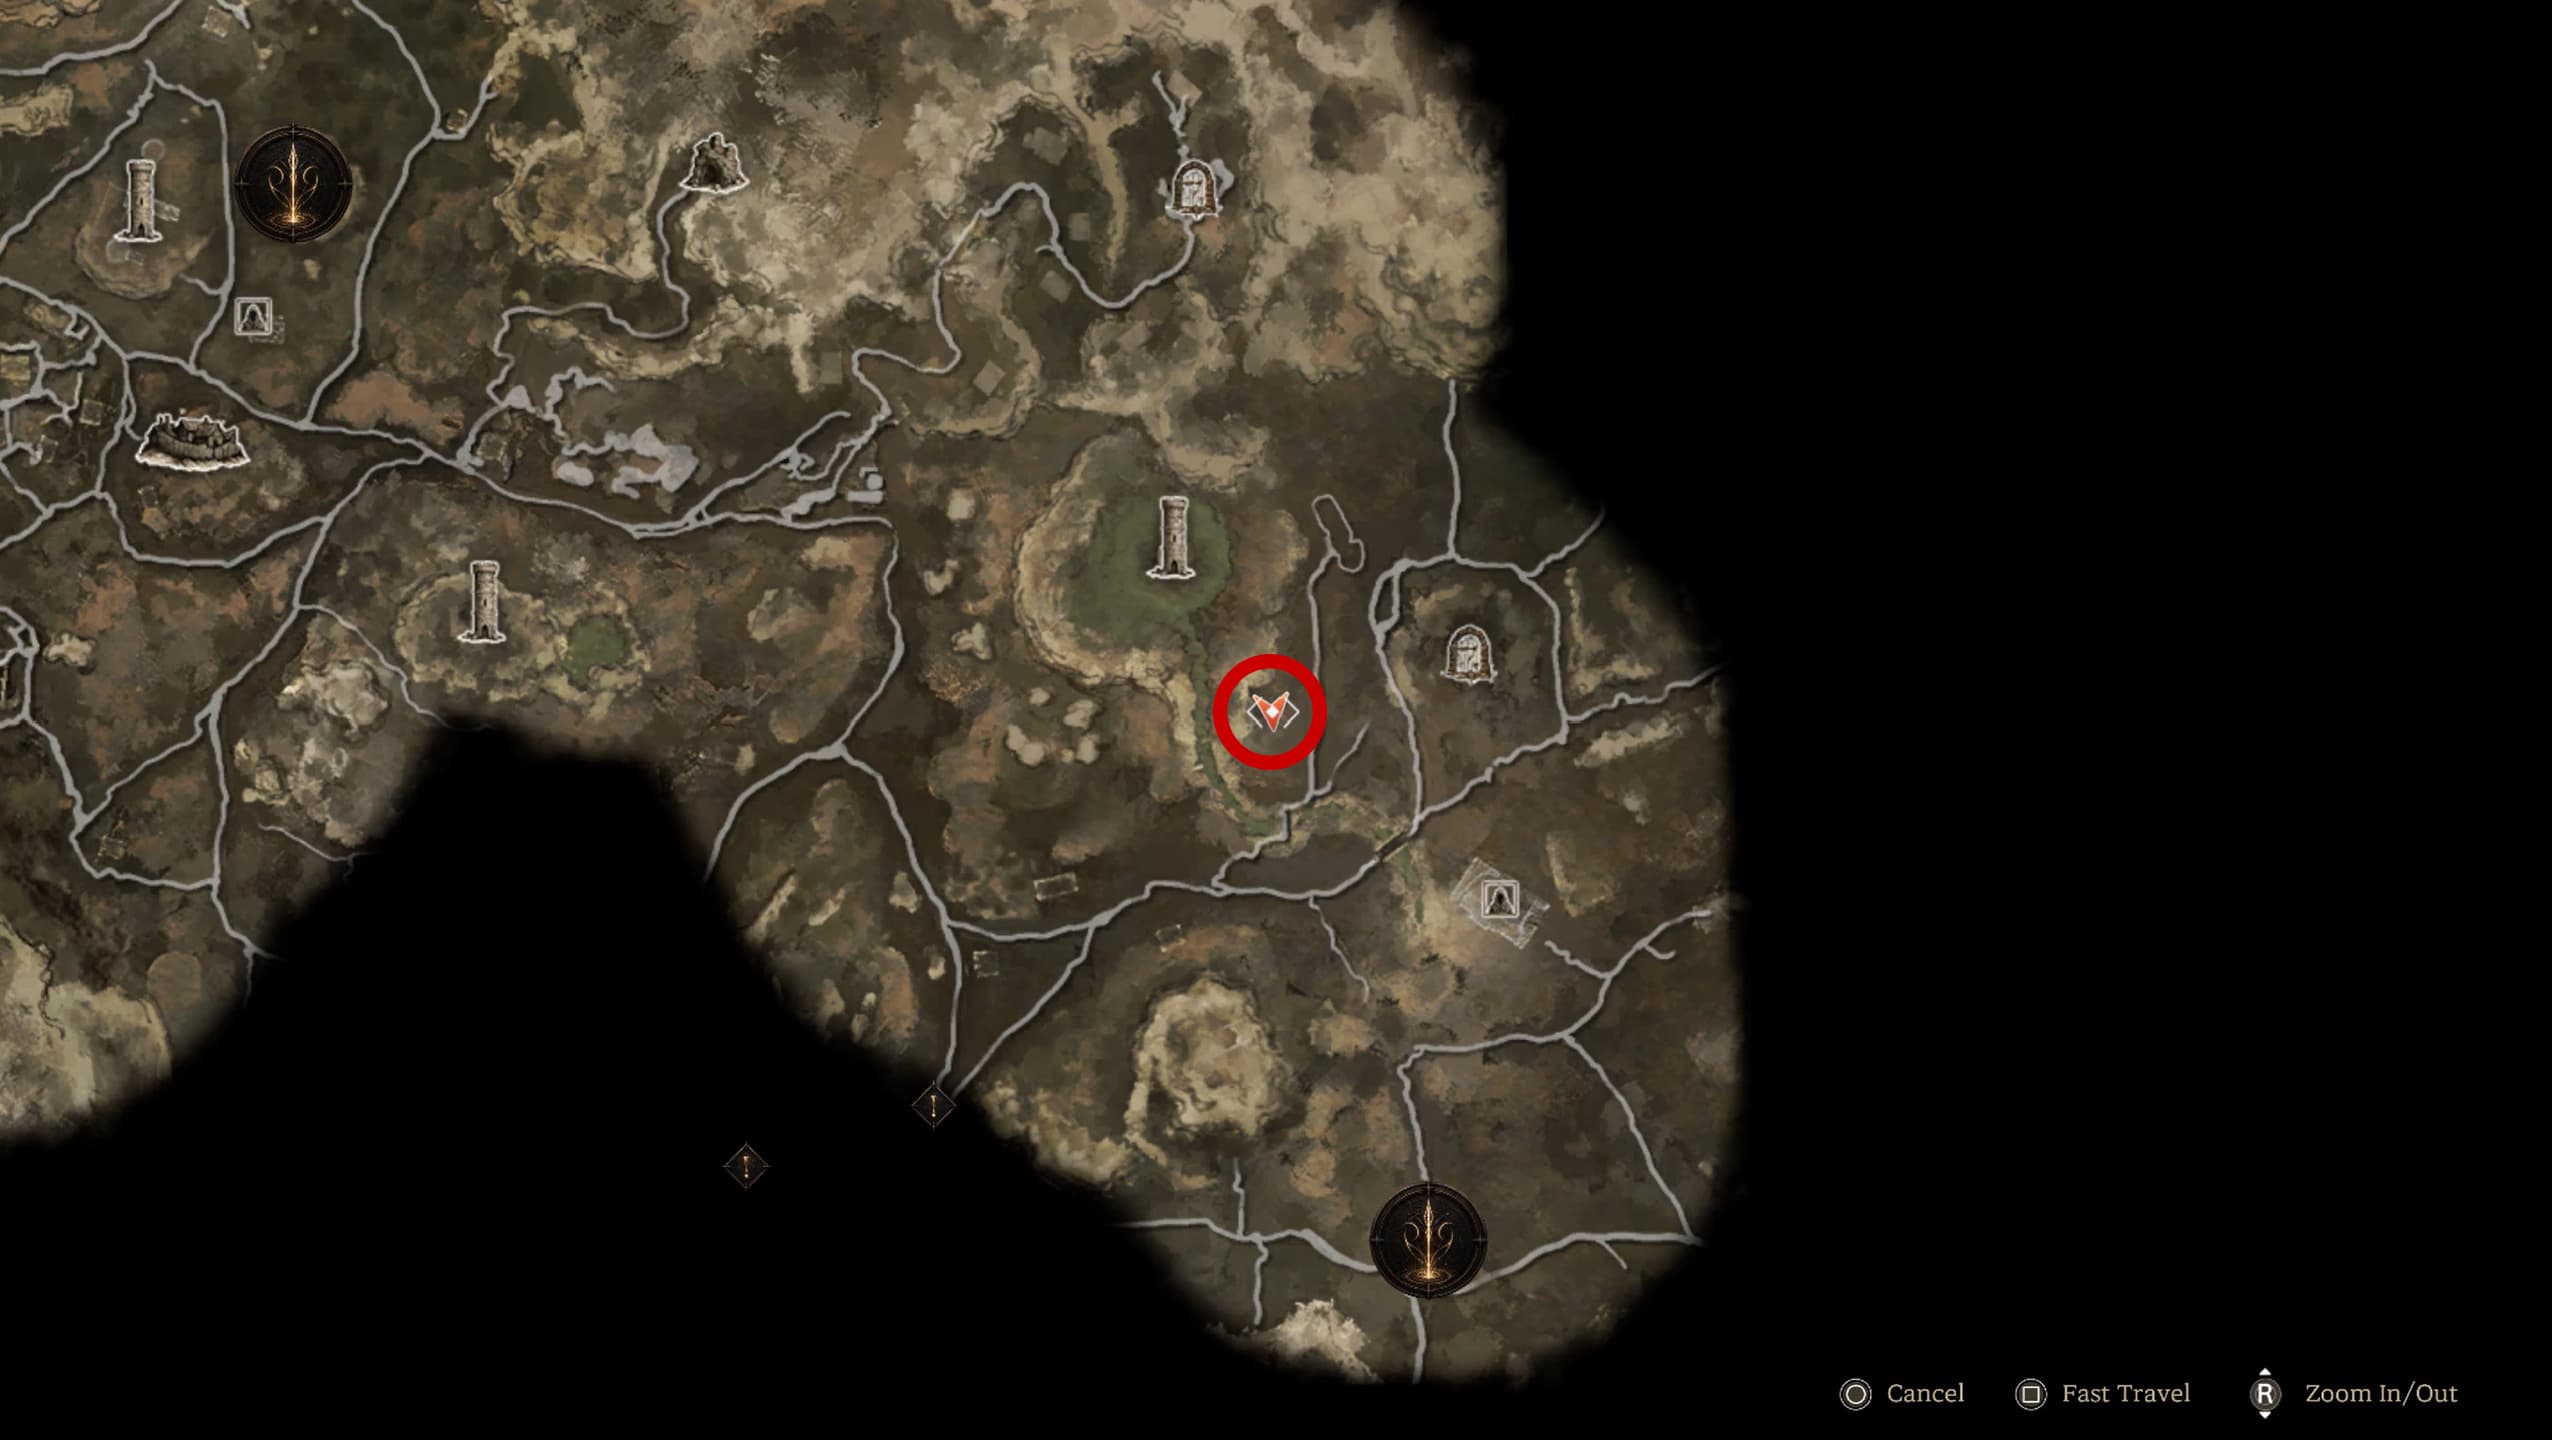
Location #21 heading back to the west a little, finding the cave entrance as located on the map below with the red circle, explore the cave, take on the enemies and find the Relic Power inside.
Location #22 make your way north a little towards the ruins, to find the next Relic Power in amongst the ruins, glowing bright blue.
Bonus Relic Power Tip
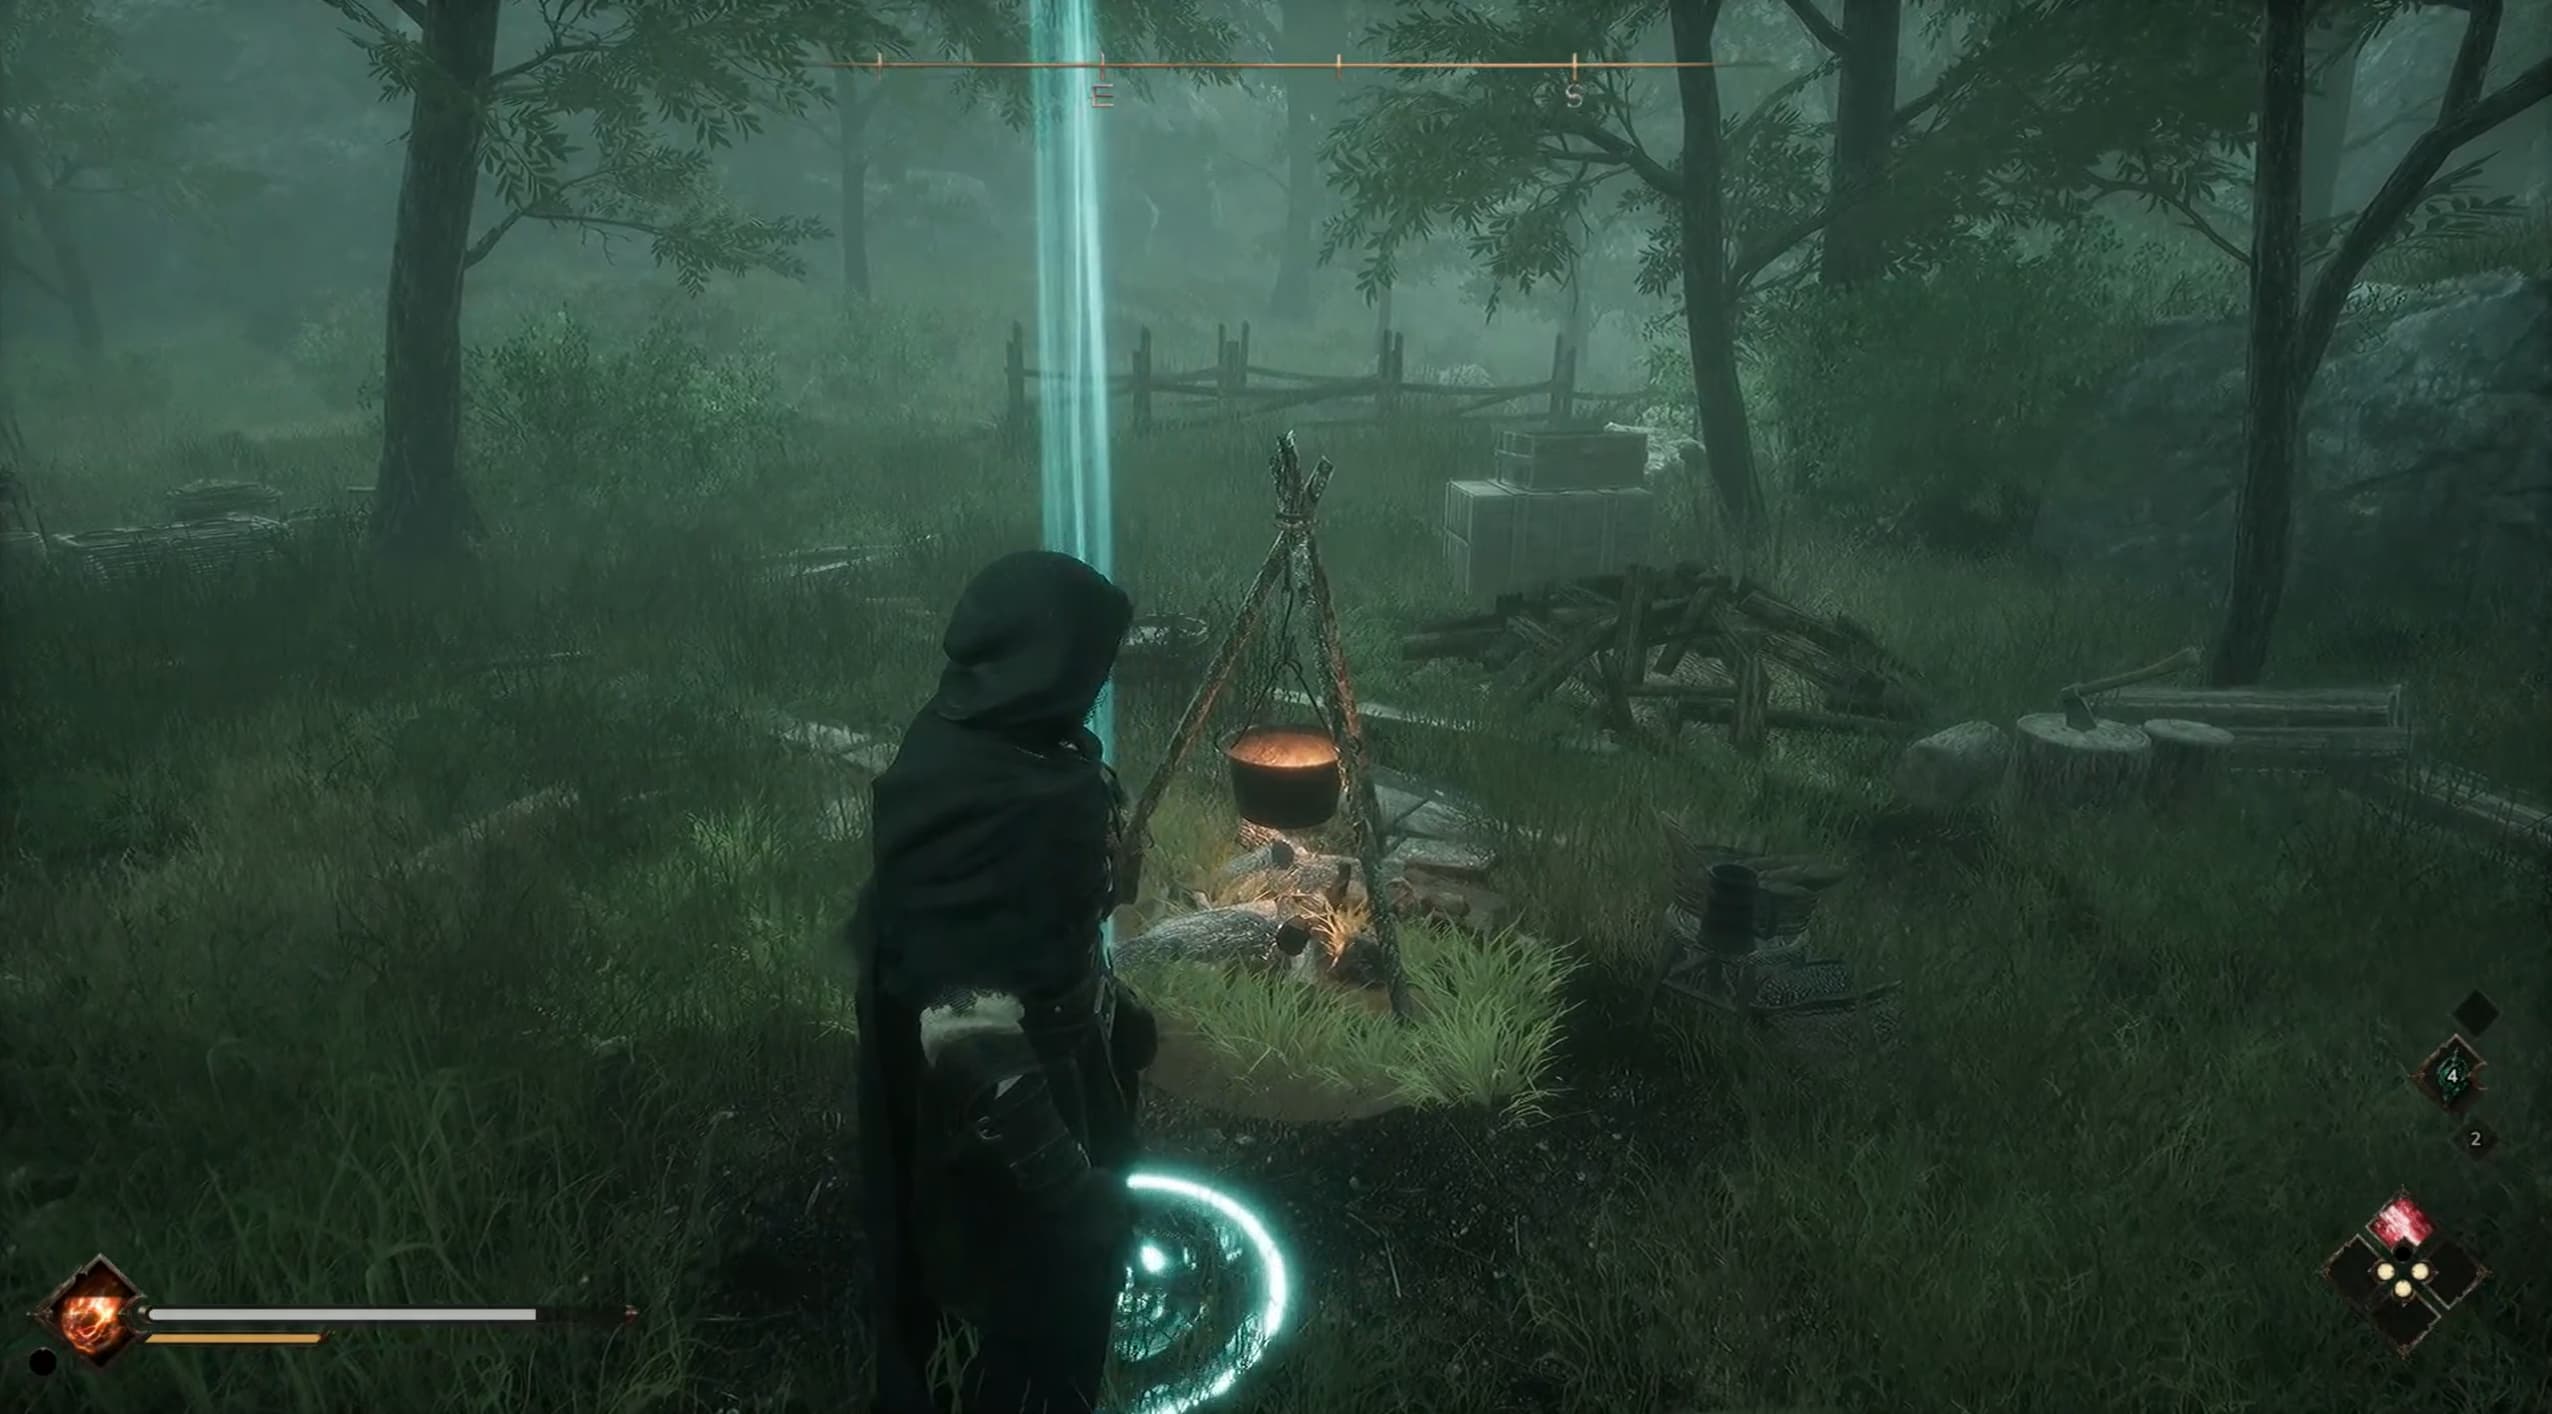
Whenever you come across a small campfire in the Faded Mist Forest, interact with it and you will have a short script scene / cut scene, afterwards, you will be rewarded with a small amount of Relic Power, it isn't as much as absorbing from the Ancient Relic Energy locations, but every bit extra helps in the long run!
Note: Once you have sat at a campfire and gained the Relic Power from here, you cannot gain more from the same campfire, it will only gift you once per campfire location.
Hillsbrad First Area Locations
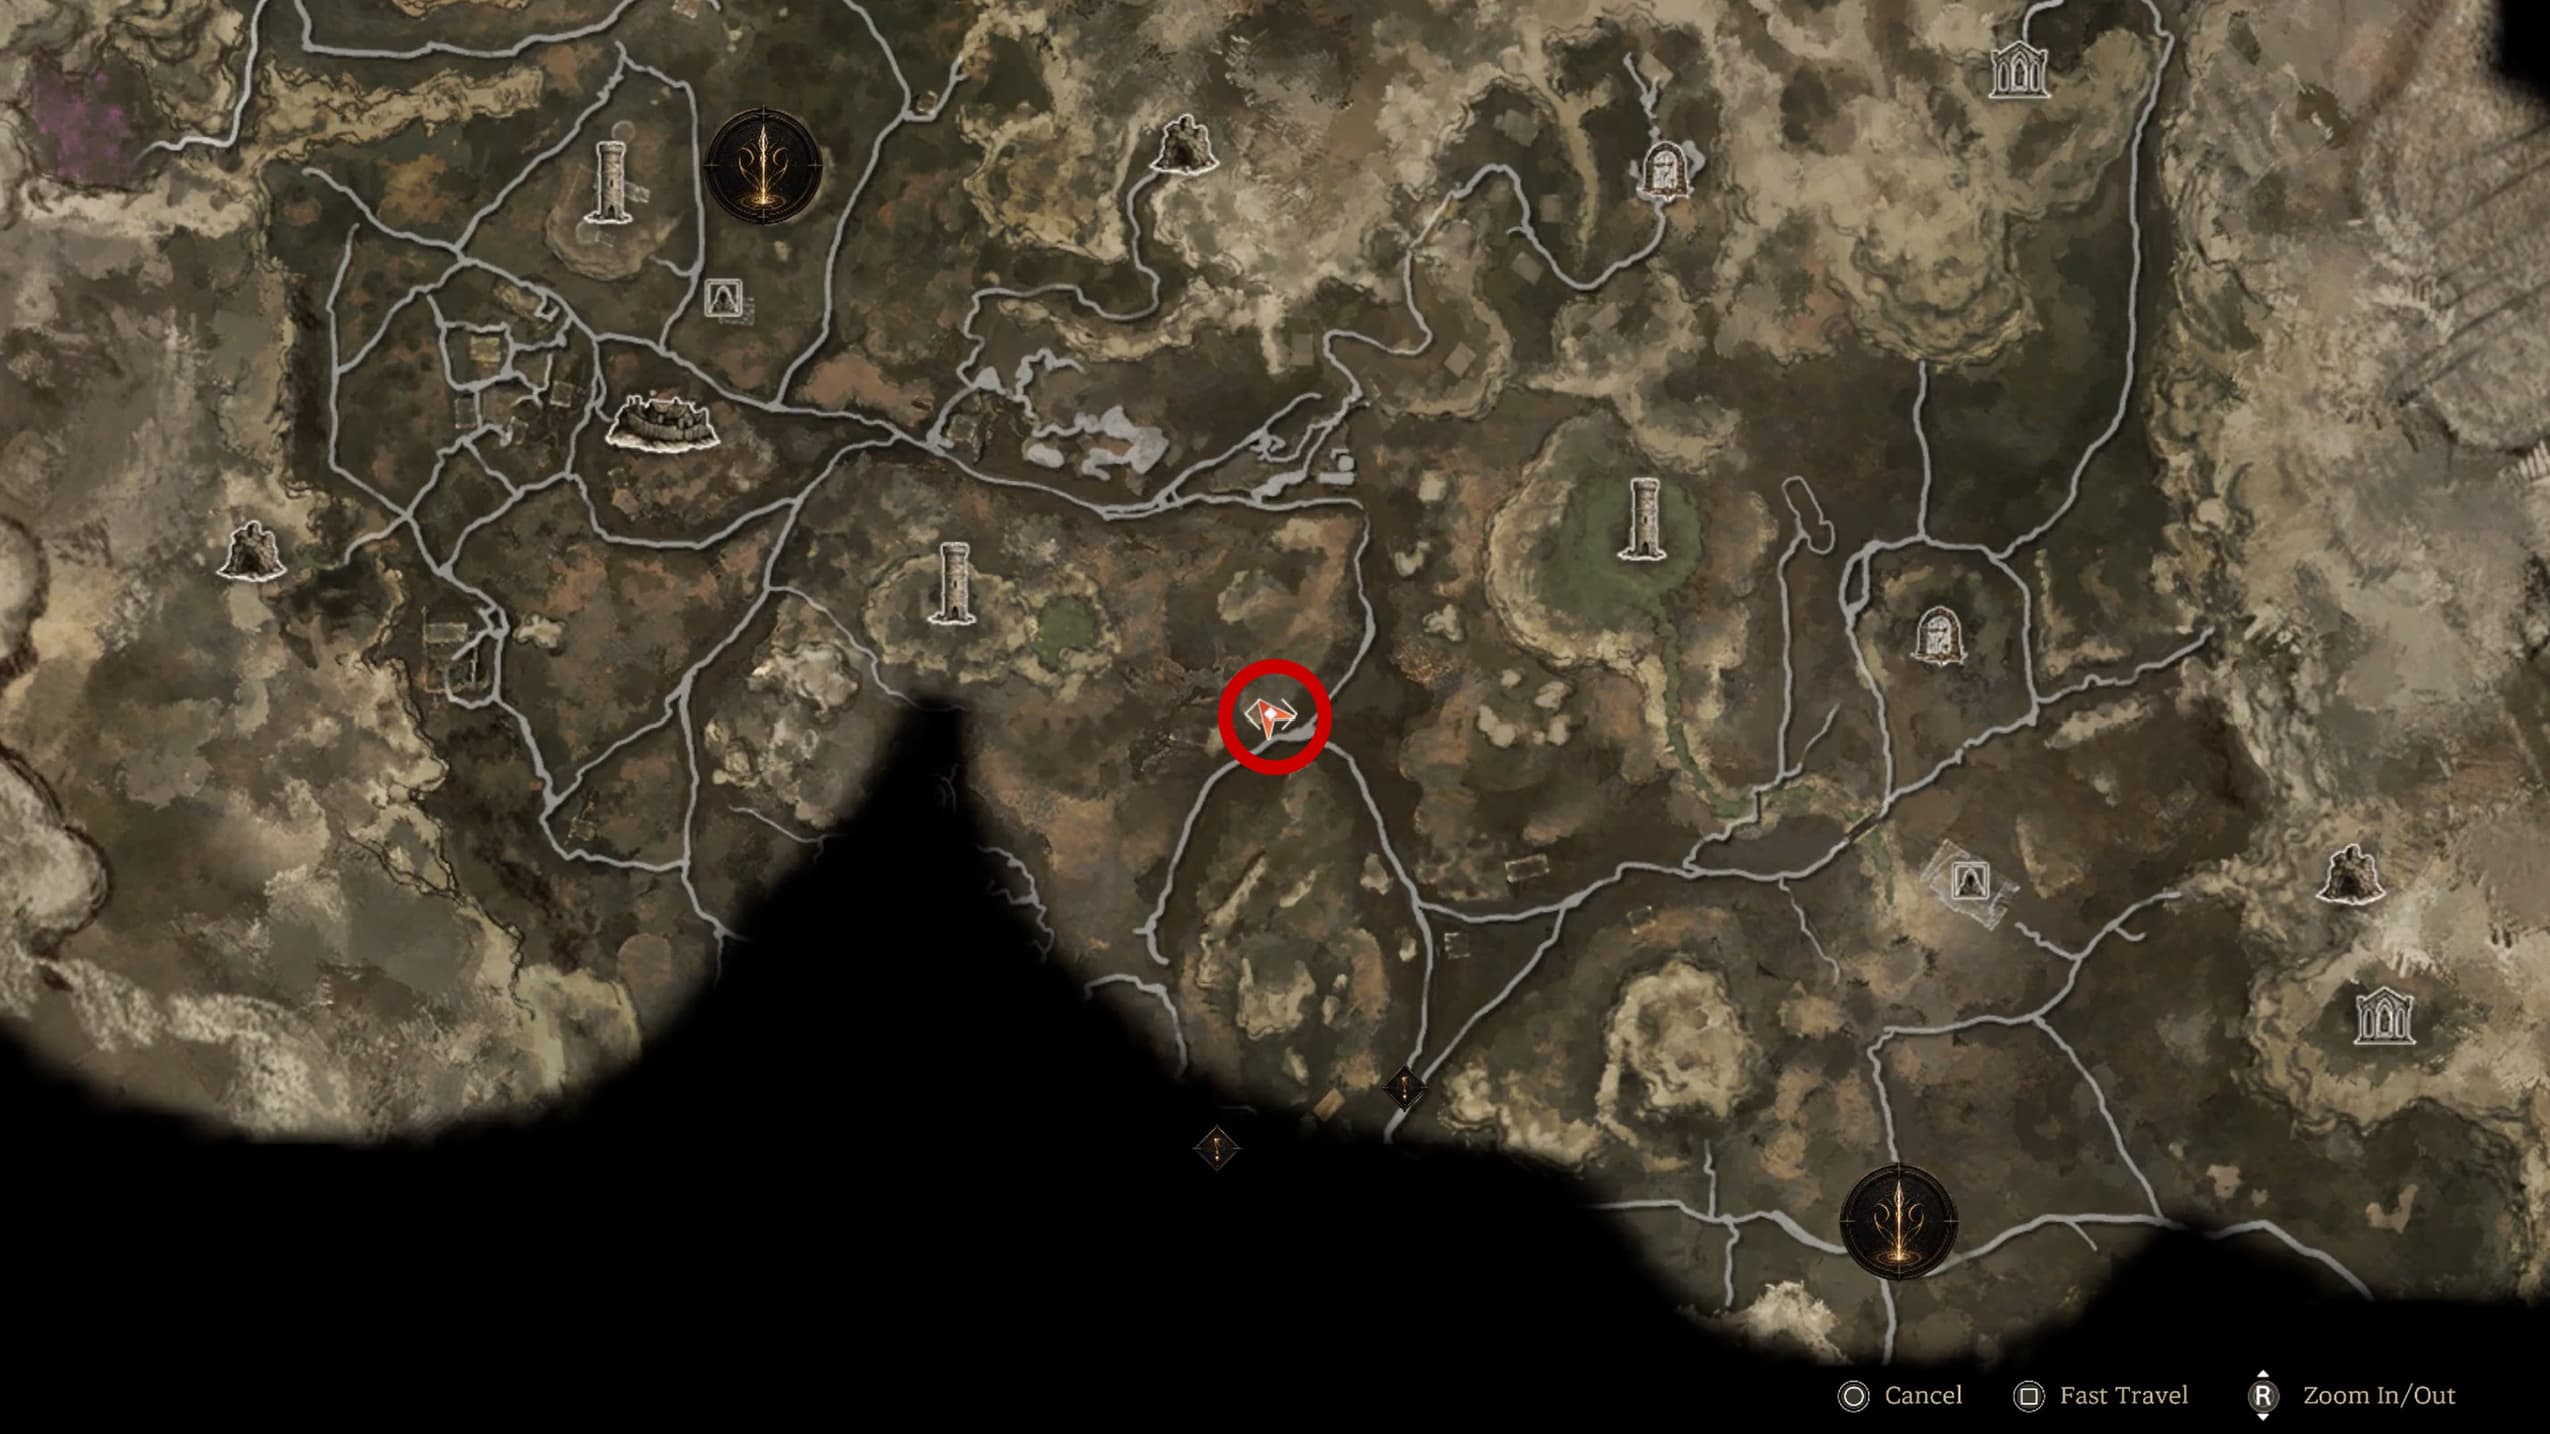
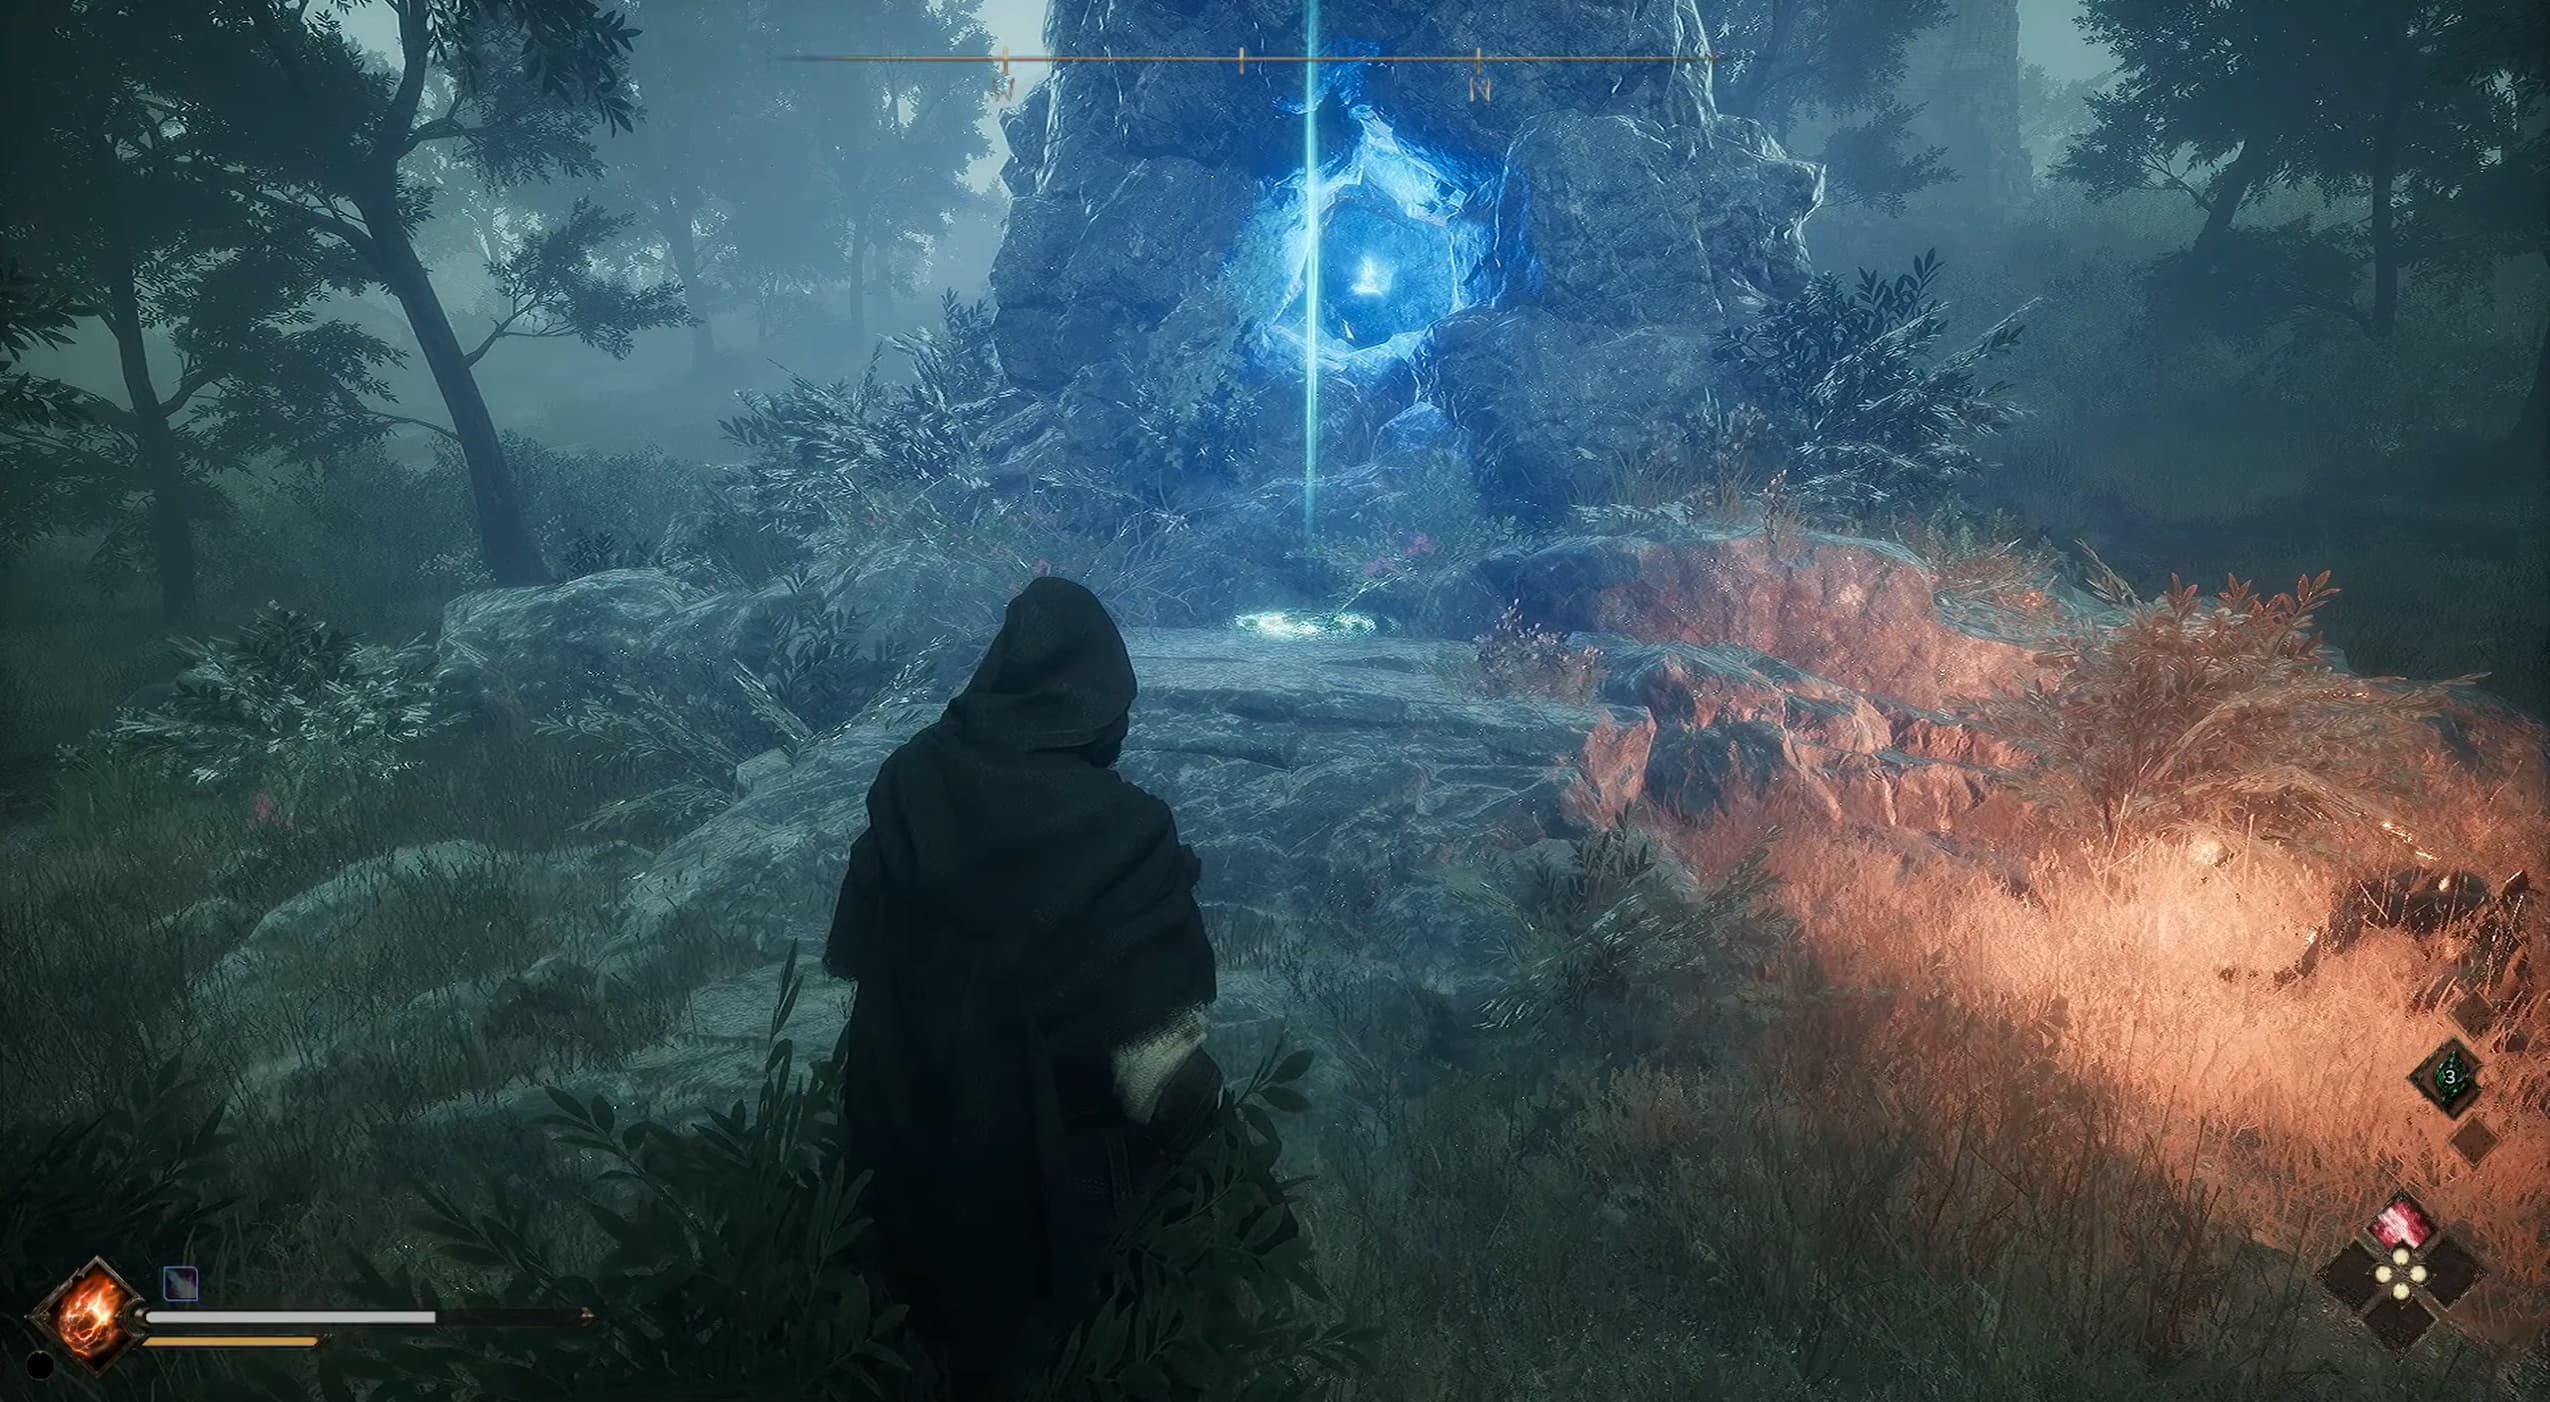
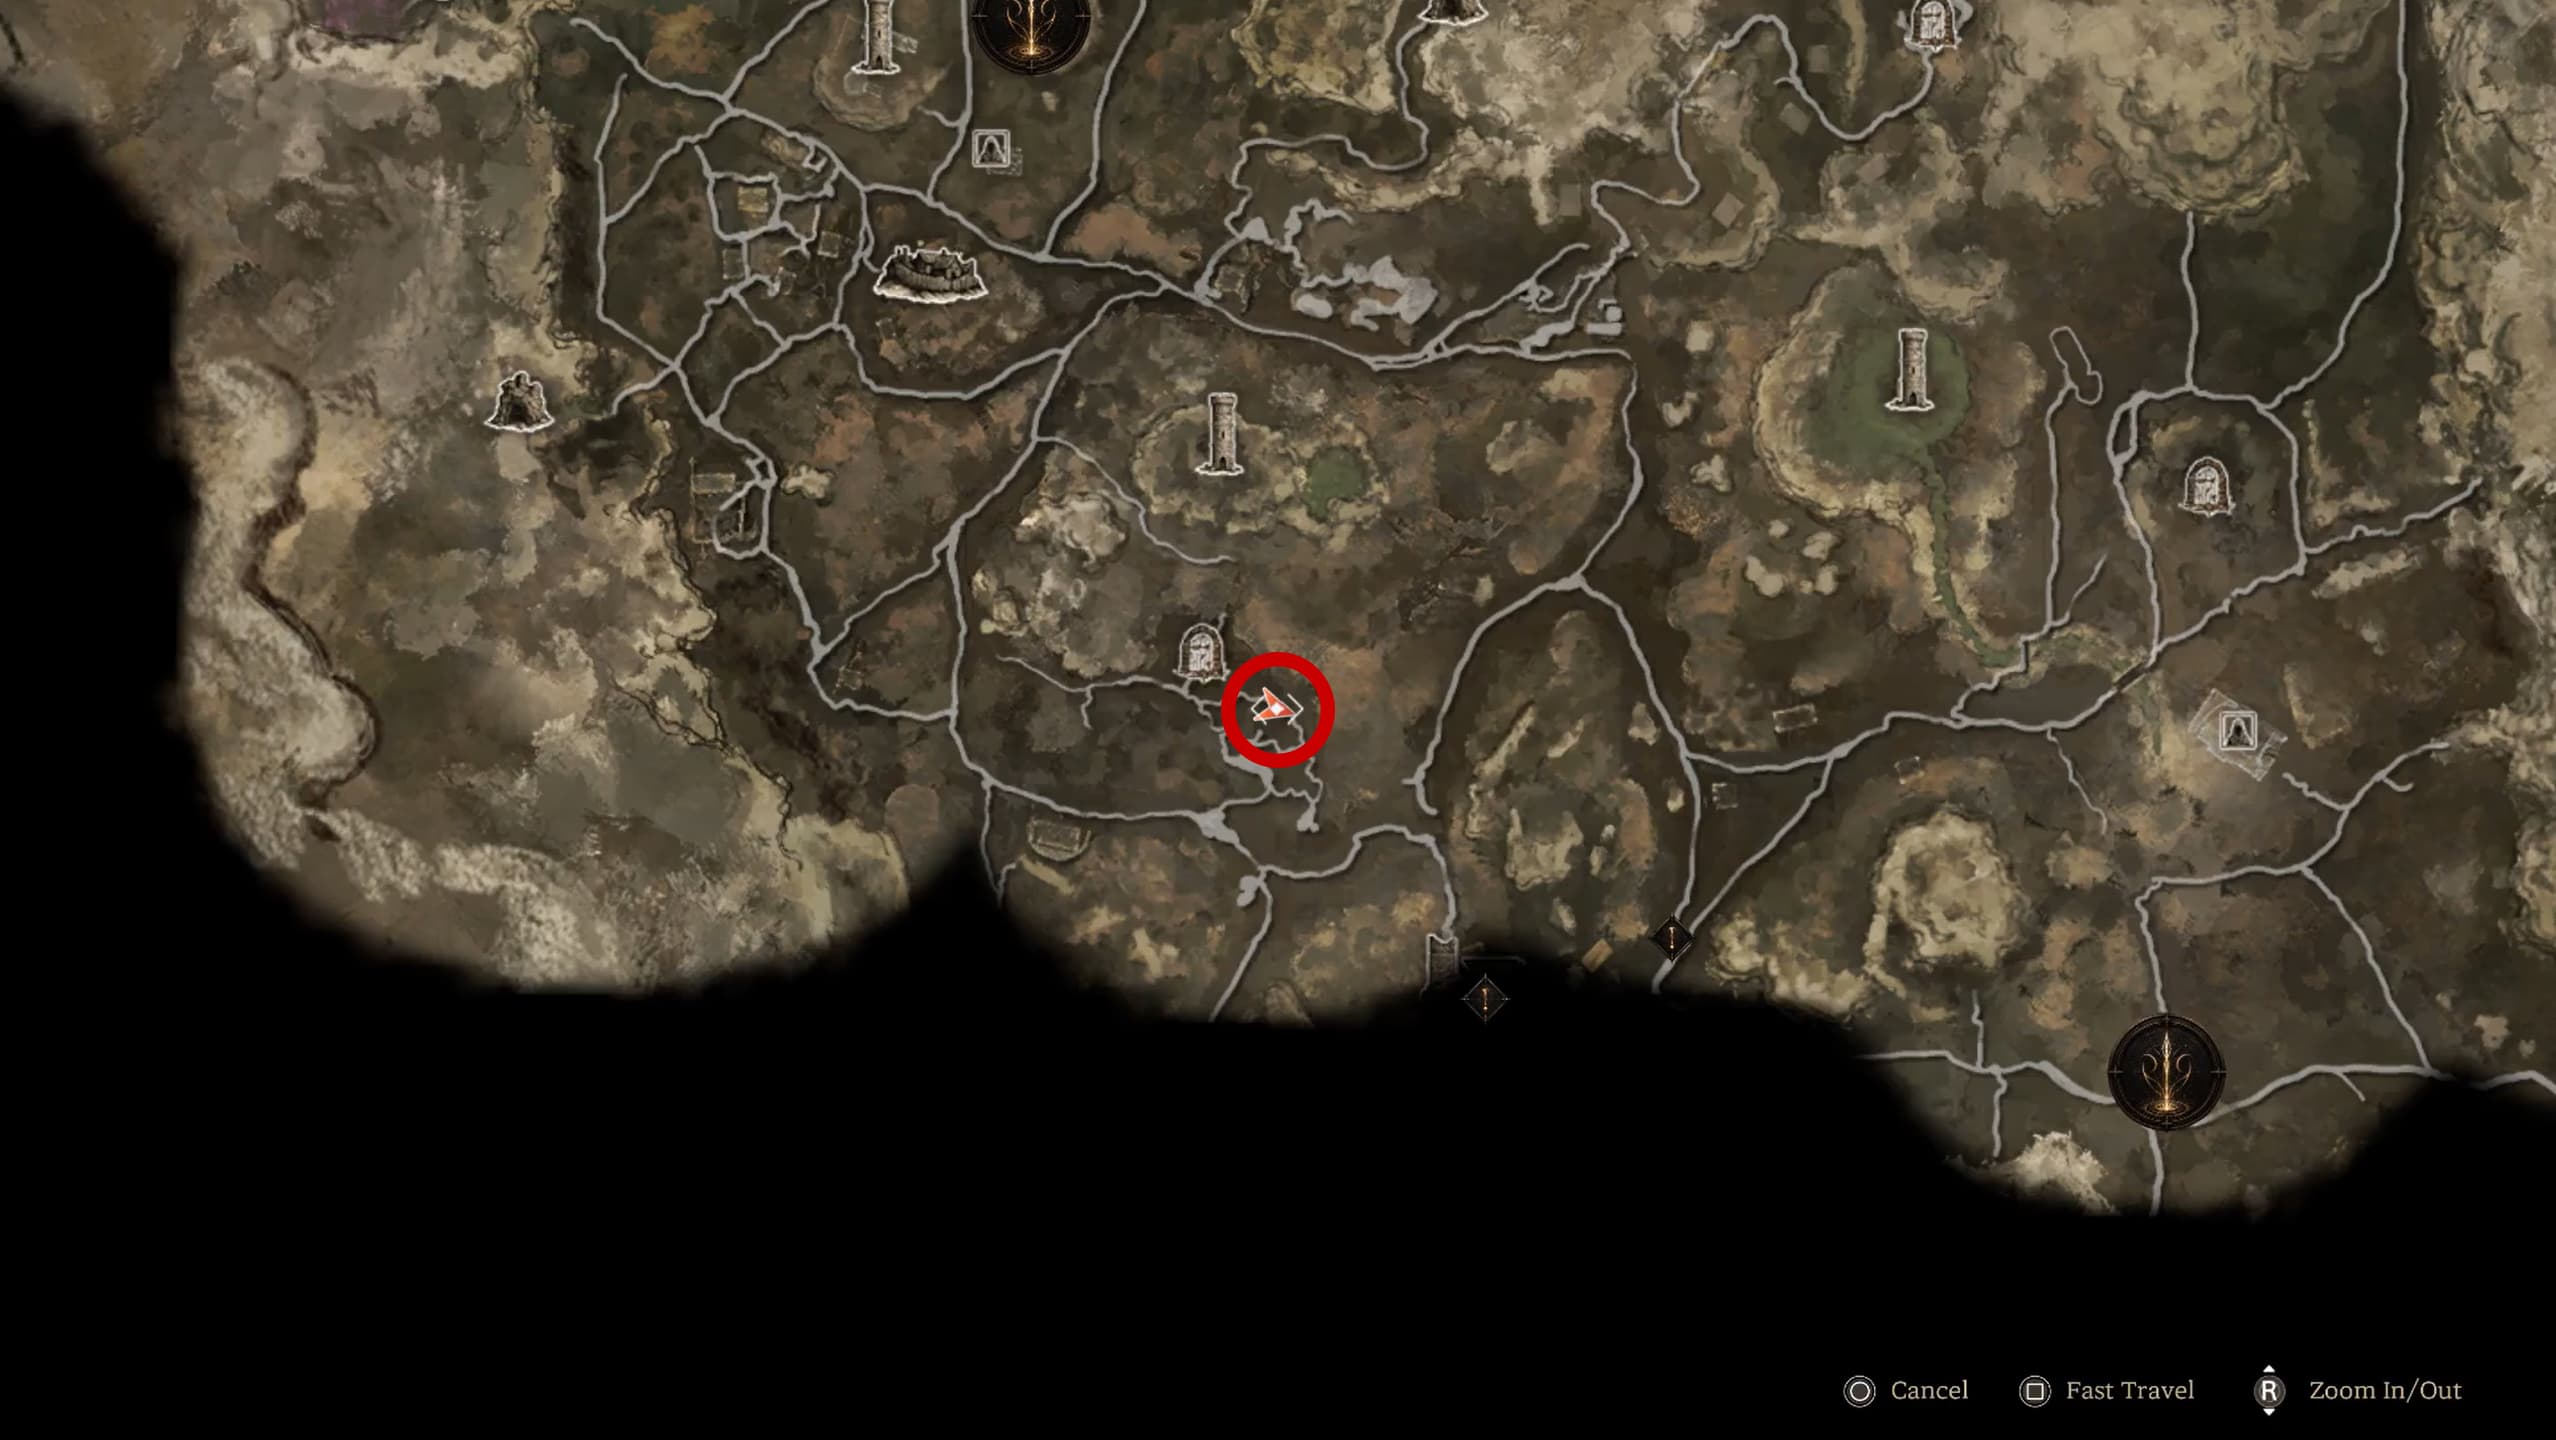
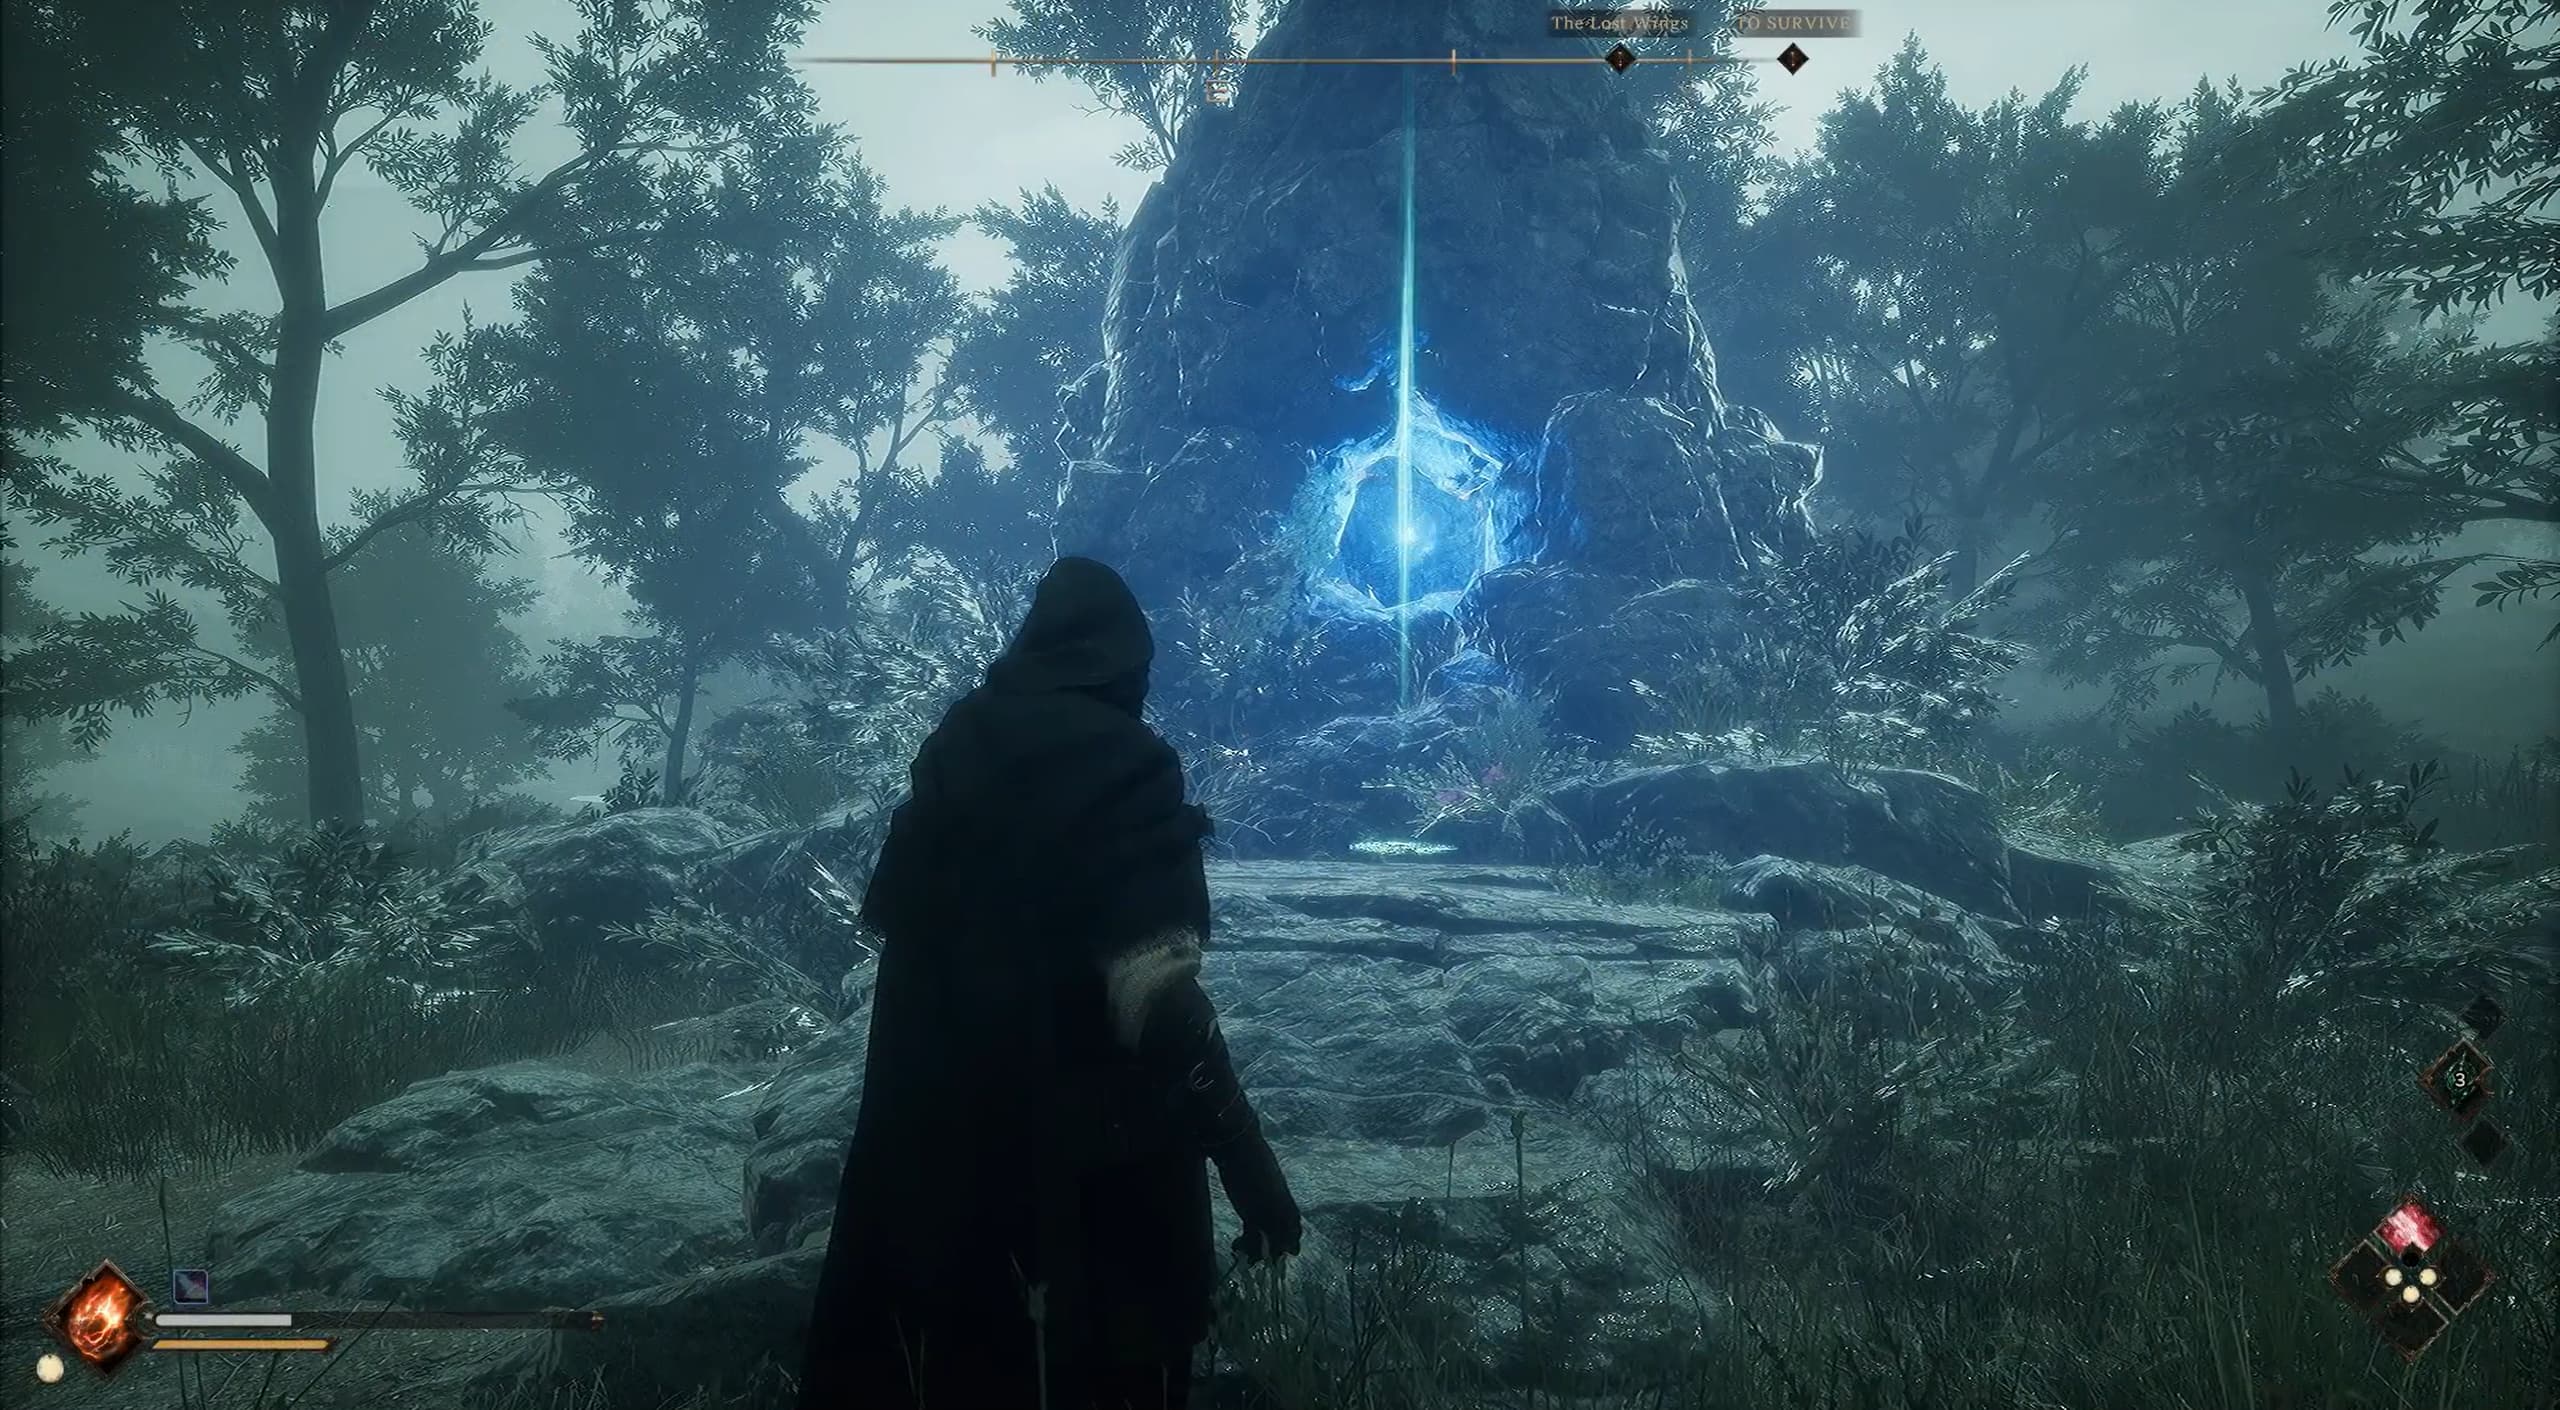
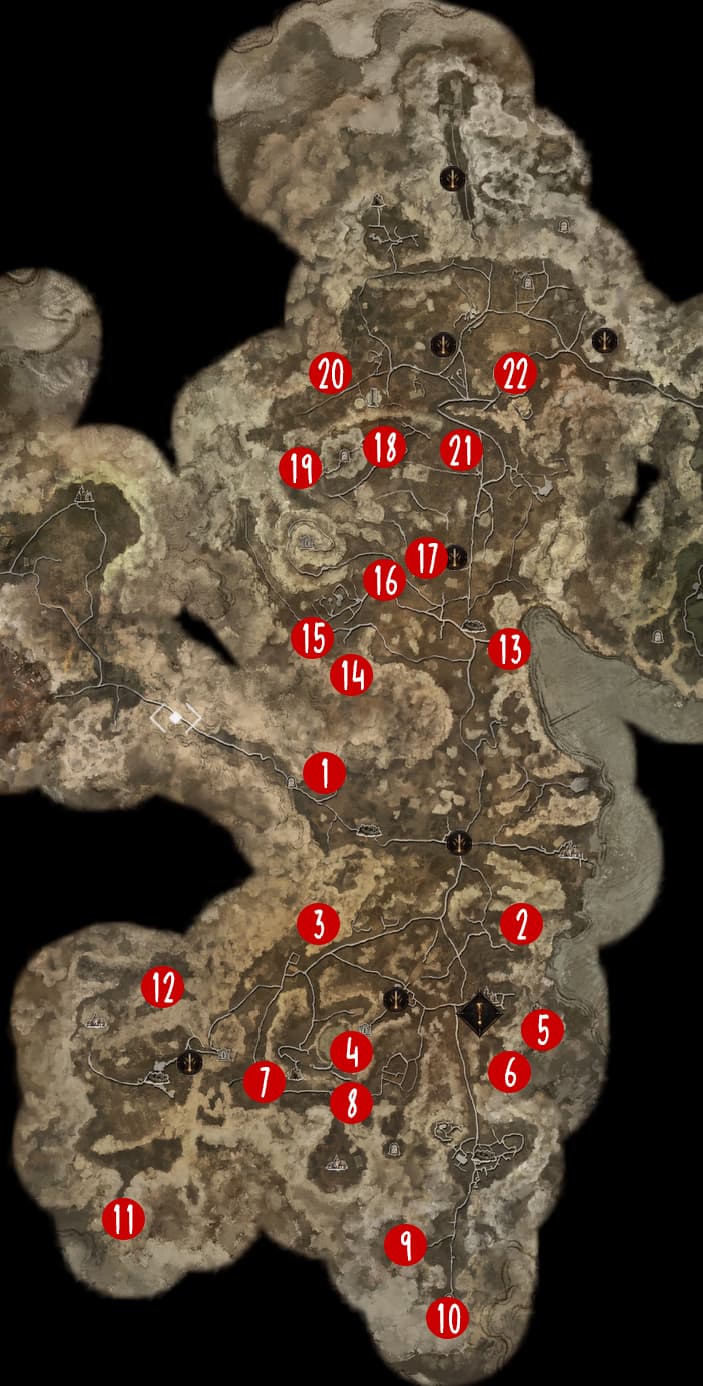
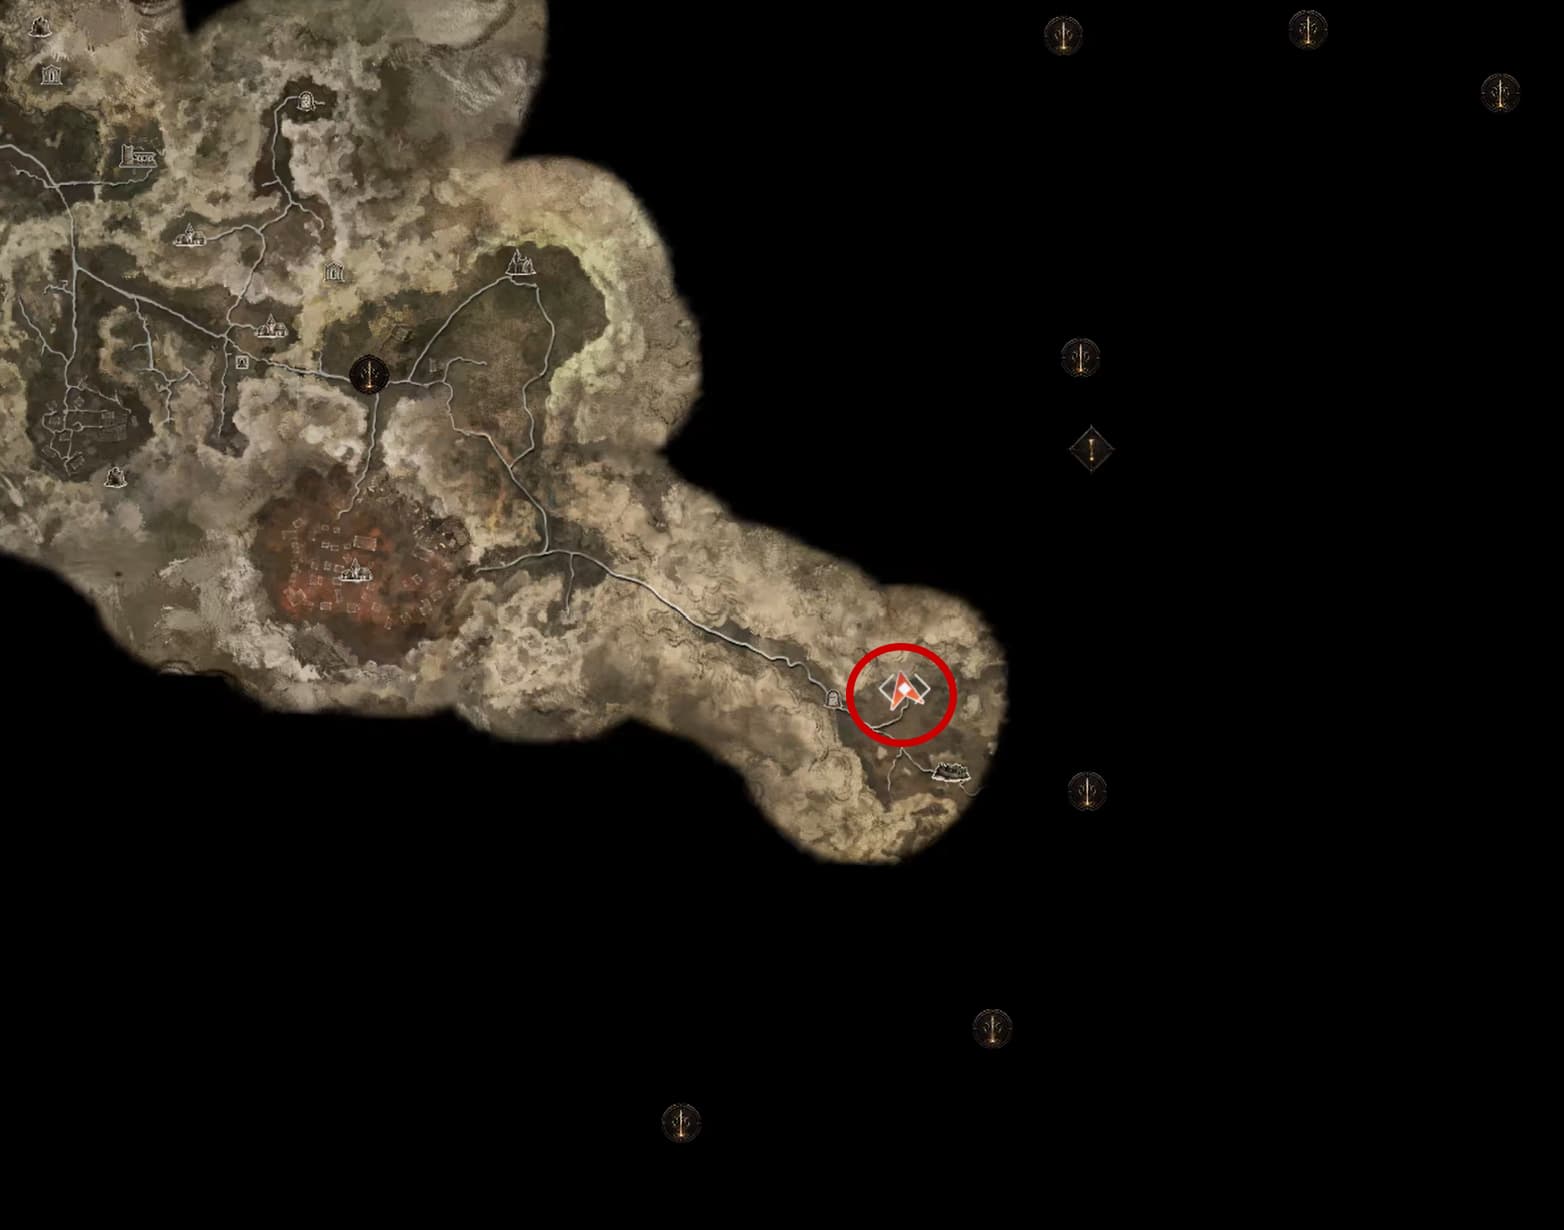
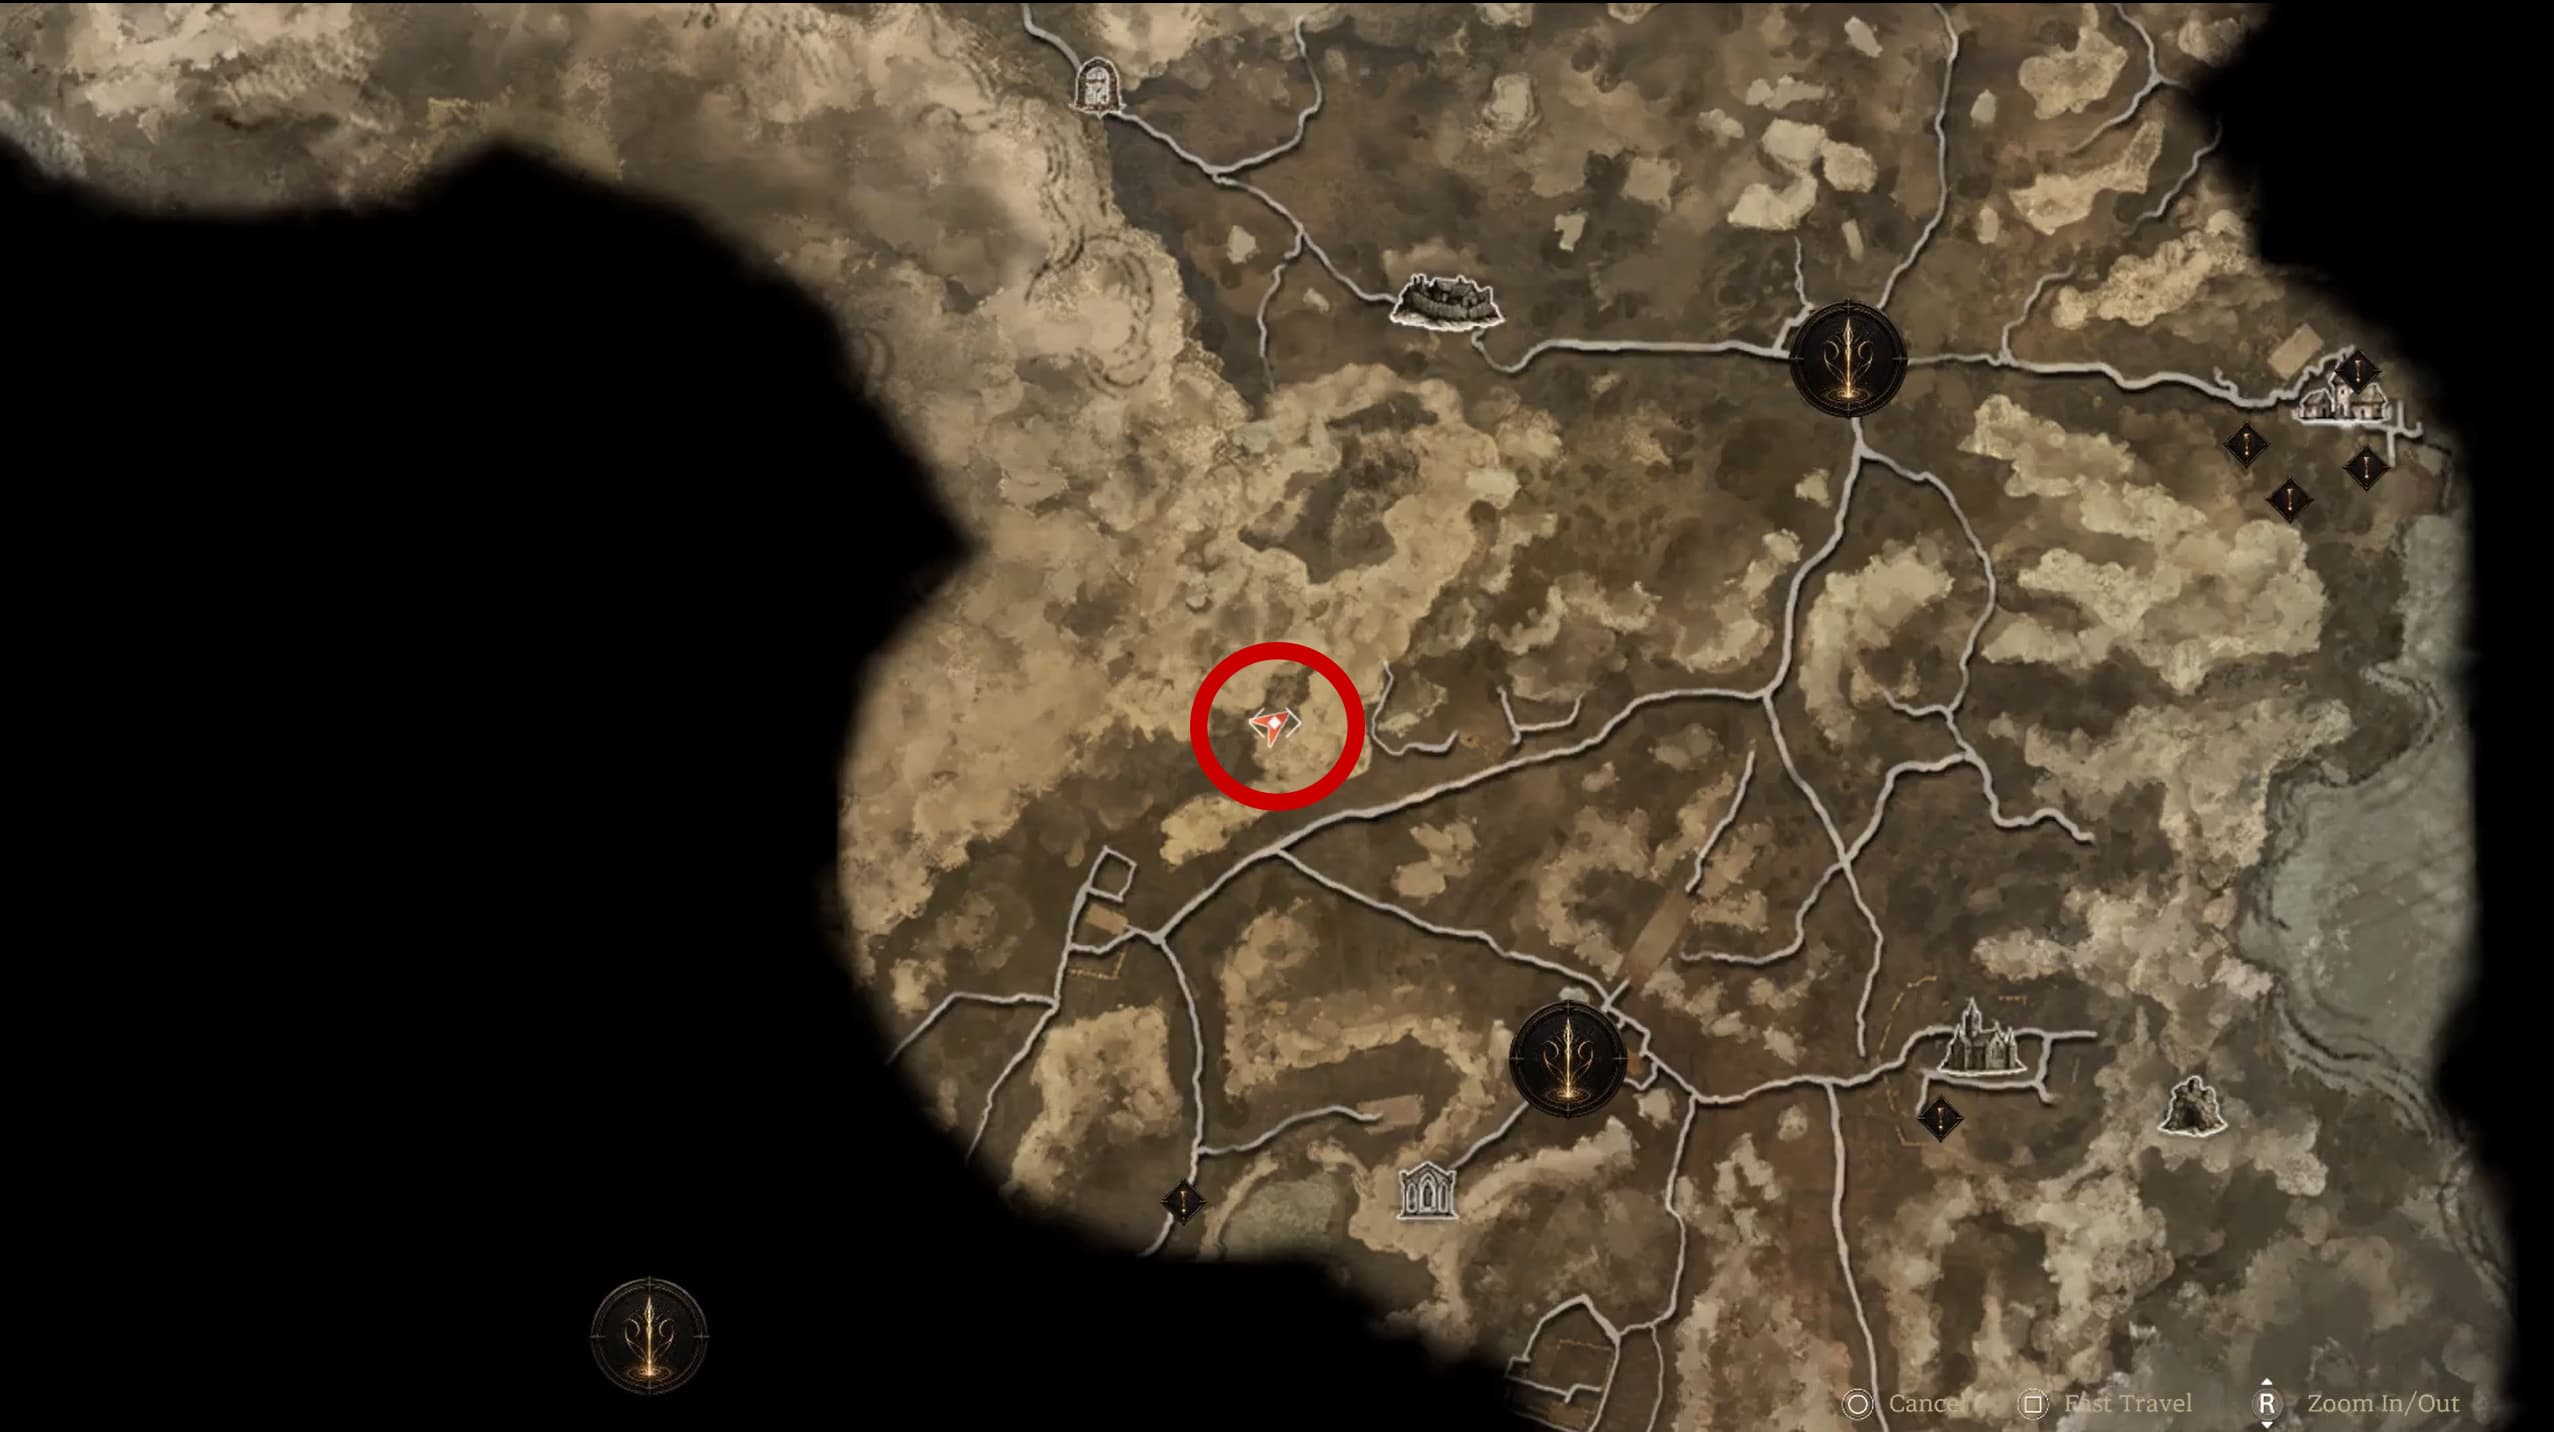
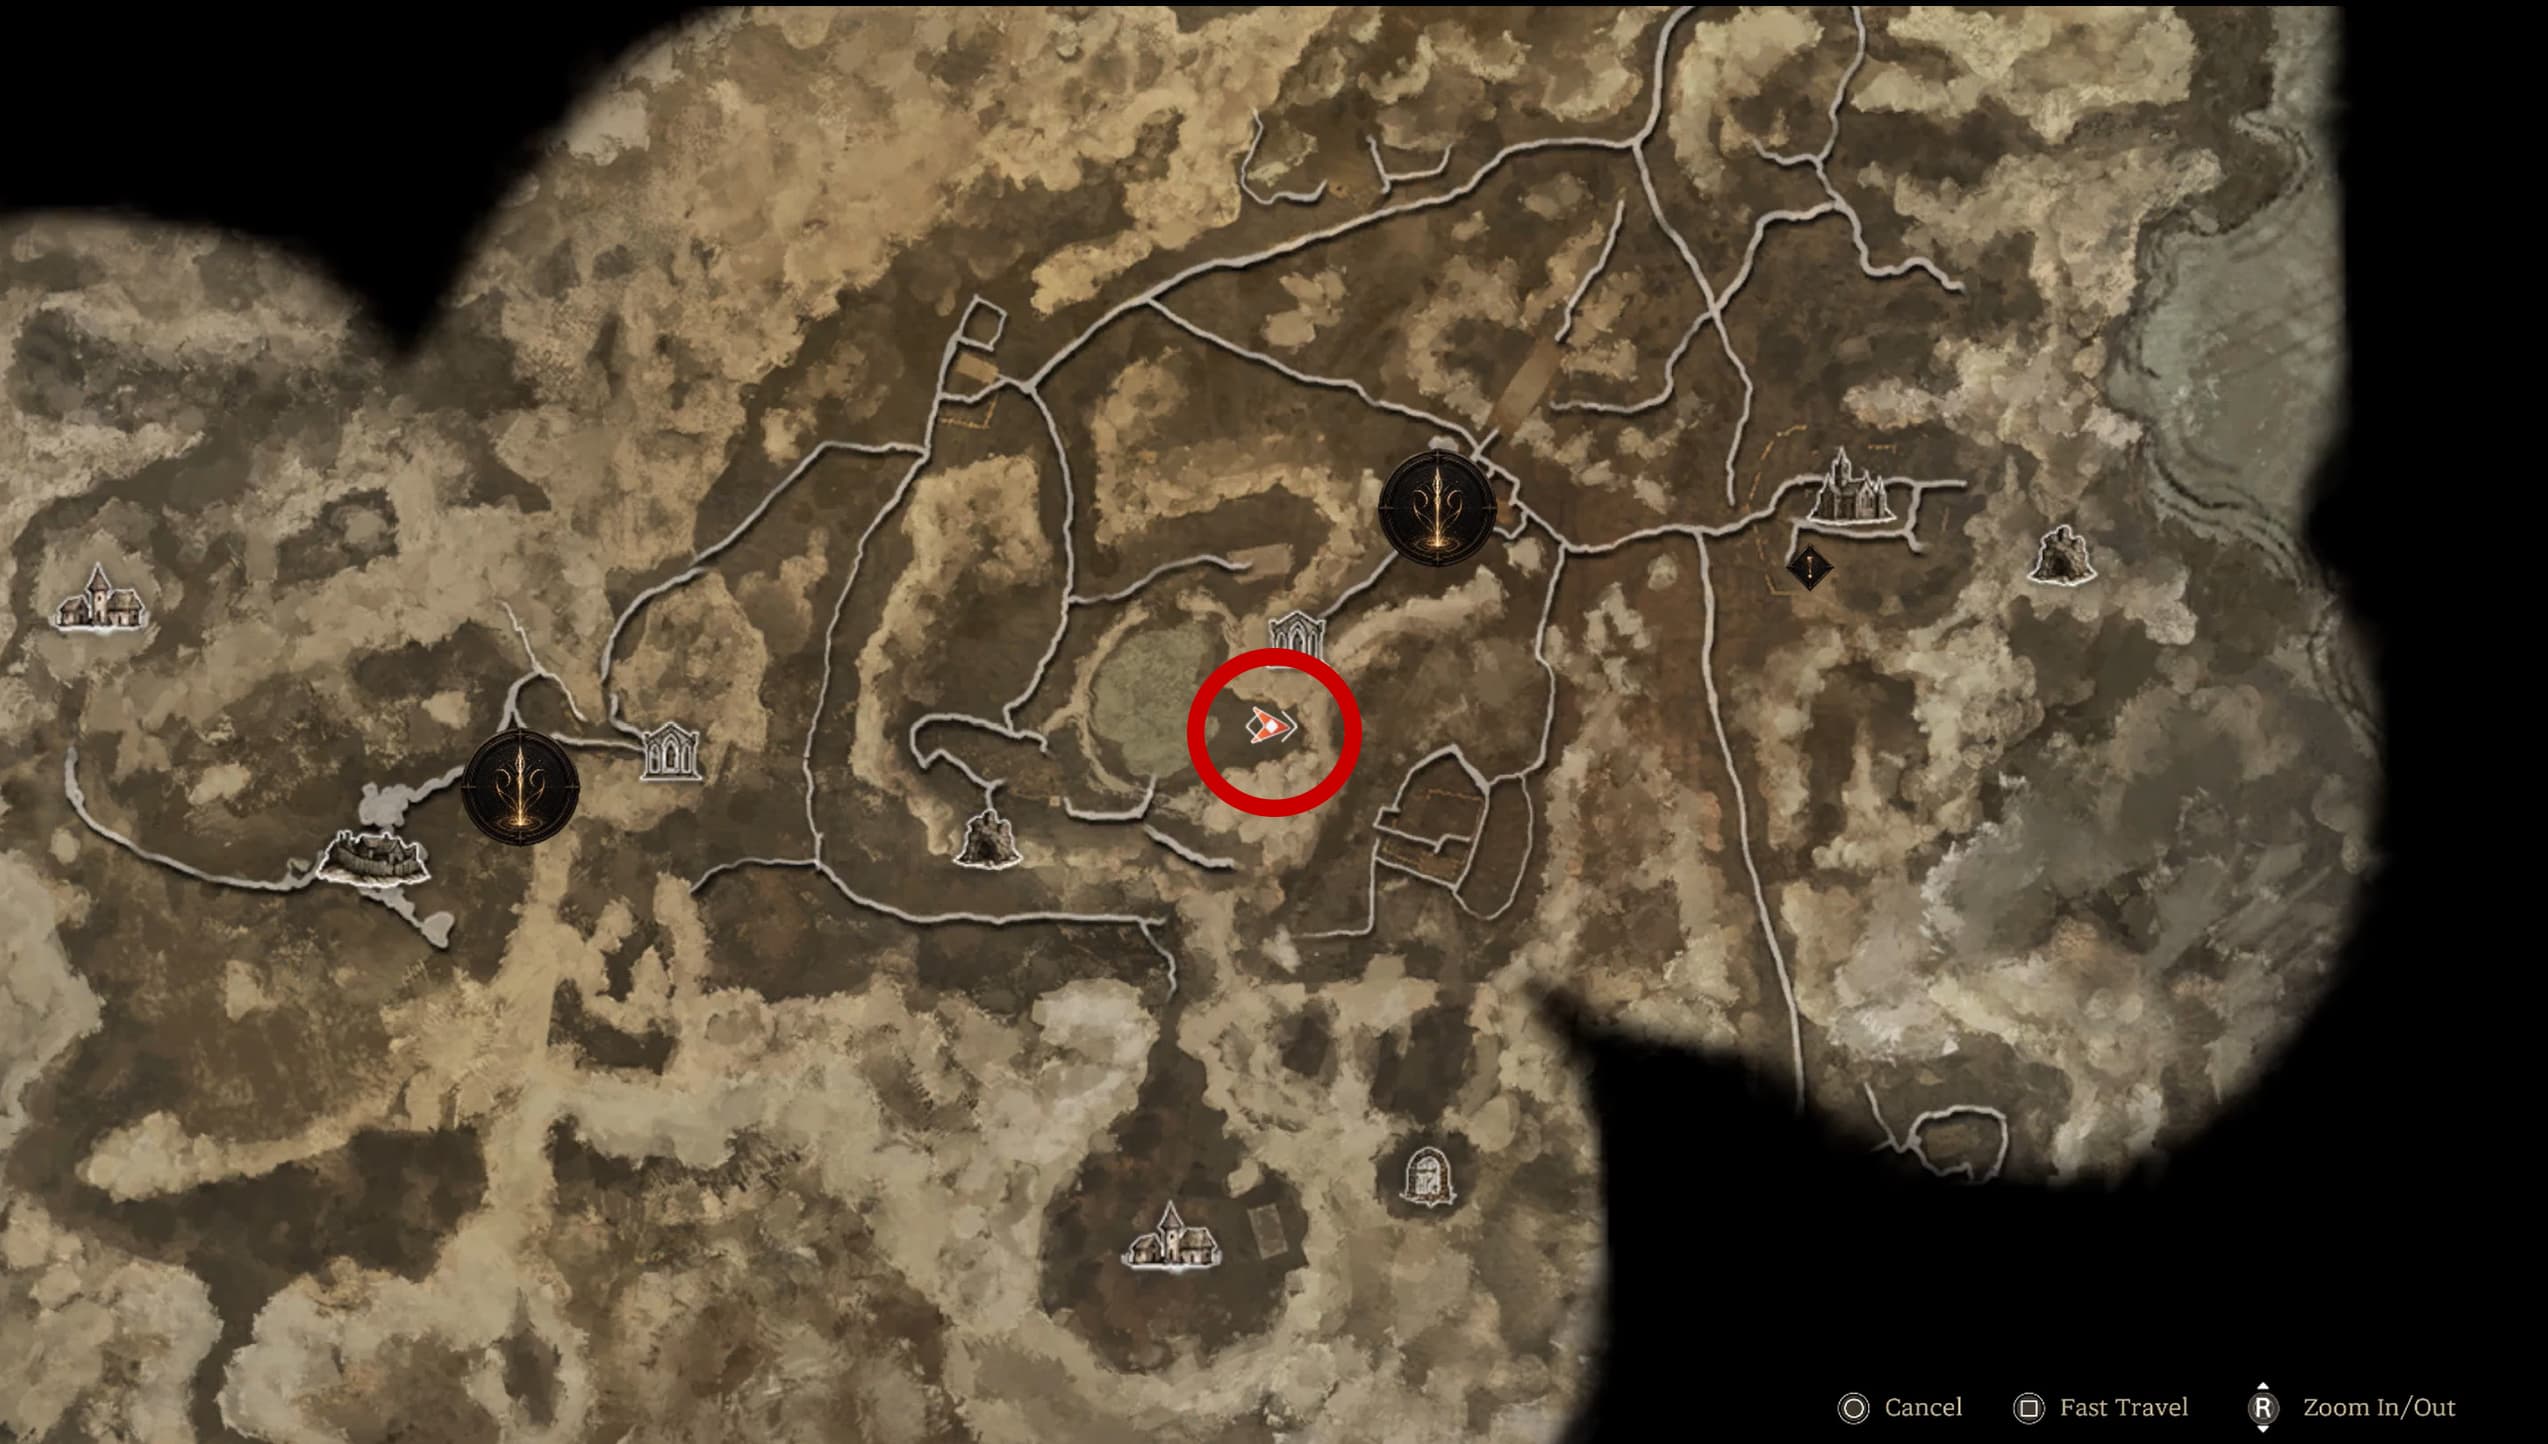
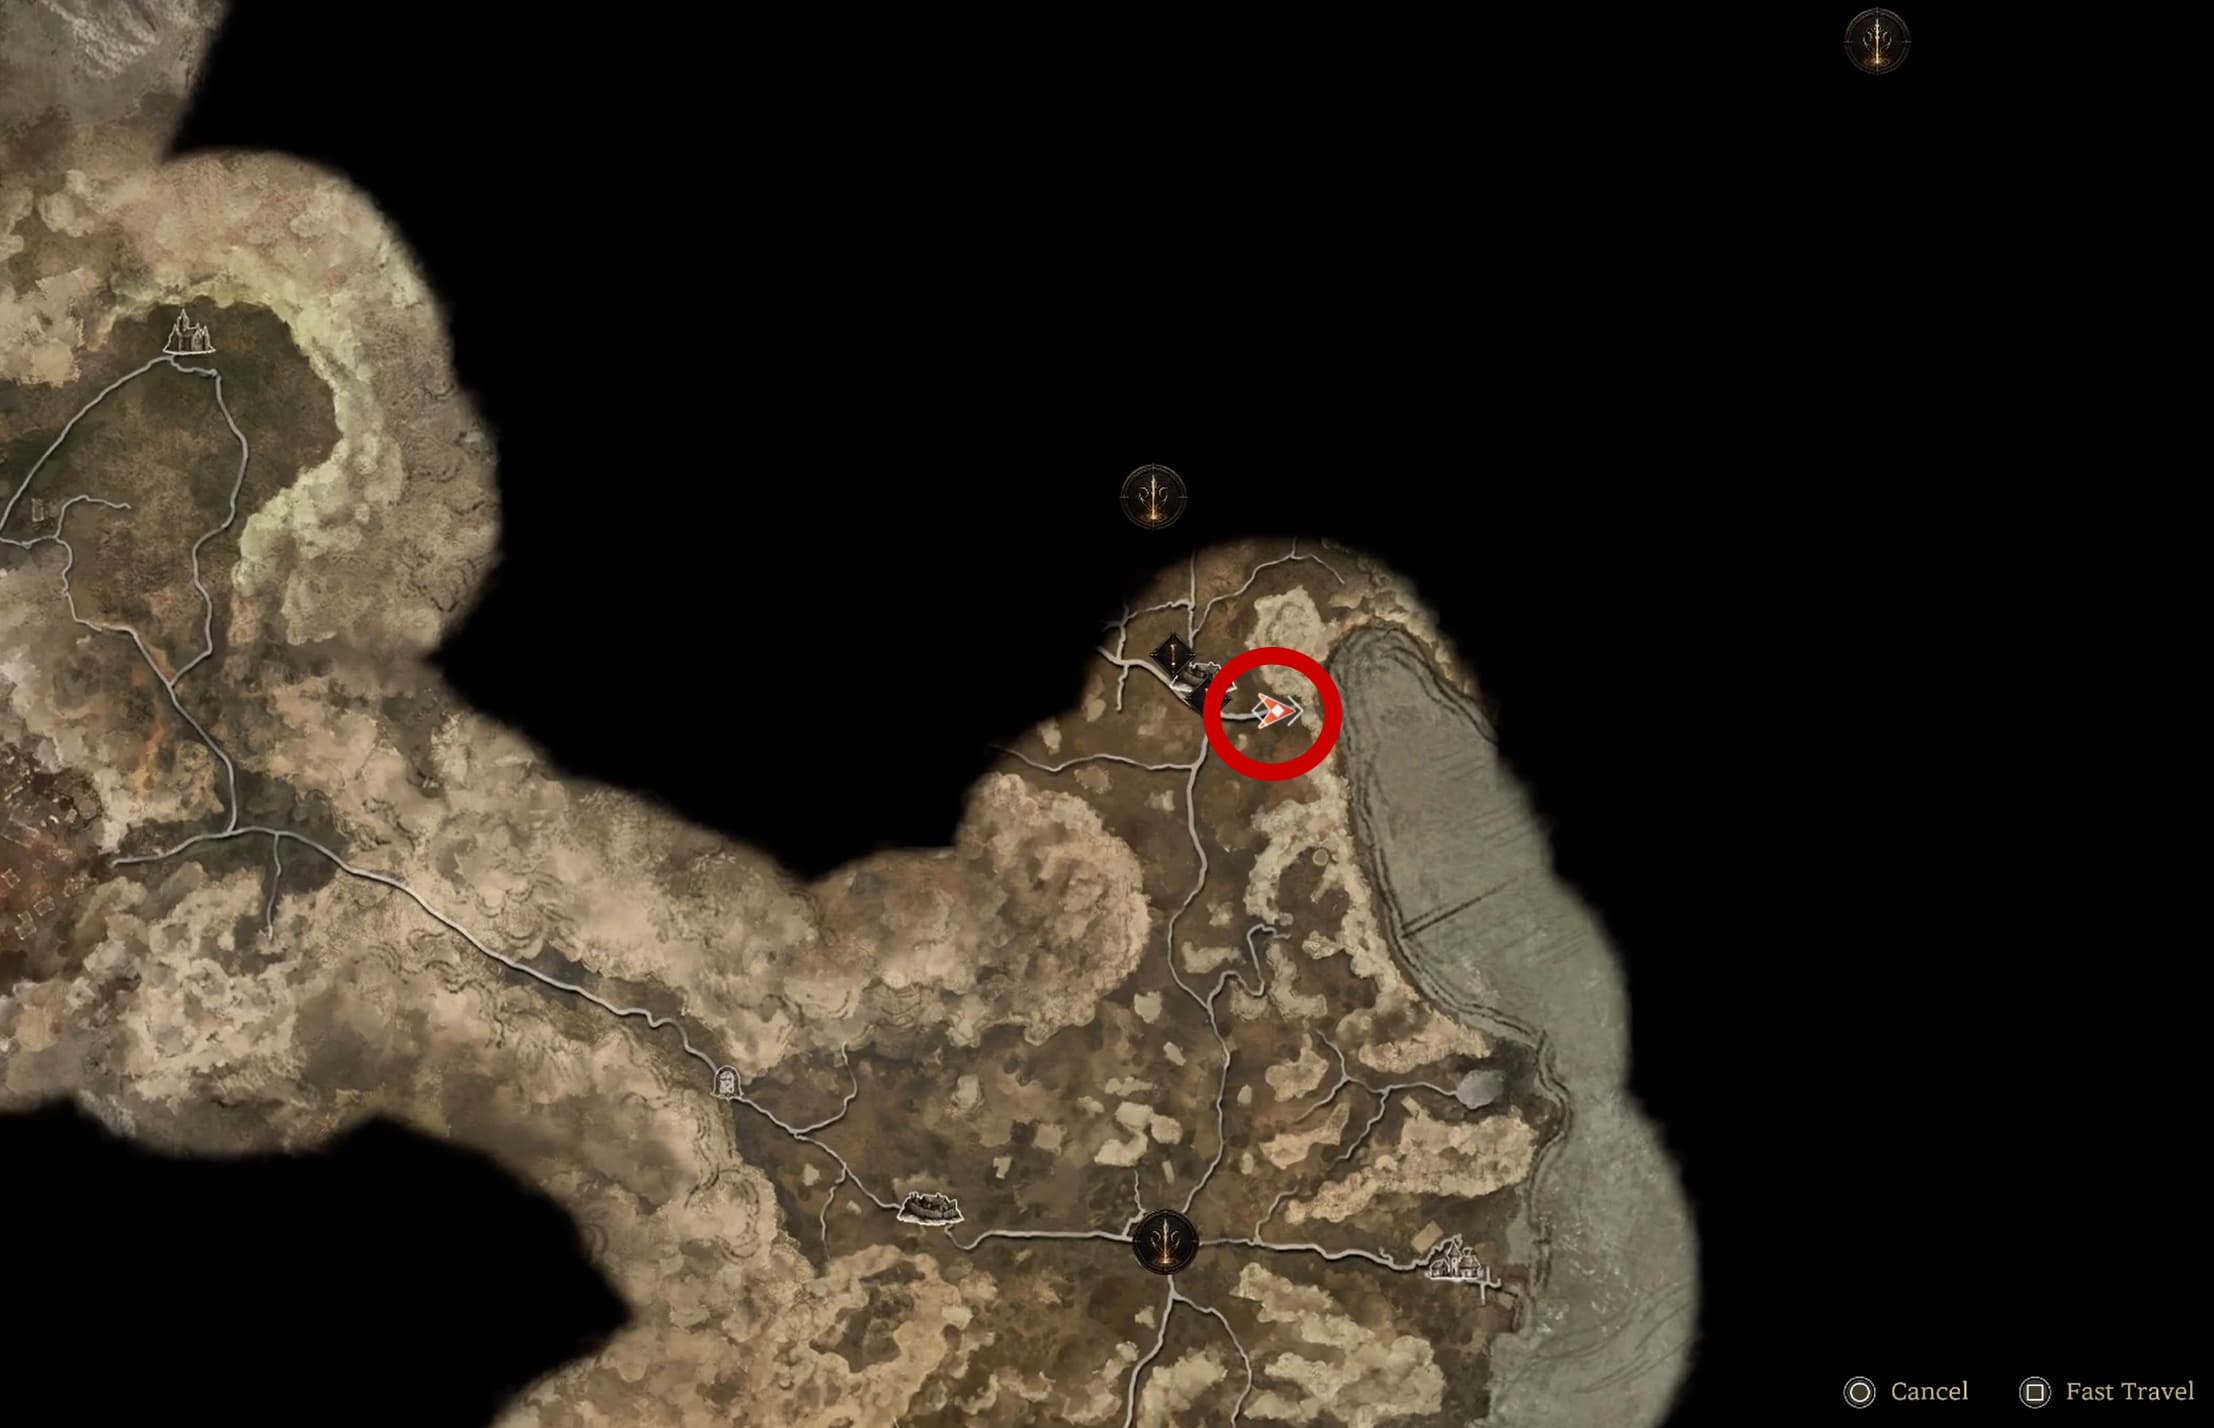
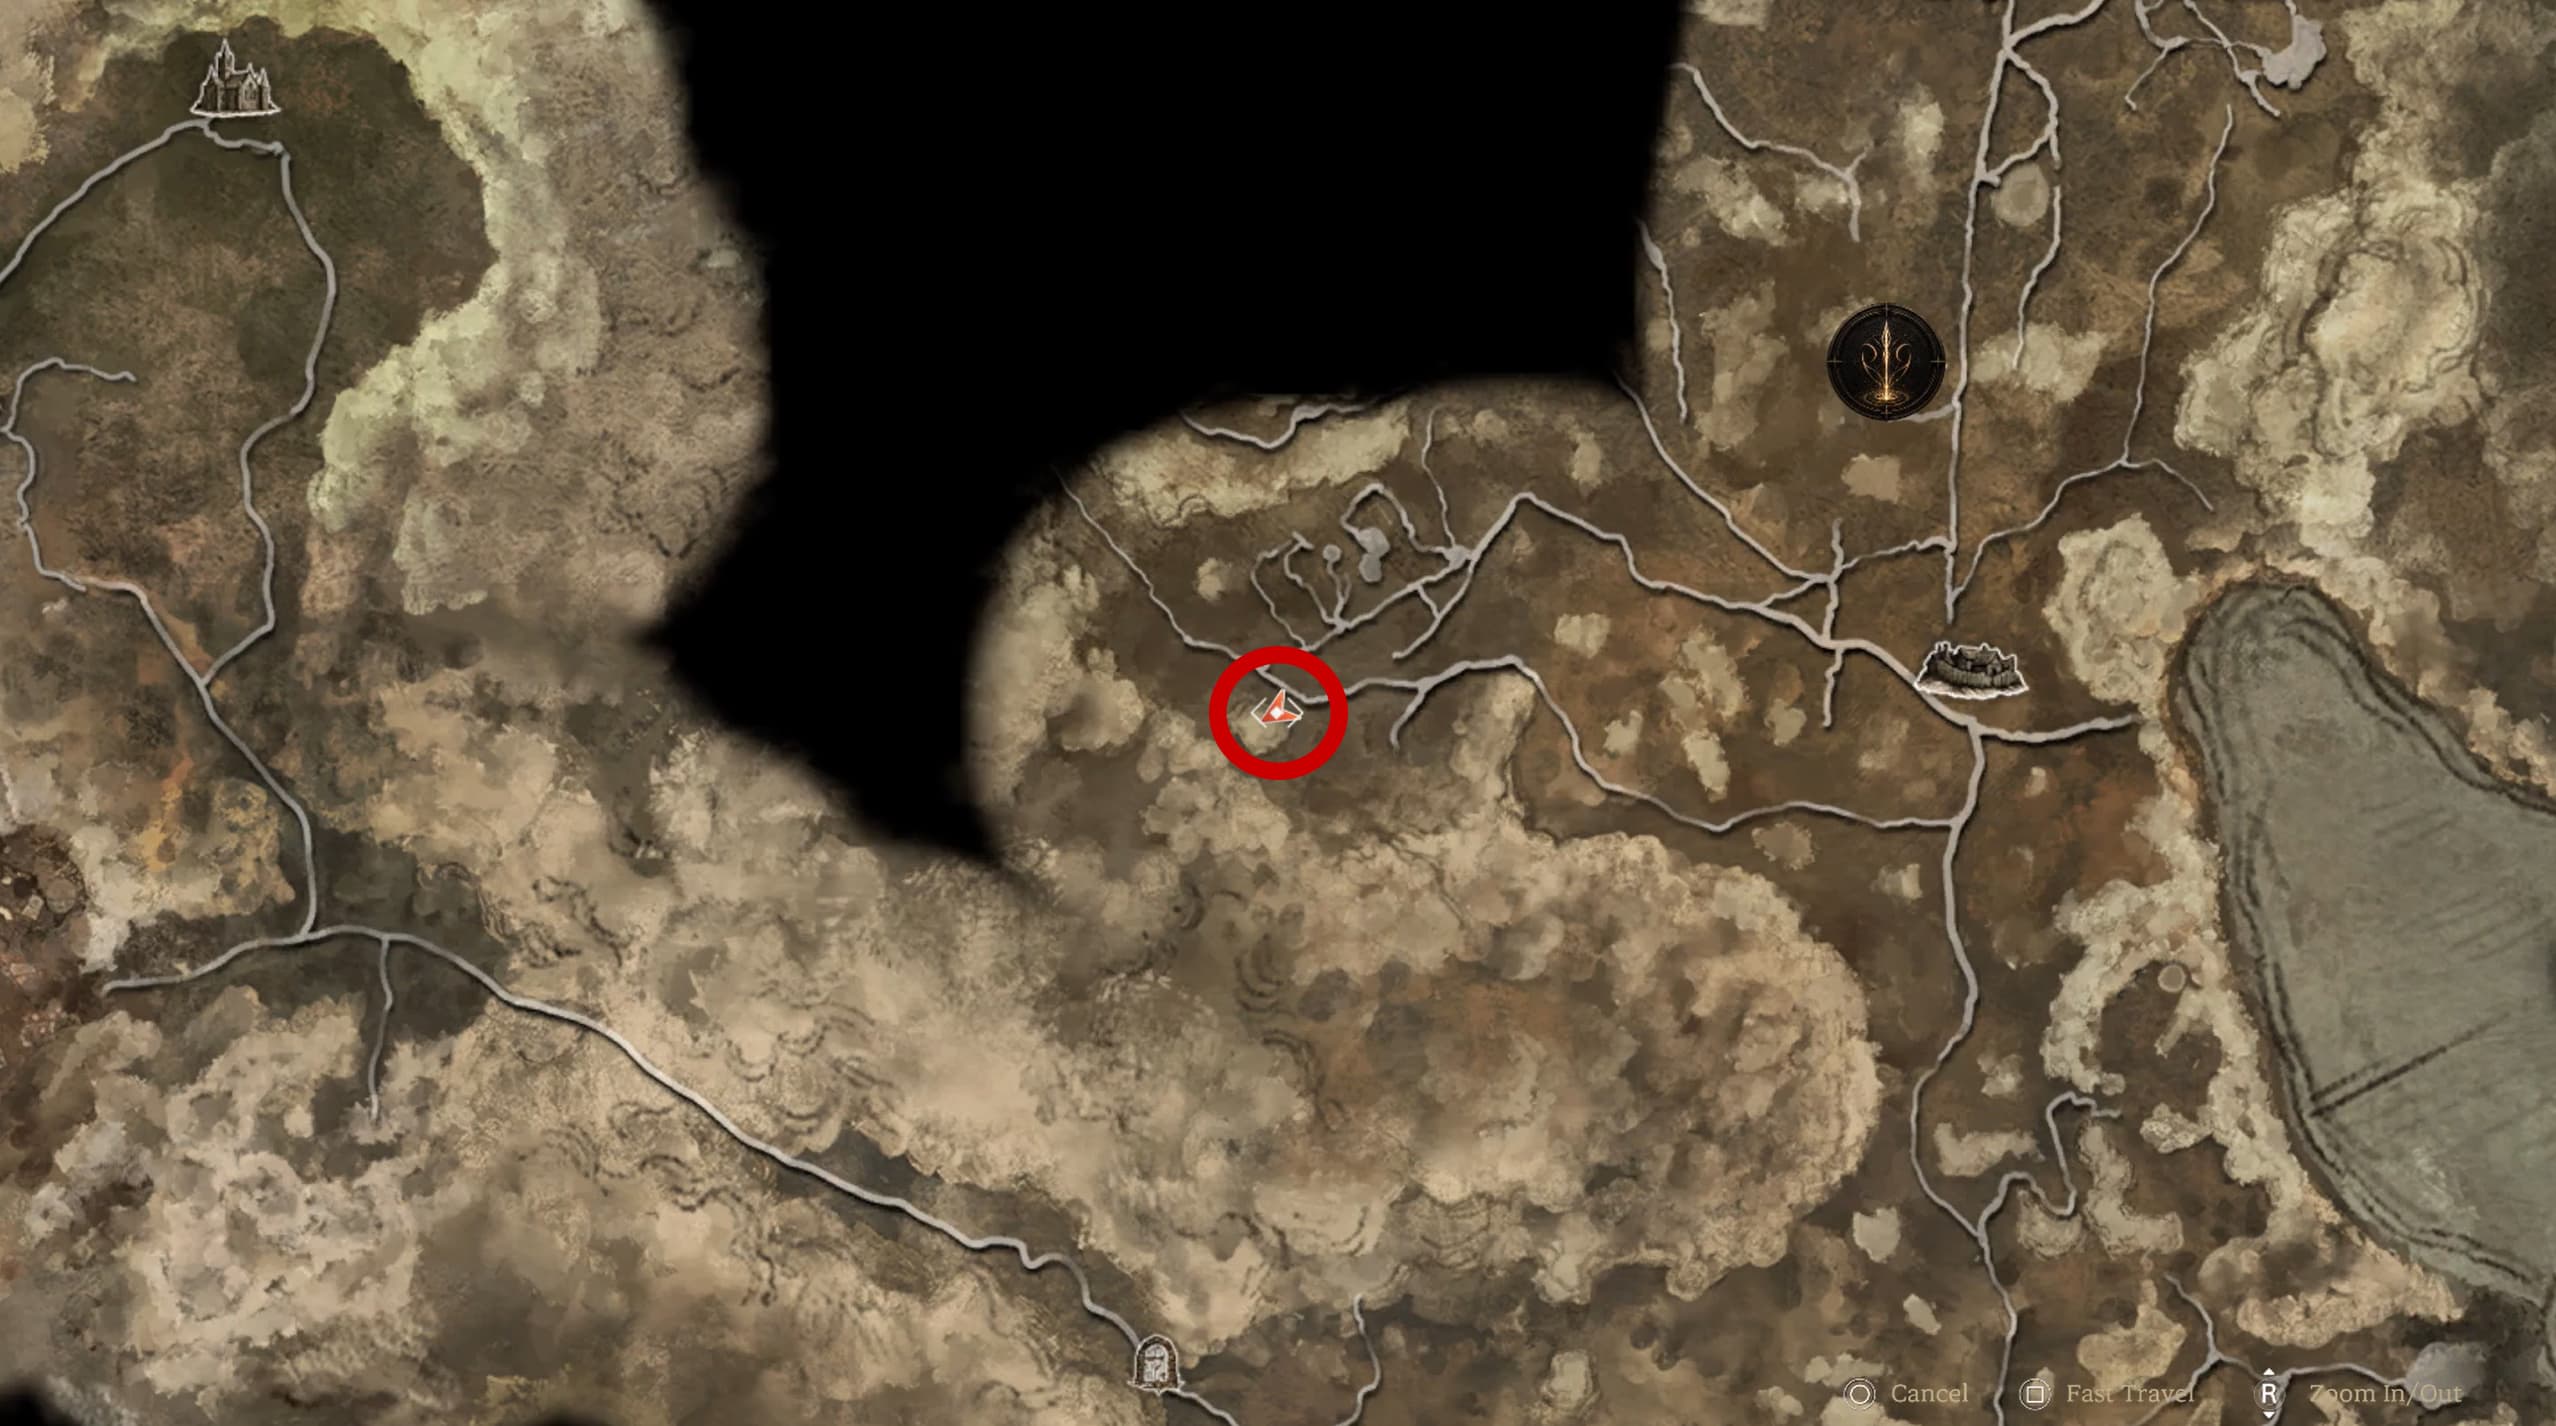
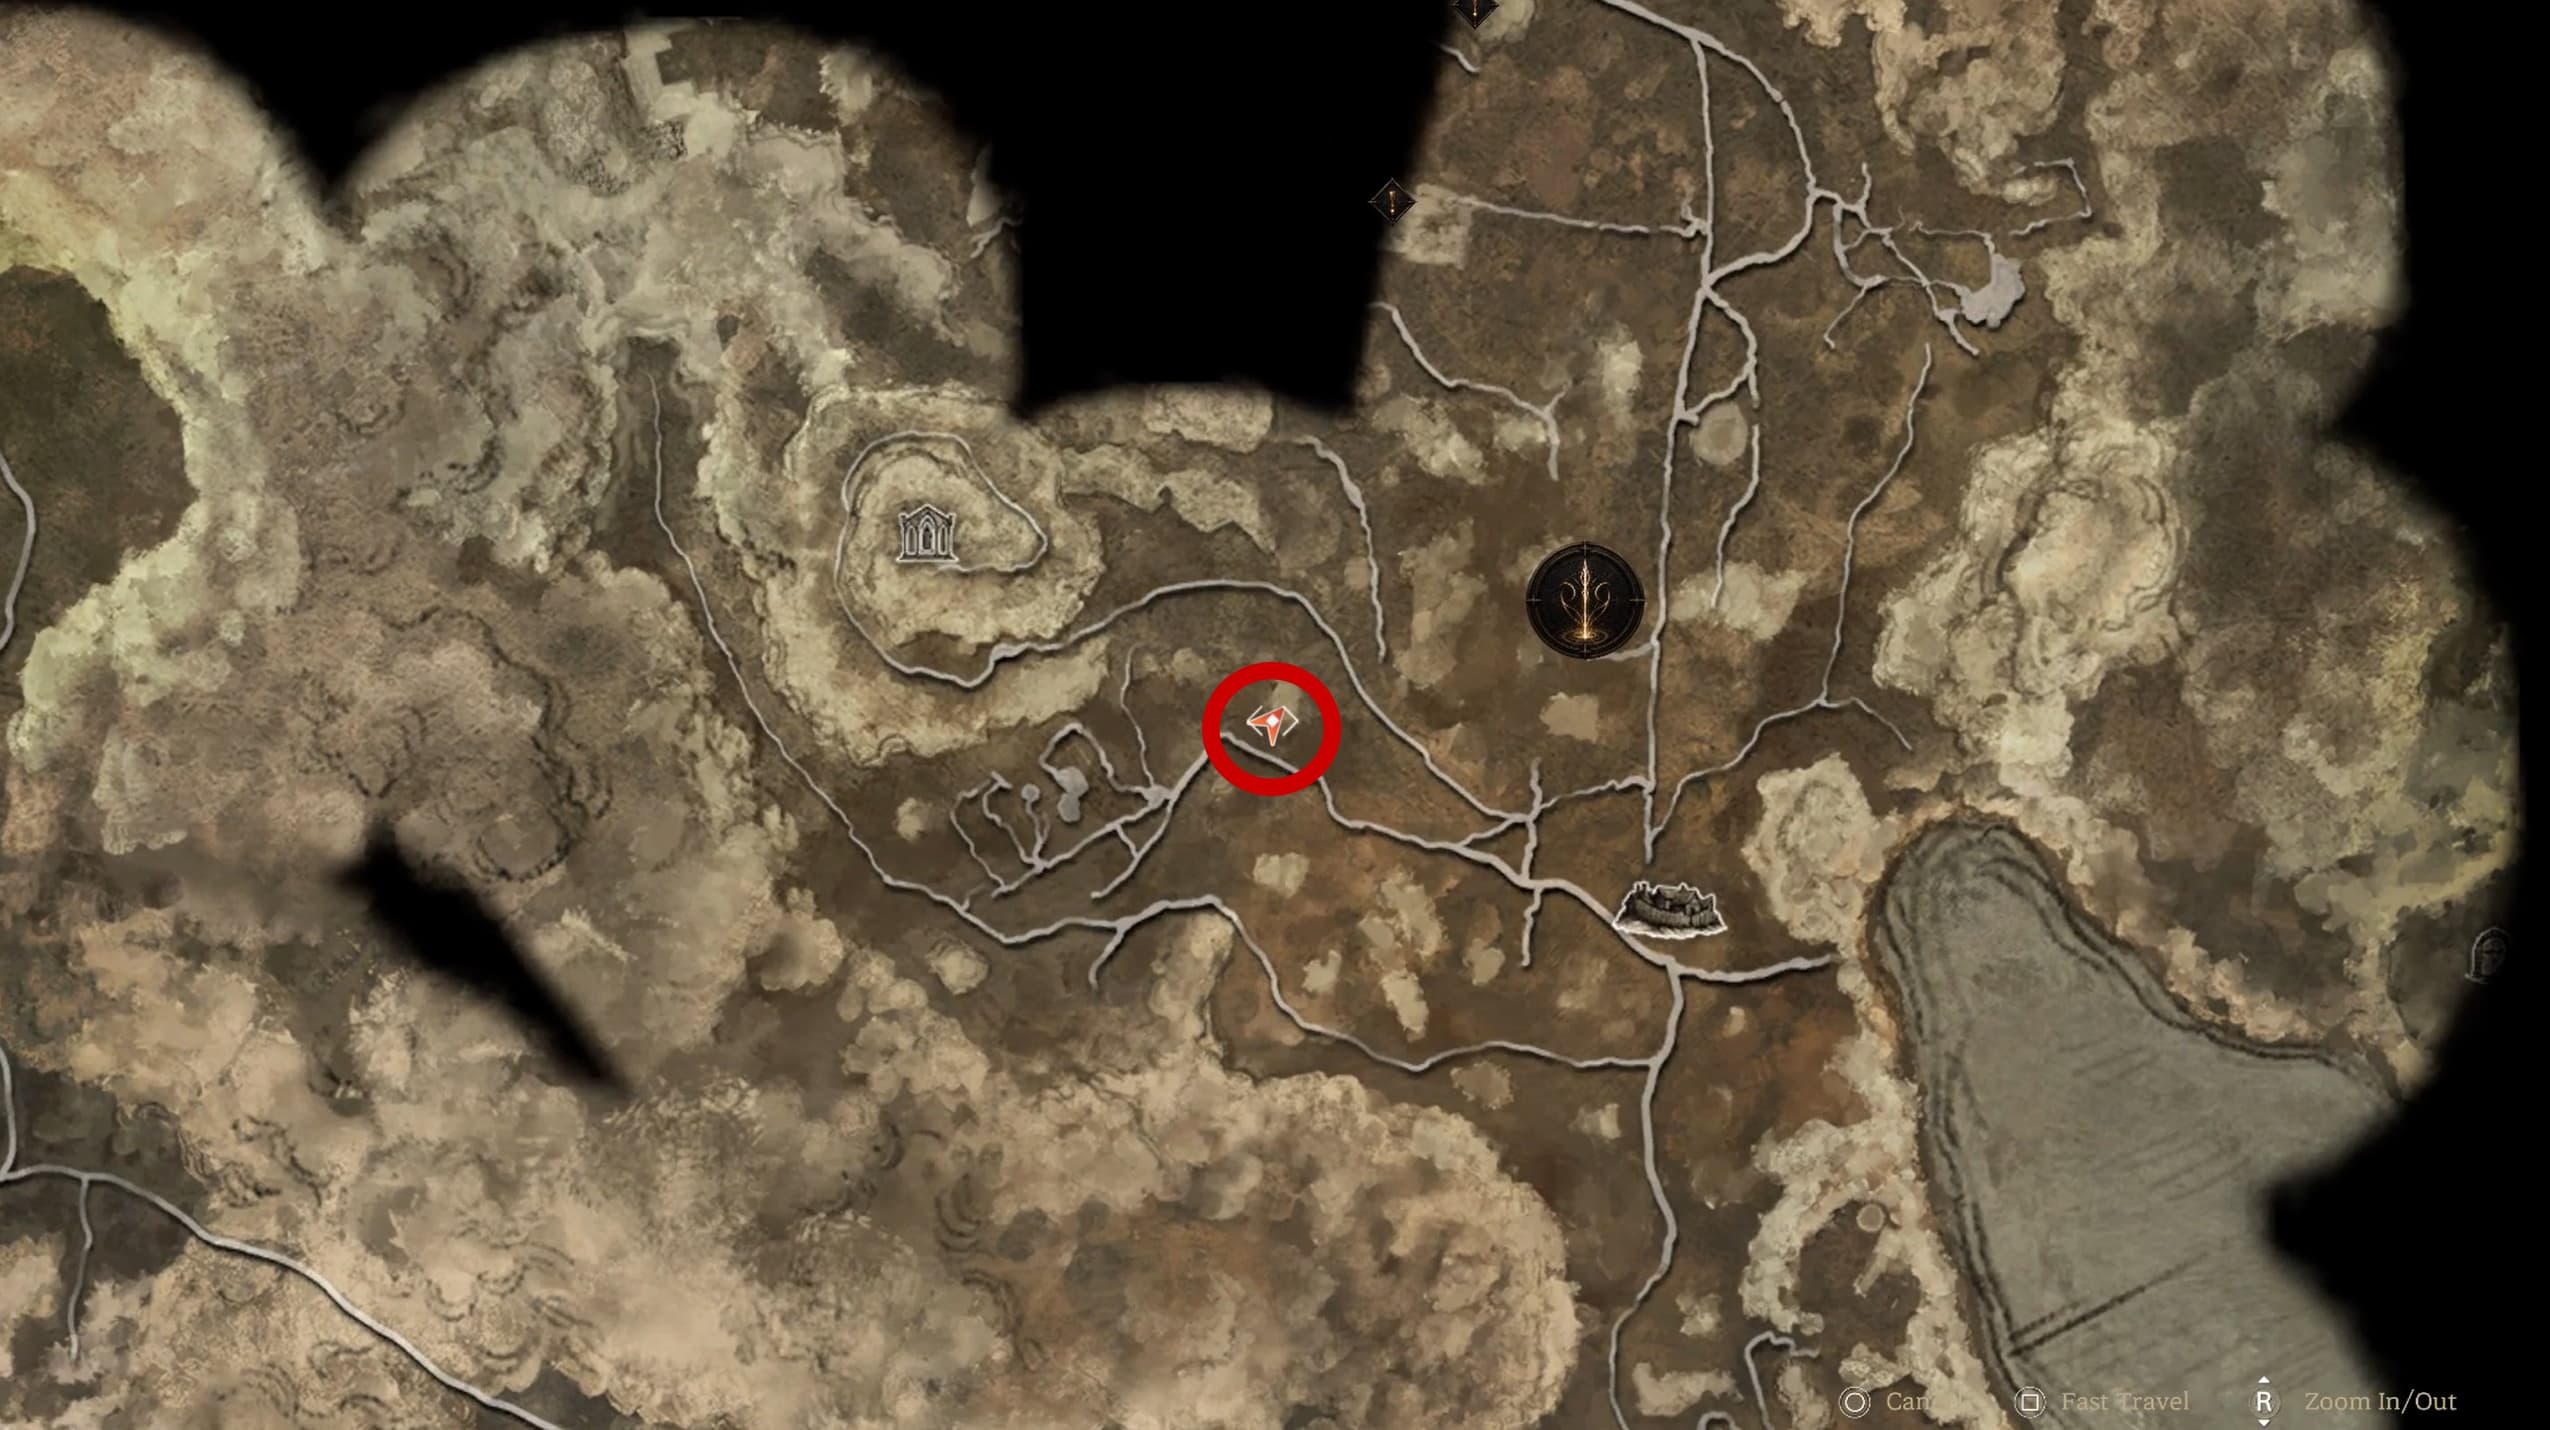
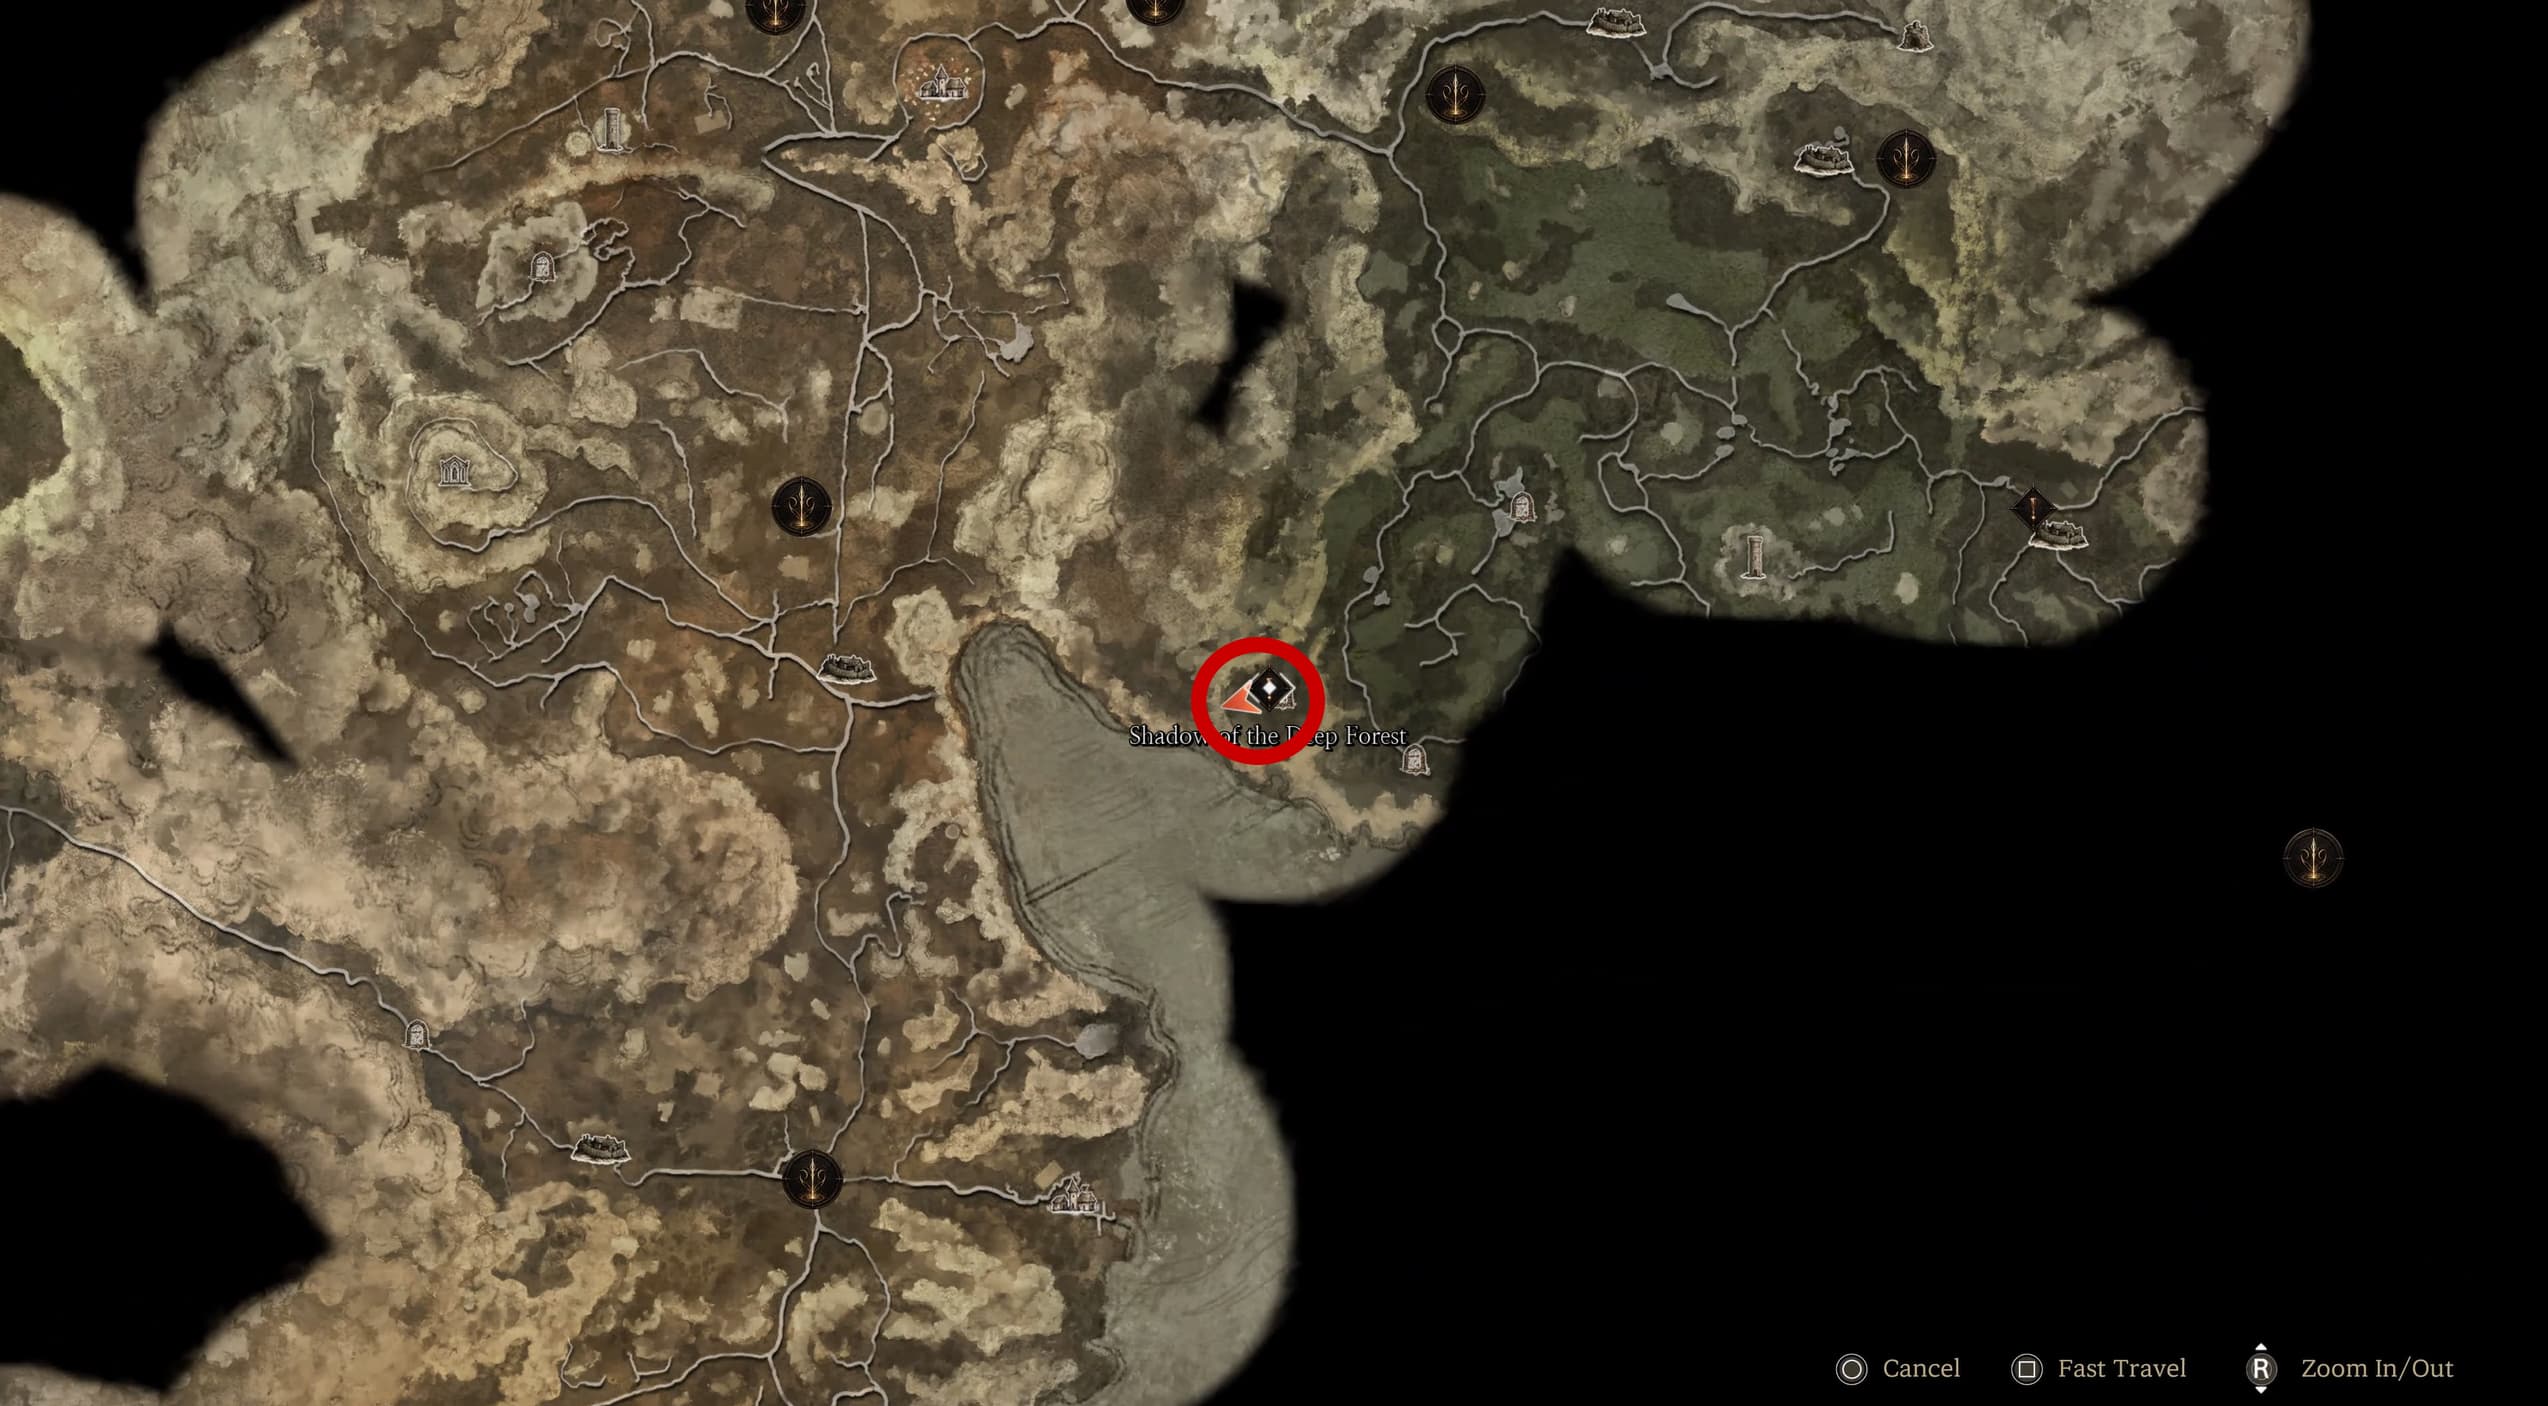
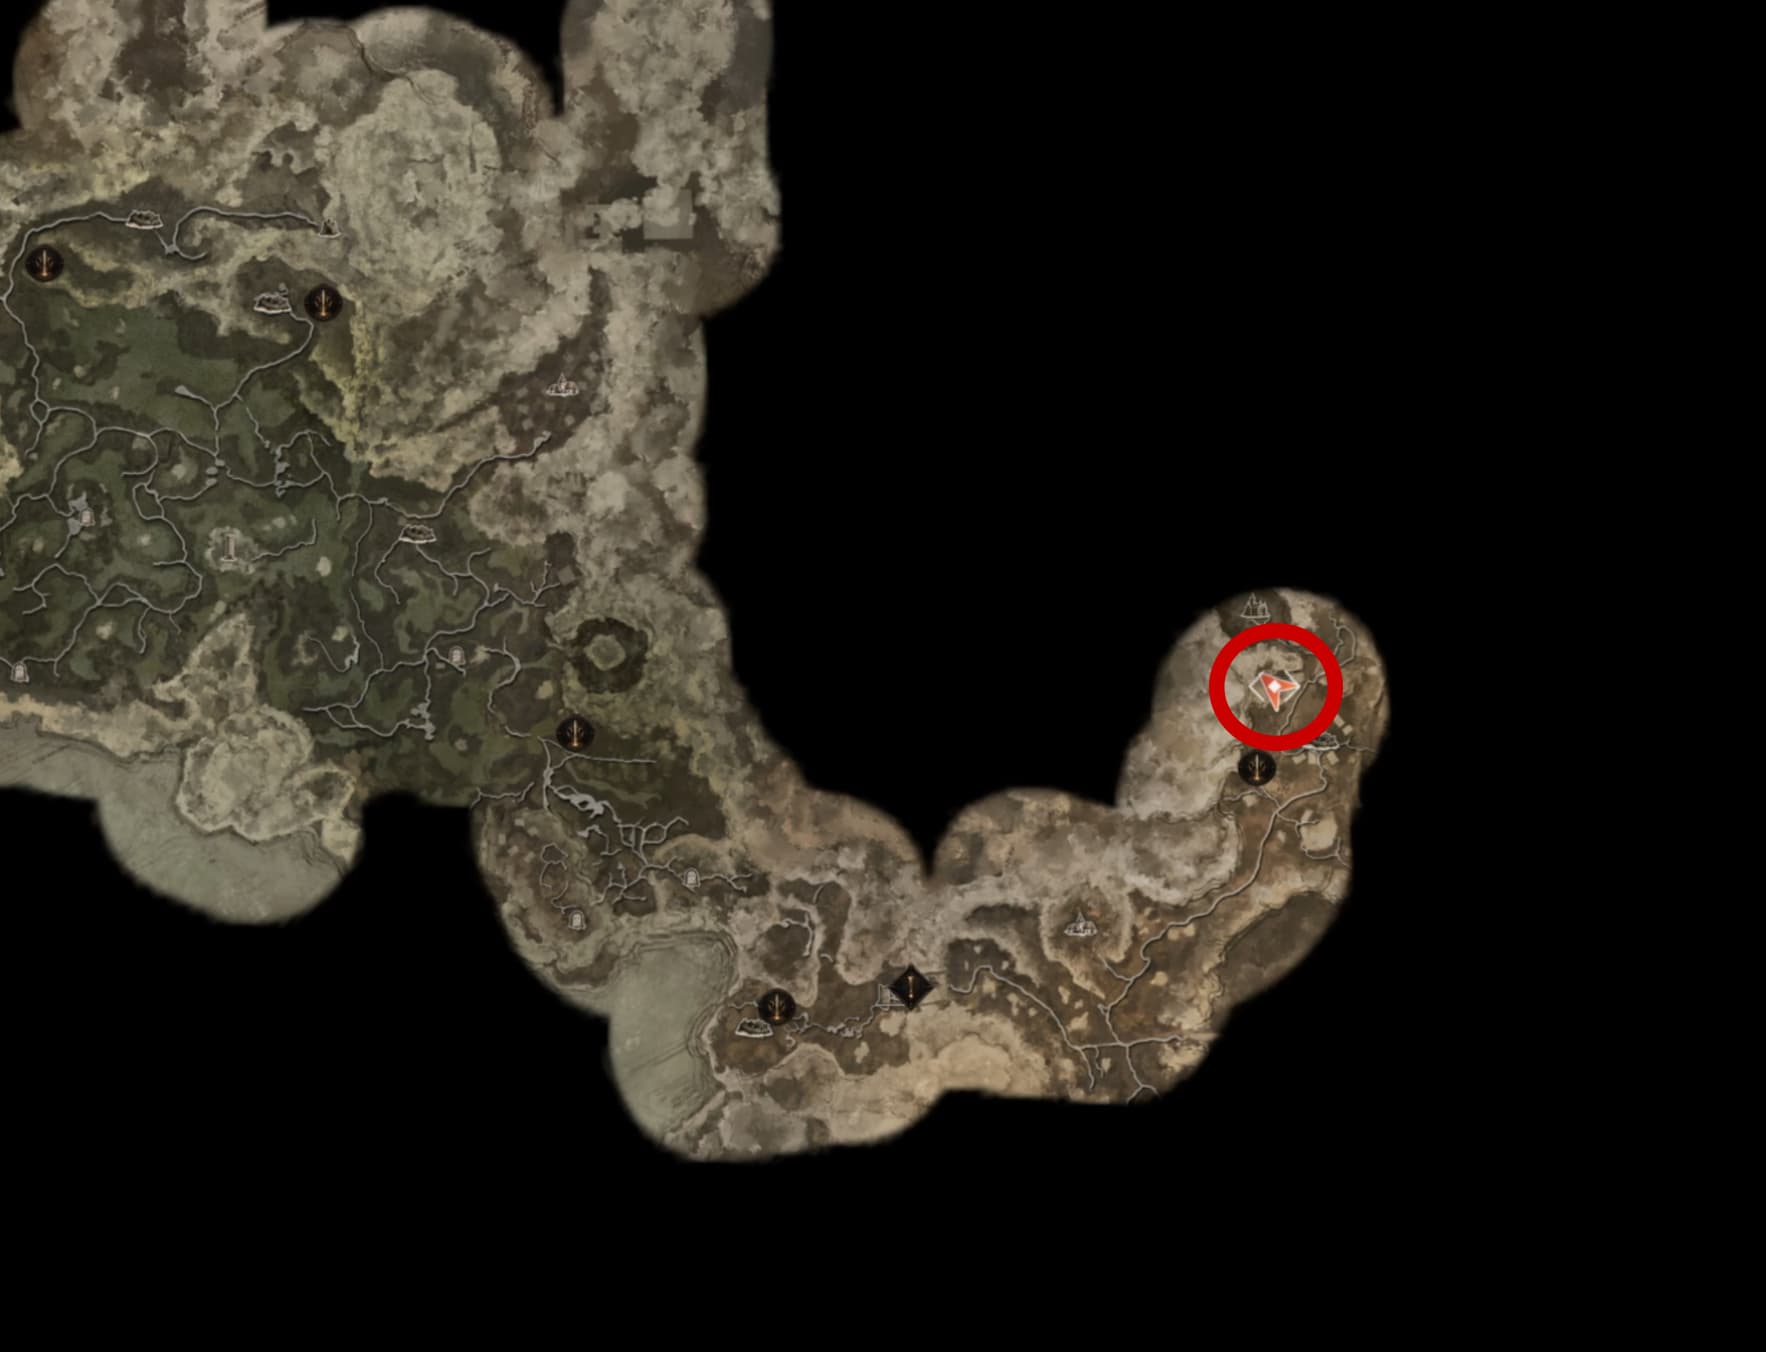
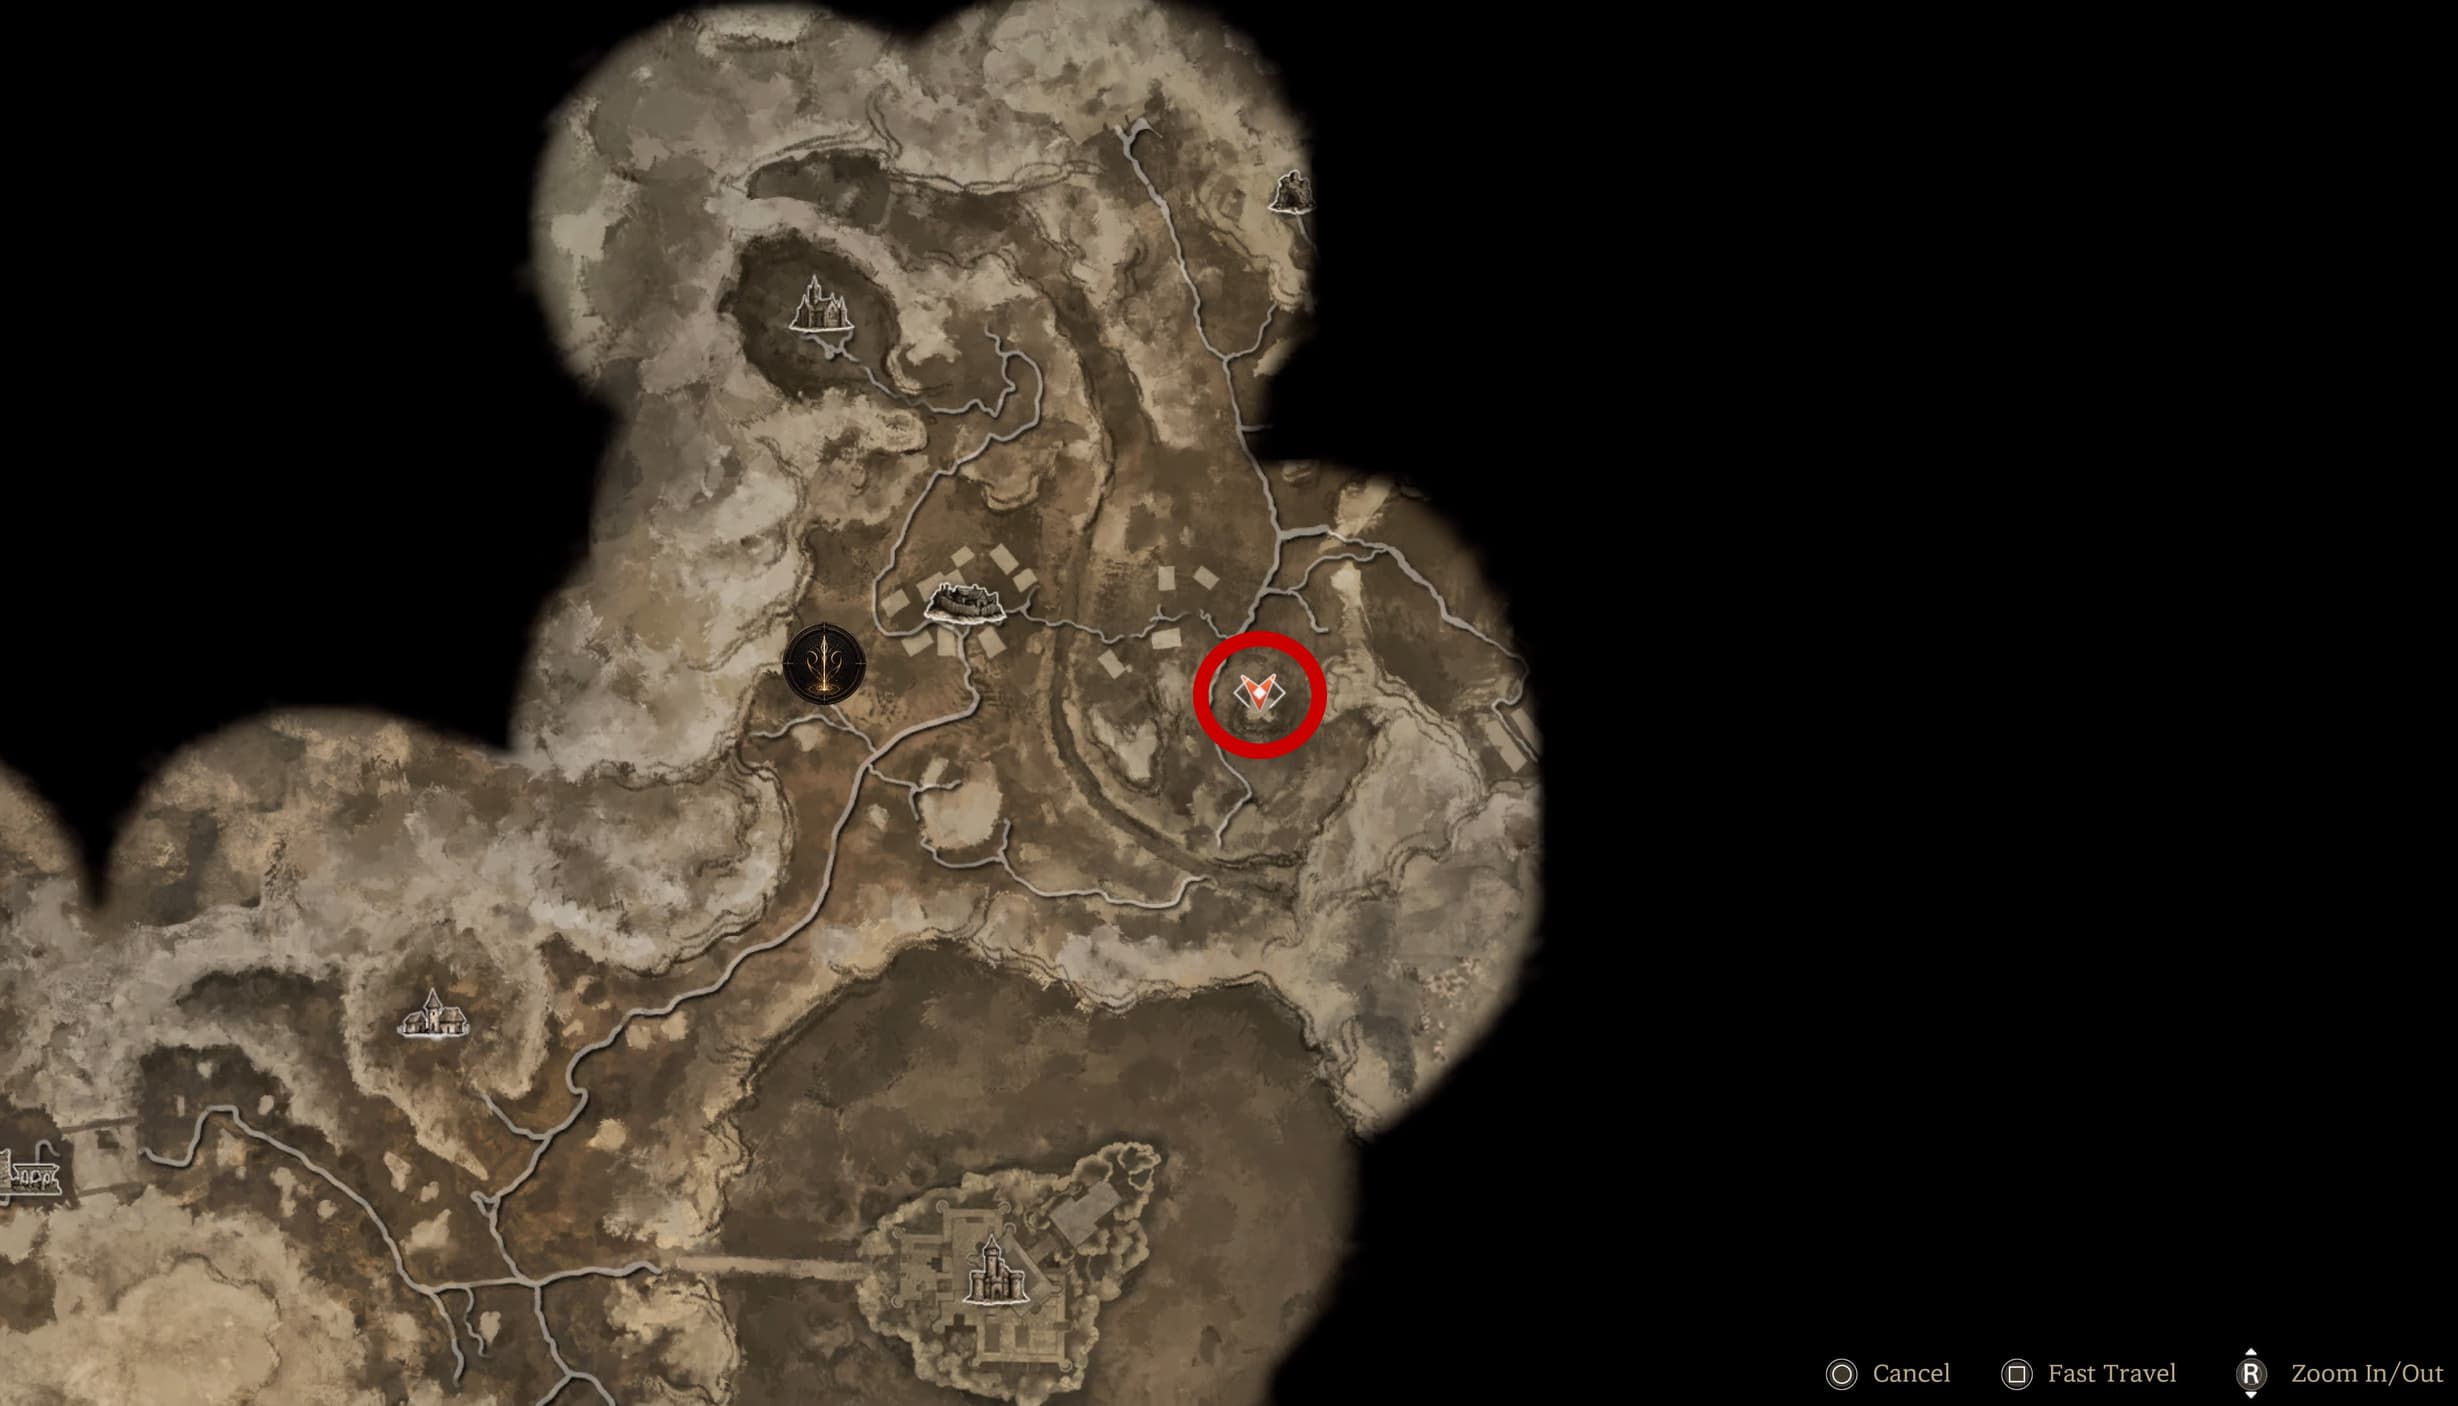
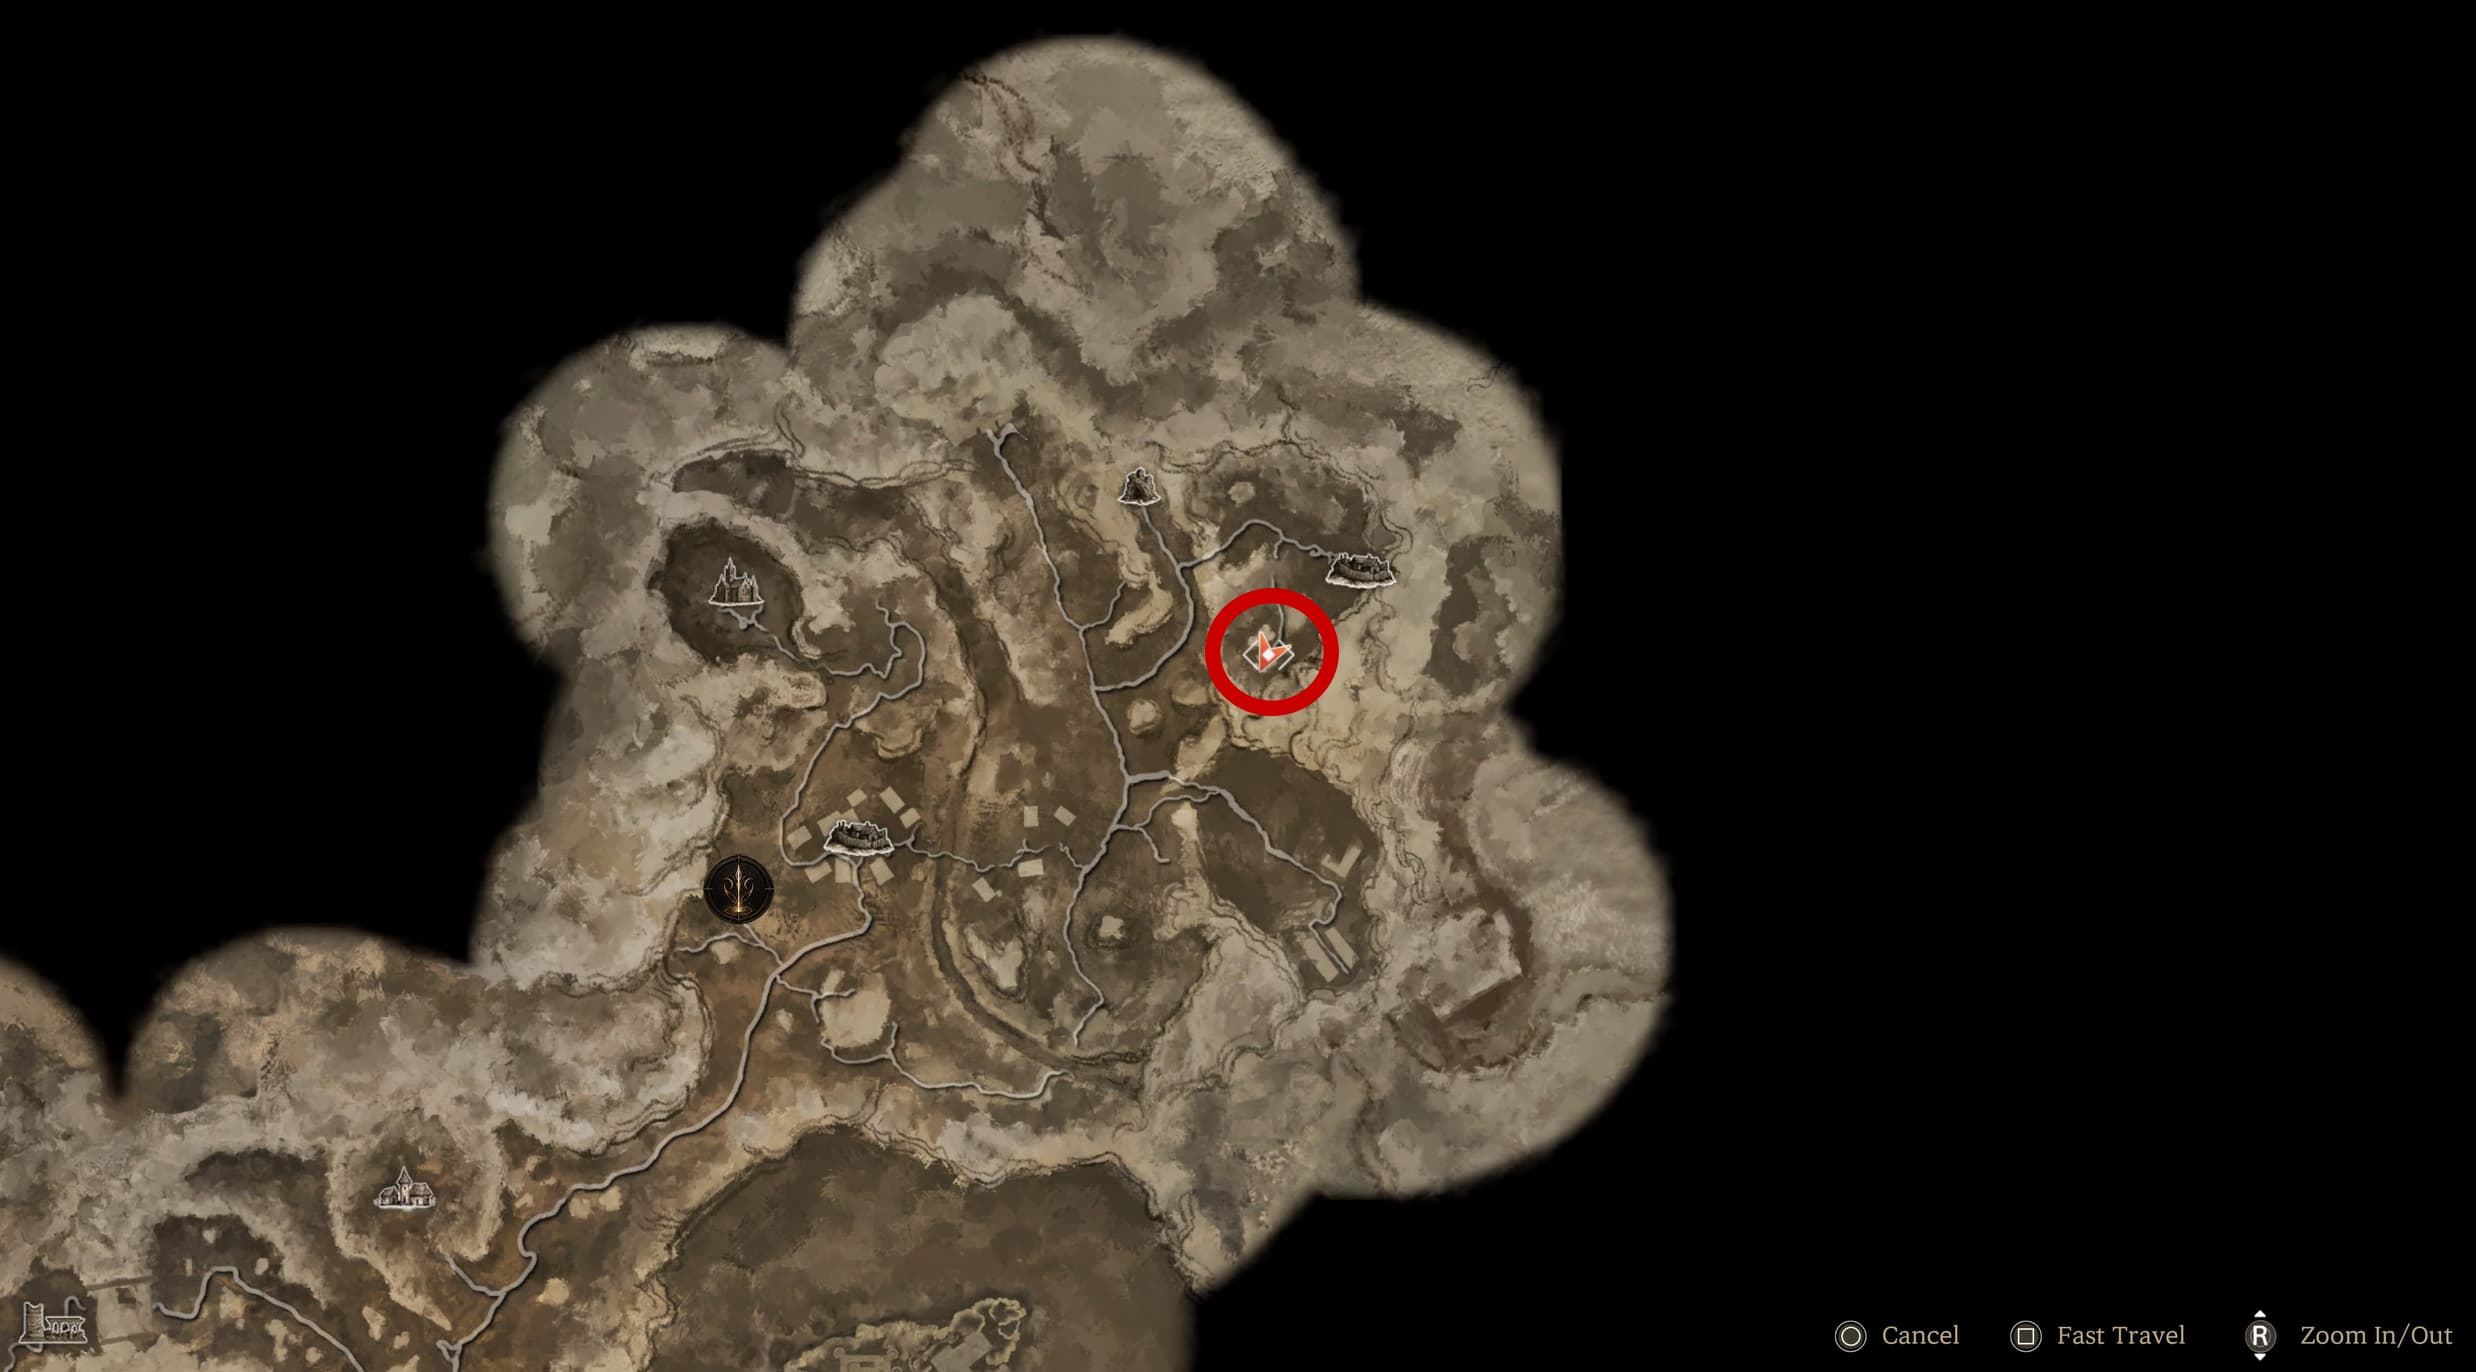
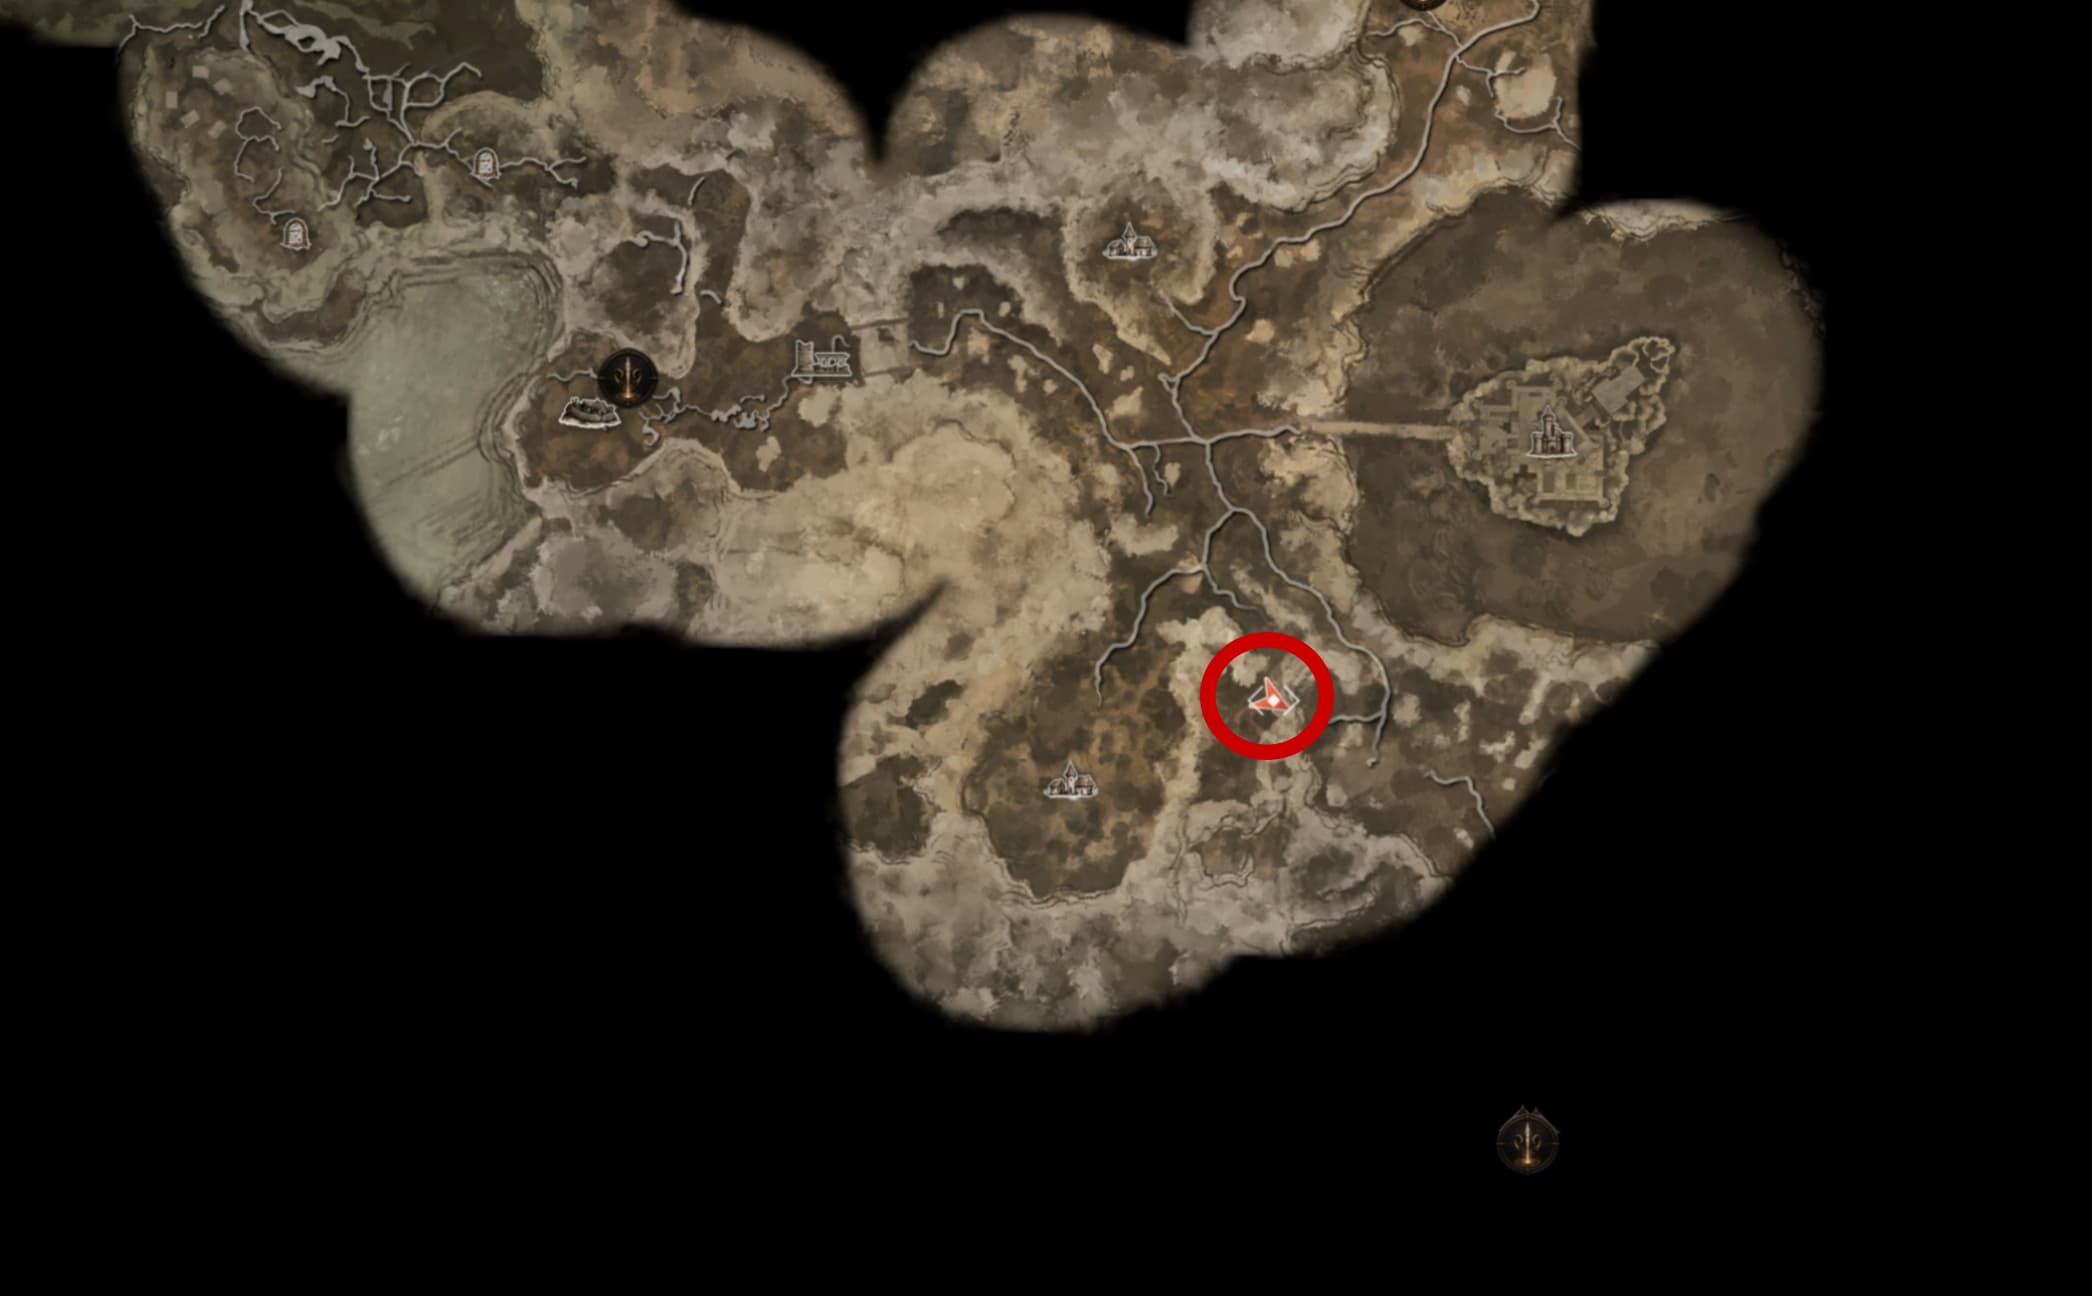
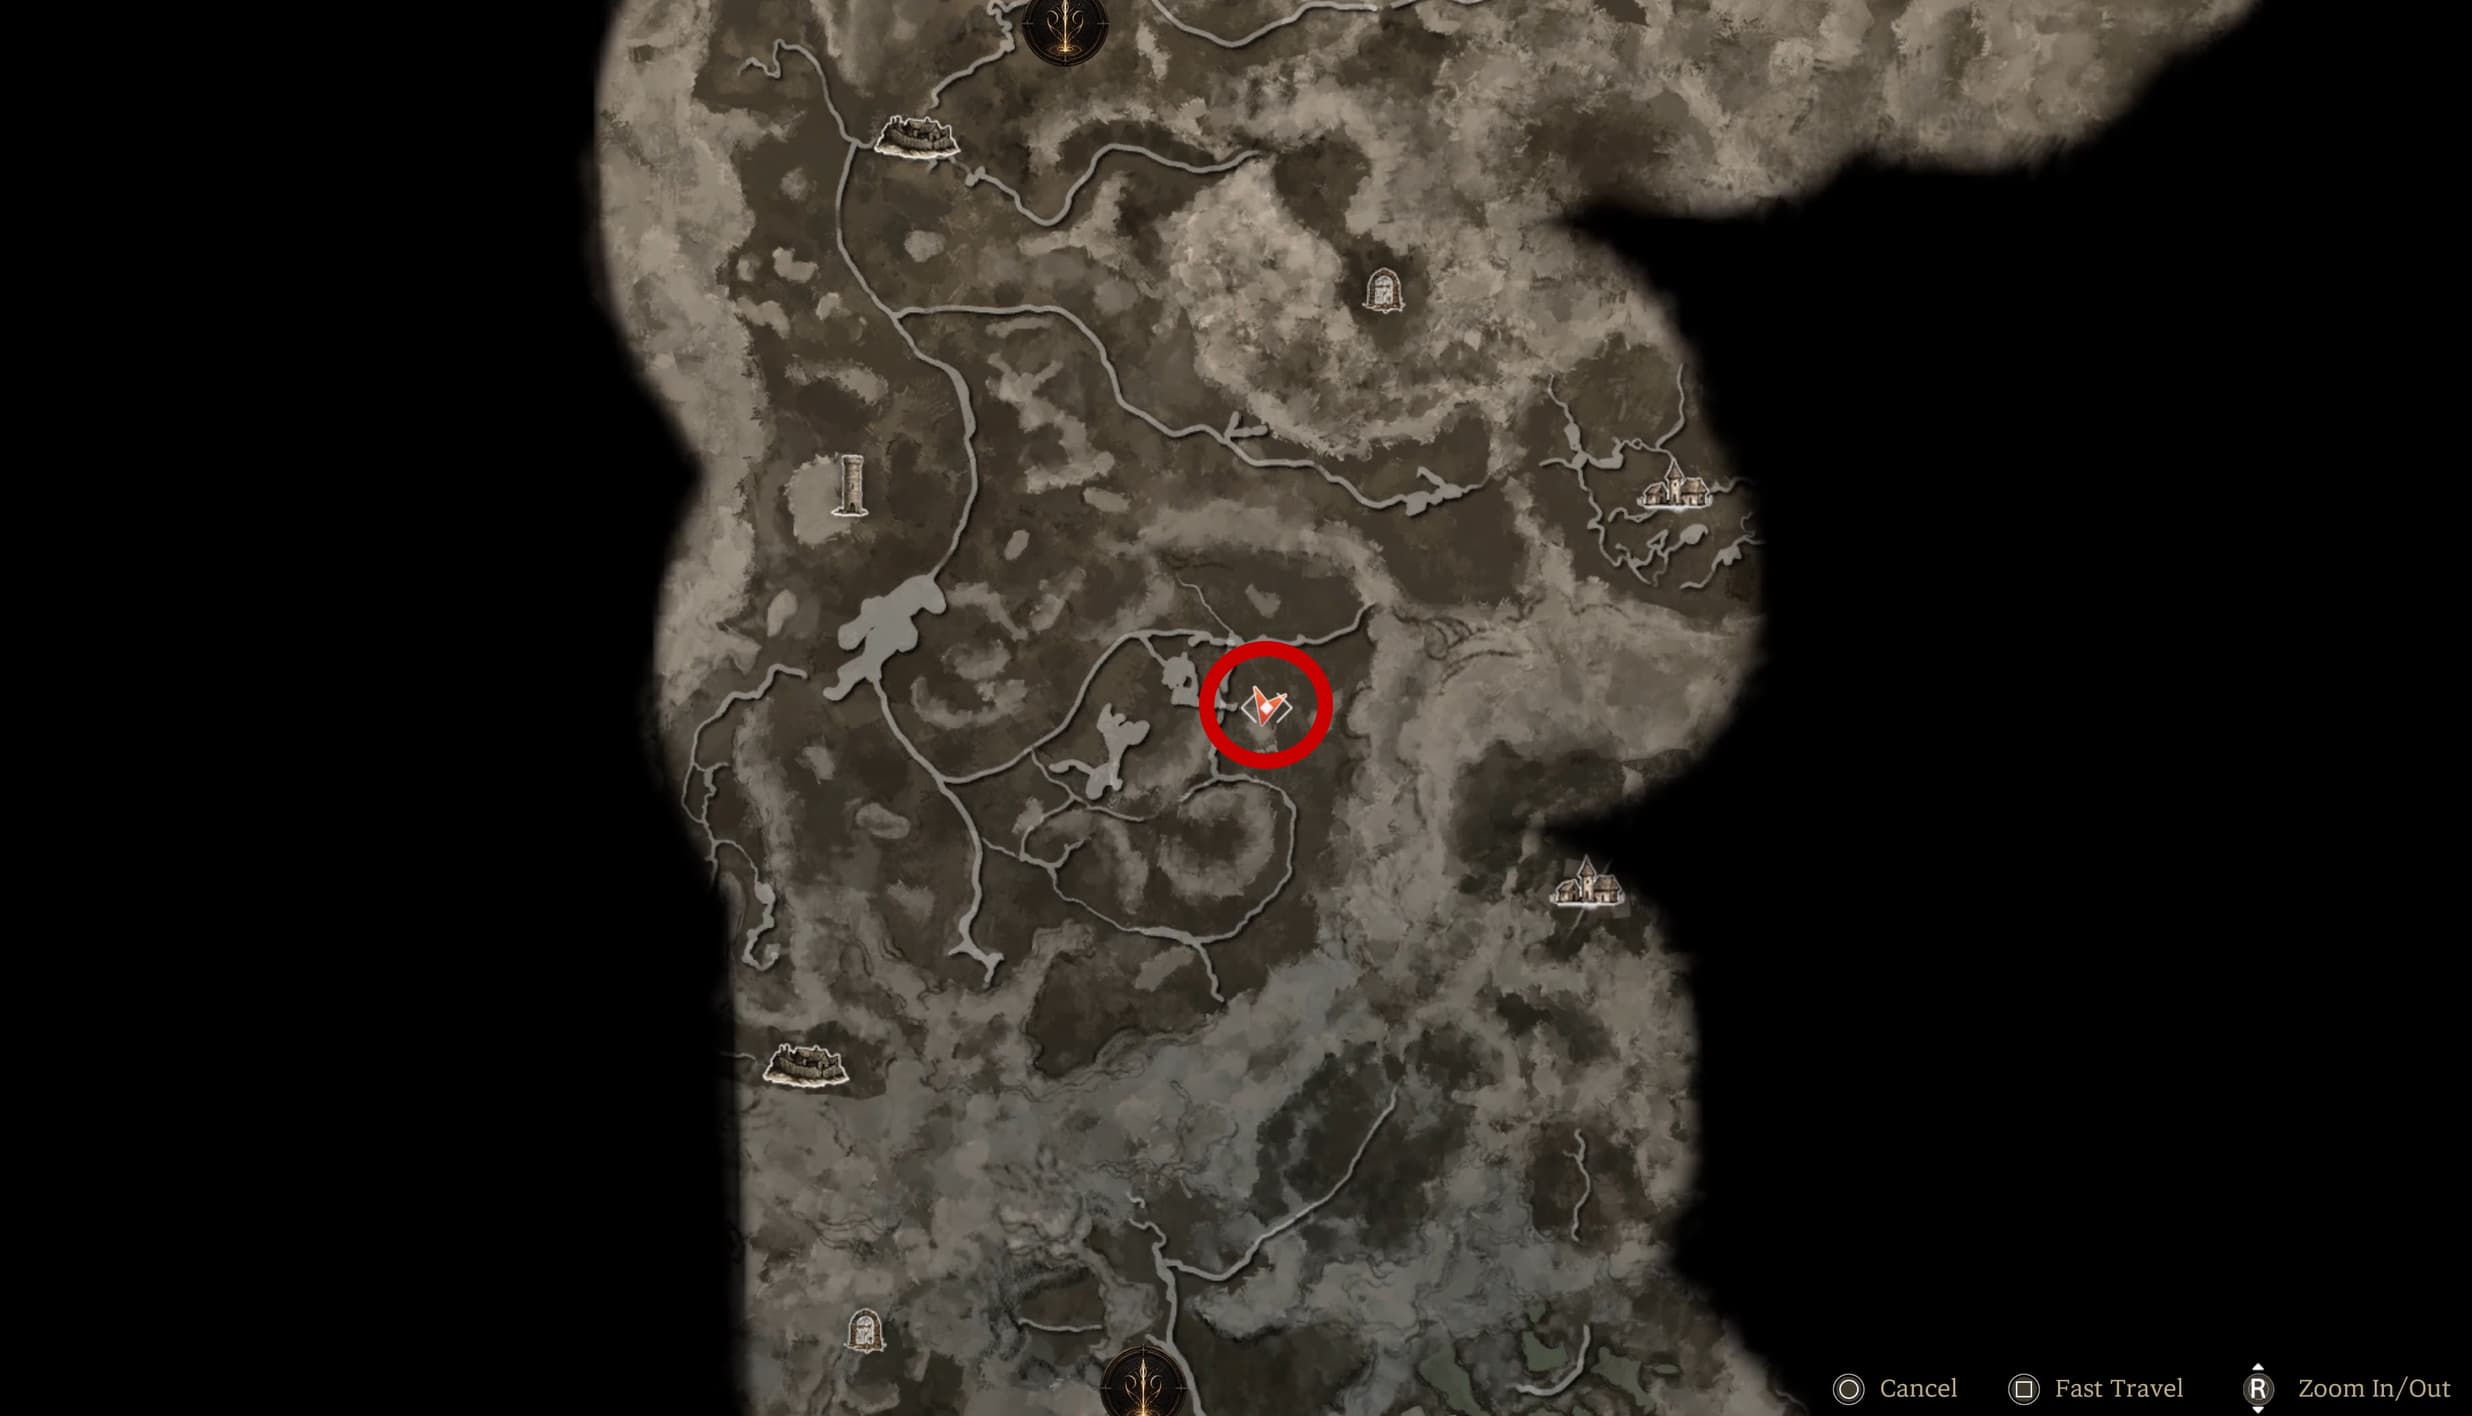
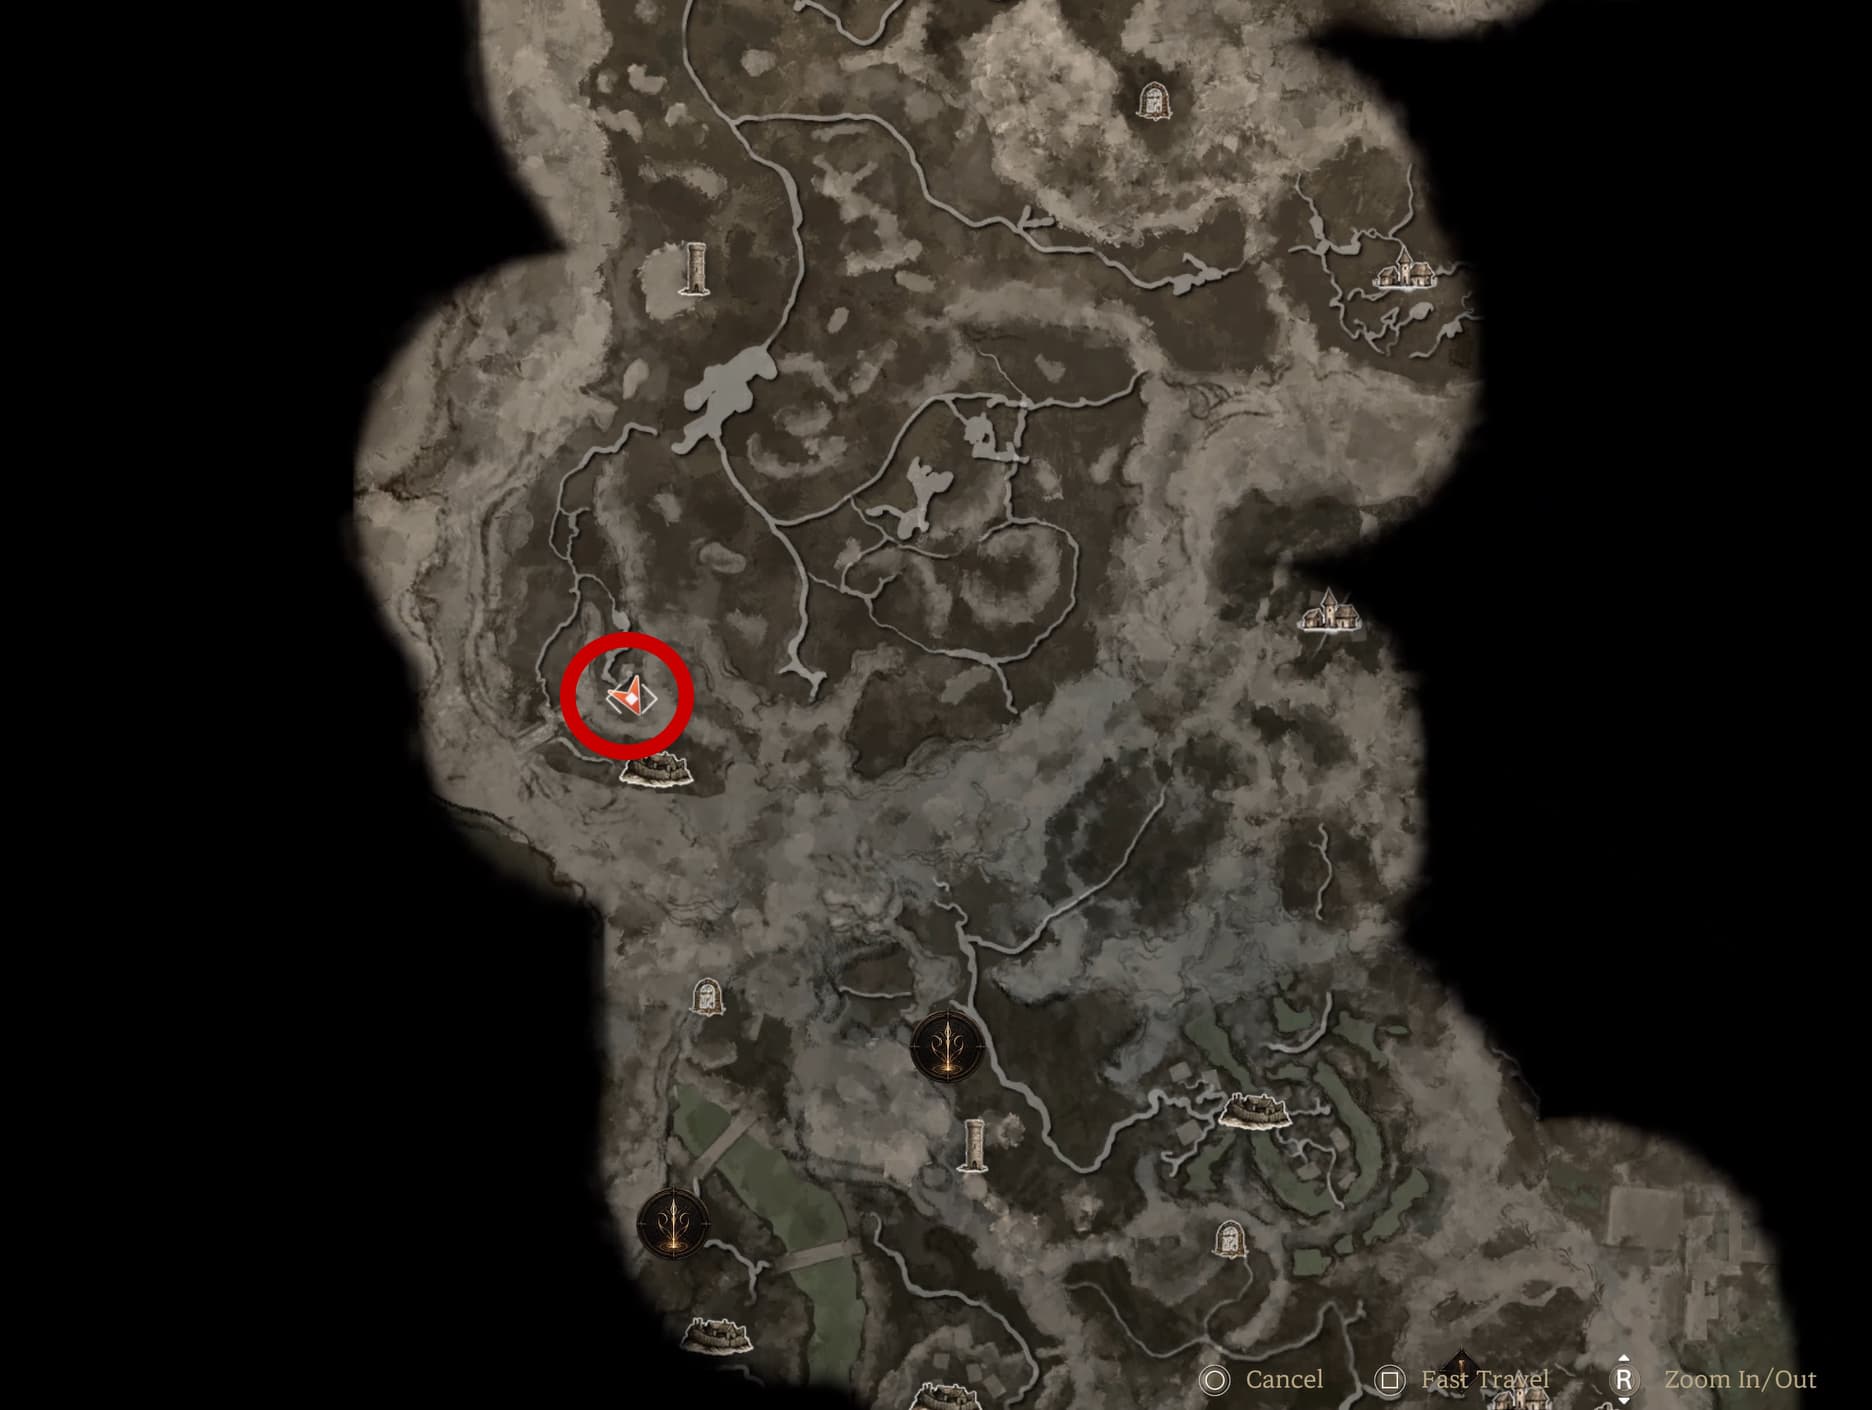
The map below indicates where all of the Ancient Relic Energy points are located in the first section of Hillsbrad, beneath is a more detailed view of each location and more specifically how to reach each point.
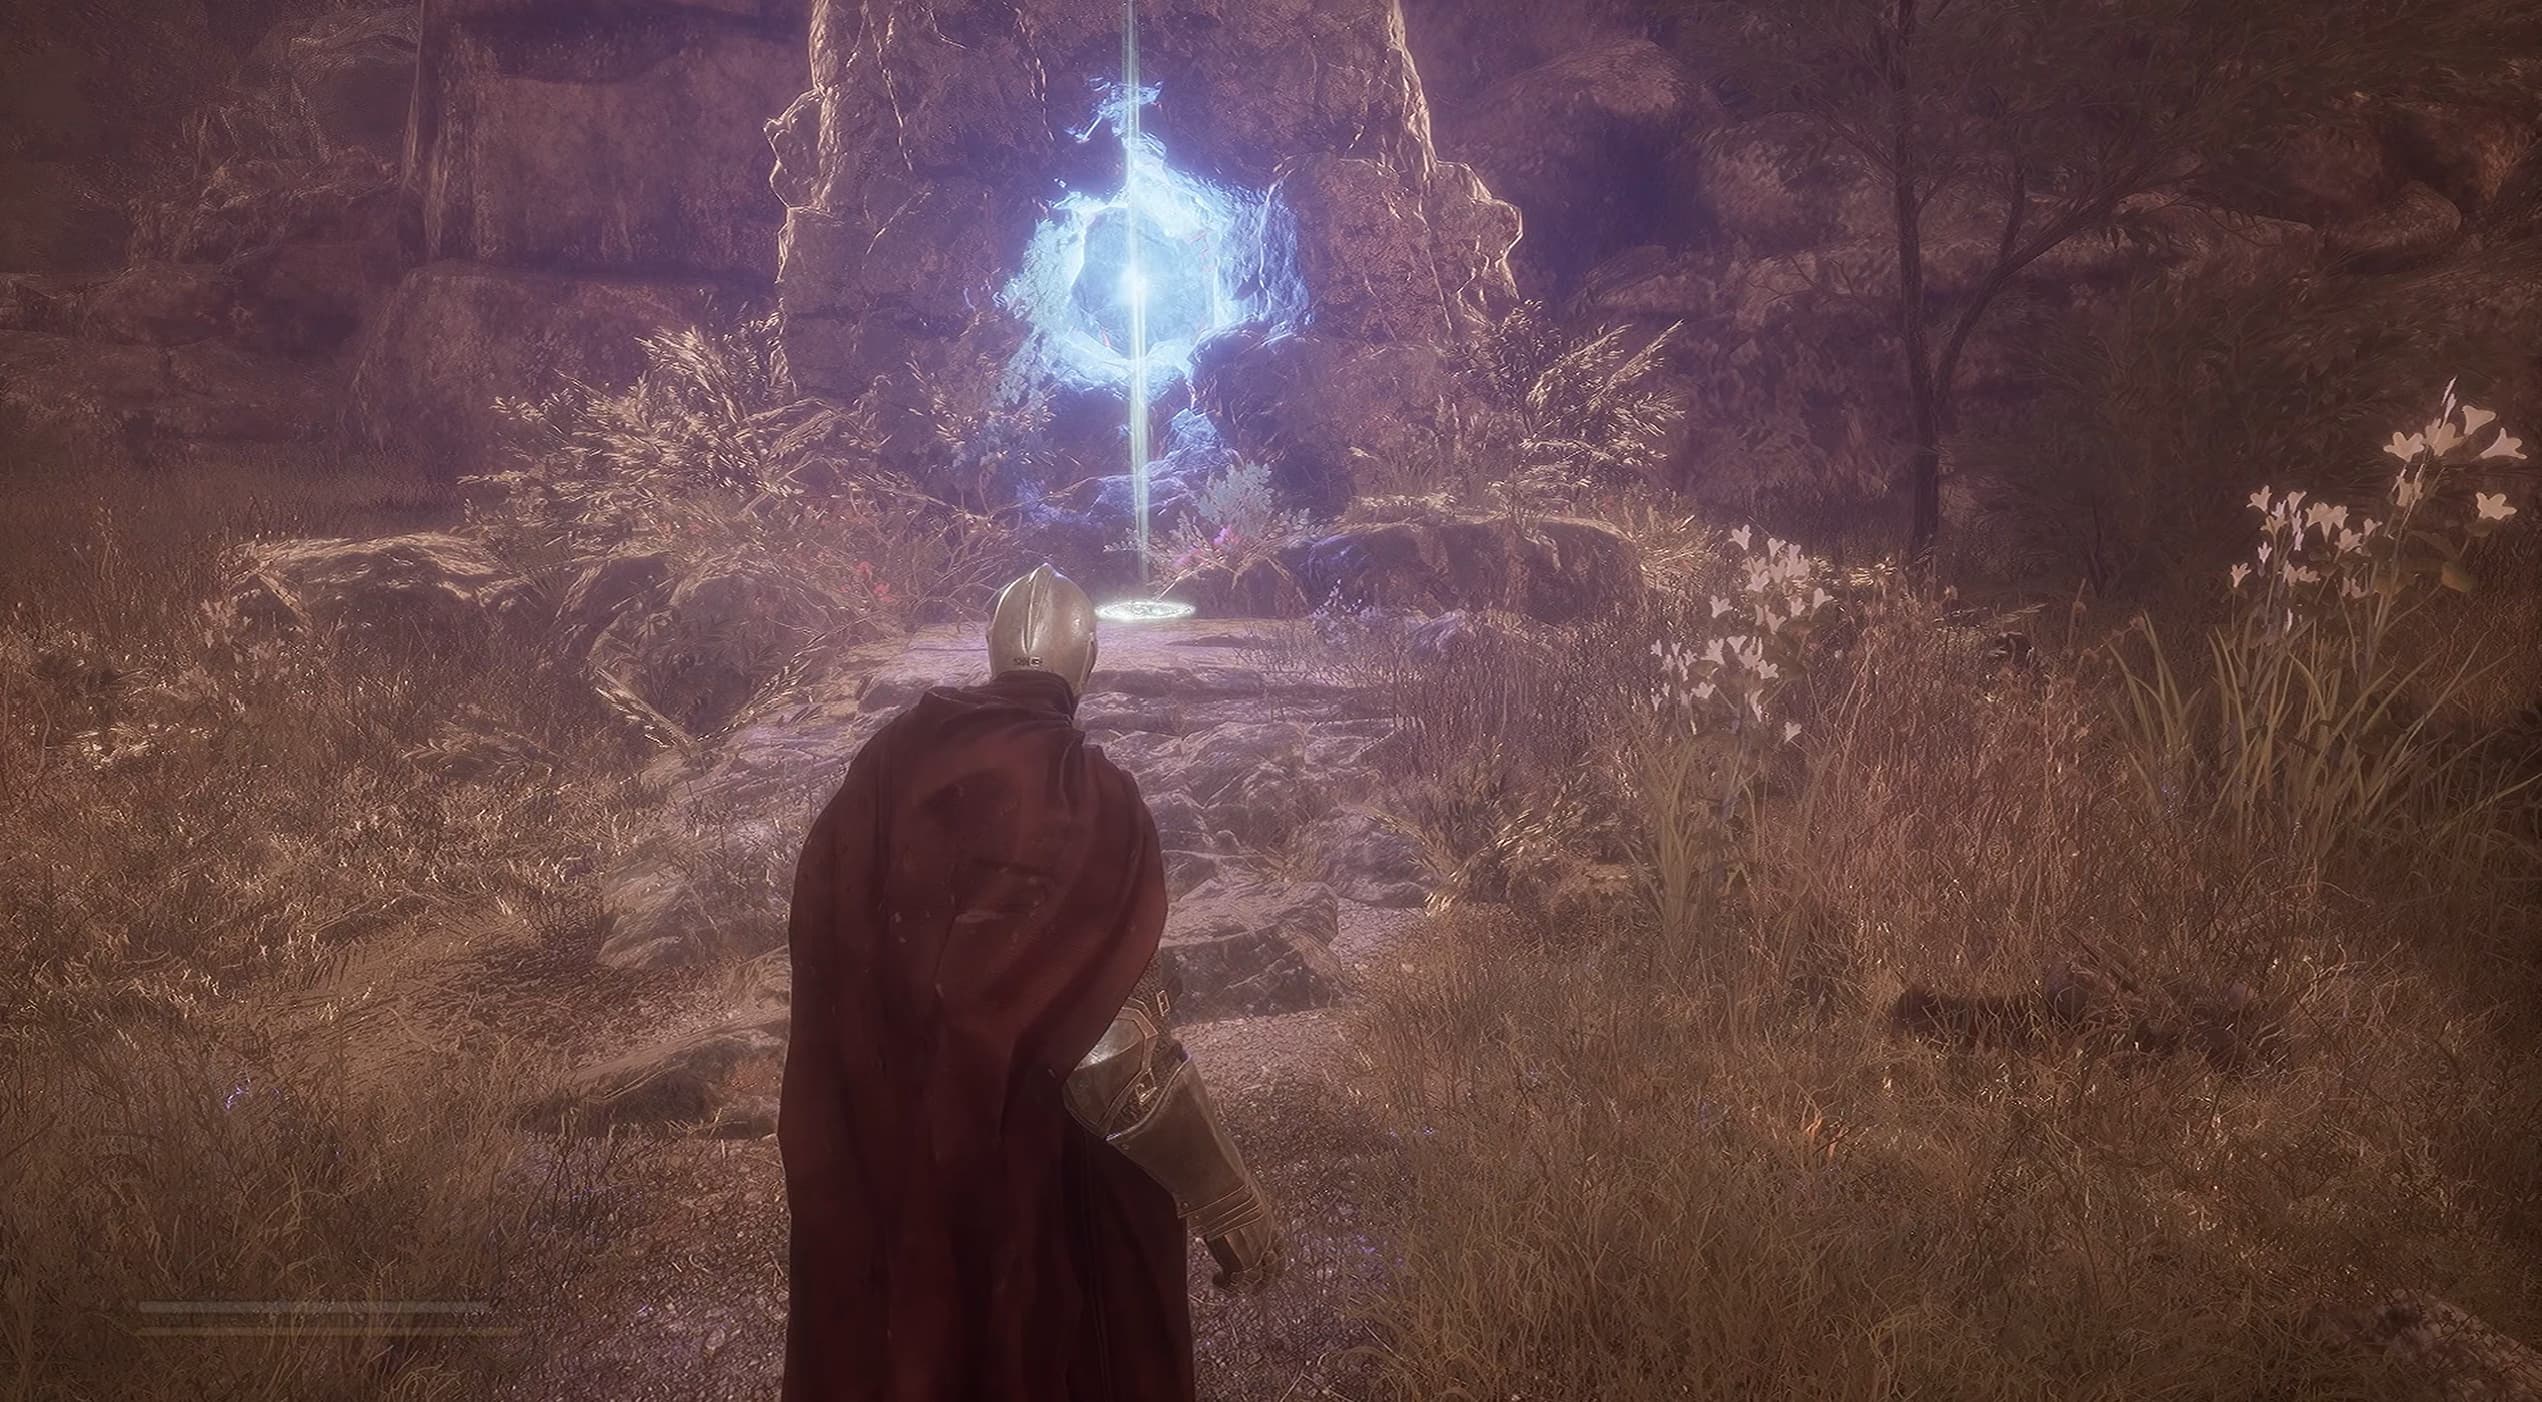
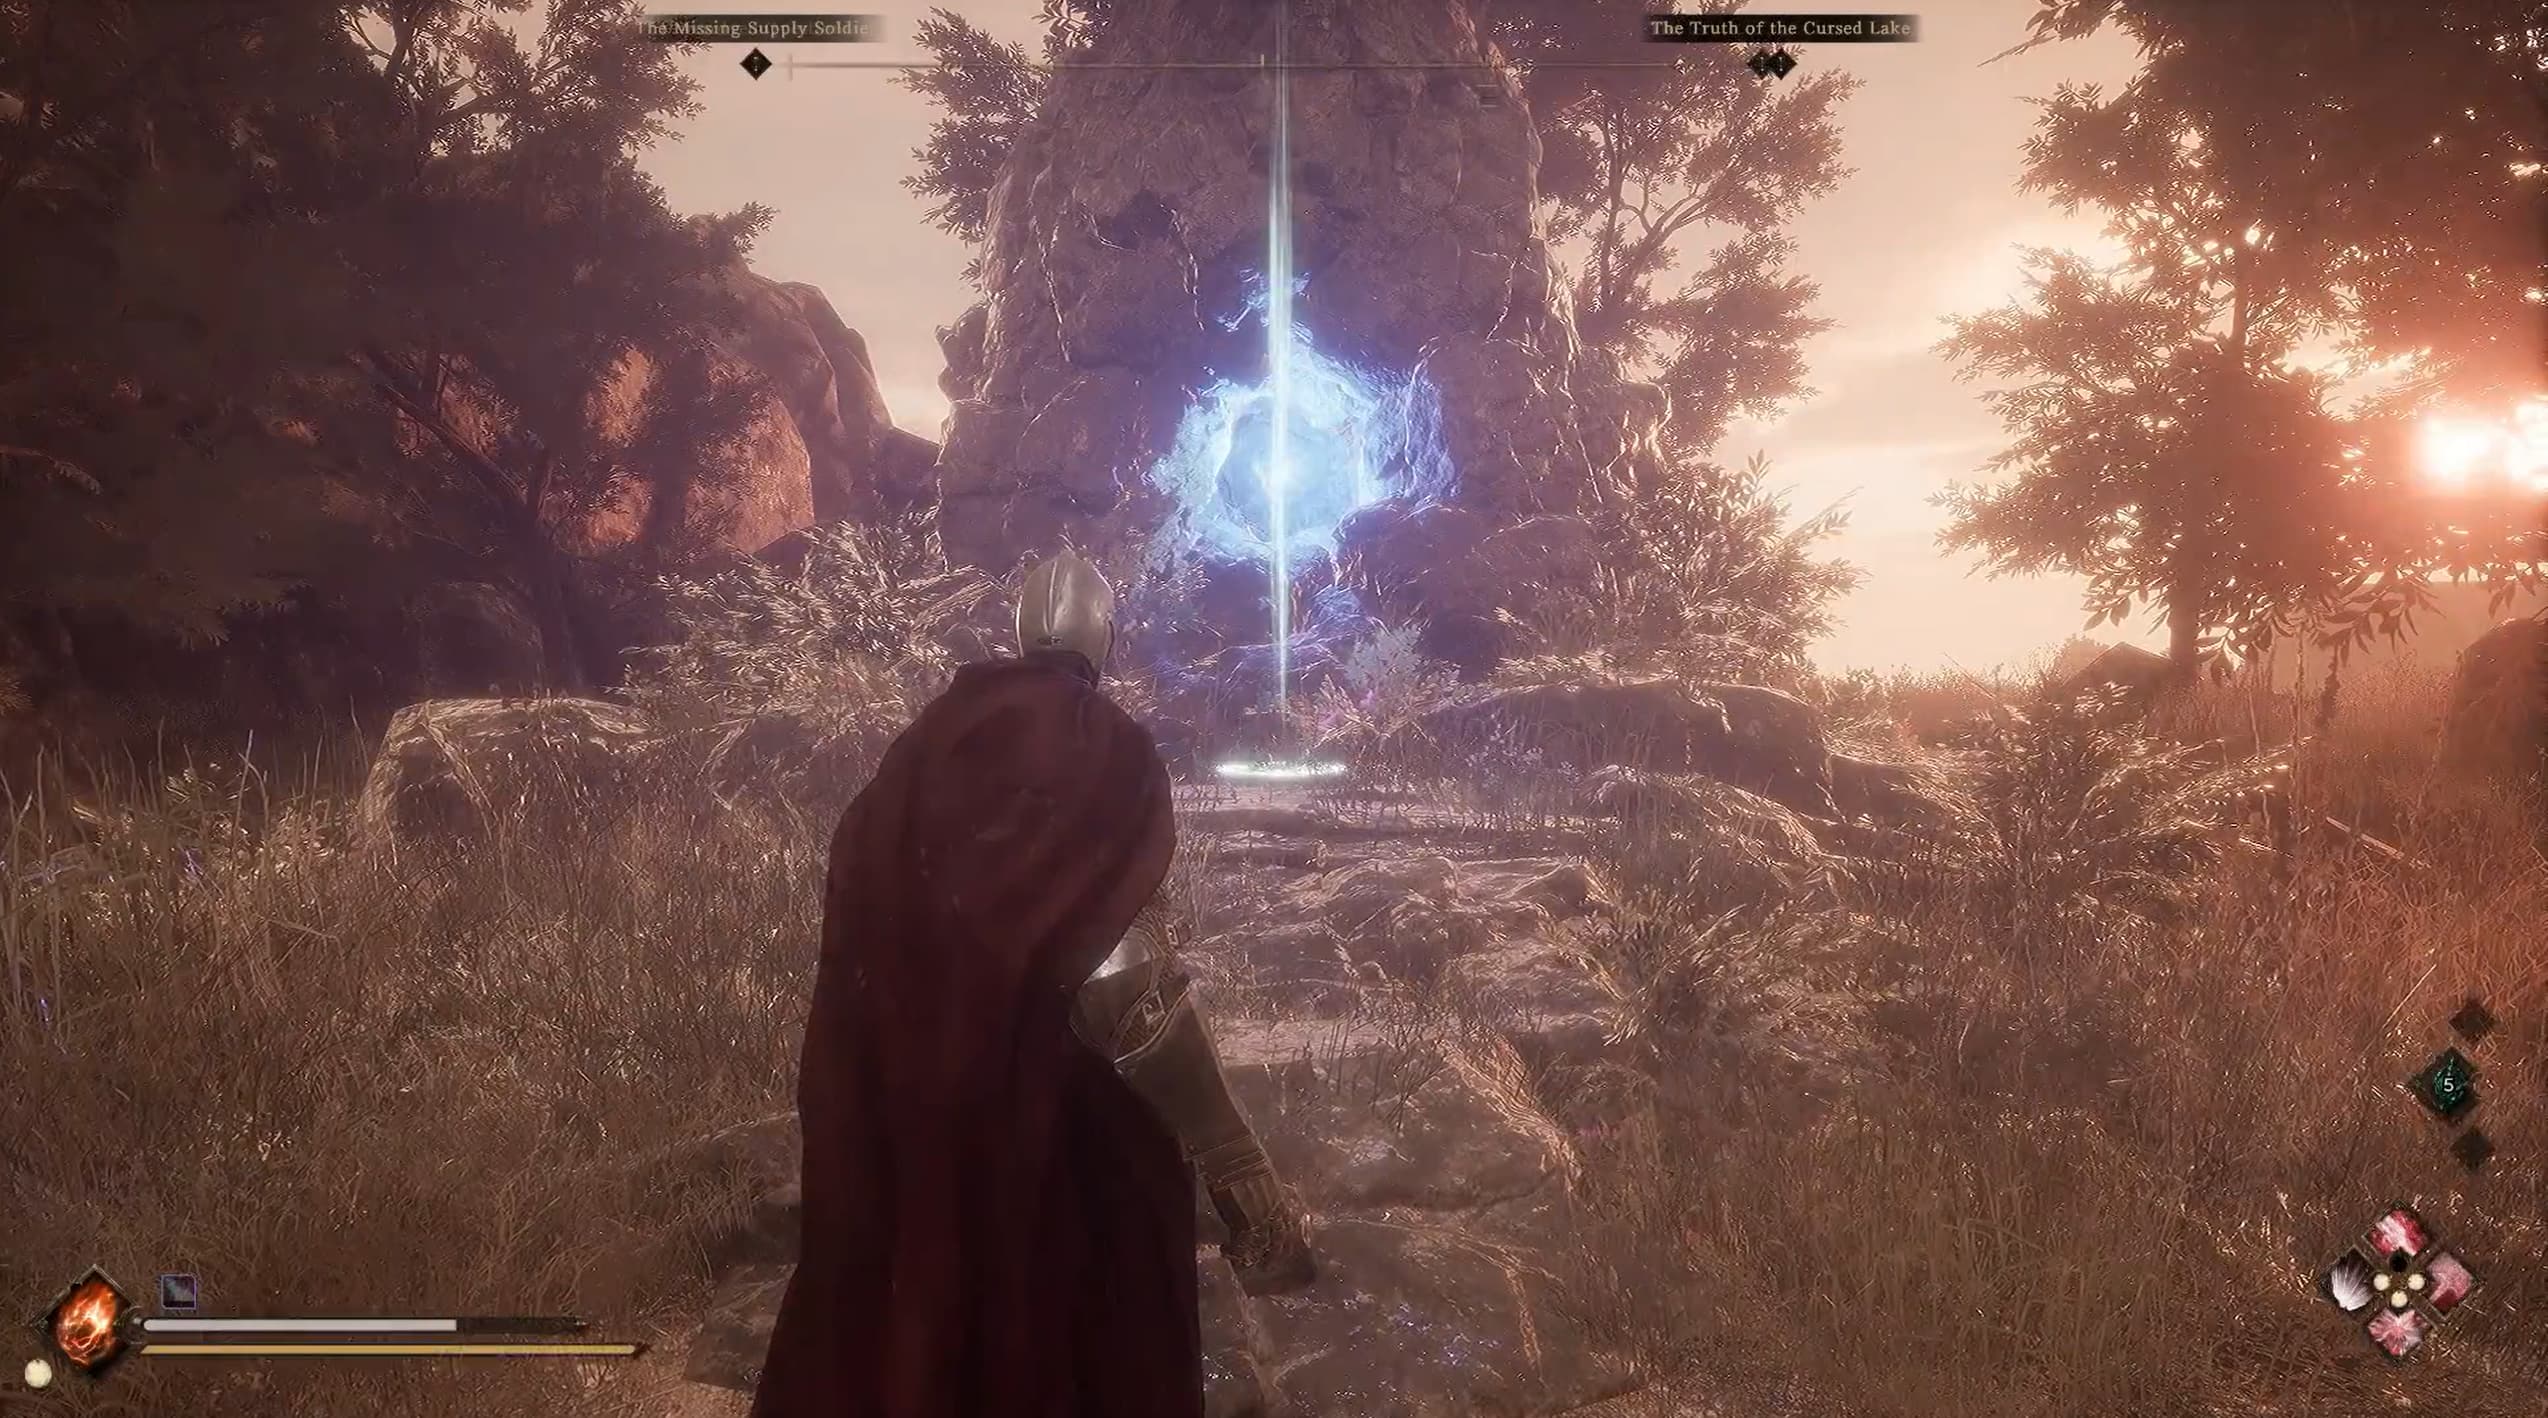
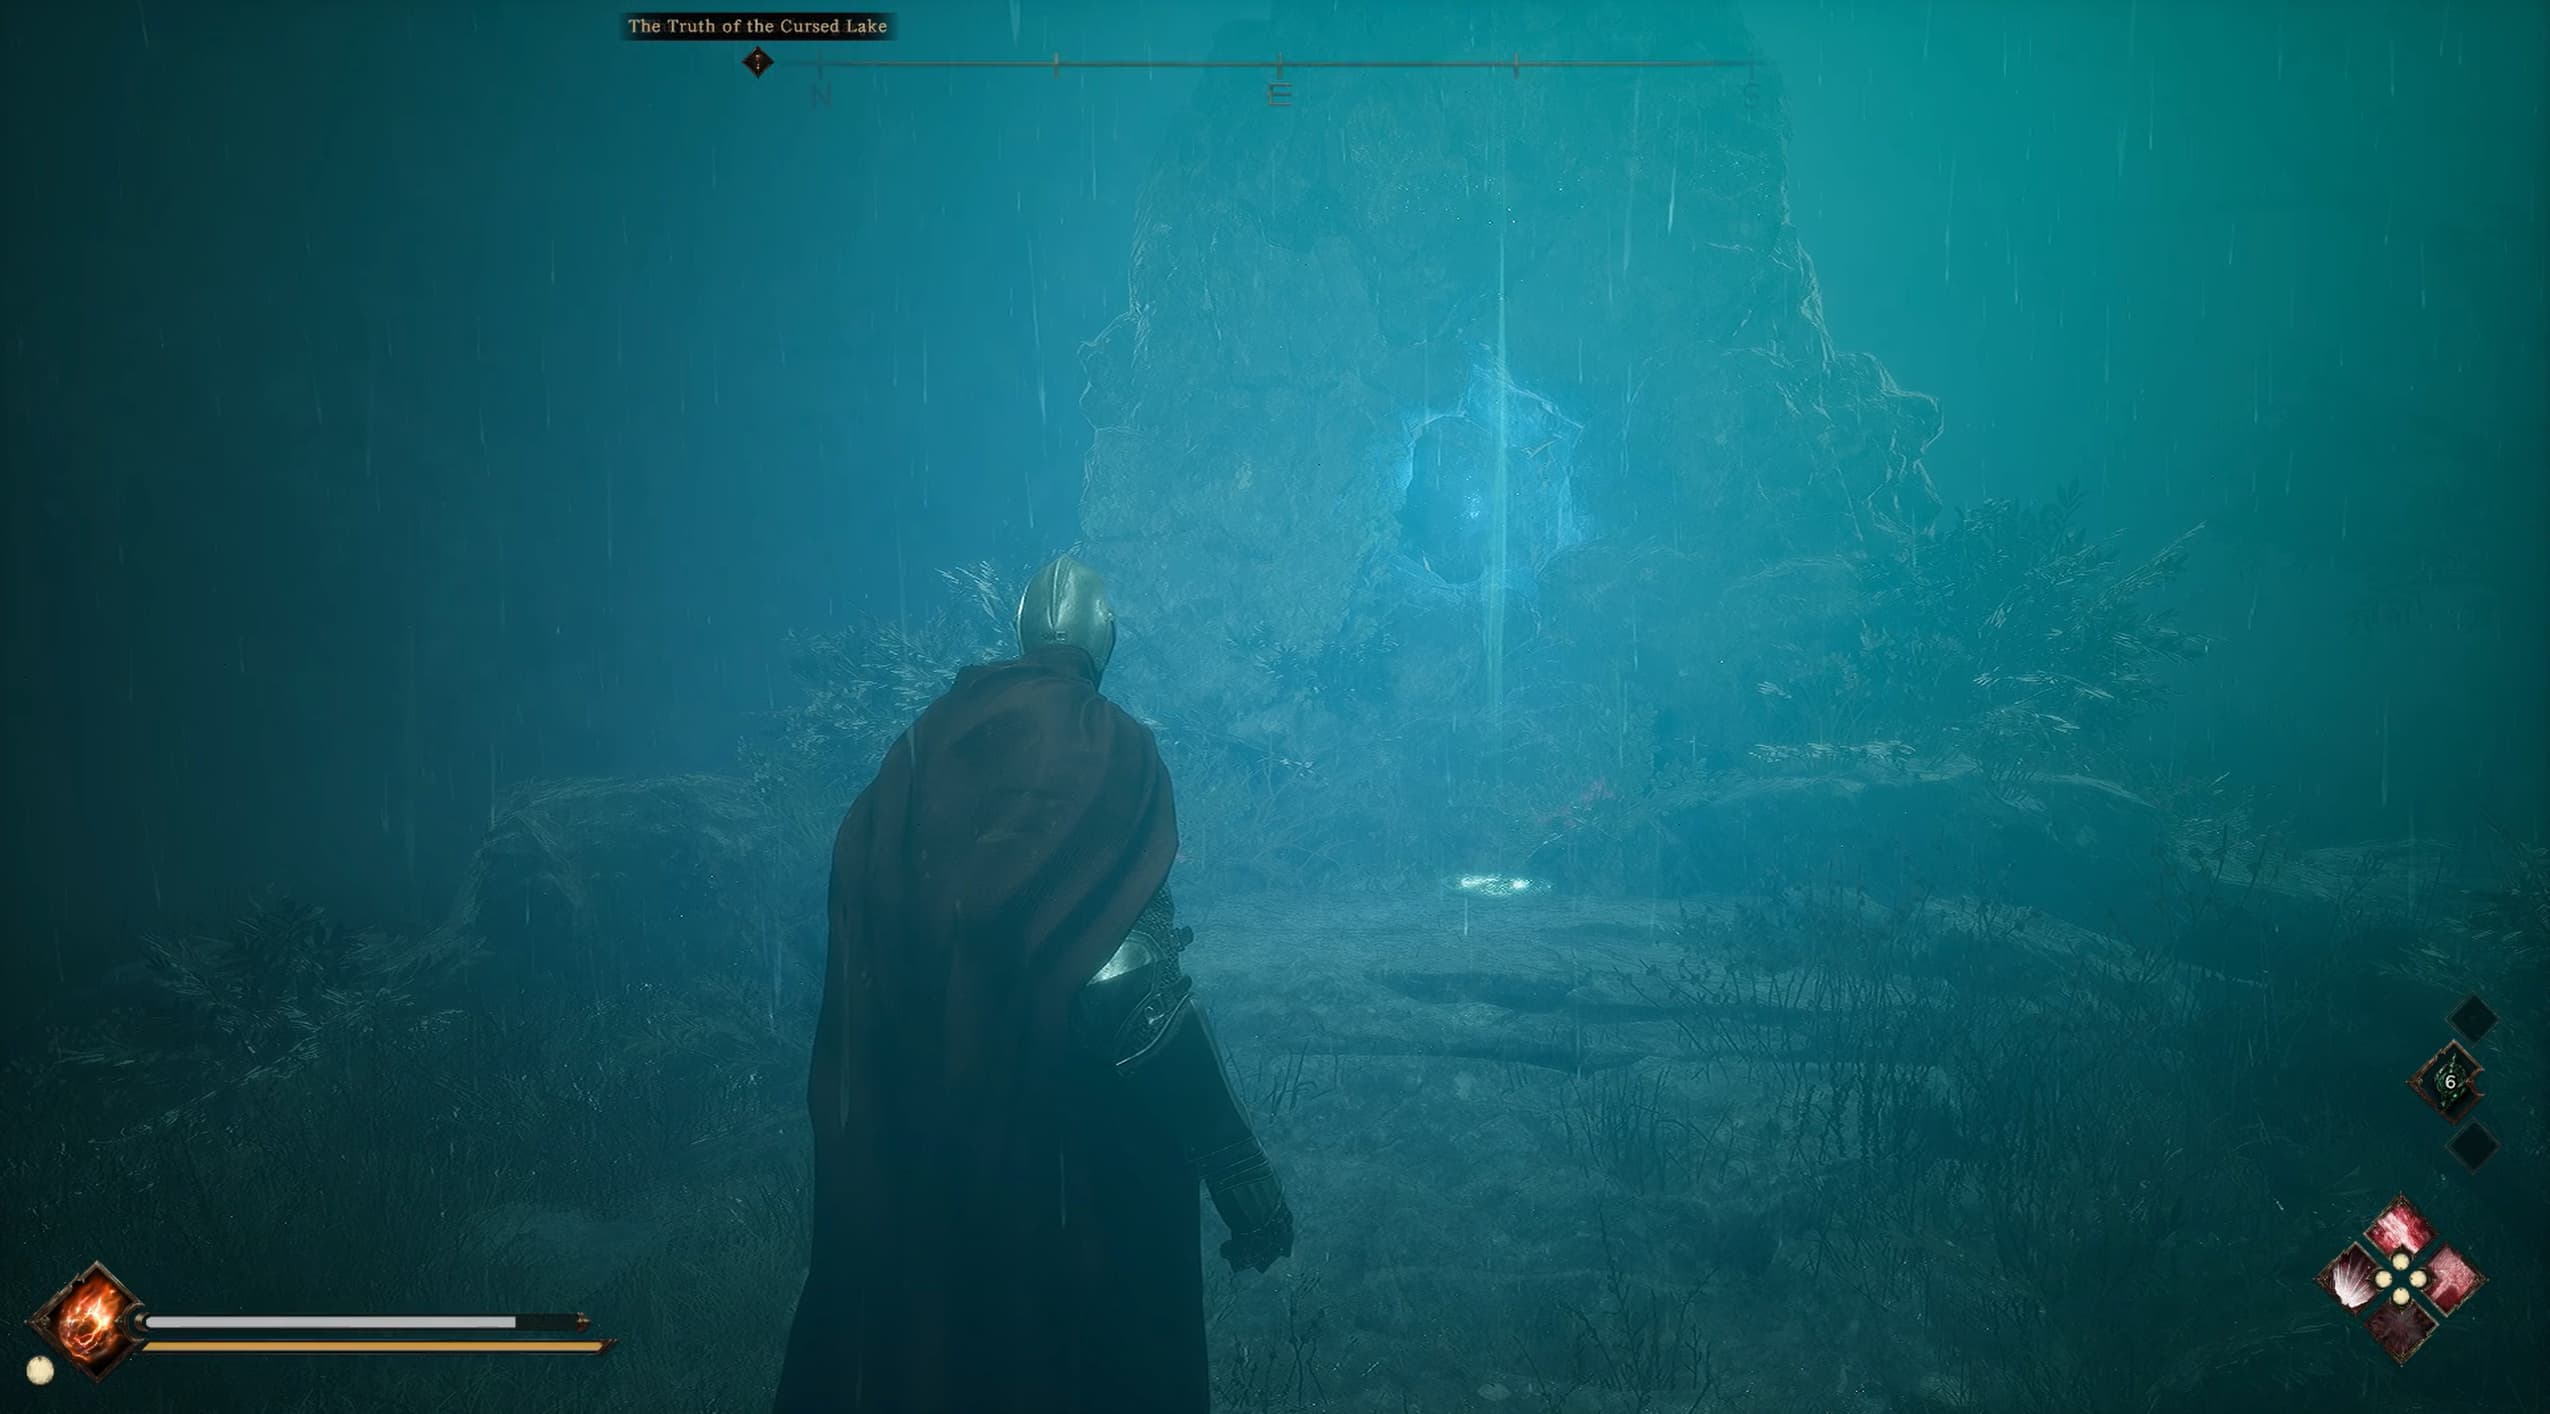
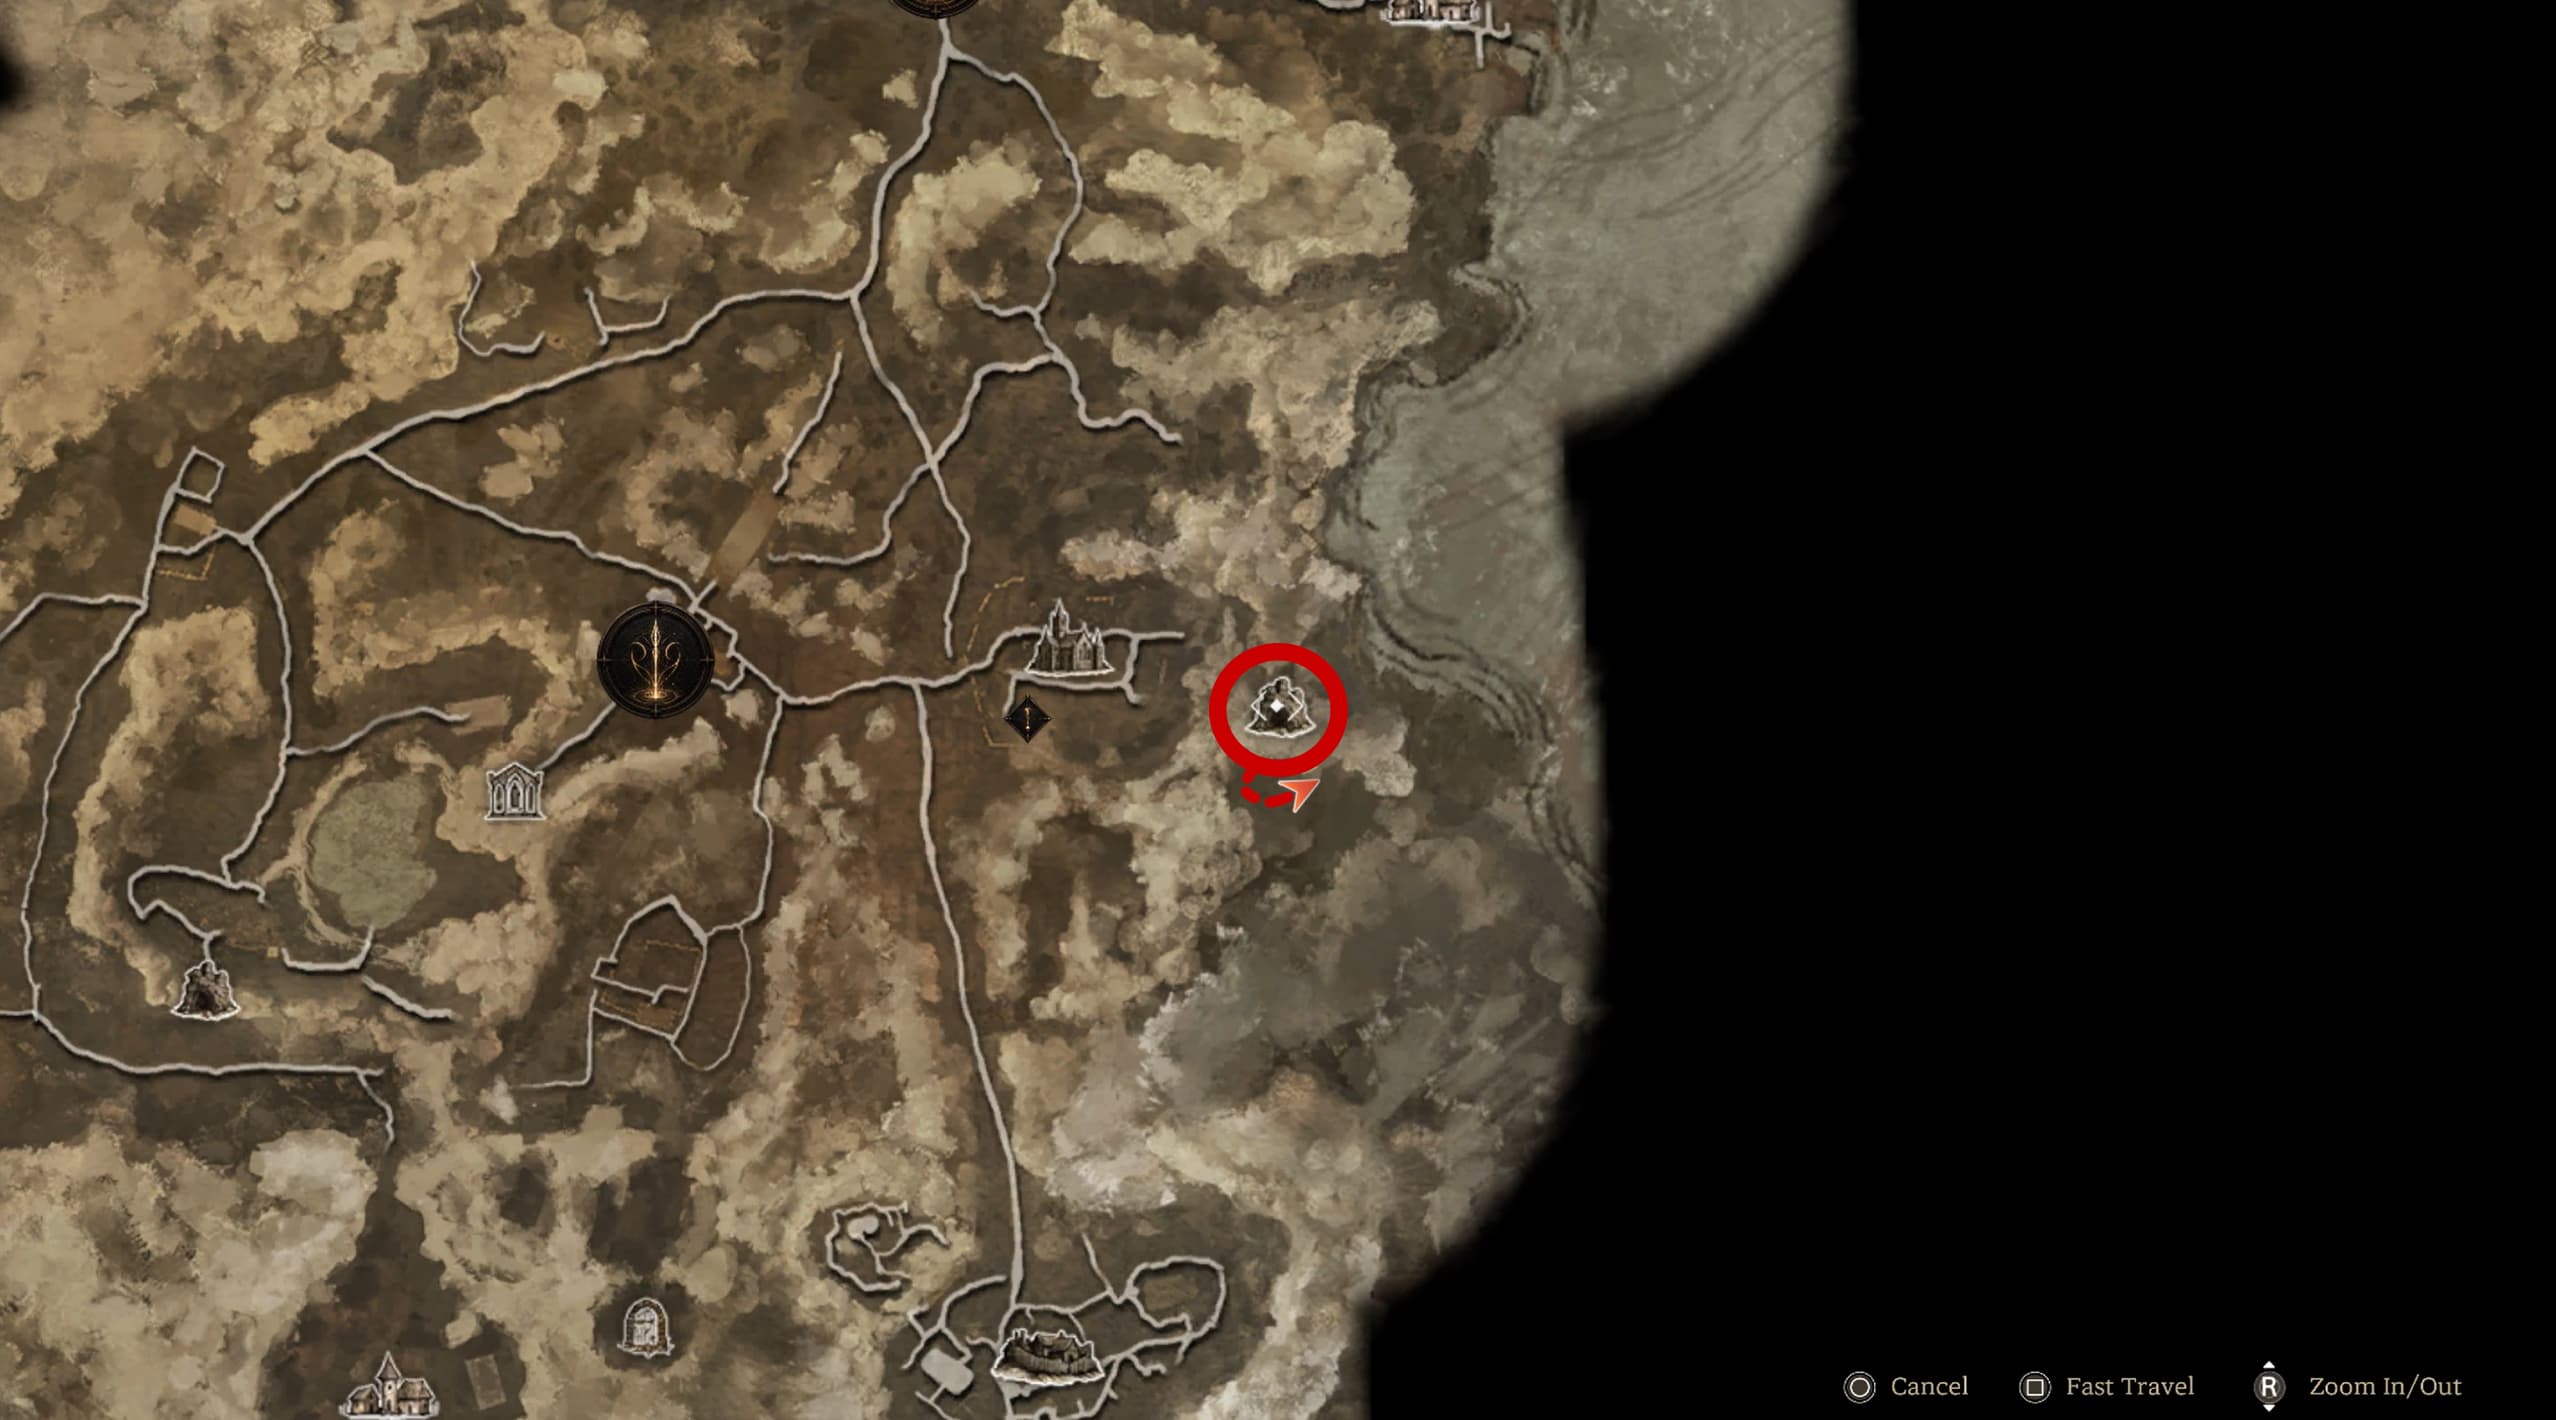
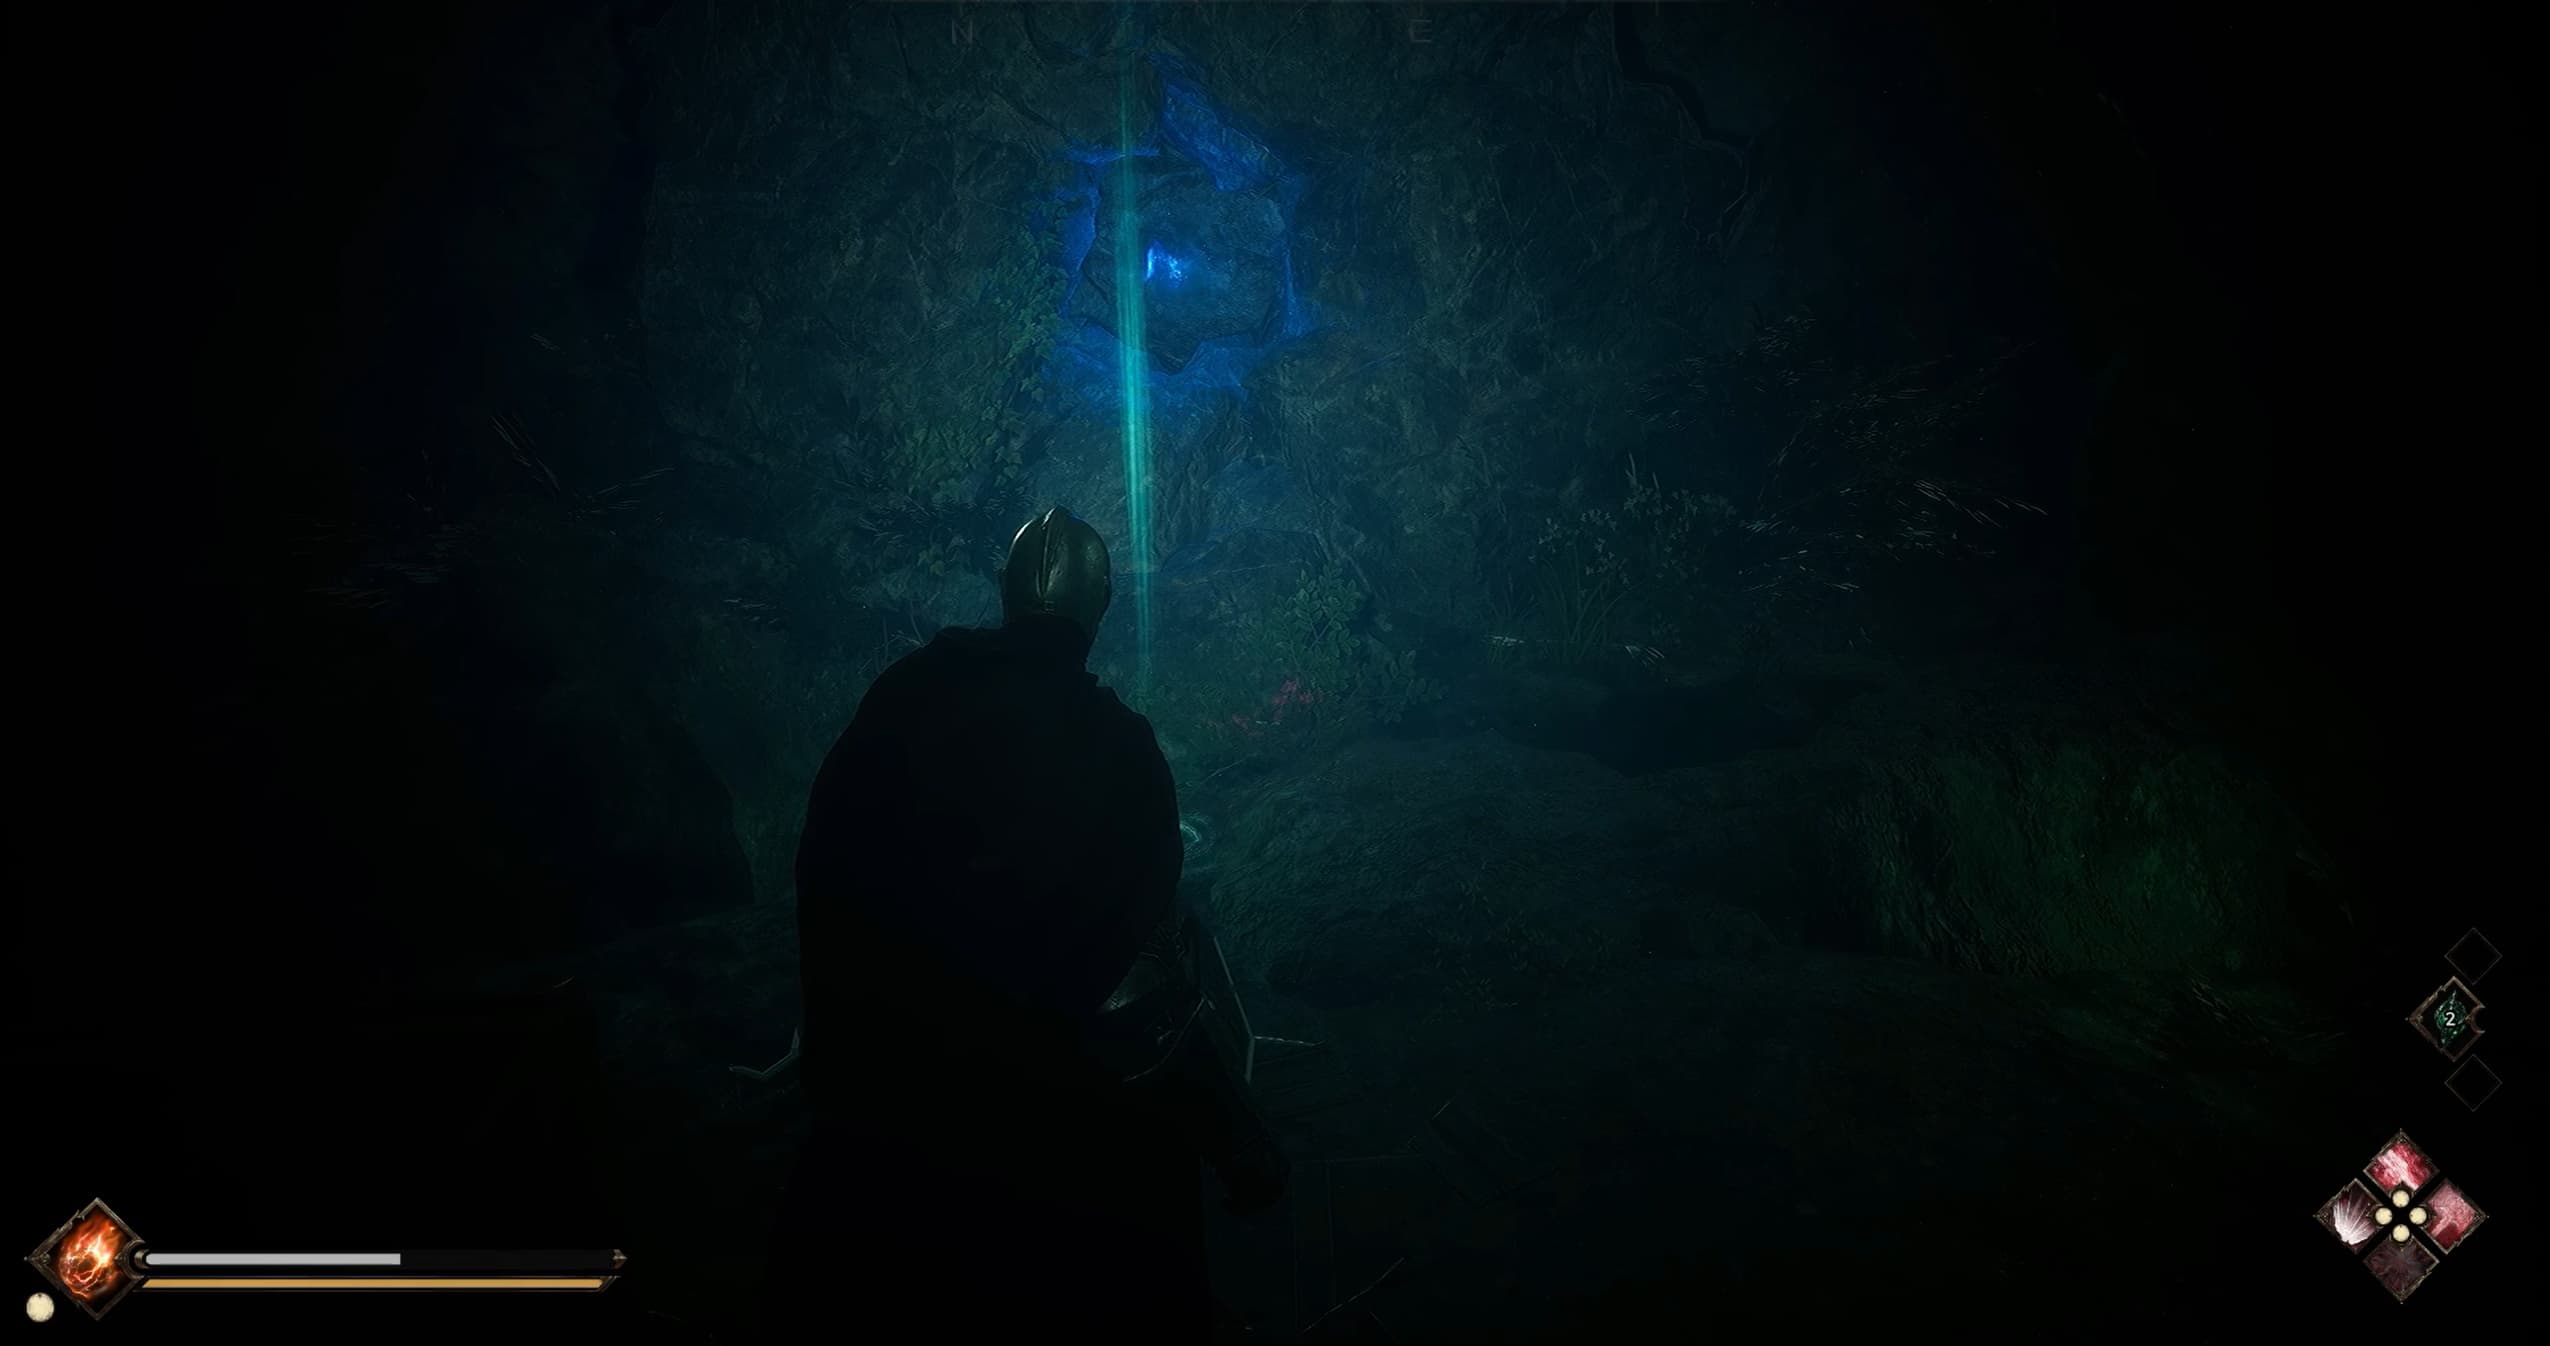
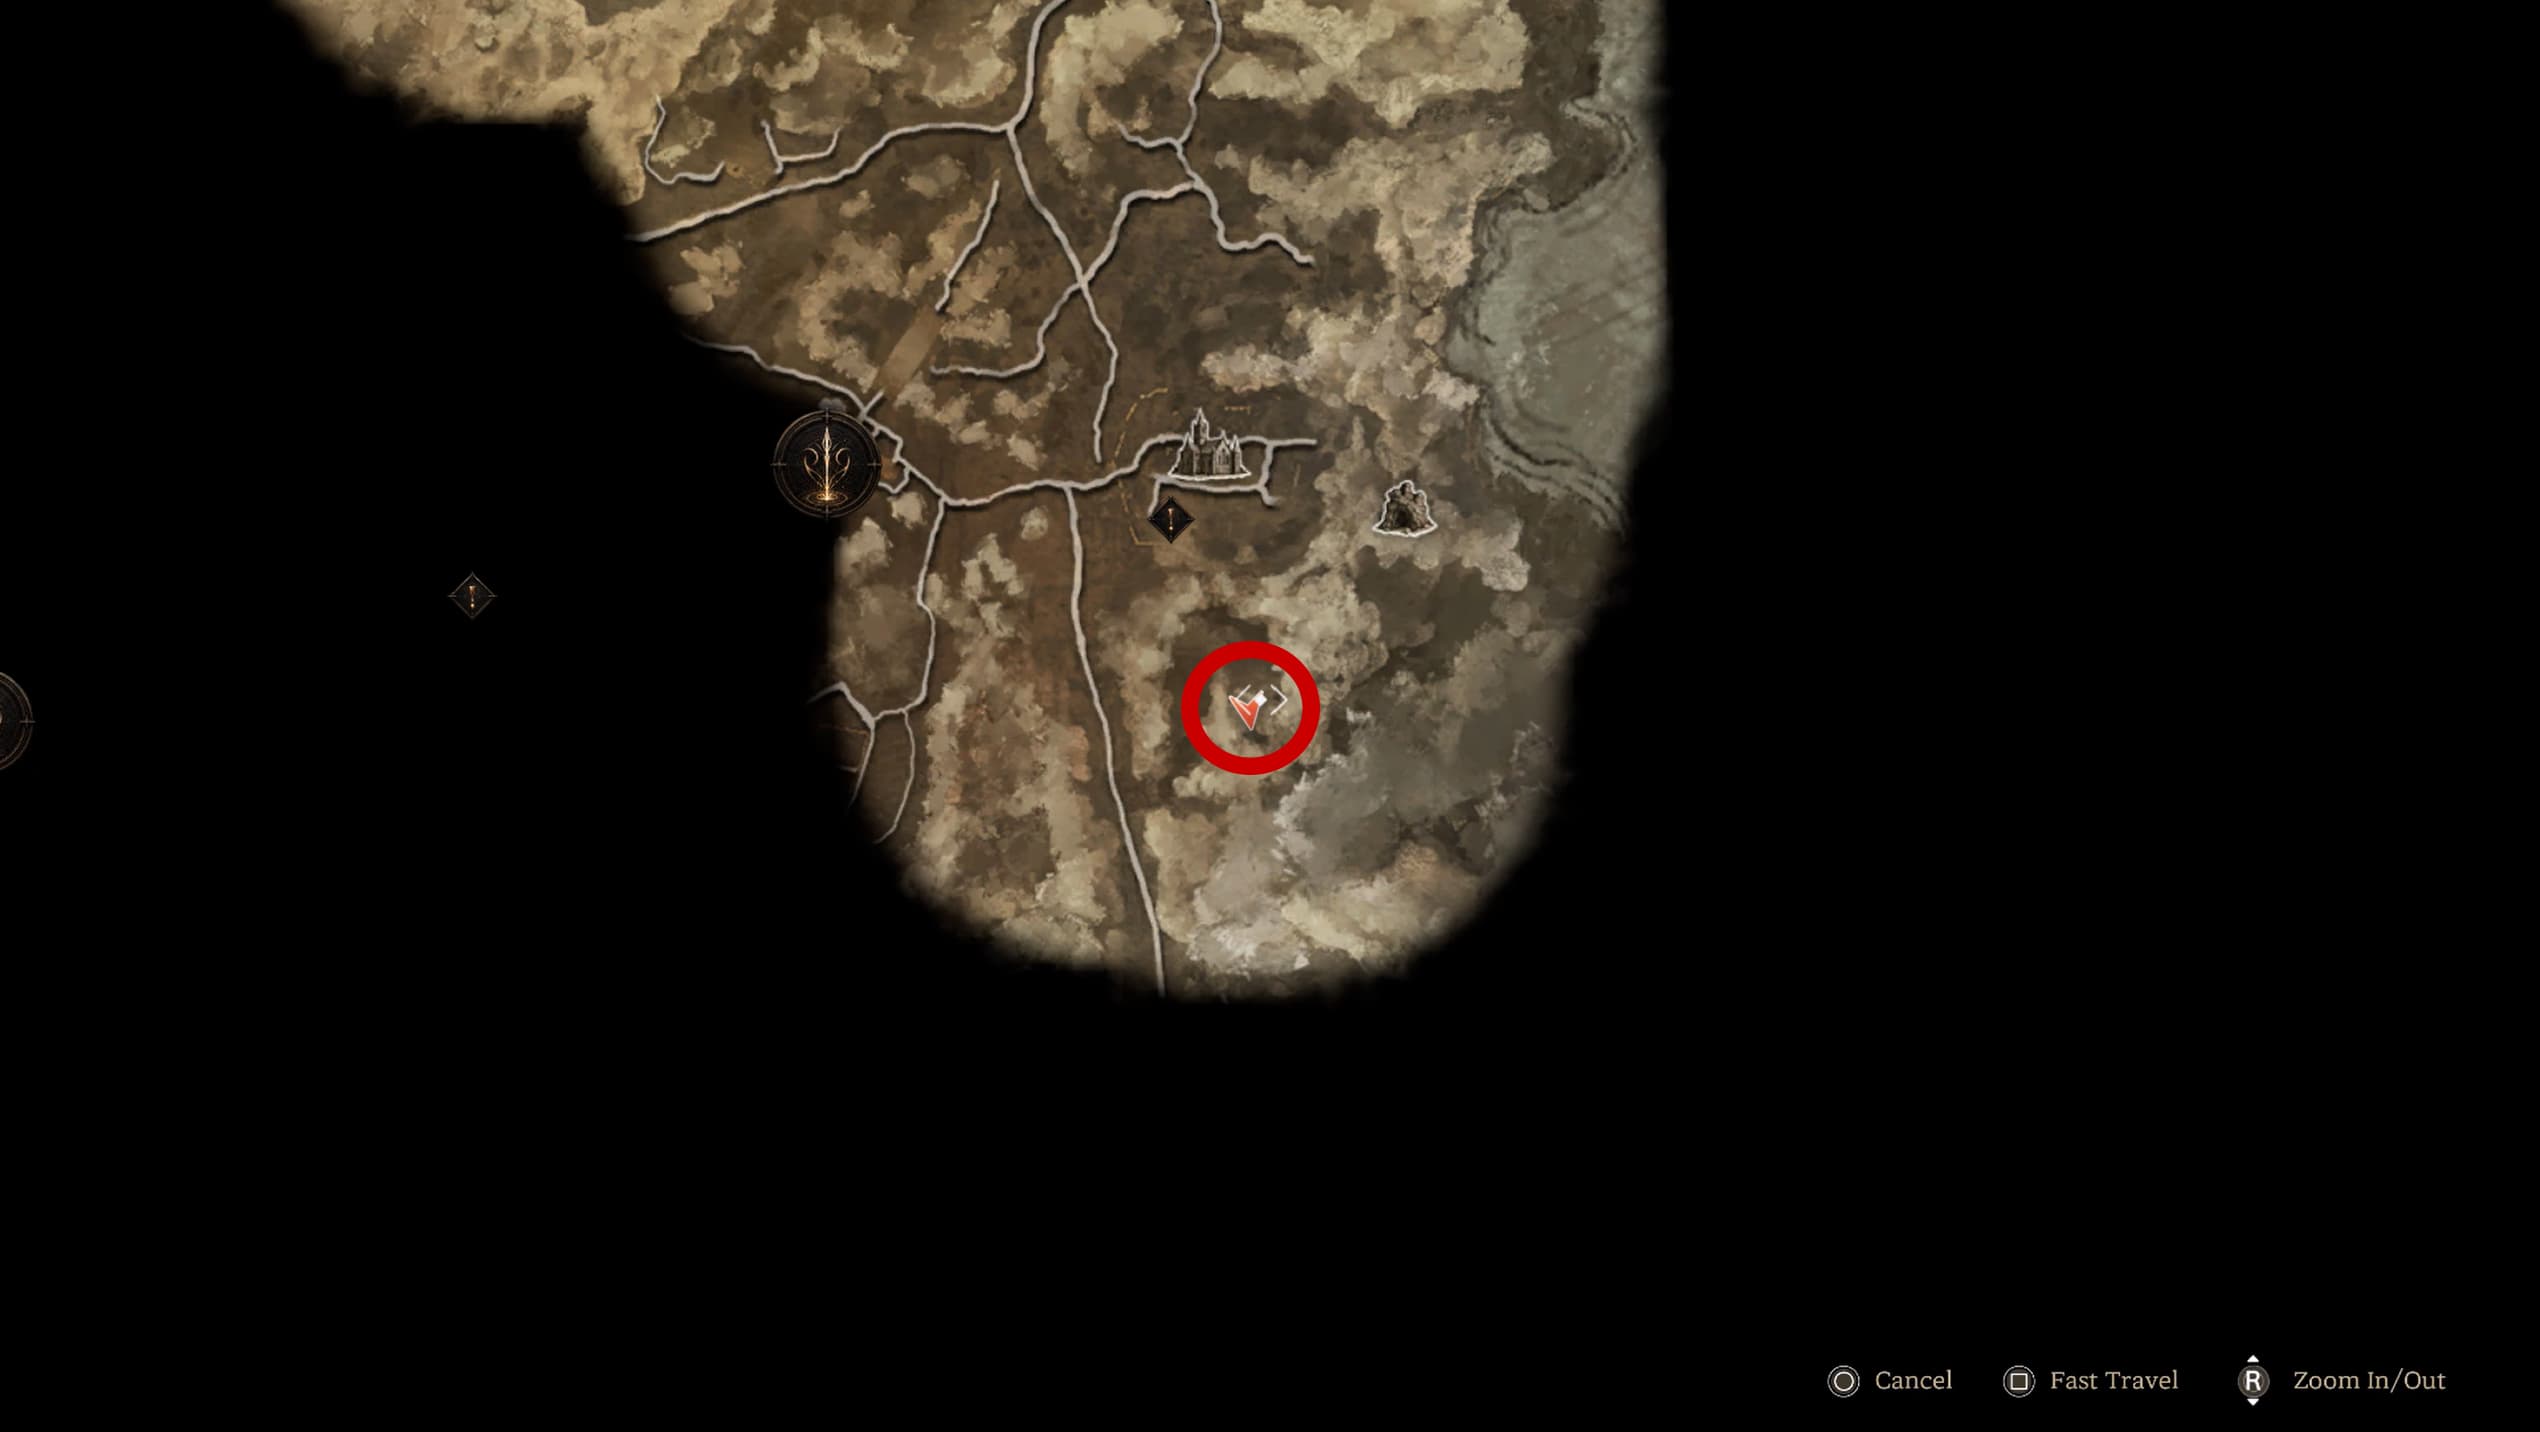
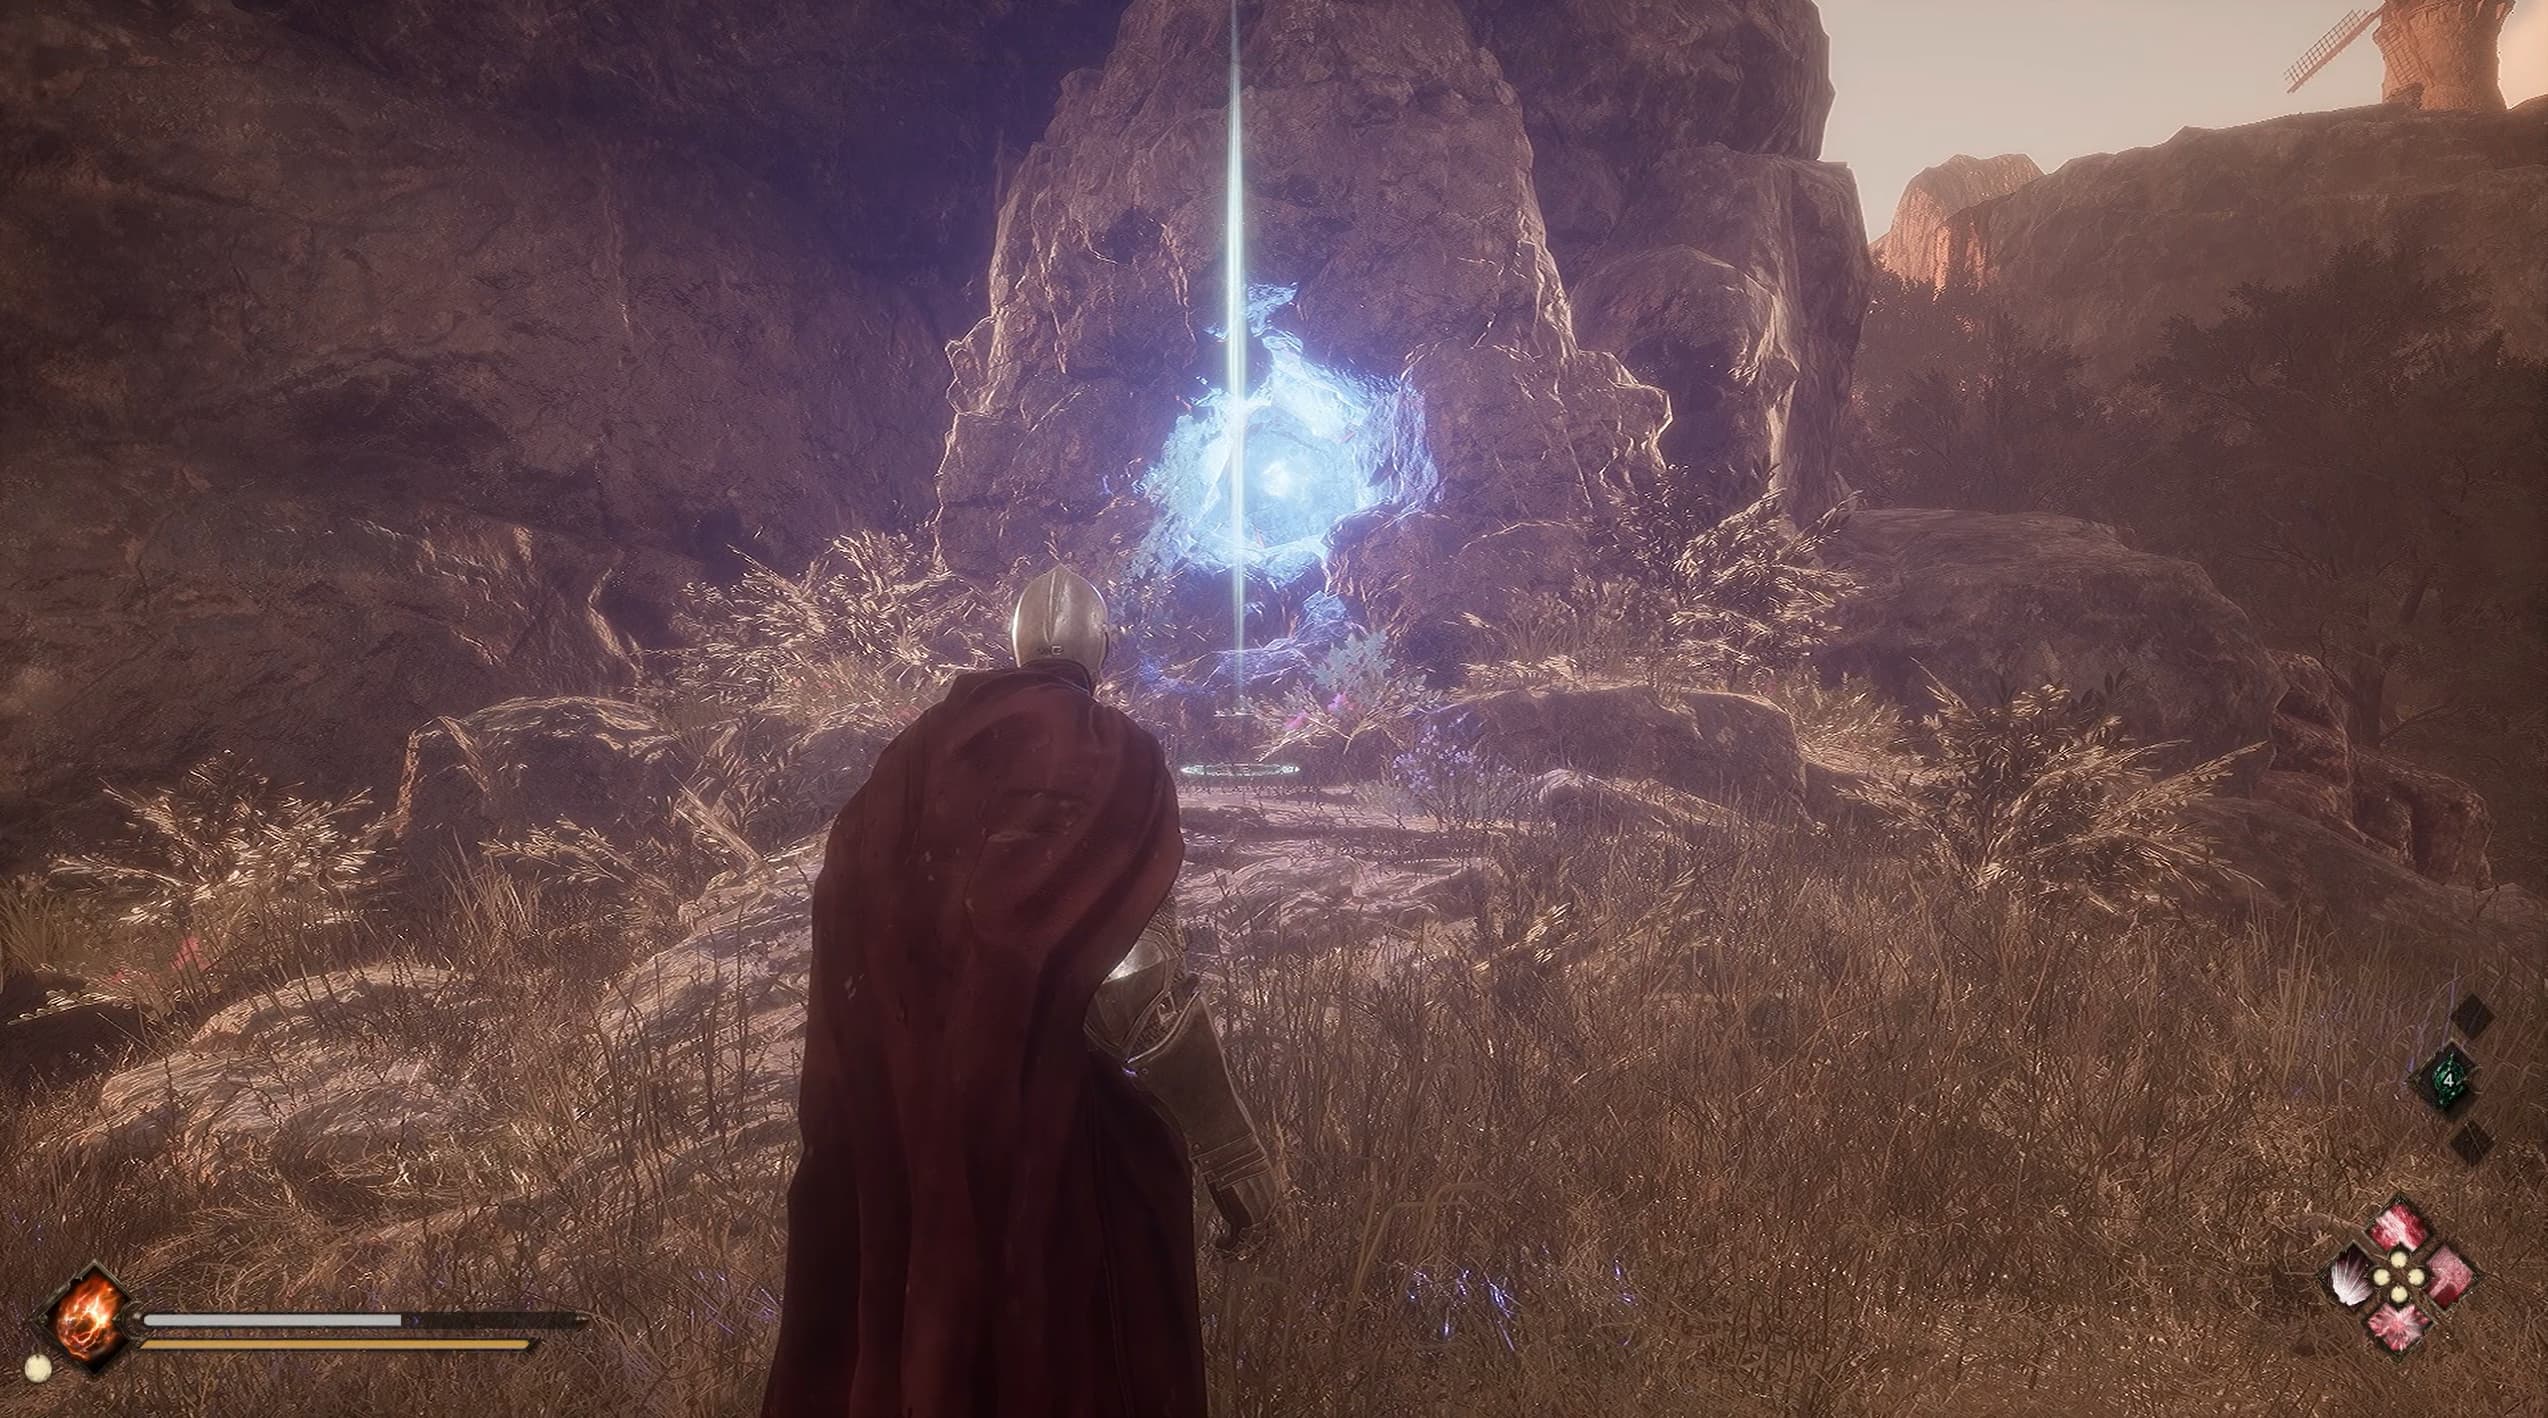
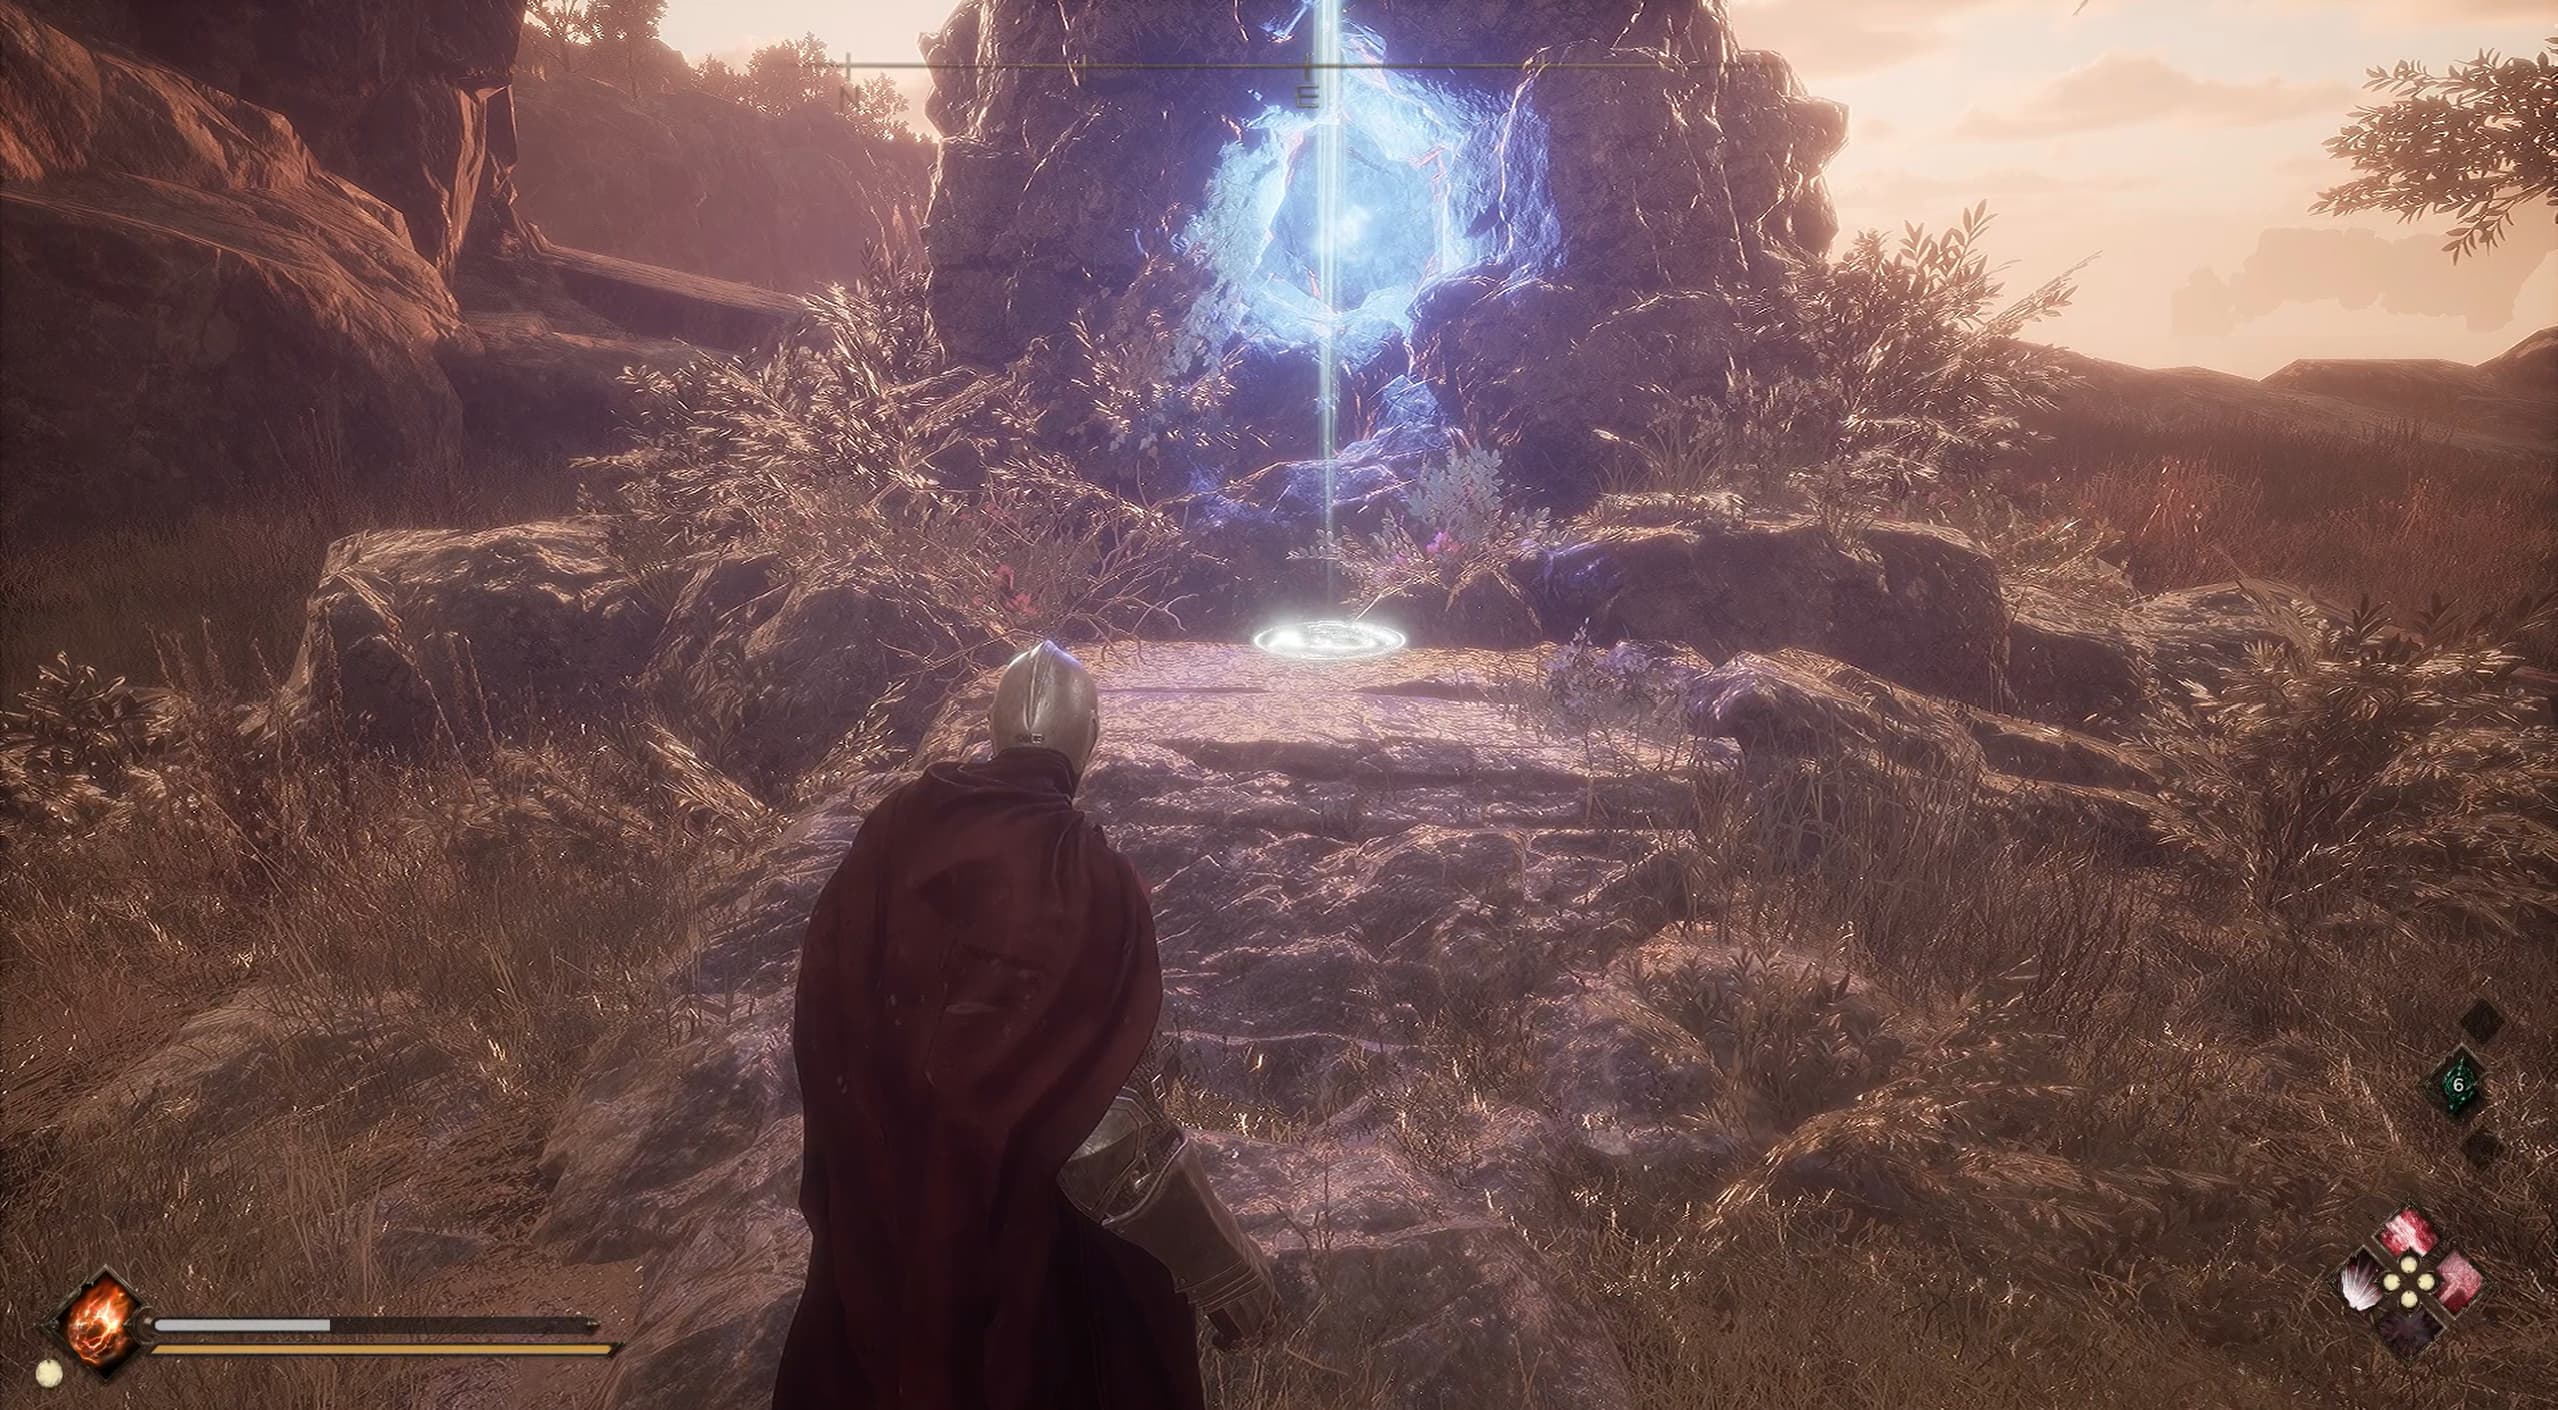
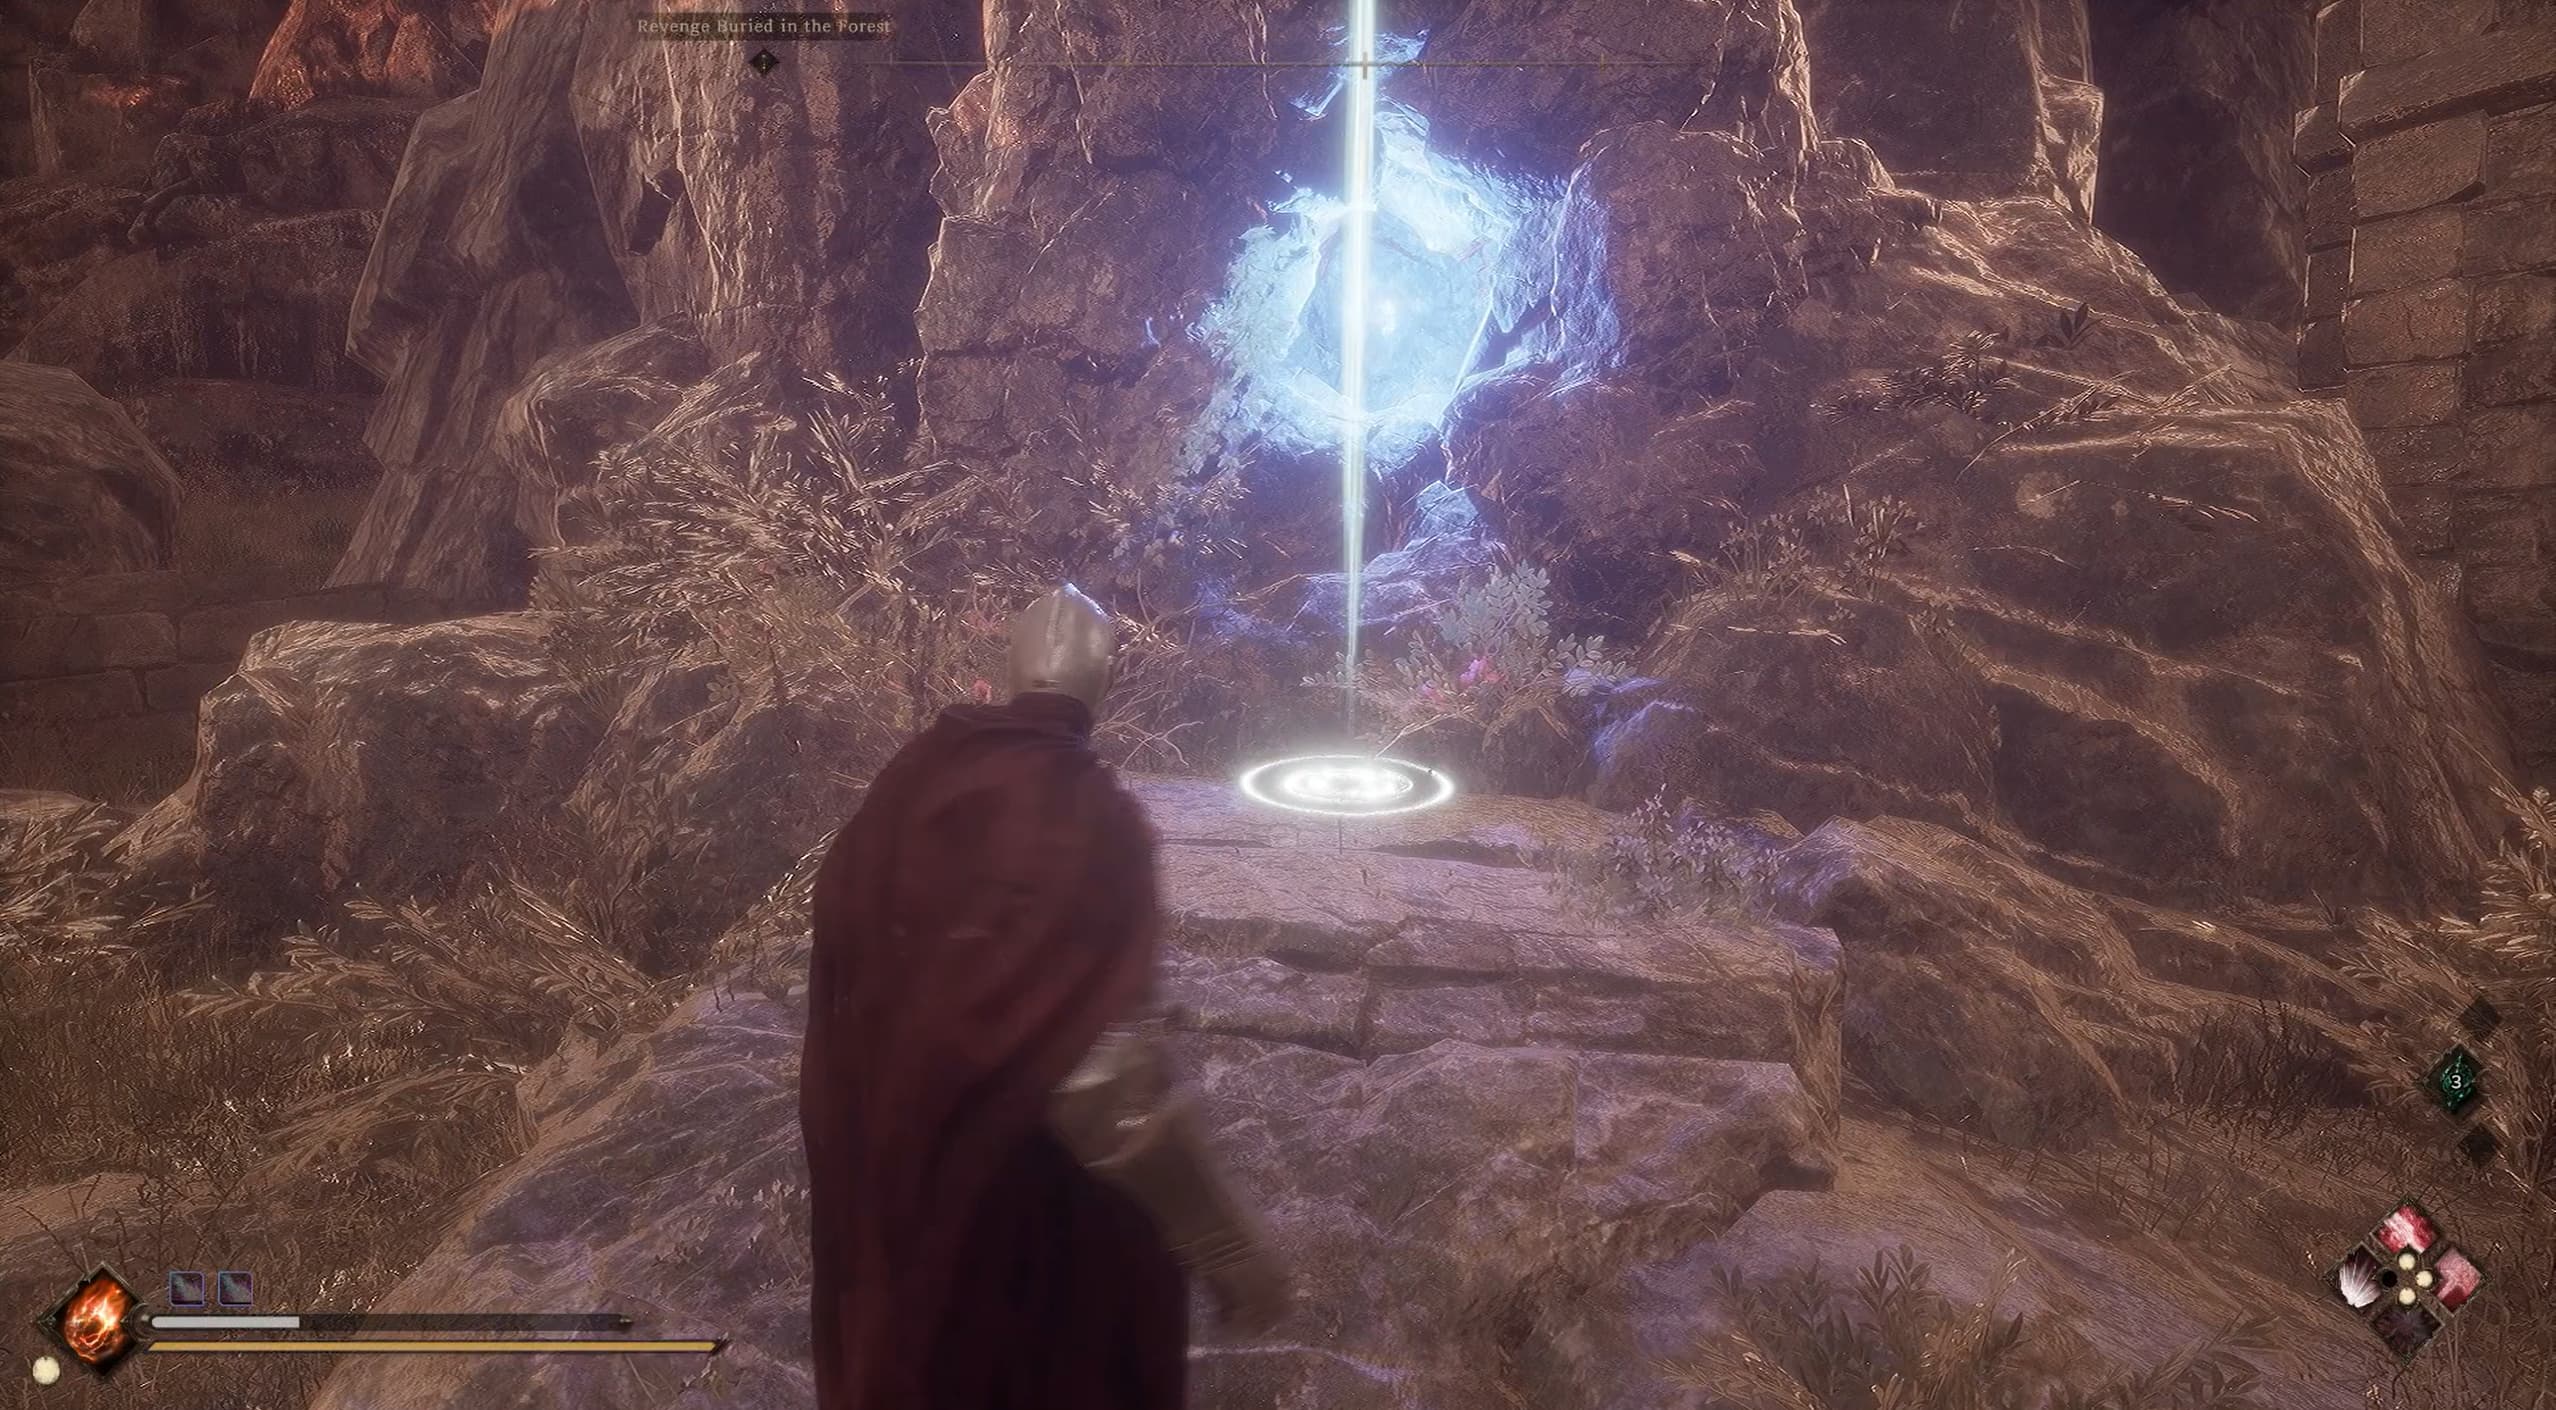
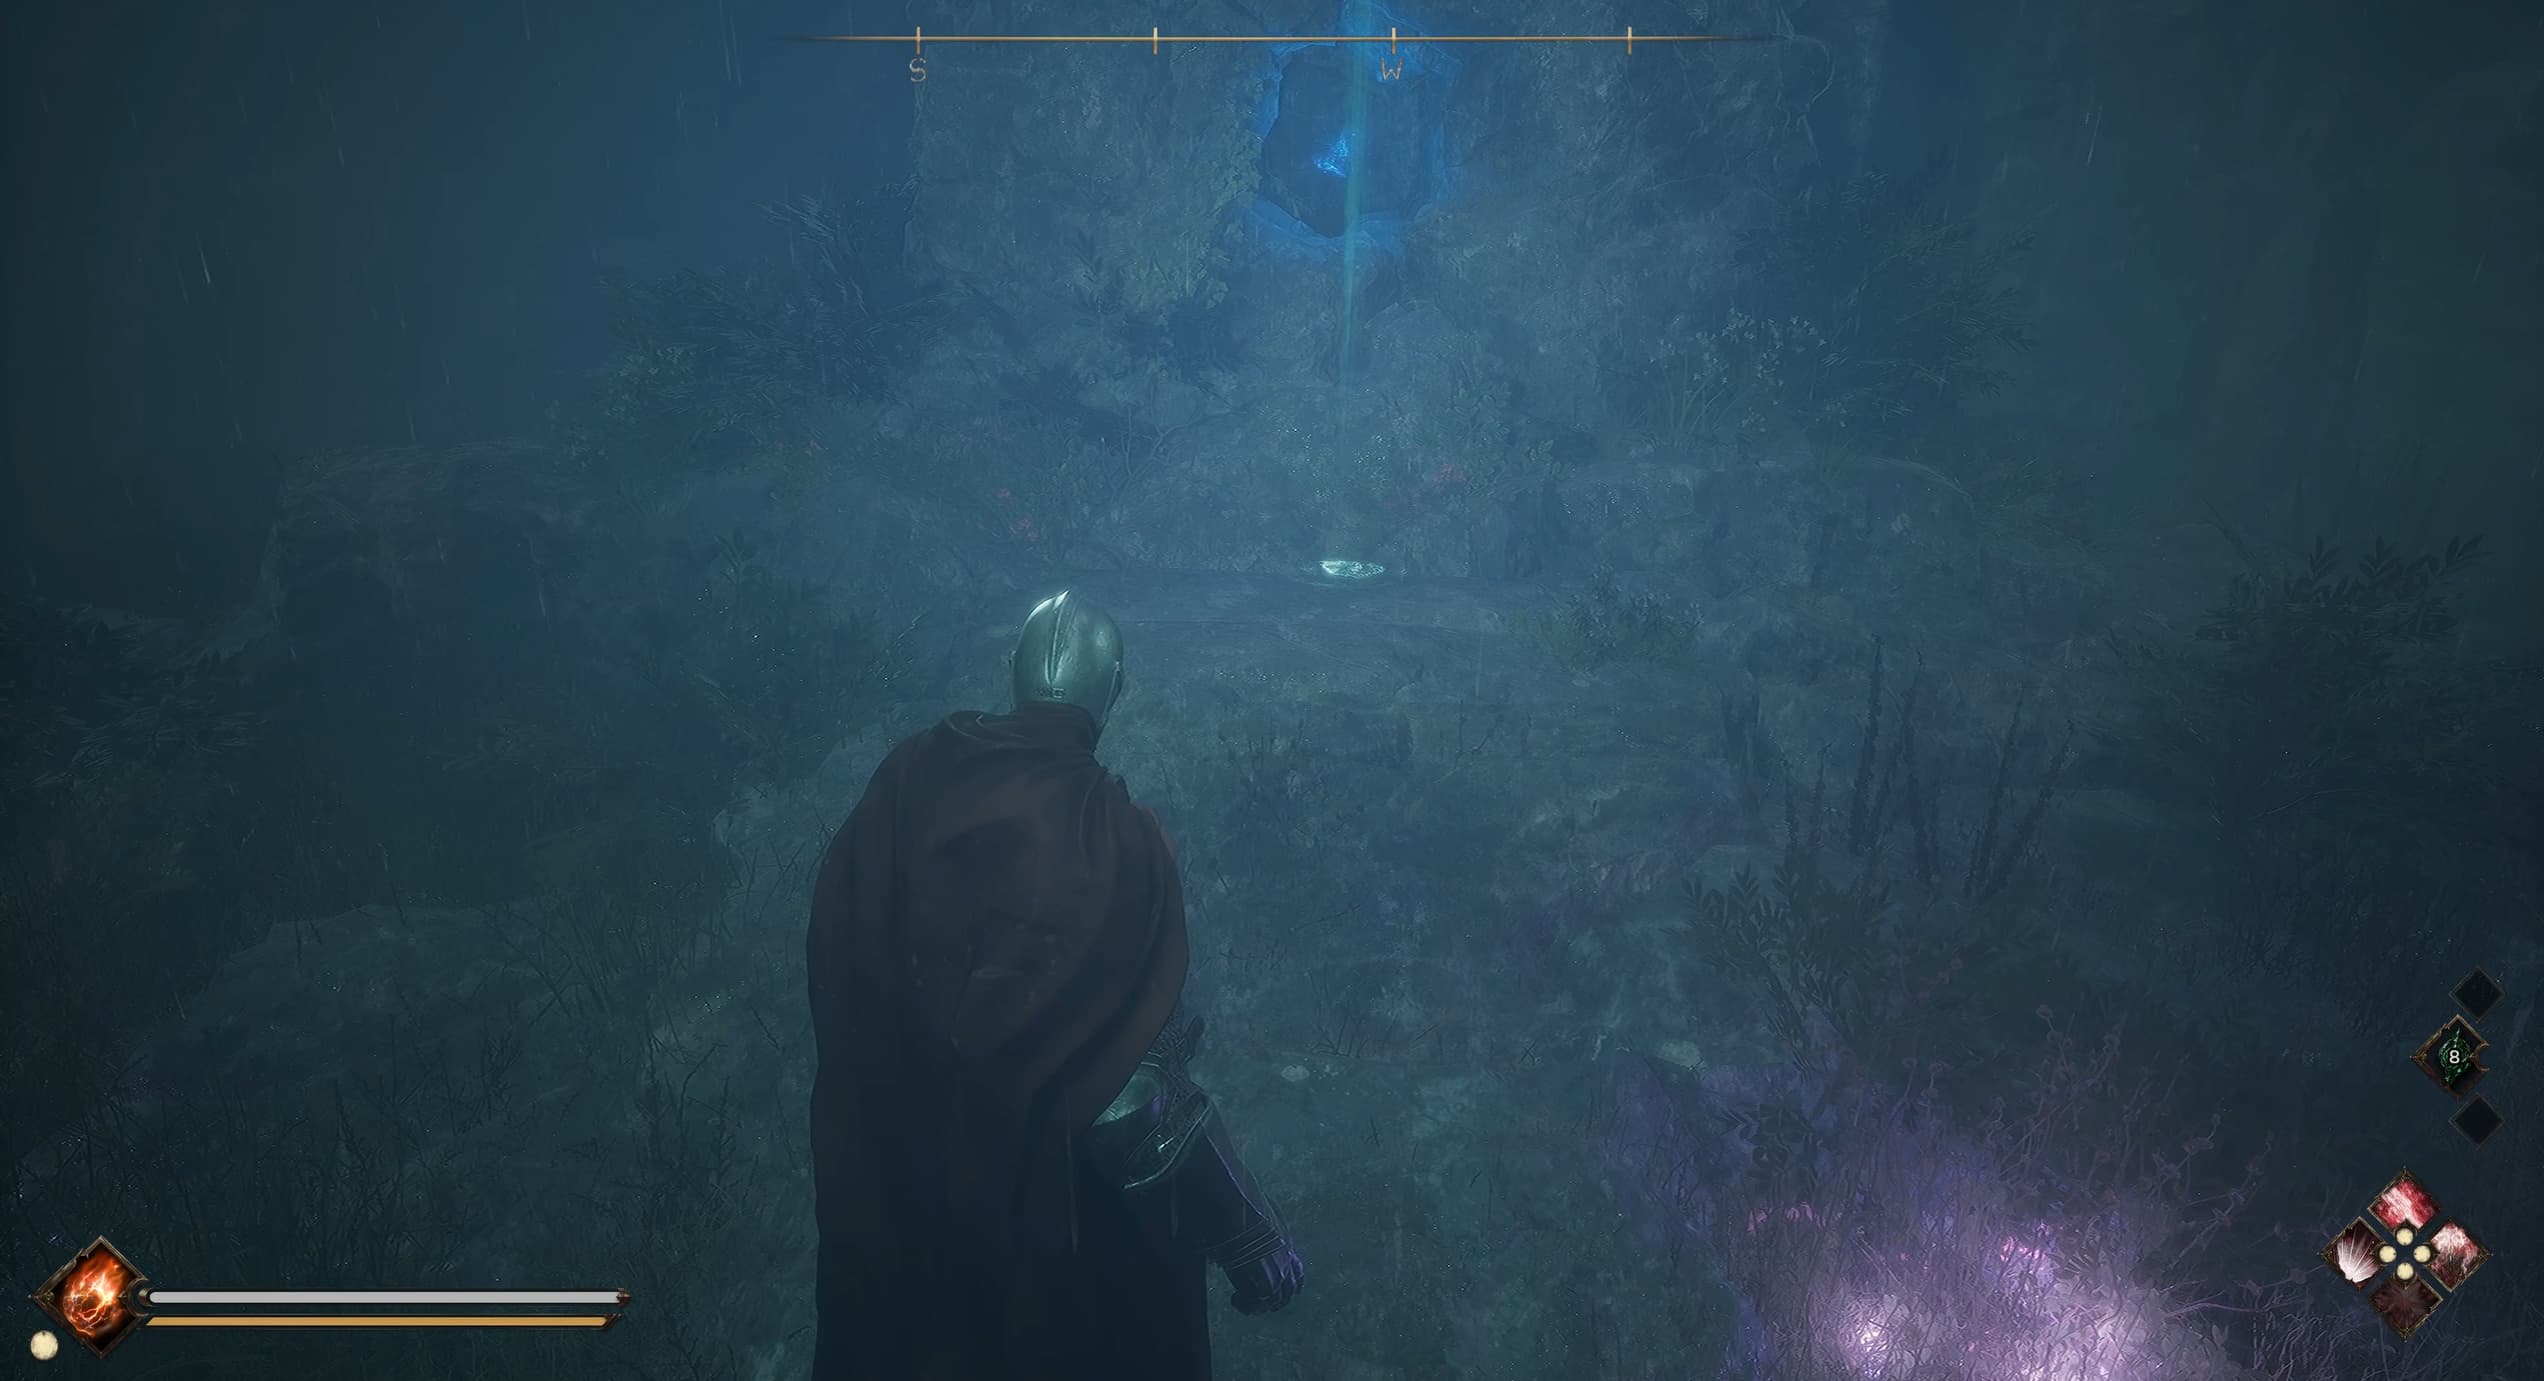
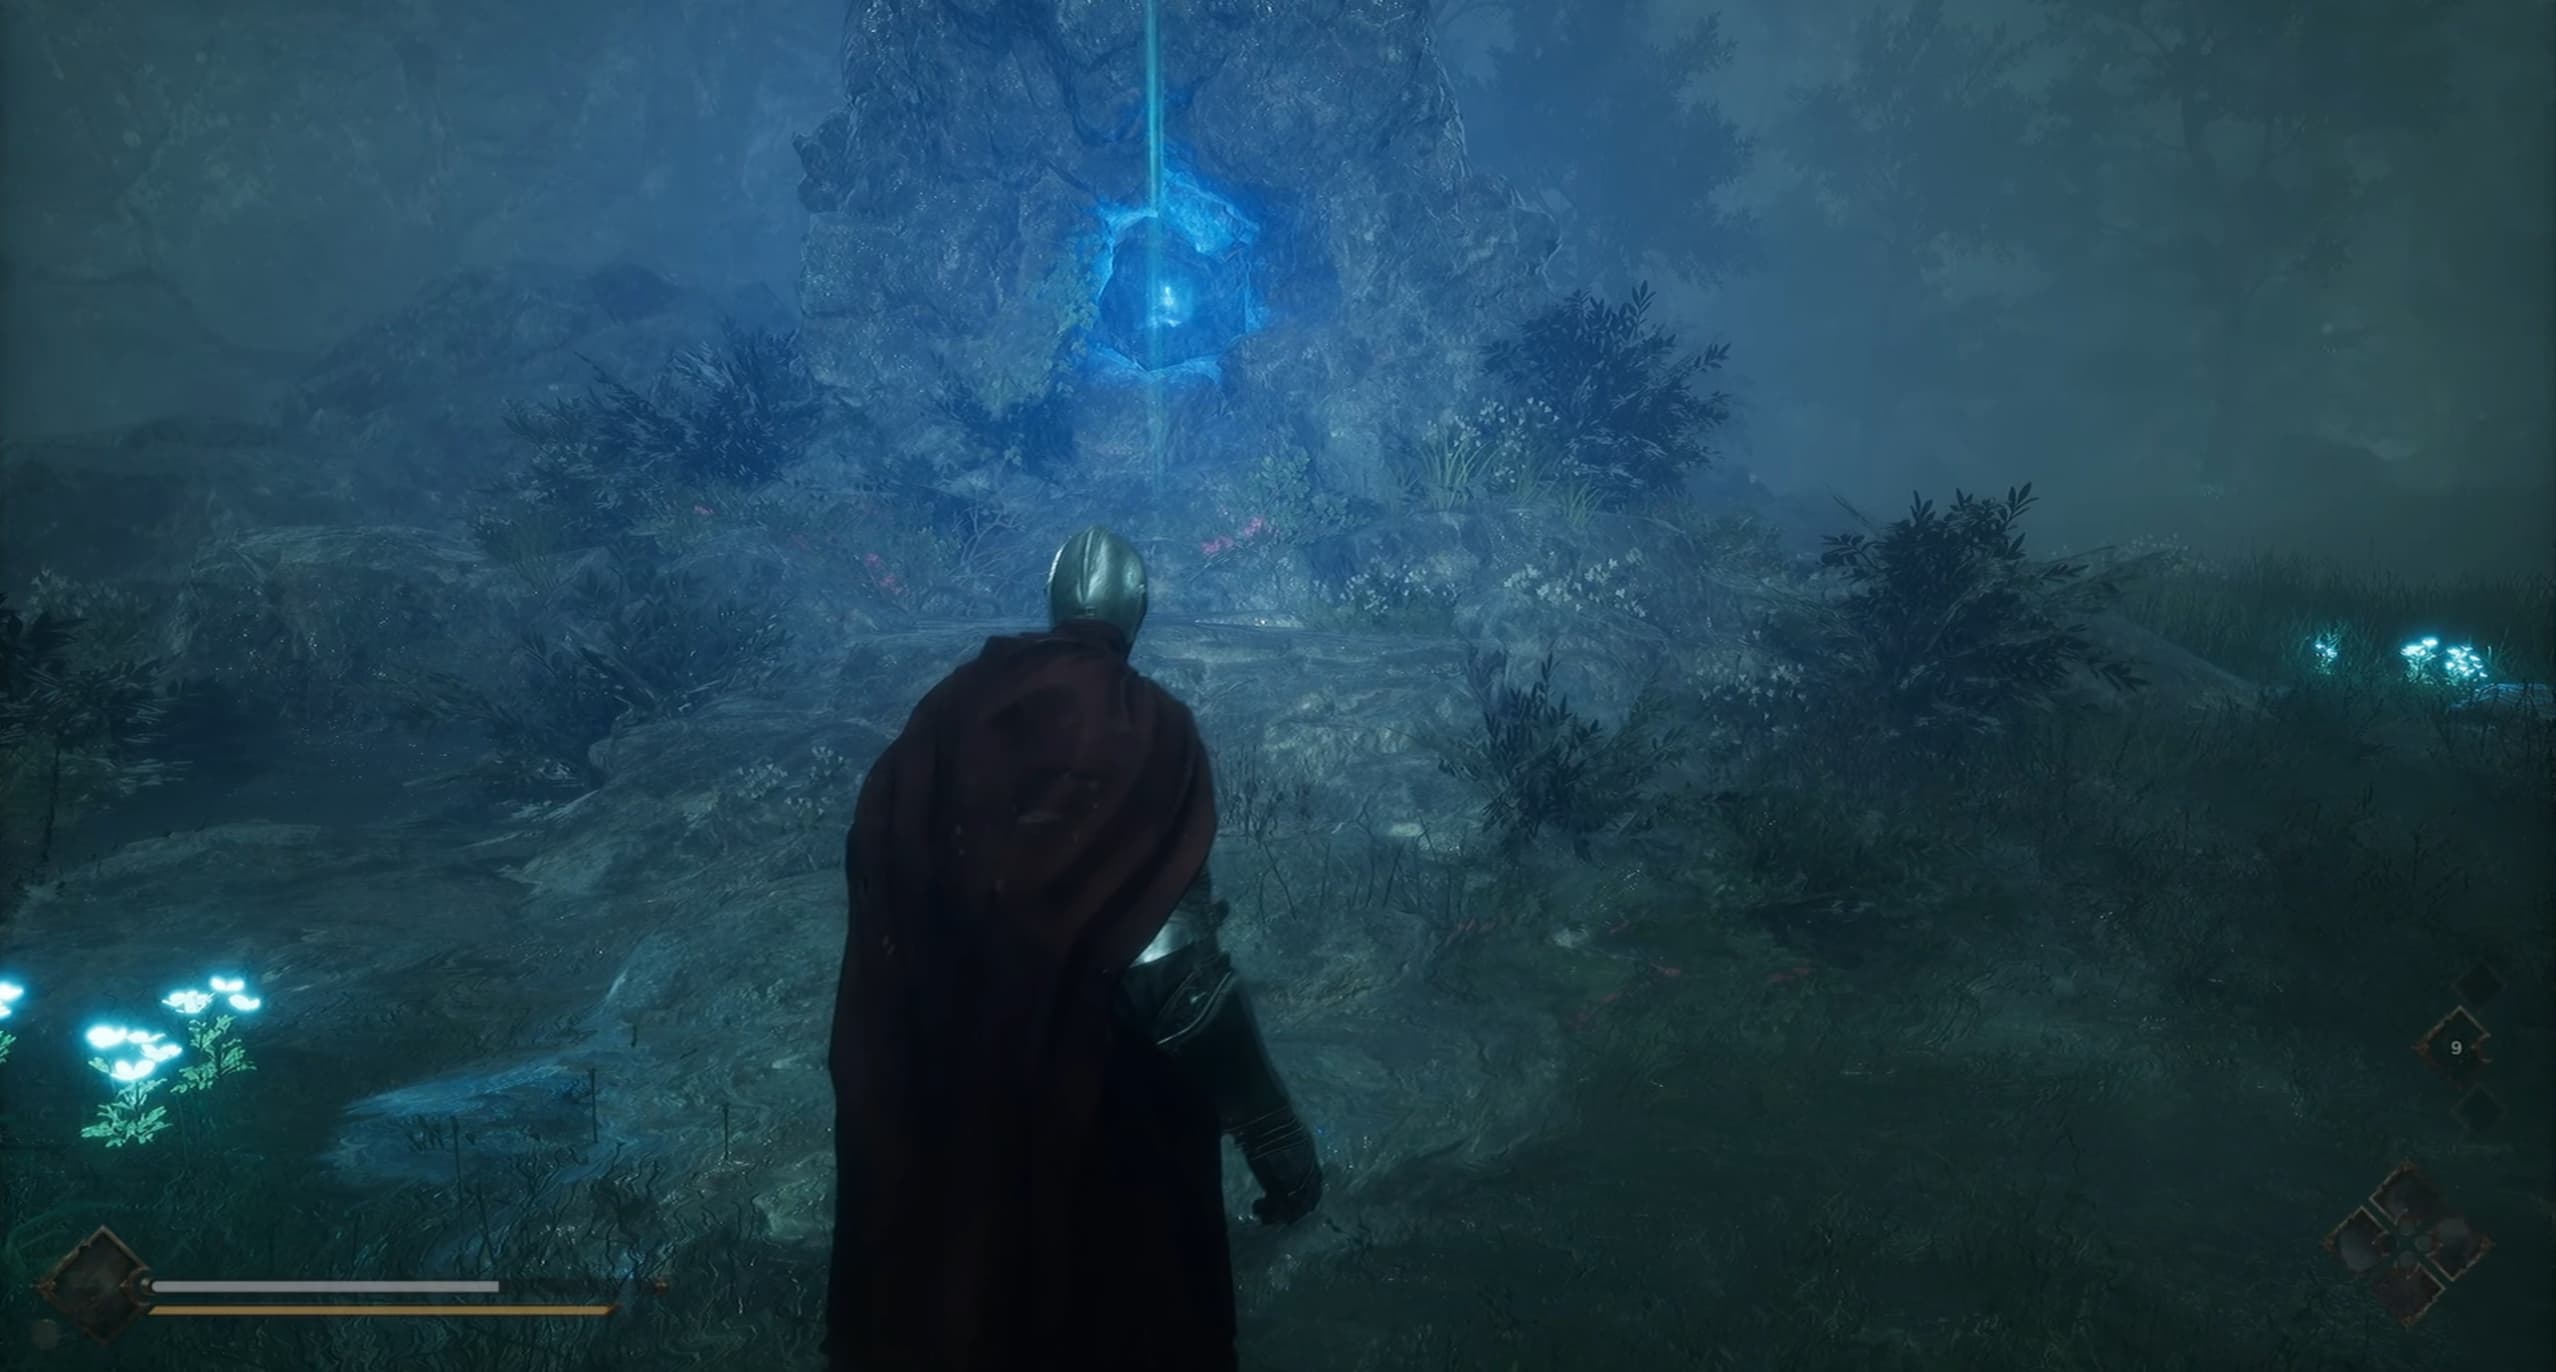
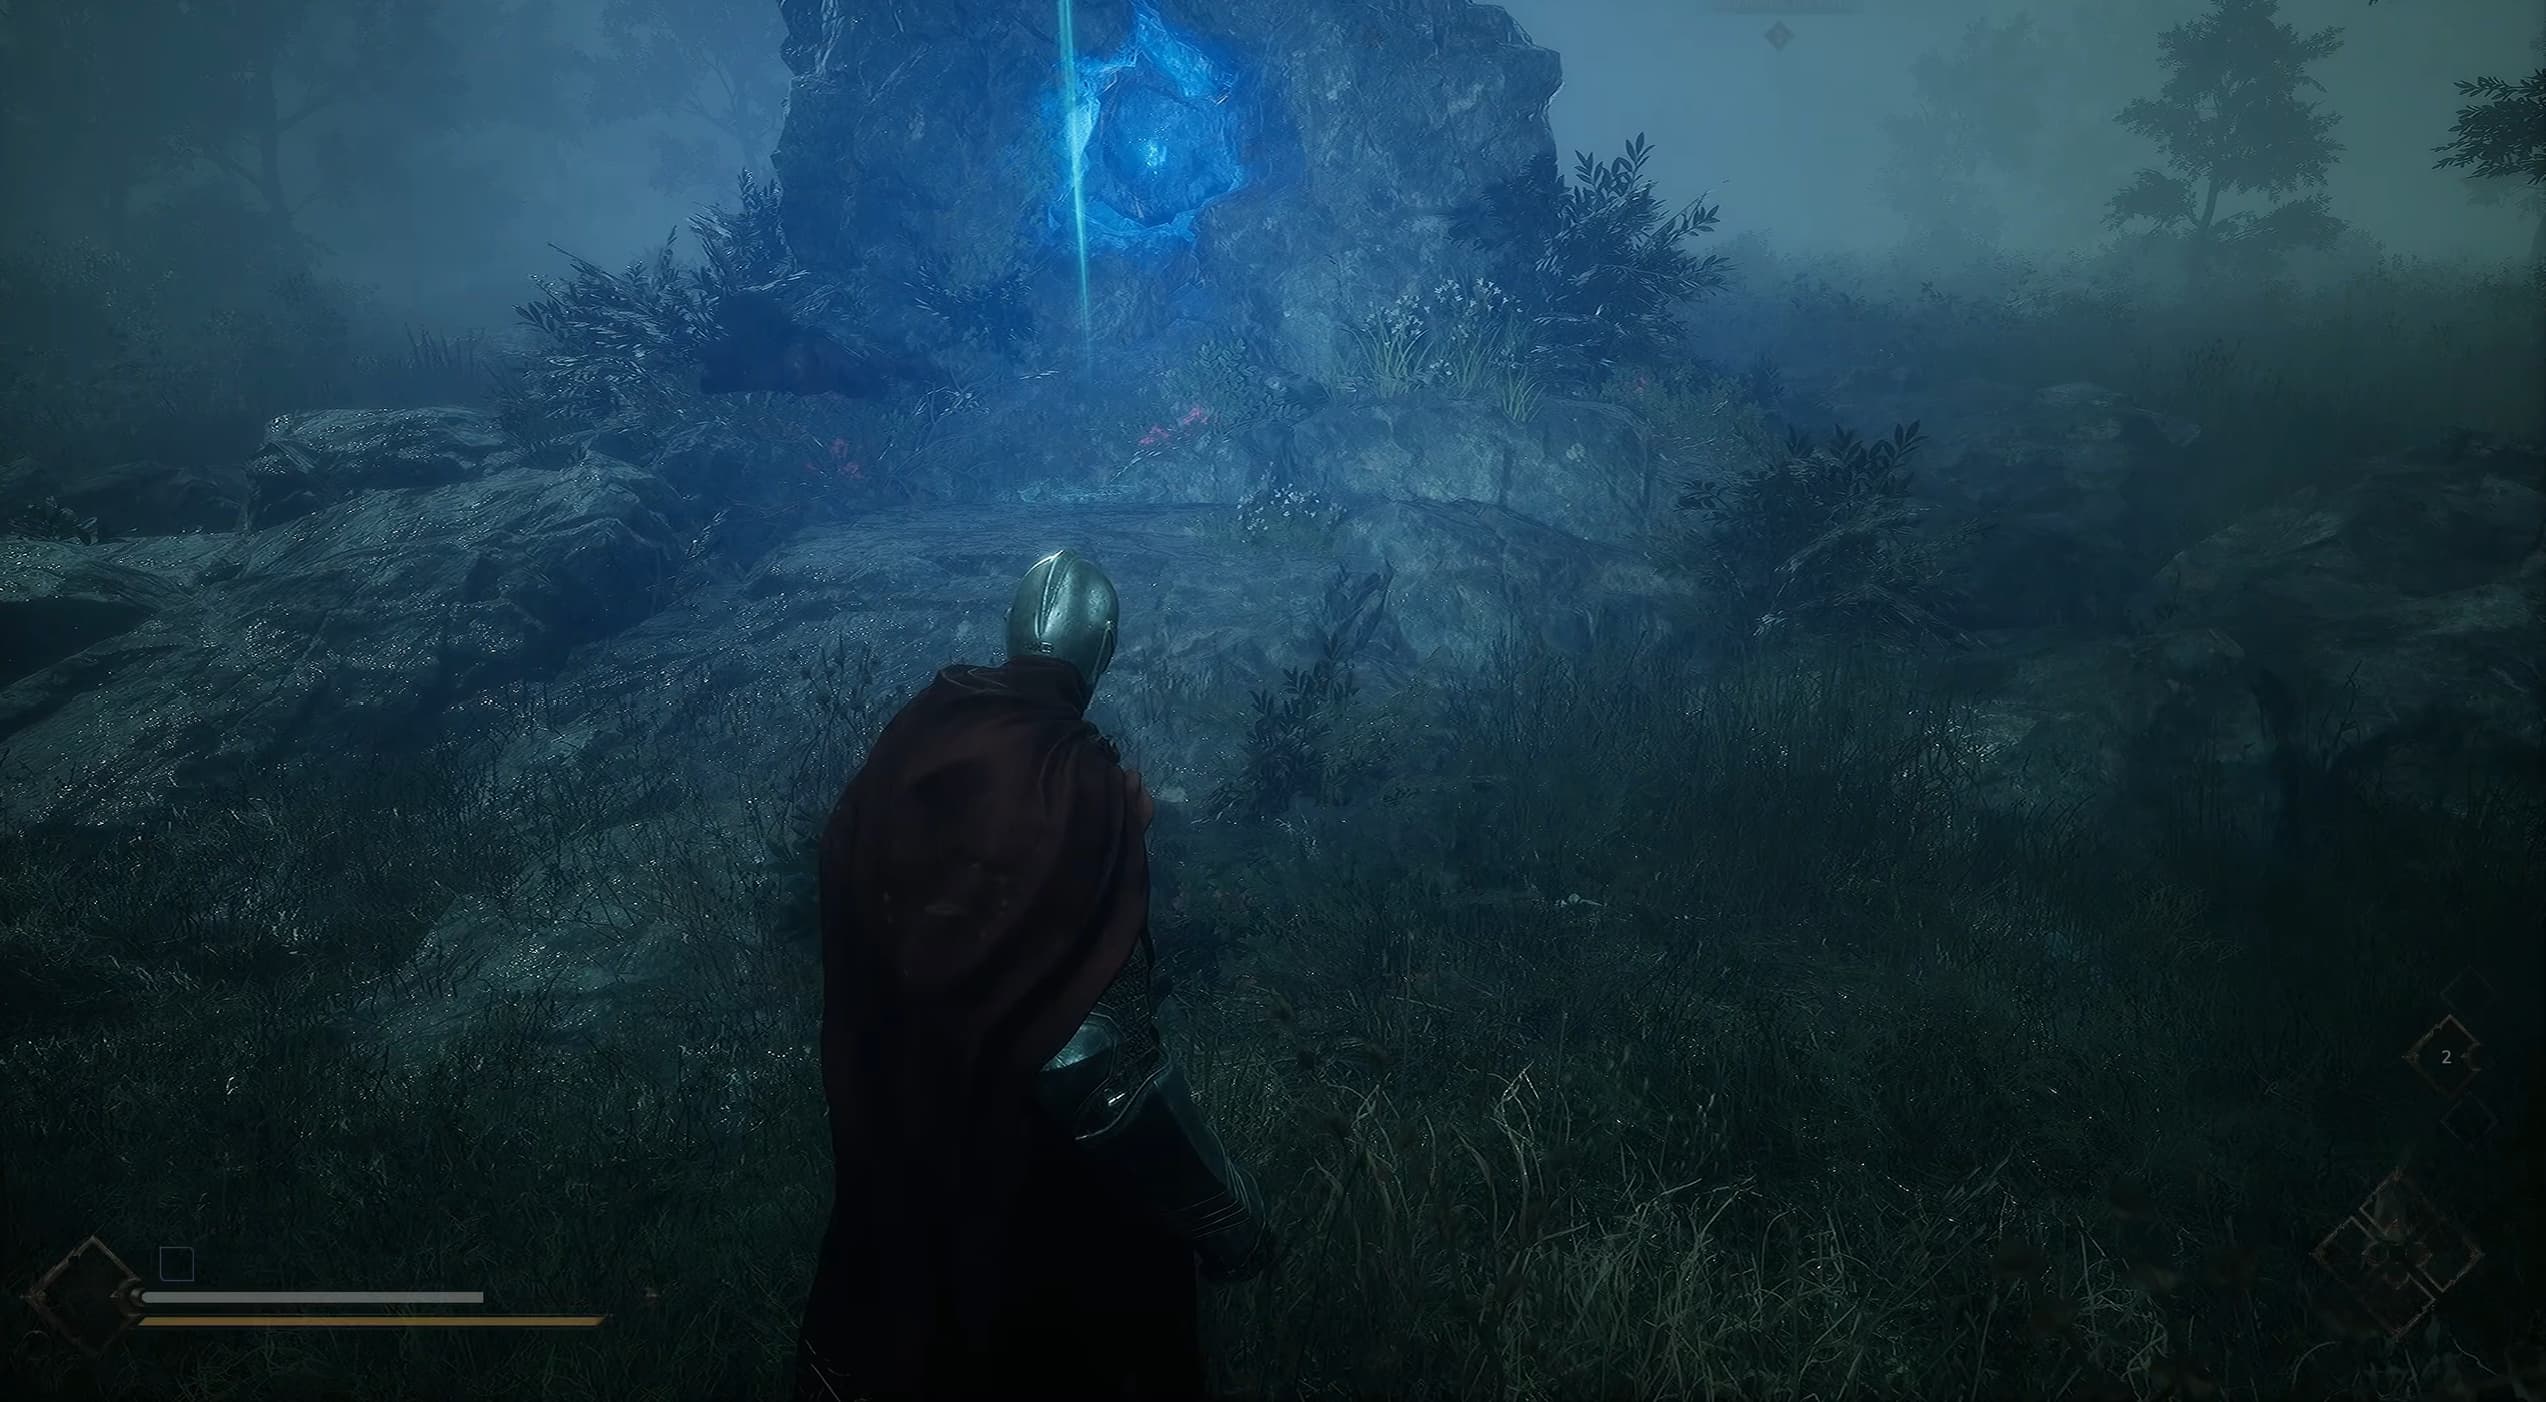
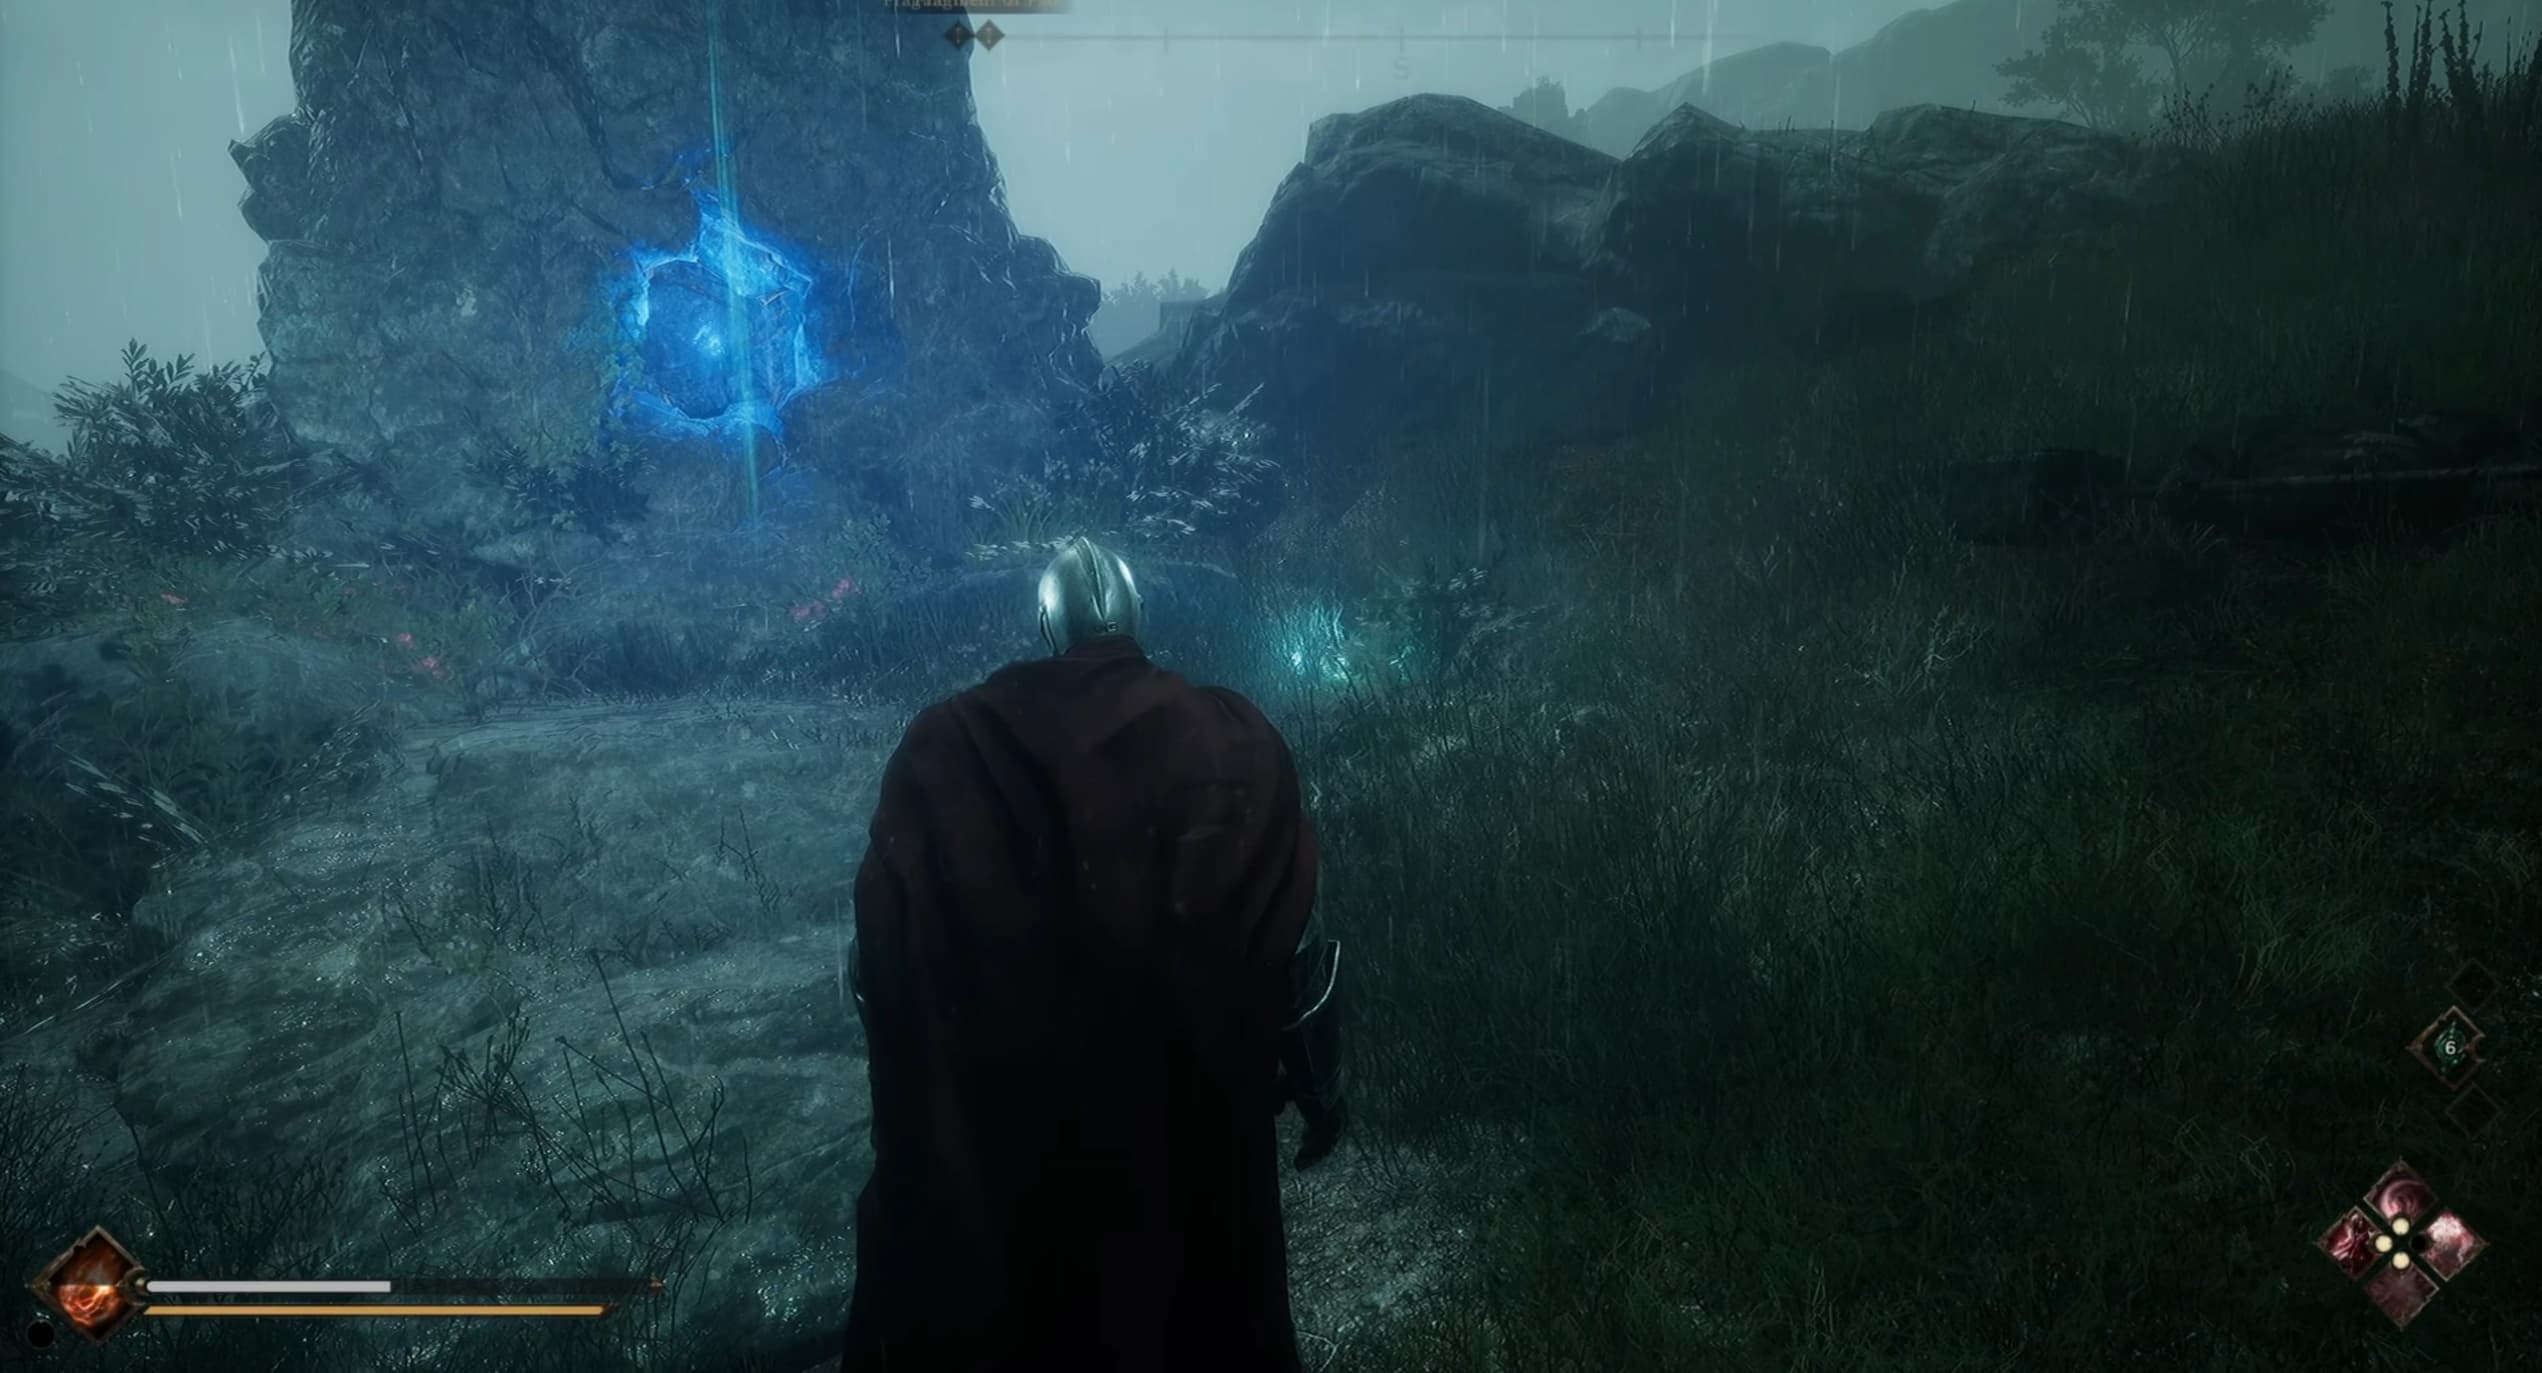
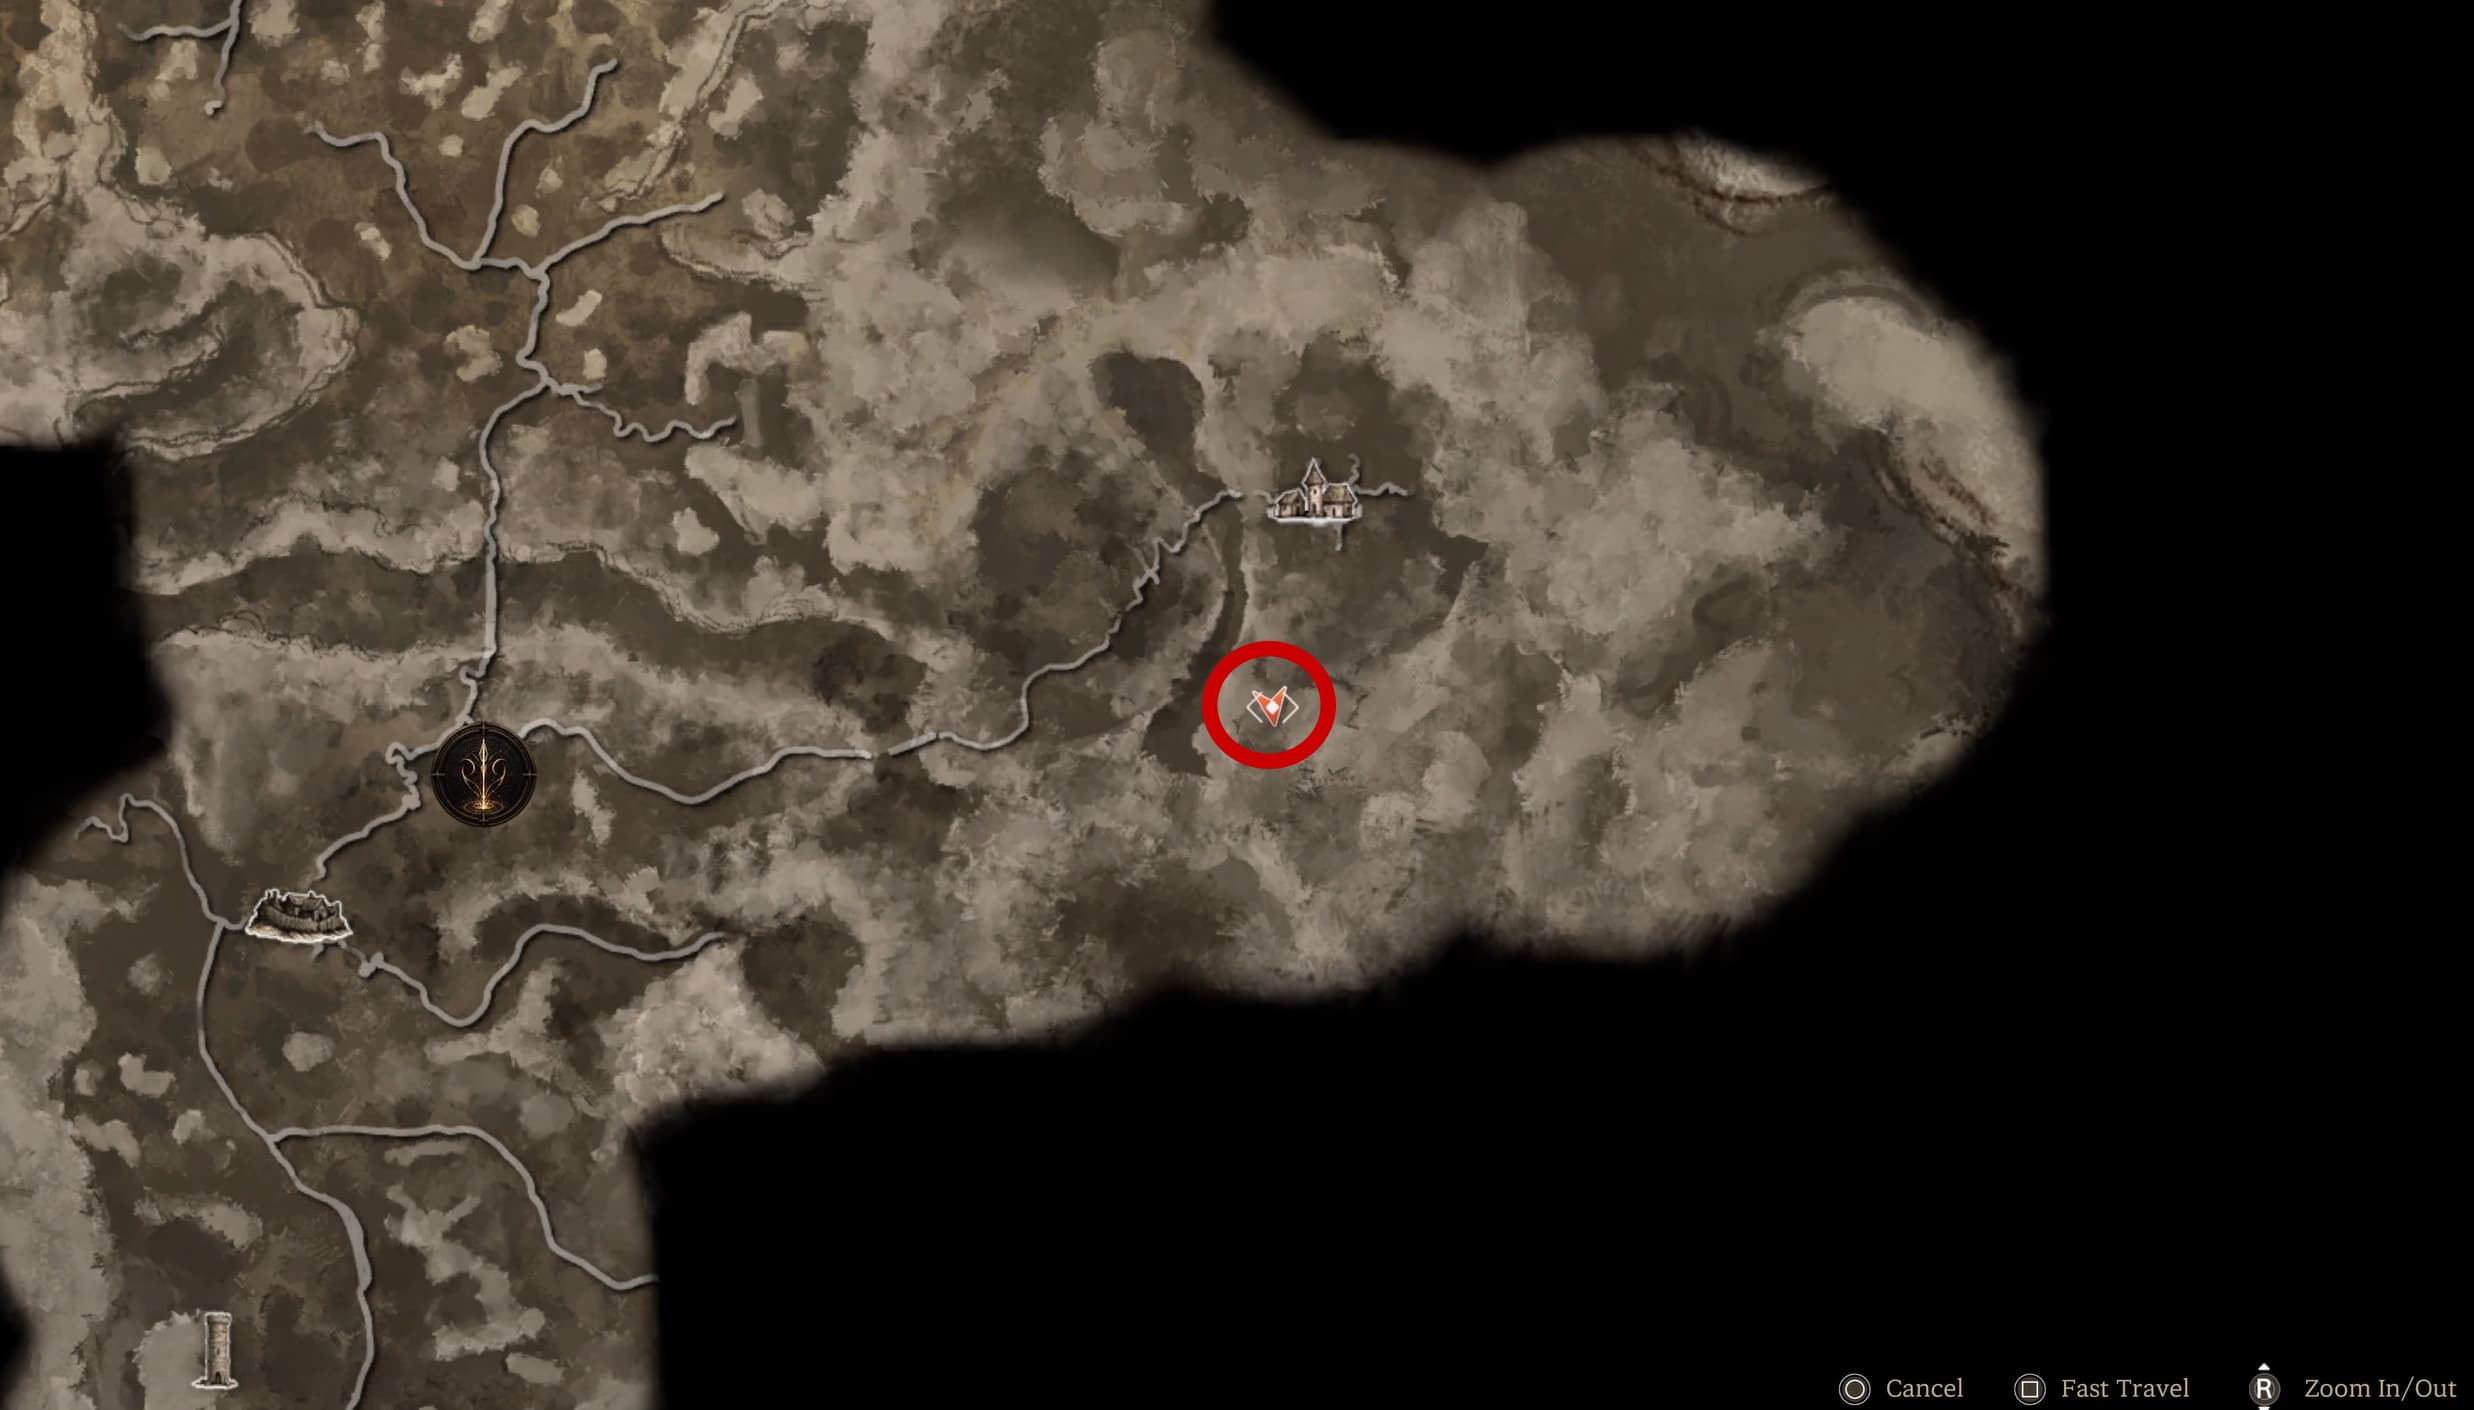
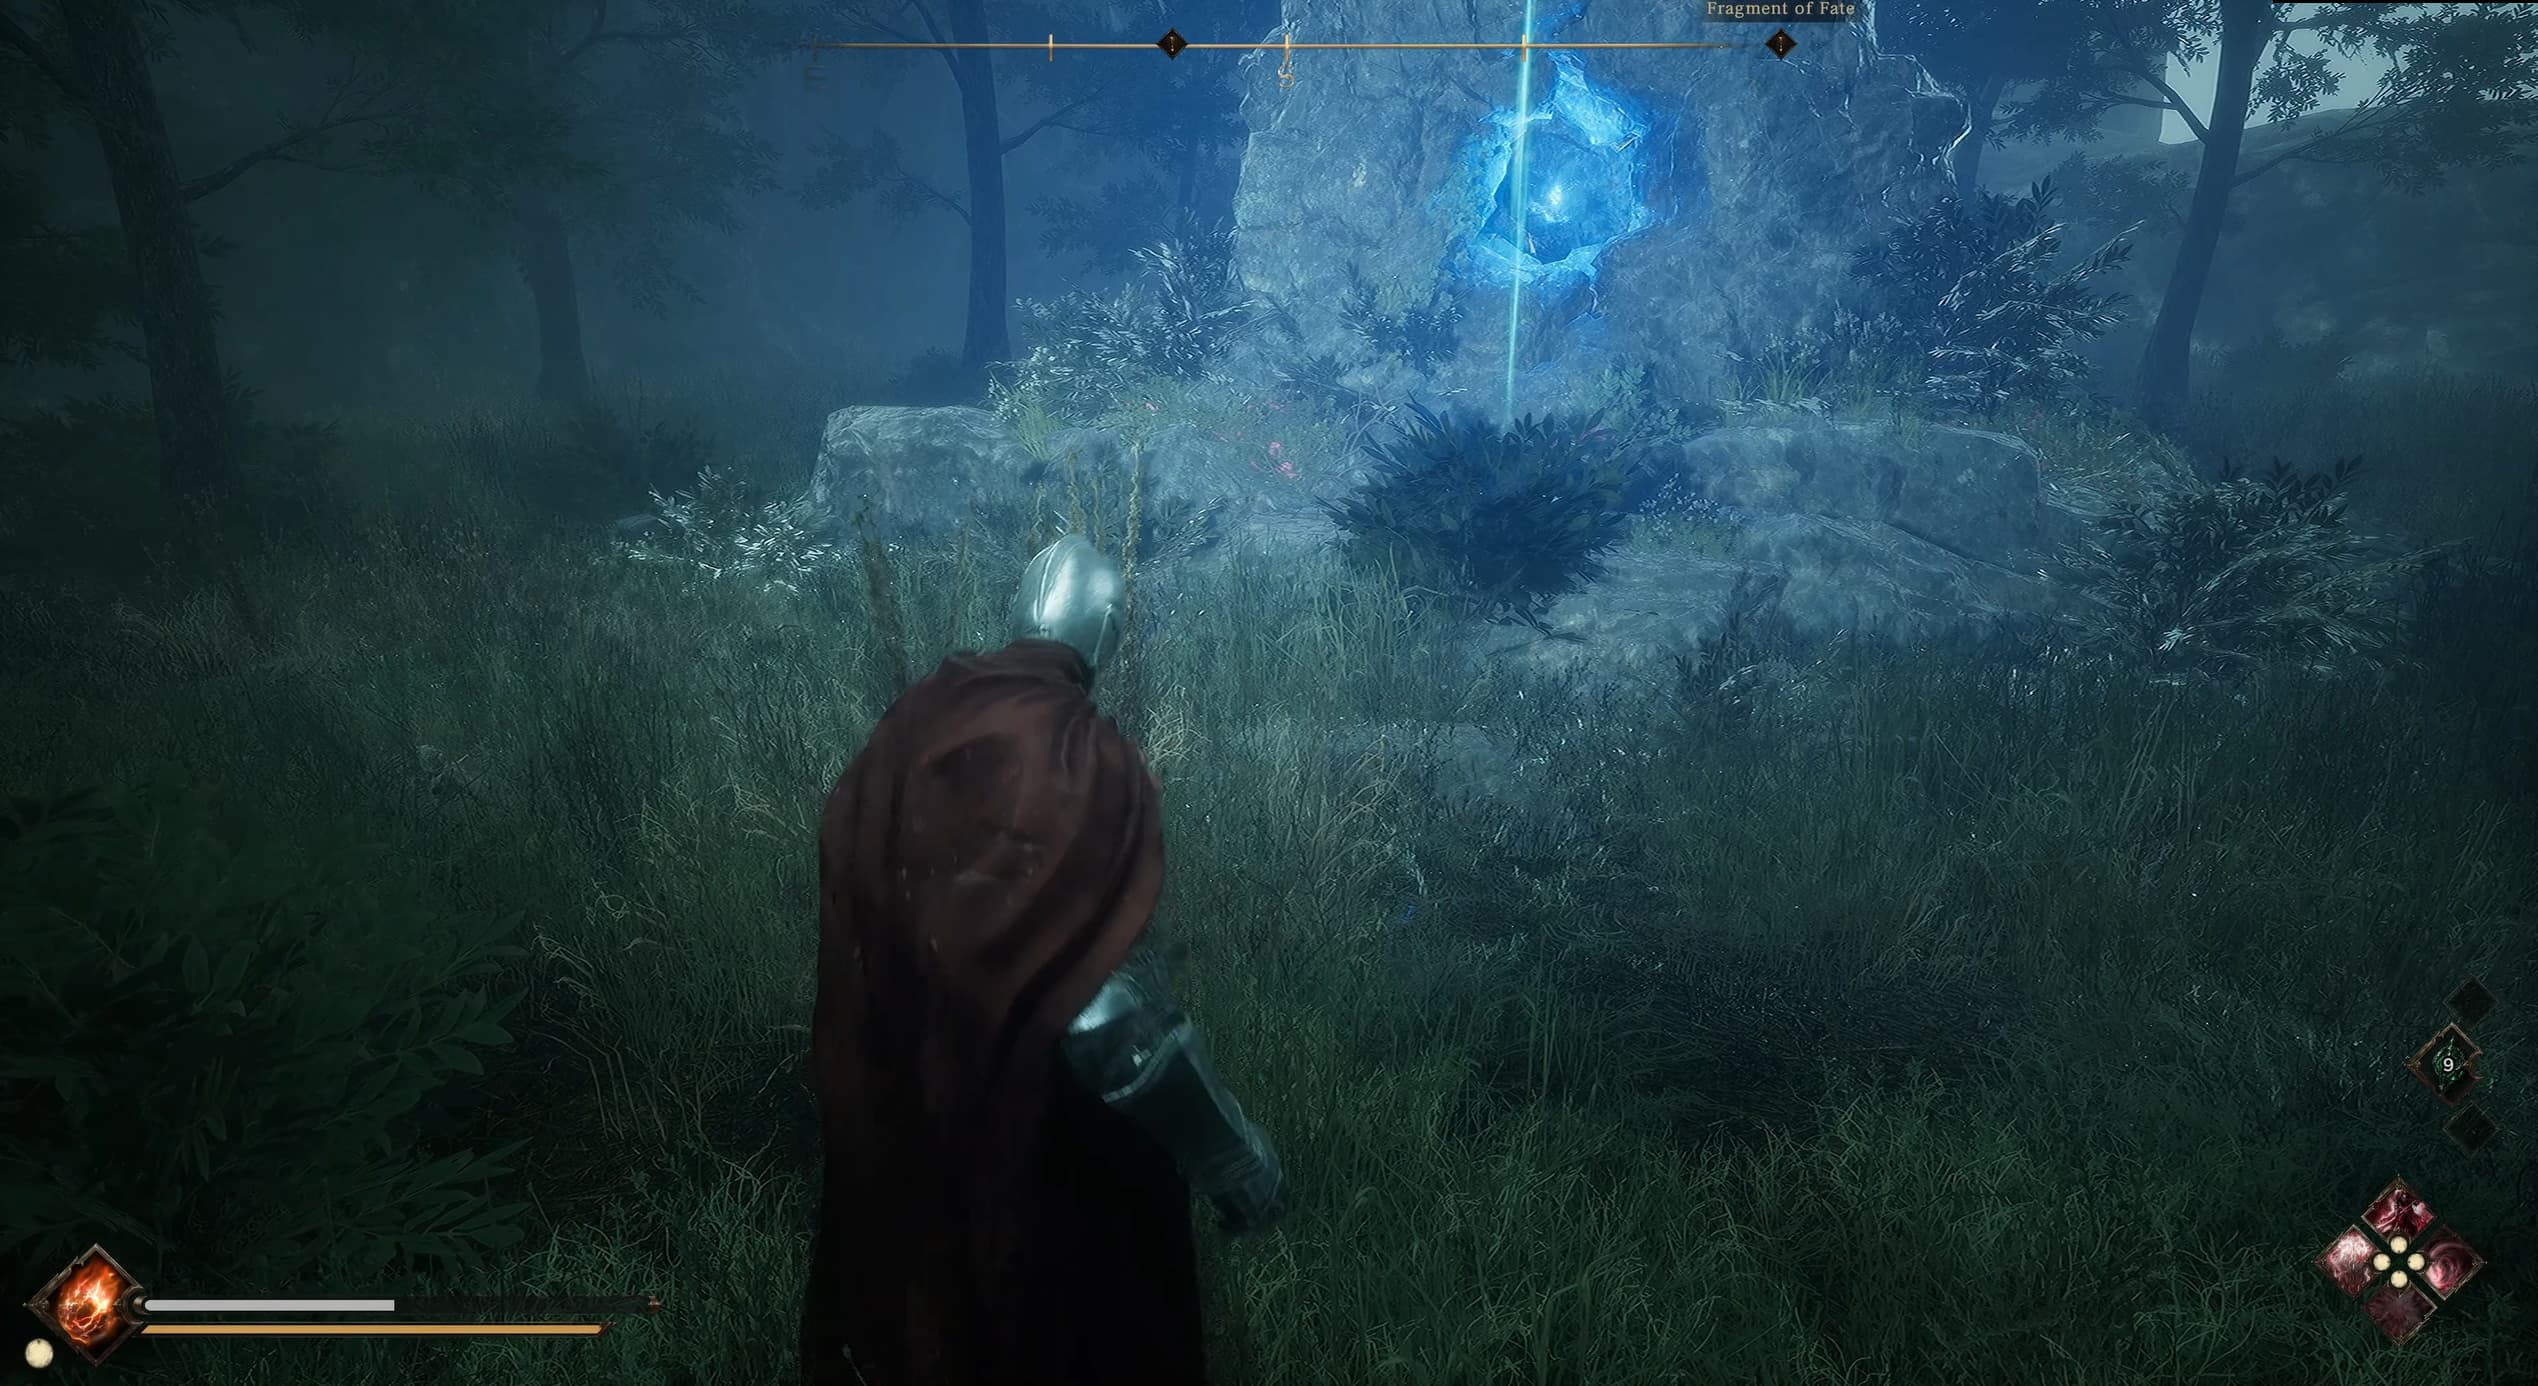
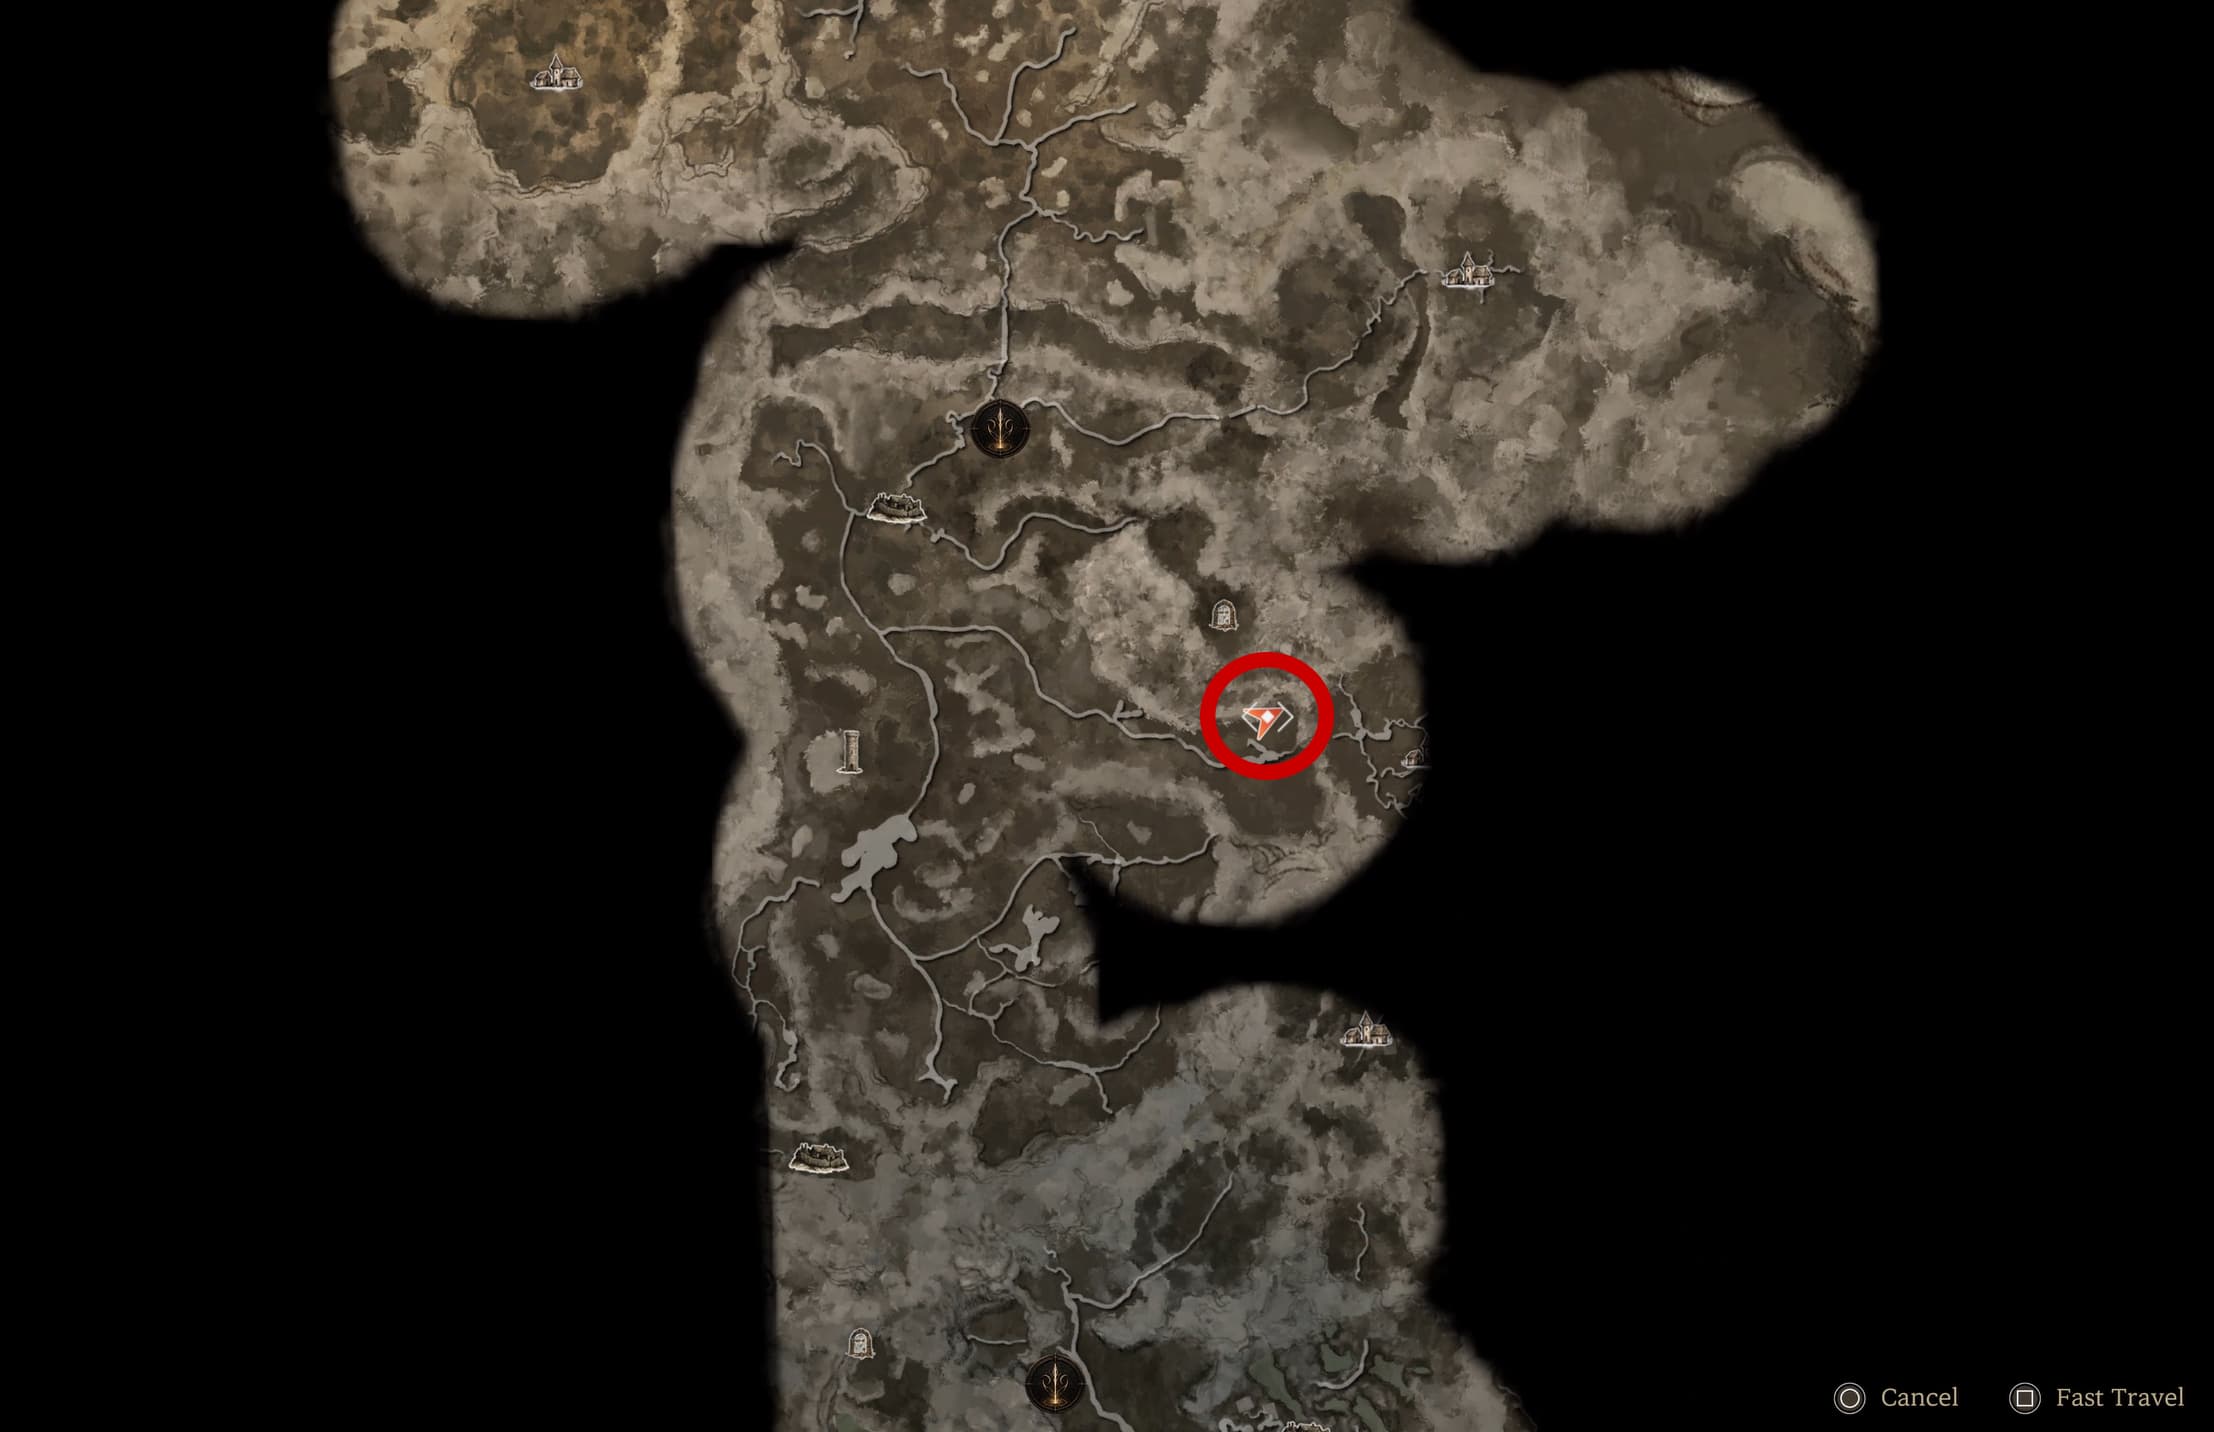
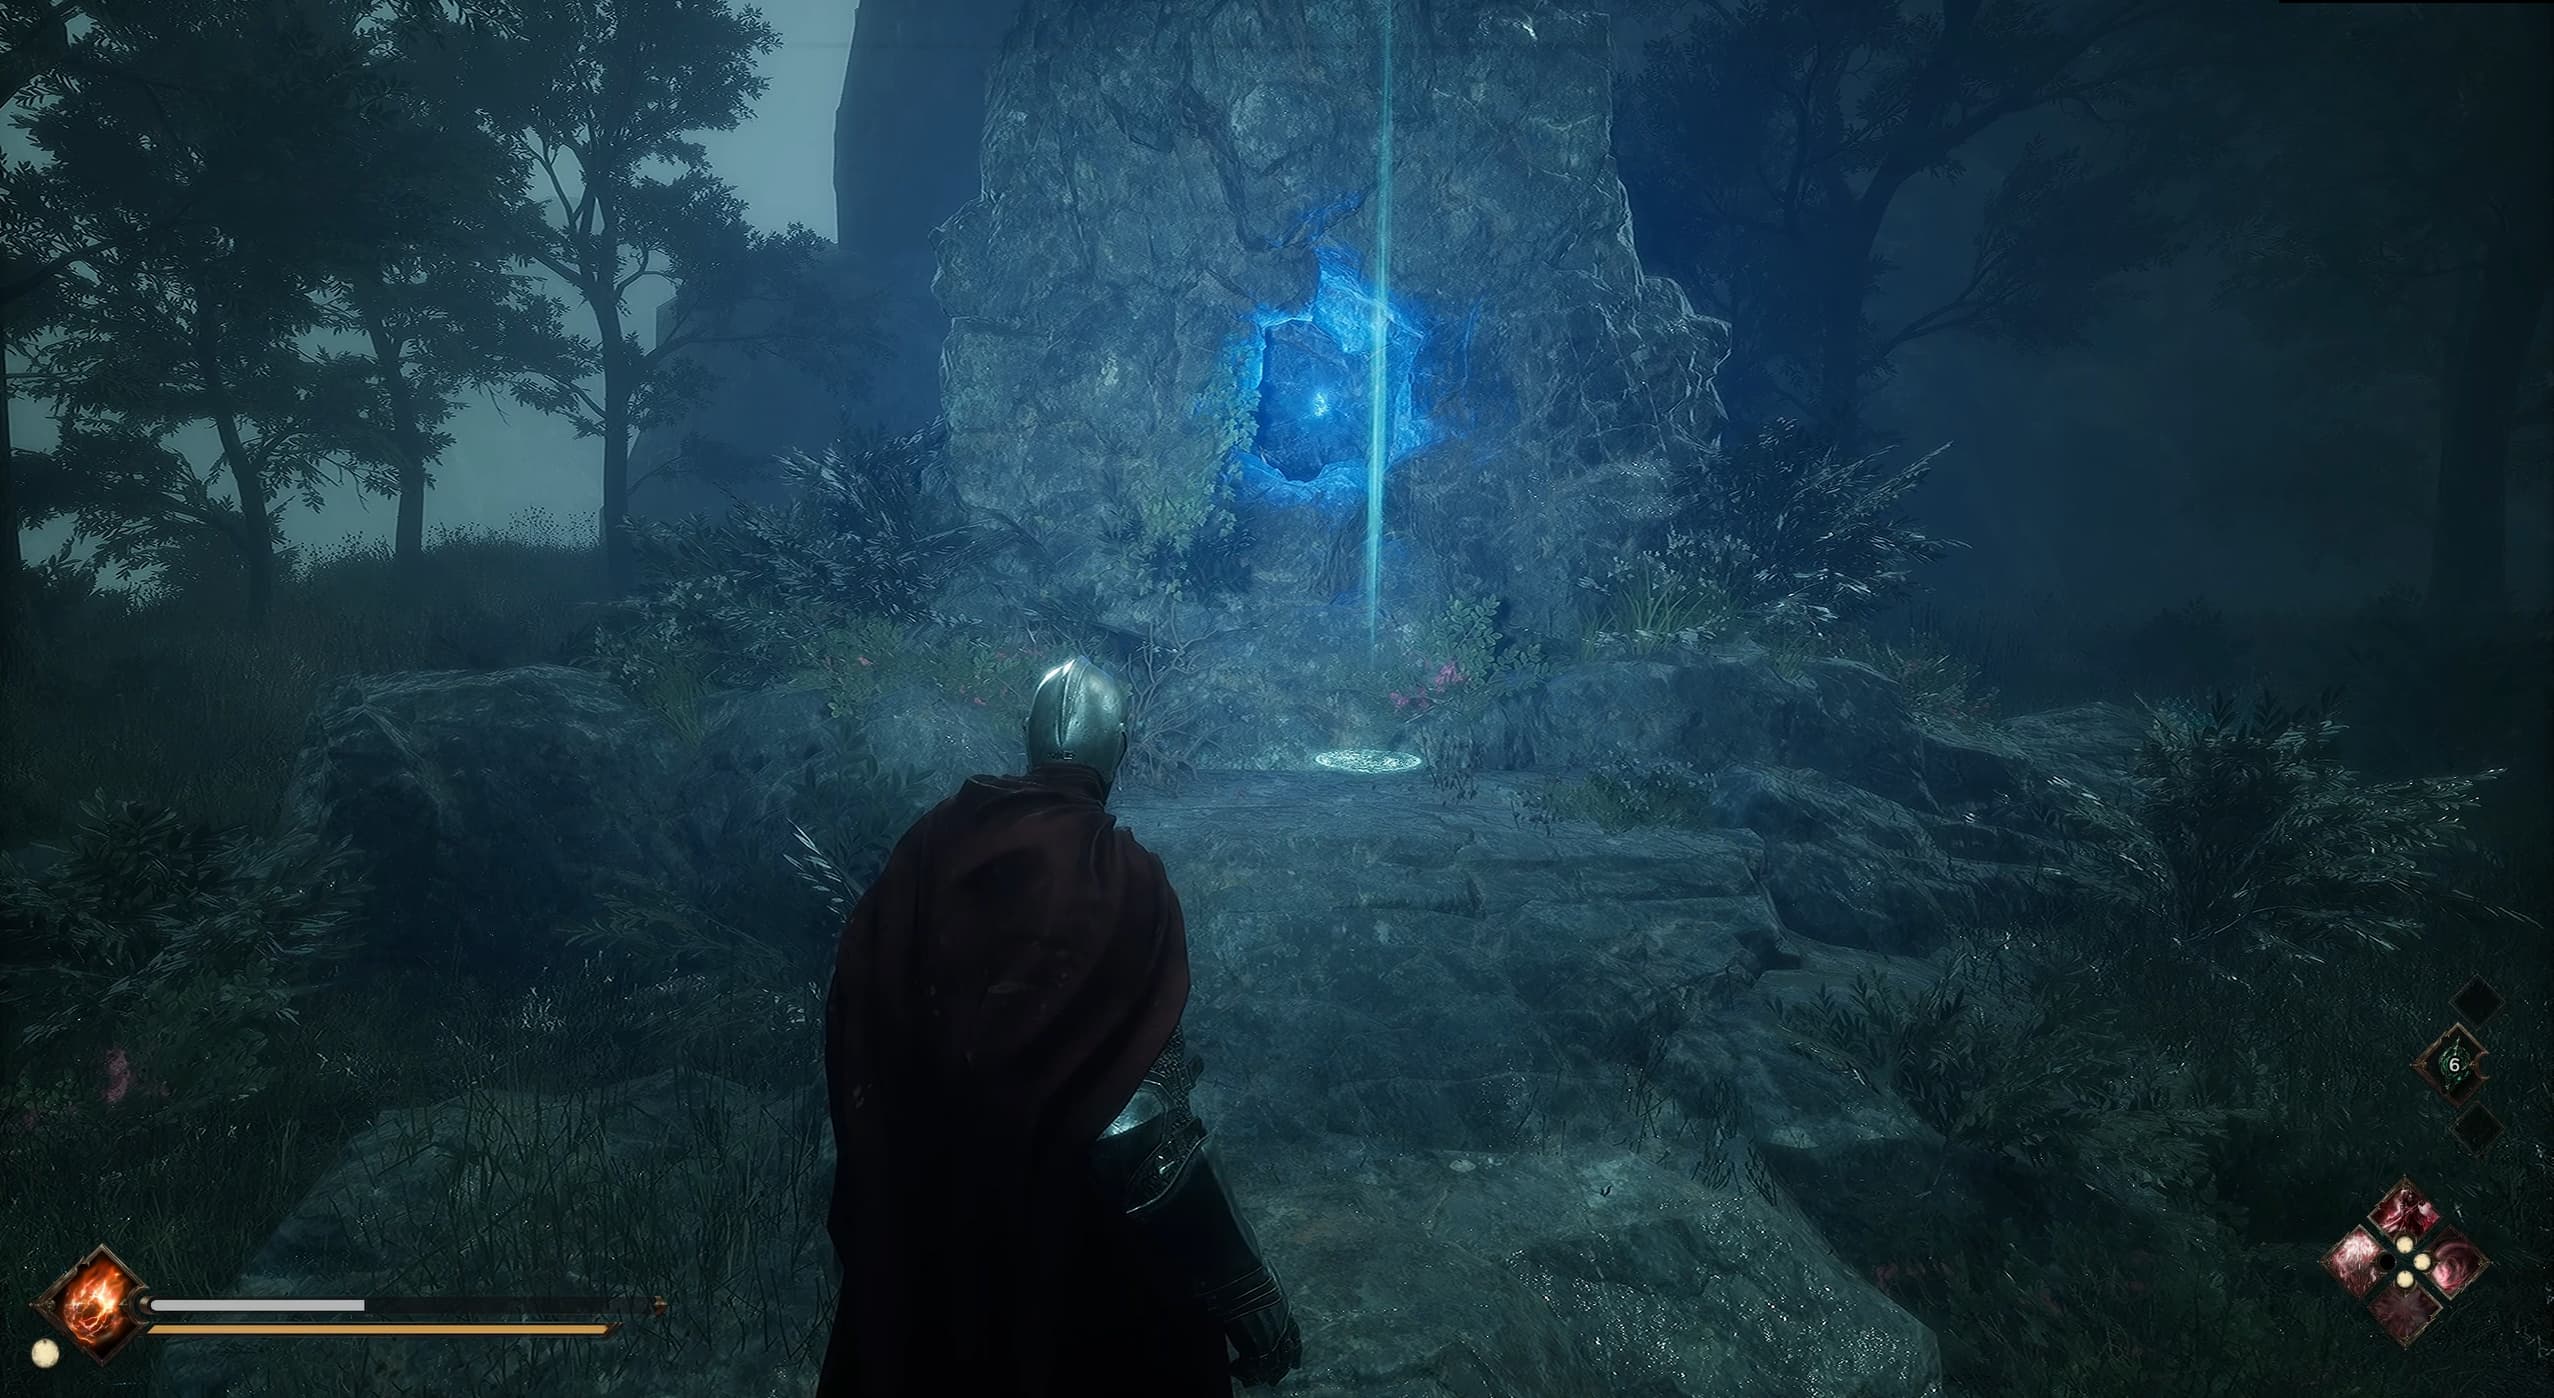
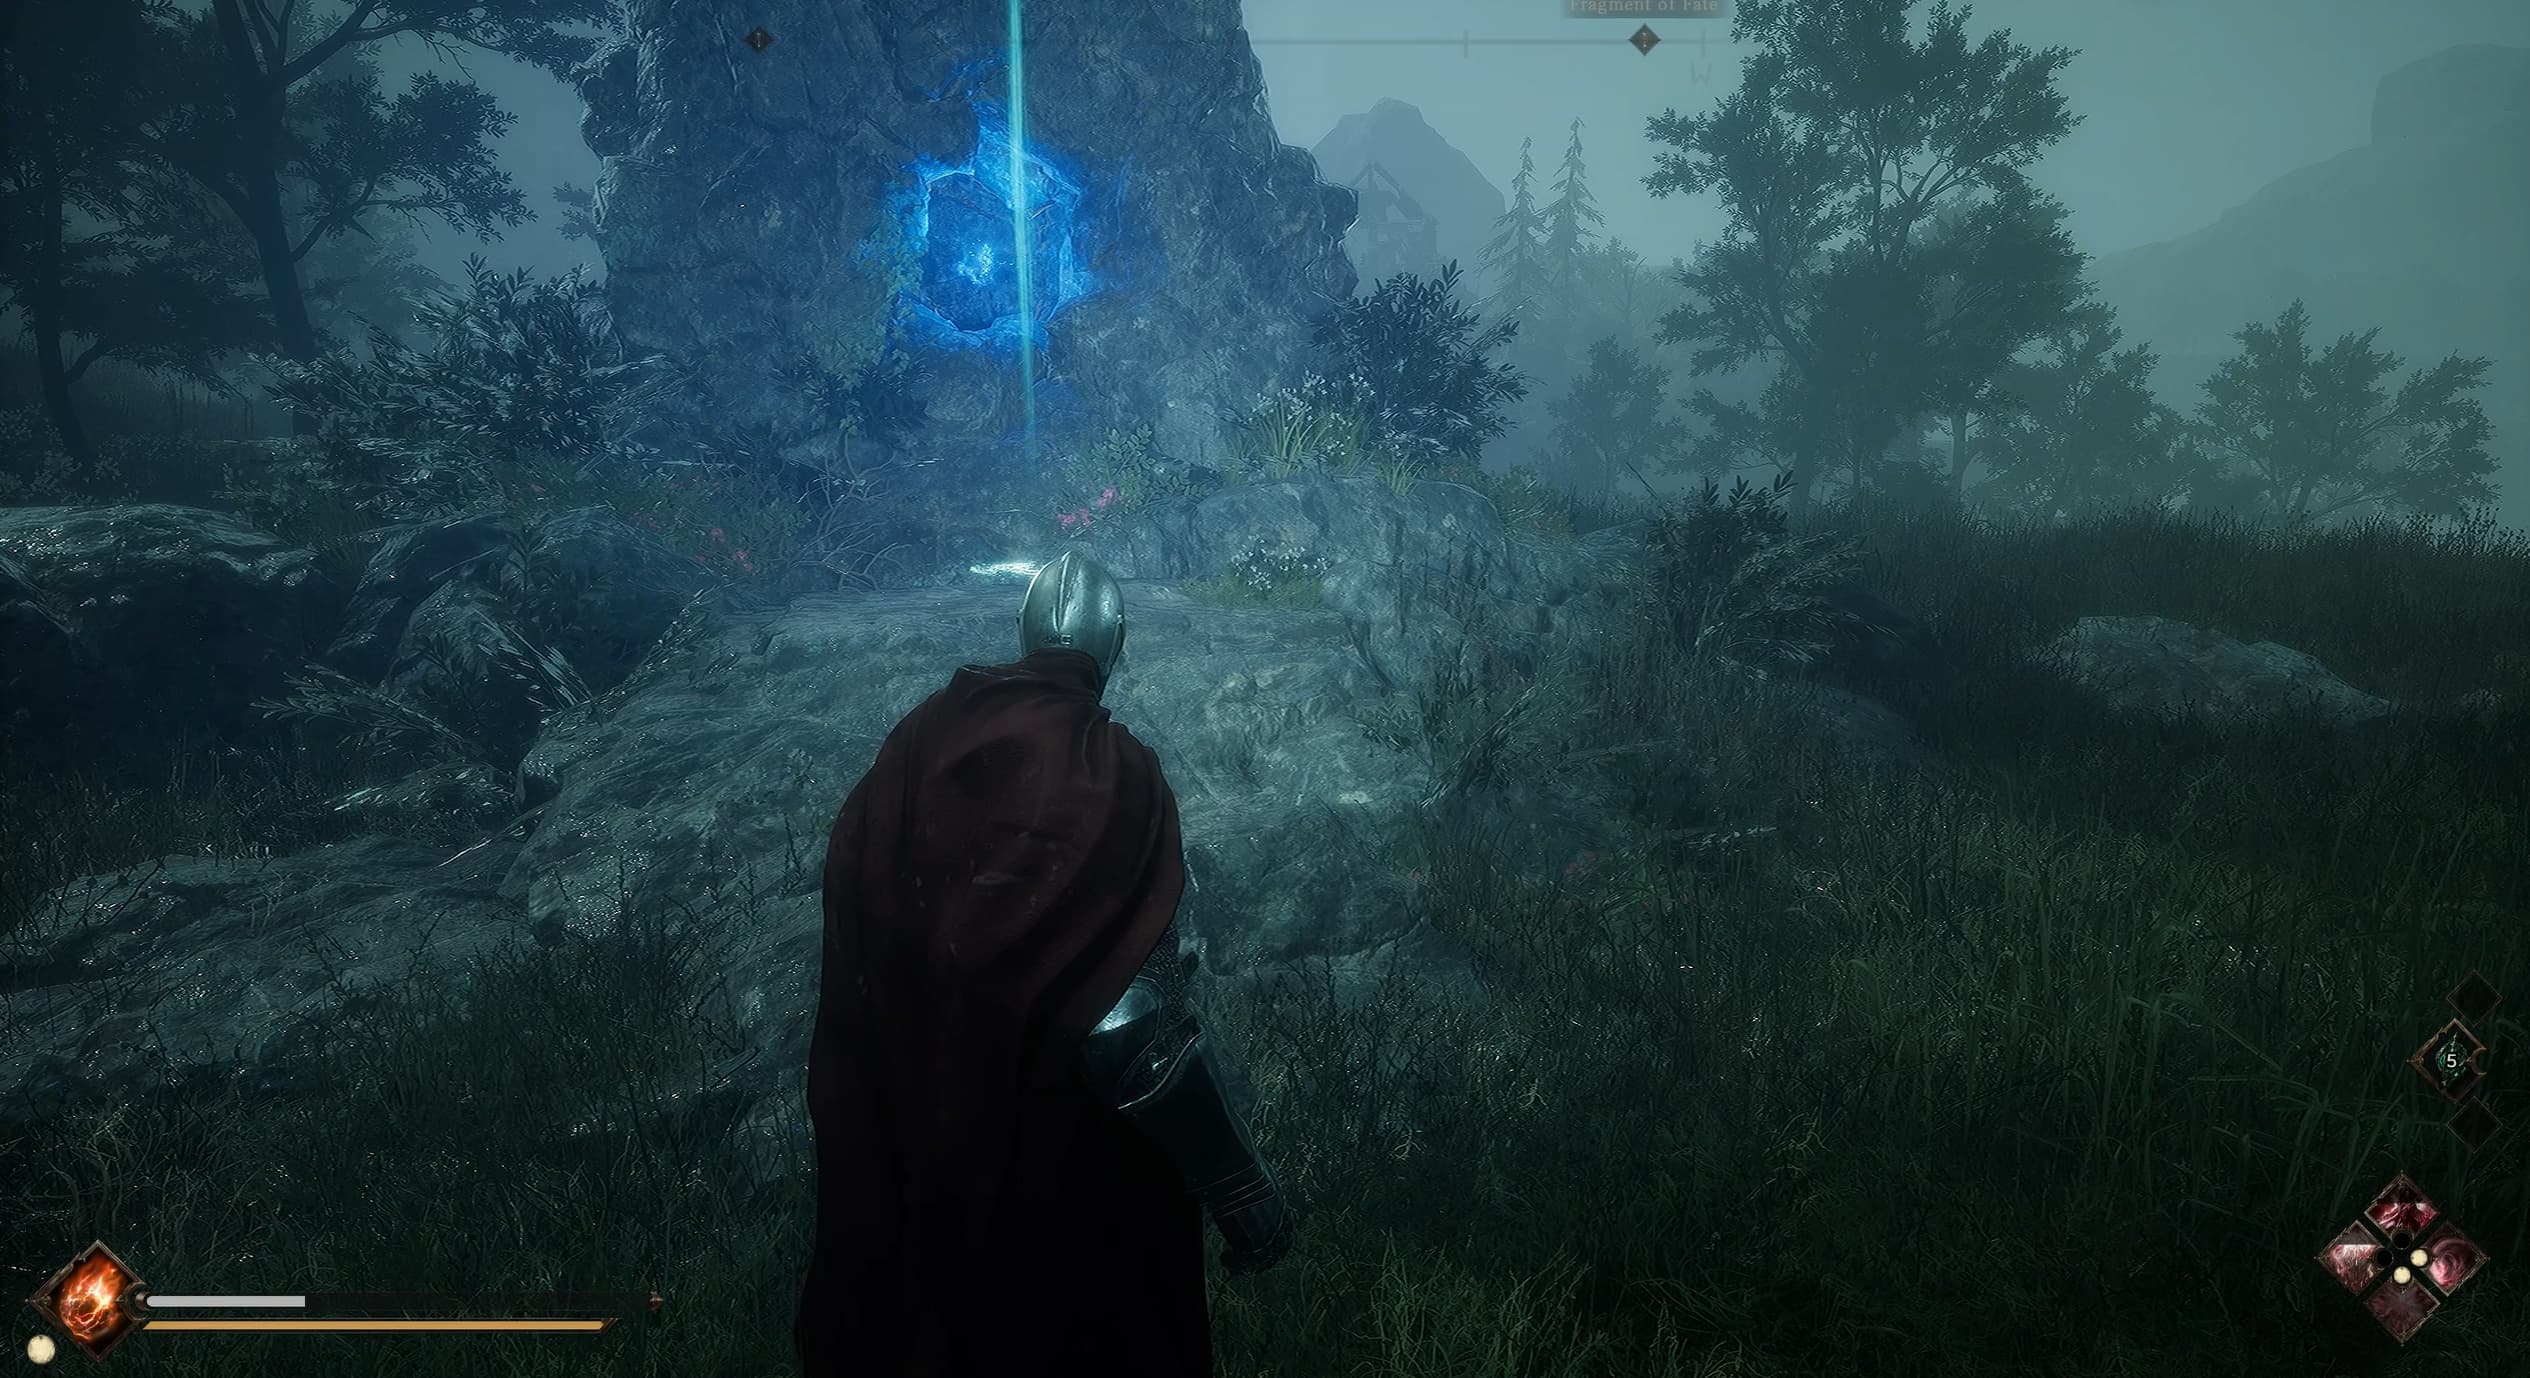
As soon as you enter into Hillsbrad just north of the main path in is the first Relic Power location.
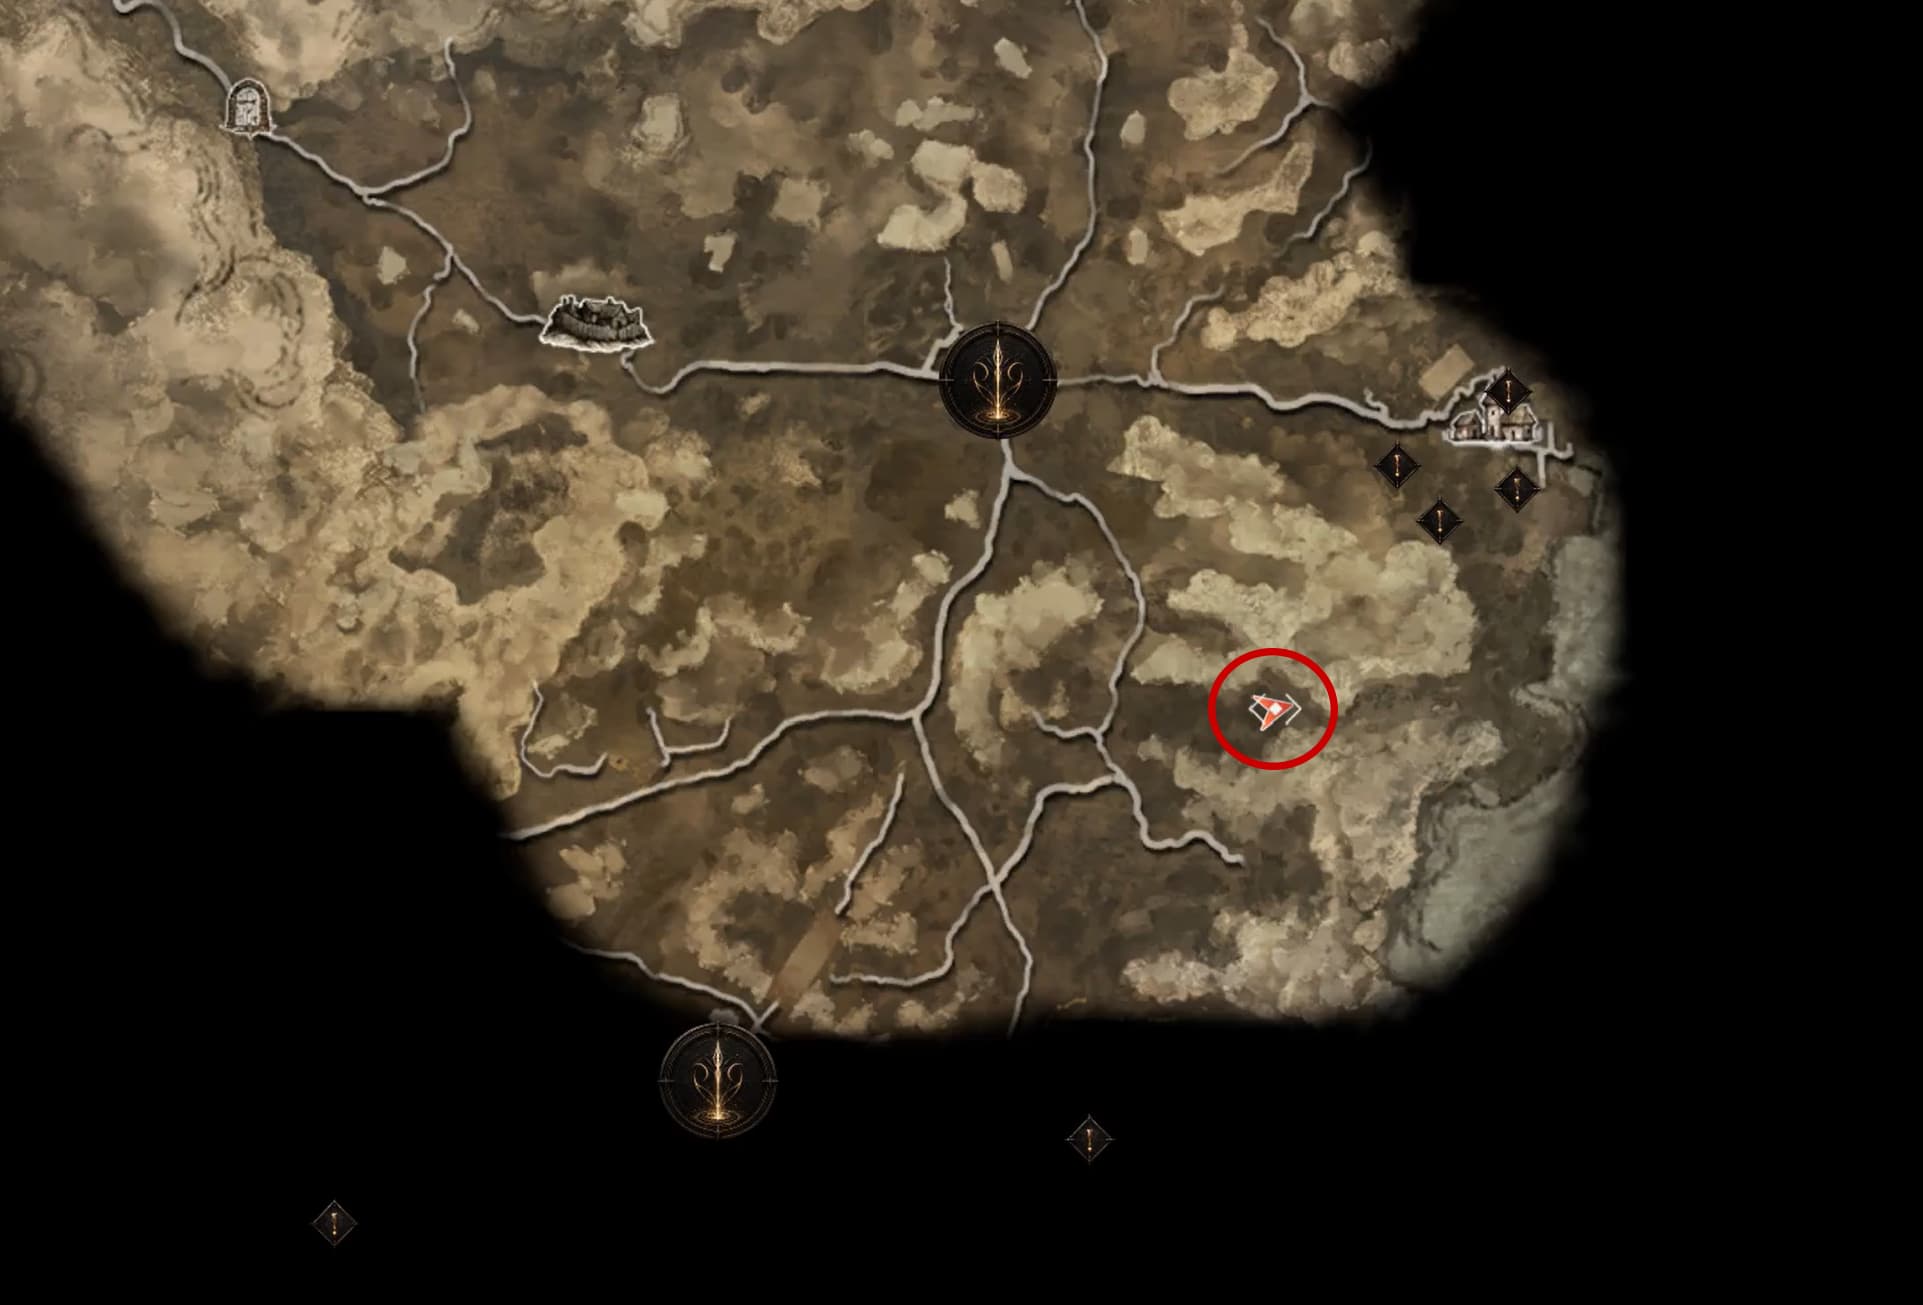
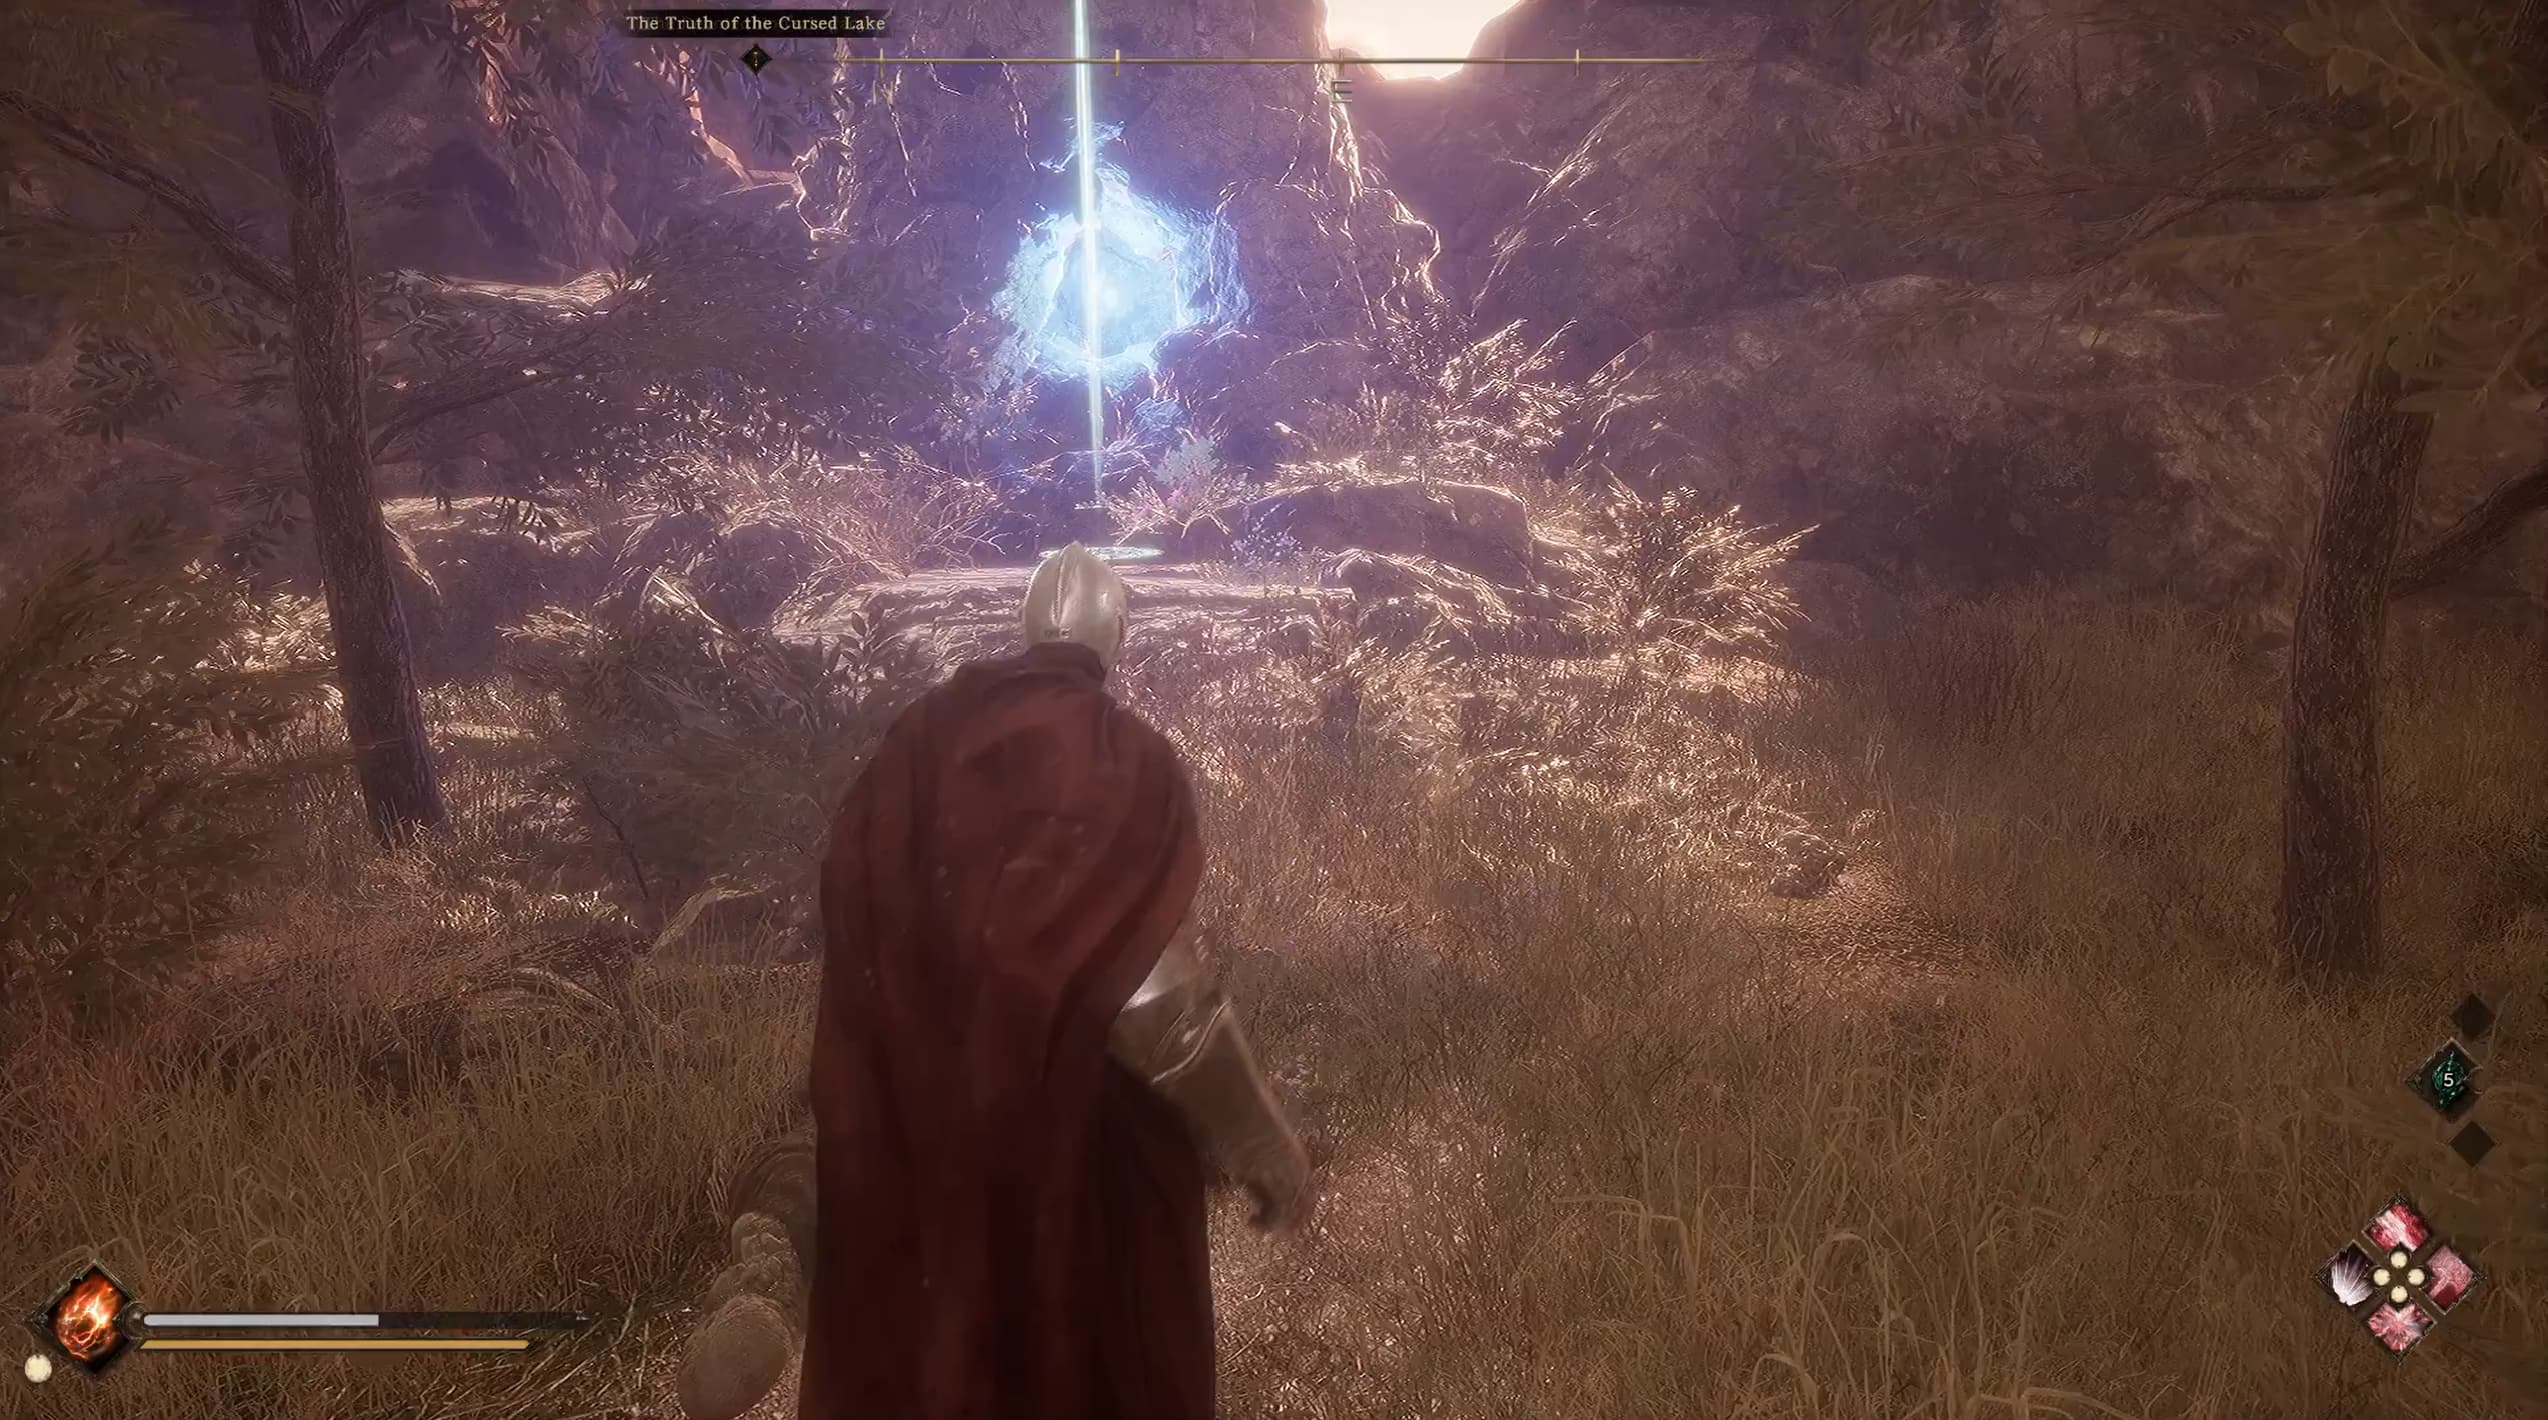
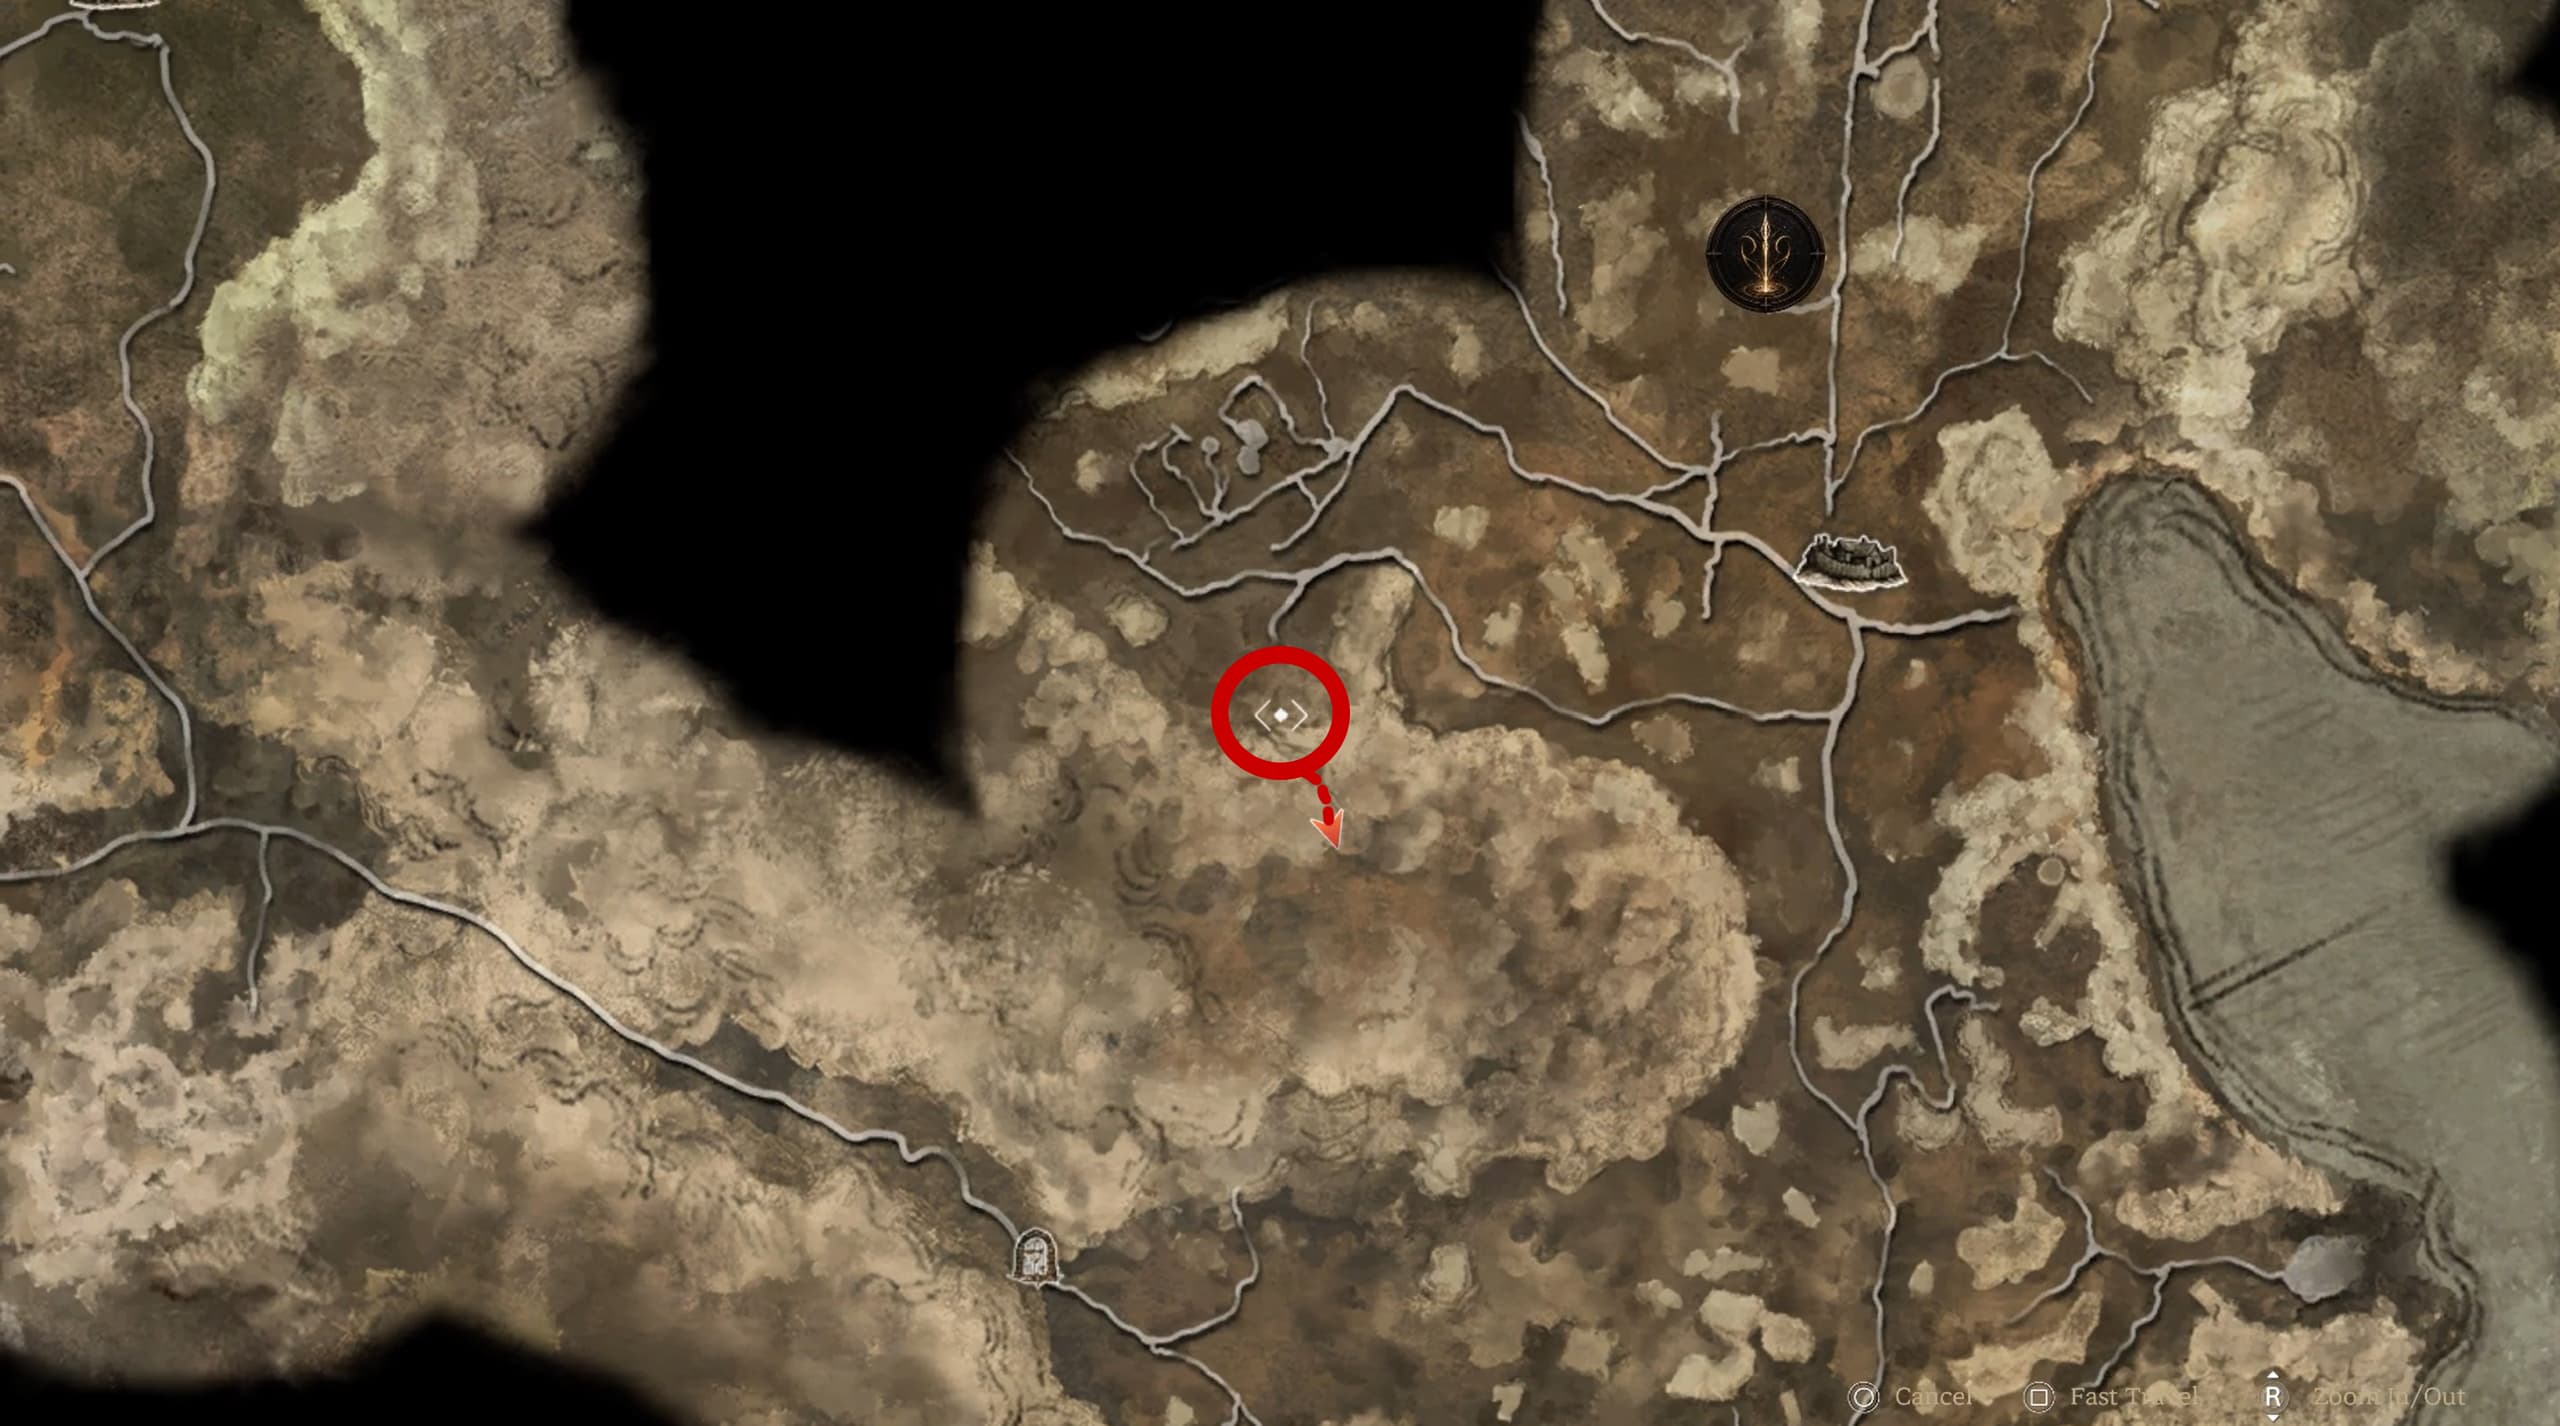
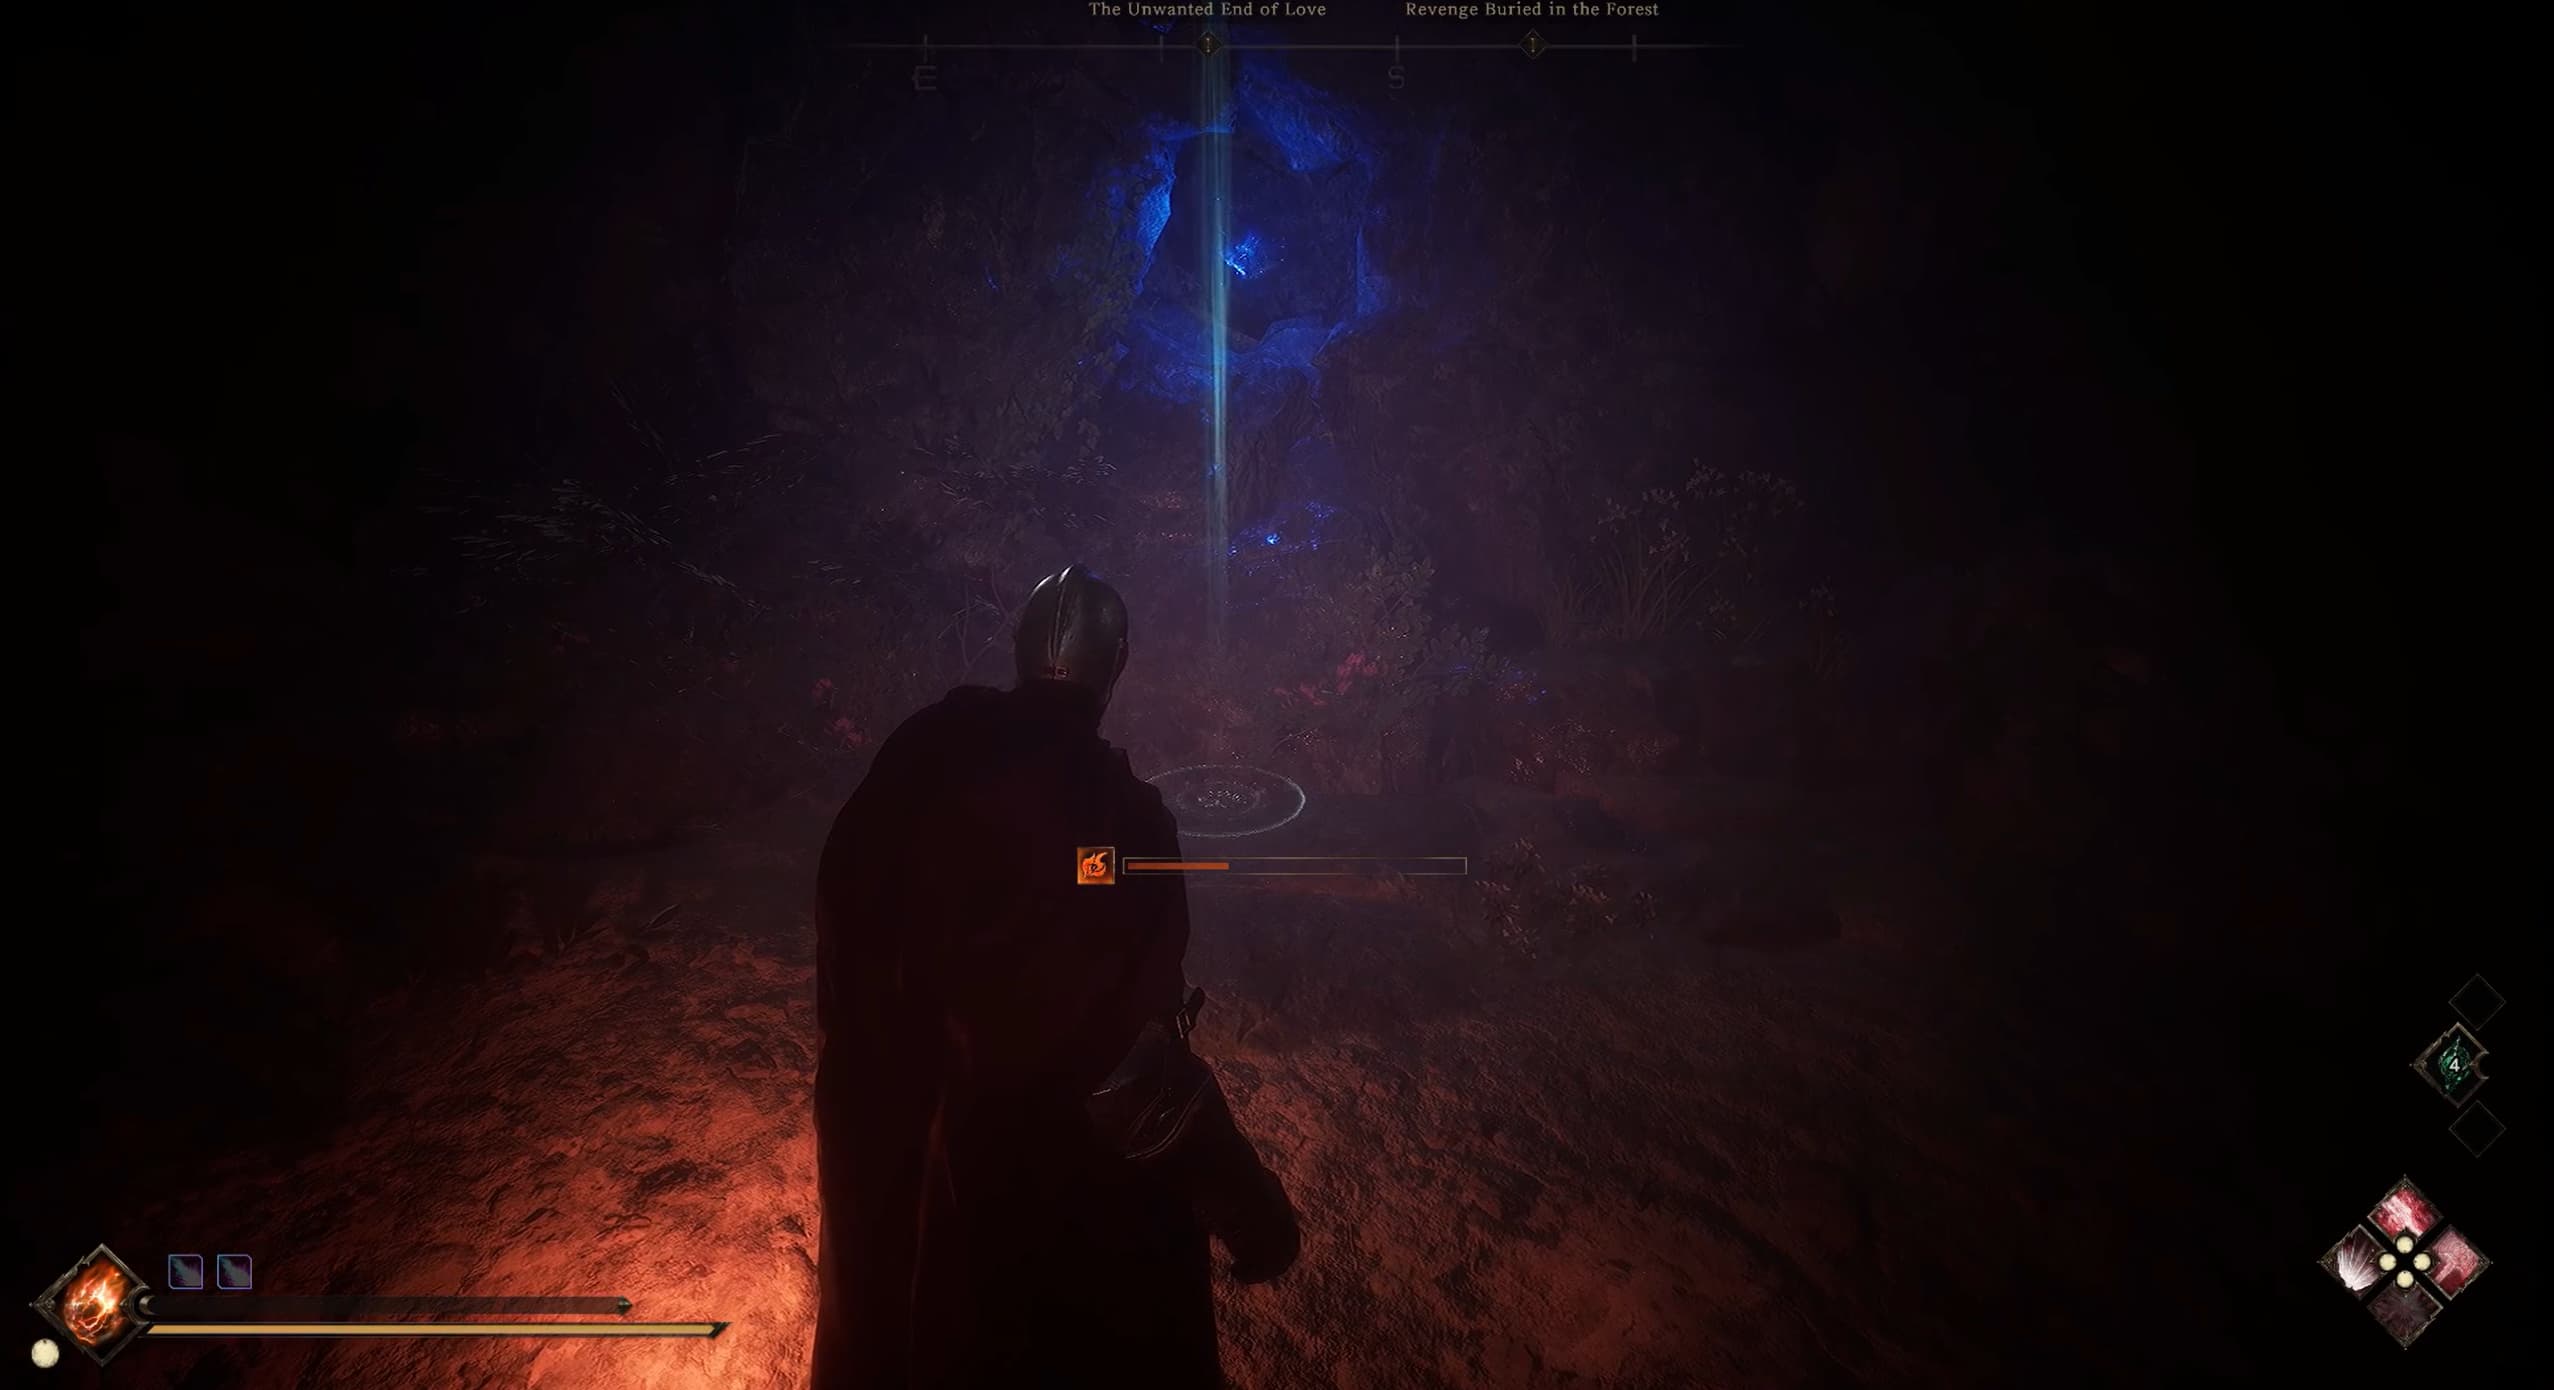
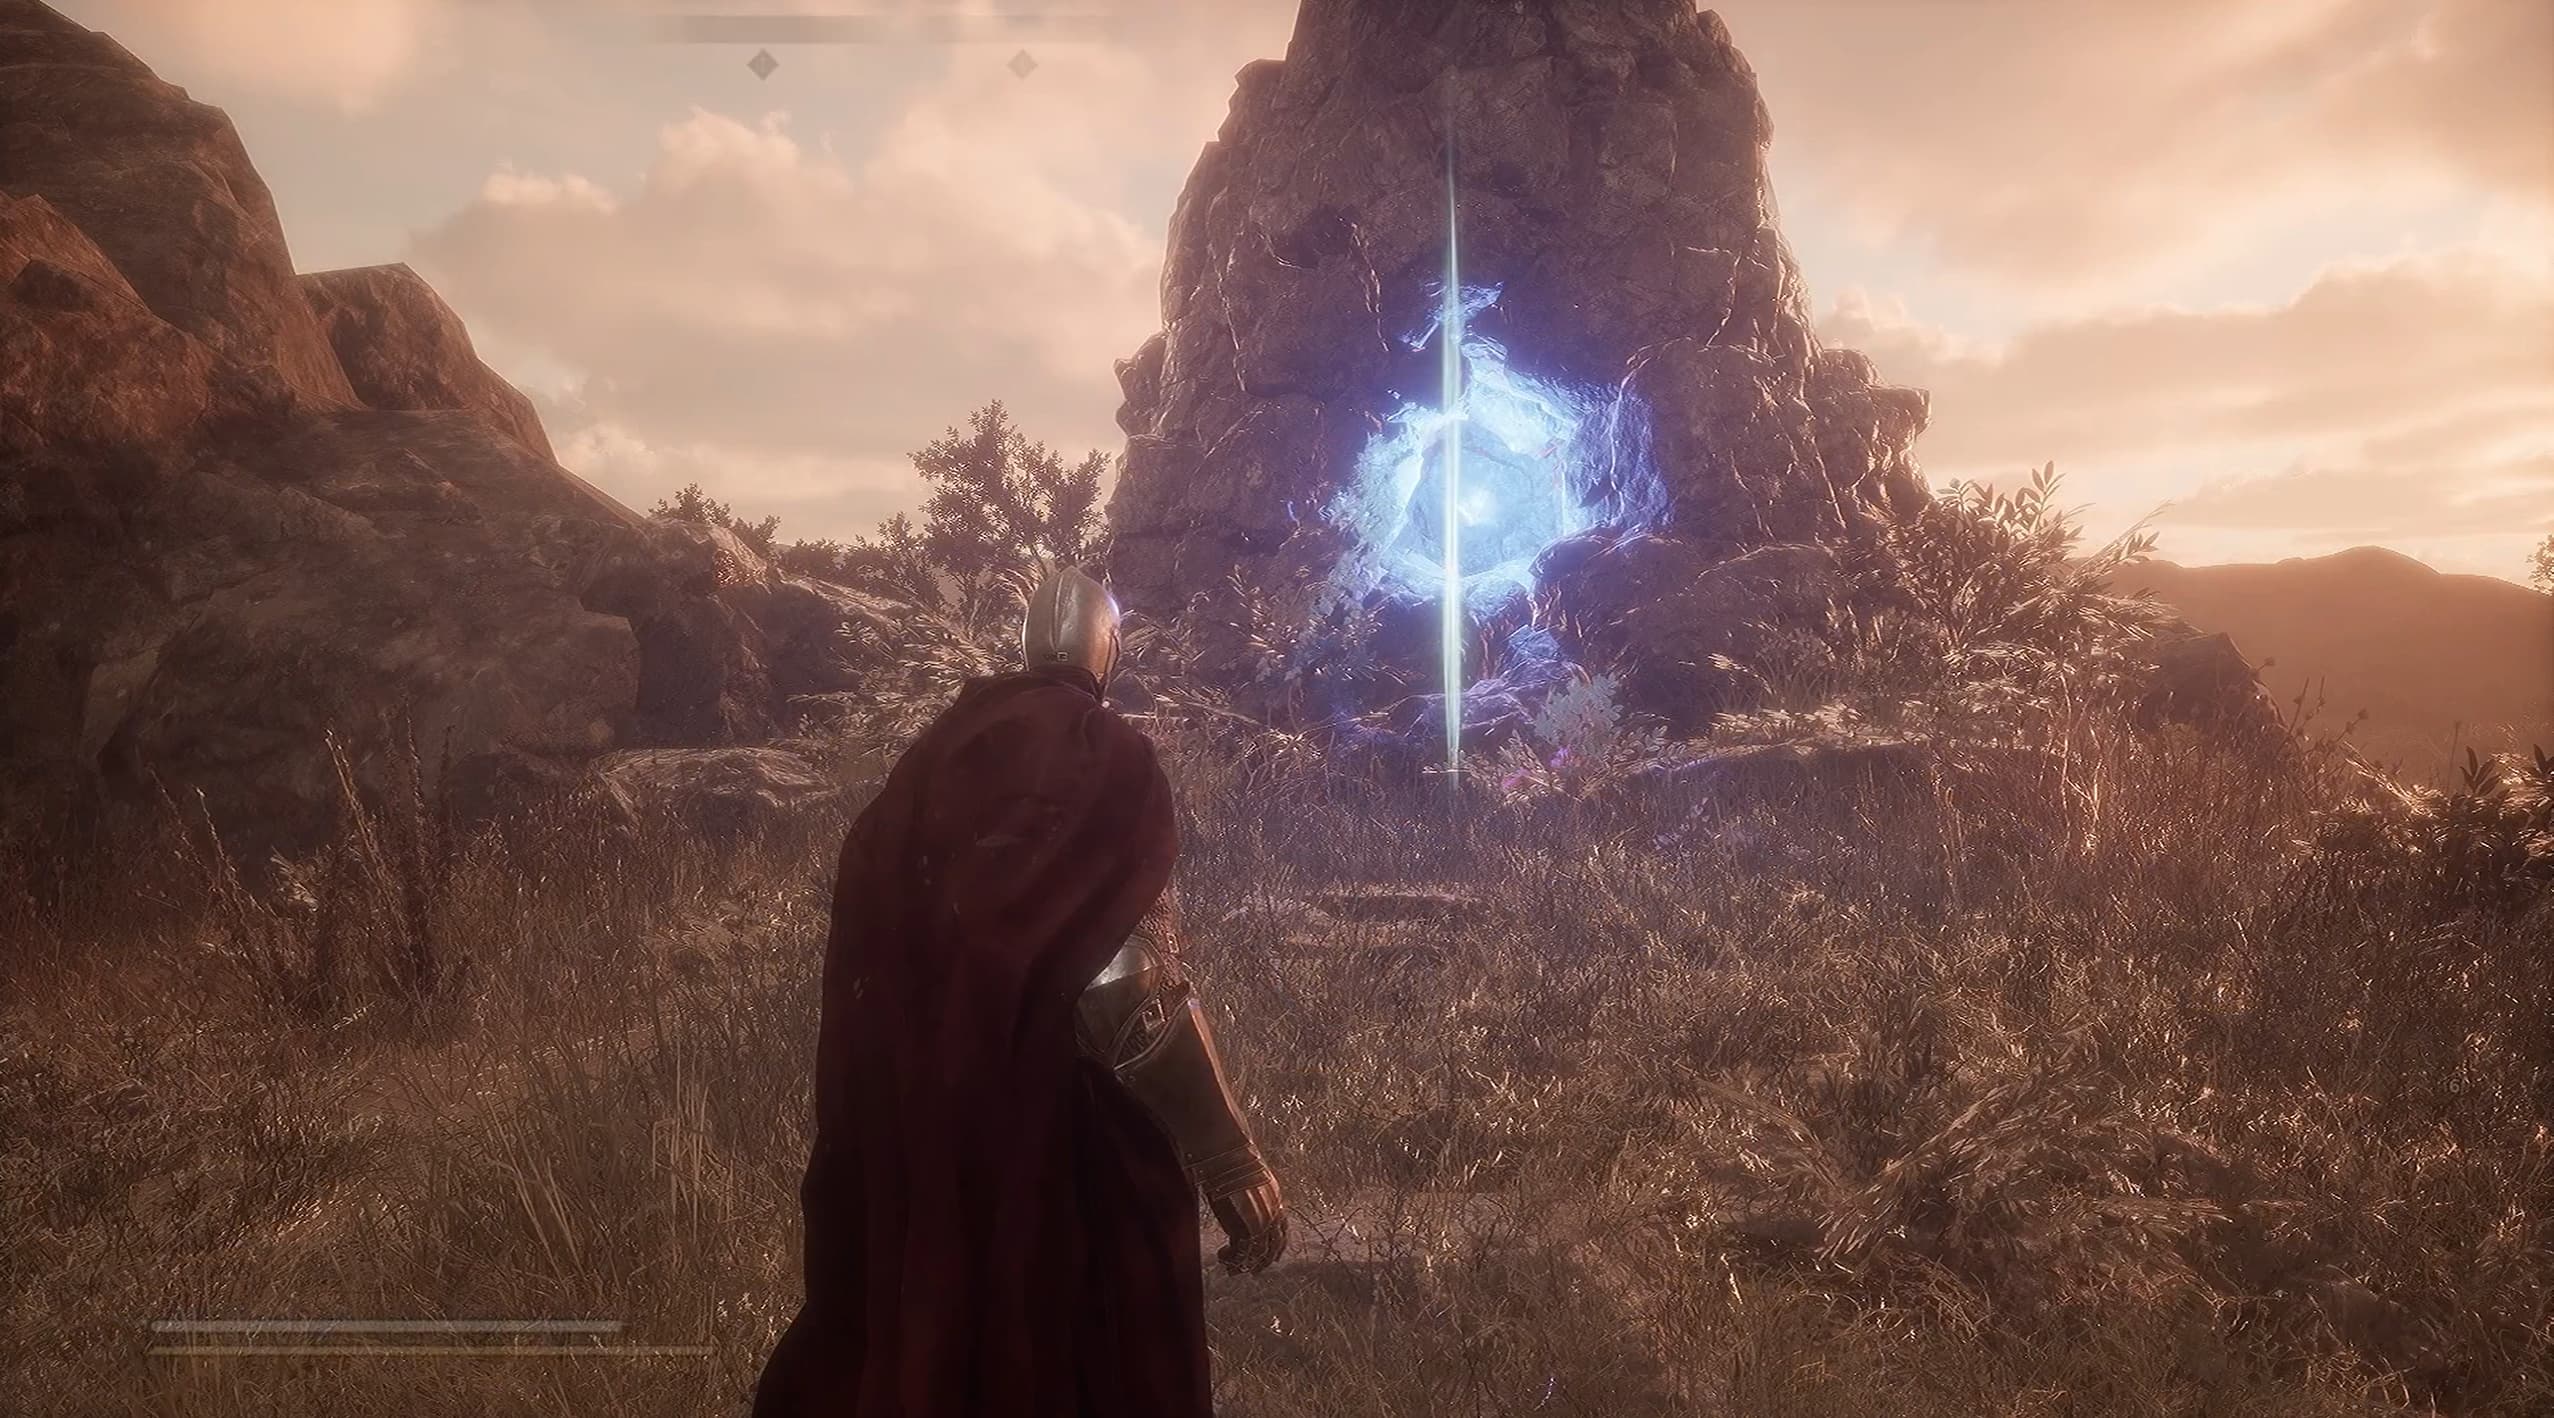
Location #2 is a little south and mostly east from the first location after following the main path around, head off to the east from the main path to find the next Relic Power.
Location #3 heading back over to the west edge, making your way off of the main path once again to the marker as shown below.
Location #4 heading south a little, to the center area, once again just off of the main path as the pointer below indicates.
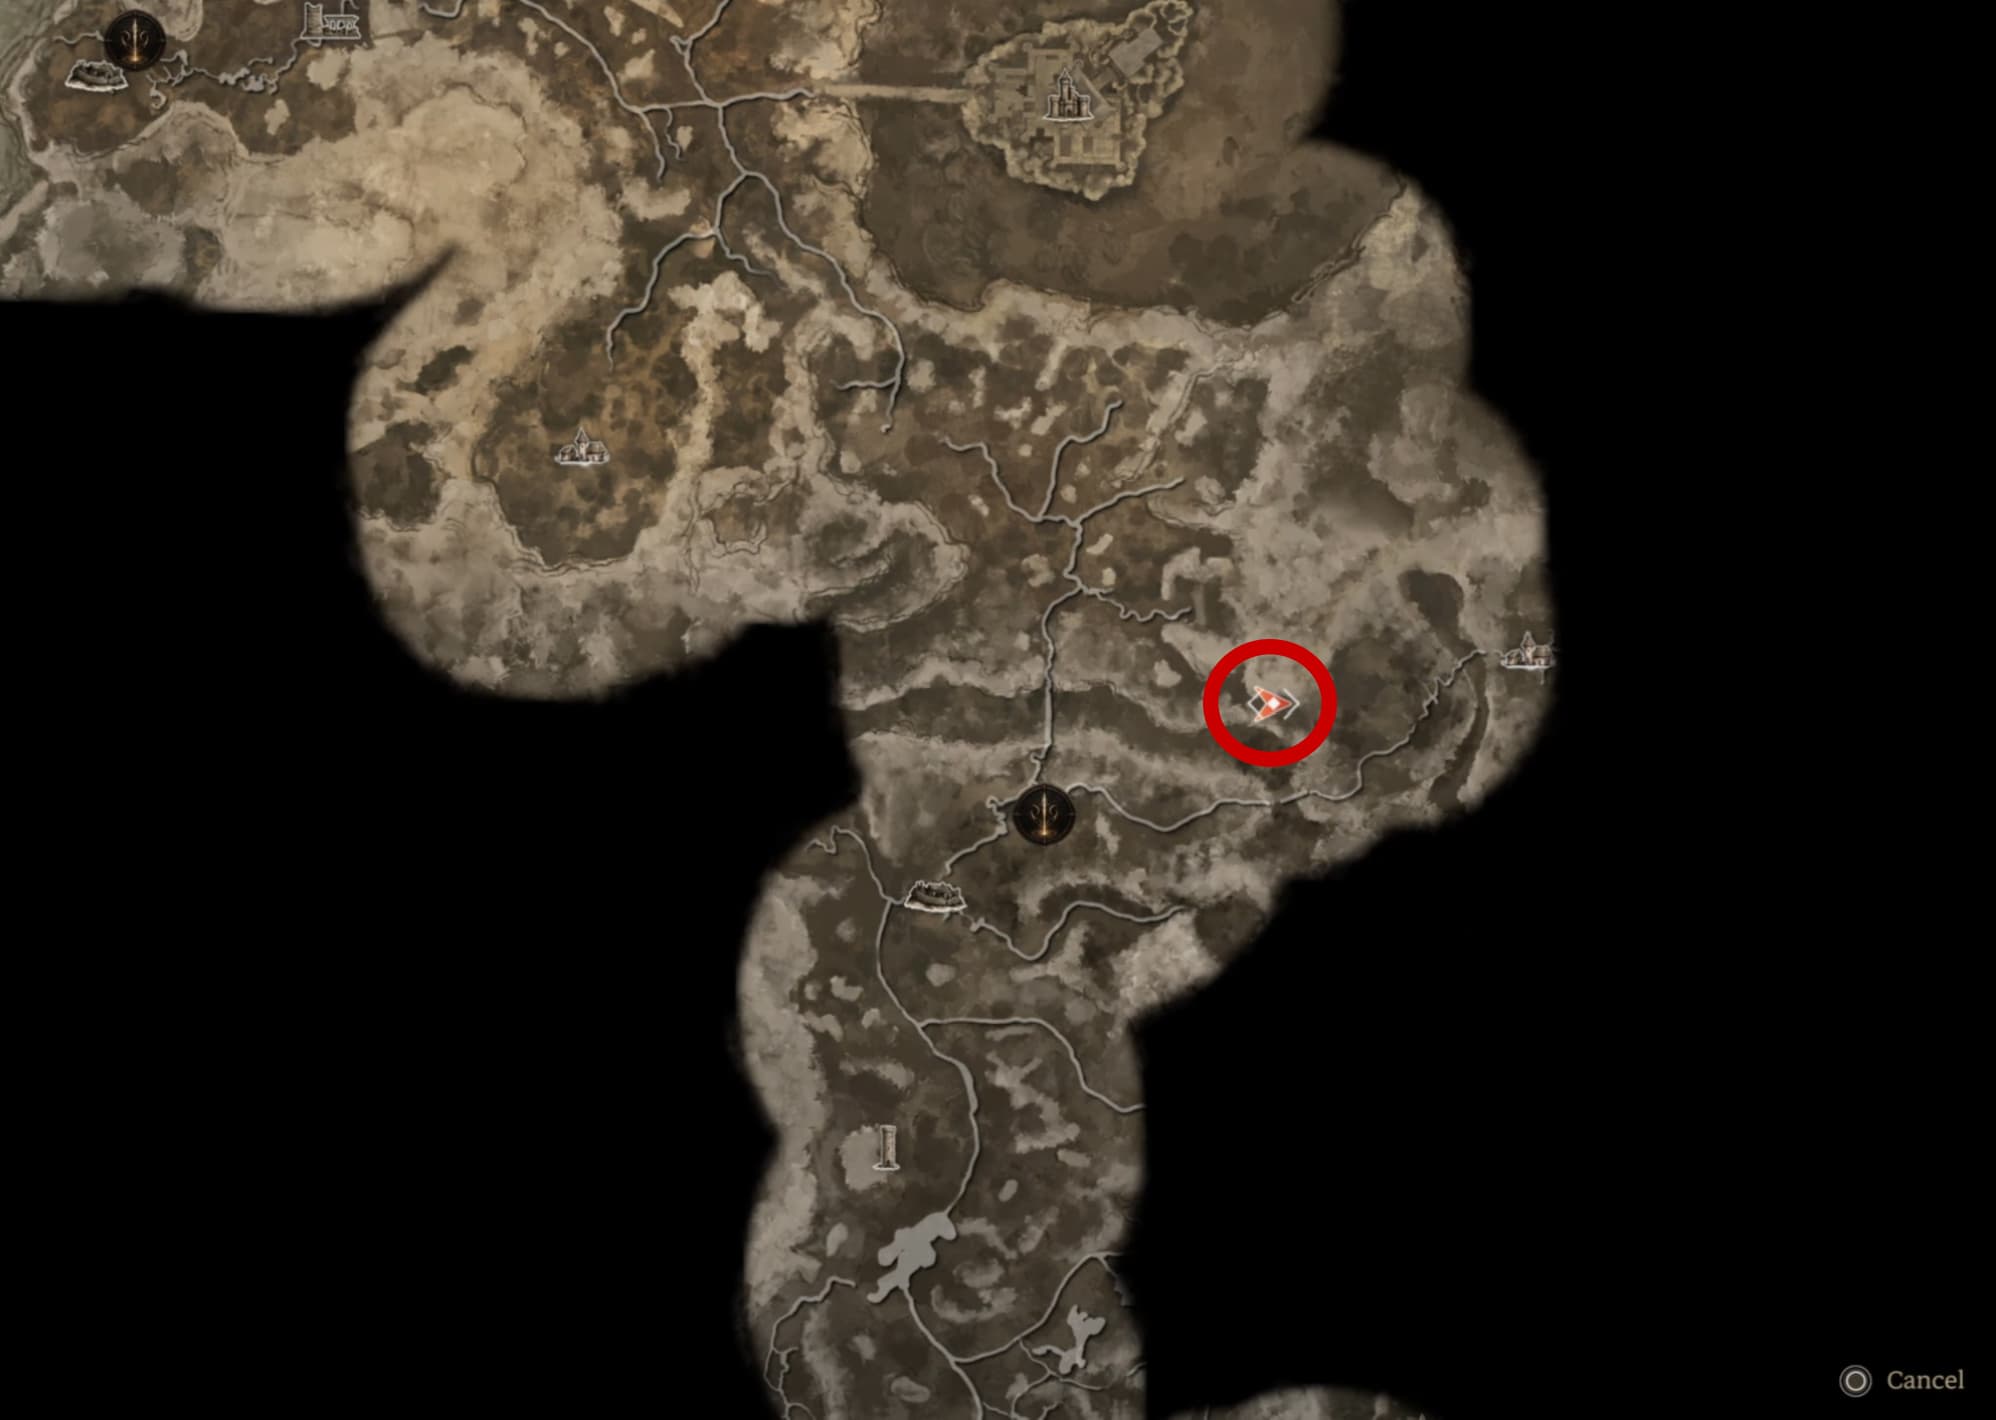
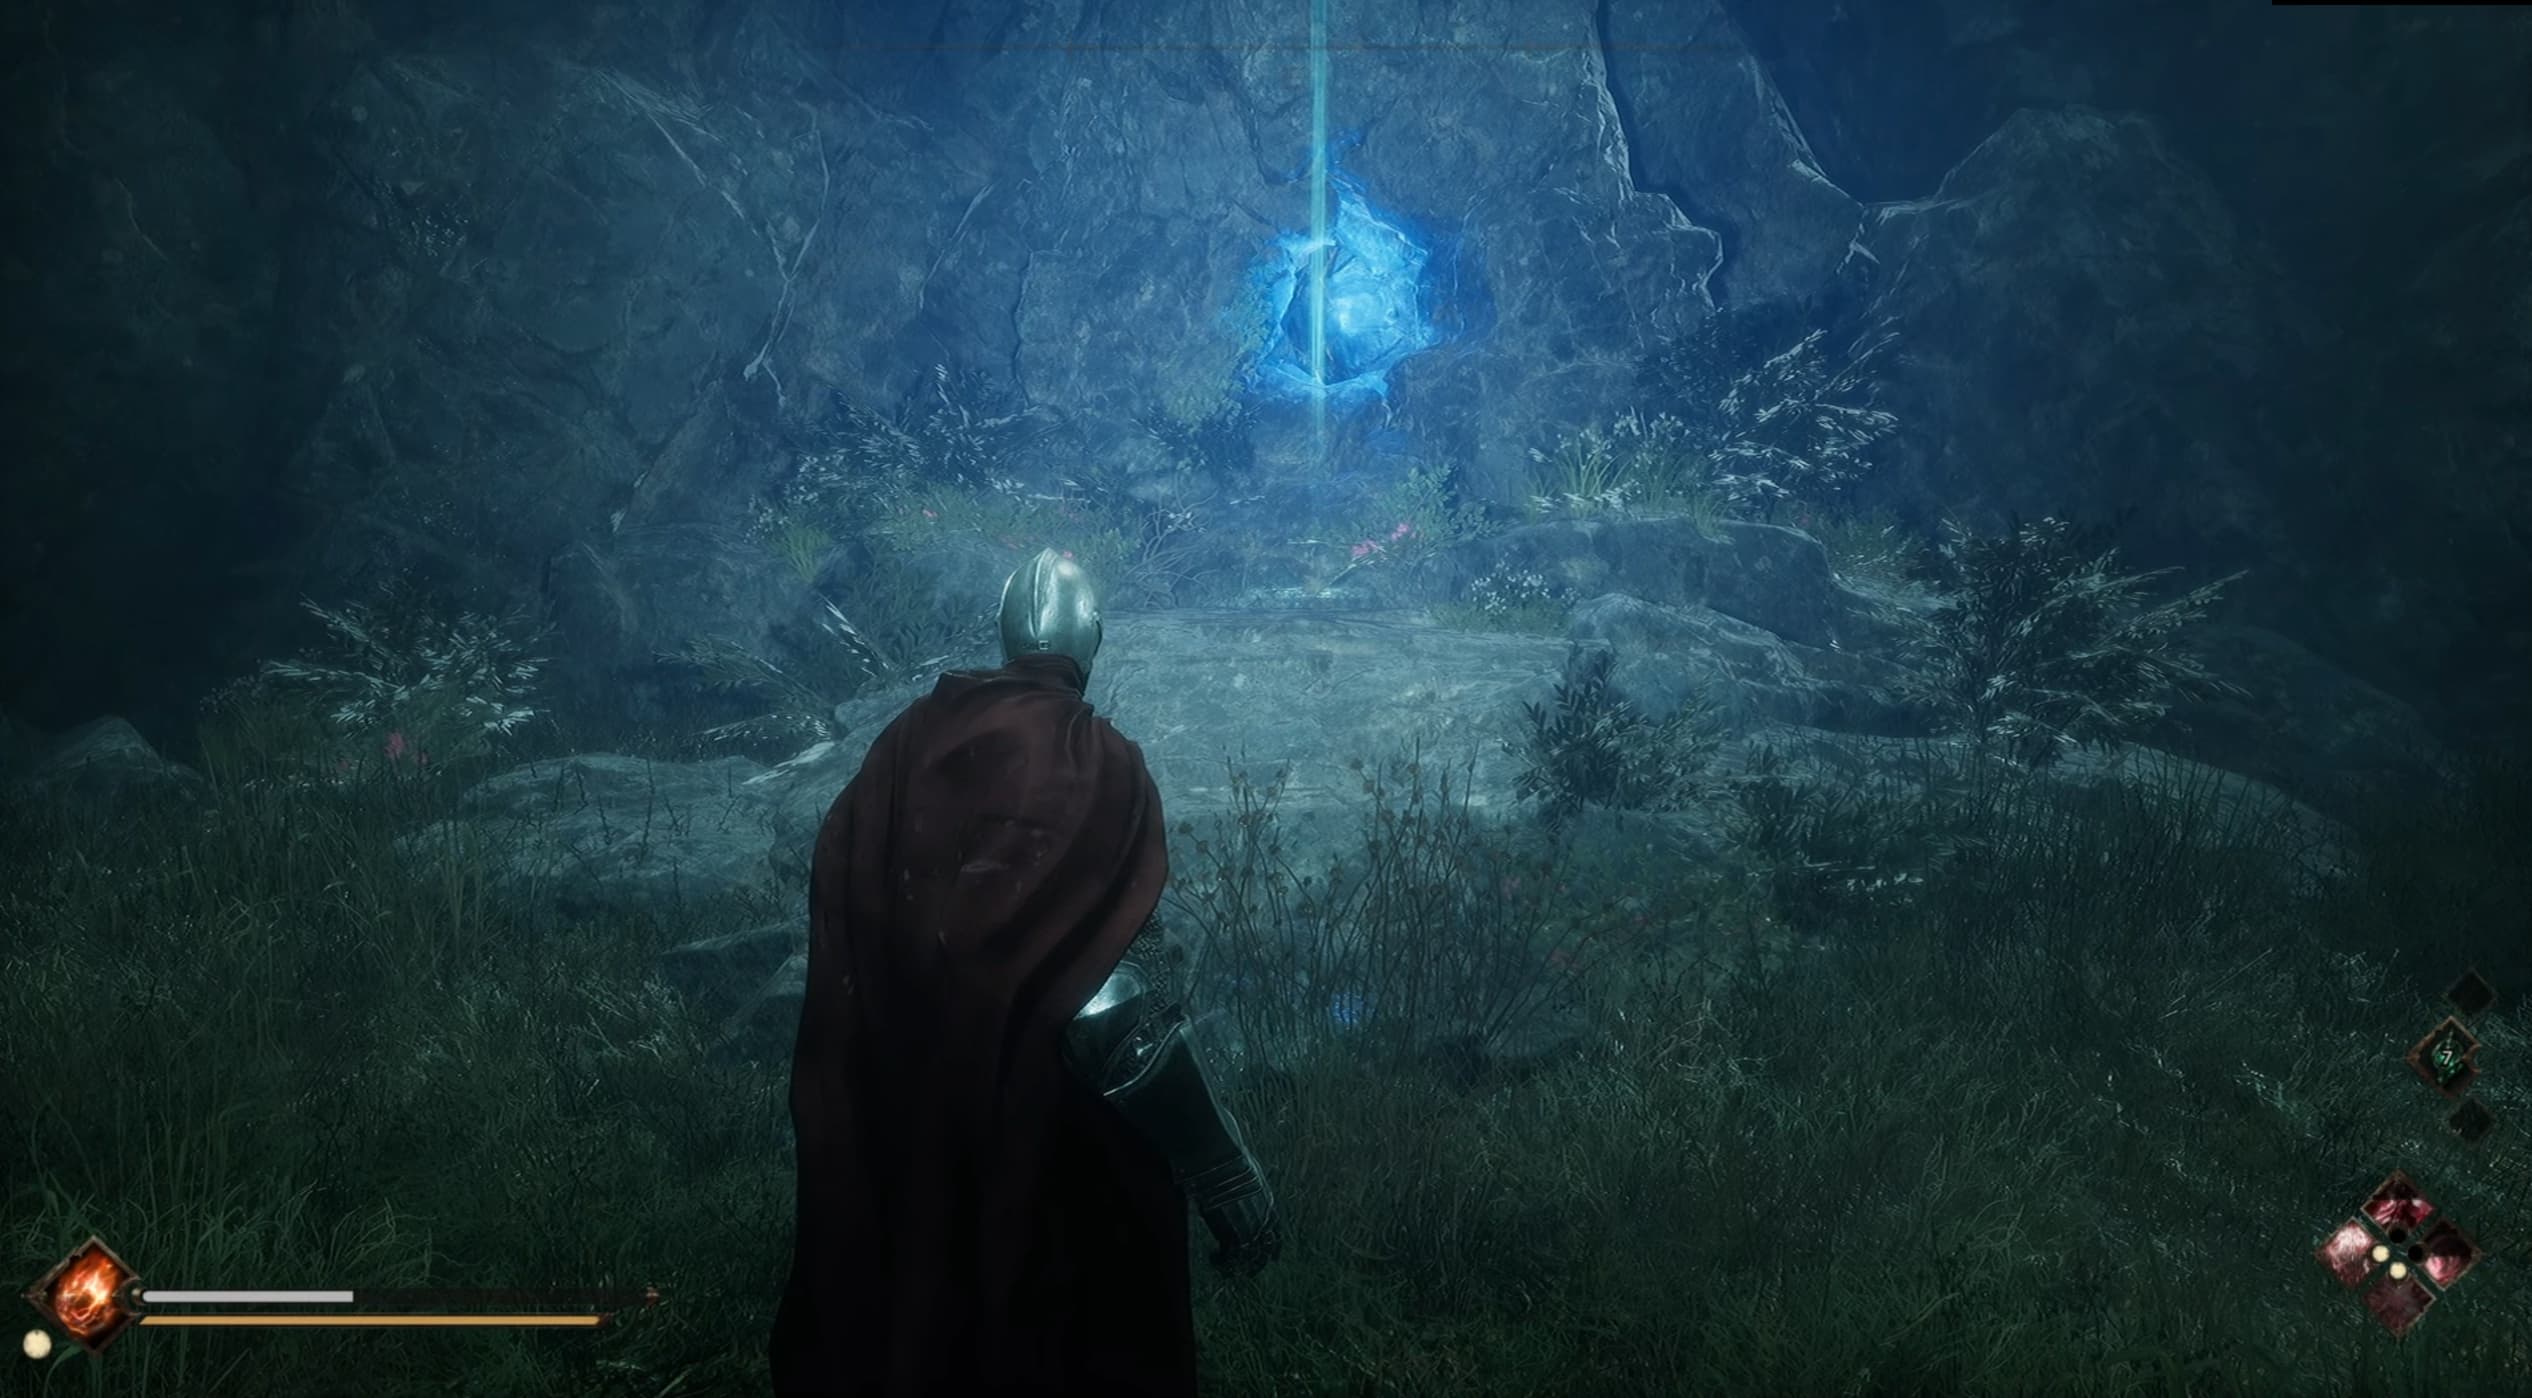
Location #5 making your way over to the east edge of the map from the previous Relic Power, enter into the cave as circled below and make your way through to find this Relic Power inside.
Location #6 exit the cave and head just south a little, off of the main marked path to find the next Relic Power ahead.
Location #7 make your way back towards the west side, following the main path, on the corner here will be your next Relic Power.
Location #8 following the same path as the previous Relic Power, heading to to east again to find the next, amongst the ruins.
Location #9 loop your way back around to the east and then south, following the short offshoot path towards the west, to find the next Relic Power in the cave at the end of this path.
Location #10 make your way out of the cave and keep going south to the very bottom of the map, to find the next Relic Power in an old open trunk tree.
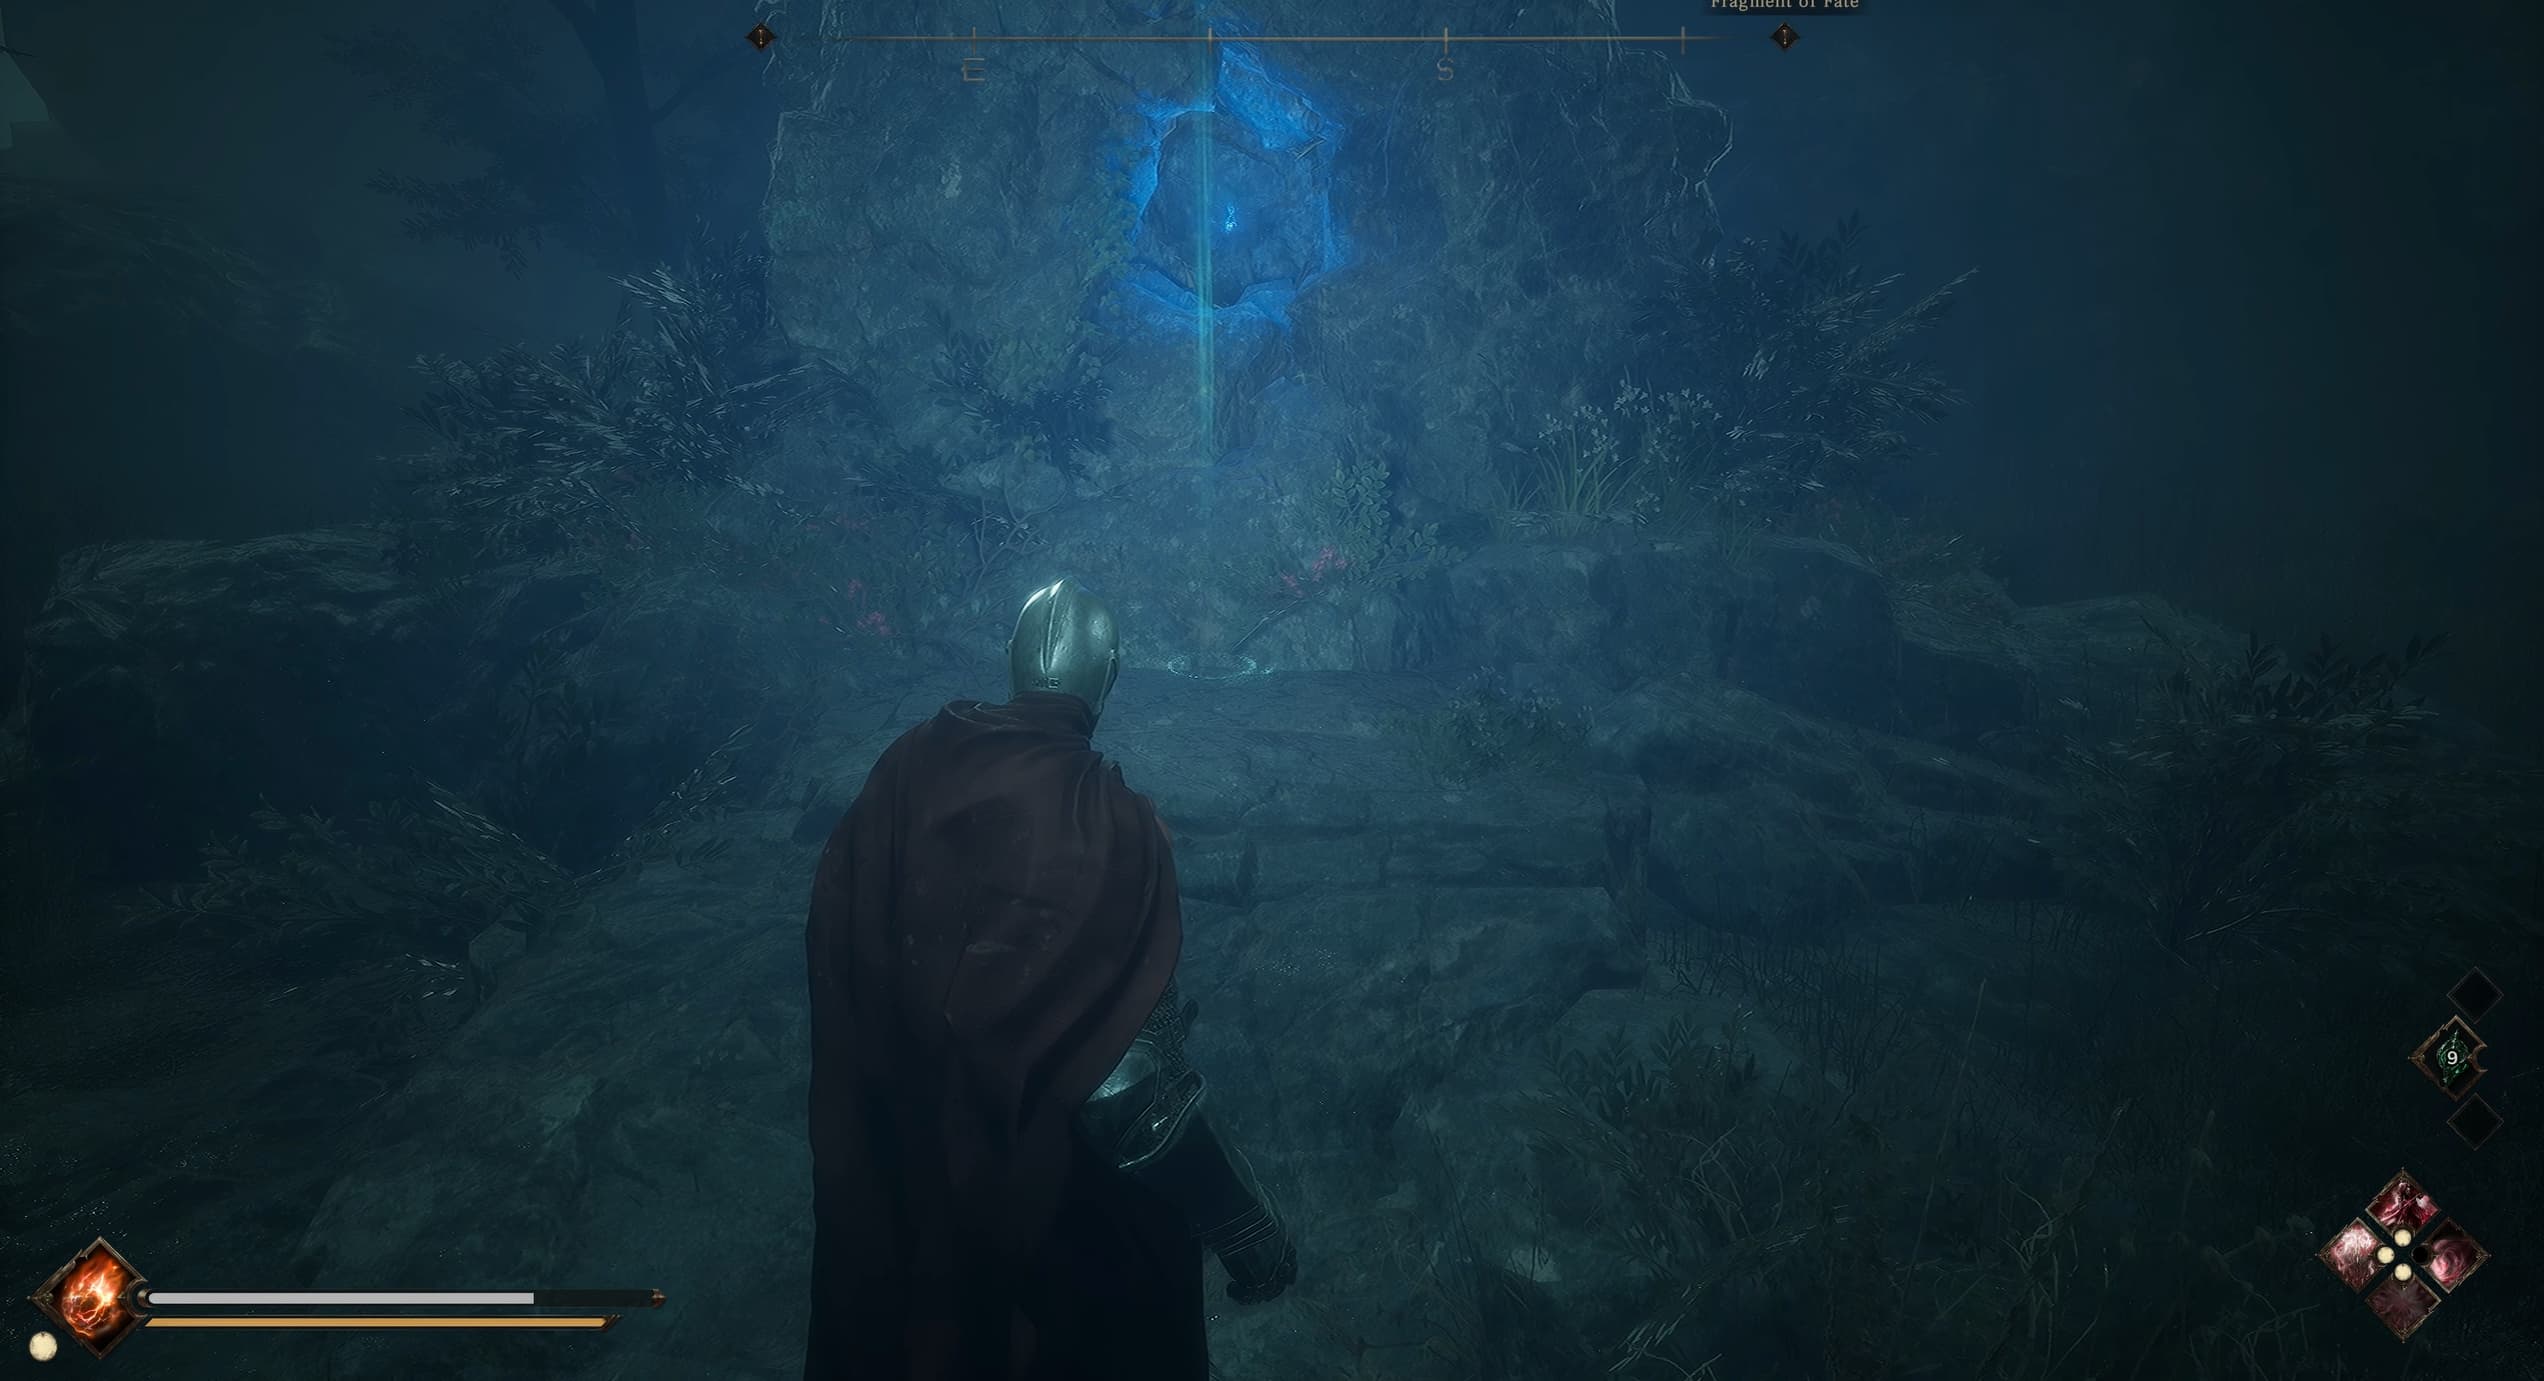
Location #11 Make your way back around to the west and south down the western edge, as far down as you can go to find the next Relic Power.
Location #12 heading north but keeping on the western edge, you will come across a village area, make your way through the area to where the pointer is on the map below, to find the next Relic Power.
Location #13 making your way back up towards the north, past the main entrance into Hillsbrad from the Faded Mist Forest, and over to the eastern edge to find the next Relic Power at the end of a short main path.
Location #14 head directly over to the west from the previous location, making your way down off of the main path into a small wall surrounded area with a cave ahead, inside the cave will be the Relic Power, there will be a lot of enemies here, so be ready to enter into this area.
Location #15 making your way back out of this cave and taking a left back at the main path, on the lower corner as shown below is the next Relic Power.
Location #16 heading slightly north to the above main path on the map, as shown below, will be the next Relic Power.
Location #17 heading across again to the next main path up and slightly east, the next Relic Power will be at the end of the offshoot path as shown below.
Location #18 heading north again but keeping more west, follow the appropriate main paths to reach the area as shown below for the next Relic Power.
Location #19 make your way across even more west to find the next Relic Power at the edge of the map.
Location #20 heading back around and slightly north, back towards the main path but still keeping west, just off of the main path, as shown below, will be the next Relic Power.
Location #21 making your way back towards the center of the map but keeping in the north section, just off of the main path, as shown below, is the next Relic Power.
Location #22 keep progressing north along the main path to find the next one in and around a ruined area, there will be a number of enemies to take on here as well, be ready for these going in.
Hillsbrad Second & Third Area Locations
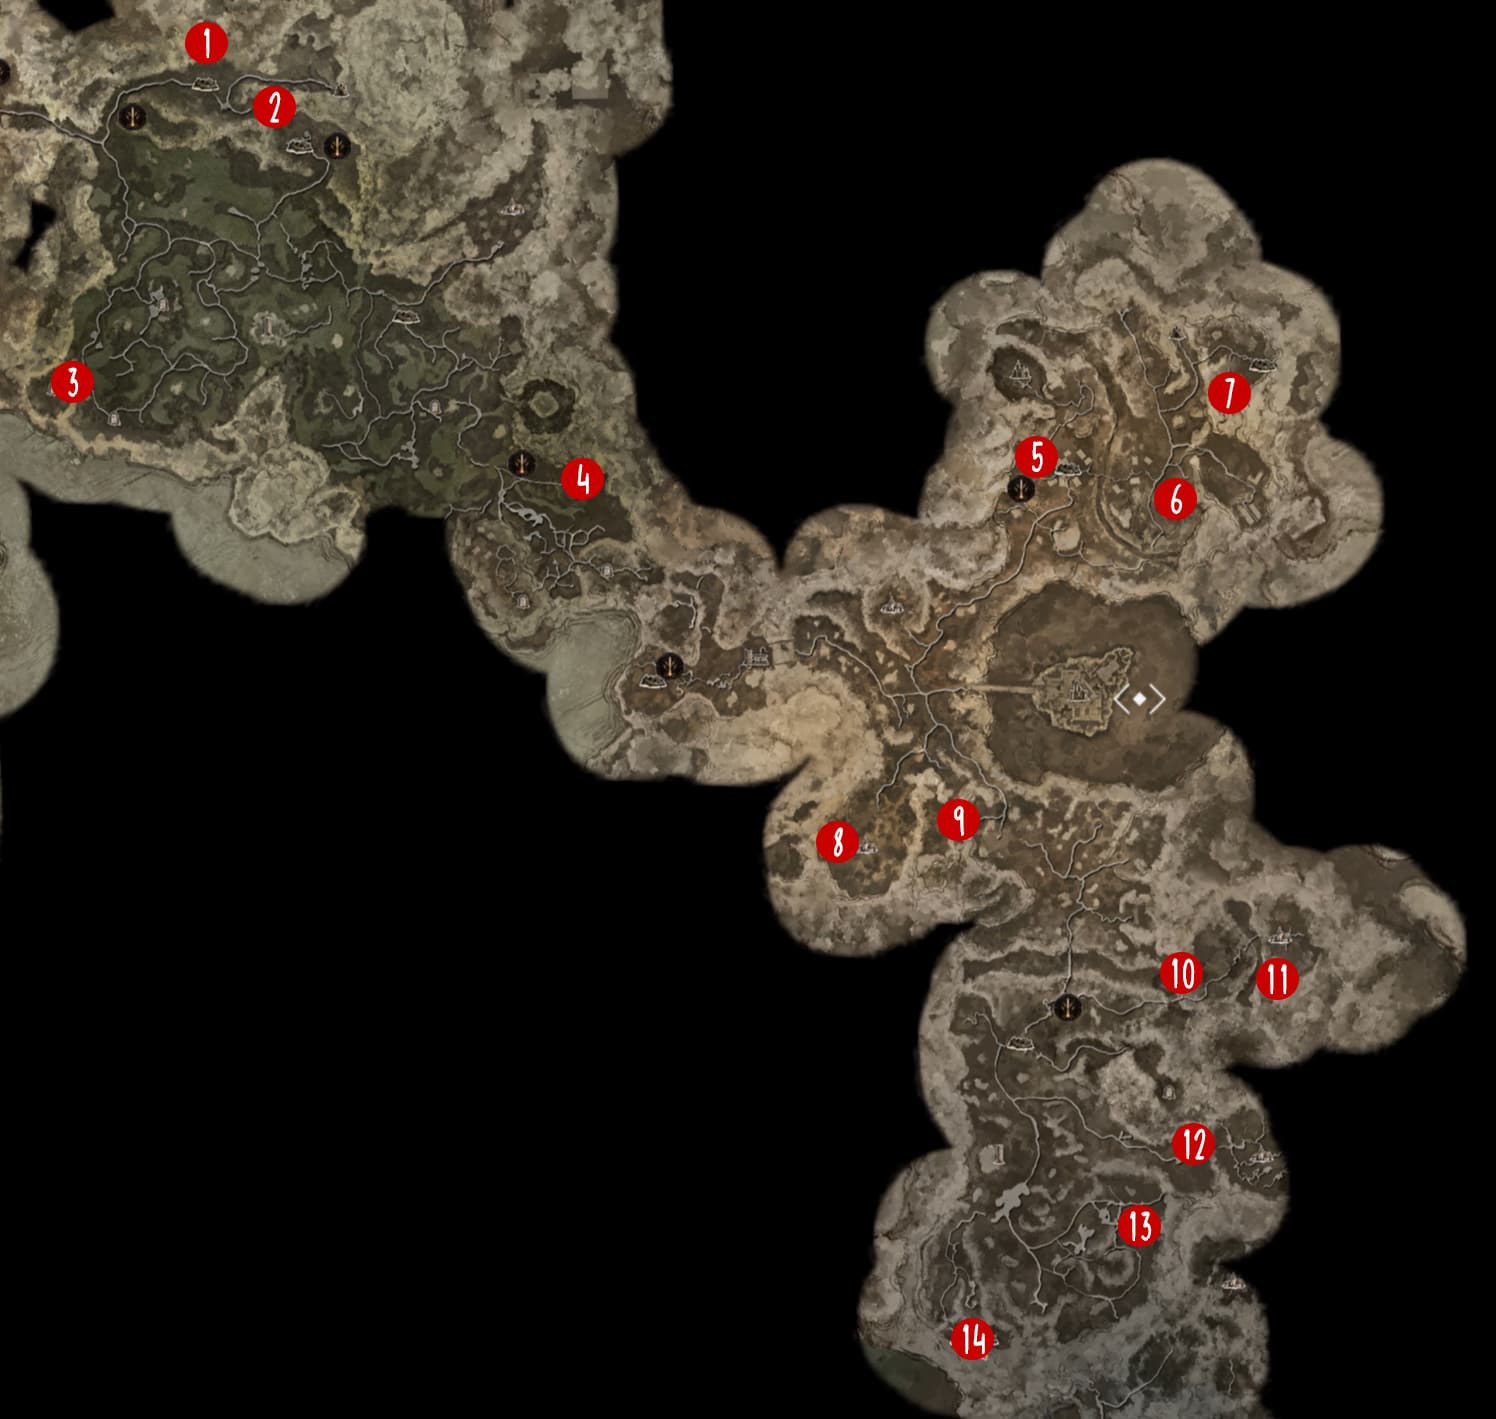
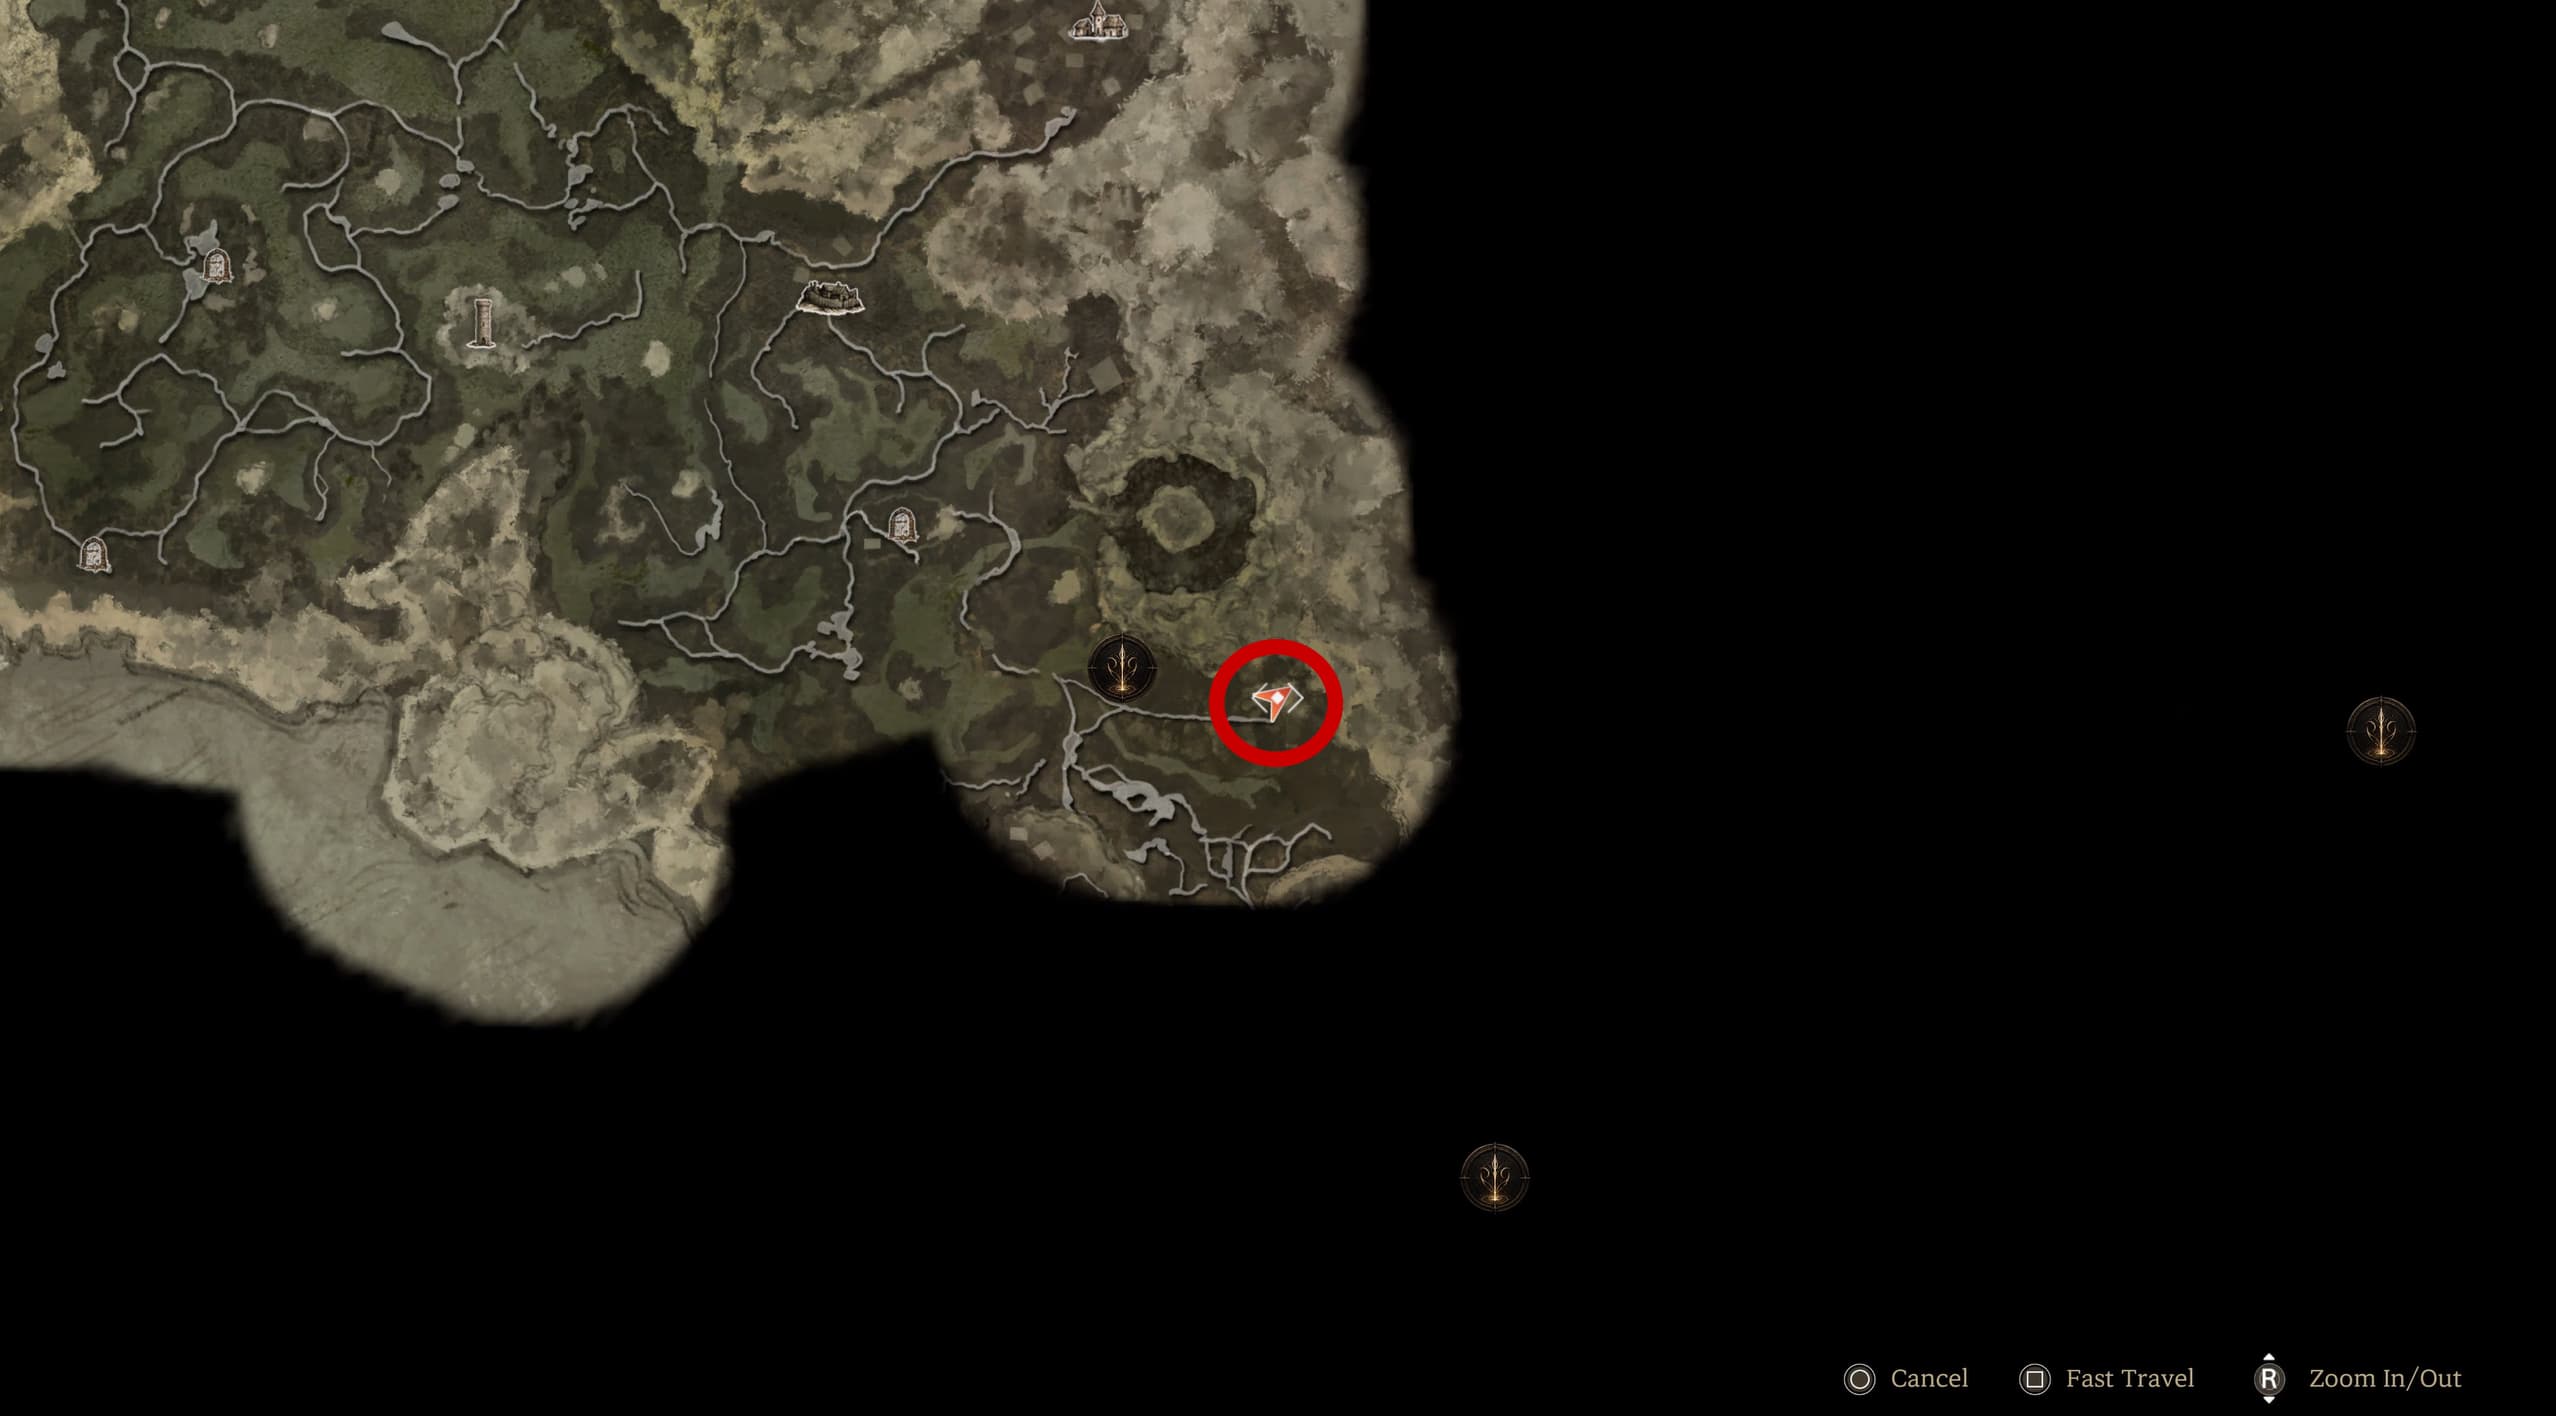
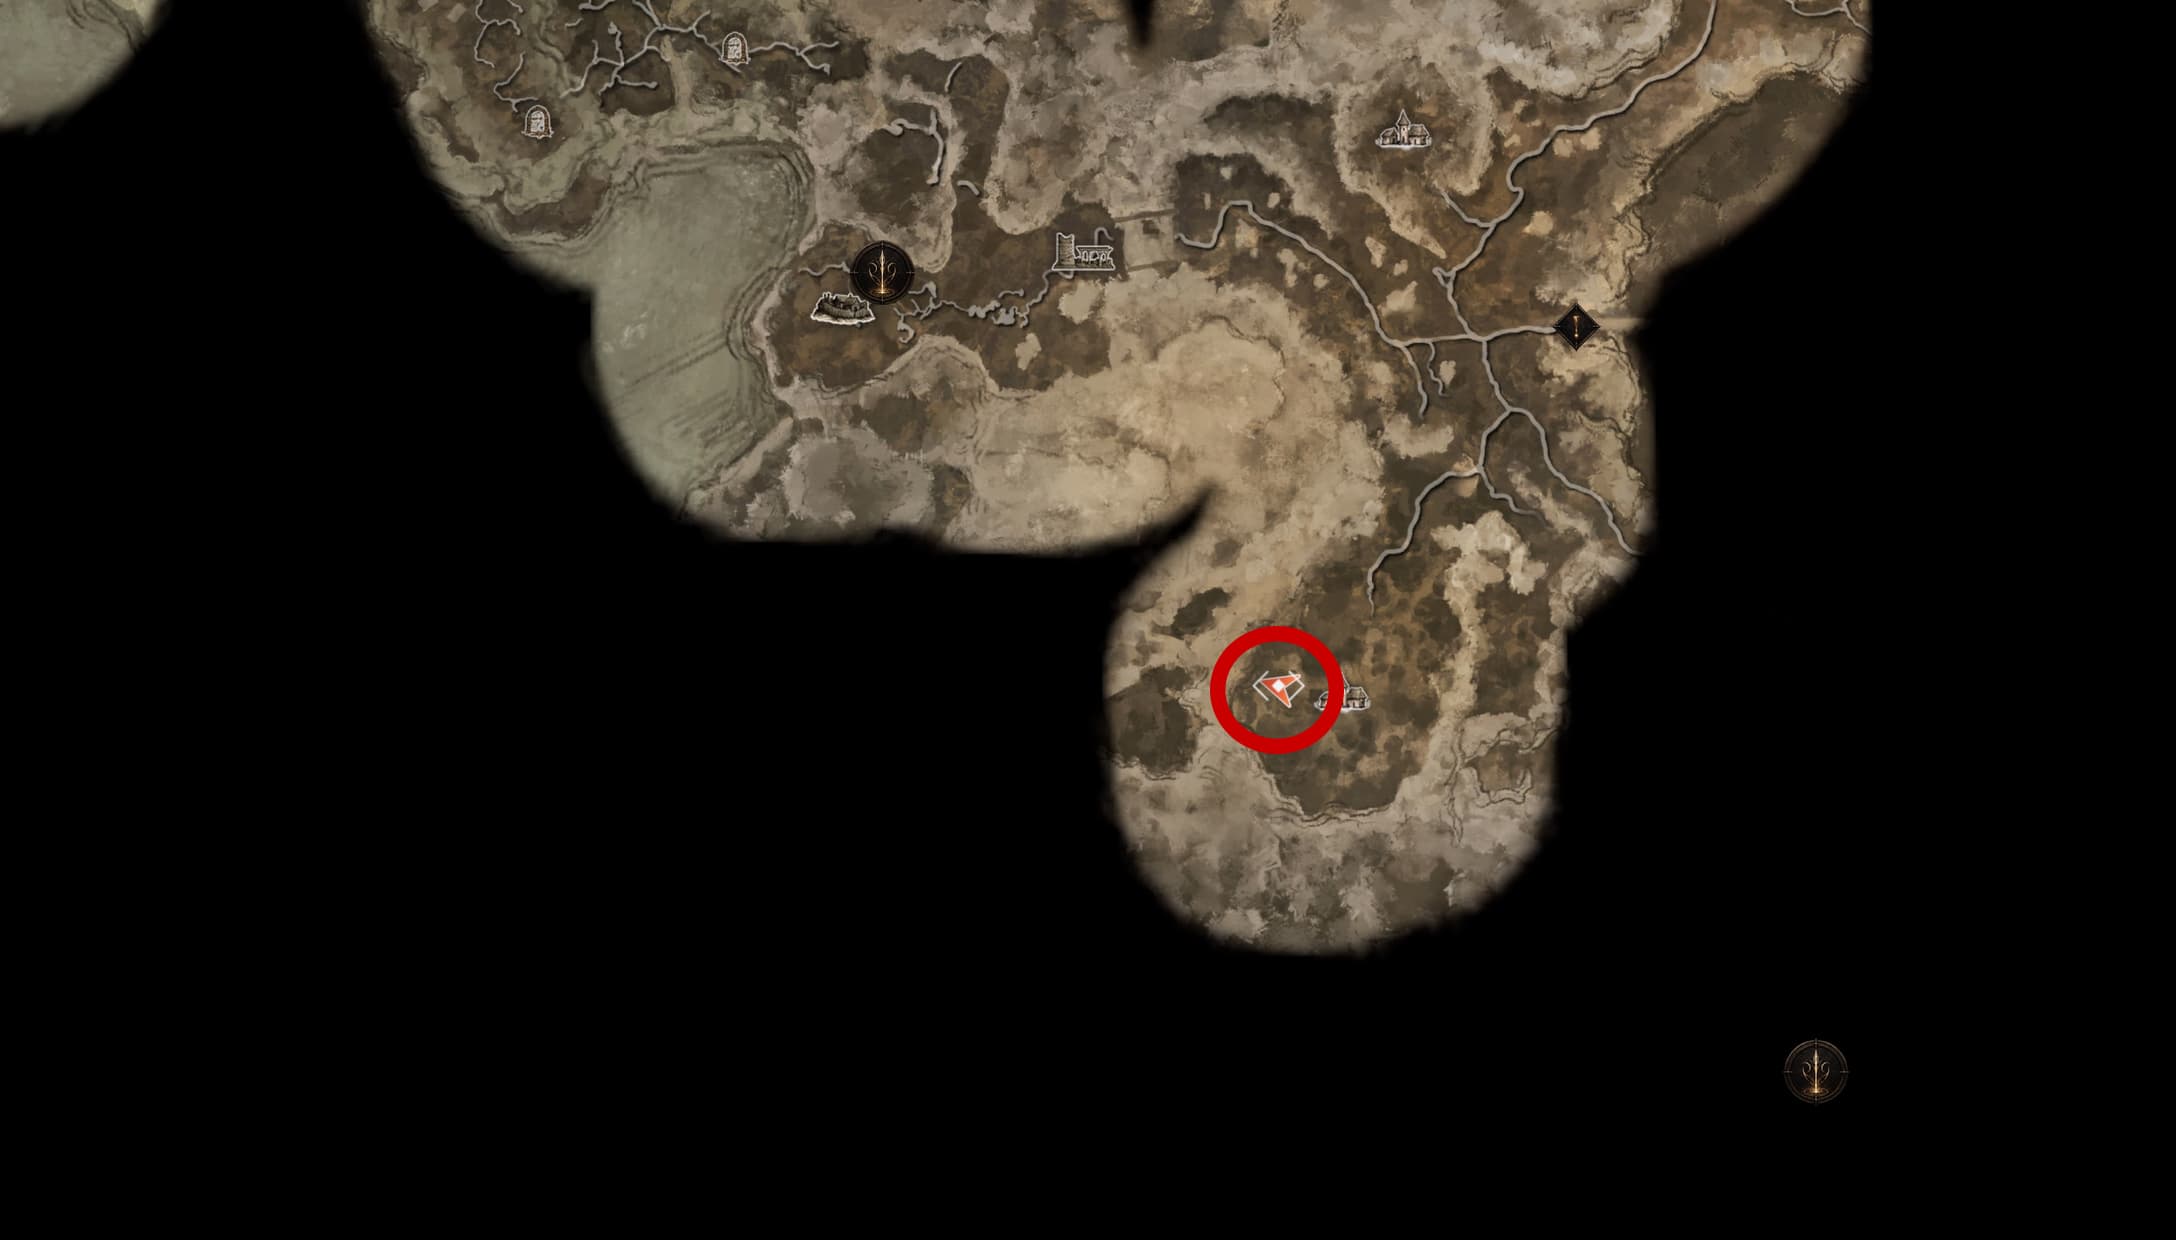
The map below indicates where all of the Ancient Relic Energy points are located in the second and third sections of Hillsbrad, beneath is a more detailed view of each location and more specifically how to reach each point.
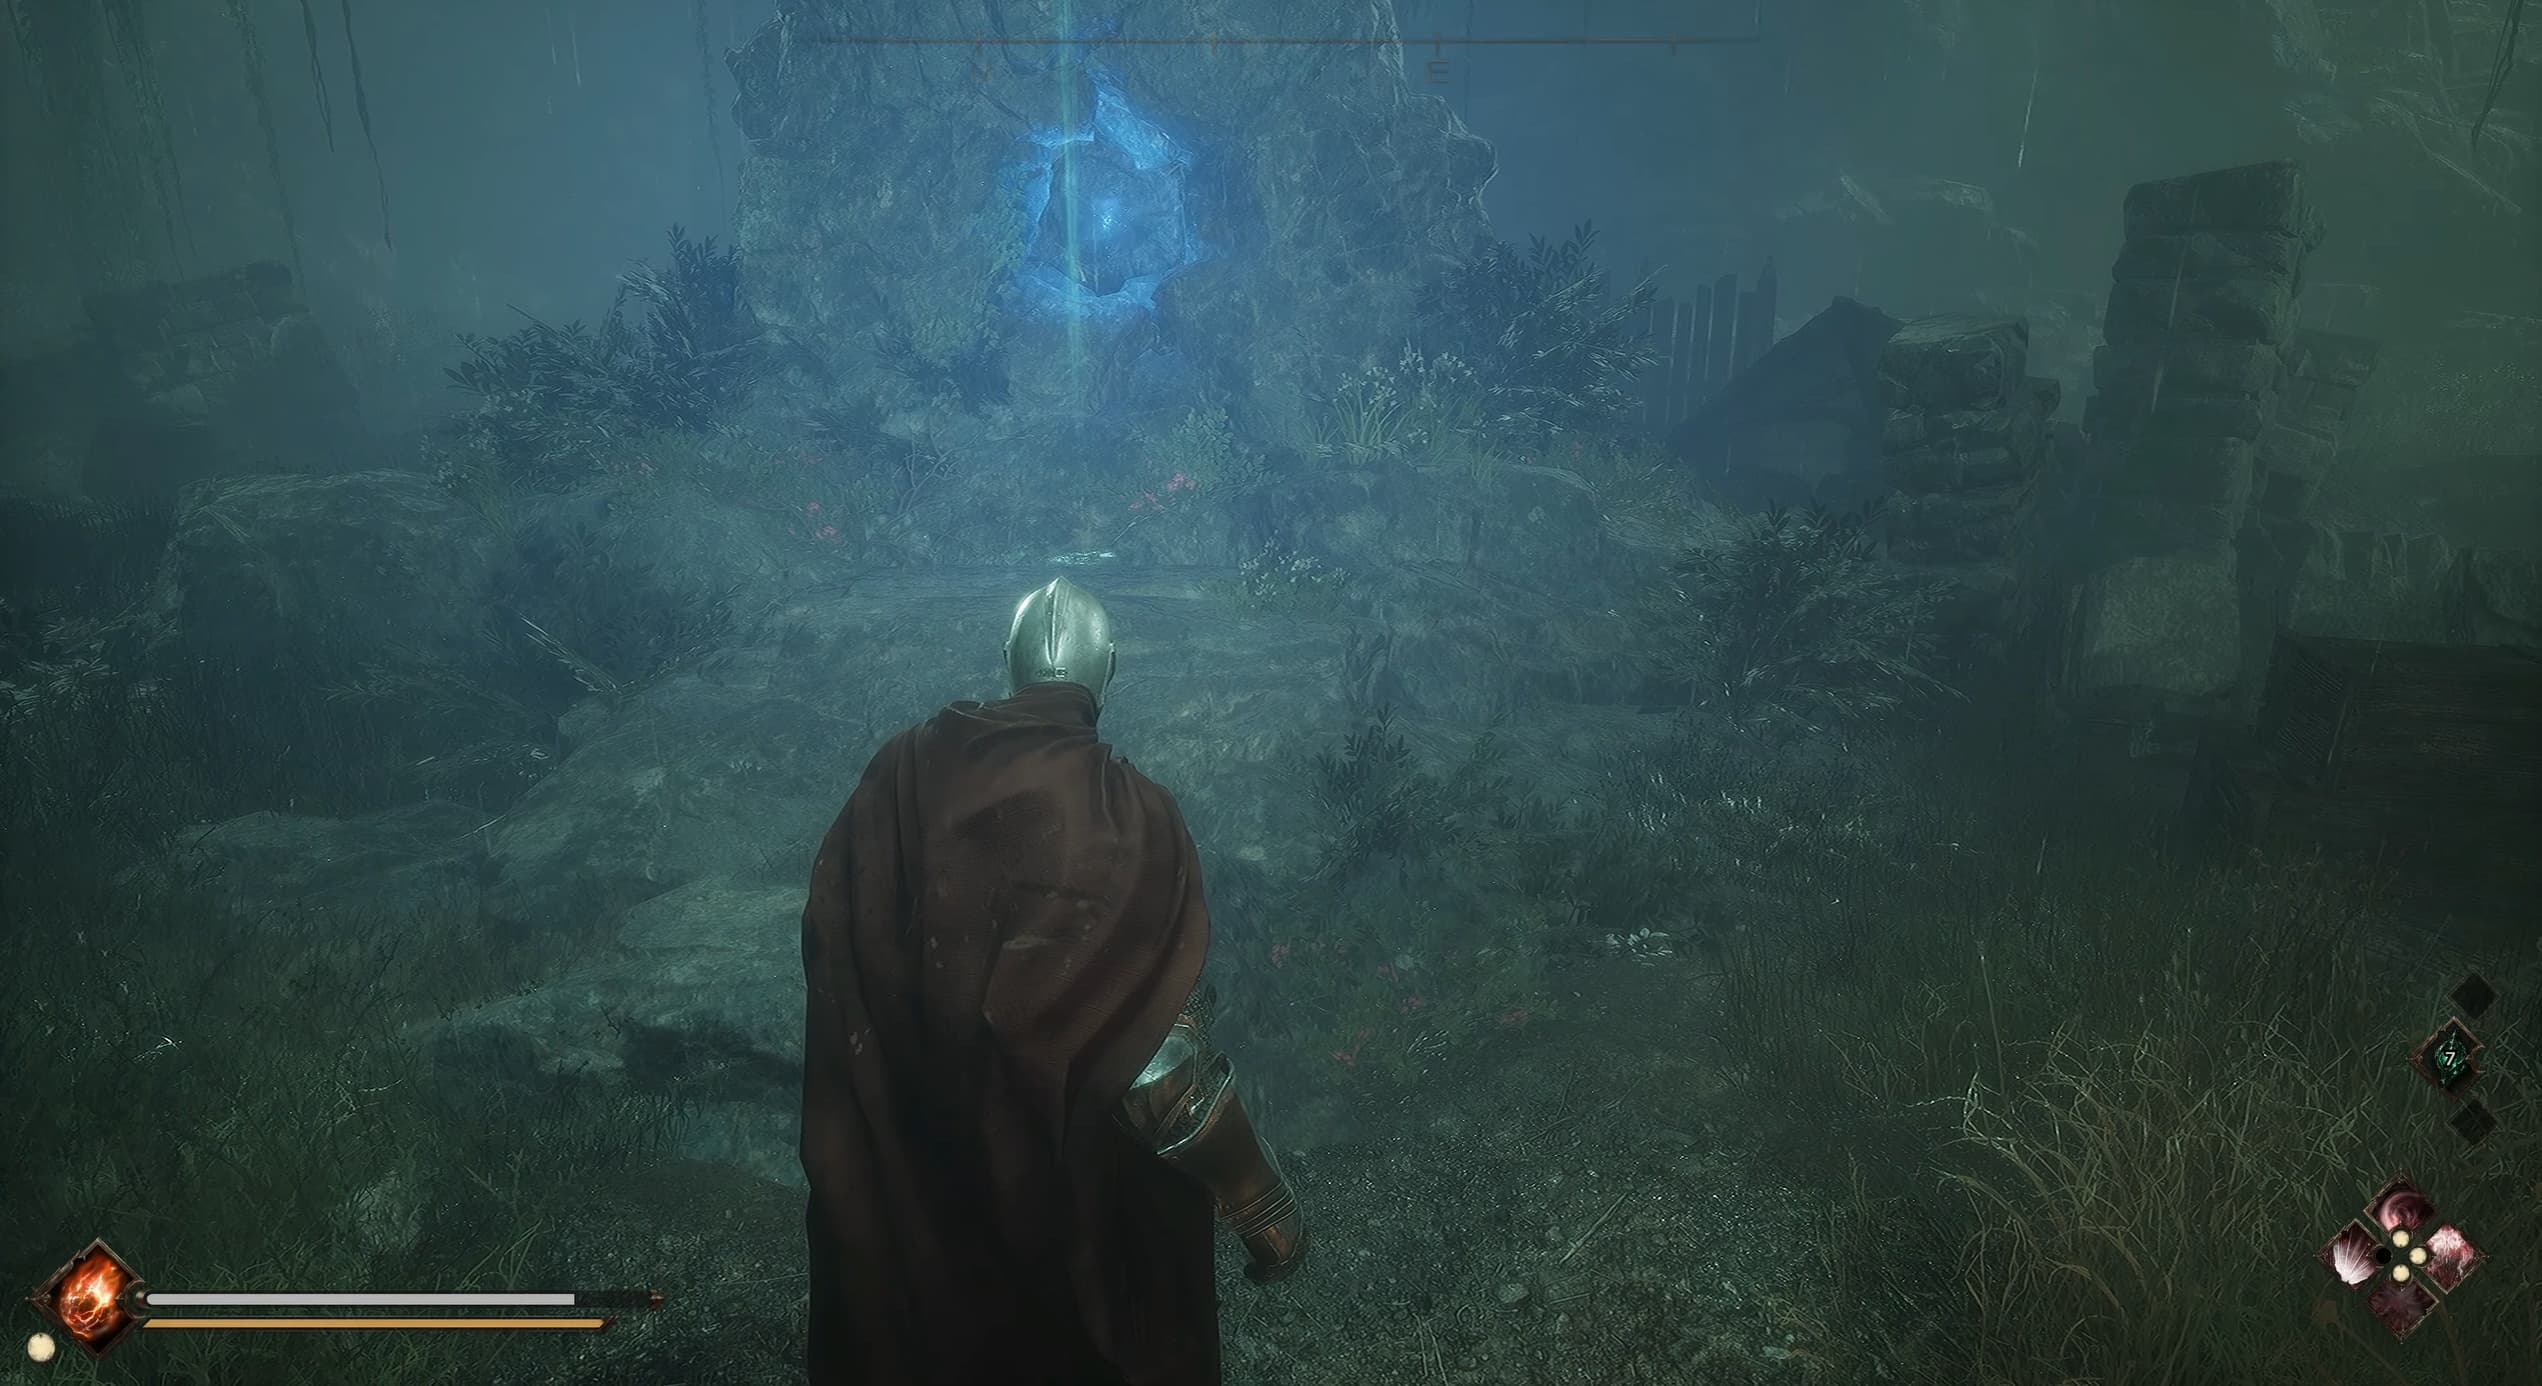
Location #1 as soon as you enter into the more green area, make your way north off of the main path towards a cave, head in and explore to find the first Relic Power here.
Location #2 making your way a little to the east along the main path, to find the next Relic Power as shown on the map below.
Location #3 heading down and to the west of this area, just off of the main path behind the building, as shown below will be the next Relic Power.
Location #4 now heading more to the south and to the east side of this area, you will find the next Relic Power at the end of the main path shown below.
Location #5 heading into the final area of Hillsbrad and round to the north, just off of the main path as shown below will be the next Relic Power.
Location #6 heading over towards the east side of this section, the next Relic Power will be found just off of the main path.
Location #7 heading north from the previous location but keeping east, the next Relic Power will be off of the offshoot path as shown below.
Location #8 heading back down to the west and south to the village area, to the side of the village will be the next Relic Power, there will be a lot of enemies here so be ready for this.
Location #9 making your way back out of the village area and around to the east, the next Relic Power can be found as shown on the map below.
Location #10 keeping heading to the east of the map, to find the next Relic Power in the main wall as shown below.
Location #11 now making your way all the way up and round to the village on the eastern most point now, there will be many enemies here also, so be ready for these, explore around the area as well as finding this Relic Power, there are plenty of goodies here.
Location #12 heading south from the previous location but staying to the east, the next Relic Power can be found just off of the main path, as shown below.
Location #13 is slightly west and south from the previous location, and can be found just beside the main path as shown below.
Location #14 and finally, over in the south western most point of Hillsbrad, the next Relic Power can be found to the eastern most path of the two in this area, see the map below.