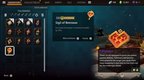
The newest operator being added to Rainbow Six Siege in Y11S3 has been revealed! Let’s take a look at what they do, and some first impressions from our time with them.
 Use your favourite features in-game with our Desktop App
Overview
New Operator ‘Noor’
Real name ‘Ahmed Murad’, a member of the Rainbow Organization, and known to his fellow comrades as ‘Noor’ - This militant is the answer to shield operators in Siege. With his gadget, the ‘Horus Lance Launcher’ he can effectively bring a push to a complete stop as he melts holes in the opposition.
Noor is a leap forward for competitive play in Siege, as he aims to tackle the long standing Montagne meta, in which Montagne (amongst other attacking shield opps) would look to contest bombsites aggressively, locking Defenders out entirely.
Main Operator Details & Weapons:
Specialties: Armor: 2 Speed: 2
Primary Weapons: Alda 5.56, Commando 9
Secondary Weapons: 1911 Tacops, Baliff 410
Gadgets: Deployable Shield x1, Barbed Wire x2
Gadget Overview
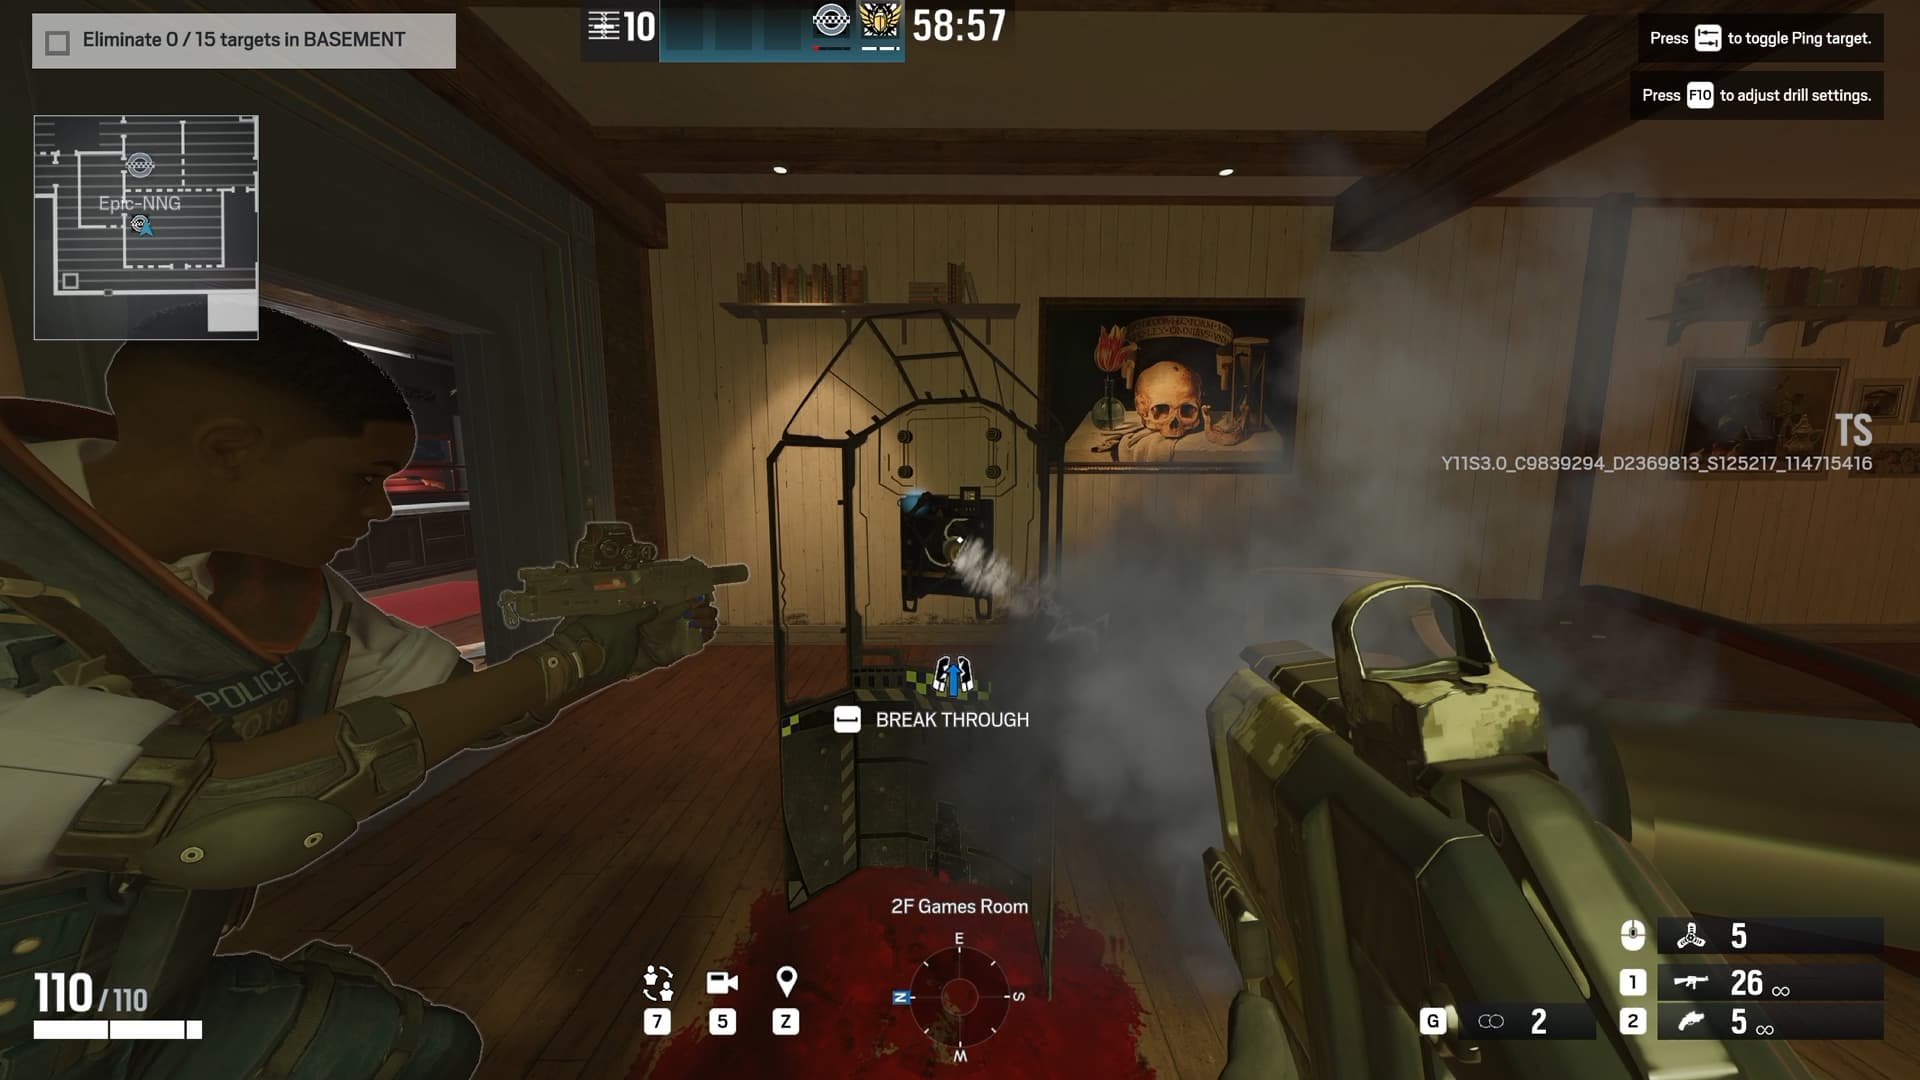
The Horus Lance Launcher is a gadget that fires rounds that dig into walls, ground, or gadgets of other operators. Depending on the indication when aiming down sights or when un-scoped with the gadget, it indicates if a surface will be penetrated and the gadget will propagate through the surface.
When playing as an operator with any form of ballistic shield, you have a small window to pull the gadget out before it starts dealing damage over a 10 second period. It’s also important to note that during the pull out animation, the affected operator is exposed to enemy bullets. Noor can use this information to his advantage when coordinating with his team during plant phases.
Extra Gadget Tips
After getting some focused hands on time with the new Operator, we’ve compiled some pointers on the best ways to utilize the Horus Lance.
Shield Countering
The main draw of this gadget is to use it for denying entry specifically to shield operators looking to cut off the map, and potentially guarding the defuser as it goes down. An educated attacker will attempt to bait out your Horus Lance, only to retreat to a safe spot to remove it. For best results, it’s recommended that you use them wisely, waiting out the timer as long as you can.
One important fact to note about playing against shield operators, is that at a specific health threshold, the Lance becomes a 100% chance to kill, due to the time it takes to remove from the shield. Use this knowledge to your advantage where applicable.
Breach Denial
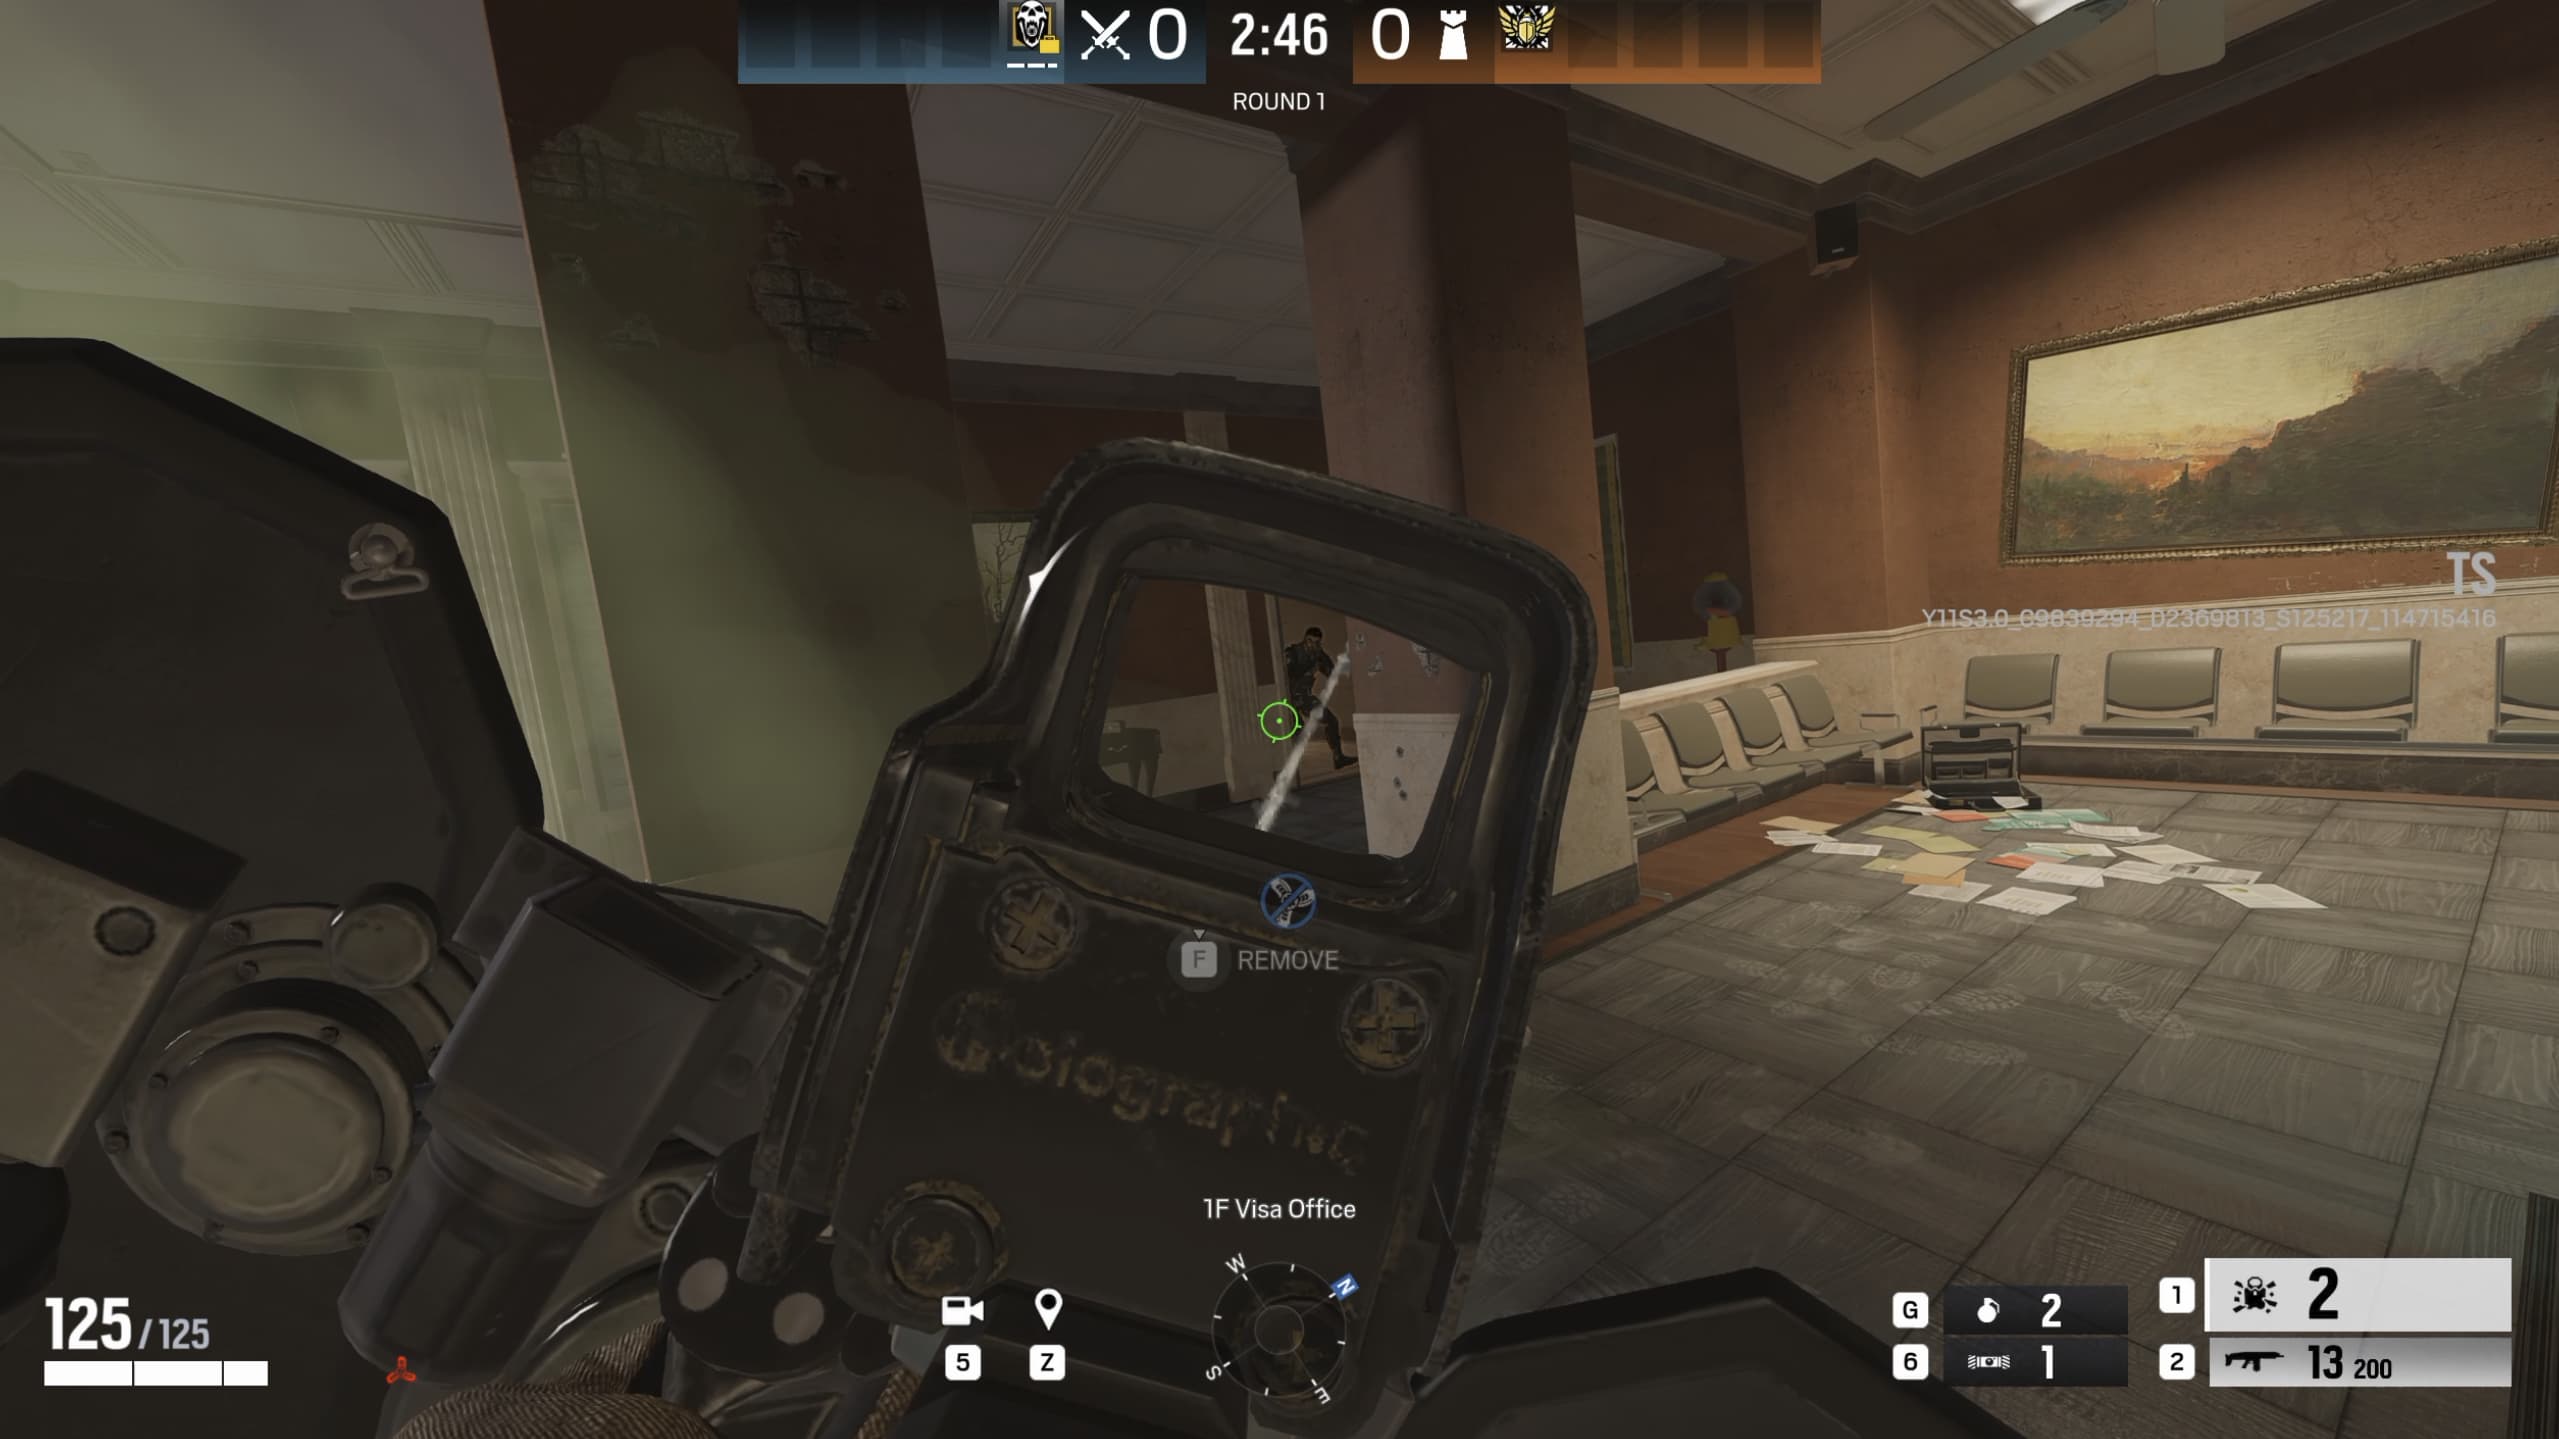
One of the most powerful use cases for the Horus Lance is its incredible ability to destroy enemy util. Despite only serving as a small fountain of propane, it possesses the unique power to destroy RAM’s Bu-Gi Auto Breachers. It can even be powerful enough to prevent them from destroying a soft hatch due to the damage radius of it. Aside from this, the Horus Lance can also be used to prevent Fuze charges, most hard breaching charges, Ace's Selma Aqua Breach devices, and even Gridlock’s Trax Stingers. Provided the charge is placed adjacent, you can also completely break an Osa shield, instead of just attaching to it temporarily.
One of the biggest downsides to the Horus is the incredibly short range, which happens to be roughly a doorway’s width. In an odd twist, it also seems the Lance cannot destroy Iana’s Gemini Hologram, or Flores’ primed for detonation Ratero Drone. Interestingly, it also can destroy Hibana’s X-Kairos charges, but because the range is so small, it’s not always the most reliable.
General Gameplay Tips
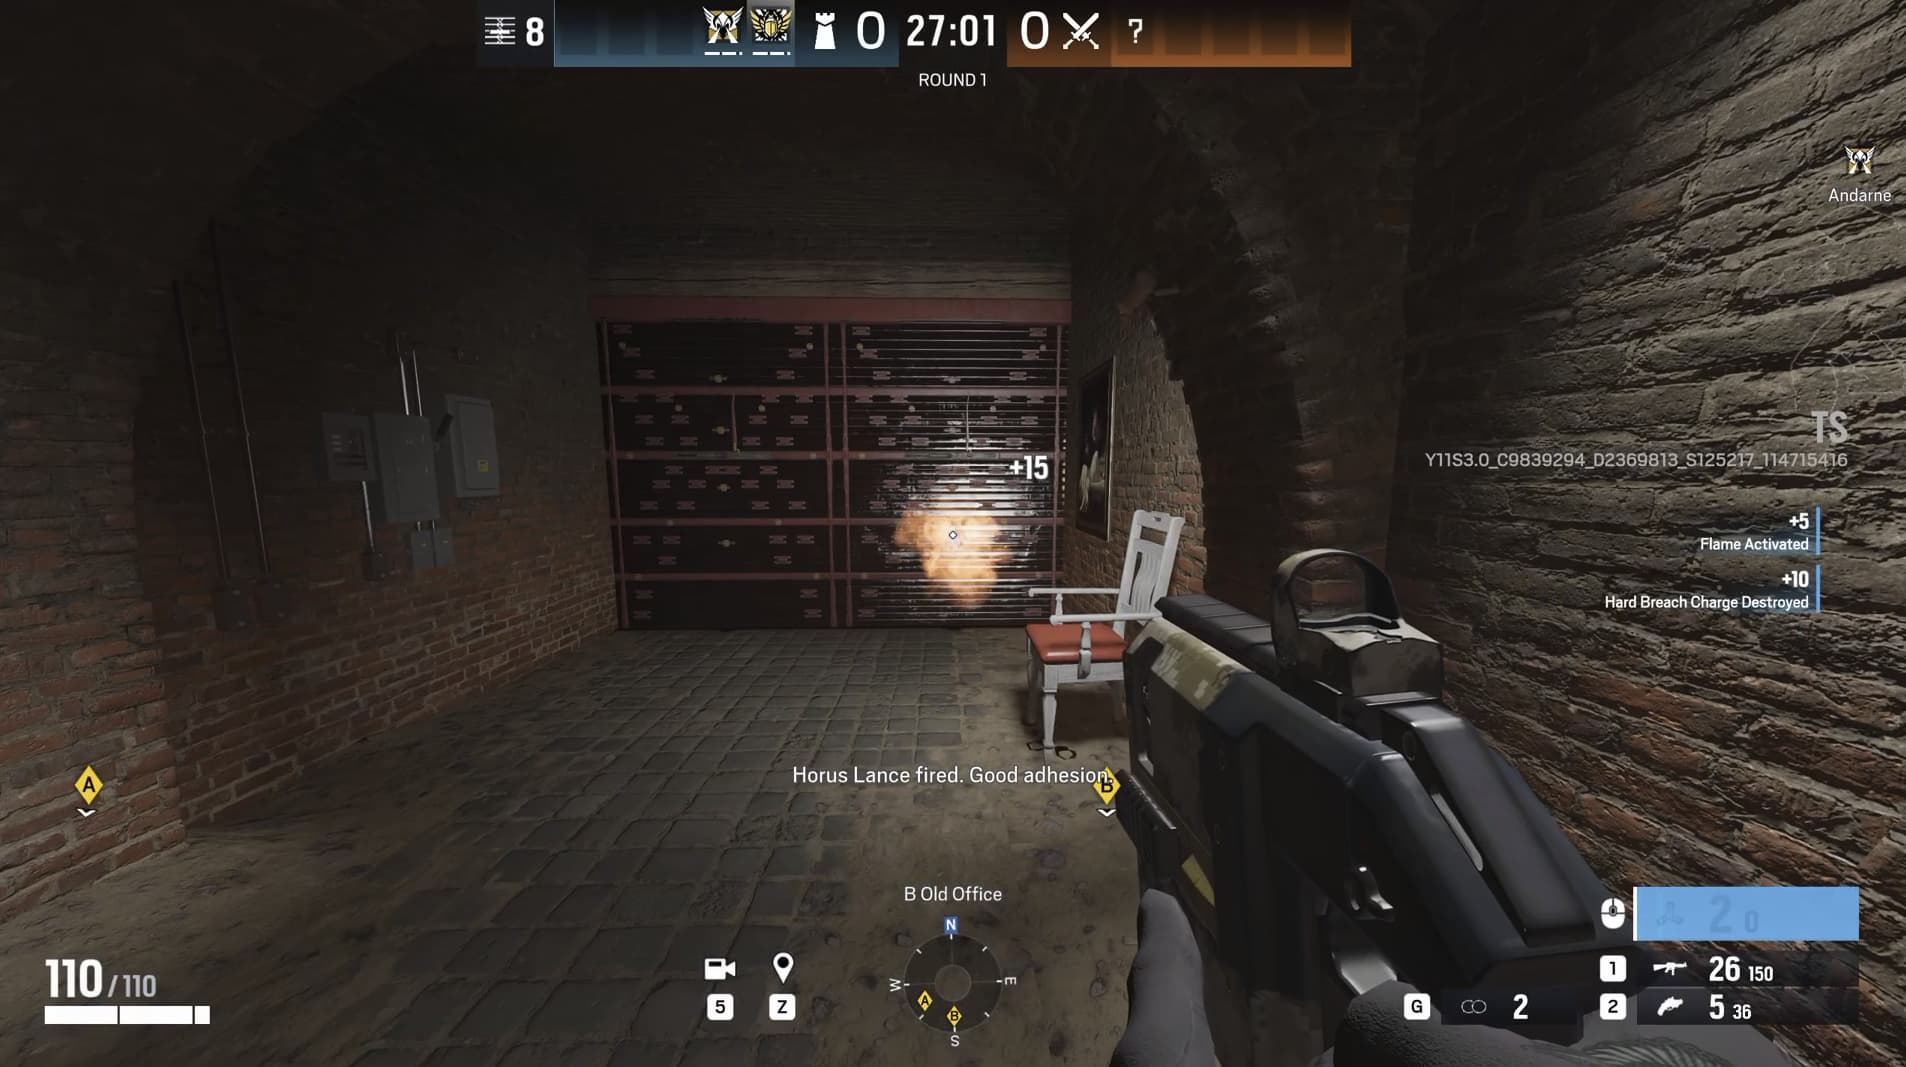
The best-case scenario is to anchor the bombsite with Noor, as he excels at denying a planting shield operator. His guns also facilitate that gameplay. With a speed and armor rating of 2-2, it would seem that Noor is going to be a decent roamer, but taking a look at his primary loadout, we can see that the Alda 5.56 LMG makes him slower, so running around the map chasing kills is a no-go.
However, you do have the option to run the Commando 9 assault rifle, which does not slow him down, has a slightly slower TTK compared to the Alda, but has better recoil than the LMG and is a generally recommended option if you were to be more aggressive with Noor. His secondary Bailiff 410 shotgun is very versatile in making rotation holes from one site to another, or in general preparation of the bombsite. If you choose to equip his other secondary weapon, the 1911 Tacops, you are removing the ability to make a quick rotation hole or drop down a soft hatch, but you gain a pistol that can potentially save you if you find yourself in a gunfight and run out of ammo in your primary weapon.
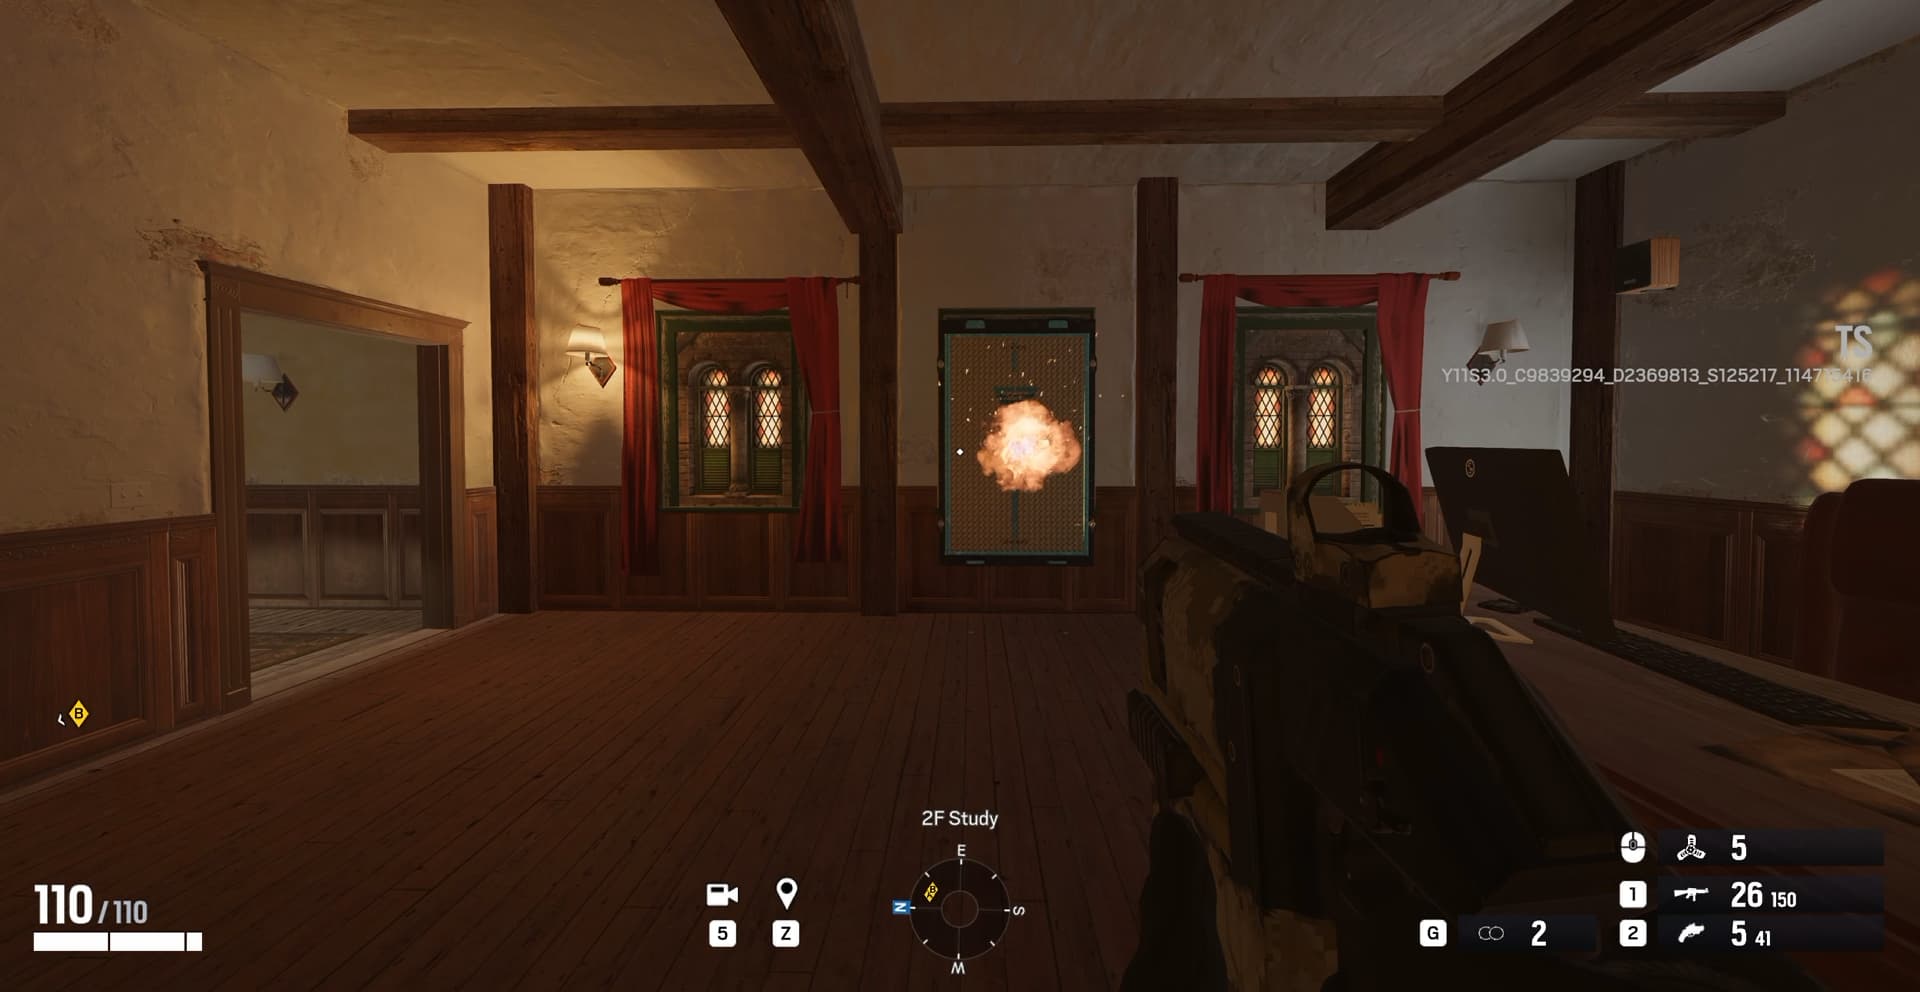
Some of the strongest situations for Noor revolve around preventing the enemy team from getting onto the bombsite with the help of his Horus Launcher. Similarly to Smoke, the gadget's most likely use case is to help your teammates maintain control over the bombsite. However, if you are being pressured by a shield operator such as Blackbeard or Blitz, do not hesitate to create some space between yourself and them by shooting the gadget at their shield, and then immediately falling back to a safe position to regroup.
The best operators to pair him with are Lesion, due to the ability to deal damage to the affected shield operator even when the Horus Lance Launcher is being removed; Echo, since he can use his Yokai drone to interrupt the animation of an operator who is pulling the lance out of his shield; and Oryx, who also can interrupt the pull-out animation with his Remah Dash. Or Clash, putting it on a CCE shield, makes it harder to destroy without explosives, because the shield itself slows enemies down, while the Horus Lance forces enemies to keep their distance if they do not want to get damaged by a flame.