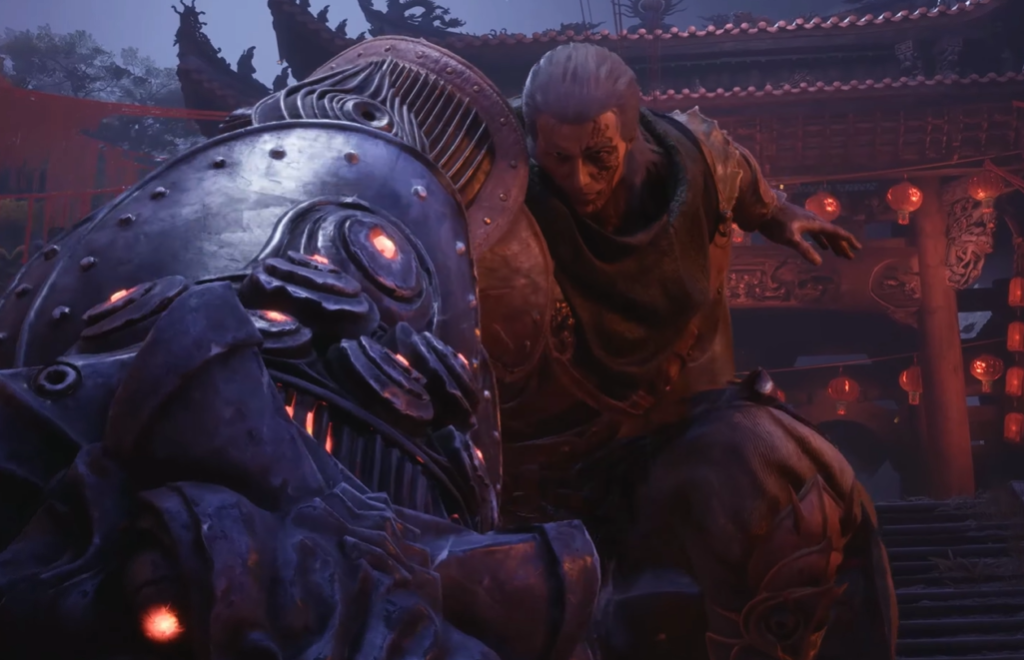
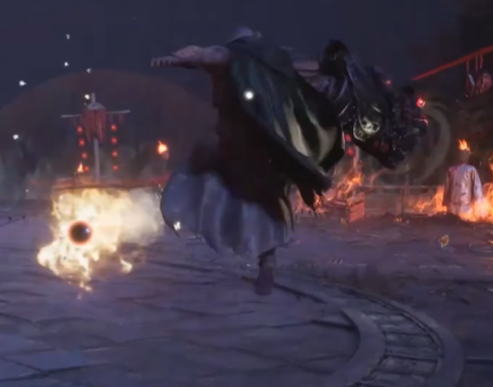
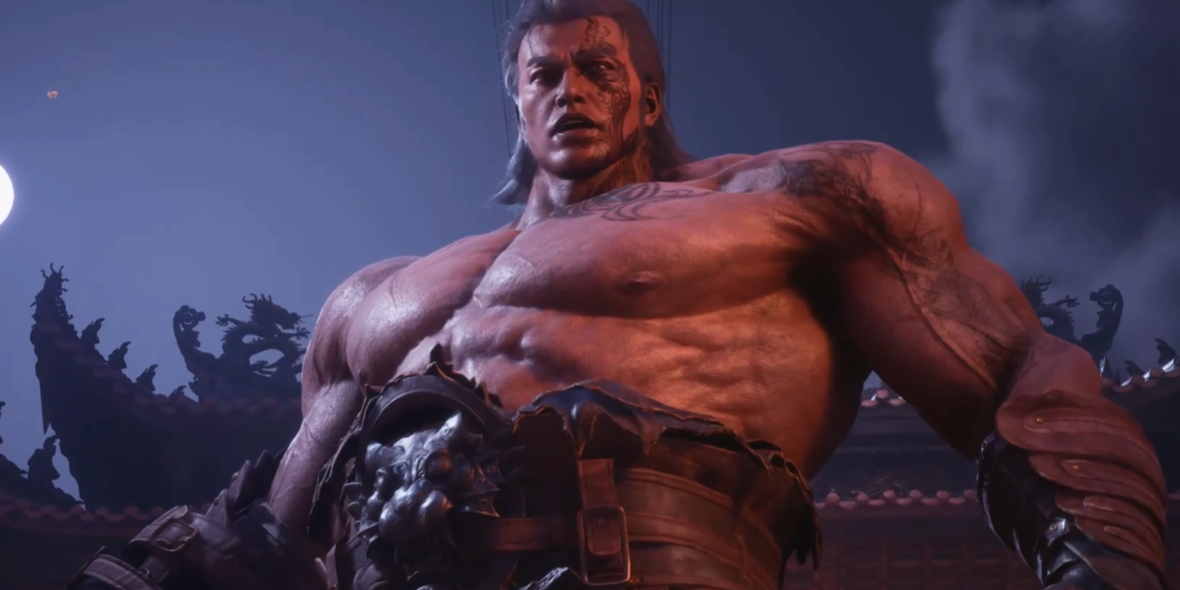
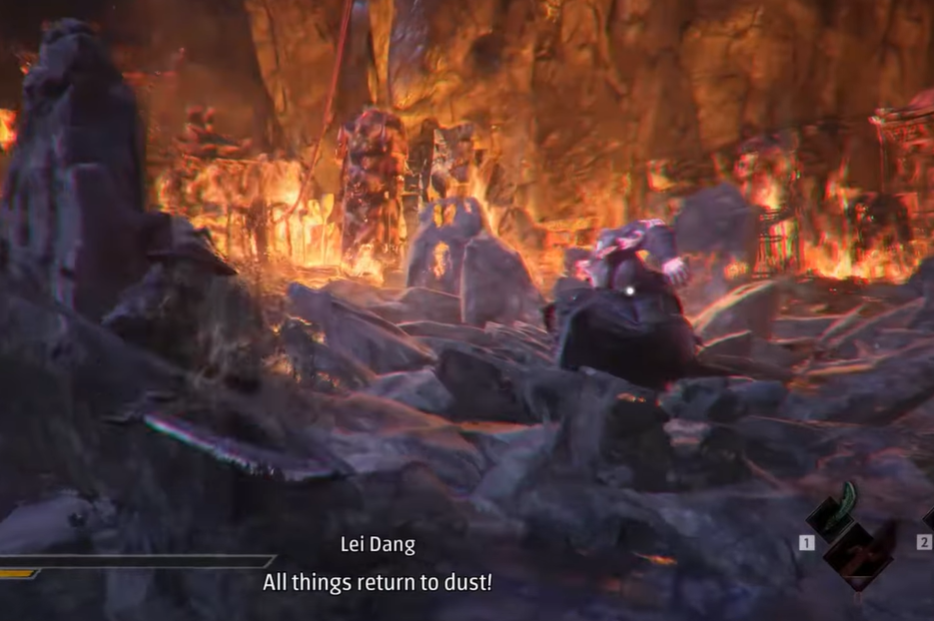
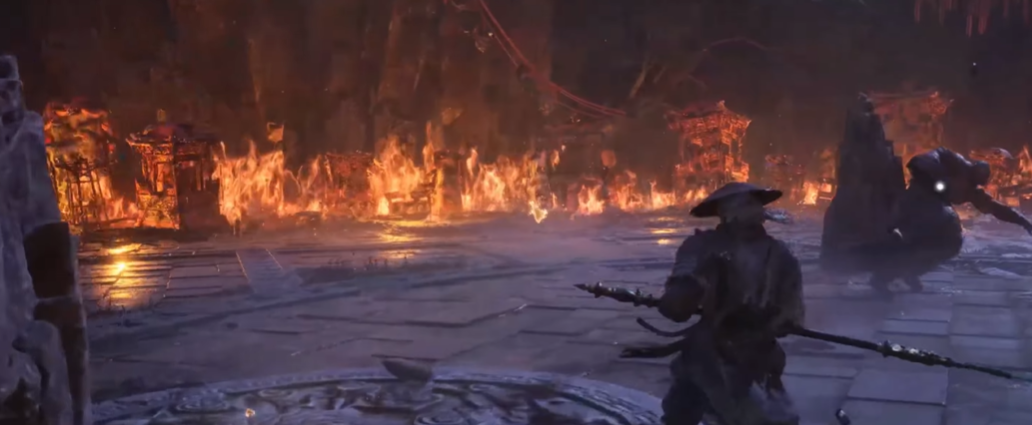
Lei Dang, the Tiger Cannon is a major story boss encountered near the Perfect Vessel Pond in the Mirage Estate.
You will already have met Lei Dang earlier in the game, where he helps repair the Flaming Mane. This encounter is the point where that earlier ally finally becomes a full boss fight.
The fight has two phases:
Lei Dang, the Tiger Cannon
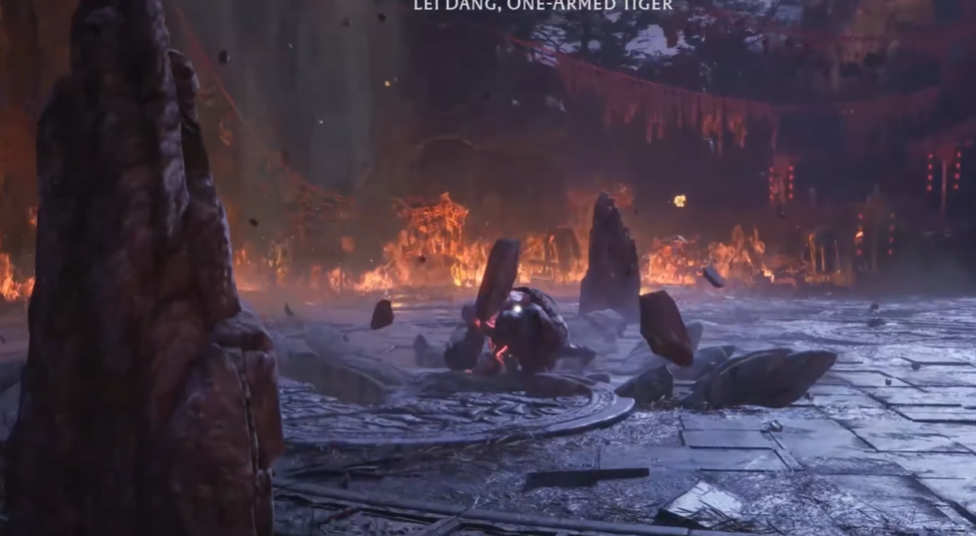
Lei Dang, One-Armed Tiger
Phase One focuses heavily on ranged pressure, cannon shots, fan-shaped barrages, and punishing you for approaching carelessly.
Phase Two completely changes the fight. Lei Dang throws away the Tiger Cannon and switches to a highly aggressive one-armed fighting style, with powerful punches, ground slams, shockwaves, and large arena-wide attacks.
As with the other multi-phase bosses, defeating Phase One creates a checkpoint, so once you reach One-Armed Tiger, you can practice that phase separately.
This guide was written and tested on Hellwalker difficulty.
Boss Mechanics Phase 1
Tiger Cannon Pressure
Phase One is built almost entirely around controlling the distance between you and Lei Dang.
His Tiger Cannon lets him pressure you from practically anywhere in the arena, so simply backing away does not create safety.
Instead, the safest approach is to keep moving laterally and gradually close the distance while watching for his larger cannon tells.
The most important thing is not to panic and sprint straight toward him. Lei Dang is very good at punishing predictable approaches.
Red Aim Line
One of his clearest ranged tells is the long red targeting line that stretches across the arena before a powerful cannon shot.
Once you see the line, stop attacking and prepare to evade.
Do not dodge the moment the line appears. There is a delay before the shot is actually released, and reacting too early can cause the projectile to catch the end of your dodge.
Wait for Lei Dang to commit, then move.
This is one of his most damaging ranged attacks, but it becomes very manageable once you learn the timing.
Fan Barrage
Lei Dang can also fire a wider fan-shaped barrage rather than a single straight shot.
This is particularly dangerous at medium range because the spread covers enough space that a normal sidestep may still leave you inside one of the projectiles.
The closer you are, the easier it becomes to move around the side of the cone.
At longer range, give yourself more room and focus entirely on avoiding the spread rather than trying to force damage through it.
Ranged Pressure into Melee
Getting close to Lei Dang does not completely stop his offense.
He can transition from cannon attacks into shorter close-range strikes, which means reaching him should not automatically trigger a full combo from you.
Take a short punish, then watch his next animation.
The safest way to play Phase One is:
Approach under fire → Punish briefly → Reset before the next cannon sequence.
Trying to stay permanently glued to him can make his shorter-range attacks much harder to read.
His Grab
One of Lei Dang's most dangerous attacks is not actually a cannon shot.
After certain swings or close-range sequences, he can suddenly transition into a grab.
This attack is especially deceptive because it can come exactly when you think you have earned a punish window.
Do not automatically attack after every missed swing.
If Lei Dang remains upright and close to you, wait a moment and make sure the sequence is actually finished.
This is one of the biggest greed checks in Phase One.
Phase 1 Strategy
Phase One is mostly about controlled approaches.
Do not rush through his ranged pressure.
Watch for the red targeting line, deal with the fan barrage, then move in once he has committed to an attack.
When you reach him, keep your punish short.
His cannon attacks leave recognizable openings, but his grab can punish you very hard if you assume every recovery is safe.
Once you stop trying to force constant melee pressure, this phase becomes far more consistent.
Boss Mechanics Phase 2
After losing his first health bar, Lei Dang throws aside the Tiger Cannon and becomes Lei Dang, One-Armed Tiger.
This is basically a completely different boss.
His offense becomes almost entirely physical, with aggressive punches, lunging attacks, ground slams, and shockwaves powerful enough to affect the arena itself.
Phase Two is much faster and far more aggressive than Phase One.
One-Armed Combos
Lei Dang's normal Phase Two pressure consists of heavy one-armed martial arts strings.
His attacks look slower and heavier than some sword bosses, but they have significant impact and can chain together surprisingly quickly.
Do not block entire strings if you can avoid it.
The Sha-Chi damage from his heavier attacks adds up quickly, and getting broken while standing directly in front of him is extremely dangerous.
Focus on clean parries where possible, then punish once he clearly finishes the sequence.
Shockwave Punches
Several of Lei Dang's punches generate powerful shockwaves, extending the effective range of his attacks well beyond his fist.
This makes backing away less reliable than it looks.
Even when his physical strike misses you, the wave can still connect.
Dodging sideways is generally safer than retreating directly backward.
Once you understand the additional range, these attacks become much easier to position around.
Ground Slam
Lei Dang can slam the ground with enough force to create a large shockwave around the impact point.
The attack can knock you off balance and leave you vulnerable to the next part of his offense.
Do not try to trade with this attack.
Move completely outside the impact area and wait for the recovery afterward.
Because the slam has a noticeable commitment, it is also one of your better punish opportunities once avoided.
The Arena-Wide Leap
This is the mechanic that really defines Phase Two.
Lei Dang can launch himself high into the air before crashing back down with enough force to affect almost the entire arena.
During the sequence, large rocks and pieces of terrain fall and remain standing throughout the battlefield.
This is not a normal attack you should try to iframe at close range.
The game expects you to use the terrain.
Use the Rocks as Cover
Once the rocks begin falling, immediately identify one of the larger pieces of terrain and move behind it.
Lei Dang's final impact sends a massive wave across the arena, and the safest way to avoid it is to have solid terrain between you and the blast. His Archive description specifically notes that the aerial crash needs to be escaped using the terrain.
Do not stay close to Lei Dang trying to squeeze in damage.
As soon as the sequence begins, offense no longer matters.
Find cover first.
Once the wave passes, move back into the fight.
Do Not Choose Cover Too Late
The main mistake during this mechanic is waiting too long before moving.
If you only start looking for cover once Lei Dang is already descending, you may not have enough time to get behind one of the rocks.
As soon as you recognize the jump or hear the attack cue, start repositioning.
You can always attack again afterward.
Falling Rocks and Arena Awareness
The falling debris is not only relevant to the major shockwave.
As the fight continues, the arena becomes more cluttered.
This can actually work in your favor because the rocks give you cover, but they can also restrict your movement if you let Lei Dang push you into an awkward corner.
Try to maintain a relatively open central position whenever the large arena mechanic is not active.
That gives you more options when you suddenly need to move behind cover.
Phase 2 Strategy
Phase Two is much more about defensive discipline and positioning.
Against his normal one-armed attacks, stay close enough to read the actual strikes and parry when possible.
Against his shockwaves, favor lateral movement instead of simply retreating.
Once he begins the major aerial sequence, forget about damage entirely and move behind one of the rocks.
The fight becomes much easier once you separate those two states:
Normal Phase Two combat means parry and punish.
Arena-wide attack means disengage and find cover.
Do not mix them.
General Strategy
Lei Dang is essentially two very different fights.
In Phase One, he wants to keep you away and punish your approach with the Tiger Cannon.
Move laterally, respect the red targeting line, and avoid overcommitting once you finally reach him.
In Phase Two, the fight becomes much more direct.
Lei Dang attacks aggressively with his remaining arm, but his normal strings are easier to understand once you stop worrying about ranged cannon pressure.
The real danger is his arena-wide attack.
When the rocks begin falling, immediately shift from combat to survival and use the terrain as cover.
Once the wave passes, resume the duel.
Recommended Approach on Hellwalker
On Hellwalker, I would prioritize short, consistent punish windows in both phases.
Phase One heavily punishes greed with the grab.
Phase Two punishes greed with shockwaves and the large arena mechanic.
You do not need to rush either health bar.
Once you have reached One-Armed Tiger once, that phase is checkpointed, so spend attempts learning the terrain mechanic rather than trying to brute-force it.