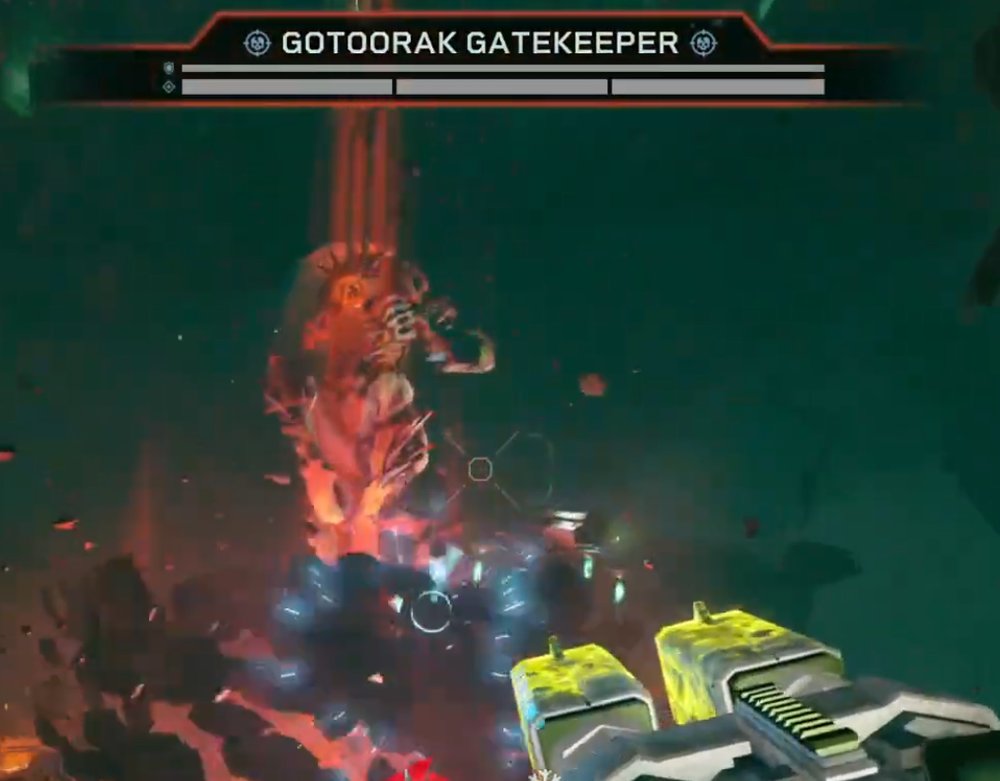
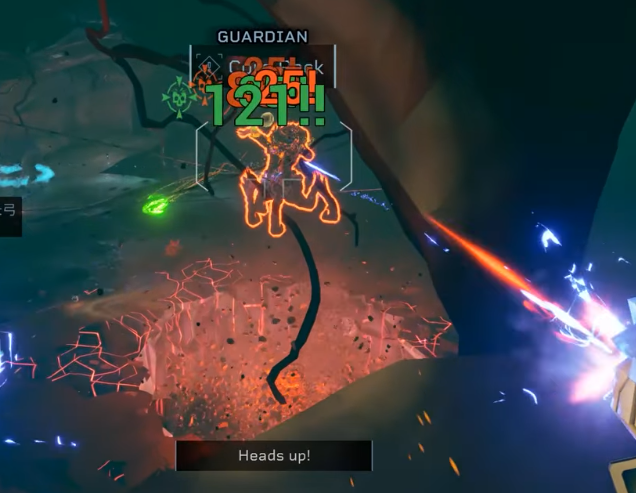
Today, we go in-depth on one of the three gatekeepers in DRG Rogue Core, the Gotoorak Gatekeeper.
This is the easiest of the three and the first one you will encounter starting on Depth-01.
First, we will go over the boss's abilities and then the strategy on how to tackle him.
Gotoorak Gatekeeper's Abilities
The Gotoorak Gatekeeper has 5 different attacks, each with its own condition for when it happens.
Melee Attack
The boss will only melee attack you if he is in melee range. It does decent damage, but it won't kill you outright. Just don't stand too close to him because it is a bit hard to dodge up close.
Ranged Attack
If you stay further away from the boss, he will begin using his ranged attacks. These attacks do not deal a huge amount of damage, but he fires them while constantly moving around, making it harder to shoot him and dodge at the same time without risking getting hit.
Spin Shot
The boss will occasionally do a spin shot if he's at a distance from you, which shoots projectiles in a circle around him.
Massive Projectile
After throwing the first core into his hole, he will start using this attack. It is heavily telegraphed and fires a massive green missile that deals a ton of damage.
The projectile itself is not the main problem, though — it is the explosion afterward. Once the missile hits the ground, a massive explosion expands outward, dealing huge amounts of damage, especially on deeper depths.
Strategy
Around the arena, a large number of ammo crates are placed. Do not waste them on the enemy waves during the buildup phase — save them for the boss itself.
These crates provide both ammo and armor, which are extremely important during the fight.
Boss fights often do not contain any Red Sugar, meaning there is no reliable way to heal. As a result, armor becomes your only refillable source of survivability.
Phase 1
During Phase 1, the boss will only use his melee, ranged, and spin attacks. Focus your fire specifically on his eye, since it is his only weak spot and allows you to deal massively increased damage.
Aside from that, try to position yourself far away from the boss because his ranged projectiles are much easier to dodge at a distance than up close.
Phase 2
Once you deplete the first Shield Bar, Phase 2 begins, which acts more as a transition phase. This happens every time you deplete his Shield Bar.
He will fly above the gate, becoming invulnerable while ejecting one of the cores that keep the gate open. Do not stand too close when this transition happens, because he releases a shockwave that deals massive AOE damage and cannot be dodged.
During this phase, the boss mainly uses projectile attacks, spinning attacks, and his massive green missiles.
The boss will remain invulnerable until you remove the detached orb from the fight. To do this, pick up the orb and throw it into the gate, which will trigger Phase 3.
Phase 3
This is the last actual phase the boss can enter because once you deplete the shield bar, he will simply return to Phase 2, after which he will eventually enter Phase 3 again.
Phase 3 is very similar to Phase 2, except he now walks around while using all of his attacks. That is really the only difference.
During this phase, the same strategy from Phase 1 still applies, but be extra careful of his Massive Missile attack. This attack can wipe out entire teams if you misposition.
Focus on his eye, throw in the orbs, and the boss should go down easily after that.