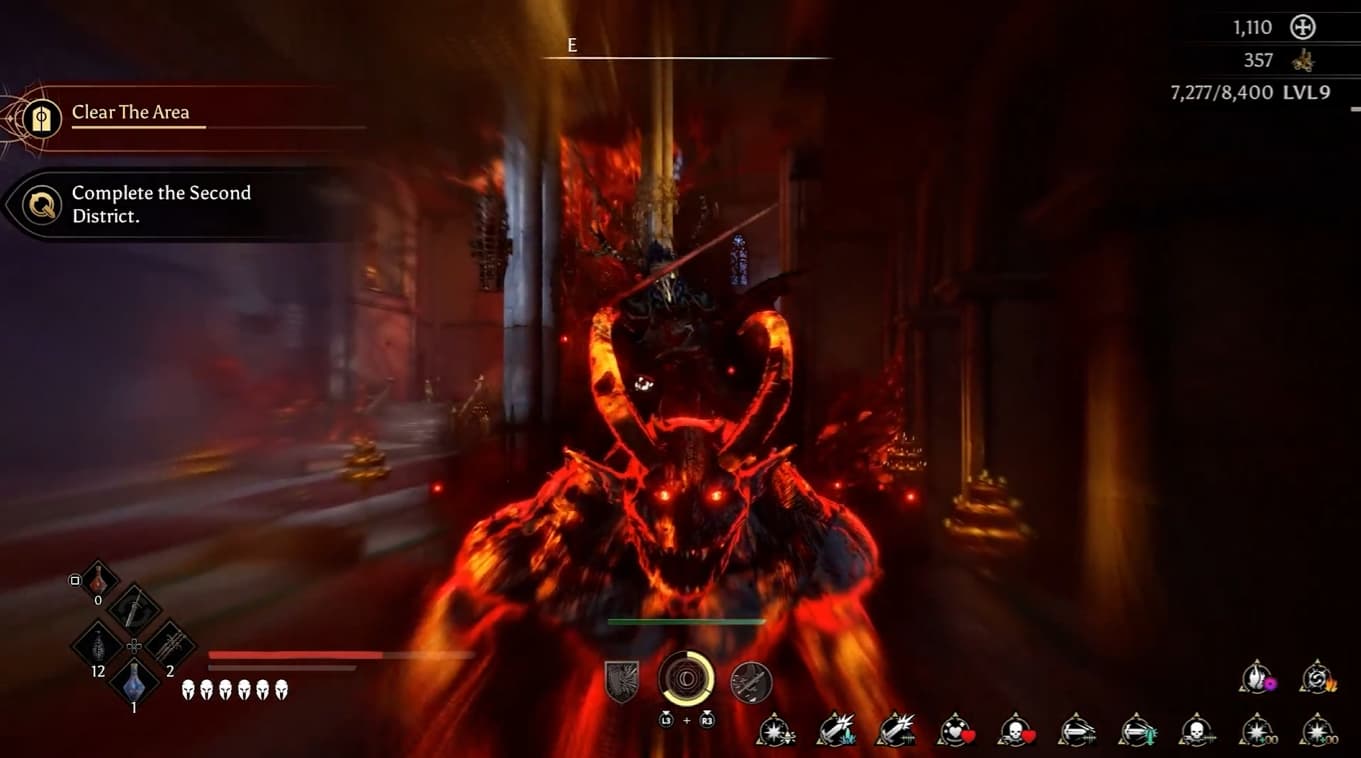
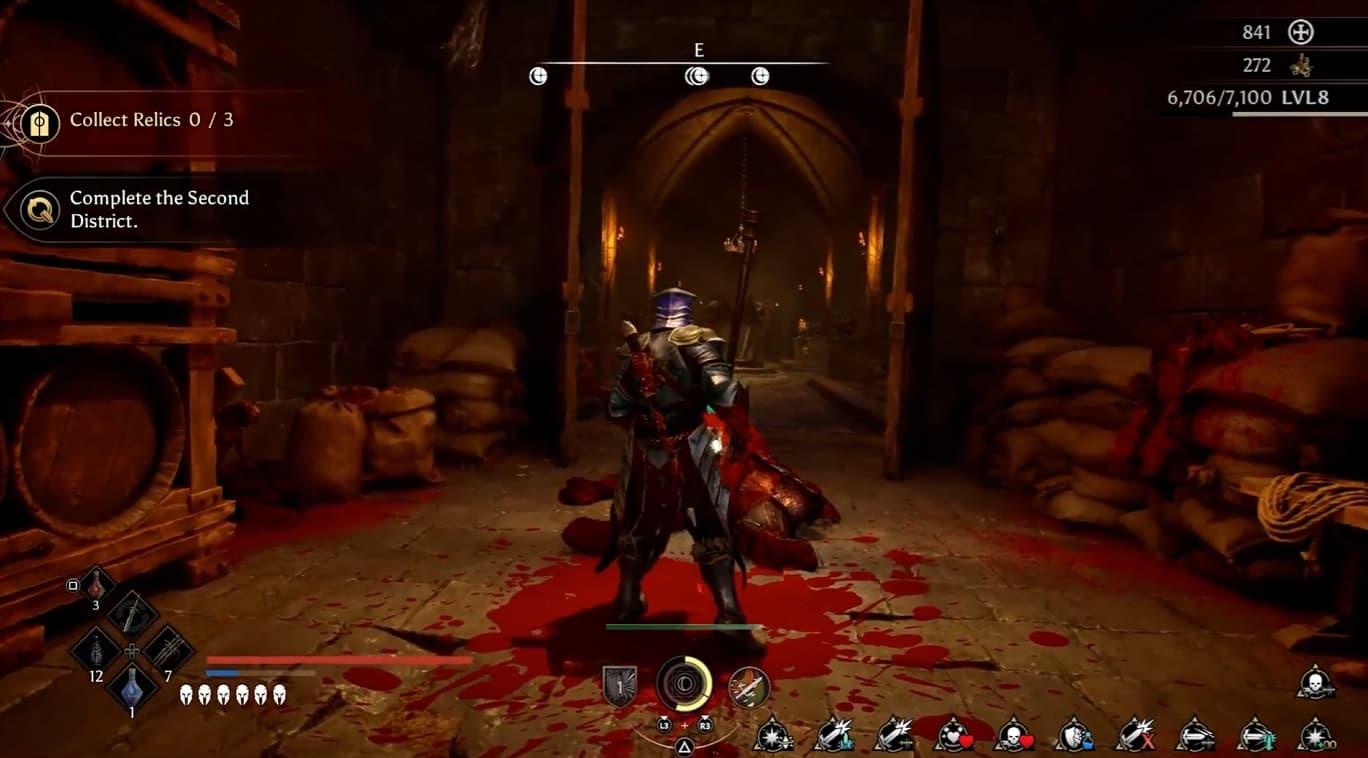
Crimson Moon throws several important systems at you from the beginning. Although equipping the weapon with the highest number may seem like the easiest approach, creating a strong build requires you to consider your gear, Weapon Arts, Boons, Angel and status effects together.
This Crimson Moon beginner guide covers 12 essential tips and tricks to help you survive combat, choose better equipment, create stronger builds and make faster permanent progress between hunts.
Don’t Automatically Equip Higher Rarity Gear
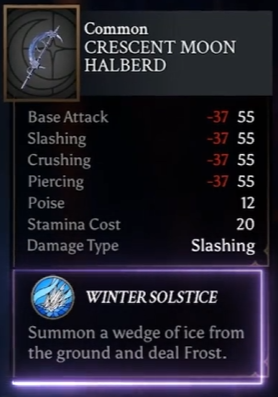
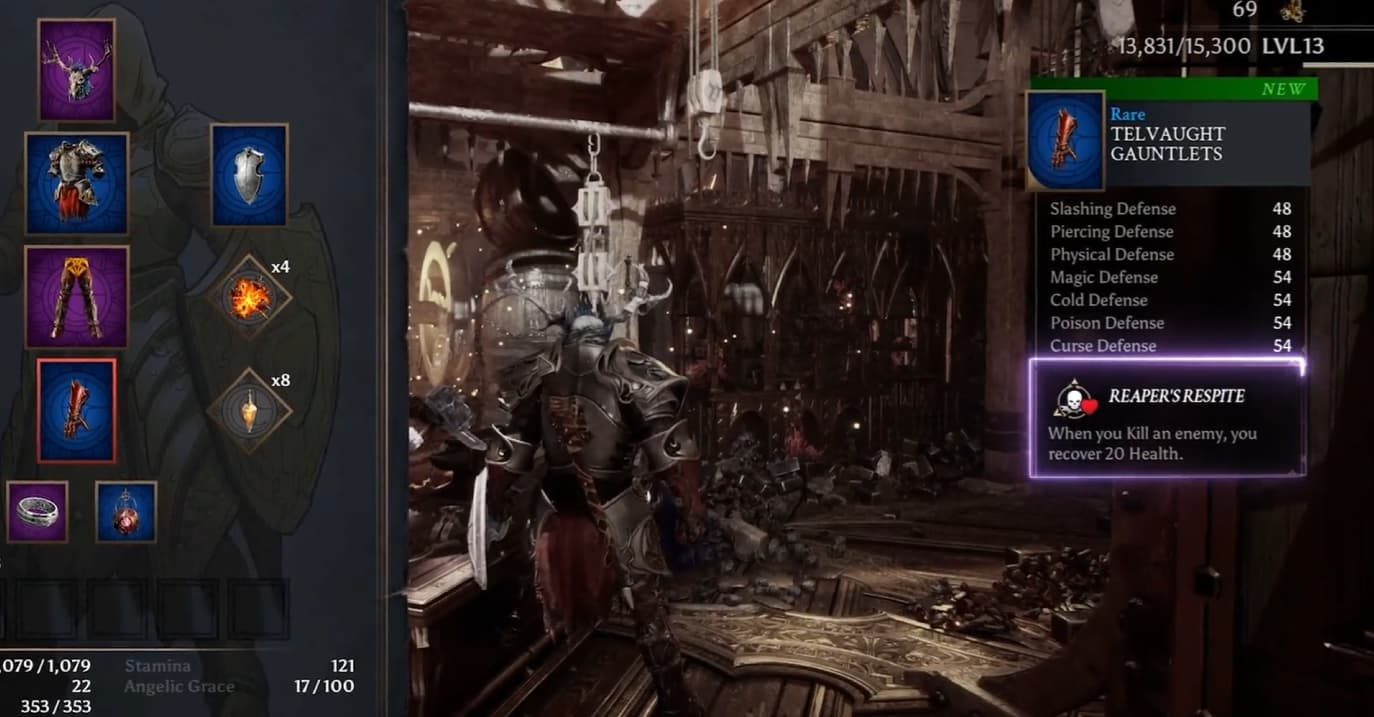
Higher rarity equipment is not always an upgrade in Crimson Moon. A new weapon may display several improved stats, but replacing your current weapon without checking the entire tooltip can weaken your build.
Alongside its Base Attack, you should consider the weapon’s Weapon Art, Boon or passive effect, activation condition and synergy with your other equipment.
A weapon with slightly lower Base Attack may still be more valuable if it applies an important status effect or consistently activates other parts of your build.
Winter Solstice is a good example. This Weapon Art summons ice from the ground and deals Frost, giving the weapon useful crowd-control potential alongside its regular damage.
Instead of asking which weapon has the highest number, ask which one makes your current Crimson Moon build stronger.
Understand How Blocking Works
Blocking does not always prevent you from taking damage. Every shield in Crimson Moon has a Block Amount that determines how much incoming damage it absorbs.
Unless your shield provides complete protection, some damage will still pass through. You should therefore avoid standing in front of an enemy and allowing it to attack your shield repeatedly.
Use blocking as a backup while controlling the distance instead. Lock on, move in and out of the enemy’s range and bait it into committing to an attack. Once the attack finishes, move in for a few Light Attacks before backing away.
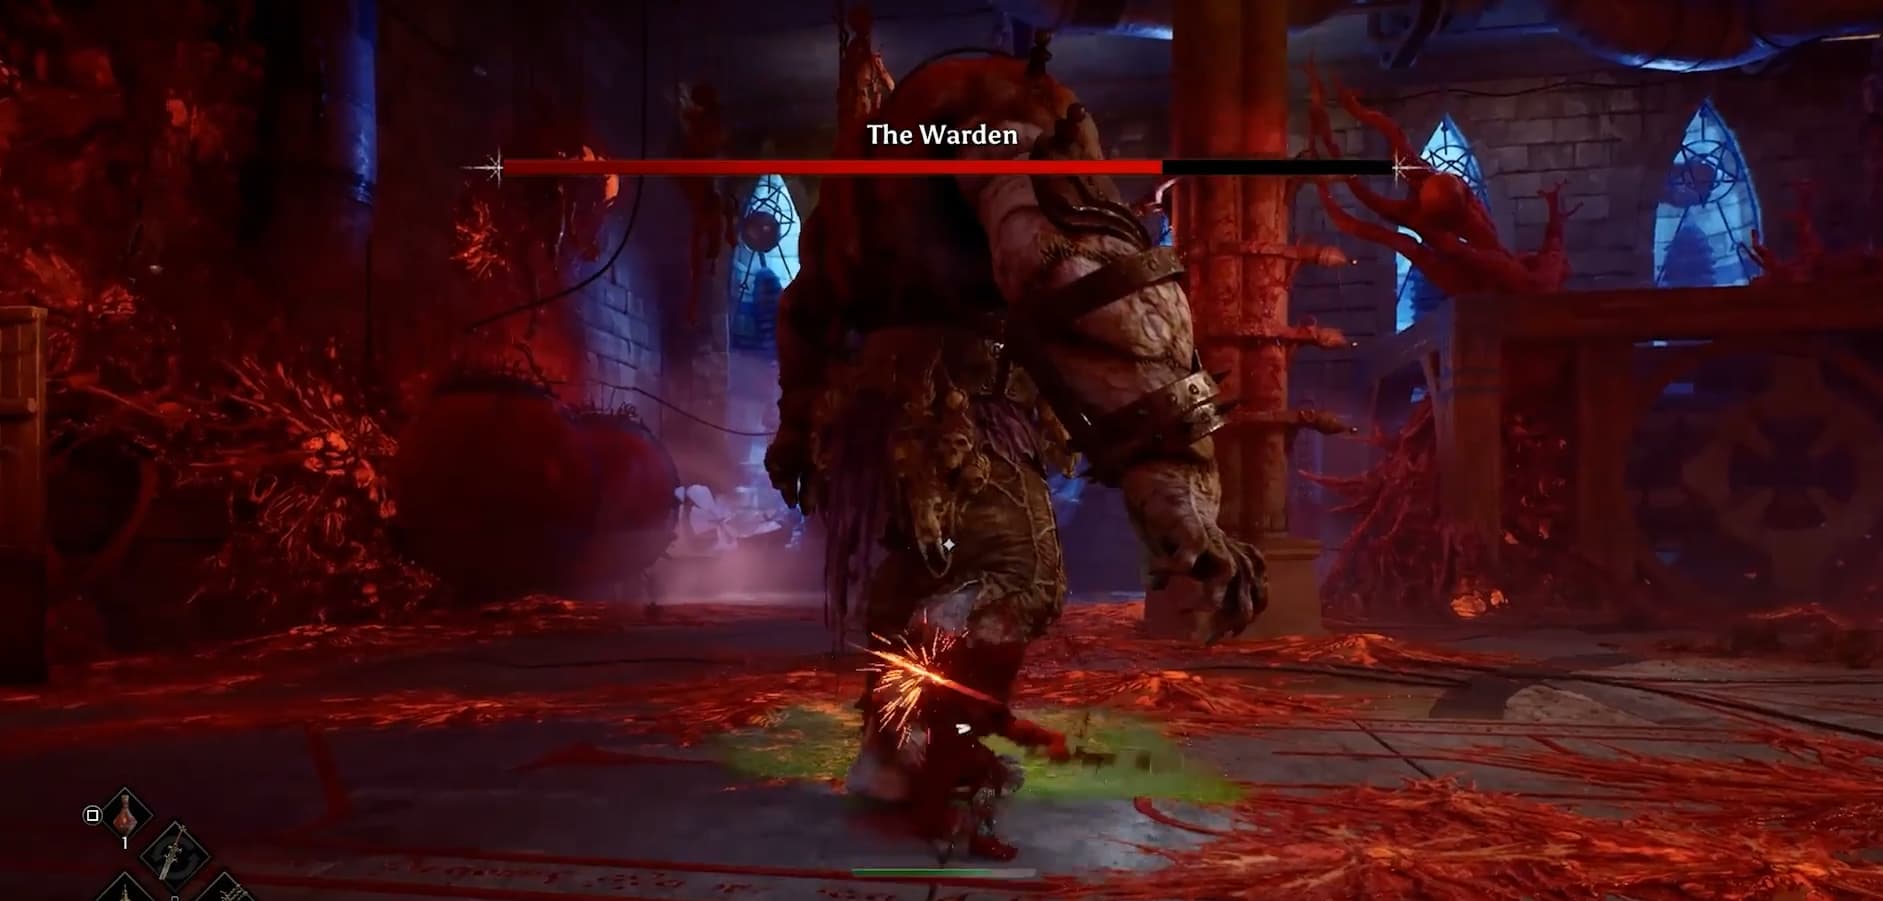
You should also watch for enemies that flash red. This signals an unblockable attack that must be avoided with a dodge or parry.
Learn When to Parry
Parrying is one of the most powerful combat tools in Crimson Moon, but you do not need to parry every attack.
A missed parry can result in taking the full hit, which can quickly end an early run. Blocking and dodging are much safer options while you learn an enemy’s attacks and animations.
Once you understand the timing, you can begin adding parries to your playstyle. Successful parries can become the foundation of an entire build.
Frostbrand Seal applies Frost after a successful parry, while parrying also generates Angelic Grace. Several Boons and passive effects provide additional damage or utility whenever you parry.
Parrying has a high potential reward, but it also carries more risk. If forcing parries is repeatedly ending your hunts, focus on surviving first and practice the timing against familiar enemies.
Choose Boons You Can Consistently Activate
A Crimson Moon Boon can sound incredibly powerful but provide very little value if you rarely meet its activation condition.
The best early Boons are normally effects that work with actions you already perform and activate consistently throughout a hunt.
Reaper’s Respite is a straightforward example, as it restores Health whenever you defeat an enemy. You are already going to kill enemies, so the effect provides reliable sustain without forcing you to change your playstyle.
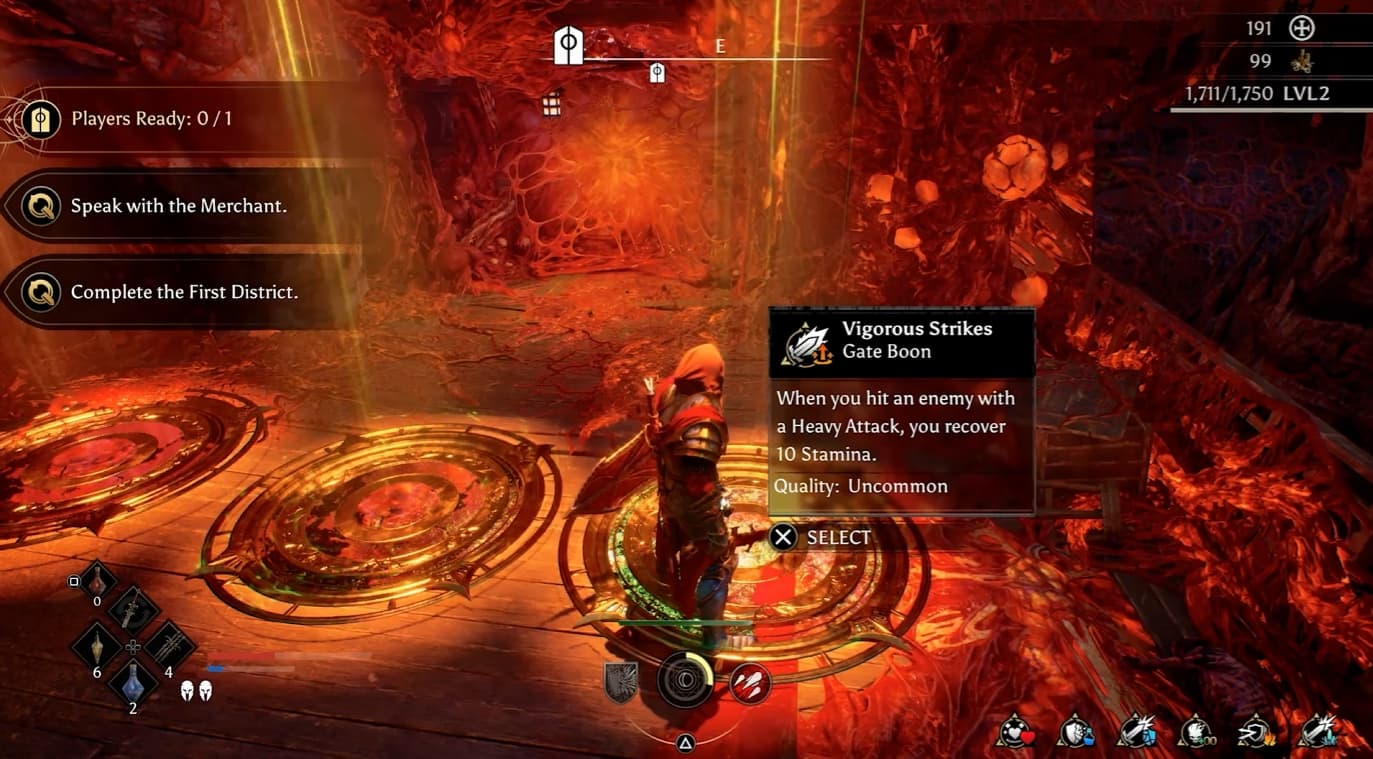
Compare this with a Boon that requires repeated Heavy Attacks or successful parries. The reward may be stronger, but the slower or more dangerous activation condition can make it less dependable.
When choosing a Boon, consider how often it will activate, how dangerous its requirement is and whether it works with your current build.
Check Every Weapon Art
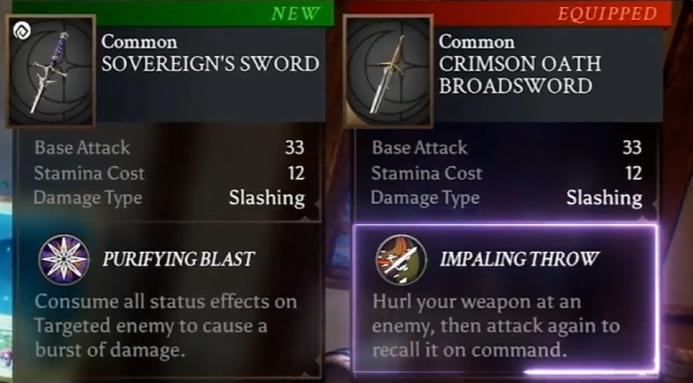
A weapon’s value comes from its Weapon Art as much as its Base Attack. Weapon Arts can provide ranged attacks, crowd control, status application, area damage or defensive utility.
Impaling Throw lets you hurl your weapon at an enemy before recalling it, allowing you to deal damage from a safer distance. Other Weapon Arts can apply status effects, hit groups of enemies or consume existing effects for a burst of damage.
This means that two weapons with similar stats can play completely differently.
Weapon Arts consume Mana, so their cost must also be considered. A powerful ability loses value if your build cannot support frequent use.
Balance your Weapon Arts with normal melee attacks and choose an ability that complements your other equipment or covers a weakness in your build.
Learn What Every Status Effect Does
Status effects are a major part of Crimson Moon’s buildcrafting. Understanding each effect will help you recognize powerful combinations between weapons, Boons and passive effects.
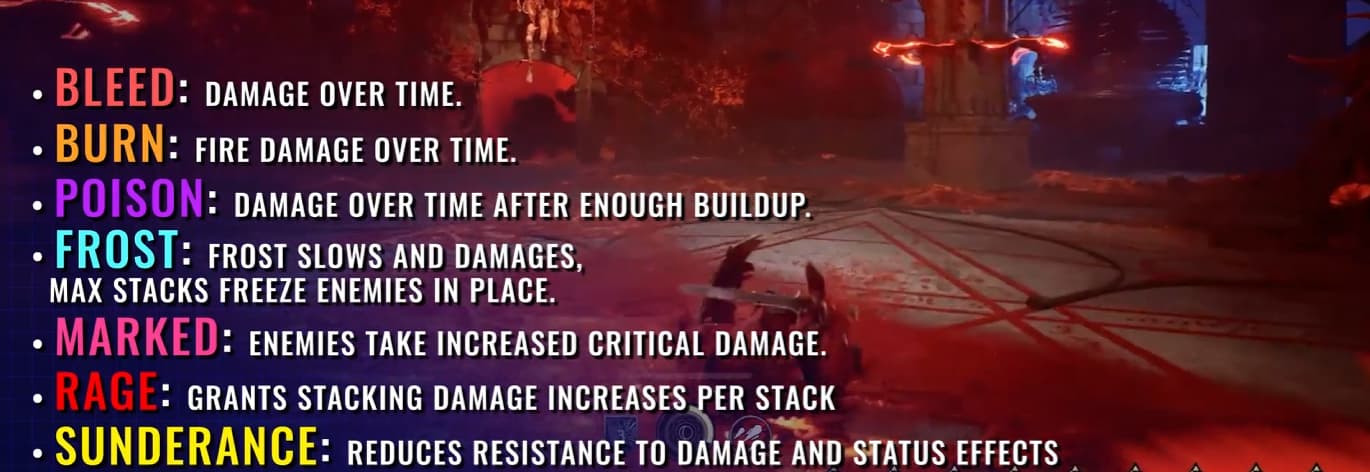
Bleed - Deals damage over time.
Burn - Deals fire damage over time.
Poison - Deals damage over time after enough buildup.
Frost - Slows and damages enemies as stacks accumulate. Applying enough Frost causes Frozen, preventing the enemy from moving or attacking.
Marked - Causes enemies to take increased Critical Damage.
Rage - Increases your damage, with the effect becoming stronger as you gain additional stacks.
Sunderance - Reduces an enemy’s resistance to damage and status effects.
The most powerful builds connect several of these effects. Hunter’s Strike gives Light Attacks a chance to Mark enemies, while Graceful Strike restores Angelic Grace when a Light Attack hits a Marked target.
One Light Attack can therefore apply a debuff, increase the enemy’s vulnerability to Critical Damage and restore an important resource.
Look for similar interactions whenever you choose new gear or Boons.
Develop Your Build Through Nexus Gates
You do not need a complete build before entering a mission. Your starting equipment, Weapon Arts and Angel provide a foundation, but your build will continue developing during the hunt.
As you progress through a mission, you will encounter Nexus Gates. Completing these sections gives you a choice of Boons that remain active for the rest of the run.
Each Boon should either strengthen what your build already does or help you pivot towards a better opportunity you discovered during the mission.
You may enter a hunt intending to build around Critical Damage before finding a powerful Frost weapon and several Frost related Boons. Changing direction may be stronger than stubbornly following your original plan.
Successful Crimson Moon builds are created by adapting to the equipment and Boons offered during each run.
Spend Souls, but Save Your Gold
Souls and Gold are used for completely different types of progression.
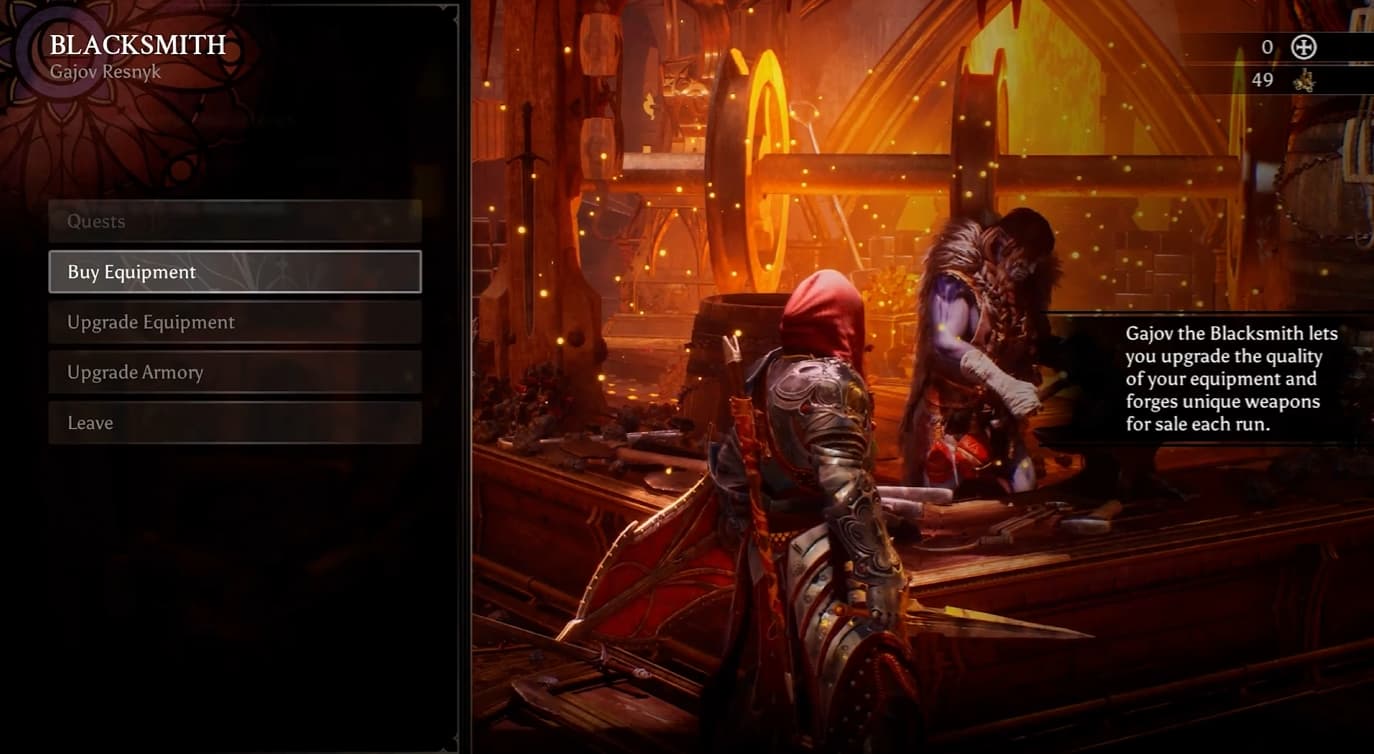
Gold is permanent and supports long-term progression between hunts. Souls are temporary and are primarily used to strengthen your current run.
Because Souls can be lost when a hunt falls apart, you generally do not want to die while holding a large amount. If a merchant offers equipment that significantly improves your chances of completing the mission, spend your Souls.
The exception is when your current equipment specifically becomes stronger based on the number of Souls you are holding. Always check your active effects before spending everything.
The easiest rule to remember is:
Souls normally strengthen your current run, while Gold improves future runs.
Use Purification to Unlock Equipment Permanently
Finding a powerful weapon during a mission does not immediately add it to your permanent Crimson Moon collection.
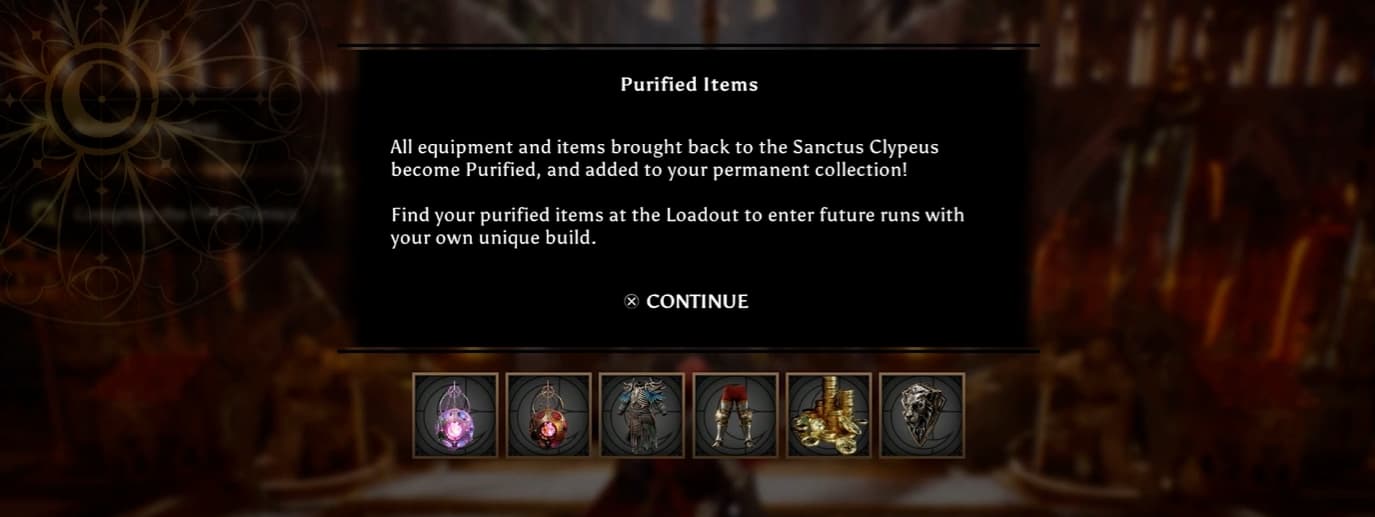
You must successfully complete the hunt and bring the equipment back to Sanctus Clypeus. The items you return with become Purified and are added to your permanent collection.
Purified items can then be selected when preparing loadouts for future hunts.
Your early arsenal is limited, but successfully completing missions will gradually unlock more weapons, armour, trinkets, Weapon Arts and build combinations.
The main progression loop is simple:
Find valuable equipment, complete the hunt, return safely and use your expanded collection to create stronger starting loadouts.
Explore Every Mission
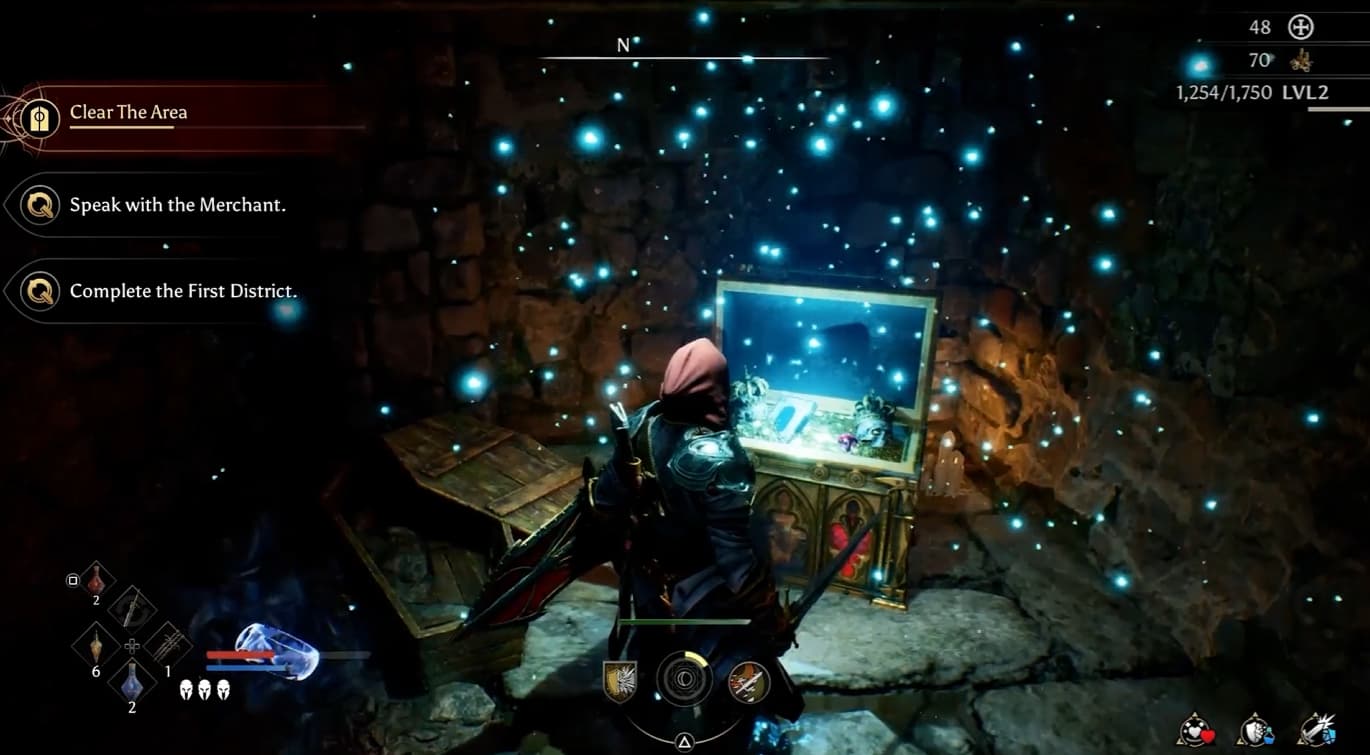
Avoid rushing directly towards the boss or next objective. Crimson Moon missions contain treasure chests, equipment, resources, reward chests and Lore Scrolls away from the main route.
Lore Scrolls are especially valuable because they can be returned to Mereda the Librarian to expand the selection of Boons available during future hunts.
Exploration therefore improves more than your current run. It can permanently increase the number of build options available to you.
Once you have cleared the immediate danger, search nearby rooms and optional paths before following the next objective marker. A short detour may provide equipment or unlocks that improve every hunt afterwards.
Collect Bounties and Quests Before Hunts
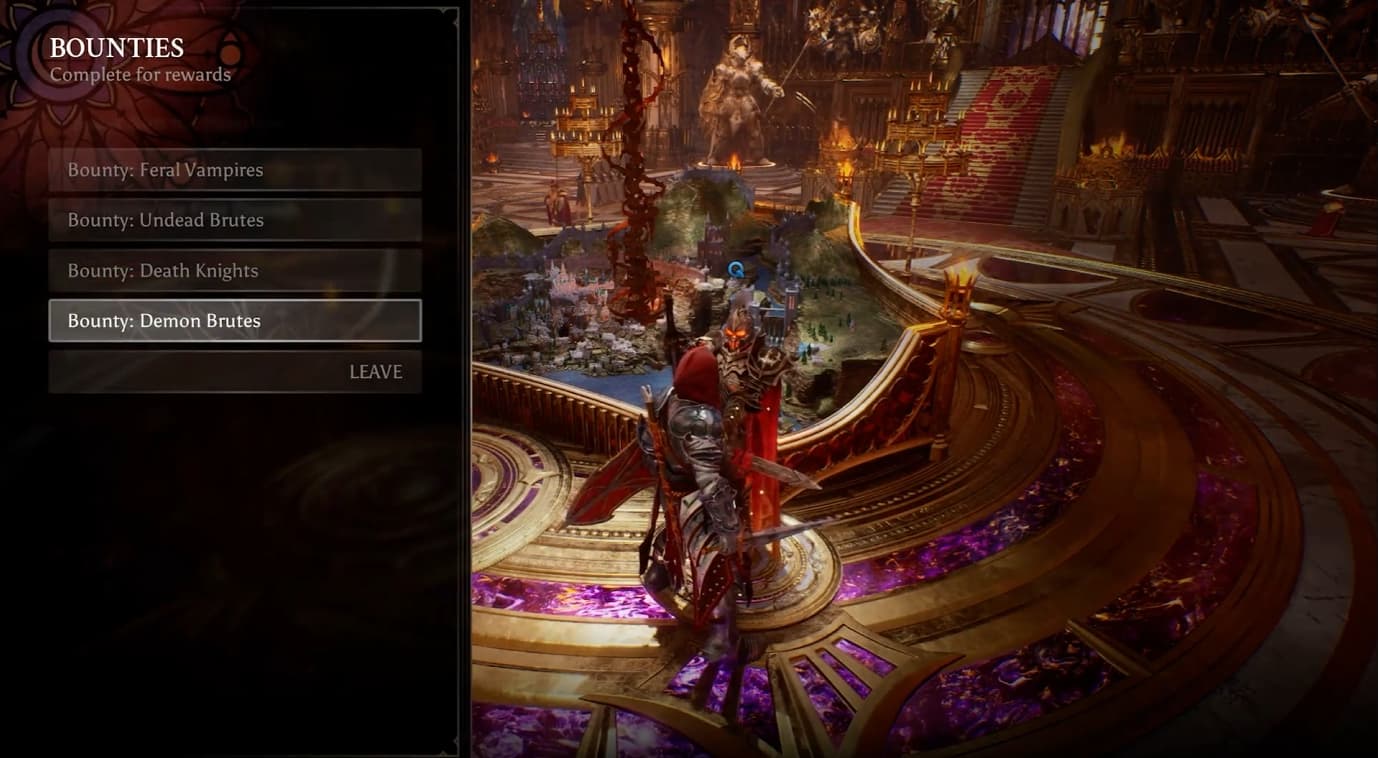
Before beginning a mission, speak with the Knight Commander and accept any Bounties or Quests that match the hunt you plan to complete.
Many Bounties ask you to defeat enemies you will encounter naturally, including Feral Vampires, Undead Brutes, Death Knights and Demon Brutes.
If you leave the hub without accepting these objectives, you may miss extra rewards for enemies you were already going to defeat.
Bounties and Quests provide additional XP and Gold, helping both your character progression and permanent upgrades.
Checking the Knight Commander only takes a moment, so make it part of your routine before every hunt.
Choose the Best Difficulty for Your Build
Higher Crimson Moon difficulties offer better rewards, including stronger gear and increased XP and Gold. However, those rewards only matter if you can complete the hunt.
If you can consistently clear Hard but repeatedly fail on Challenging, continuing to farm Hard may progress your account faster.
You will still earn Gold and XP, bring back equipment for Purification and improve your permanent arsenal instead of losing time to unsuccessful runs.
Increase the difficulty once your character, gear and available build options are strong enough to handle it consistently.
The best Crimson Moon difficulty is not automatically the highest one you have unlocked. It is the highest difficulty you can reliably complete.
Play Crimson Moon in Co-op
If you are struggling to complete hunts alone, Crimson Moon’s co-op mode gives you more room for error.
When one Nephilim is Downed, the other player can revive them. Different builds can also cover each other’s weaknesses.
One player can keep enemies occupied with a defensive sword and shield setup while the other uses ranged Weapon Arts, applies status effects or focuses on dealing damage.
Bosses scale for multiple players, so co-op does not remove the challenge. However, revives and complementary builds can make difficult missions more manageable.
Build Around Synergies
The most important Crimson Moon tip is to stop evaluating every item and effect individually.
Do not judge a weapon only by its Base Attack, a Boon only by its damage bonus or a status effect without considering which other effects it can activate.
Your gear, Weapon Arts, Boons and Angel form the foundation of your build. Every Nexus Gate then gives you another opportunity to strengthen that plan or change direction.
Once you start looking for these connections, Crimson Moon’s combat, buildcrafting and permanent progression become much easier to understand.