Destiny 2 Titan BuildAd Clear - Hot Swap
 PvE
PvE[Alternate Weapon Action] to swap between scopes and alter this weapon's firing behavior. Strong against [Stagger] Unstoppable Champions.
Final blows with Arc melees trigger health regeneration and fully restore a melee charge. Melee hits grant Arc melee energy.
Build Details
When it comes to soloing a dungeon there are 3 things you need to think about.
1) Do you have the ad clearing potential to make it to damage phase
2) Do you have the survivability to last in both the DPS and ad clearing phases
3) Can you deal enough damage to not have to go through extra damage phases.
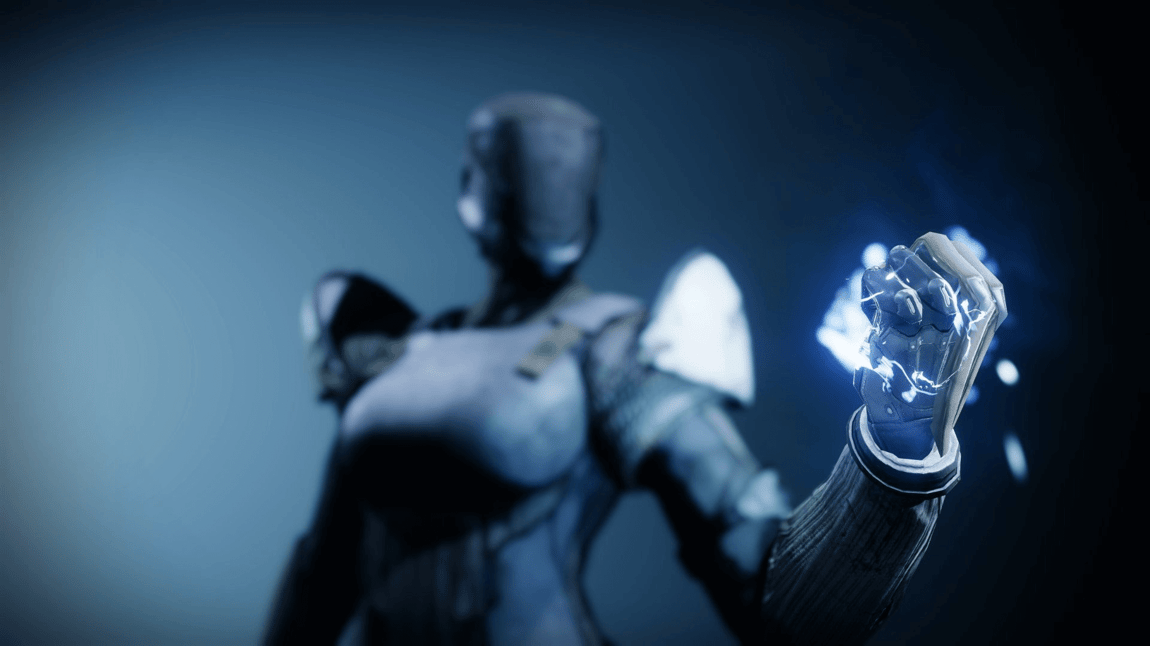
So the first part I wanted to tackle was the Survivability. That’s why I landed on Arc Titan, paired with the Aspect Knockout and the Exotic Helmet Insurmountable Skullfort. Between these 2, every melee kill will restore a large chunk of health and start health regeneration. Not to mention that it fully restores your melee charge meaning you can spam it over and over again to constantly heal yourself.
To improve upon our survivability even more, I decided to bring a void primary with repulsor brace. That’s because we can bring the artifact perk Volatile Marksman so that rapid precision hits or kills with void weapons give them volatile rounds. I love procing this void overshield before going into doing any mechanics to give myself a bit more survivability and processing time.
Next we need to talk Boss DPS. The first really big part of this build is the aspect Storm’s Keep. This now allows you to place down a barricade and while behind it, you continuously work up stacks of bolt charge and dealing weapon damage will discharge it. Bolt Charge is dealing a ton of Damage this season with the Artifact Perk Flashover so theirs no time like the present to attempt those solo dungeons. Since we will be dealing so much bolt charge damage, it’s also worth mentioning that this is another reason why this build has so much survivability. We can take the Artifact perk, Defibrillating Blast, that way, whenever bolt charge goes off, we heal. Meaning we can post up at a safe distance behind our barricade to unload on the boss and any damage our barricade doesn’t block will be healed from bolt charge going off.
The other huge part of our damage comes from our super. Thundercrash is already one of the best Damage supers in the game, tack on the fact that this season we can use Limit break to get another 30% damage from it and it will chunk bosses.
Now I have to mention Hot Swapping. While it’s not necessary, it helps by putting out more damage to skip extra damage phases. What I love to do is set up two versions of the same build in my loadouts. That way all I have to do is go in the menu and hit 1 button to swap over. It’s also really safe to swap while behind your barricade for cover. I keep my main ad clearing loadout with Insurmountable, then I have a loadout with Curiass of the Falling Star. Which is an exotic chest piece that allows you to deal an extra 55% damage with your Thundercrash. The great thing, is with Maligned harvest, you can use your primary weapon to eventually weaken the boss adding in another 15% damage. So with Weaken, Limit break, and Curiass, your Thundercrash will be dealing an additional 132% damage.
Ad clearing - First up for Ad Clearing, you want to mainly focus on using your melee and primary weapon. The easiest thing to do is to run around spamming your Thunder clap on groups of enemies though this can be a bit risky since if you miss your melee you won’t have any instant heals. So what I like to do is mainly place down barricades in areas that will let me wipeout a ton of enemies. The Bolt charge will continue to heal you and as you kill with your void weapon, you will proc volatile rounds meaning that you can then start generating those void overshields. This is also a really good way to take out minibosses since bolt charge will absolutely cook them. If you do miss a melee, you can either keep punching enemies to quickly get it back, or post up behind your barricade, which will provide that safety, but bolt charge also offers 2.5% melee energy per stack so it will regenerate your melee pretty quick
DPS Phases - Now this will really depend on the boss but you want to find an area that you can post up behind your barricade, blocking most of the incoming damage.
- If it’s a shorter DPS phase, then Once it starts, pop your super and quickly get into your DPS position. Then place your barricade and start going to town on the boss.
- If it’s a longer DPS phase, then I like to post up with my barricade and use my void primary to hit the crit. This will proc volatile rounds, then proc maligned Harvest for the weakening effect. Meanwhile, bolt charge will keep you amplified, so once the boss is weakened, I then pop my super for the most damage possible. Finishing offer with my heavy weapons after.
- I like to do my hot swap right before DPS starts so that I don’t lose any time. Then after DPS is done find a safe place pop you barricade crouching down to have the most safety and swap back
Want to earn rewards by sharing your builds with your community?