 League of Legends
 Teamfight Tactics
 Valorant
 Lost Ark
 Destiny 2
 Diablo 4
 Download APP
Table of contents
Ranking the Best Helldivers 2 Backpack Stratagems
This guide covers the best Helldivers 2 Backpack options with ranks for all choices based on their viability at the highest difficulties.
Since you can only have one Backpack equipped at a time, it’s an important decision as each one provides a different style of gameplay.
As always with our tier lists, we recommend going with your personal strengths and playstyle over the meta. But if you’re having trouble with higher levels of play, consult these ranks.
If you’re looking for stratagems in general, head to our best Helldivers 2 stratagems tier list instead.
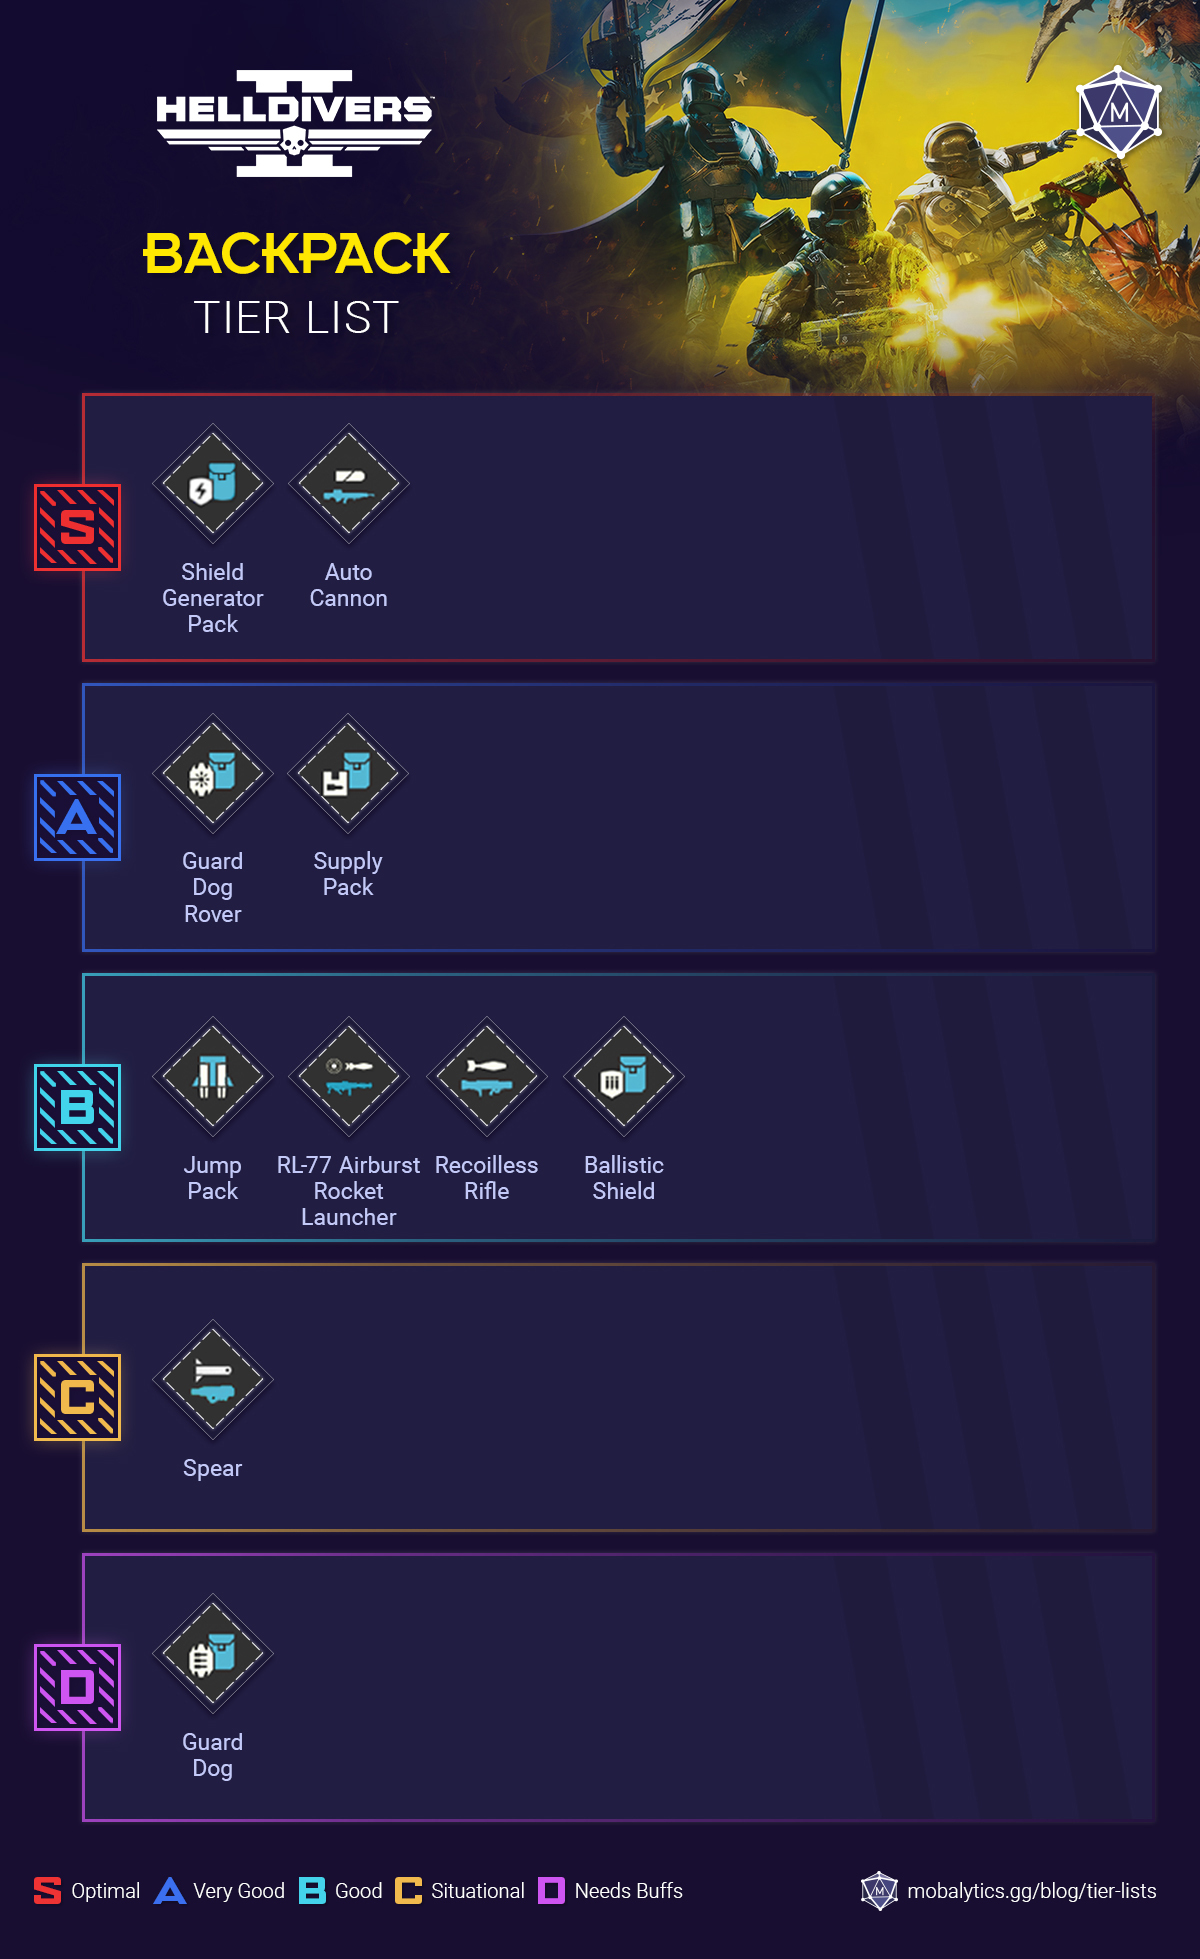
| Tier | Helldivers 2 Backpack Tier List |
|---|---|
| S | Shield Generator Pack, Autocannon |
| A | Guard Dog Rover, Supply Pack |
| B | Jump Pack, RL-77 Airburst Rocket Launcher, Recoilless Rifle, Ballistic Shield |
| C | Spear |
| D | Ballistic Shield, Guard Dog |
Backpack Ranking Commentary
S-tier (Optimal)
| Tier | S-tier Backpacks |
|---|---|
| S | Shield Generator Pack, Autocannon |
Shield Generator Pack (10,000 cost) – Level 20
- Call-in Time: 5 sec
- Uses: Unlimited
- Cooldown Time: 480 sec
- Input: ⇩⇧⇦⇨⇦⇨ = Down, Up, Left, Right, Left, Right
If you’re trying to clear the highest difficulties Helldivers 2 has to offer, the Shield Generator Pack is the standard Backpack choice, usually paired with the Railgun.
It’s the ultimate defensive option, improving your survivability by a significant amount – it really does make your life easier.
The shield protects you from slows and stuns, reduces your likelihood of getting killed by friendly fire (which can be inevitable at times), and recharges if you’re able to stay out of combat for a bit
There’s a good chance this gets nerfed soon, so enjoy it while it lasts!
UPDATE:
The Shield Generator Pack did indeed get nerfed and it does take more skill to use but it’s still S-tier for us due to its utility and flat increase to survivability.
Autocannon (7,000 cost) – Level 10
- Call-in Time: 3 sec
- Uses: Unlimited
- Cooldown Time: 480 sec
- Input: ⇩⇦⇩⇧⇧⇨ = Down, Left, Down, Up, Up, Right
The Autocannon is one of the two S-tier Support weapons and provides a massive power spike when you get it at level 10.
Although the Railgun + Shield Generator Pack is the most popular pairing in the meta, it can greatly benefit your squad to have one or two Auto Cannons at your disposal.
It’s a super versatile weapon, being strong in virtually every situation (it can have some trouble against the big armored enemies that the Railgun excels against).
Something that it offers over the Railgun is allowing you to take out objectives like nests, eggs, and factories from afar.
If you have an ally with a free Backpack slot, they can turn you into a killing machine with virtually no downtime by providing you with assisted reloads.
Just keep in mind that it will make you stationary so don’t get rushed down.
A-tier (Very Good)
| Tier | A-tier Backpacks |
|---|---|
| A | Guard Dog Rover, Supply Pack |
Guard Dog Rover (7,500 cost) – Level 10
- Call-in Time: 5 sec
- Uses: Unlimited
- Cooldown Time: 480 sec
- Input: ⇩⇧⇦⇧⇨⇨ = Down, Up, Left, Up, Right, Right
Although the Guard Dog Rover is useful in every map and situation, it has a lower ceiling when compared to the Shield Generator Pack and Autocannon.
Its upside is that it does a ton of work for you without requiring any effort besides calling it down and staying alive.
By simply running around the map, it’ll net you a ton of kills while protecting your back and alerting you of enemies that are within range.
One upside that it has over the S-tier choices is that it provides visibility in dark and shrouded planets, so consider that if you’re having trouble on those missions.
Supply Pack (4,000 cost) – Level 2
- Call-in Time: 5 sec
- Uses: Unlimited
- Cooldown Time: 480 sec
- Input: ⇩⇦⇩⇧⇧⇩ = Down, Left, Down, Up, Up, Down
The Supply Pack is the first backpack you can unlock, as early as level 2.
By taking it, you’ll have easy access to more ammo, grenades, and stims for you and your teammates.
It’s a great choice in the early to mid-game levels, especially while you’re learning the game and it can help you clear more objectives since you’ll have less downtime.
Plus, if you happen to have the clock run out, it isn’t as big of a deal since you’ll still have access to supplies.
In later ranks its value can fall off as there will be more Backpack options to choose from and players are more experienced in managing resources, but it’s still a fine choice if you like the playstyle.
B-tier (Good)
| Tier | B-tier Backpacks |
|---|---|
| B | Jump Pack, RL-77 Airburst Rocket Launcher, Recoilless Rifle, Ballistic Shield |
Jump Pack (6,000 cost) – Level 8
- Call-in Time: 5 sec
- Uses: Unlimited
- Cooldown Time: 480 sec
- Input: ⇩⇧⇧⇩⇧ = Down, Up, Up, Down, Up
The Jump Pack opens up a unique playstyle, offering you a massive boost in your mobility options.
It can let you get in and out of dangerous locations to complete objectives completely and gives you more ways to escape when things get hairy.
That being said, it does have its downsides.
The most obvious one is that it’s only really useful on maps that have a good amount of verticality. On flat maps, it’s much less consistent and won’t provide anywhere near as much value.
Another downside is that your team will have to adapt their loadouts to account for the different playstyle. It’s doable, but make sure to coordinate to make sure other needs are met. You’ll likely have to be a mobile scout sort of role.
Overall though, we think the Jump Pack is underrated, so give it a shot on maps that have a lot of high places to play with.
UPDATE:
The Jump Pack received a stealth buff that increased its boost and its duration, it honestly feels much better and is starting to rise in stock. Give it a try!
RL-77 Airburst Rocket Launcher (8,000 cost) – Level 8
- Call-in Time: 7 sec
- Uses: Unlimited
- Cooldown Time: 480 sec
- Input: ⇩⇧⇧⇦⇨= Down, Up, Up, Left, Right
The RL-77 Airburst Rocket Launcher is comparable to the Spear in that it’s designed to be used at long ranges, but rather than focusing down big threats, it is designed for AoE.
It kind of feels like having a cluster explosion, making it better suited for bugs than bots.
Overall though, there are better AoE options that are more versatile and don’t require a backpack, so we’re placing it at B-tier.
Recoilless Rifle (6,000 cost) – Level 5
- Call-in Time: 3 sec
- Uses: Unlimited
- Cooldown Time: 480 sec
- Input: ⇩⇦⇨⇨⇦ = Down, Left, Right, Right, Left
Until you unlock the Autocannon, the Recoilless Rifle can fulfill a very similar role at lower levels.
You can also think of it as a reloadable Expendable Anti-Tank (E.A.T.) but that reload is incredibly slow. If you have an ally that can help you reload with the Backpack ammo, the Recoilless Rifle is superior to the E.A.T. due to the increased firepower.
However, if you are running solo or your allies have Backpacks, the E.A.T. is a much more flexible option at lower levels since it has a very low cooldown.
Ballistic Shield (6,000 cost) – Level 12
- Call-in Time: 5 sec
- Uses: Unlimited
- Cooldown Time: 300 sec
- Input: ⇩⇦⇩⇩⇧⇦ = Down, Left, Down, Down, Up, Left
The Ballistic Shield is in a much better place after a wave of buffs and is particularly attractive against the automatons.
It can reliably block a shot from a tank and even protects you when it’s on your back.
If you’re looking for a fresh playstyle, give it a shot – but it can be tricky to use against Terminids so keep that in mind.
C-tier (Situational)
| Tier | C-tier Backpacks |
|---|---|
| C | Spear |
Spear (9,000 cost) – Level 20
- Call-in Time: 3 sec
- Uses: Unlimited
- Cooldown Time: 480 sec
- Input: ⇩⇩⇧⇩⇩ = Down, Down, Up, Down, Down
The Spear seems great in theory but needs some fixes to make it more consistent. As of now, its lock-on aiming can be faulty – it working or not can be the difference between life or death.
Even if it did work properly, it is very slow and can should only be used from a distance.
However, when the Spear does work, it can be very impactful in taking out big targets, so although we do think it needs bugs/fixes, we have it in C-tier rather than D-tier.
D-tier (Needs Buffs)
| Tier | D-tier Backpacks |
|---|---|
| D | Guard Dog |
Guard Dog (7,500 cost) – Level 10)
- Call-in Time: 5 sec
- Uses: Unlimited
- Cooldown Time: 480 sec
- Input: ⇩⇧⇦⇧⇨⇩ = Down, Up, Left, Up, Right, Down
The Guard Dog is a real headscratcher because it is available at the same level (10) as the Guard Dog Rover, but is worse in virtually every measurement.
It does have some slight knockback but it’s negligible and it has more downtime for reloading.
Although it does provide some lighting like the Rover, it doesn’t provide anywhere as much visibility as the laser.
To make it more distinct, it’d be nice if it had some AoE since the laser is single-target or perhaps improvements to its knockback quality.
But right now, you’re nerfing yourself by choosing it over the Rover.