Here we'll breakdown some of the basics to help smooth out your experience, and give you some things to keep in mind during your runs. Whether you're new to auto-battlers or a veteran in the space, there's a lot that makes The Bazaar fresh and unique!
Let’s dive in.
Understand Your Goal
In The Bazaar you will compete asynchronously against the "ghosts" of other players, ultimately trying to earn 10 wins before your run comes to an end. Losing a PvP fight will reduce your Prestige (which acts as an "HP bar"), so it's up to you to see how far you can go.
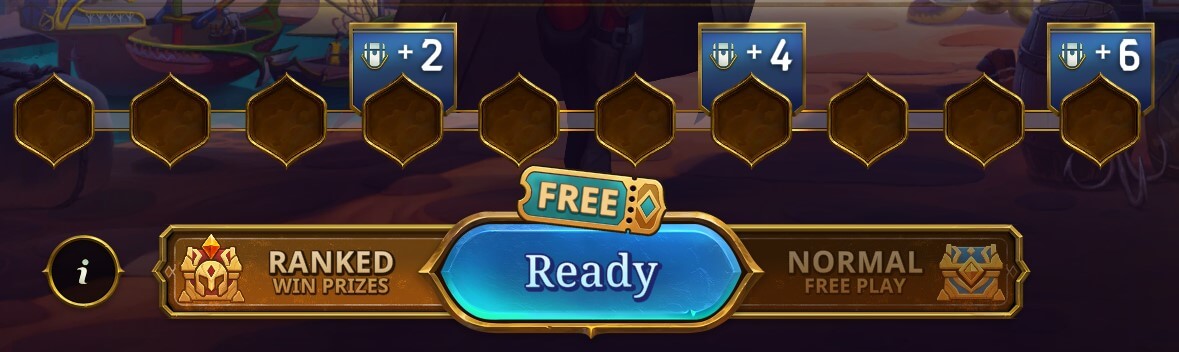
There are two ways you can play the game; Ranked Mode and Normal Mode. Both of these modes offer mostly the same gameplay experience, although the initial games of Normal Mode will present "easier ghosts" to help players as they learn the game.
Players are rewarded with a number of chests based on how many wins they get during a run.
4 Wins = 2 Chest
7 Wins = 4 Chests
10 Wins = 6 Chests
These chests contain awesome cosmetics like Hero skins, card backs, rugs, and more.
To really maximize the length of your runs, you’re going to want to understand the balance between short term and long term decision making. Some items are greatly beneficial early on, but eventually you'll need to leave it behind and find something better.
If you’re doing well, consider making choices that you can build upon and will provide lasting benefits – such as investing into more Income or Experience.
The majority of your power will come from items, skills, and enchantments, so while it may be tempting to select interesting events, if your build isn't working you'll want to hit up every vendor in hopes of strengthening your board.
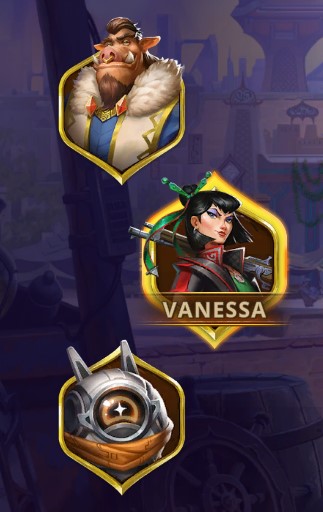
We recommend trying each hero at least a few times so you can get a feel for who you like most, but after that, we recommend sticking with one so you can truly learn the ins and outs of their many interactions.
After all, each Hero has many lines of play that can lead to a wide range of successful builds. Once you've developed a solid understanding of one Hero, you'll have much better fundamentals when learning the rest!
Choose Your PvE Encounters Wisely
PvE Encounters are by far one of the most impactful parts of a run. Dealing enough Damage in a fight grants you additional XP, helping you level-up and grow stronger. In early levels this means expanding your board space, but every level further will increase your Max Health and offer a variety of powerful level-up rewards. Plus, there's a ton of sweet monster drops you can get which can enable some wildly unique builds.
While you may be tempted to choose the highest tier encounter (the rightmost) for the largest gold and XP rewards, losing can be extremely detrimental to your run and often not worth the risk. However, you should probably pick the Diamond/Legendary fight if you believe it'll be close, because even if you lose and miss the drop, the additional 4th XP is well worth it.
If you want the best odds of success, be sure to do your research and check out the items and skills of each monster. If you don't feel confident about your build, consider taking one of the "easier" options instead.
Encounters are not created equal, so while the left and middle options are generally easier, there are exceptions. Plus, the matchups will vary depending on your current build, making some fights easier or harder.
Ultimately this is one of the biggest learning curves of The Bazaar, but if you find yourself struggling and you're losing PvE Encounters, that's definitely a key indicator that your build isn't strong enough.
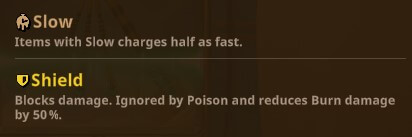
Know Your Keywords and Status Effects
Do you know the difference between Charge and Haste?
Or that Poison bypasses Shields and deals direct damage to Health?
Many of these keywords interact and work together in different ways, so once you learn them, you can really understand what makes good builds tick.
Keep Your Build Focused
Time and resources aren't infinite in The Bazaar, so you really have to make your choices count.
Because of this, rather than trying to be good at everything, the strongest builds keep focus around a theme.
Whether it's trying to maximize Vanessa's offensive firepower, becoming un-killable as Pygmalien, or using the power of Friends with Dooley, identify your best bet and optimize it.
This is something you'll only get better at in time as you discover and remember what items and skills are out there.
Although losing sucks, you can often learn from your opponents by seeing what item combos they're using.
Another good way to learn build themes and archetypes is by watching top players like Kripparian!
Don't Forget Your Permanent Stacks
There are a ton of items in The Bazaar that can scale infinitely, it's up to you to find ways to empower them.
Doing so can be especially powerful if you can get the ball rolling early on - however, if you find a stacking item later on in a run, you might want to avoid them.
Here are two examples of how to navigate your stack management.
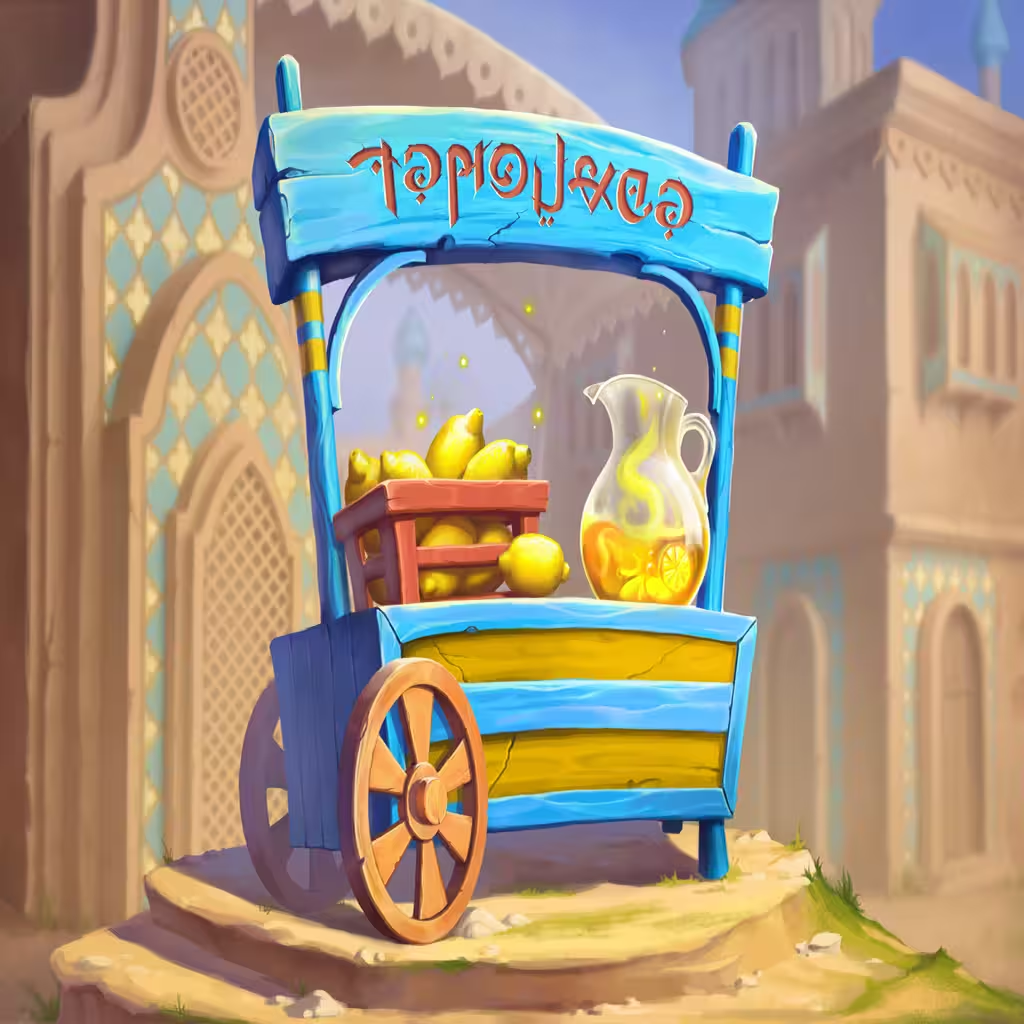
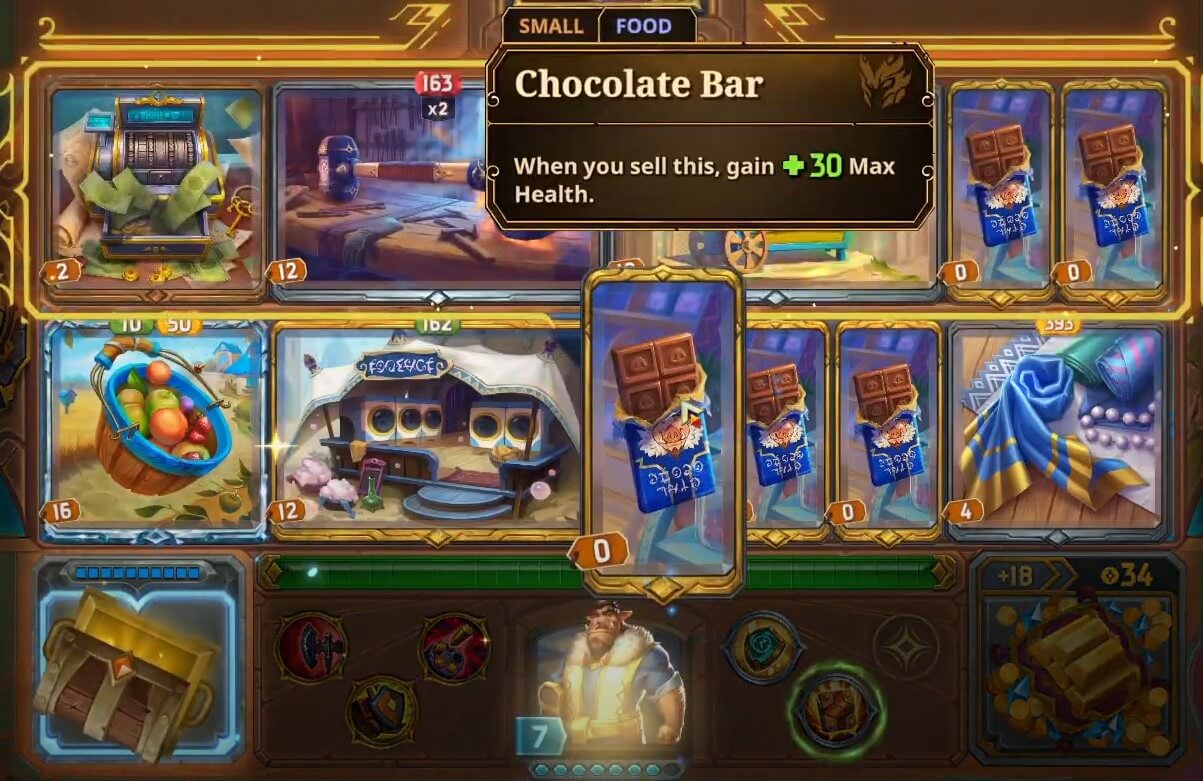
Example #1: Lemonade Stand
The Lemonade Stand scales your Max Health when you sell Small items.
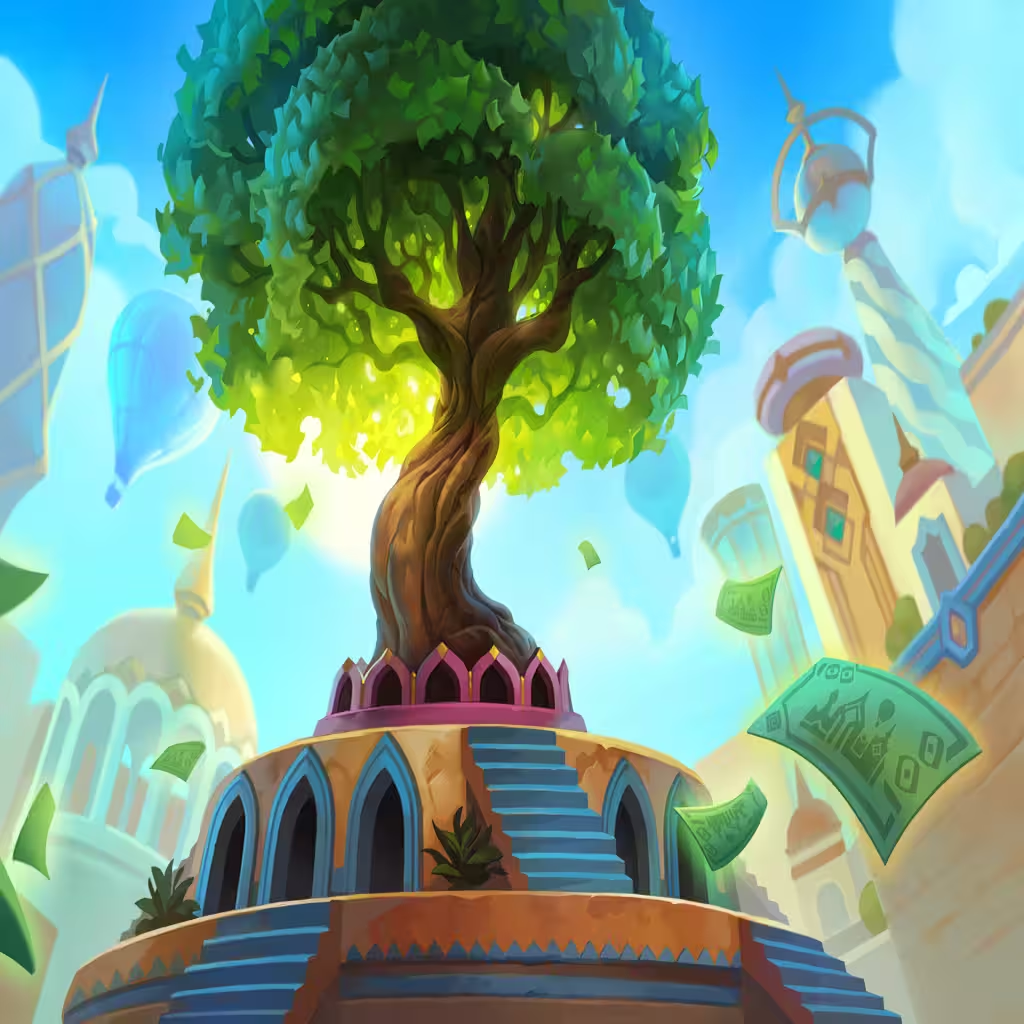
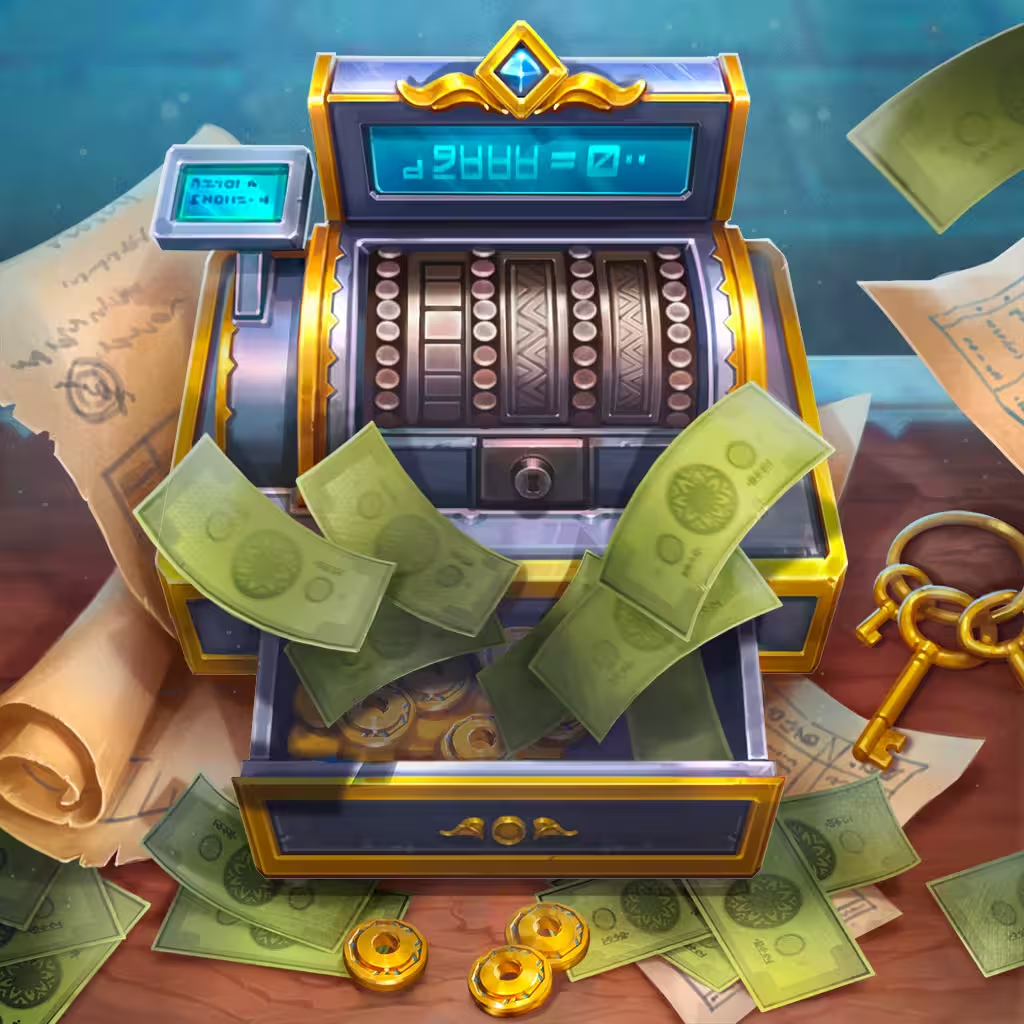
This makes it a great combo with items that can generate Small items, such as Money Tree and the Cash Register.
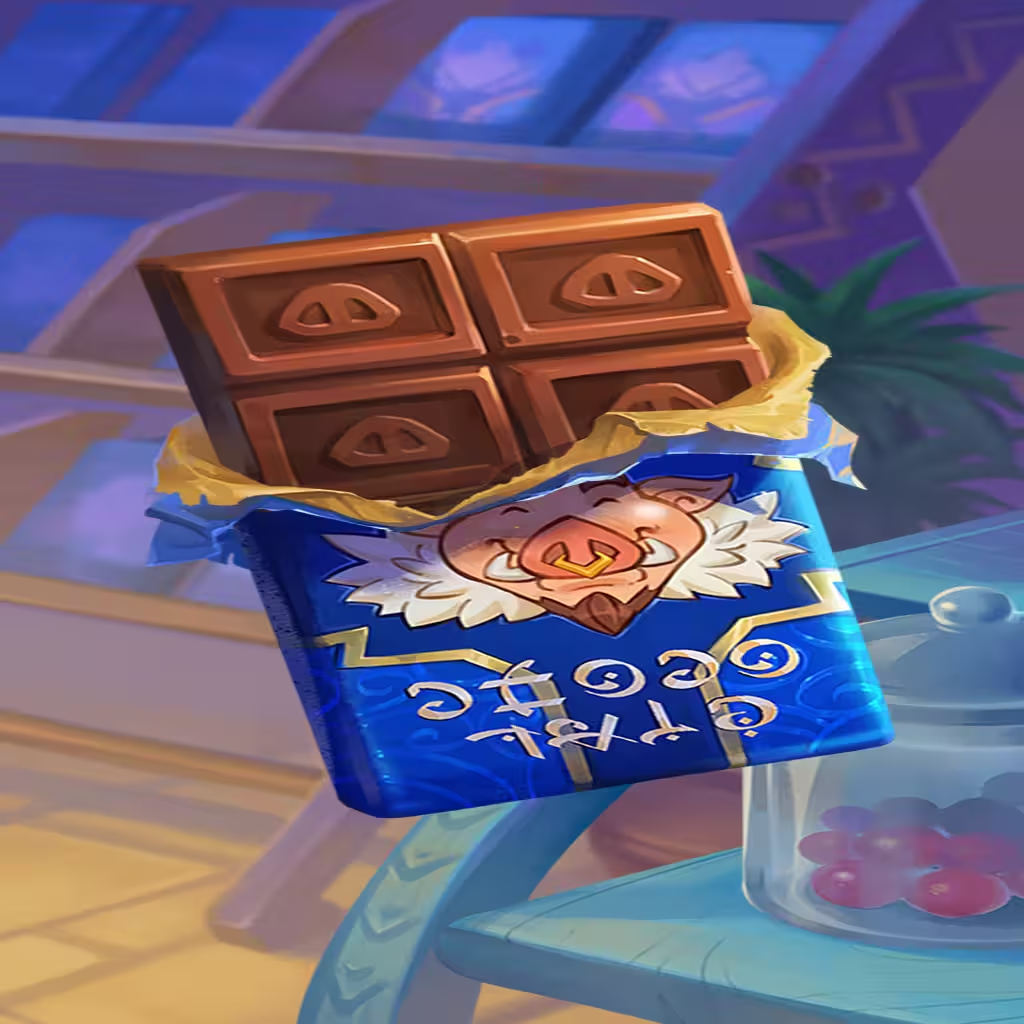
Options like Gumballs and Chocolate Bars also become more attractive as you can simultaneously get their base buffs but also feed your stacks.
With Pygmalien's economic power, you can even consider buying every Small item you see so you can sell them.
Pro tip: Items with effects that happen outside of combat (like Lemonade Stand, Money Tree, and Cash Register) activate when they're in your Stash! They do NOT need to be equipped on your main board.
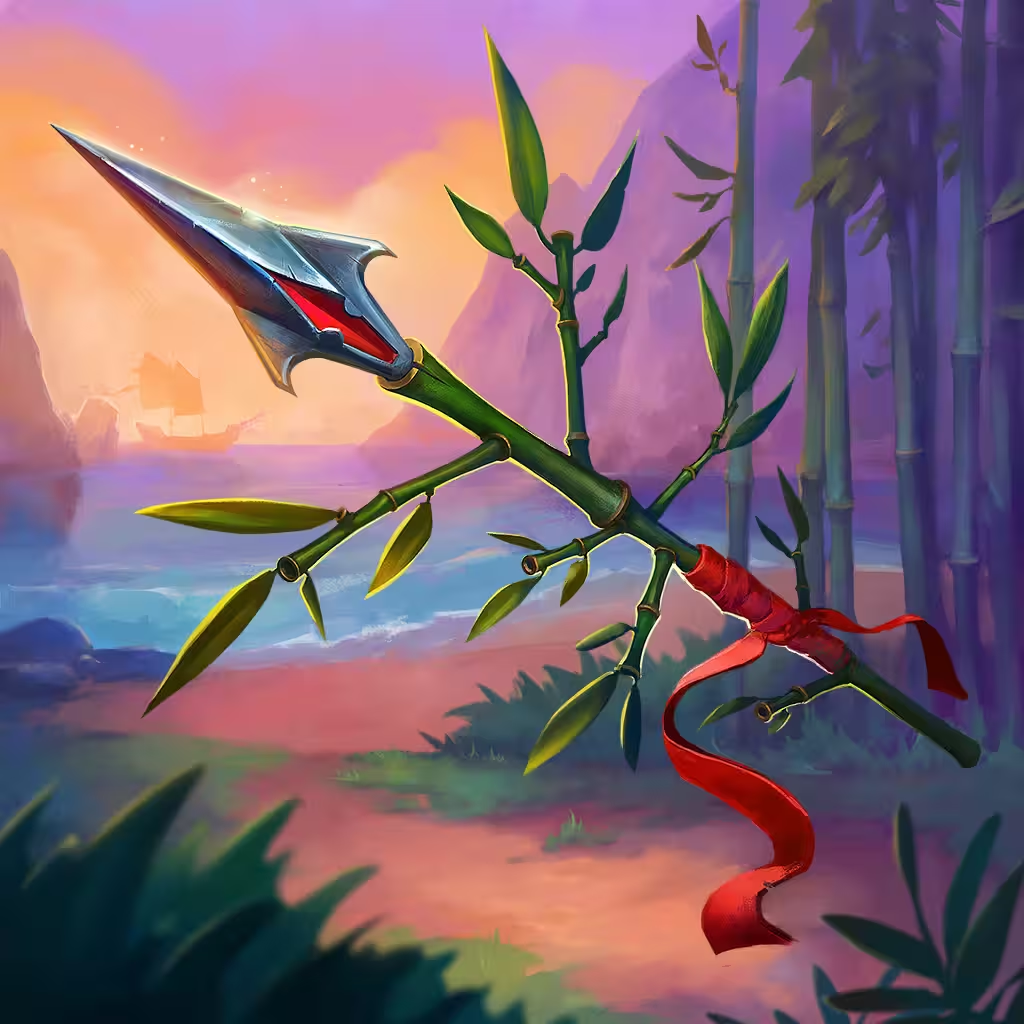
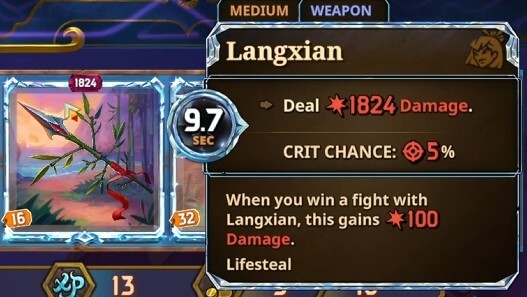
Example #2: Langxian
While the Lemonade Stand boosts your defense, the Langxian spear scales your offensive power by stacking with victories.
Remember earlier how we mentioned short term vs long term decisions?
Langxian allows you to play aggressively with short term decisions while simultaneously helping you build for the future.
For instance, you can consider opting for the Temporary Damage boost or other instant effects to keep the ball rolling.
Also, if the Langxian is still ramping up, you might want to choose easier PvE fights to help ensure a win.
Just make sure to not tunnel vision, if you end up losing too many fights you'll likely fall behind in Damage, making Langxian no longer worth using.
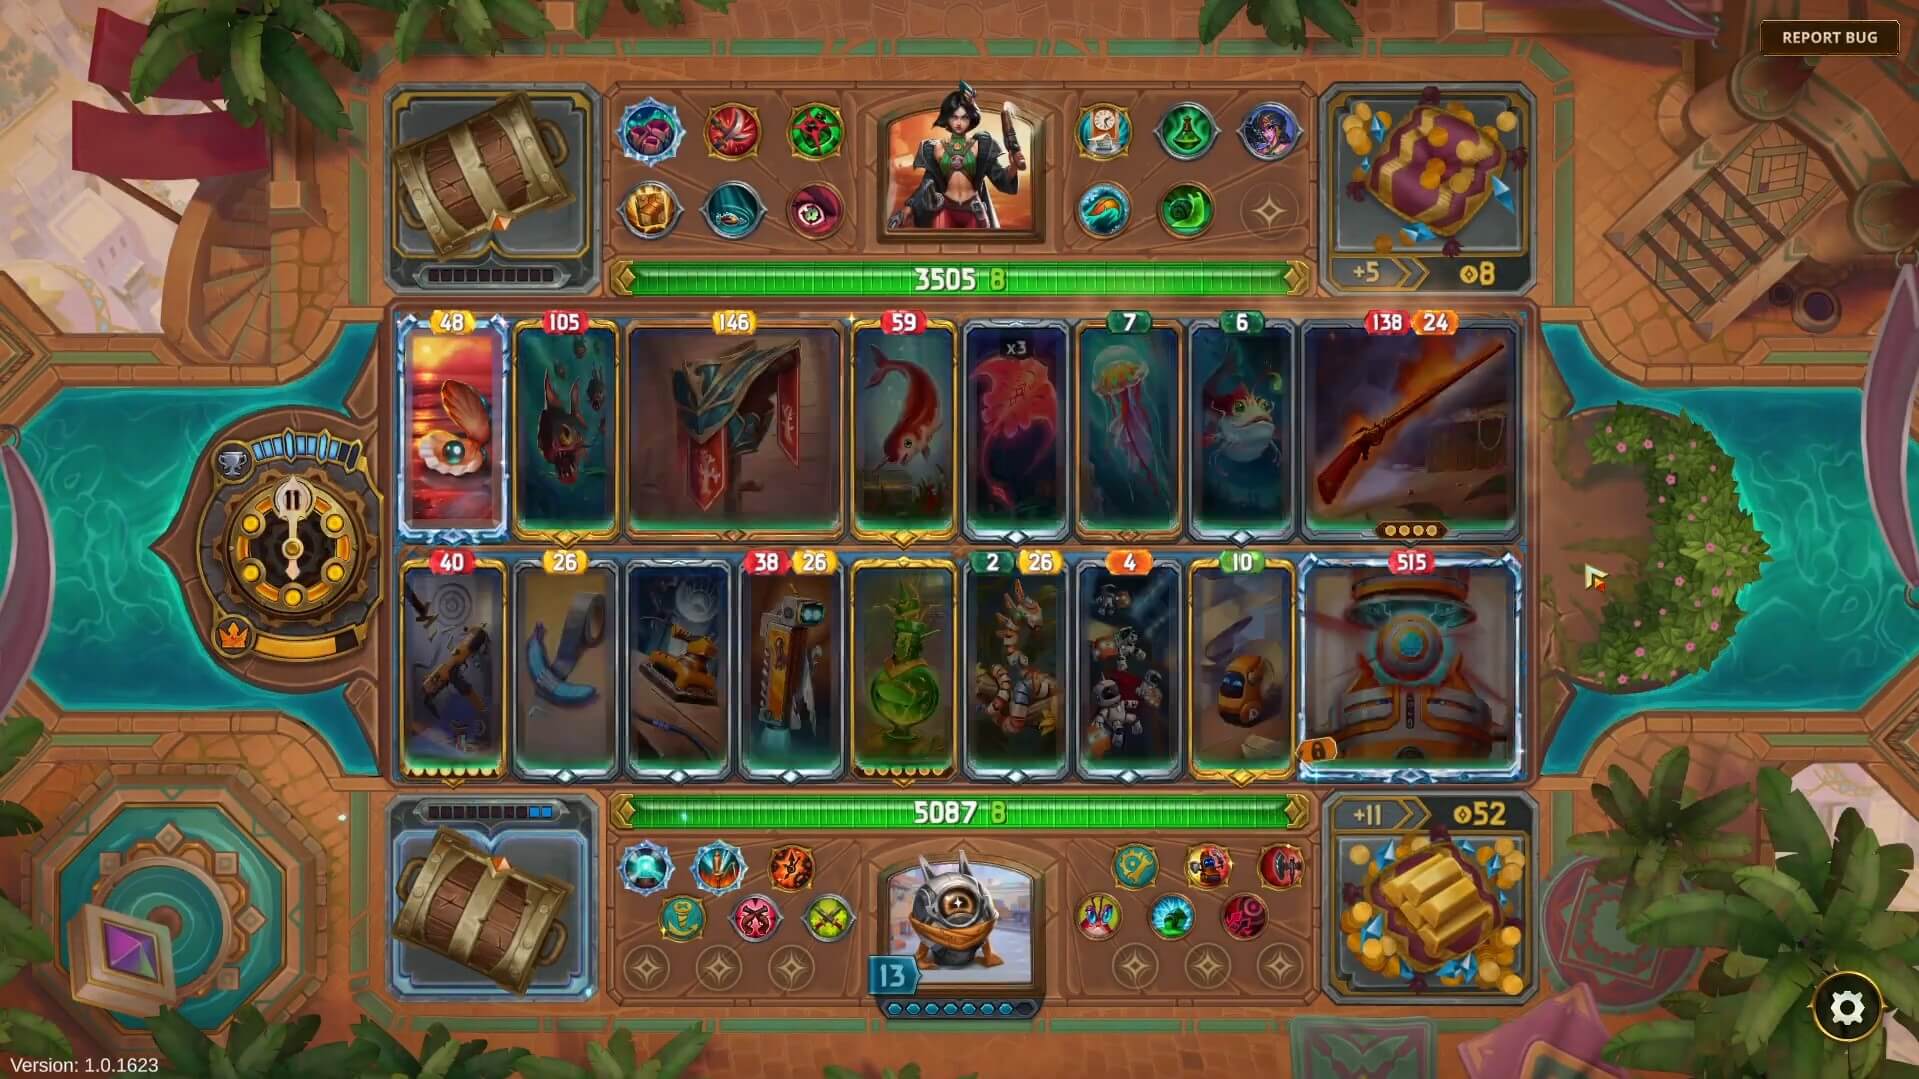
Constantly Evaluate Your Positioning
If you're coming from TFT, you know how important positioning can be - every point of damage and health matters.
Similarly, The Bazaar has a lot of effects and mechanics that incentivize positioning your items correctly. For example, some skills will buff your leftmost or rightmost item (ex. Left-Handed, Right-Handed).
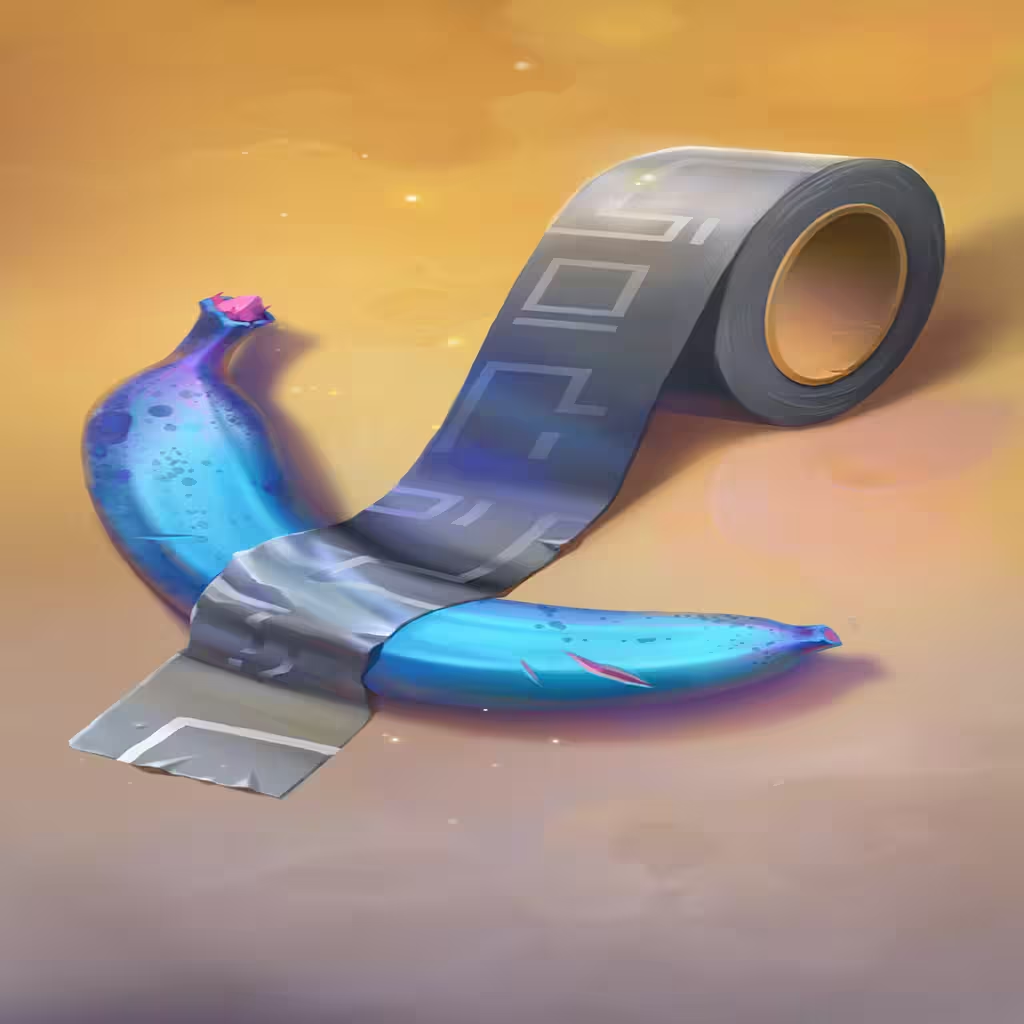
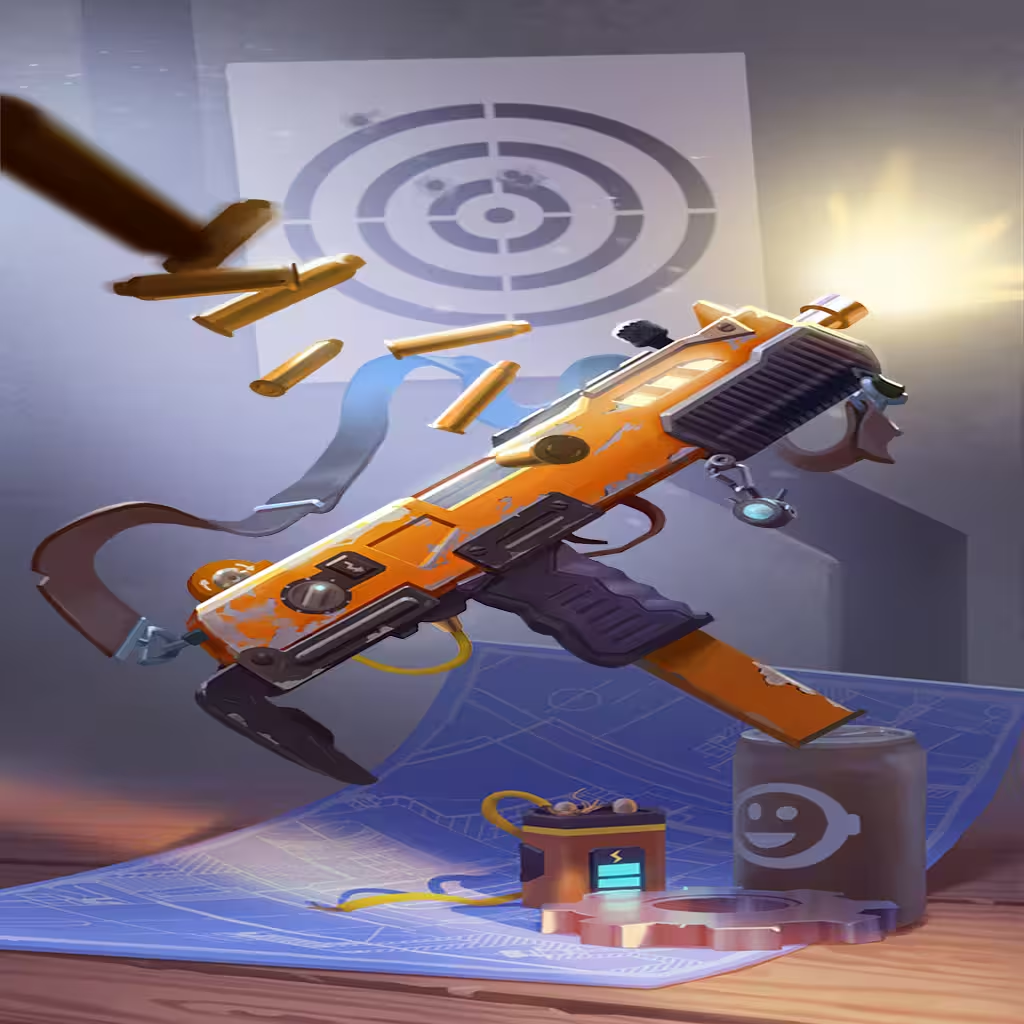
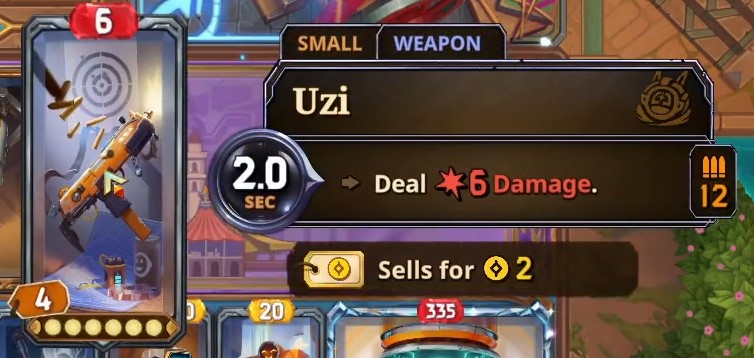
There are also a good amount of items that affect or are affected by their adjacent counterparts. For example, Duct Tape triggers when using the item on its left. By pairing it with a fast-casting item like Uzi, which has a three second Cooldown, you can get a ton of additional value out of it.
The lesson here is to always check your ordering - there's usually something that can be improved!
If you're looking for more detailed breakdowns and examples of how items interact, be sure to check out our build guides or explore our Meta Report!