Moze is a Single Target Follow-up Damage Dealer that works best as a Sub DPS supporting Follow-up Damage Hypercarries like Feixiao or Dr. Ratio. He has a strikingly similar role and usage to Topaz with some unique perks, making him a fantastic budget replacement for her in any team that she would be great in but also has some interesting applications as well.
HSR Moze Release Date
Moze will be featured on Feixiao’s banner which will be in the first half of Version 2.5, releasing on September 9th, 2024 and will run until October 2nd, 2024.
HSR Moze Talents
Moze HSR Kit Overview (Trace Level 10)
Moze has a very interesting “Departed” state mechanic. When he uses his skill, he will inflict the “Prey” state onto the target and gain 9 Charge stacks. When there is an enemy with “Prey” on the field, he will enter the “Departed” stage, completely removing himself from the Action Order, and cannot be designated as a target of buffs, debuffs, or attacks until he runs out of Charge stacks. This state means that any buff that lasts more than a turn on him will stay throughout the whole Departed duration.
Every time an ally launches an attack, Moze will deal additional damage to that target and consume 1 Stack. This does not count as an instance of attack but is more akin to Tingyun’s Benediction or Robin’s Ultimate Proc so it WILL NOT trigger things like Feixiao’s Talent Stack or anything that works off being an actual Attack.
After every 3 Charge stacks are consumed, Moze will launch a Follow-Up Attack onto the target with “Prey” status. Moze can still use Ultimate which is a single target Attack during his “Departed” state, and will launch a Follow-up Attack afterward when he does.
But Moze kit is not just about damage. Moze’s first trace lets him stay as an SP Neutral unit, while his third trace increases the follow-up damage that the target with “Prey” receives. It also makes his Ultimate to be considered a follow-up attack, which is a slight boost for its damage and lets it double dip on both Ultimate and Follow-Up blessings/buffs.
Moze HSR Core Skills
Basic Attack – Hurlthorn

Deals Lightning Damage equal to 100% of Moze’s Attack to a single target enemy.
Skill – Fleetwinged Raid

Marks a designated single enemy target as “Prey” and deals Lightning Damage equal to 150% of Moze’s Attack, and gains 9 points of Charge.
When there are no other characters on the field that are capable of combat, Moze cannot use his Skill and dispels the enemy’s “Prey” state.
Ultimate – Dash In, Gash Out

Deals Lightning Damage equal to 270% of Moze’s Attack to a single target enemy, and launches the Talent’s follow-up attack against this target. If the target is defeated before this follow-up attack is used, then launches the follow-up attack against a random single enemy instead.
Talent – Cascading Featherblade

When “Prey” exists on the field, Moze will enter the Departed state. After allies attack “Prey,” Moze will additionally deal 1 instance of Lightning Additional Damage equal to 30% of his Attack and consume 1 point of Charge. For every 3 point(s) of Charge consumed, Moze launches 1 follow-up attack to “Prey,” dealing Lightning Damage equal to 160% of his Attack. When Charge reaches 0, dispels the target’s “Prey” state and resets the tally of Charge points required to launch a follow-up attack. Talent’s follow-up attack does not consume Charge.
Departed State: Ally units in the Departed state cannot be designated as ability targets and will not appear on the Action Order Menu.
Technique – Bated Wings
After using Technique, enter the Stealth state for 20 second(s). While in Stealth, Moze is undetectable by enemies. If Moze attacks enemies to enter combat while in Stealth, increases Damage by 30%, lasting for 2 turn(s).
Moze HSR Traces
Nightfeather

After using the Talent’s follow-up attack, recovers 1 Skill Point(s). This effect can trigger again after 1 turn(s).
Daggerhold

When Moze dispels his Departed state, his action advances by 20%. At the start of each wave, Moze’s action advances by 30%.
Vengewise

When dealing Damage by using Ultimate, it is considered as having launched a follow-up attack. The follow-up attack Damage taken by “Prey” increases by 25%.
Moze HSR Eidolons
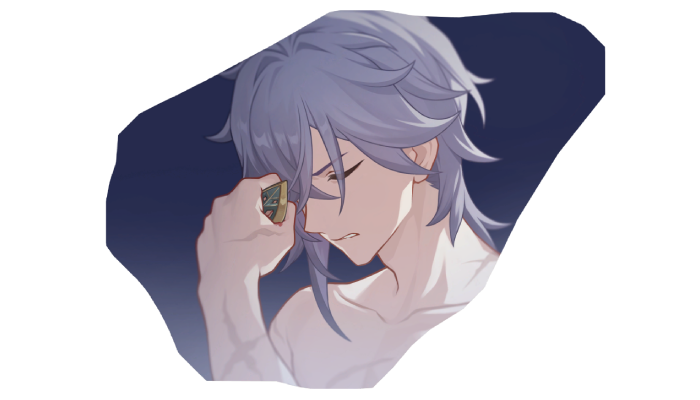
| E1 | Oathkeeper: After entering battle, Moze regenerates 20 Energy. Each time the Additional Damage from his Talent is triggered, Moze regenerates 2 Energy. |
| E2 | Wrathbearer: When all allies deal Damage to the enemy target marked as “Prey,” increases CRIT Damage by 40%. |
| E3 | Deathchaser: Ultimate Lv. +2, up to a maximum of Lv. 15. Basic ATK Lv. +1, up to a maximum of Lv. 10. |
| E4 | Heathprowler: When using Ultimate, increases the Damage dealt by Moze by 30%, lasting for 2 turn(s). |
| E5 | Truthbender: Skill Lv. +2, up to a maximum of Lv. 15. Talent Lv. +2, up to a maximum of Lv. 15. |
| E6 | Faithbinder: Increases the Damage multiplier of the Talent’s follow-up attack by 25%. |
Eidolon Priority
All of Moze’s Eidolon are quite decent for his damage and one will naturally get his Eidolon from pulling on the banners of some of his best partners. His big Eidolons are E1 and E2.
One lets him use Ultimate more frequently which means faster stack generation for units like Feixiao, faster advance for Topaz, or triggering Robin’s bonus damage more often. His E2 is a notable boost in team damage and allows his team to lean more toward getting high Crit Rate instead.
Eidolon 1: Priority Medium High
Eidolon 2: Priority High
Eidolon 4: Priority Medium High
Eidolon 6: Priority Medium High
Moze HSR Build Guide Overview
Light Cones
- Worrisome, Blissful (Premium)
- Cruising In The Stellar Sea (F2P)
- Swordplay (F2P Gacha)
- Only Silent Remain (F2P Gacha)
Main Stats
- Body: Crit Rate
- Feet: Attack
- Orb: Lightning Damage
- Rope: Attack
Relics
- Pioneer Diver of Dead Waters
- The Ashblazing Grand Duke
- The Wind Soaring Valorous
Planar Set
- Duran, Dynasty of Running Wolves
- Inert Salsotto
- Izumo Gensei and Takama Divine Realm
HSR Moze Light Cones
Premium Options
Worrisome, Blissful
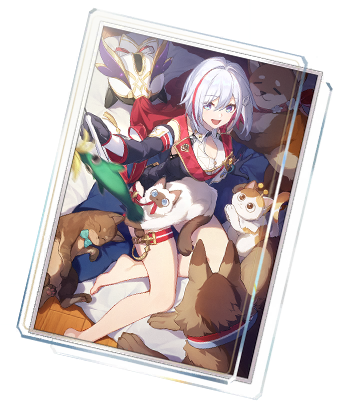
Increase the wearer’s CRIT Rate by 18%/21%/24%/27%/30% and increase Damage dealt by follow-up attack by 30%/35%/40%/45%/50% . After the wearer uses a follow-up attack, inflicts the target with the Tame state, stacking up to 2 time(s). When allies hit enemy targets under the Tame state, each Tame stack increases the CRIT Damage dealt by 12%/14%/16%/18%/20%.
While this Light Cone may not give the best personal damage to Moze compared to Dr. Ratio’s signature Light Cone, this cone suits best Moze’s role as a Sub-DPS debuffer for the follow-up team. With this Light Cone, Moze can completely supply all 3 debuffs for Dr. Ratio, as well as get the full benefit from the Pioneer Diver of Dead Waters set.
F2P Options
Cruising In The Stellar Sea
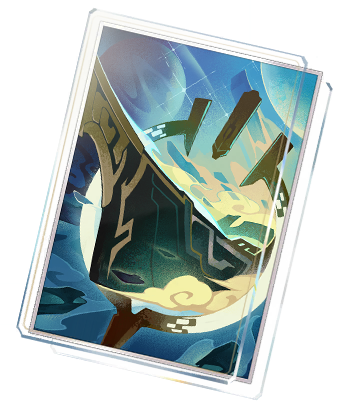
Increases the wearer’s Crit rate by 8%/10%/12%/14%/16% , and increases their Crit rate against enemies with HP percentage less than or equal to 50% by an extra 8%/10%/12%/14%/16% . When the wearer defeats an enemy, their Attack is increased by 20%/25%/30%/35%/40% for 2.0 turn(s).
Cruising is one of Moze’s best F2P options thanks to its high stats and granting Crit Rate, but since he is often used alongside another Hunt unit they might have to share if there are no additional premium options.
Swordplay
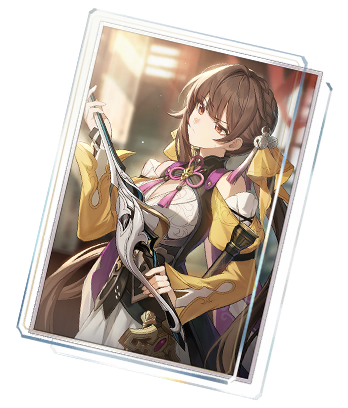
For each time the wearer hits the same target, DMG dealt increases by 8%/10%/12%/14%/16% , stacking up to 5.0 time(s). This effect will be dispelled when the wearer changes targets.
Swordplay is the best 4-Star Light Cone for damage for Moze. At S5 it even surpasses Cruising In The Stellar Sea if the stacks are maintained. Although it does not boost his Crit Rate so that needs to be compensated via another source.
Only Silence Remain
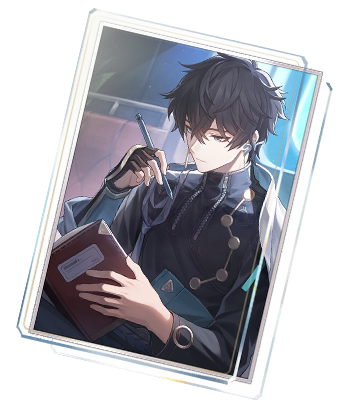
Increases the wearer’s Attack by 16%/20%/24%/28%/32% . If there are 2 or fewer enemies on the field, increase the wearer’s Crit Rate by 12%/15%/18%/21%/24%.
Only Silence Remain is quite competitive with Cruising In The Stellar Sea at S5 and grants a hefty Crit Rate boost which is very valuable to Moze. The condition for the Crit Rate buff can be a bit finicky depending on the battle layout.
HSR Moze Main Stats
- Body: Crit Rate
- Feet: Attack
- Orb: Lightning Damage
- Rope: Attack
Moze wants Crit Rate as his kit is full of Crit Damage but does not have any Crit Rate buffs so a Crit Rate chest will do wonders for his consistency.
Moze does not gain anything from Speed. His second trace essentially lets him outspeed most characters at 160 speed at the start of the battle to enter his Departed state, as well as quickly re-advance him again after he exits it, and while he is in the state he cannot act so Speed does not affect his action economy. An Attack Feet is thus much more effective.
Lightning Damage gives the biggest boost to Moze when it comes to Orb. Attack is also acceptable with high substats rolls but Moze generally runs two Attack% pieces already so it will be quite saturated.
For Rope, Attack% beats all other options as Moze is still a Damage Dealer and he does not need energy so Energy Regeneration Rate is not an efficient choice.
HSR Moze Sub Stats
- Crit Rate
- Crit Damage
- Attack
Moze should get Crit Rate as close to 100% as possible, afterward, Crit Damage and Attack are both good secondary substats to pick up.
HSR Moze Relics
Pioneer Diver of Dead Waters

- 2-Pc: Increases Damage dealt to enemies with debuffs by 12%.
- 4-Pc: Increases CRIT Rate by 4%. The wearer deals 8%/12% increased CRIT Damage to enemies with at least 2/3 debuffs. After the wearer inflicts a debuff on enemy targets, the aforementioned effects increase by 100%, lasting for 1 turn(s).
Moze by himself already applies two debuffs so he is a particularly good user of this set. The last debuff for the requirement can be supplied via teammates like Aventurine or a Light Cone like Worrisome, Blissful.
The Ashblazing Grand Duke
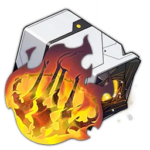
- 2-Pc: Increases the Damage dealt by follow-up attack by 20%.
- 4-Pc: When the wearer uses follow-up attacks, increases the wearer’s Attack by 6% for every time the follow-up attack deals Damage. This effect can stack up to 8 time(s) and lasts for 3 turn(s). This effect is removed the next time the wearer uses a follow-up attack.
While Moze does not make particularly great use of the 4 pc effect, the 2pc effect is so strong that it is still a second-best set for him.
The Wind Soaring Valorous

- 2-Pc: Increases Attack by 12%.
- 4-Pc: Increases the wearer’s Crit Rate by 6%. After the wearer uses follow-up attack, increases Damage dealt by Ultimate by 36%, lasting for 1 turn(s).
While the Valorous set is really good for follow-up units with strong Ultimate like Feixiao or Yunli, Moze is simply not an Ultimate-centric character. It is still a good placeholder set thanks to the raw stats it provides.
HSR Moze Planar Sets
Duran, Dynasty of Running Wolves

- 2-Pc: When an ally uses follow-up attack, the wearer gains 1 stack of Merit, stacking up to 5 time(s). Each stack of Merit increases the Damage dealt by the wearer’s follow-up attacks by 5%. When there are 5 stacks, additionally increases the wearer’s Crit Damage by 25%.
Duran is the best planar ornament for Moze. At max stacks, it gives a whopping 25% follow-up damage and 25% Crit Damage which is higher than practically any other option. He is mostly used in a follow-up team so it is very easy to stack the bonus quickly.
Inert Salsotto

- 2-Pc: Increases the wearer’s Crit Rate by 8%. When the wearer’s current Crit Rate reaches 50% or higher, the Damage dealt by the wearer’s Ultimate and follow-up attack increases by 15%.
While overall Salsotto gives fewer stats than Duran when fully stacked, Salsotto does make building Moze quite comfy thanks to the unconditional Crit Rate.
Izumo Gensei and Takama Divine Realm

- 2-Pc: Increases the wearer’s Attack by 12%. When entering battle, if at least one other ally follows the same Path as the wearer, then the wearer’s Crit Rate increases by 12%.
Izumo is an interesting option. It gives the most Crit Rate out of all the ornaments when the condition is met which is practically always with Moze. However, in terms of raw stats boost it is behind both Duran and Salsotto.
HSR Moze Teammates
Main DPS
Feixiao

Moze is most definitely designed to be played with Feixiao. He has a very high attack frequency which massively helps her stack generation, and also improves her damage via his debuff. On the other hand, Feixiao can trigger his followup very frequently as well.
Dr. Ratio

Moze is a very good Dr. Ratio partner as he by himself gives 2 debuffs to proc Dr. Ratio’s talent. Ratio’s high frequency of follow-up attacks can also help Moze trigger his follow-up attacks quicker.
Yunli

While Yunli functions best as a hyper carry with two or three Harmony/Nihility, Moze can be a very viable partner for a single-target-centric fight, especially if the bosses/elites are weak to Lightning as well.
Moze removing himself from the Action Order also means enemies’ aggro will be more drawn to Yunli as Aggro would be calculated between the 3 remaining units instead of 4, enabling her counters more often.
Harmony/Nihility
Robin

Robin is the kingmaker of every unit with a high frequency of attack, and Moze loves her in the team regardless of the other teammates. While Robin’s teamwide action advance does not do anything to Moze, he still benefits massively from her damage, attack, and damage per attack instance proc.
Ruan Mei

Moze works very well with debuffs and aura buffers, so Ruan Mei is a naturally viable candidate if Robin is unavailable since her buffs will be permanently on for him during the Departed state. Beyond that, they don’t have any particular synergy.
Pela

Pela has great debuff uptime and high attack frequency to trigger Moze, making her a good secondary support for the team.
Jiaoqiu

Jiaoqiu’s debuffs are extremely potent for damage. However, he has worse attack frequency than Pela and generally worse SP economy as well. Nonetheless, he is a great choice to boost Moze’s team damage in general.
Sub DPS
Topaz

A team of Topaz and Moze can work just by the fact that they both have high attack frequency and Follow-up vulnerability and Crit damage taken debuff that benefit each other.
Sustain
Aventurine

Aventurine is simply the best sustain for a follow-up attack team. He has a high attack frequency to trigger Moze’s follow-up attack, especially against aggressive enemies. He also provides an additional debuff to help Moze fully take advantage of the Pioneer Diver of Dead Waters set.
Gallagher

Gallagher has one of the best attack frequencies amongst sustain units and also budget friendly as a 4-star unit.
HSR Moze Teams
Moze Standard Follow-Up Team
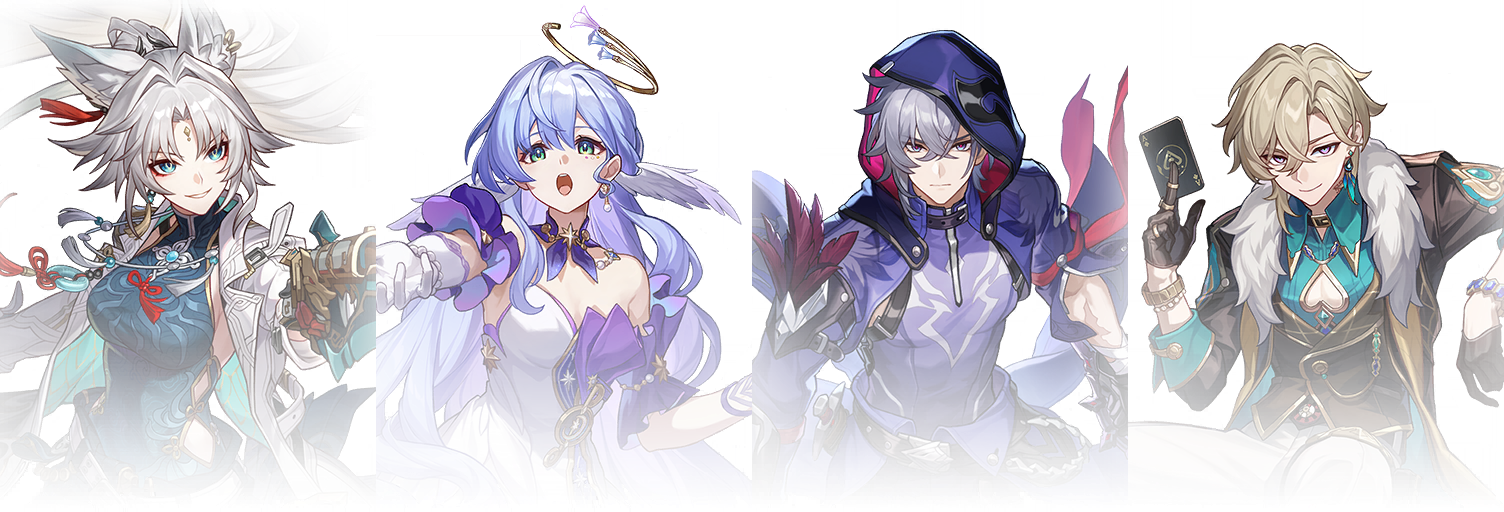
Moze is pretty much a specialist for follow-up team. Most of his teams are the same in terms of composition with him being the Sub DPS and another Harmony/Nihility supporting a main Damage Dealers like Feixiao or Dr. Ratio.
HSR Moze Pull Value and Conclusion
While Moze is certainly a good role player in the follow-up team, he is, by far and large, still a 4-star character so he should not be the focus for pulling, but rather a complimentary prize when pulling units like Feixiao or Robin.
He is also by default weaker than Topaz as well for the same role, so any player who already has Topaz or planning to get her should consider not building him to save resources.
Thanks for Reading! For more resources, check out our other Honkai Star Rail Guides.
 Download APP