 League of Legends
 Teamfight Tactics
 Valorant
 Lost Ark
 Destiny 2
 Diablo 4
 Download APP
How to Play a Dragon Build in Elden Ring
In this Elden Ring Dragon build guide, we will be discussing the best leveling strategy to get through the game, the best weapons and seals, the best armor, talismans, summons, and what consumables you can use.
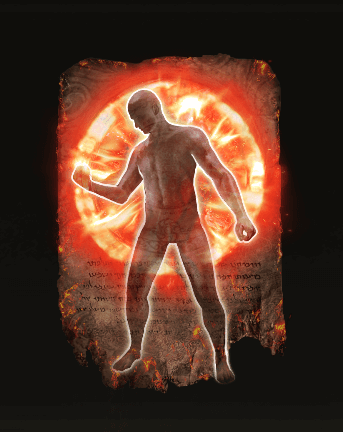
This build looks to take advantage of powerful dragon incantations to obliterate boss health bars extremely quickly.
It can take some time before you start to hit hard as many of the spells used are locked behind defeating bosses and can be quite difficult to acquire.
Explore our other Elden Ring build guides here.
Pros
- Incredibly high damage output from range.
- Wide variety of damage types available to take advantage of boss’s weaknesses.
- Visually appealing spells that lead to stylish kills and a more satisfying playthrough.
Cons
- Incredibly slow cast time which can leave you vulnerable.
- Very high FP cost for most spells in this build.
Leveling and Stats
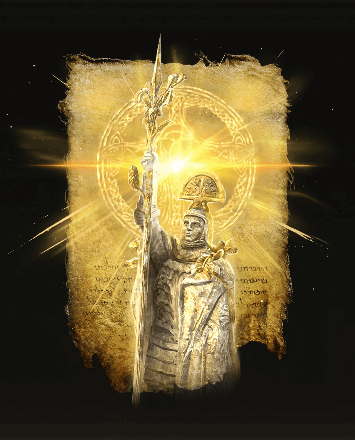
For our starting class, we will be choosing the Prophet. This class will give us the most optimal stat distribution in comparison to the other starting classes, as well as a decent early-game weapon.
| Stats | Starting Stats | Level 25 | Level 50 | Level 100 | Level 150 |
| Vigor | 10 | 14 | 29 | 40 | 50 |
| Mind | 14 | 14 | 14 | 14 | 14 |
| Endurance | 8 | 8 | 8 | 12 | 12 |
| Strength | 11 | 12 | 15 | 15 | 15 |
| Dexterity | 10 | 18 | 18 | 18 | 18 |
| Intelligence | 7 | 7 | 7 | 7 | 7 |
| Faith | 16 | 16 | 23 | 33 | 33 |
| Arcane | 10 | 15 | 15 | 40 | 80 |
The first major breakpoint when it comes to leveling is level 25, at which point you begin to be able to utilize the weapons in this build. The priority will be to get 18 Dexterity and 15 Arcane, as this will allow you to wield the Regalia of Eochaid. This is a strong weapon that you can use to slay dragons that will unlock the spells used in this build.
The second breakpoint of level 50 will have us invest points into Faith and Vigor. 23 Faith will allow us to use most of the powerful Dragon spells that are in this build, and 29 Vigor will give us some much-needed survivability as we are very likely to trade hits with bosses with our slower cast times.
The third breakpoint of level 100 is where you will see a sizable increase in your damage. At 40 Arcane, you will be a few points below the soft cap for Arcane Incantation scaling on our Seal, which will give us the best return for our points invested.
At the last breakpoint, which is level 150 we put a stop to the build. 150 is the perfect level for people who want to PVP so if you want to do that, avoid crossing this level or it will influence matchmaking. We will invest more points into Arcane until we hit 80 as we will not see much of an increase in damage past this point.
Elden Ring Dragon Build Weapons
The weapons listed in this guide are not the main focus of this build but are meant to provide a useful alternative for exploring the world and clearing out normal enemies without using much FP.
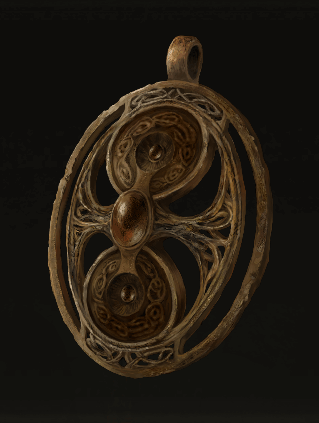
Regalia of Eochaid
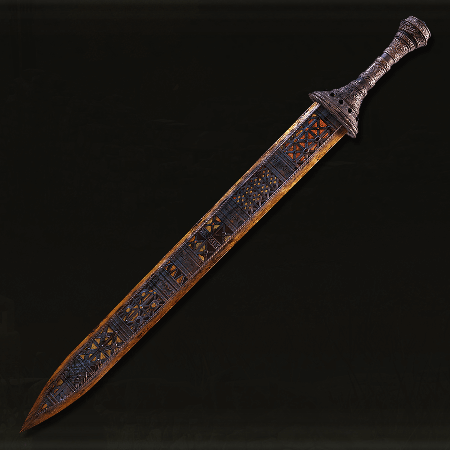
The Regalia of Eochaid is a powerful straight sword with good arcane scaling and an Ash of War that can quickly defeat most enemies.
Can be found on the ground at the end of the Gaol Cave dungeon in Caelid.
- Requires: Strength 12, Dexterity 18 and Arcane 15.
- AoW Scaling: Arcane/Dexterity
Grafted Dragon
The Grafted Dragon is a fist weapon with an Ash of War that causes an eruption which can deal massive fire damage.
This weapon can be acquired by trading in Godrick’s Remembrance, which can be acquired after defeating Godrick in Stormveil Castle.
- Requires: Strength 20, Dexterity 14 and Faith 16.
- AoW Scaling: Faith
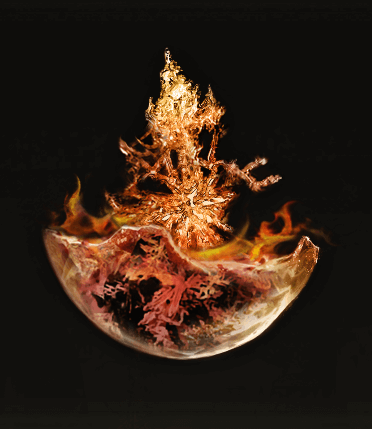
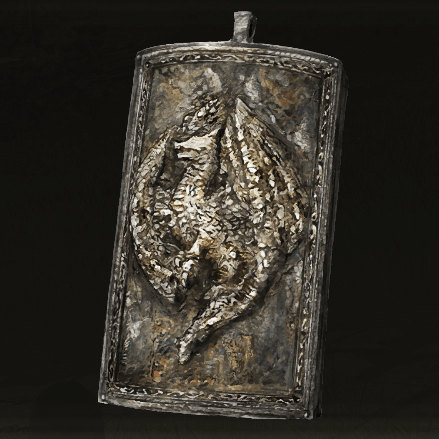
Jellyfish Shield
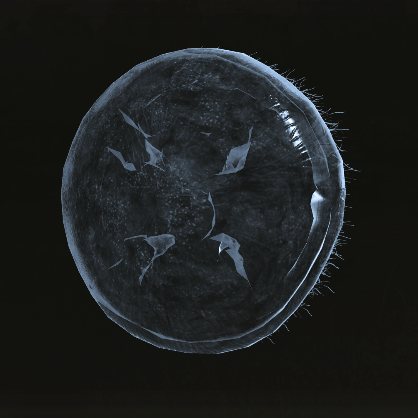
The Jellyfish Shield is a shield with an Ash of War that increases your damage by 20%.
While it may not be an actual weapon, it can be used if you plan on solely using spells to defeat bosses as the buff applies to spells.
It can be found on a broken wagon surrounded by Jellyfish on the west side of Liurnia of the Lakes.
- Requires: Strength 20 and Dexterity 14.
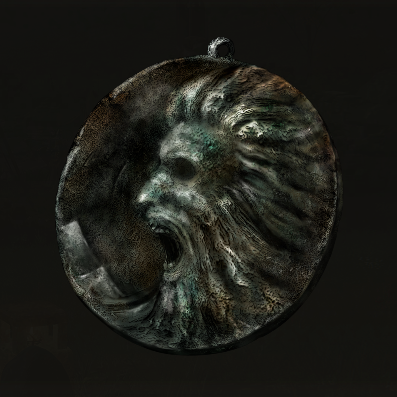
Sacred Seals
The Dragon Communion Seal is by far the best option for this build.
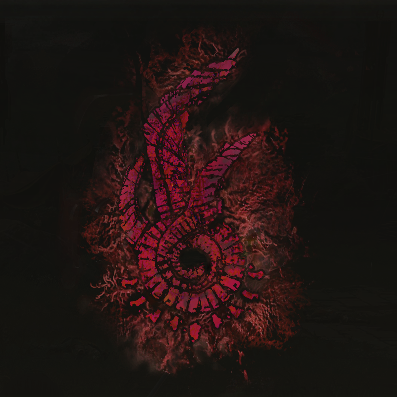
What sets the Dragon Communion Seal apart from other Seals in the game is that it boosts the power of Dragon Communion Incantations by 15%.
This Seal also has a very high Arcane Incantation scaling which will boost the destructive power of any spells we cast in our setup.
You can acquire this Seal by defeating a resting Banished Knight located in the Fringefolk Hero’s Grave in Limgrave.
Elden Ring Dragon Build Incantations
There is only one school of incantations suitable for this build, and it is quite easy to understand why.
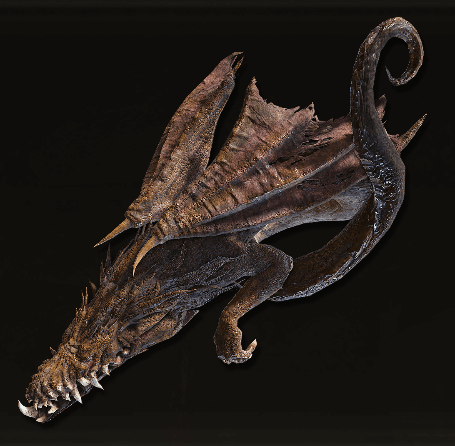
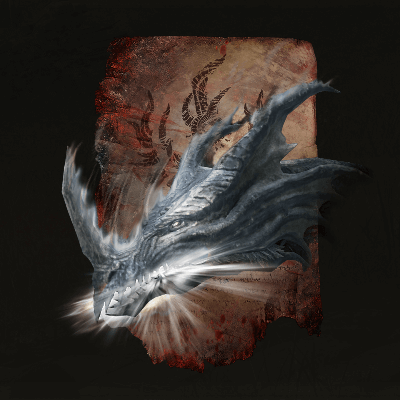
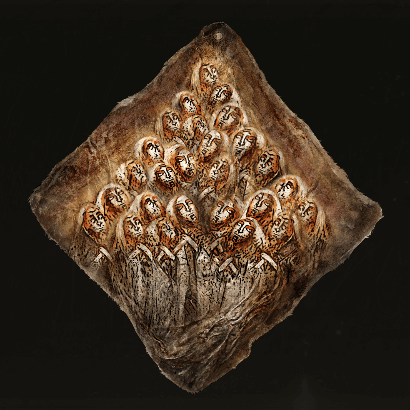
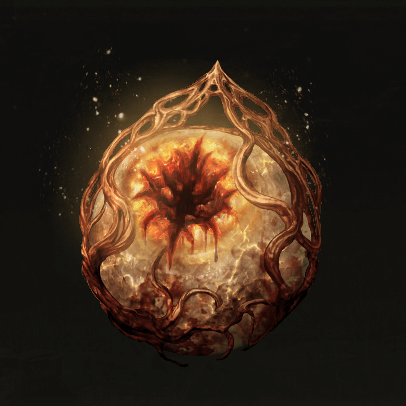
Dragon Communion Incantations
- Incantations used by those who have hunted dragons and feasted upon their hearts.
- Theirs is a pure and overwhelming power.
- Dragon Communion Incantations allow you to channel the powers of dragons you have slain and are incredibly powerful.
- These spells receive a 15% damage boost while wielding the Dragon Communion Seal.
- These spells can all be acquired by trading dragon hearts to the altar at the Cathedral of Dragon Communion in Caelid.
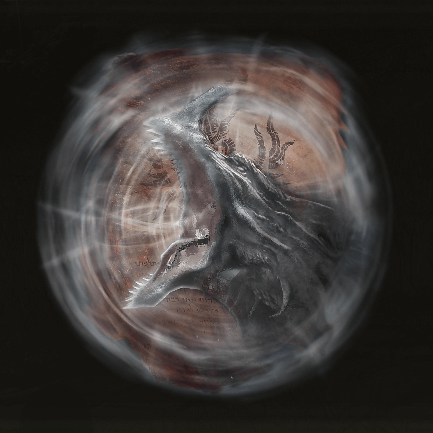
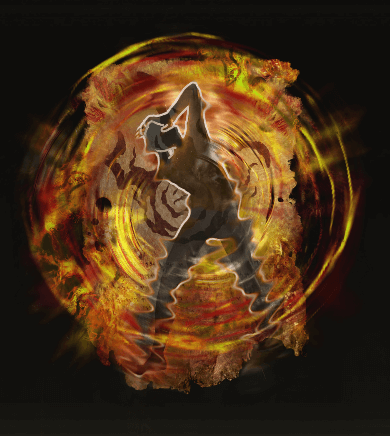
Agheel’s Flame
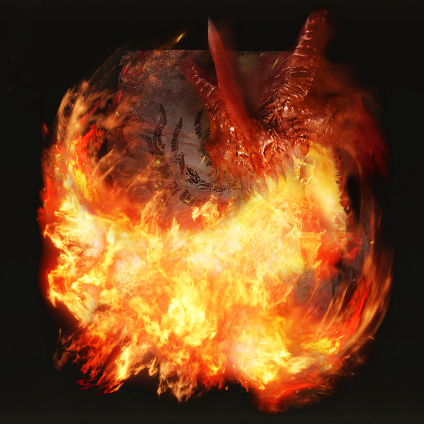
Transforms caster into a dragon to spew flaming breath from above. Deals fire damage.
Available for purchase after defeating Flying Dragon Agheel in Limgrave.
- Requires: Faith 23 and Arcane 15.
Smarag’s Glinstone Breath

Transforms caster into a dragon to spew magic breath from above. Deals magic damage.
Available for purchase after defeating Glintstone Dragon Smarag in Liurnia of the Lakes.
- Requires: Faith 23 and Arcane 15.
Ekzykes’s Decay
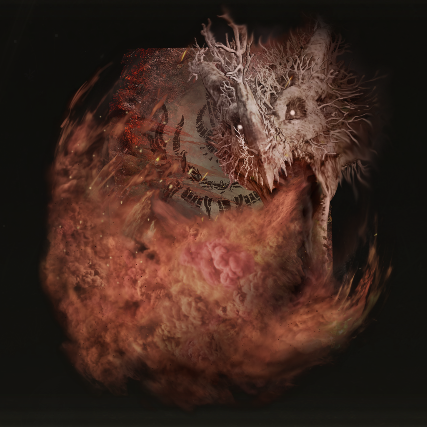
Transforms caster into a dragon to spew rot breath from above. Deals physical damage.
Available for purchase after defeating Decaying Ekzykes in Caelid.
- Requires: Faith 23 and Arcane 15.
Borealis’s Mist
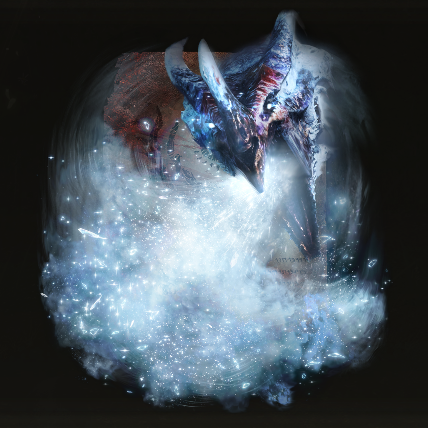
Transforms caster into a dragon to spew icy breath from above. Deals magic damage.
Available for purchase after defeating Borealis the Freezing Fog in the Mountaintops of the Giants.
- Requires: Faith 23 and Arcane 15.
Theodorix’s Magma
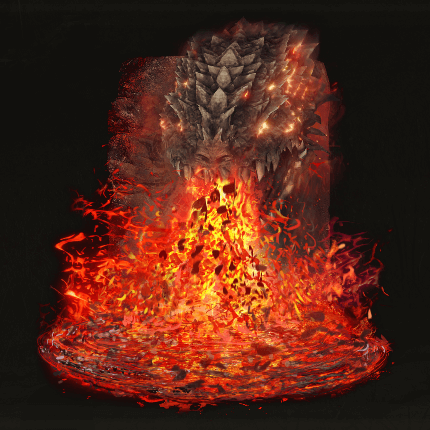
It transforms the caster into a Great Wyrm to spew a large volume of magma breath. Deals fire damage.
Available for purchase after defeating Great Wyrm Theodorix in the Consecrated Snowfield.
- Requires Faith 21 and Arcane 14.
Greyoll’s Roar
Transforms caster into a dragon to emit a terrible roar, reducing the attack power and defense of nearby enemies. Deals physical damage.
Available for purchase after defeating Elder Dragon Greyoll in Dragonbarrow.
- Requires: Faith 28 and Arcane 17.
Dragonmaw
Transforms caster into a dragon to bite enemies before them. Deals physical damage.
Available for purchase at the Cathedral of Dragon Communion.
- Requires: Faith 24 and Arcane 16.
Buffs
Here are a few buffs you could use that can go well with this build.
Golden Vow (Spell)
This spell increases your damage by 15% and decreases the damage you take by 10%.
Golden Vow is a strong buff used in many different builds and requires 25 faith to use.
This spell can be found in the Corpse-Stench Shack, in Mt Gelmir.
Flame, Grant Me Strength
This incantation increases your physical and fire damage by 20% while also giving you increased stamina recovery speed.
It can be acquired very early on in the game and only requires you to have 15 faith.
This spell can be found behind Fort Gael, on a body between two Flame Chariots.
Howl of Shabriri
This incantation boosts all damage types by 25% similar to Golden Vow, but it has a major drawback. It increases the damage you take by 30%, so only use this buff if you are confident you won’t get hit too much.
This buff can not be used with Flame, Grant Me Strength as they are both Body type buffs of which you can only have 1 active at a time.
This can be found in a chest on the second level of the Frenzy-Flaming Tower south of the Grand Lift of Dectus in Liurnia.
Flask of Wondrous Physick
Faith-Knot Crystal Tear

Increases Faith by 10 for 3 minutes.
It can be found in a bowl surrounded by poison flower monsters at the bottom of the cliff near the Church of Pilgrimage in the Weeping Peninsula.
Flame-Shrouding Cracked Tear
Boosts fire damage by 20% for 3 minutes.
Acquired by defeating the Putrid Avatar found at the Minor Erdtree in Caelid.
Magic-Shrouding Cracked Tear

Boosts magic damage by 20% for 3 minutes.
It can be acquired by defeating the Erdtree Avatar by the Minor Erdtree at the western side of Liurnia.
Talismans
Here is a list of talismans that go well with this build.
Flock’s Canvas Talisman
It can be acquired from Gowry after Millicent has met a tragic end.
Increases the damage of incantations by 8%.
Roar Medallion
Acquired by defeating the Stonedigger Troll in the Limgrave Tunnels in Limgrave.
Increases the damage of roar and breath attacks by 15%.
Fire Scorpion Charm
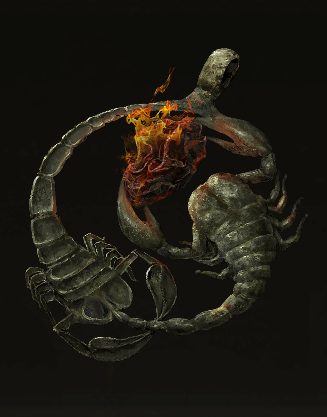
It can be found in the Wyndham Catacombs locked behind a sealed imp statue.
Increases fire damage by 12%, but increases physical damage taken by 10%.
Magic Scorpion Charm
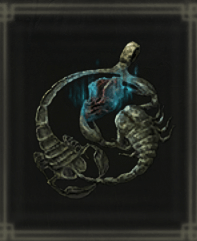
Acquired after progressing Preceptor Seluvis’ questline and giving him the Amber Starlight.
Increases magic damage by 12%, but increases physical damage taken by 10%.
Blue Dancer Charm
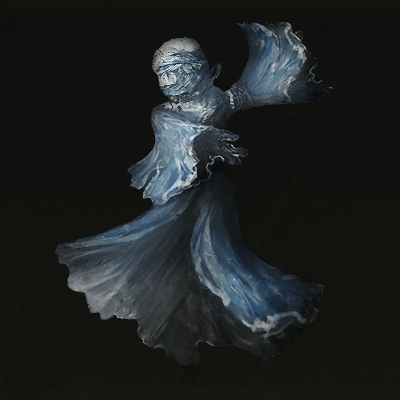
To use this Talisman you will want to have no armor equipped to maximize damage.
Can be acquired by defeating the Guardian Golem resting in the depths of Highroad Cave in Limgrave.
Increases physical damage dealt while at lower weight.
Ritual Sword Talisman
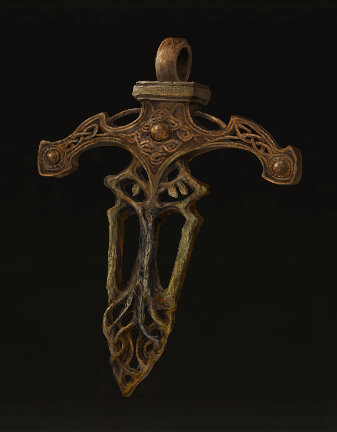
It can be found in a chest after defeating Demi-Human Queen Gilika in the Lux Ruins in the Altus Plateau.
Increases damage dealt by 10% while at full HP.
Ritual Shield Talisman
It can be found just outside the door to the Colosseum in Leyndell, Royal Capital.
Decreases damage taken by 30% while at full HP.
Green Turtle Talisman
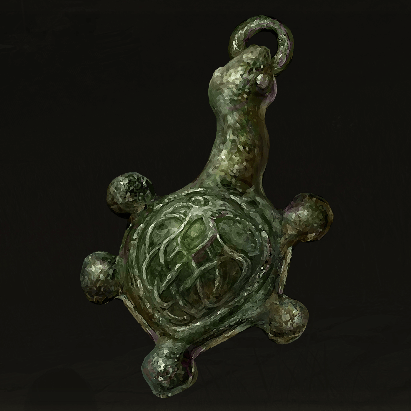
It is found in a chest surrounded by turtles in a room sealed by an imp statue in Summonwater Village in Limgrave.
Raises Stamina recovery speed by 8 per second.
Dragoncrest Greatshield Talisman
It can be found in a chest surrounded by pests in the building above the Haligtree Roots site of grace in Elphael, Brace of the Haligtree.
Decreases physical damage received by 20%.
Radagon’s Sorseal
It can be used to meet the requirements of the Grafted Dragon and Jellyfish Shield should you choose to use them.
It can be found on a corpse surrounded by giant rats in Fort Faroth in Dragonbarrow.
Increases Vigor, Endurance, Strength, and Dexterity by 5, but increases damage received by 15%.
Armor
The armor worn is not particularly important as long as you are not heavy load, and have at least 51 Poise. The spells used in this Elden Ring Dragon Build are extremely slow, so having at least 51 Poise will make it much easier to use your spells as it will make it more difficult for bosses to interrupt you while casting them.
Listed below is a set of armor that meets these requirements while also looking stylish and matching the theme of this build.
Black Knife Hood
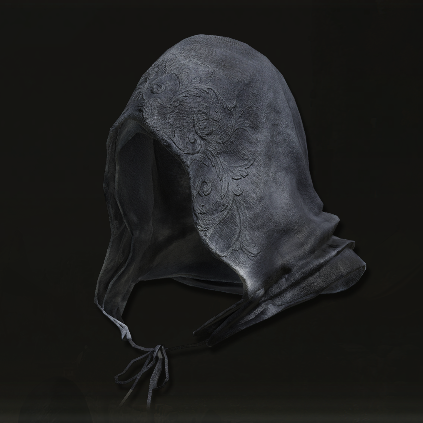
It can be found on the body of a dead Black Kinfe Assassin located under the stairs in Ordina, Liturgical Town in the Consecrated Snowfield after completing the puzzle and lifting the seal.
Drake Knight Armor
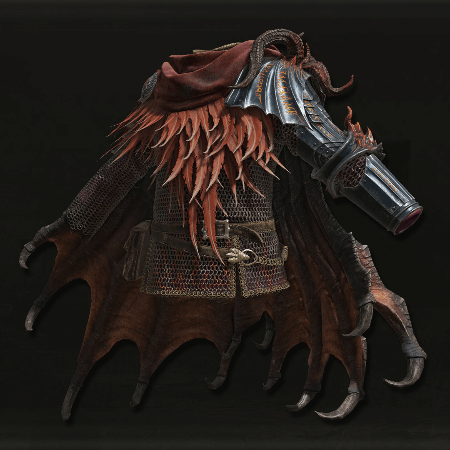
It can be found in a chest near the Dragon Temple Rooftop site of grace in Farum Azula.
Blaidd’s Gauntlets

Acquired after defeating Blaidd located just outside Ranni’s Rise in Liurnia of the Lakes after completing Ranni’s questline and acquiring the Darkmoon Greatsword.
Scaled Greaves
Acquired after assassinating Old Knight Istvan at the request of the Volcano Manor in Mt. Gelmir.
Flask Distribution
At the maximum amount of Flasks, I recommend going for a 10 Crimson Flask and 4 Cerulean Flask split.
This Elden Ring Dragon Build heavily relies upon casting very powerful spells that cost large amounts of FP so it is very important to have enough Cerulean Flasks to defeat bosses.
While 4 flasks should be enough to defeat most bosses, some may still require more casts as they have a larger health pool, so feel free to equip more Cerulean flasks if necessary.
Summons
Other than the obvious summons such as Mimic Tear and Black Knife Tiche I have a recommendation that can go well with this build.
Greatshield Soldier Ashes

Greatshield Soldier Ashes summons five greatshield soldier spirits.
These soldiers are quite tanky and very good at distracting bosses which can give you a large enough window to fully cast your incantations without being attacked.
Found on a corpse in a graveyard in Nokron, Eternal City.