 League of Legends
 Teamfight Tactics
 Valorant
 Lost Ark
 Destiny 2
 Diablo 4
 Download APP
How to Play a Bloodhound’s Fang Build in Elden Ring
In this Elden Ring build guide, I will showcase a Bloodhound’s Fang build. This build looks to take advantage of the incredibly powerful Ash of War Bloodhound’s Finesse which is the skill innately on the Bloodhound’s Fang curved greatsword.
We will discuss the best leveling strategy to get through the game, the best weapons and seals, the best armor, talismans, summons, and consumables you can use.
This build will hit hard very early on in your run but because it has a slower moveset you need a lot of survivability to make up for it, so investing in Vigor early on is very important!
Explore our other Elden Ring build guides here.
Pros and Cons
Pros
- High damage skill with a lot of i-frames (invincibility) built in.
- It can be buffed to apply bleed very easily.
- The Ash of War is visually appealing and can lead to stylish kills.
Cons
- There aren’t too many cons to the build, mostly slower moves, which can leave you more vulnerable to enemy attacks.
Leveling and Stats
We will choose the Samurai as our starting class. This class will give us the most optimal stat distribution compared to the other starting classes and a strong early-game weapon.
| Stats | Starting Stats | Level 25 | Level 50 | Level 100 | Level 150 |
| Vigor | 12 | 20 | 30 | 40 | 50 |
| Mind | 11 | 11 | 11 | 11 | 11 |
| Endurance | 13 | 13 | 13 | 20 | 25 |
| Strength | 12 | 18 | 18 | 18 | 31 |
| Dexterity | 15 | 17 | 25 | 58 | 80 |
| Intelligence | 9 | 9 | 9 | 9 | 9 |
| Faith | 8 | 8 | 15 | 15 | 15 |
| Arcane | 8 | 8 | 8 | 8 | 8 |
The first major breakpoint when it comes to leveling is level 25, at this point, you will meet the requirements to wield the Bloodhound’s Fang. The priority will be to get 17 Dexterity, as this will give you the minimum required stats to two-hand the weapon.
The second breakpoint of level 50 will have us invest a few of our levels into Faith. This will allow us to use Flame, Grant Me Strength, and Bloodflame Blade, the main buffs utilized in this build.
The third breakpoint of level 100 is where you will see a sizable increase in damage. At 58 Dexterity you will be just before the soft cap of 60 which will be enough to deal incredibly high amounts of damage to mid to late-game bosses.
At the last breakpoint, which is level 150 we put a stop to the build. 150 is the perfect level for people who want to PVP so if you want to do that. Avoid crossing this level or it will influence matchmaking. We will invest more points into Dexterity until you hit the hard cap of 80 and then put the rest of the points into strength as you will barely benefit from going past the hard cap.
Weapon
Bloodhound’s Fang
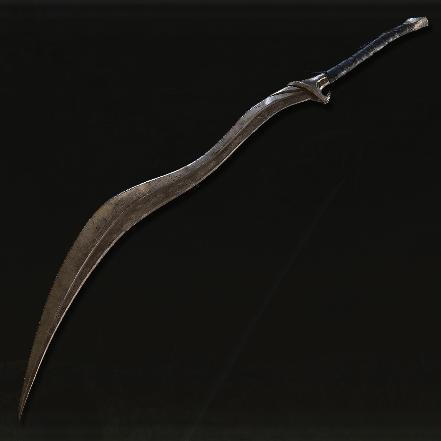
The Bloodhound’s Fang is a curved greatsword with a mighty Ash of War that can deal large amounts of damage with good safety.
This weapon is buffable, and it can be acquired by defeating Bloodhound Knight Darriwil in the Forlorn Hound Evergaol in Limgrave.
It’s what this whole build centers around, so make sure to get it!
Requires:
- Strength 18 and Dexterity 17.
- AoW Scaling is Dexterity/Strength.
Sacred Seals
The Frenzied Flame Seal is the best option for this build. What sets the Frenzied Flame Seal apart from other seals in the game is that it is the only seal with a Dexterity incantation scaling.
This pairs well with our build as we will be investing most of our points into Dexterity. You can acquire this seal by completing Hyetta’s questline.
Incantations
While incantations are not the focus of this build, there is one that I highly recommend using.
Bloodflame Blade
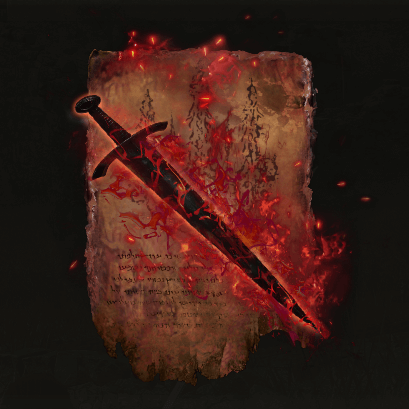
Engulfs your weapon with Bloodflame. This will give your weapon more bleed buildup as well as extra fire damage.
- It is dropped by a Teardrop Scarab northwest of the Rose Church in Liurnia of the Lakes.
Buffs
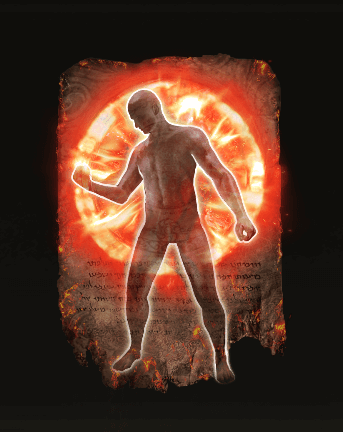
Golden Vow (Ash of War)

This spell increases your damage by 11.5% and decreases the damage you take by 7.5%. Golden Vow is a very solid buff that is used in many different builds and can be utilized almost immediately at the start of a run.
- It is dropped by a mounted Godrick Knight roaming around the cliff above the Deathtouched Catacombs in the north of Limgrave.
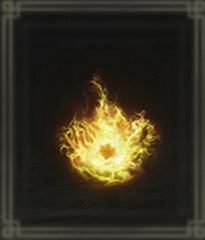
Flame, Grant Me Strength
This incantation increases your physical and fire damage by 20% while also giving you increased stamina recovery speed. It can be acquired very early on in the game and only requires you to have 15 Faith.
- This spell can be found behind Fort Gael, on a body between two Flame Chariots.
Flask of Wondrous Physick
Greenburst Crystal Tear
It temporarily boosts stamina recovery speed by 15 for 3 minutes.
- It can be acquired by defeating the Putrid Avatar found at the Minor Erdtree in Caelid.
Opaline Bubbletear

It decreases damage received by 90% on the next hit.
- It was acquired by defeating the Erdtree Avatar near the Minor Erdtree in the Weeping Peninsula.
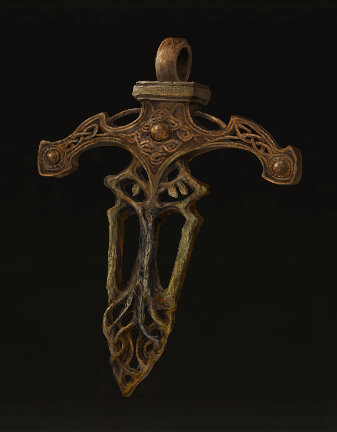
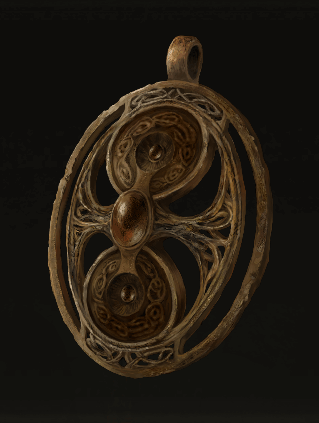
Talismans
Here is a list of Talismans that go well with this build. You can swap them out if you want to deal more damage or have more survivability.
Shard of Alexander
It can be acquired at the end of Warrior Jar Alexander’s questline in Farum Azula.
- Increases skill damage by 15%.
Ritual Sword Talisman
It can be found in a chest after defeating Demi-Human Queen Gilika in the Lux Ruins in the Altus Plateau.
- Increases damage dealt by 10% while at full HP.
Ritual Shield Talisman
Found just outside the door to the Colosseum in Leyndell, Royal Capital.
- Decreases damage taken by 30% while at full HP.
Green Turtle Talisman
Usually found in a chest surrounded by turtles in a room sealed by an imp statue in Summonwater Village in Limgrave.
- It raises stamina recovery speed by 8 per second.
Dragoncrest Greatshield Talisman
It can be found in a chest surrounded by pests in the building above the Haligtree Roots site of grace in Elphael, Brace of the Haligtree.
- Decreases physical damage received by 20%.
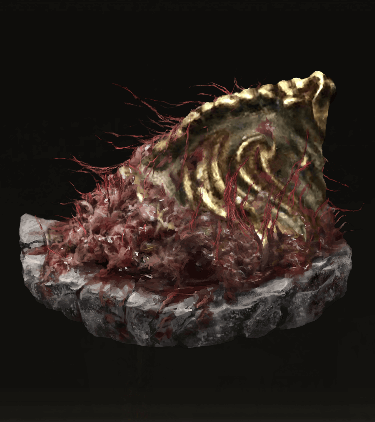
Radagon’s Sorseal
Radagon’s Sorseal is a strong early-game talisman that can help to meet the stat requirements for Bloodhound’s Fang. You can find it on a corpse surrounded by giant rats in Fort Faroth in Dragonbarrow.
- Increases vigor, endurance, strength, and Dexterity by 5 but increases damage received by 15%.
Blue Dancer Charm
To use this Talisman you will want to have no armor equipped to maximize damage. It c an be acquired by defeating the Guardian Golem resting in the depths of Highroad Cave in Limgrave.
- It increases physical damage dealt while at lower weight.
Armor
As the Ash of War of the Bloodhound’s Fang is quite slow, quicker bosses can easily interrupt you while you try to use it. Having at least 51 Poise solves this issue. This makes it more difficult for enemy attacks to interrupt us while we use our skills. Any armor set will work if it reaches the 51 Poise threshold.
I recommend using the Skeletal Mask, Blaidd’s Armor, Blaidd’s Gauntlets, and the Night’s Cavalry Greaves paired together. This set looks stylish and gets you over the 51 Poise threshold while also providing decent resistance. The total weight is 29.2.
Skeletal Mask
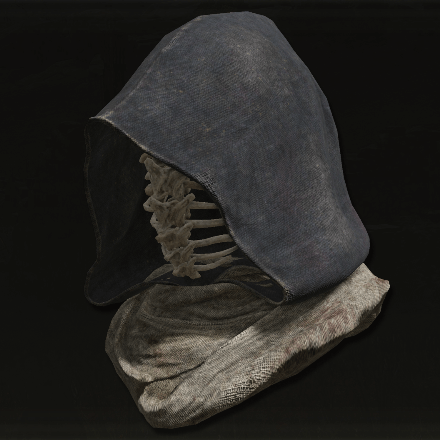
A skeletal mask that tightly grips the face. It is worn by the assassins of Ravenmount.
- Poise: 4
Blaidd’s Armor
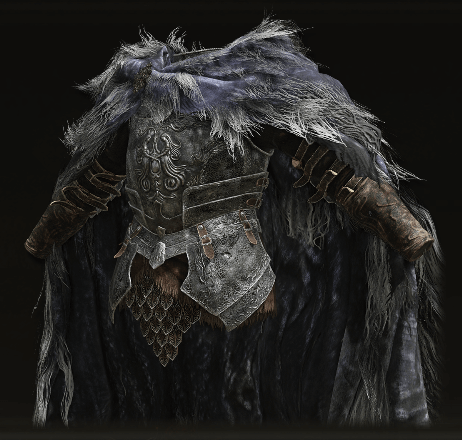
Well-worn Black Armor of the man-wolf Blaidd. The pelt serves as a cape, protecting from cold.
- Poise: 28
Blaidd’s Gauntlets

Well-worn black gauntlets of the man-wolf Blaidd.
- Poise: 6
Night’s Cavalry Greaves

Pitch-black greaves, thinly painted with dried blood. It is worn by the Night’s Cavalry who ride funeral steeds.
- Poise: 15
Flask Distribution
At the maximum amount of Flasks, I recommend going for an 11 Crimson flask and 3 Cerulean flask split.
Summons
Other than the obvious summons such as Mimic Tear and Black Knife Tiche I have a recommendation that can pair well with this build.
Bloodhound Knight Floh
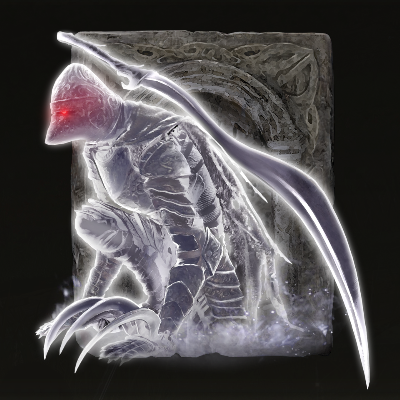
Bloodhound Knight Floh summons the spirit of Floh, the Bloodhound Knight. This summon is incredibly aggressive and deals fairly high damage and bleed buildup. Fighting with this summon can allow you both to aggressively attack bosses and apply more blood loss, but be careful as it can be more difficult to know when to dodge while bosses are targeting them.
- It is acquired by defeating the Red Wolf of the Champion in the Gelmir Hero’s Grave in Mt. Gelmir.
In Conclusion
Thanks for reading our Elden Ring Bloodhound’s Fang build guide! Head to our other Elden Ring build guides here.