


Attackers
Defenders

Astra

Breach

Brimstone

Chamber
Clove

Cypher

Deadlock
Fade

Gekko

Harbor

Jett
KAY/O

Killjoy
Miks

Neon
Omen

Phoenix
Raze

Reyna

Sage

Skye

Sova

Tejo
Veto
Viper

Waylay
Yoru

Blindside

Gatecrash
Easy
Medium
Hard

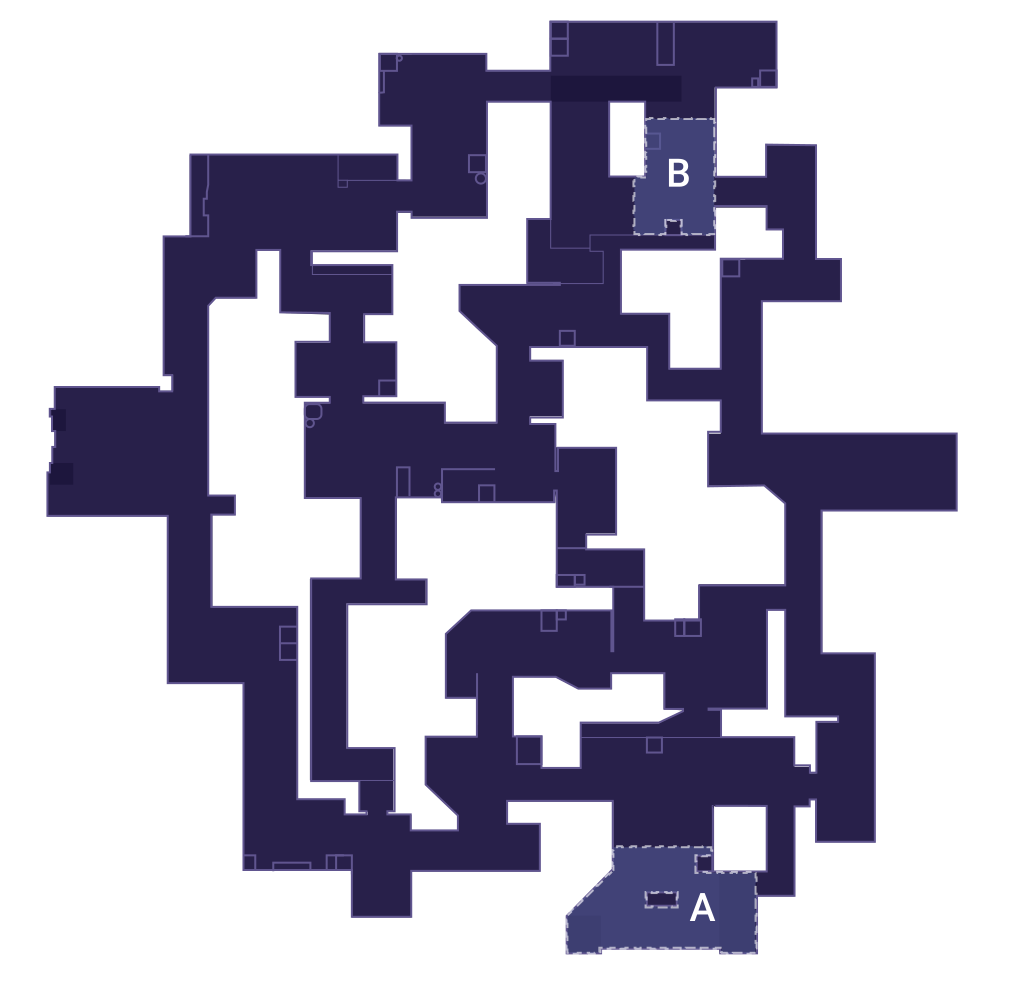
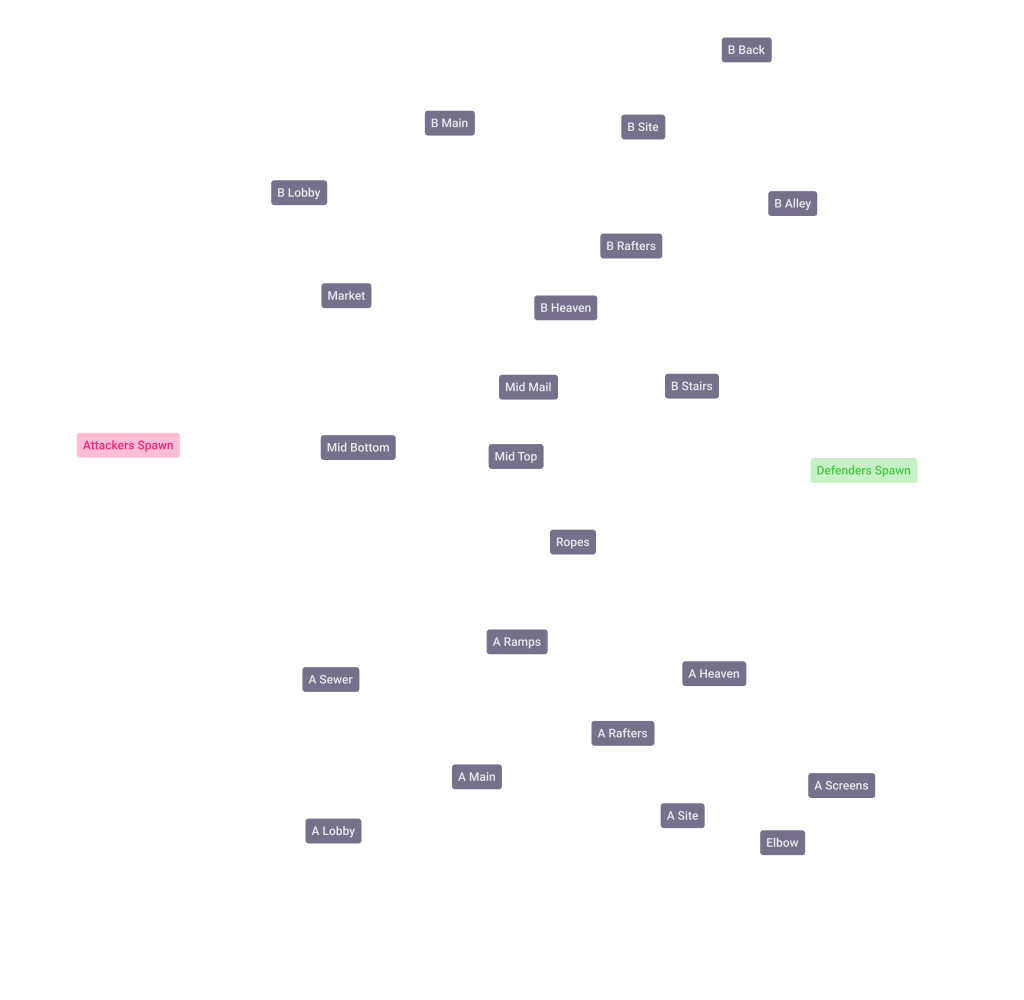
Callouts

Start zone

Blindside
Medium
Attackers
Use this Blindside to flash any enemies in A Heaven, helping both your teammates pushing A Main and Ramps.
Run out A Main and bounce the flash off the A Heaven right wall.
Blindside
Easy
Attackers
Use this simple Blindside to flash enemies playing in B Heaven when you want to push from Mid.
Peek B Heaven from Mid and aim under the "B" on the wall.
Blindside
Easy
Attackers
Use this Blindside to flash any enemies watching the B Main entrance.
Stand on the backwall of B Main so you can't see through the entrance and aim at the line on the panel.
Gatecrash
Medium
Attackers
Use this Gatecrash to get into A Elbow from Main.
Cross A Main and get into the back corner. Crouch and aim left of the bottom corner.
Gatecrash
Medium
Attackers
Use this Gatecrash to teleport into A Ramps without having to cross A Main.
Stand next to the triangle pot in A Main and aim at the head of the falling sign.
Gatecrash
Medium
Attackers
Use this Gatecrash to get into A Screens without crossing A Main.
Stand on the left wall of A Main and aim at the right edge of the wall in front.
Gatecrash
Easy
Attackers
Use this Gatecrash to teleport in the back corner of A Site.
Cross A Main, stand in the back corner and aim on the wall near the orb.
Gatecrash
Medium
Attackers
Use this Gatecrash to teleport behind the A enemies in their spawn.
Cross A Main, stand in the back corner and aim at the edge of the first triangle.
Gatecrash
Medium
Attackers
Use this Gatecrash to teleport to backsite B from Mid Mail.
Walk up the first steps in Mail and aim at the center of the right wall edge.
Gatecrash
Hard
Attackers
Use this Gatecrash to instantly reposition from A side to Market in a clutch situation.
Stand in the bottom corner of Sewers and aim just left of the right edge.